
TheSwede
-
Posts
4,757 -
Joined
-
Last visited
-
Days Won
101
Content Type
Profiles
Forums
Gallery
Articles
Everything posted by TheSwede
-
Just relaxing after I added cracks and gold to the thighs and some weathering on the boots... Then there`s the wraps... ..weathering.... ...and I guess that`s it.
-
 In case not already finalized I would like to throw my hat in the ring for CRL model I have a few things left to do still but you´ll get the gist.
 -
Added some larger patches of gold. Weathered the midsection and checked how it all looks together and..... Aren´t you a little short for a Stormtrooper..?
-
Yeah I just figured since they are hard parts and connected it’s plausible although a bit unexpected
-
Why is that interesting?
-
Cracks and gold added to the abdomen
-
Shins are now finished (with the option to rework if I feel like it). Cracks, gold, ribbons and weathering added.
-
Adding weathering....using acrylics so it`s easily reversable if needs be. I´ll leave it for now and see how I like it.
-
Ah best of luck on approval then
-
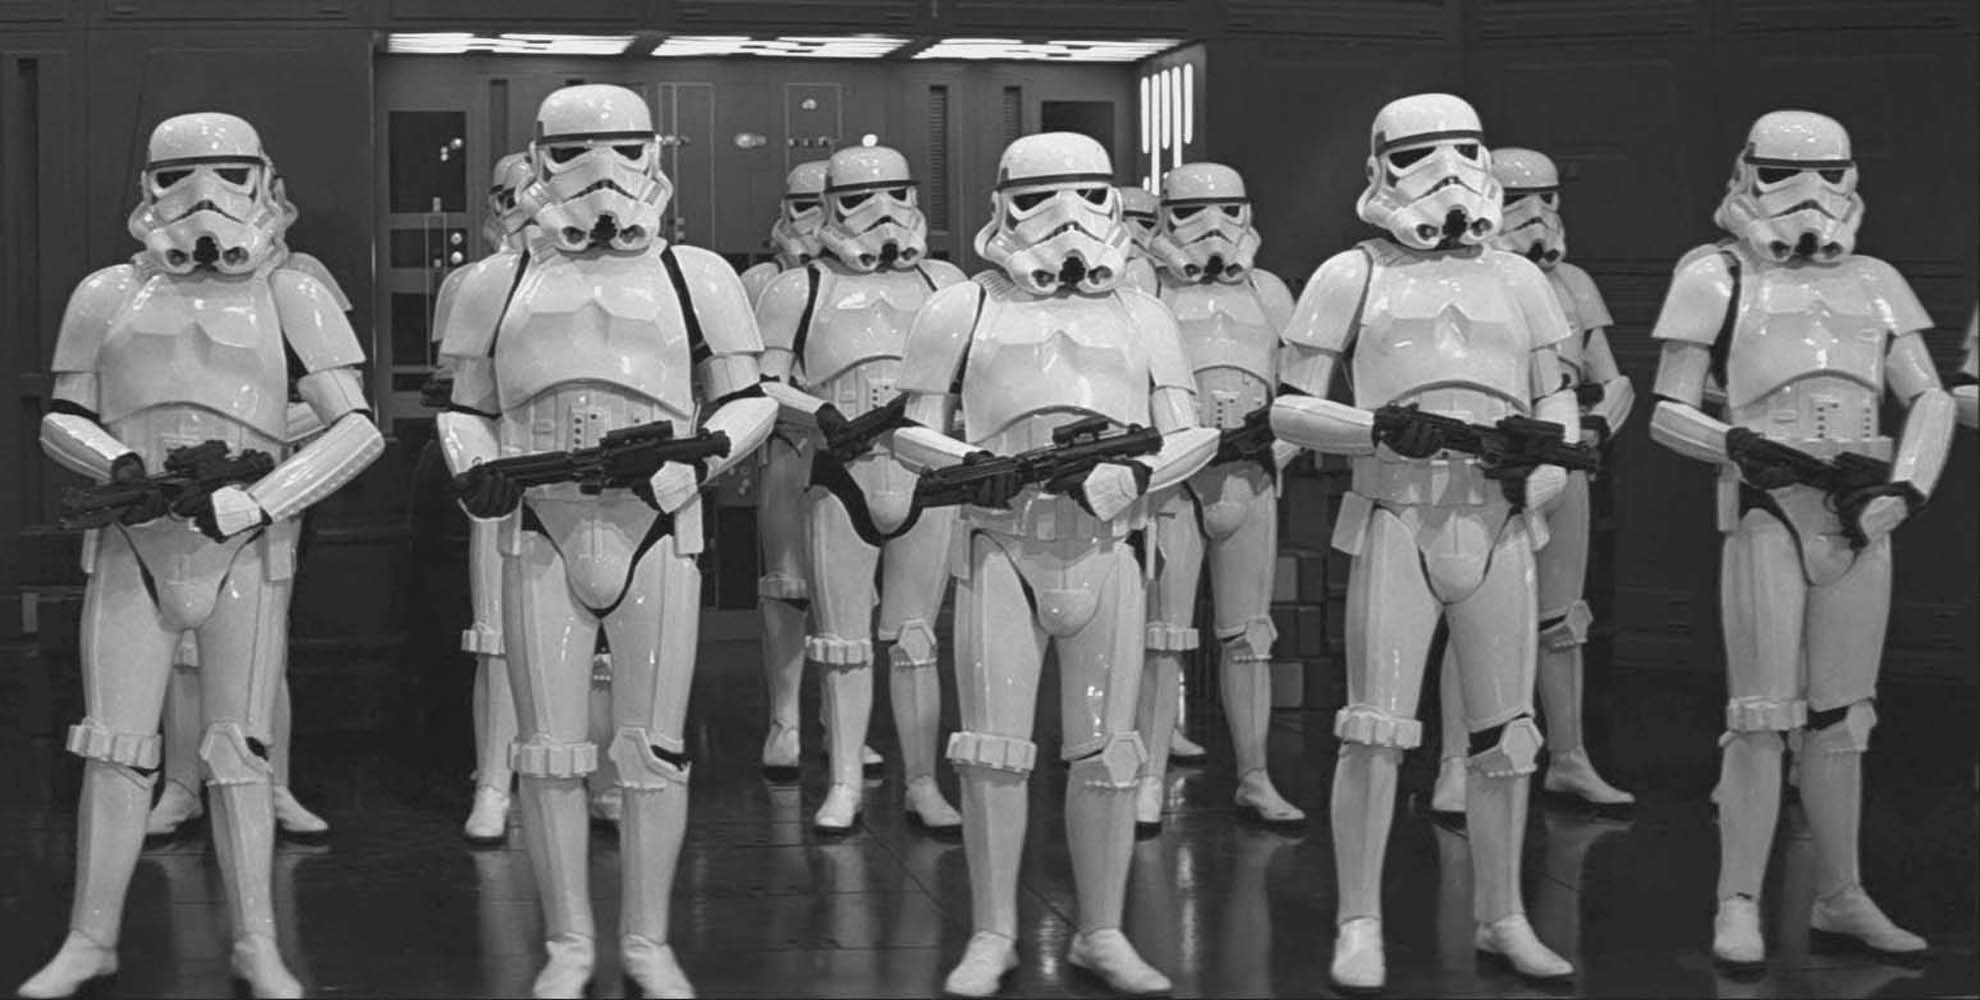
It did fail....Alot. I have no pics at the moment but just watch the prison halway scene and Luke`s shoulder is missing in one cut and back the next.....and in ESB carbon freeze sceen when the Troopers enter, shoulders are at their knees....well..not really but you`ll get the jist oh...and not to mention the Tantive boarding party....shins popping open like they are paid to do that still we build like that cause it`s what they did way back when, I tread carefully in order to look my best when suited up and no armor fails to date...should I go fighting rebels I would need to reinforce the strapping like crazy Anyway, god luck with your build and looking forward seeing you kitted up
-
Adding the red.....using sprayglue but incase I want to redo it`s just a matter of tearing it off so no worries there.
-
Thanks for the kudos all Hoppfully it will all come together #fingerscrossed. Added gold in the cracks and realized I missed a few bigger goldspots that will be sprayed on. Slow `n steady
-
Thighs are put together with the lower details and coverstrips. Webbing is for the thigh strapping, trying something different with the webbing crossing over the shoulders instead of the usuall belt-method. Today I started to map out twere to ad the gold cracks on the arms with a pencil. Then it was dremmel-time,,, Next I decided to start with the bigger patches of gold on the chest/back and arms, masked and ready for paint, And painted, And that`s it...next will be to ad the gold in the cracking and then...woop woop it`s time to ad the red wrapping and weathering
-
Ah good to know,thanks
-
I think I already tried all possible ways but can´t remember if I tried this so I´ll test it out, thanks. Nope, didn’t work, just shows the link
-
Using a PC did the trick apparently, can´t see why it´s not working on my phone all of a sudden but oh well, atleast this works. So, this pic have been seen plenty enough by now and nothing more exciting to say about it other than the coverstrips are now glued and will be trimmed down later. Also painted the shoulder bridges to better match the armor, not perfect but good enough, the + side of doing a Night Trooper is all the weathering and bandages that help hide imperfection Painted the "buttons" and glued on the ab details. In order for the centerpiece to fit I cut out a square in the ab, one can see the outline but it works as the screen used suits sort of have that detail. Next I decided to work on the front half of the belt, making the little "teeth", adding the ammoboxes and dropboxes. For the teeth I put the belt on the ab and drew some lines and used the old score and snap to bring them out. I opted to use chicago screws to install the belt, posts are hidden under the ammoboxes which were dremmeld out were the posts are, I used 4 points of attachement. The sides are loose and will close over the back portion af the belt with velcro. I also gave the teeth a little chamfer as that´s how I think they are, was originally planning on using 2 layers on the belt for that reason so I could make the belt thicker and easier to make said chamfer but naaa to much work and it works fine as is Next I eyeballed the position af the boxes and started by gluing the boxes that had the "slope" on top as they were somewhat easy to get the right spot for, then added the rest. They are glued but I will put in a few screws just to be safe. Put the ammo and dropboxes together. Dropboxes hade a nice space to glue but the ammoboxes sadly didn´t so it took some time to dremmel out (super hard printmaterial) All done `n dusted! Looks lite it´s ready to crawl away somewere... Locked it in the cuboard just to be safe
-
Thanks for the tips, no matter how I go about it it’s just the link that shows, I’ll try with a PC later and see how that goes.
-
Have no idea what this means I’ve been doing the same for years and all of a sudden it’s not working ah the direct link to my pic, yeah not working.
-
Hmm, no matter which link option I use it only displays as a link Copy link https://imgur.com/a/E2epFbQ#xT3PA3f Copy direckt link https://imgur.com/gallery/E2epFbQ#xT3PA3f Copy post link https://imgur.com/a/E2epFbQ
-
Imgur not working
-
Sha Sha's (Slow) KB/850/3D printed FOTK Build for Short Troopers
TheSwede replied to shashachu's topic in TFA Build Threads
You don’t happen to know anyone with a denuo novo suit that won’t use the included holster? You could then cut the base and use that. Also, I wouldn’t use the wedge, makes the holster stick out to much. Or you could always ask Dan for a mount given you have his holster and he now offers a base. If all else fails, I have a denuo Novo holster that I’m not using that you can have. -
Trying to colormatch the printed parts and I think I have reached a close enough stage. Shins are read to be mapped for the gold and put the helmet together, no details are glued yet.
-
BBB-day!! and small envelop-day The straps were really sturdy, very nice. It’s nice to get help :)
-
ChrisThePropGuy NEW ERA/R1 TK
TheSwede replied to ChrisThePropGuy's topic in The Foundry - Armor and Prop Making
Looks great -
I feel this is accurate

