
Chopper857
-
Posts
277 -
Joined
-
Last visited
Content Type
Profiles
Forums
Gallery
Articles
Everything posted by Chopper857
-

BB-23 reference and build wip TK 28103
Chopper857 replied to Chopper857's topic in Legacy Stormtrooper (Joker Squad)
Photos from the build Sent from my iPhone using Tapatalk -
BB-23 reference and build wip TK 28103
Chopper857 replied to Chopper857's topic in Legacy Stormtrooper (Joker Squad)
The Merr-Sonn BB-23 heavy blaster cannon was an anti-personnel weapon used by heavy weapon specialists in the Sith Lord Darth Krayt's Imperial Army during the Second Imperial Civil War. The BB-23 was of considerable size and could unleash a great deal of damage against enemy infantry, gaining it the nickname "big gun." However, the blaster cannon had to be reloaded after every four shots, requiring the user to carry around a large amount of ammunition. The stormtrooper Jes Gistang of Joker Squad used a BB-23 heavy blaster cannon during the Empire's assault on Borosk, a planet controlled by the rival Empire-in-exile, in 137 ABY. During the second day of fighting, Gistang was killed in an explosion that also incinerated her BB-23. https://starwars.fandom.com/wiki/BB-23_heavy_blaster_cannon -
KW / ImperialSurplus for Velocipanda Cosplay
Chopper857 replied to Ripper_L's topic in Legacy Stormtrooper Build Threads
Hi Danny yep your assumption is correct butt joints are required and the supporting strip should be non visible so used on the inside [emoji106], just to say modding the boots can be a painful experience also I’m assuming your going for version A due to the heels [emoji6] Sent from my iPhone using Tapatalk -
Having recently helped TK28103 through her build and clearance into the 501st we are now looking to hopefully get the BB-23 accepted and included on the legacy era crl have attached key reference pics in this post and will be adding build pics accordingly for review Sent from my iPhone using Tapatalk
-
http:// Here a really good guide for snaps to start with. Sent from my iPhone using Tapatalk
-
Ok personally i would have the front plate overlaying the rear plate as you have in your pictures, would trim the front plate along the penciled line then try on again much the same as you have already done then relay out the pencil line on the rear plate then trim say 10 mm inside of that. would also recommend using snaps on both sides as you can then have a range of different length elastics for different stages of weight gain or loss link below should take you straight to how this part of the legacy was put together which is pretty much the same as the fem7 at this point https://www.whitearmor.net/forum/topic/44182-legacy-fem-trooper-version-a-tj_fem-wip/page/2/
-
Will be happy to helpout / discuss stuff where I can [emoji106] Sent from my iPhone using Tapatalk
-
would say a fair amount of the assembly is very similar to the legacy Era Trooper, Again one of kevins kits so perhaps have a look a this thread/wip it might kick you off in the right direction https://www.whitearmor.net/forum/topic/44182-legacy-fem-trooper-version-a-tj_fem-wip/
-
Although not a requirement listed or stated in the crl my personal opinion is with the legacy the curves on the returns help with the overall look although in the lower shins you can work them back to as little as 3mm and still retain the curve and look Sent from my iPhone using Tapatalk
-
What your suggesting is what a normal TK runs with, with regards to the legacy there are returns although the requirement is not clearly listed in the crl its these little differences that make the legacy stand out In my opinion Sent from my iPhone using Tapatalk
-
Hi Lucy, yes there is a return on the base of the bicep although you can make it small This is how the biceps were after rough trimming, will take a pic of the finished part later showing how they finished up Sent from my iPhone using Tapatalk
-
Hi Lucy nice to see another Legacy build. Looks like you have been doing your research but just in case I would suggest having a look at this build thread as well https://www.whitearmor.net/forum/topic/44182-legacy-fem-trooper-version-a-tj_fem-wip/ you've been quite conservative with your cut lines but the first ones are always the most nervous , As Daniel has suggested the shoulder bells could be trimmed up more and I have added some pics below for you to review. In the above link there is some good pics on trimming the Abb plate as well, The Forearms mentioned well the legacy is unique the standard TK does clear out most of the return edges but for the legacy it still shows the curve of the return, but this can looked at when your there. Since helping my wife clear her costume I have helped a few other legacy's on there journey, so will happily chime in and try to answer any questions you have along the way And good luck
-
LEGACY FEM TROOPER Version A TJ_fem WIP
Chopper857 replied to Chopper857's topic in Legacy Stormtrooper Build Threads
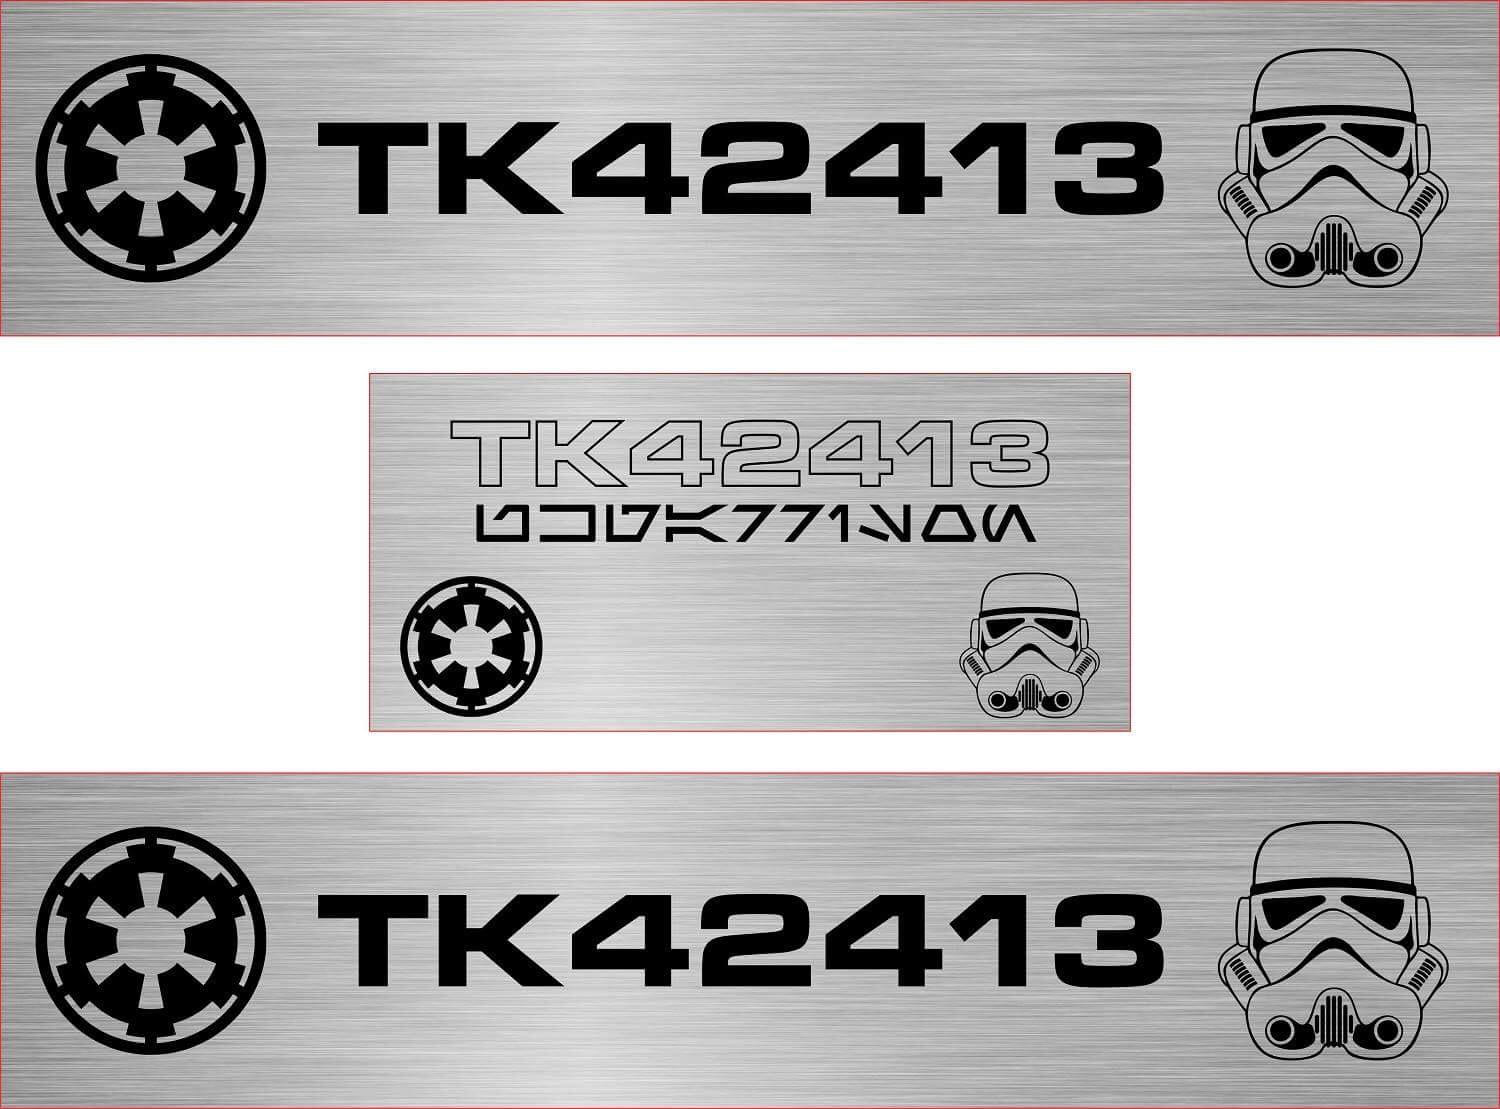
With the build and modifications now all done, and TJ_fem trooping hard for the UKG thought I would post up pictures of all the parts in there finished state. I will try and develop a contents tab with links over time just to make navigating the thread easier. For Anyone making the Legacy Era trooper past or present please feel free to drop me a p.m. or post if you have any questions or looking for advice will always try and help out if i can. Thanks for looking Martyn AKA TK42413 -
LEGACY FEM TROOPER Version A TJ_fem WIP
Chopper857 replied to Chopper857's topic in Legacy Stormtrooper Build Threads
5. Electronics went old school for voice changer and got a Rom fx (bit more flexibility in changing voice), and packaged this in a old trading card box containing the battery as well then paired this up with a slimline aker speaker. for placement within the chest cavity have added two pieces of elastic and E6000 in place finished set can be run using wired or bluetooth mic rig -
LEGACY FEM TROOPER Version A TJ_fem WIP
Chopper857 replied to Chopper857's topic in Legacy Stormtrooper Build Threads
4. Finally fitted fan system in lid, purchased a second kit for the fans which consisted of micro fans and digital variable speed, which gave better options for positioning in the helmet. with the fans in the front and the switch control at the rear it allowed us to place the usb power bank at the front of the helmet also -
LEGACY FEM TROOPER Version A TJ_fem WIP
Chopper857 replied to Chopper857's topic in Legacy Stormtrooper Build Threads
3. with having slim arms we have added foam padding in the forearms stopping them moving around and removing pinching issues at the top of the forearm in the elbow ditch when carrying a DLT for a significant amount of time -
LEGACY FEM TROOPER Version A TJ_fem WIP
Chopper857 replied to Chopper857's topic in Legacy Stormtrooper Build Threads
2. with regards to the chest to back plate side closure using the original concept of having the elastic snap fitting onto both armor parts we found the front snap was catching on the raised side indent of the kidney plate and causing movement issues and occasionally trapping the chest plate in misalignment,. So have removed the snap plates on the chest plate and directly E6000 the elastic in place keeping the snap fit on the back plate this has helped with kitting up also -
LEGACY FEM TROOPER Version A TJ_fem WIP
Chopper857 replied to Chopper857's topic in Legacy Stormtrooper Build Threads
1. Right just documenting some of the upgrades done over the last few weeks, With the thigh's we was getting a bit of slide and found the easiest solutions was to upgrade the belt being used for something more sturdier. So went from 25 mm webbing up to 40 mm webbing and this has fixed this first issue. -
LEGACY FEM TROOPER Version A TJ_fem WIP
Chopper857 replied to Chopper857's topic in Legacy Stormtrooper Build Threads
UPgrades !!! 3 weeks of trooping and Tracey (TK13570) seems to have worked out most of the kinks will now be going through some adjustments and upgrades will list them out and work through accordingly stops me forgetting 1. wider elastic for better support on thighs going from 2" to 3 " now 2. removing snaps from one side on chest/back plates and attaching elastic straight to one side 3. adding padding to inside of forearms/vamp braces (better stability less rub when carrying dlt 19) 4. new fan system to fit for helmet, micro fans going in running variable speeds using digital control box 5. fitment of speaker and rom set up will picture up and document each change as I get it done -
LEGACY FEM TROOPER Version A TJ_fem WIP
Chopper857 replied to Chopper857's topic in Legacy Stormtrooper Build Threads
well this all happened pretty quick in the end, Tracey's now cleared and done her first troop with the UK garrison at the UK's national space center. Even helped out Warwick Davis at one point will take the time over the next fews day to update all the pics on the thread so they work and make sure i haven't missed any parts of the build. might even try and and add a table of contents at the start. will get her to sign in and introduce herself properly now and start a troop diary but prior to that here a quick few pics TK13570 signing in with a bang instagram tj_fem -
LEGACY FEM TROOPER Version A TJ_fem WIP
Chopper857 replied to Chopper857's topic in Legacy Stormtrooper Build Threads
Ok I have mentioned we have done quite a few test fits along the way with this build but have tried to keep the emphasis of the individual parts. but we are now near enough complete so here we go with full test fit photos. thanks for any feedback given -
LEGACY FEM TROOPER Version A TJ_fem WIP
Chopper857 replied to Chopper857's topic in Legacy Stormtrooper Build Threads
Ok back to the thighs which were bothering me the most. after numerous test fits have decided on this positioning detailed in the photos below, with the inner side of the thigh sitting slightly deeper than the outer I have off set for this so all the covers for the elastic that clip's to the knee caps look level when viewed from straight on. again these slots were started off using a slitting wheel on a dremel then finished by hand with needle files . Once done the elastic was checked in position with the knee cap and glued in place, the covers were added (heavy on the E6000 then clean up after) used the E6000 to compensate for the curve of the thigh -
LEGACY FEM TROOPER Version A TJ_fem WIP
Chopper857 replied to Chopper857's topic in Legacy Stormtrooper Build Threads
Switch/button plate was trimmed down and positioned centrally then glued in place once set in position TD was removed and the end caps trimmed up and fitted very tight fit on tube have left that as is and not applied any additional glue. then finished up with a paint job using the same grey as used on the helmet. -
Need help finding Version B kit.
Chopper857 replied to DRG8468's topic in Legacy Stormtrooper (Joker Squad)
I’ve always emailed directly normally had a response back in a few days, I think he’s more active on insta than Facebook just another option Sent from my iPhone using Tapatalk -
June 2018 Request for CRL Updates thread
Chopper857 replied to Daetrin's topic in Hard Armor (General Discussion)
HI Paul has this been cleared up now with regards to crl ?? Thanks Legacy Era * Boots - make it simpler for L1 approval
