justjoseph63
-
Posts
12,745 -
Joined
-
Last visited
-
Days Won
326
Content Type
Profiles
Forums
Gallery
Articles
Everything posted by justjoseph63
-
 Joseph Pedigo TK 10963 justjoseph63 Florida Garrison, Makaze Squad Ht: 5' 10" Wt: 155 Armor/Helmet: AM 2.0 Boots: Imperial boots Neck seal: Darman Hand plates: Latex, home made Ammo pouches: Canvas Backpack: Self made, with props to Templar 726 and Ukswrath! Weapon: Hyperfirm DLT-19 by Slavefive NOTE: I may have overdone it a bit on the "battle marks", (duly noted), and apologize for not cropping the pics, as Photobucket is acting weird. If any additional photos are needed/missing, please let me know, and thank you for your consideration! : EDIT My apologies, but I did not realize/stop to think that deleting these pics from Photobucket would remove them from here as well... computer newbs... go figure..
 -
Awesome idea, Dustin! It might be a bit difficult to fit one of those in my armor bin, though...
-
Yes, Kainoa, let it cool down on it's own. You don't have to wait for it to get completely cool during the shaping process, but no need to use water. Also, you might want to attach the Velcro to the one with the cover strip as a test, as it looks pretty close to where it needs to be. You can always remove it if not, but don't re-use it, and remove it before heating again.
-
I would probably steer clear of the boiling water method, Kainoa. I had the same problem with mine, and what I did was to purchase a heat gun at Lowe's, (usually around $25.00). Then, I taped them up to the closed position, set them on concrete, and pointed the gun inside. But be SURE to do it gradually, and don't overheat them, or they will become misshapen. Also, make sure the final product is not closed all the way. I have about a 1 1/2 inch gap, which the Velcro holds together just fine.
-
Joe.Gravelle's TD build [AM] [T/MC]
justjoseph63 replied to TheDon's topic in Build Threads Requireing Maintenance
Good call on the belt, Tony! As far as getting suited up, Joe, I put on my thighs first, then the calves, (but leave them open in the back). That way I can sit down, slide on my boots, and than secure the backs of the calves. It does take a little practice, though. After that comes the rest of the armor. Also, there is always someone around on a troop who will be glad to help you out with putting other parts on. -
Definitely Wagners' "Ride of the Valkyries"... One of my favorite movie scenes was the Army helicopters storming the beach in Apocalypse Now, blaring it full blast. Still gives me chills.
-
Where's the "Spacetrooper" crl standard?
justjoseph63 replied to charlesnarles's topic in ANH (Stunt and Hero)
OK, Chad,... TAG... -
Where's the "Spacetrooper" crl standard?
justjoseph63 replied to charlesnarles's topic in ANH (Stunt and Hero)
I noticed the same thing, Jonathan. It IS smaller, as they still have a Thermal Detonator... Plus, they also have their E-11s as a sidearm. I also noticed that they are carrying T-21s, so I guess my DLT-19 won't work with this... DAMN, another project and another trip to Lowe's! When will the madness end? Gotta go for now... looking into a storage unit for my supplies, and perhaps as a future home... -
Where's the "Spacetrooper" crl standard?
justjoseph63 replied to charlesnarles's topic in ANH (Stunt and Hero)
It's official, Scott.. TAG... You're it! Now, if you will get this started, I have an excuse to go to Lowe's and get the usual eyes-rolling-back-in the-head-why-doesn't-anyone-just-build-birdhouses-anymore response when I announce my newest project. -
It's about time. (First Suit)
justjoseph63 replied to TK-12535's topic in Build Threads Requireing Maintenance
Nice looking armor, Chris! If I may make a few suggestions, I would recommend buying some 1 inch thick foam padding (the kind for chairs) at a craft store and cutting it into 1 1/2 or 2 inch strips and putting it in the front, and perhaps sides of your calf pieces. This will stop them from rotating. Also, it looks as if your belt is hanging really low on the left. If you don't have them already, I would suggest adding 2 or 3 snaps to connect your ab plate to your belt to keep it level. If you need pics, just let me know. Hope this helps! -
Looks as if someone has made a few alterations on it though... Apparently the previous owner was going for Centurion or EIB, since it has the side rivets and kidney cut-outs, (although they look a lot larger than 22mm). But why the separated ab/cod? Plus, it comes with a comlink and orange shoulder pauldron... ?? Maybe someone could clarify, but is that an AM "NE" chest plate? I cannot figure out what the black Velcro (?) patch is on the chest plate is for, but it Looks like someone put a lot of work into it, then never wore it, as the thighs are not finished. Their loss is your gain, Jay!
-
Where's the "Spacetrooper" crl standard?
justjoseph63 replied to charlesnarles's topic in ANH (Stunt and Hero)
Oh good Lord, Scott... Why on earth did you have to bring this up????? I'm already in trouble because my HWT backpack "Takes up too much space". Now, it looks as if I am going to have to explain to my wife that I "Just HAVE to make a re-breather pack". I guess I am going to have to fall back on the old "Well, all the other TK's have one, and it's sooooo cool" excuse. Wish me luck, and keep me in mind if you find a CRL. -
I would suggest going to the "Getting Started- Read This First" section, Braiden, as pretty much all the information you will need is there, which will help you in your decision. Yes, there are opportunities on here occasionally to purchase pre-made armor from other members, but you will have to remember that it may not be your size. That is just one of the advantages to building your own. Yes, it takes some time and patience, but in the end you will have armor that is tailored to your body, as well as learning a LOT about it. And, just because someone else's armor was approved by the 501st, does not make it automatically approved for you. If you are concerned about building it yourself, there are many, many tutorials on here, as well as a legion of great folks on here (especially in Australia) to help you out with your questions. It comes down to one word... RESEARCH! Steer clear of ebay armor, and there is also a thread in the Getting Started section regarding the best places to get a quality kit. You must have patience, but I assure you it will pay off in the end! All the best!
-
I like to go with snaps whenever I can, Andy, with a few exceptions. I started out gluing the female part to the armor, but found out a much better way that I have switched to.. I now take a 1 inch piece of black nylon webbing, seal the ends, then permanently attach the female to that, THEN attach that to your armor with a strong CA glue, like Hobby Linc. No worries of it coming off. Ever. And yes, always use high quality heavy duty snaps. The cheap ones will NOT hold... I found this out the hard way, and had to replace every single one. Another good thing about snaps is that if you need to replace the elastic, it is much easier than trying to remove glued on strapping/elastic. They are a bit more labor intensive in the beginning, but in my opinion they work out better in the long run. Hope this helps!
-
Difference between DD's complete & pipe kit
justjoseph63 replied to =Sv3='s topic in ANH BlasTech E11
A quick heads-up on the Doopydoos "email me when this is in stock" deal, David, when you get the email, order it immediately. I waited 4 hours, and they were all gone again, it's just that quick. Also, be prepared to hurry up and wait, (up to 6 weeks), and don't expect much in the way of communication. It will get to you, though. It's a nice kit, and a fun build. -
Is it possible to have more than one expensive, time consuming hobby?
justjoseph63 replied to troopertom's topic in Off Topic
I collect Canadian quarters. I have seven. (Or is it eight)? -
Thermal Detonator or?
justjoseph63 replied to russellr2d2's topic in Hard Armor (General Discussion)
Hey Russell, Google Wookieepedia, (the Star Wars version of Wikipedia), and search Thermal Detonator. Everything you could ever want to know, (and some things you didn't) about a TD is there. I like Karin's answer the best, though! -
Should I paint the inside of my helmet?
justjoseph63 replied to dapradiel's topic in Assembly, Mods, and Painting
So far, Tor Erik, I have had no "downsides". I did my bucket with Plasti-Dip, (a black, rubberized coating), and even with the Florida heat it has held up really well. It's all a matter of personal taste, and like Q said, it makes it harder for folks to see inside, especially if you have lots of electronics in there, i.e. fans, microphones, speakers, etc. -
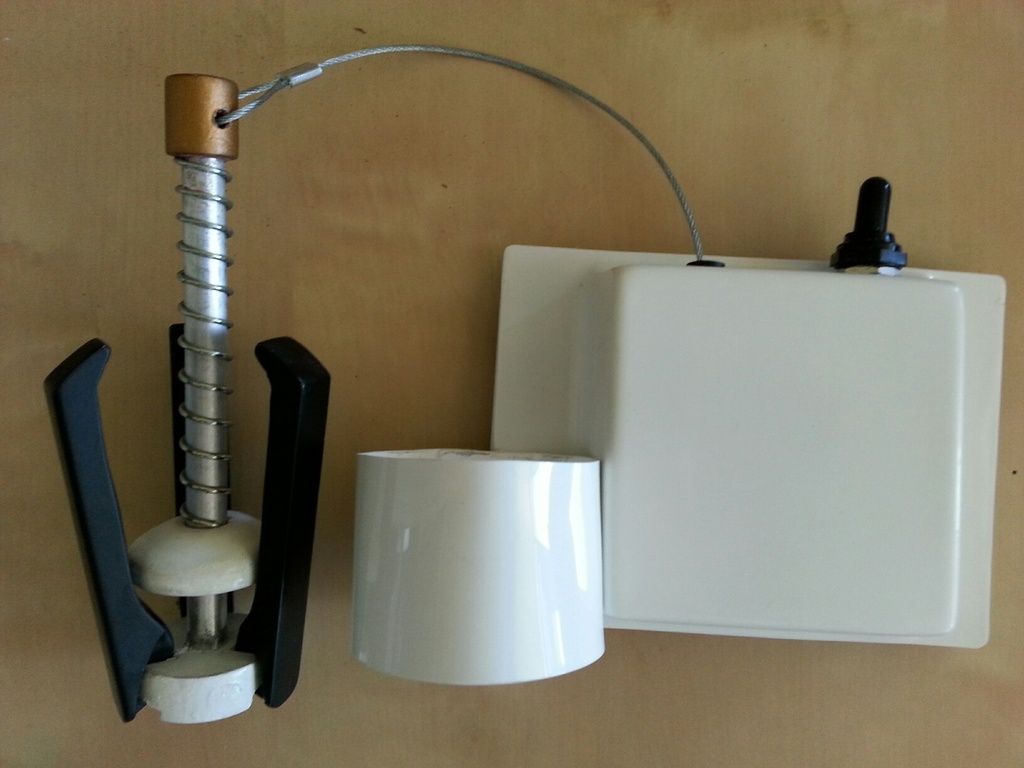
The placement of your holster is another difference, Dave, and the brow on the helmet, but I think the main problem you will find is that the grappling hook/box will be quite elusive. I was going for Hero at first, but changed my mind while waiting for my armor. I did end up making a grappling hook, (pictured) but it took me weeks to do, as finding one on here is like finding the Holy Grail. For the actual box itself, I had to order it from England, (over $40.00). The comlink was fairly easy to build, but as as I went ANH, it just sits there in my bin. If you are REALLY handy with a Dremel, and power tools in general, you can make your own grappling hook... just Google photos of one, as I did, and go from there. I wish you would have posted this last week, because I just sold the one I built for $70.00. All the best to you!

-
Good call on the holster, Jason. I got one from Gazmosis, who offers the heavy duty ones on here occasionally, and they are built like a tank!
-
Looks like like armor from 'maker of things" out of England. If so, I think the reason they didn't include the helmet is that it is enormous.
-
There you have it, Dave! Thanks for the info., Mathias, I think I will consider ordering one of these myself!
-
Also one of my thoughts, Ty... You know this FL. Heat can get intense. Too bad they don't have an area like we had on the 4th, but I suppose that would be impossible for 180 people!
-
Hola! I have a question for those who will be marching at SWW. I know that the Disney has a changing area for everyone marching in the parade, but what do you do with you with your armor bin after the parade if you want to go into the park afterward? Mine is pretty large, and I have a pickup truck, but it won't fit inside the cab, and I obviously can't leave it in the bed of the truck. Any suggestions? Thanks!!!!
-
A lot of the difference between rubber and resin as a choice depends on a few things, Dave. I have a resin E-11, and in my opinion the details are a little sharper than rubber, but it is more fragile. Often when trooping, you will be asked "Can I hold your gun""? If someone accidentally drops it, and resin ones can be damaged, (but are usually repairable). On the other hand, I have a Hyperfirm DLT-19 that could probably be dropped out of an airplane and survive. I did notice that it has a lot of great reviews, and, that the scope rails are made by Evilboy, who is a popular seller of great products here on FISD. If someone knows anything about this particular weapon/seller, it could be a great alternative to those (myself included) who have had to wait up to 6 weeks + to receive a resin kit from Doopydoos.