Leaderboard


Popular Content
Showing content with the highest reputation on 08/25/2024 in all areas
-
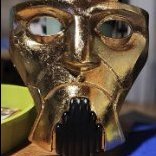
So this project started off as a Halloween build and has spiraled out since I started it about a week ago. I was just going to use rub-n-buff for the gold but now I am doing gold leaf, I was going to wear a red kilt and now I am going to either order or make a proper kama. Right now I have the helmet printed and assembled but I have been fighting a de lamination of the dome along the brow. I tried to use thin layers of UV resin and it is having having some reactions with the Bondo spot putty and its not curing to the spots with the resin. I have drilled it out and am working on filling it in, next time I will just reprint the part. For right now the mask is done but I may have to redo it to get the texture better. Hopefully I can have the helmet done in a few days but for now the armor is printing.1 point
-
Gotcha, thanks for the tips! I'll probably paint after I'm done fitting/adjusted everything, and while I like to think I have a steady hand I'll see about getting some stencils.1 point
-
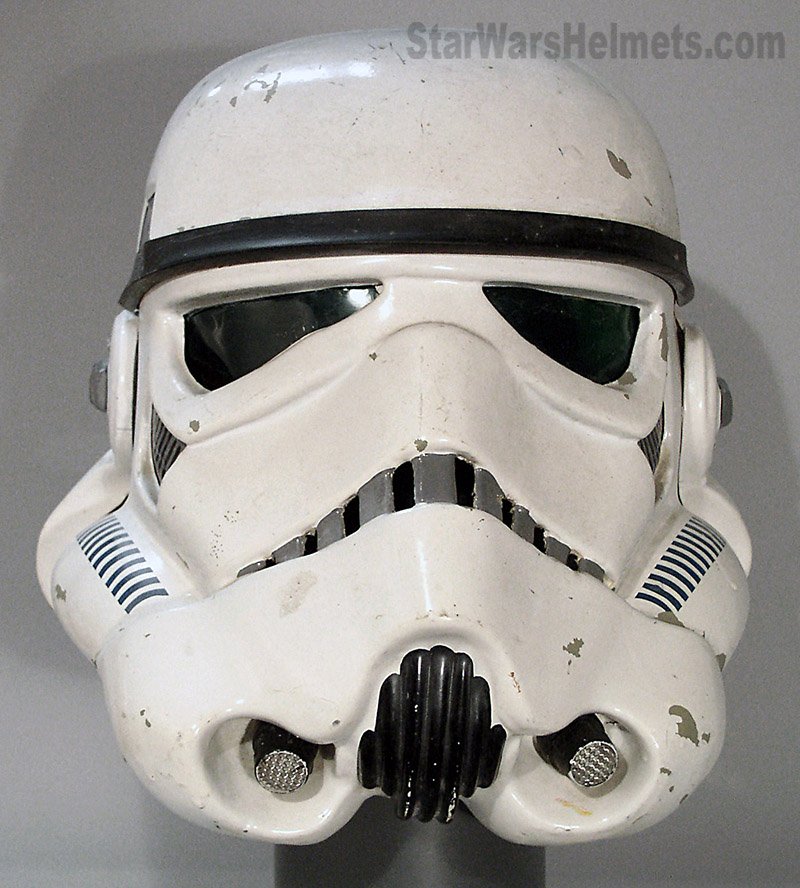
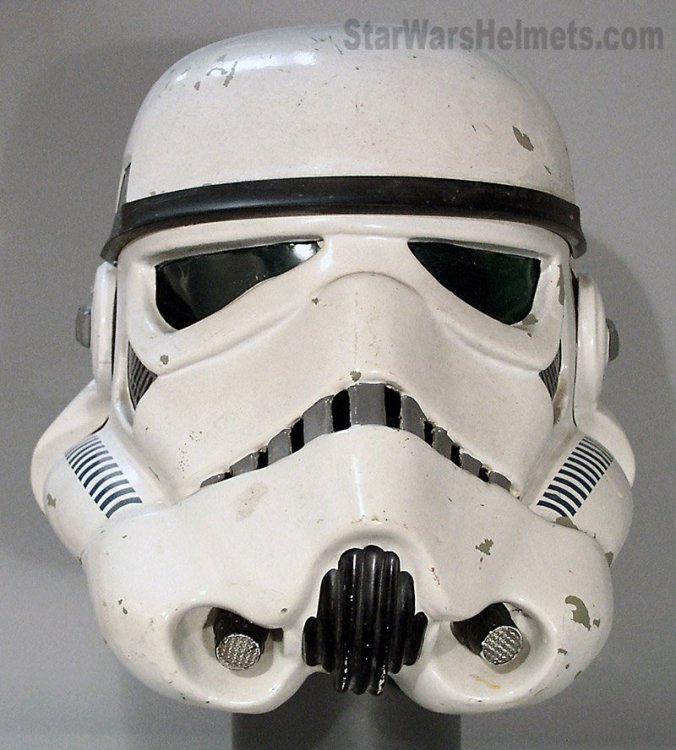
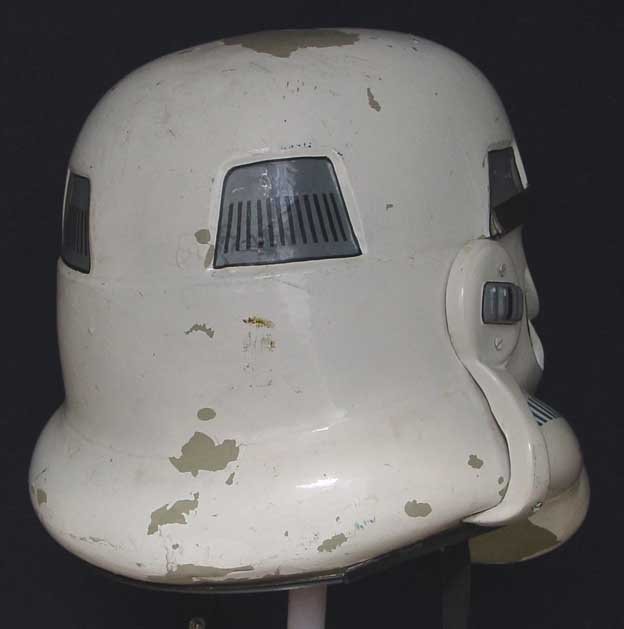
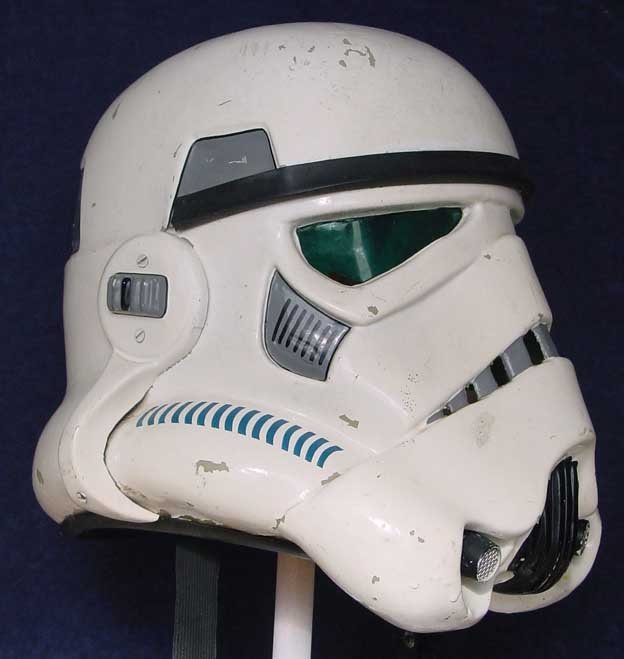
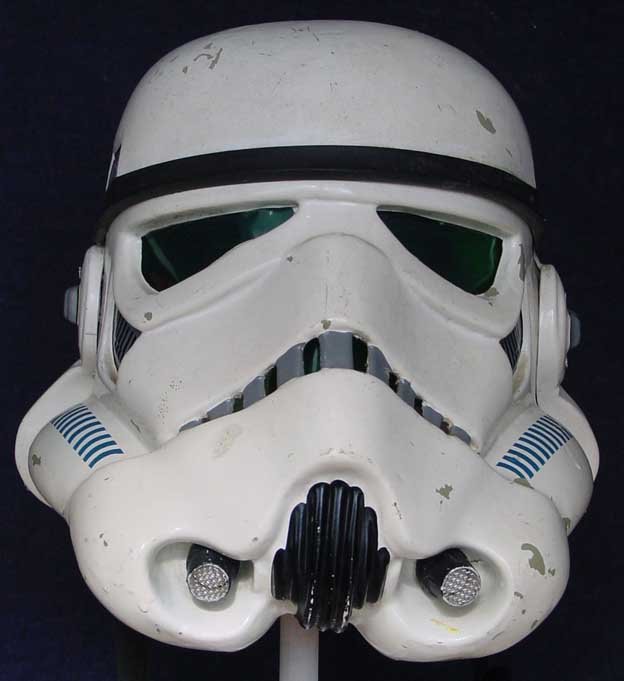
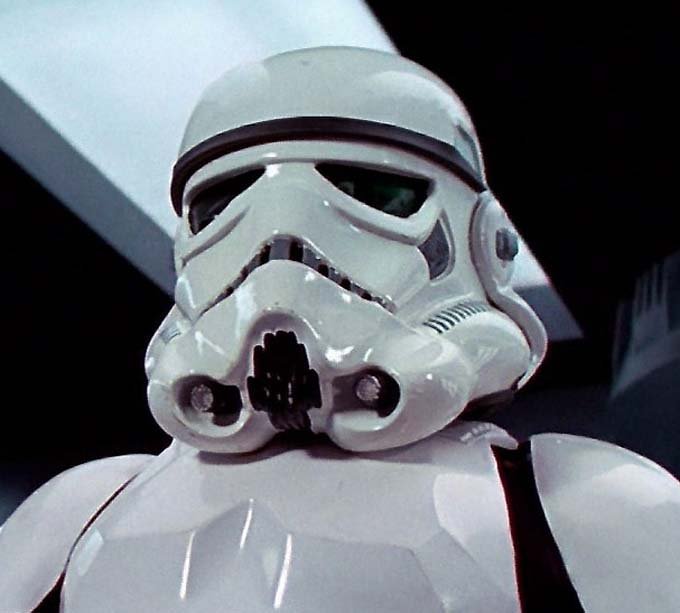
Some info for helmet assembly and some references ears For higher levels clearance: In regards to the teeth don't leave any paint on the gums: Frown is painted gray and does not leave the teeth area. And don't forget this for higher levels: Fall of tube stripe tops ideally lean toward the front. The "ideal" ear placement is as seen below, where the screws line up with the rear angle of the trap right above it. Because some armorers design their helmets differently or send them pre-assembled this is not always possible to achieve, but it is suggested that you try to get as close as you can. Note: Top ear screws should ideally be located directly below the rear of the trap. Some references of screen helmets, many had gaps
 1 point