
Leaderboard


Popular Content
Showing content with the highest reputation on 09/19/2022 in Posts
-
It has been awhile. Finally finished my DLT-19. Next to start weathering things. So close.3 points
-
Gday there! My name's Cody, and been looking to join up for years now. I live in Brisbane and been looking to make a Shocktrooper Stormtrooper costume. Any pointers or stores that would be best for someone down in AUS? Hoping to try finding and completing one by next year, at the very least. Thanks!2 points
-
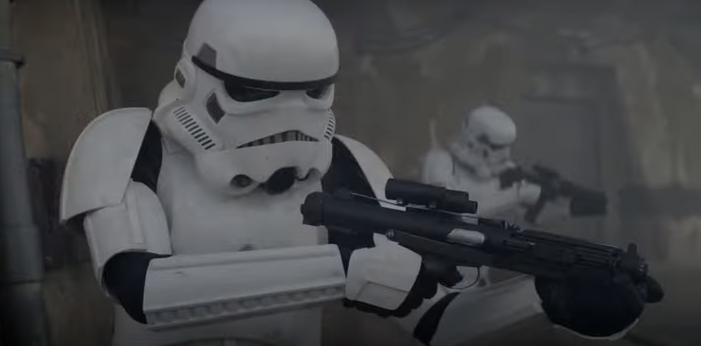
Thanks Yah I know this 3 D printed blaster has been a pain. It will be sorted out. I got tired snd sprayed it with some black. After we get approved for basic I will work on those pesky print lines. I can’t complain it was free from a guy in my garrison.1 point
-
Fitted up on the mannequin. Weathered the Paldron1 point
-
I am aware of the images not having a contrasting background but it is unfortunately the only wall I have in my apartment that can get somewhat grey instead of super white (and I have no possibility to put up a sheet of some sort at the moment either)1 point
-
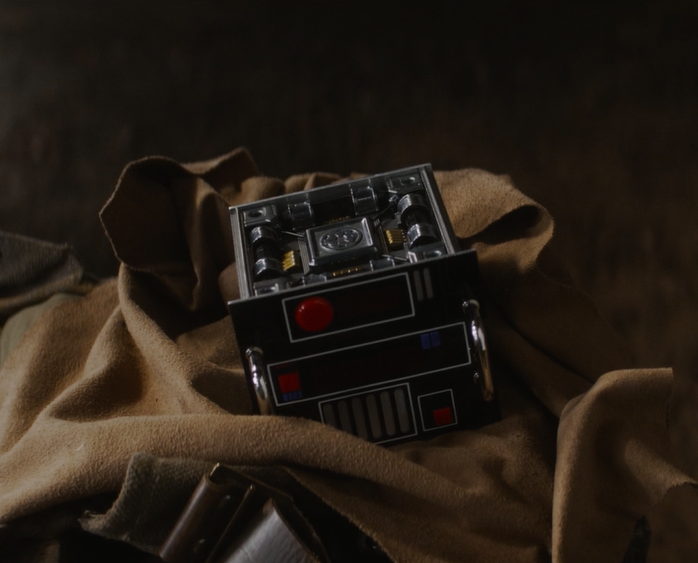
No light Would make a nice prop
 1 point
 -
Below are the parts I'll be using for my build and a few prices and links: TLJ Armor Armor = Denuo Novo ($700*) Helmet = Anovos TLJ plastic Boot Maker = Imperial Boots Keep Trooping "Trooper" ($120) Gloves = Endor Finders ($55) Belt = Denuo Novo Belt Pouches = Denuo Novo + Trooperbay ($68) Neck Seal = Sheev's Emporium ($65) Holster = Dantooine Props (€75*) Handguards = Dantooine Props Spats = Sanotized Creations ($35) Greeblies = 3D Printed, mrpoopie/TheRascalKing files Thermal Detonator = 3D Printed, Jesse M files Gaskets = Sheev's Emporium F-11D Blaster = Classified Shoulder Bell Support Brackets = @ukswrath Chest Pill Mesh = @ukswrath TFA Conversion Helmet = Anovos TFA w/ VaderPainter Aerator Forearms = Imperial Surplus ($105) Cod = Imperial Surplus ($45) Thermal Detonator = Denuo Novo Executioner Conversion Helmet = KB Props ($150*)? with Ople Props Lense ($31) Back Yoke = Imperial Surplus ($160) Shoulders = Imperial Surplus ($55) Decals = Trooperbay ($8) Primer = SEM 39133 Flexible Primer Surfacer and SEM 42043 White High Build Primer Paint = SprayMAX 2K DTM Gloss White Topcoat Custom color-matched aerosol white Behr Premium #52 White Gloss Paint + Primer ($6/can) Prices and links are for US and do not include shipping, but might help to know when available! *'s indicate the list price.1 point
-
1 point
-
Excellent build, good luck Christine!1 point
-
Lol. I had an awesome thread in draft, but I let my daughter play Roblox on my computer. When she was done, I came back and realized she closed my pages. Whatever, I'll save my long-winded musings for the other thread. Tonight I had two more prints finish up and one of them was the deciding factor if 3DTK 2.0 was going to continue or get scrapped. Also, I've decided that since this is another 3D print build, unlike last time, I'll actually post print times for everything so people get a better understanding of what they're up against. First, the shoulder bells: Total Time: 24 hours 18 minutes. Simplify3D estimate: 22 hours 32 minutes. Not much to say about these. I'll throw them over with the forearms and keep printing. Monday I posted the picture of the hot glue on the build plate, but totally forgot to mention what I was printing. Well, here it is: Total time: 46 hours 38 minutes. Simplify3d estimate: 38 hours 40 minutes. Abdominal armor is pretty much the sole reason I justified the purchase of the CR-10 Max a year ago. Thus far, I've printed 2 abdominal sections (Shoretrooper and At-ACT driver) in the same manner, as well as full chests and backs for multiple costumes. Nothing beats being able to print these in one piece. However, as you can see from the print, I had 3 layer shifts that kind of complicated matters a bit. Regardless of all the great things I've had to say about these files, I've been wavering on whether or not I want to go through with this build ever since I started it. Essentially, I traded some Mando armor I had lying around for a couple rolls of PETG, so of course, I had to print something and decided this was the thing I'd try. However, the abdominal section is by far the biggest piece, so I told myself that if it turned out bad, I'd cancel this project. Regardless of the layer shift, I was pretty happy about the end result. This is why we print in PETG. If this were PLA it would have snapped so fast. ABS has similar properties, but PETG allows you to work without having to enclose your printer. I might start printing armor in ABS later, but I just haven't felt the need to yet. The fit is pretty much perfect, but those stupid layer lines were still bugging me. So, the last thing I wanted to do is take a couple hours and just see if I could fix those errors. Ultimately, when I went out into the garage, I told myself that if it was looking like it was going to be more effort than it's worth, the build is off and I'm ordering a kit from Denuo Novo. Unfortunately, I was able to fix it. Lol. A little bondo and I guess this means the build continues.1 point


