
All Activity
- Past hour
-
 Man this is confusing.. How many profiles do I have? hahaha... Ok thanks for the assist! Steve
 -
Please enable me https://www.501st.com/members/displaymember.php?userID=131&costumeID=124
-
Hello and Welcome to FISD For starters, You can check this link too. https://www.whitearmor.net/forum/forum/38-getting-started-read-this-first/
-
.thumb.png.1084f19c182bde708865999c9d92d837.png) Dario Montes joined the community
Dario Montes joined the community - Today
-

[55] TK-23592 (Nairy) Troop Log - (Social Media Consent)
TK 17229 replied to Nairy's topic in Field Training Exercises
🤩😍 Thank you for always being a source of inspiration. I´m so grateful and proud that you were part of my very first official troop, together with you, Swedish Garrison and Trinity Squad. May the force be with us always! /TK17229 -
 He recast me-CFO , RS, TE and many other makers.
 -
Hey! For anyone still following along, I have some updates! I just finished up the semester, and visited a friend for his birthday, so I haven't had the opportunity to post. Lately ive been concerned with smoothing out the side seams. Still have a ton of work to do, but here's where we currently stand: The right side has some bubbles that need filling, and for some reason, on the left side, the seam seems to be a different color, which is a bit frustrating. While I was away, my Endor Finders gloves arrived! They look and feel great: Will eventually upgrade the hand guards, but these work for the time being. Along the lines of soft goods, I wanted to try my hand at making the shiny shorts. I bought a sewing machine just about a year ago, and haven't had too many opportunities to use it, so I figured id give it a go. I purchased this Marvel branded shiny black fabric at Joanns, and it was about $20 a yard: On YouTube, I found some free PDFs for biker shorts, so I downloaded them and printed them out: Transfered: Traced: Pieces cut out: Shorts assembled: They're a tight fit, but it makes sense. I will eventually attach photos of myself suited up, so we'll see how it looks with the rest of the ensemble. Still trying to do as much DIY as possible, and saving a bit of money with the hopes of upgrading down the line, I decided to also 3D model the shoulder brackets. Here are some photos of them printed out: These were printed in ABS. I designed them to be 1/16 of an inch thick, and the hole on either side was designed to fit a standard male end snap. I will add these to the 3D file depository in case anyone wants to use them. Here they are with some filler primer: Im happy with the way things are going currently, Im working at an OK pace. Im most worried about the abdomen seams, so I will likely have some questions going forward. In addition to everything in this post, I have also painted the inside of the helmet, and done some more sanding on the shoulders and yoke. I'll have photos of that work posted tomorrow. Thanks to anyone following along!
-
 Little update Wiki Doc is fully constructed and images slowly being added. Construction of the CRL is well underway, but this draft is still up for review, not final by any means. Some changes have already been made from the first post draft, as I read through and re-word some items, so the language is familiar to other FISD CRL's. I will post a revised full version in the near future for further scrutiny before we submit to the LMO team for their review. They also may request further changes.
 -
[198] TK-20177 Cybergrunt Troop Log
Cybergrunt replied to Cybergrunt's topic in Field Training Exercises
Event: #198 Event Name: Cradle Con 2024 (Day 2) Location: Cradle of Aviation Museum - Garden City, NY Date: 5/19/24 -
[198] TK-20177 Cybergrunt Troop Log
Cybergrunt replied to Cybergrunt's topic in Field Training Exercises
Event: #197 Event Name: Cradle Con 2024 (Day 1) Location: Cradle of Aviation Museum - Garden City, NY Date: 5/18/24 - Yesterday
-

TK ANH Stunt by CloseTheBlastDoor
CloseTheBlastDoor replied to CloseTheBlastDoor's topic in ANH Build Threads
Thanks, Mario and Glen! I had seen that Billhag drawing before, but forgot! If I use single cap instead of split rivets, are those the same as the ones I need to use for the ammo belt? Someone else in the forum referenced these: https://www.amazon.com/dp/B003AOQO4E , although it says "double cap" instead of single. Since one side does not show, I'll assume they are all good. Glen, should I glue the ammo pack in place? I did go ahead and trim the ammo pack, as well as glue in backing ABS strips to better align the bottoms of the thigh below the cover strips. Letting that cure. -
Welcome! The thread that Glen linked is the best place to begin to learn more about the different stormtrooper kits out there, and how to build a kit! Plus, the folks here on the forum are super supportive of anyone wanting to build the stormtrooper of their choice, and give fantastic advice! We also have a Discord server for answering quick questions!
-
 Could be many reasons, but what is known is Makerofthings is a recaster of others work and was removed from these forums. We have a vetted sellers list (first page of this thread), proven and reliable suppliers of armor which could be 501st approved
 -
 If it’s bad why does it have so many good reviews?
 -
I used double snaps in a lot of places, I've had only one fail in 13 years and having the spare kept me trooping. I used to carry quite a lot of extras, snaps, elastic, glue, tools etc etch but over time I've only really used them for other troopers and not myself, I just leave it at home now.
-
I appreciate the feedback luckily I’m already basic approved and have been trooping in this kit for a few months now just been addressing some major issues I’ve had and I didn’t realize about the large tab on the back of the shoulder strap. Also I’m a little worried about the back just being held in place by a piece of elastic do you usually carry extra elastic in case it snaps? Also for the forearm armor I had to trim a lot of the return edge to get it to properly fit (since I have skinny forearms) so we had to work with what was left when it came to gluing the cover strips. Sent from my iPhone using Tapatalk
-
TK ANH Stunt by CloseTheBlastDoor
gmrhodes13 replied to CloseTheBlastDoor's topic in ANH Build Threads
For anyone following you don't have to position the ammo strip completely central to the thigh, so don't panic if yours isn't, as you can see by these references Notes: 1. Please note that while the ammo packs of most most TKs were raised in the front and covered the front ridge, this is not a requirement for any level but is suggested, Rivet placement -
I think I need a larger helmet
gmrhodes13 replied to Firemantrooper's topic in Hard Armor (General Discussion)
Perhaps you could try adjusting the padding? Also make sure you are putting the helmet on sideways then twist when your nose is in. Largest helmet out there would be AM (DDD), perhaps ask around your garrison you may be able to try on other helmets to see what size differences there are. -

I think I need a larger helmet
BAZINGA replied to Firemantrooper's topic in Hard Armor (General Discussion)
I have an AP kit and helmet and I have to wear glasses in the bucket too. So between the battery and the fans and glasses it is a bit of a performance to get it on and off however I manage it. I had to add padding in all sorts of places to keep my nose from rubbing against the inside and I had to adjust the top padding to get it to sit fairly decent on my head and let me see out the best I could. It's not pretty inside, but it will works and it is totally okay to go that route of padding in and out to get the fit feeling good. Bart -
Looks like you may have trimmed a little too much off your large ab plate. Note the border around the base of the ab plate. You should be ok for basic approval but would need to adjust this for higher levels You can if you wish trim part of the large tab off the back of your shoulder straps (if they are long enough) NOTE: As seen in the photos below, there are no large tabs on the rear of the shoulder bridges. This is not specifically mentioned in the CRL, but removing them is highly recommended if possible. I normally will add another plate across these filler pieces, makes the straps super strong. A few of your coverstrips have a small gap, note the forearms, you may want to address these as they may be mentioned in your application, make sure when gluing areas under any strain that you leave for at least 48 hours up to 72 hours.
-
Hello and welcome aboard, a great thread full on information, Good luck with the research
-
Ok. Sorry I forgot to compare it
-
Also added black elastic to the forearm armor so it will be a lot easier to put on and stay in place. Before I had to stuff mine with padding to keep It in place! Sent from my iPhone using Tapatalk
-
New finished chest piece Sent from my iPhone using Tapatalk
-
Also decided to take off the Velcro that was holding the front straps and glue it with e6000, I was told to not glue the back straps and leave it free floating so I have a piece of white elastic holding the back strap in place. Sent from my iPhone using Tapatalk


-
Who's Online (See full list)
-
Albums
-
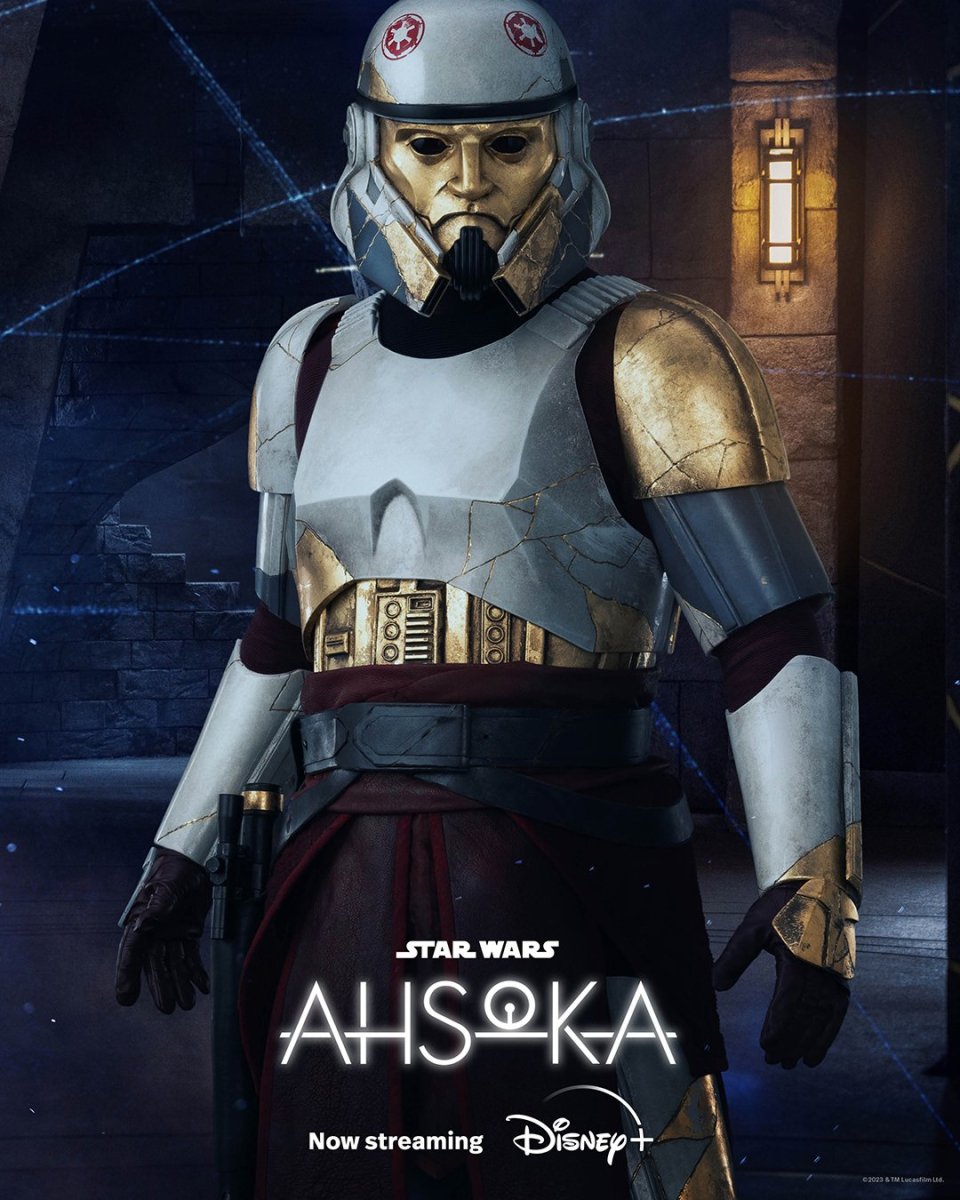
Captain Enoch (Ahsoka)
- By themaninthesuitcase,
- 0
- 0
- 2
-
Promo pictures & others
- By Locitus,
- 0
- 35
-
.jpg.da3b75dcced28b94590e16b06907ce49.jpg.d3465bdfa251d57f1217de22fbf5842f.jpg)
Publicity Blaster - Nambu Type 99 LMG
- By gmrhodes13,
- 0
- 0
- 4
-

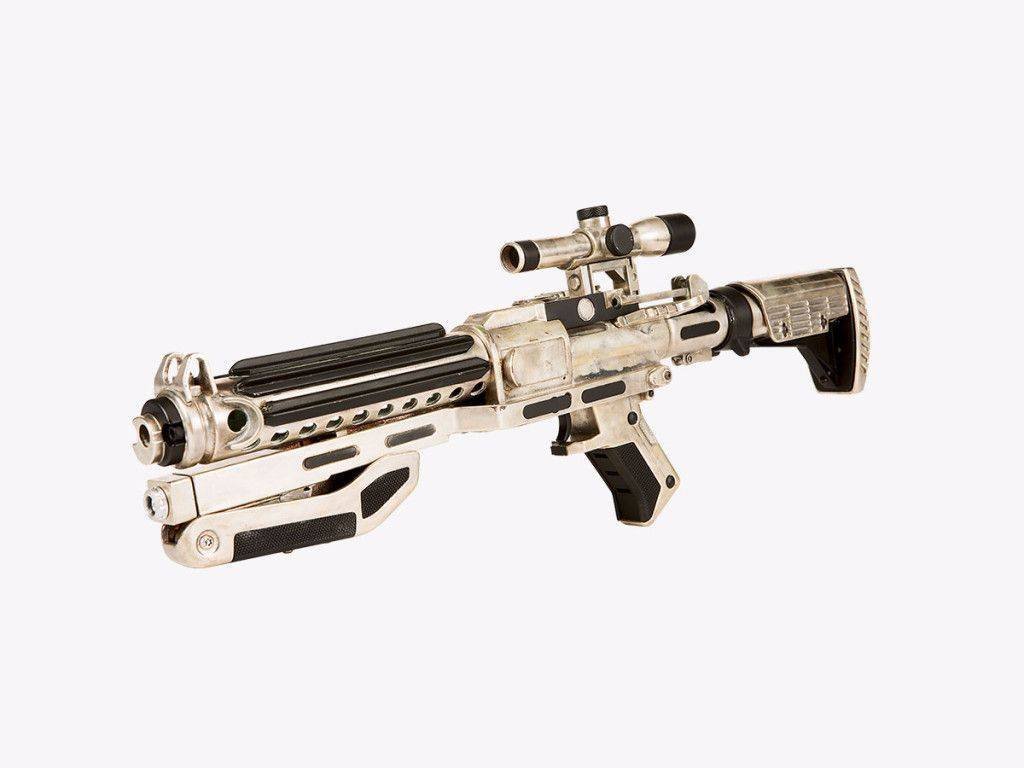
TFA F-11D Blasters
- By gmrhodes13,
- 0
- 0
- 13
-
Captain Phasma TFA References
- By gmrhodes13,
- 0
- 0
- 59
-