-
Posts
270 -
Joined
-
Last visited
-
Days Won
1
Content Type
Profiles
Forums
Gallery
Articles
Media Demo
Posts posted by Navajo Bro
-
-
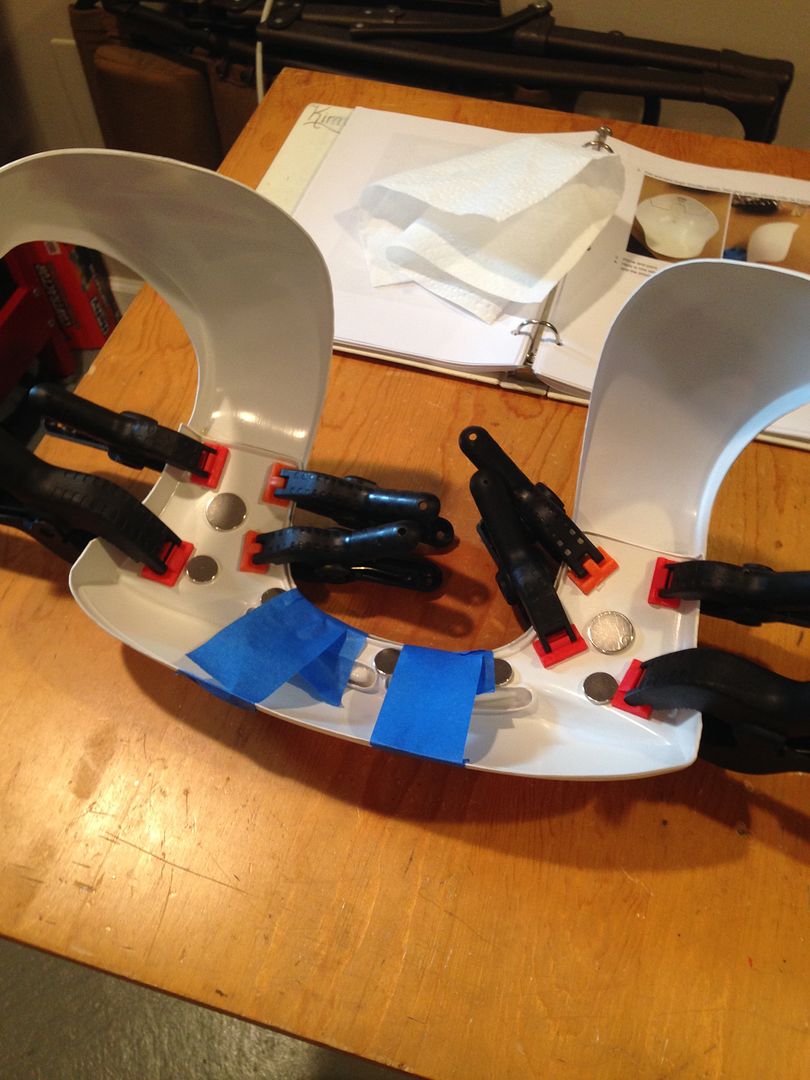
My biceps armor are a little too small as is, they literally leave no room, so I'll be adding a shim to give me about an inch or so to account for the gasket. I'm actually going to start doing the gaskets at this point so I can be sure everything fits prior to further assembly on the arms / legs

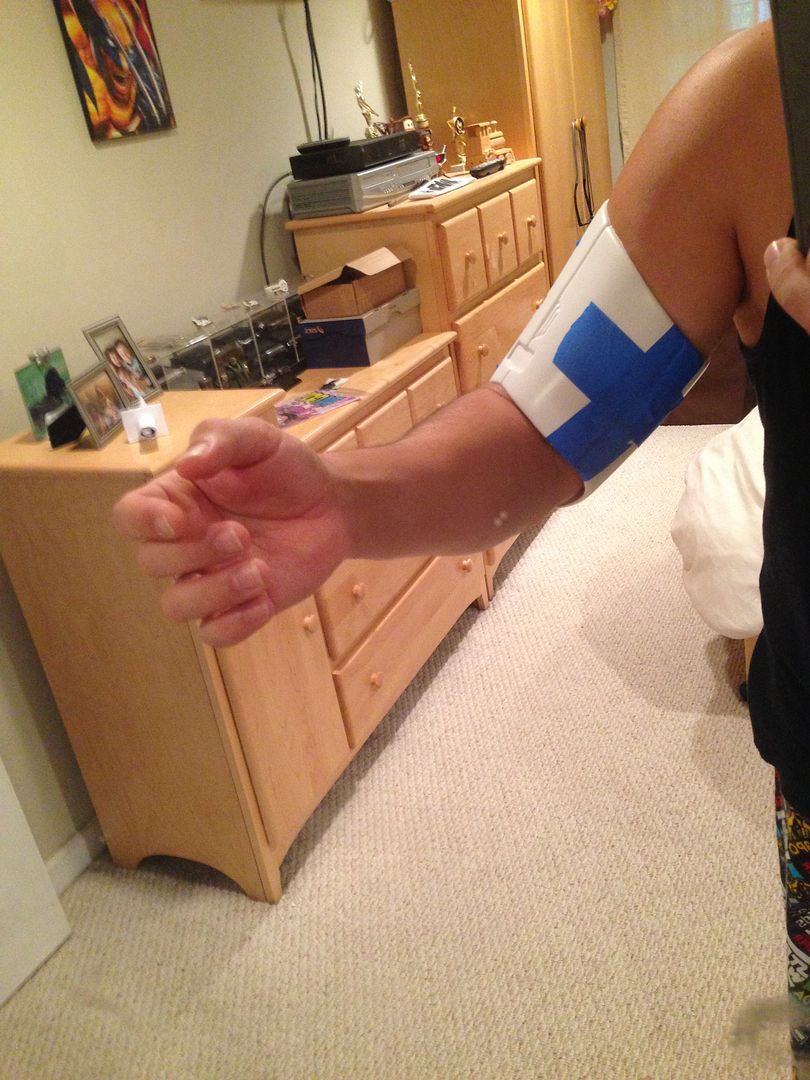
Which brings me to my first question:
I see the gasket tutorial provided, but does anyone have a photo step by step in their personal build threads? I'm trying to browse them all but there are so many hahaha, I want to make sure I'm solid when all is said and done. I see my first step is to trim off the fabric all the way to the rubber edge, right? And cut out the rubber shims.
-
I wanted to start gluing some stuff so I did the shoulder bells too as they seemed pretty simple and straight forward.
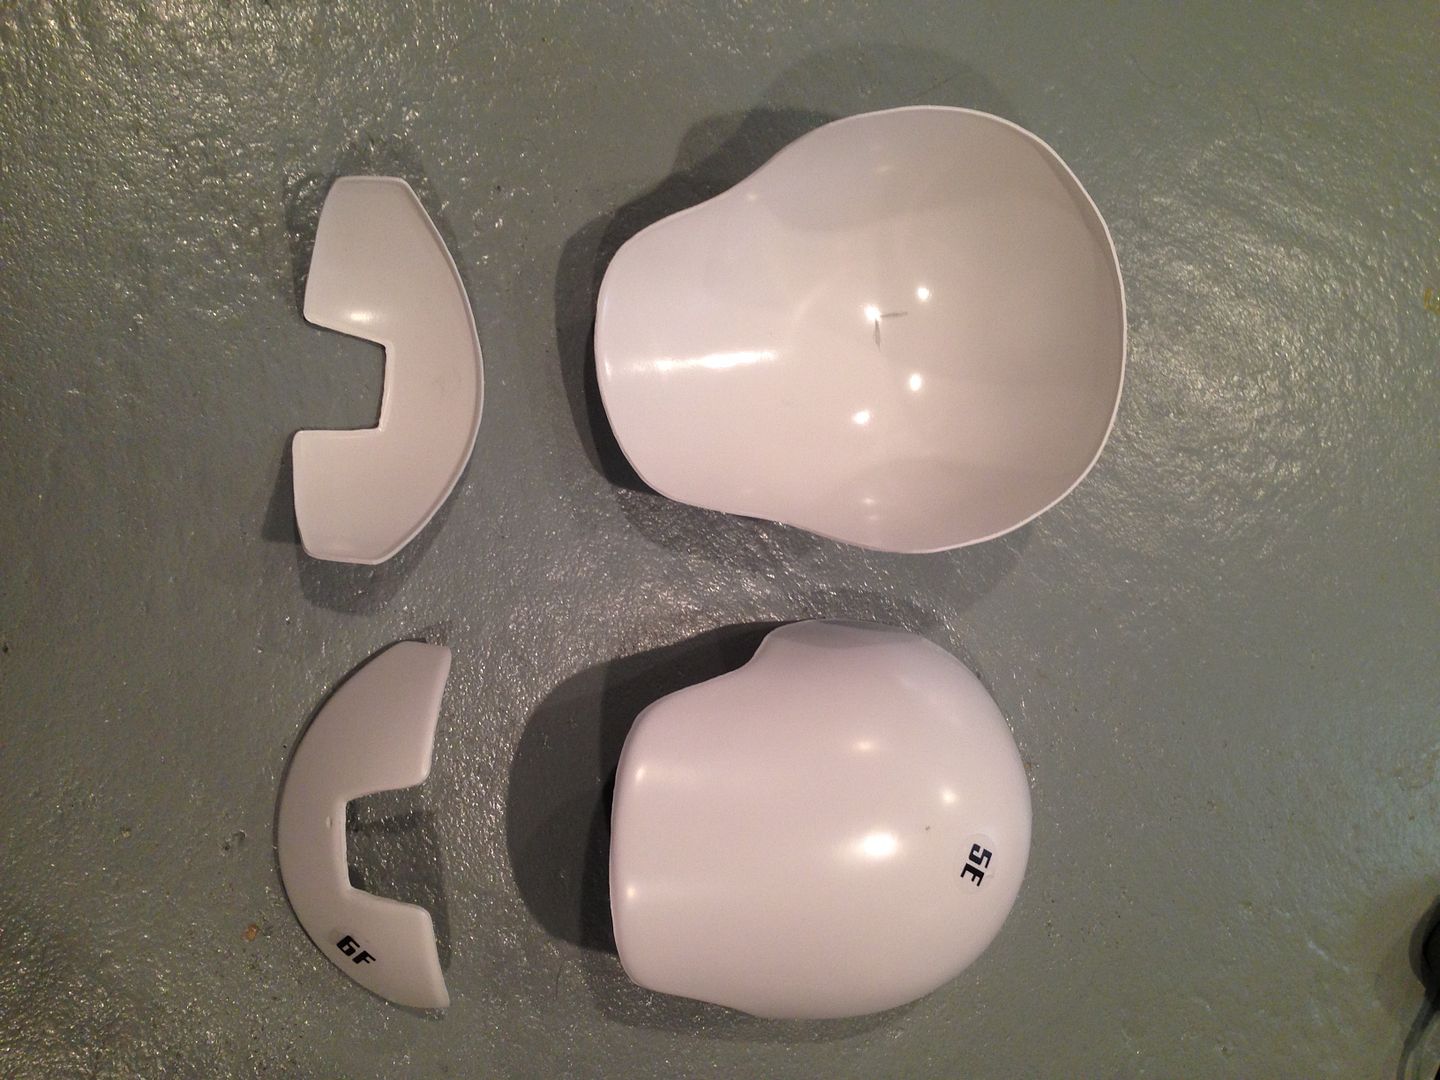
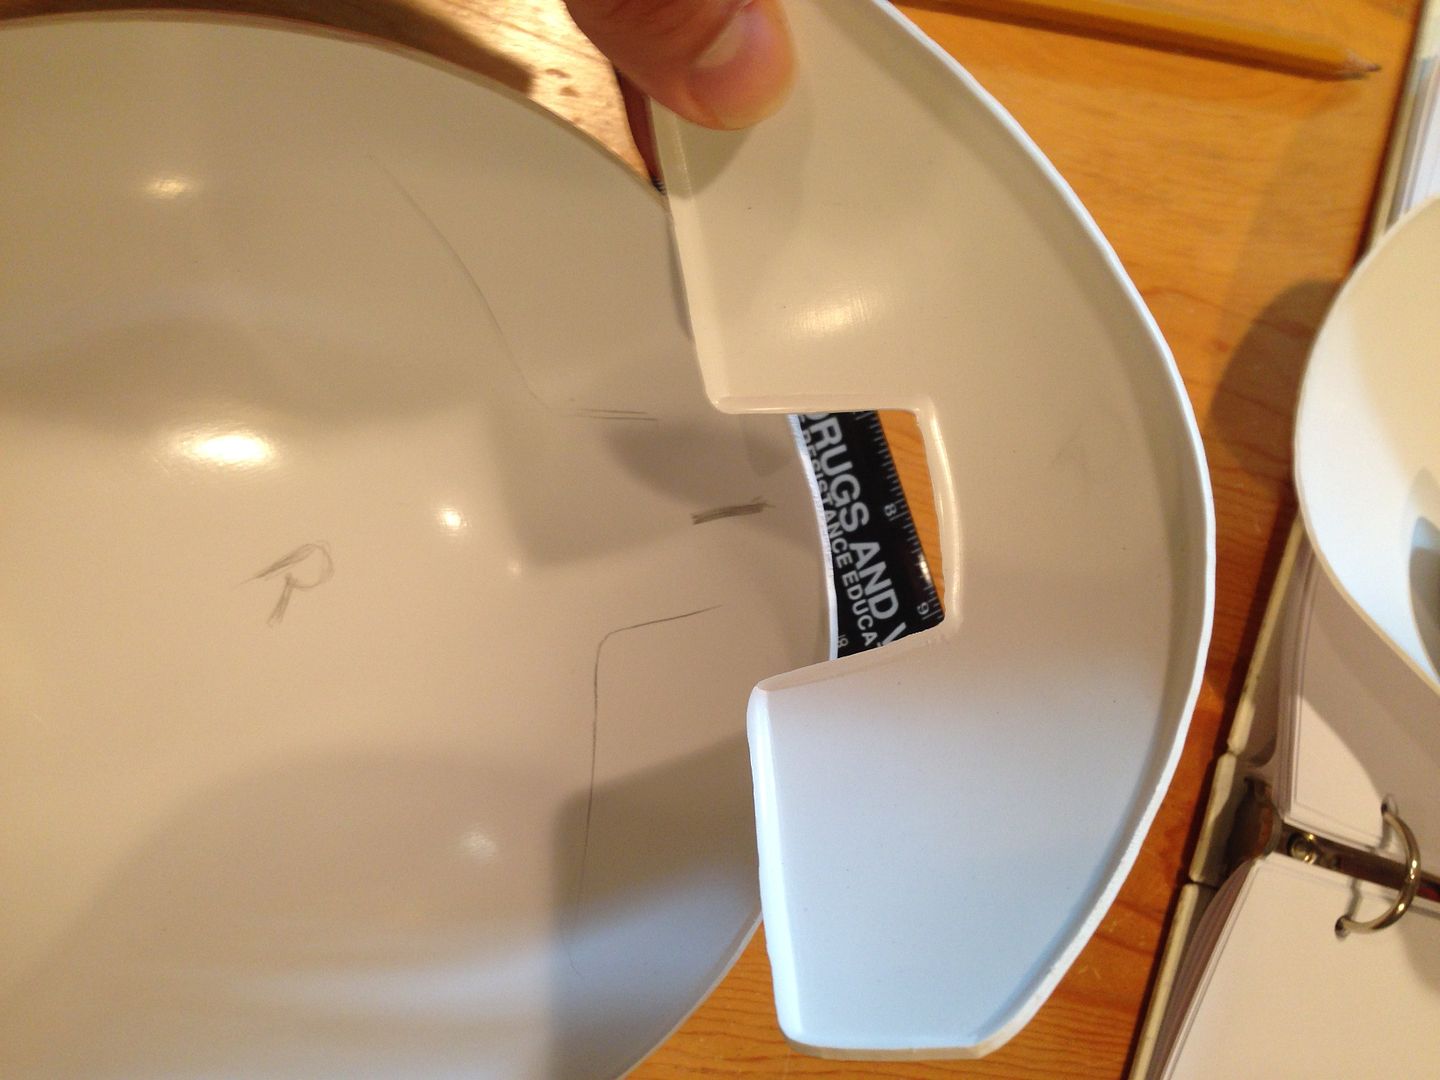
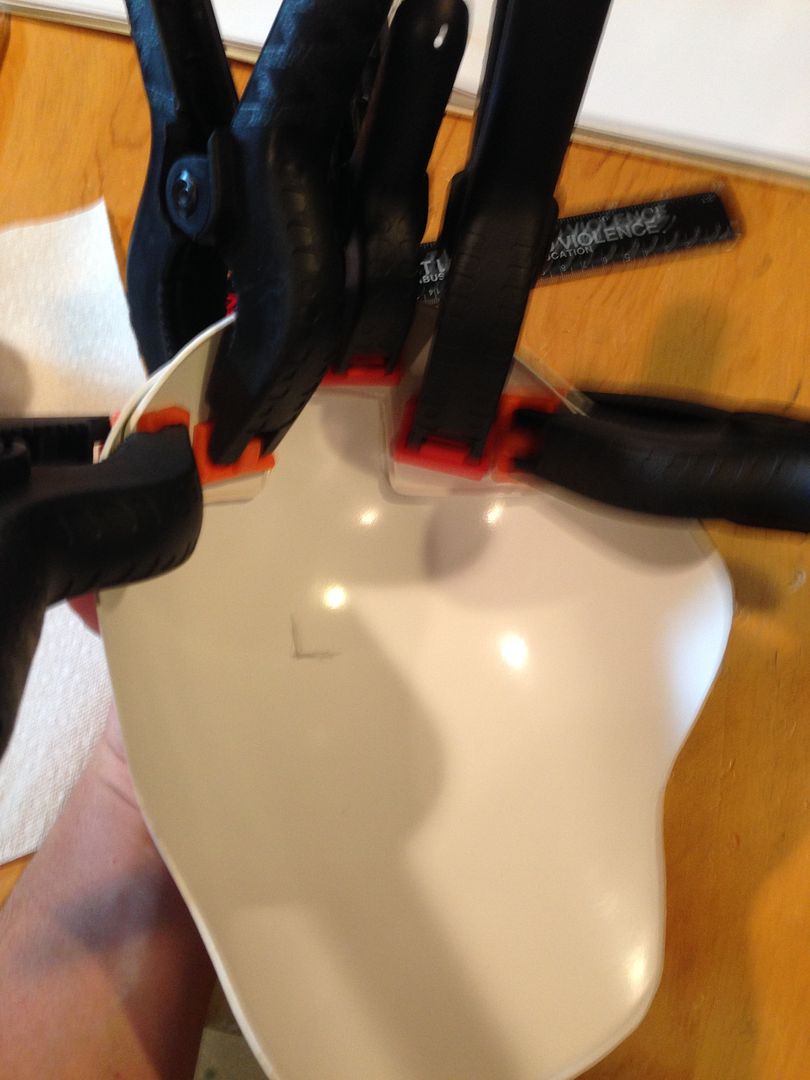
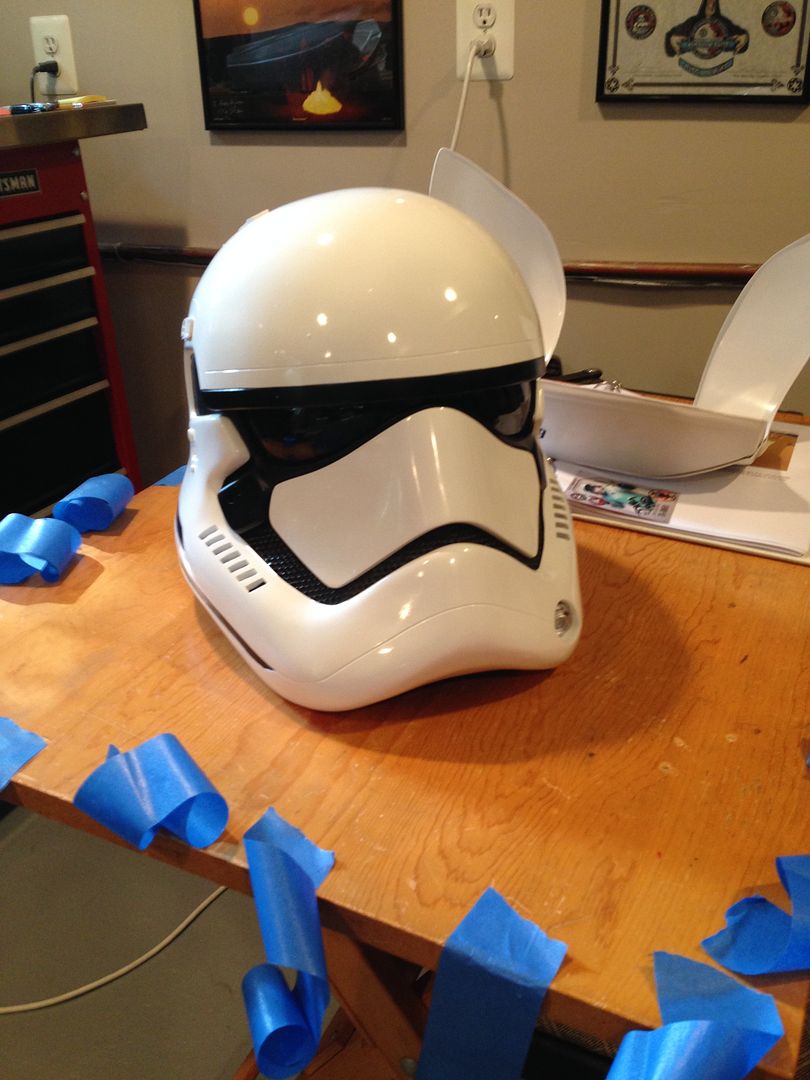
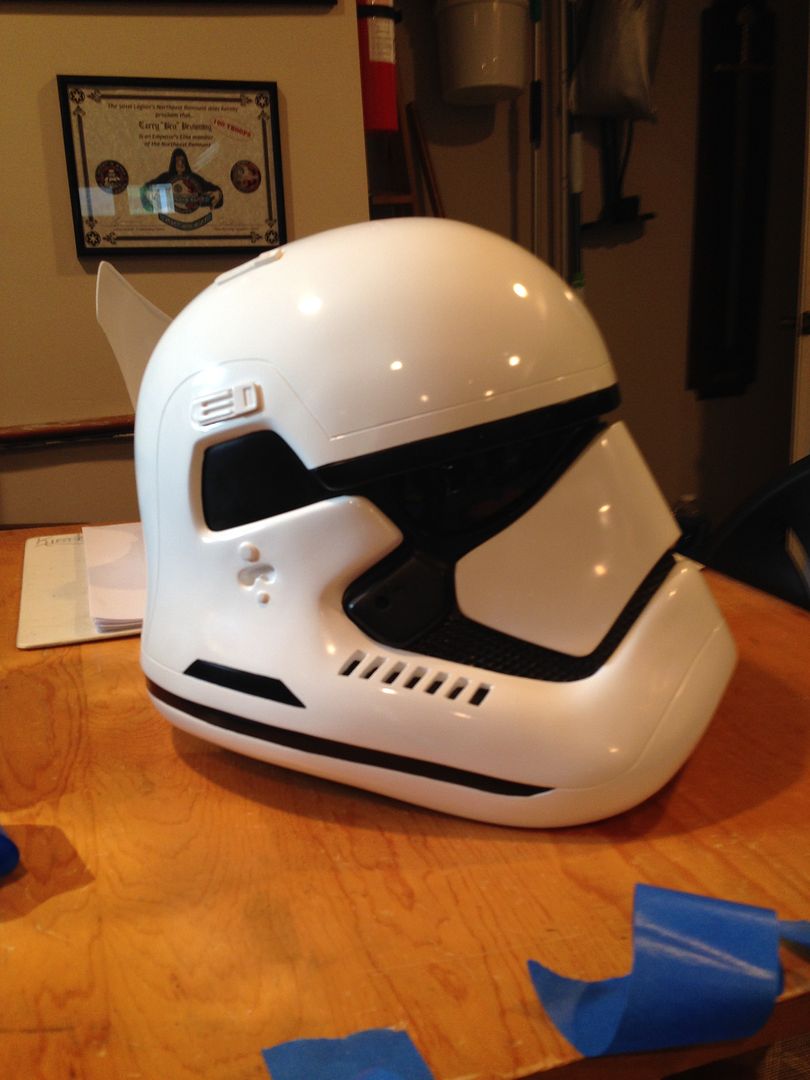
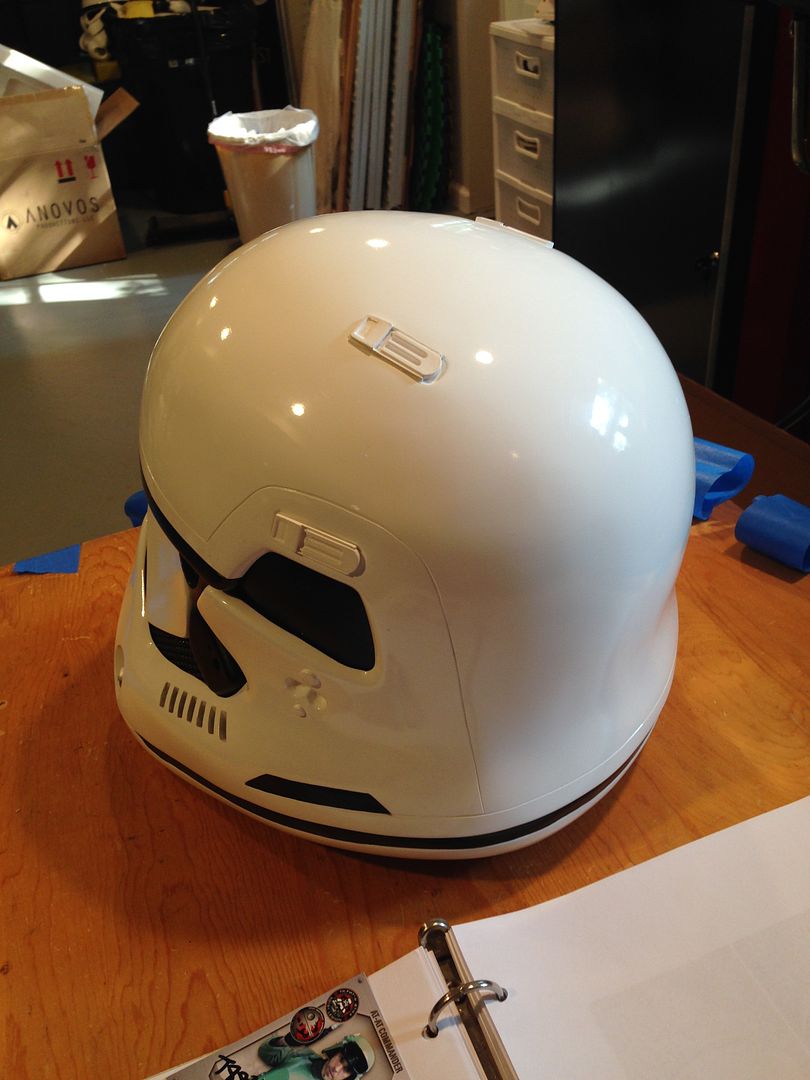
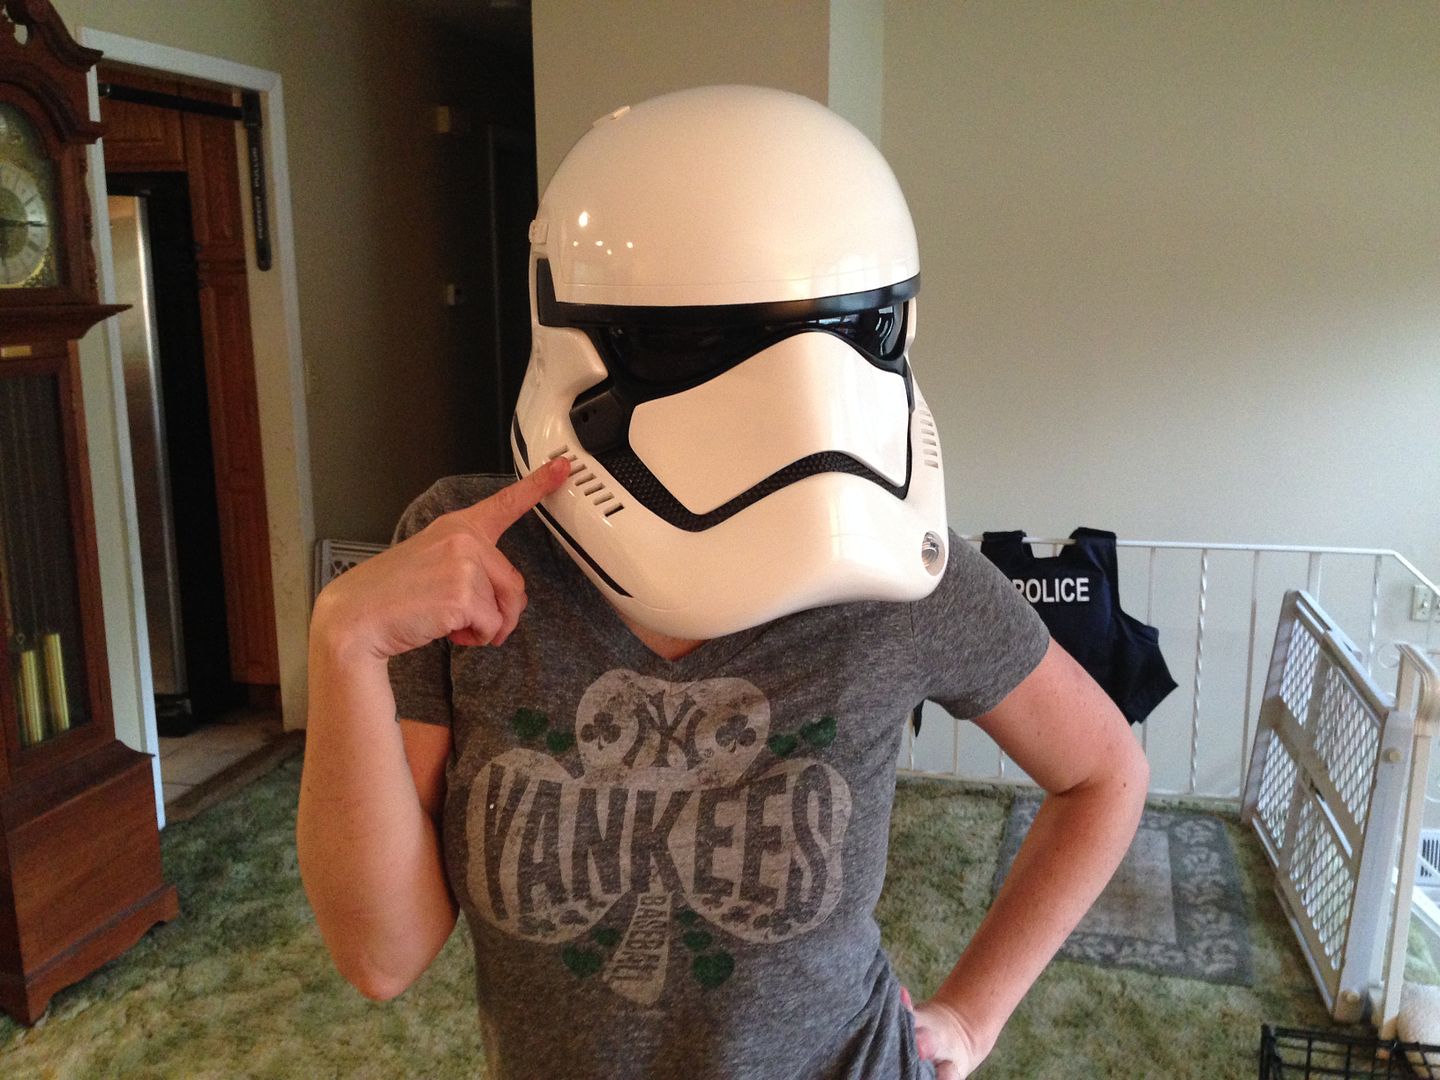
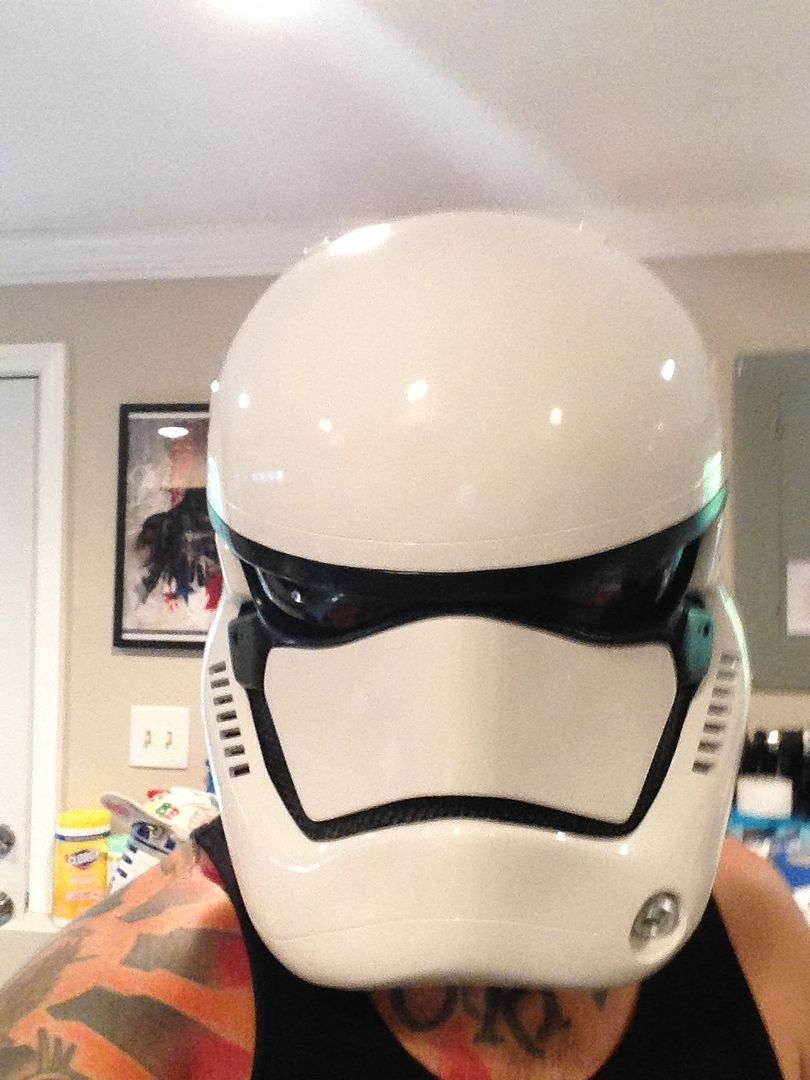
I was one of the lucky ones with this wave of helmets... I didn't have any cracks as opposed to a lot of others that I saw posted in the facebook group. The back of the lining was coming apart a little though, sort of let down from a licensed company and price point, but for what it's worth I'll just glue it myself since it seems to be the only flaw and I can fix it easy enough.
-
Hey guys, I'm the only member in NJ that has a kit so I'm the Dirty Jerzey test subject, lol. I have done a ton of research here and on the facebook group gathering photo reference, files and instructions. I'm okay with building armor but since this is a new type with no first hand reference for me I'm taking my time and doing the best I can. I'm familiar with ABS paste and making it, but honestly haven't used it more then a few times for minor fixes as opposed to complete seamless assembly.
So far it seems pretty straight forward, everything is labeled and with the glue tabs it's basically like the old school TK overlap construction, meaning things are pretty obvious where they fit together. I'm sure I'll still have a lot of questions along the way so I'm going to start a thread to help myself out

I see some FANTASTIC tutorials here already, so I won't necessarily try and show how I build this, but rather post up progress shots for feedback and questions which will hopefully not only help me but help others that might be unsure of the same stuff.
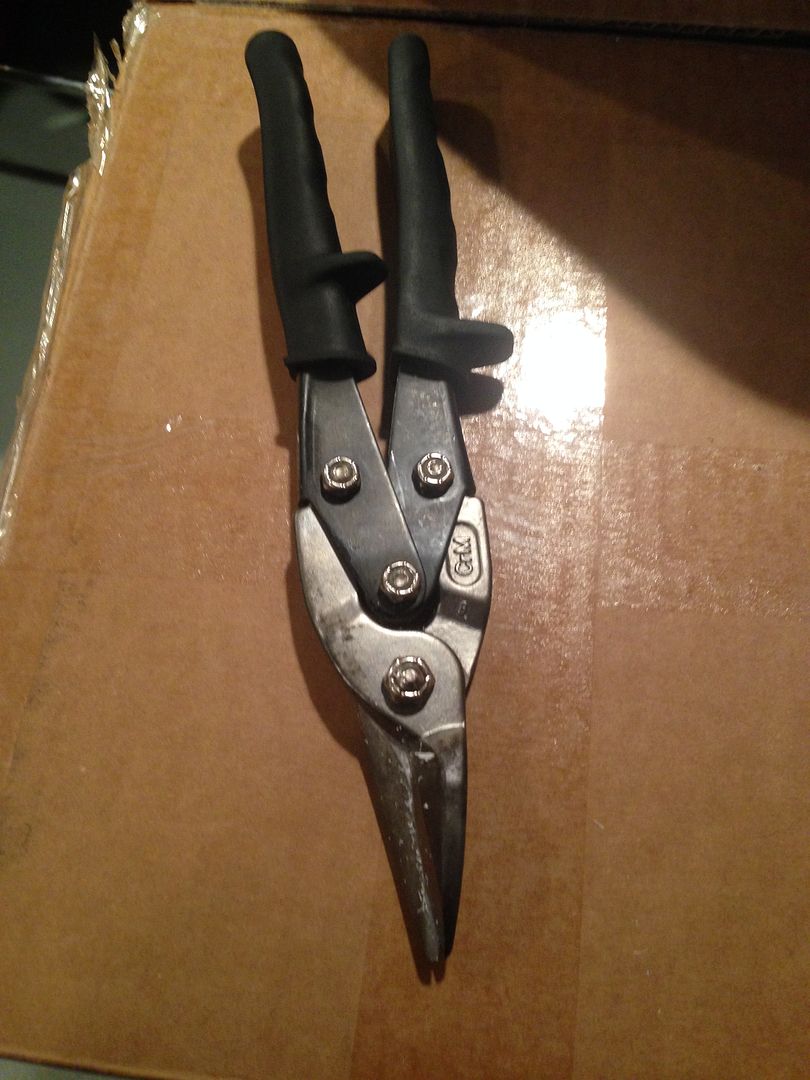
I used tin snips to rough cut every single piece, had no problems and took maybe 4-5 hours total. I liked it because this part I could do upstairs next to the computer using the photo references here to find and ensure the cut lines. Tin snips left almost no mess at all whereas a dremel would have covered the entire living room in white dust hahaha!
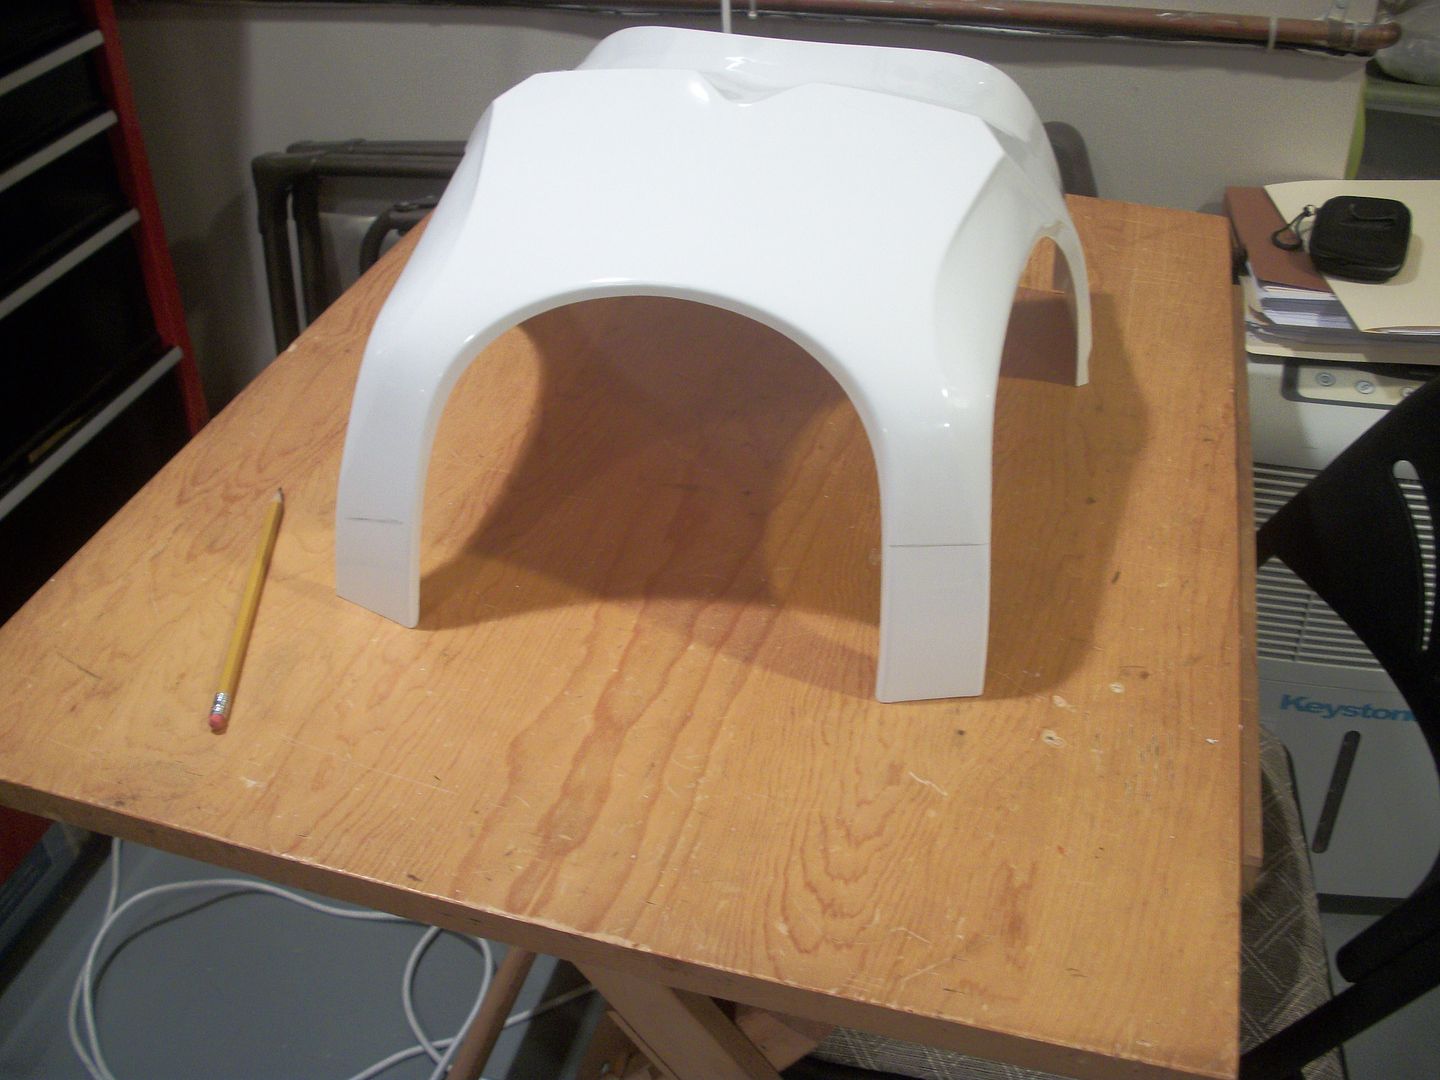
Starting with yoke/back/front and shoulders - complete rough cut test fit to get acclimated with the parts and layout:
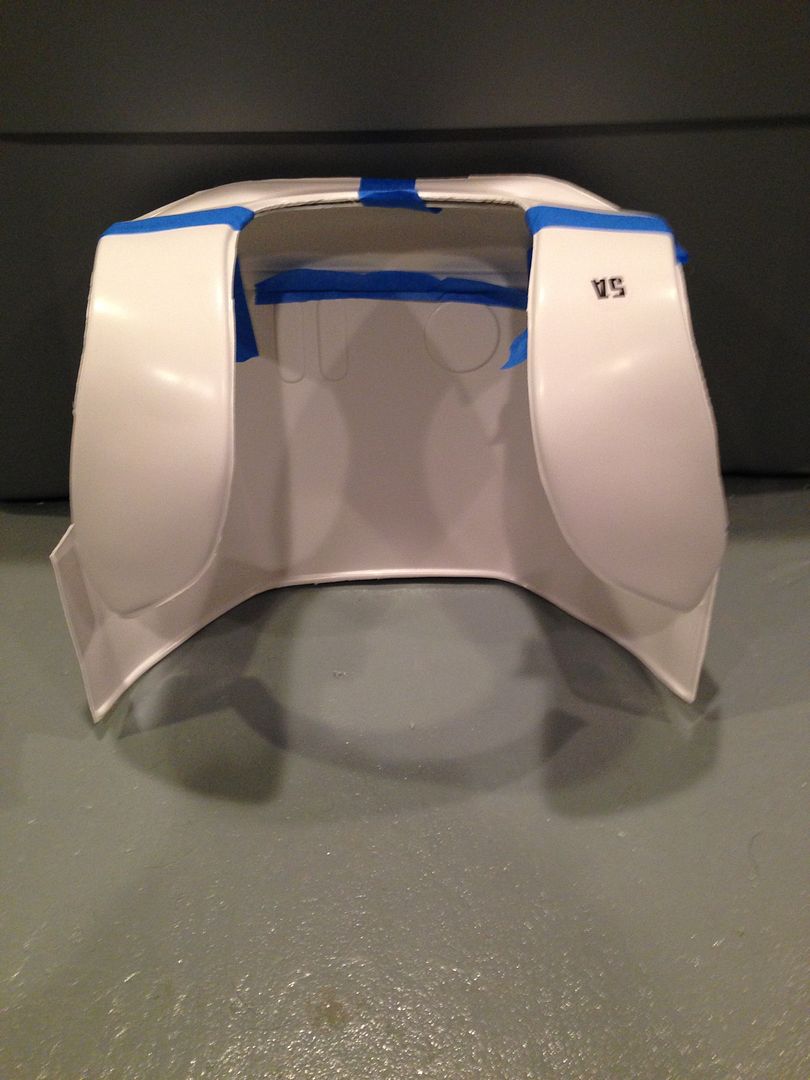
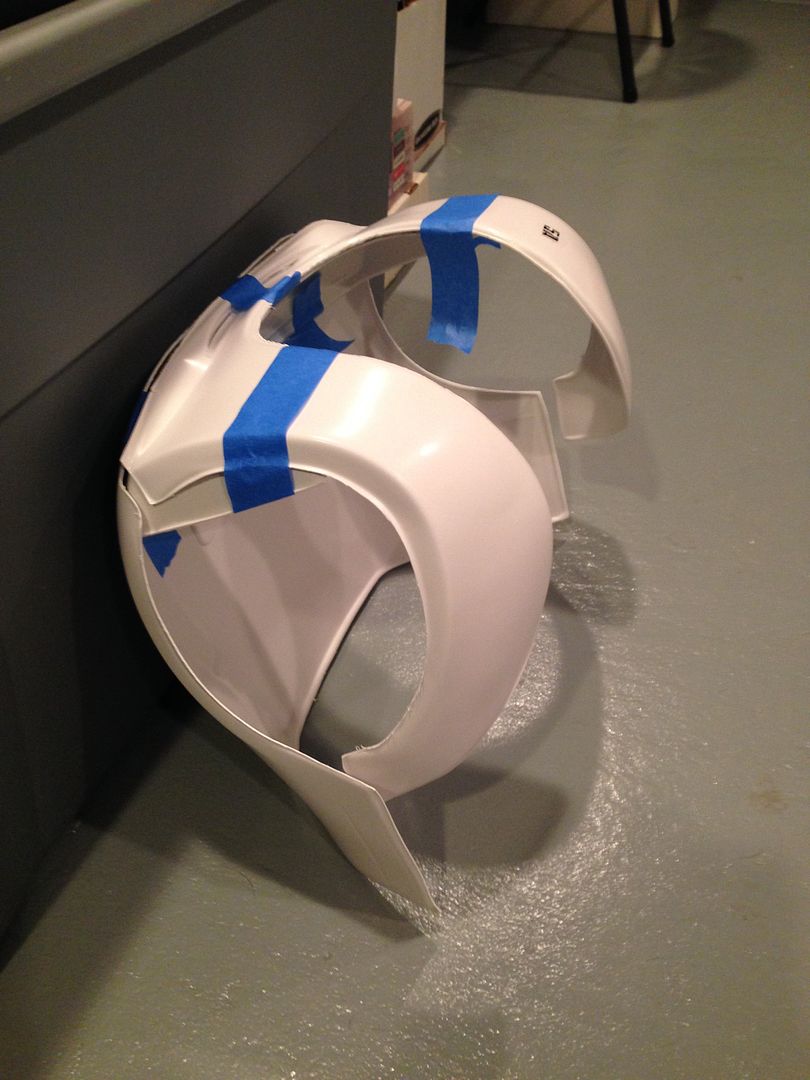
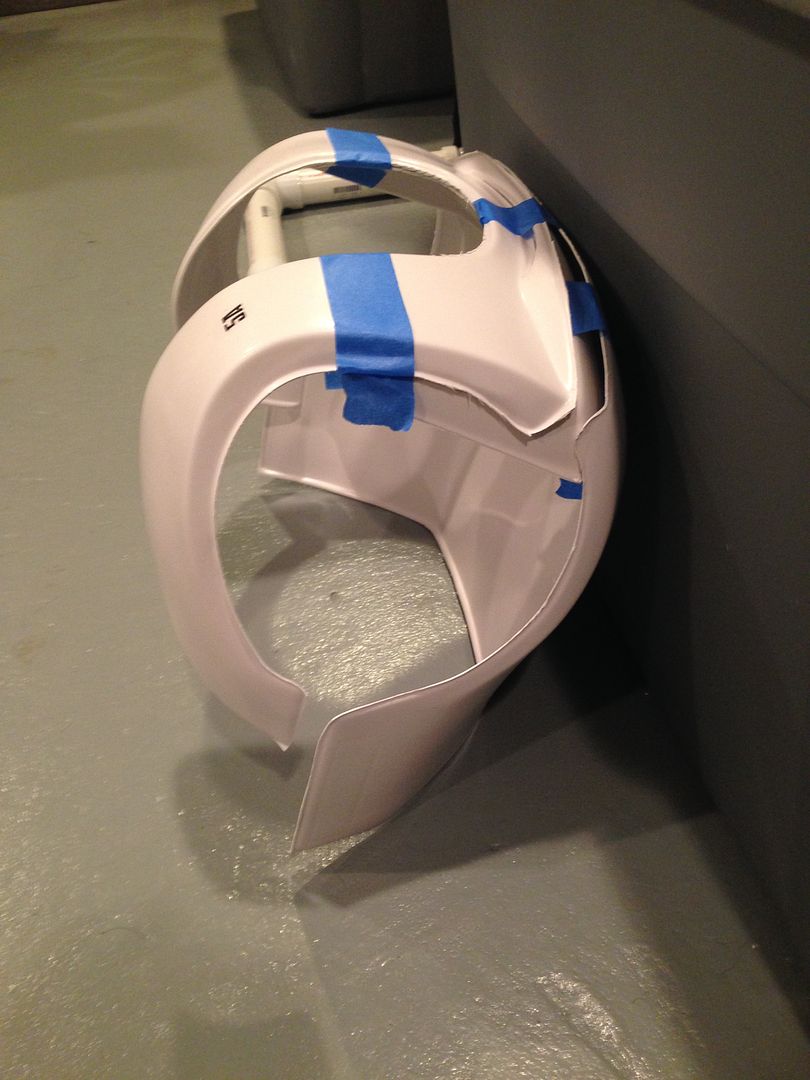
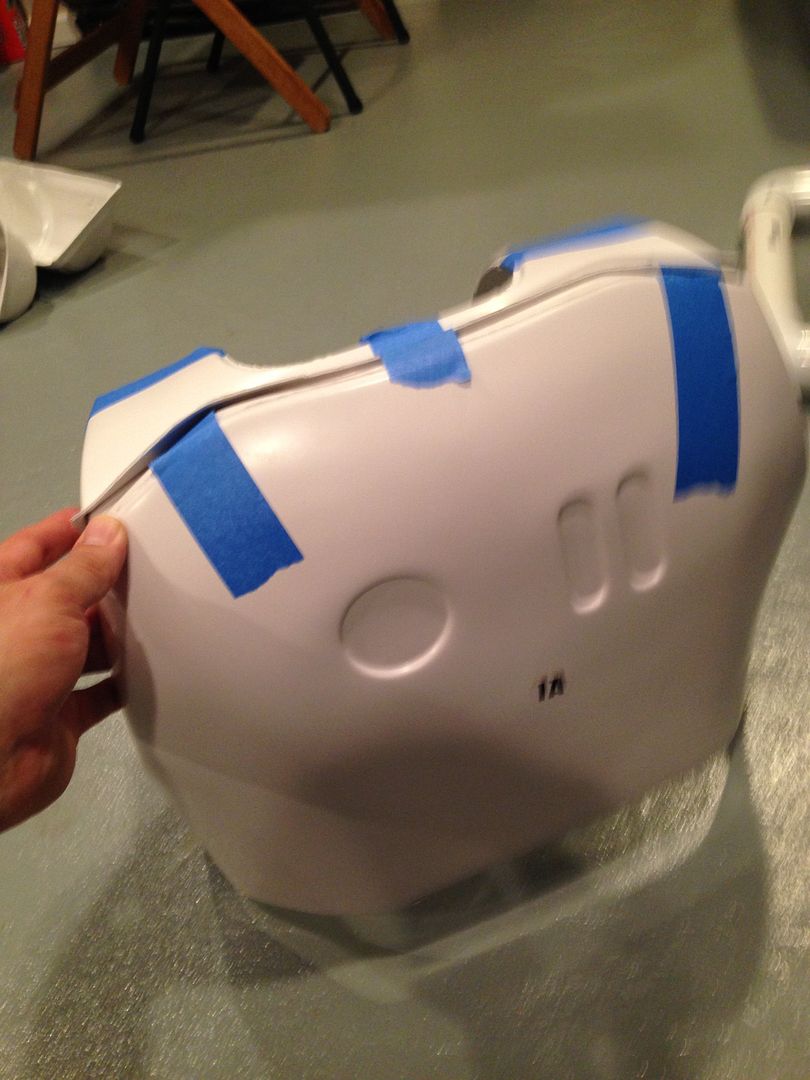
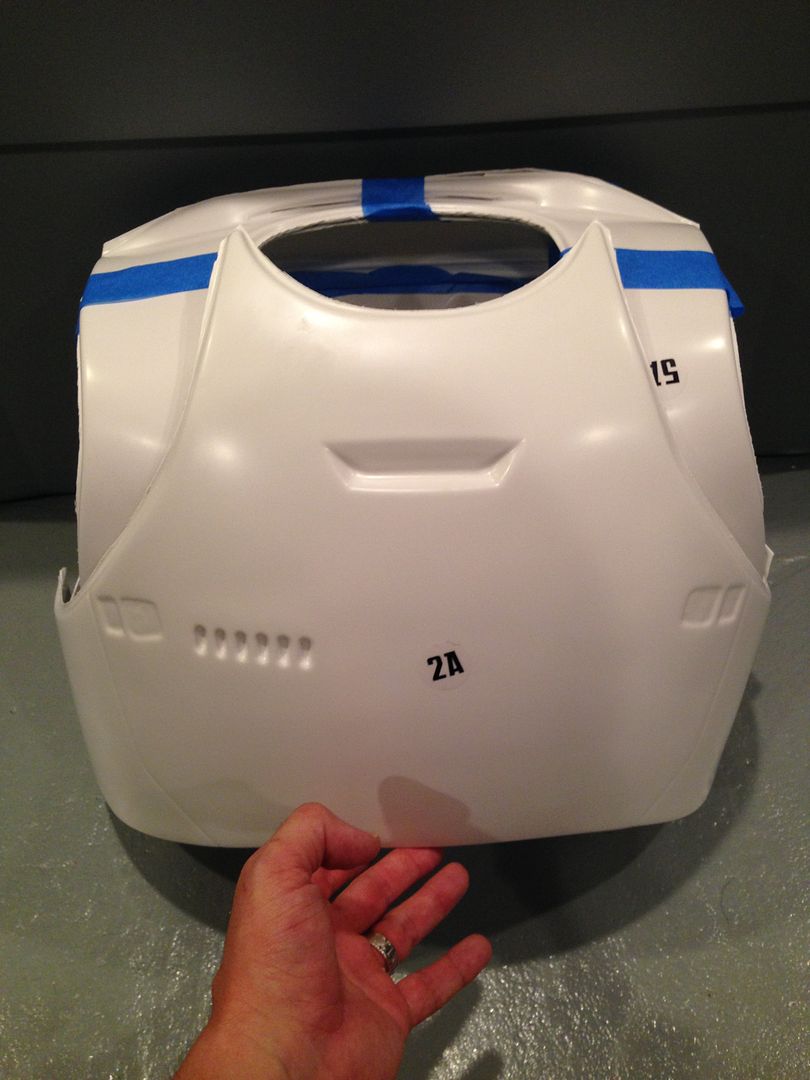
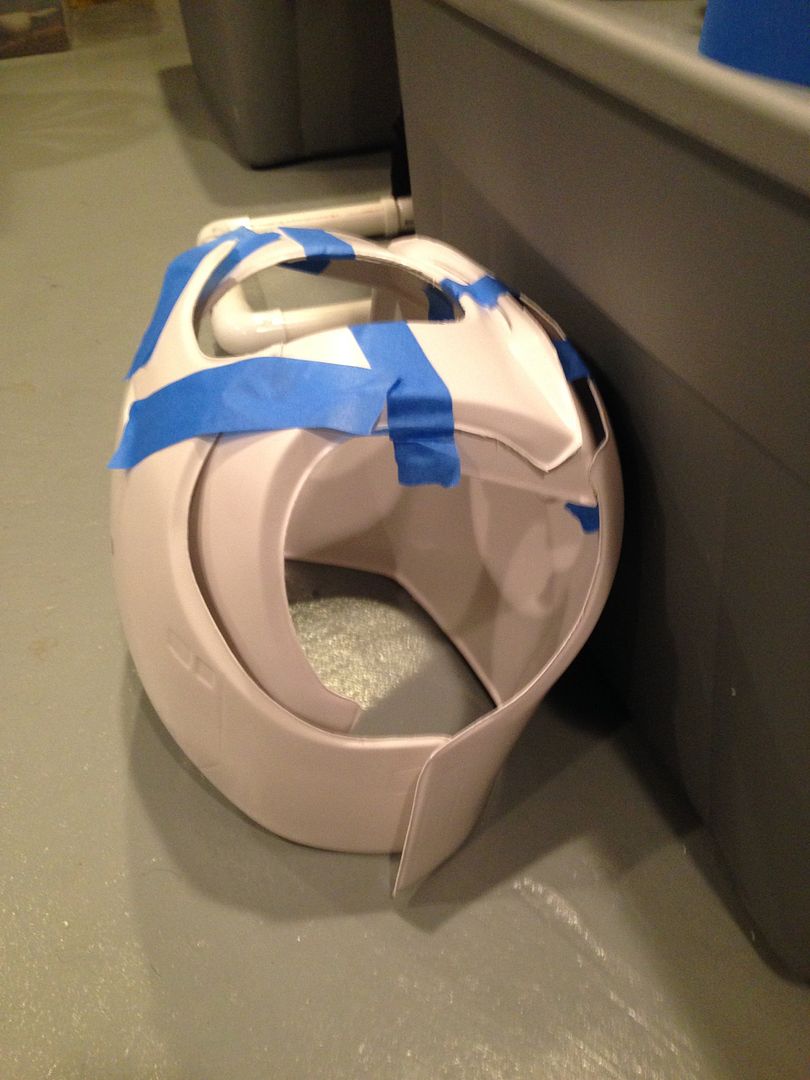
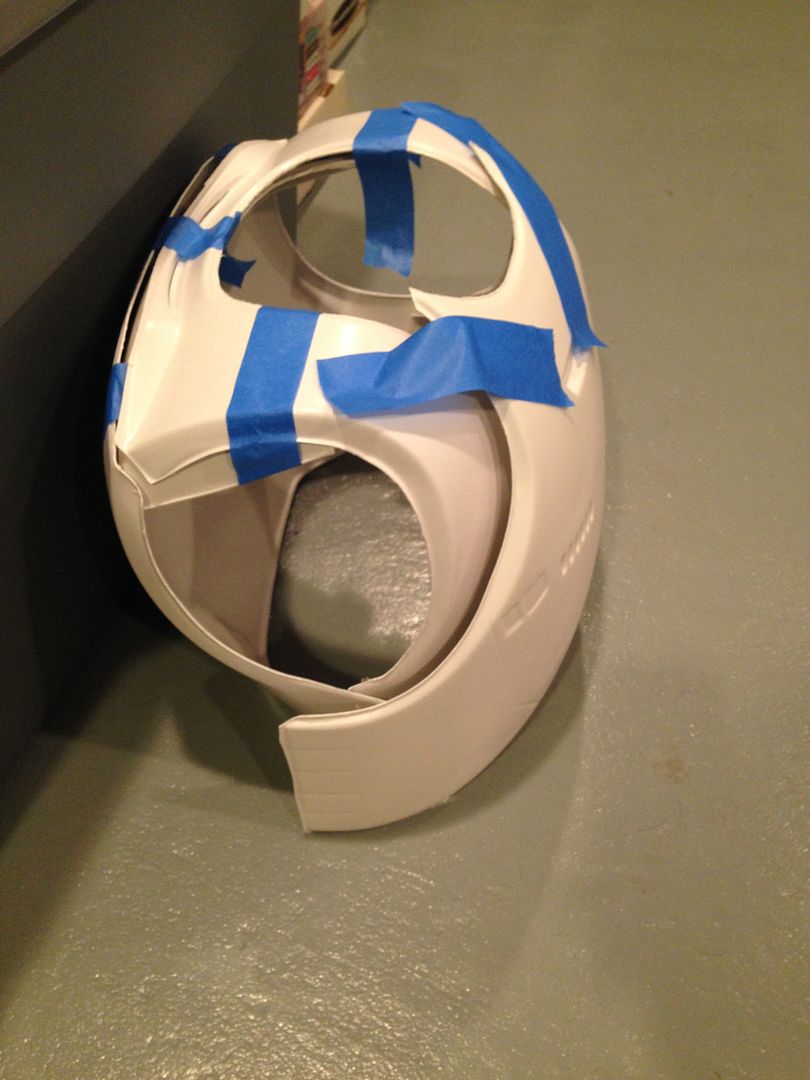
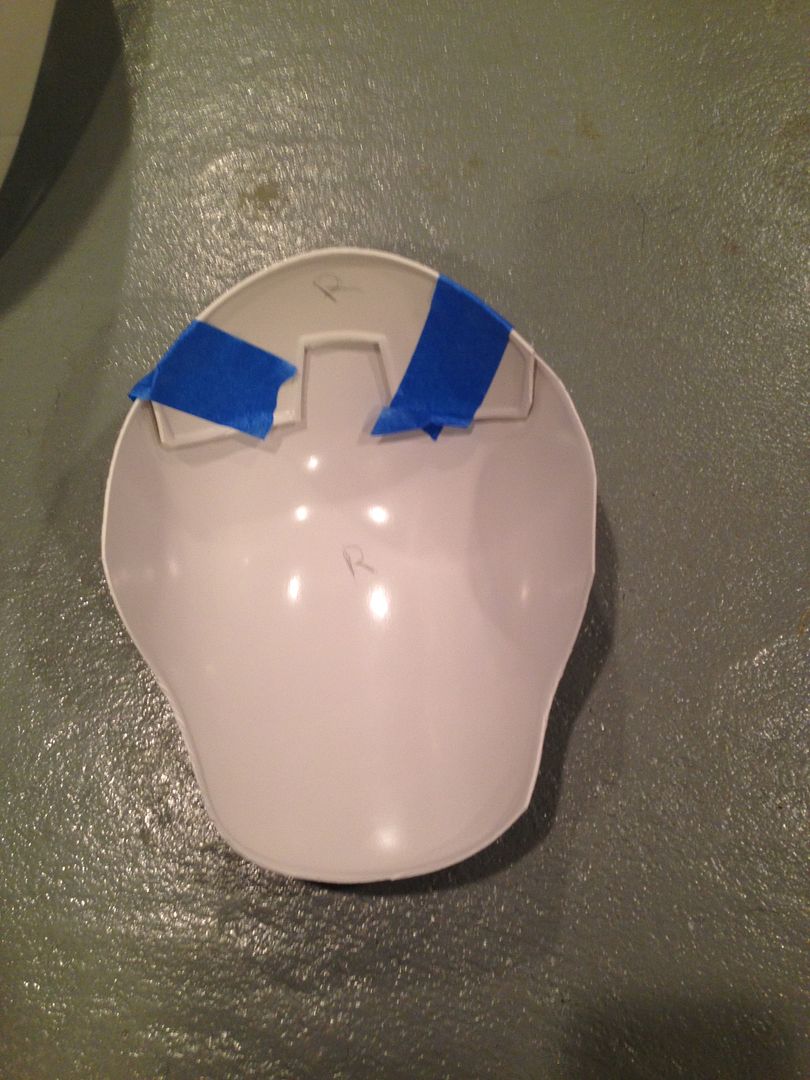
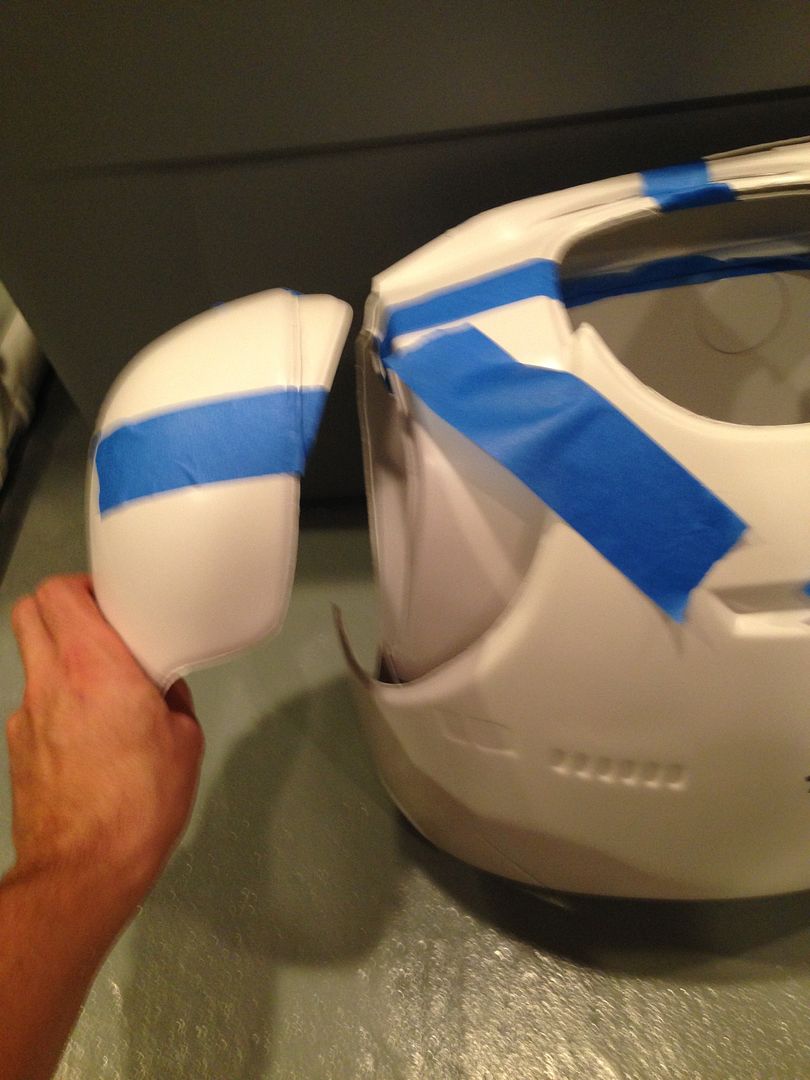
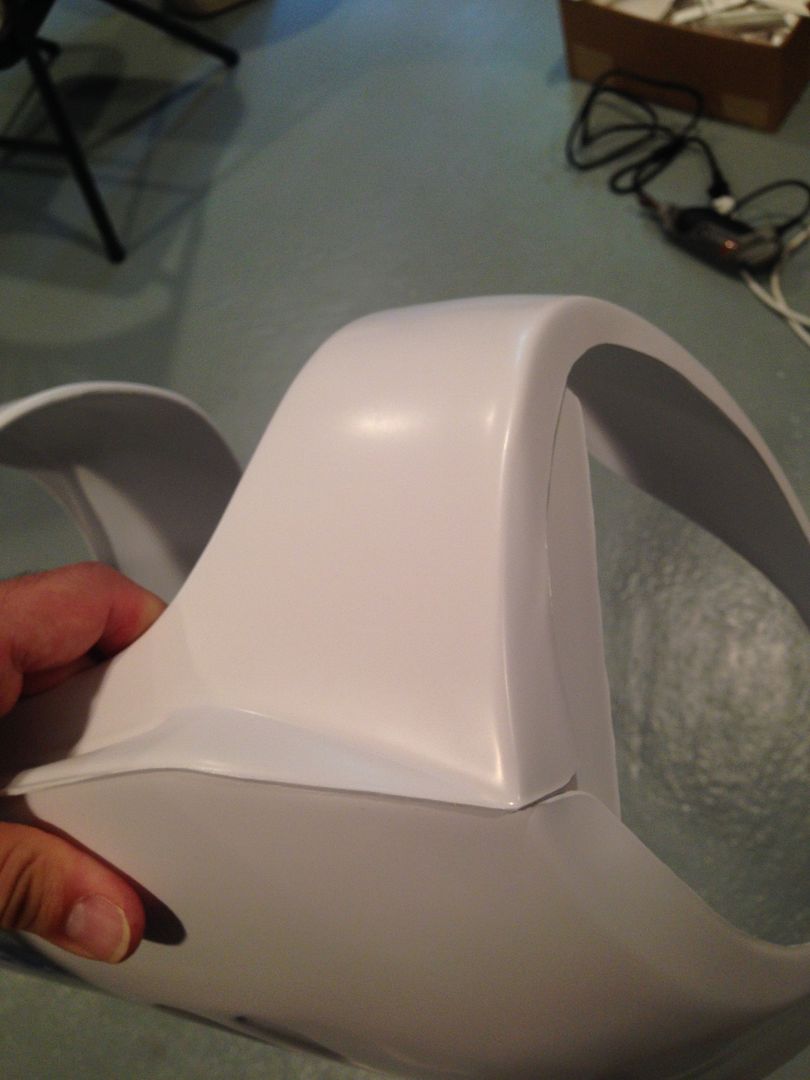
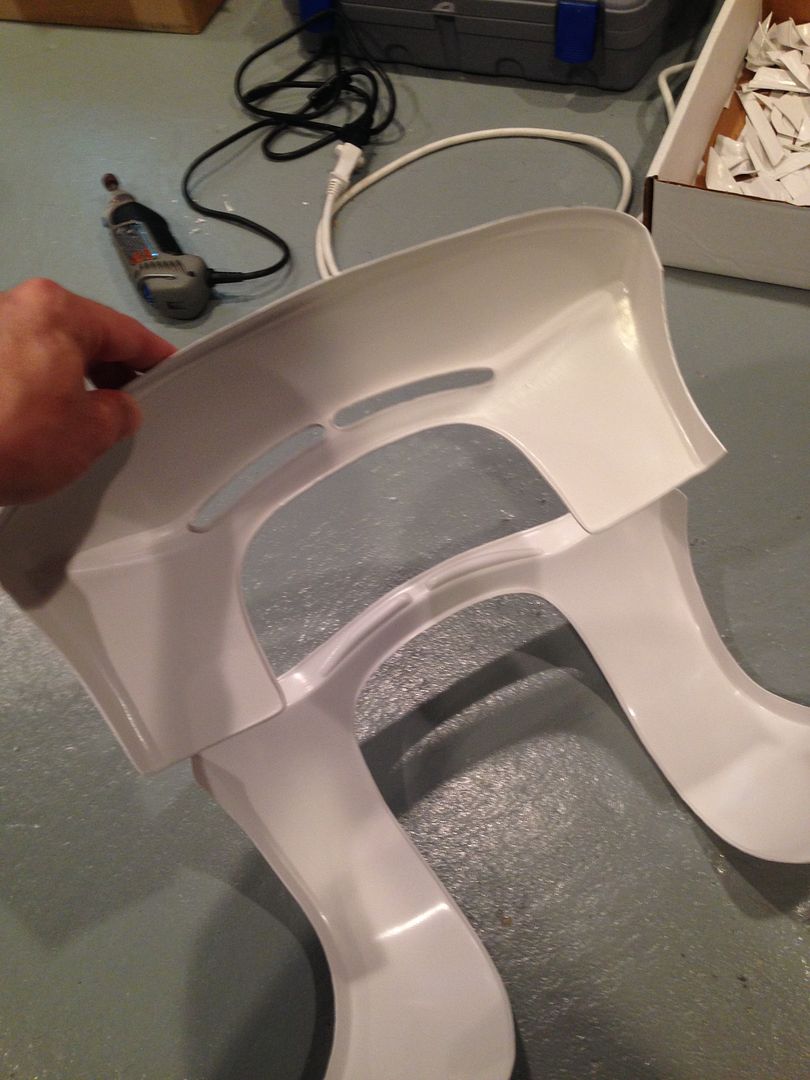
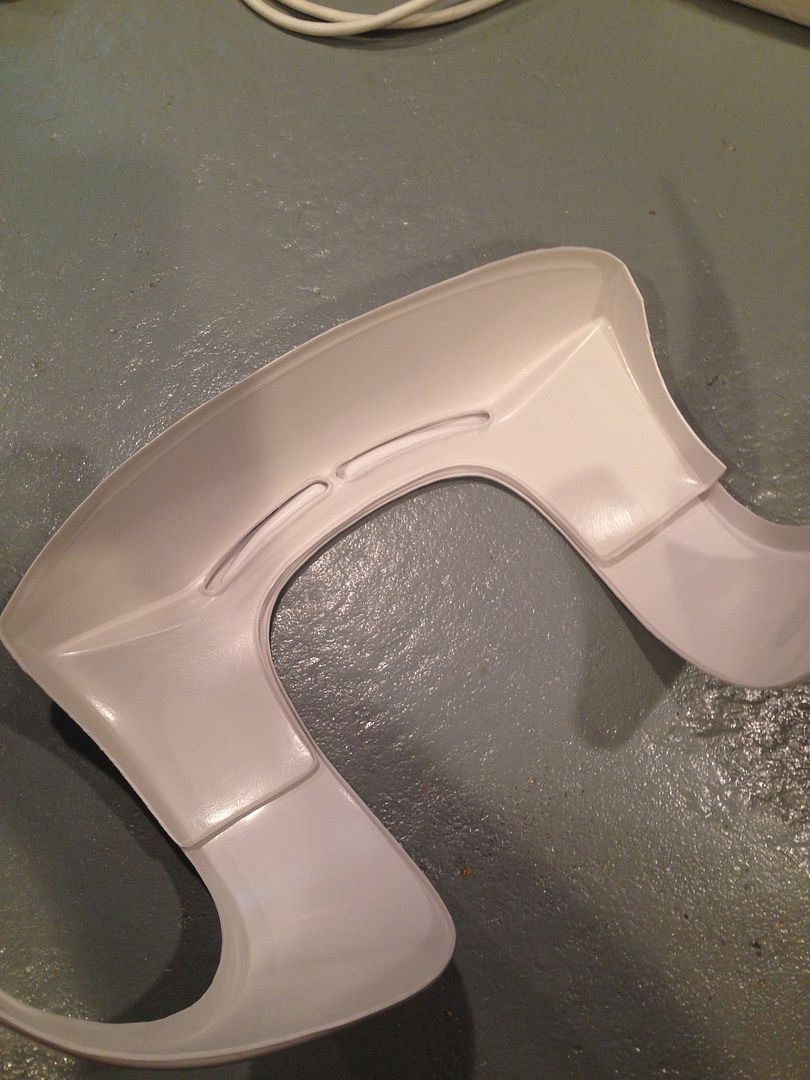
From here I started sanding and finishing the edges, and removed the return edge from the back armor and connections to make the seam more flush. Afterwards I'll also trim the inside support to match the curve of the shoulder straps.
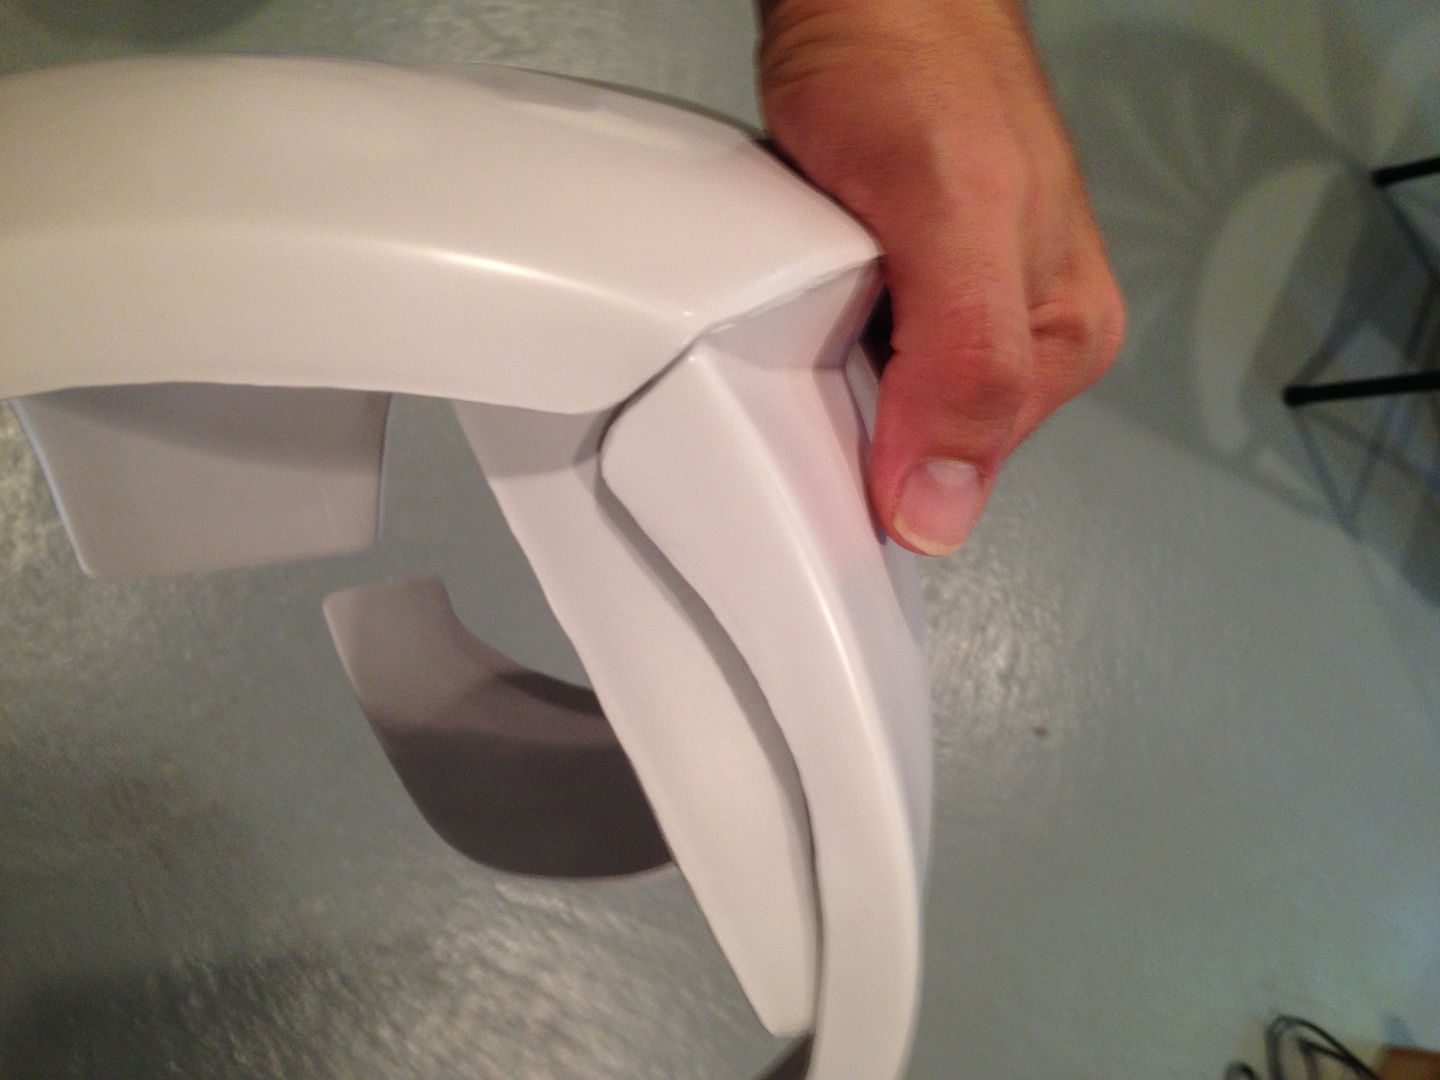
-
 1
1
-
-
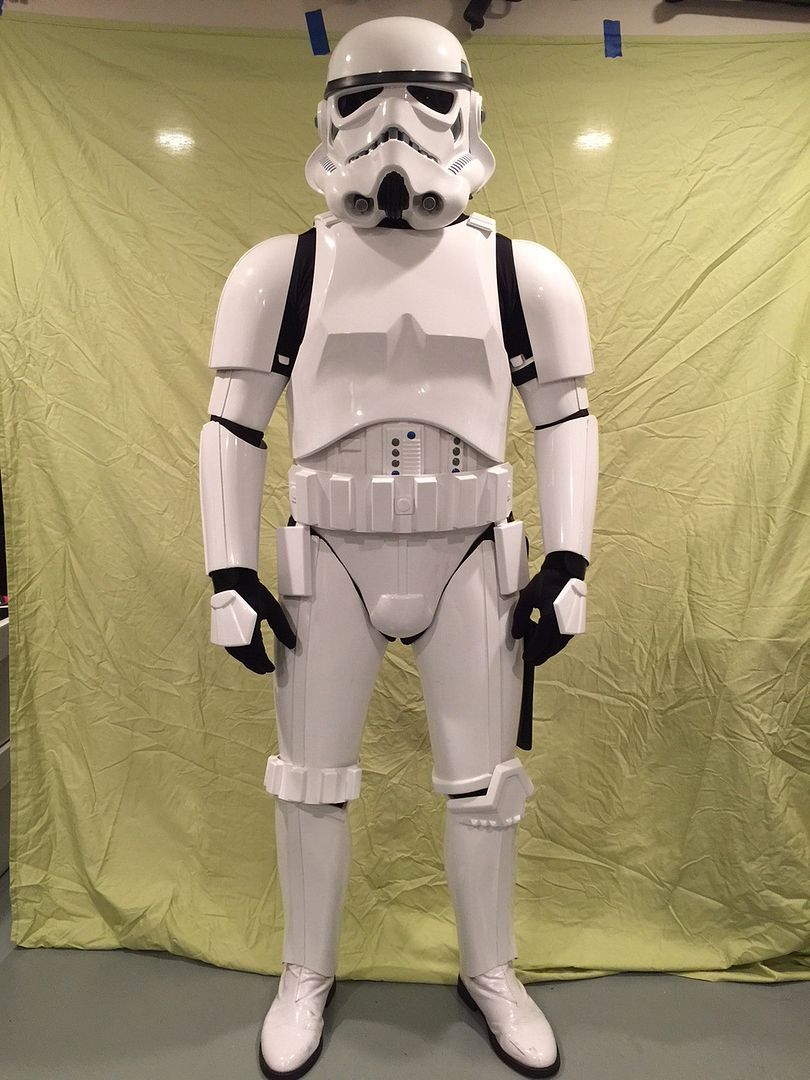
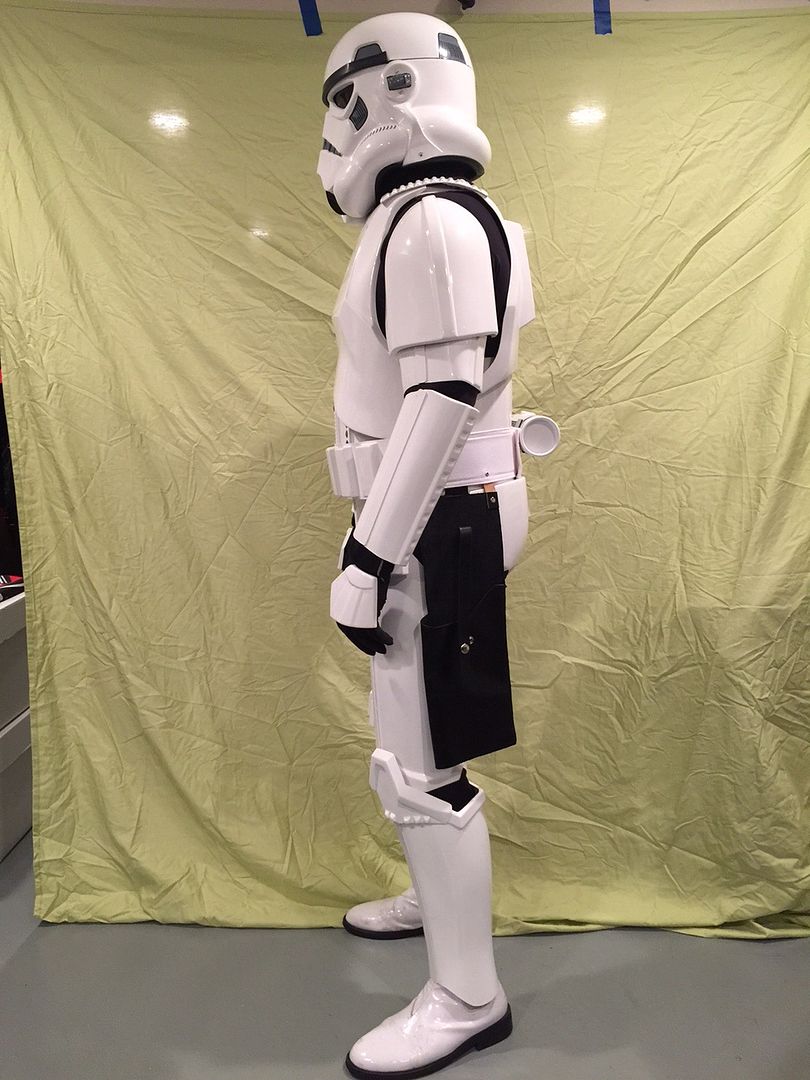
I haven't actually submitted for EIB yet, before I do can the experts point out anything I'm lacking or needs fixed? Thanks!
And total time was about 30 hours over three months

-
HERE ARE SOME OF THE HIGHER LEVEL DETAILS I DID FOR POTENTIAL EIB / CENTURION LEVEL SUBMISSIONS: (note that these are pix before I trimmed the chest sides and some other minor parts)
1) 6 split rivets on left side ab/kidney (3 on each side). Painted white.
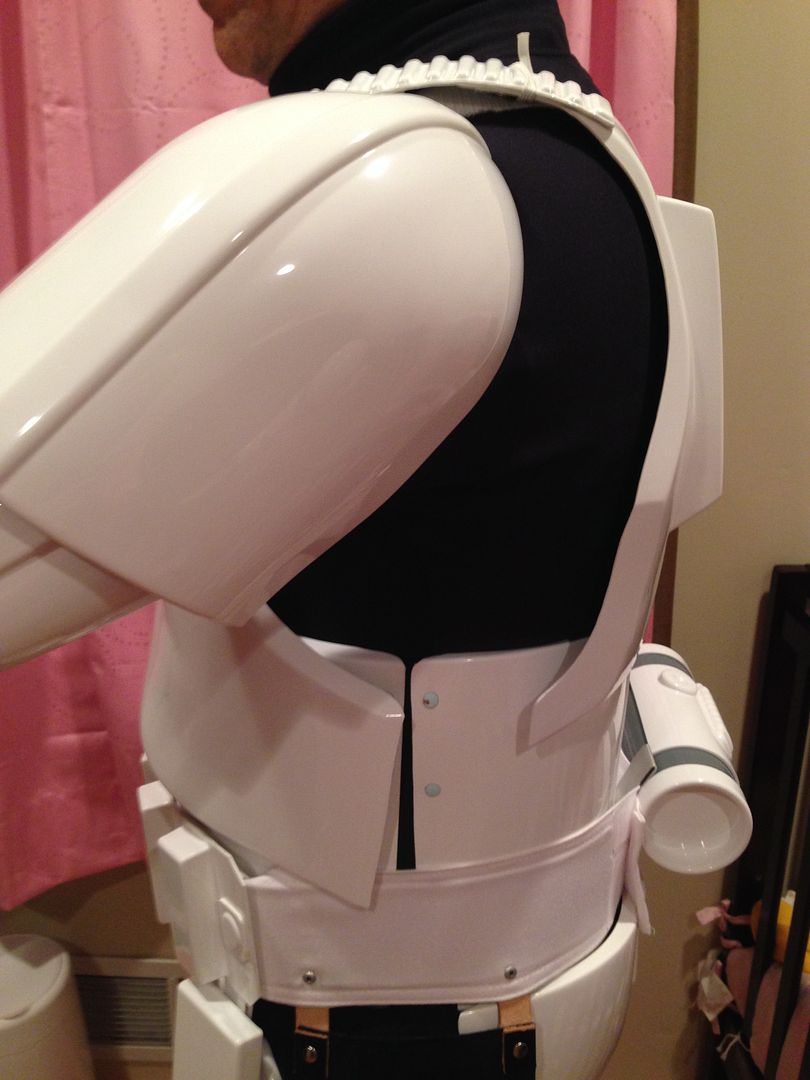
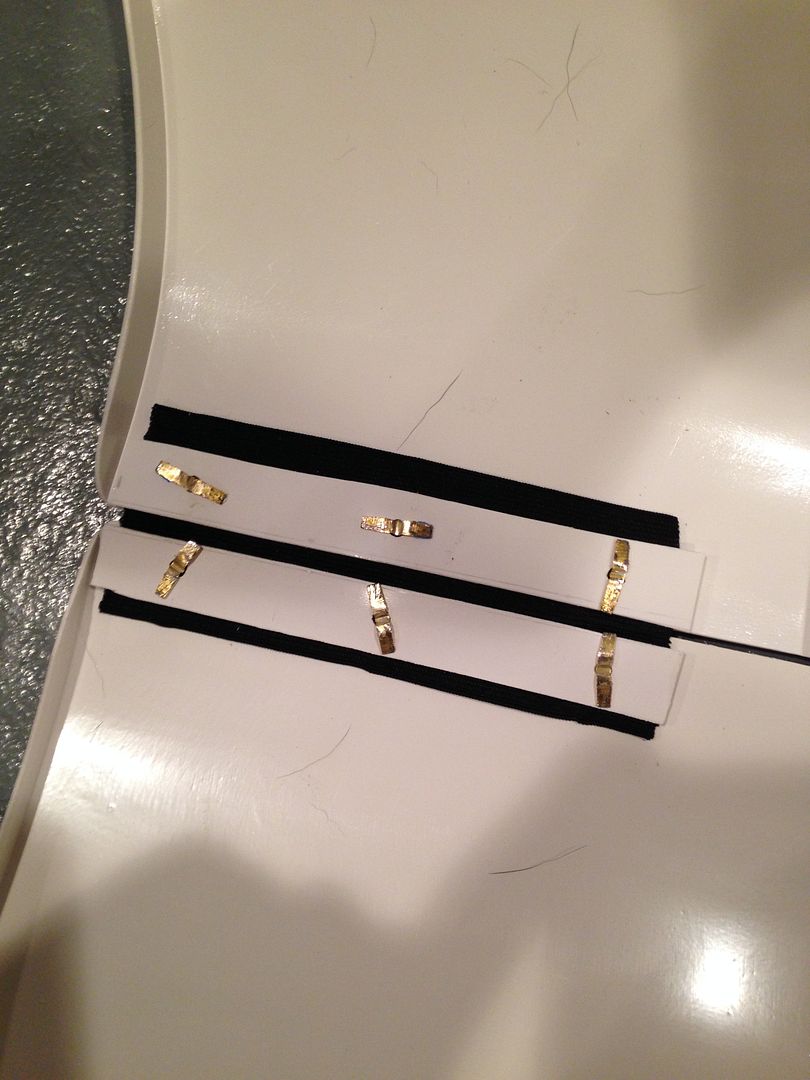
2) Snap on the right side ab armor
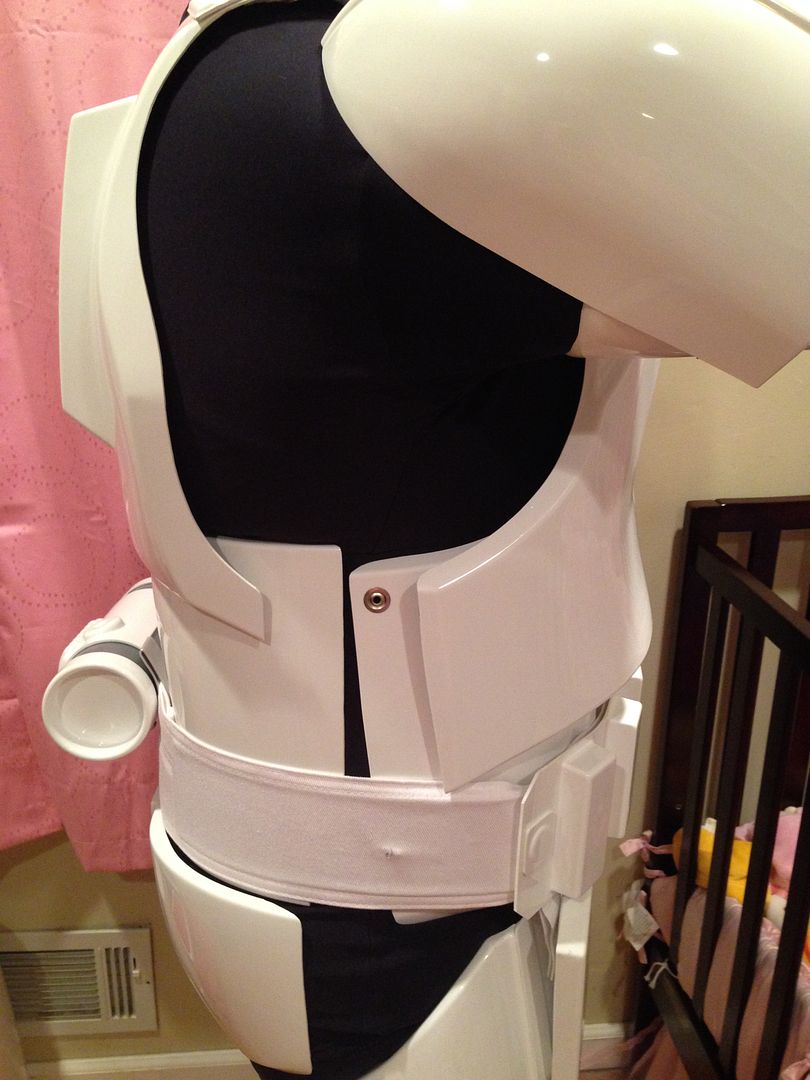
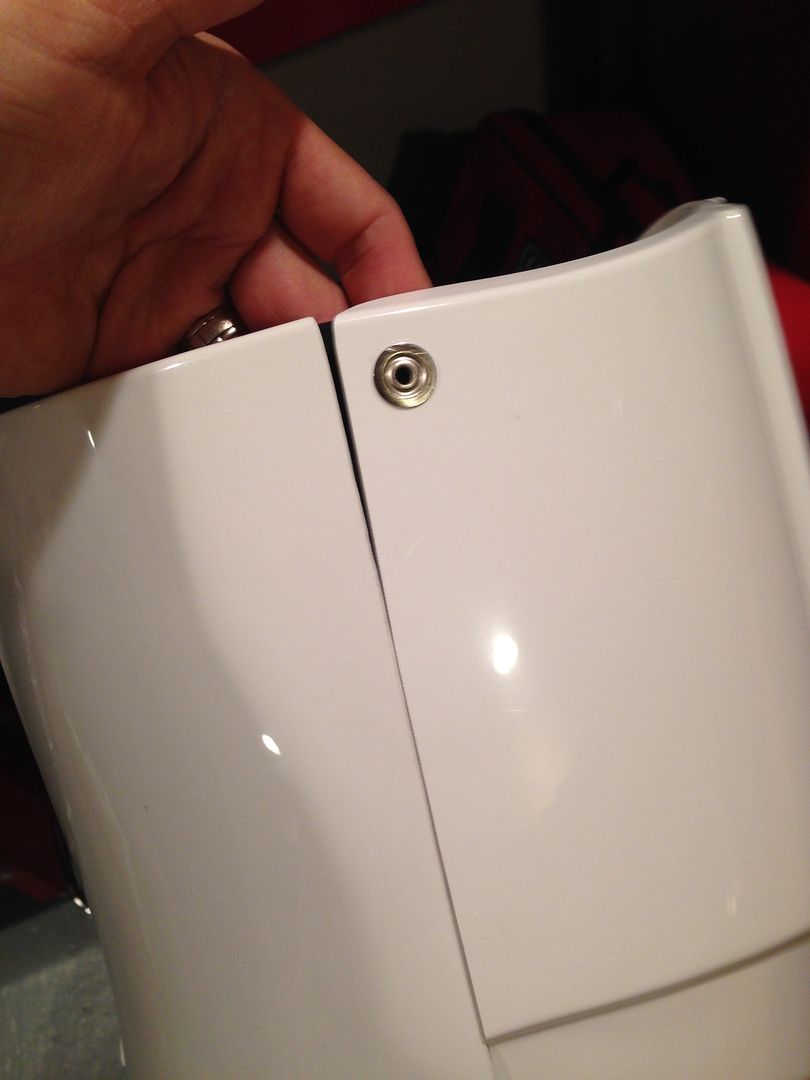
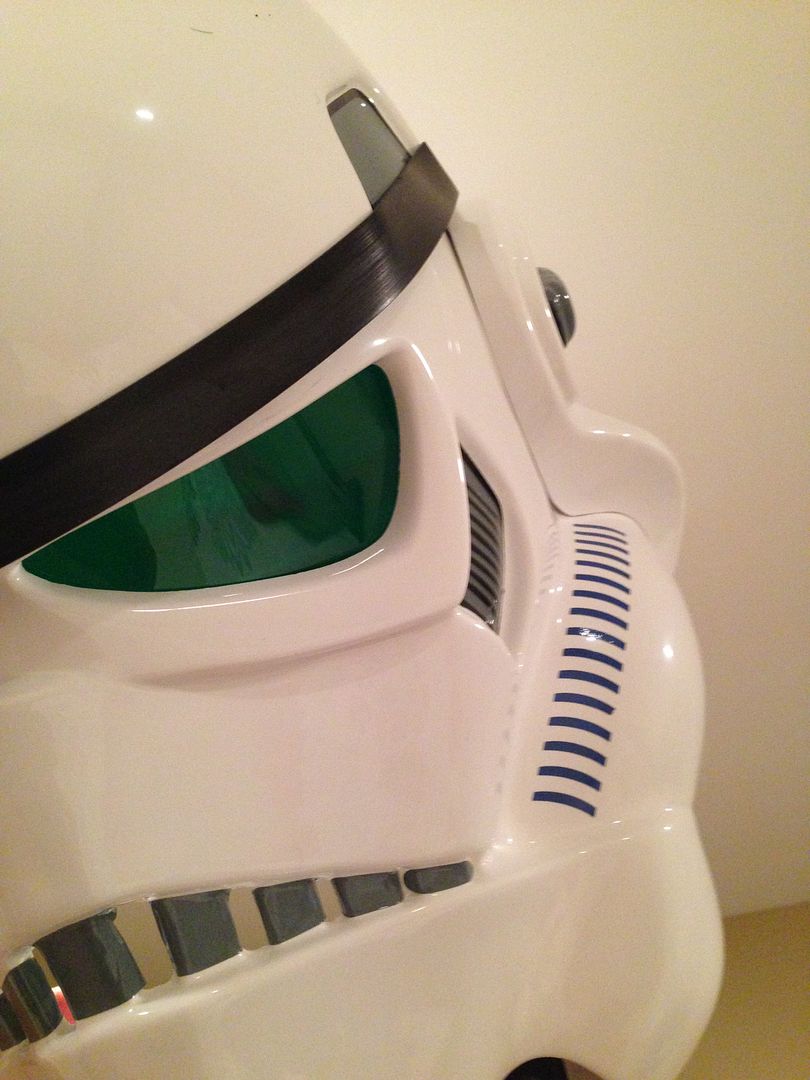
3) Green lenses:
HIGHER LEVEL DETAILS CONTINUED...
4) Rounded edge on right thigh ammo pack, along with cap rivets painted white.
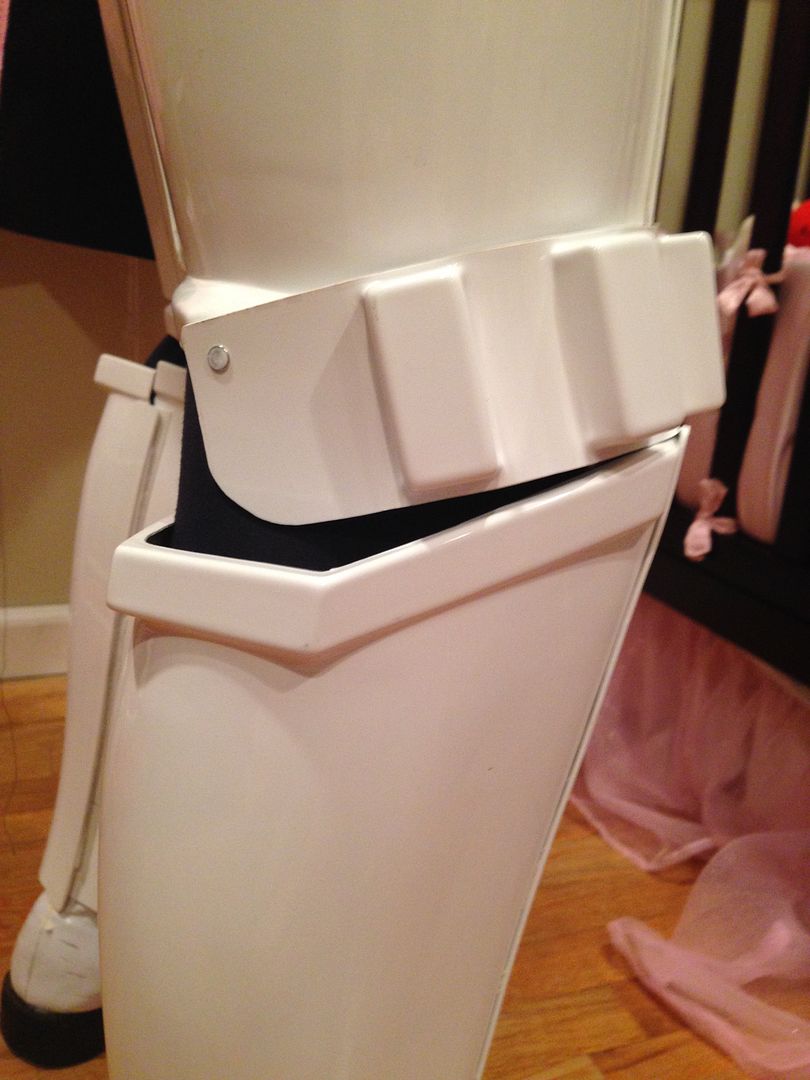
5) Belt attached at proper measurement with two rivets.
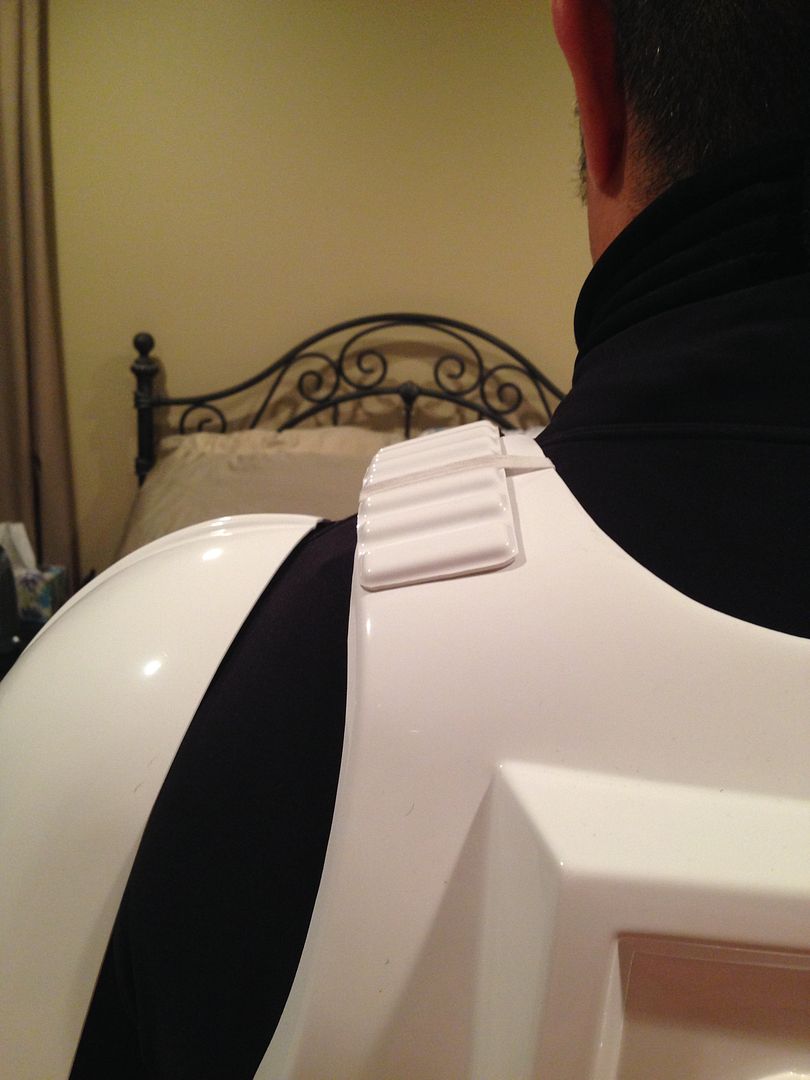
6) Back shoulder straps floating and held with white elastic.
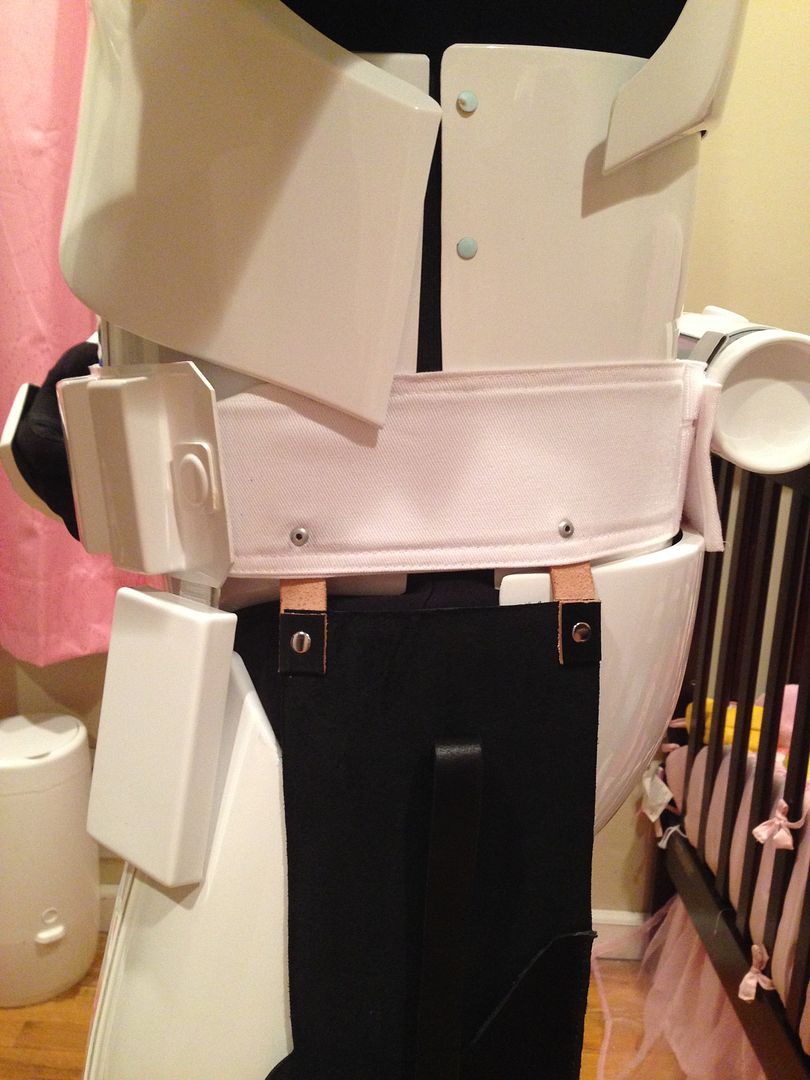
7) Ab plate details
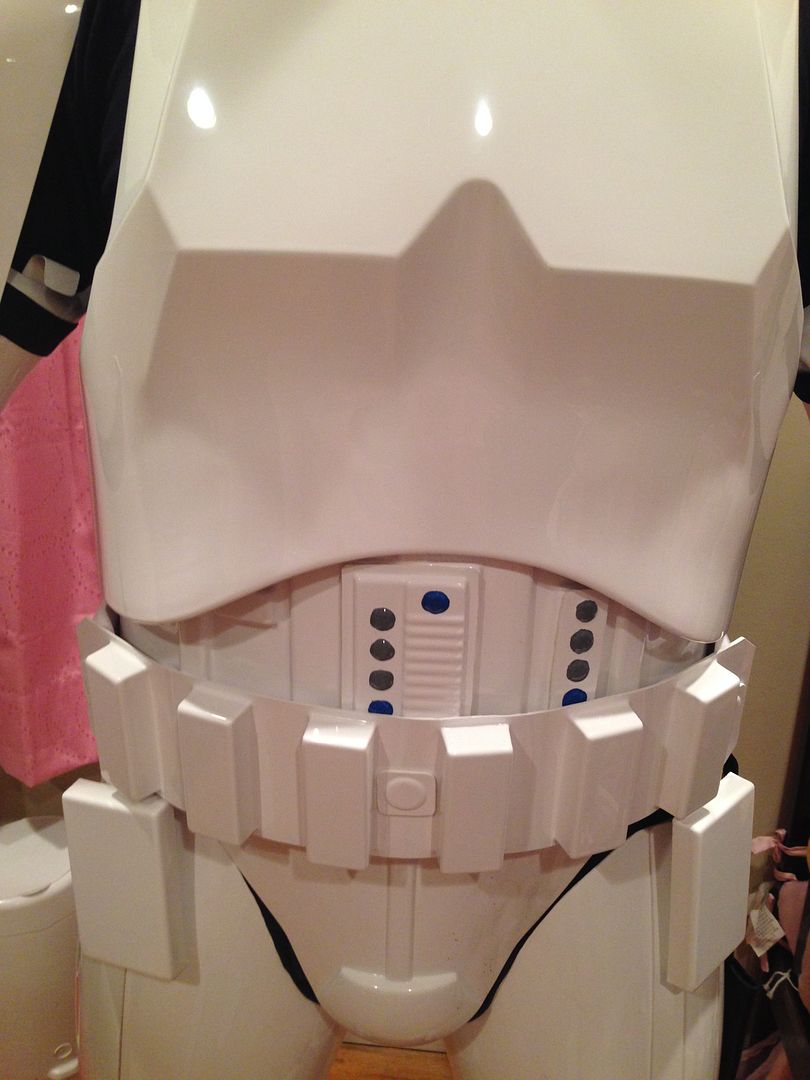
8) Cod connections. Snap rivet in the front, two snaps in rear.
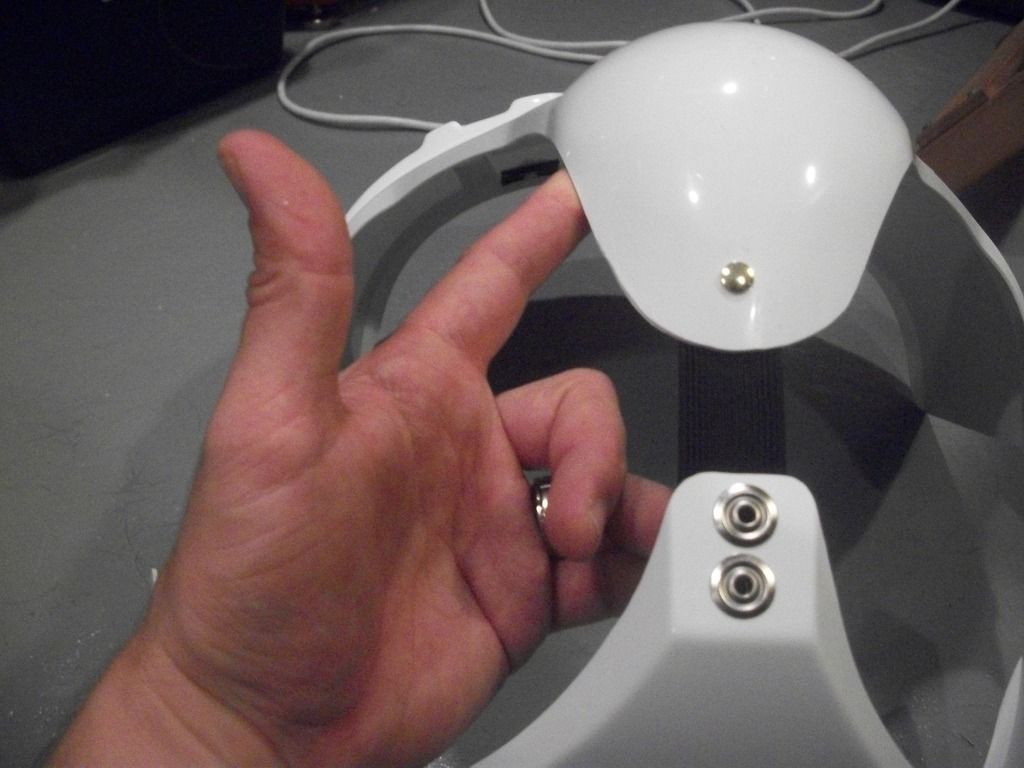
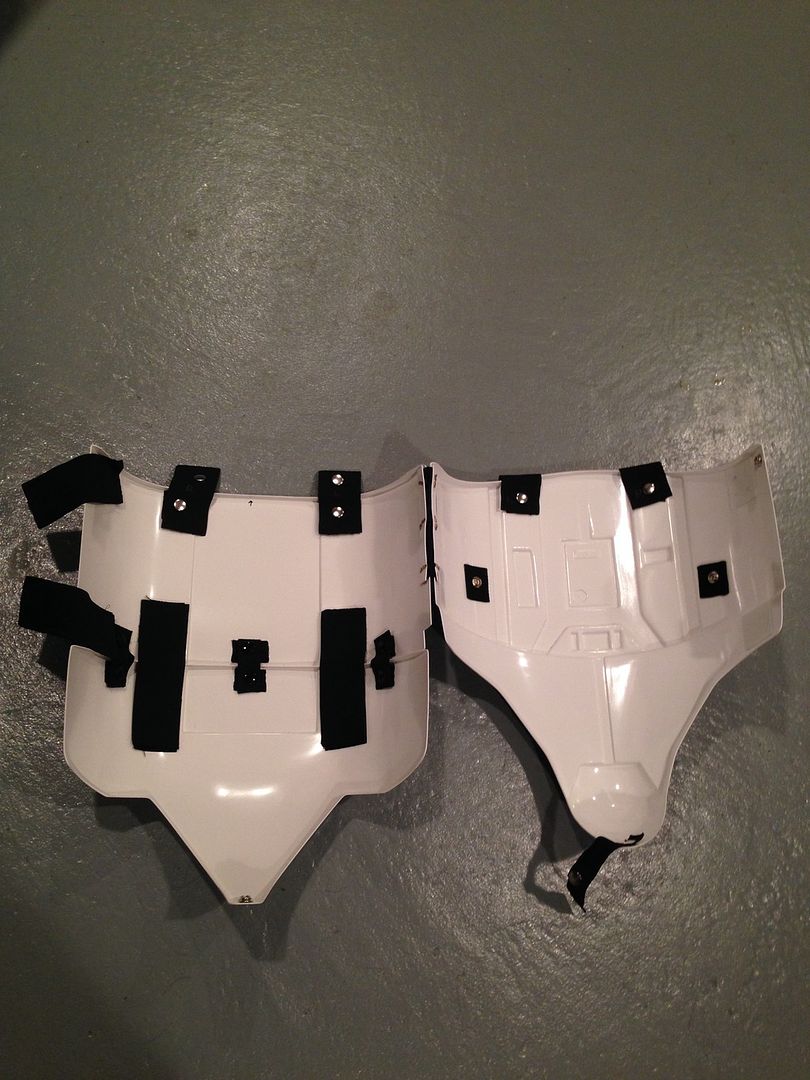
9) Interior strapping:
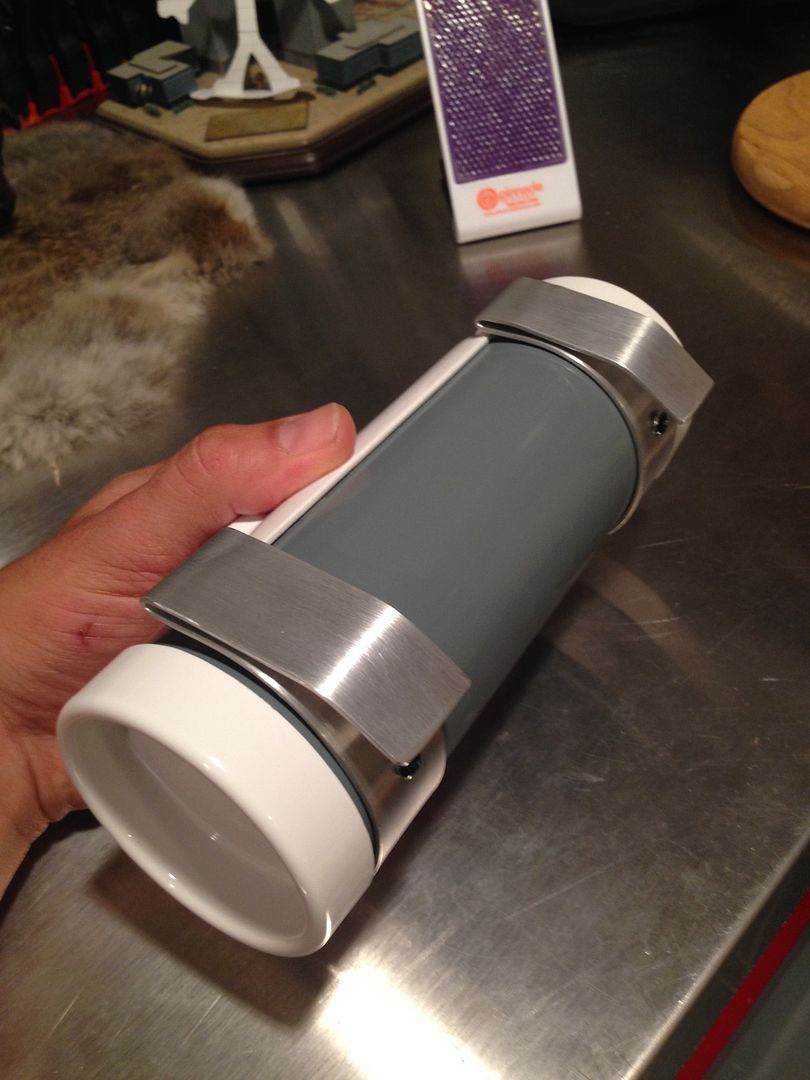
10) Thermal Detonator. Correct clips and screws painted black:
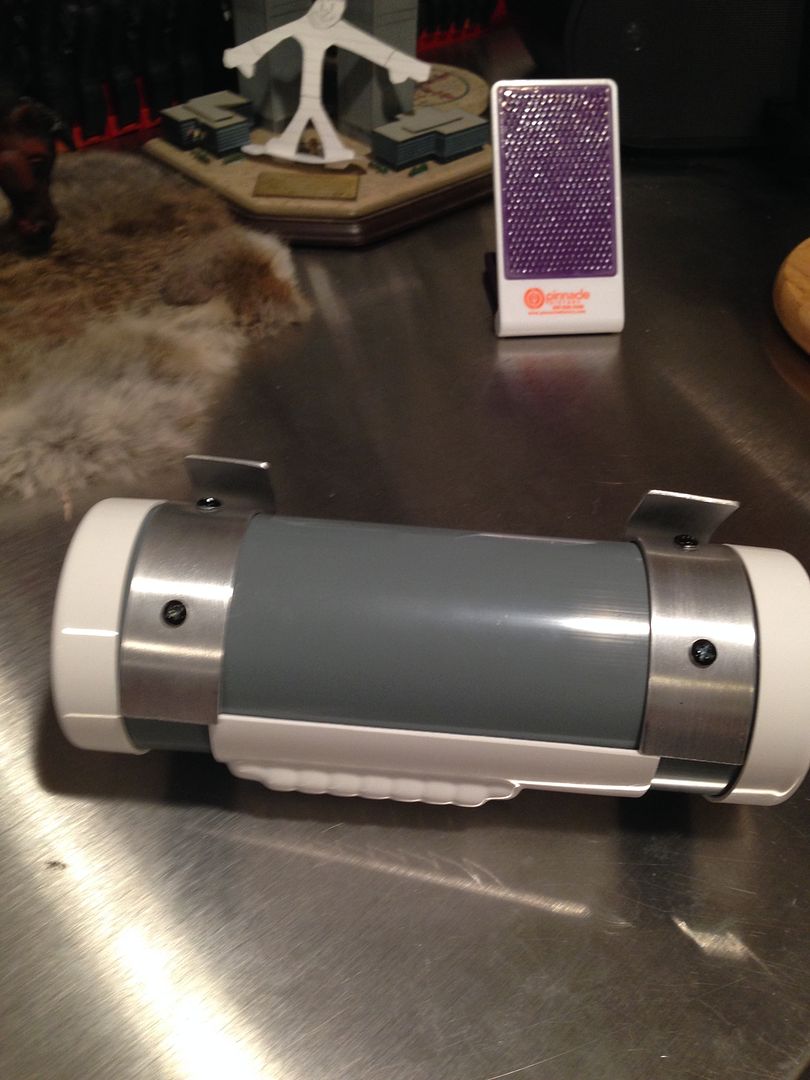
11) Notches on kidney armor:
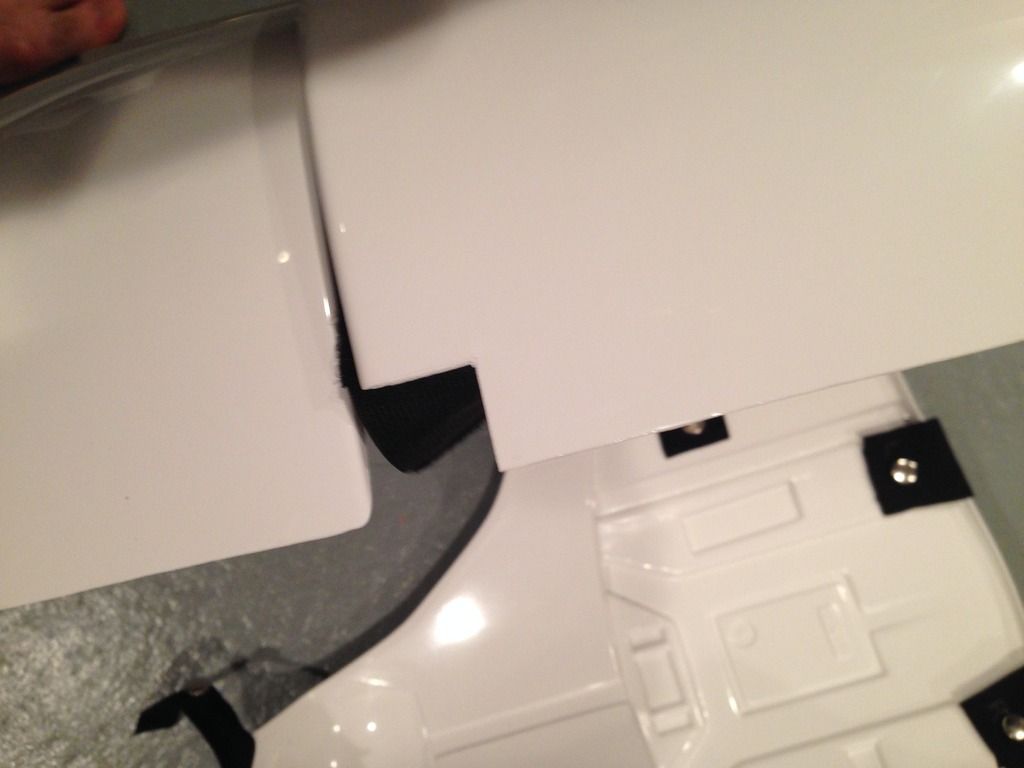
12) Belt boxes with little gap and flush with ends. Inner drop boxes and angled belt corners:
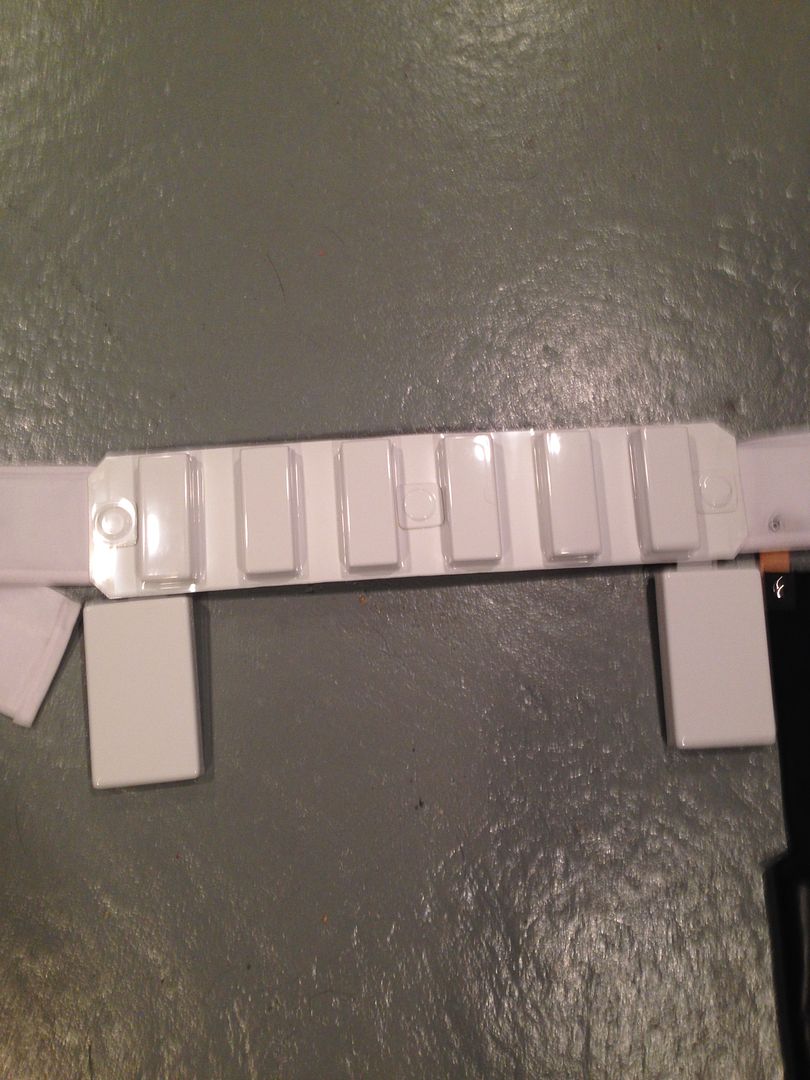
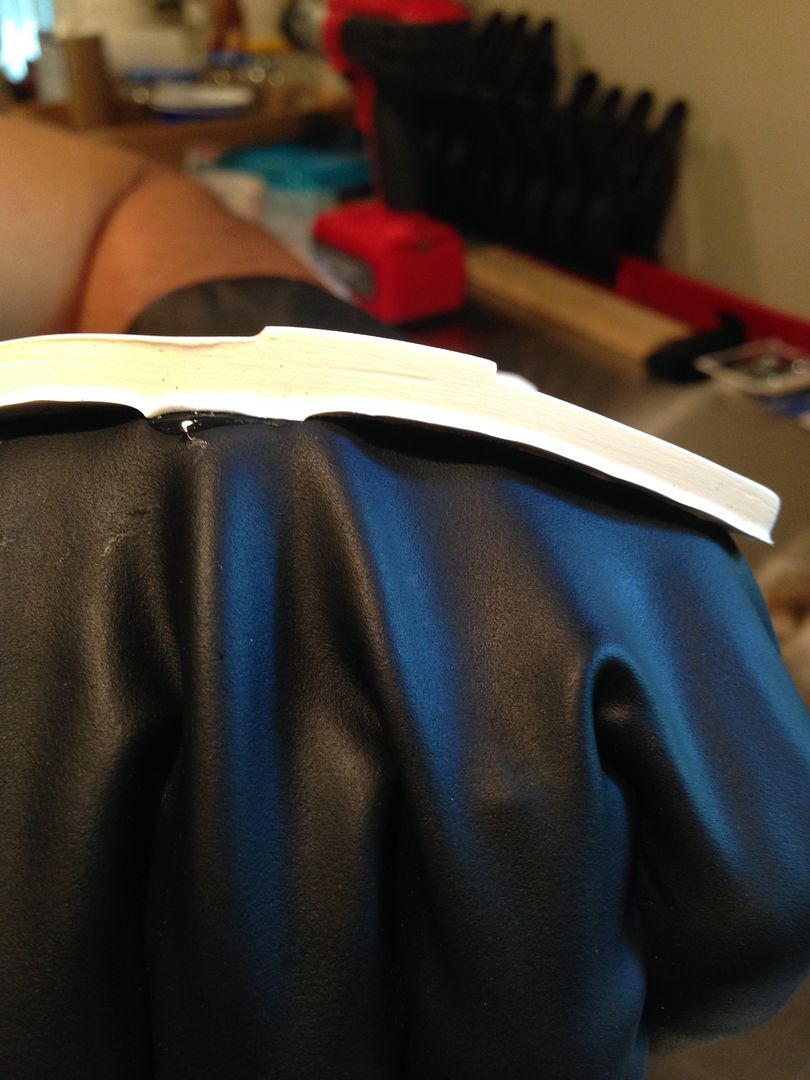
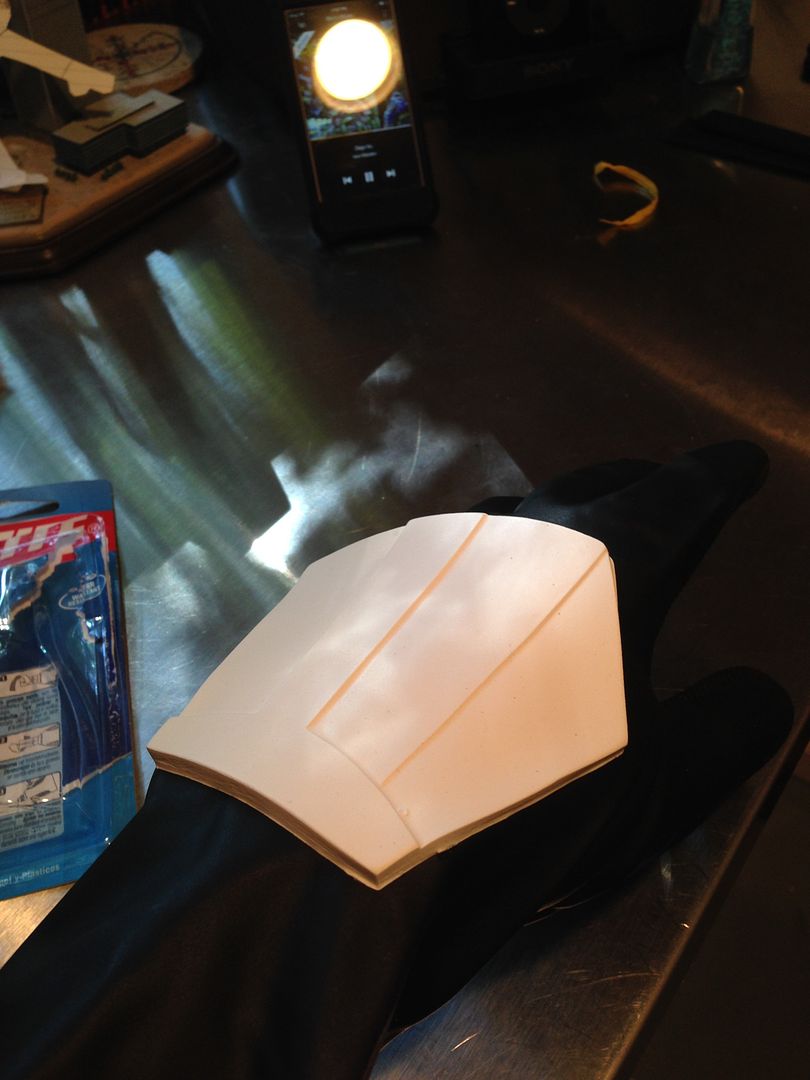
13) Rubber gloves and handplates:
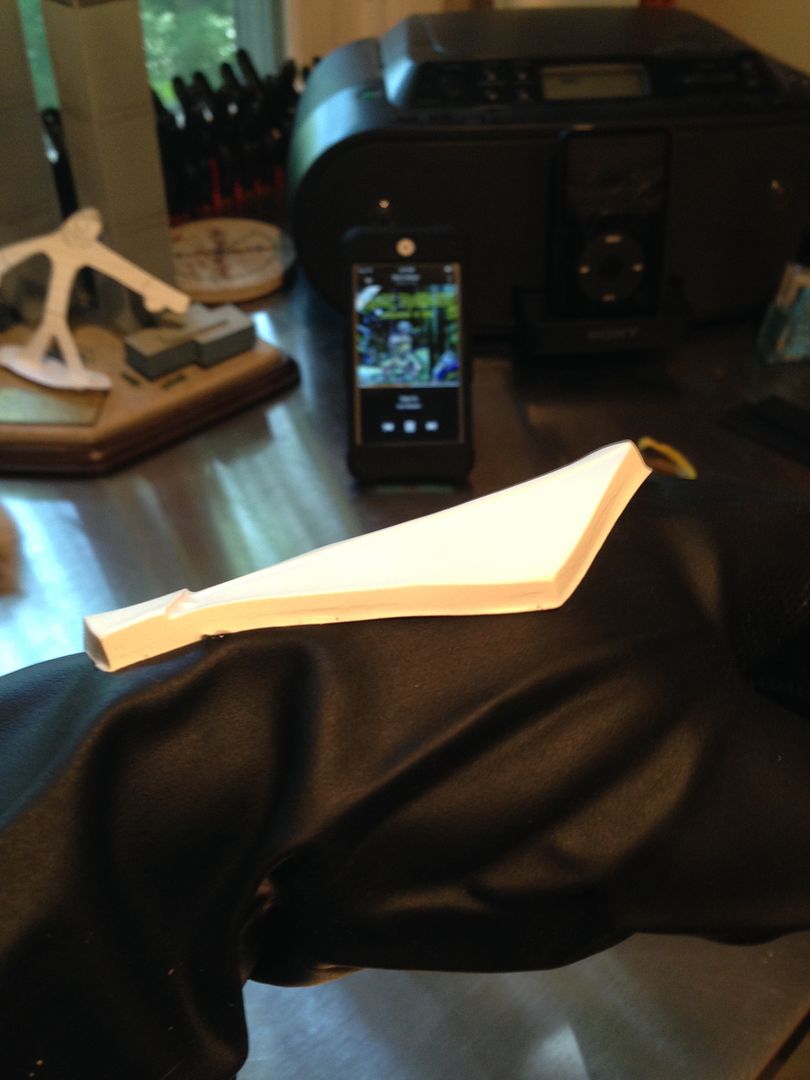
-
Here it is in all it's glory hahaha!
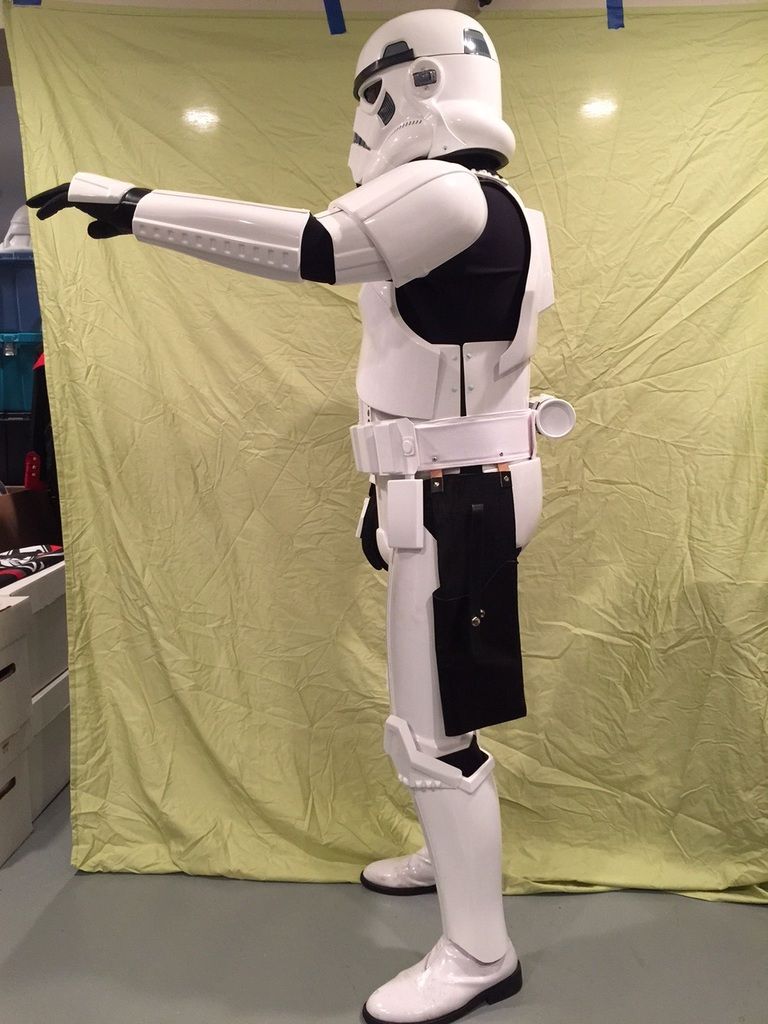
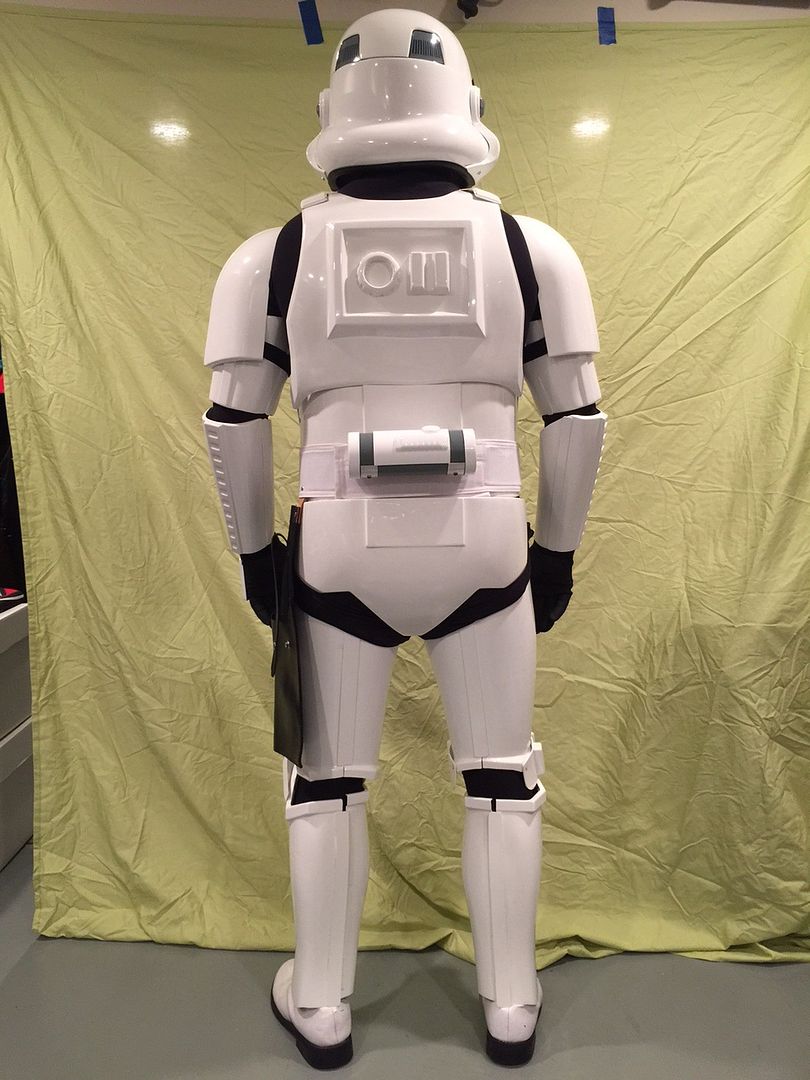
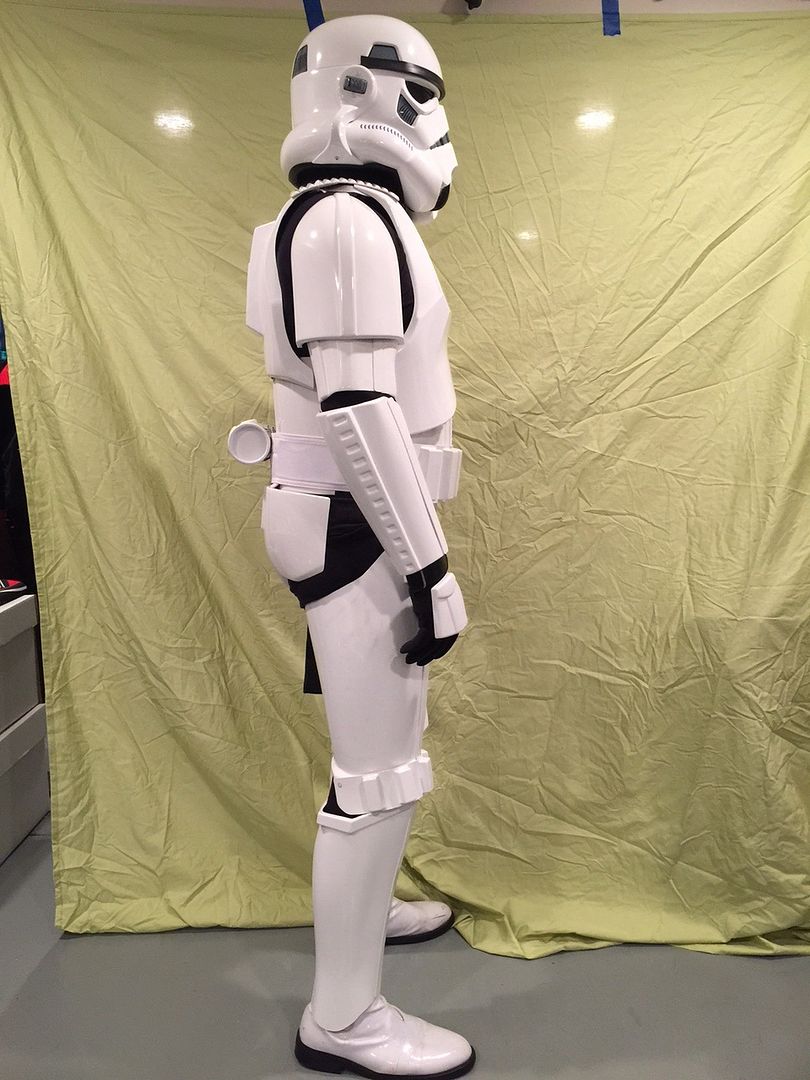
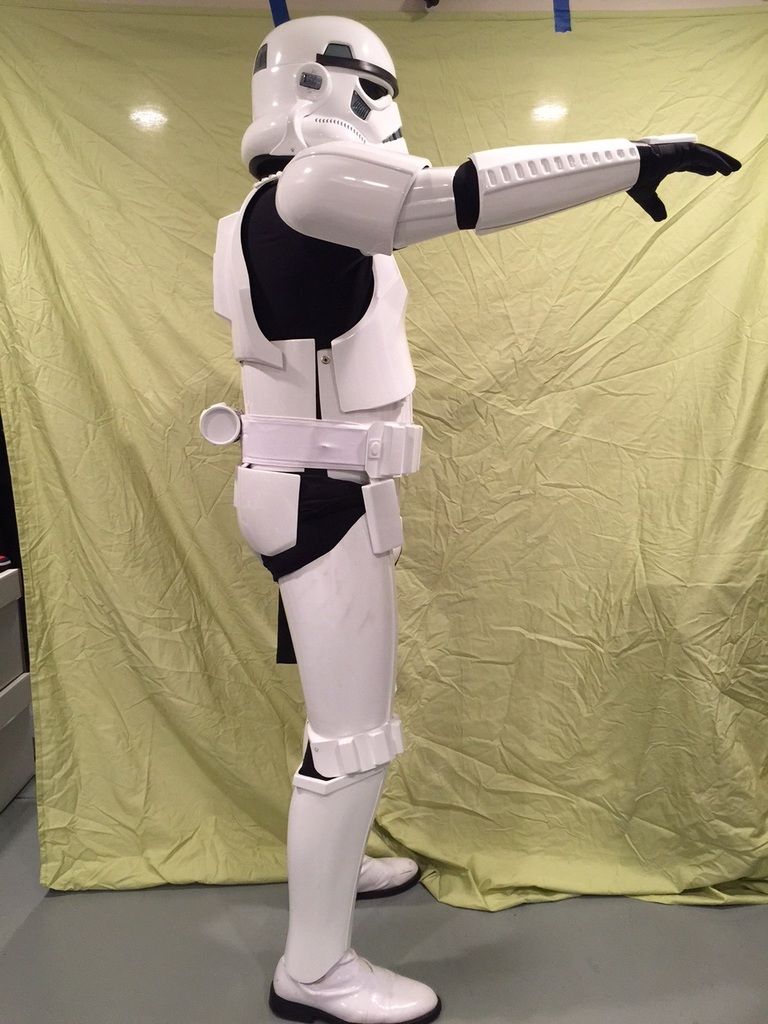
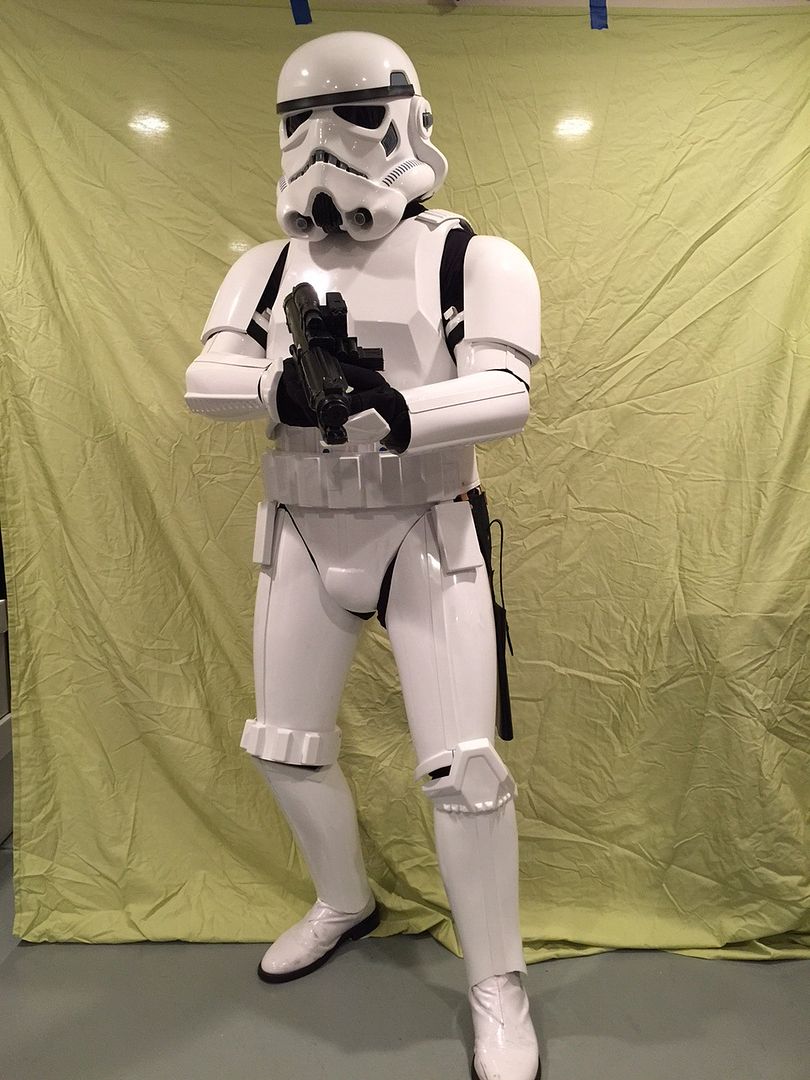
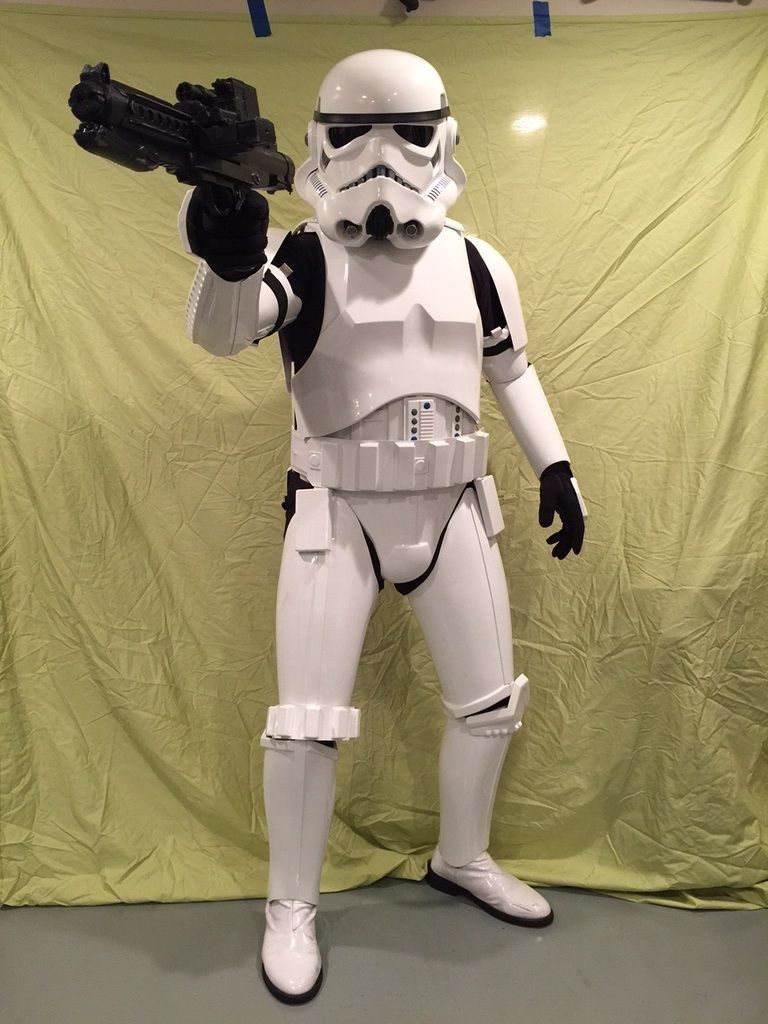
Move along....
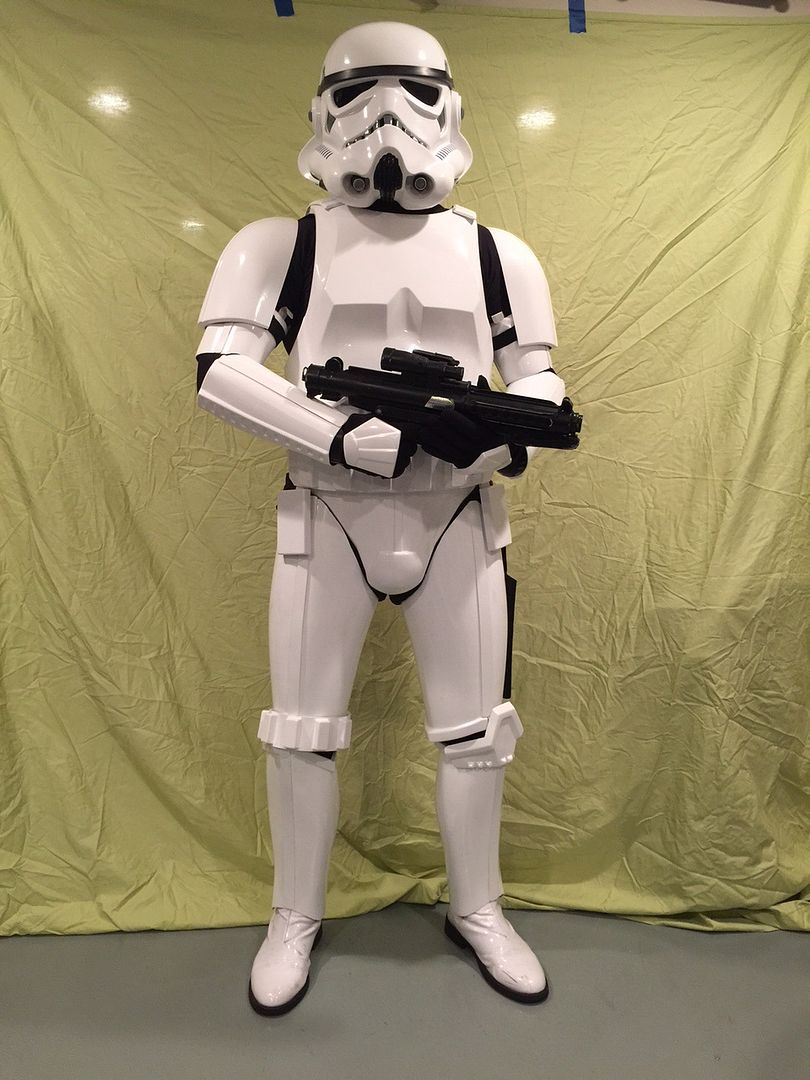
-
FINAL STAGES!!!
Time for cover strips. I already cut them from the supplied plastic in the kit.
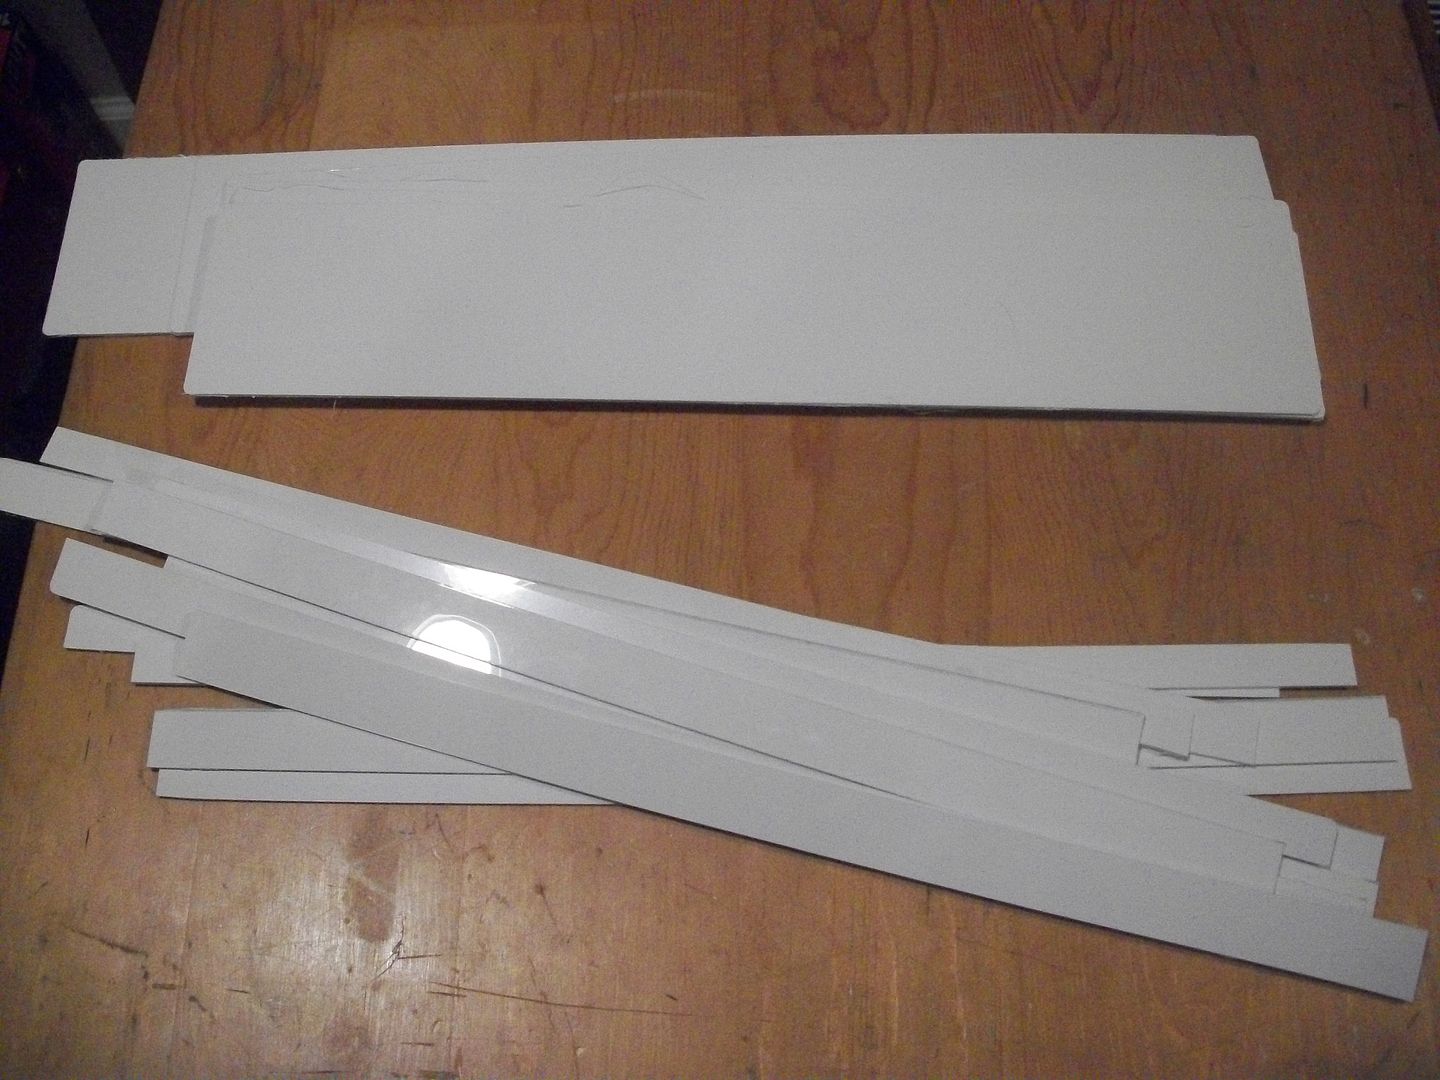
1) Measurements are as follows:
* FOREARMS = 15 MM
* BICEPS = 15 MM
* THIGHS (FRONT) = 20 MM
* THIGHS (BACK) = 25 MM
* SHINS (FRONT) = 20 MM
* SHINS (BACK) = 25 MM
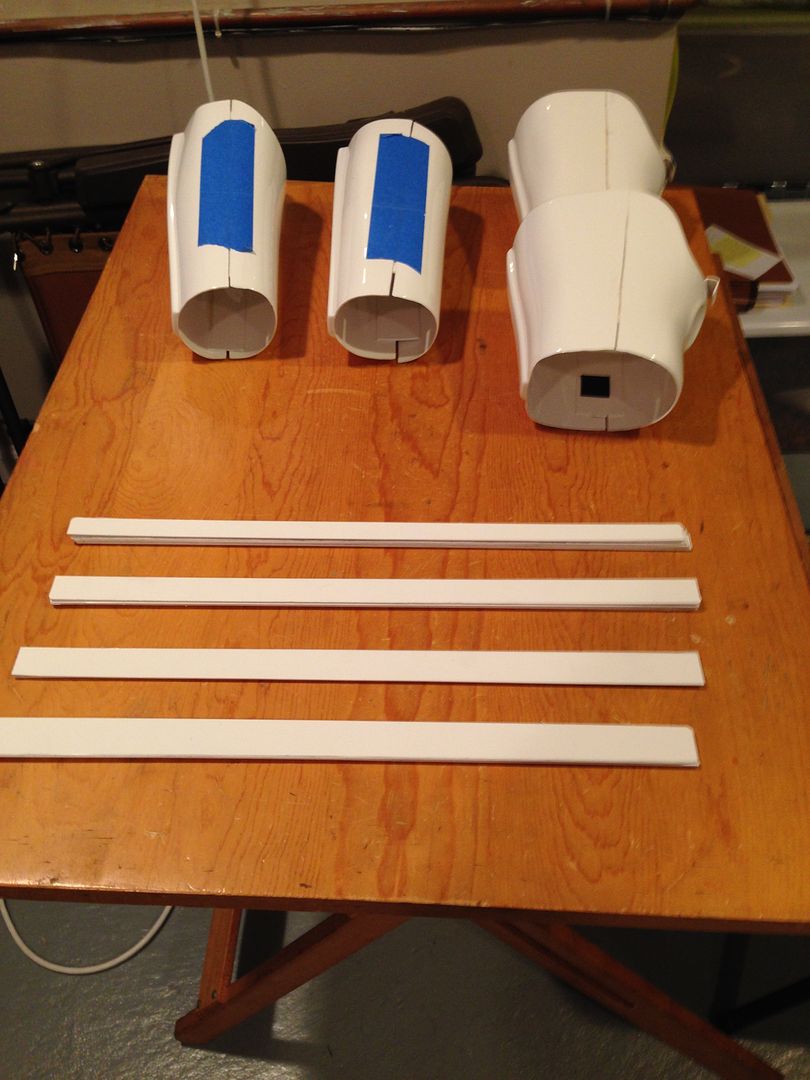
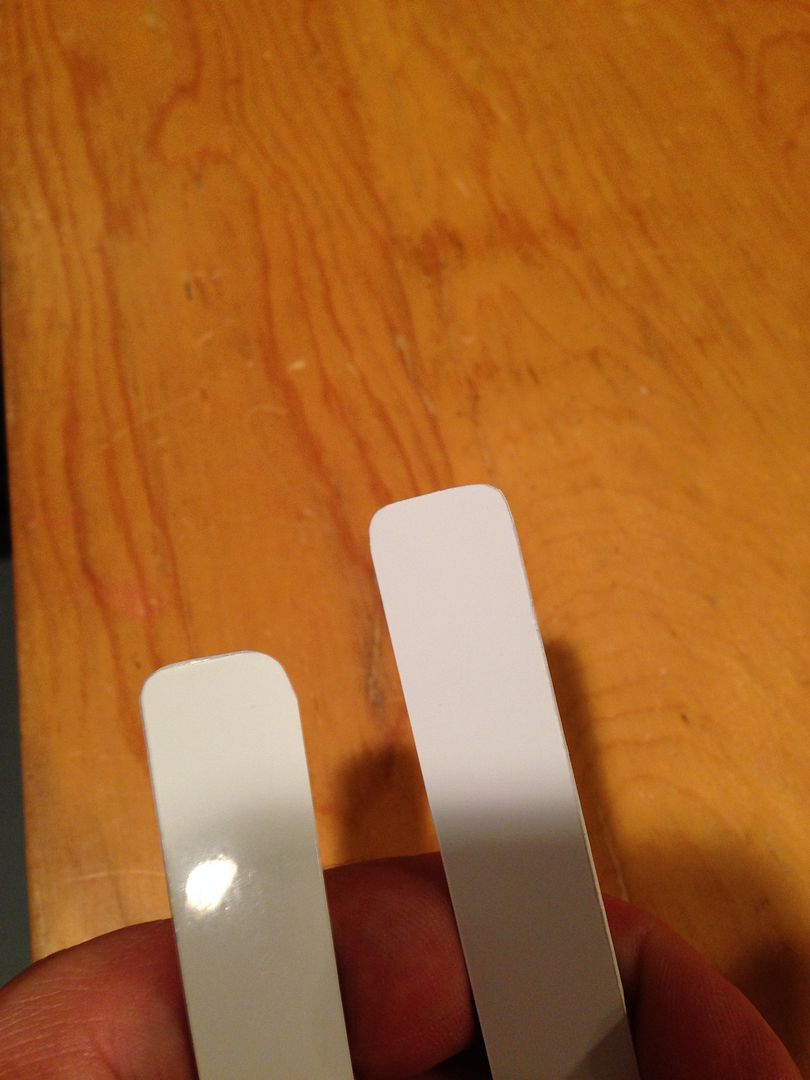
2) For each strip I measured against the actual part, cut it and then rounded the edges.
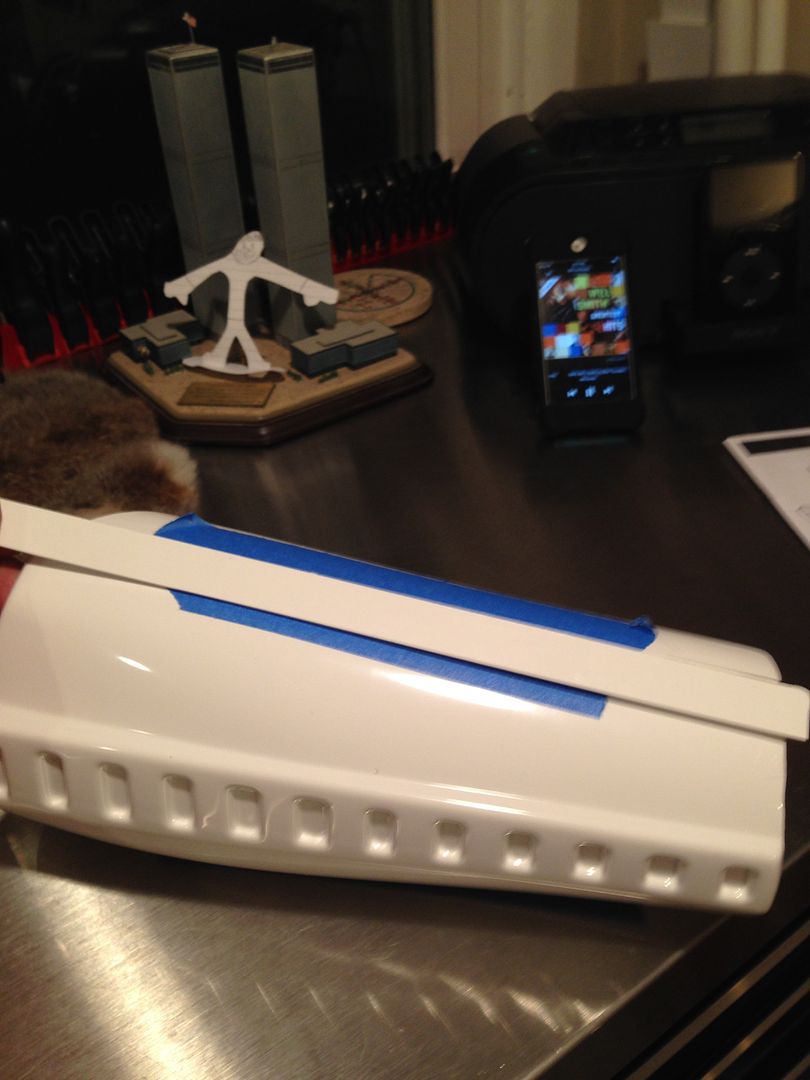
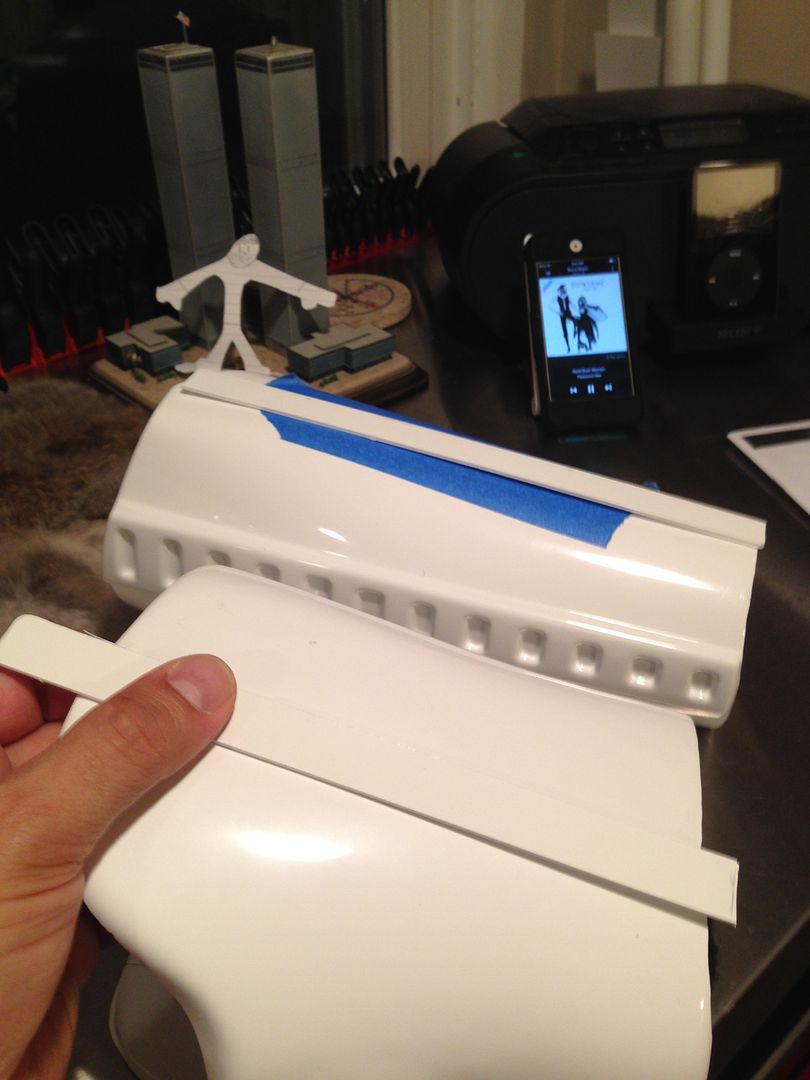
3) To glue them on I put the glue on the armor part, tried to keep it just the amount (width) I'll need. Wiped off excess after placing the strip.
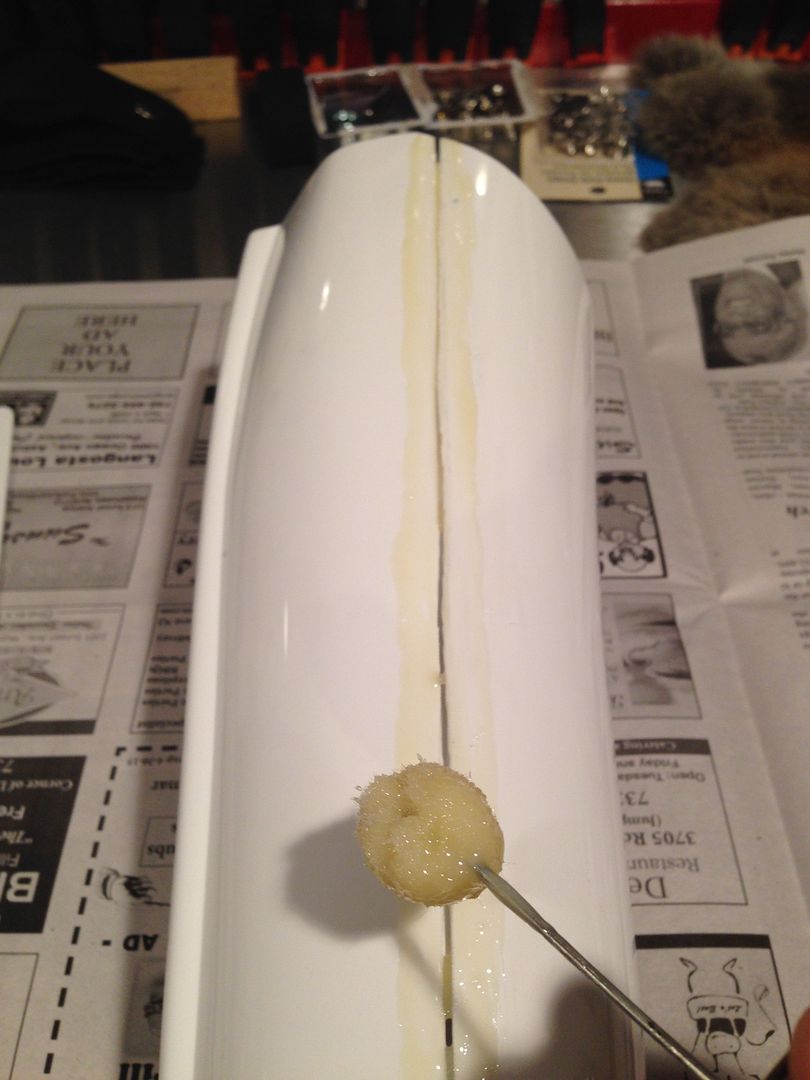
4) Used clamps and magnets to hold them on. Use as much as you can to get a complete hold.
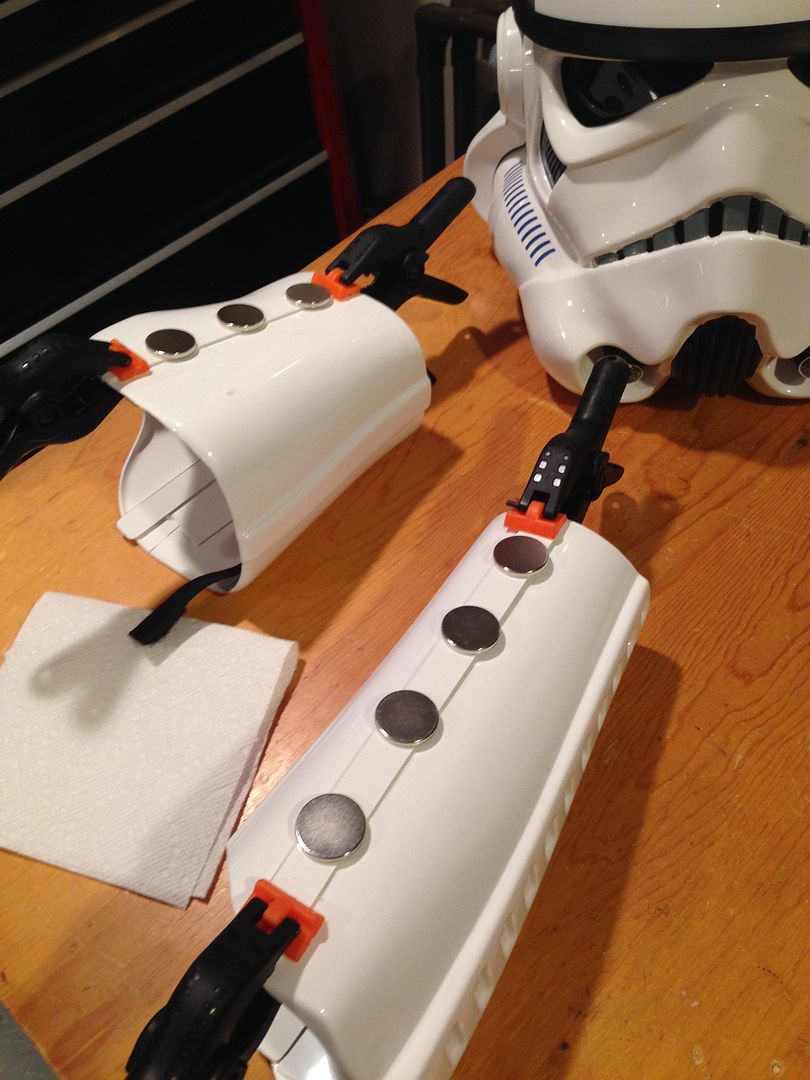
Final product after drying:
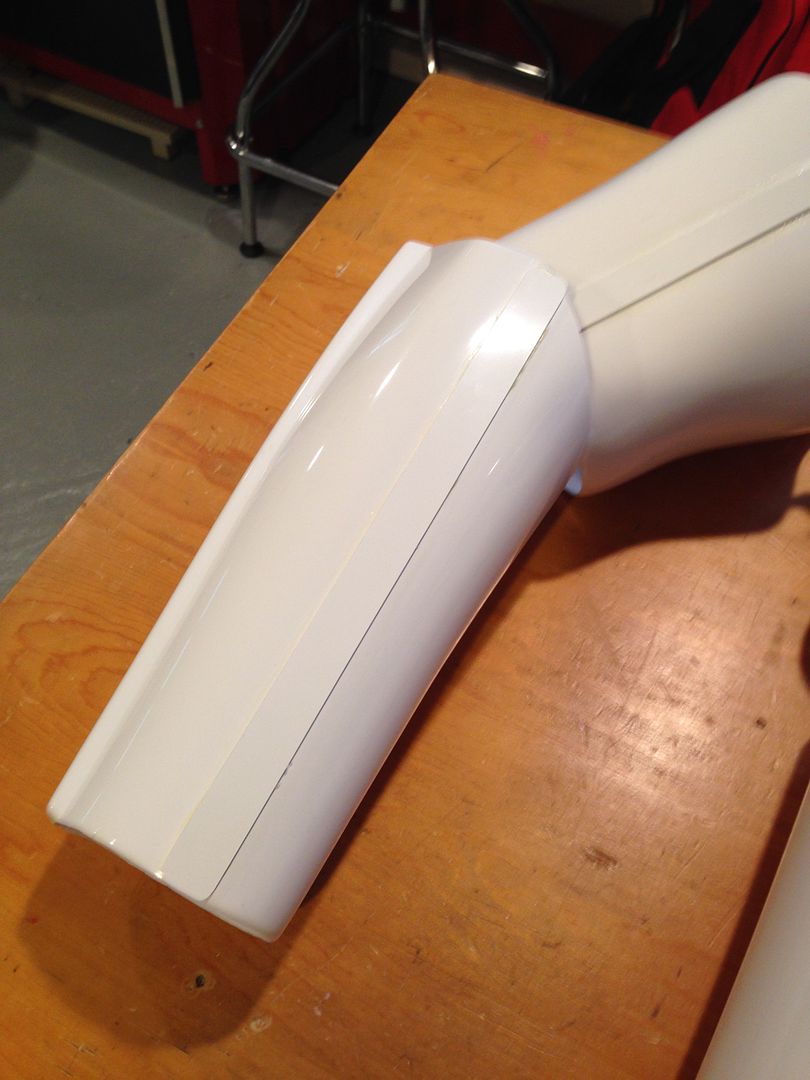
1) For the front shin cover strips I did them the same way but took my time and used as many magnets and clamps as I could to get the best seal possible. Due to the way you put on the shins they take a lot of stress on the front seam. I'll probably reinforce them like I did the thighs later.
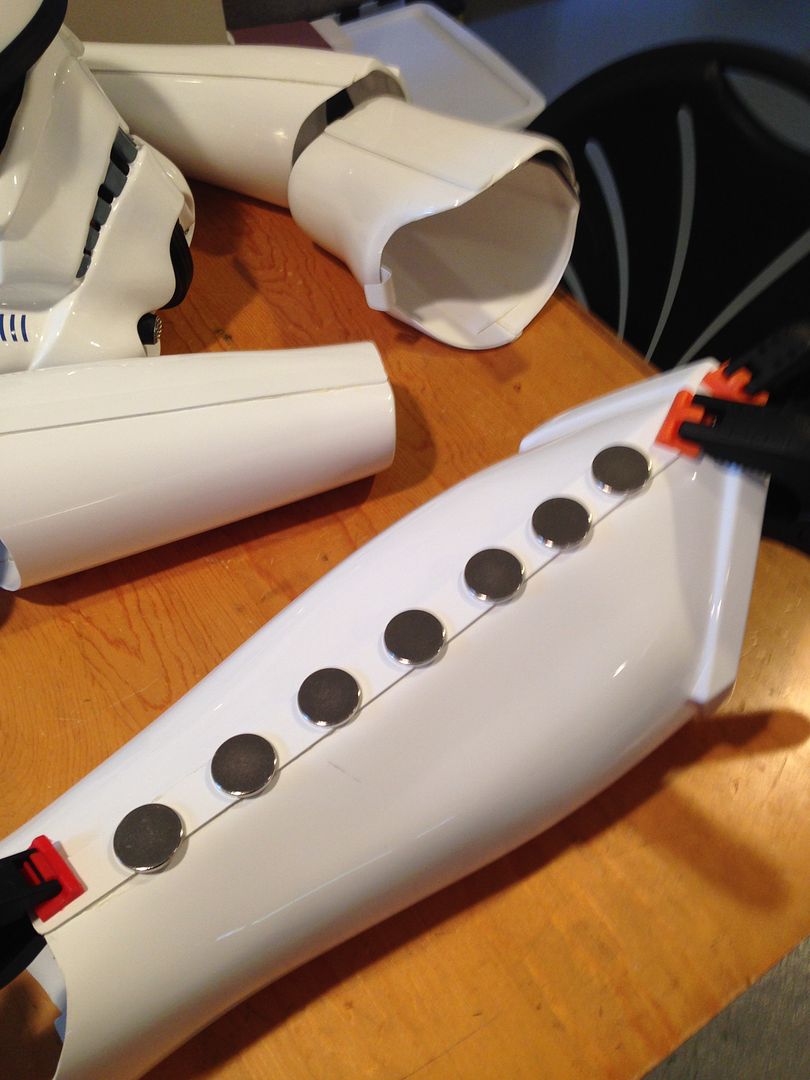
2) For the rear of the shins you use the cover strip, but only glue on one side. This way you can add the velcro (or other methods of closing) because there is no way so seal it completely and then get your foot in. Be careful to make sure the strip is glued to the correct side to make it look good - for the right shin you glue it to the right side and for the left shin the left side. this way the open part faces inside as opposed to out.
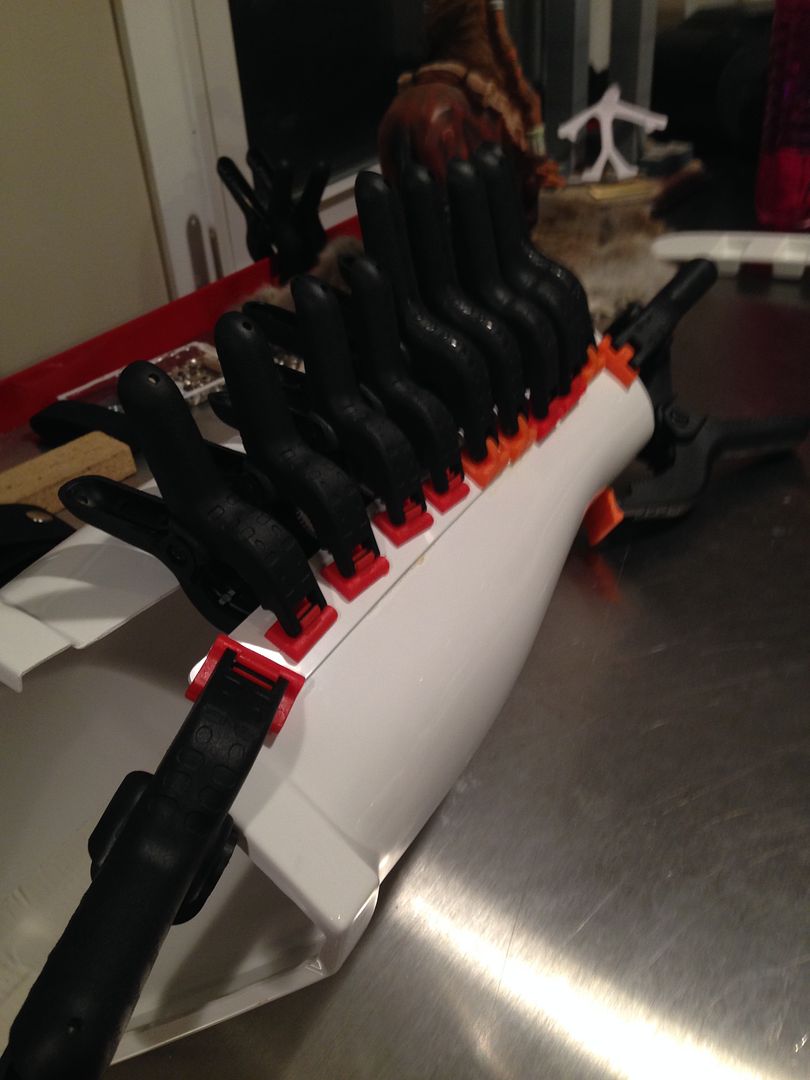
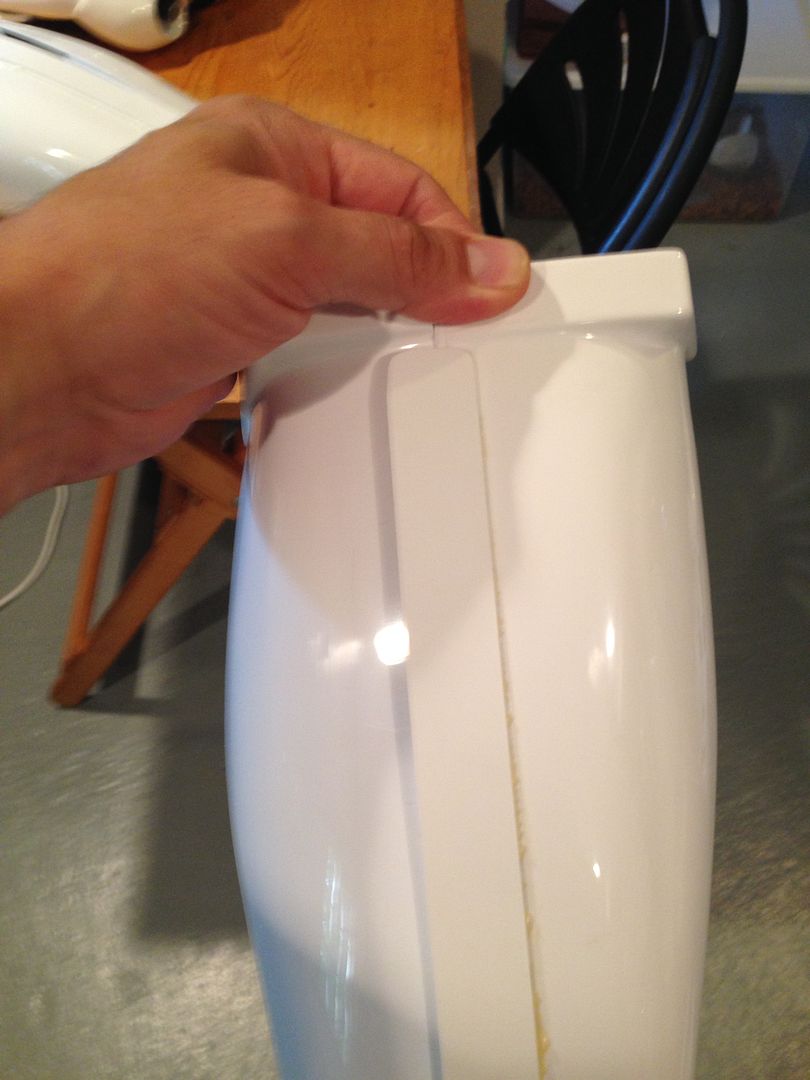
3) To finish them off add the velcro. I cut it into small strips to it won't stick out past the armor and fits in the overlap part of the cover strip. I actually used some scraps to put it all together so nothing is wasted hahaha!
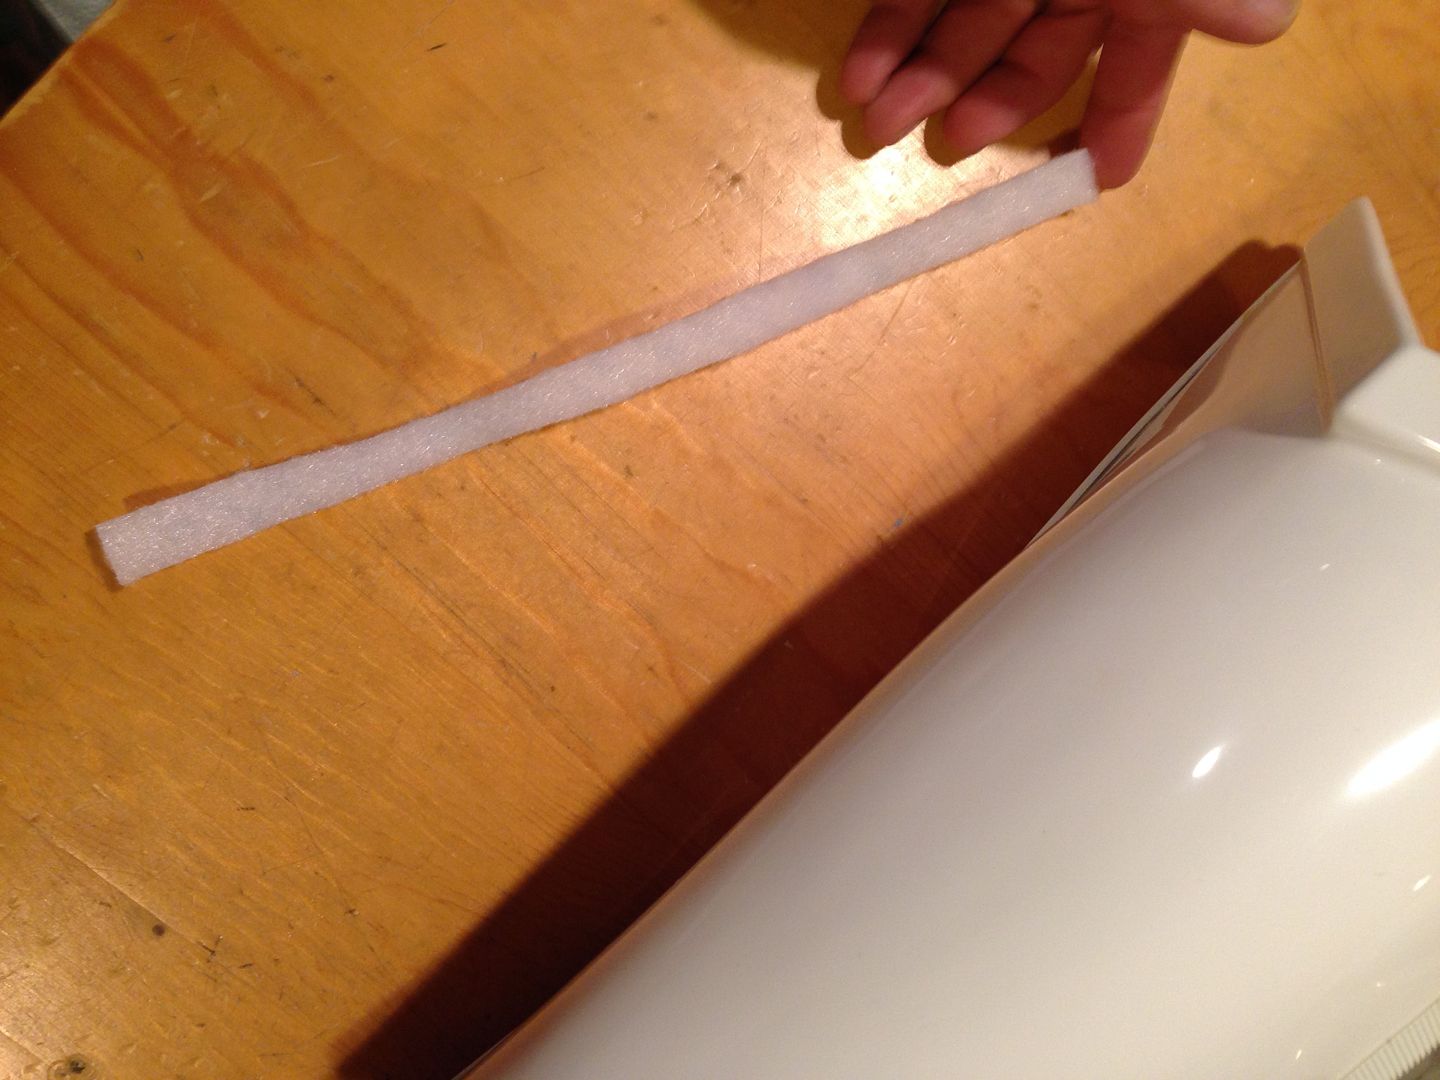
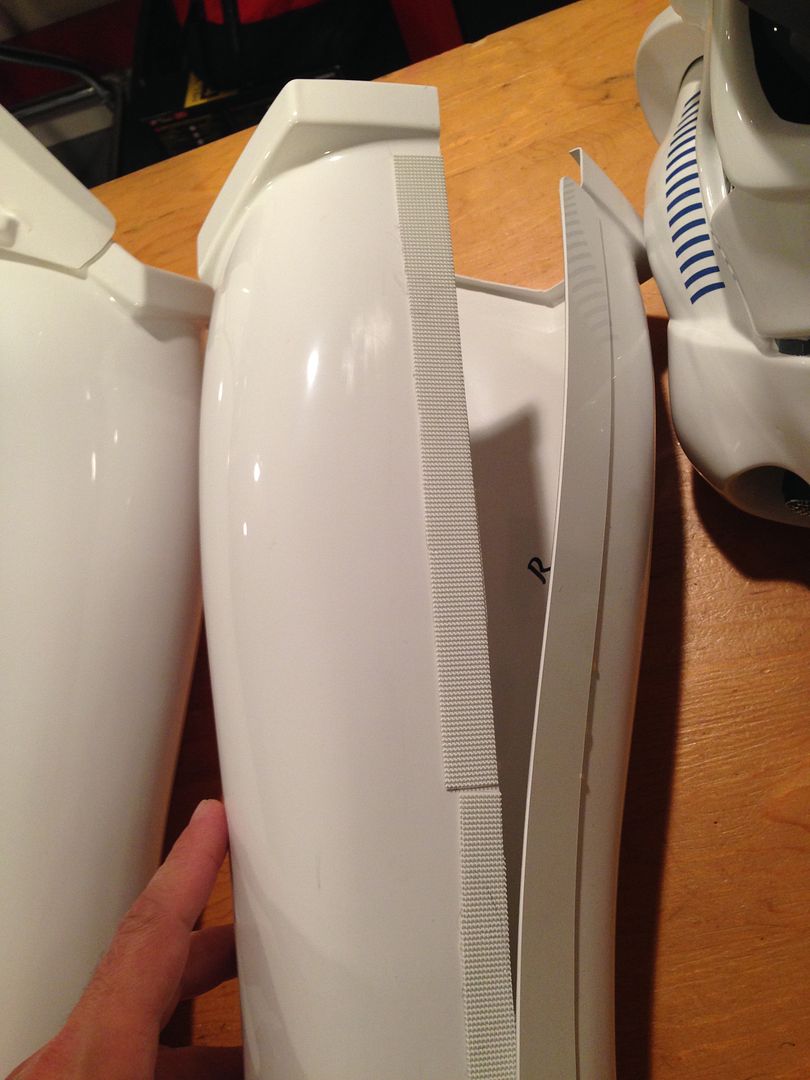
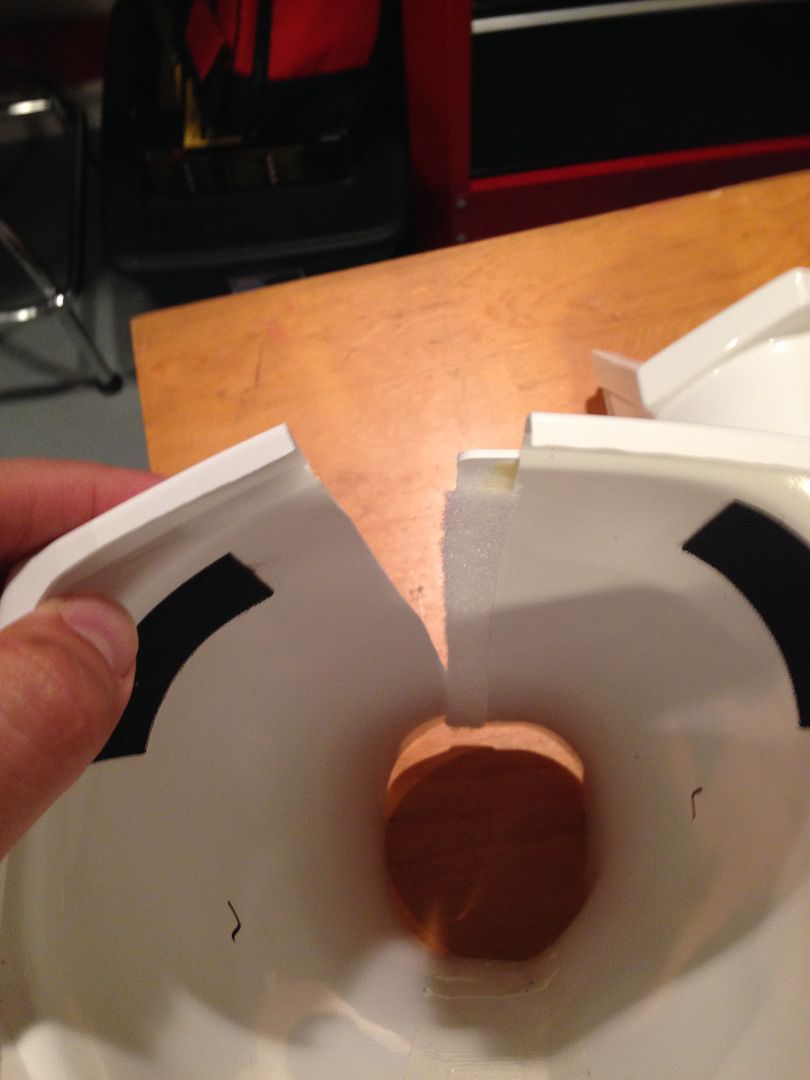
For thighs do everything the same as the arms.
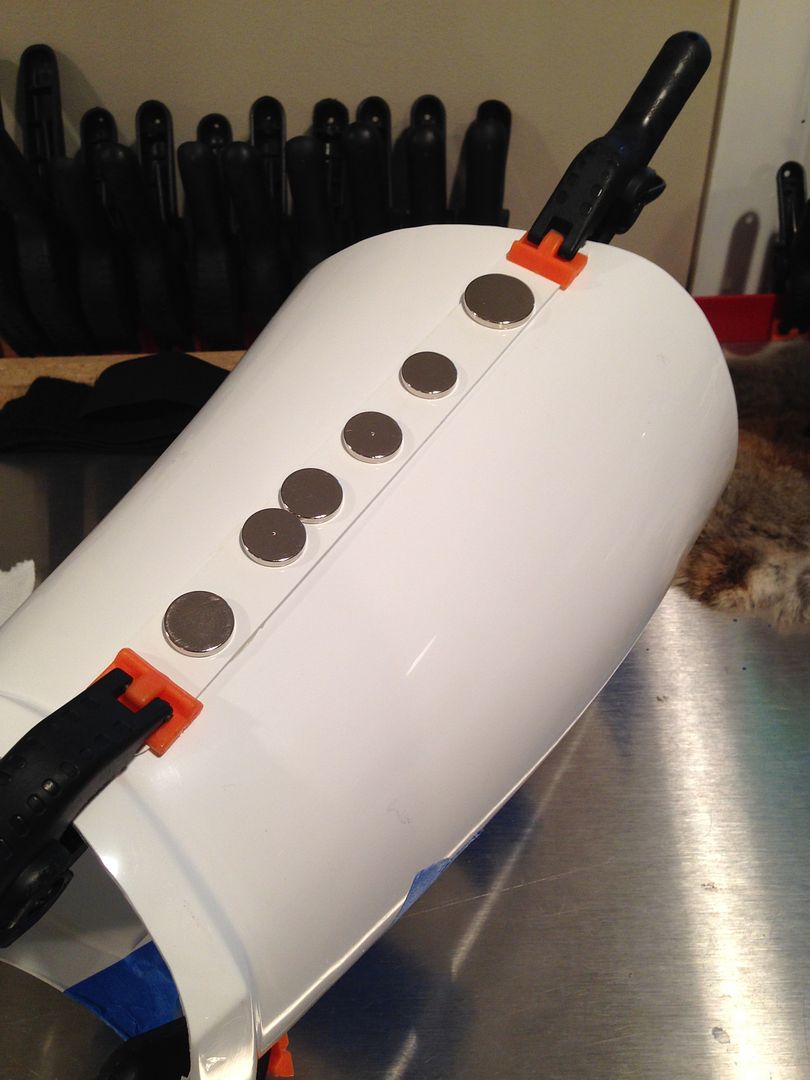
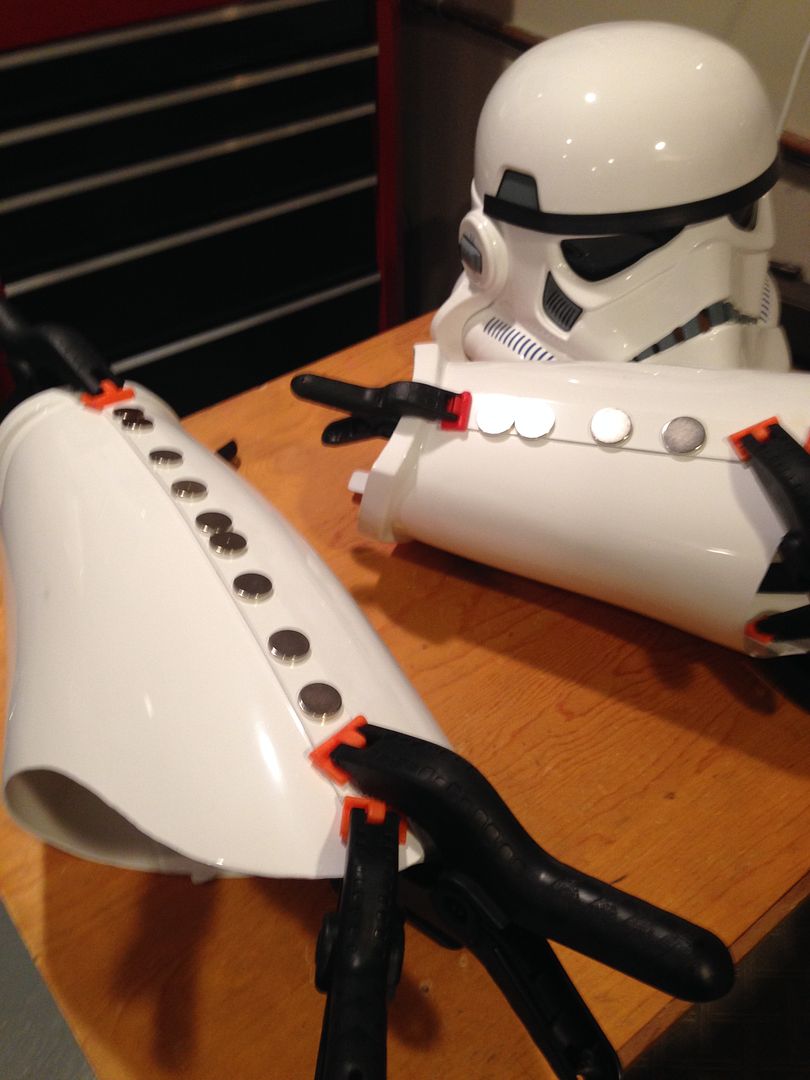
* You can remove excess glue with either an exacto knife, razor or easiest is a small flat head screw driver:
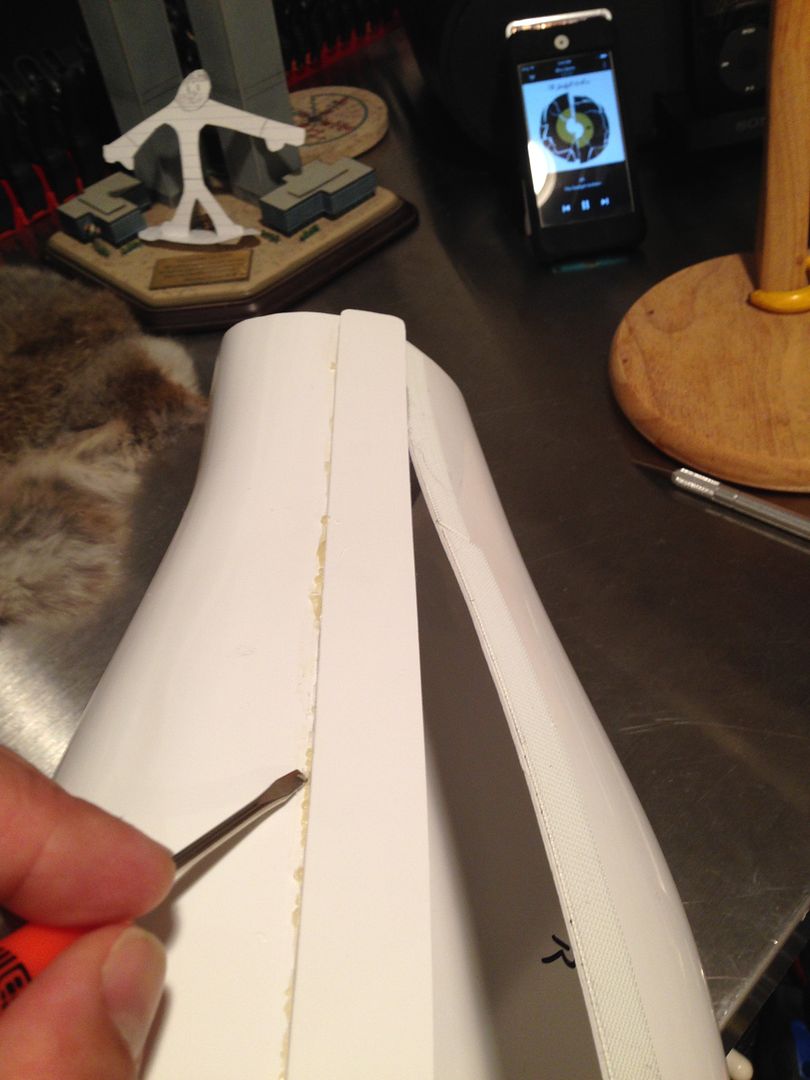
TIME CHECK:
COVER STRIPS - MAKING THEM, CUTTING THEM TO EACH PART, TRIMMING AND SANDING, GLUING, ADDING SHIM VELCRO = 1 1/2 HOURS
Last parts baby!!
Adding the thigh ammo pack (right thigh) and knee (left shin).
1) I'm using the higher standard assembly and making the knee attachment without rivets. There isn't a lot of surface to glue so you do your best and use multiple clams to really hold things down while drying.
It's pretty standard fit with little to know prep trimming or sanding, just make sure you do this last (after attaching the cover strips). After the experts weigh in I might take a tad bit off the top, but for now I left it pretty much stock.
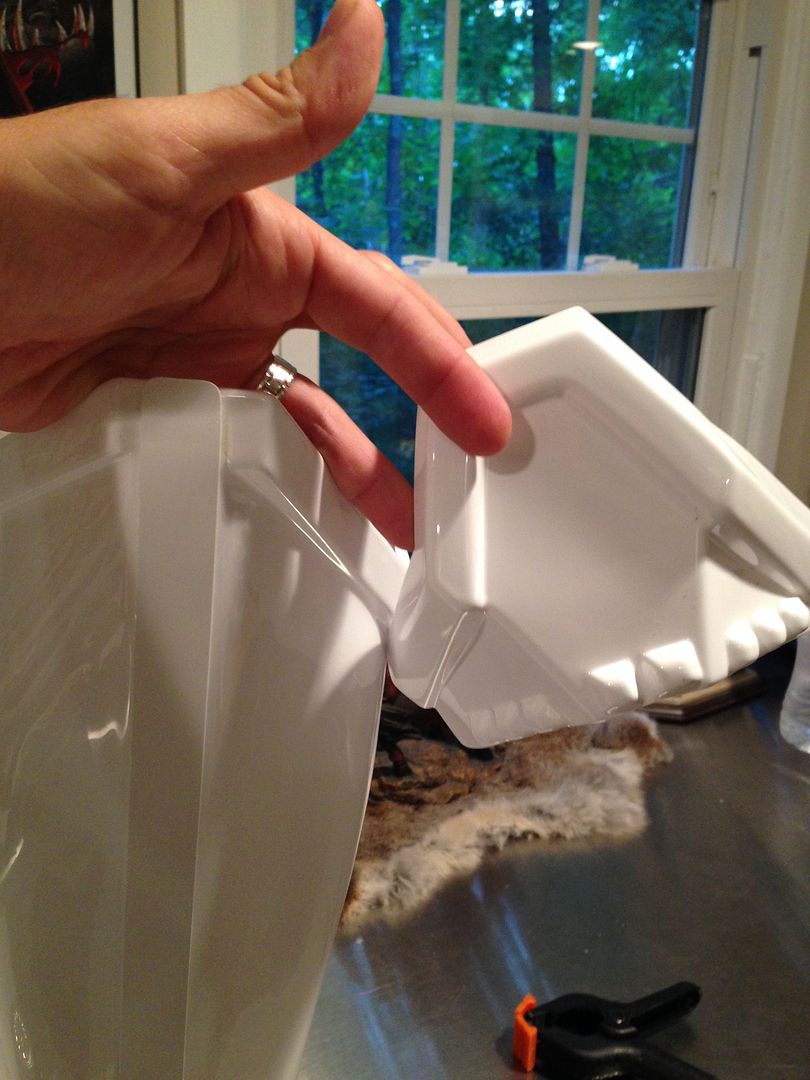
I marked where the points of contact will be and then put the glue on those spots.
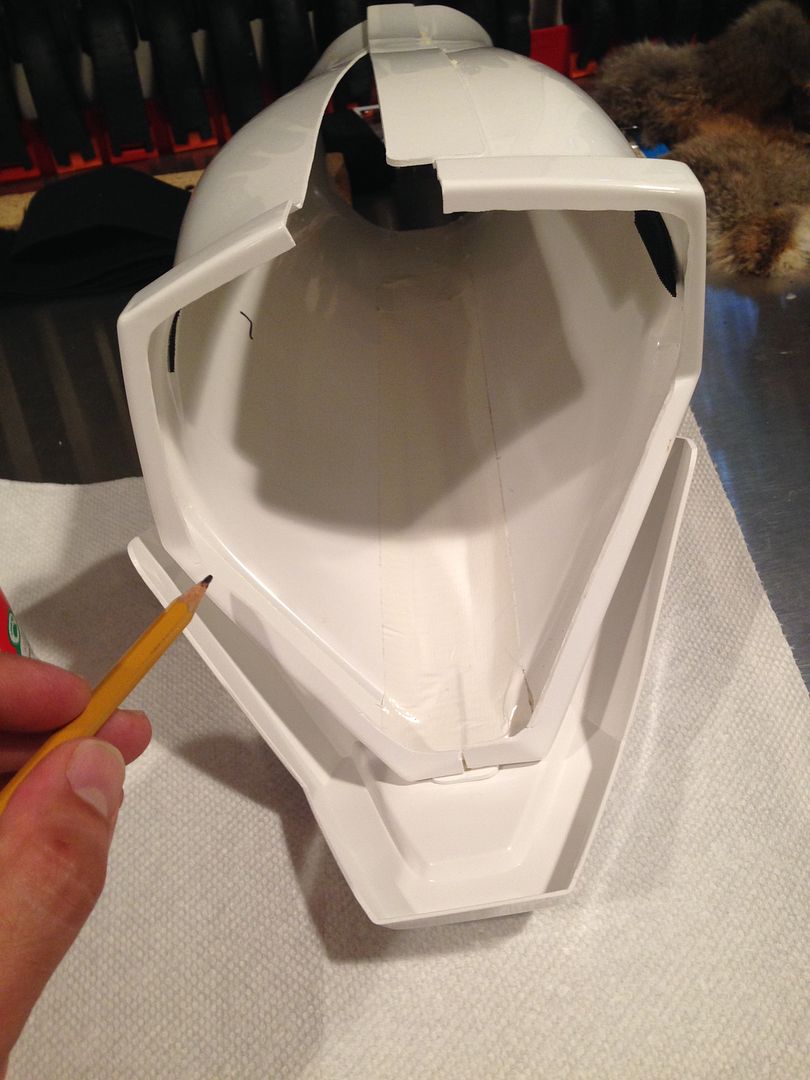
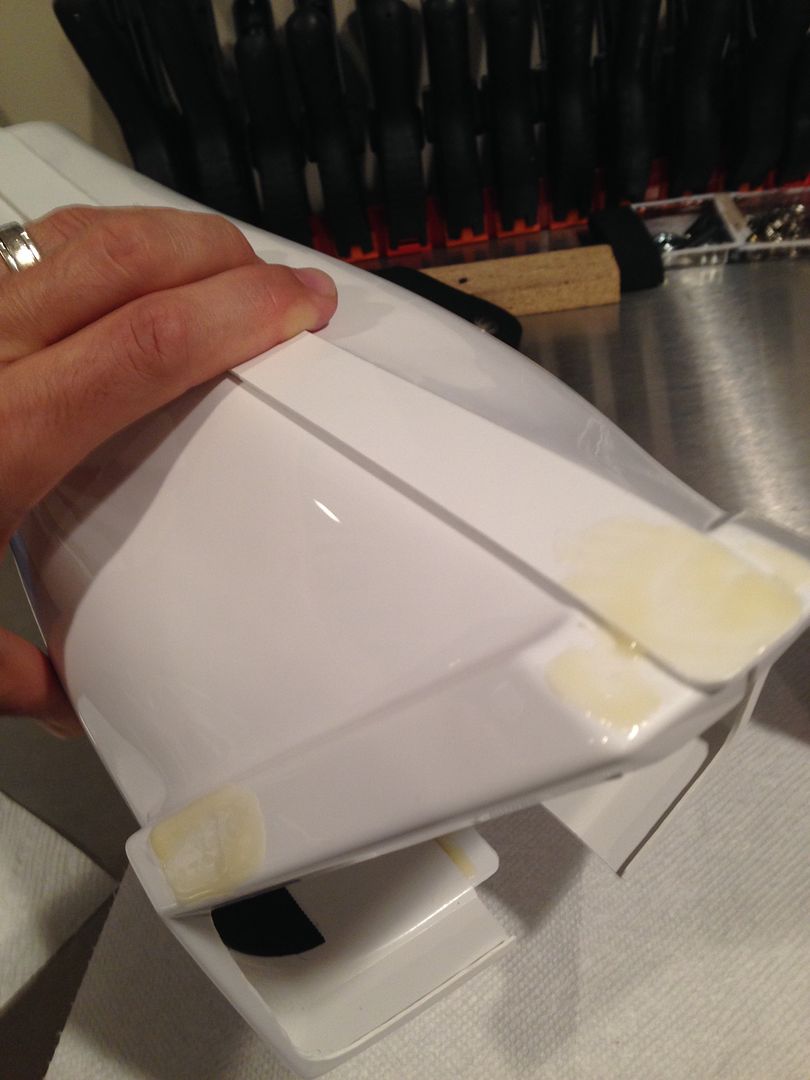
Then clamped it all together.
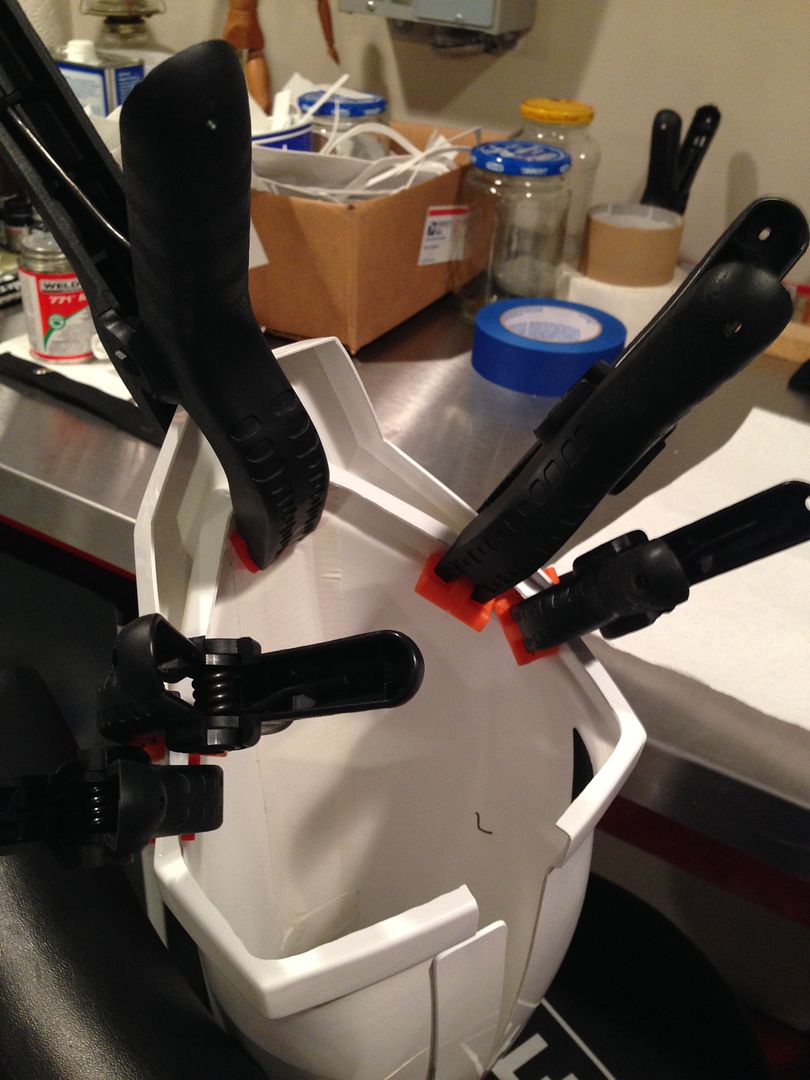
Down the road I might add a little mighty putty on the inside spaces for extra hold but for now I'll see how it does.
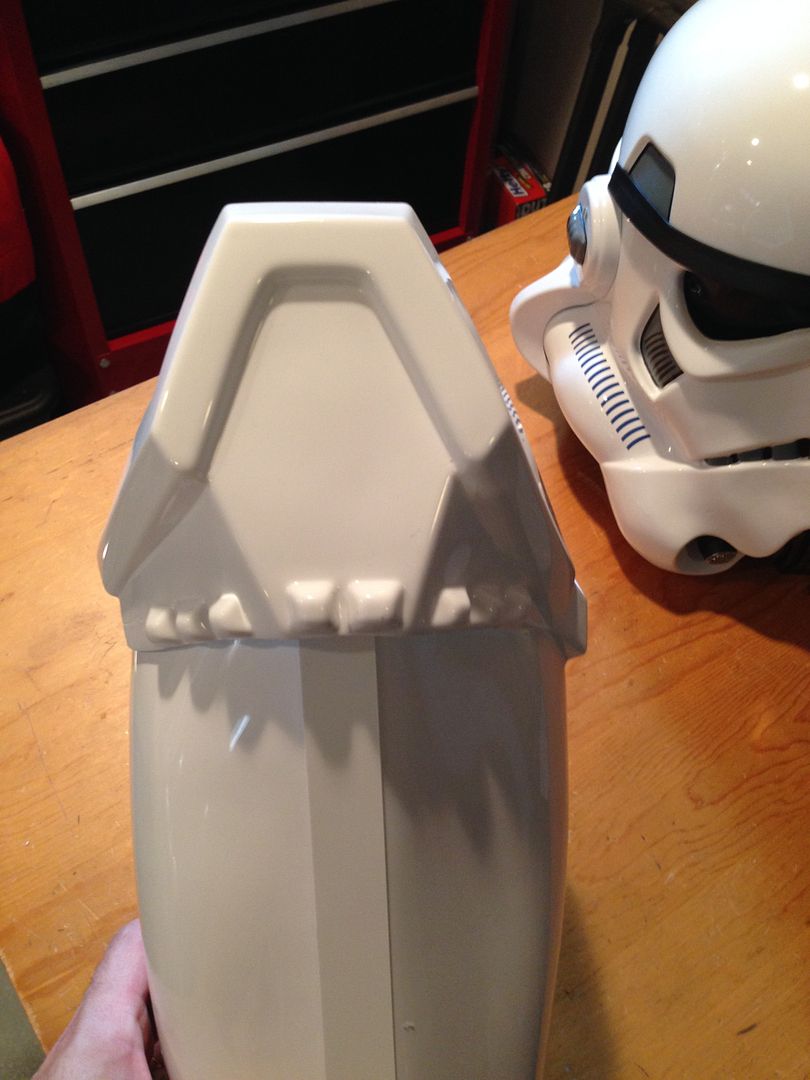
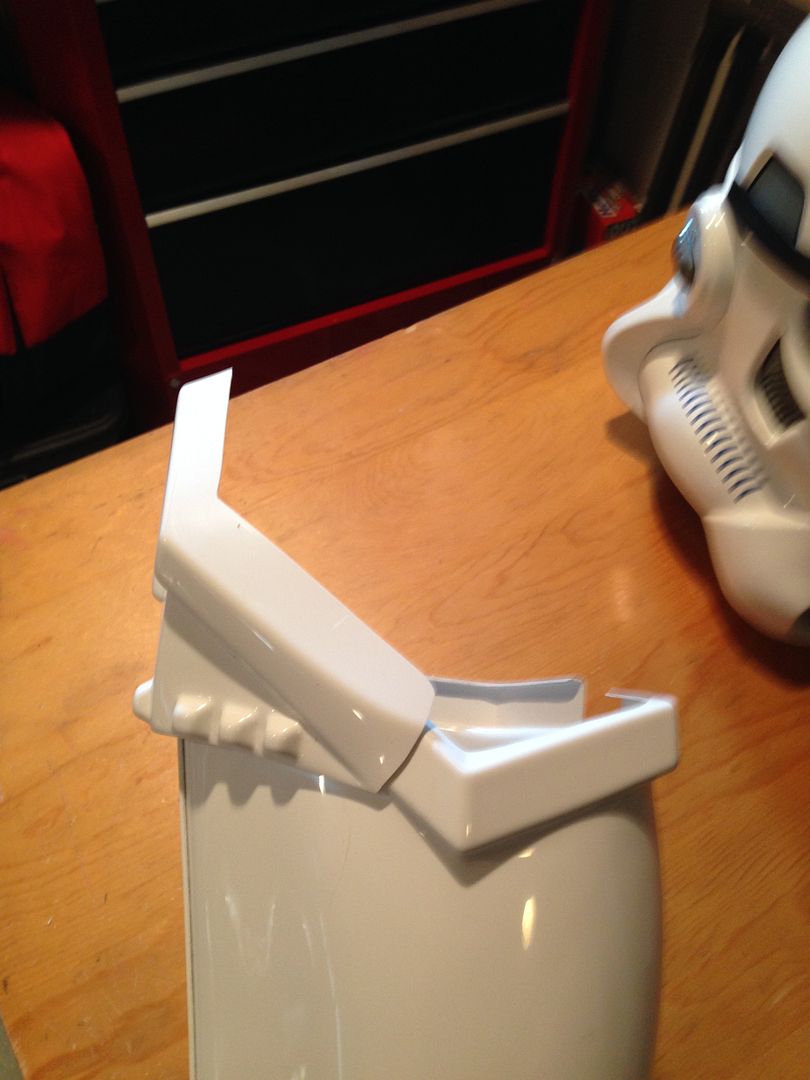
For the thigh ammo pack I had already trimmed, sanded and measured it out (see a few pages back). For the attachment I'm using higher standard and screen accurate "cap rivets".
1) First I line it up and eyeball where the mark will be.
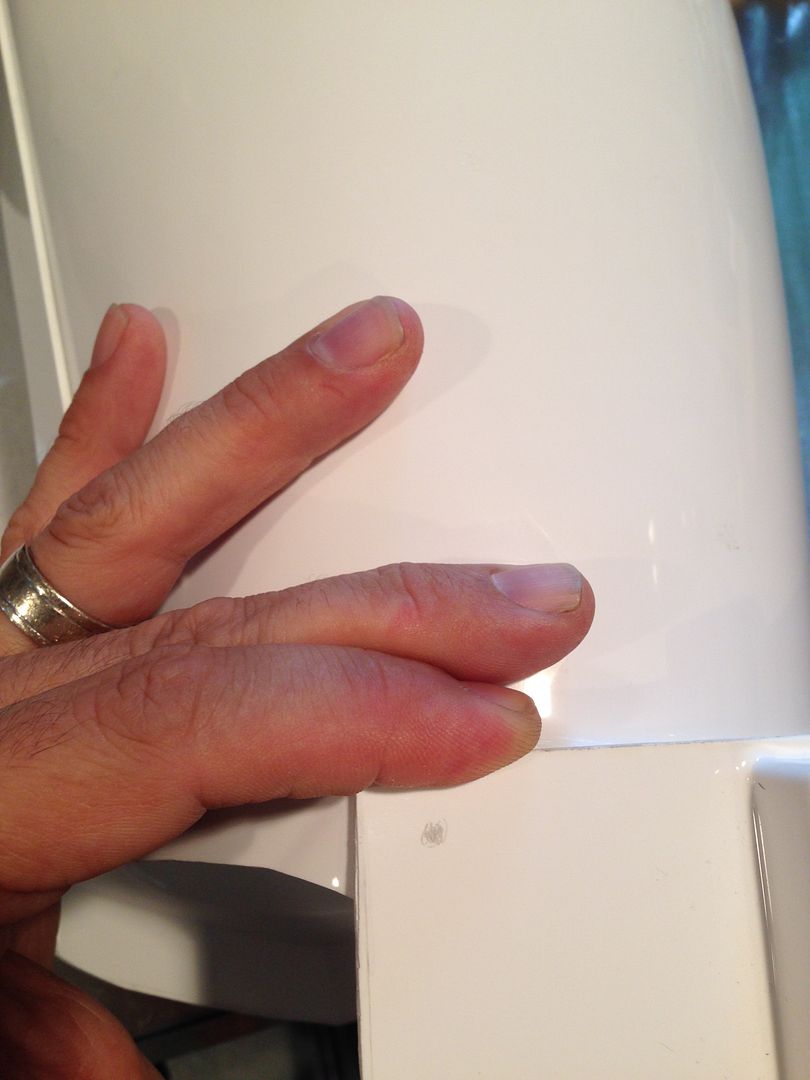
As with everything I do that way I then double check to make sure it's consistent on both sides. It was, ended up being 1cm from top and side on each.
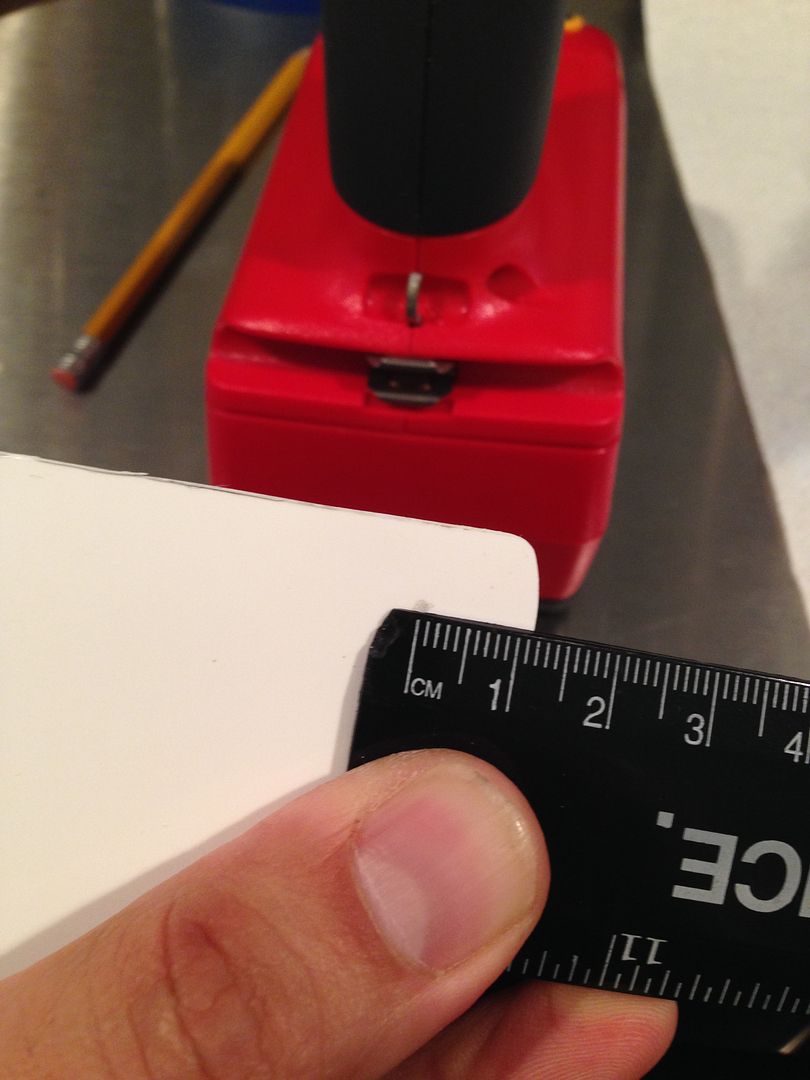
2) I drilled the hole, then put it back to mark where the thigh part hole will be.
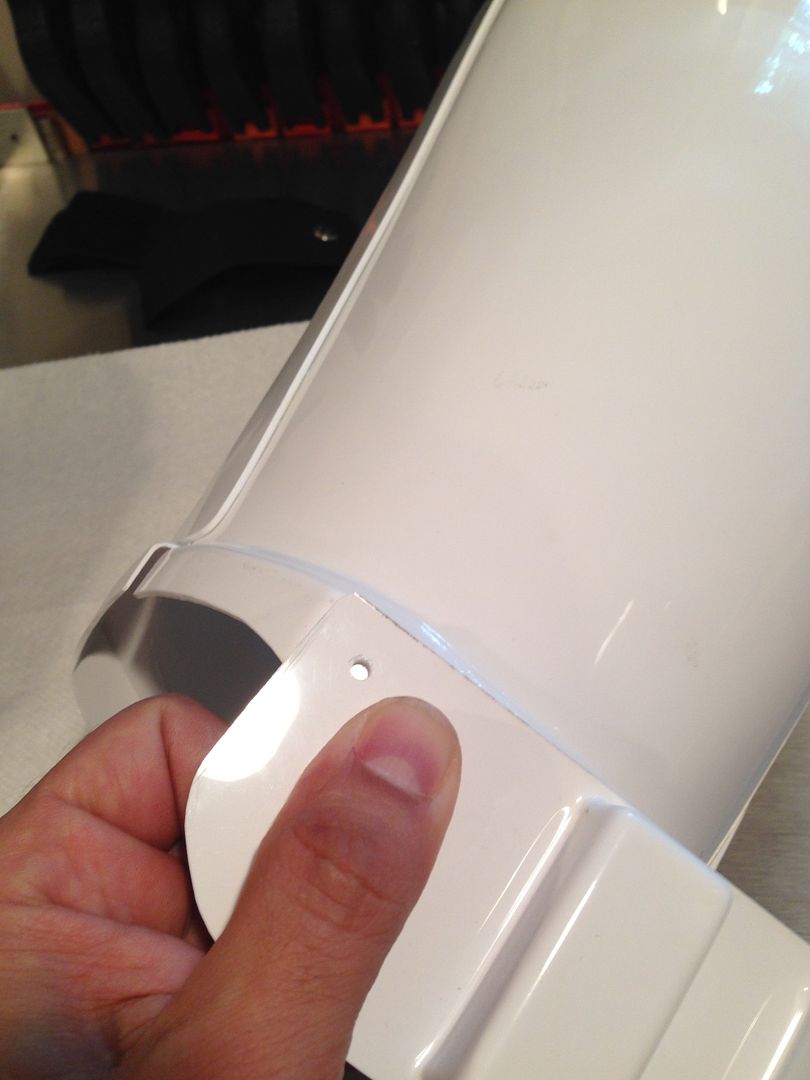
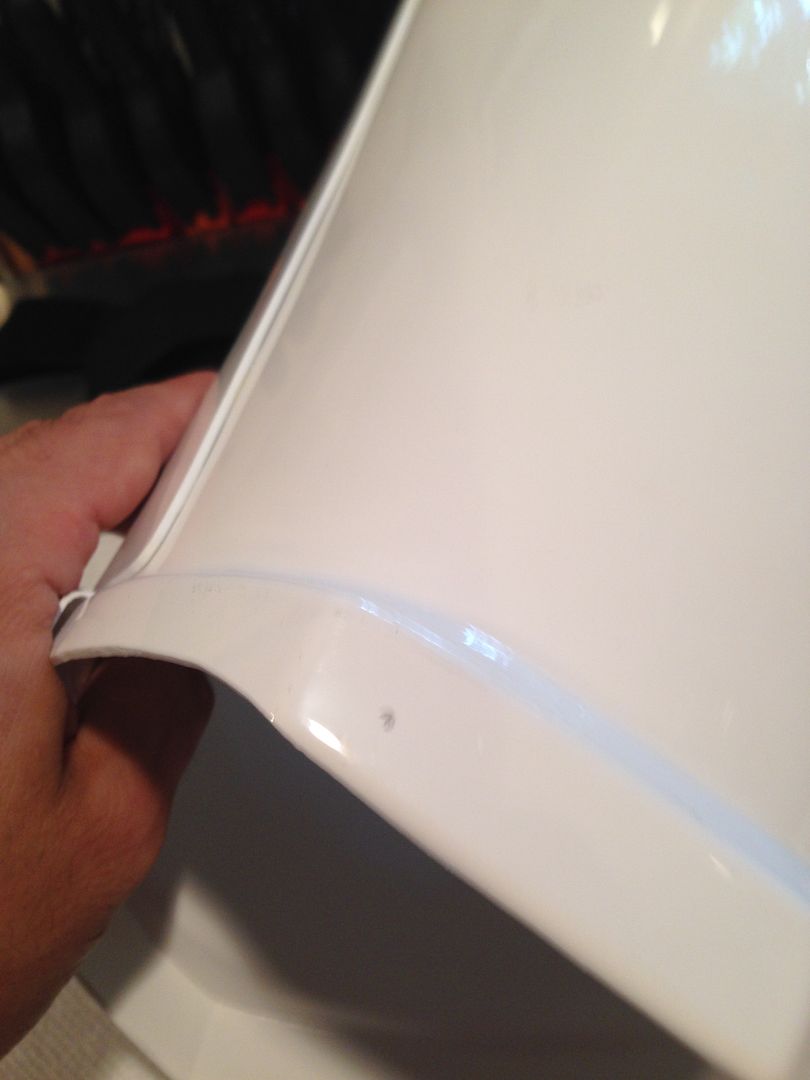
3) For assembly, I did one side first. I put in the rivet then taped it in place. This not only holds it there but also affords some protection from the hard concrete floor as I'm smashing the other side with the hammer lol.
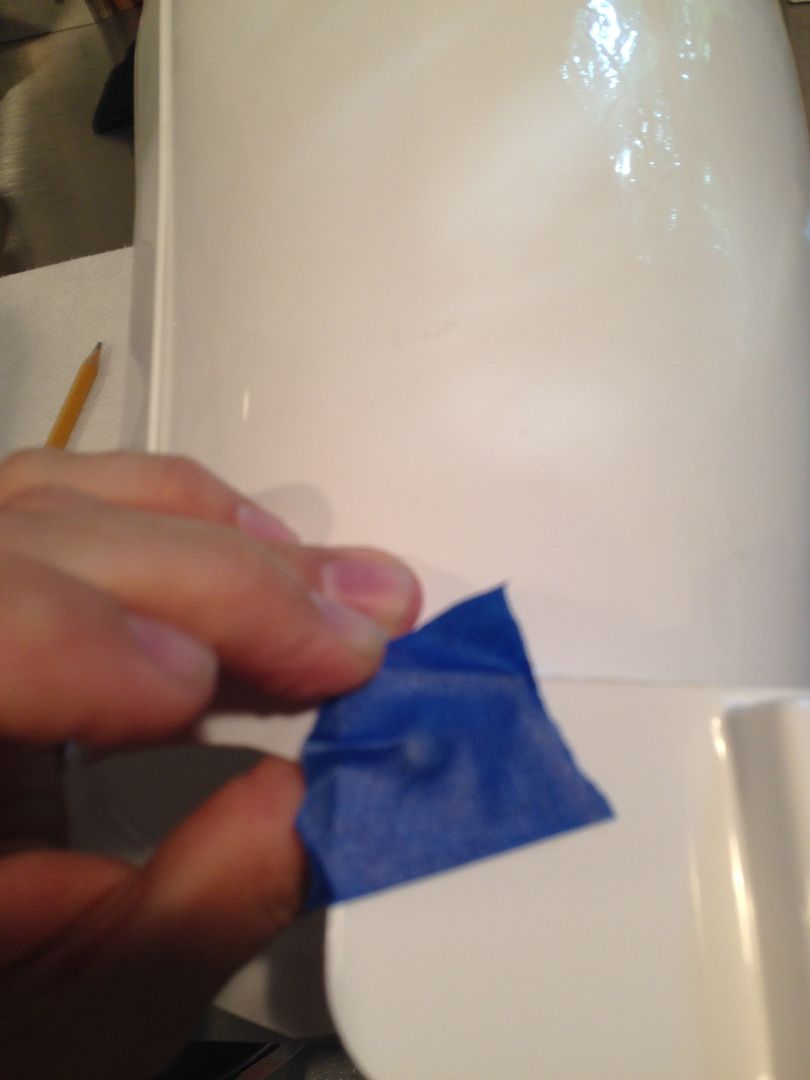
4) Using a hammer and nail punch I smash the rivet cap on. Afterwards I use a smaller hammer (due to ability to get a good stike) as well as the nail punch as a ground support to really get it on.
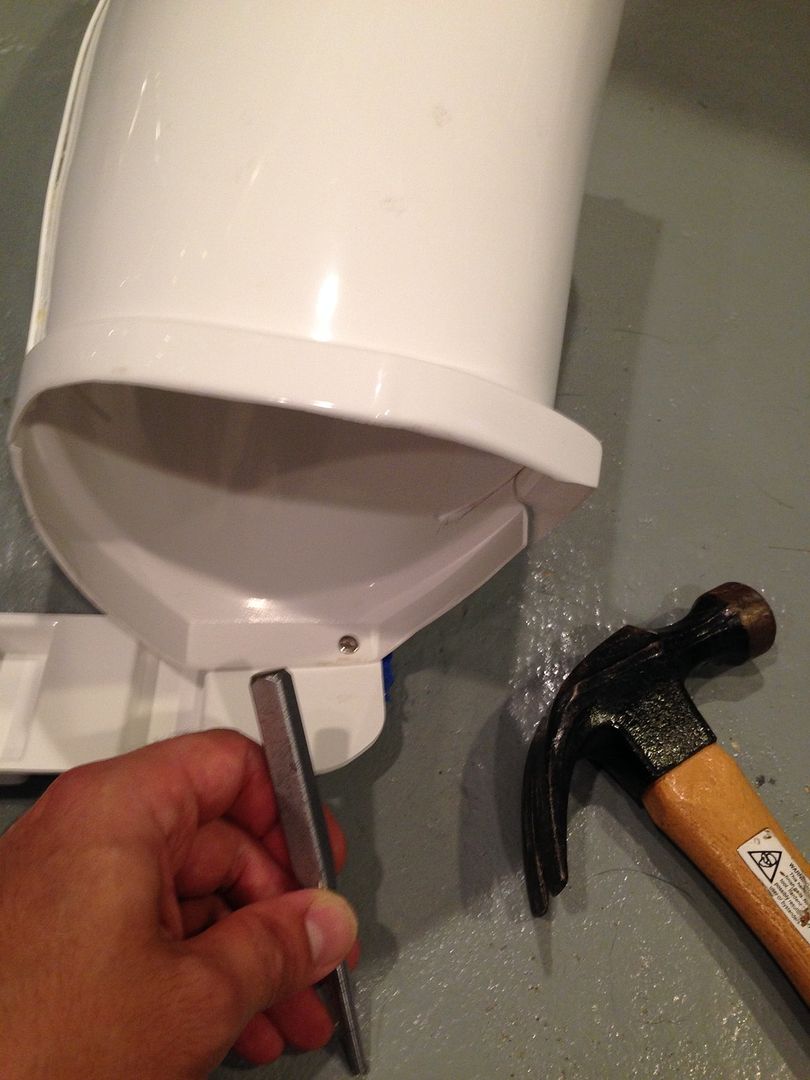
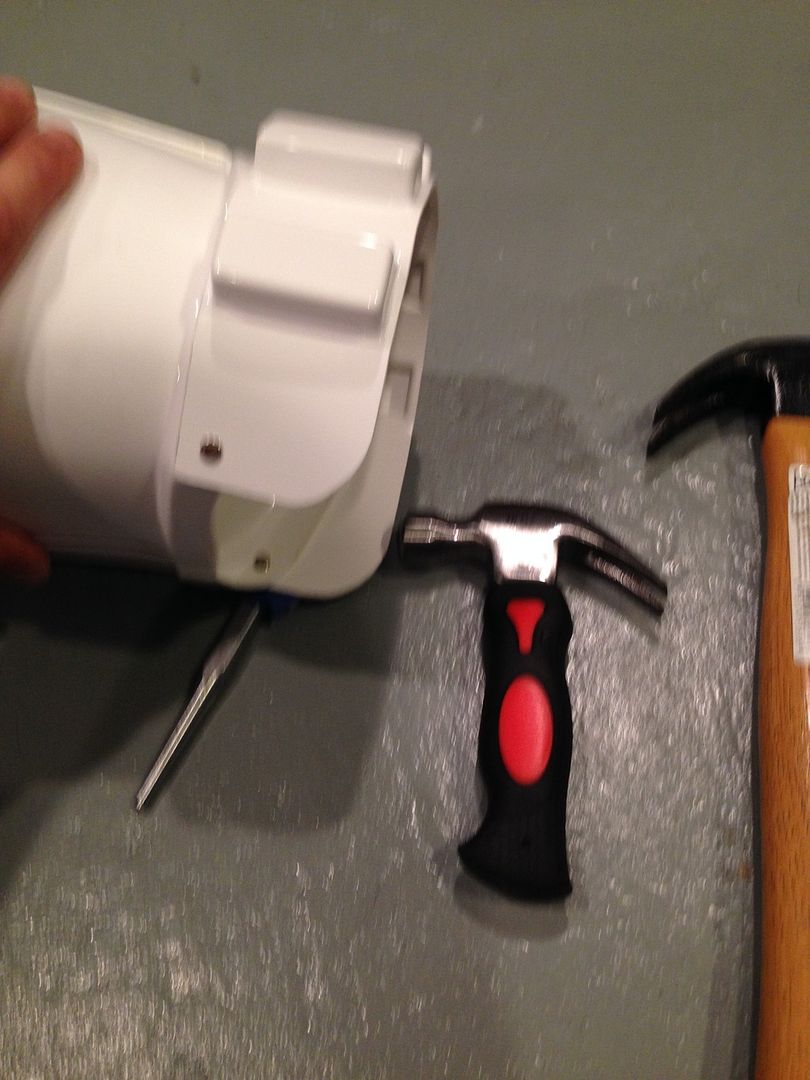
5) I then line up the other side, make the mark on the armor, drill the hold on that side of the thigh and attach the other rivet.
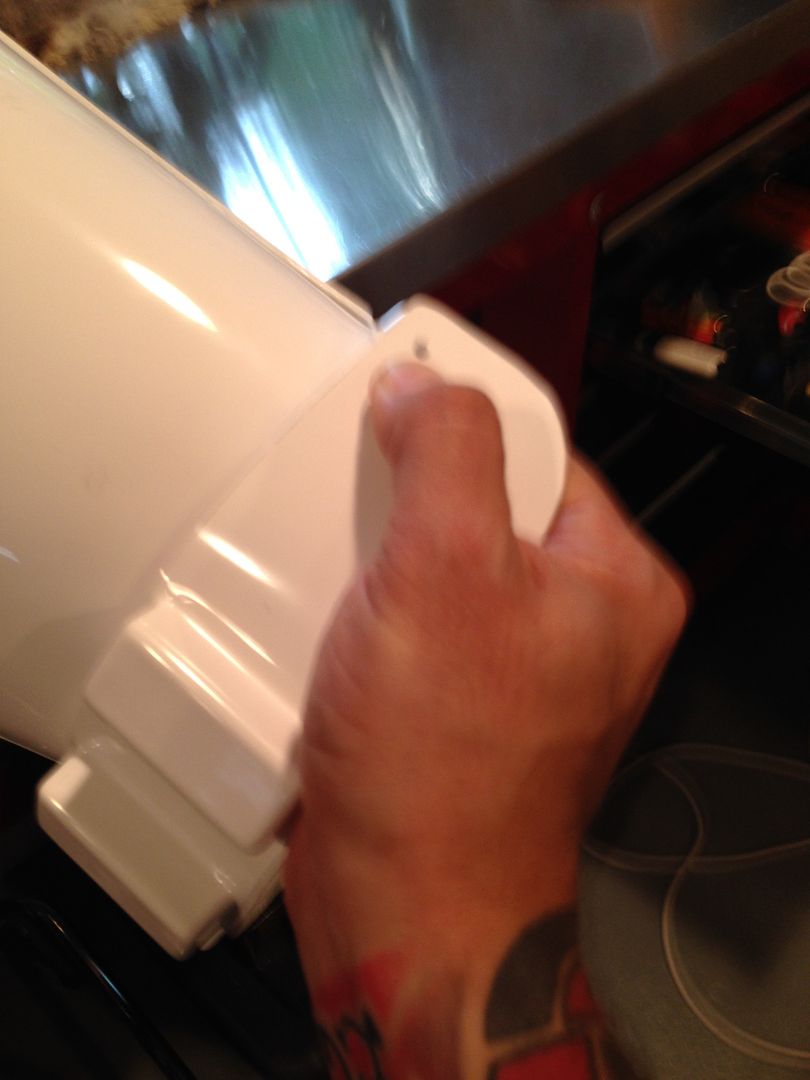
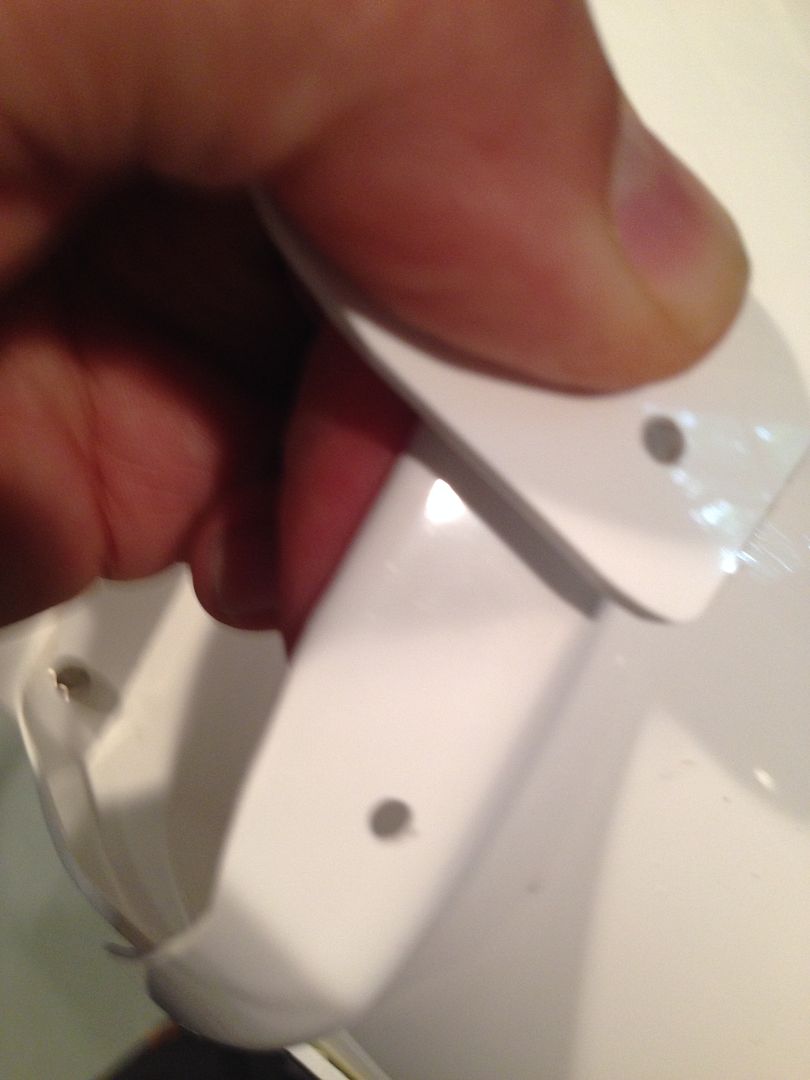
6) Finished product.
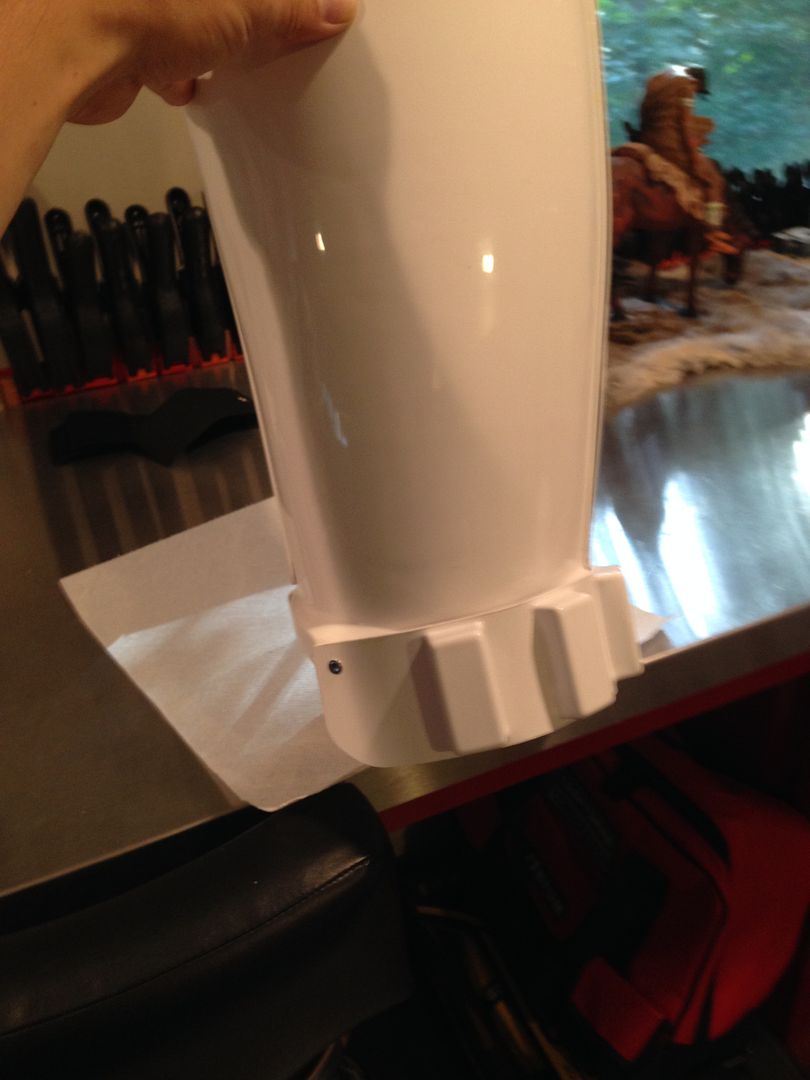
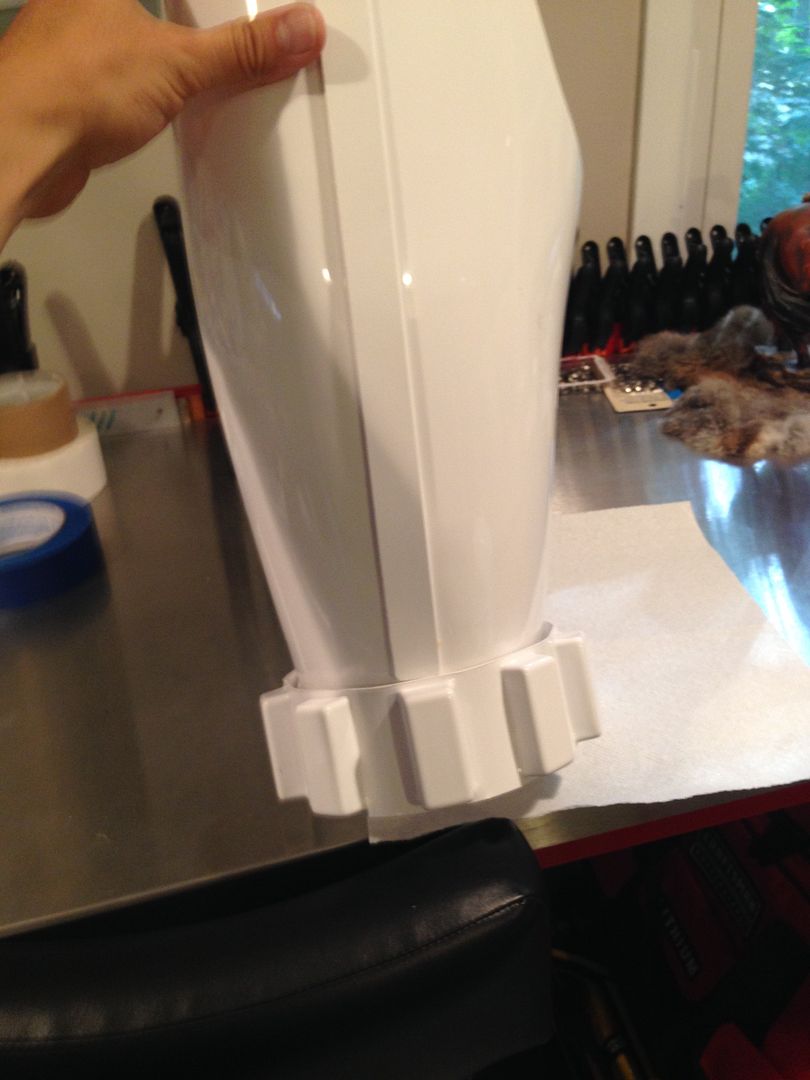
7) To complete the assembly I put in some E-6000 glue on the middle from the inside, and used a q-tip to squish it in there. This well keep it in place in the center.
8) Final touch up on the rivet with the white paint pen and I'm done.
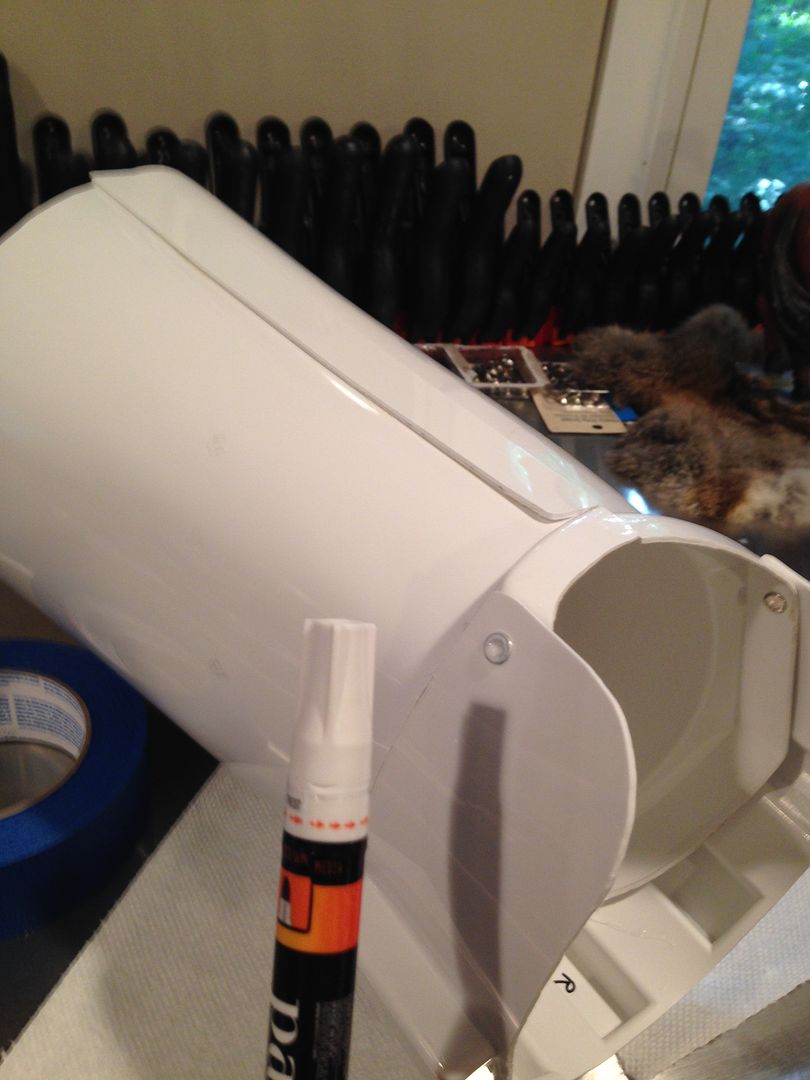
** On most TKs the left shin tends to twist to the side and knock the knee plate out of alignment. There are several ways to prevent this and hold it in place. I'm using a simple velcro strip I had left over.
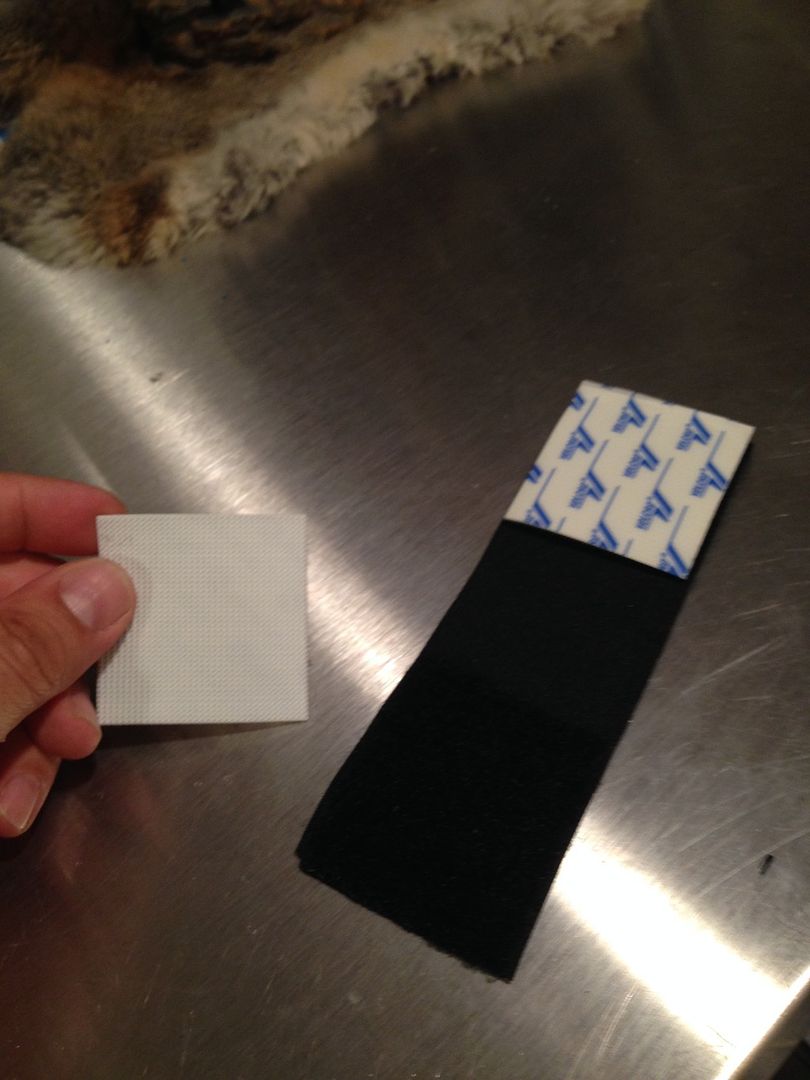
1) I used the 2" elastic and sewn on velcro, matched with sticky velcro for the armor.
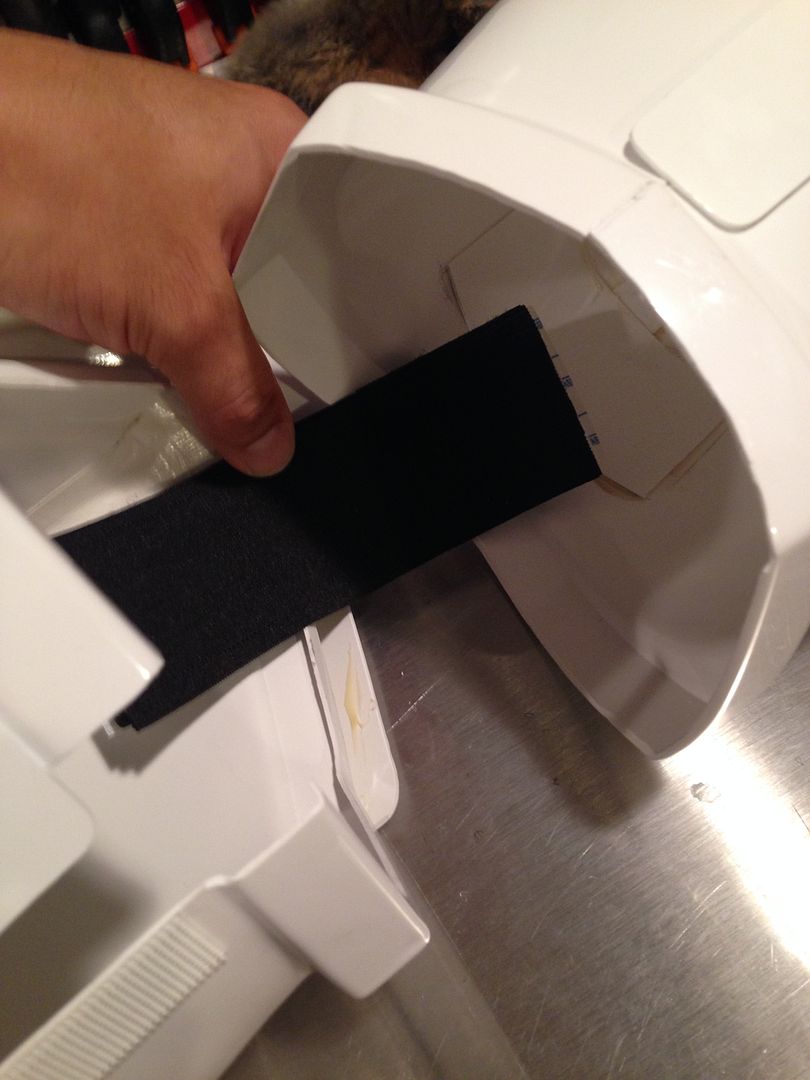
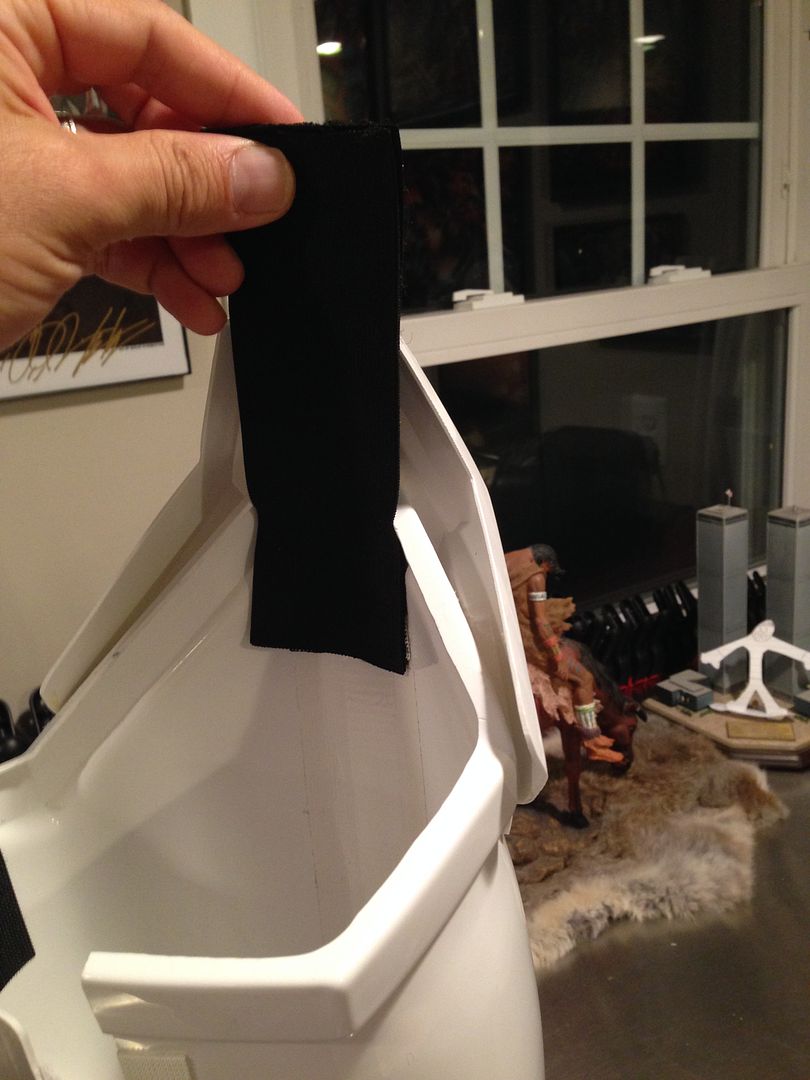
TIME CHECK:
ASSEMBLY OF THE KNEE PLATE AND THIGH AMMO PACK = 30 MINUTES
-
 1
1
-
-
Thigh straps.
1) This is one of the parts that gets a lot of stress and stretch, so I decided to use the 1" elastic but doubled over (and sewed).
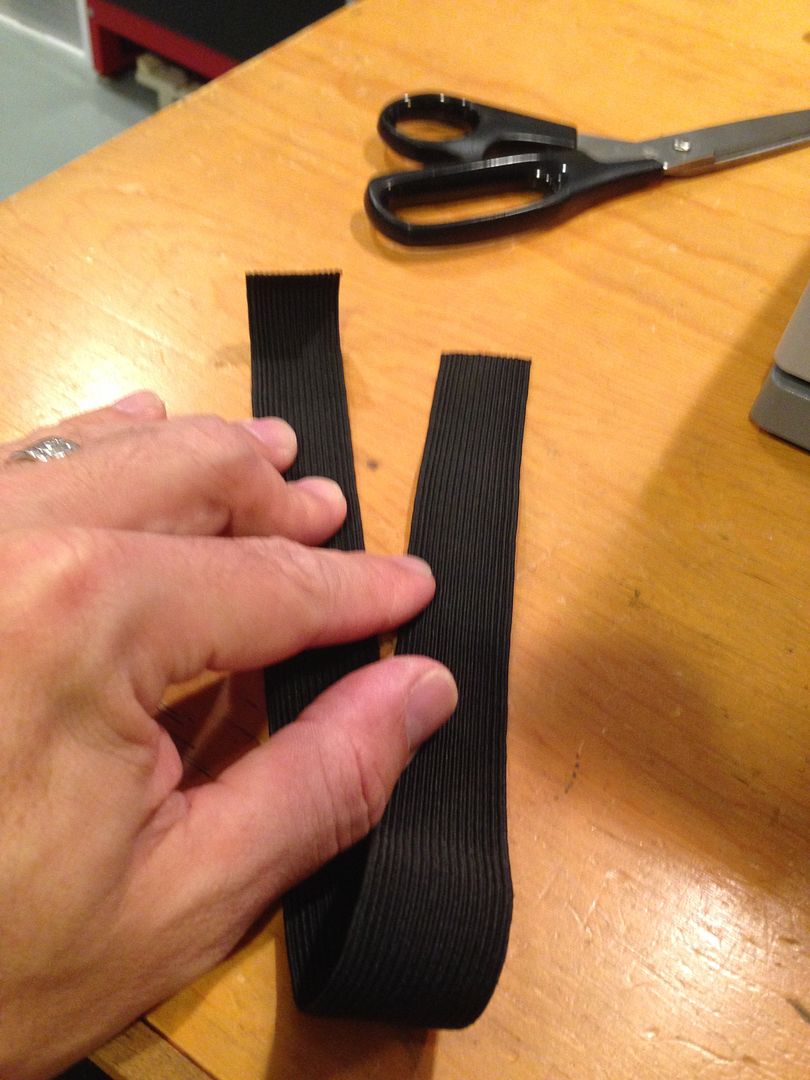
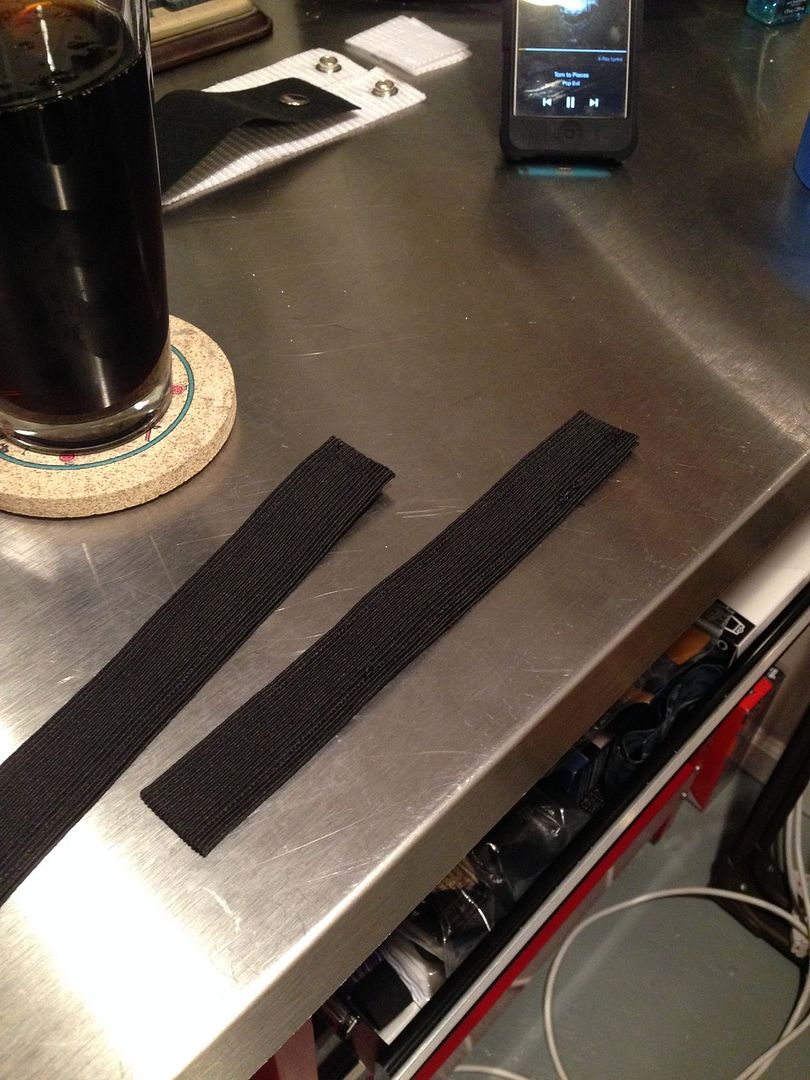
2) Put in the snap on one end, and as always labeled them (this will always be the bottom part). Attached to thighs for fitting.
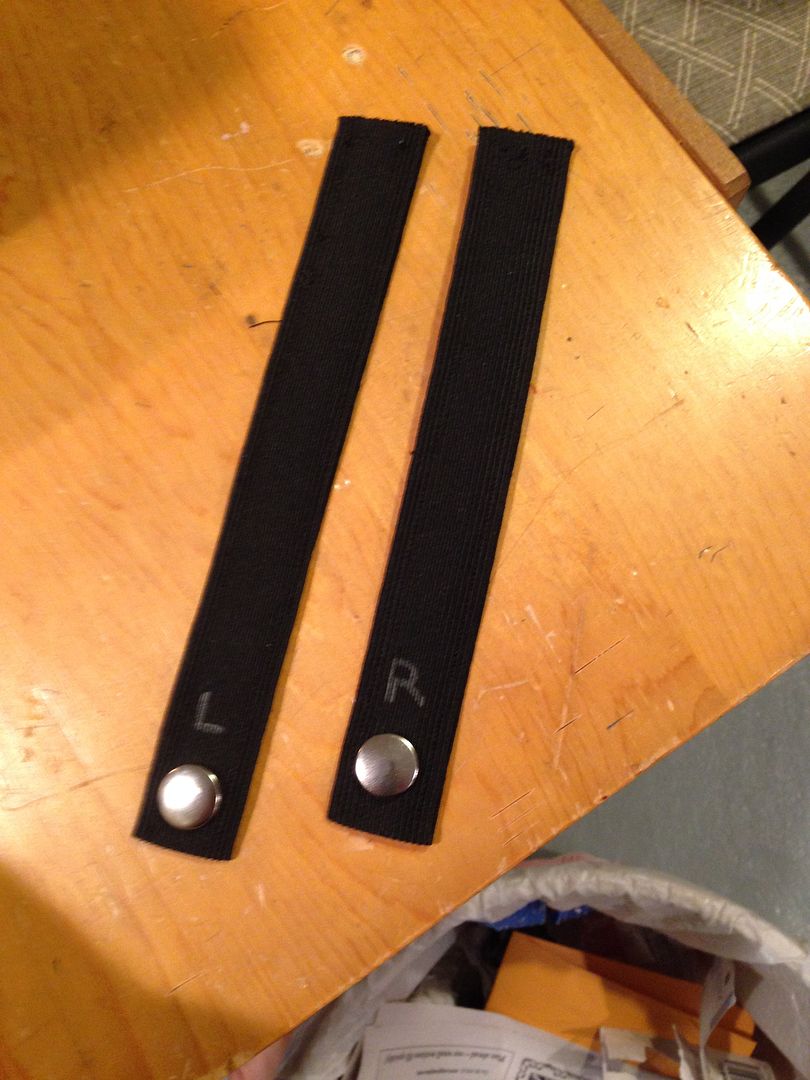
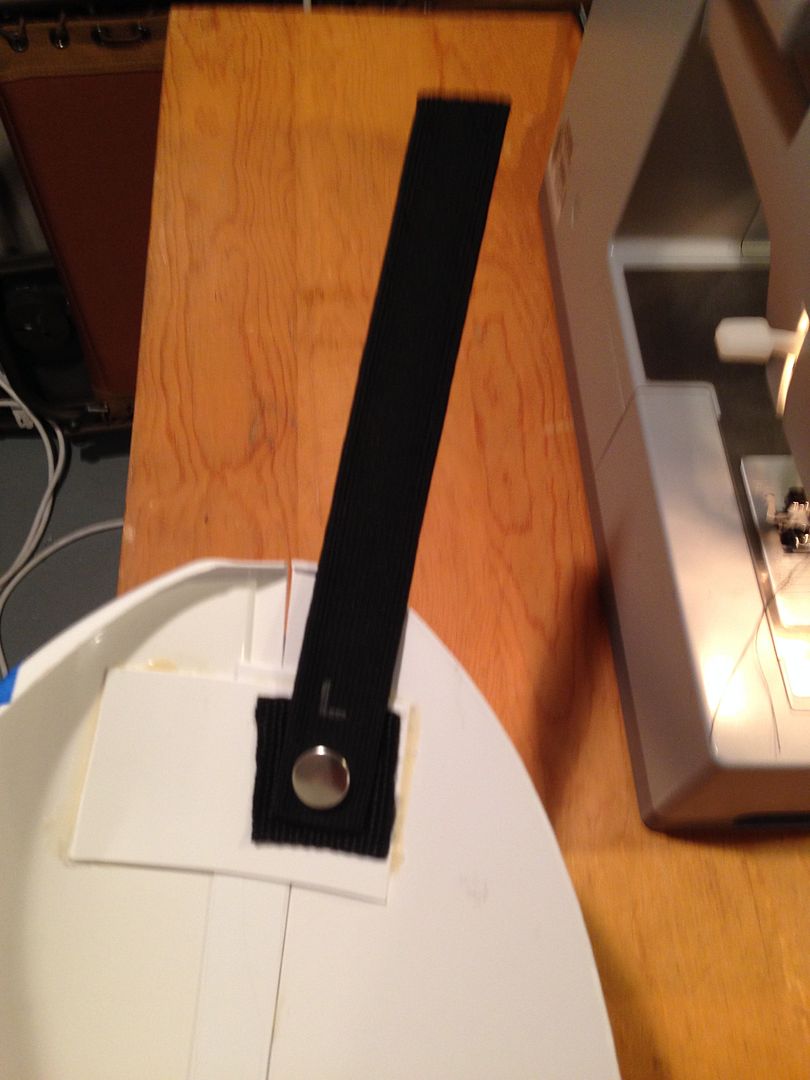
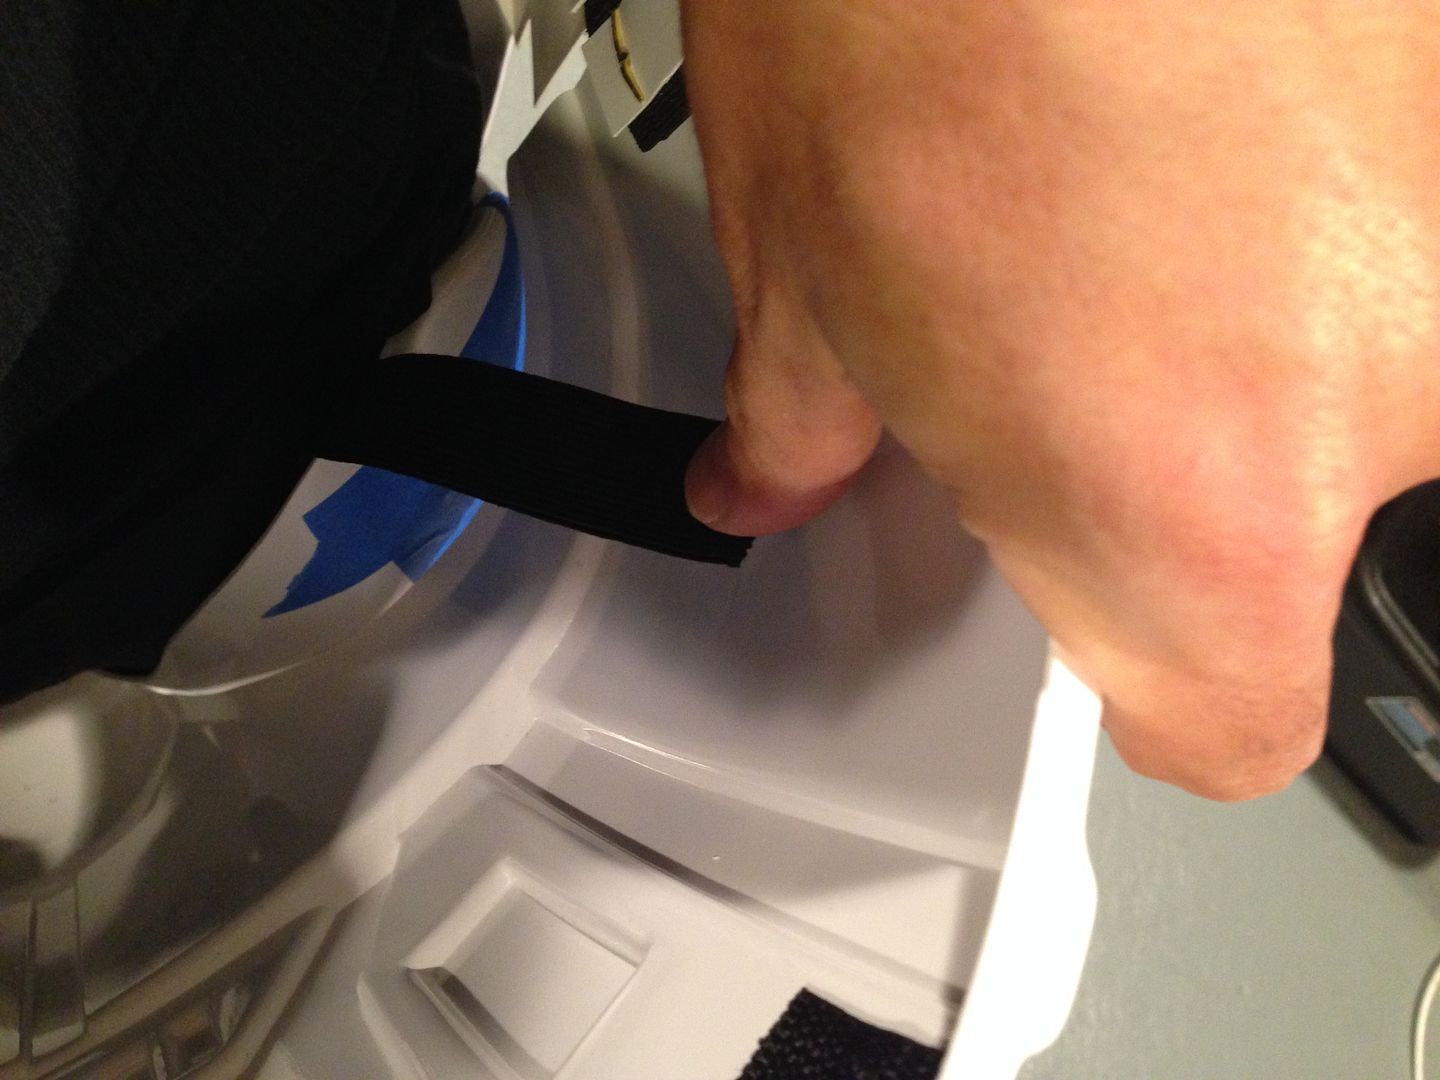
3) Put it all on and stretched the elastic up to the inside of the ab plate. Marked where it will need to be. I'm going a little higher then usual this time, I think it will make it easier to put on
 Marked the spot and glued on the square.
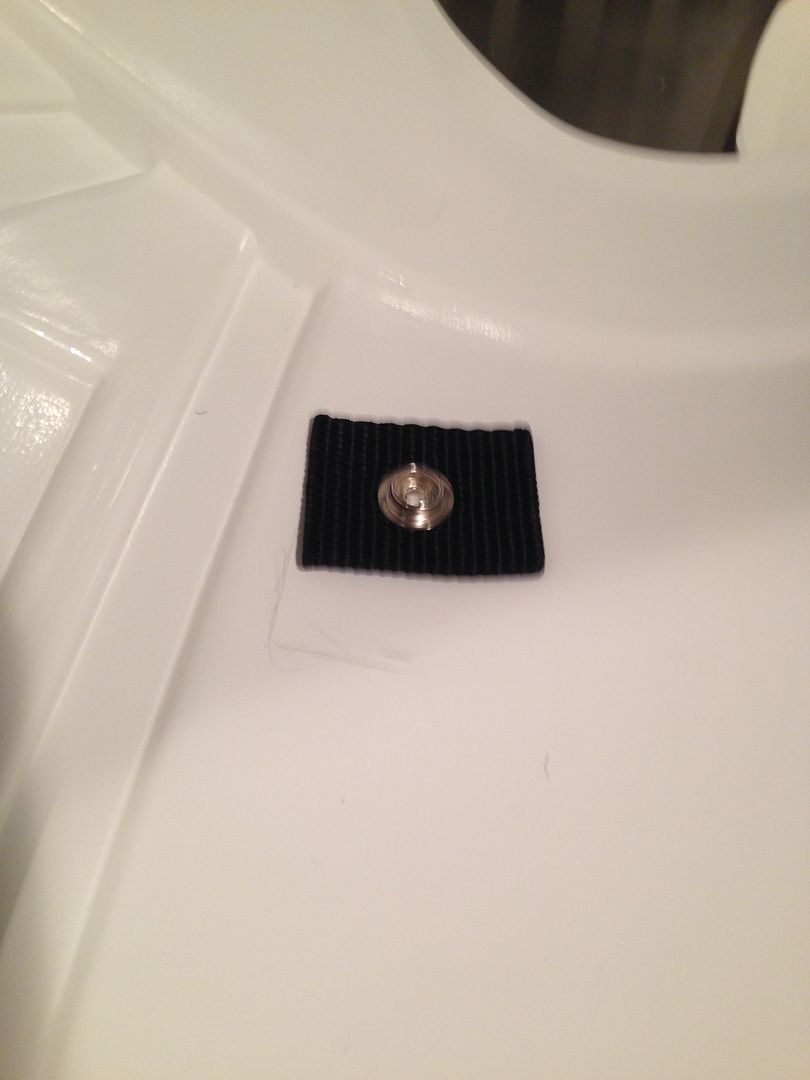
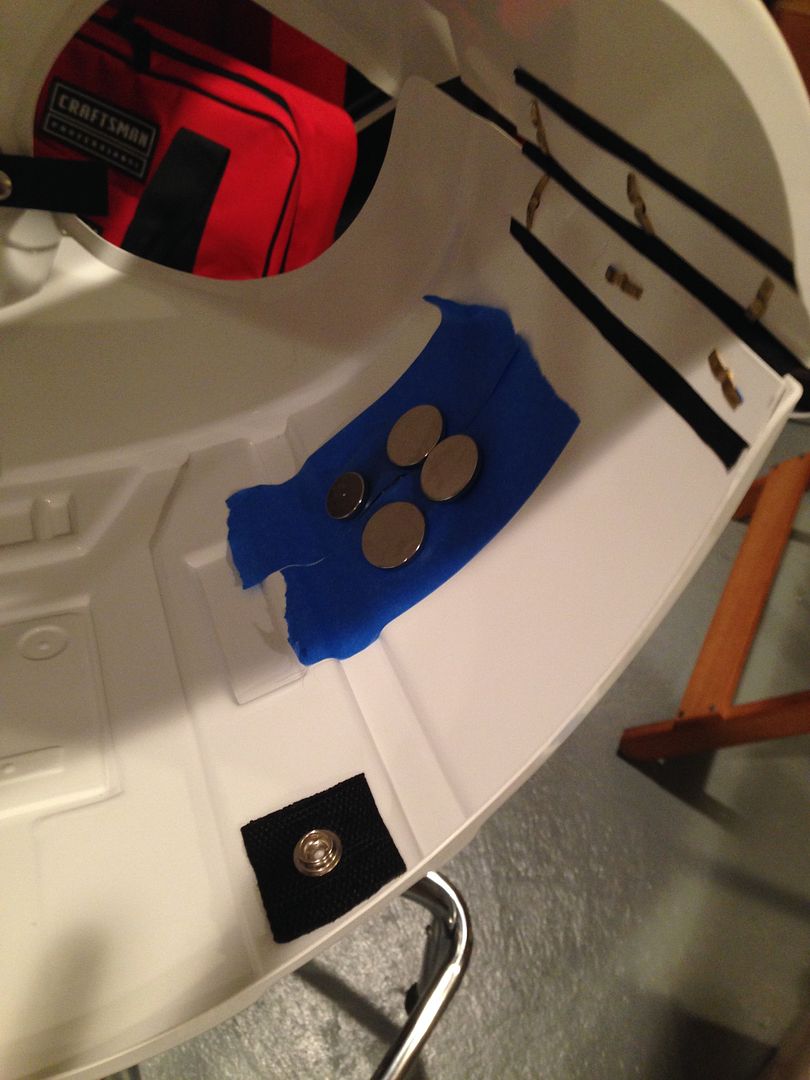
4) Marked the elastic and added the other snap.
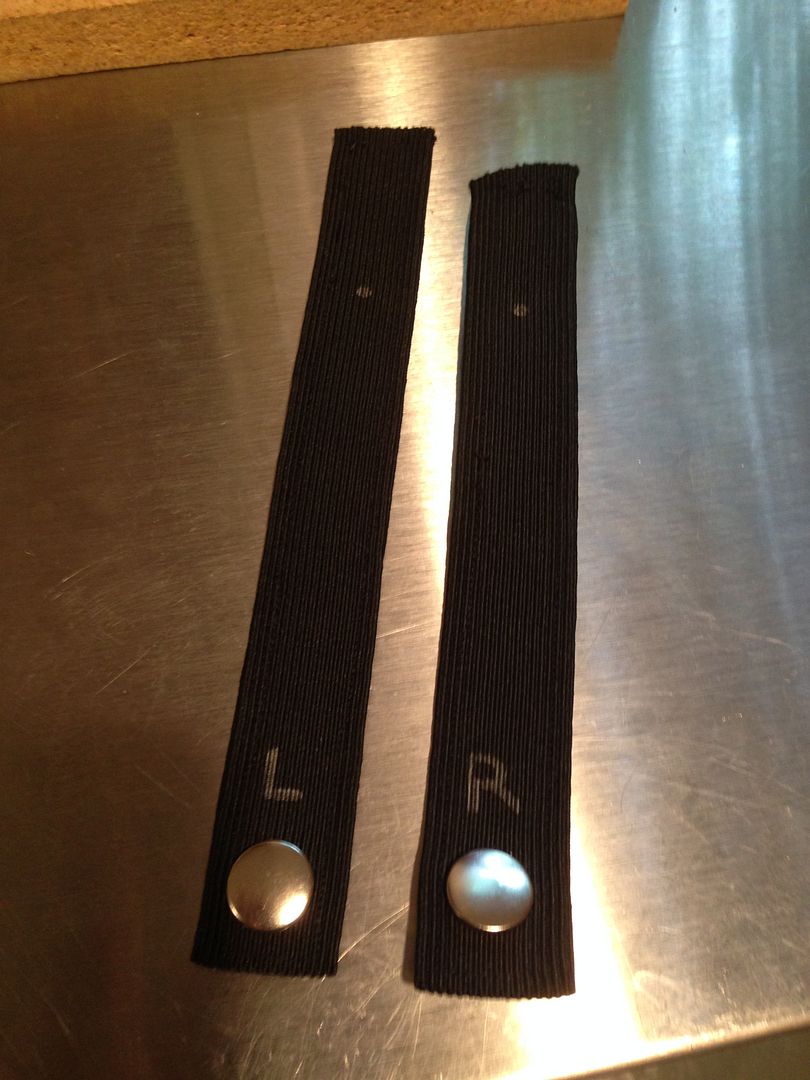
TIME CHECK:
THIGH STRAP ASSEMBLY AND FITTING = 1 HOUR
At this point I'm ready for a complete test fit.
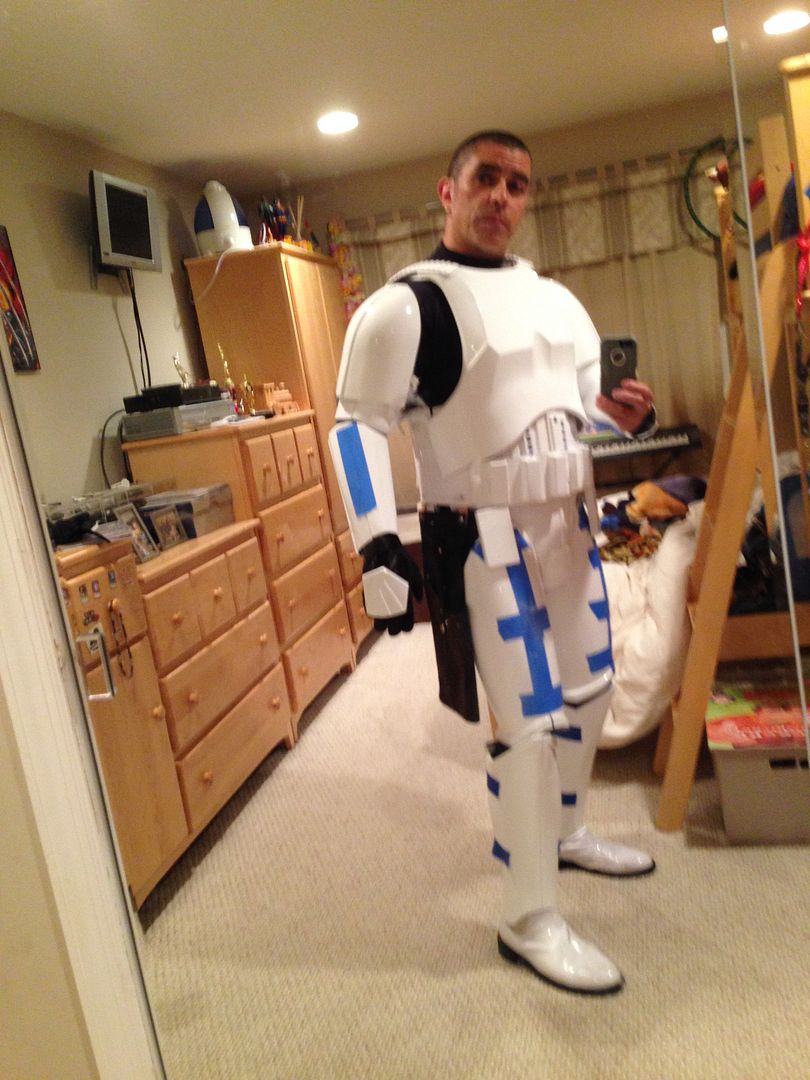
I put it all on and walked around the house. I also went up and down the stairs (about 10). Although things look pretty good, the movement trial was an epic fail hahahaha! Like I said, I always leave more then I need on parts so I can trim little bits at a time (remember you can always take away but can never put back when it comes to cutting armor). I figured as much, so I found the parts that were prohibiting movement and went back and trimmed them all a little bit.
TIME CHECK:
TEST FIT, ADDITIONAL TRIMMING AND SANDING OF CERTAIN PARTS = 30 MINUTES
After trimming I did another test fit and some more trimming. One thing was the shins, I took about a quarter inch off the bottom. Marked it out with pencil, trimmed with the tin snips then smoothed with the dremmel.
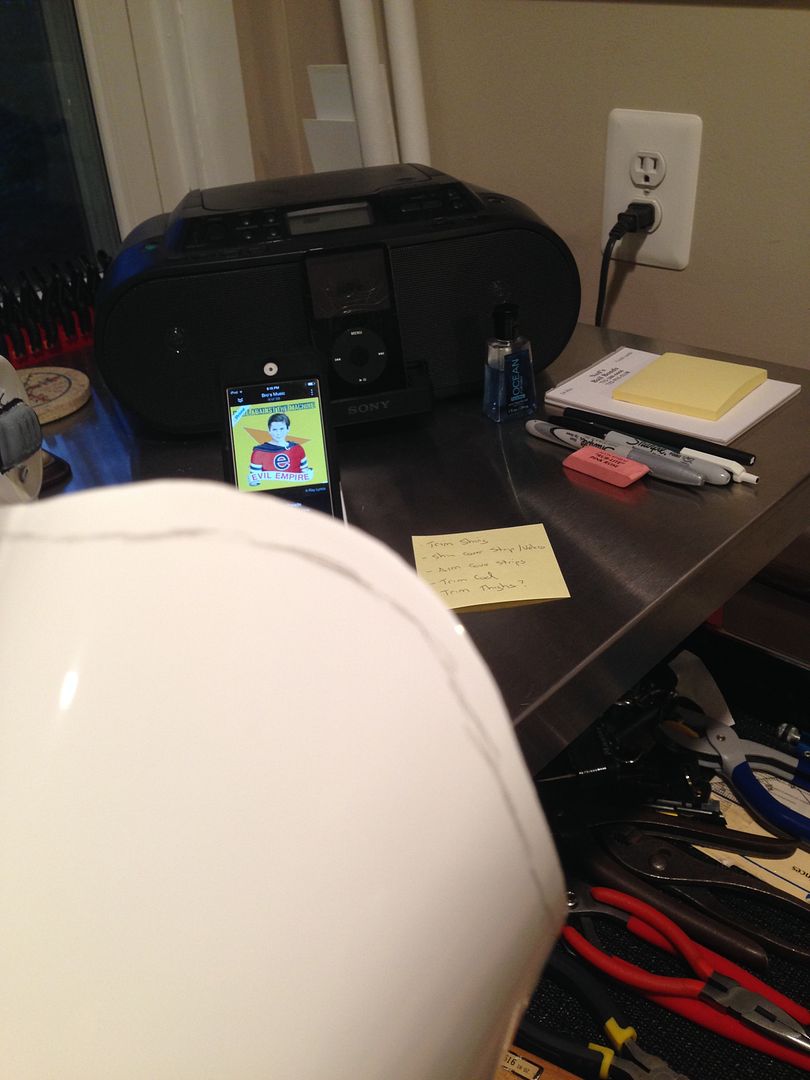
Also took a little more off the inside of the thighs.
TIME CHECK:
SECOND TEST FIT, ADDITIONAL TRIMMING AND SANDING OF CERTAIN PARTS = 25 MINUTES
-
 1
1
-
-
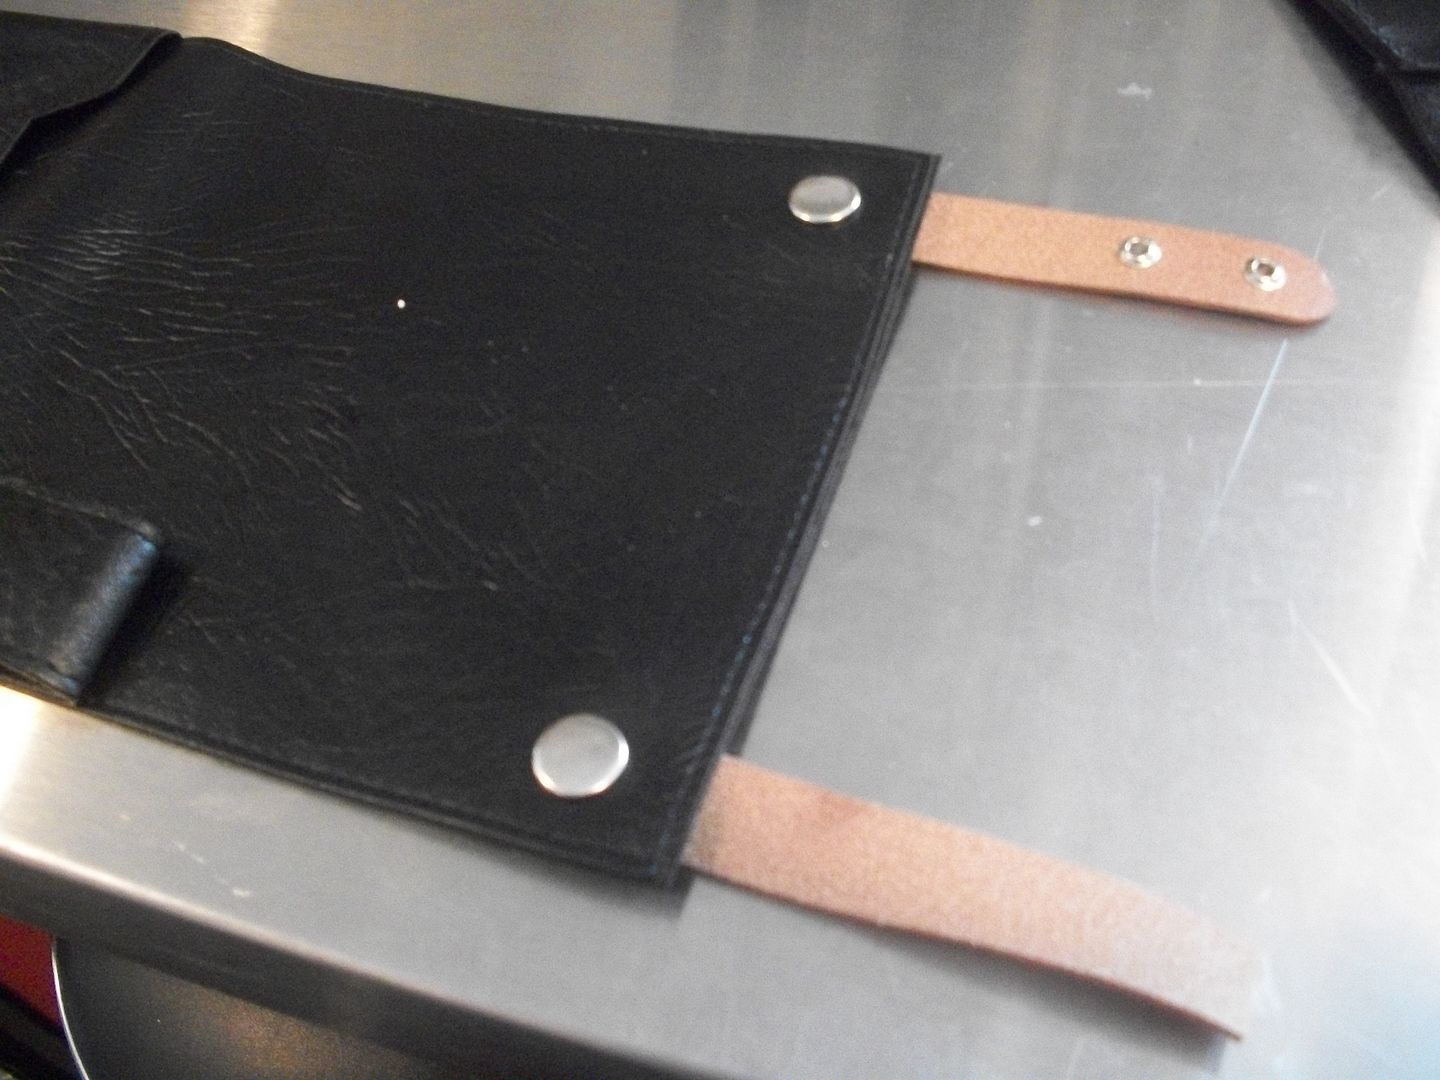
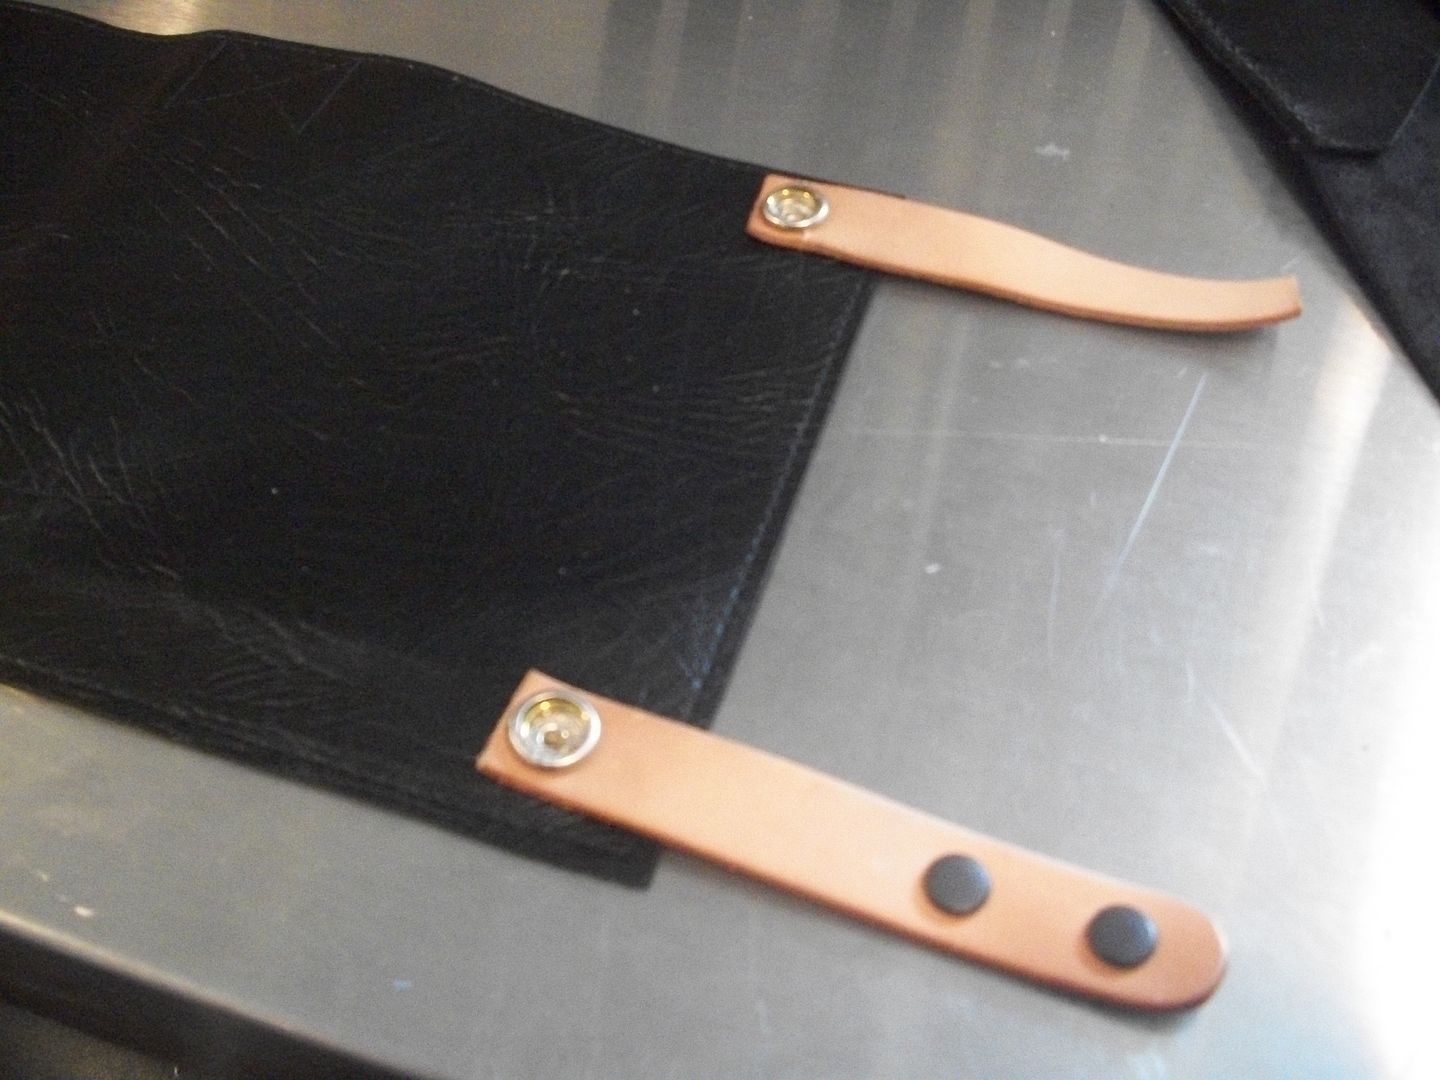
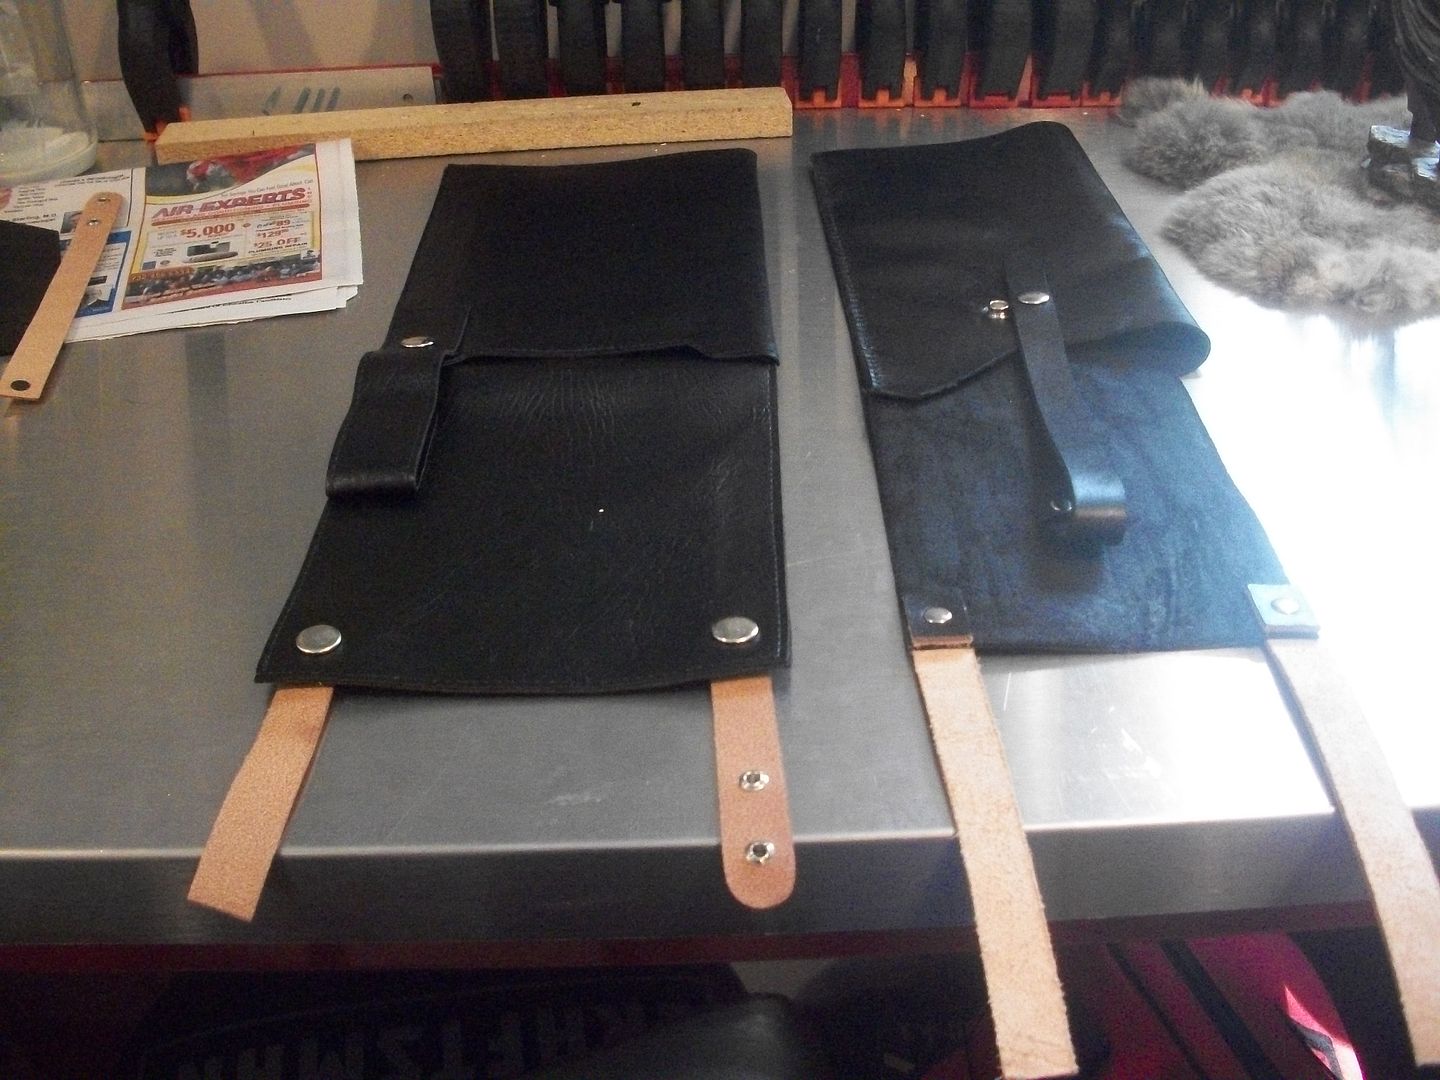
**** WHAT IF YOU HAVE THE OLD STYLE "LOOP" HOLSTER AND CAN'T AFFORD TO REPLACE IT WITH THE PROPER STYLE?
We had this occur with one of our newer members, he accidently bought the wrong style so we switched it out using some really easy methods.
1) Take the loops off. I used needlenose pliers to literally just squeeze and squish the rivets out.
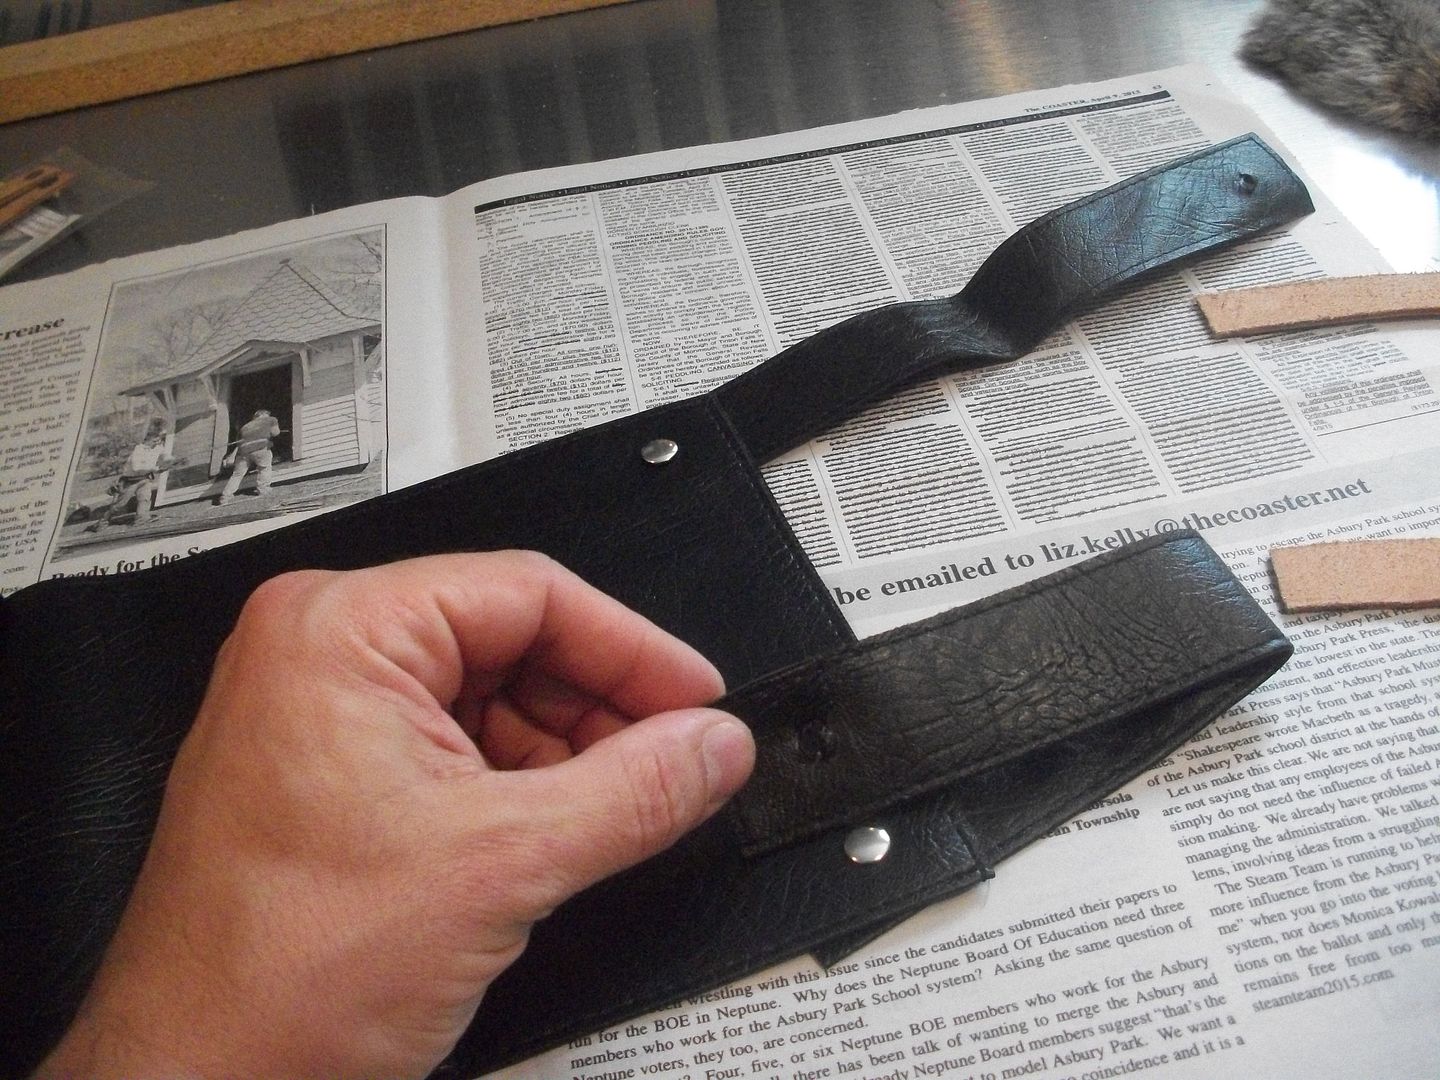
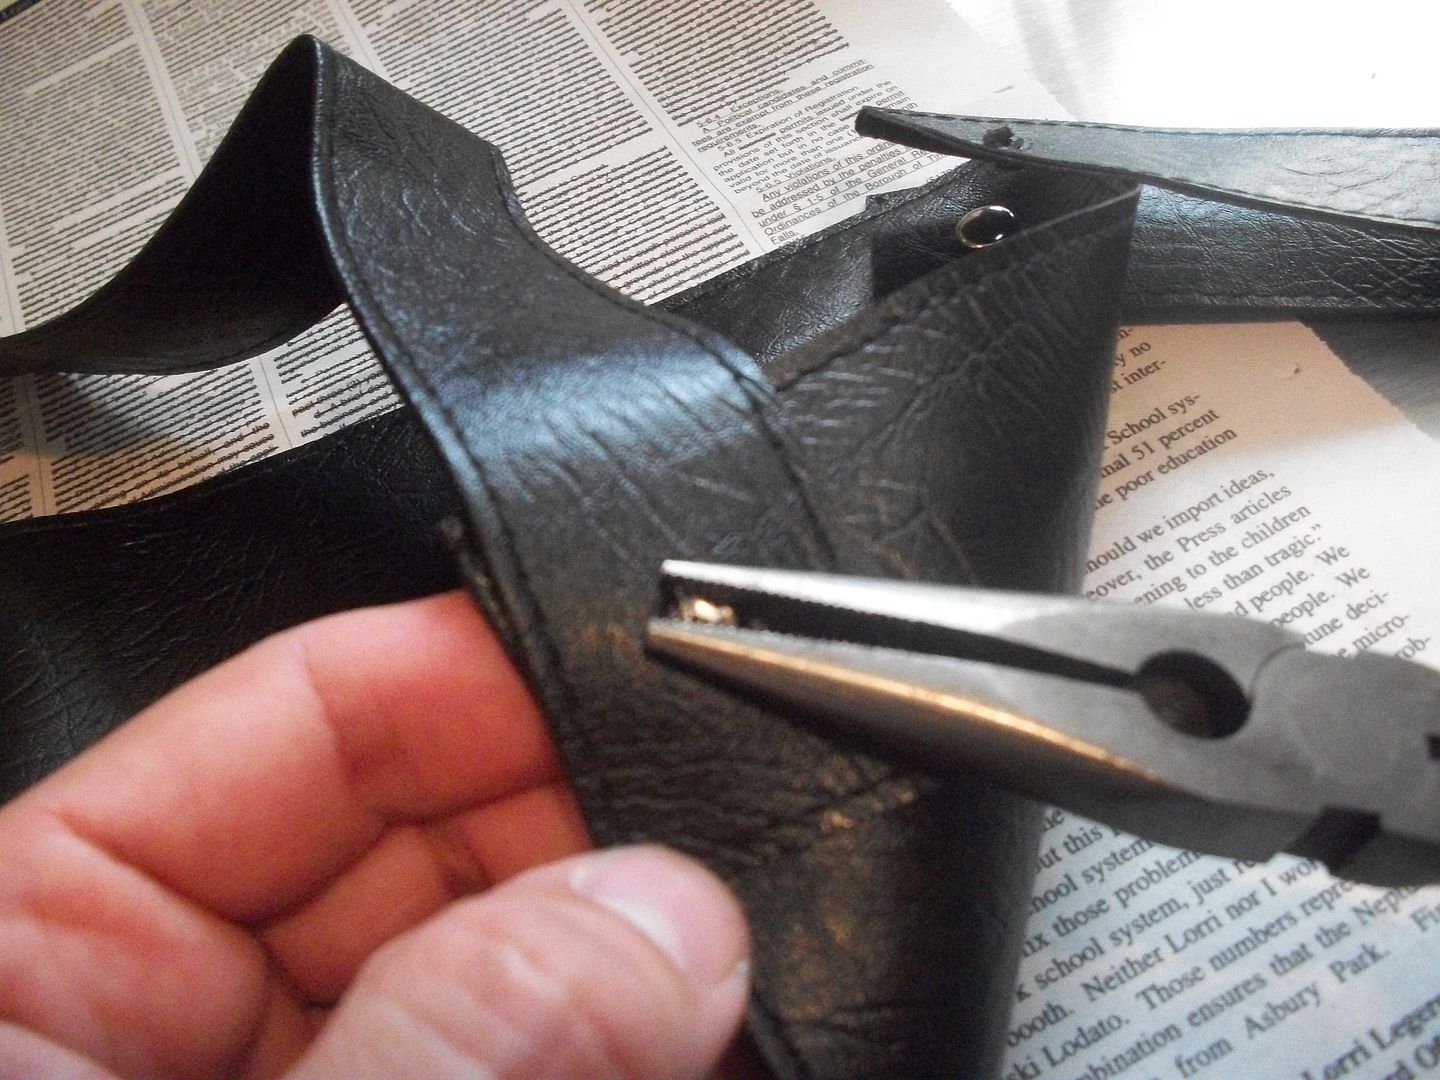
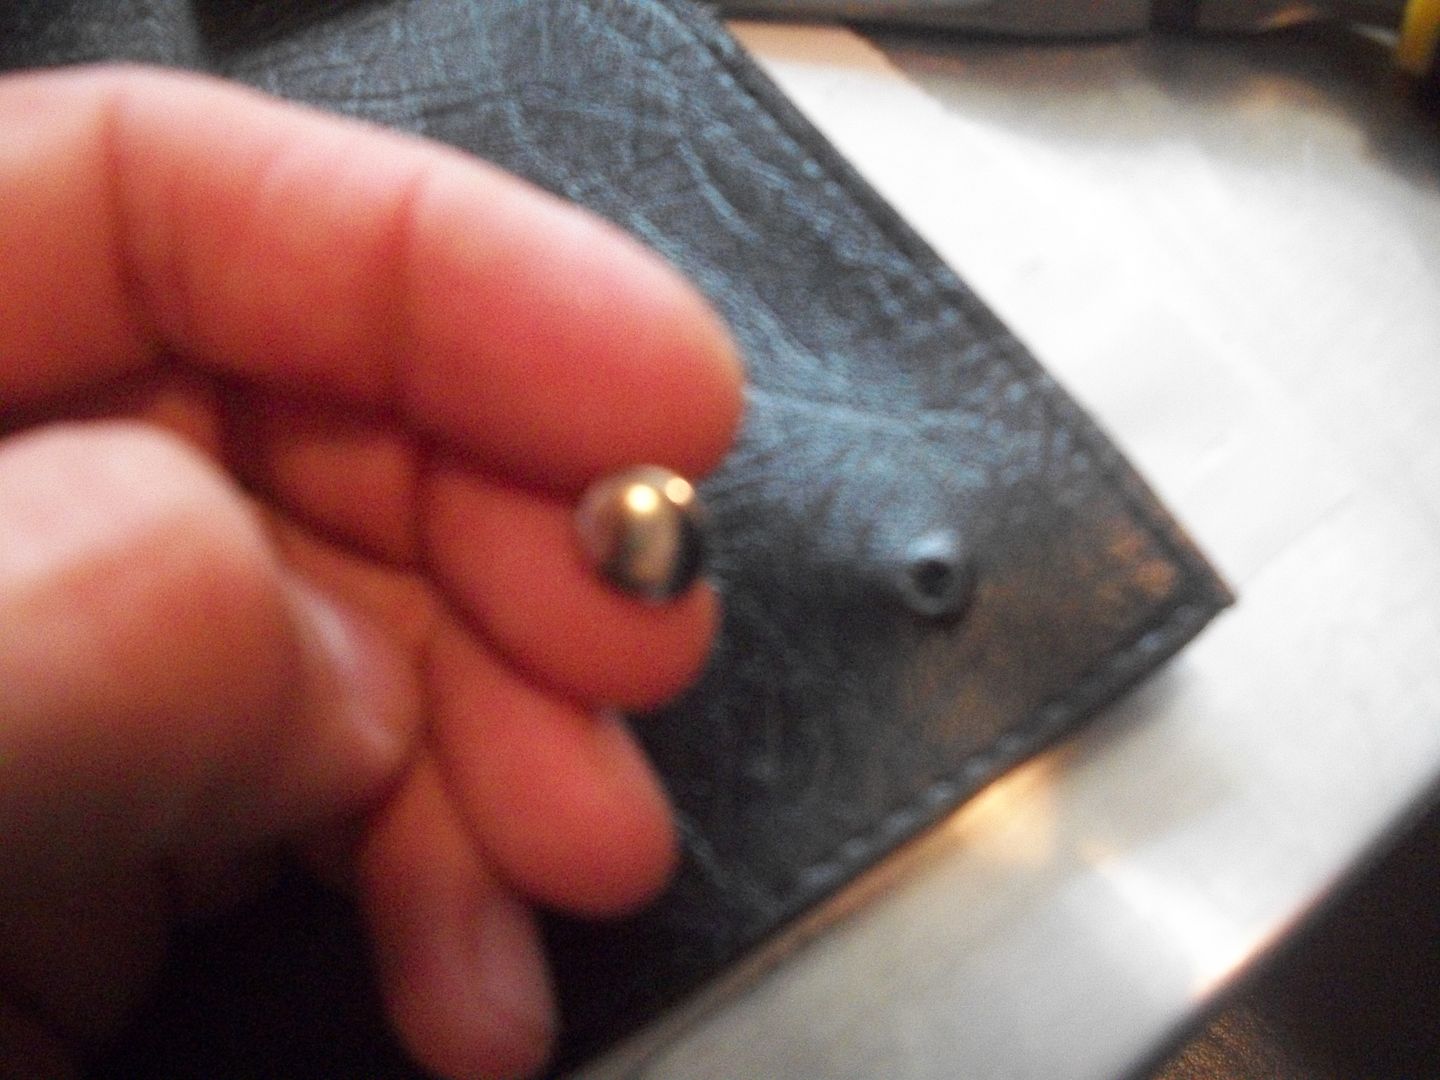
2) Got some leather straps at A.C.Moore for a couple of bucks. They were the closest I could find, they are like bases for making custom wrist bands. Some stores will actually have leather and leather strips.
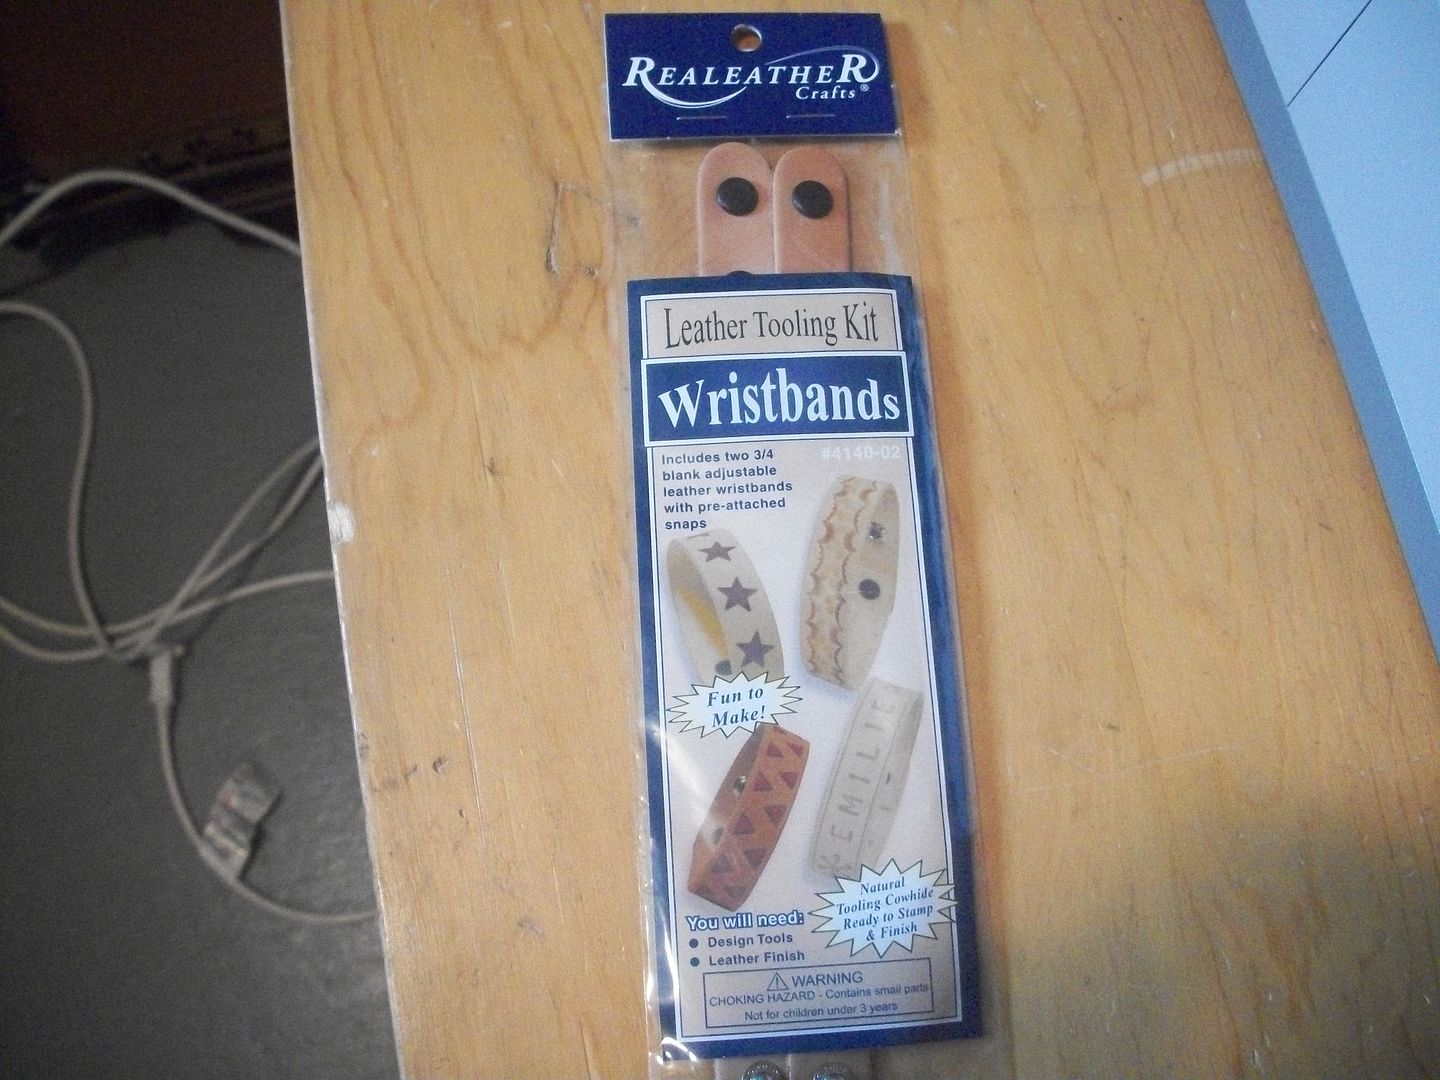
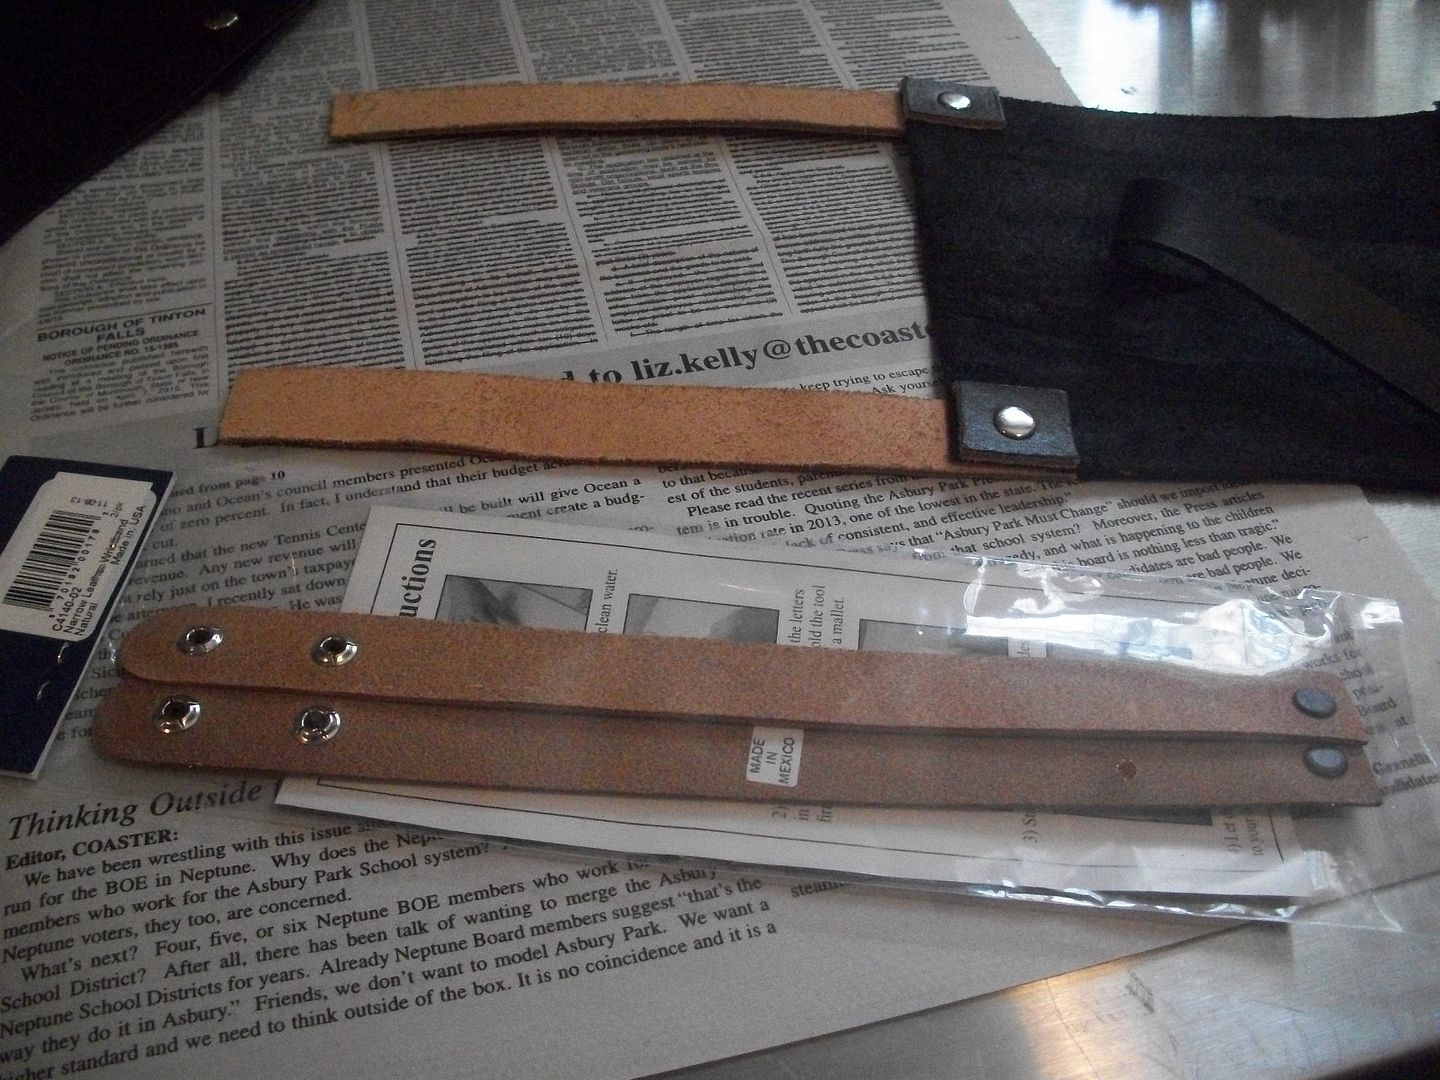
3) Cut the strips and removed the snaps with the pliers just like on the holster.
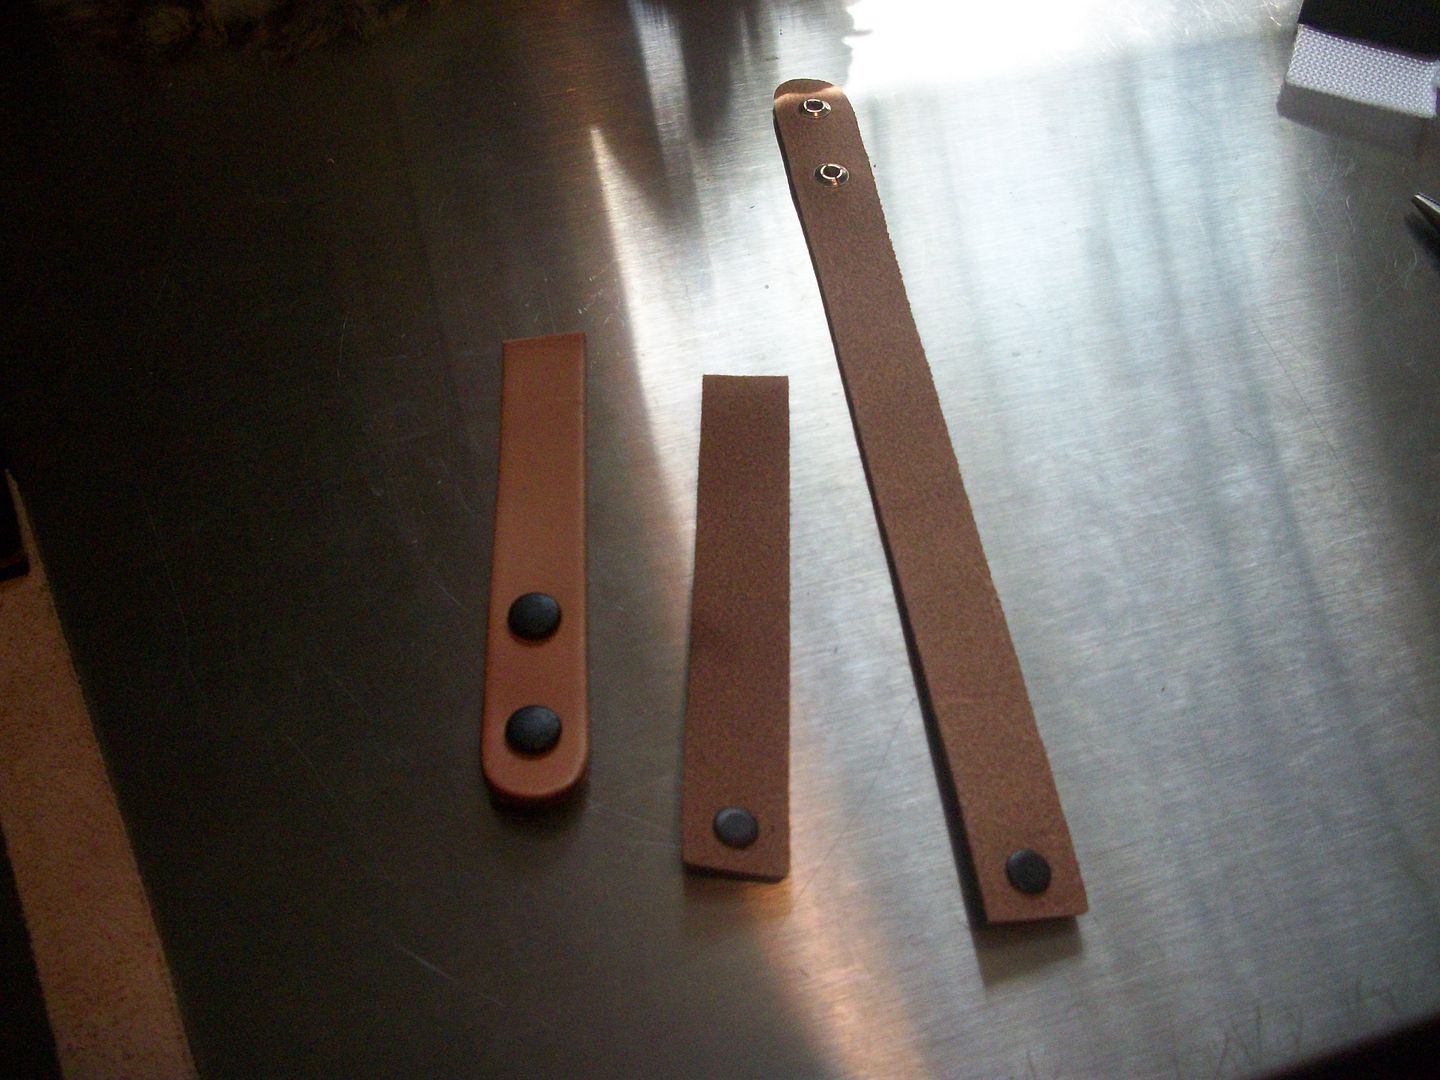
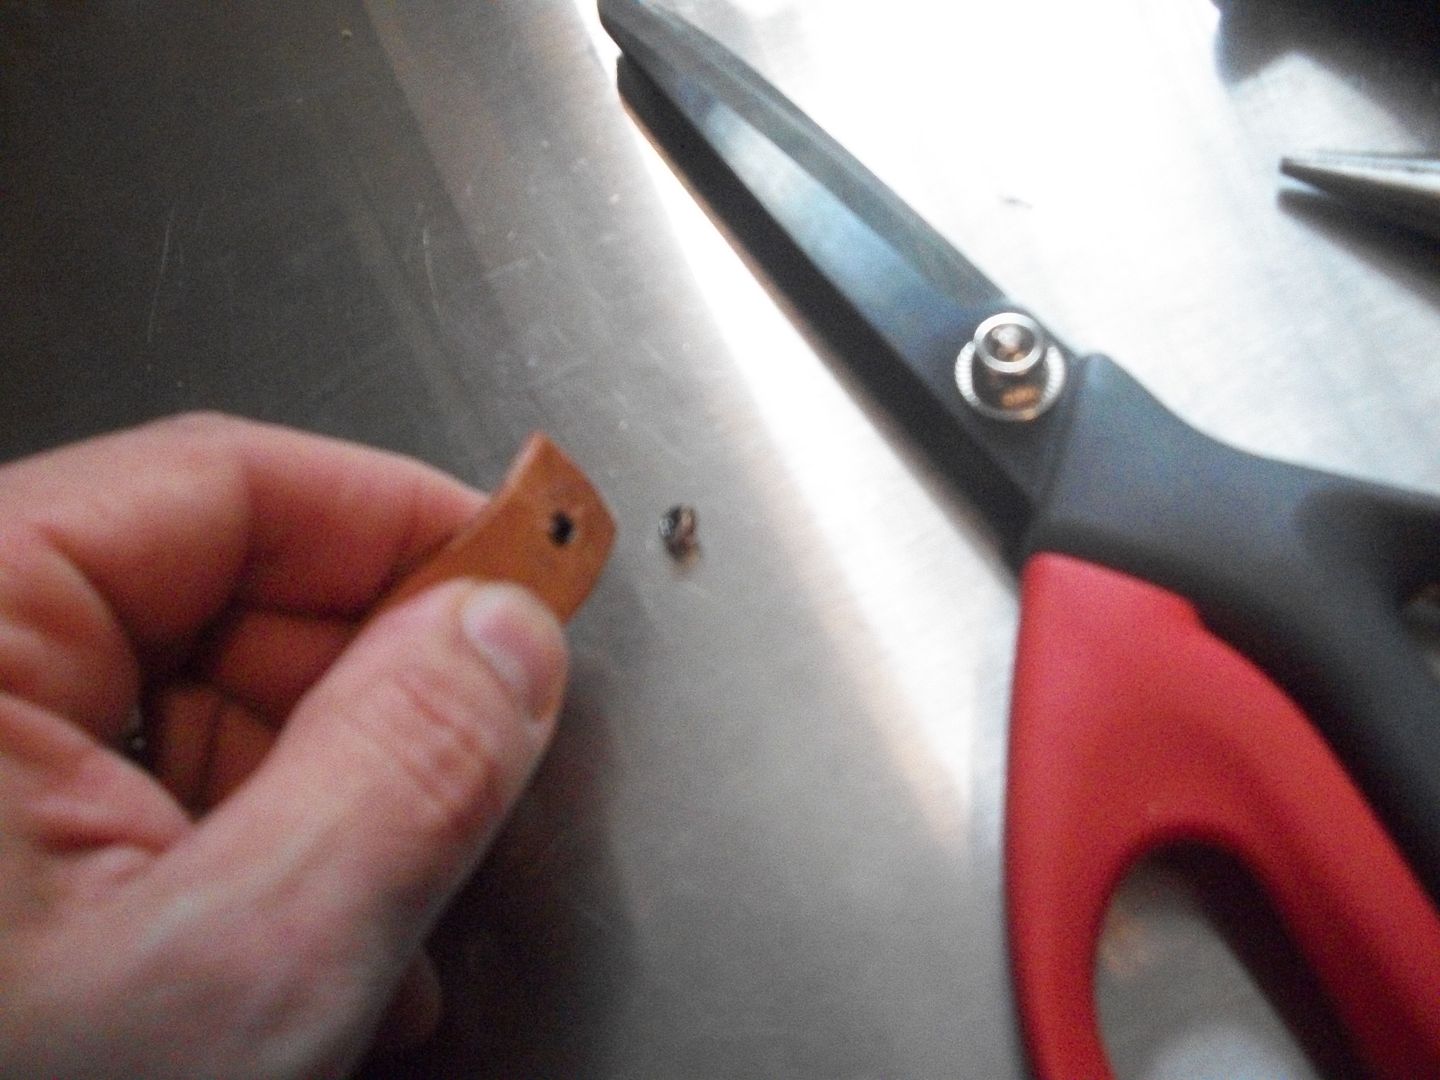
4) Use a leather punch to make the holes on the new strips.
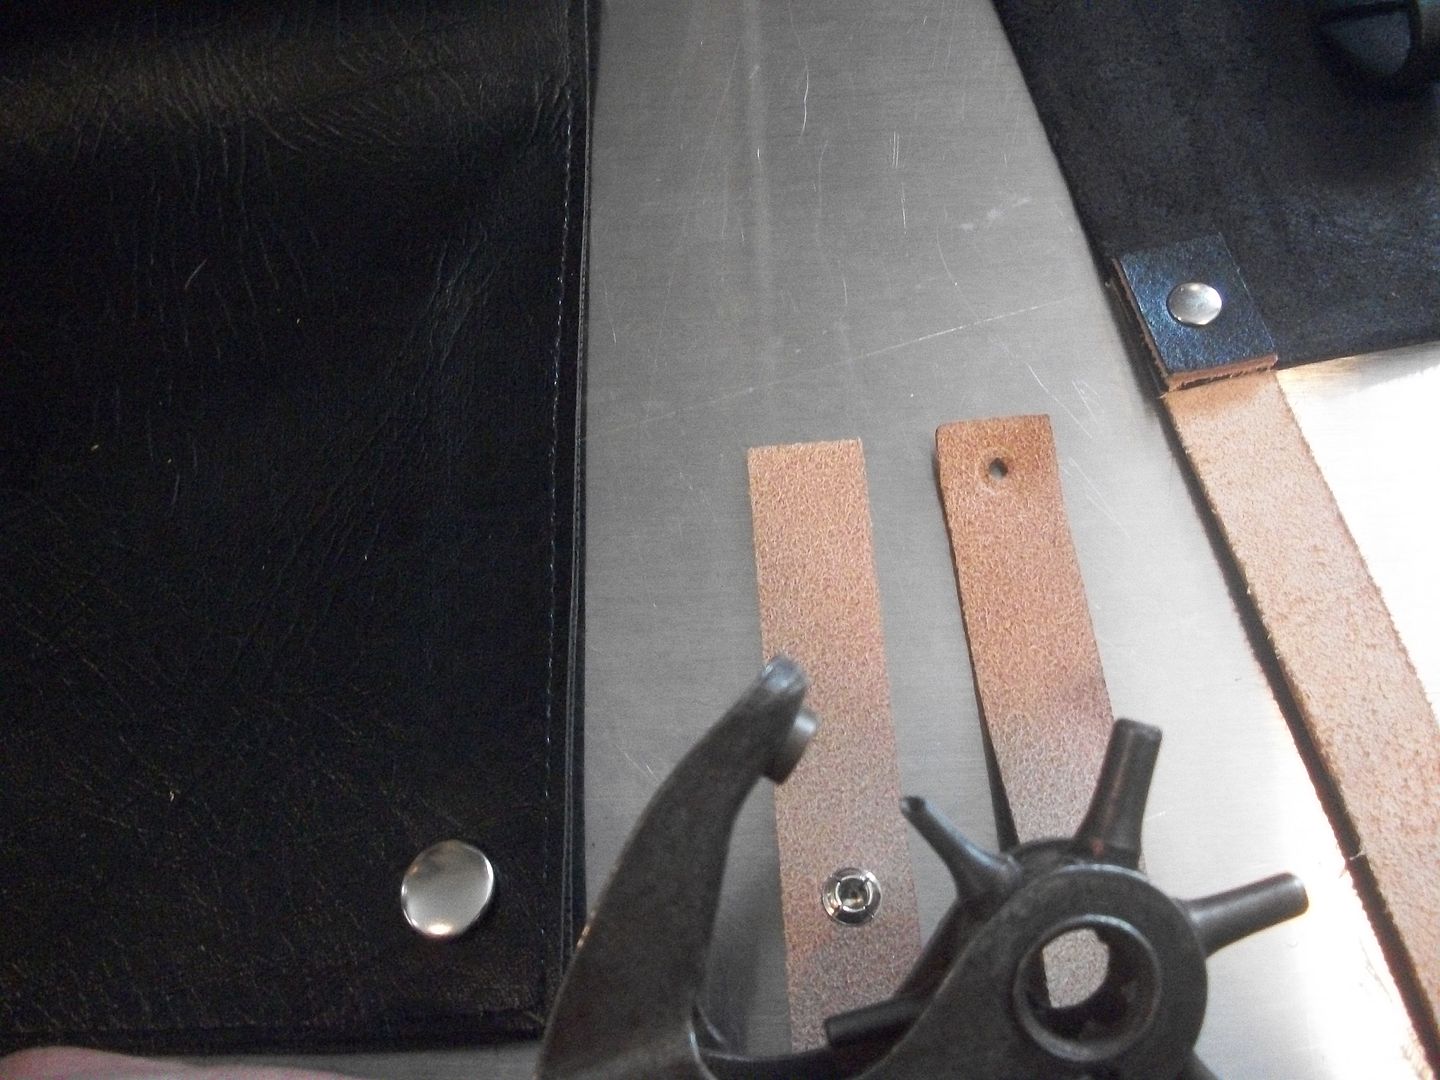
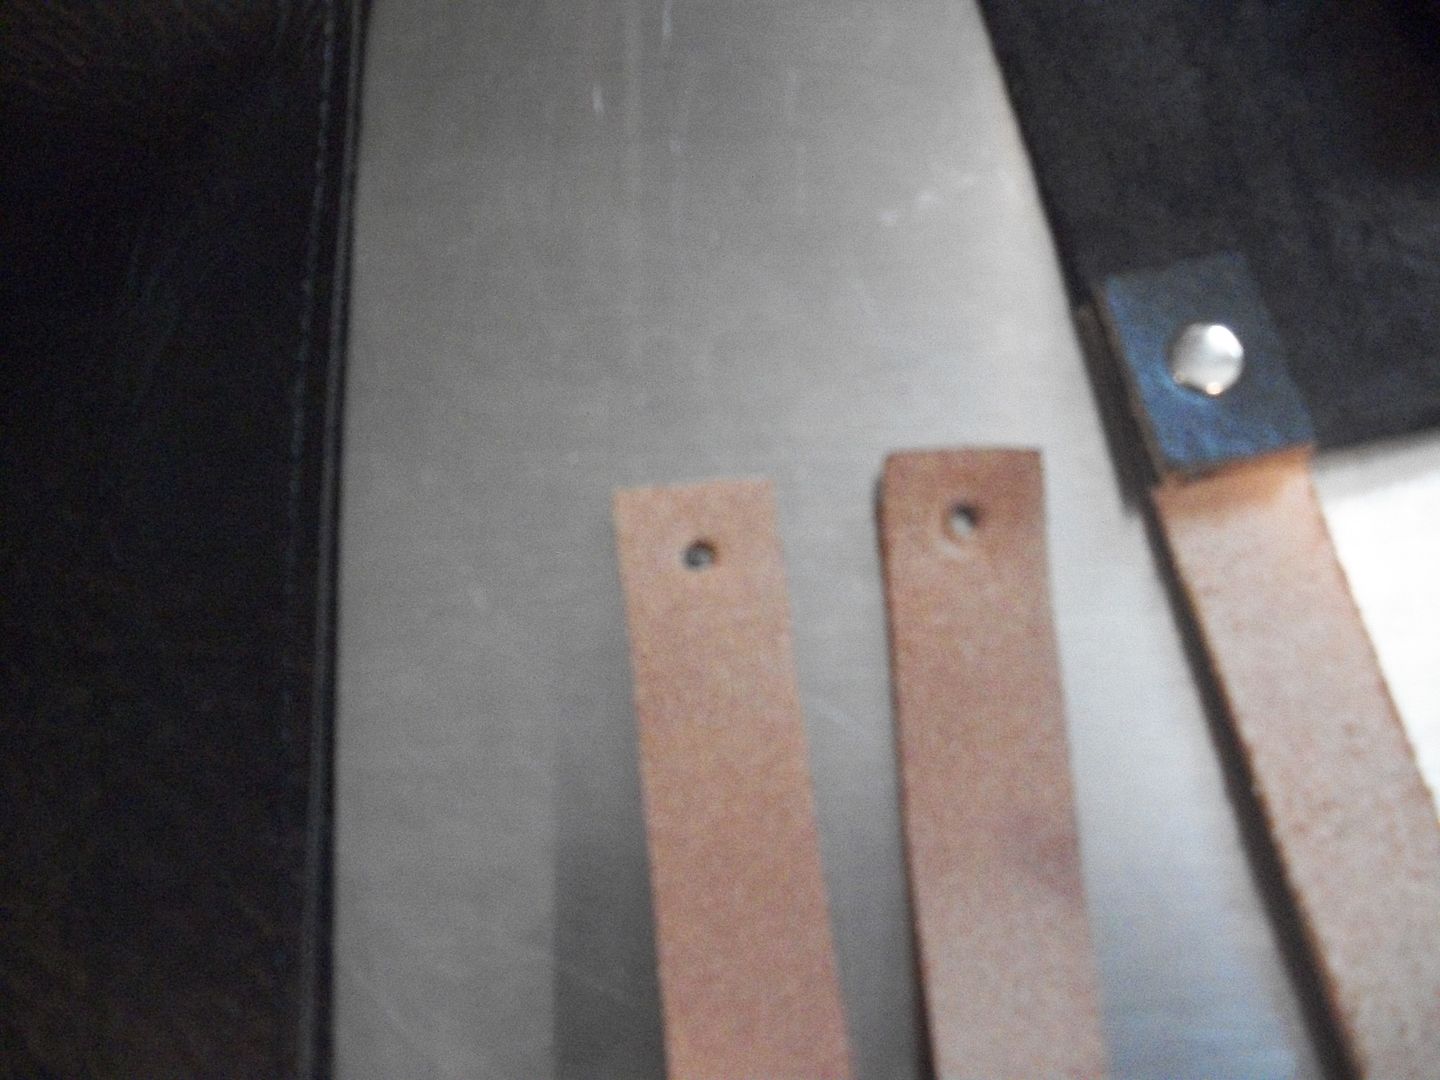
5) Attach it all like you do with the one I have. Obviously you won't see the snaps at the top because they are cut off after attaching it to the canvas belt. You only need about a quarter inch from the top of the holster to the belt to be clean.
-
Belt completion. You really need to secure the belt to the ab plate in order to prevent sliding or moving, especially if you put a blaster in the holster and absolutely if the blaster is heavy (which is basically anything other then a Hasbro lol). You can do it with velcro or snaps. I chose snaps this time around.
1) Put the belt on (used manikin) and marked about where I want to add the snaps. There is a measurement standard available on FISD but I wanted to eyeball where mine are going to sit.
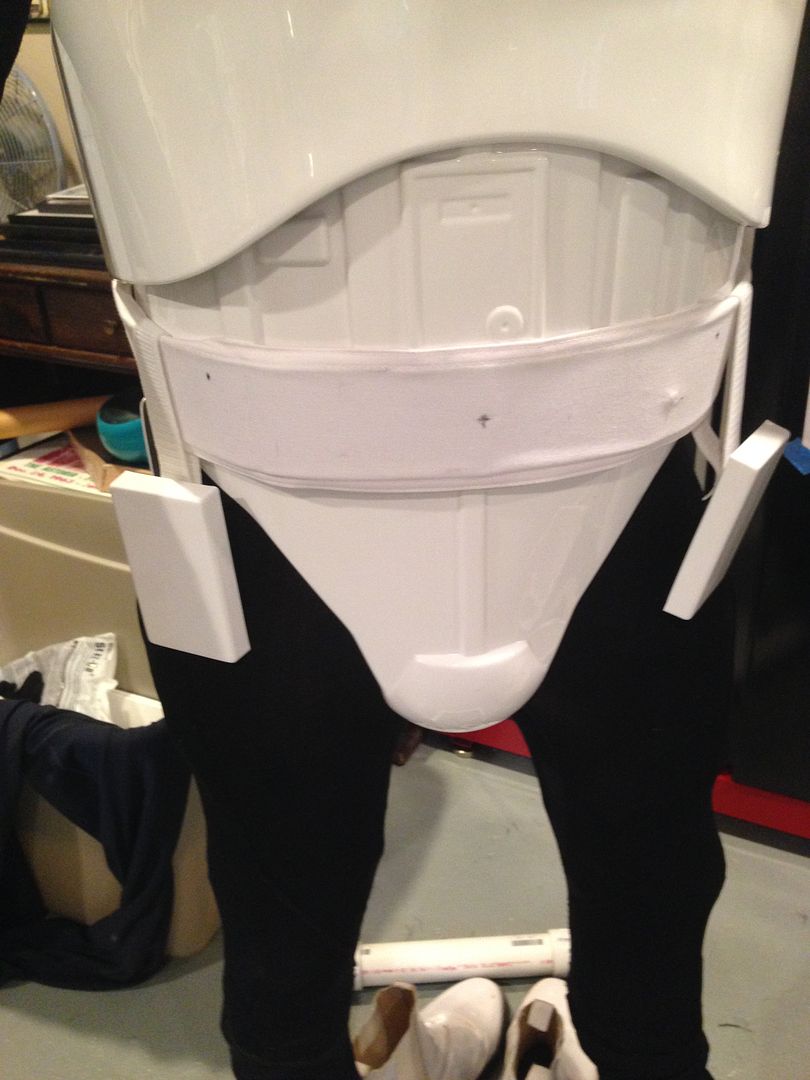
2) After marking the belt I made holes with the soldering iron, then put it back on and marked where the holes are on the armor itself.
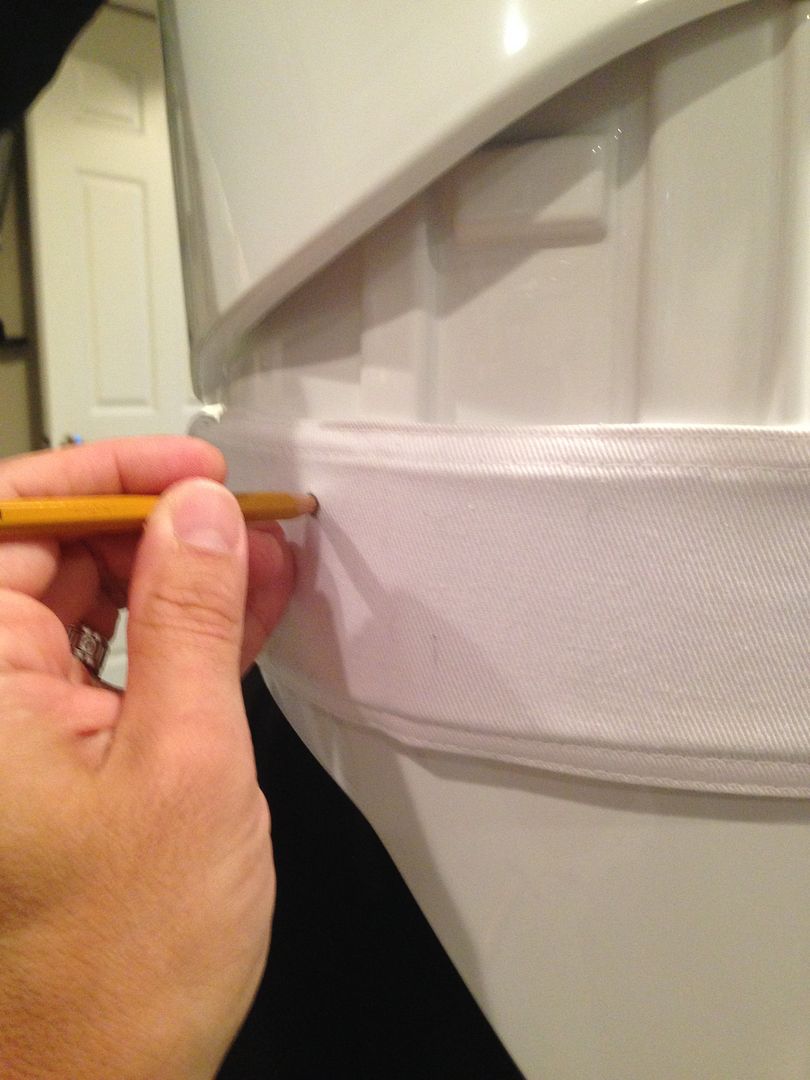
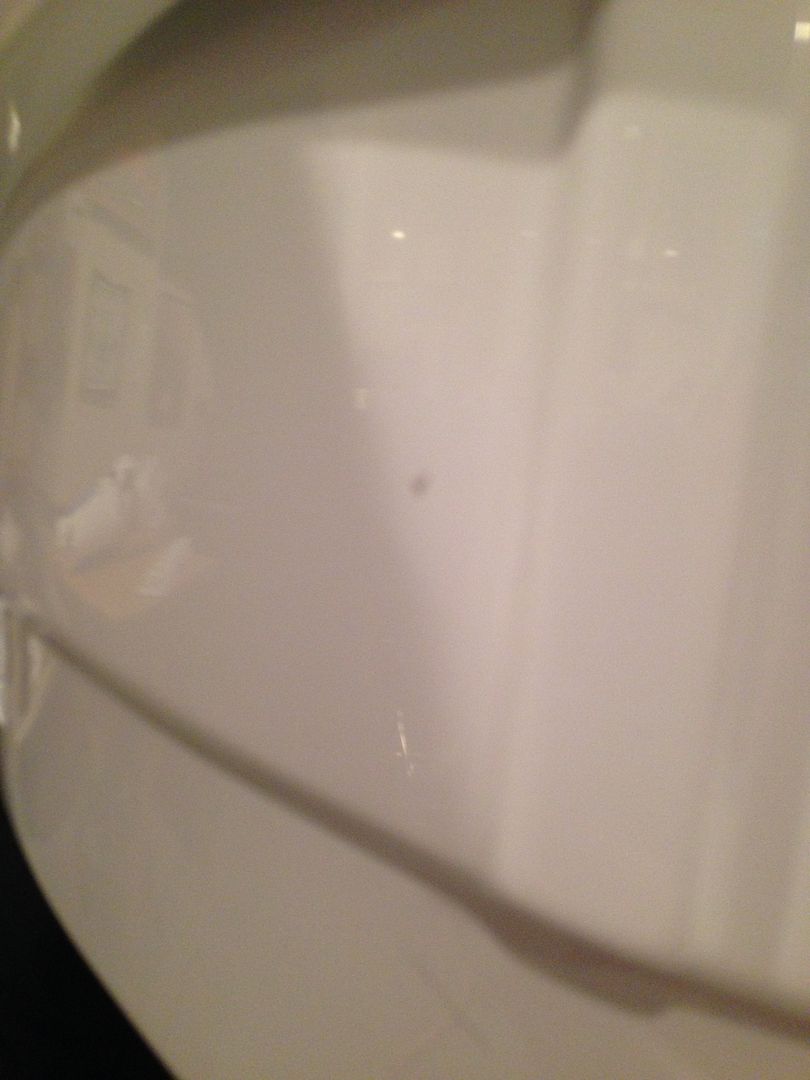
3) Even though I eyeball 99% of my markings, I always double check them to make sure they make sense, are consistent and equal. Mine ended up the same on both sides so I was happy.
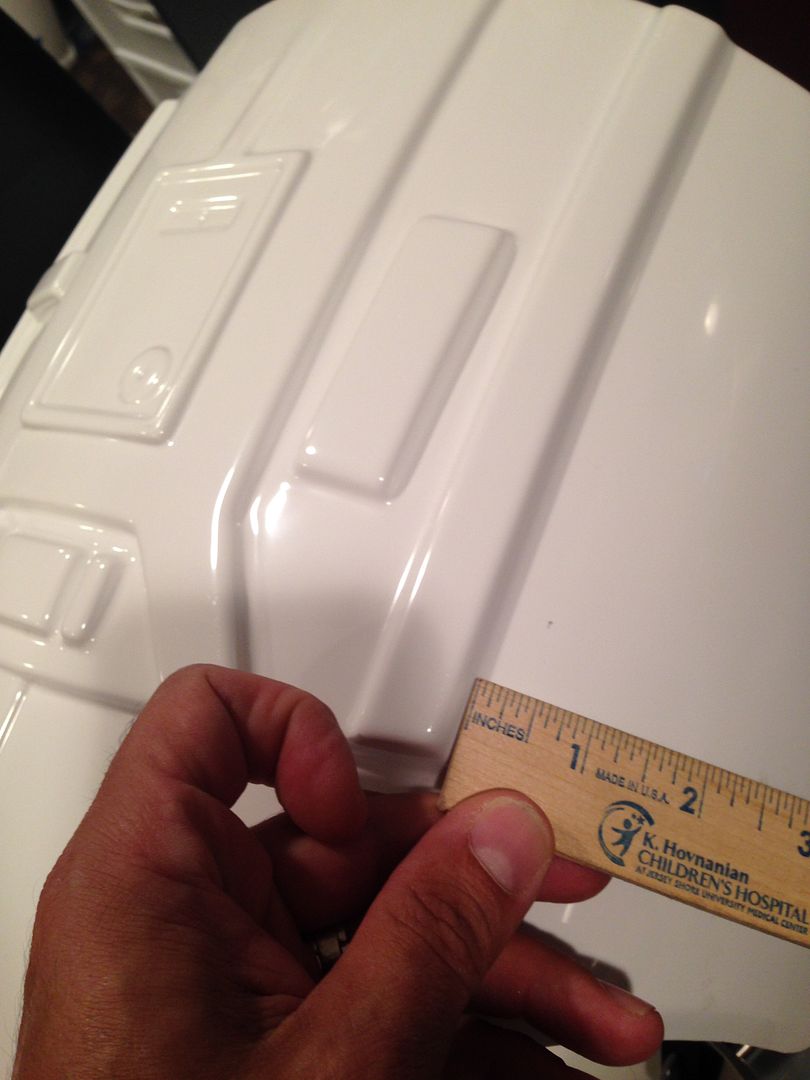
4) I used white webbing on this part, but same snap / webbing assembly. With the snap it has a hole, so you can see the mark on the armor when gluing it on to make sure you're in the right spot.
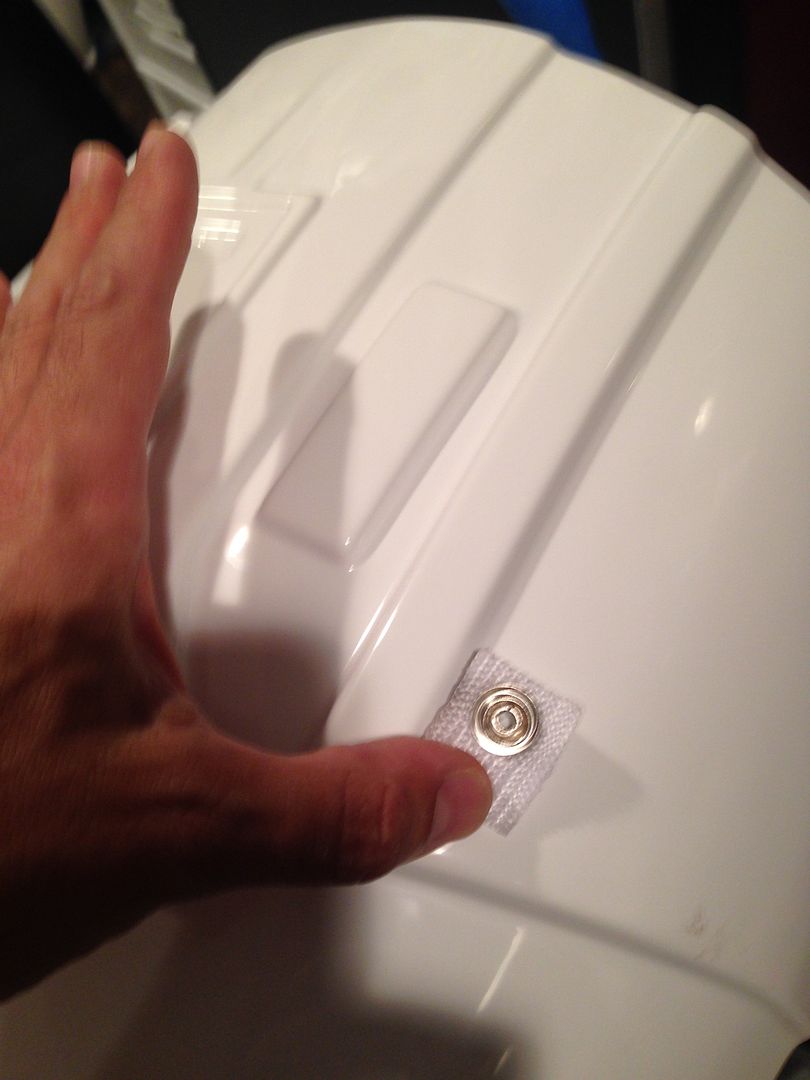
5) Used tape and magnets to grip it while it dried.
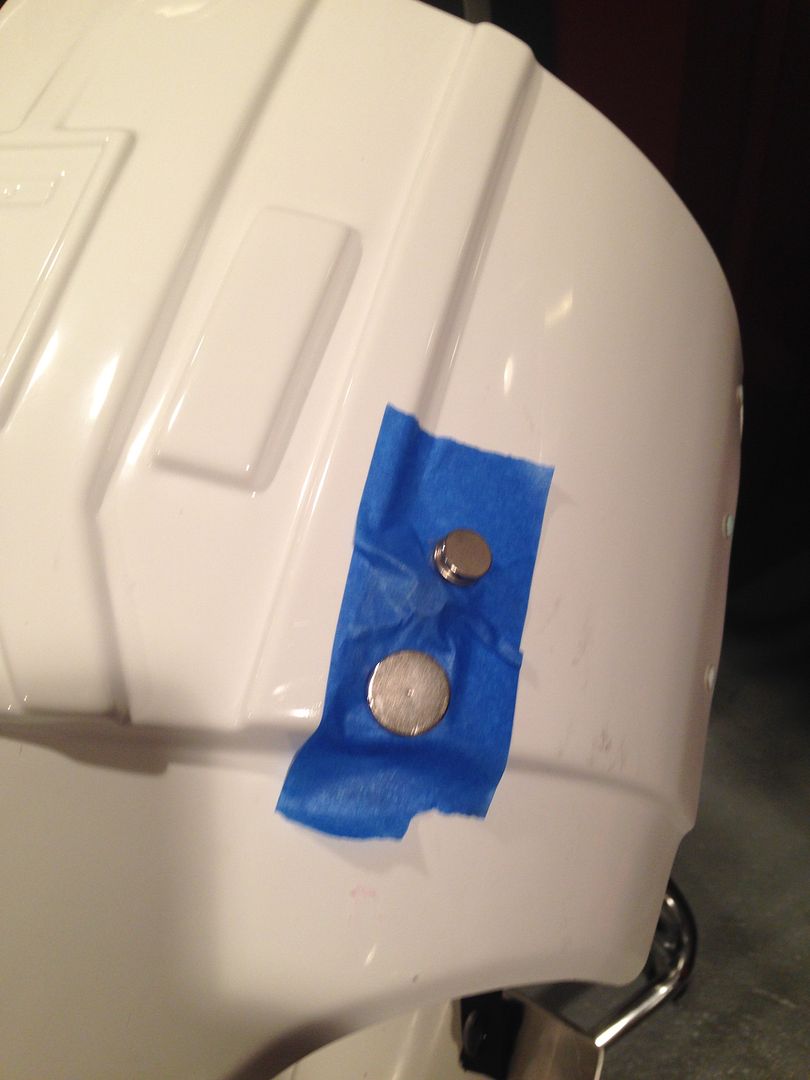
6) I must have forgot to take a photo of the belt snaps by themselves, but you put them on (facing the correct way lol) to match the anchors on the armor. You do this before you rivet the plastic belt on the canvas part otherwise you can't get to the spot you need to.
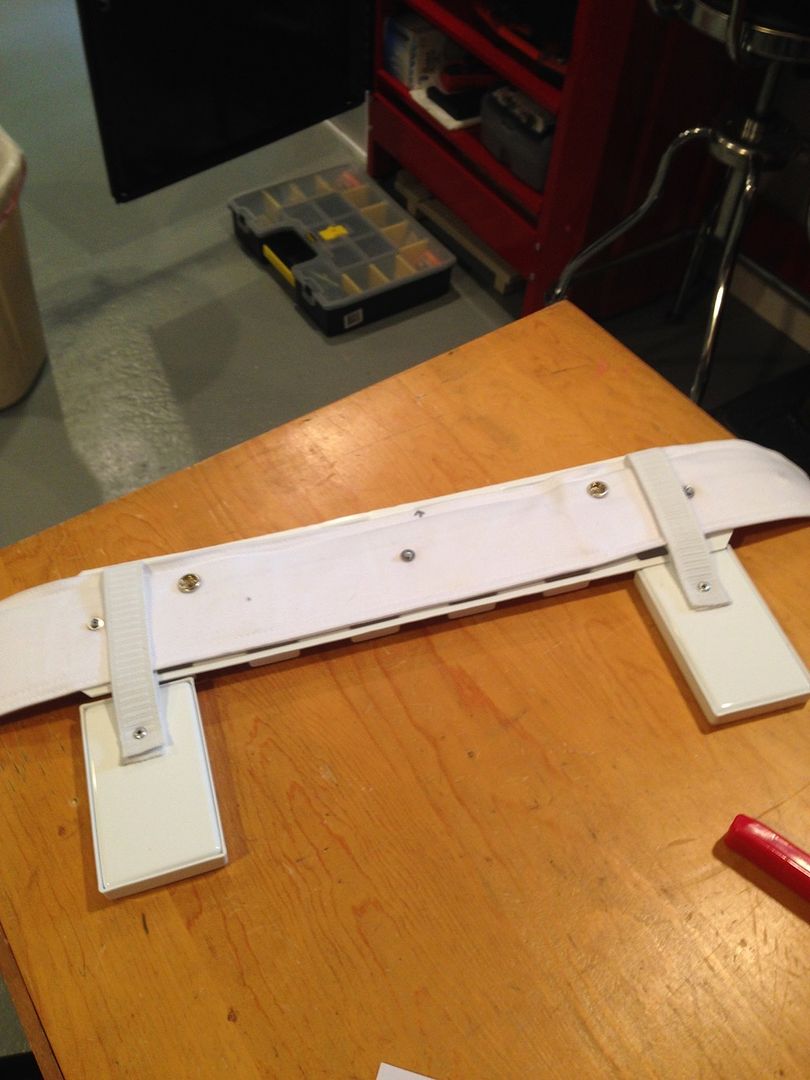
TIME CHECK:
BELT SNAP TO ARMOR ASSEMBLY = 30 MINUTES
Belt continued...
7) Now that the snaps are on you affix the plastic part to the canvas part. The AM kits have holes marked out so you simply line it up and mark it on the belt. Make sure the belt is centered and even on both sides.
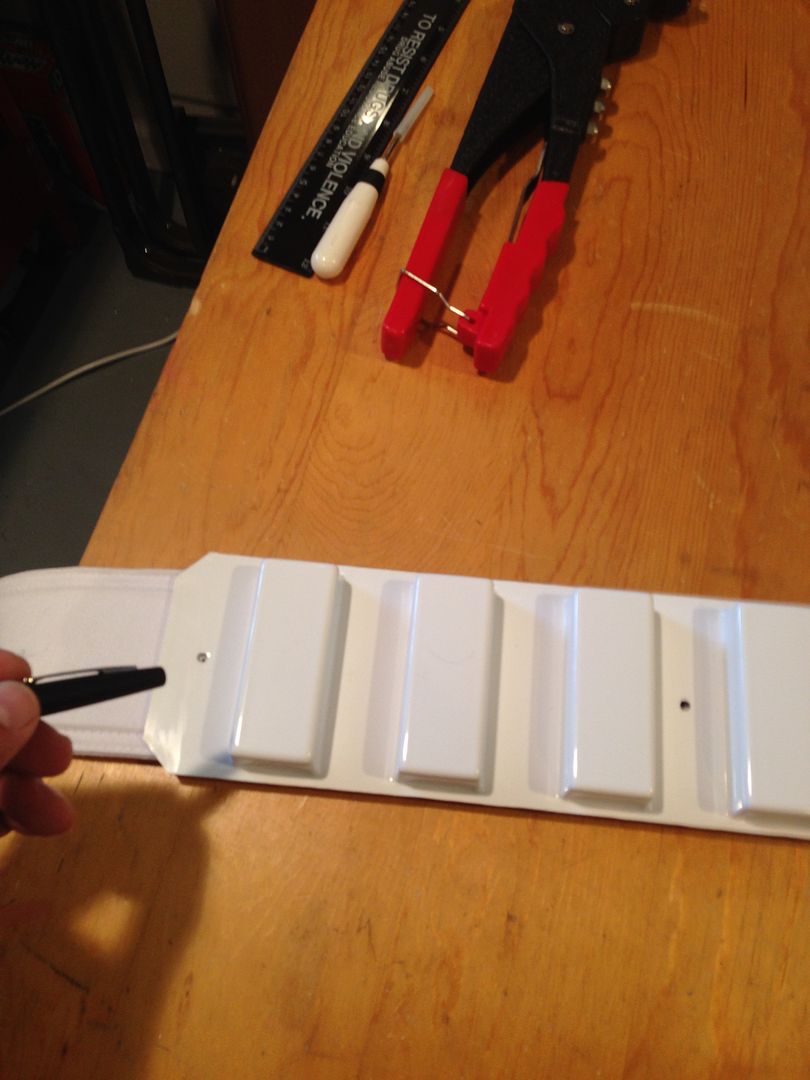
8) Make the holes in the canvas belt with the soldering iron, then rivet the belt together. MAKE SURE THE DROP BOXES ARE ON BEFORE YOU RIVET THIS, THEY NEED TO BE ON THE INSIDE OF THE OUTSIDE RIVETS.
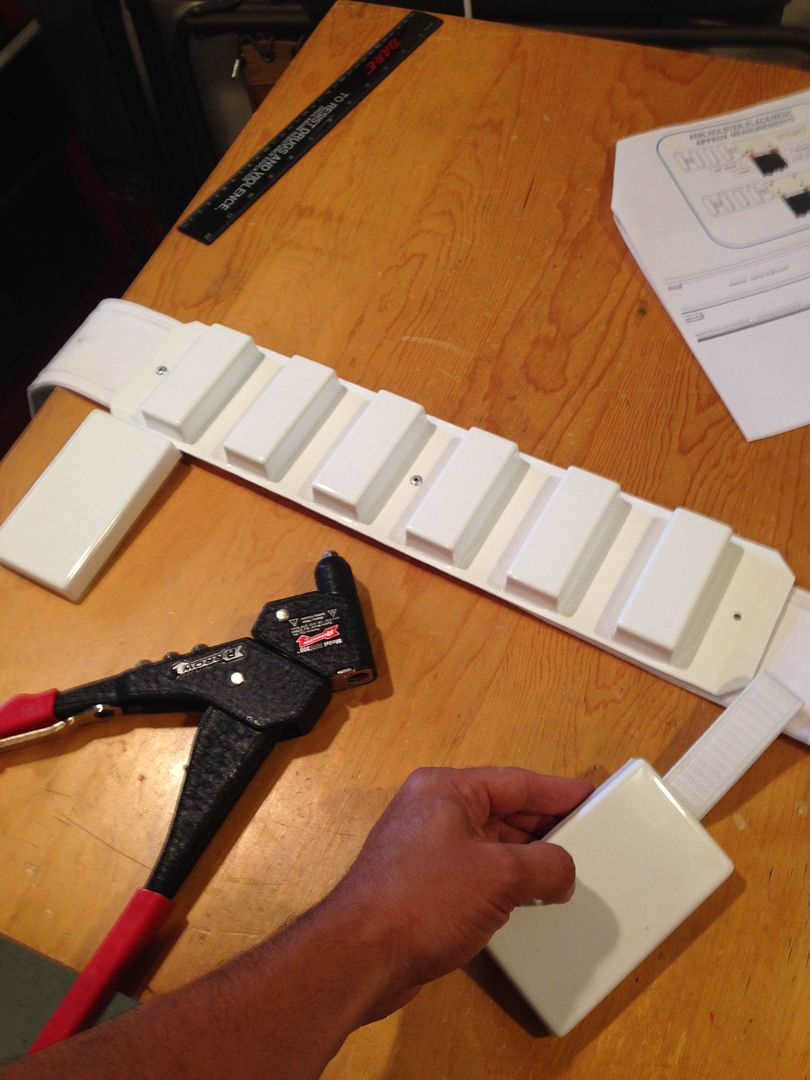
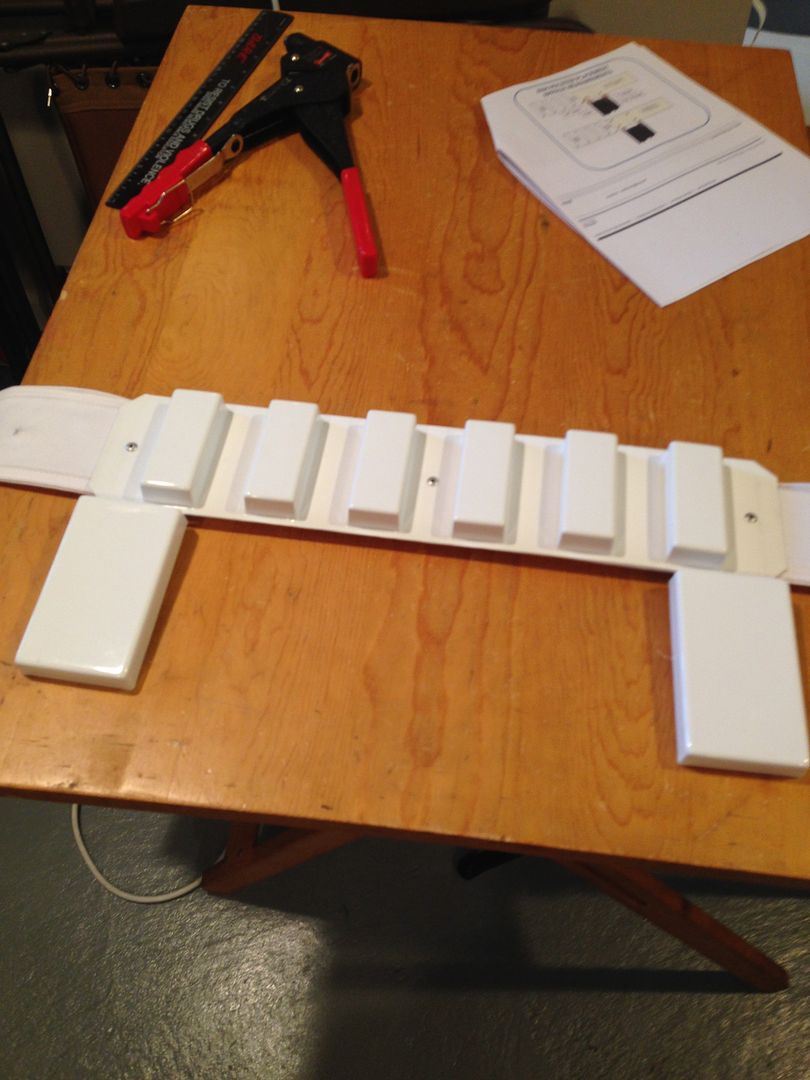

HOLSTER:
1) For the holster I am doing "stunt" so there are only two rivets. They are also measured by the FISD layout I found:
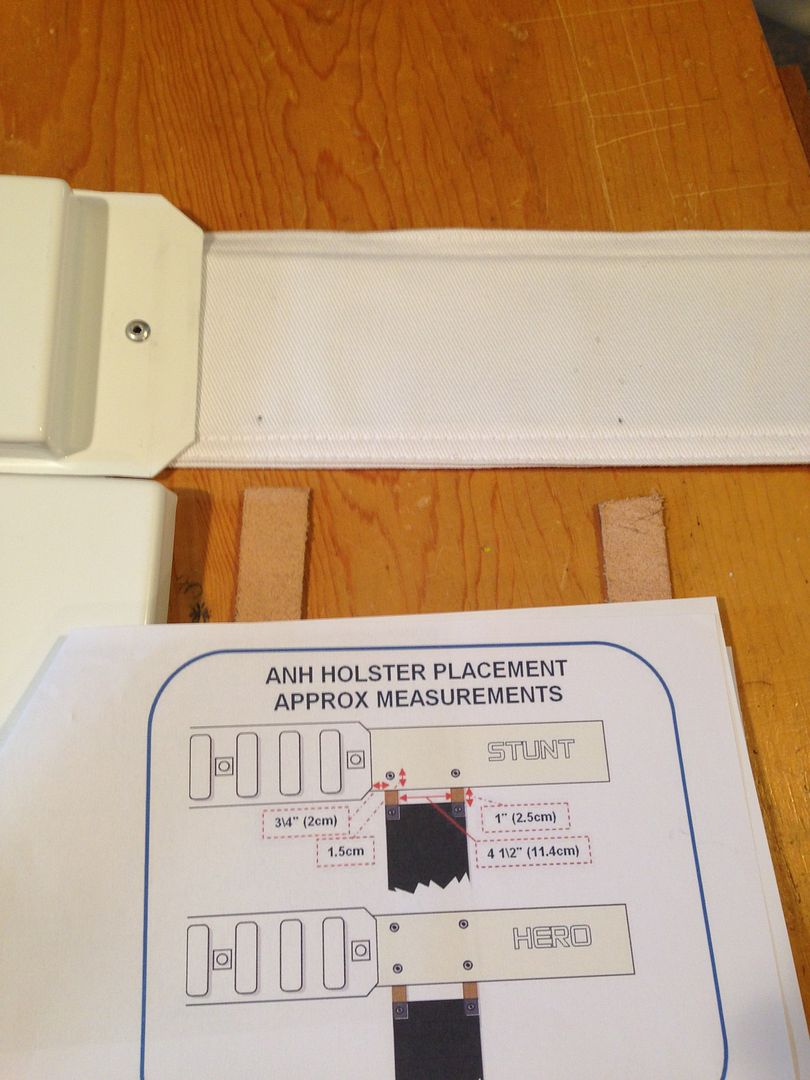
2) After marking the holes on the belt, double check to make sure the holster will fit evenly and the holes will be in the center of the brown holster leather parts.
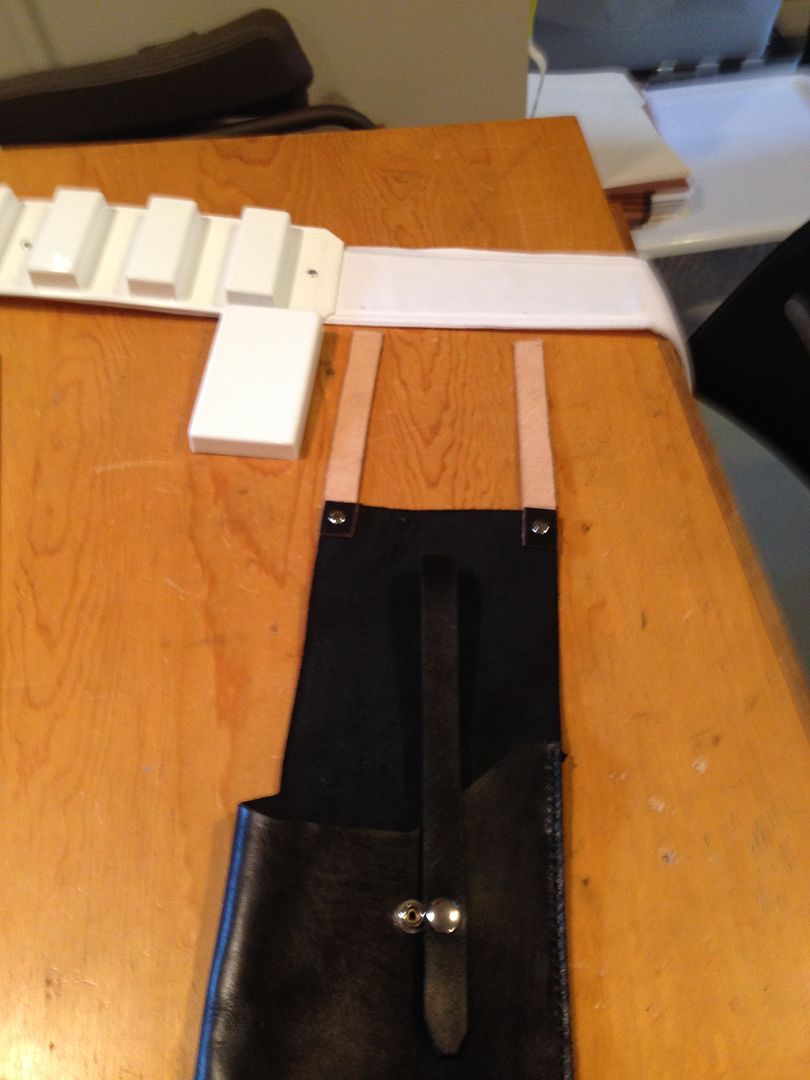
3) Put the holes in with the soldering iron, then line up the holster. Using the provided measurements mark the leather through the holes.
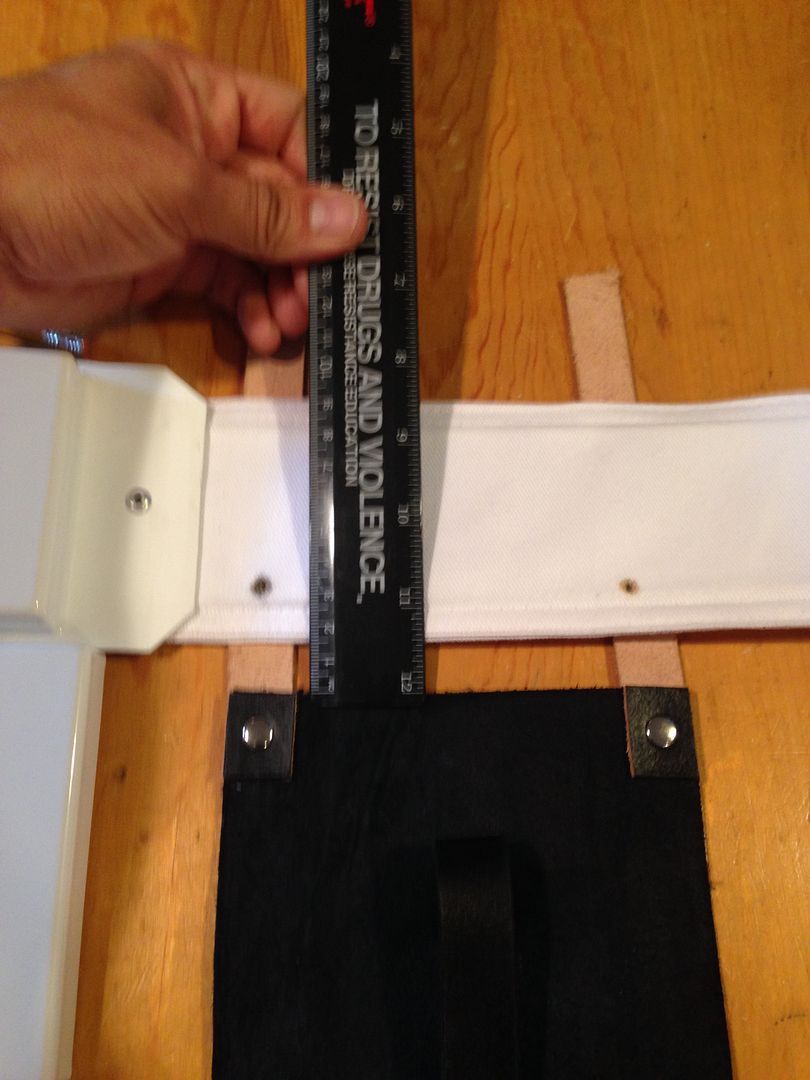
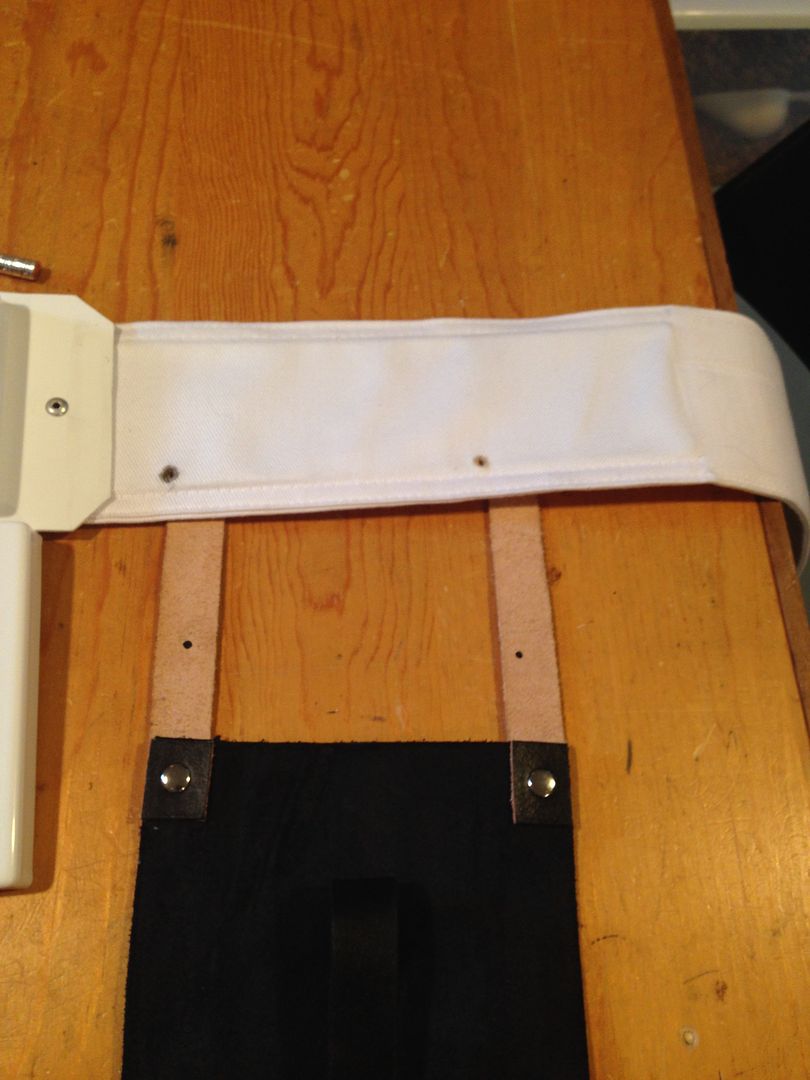
4) Rivet it on.
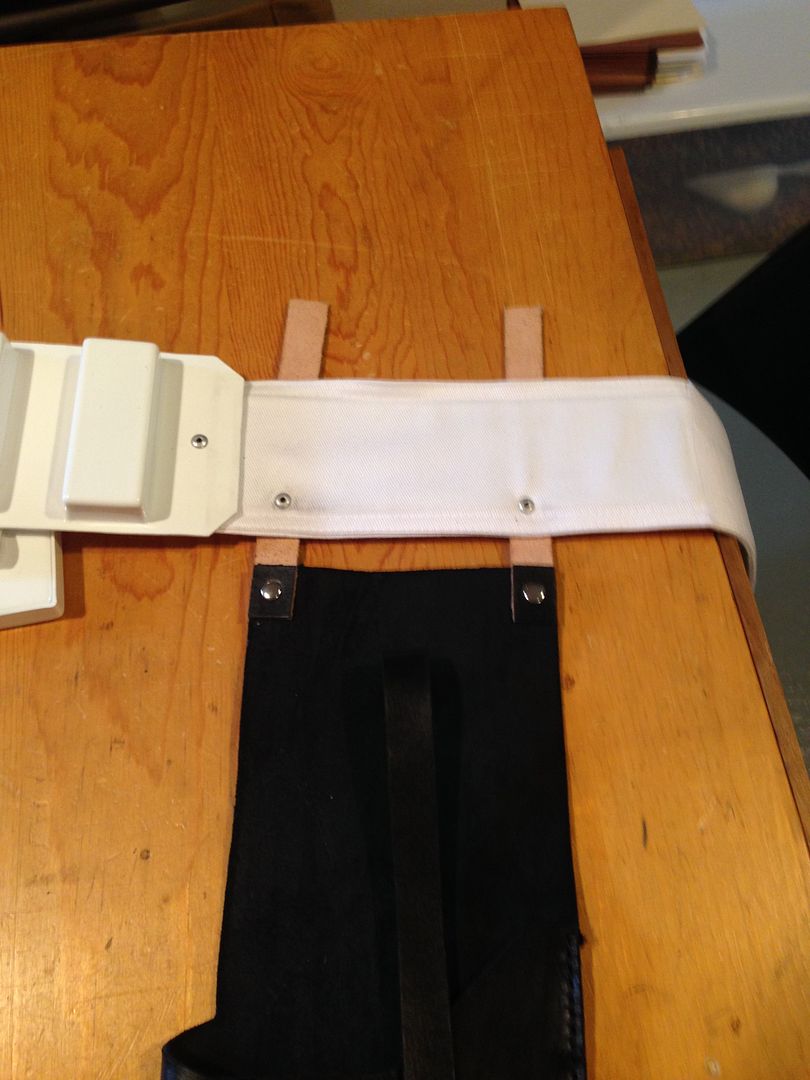
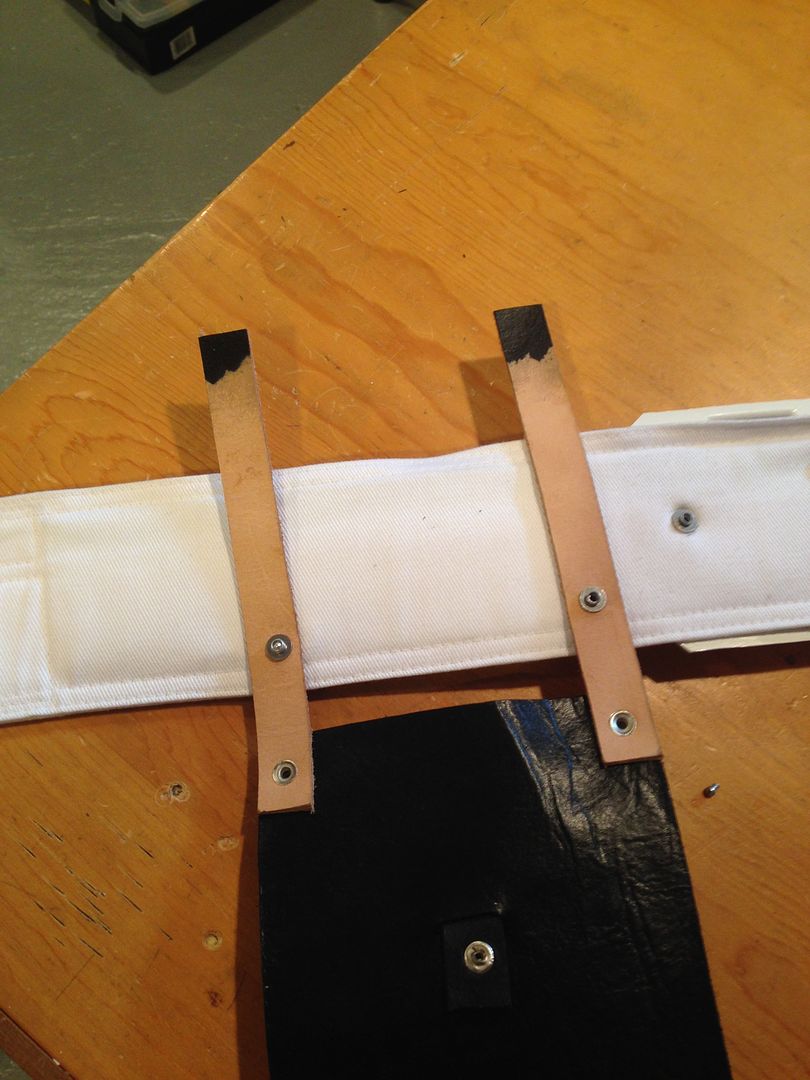
5) Trim off the excess and you are done!
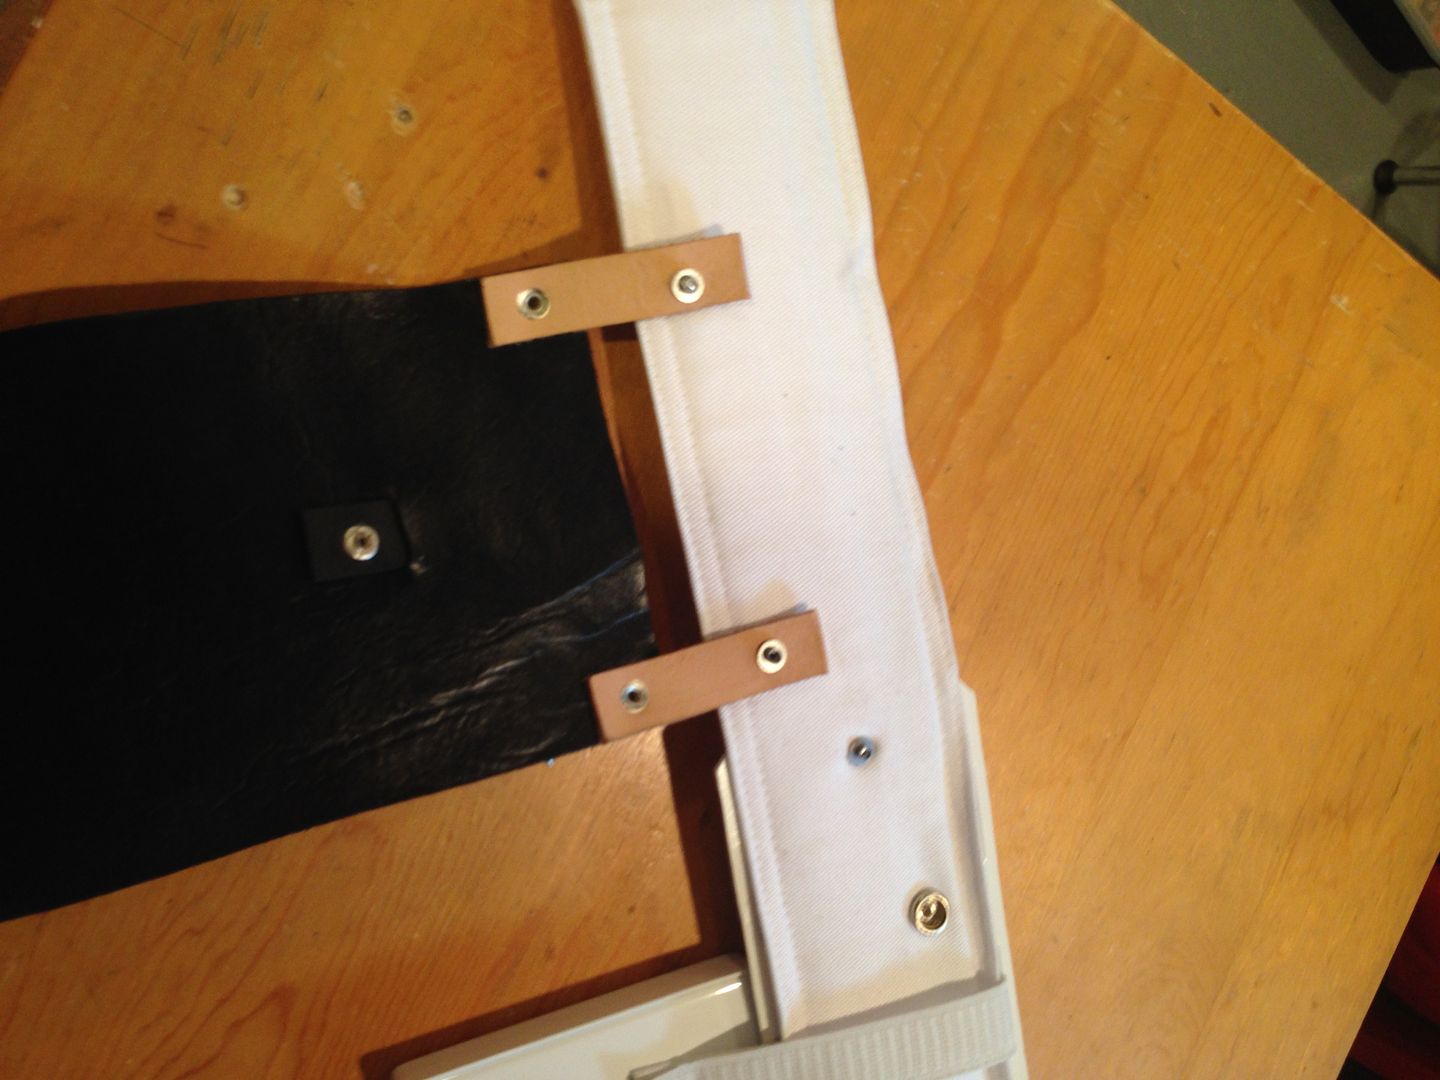
6) Finally just glue on the belt squares to cover the rivets. Use magnets to hold them while drying.
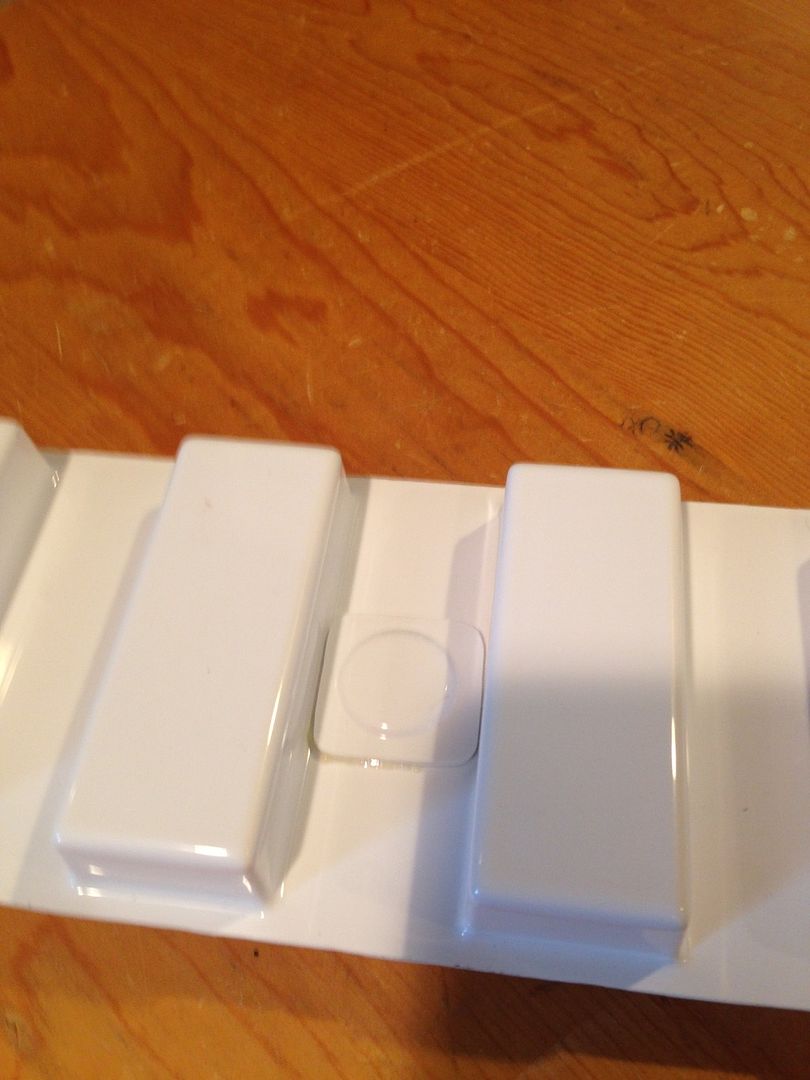
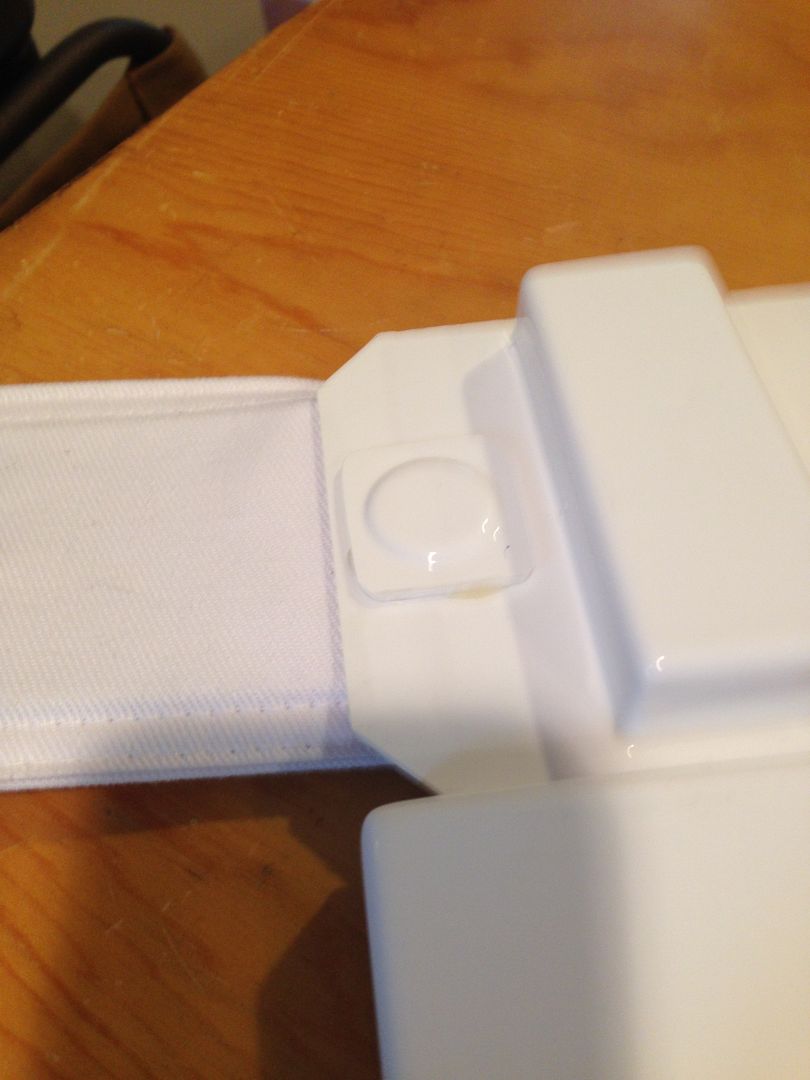
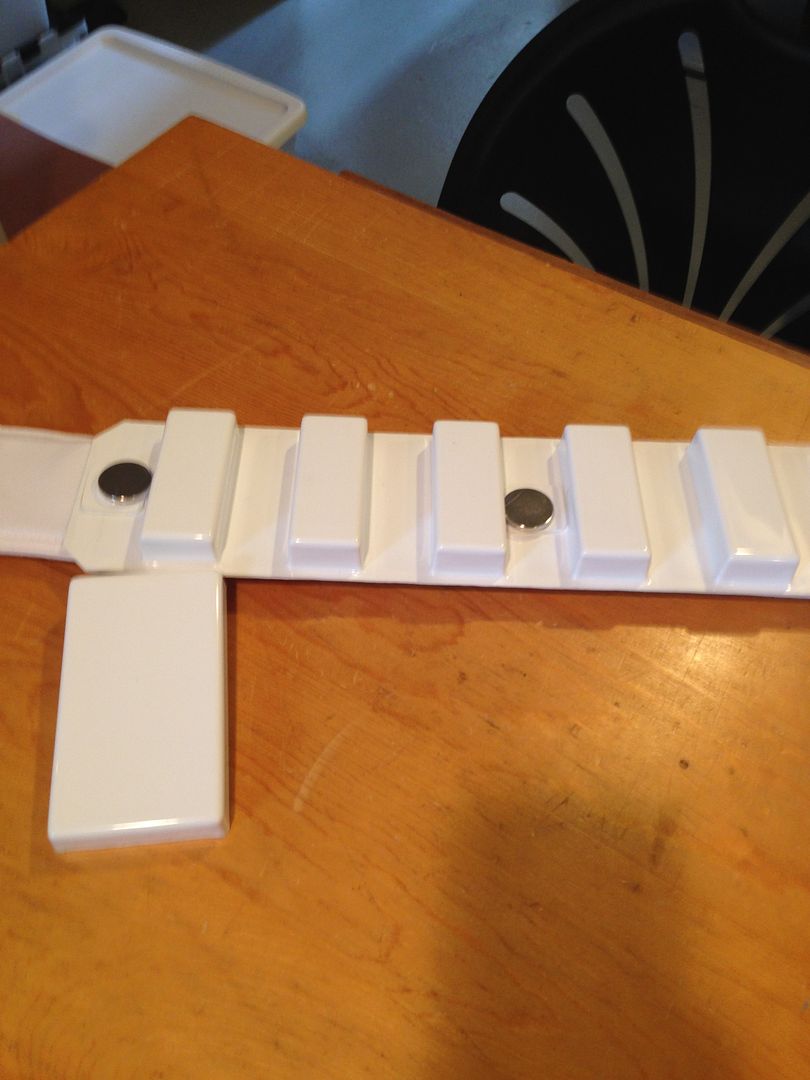
TIME CHECK:
ATTACHING BELT TO CANVAS AND ADDING HOLSTER, GLUING ON COVER SQUARES = 30 MINUTES
-
 1
1
-
-
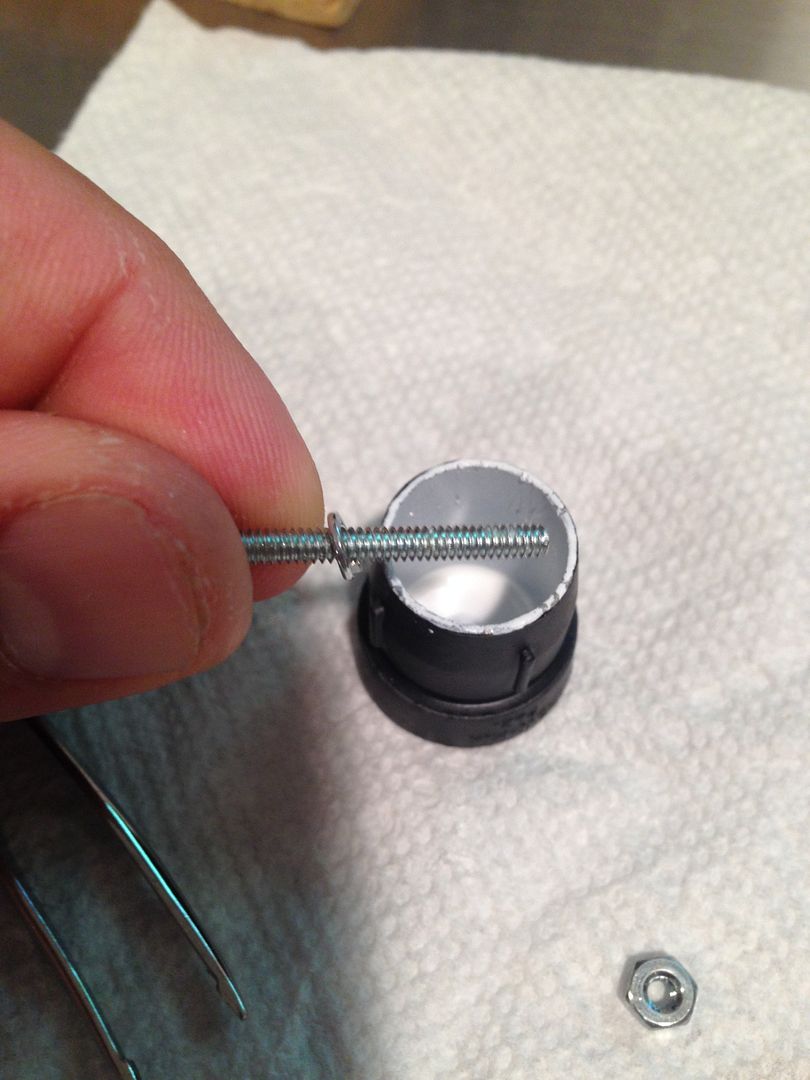
6) After the paint was dry I assembled it. First put the screw and washer through from the front.
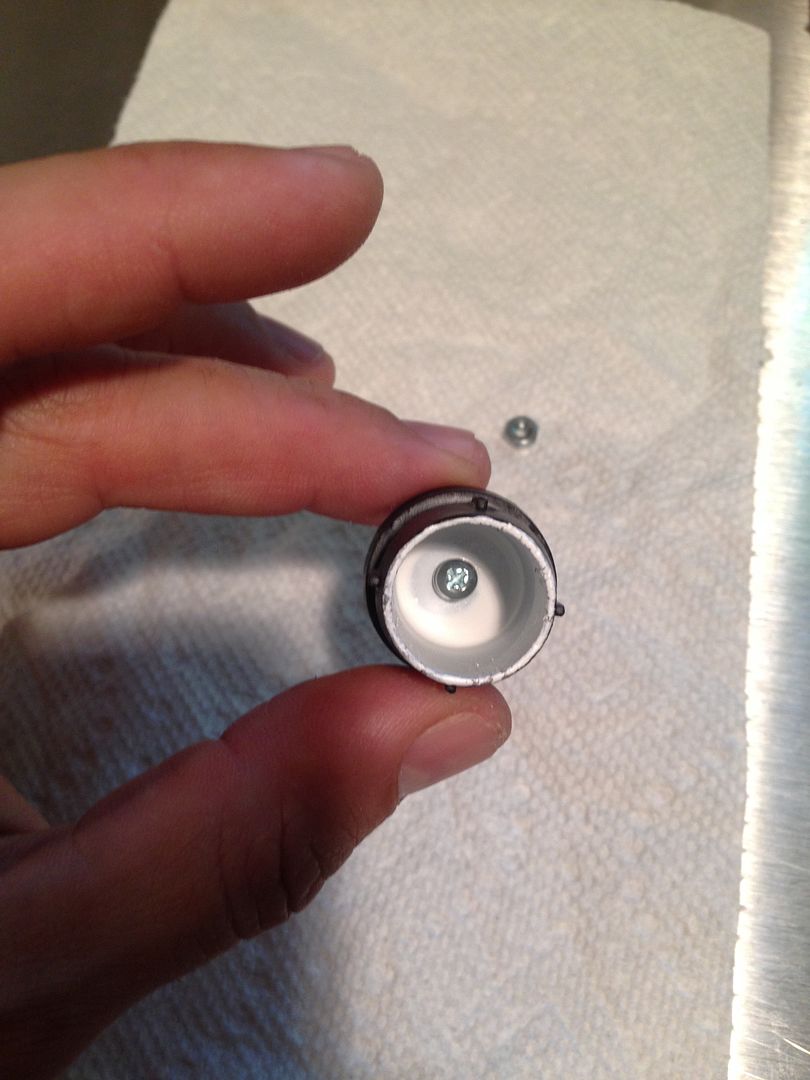
7) Use a small screwdriver to hold it in place and put it on.
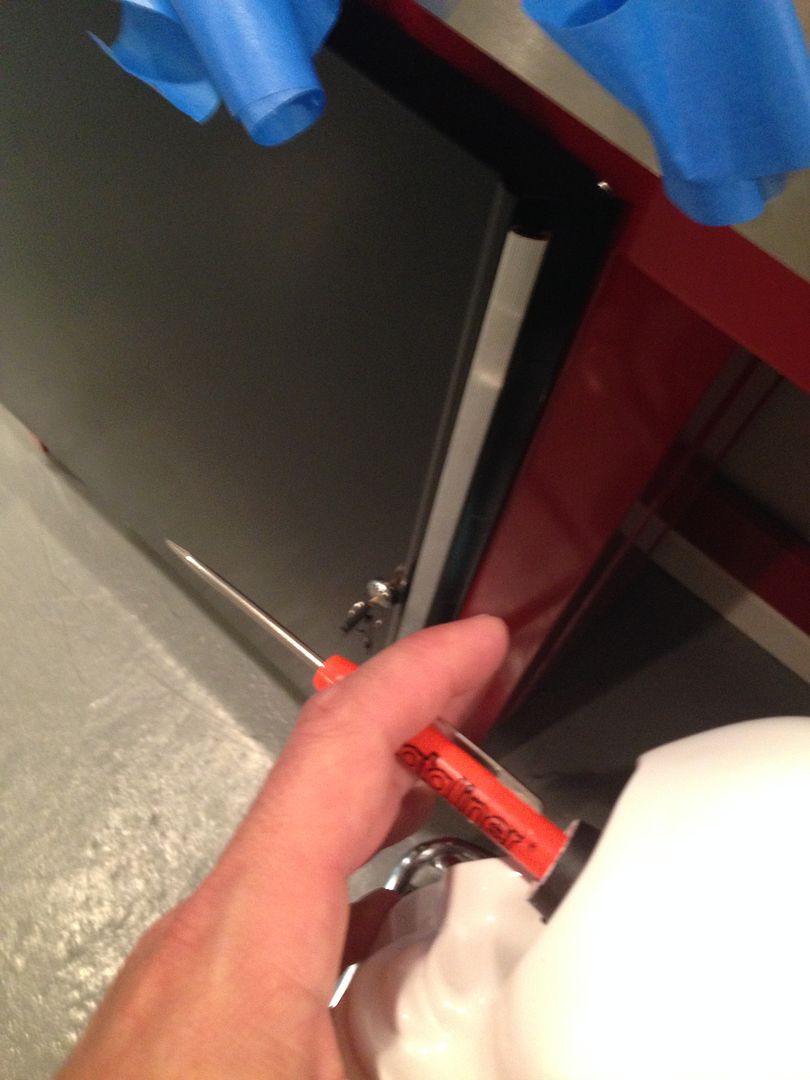
8) Use the plastic support washer, then the regular washer then hand tight the nut.
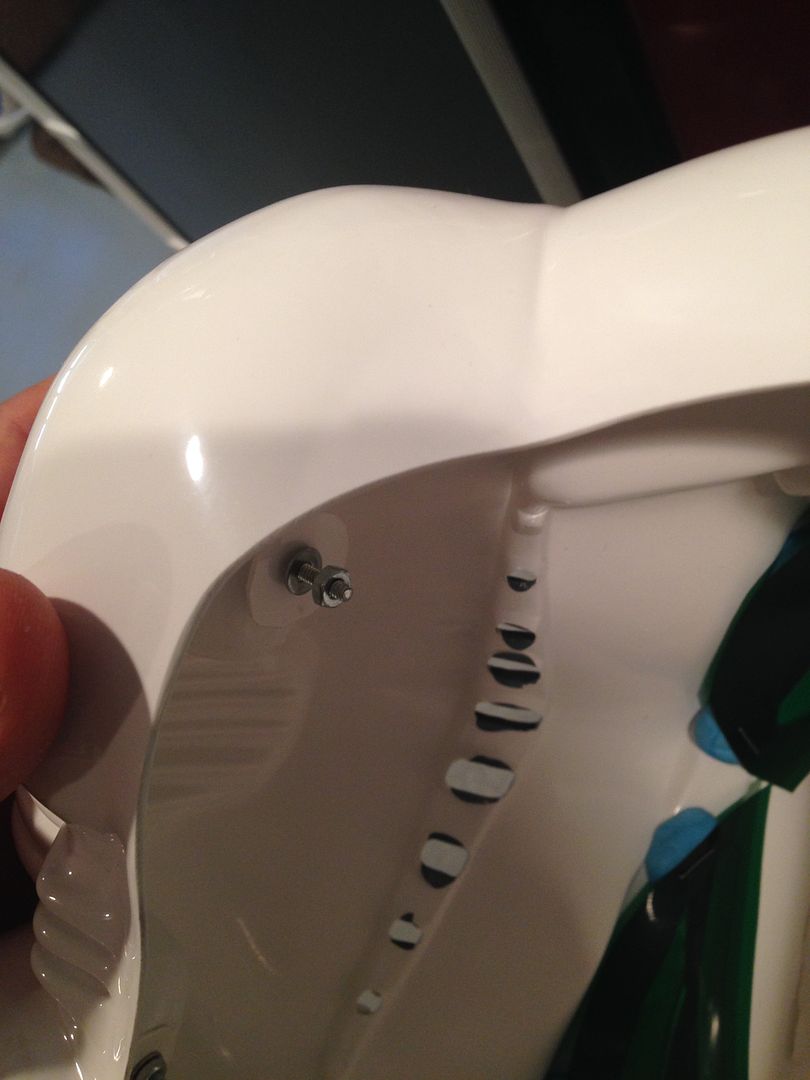
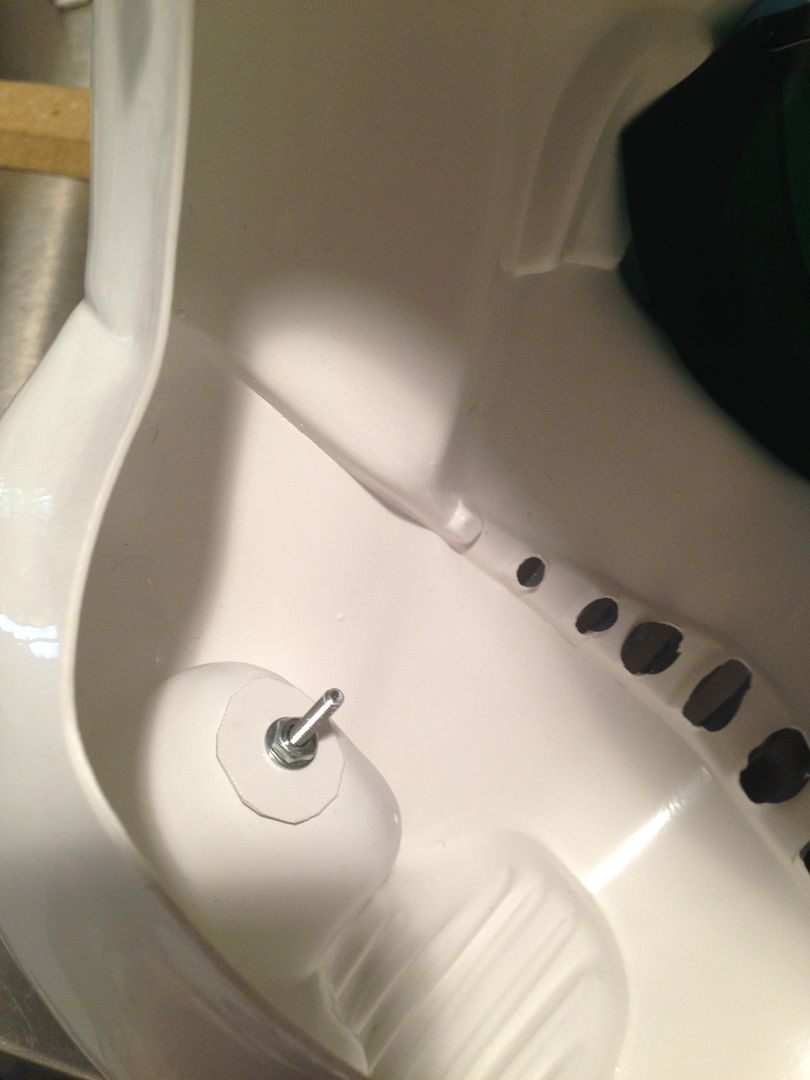
9) Make sure they look even, then put in the screen.
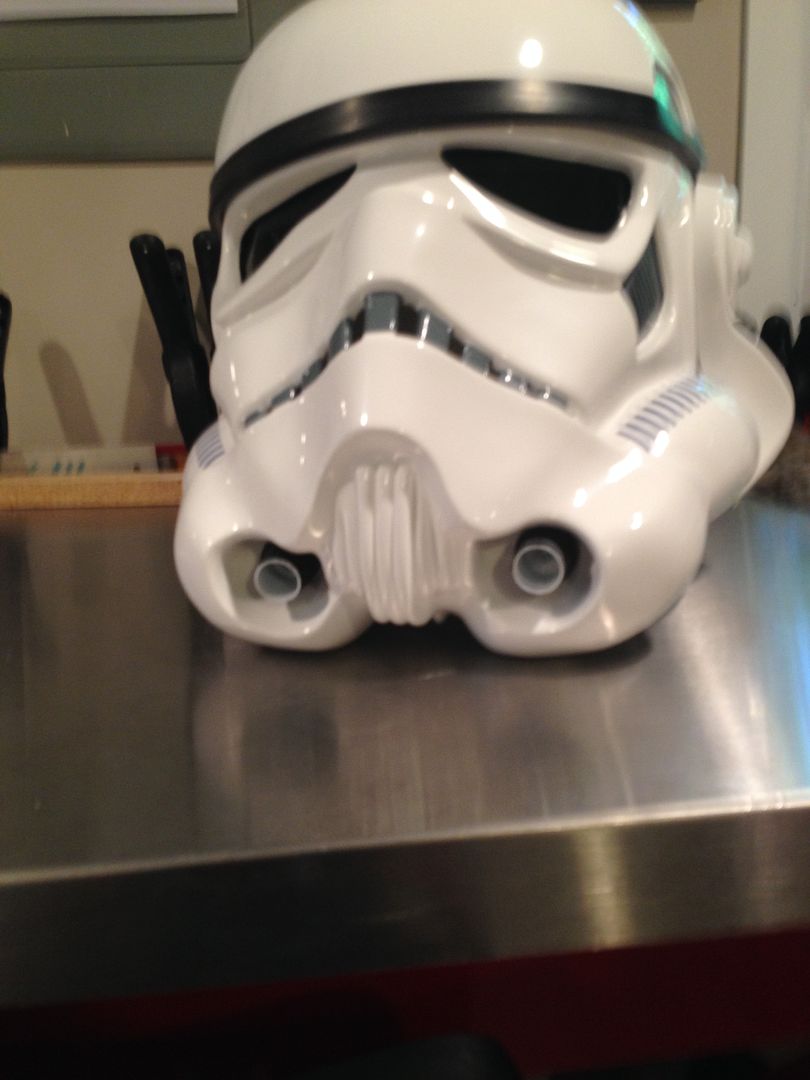
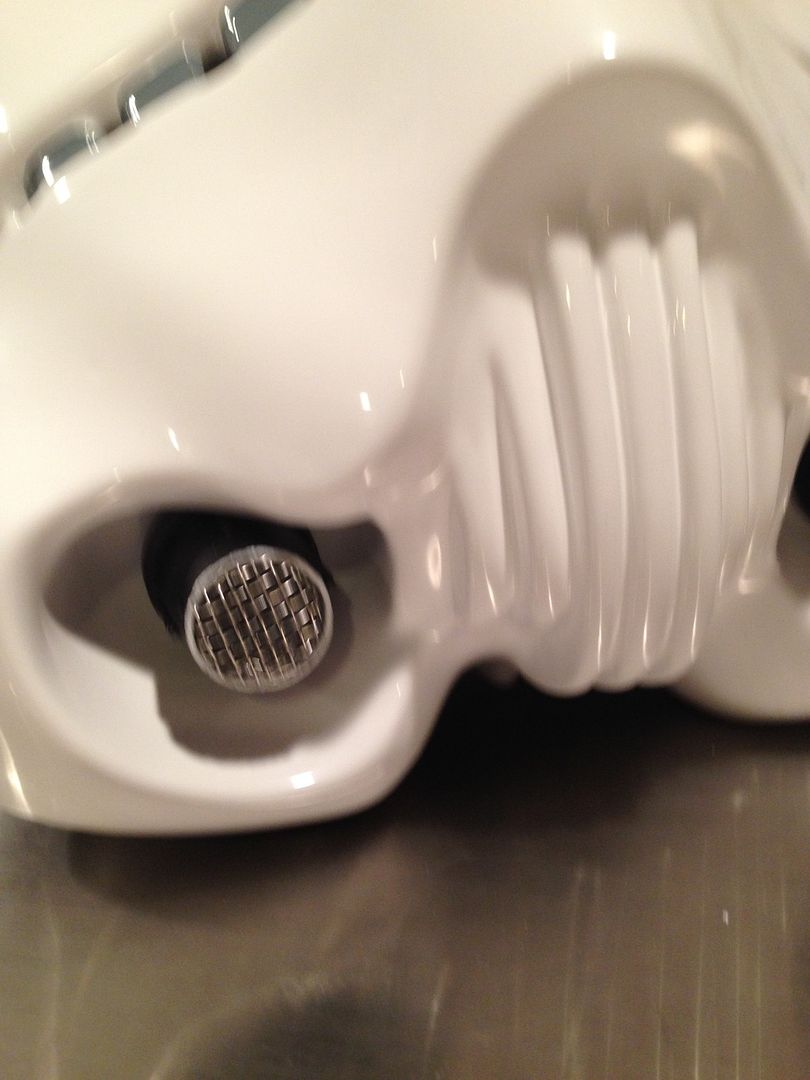
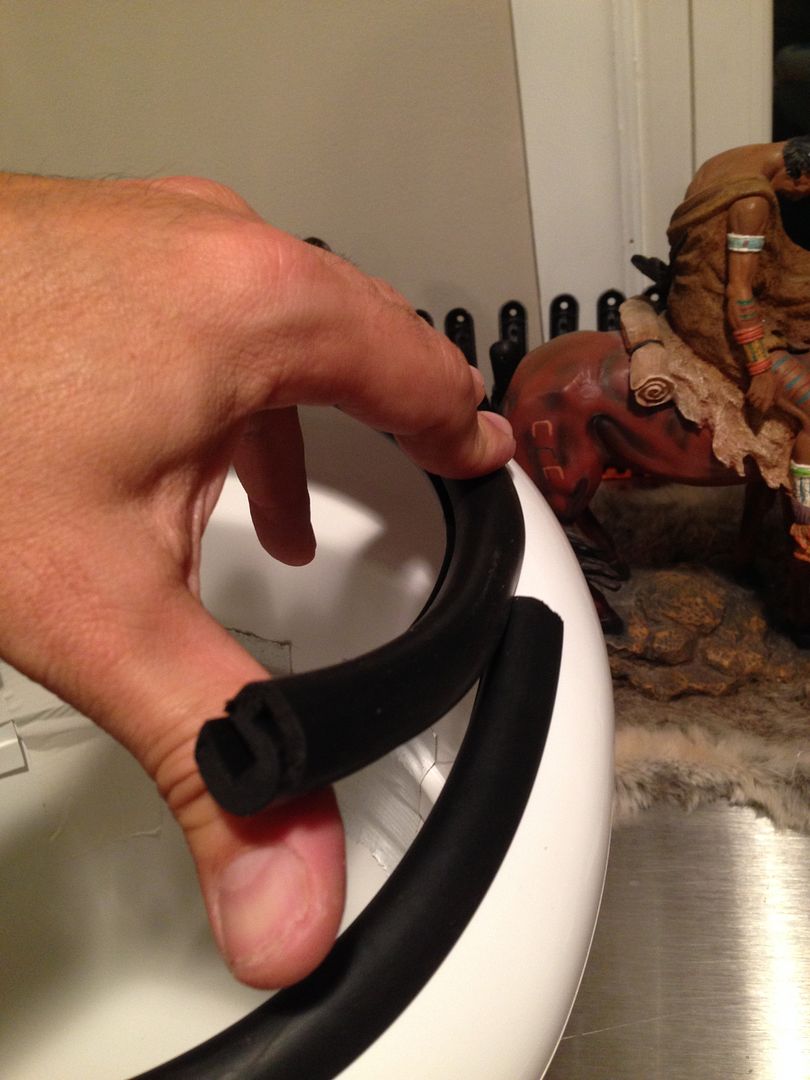
Lastly, use the "s" track and simply snake it on the edge around the bucket. Get it nice and tight, then cut off the edge so it matches up seamlessly

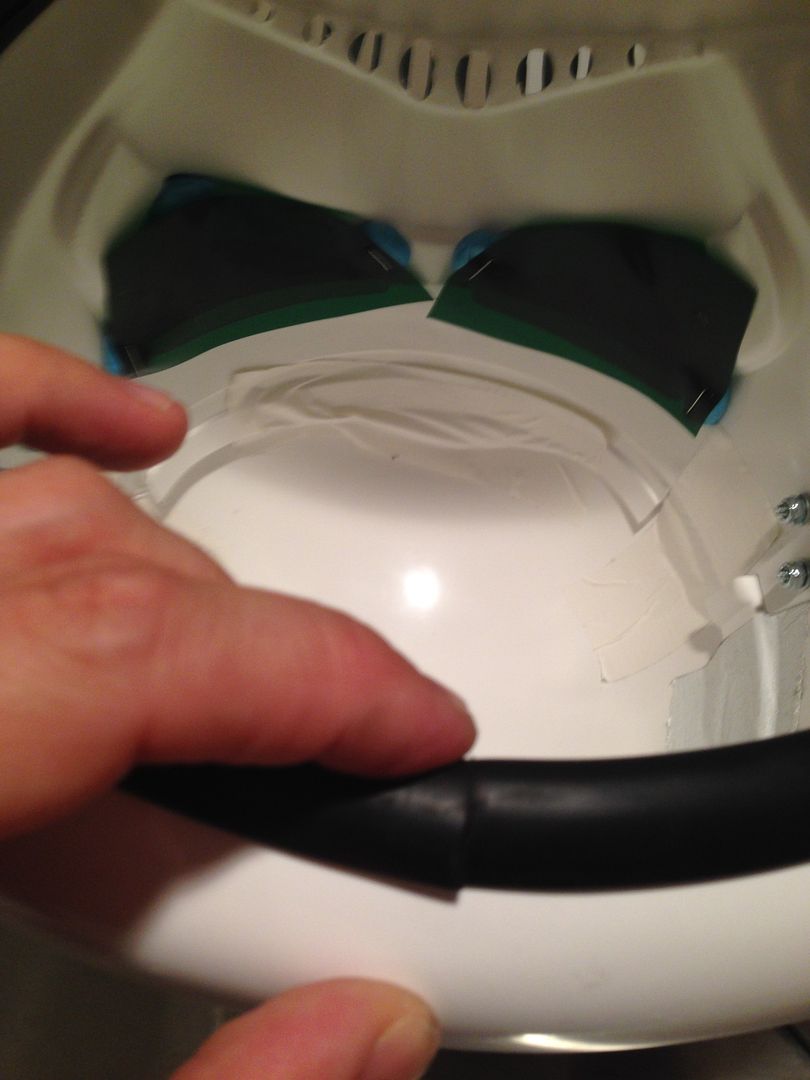
TIME CHECK:
BUCKET -
1) DRILLED HOLES, CUT OUT TEETH, ATTACHED TOP, INSTALLED LENSES = 1 HOUR
2) STICKERS AND TRIM = 1/2 HOUR
3) FRONT AND EAR CAP ASSEMBLY 45 MINUTES
4) HOVI MIC TIPS = 15 MINUTES (MINUS TIME FOR PAINT TO DRY LOL)
5) "S" TRIM = 5 MINUTES
TOTAL BUCKET ASSEMBLY TIME: ABOUT 2 1/2 HOURS
To finish the bucket I did the last little paint details. I admit I'm not the best painter but blame most of it on my awful vision hahaha! I need reading glasses over my contacts at this point

I used a black paint pen to do the outside edges on both the vocoder and ear bumps, as well as the ear bump stripe.
1) Painted the "vocoder" (black grill/teeth thing)
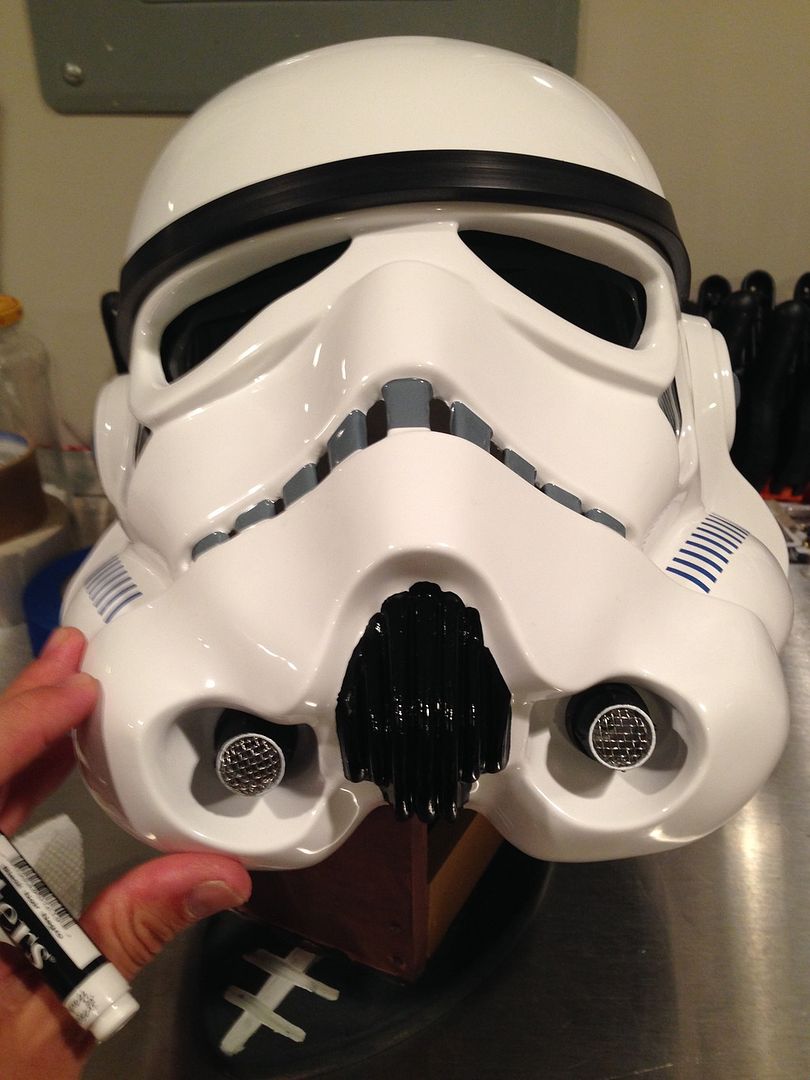
2) Stunt style ear bumps (one black stripe)
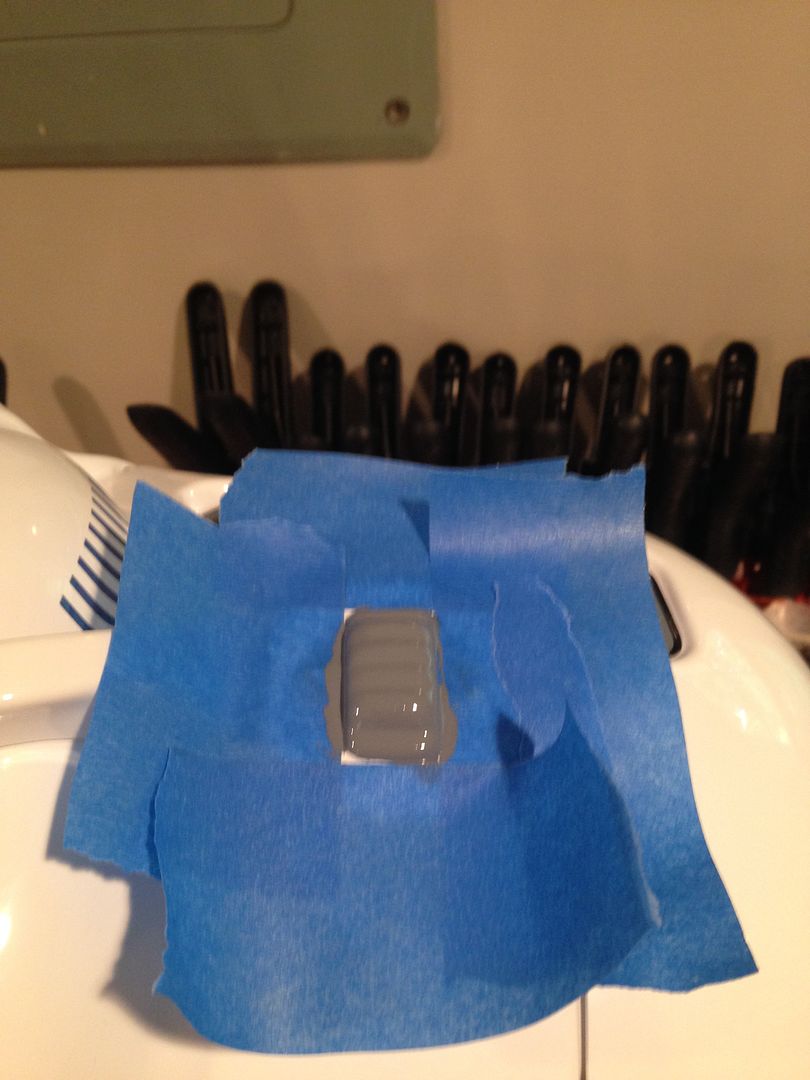
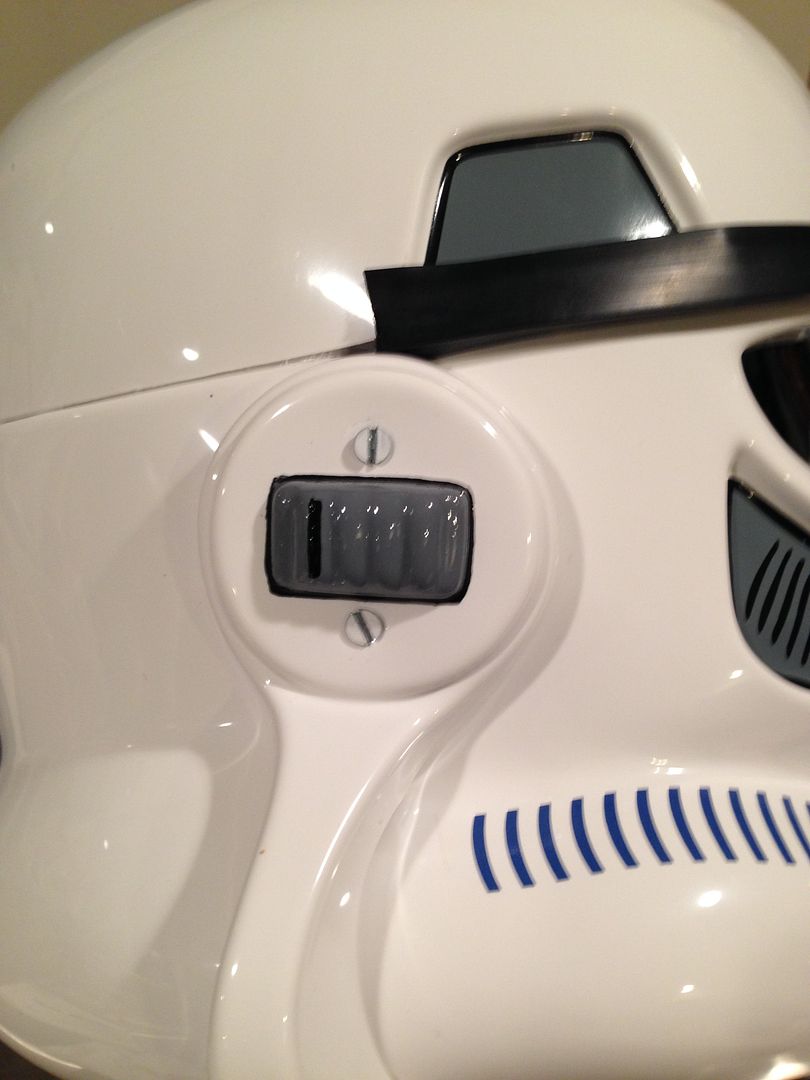
3) For now I'm just throwing in some foam padding. I used the starfish pattern I had from an old bucket (thanks to Chris S from way back when)
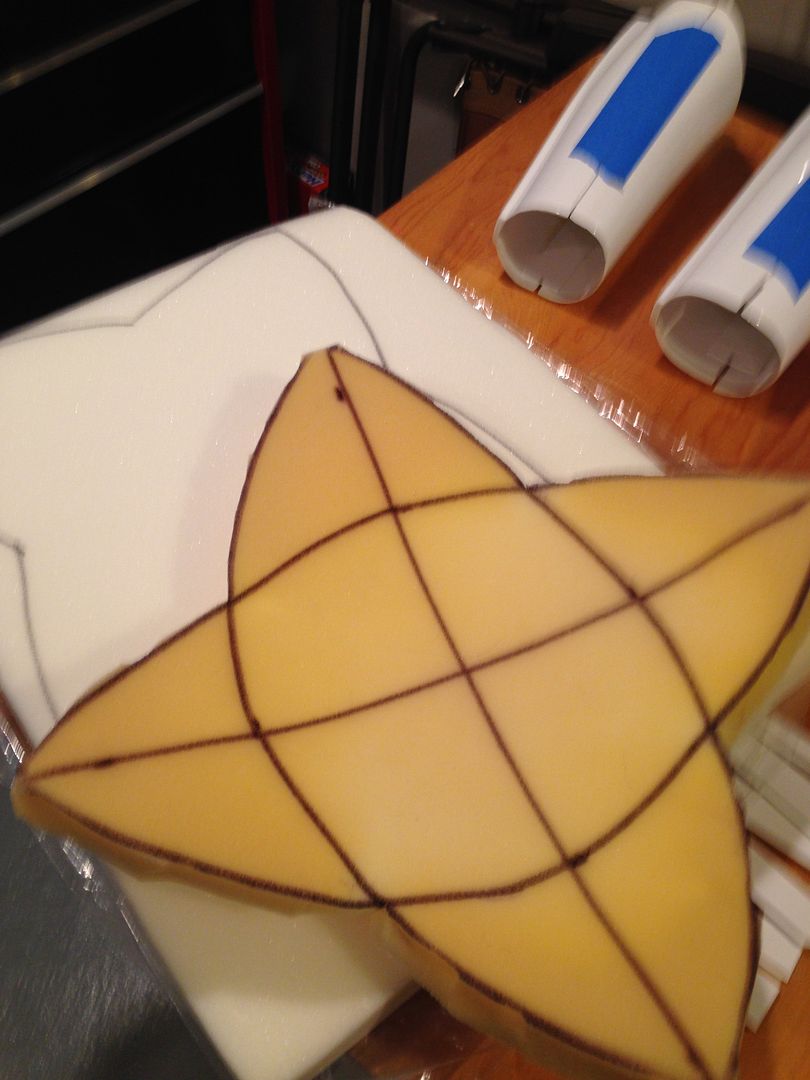
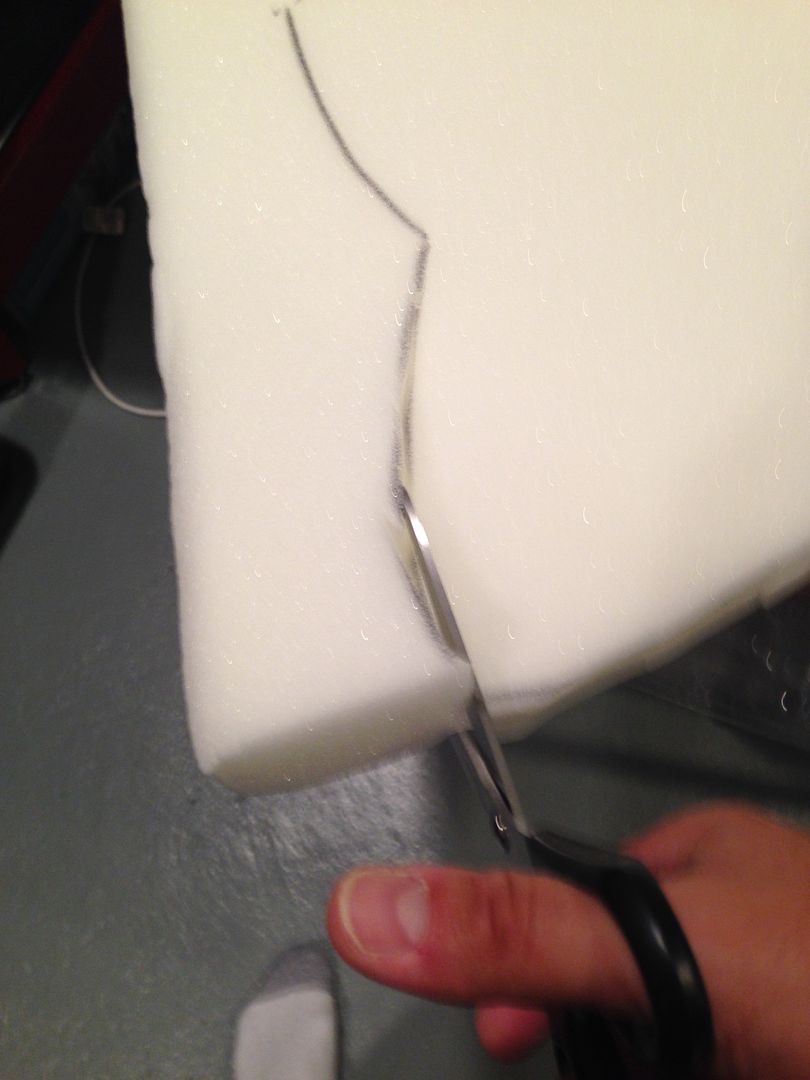
4) You can use scissors to cut it out. I had 2" foam and really needed 1" thick. If you are careful and patient you can actually cut it in half lol. It'll be a little messy but it's fine for now.
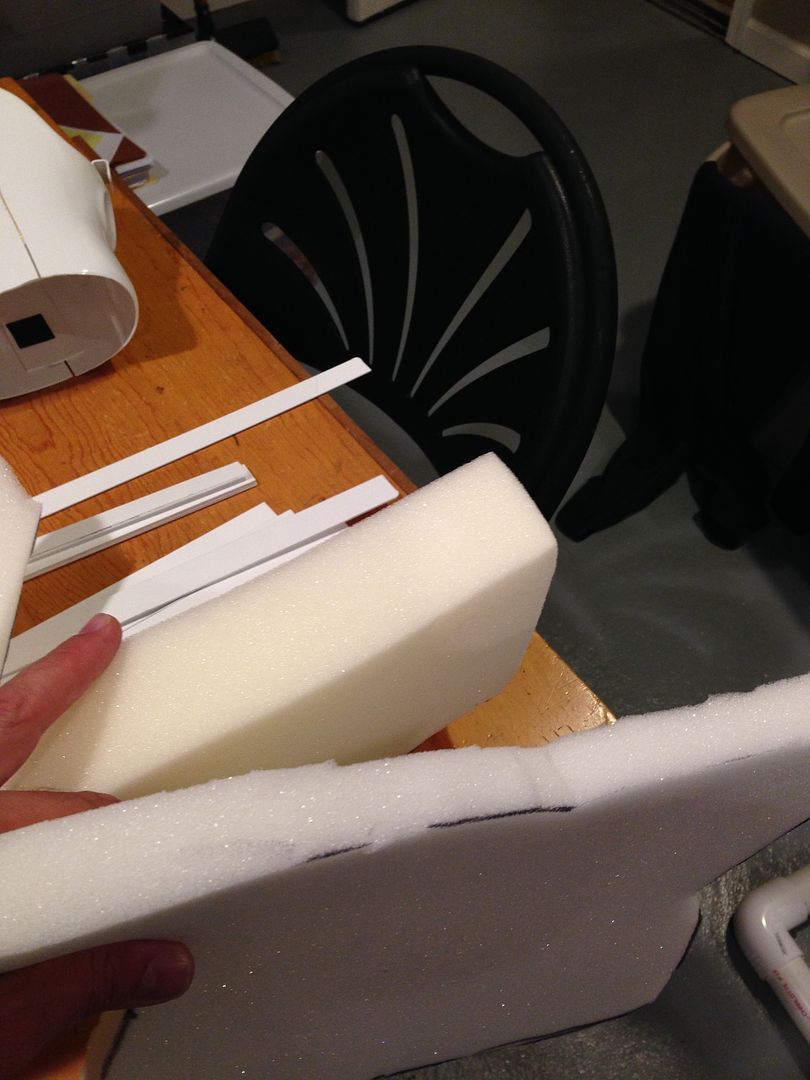
All done:
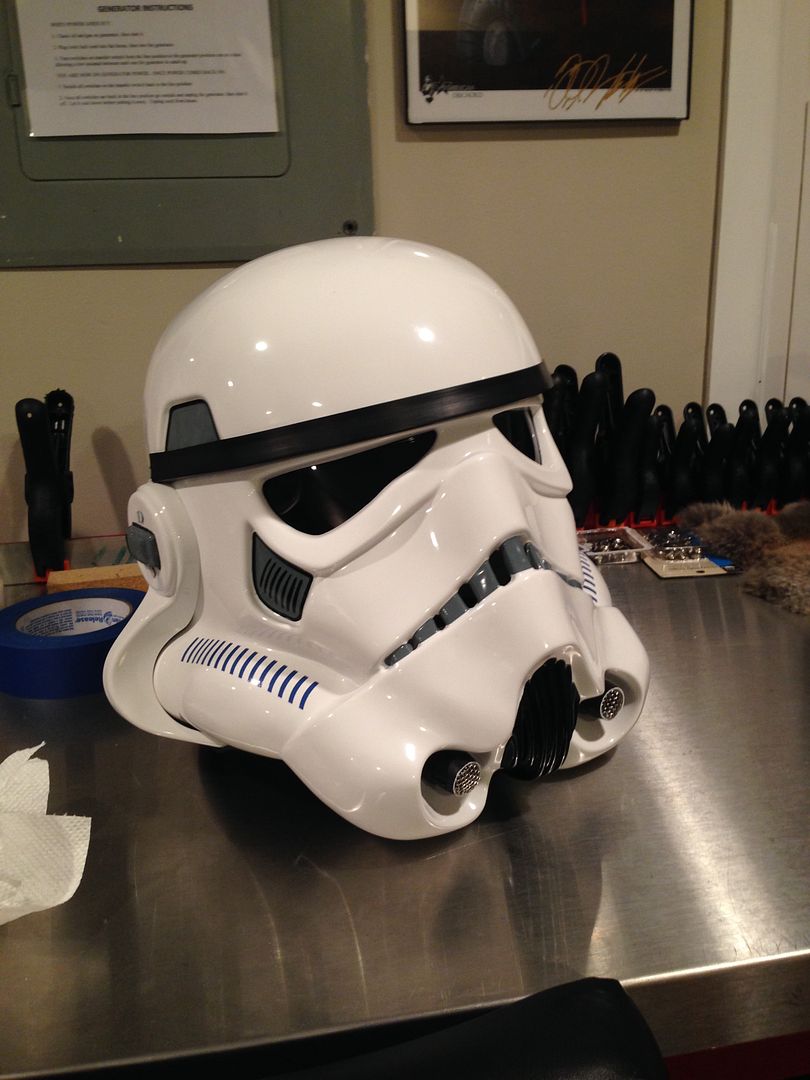
I went back a little later and cleaned it up some more with toothpics and q-tips.
TIME CHECK:
FINAL PAINT DETAILS AND CLEANUP ON BUCKET, FOAM PADDING = 1 HOUR
Glued on the ab plate details.
1) Put the glue around the edge of the ab plate armor, then carefully place the detail plates.
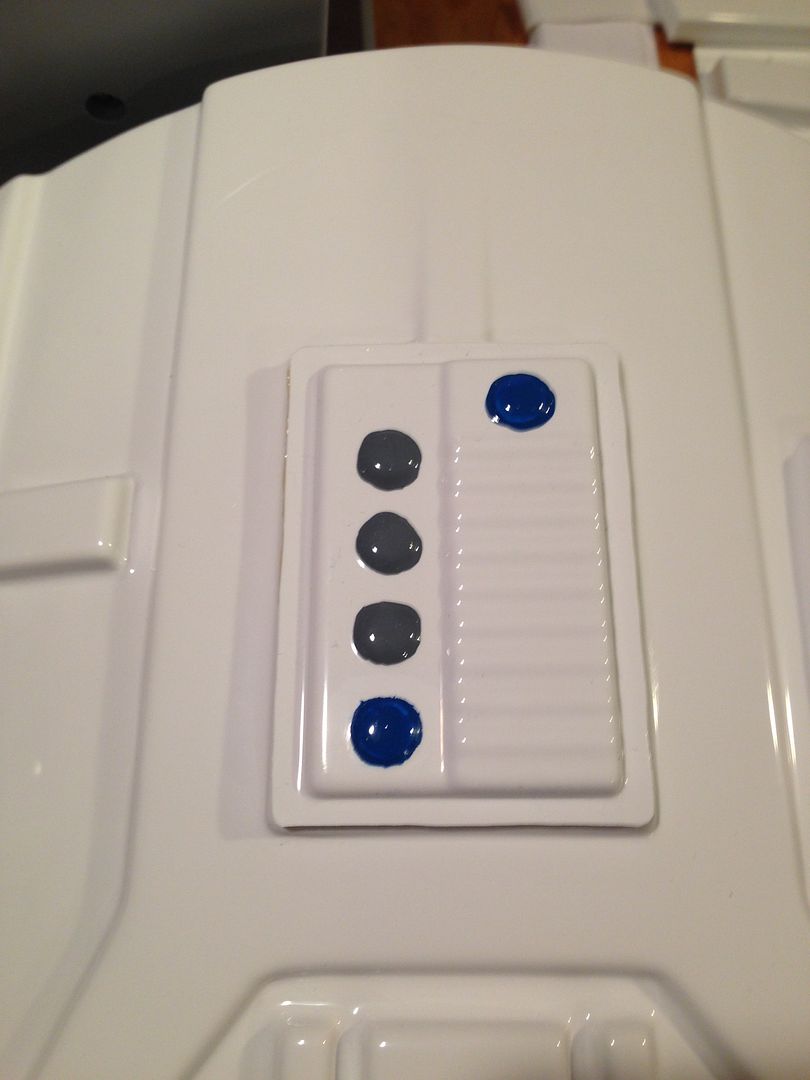
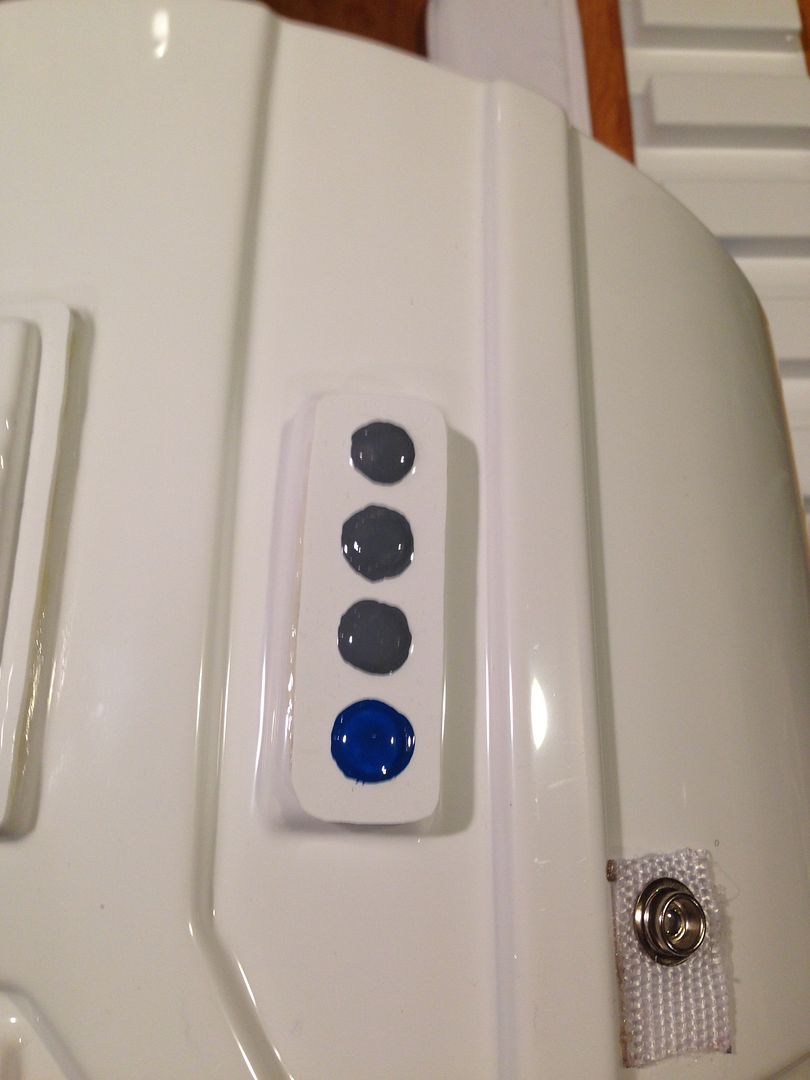
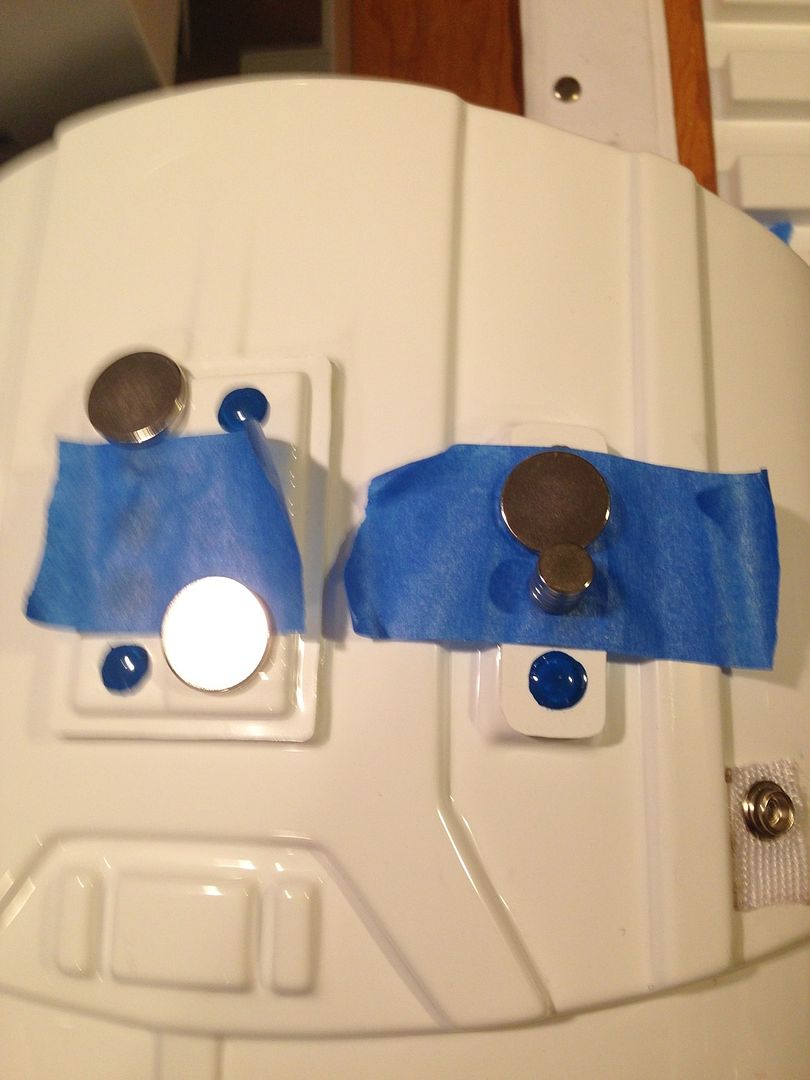
2) I used magnets to get a good seal. You have to be careful not to slide the plate around though when securing things for drying. I lightly put some tape on before the magnets then checked the position afterwards. If things slide around at this point they'll dry crooked and look bad

TIME CHECK:
GLUING ON AB PLATE DETAILS: 5 MINUTES
-
Front assembly.
You'll need 8mm socket wrench, phillips and flat head screwdrivers and a lot of patience for this kit! It comes with the mounting hardware

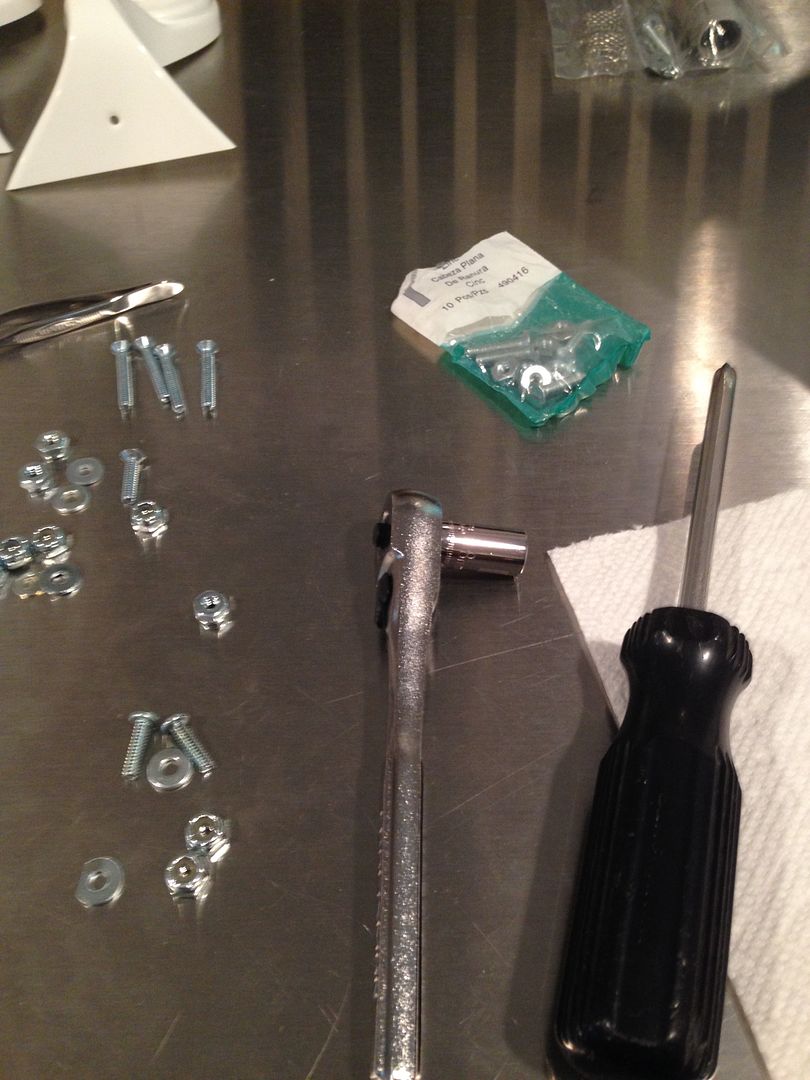
1) First I put the front on, under the back.
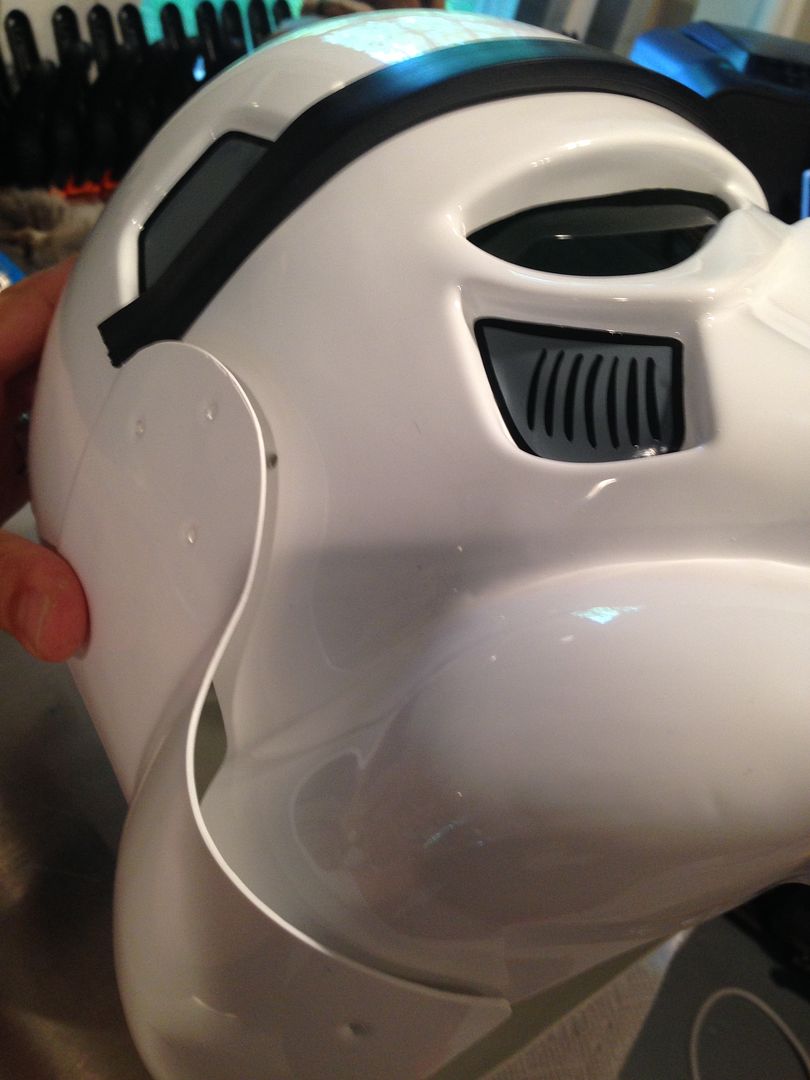
2) Attach them at the non-ear cap holes on both sides. From both experience and research it seems it's a little easier if you start everything on the right side and then work to the left side.
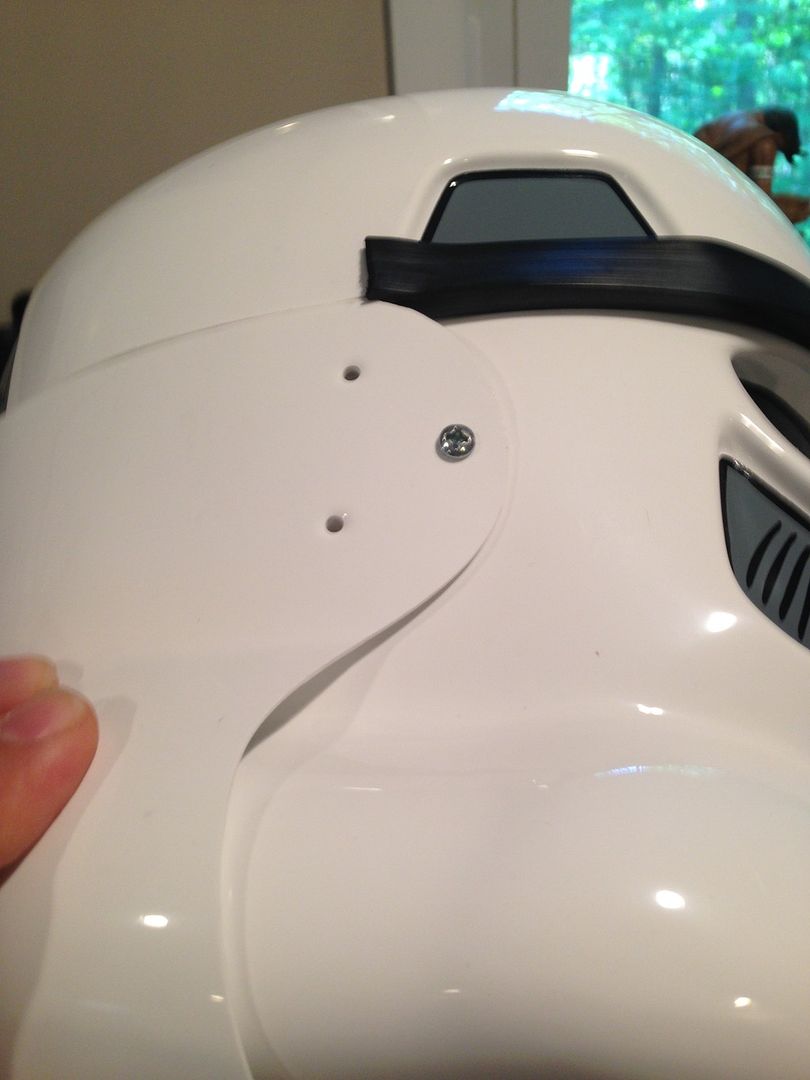
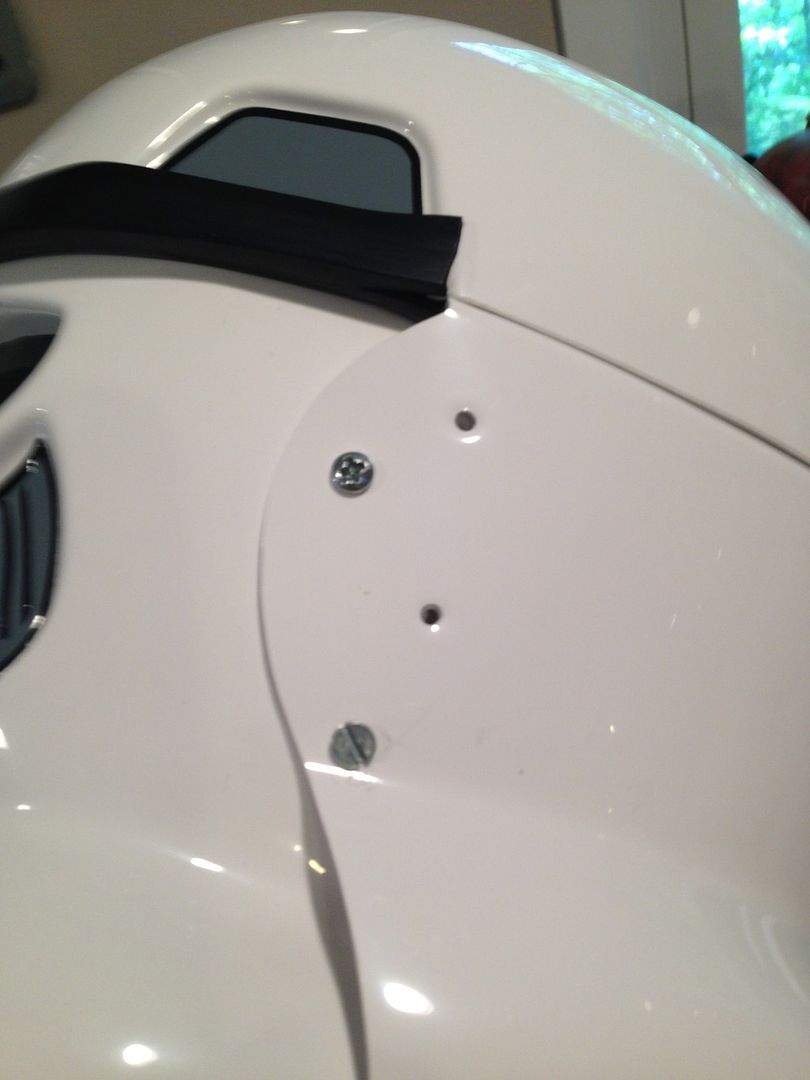
3) Back to the right, start adding on the ear caps. I put in the top screw first. If you notice, the ear caps have a little cut out to help indicate which side they go to, but they also really only line up one way.
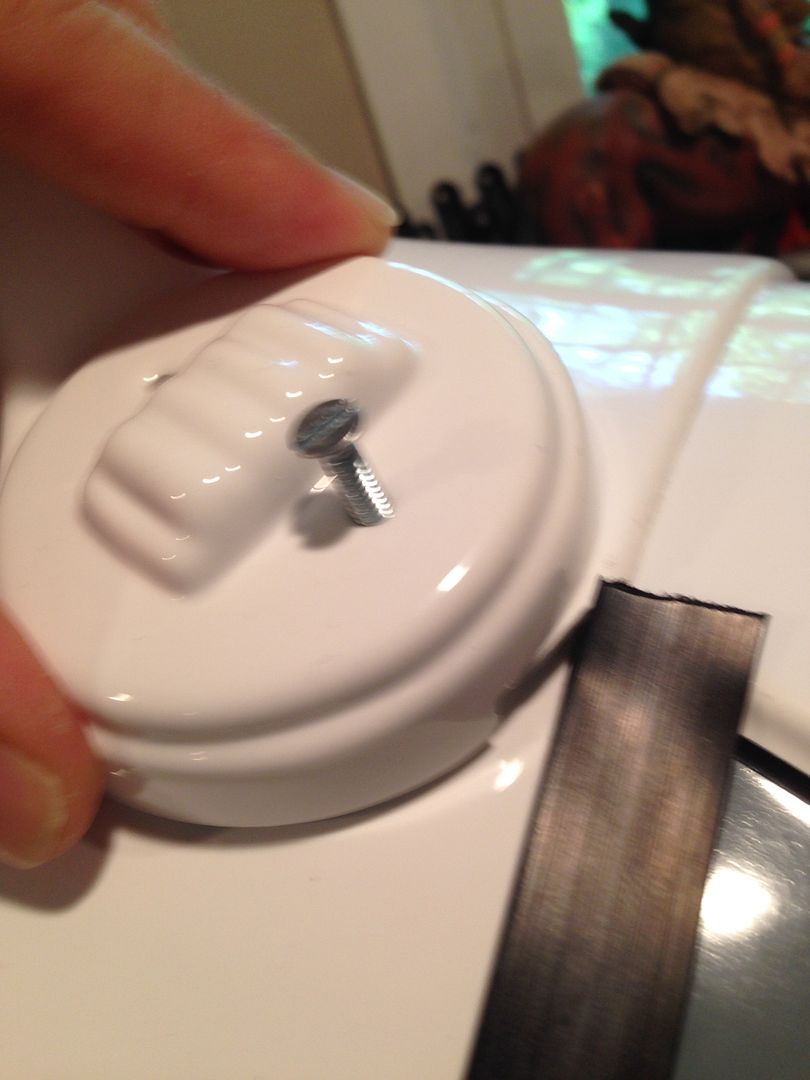
4) Then pull down the cap and line up the bottom holes. I go through the cap and first layer then push it all into the second.
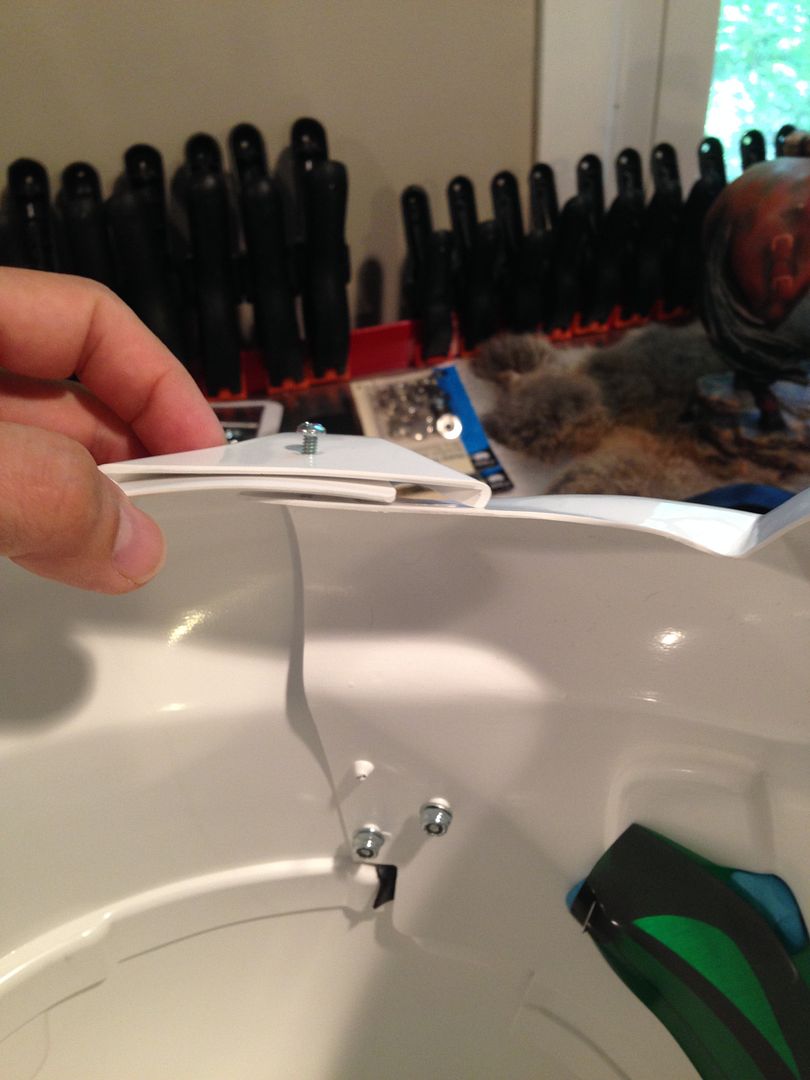
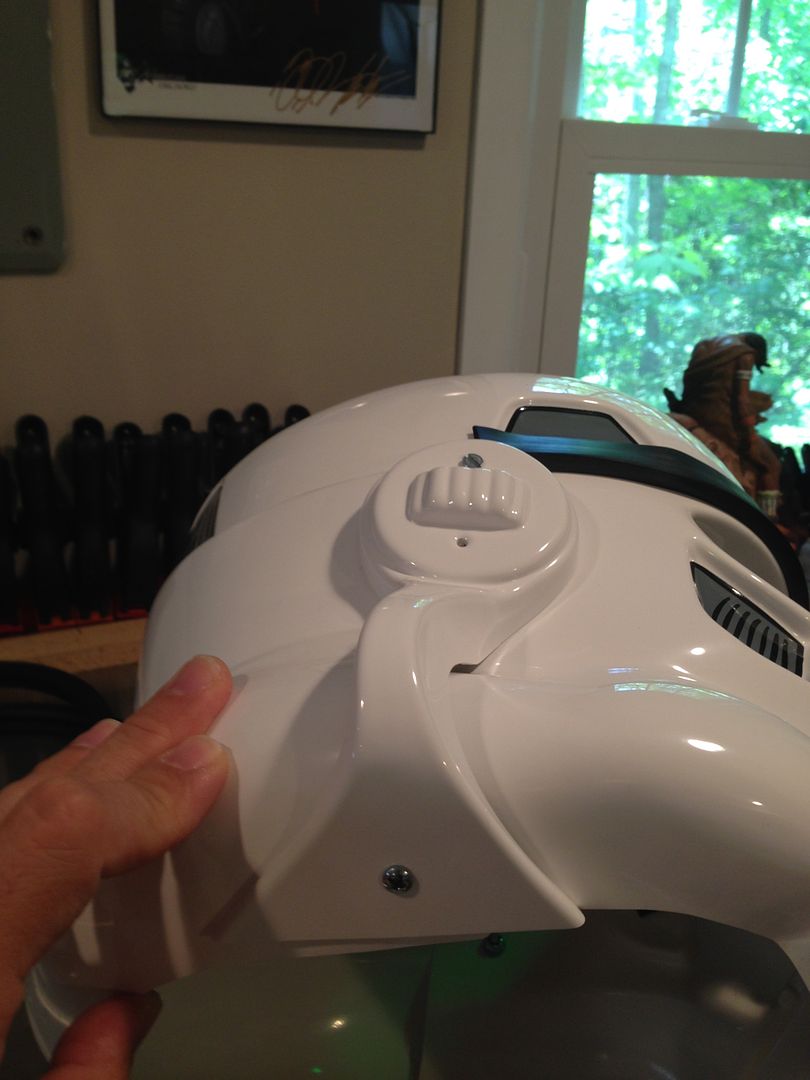
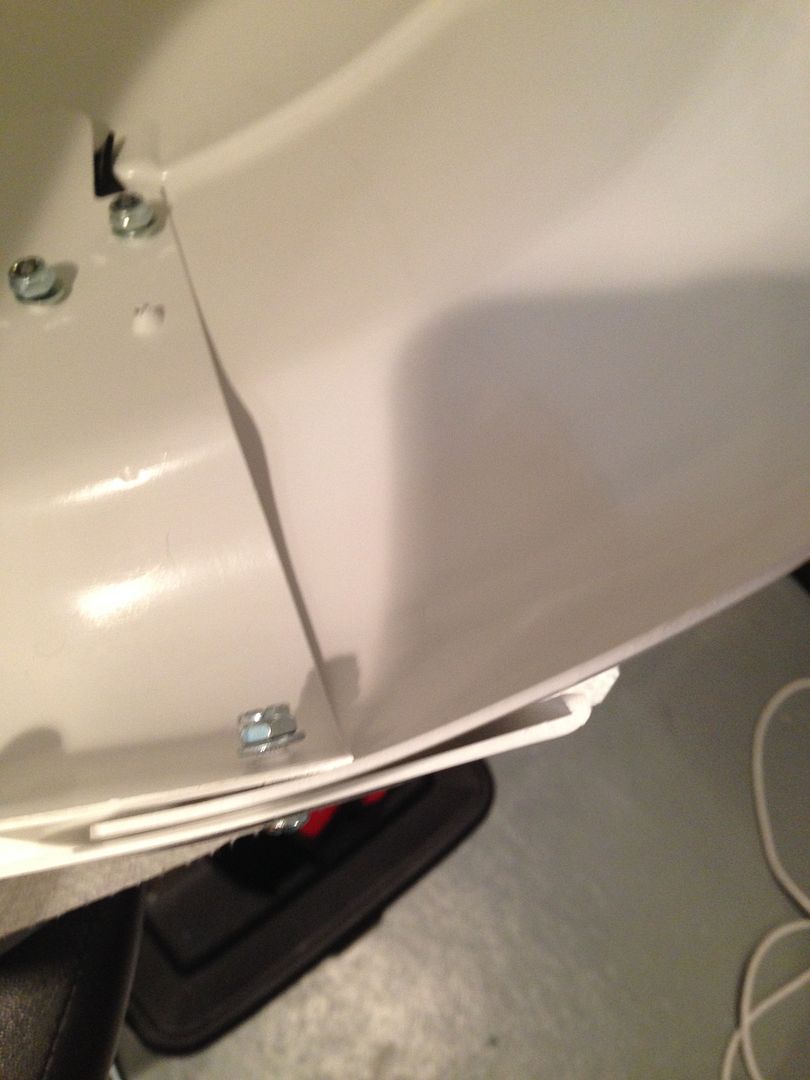
5) For the left, I went opposite. I attached the bottom first. Then, because of this style bucket, I had to use a needle punch to line things up. I put it through the top holes, then pulled back until I could get the middle one though. I won't lie, it was tough, and I literally bent the heck out of the punch.
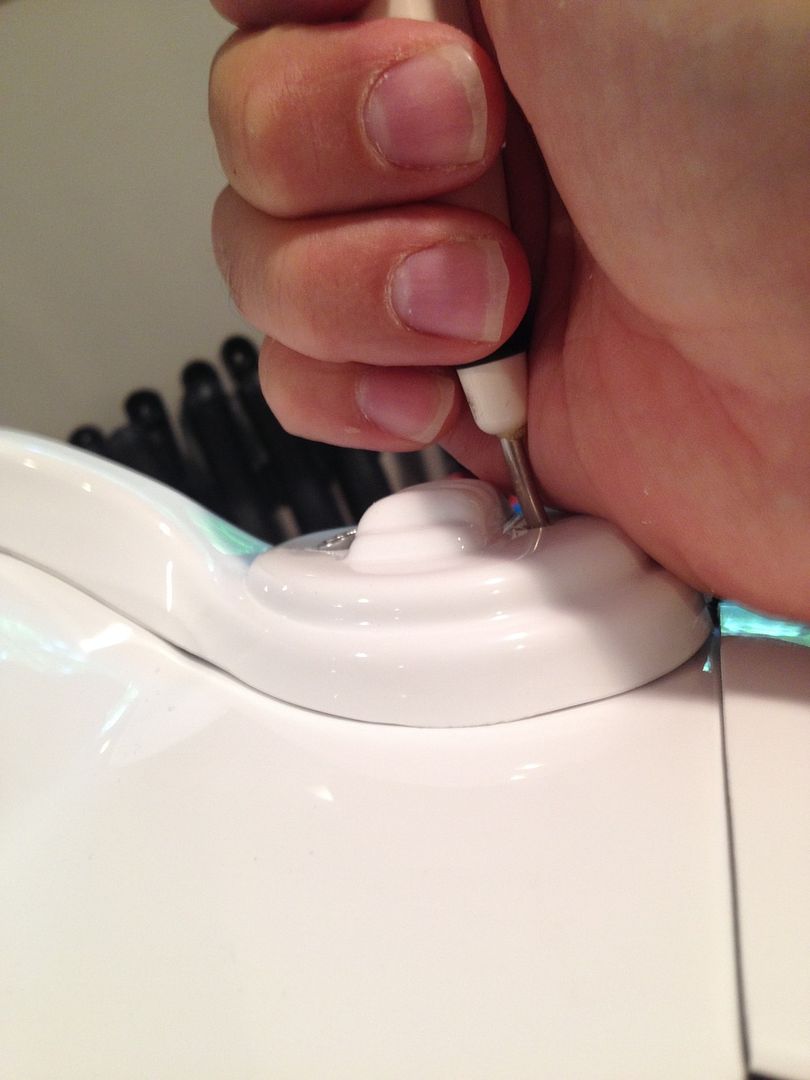
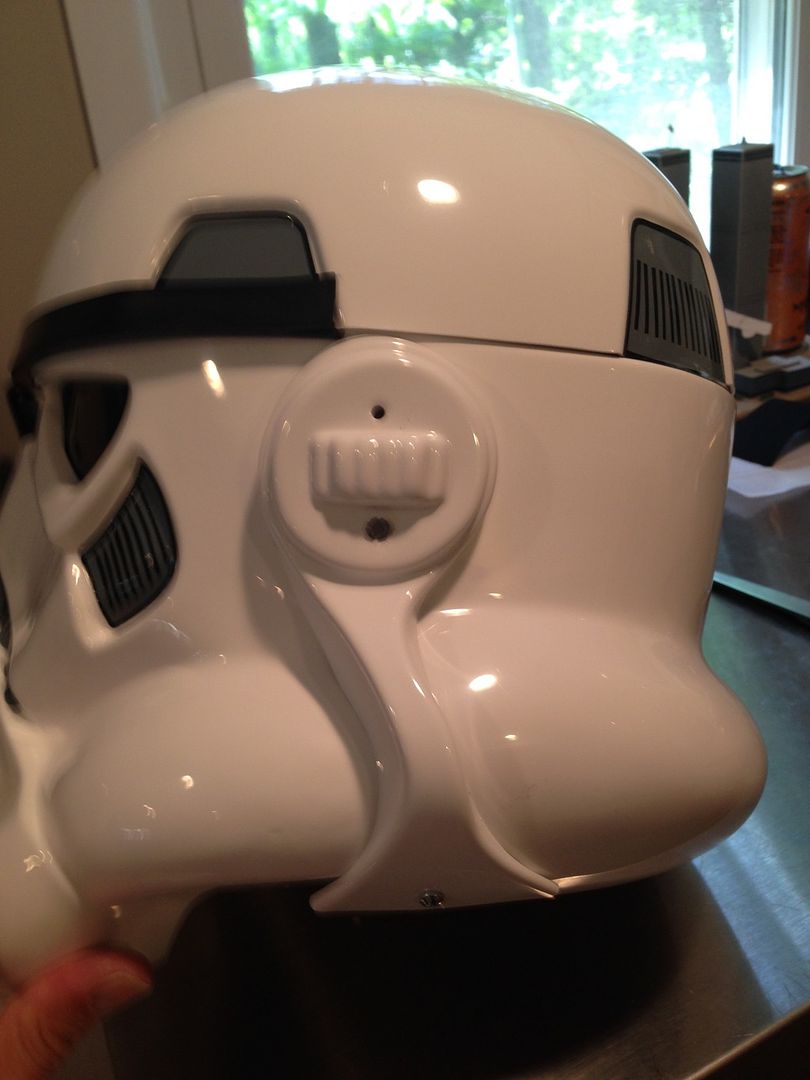
6) Once the lower (middle) cap screw was on I put in the top one. It was lined up pretty close, but to ease the struggle I just drilled though the cap and created a new hole, otherwise the screw might have gone in a little crooked. I made sure to check the bottom of the caps first though, to make sure they were pretty much in line and parallel with the bottom of the bucket.
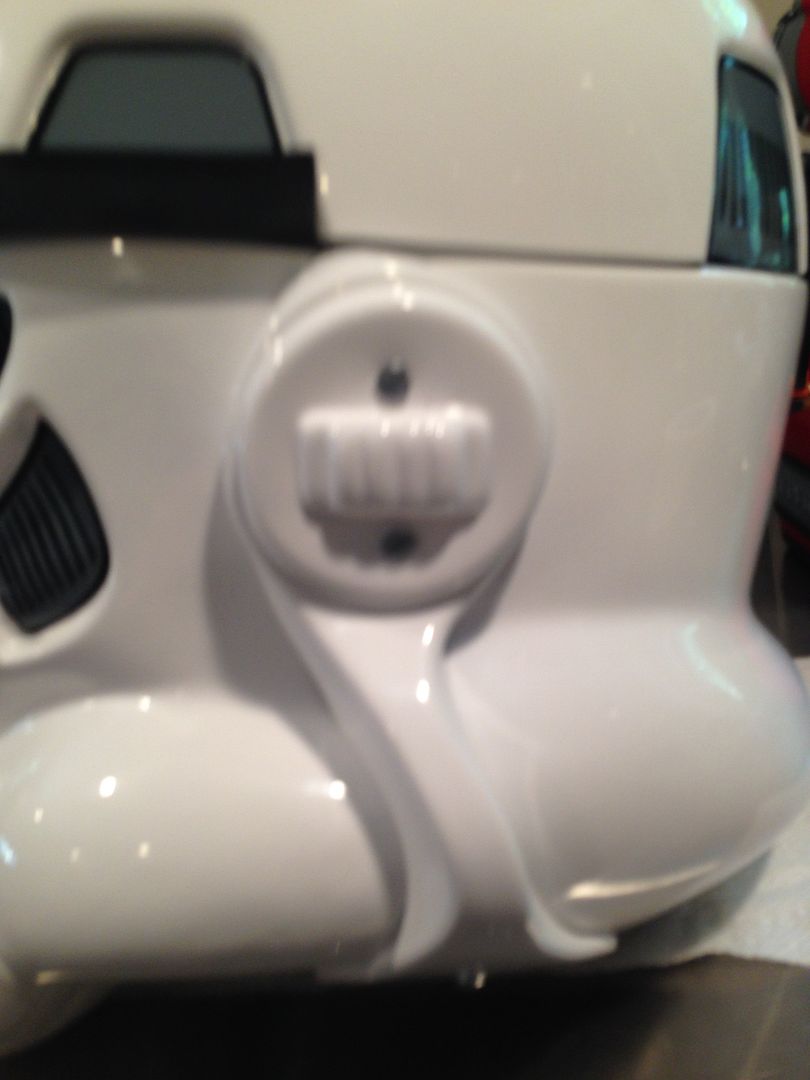
7) Then added the middle screw on the right side.
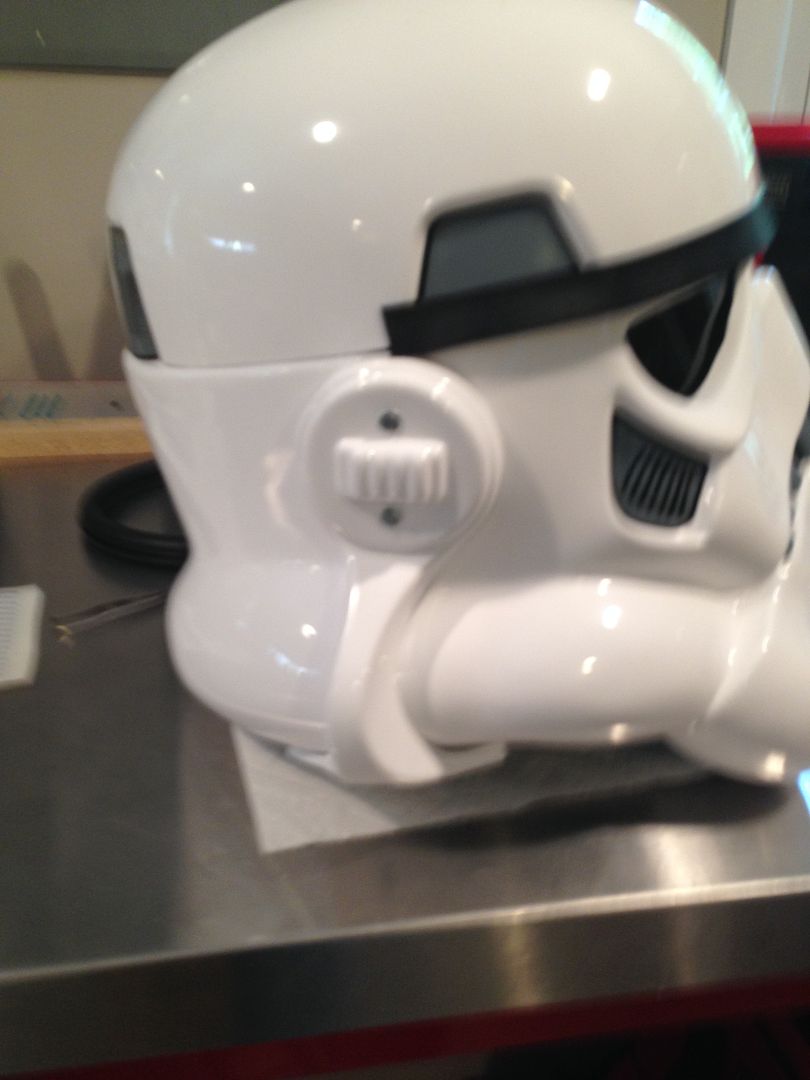
8) Now that it's attached I checked the brow. Again, with this kit there are some weird things and it seems to raise a little on the left (giving the wrestler "The Rocks'" signature look, the "people's eyebrow" hahaha!" )
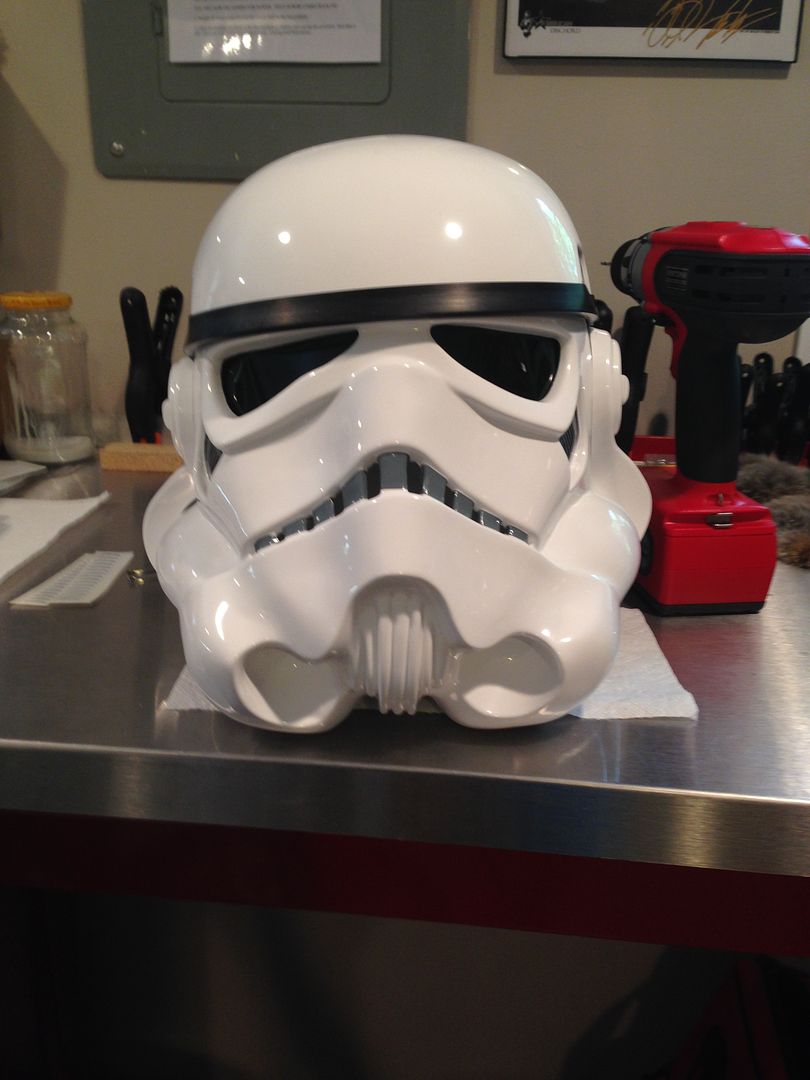
9) I used Paul's suggestion from the previous build and added a little rolled up elastic inbetween the front seam to even it out. I used excess white I had on hand, but the photo is black to show where it went.
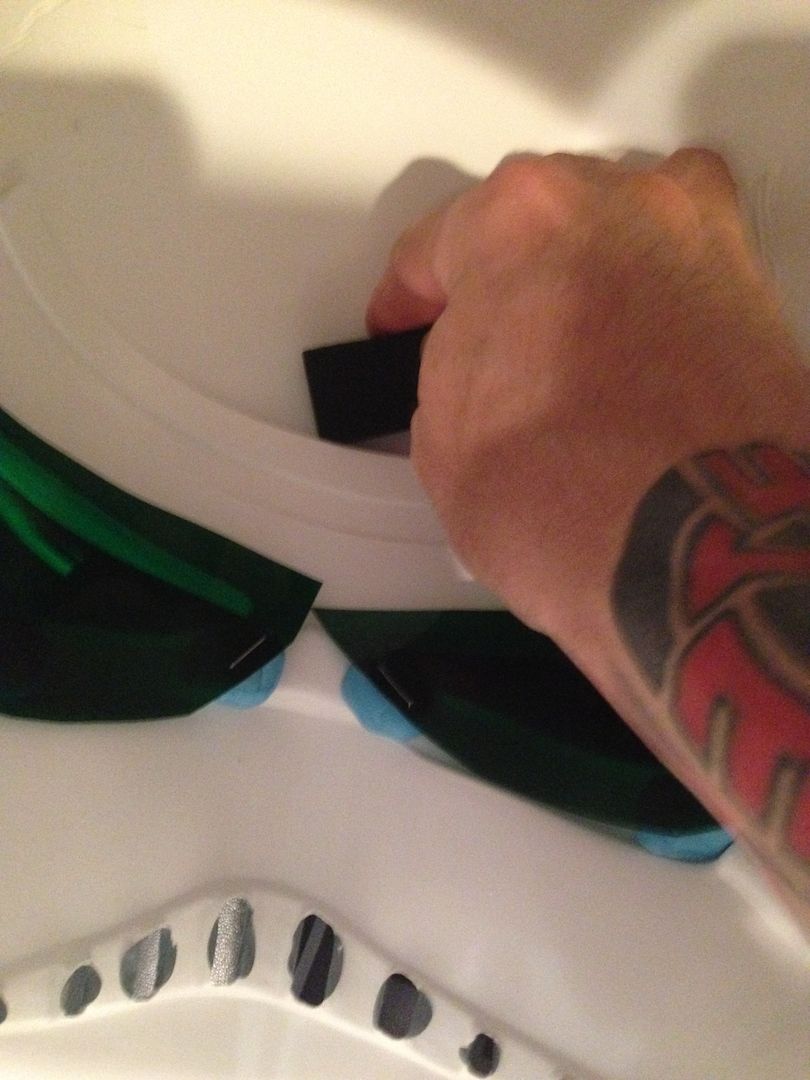
10) Made it sit a little better.
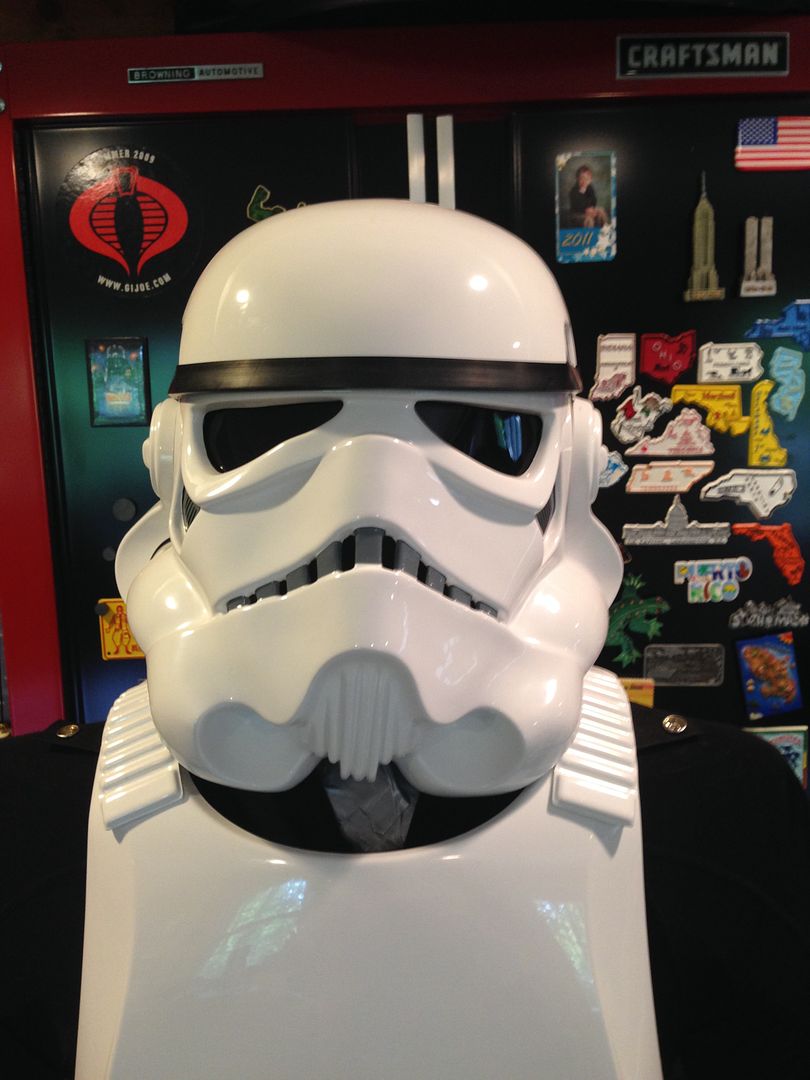
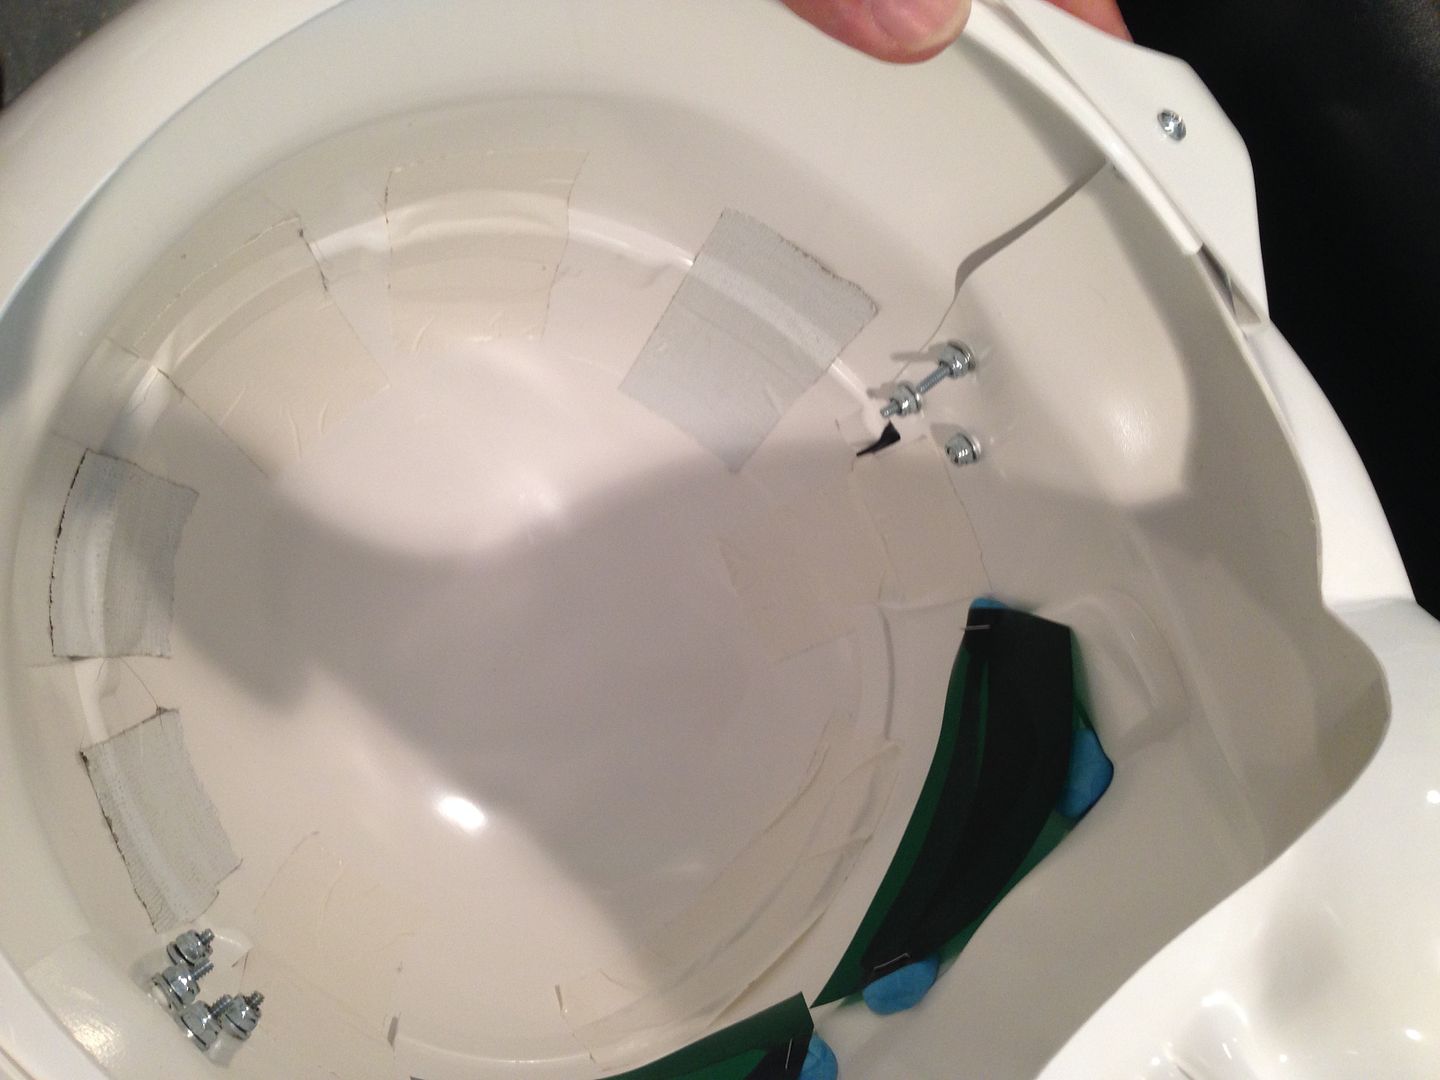
I also added some white duct tape across the inside seams to hold it in place. Not necessary but I wanted to put it there for now while I'm still working on it.
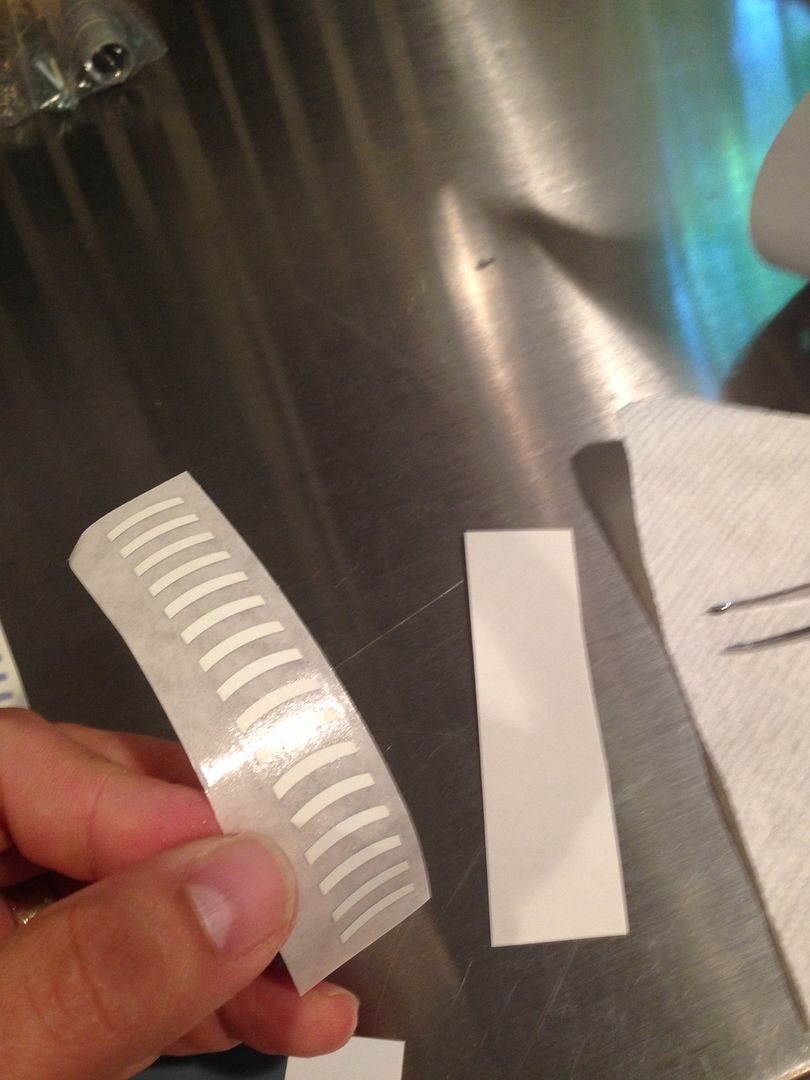
1) Finished up with the tube stripes. If you've never used this type of decal it's very easy. The stickers come with masking tape on the top so you can line them up as one piece.
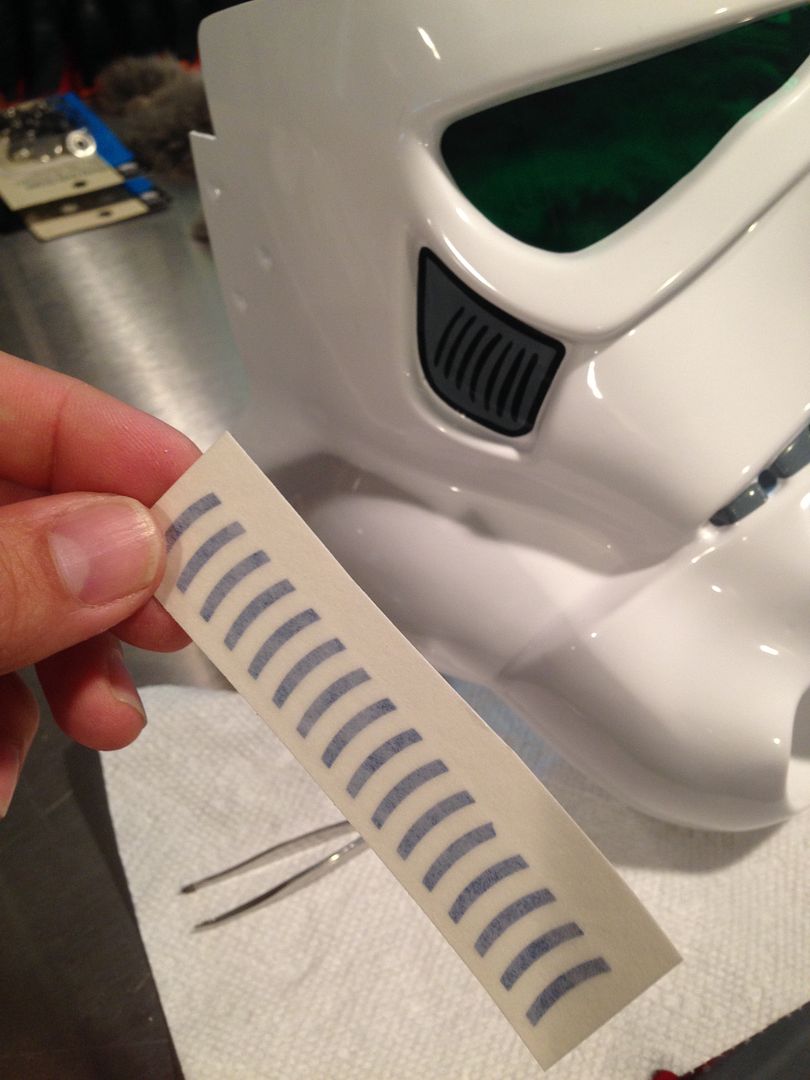
2) Peel them off the sticker backing...
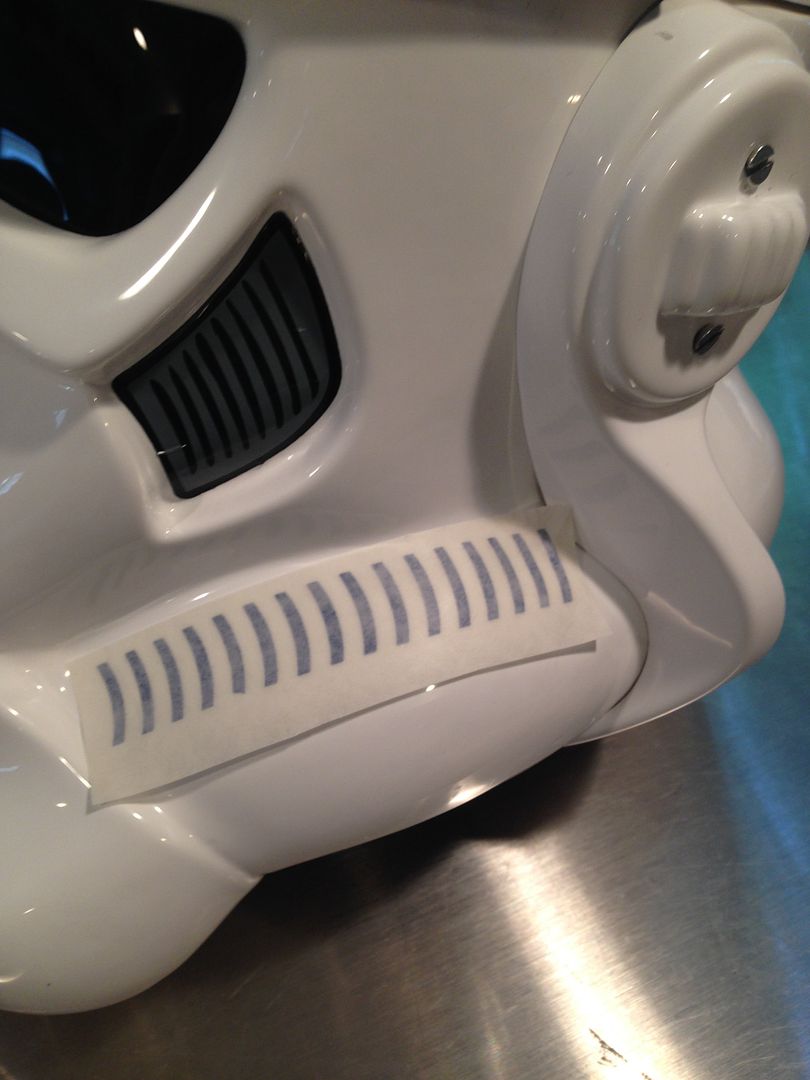
3) And carefully line them up. Place them on gently, so if you need to take it off and adjust you can. I pretty much just use the exposed masking tape parts to get the hold while lining up.
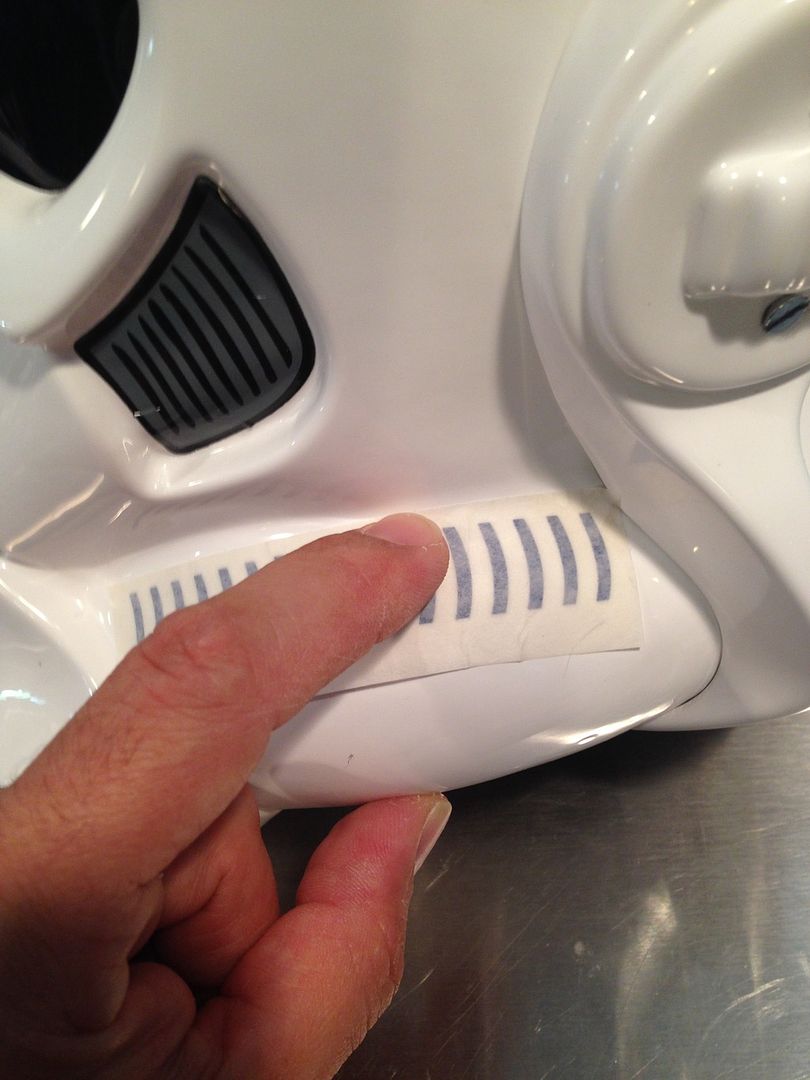
4) Once you are happy, push them down. Use your finger to push down on each and every strip, a few times.
5) Peel off the masking tape. Do it at an angle and very slowly, this way if the sticker starts to come off you can push it back down.
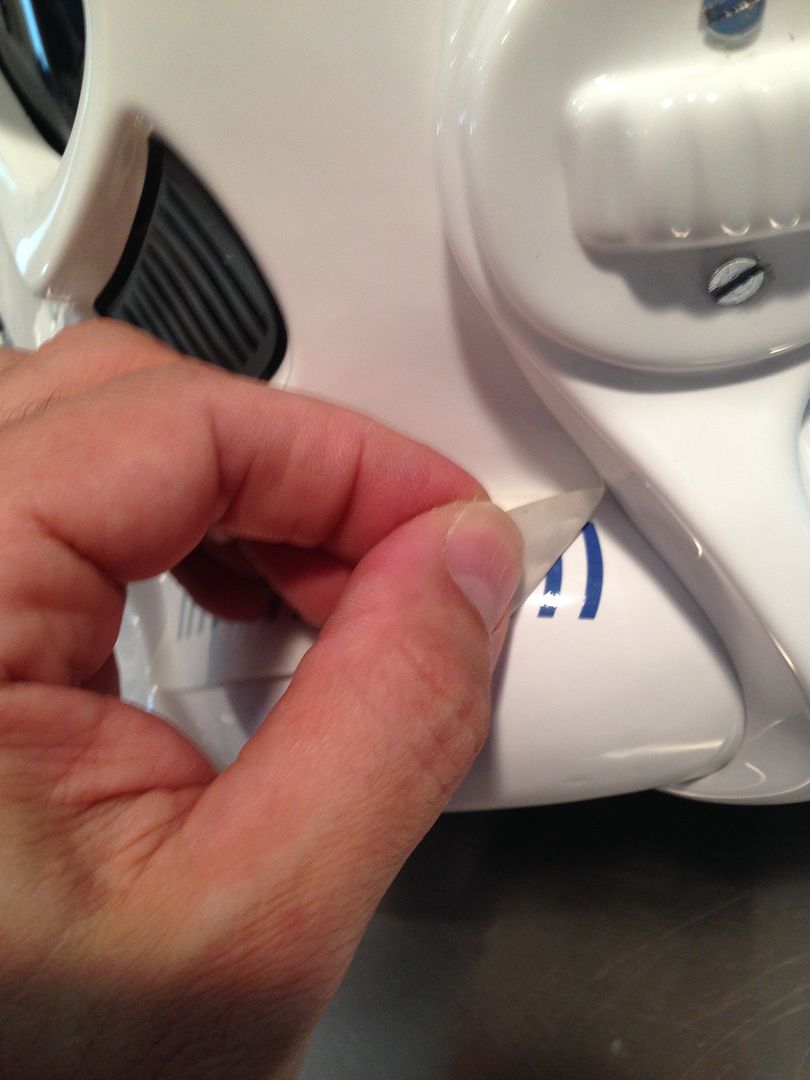
6) Done with one side.
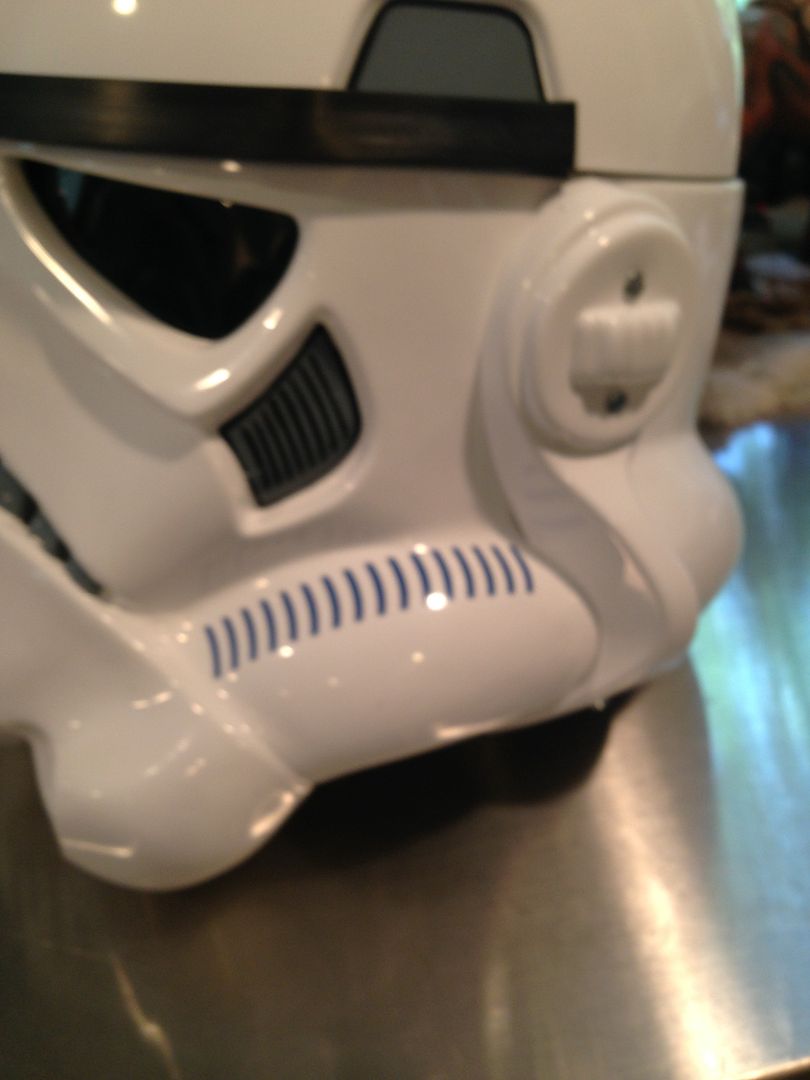
7) Same way with the other side, but before you push everything down also look from the front to make sure they look even.
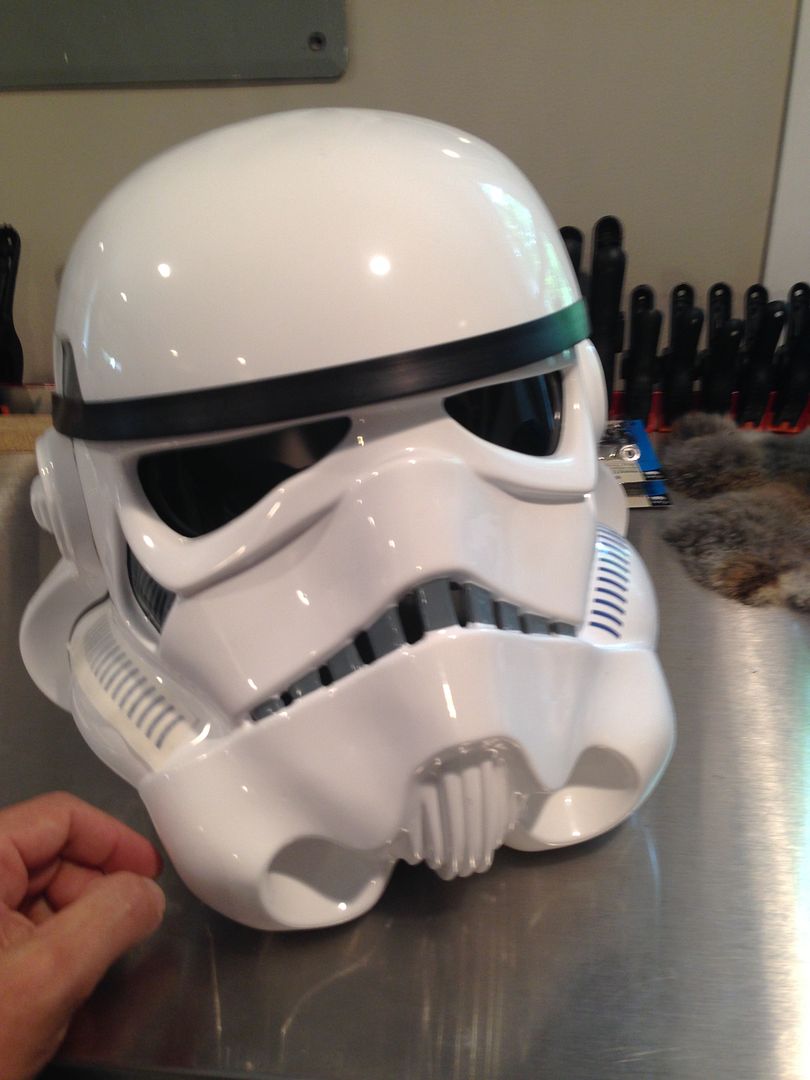
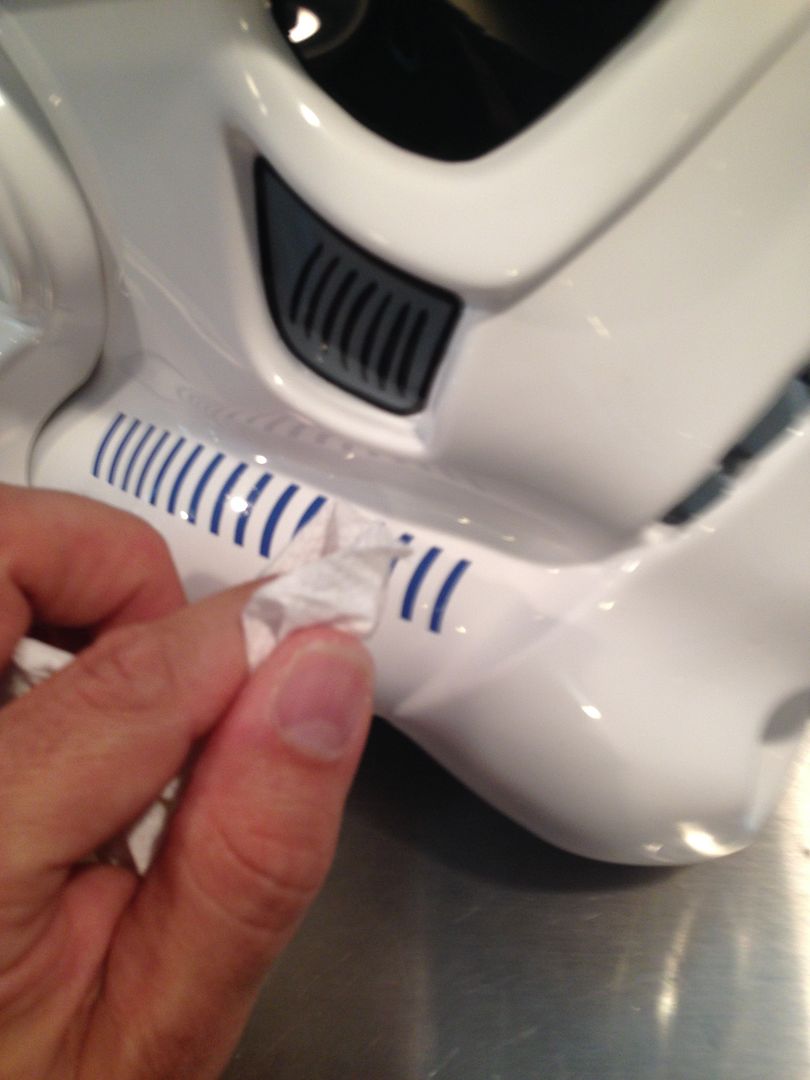
8) When finished, use a paper towel buffer and push down on each and every stripe again to ensure it is on there good.
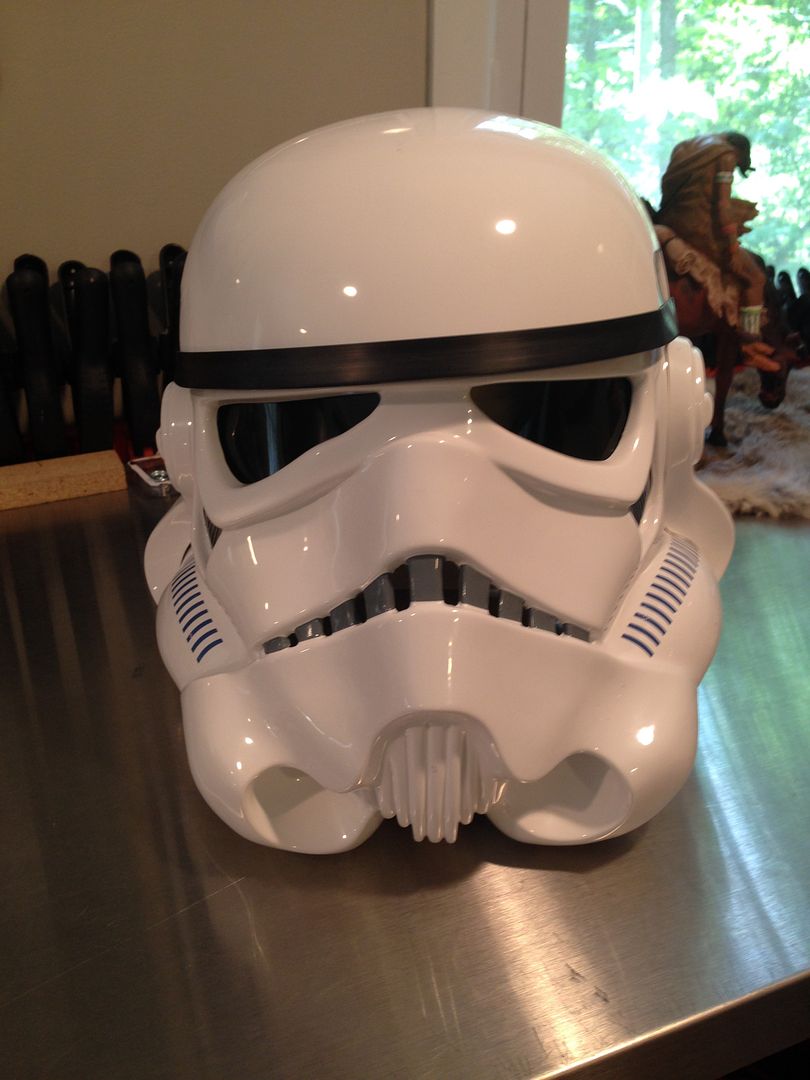
9) All stickers are done.
Hovi Mic tips (speaker looking things on the bottom tips of the bucket)
1) The kit came with great resin casts and assembly screws. Because of the thin plastic (see below) I also made larger, plastic support washers.
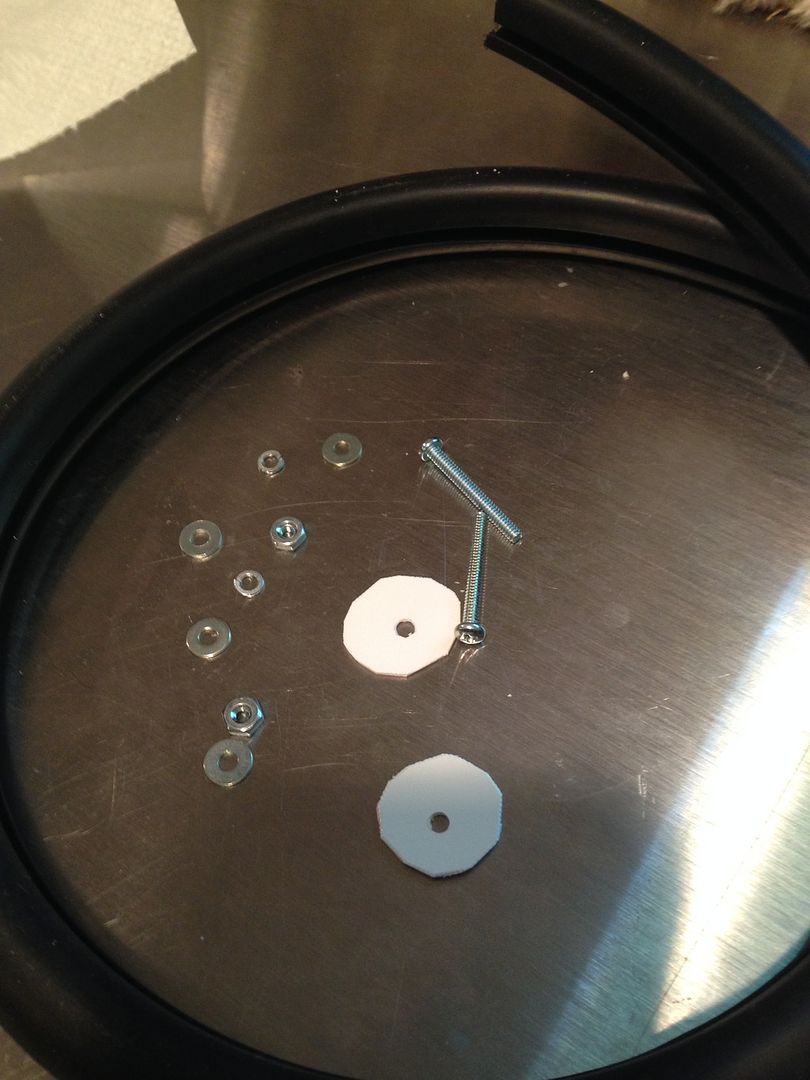
2) Lined up the tip and used my needle punch to mark the screw hole. The plastic is so thin in this spot I can punch it right though. That also means you need to be careful working there.
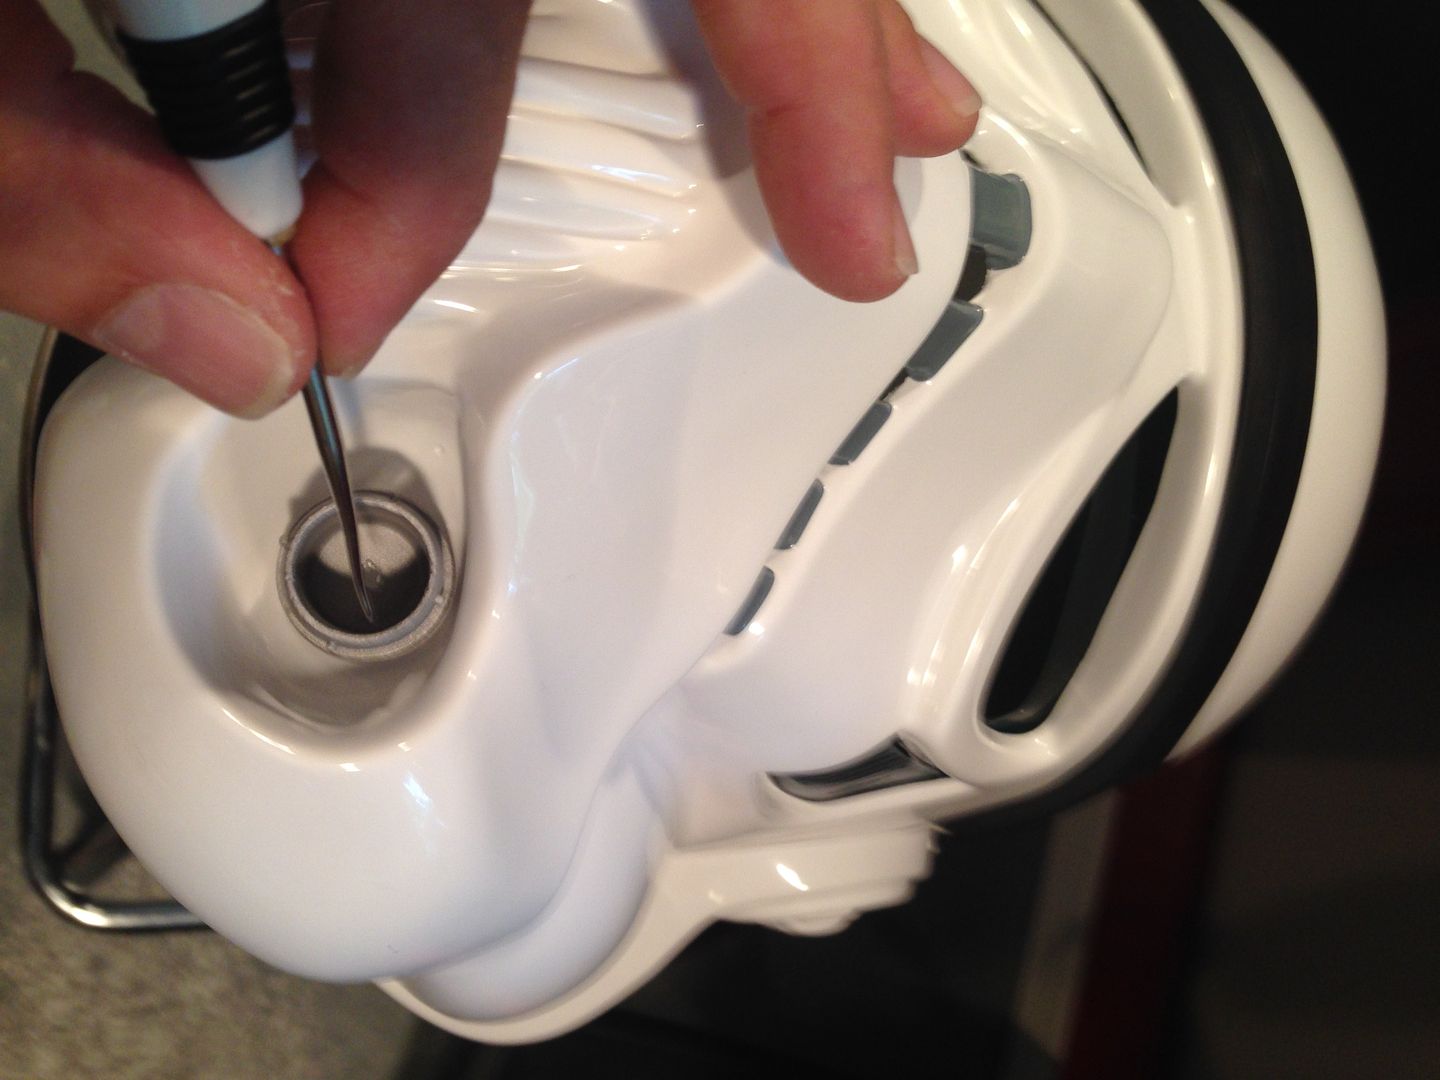
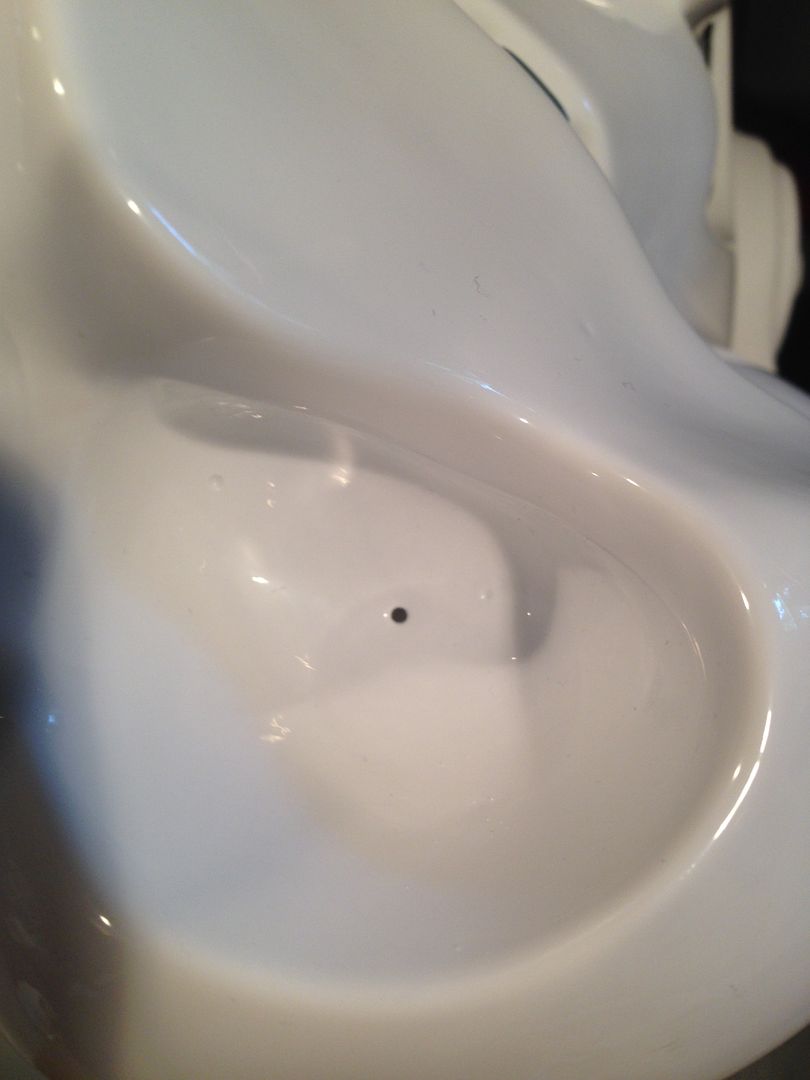
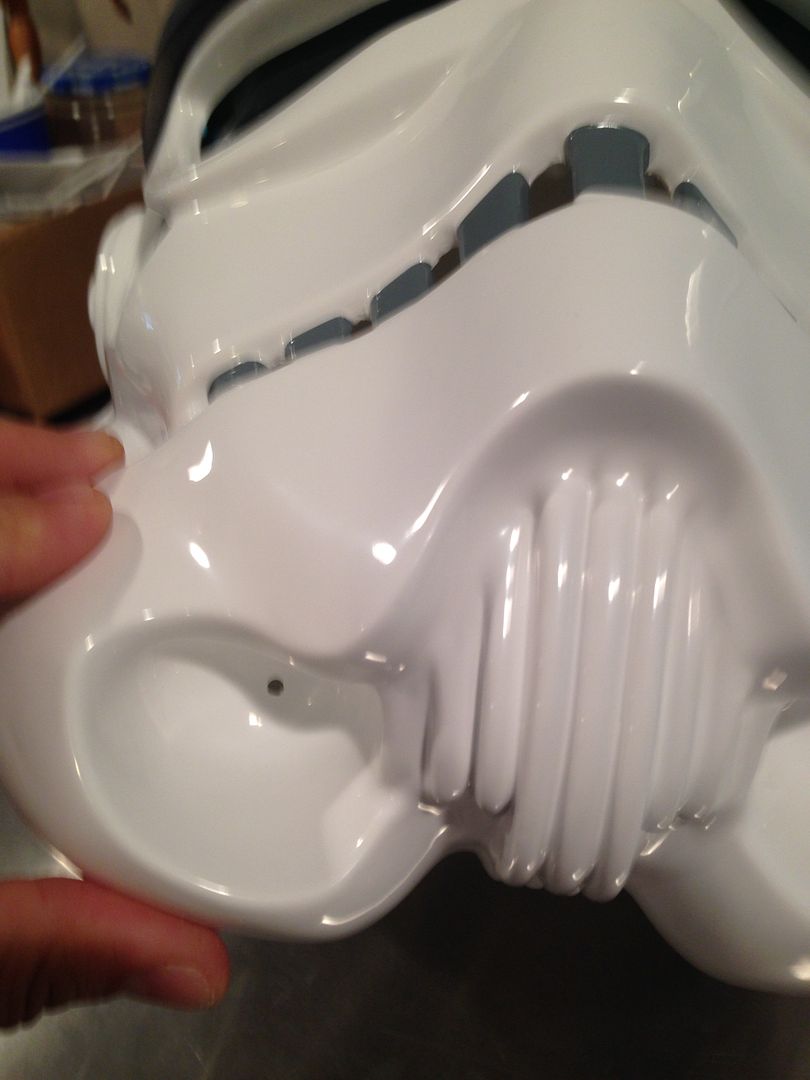
Then you drill it out to proper size (1/8" bit)
3) From recent research it looks like the inside is painted white, as well as the outer edge. The outside it black. Simply painted them.
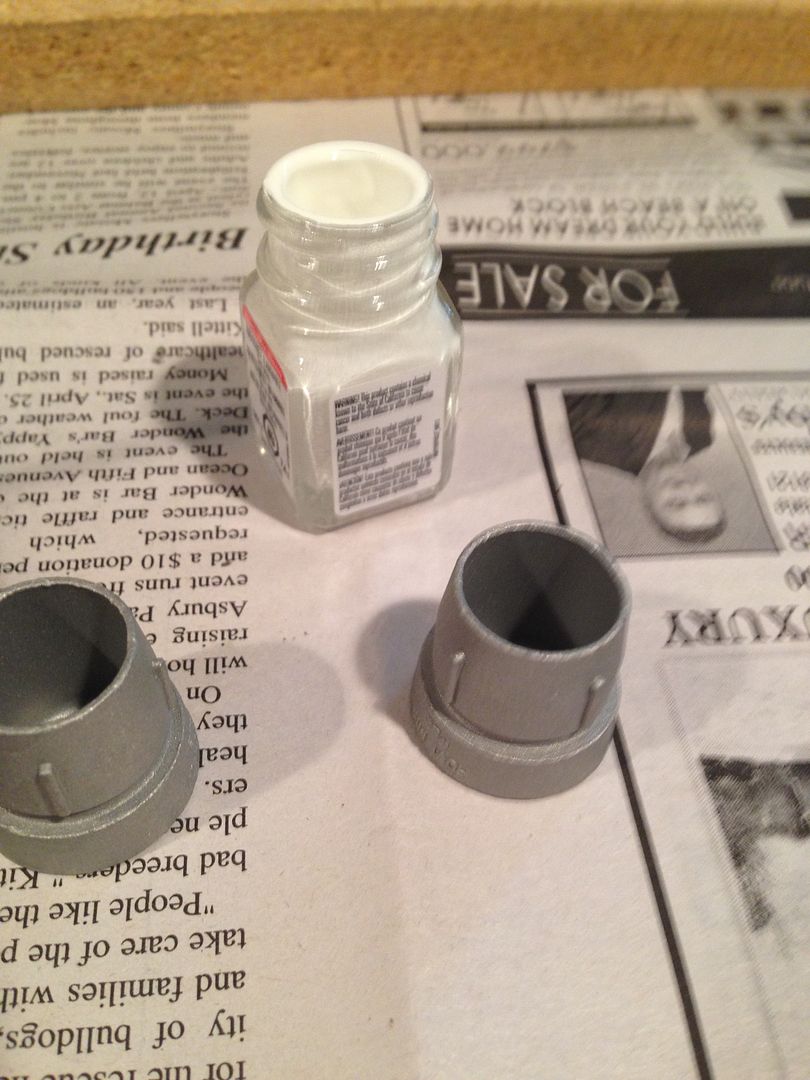
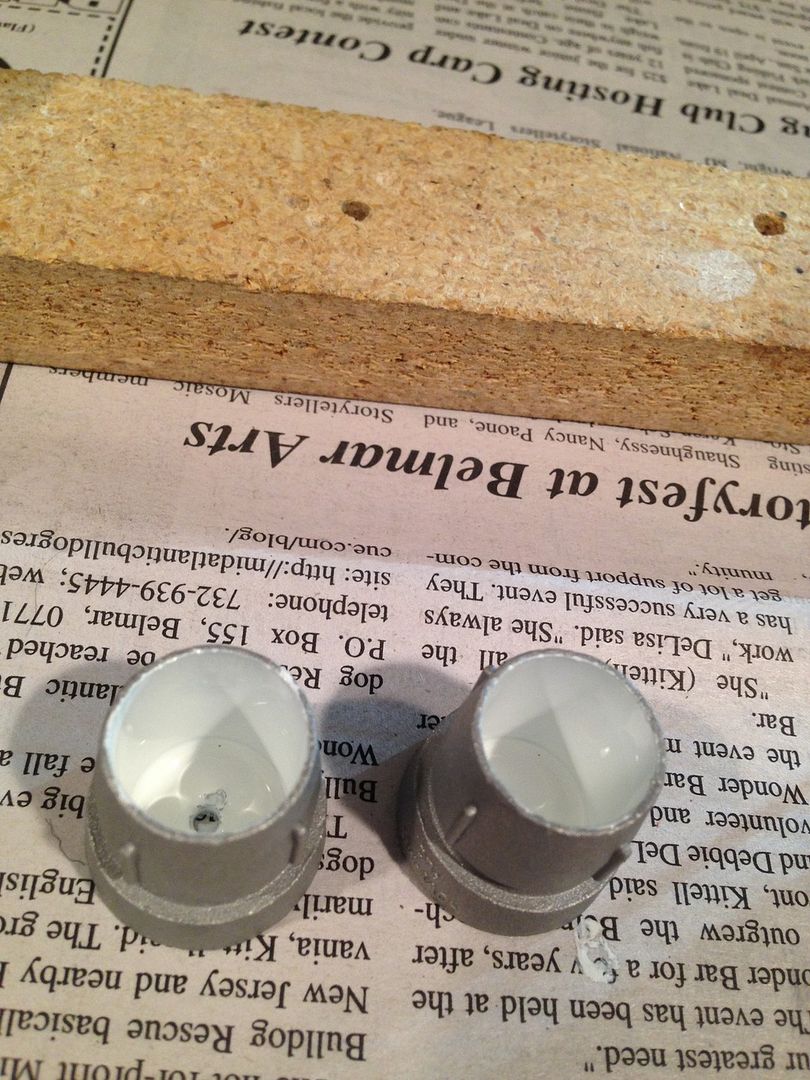
4) I used rivets to act as holding rods for painting the black.
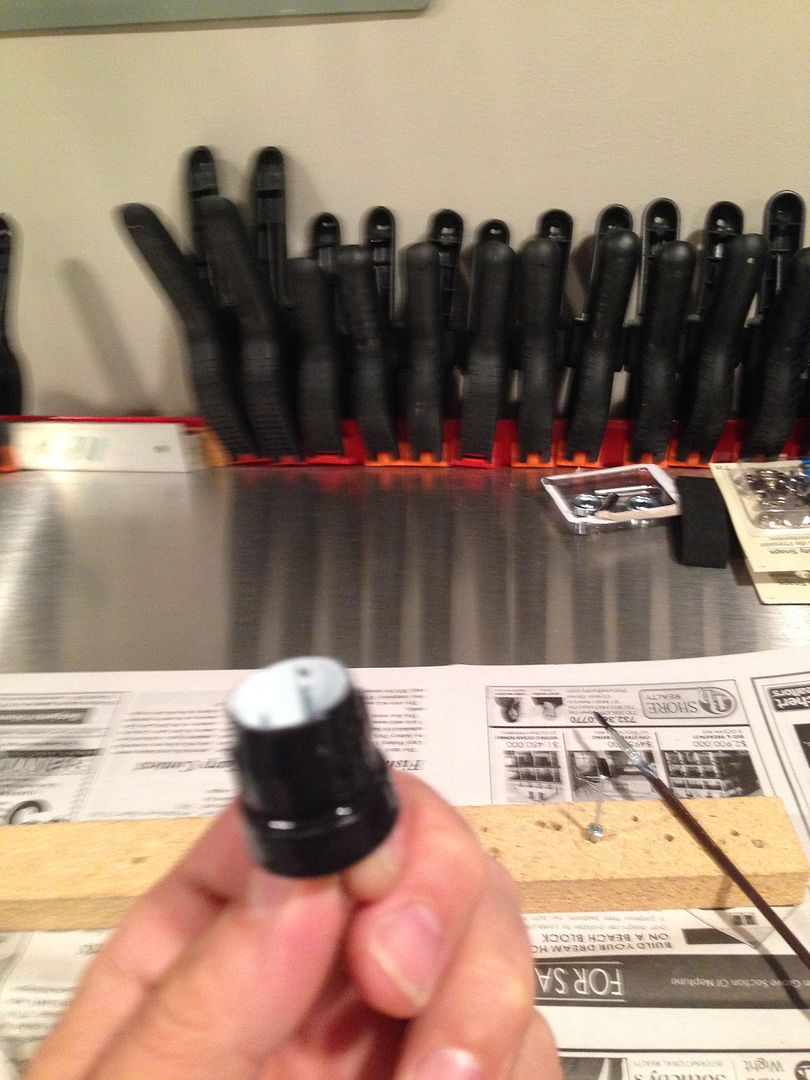
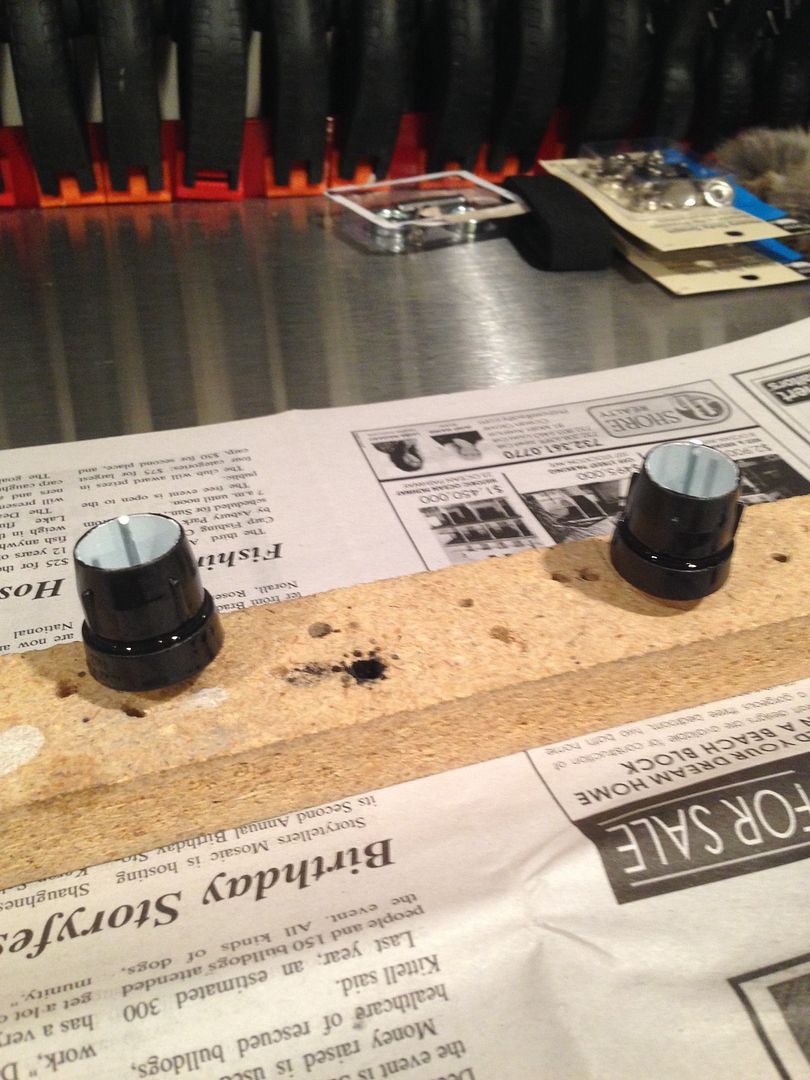
5) After everything dried I used a paint pen to hit the outer edge.
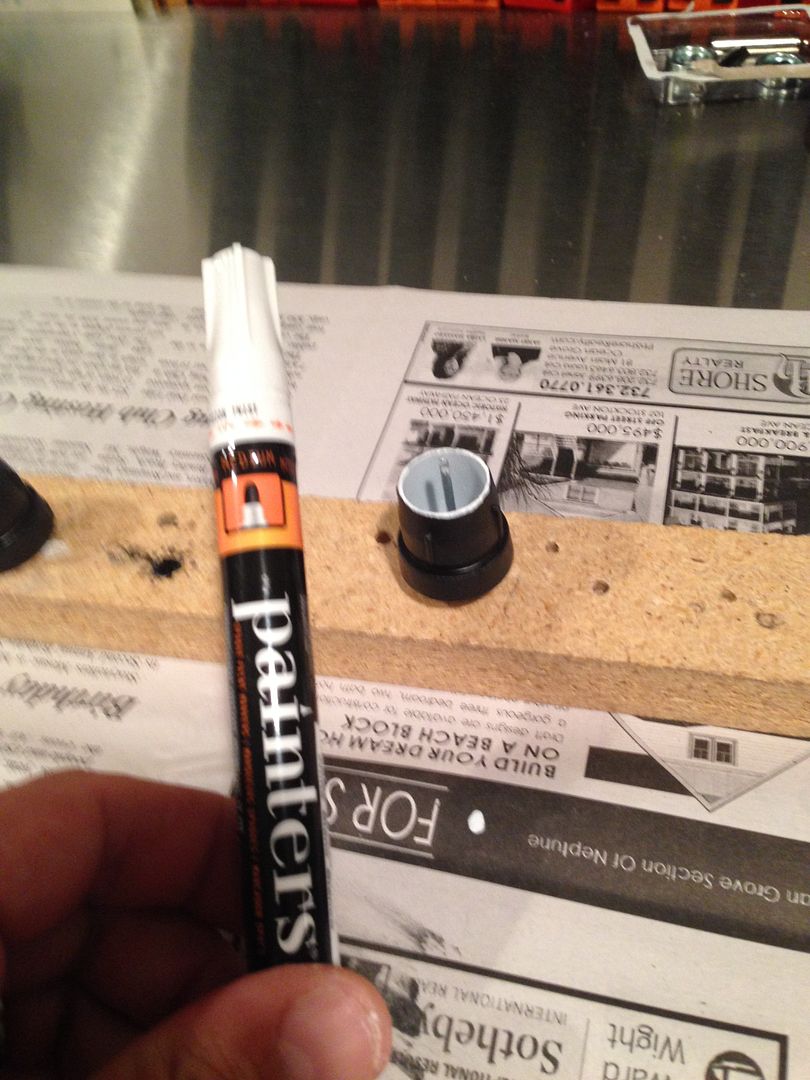
** I also hit up the side split rivets and bucket screws with the paint pen...
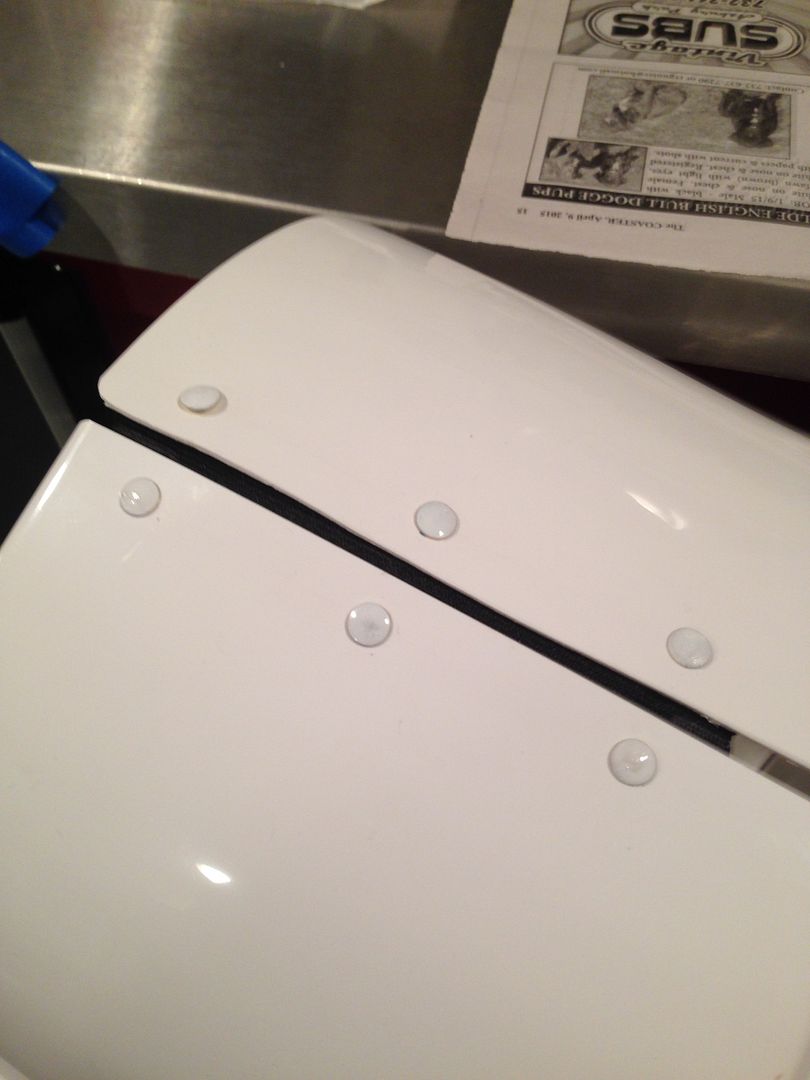
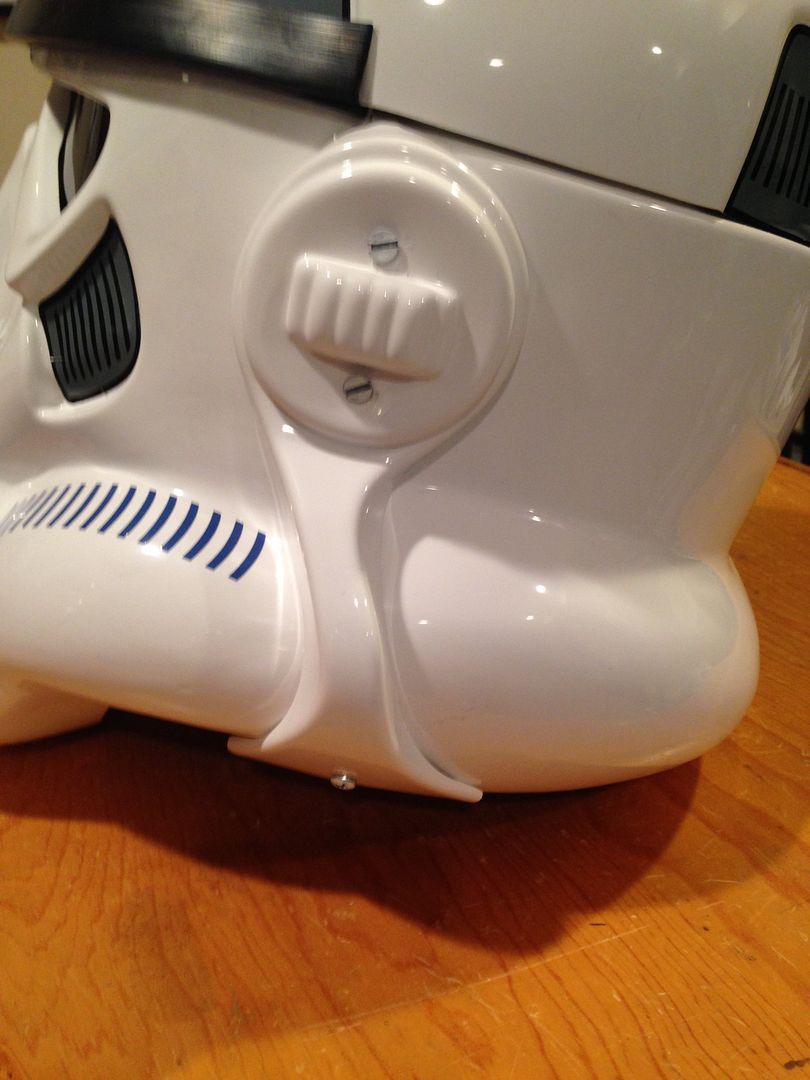
-
Finishing the arm support connections, I did the biceps to bell and biceps to forearms.
1) First I lined up the bells / biceps on my manikin. You can do these on yourself if you have to. I marked the bicep with a pencil then took it off, lined it back up and taped it in place.
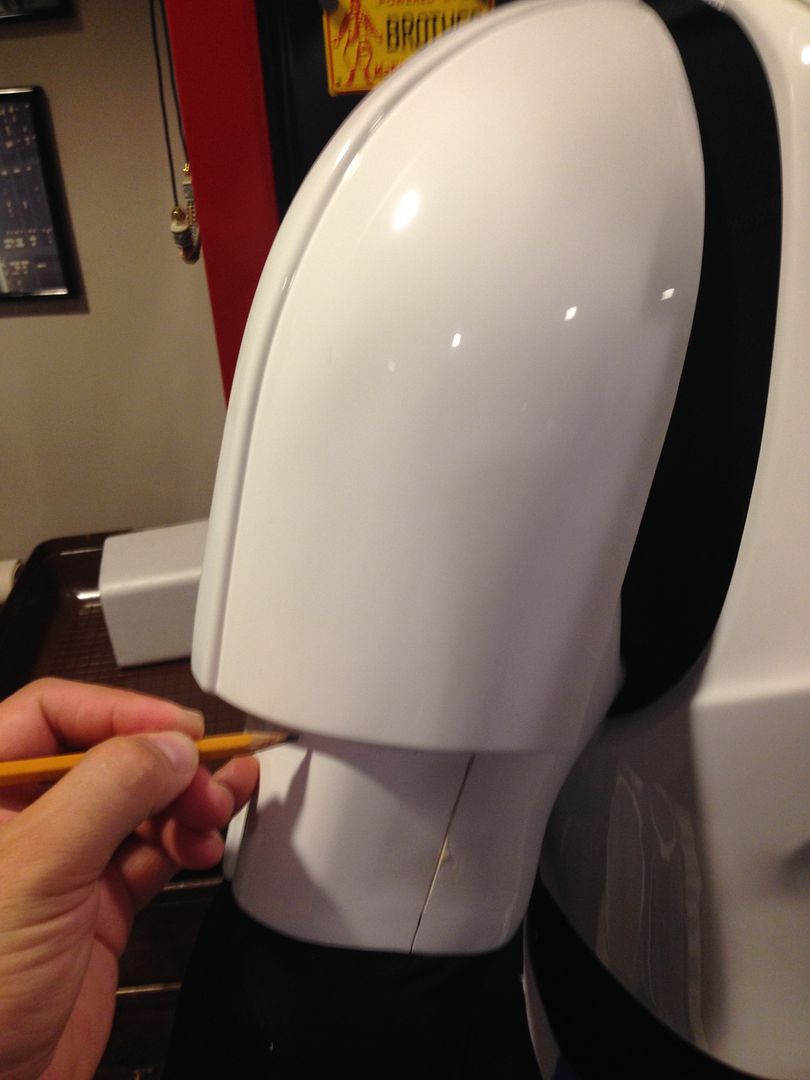
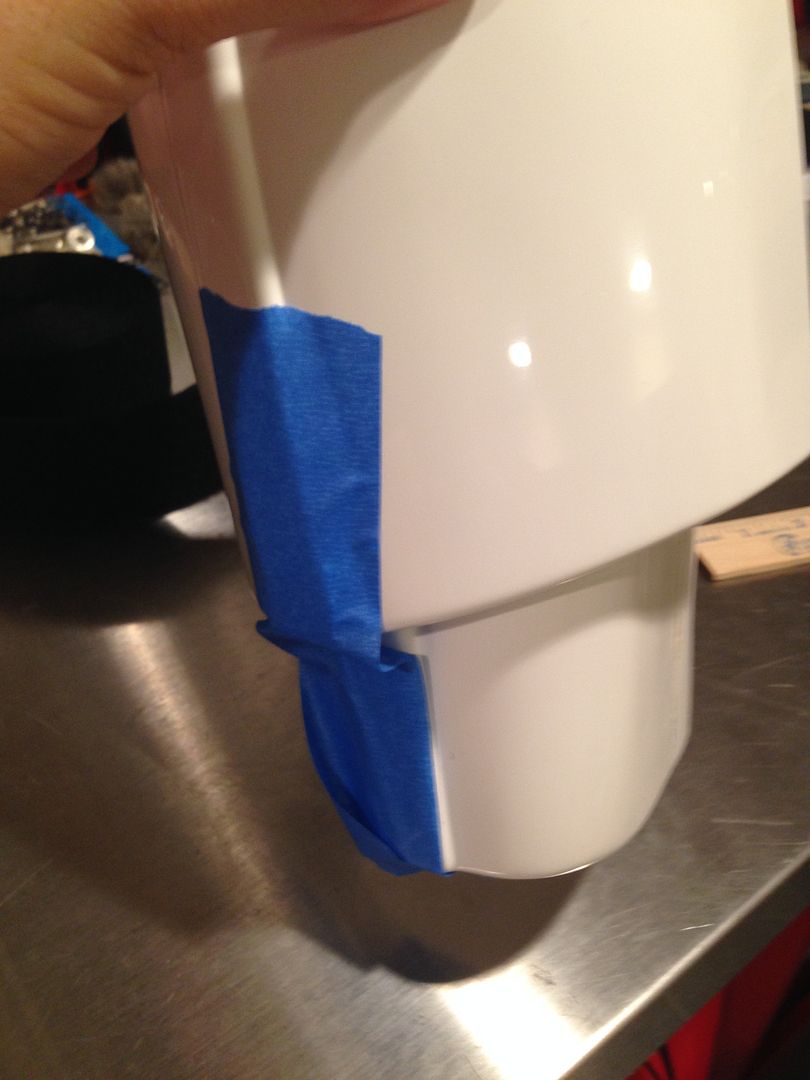
*** NOTE - for the other side I did the same, but also measured and compared them to see if they were even, which they were

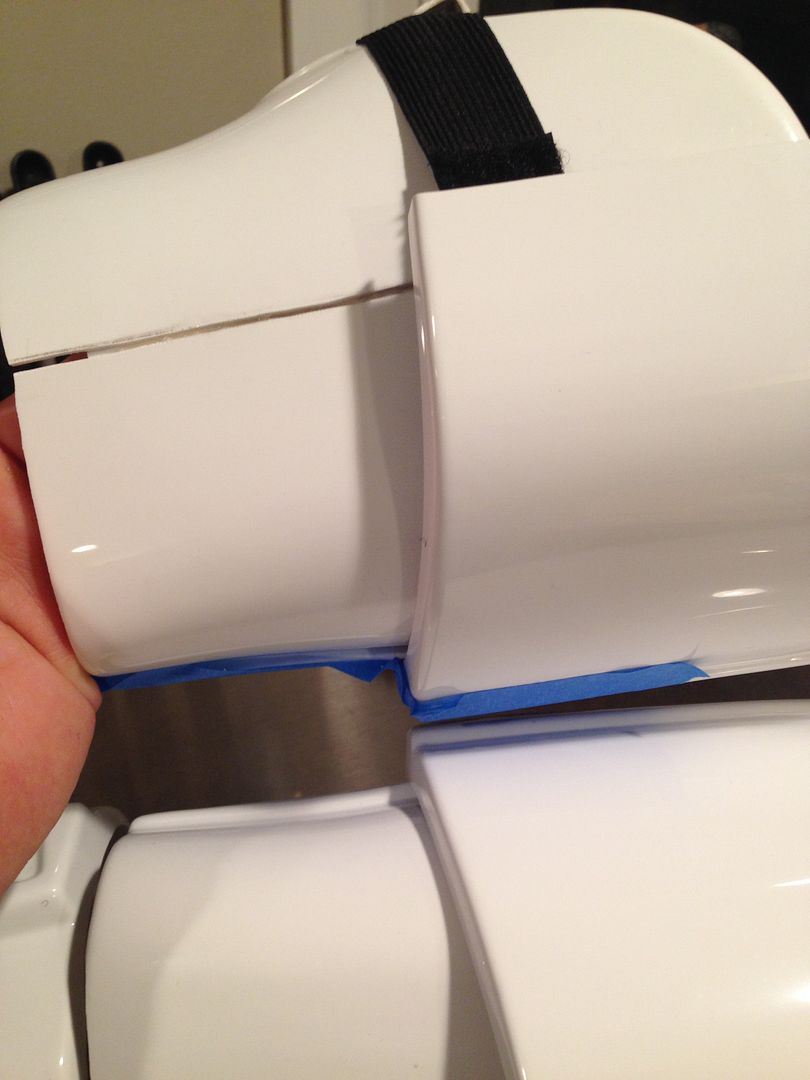
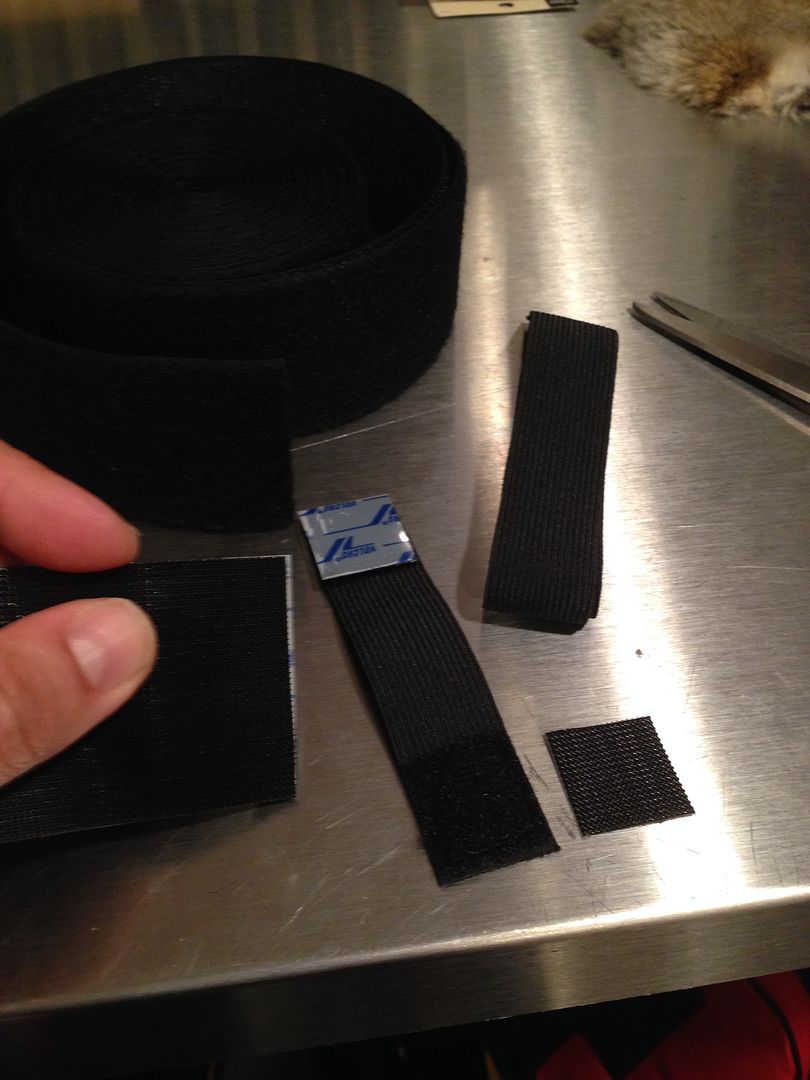
2) I'm using 1" elastic with 2" sew on and sticky velcro. It works out mathematically because I have 4" long elastic, cut 1" of the 2" velcros then cut them in half. I sewed on the velcro to the elastic then lined up the sticky velcro like so:
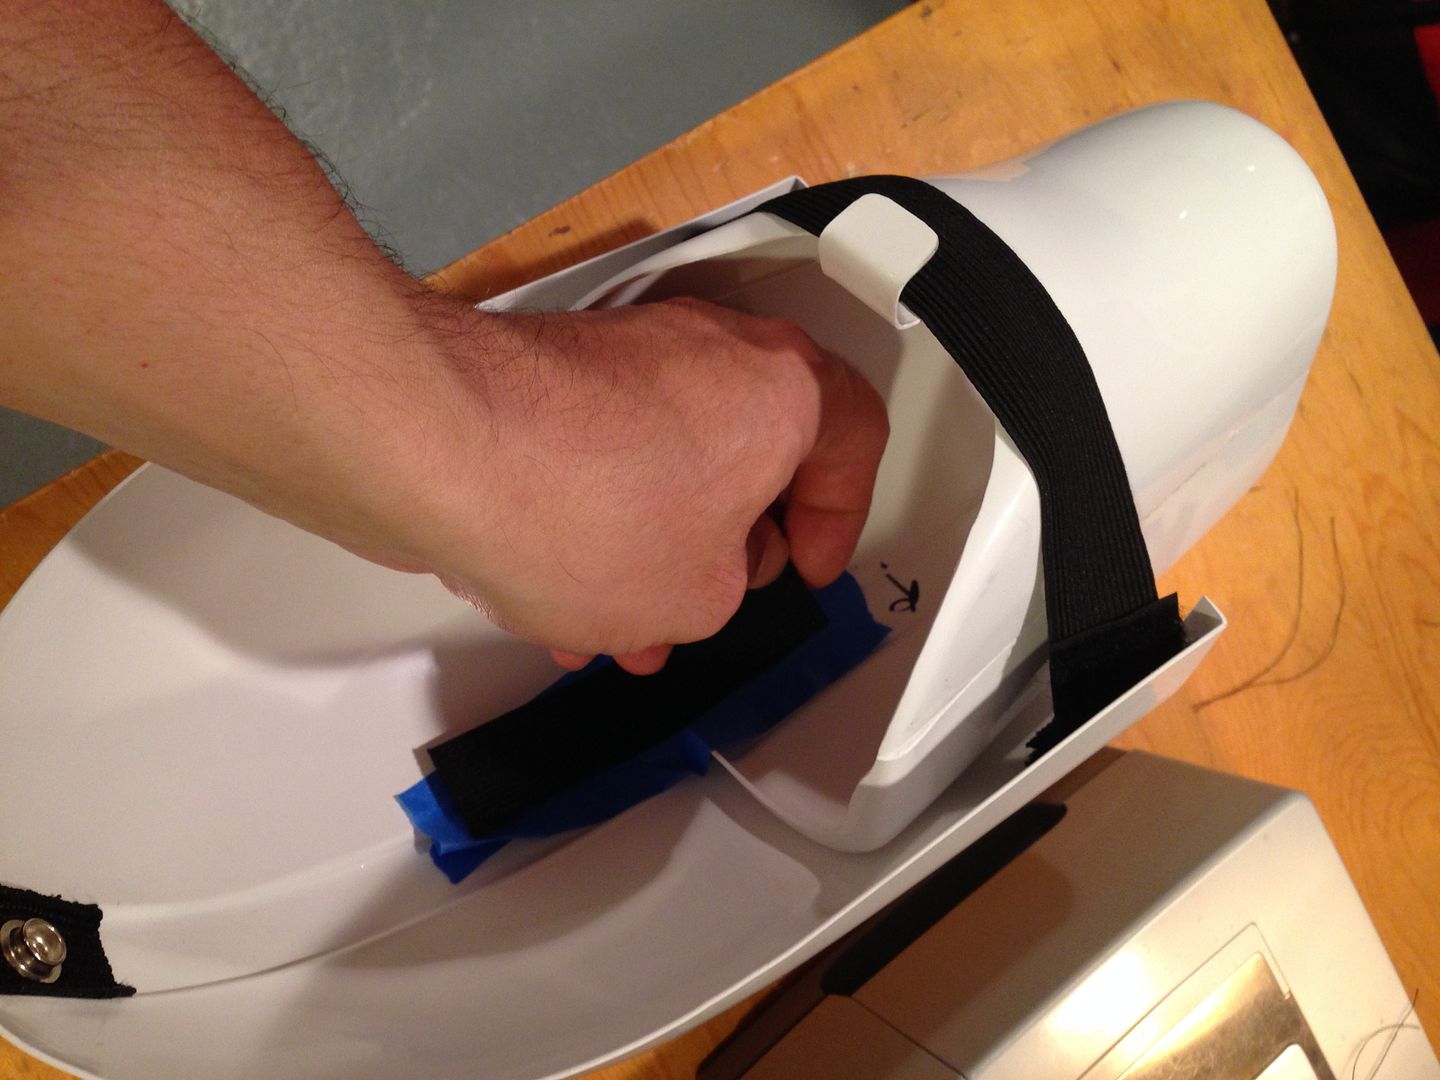
3) With everything in place I lined up the connection, took off the velcro backing and pushed them on. From experience I know how things shift, so I angled it a little forward.
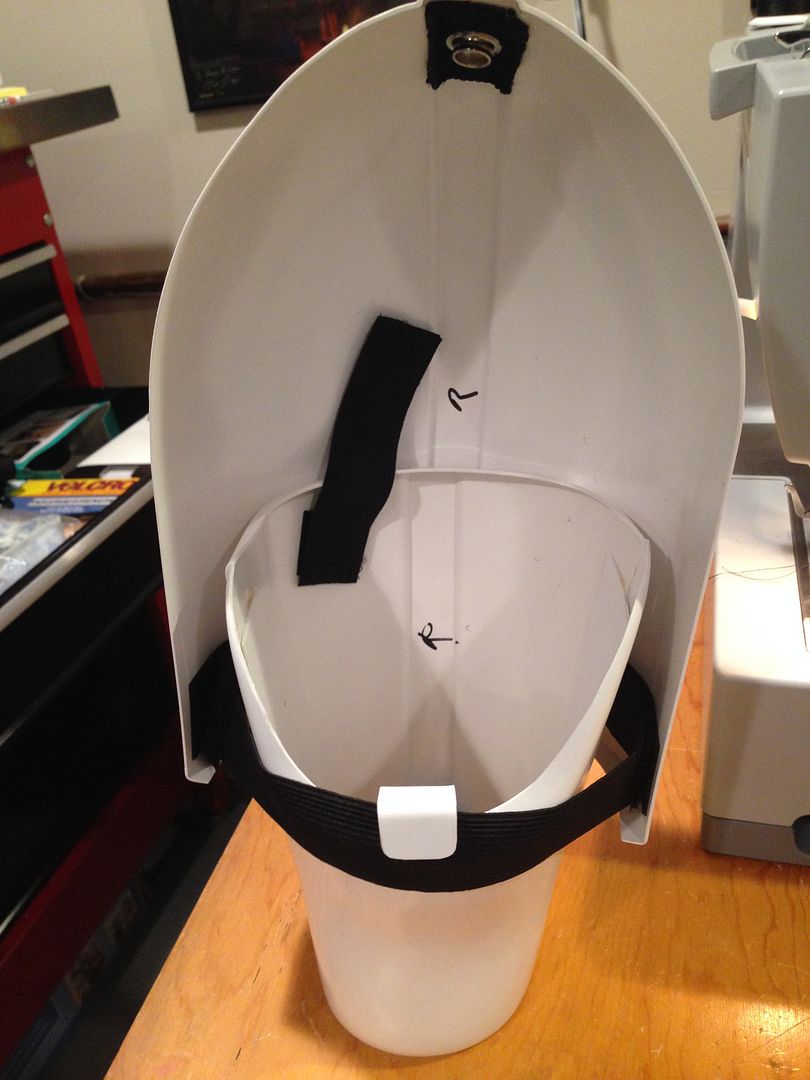
4) Same method for the biceps to forearm.
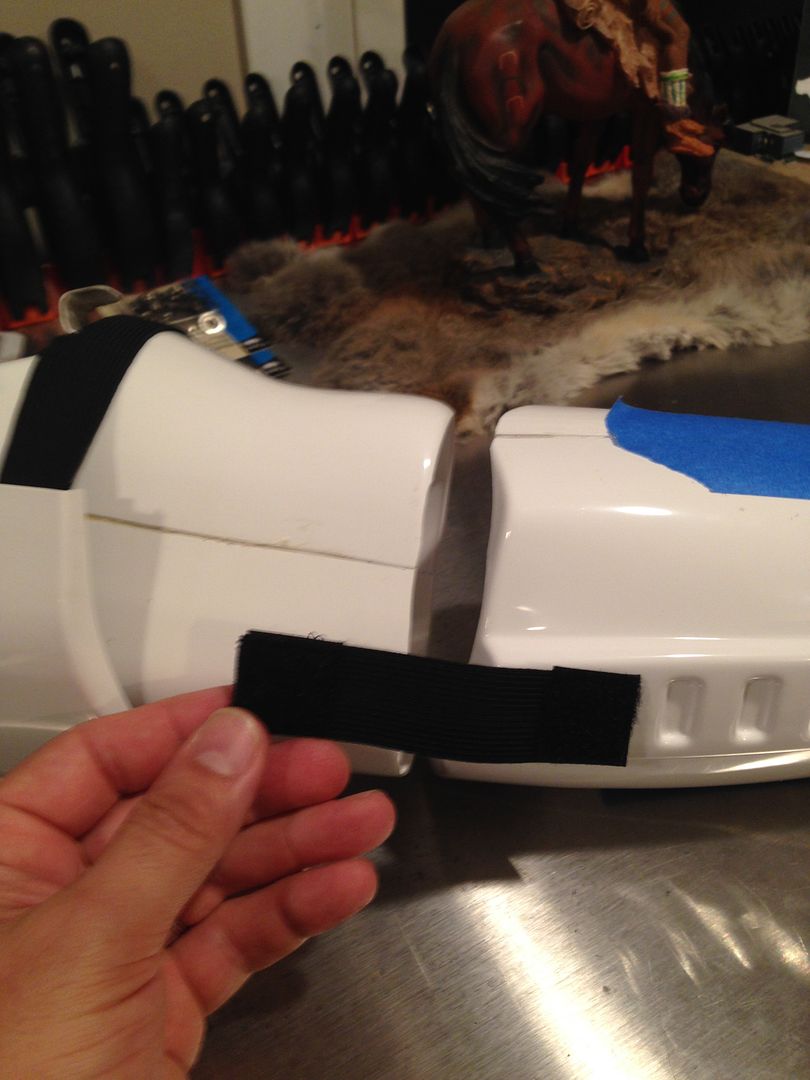
5) I have it centered in the outside of the parts (where the cover strips will be)
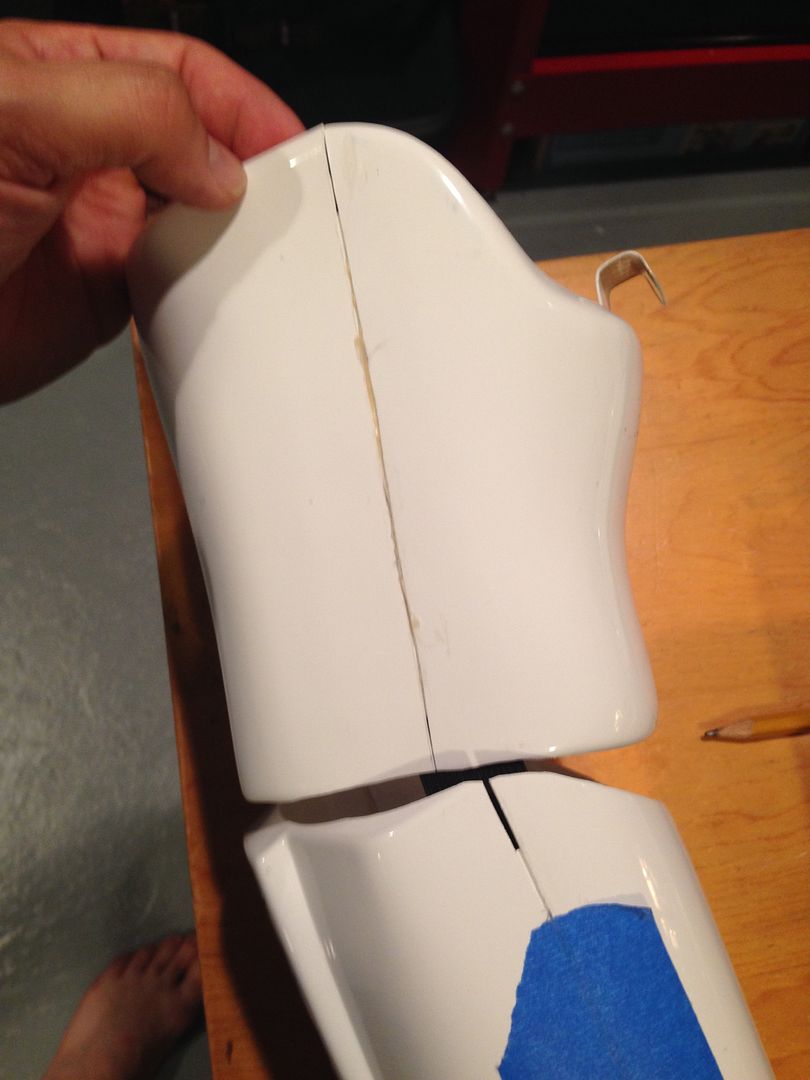
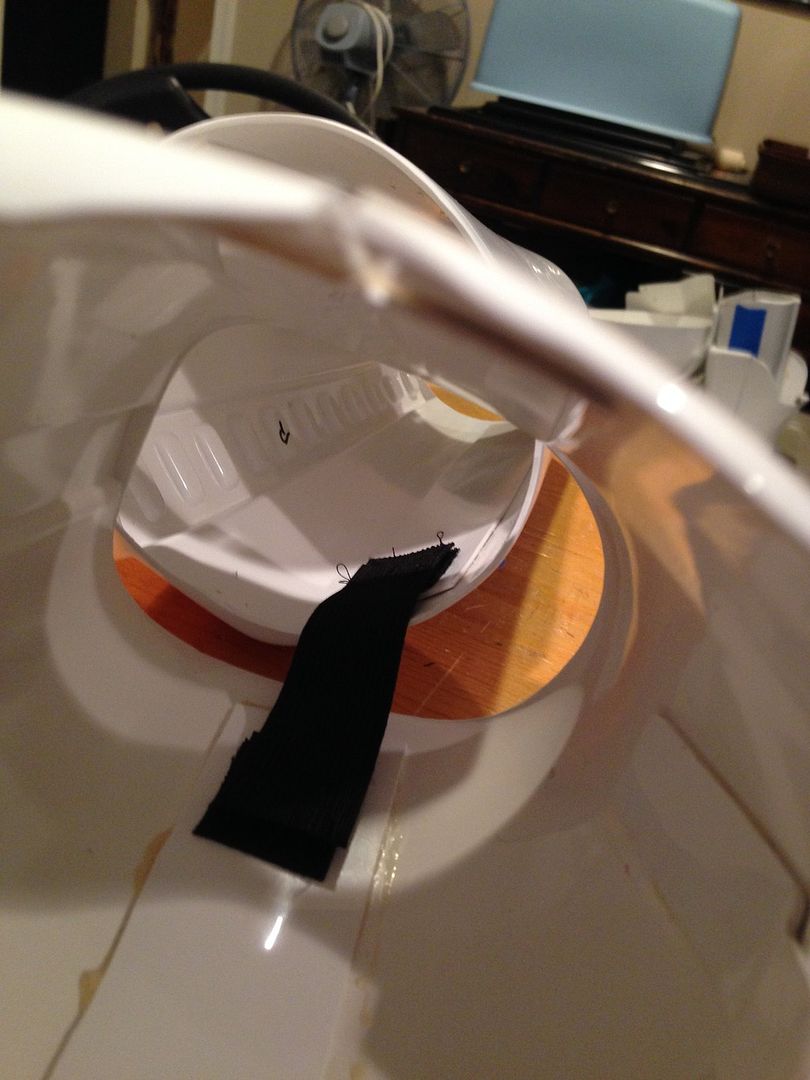
6) Stuck on end on, then marked where the other will sit. Took it apart and placed the velcro on.
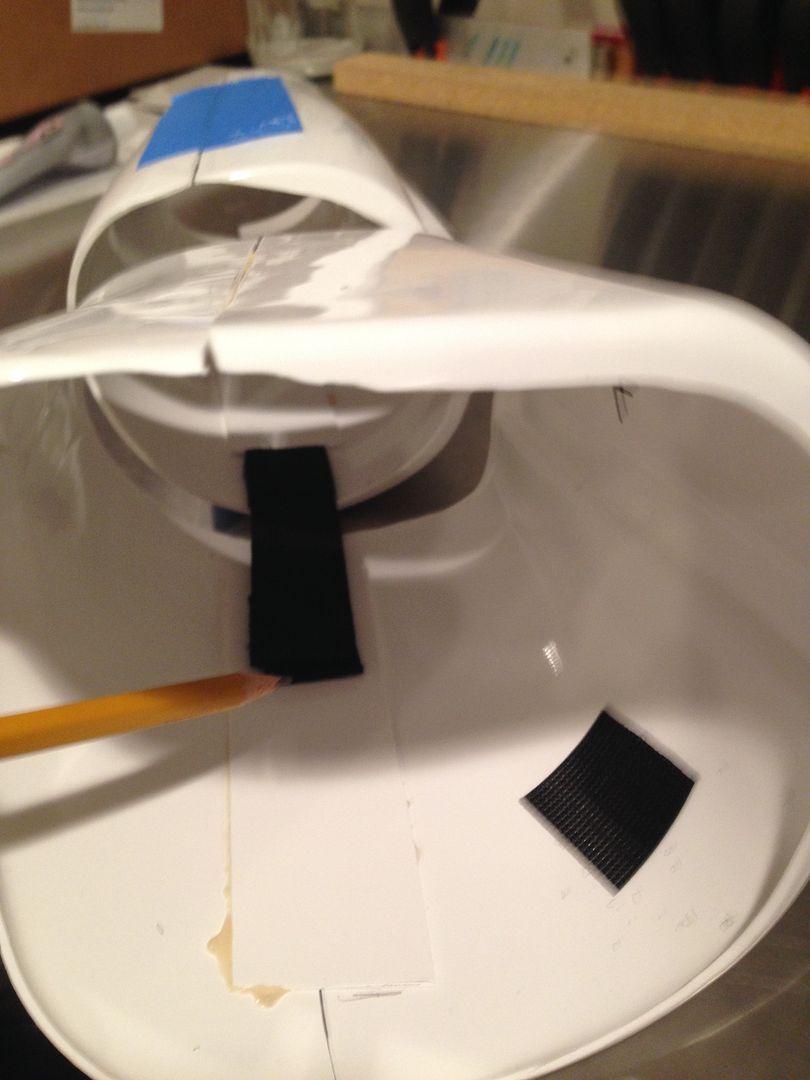
7) Done.
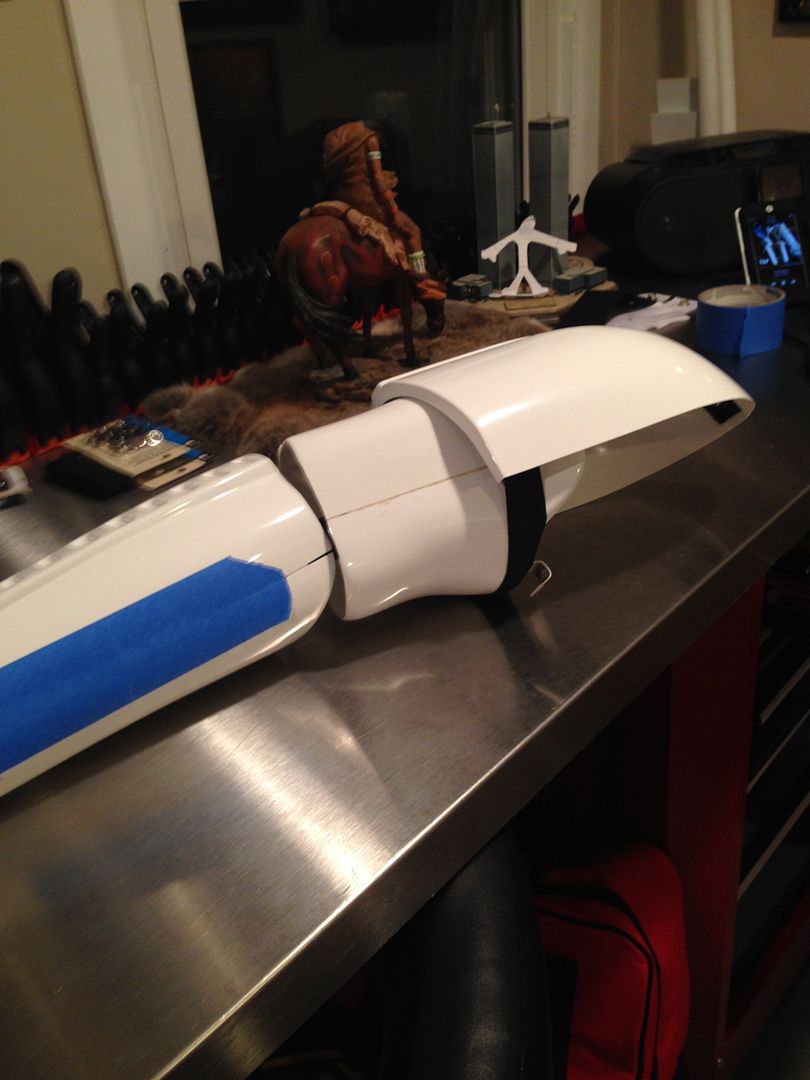
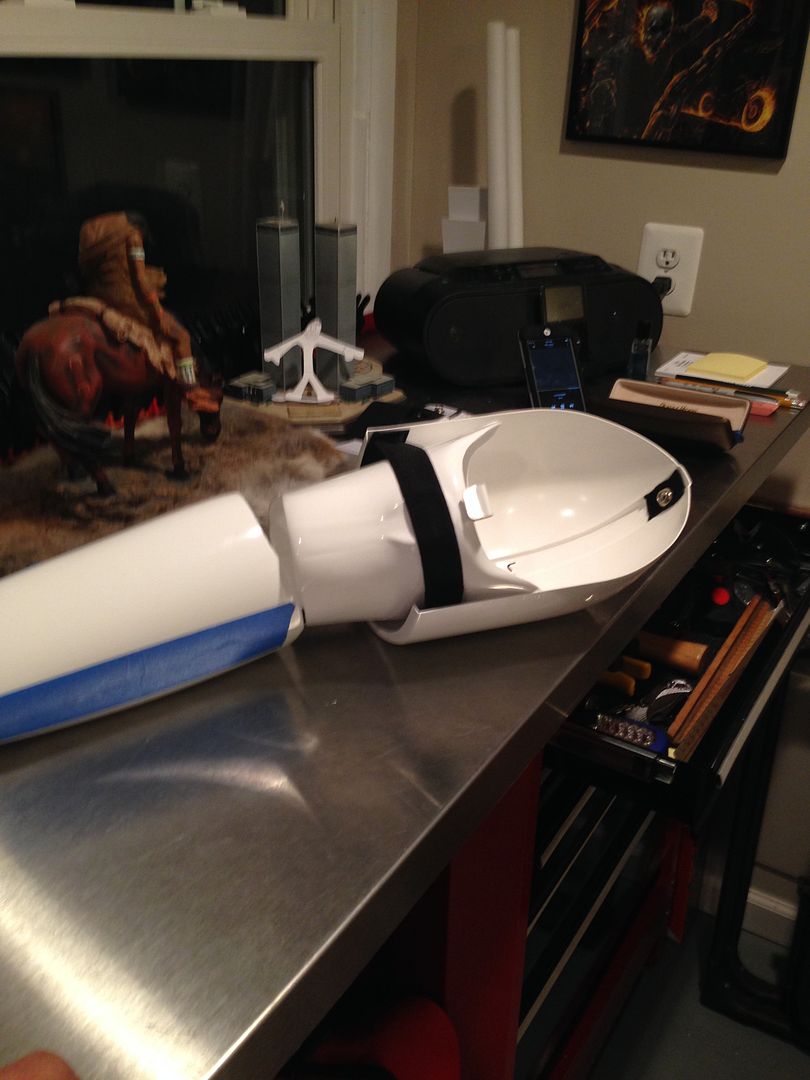
TIME CHECK:
TOTAL TIME FOR BELL/BICEPS/FOREARM INNER ELASTIC SUPPORT CONNECTIONS = 1/2 HOUR
Helmet.
Going to try and tackle this as the build is getting close to the end
 I am definitely NOT an expert at this particular part of the costumes, I've made a few but besides being a novice with this specific part the AM 2.0 bucket is very wonky and difficult to work with. If anyone has input feel free, but I'll document how I did and we'll see how it comes out...
1) First thing I'm doing is gluing the top and back together. I'm going to use E-6000 because that is a little easier to take apart if something goes tragically wrong hahaha!
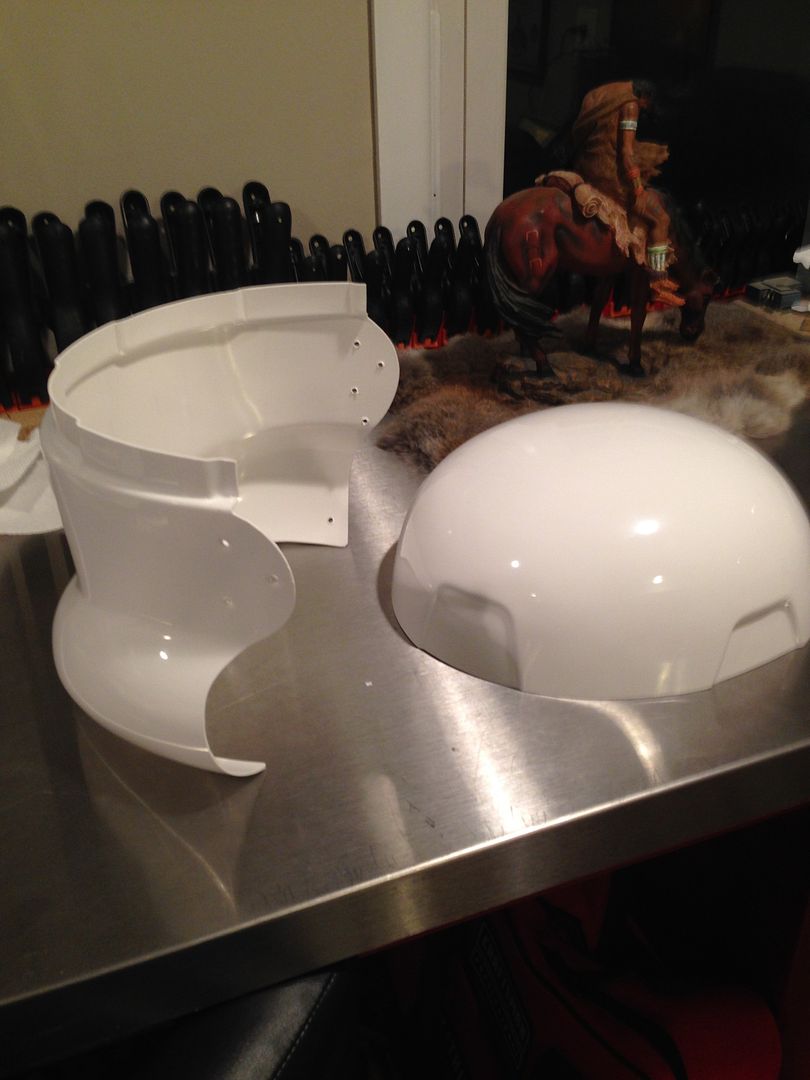
Although the AM buckets are a little difficult, they do have everything marked and it does line up pretty close to the mark with little effort.
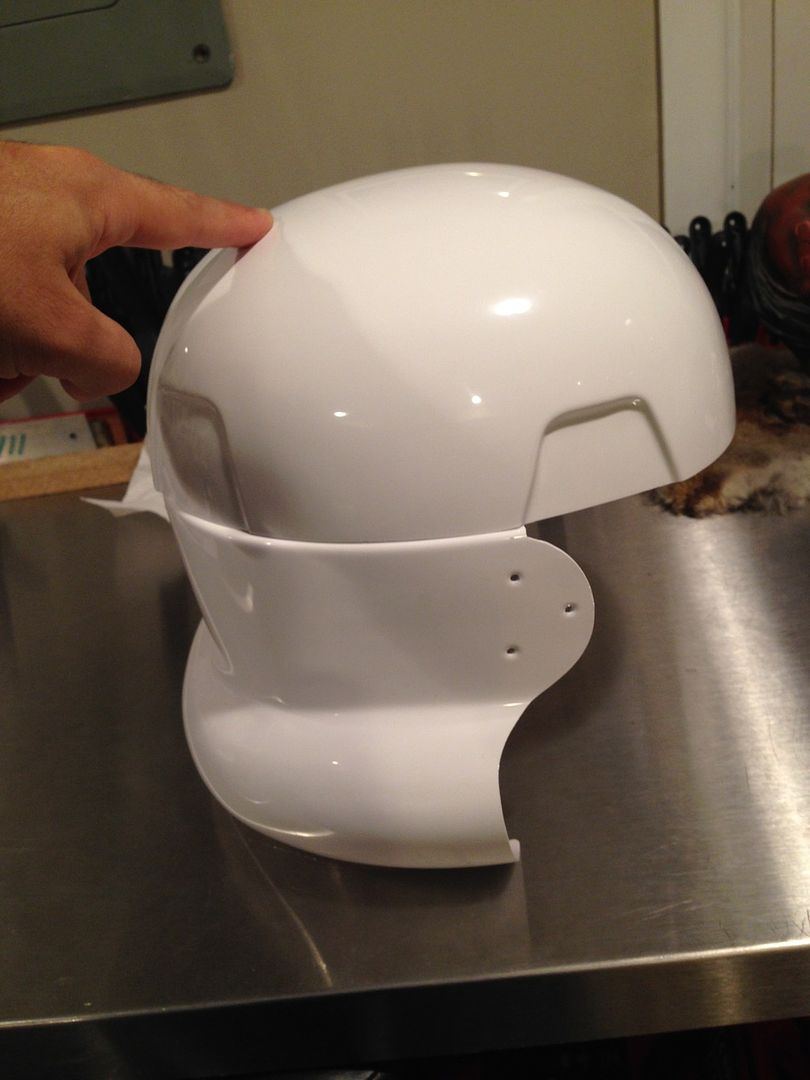
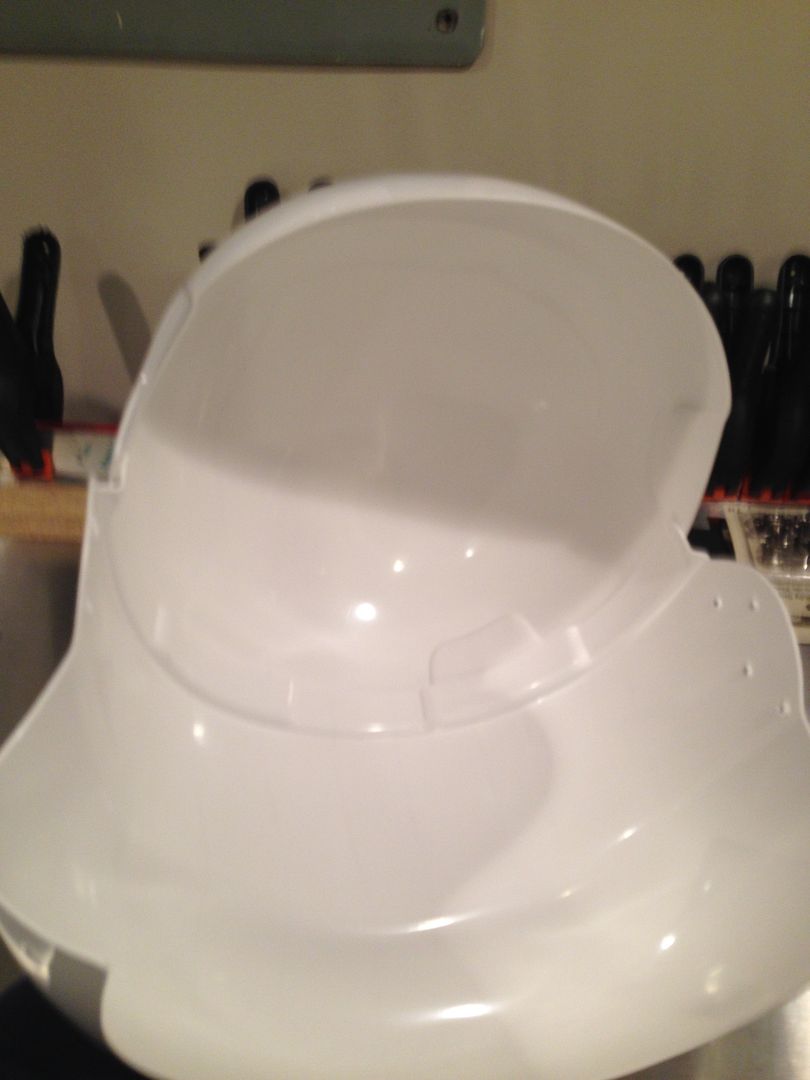
2) I used a thin layer of glue on the back part then lined up the top. I used painters tape to hold it down and in place (start from the top then pull down and attach to the sides.
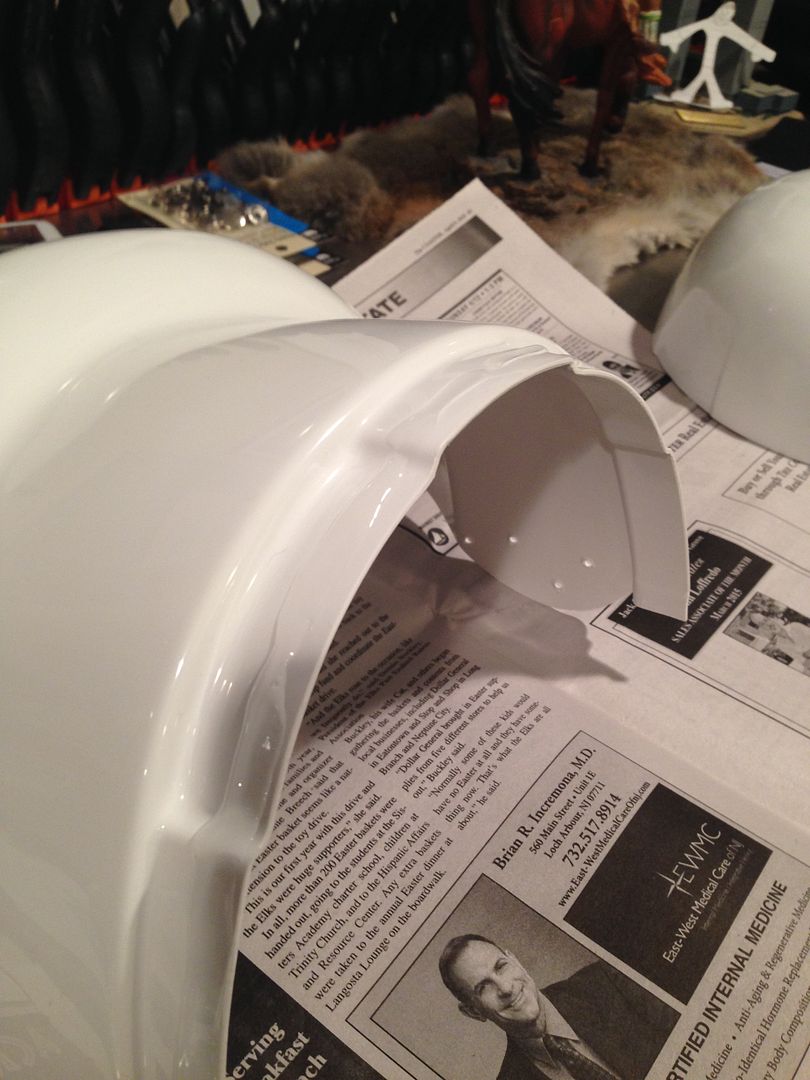
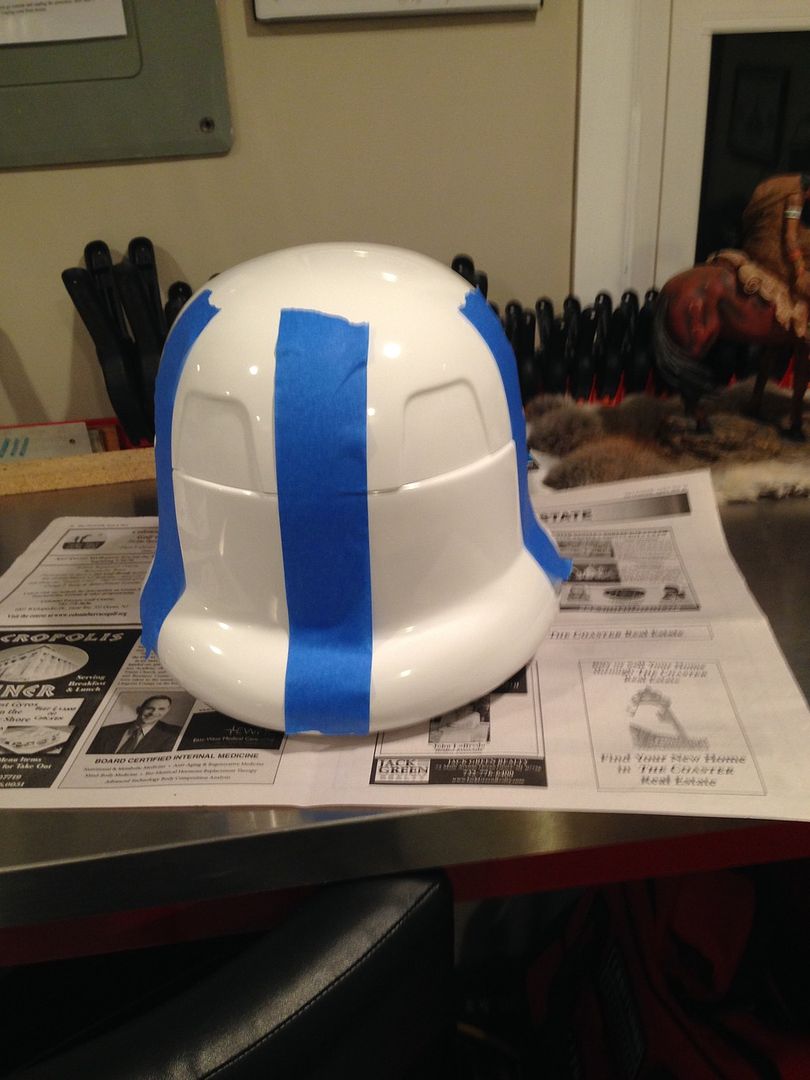
3) I then used some clamps and magnets to get a good seal while it dries.
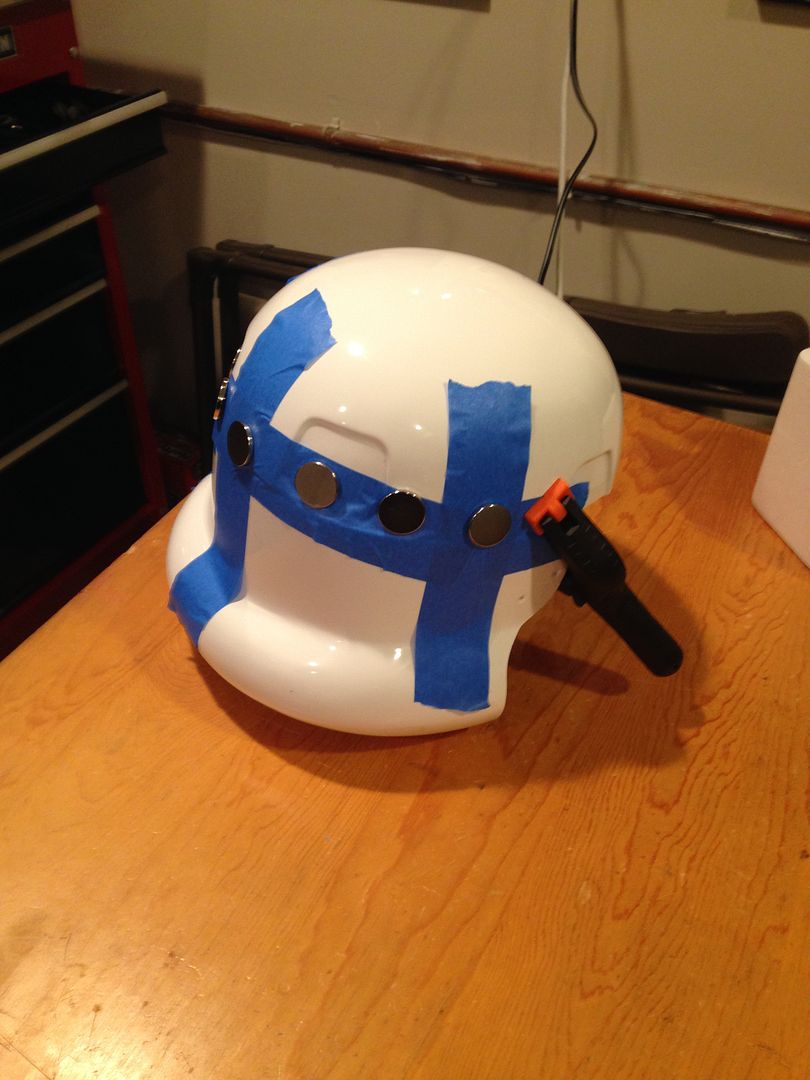
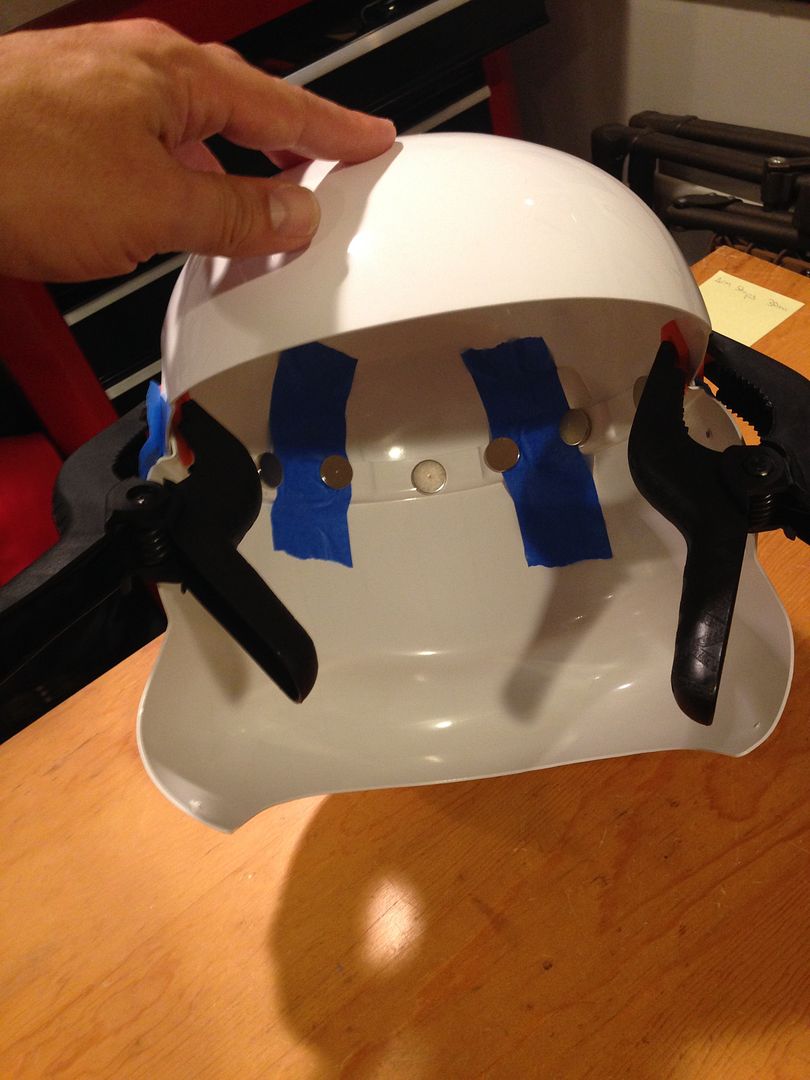
4) Dried overnight and this was the end result.
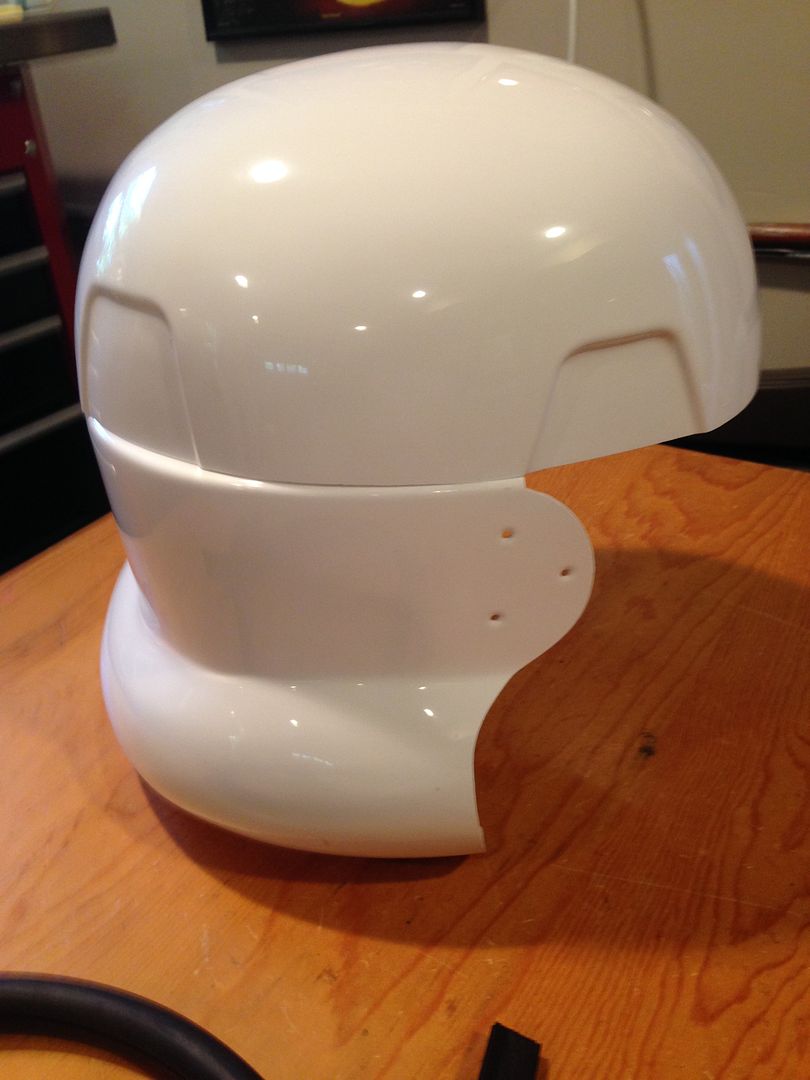
I then put the trim on. Simple enough to just line it up on one edge and snake it across to the other. I snipped the inside at the ends so it would slide in a little further. I also cut off the excess.
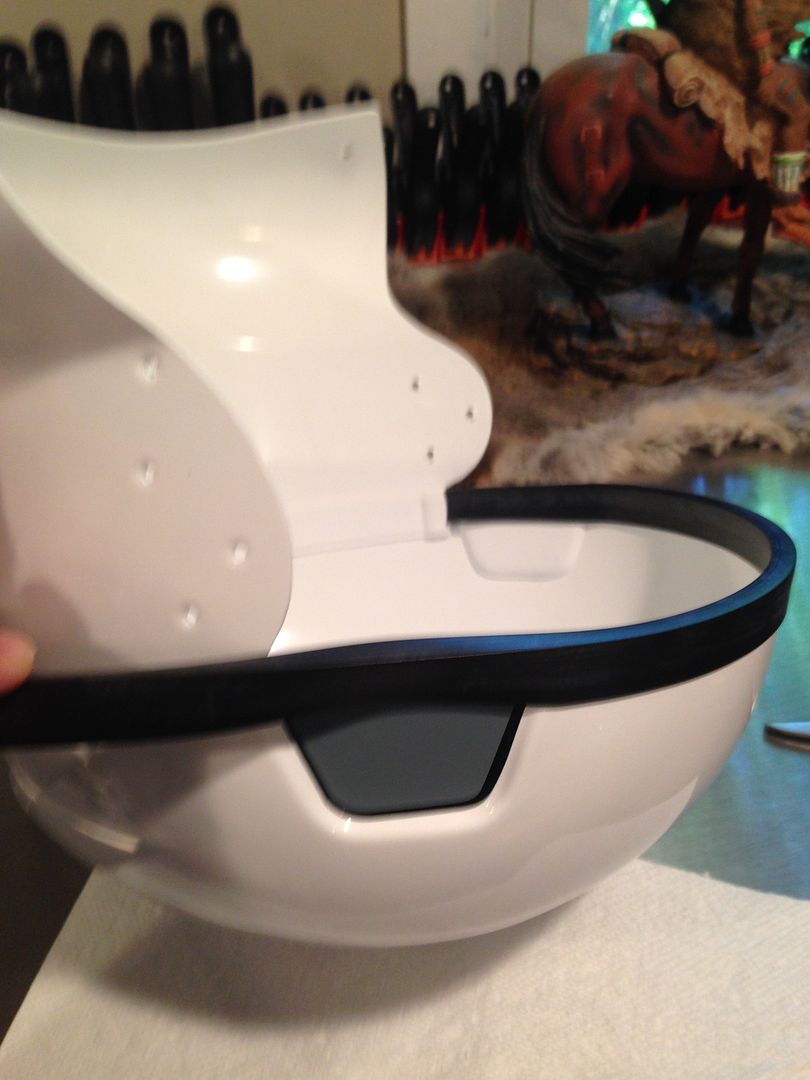
* Earlier I drilled the holes where they were marked. These are used to line it up for later screw assembly.
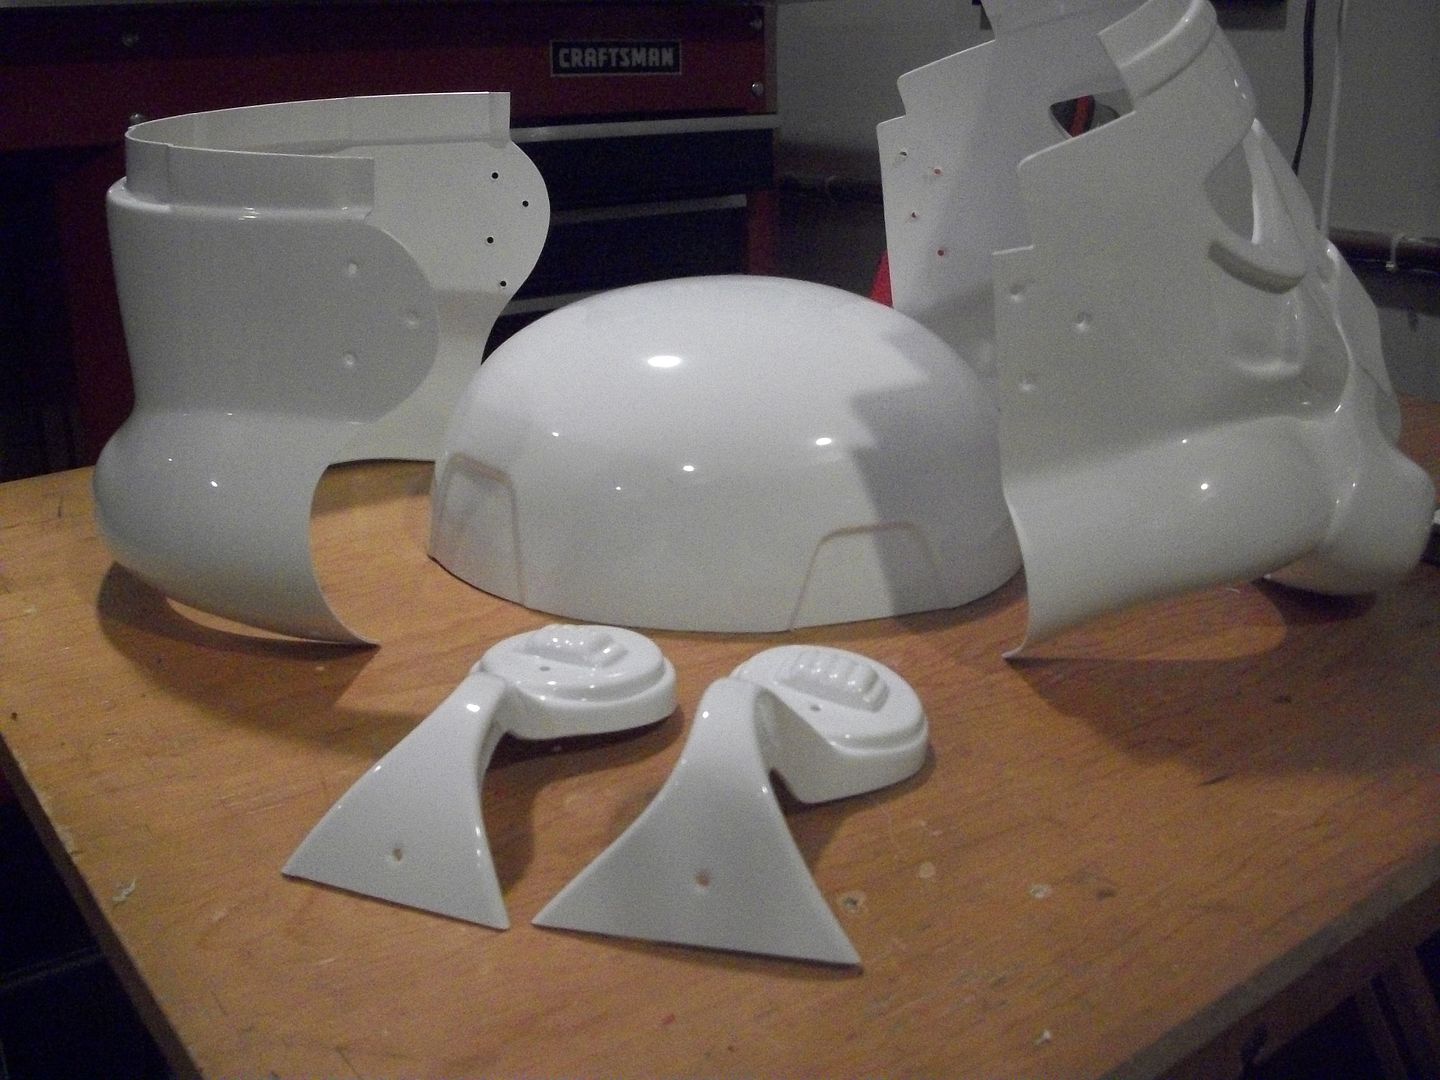
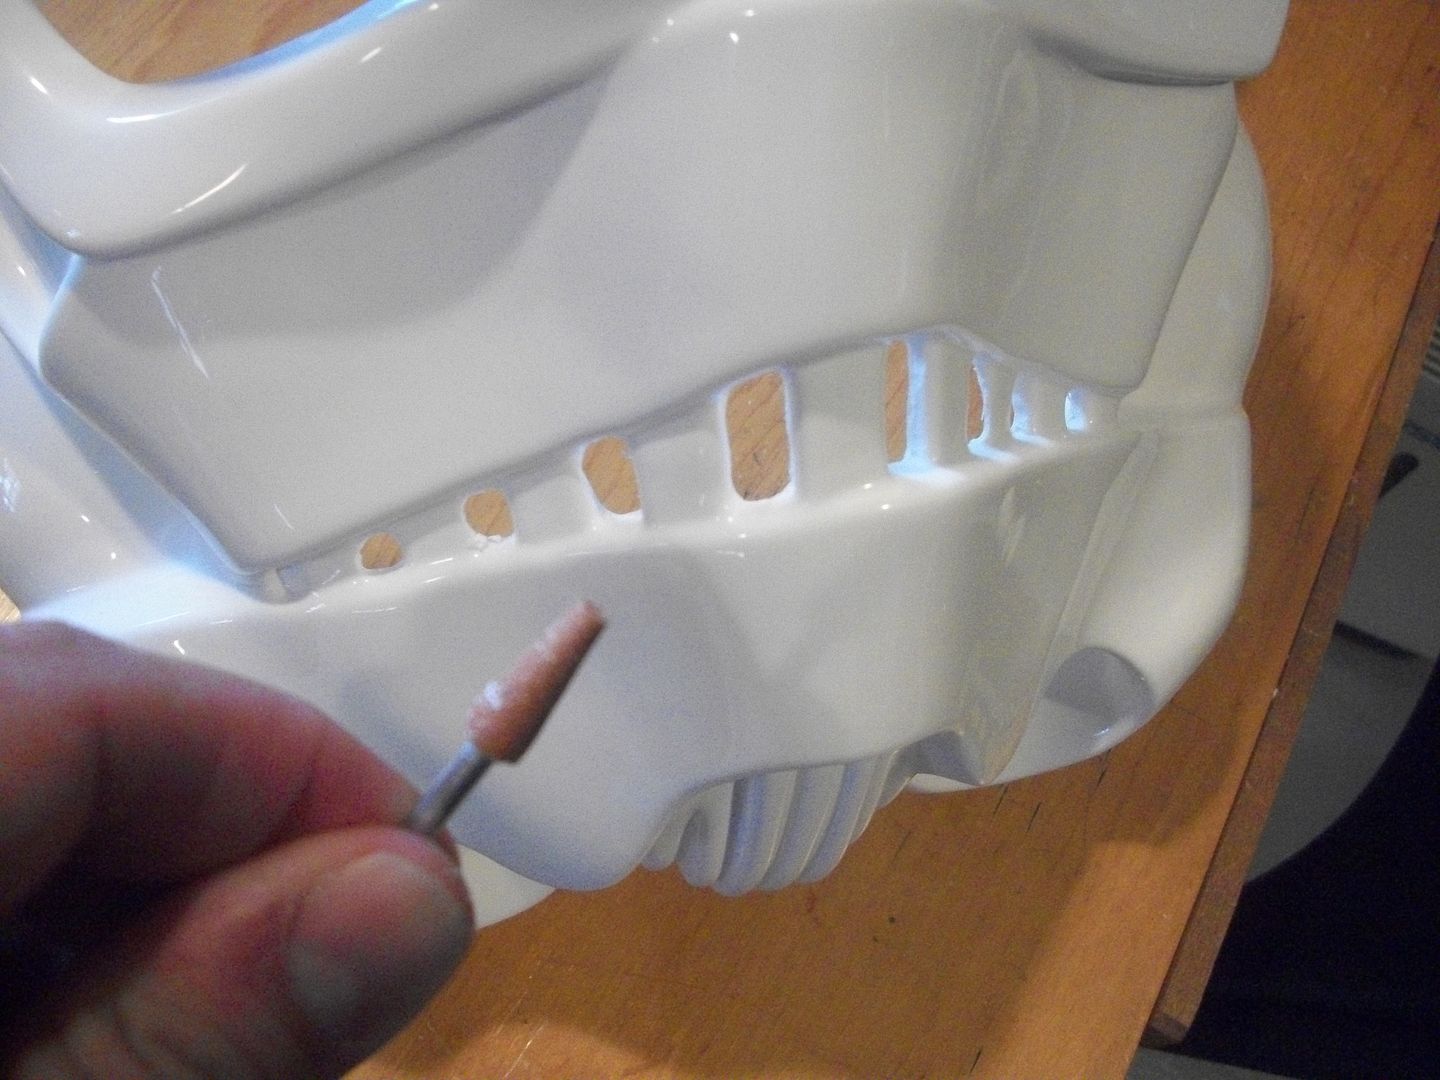
1) I used the dremel with a small cone bit to cut out the frown teeth:
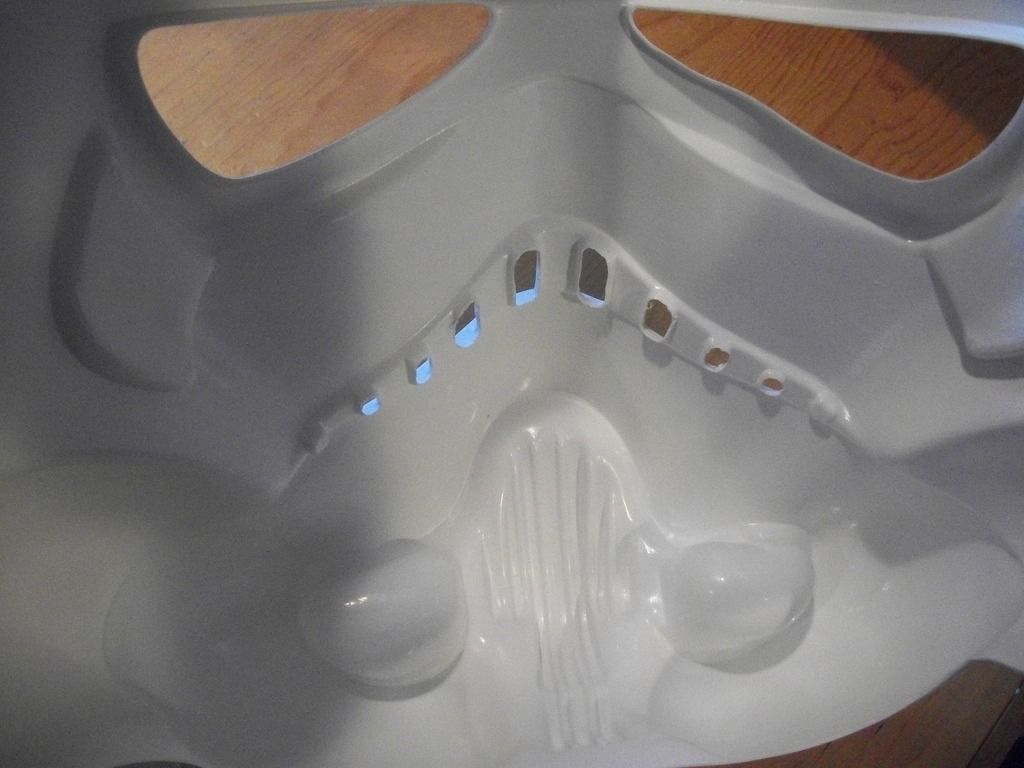
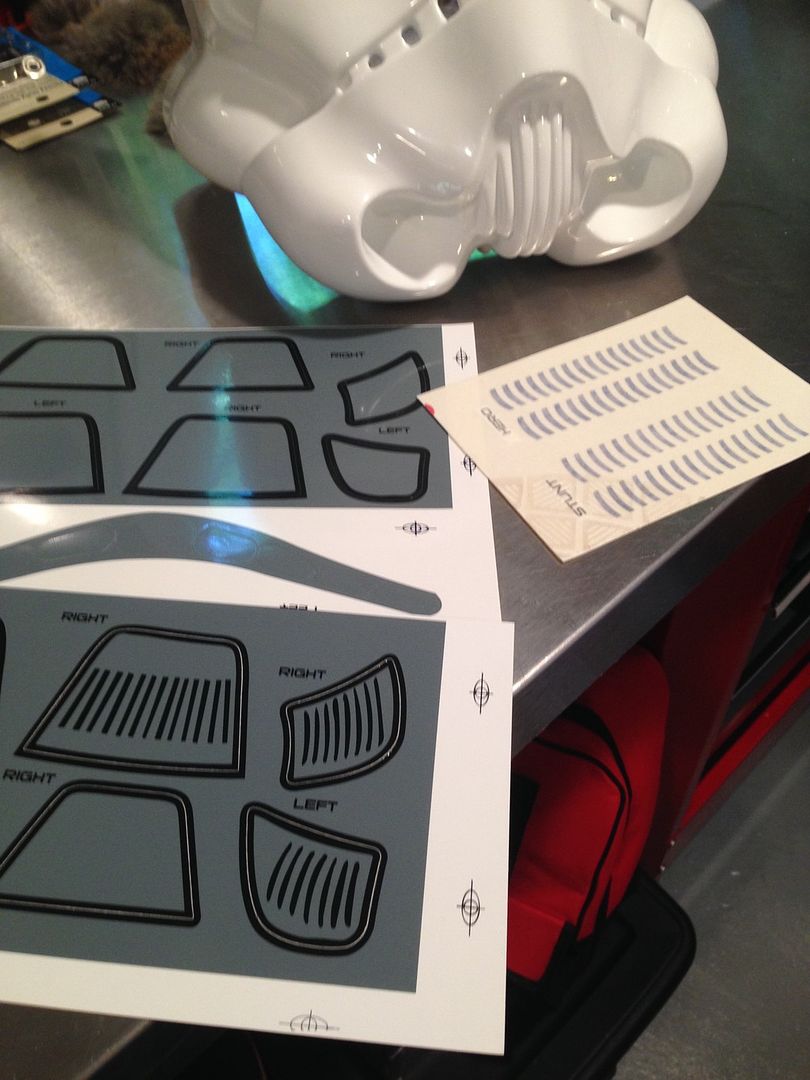
2) I decided to use the stickers that came with the kit to speed things up, plus they are pretty good quality and my painting skills are sub-par lmao.
3) I used tweezers to line up the sticker on the bucket...
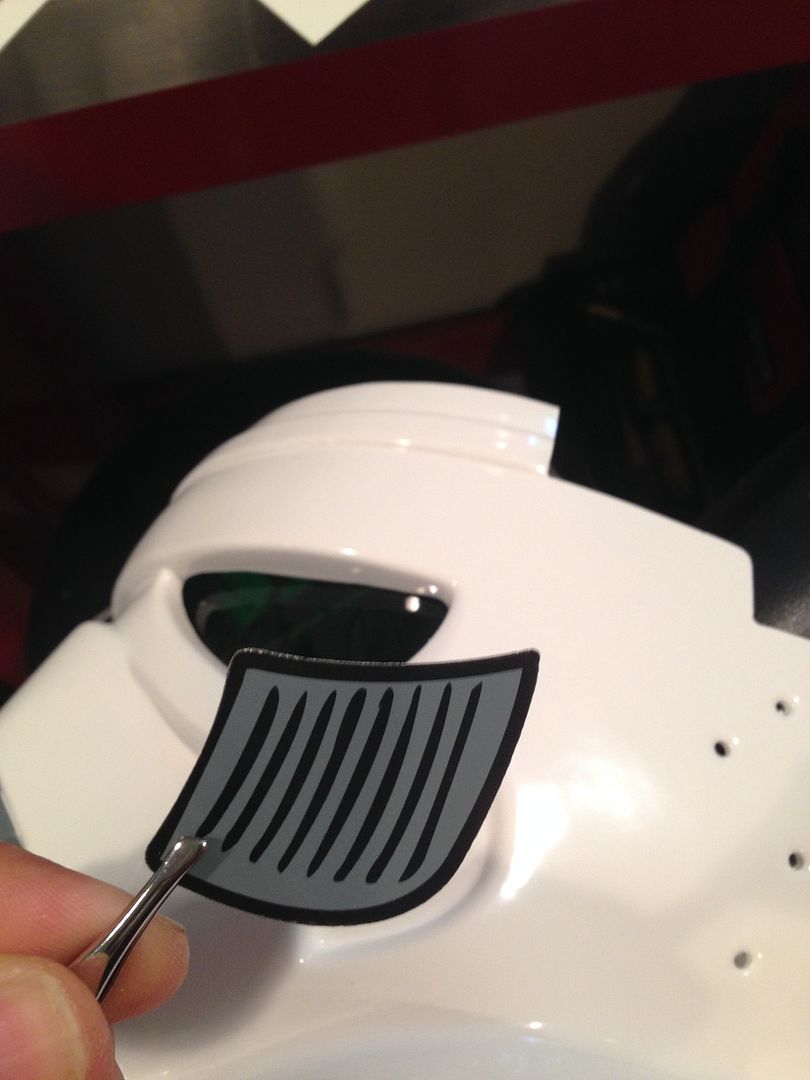
Then lightly place it on starting at the top...
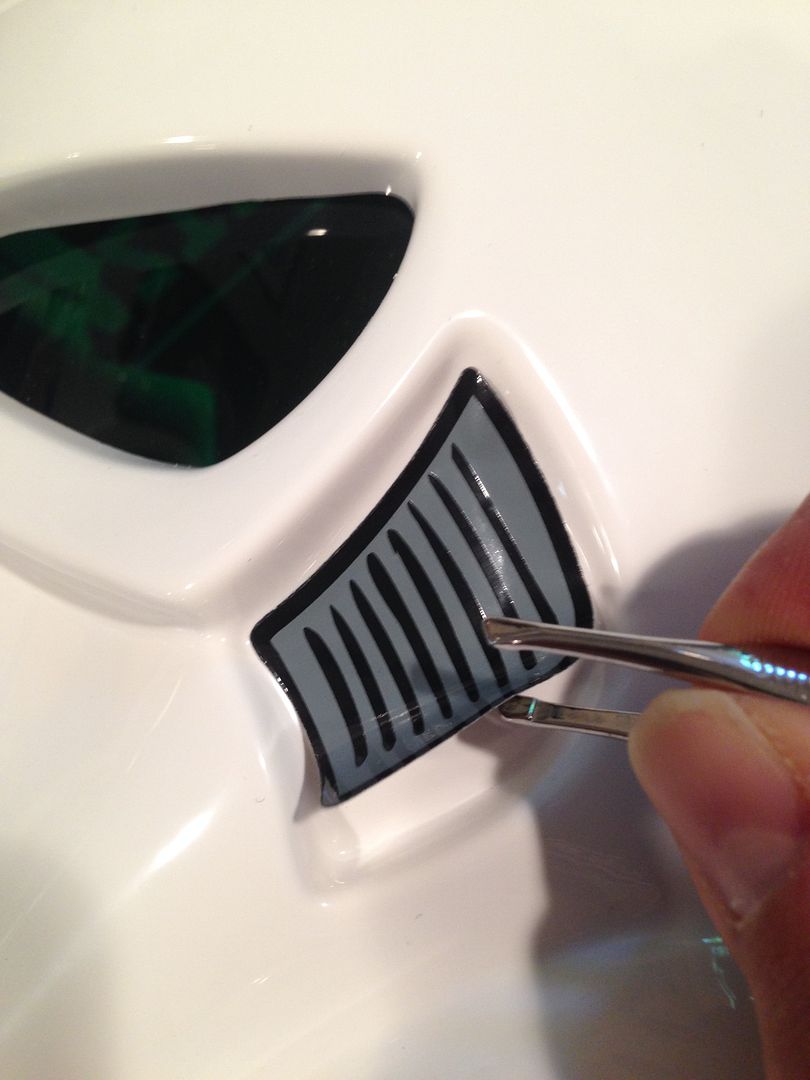
Then use your finger to gently (and slowly) push it down. Again, start from the top and work your way down and out to avoid bubbles. If you get some you can usually push them out...
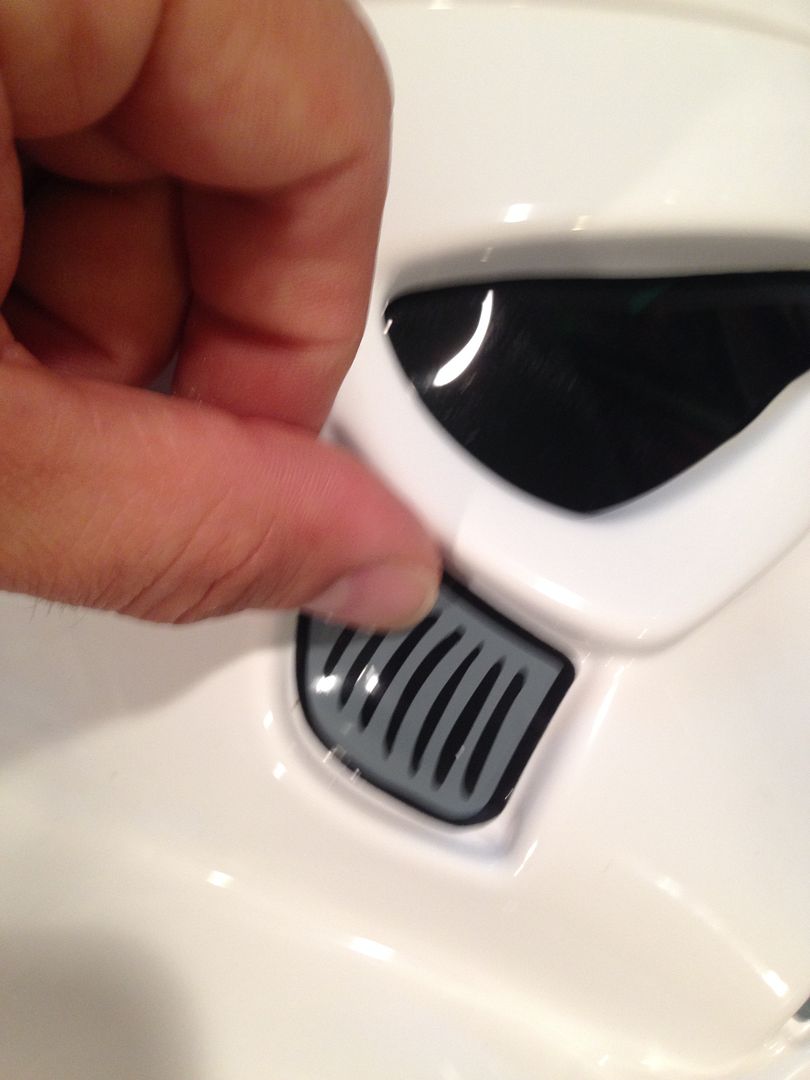
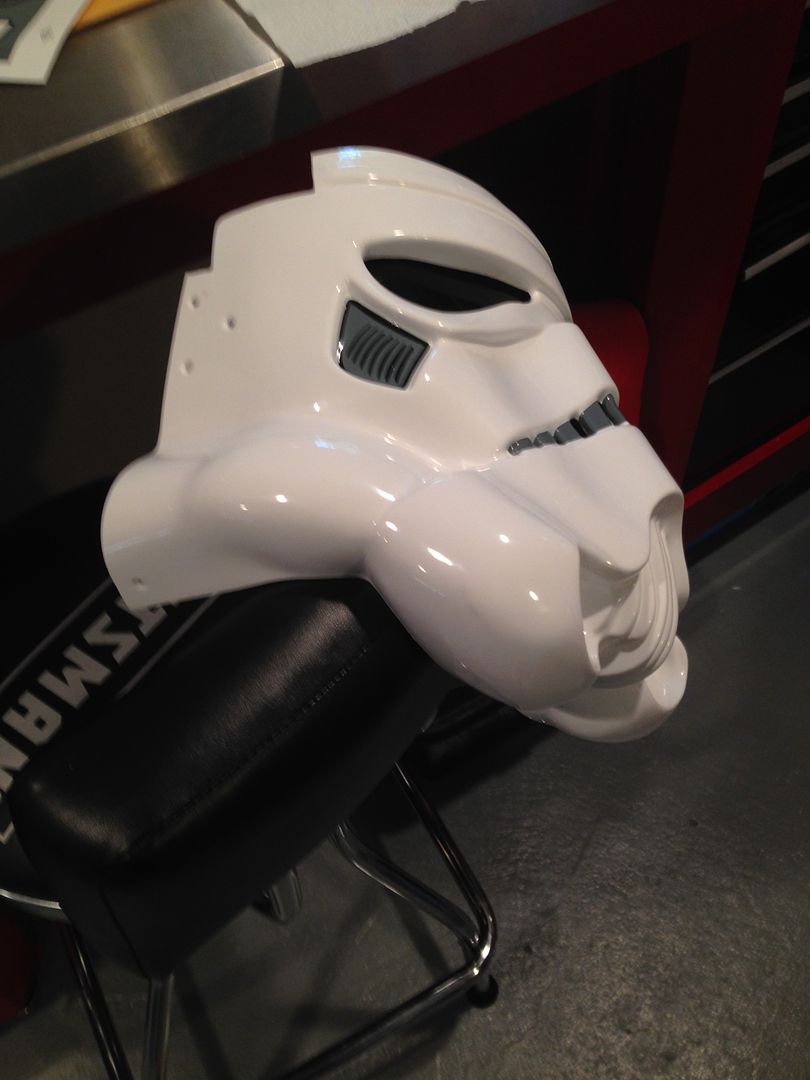
4) Did the ones across the top, front and back, using the same method.
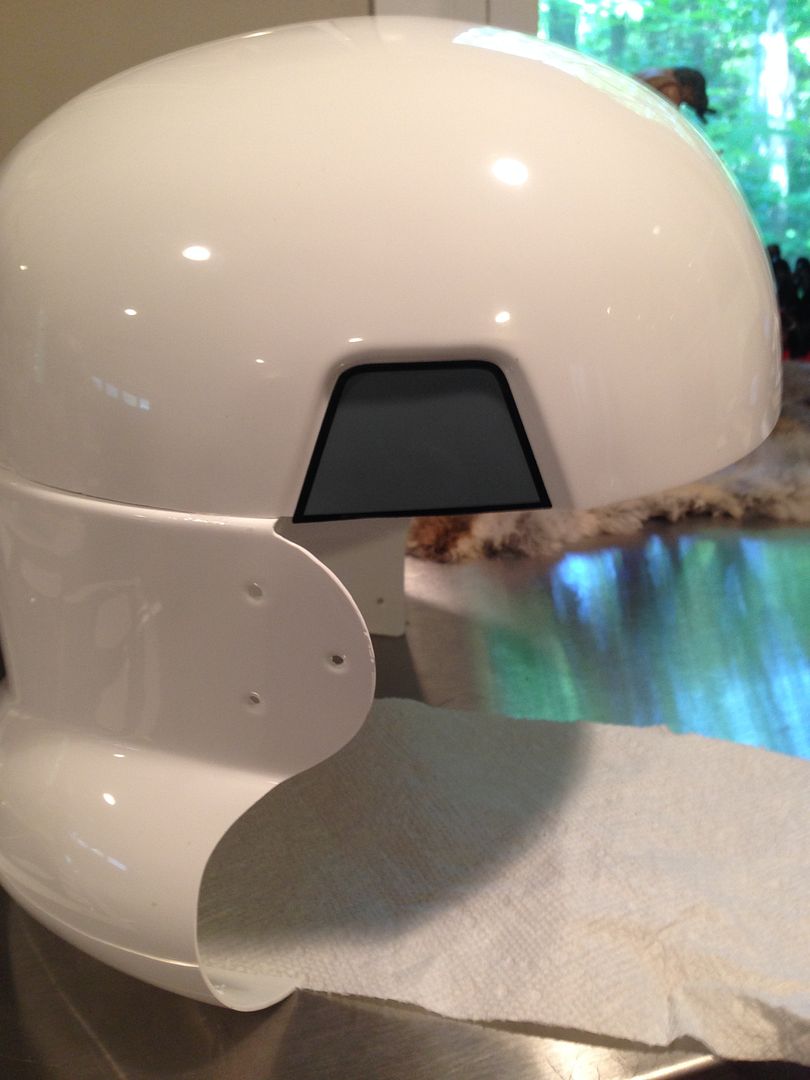
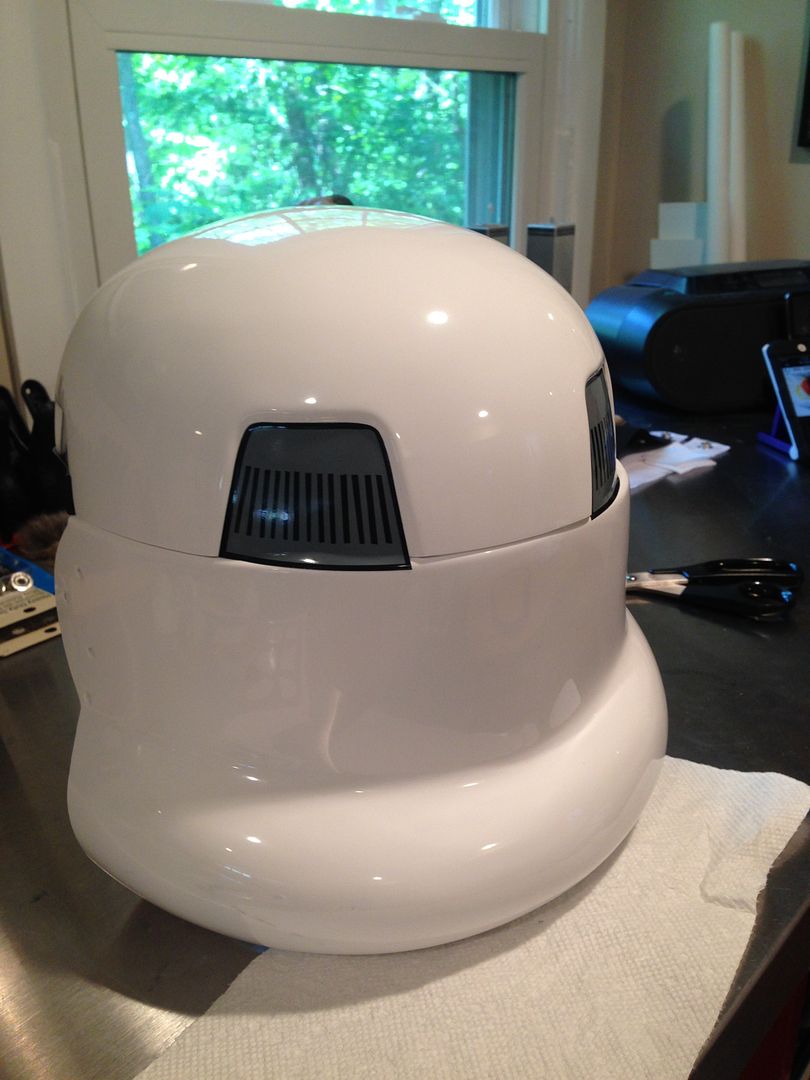
Did the frown the same way as well. Used the top of the tweezers to push it down in between the teeth. Make sure you don't push too hard with the tweezers though, you can rub off the grey if you do.
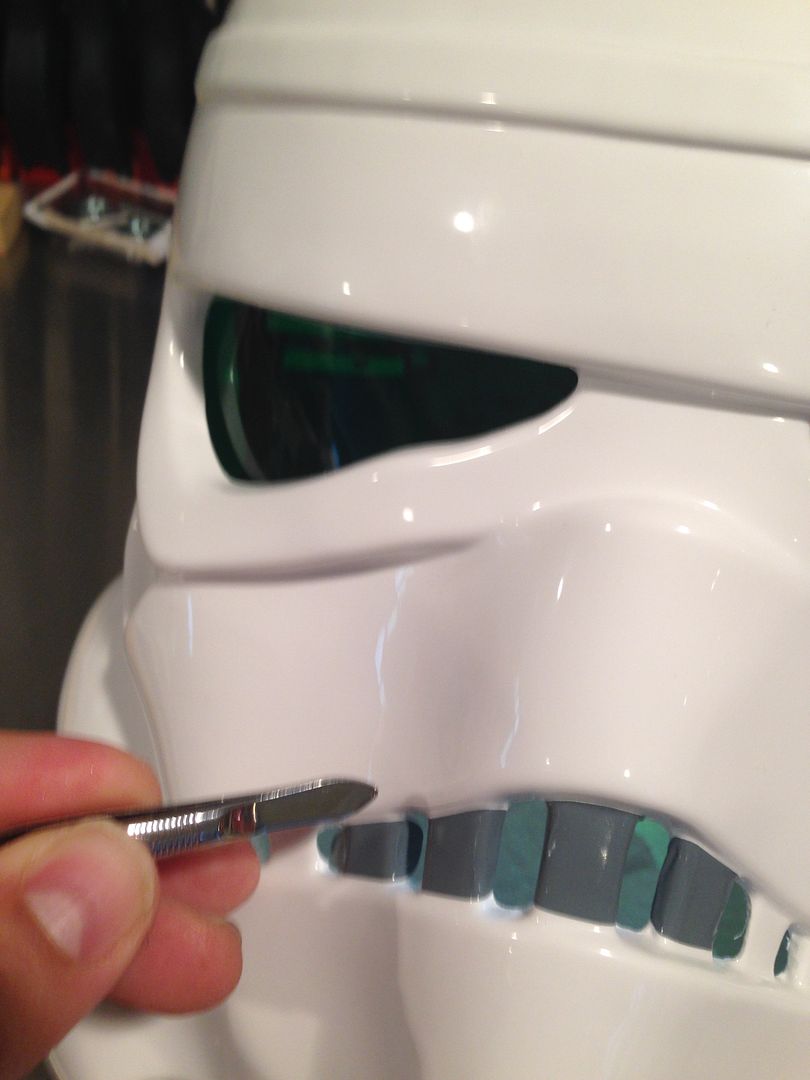
Lenses:
I have seen a few different ways to do this. The AM kits come with very thin green tint film, which works but is almost like paper thin so it's delicate. Using hot glue ALL the way around the edges causes it to buckle some (which we found out in previous builds). I like Paul's method of adding some putty to create supports and simply attaching it on a few spots spread out. I've also seen that method using scrap plastic squares to build up to the edge.
I think I'm going to look into stronger, thicker welding glass type material (in green) so for now I'm going to use a very non-permanent method but in the idea of the ones above.
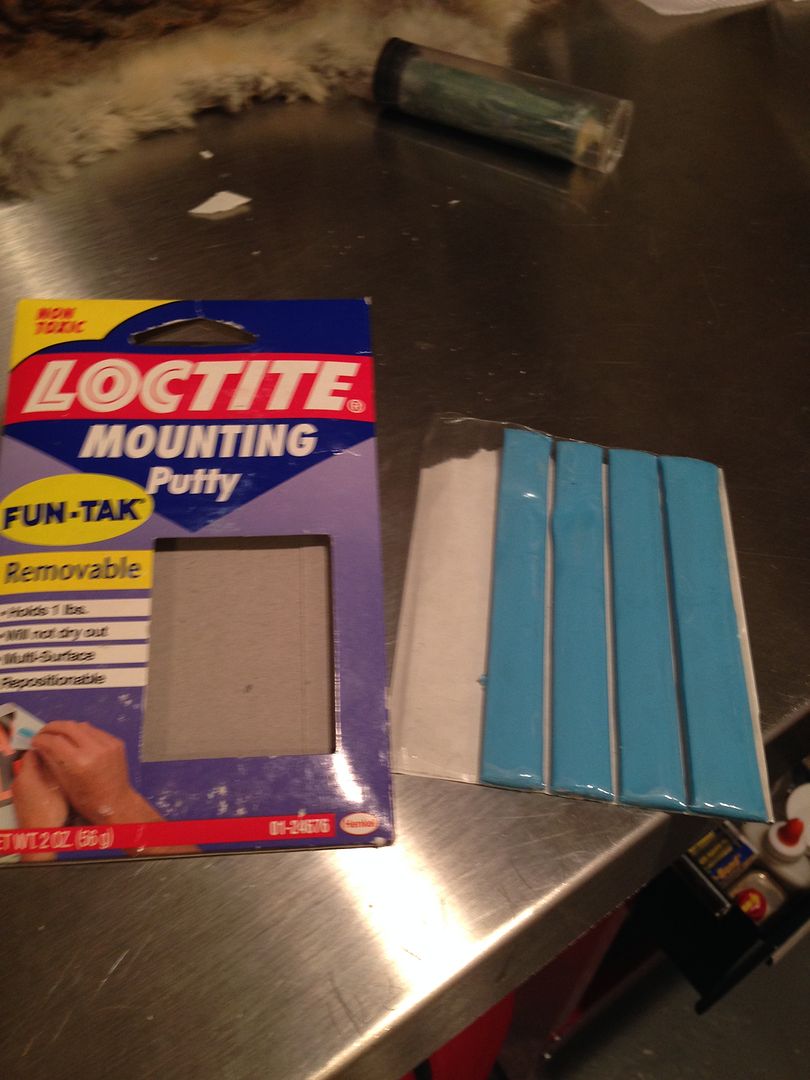
1) I'm using some mounting putty I had lying around. It's almost like the "mighty putty" stuff, you just pull off a bit, knead it into a glob then squish it on. The difference is this will stick but won't harden.
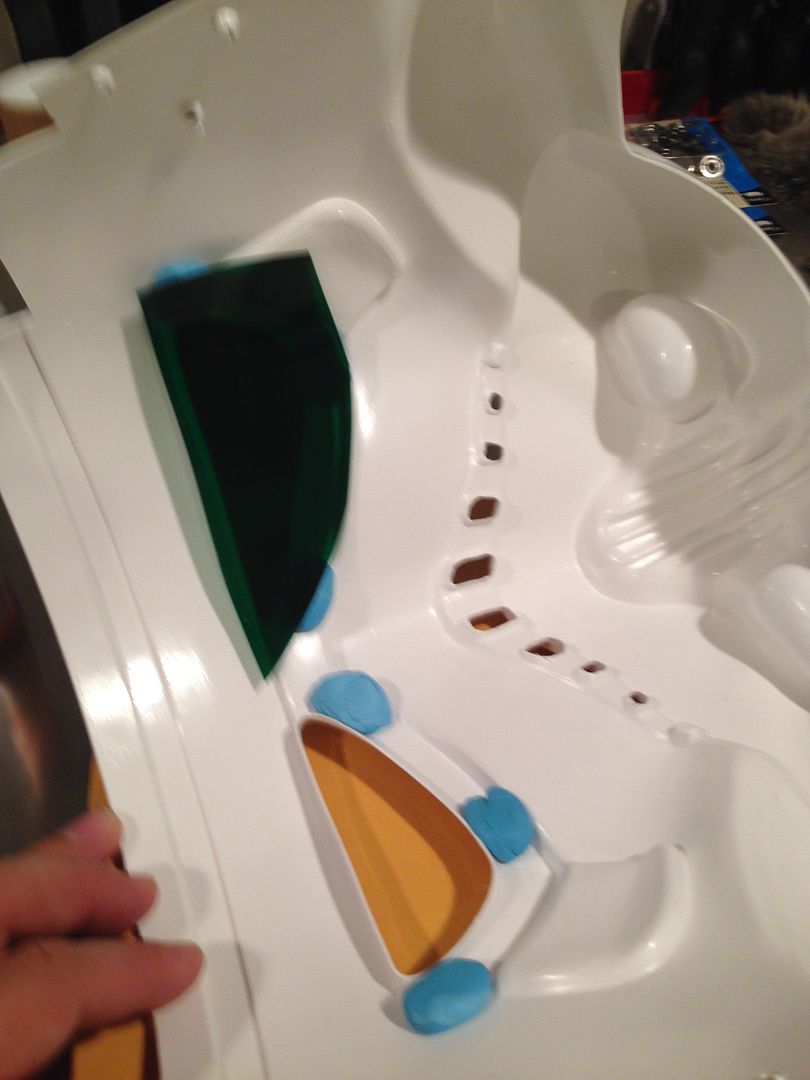
2) I made three spots on each lens, then put the lens over them.
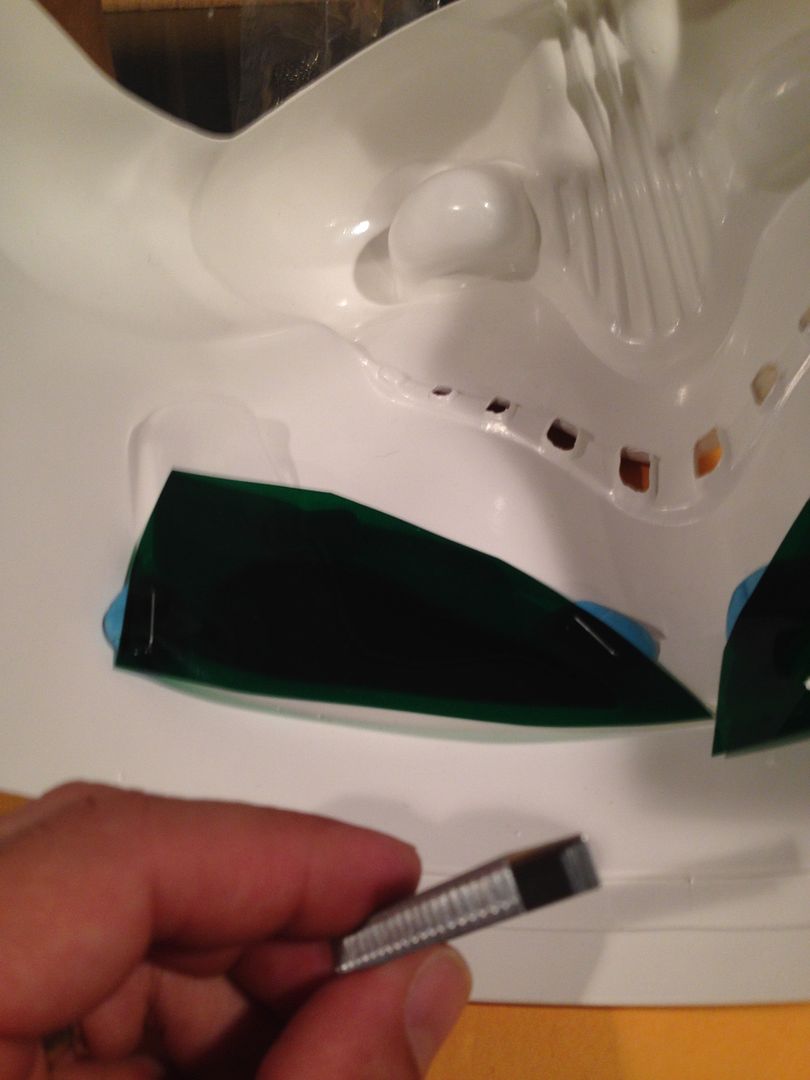
3) I also used a standard staple over each glob to give it a little extra holding power (literally pushed it in with my fingers).
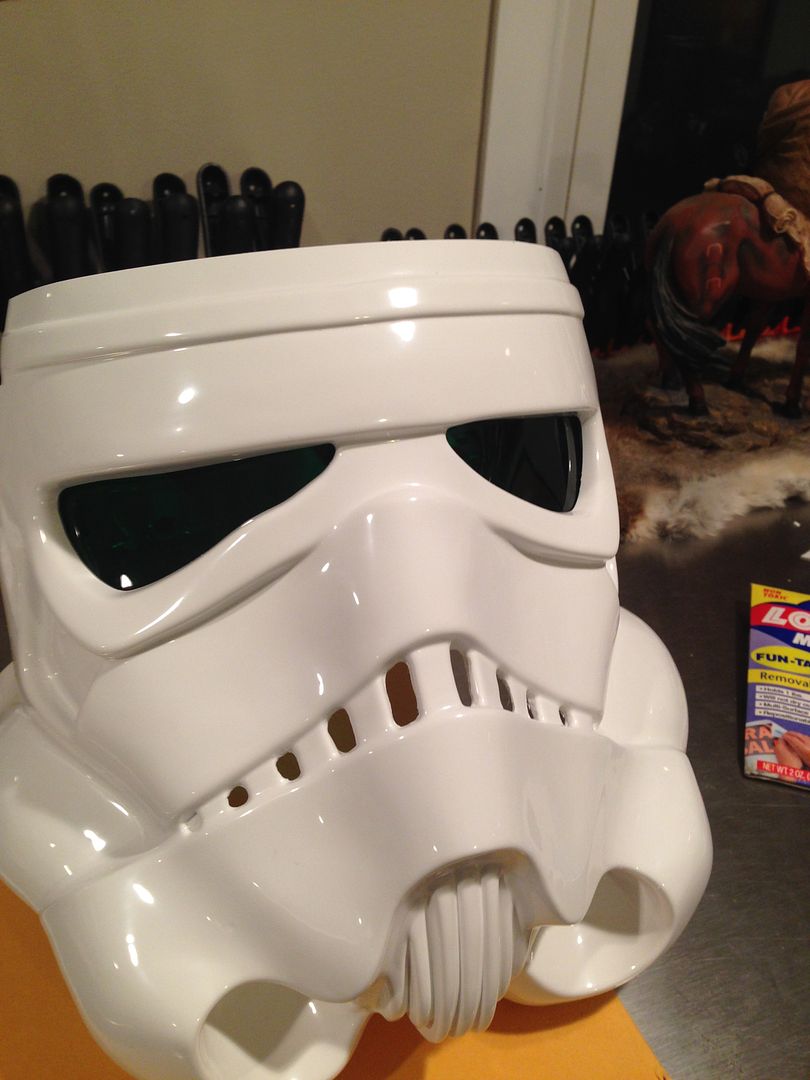
Again, all this can be taken off in a heartbeat down the road, but I anticipate it holding fine for a few normal troops

-
For the right side you put in just a male snap part (don't ask why). This will serve no purpose but it's cannon.
1) Lined it up and marked the spot. There is no actual measurement so it's eyeballed off screen and other build references.
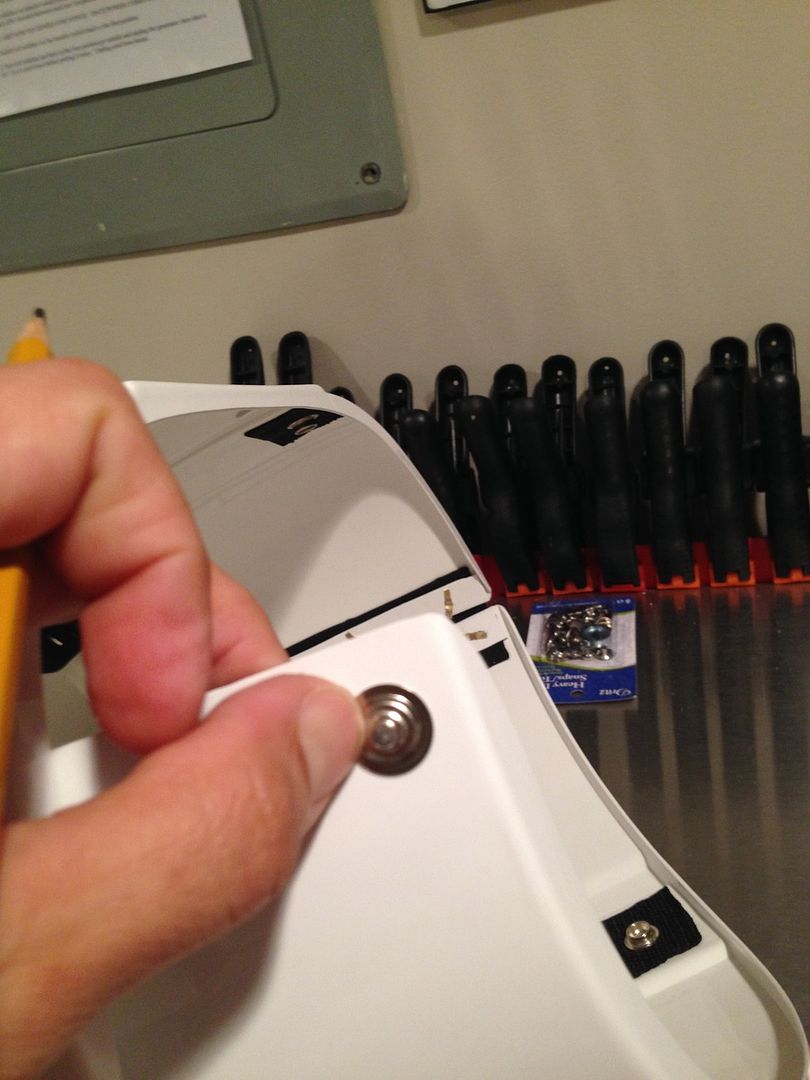
2) Drilled the hold and banged it in

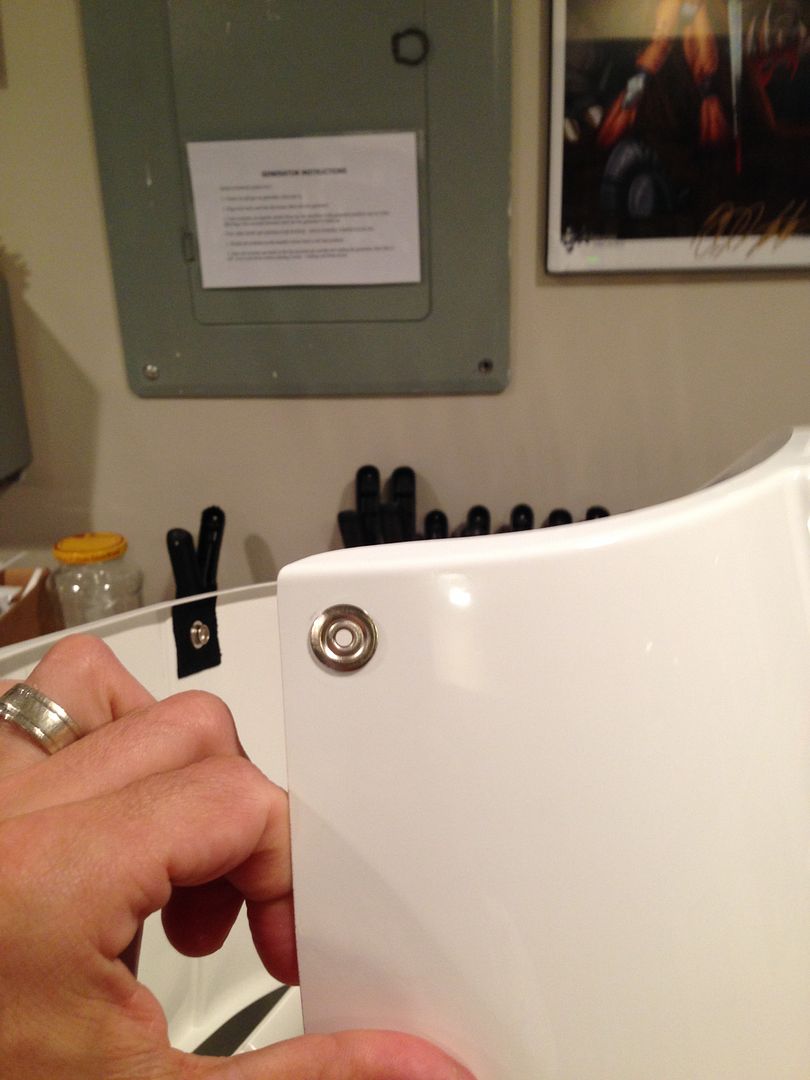
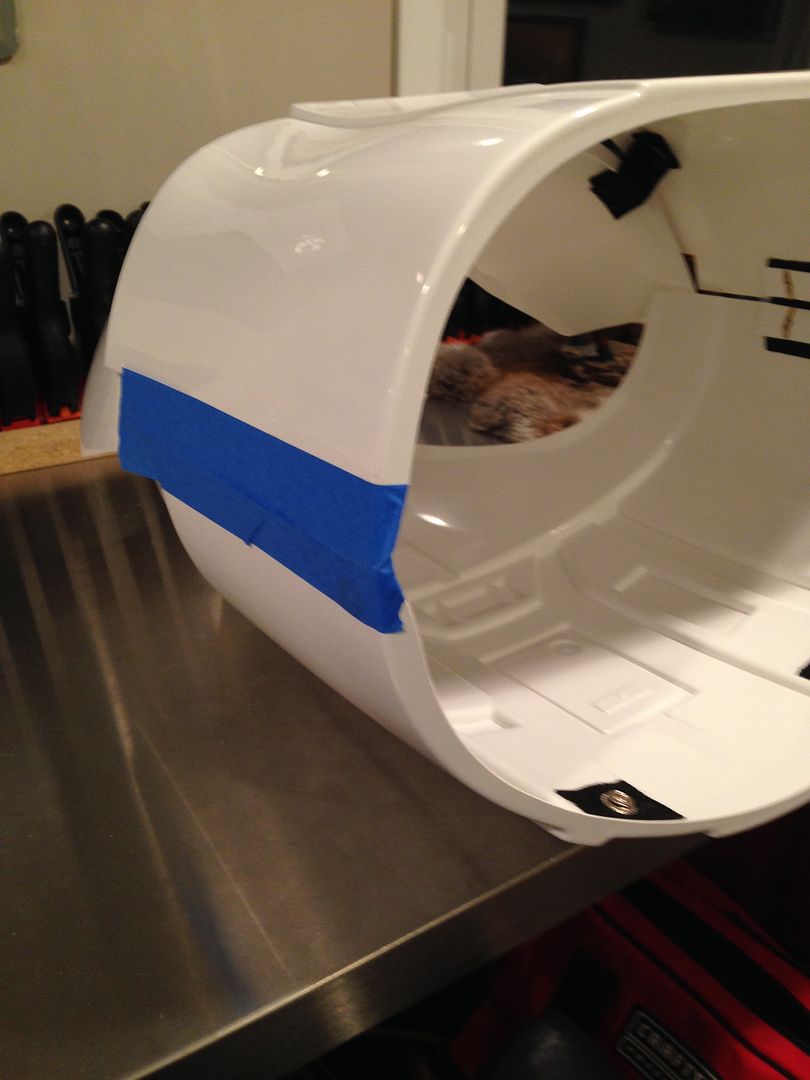
3) To actually hold it together I'm using two 2" elastic strips, on top and bottom. I'll be using velcro on these, this way I can adjust a littler easier if needed. First I lined it up and taped it together.
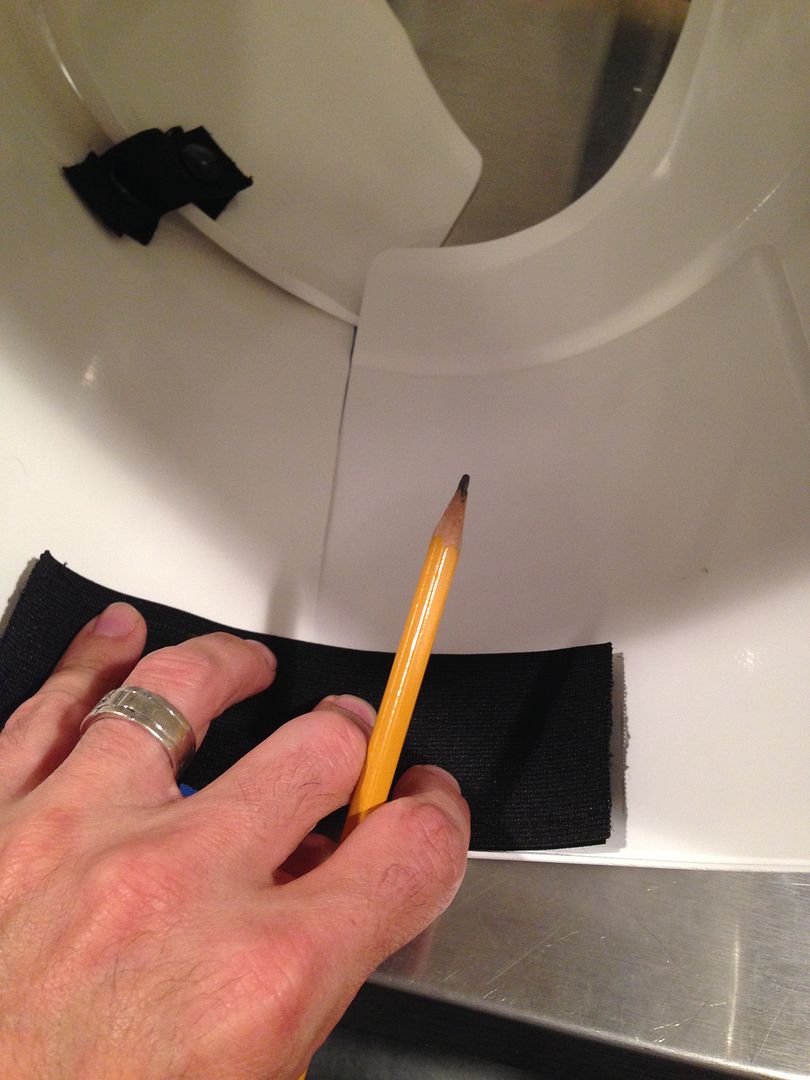
4) Sewed the sewing velcro onto the elastic, then put the sticky velcro on the plastic.
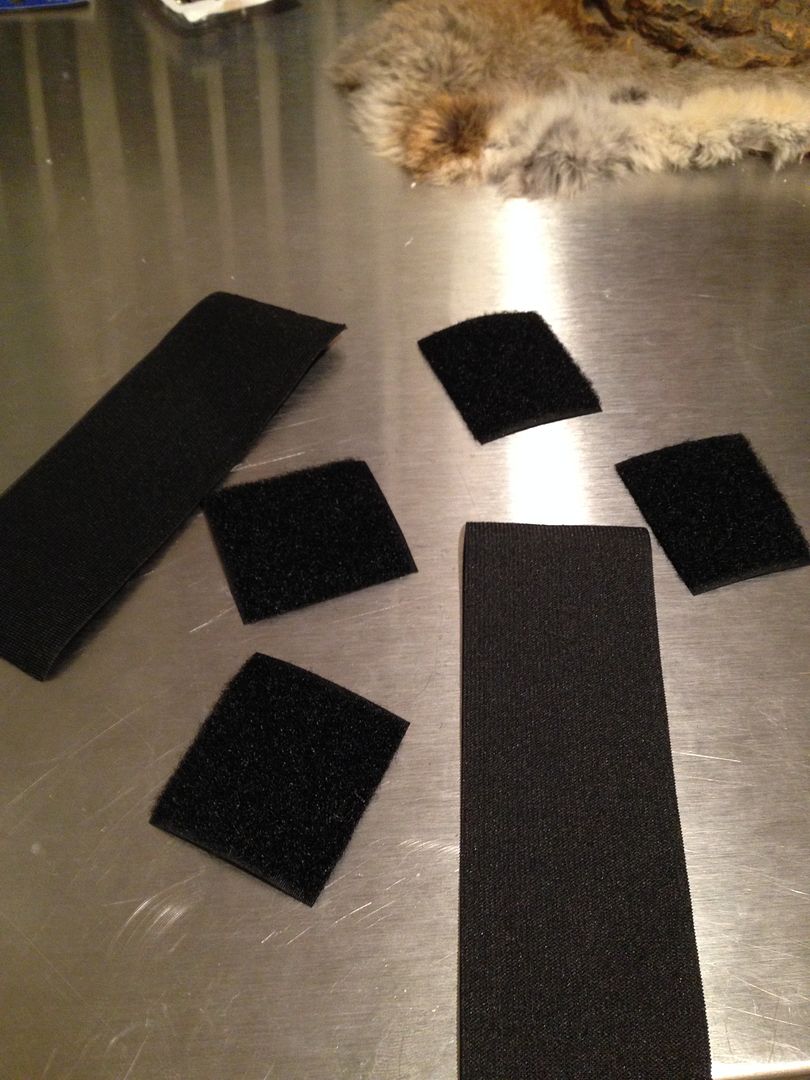
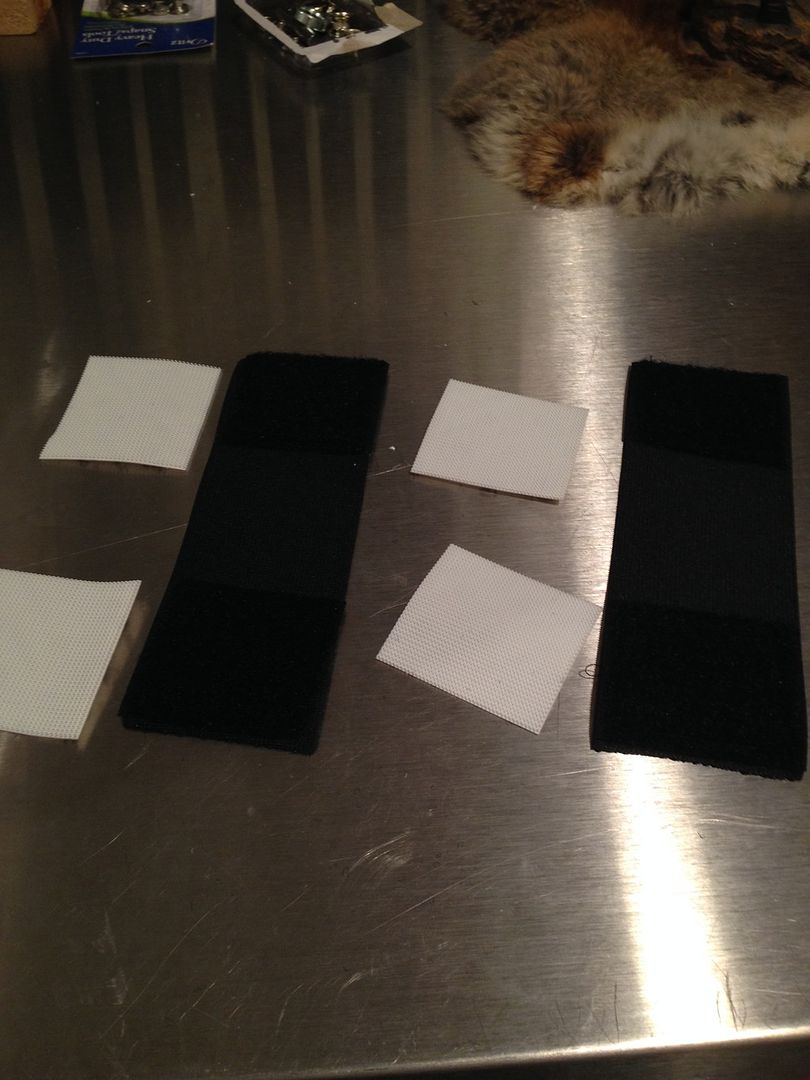
To put the sticky on, I lined up the elastic evenly and marked the plastic with a pencil
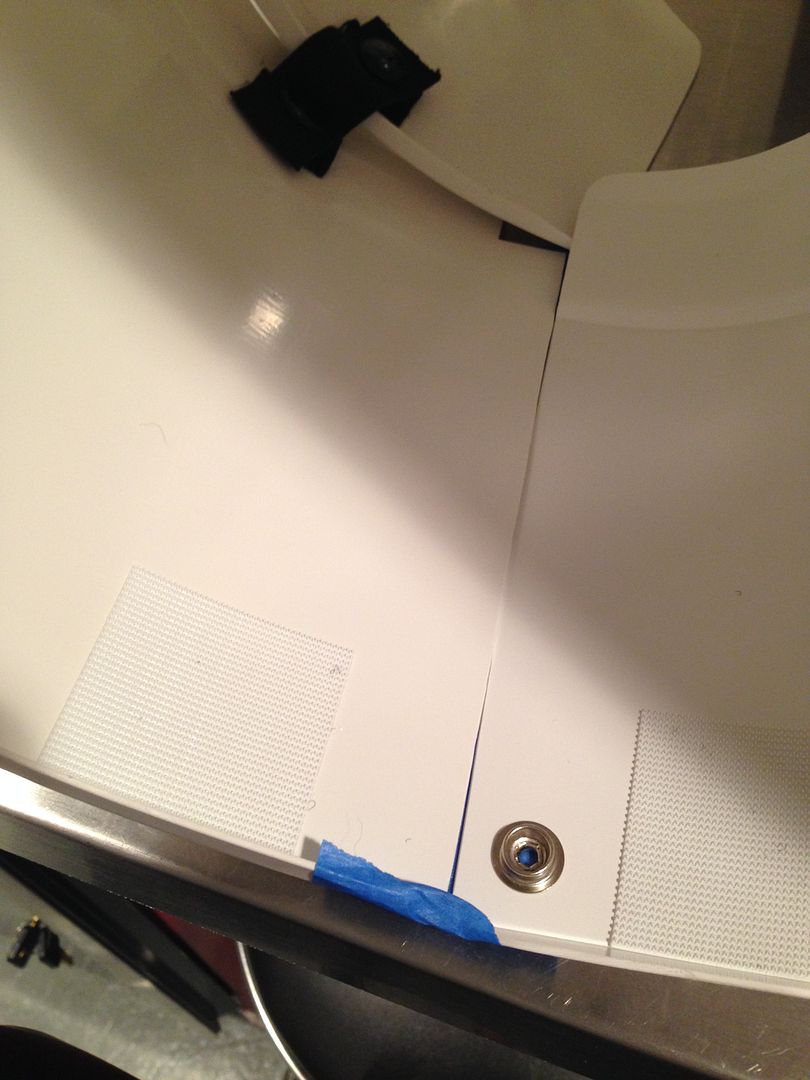
5) Done. Nice tight fit.
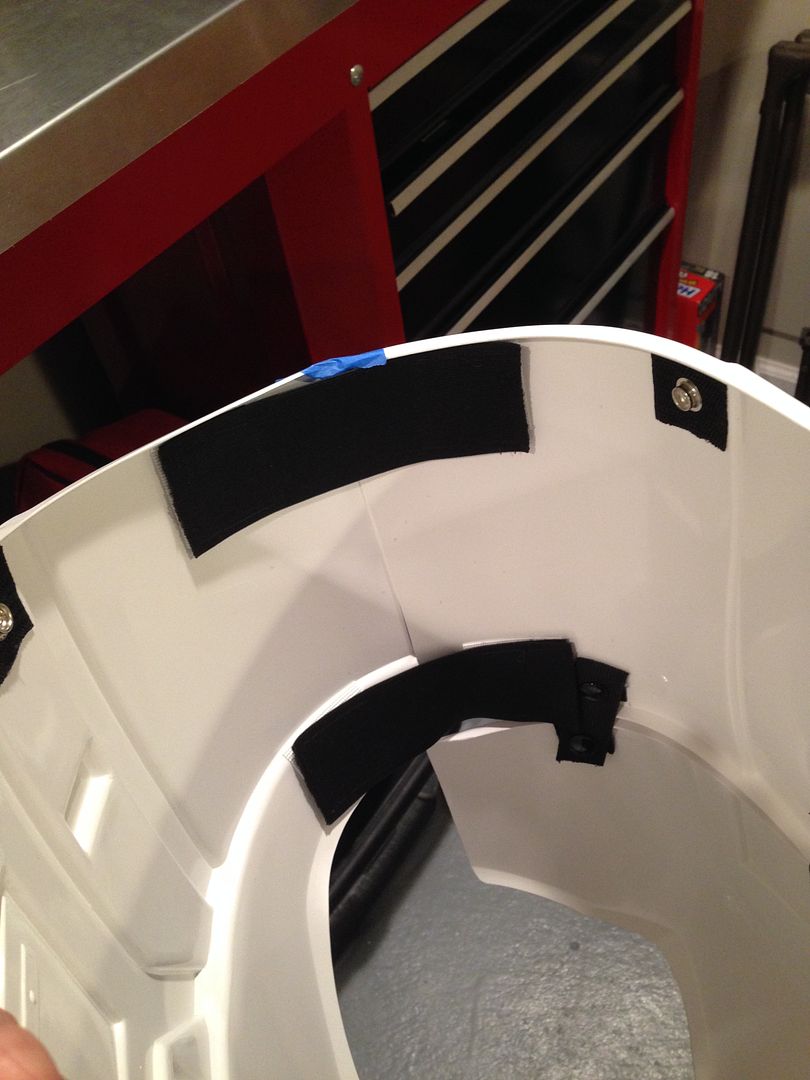

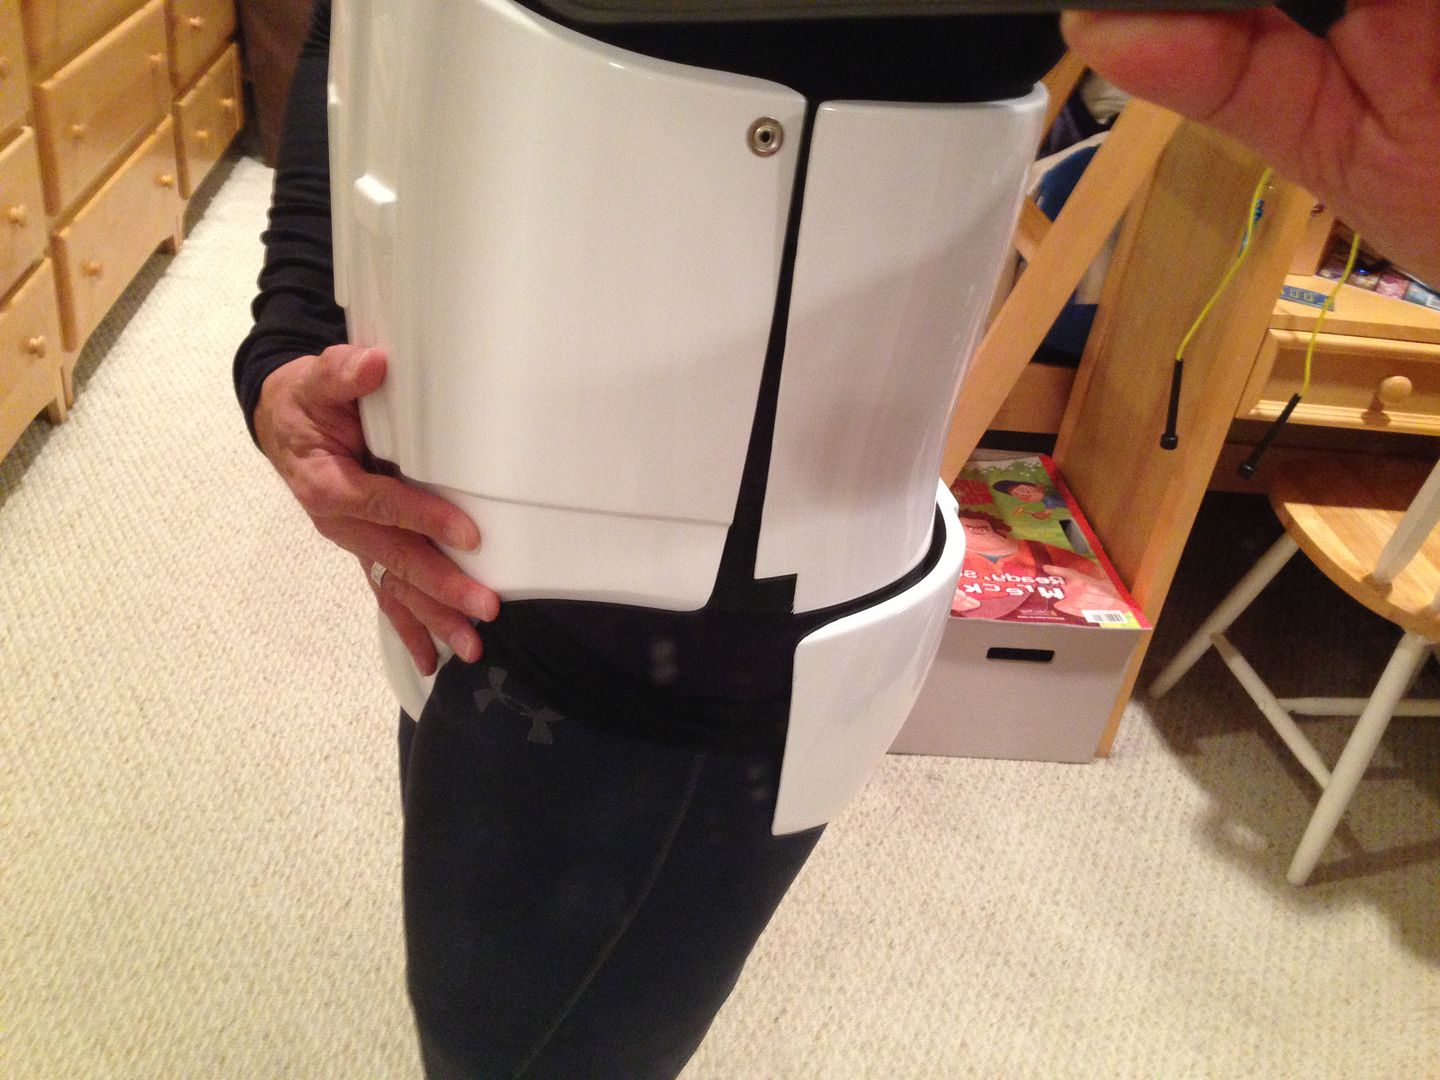
I can get the bottom closer, along with the belt to hold it in place but by myself and taking a pic was a little hard hahaha!
TIME CHECK
TOTAL TIME FOR SIDE DETAILS AND CLOSURES = 2 HOURS
Shoulder bells.
1) First I get an estimated 1" black elastic strap lined up. If you have a helper it's a lot easier, but this is done to show you that you can actually do it all yourself. The manikin helps though, even thought it's a lot of on and off for this part.
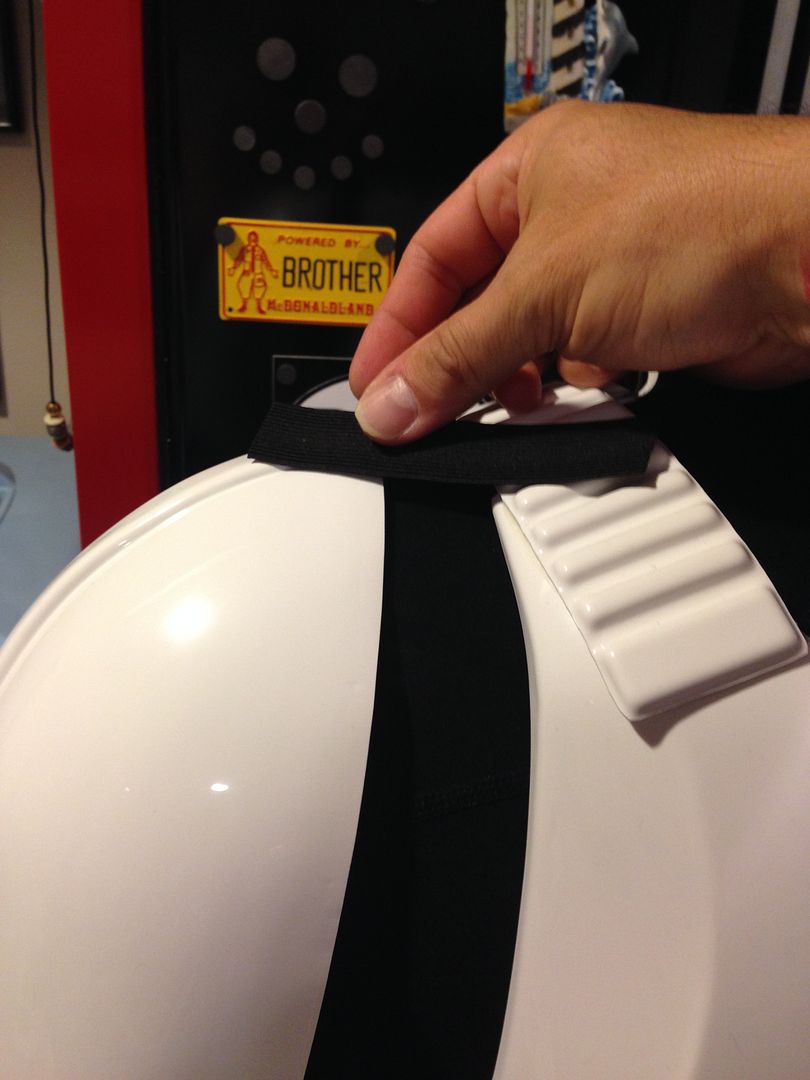
2) Used a thinner web/snap thing on the top of the shoulder bell (cut to fit the indentation).
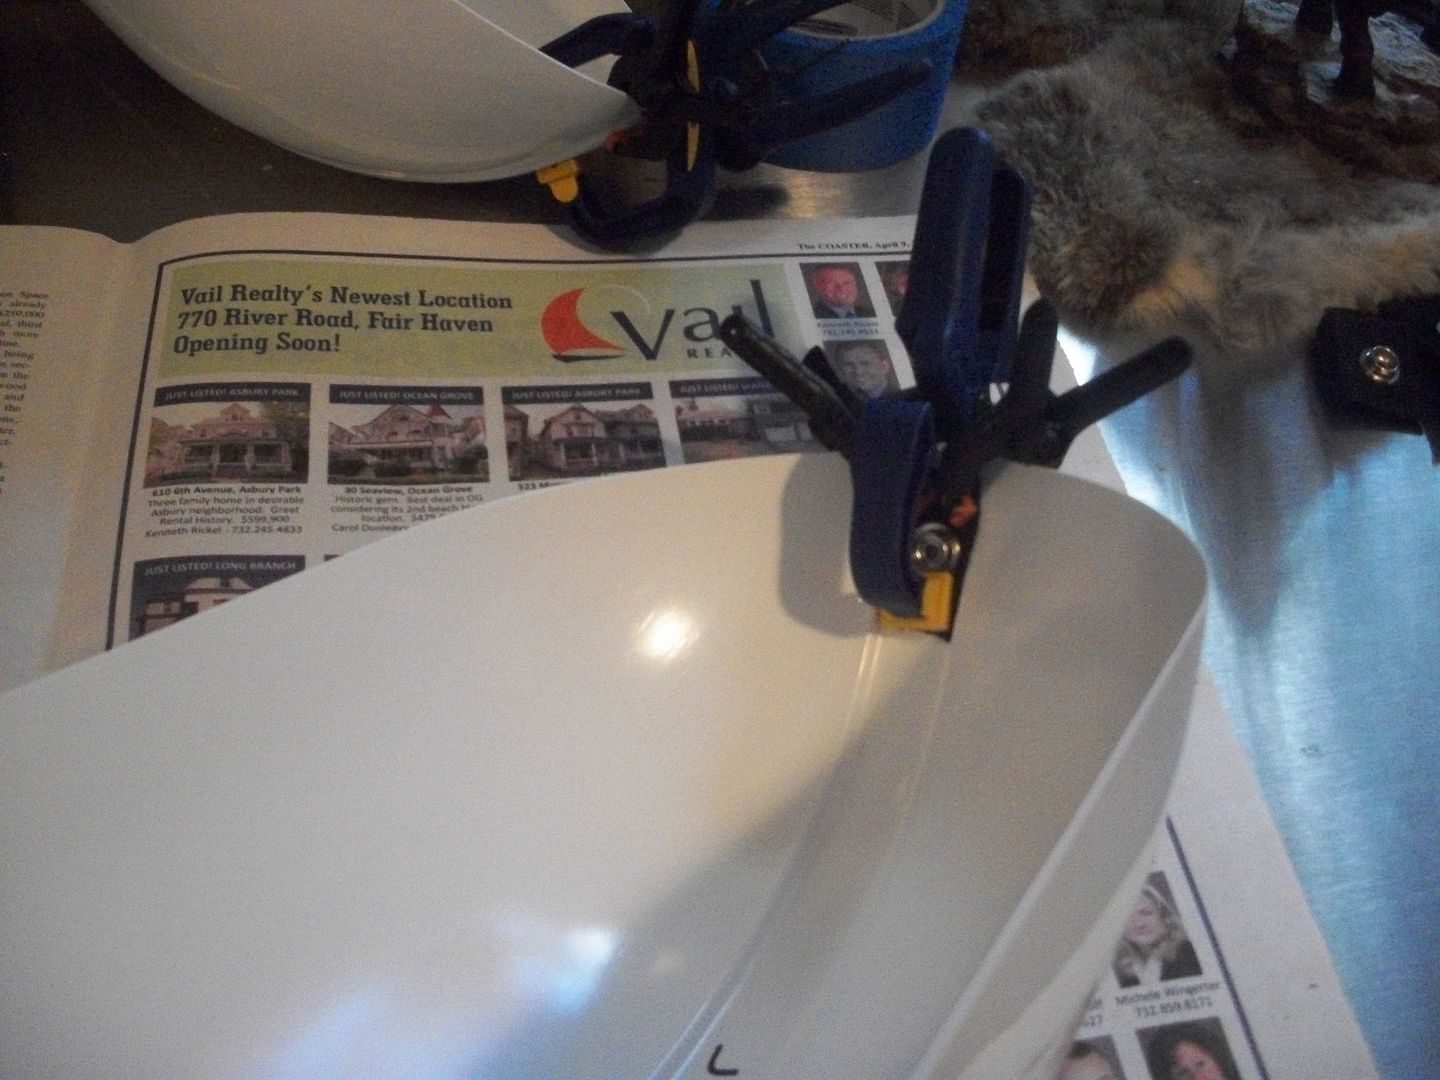
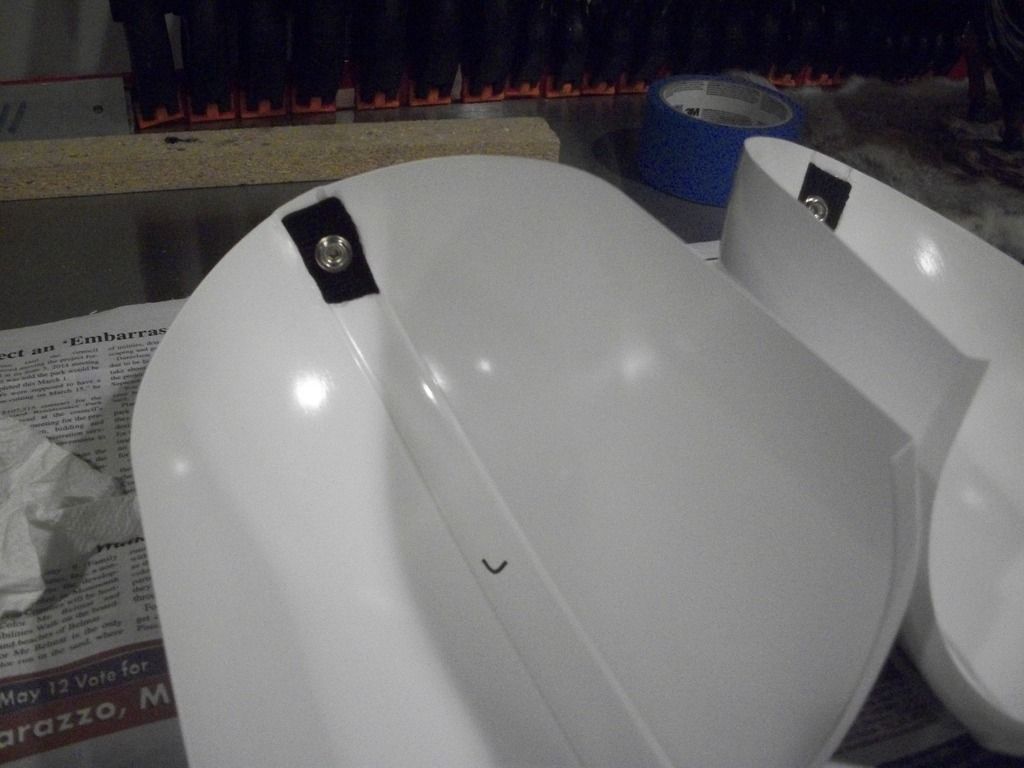
3) Did one snap first, on the bell itself.
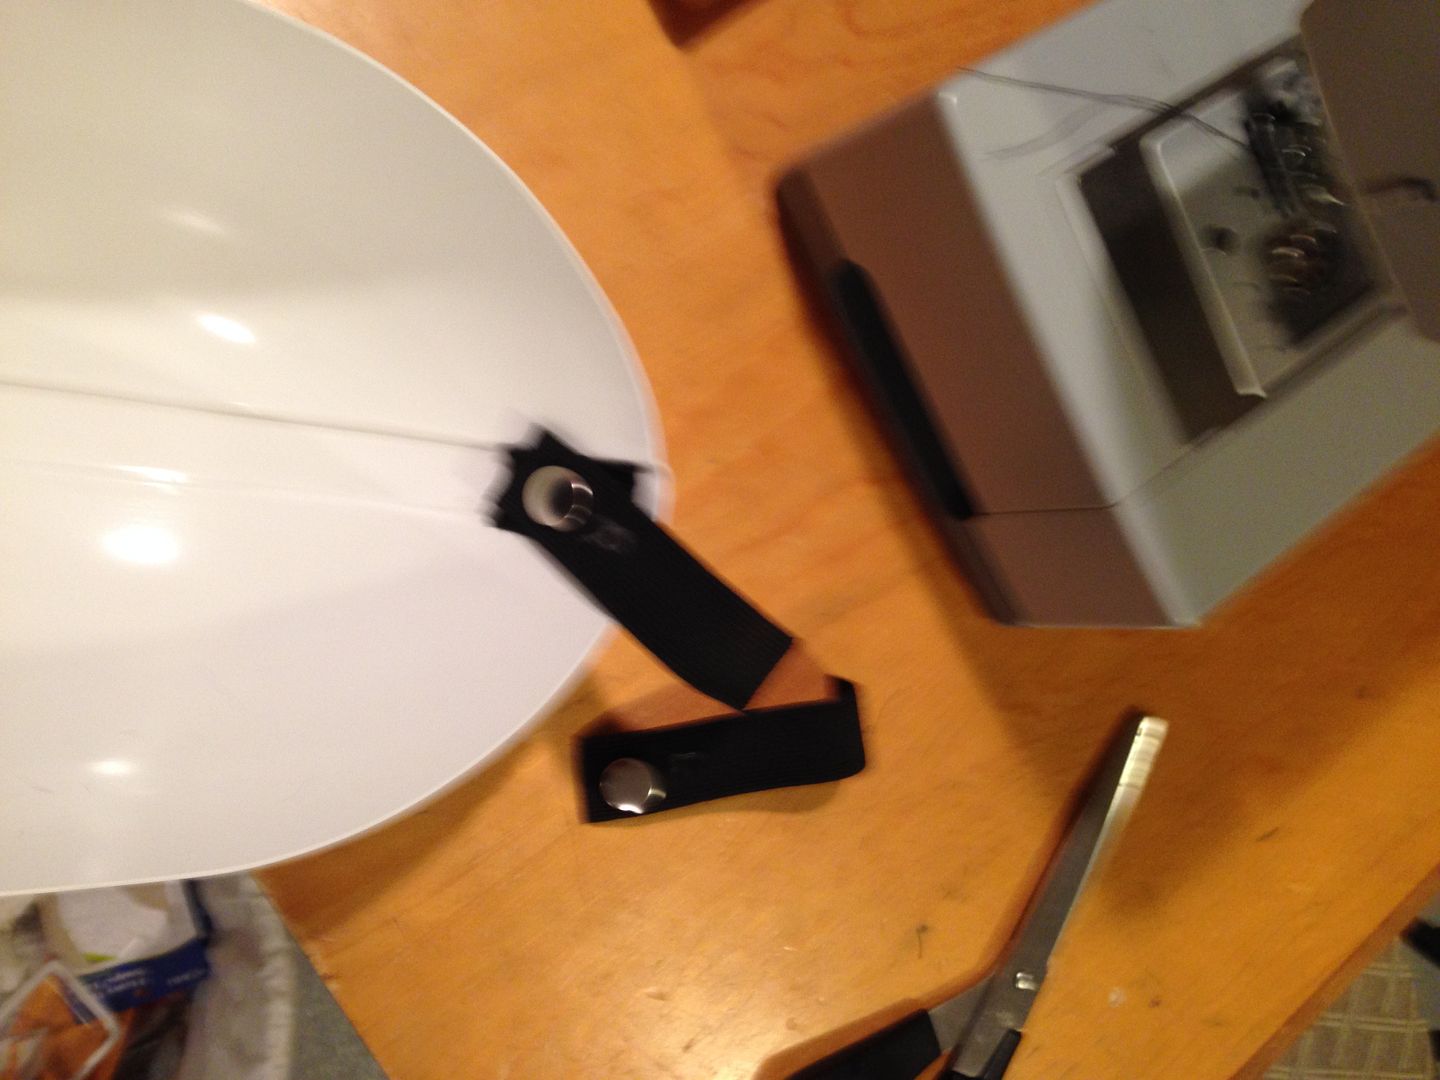
4) Back on the manikin, with the bell snap on I lined up the other end to the white webbing that holds the chest and back together.
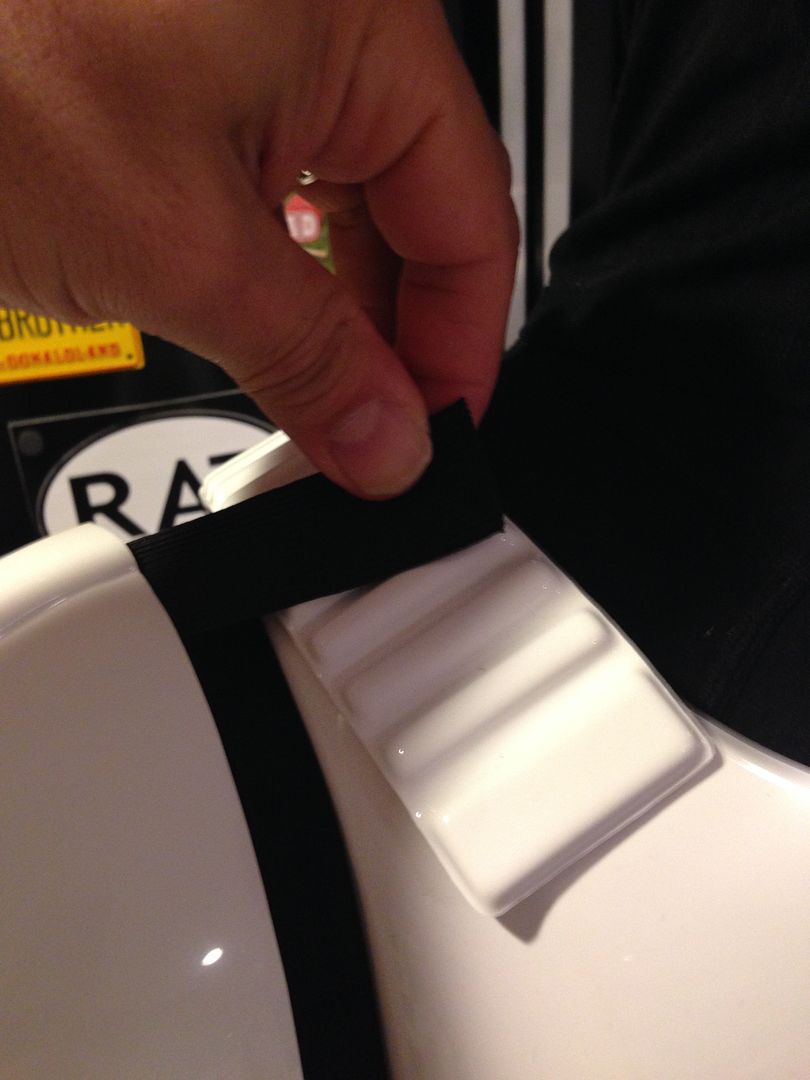
Holding it in place, slipped the entire thing off and marked where it was on the white webbing.
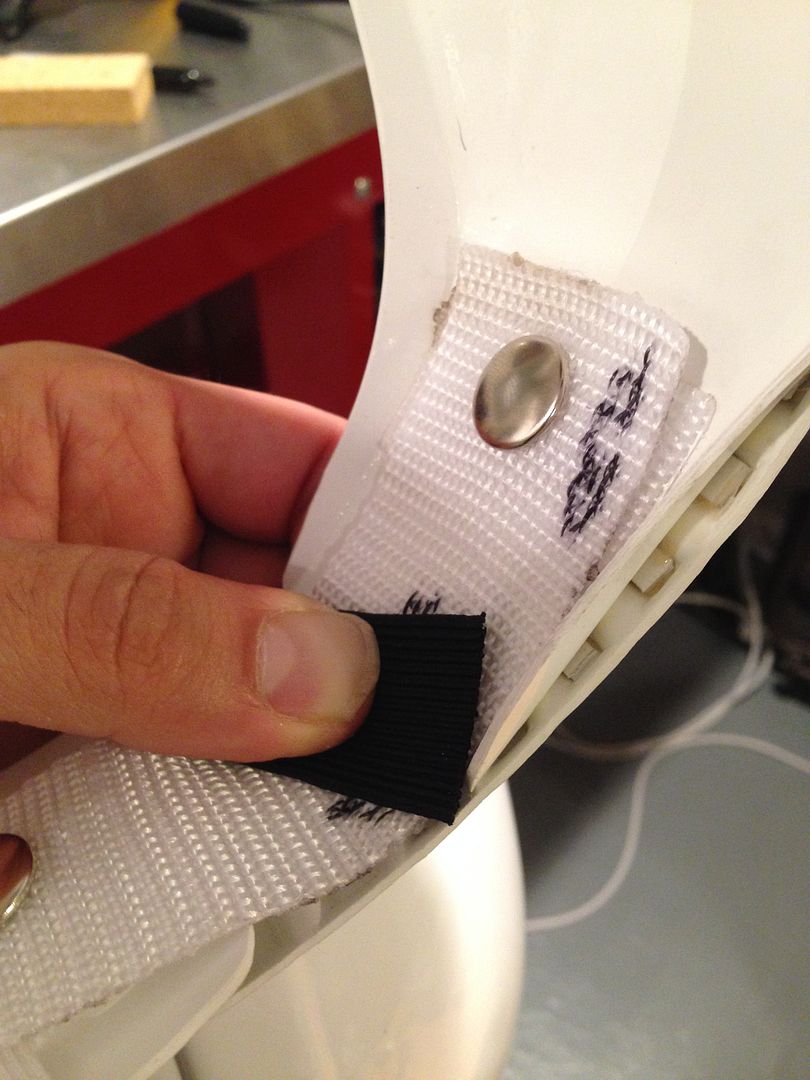
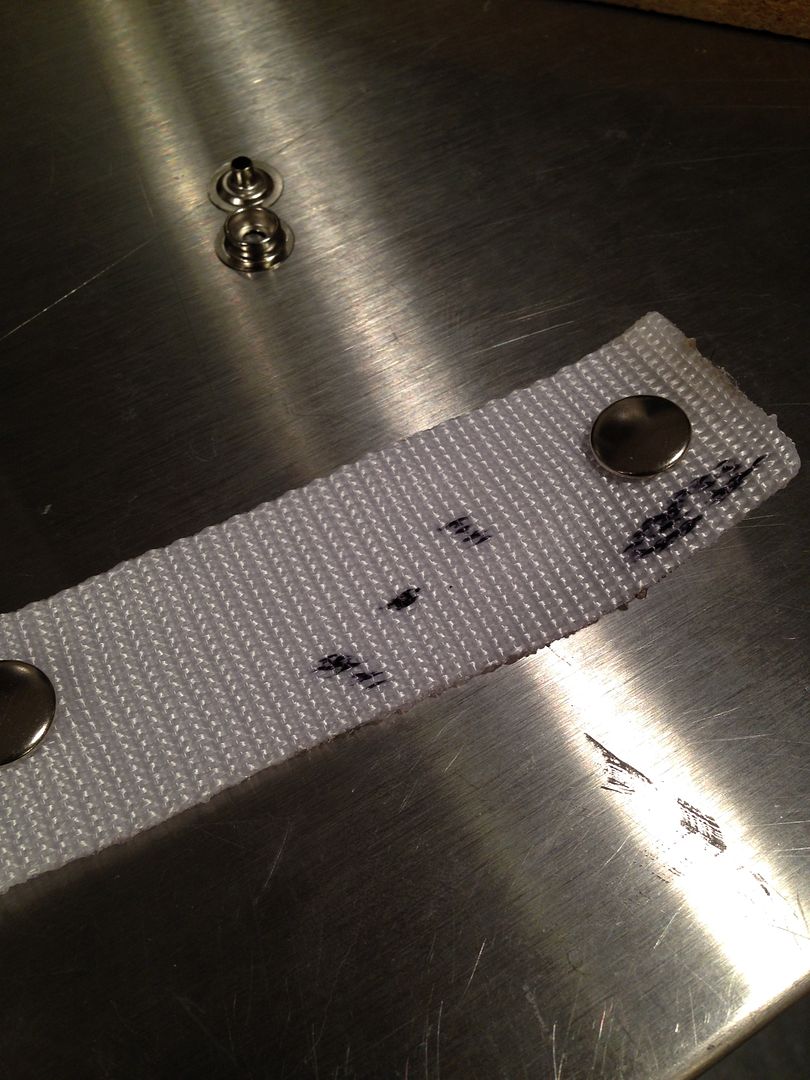
5) Put in the snap. MAKE SURE THE SNAP IS OPPOSITE OF THE ONES HOLDING THE CHEST/BACK TOGETHER.
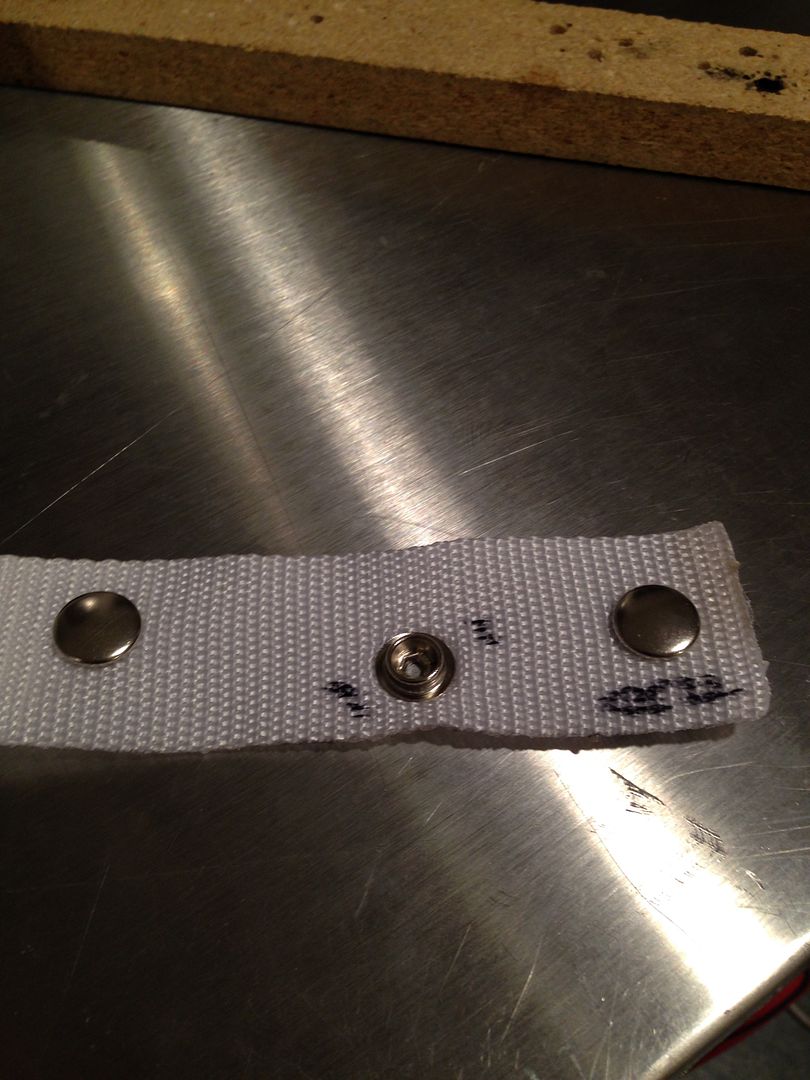
6) Put the entire thing back on (or on the manikin) and line it up again. Holding the elastic where the white webbing snap is take it back off and mark the spot where the webbing hits the snap.
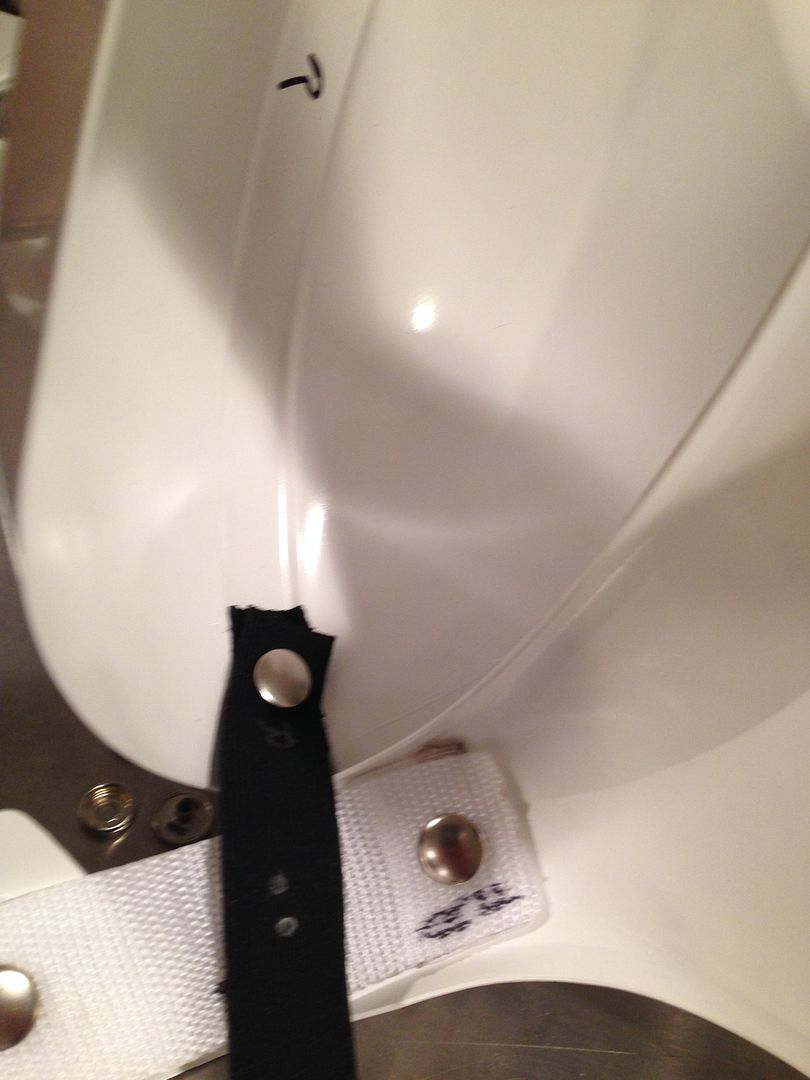
7) Put the last snap in and connect. Done!
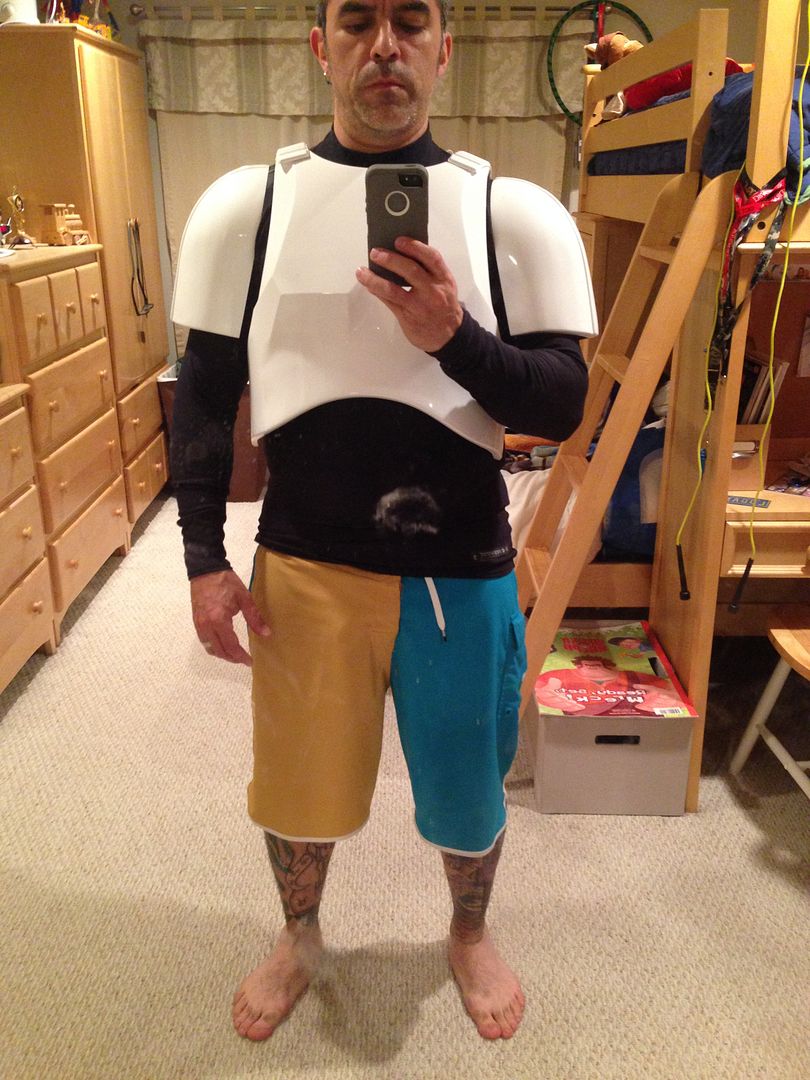
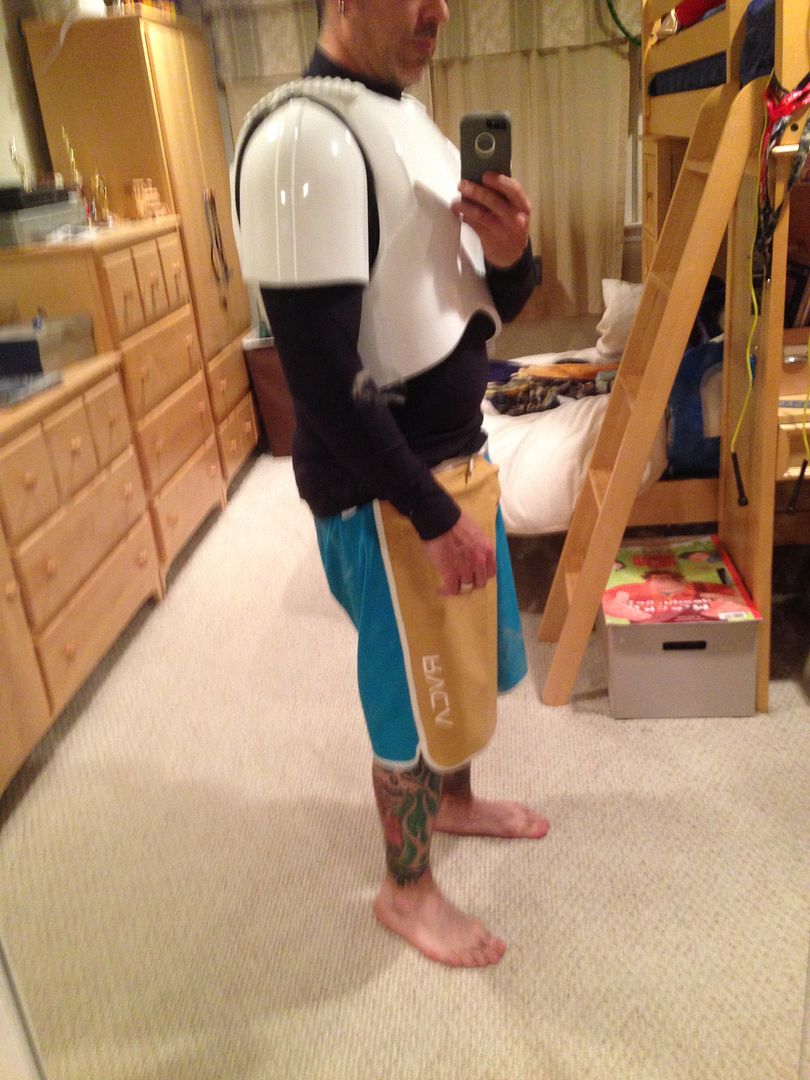
With arm parts tested out:
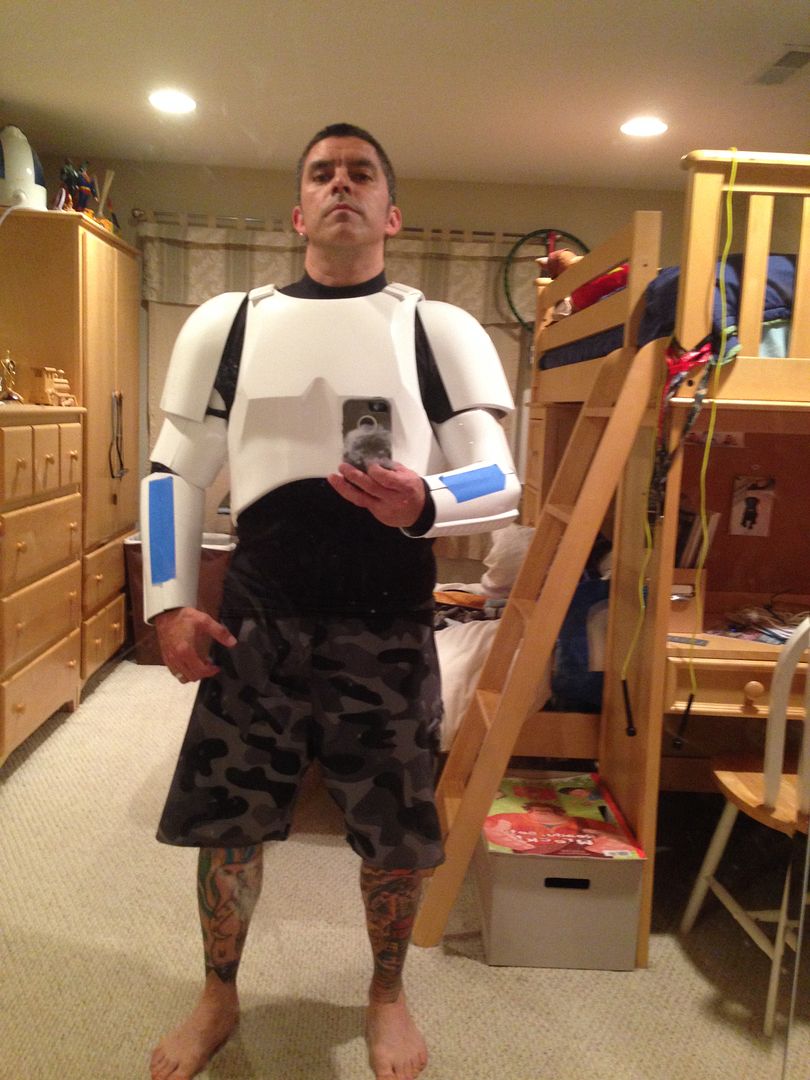
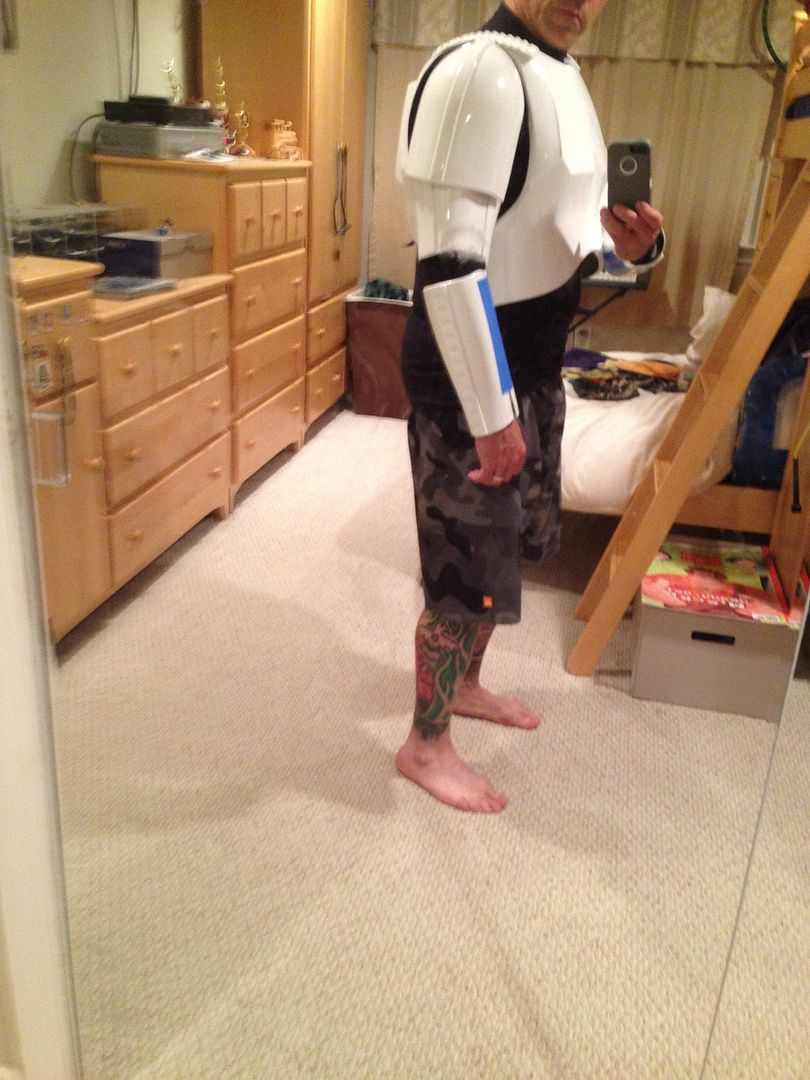
TIME CHECK
SHOULDER BELL STRAP CONNECTION = 1 HOUR
Working on the arm connections next, the elastic straps holding the bells, biceps and forearms together and in place. I decided to skip snaps on all these and just use velcro for now. They don't take much abuse and I can always swap them out for the snap connections later, but want to test run the whole kit for a while before I opt to go that way.
I already made the shoulder bell stabilization strap, used 1" elastic with sew on velcro on the elastic then sticky velcro on the bell. Simple to just measure the elastic from one side to the other while wearing it, and place the sticky on the ends.
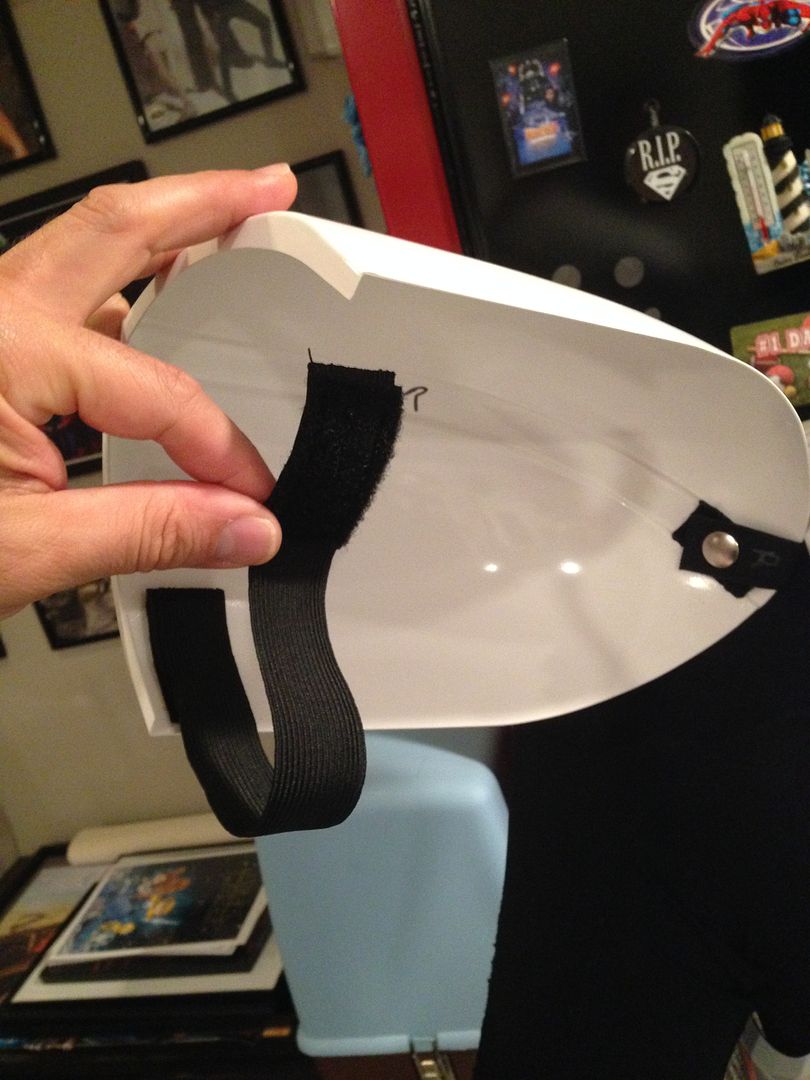
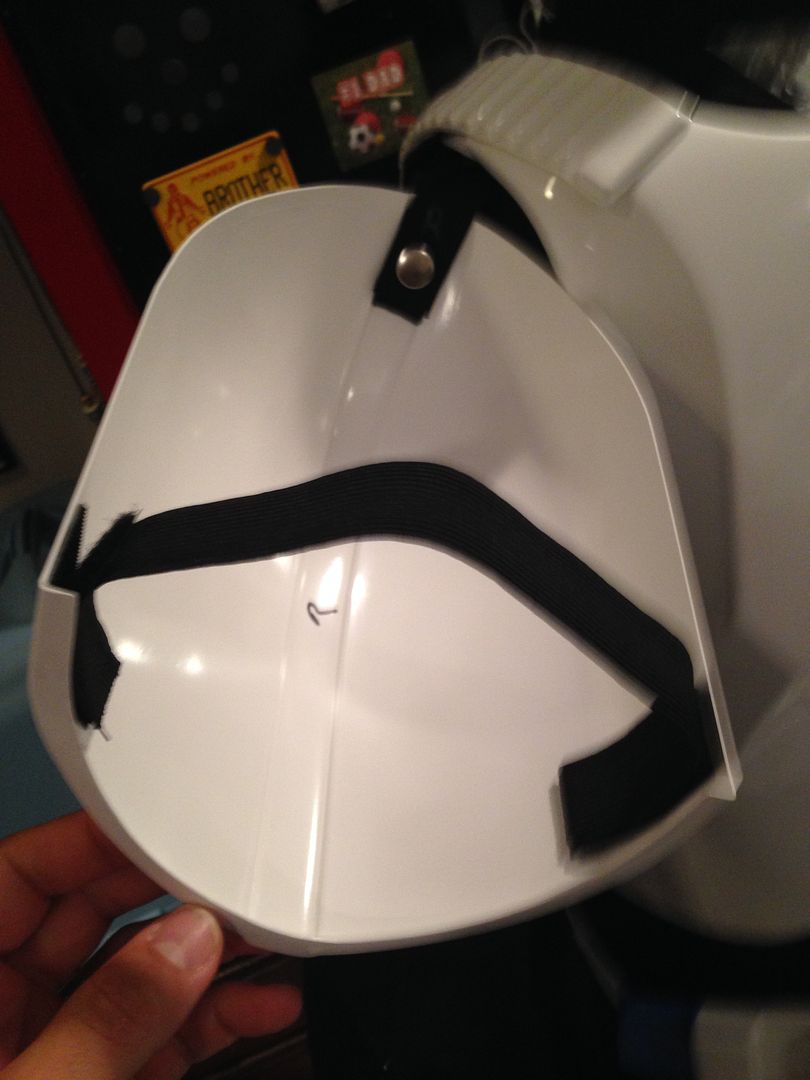
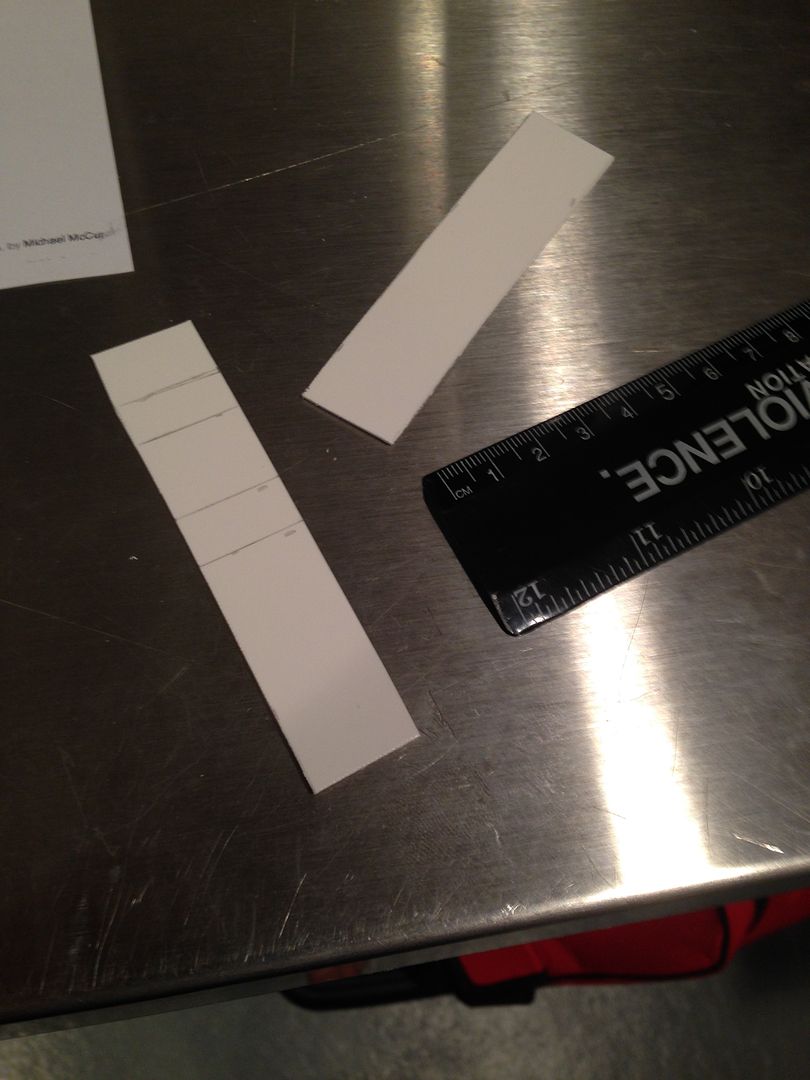
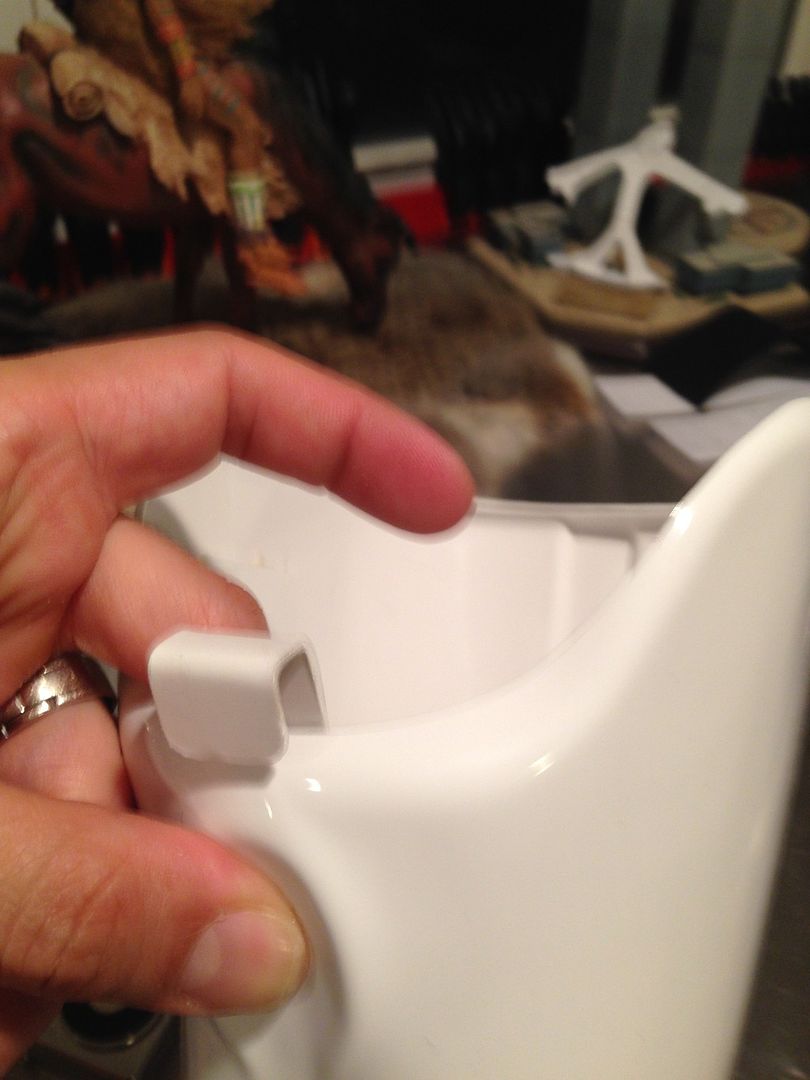
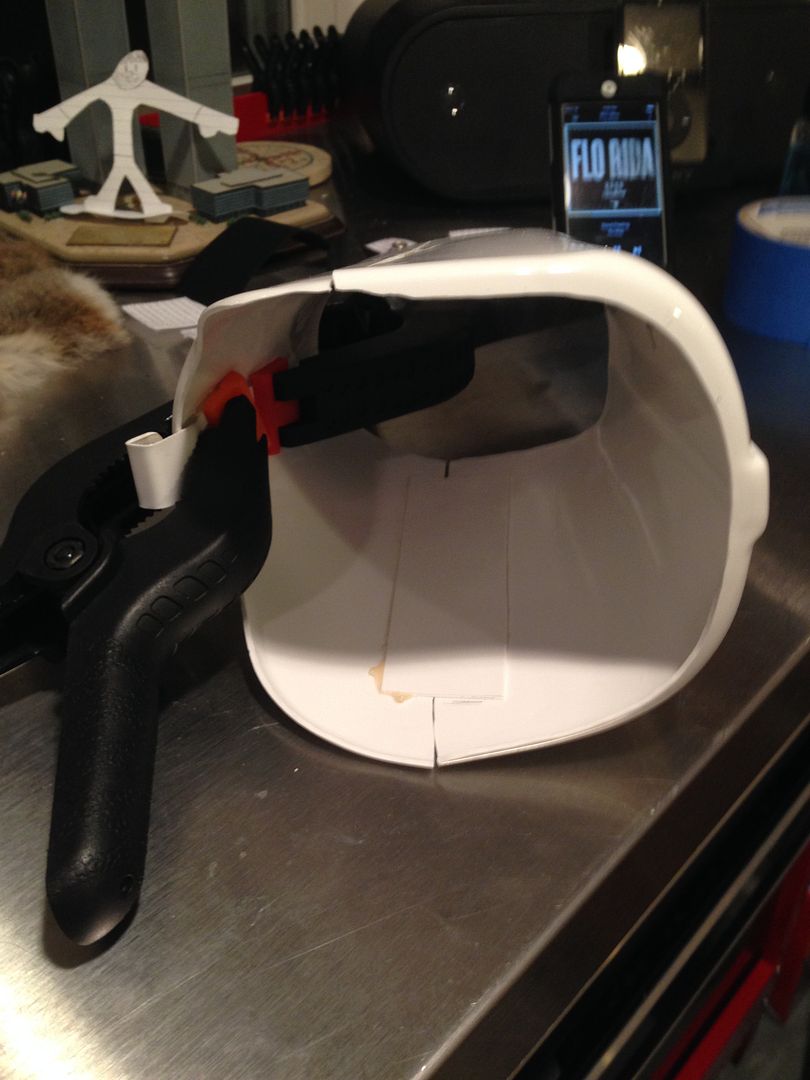
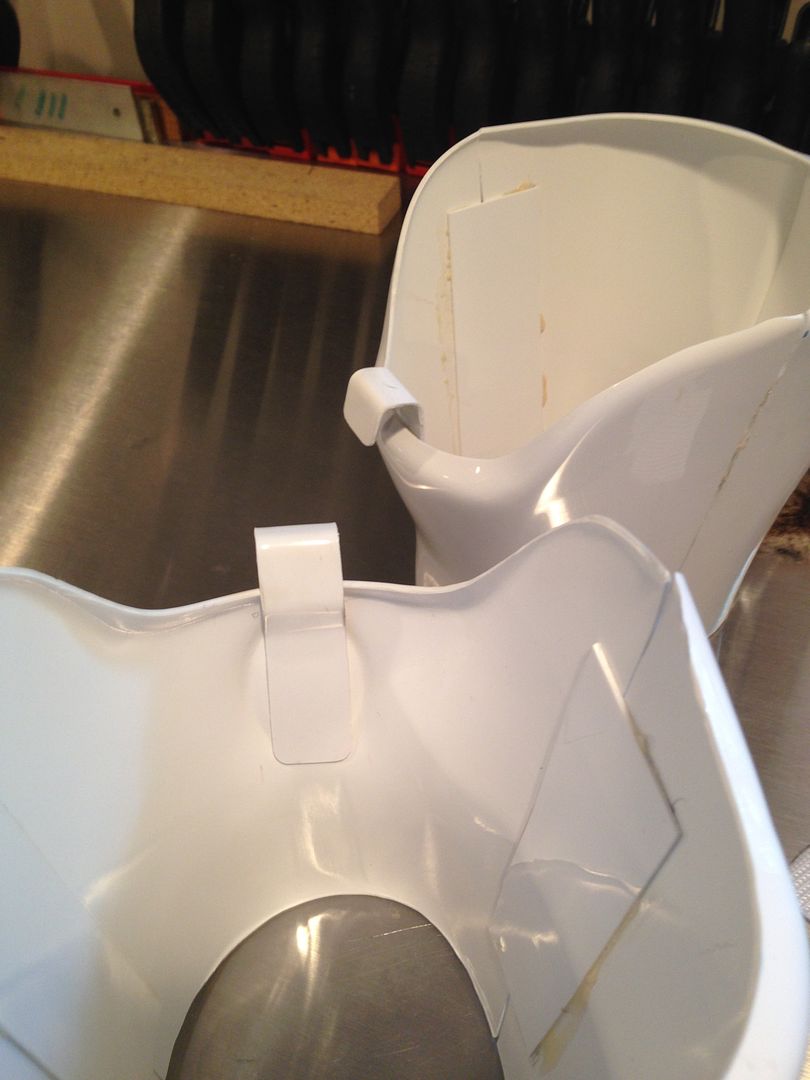
Another new thing I wanted to try was make a plastic clip to hold the strap. This is seen very clearly on Han's TK when they are in the Trash Compactor. There was a tutorial on FISD which seemed simple enough so I gave it a try. Glad to say it was very easy and worked great!
1) Used the measurements provided in the tutorial... 20mm wide, 90mm long, rounded edges. Marked the sections as follows: 12mm, 9mm, 10mm, 17mm
2) Using a lighter I heated the plastic up for like 3 seconds, then used a metal ruler (or straight edge) to bend it. Held it for a second then moved to the next line.
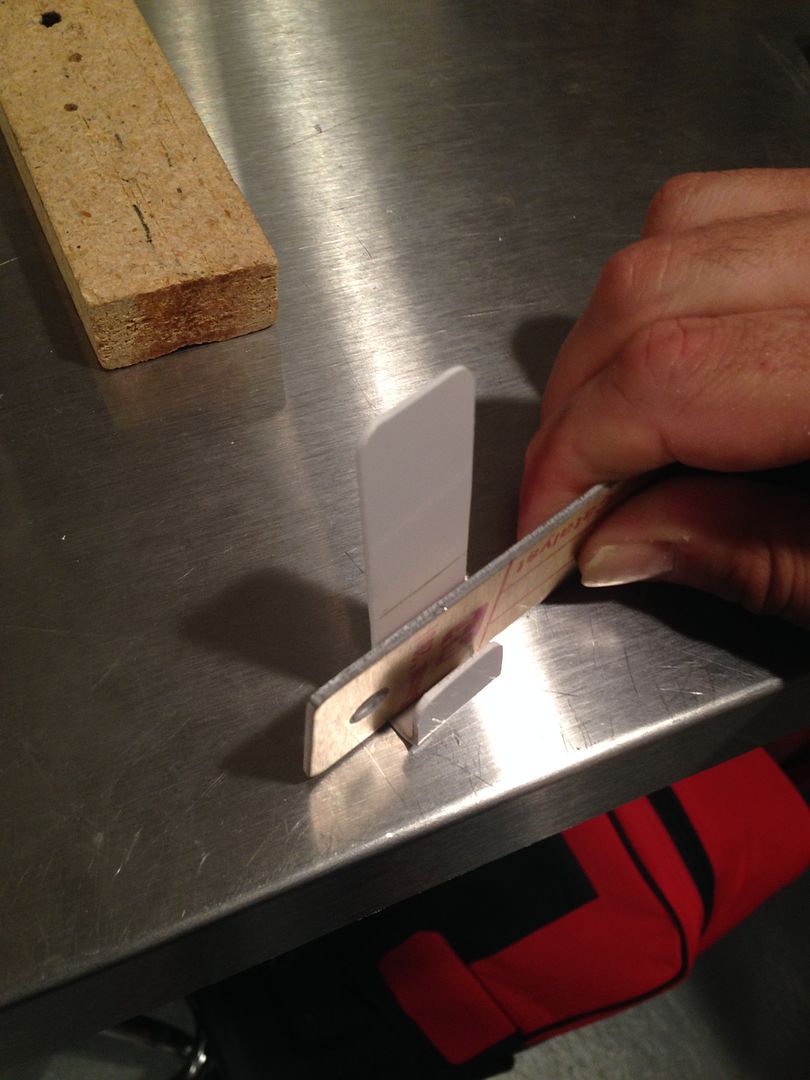
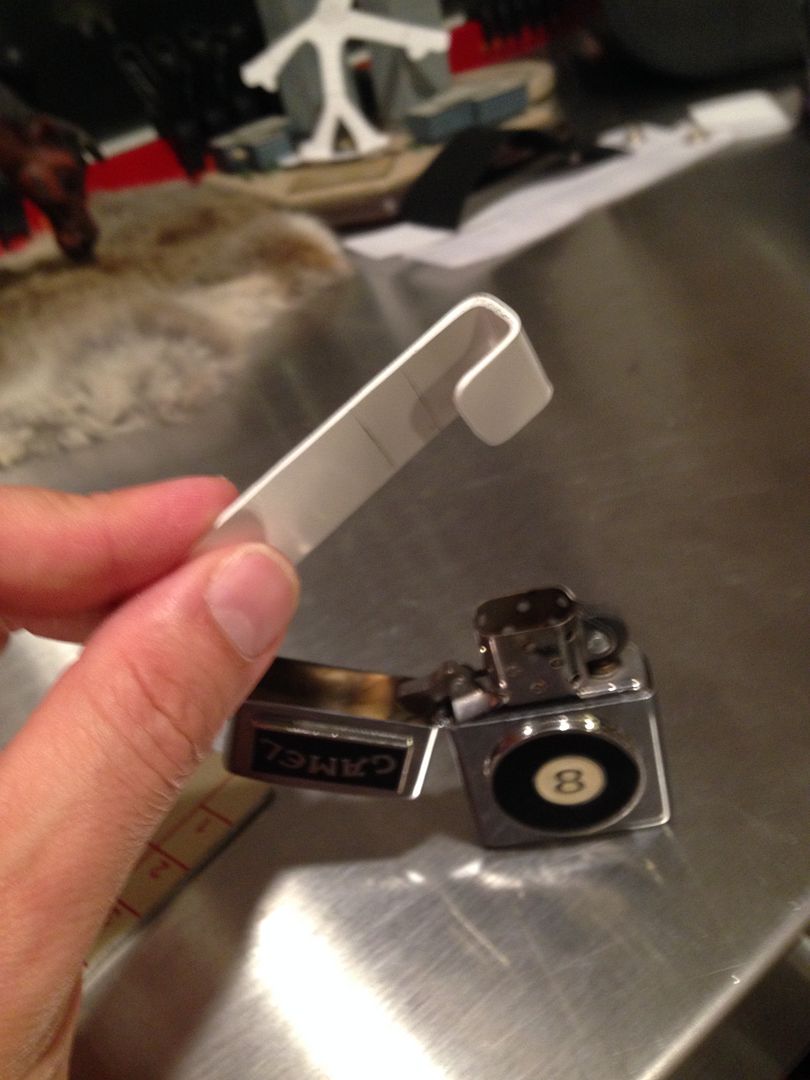
3) It was insanely easy and worked perfect. I have the tutorial printed out, once I find it on FISD I'll link it here.
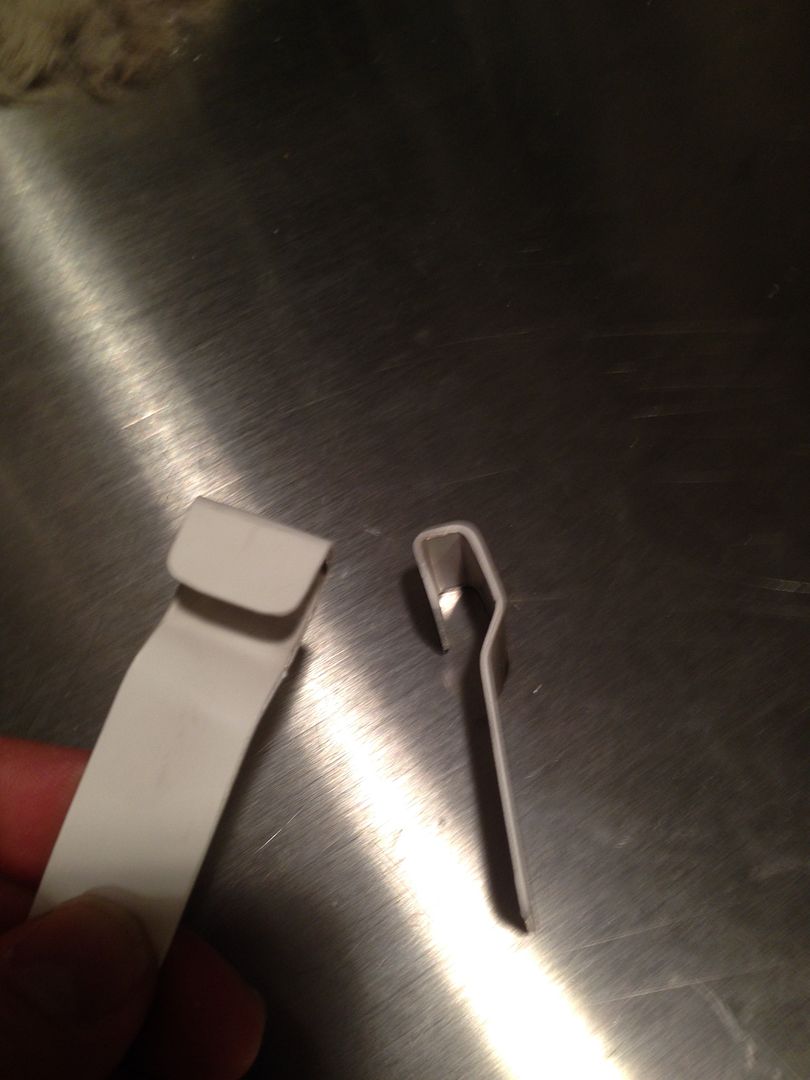
4) Used an eraser to clean up all the charred area from the lighter (comes right off) as well as the pencil lines. Lined it up and glued it on.
TIME CHECK:
TOTAL TIME FOR SHOULDER STABILIZATION ALONG WITH PLASTIC BICEP HOOK TO HOLD IT IN PLACE = 1/2 HOUR
-
SIDE CONSTRUCTION / HIGHER LEVEL DETAILS
I'm not necessarily going to submit for FISD "Centurion" level because I believe the AM kit's chest doesn't qualify, but I am striving to be that accurate

It's weird about the "side notch". There is some argument that in certain kits the kidney is too short, so when you cut the notch out it doesn't flow right (like the AM kit) however it's all pretty much hidden under the belt so guys do it anyway

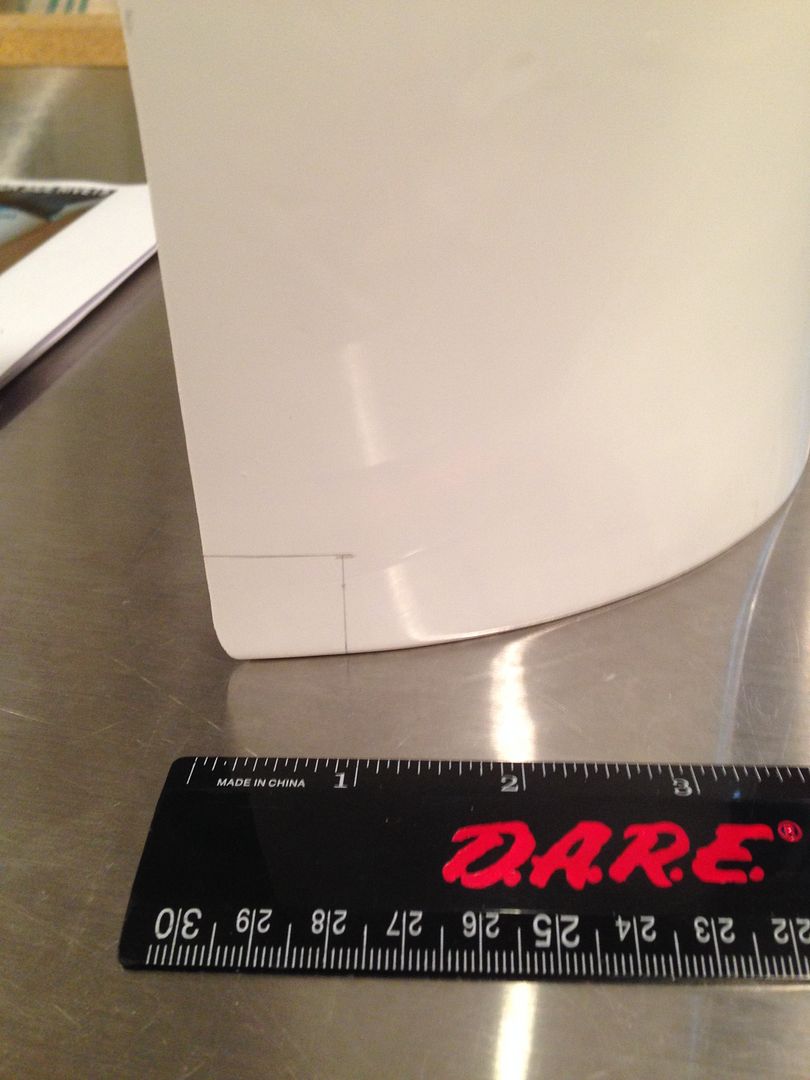
1) First thing you do is cut out a notch, 22mm square on the bottom front both sides:
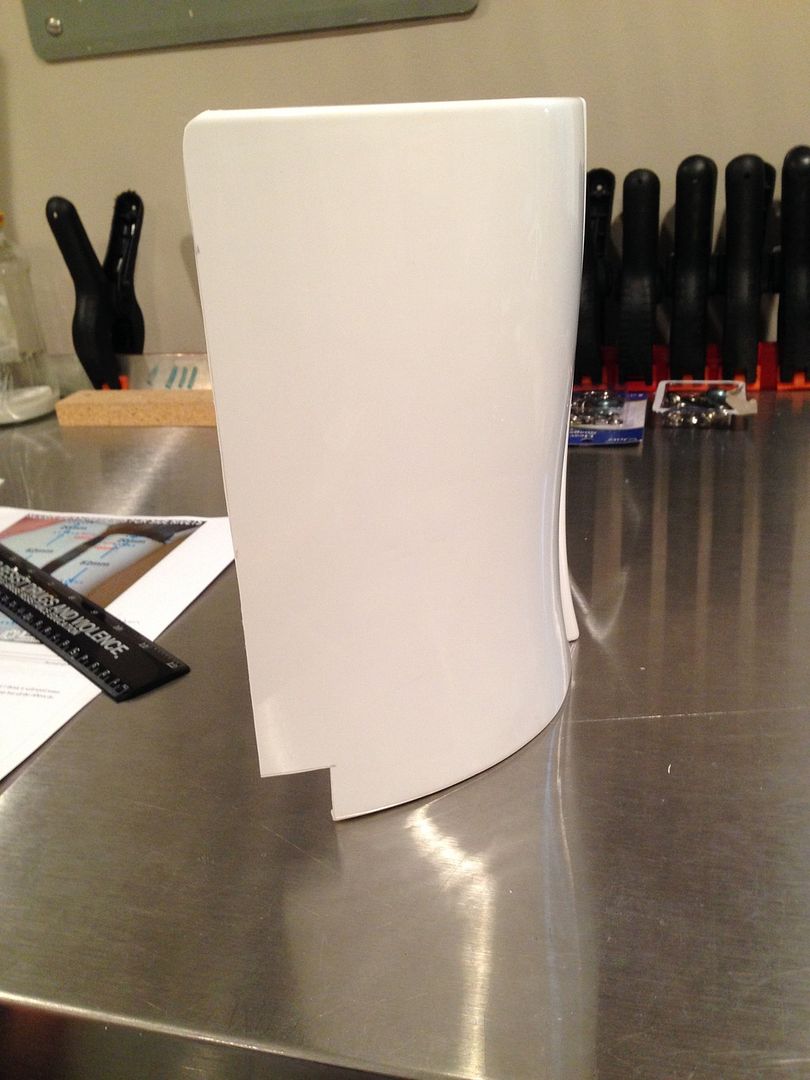
2) On the left side you add 6 split rivets, 3 on each side (ab and kidney). There is a guy on FISD that sells them pretty much at cost (a few cents each). The measurements are found in FISD, I went 10mm in, then 20mm from the top, 52mm to the next and 53mm to the final bottom one.
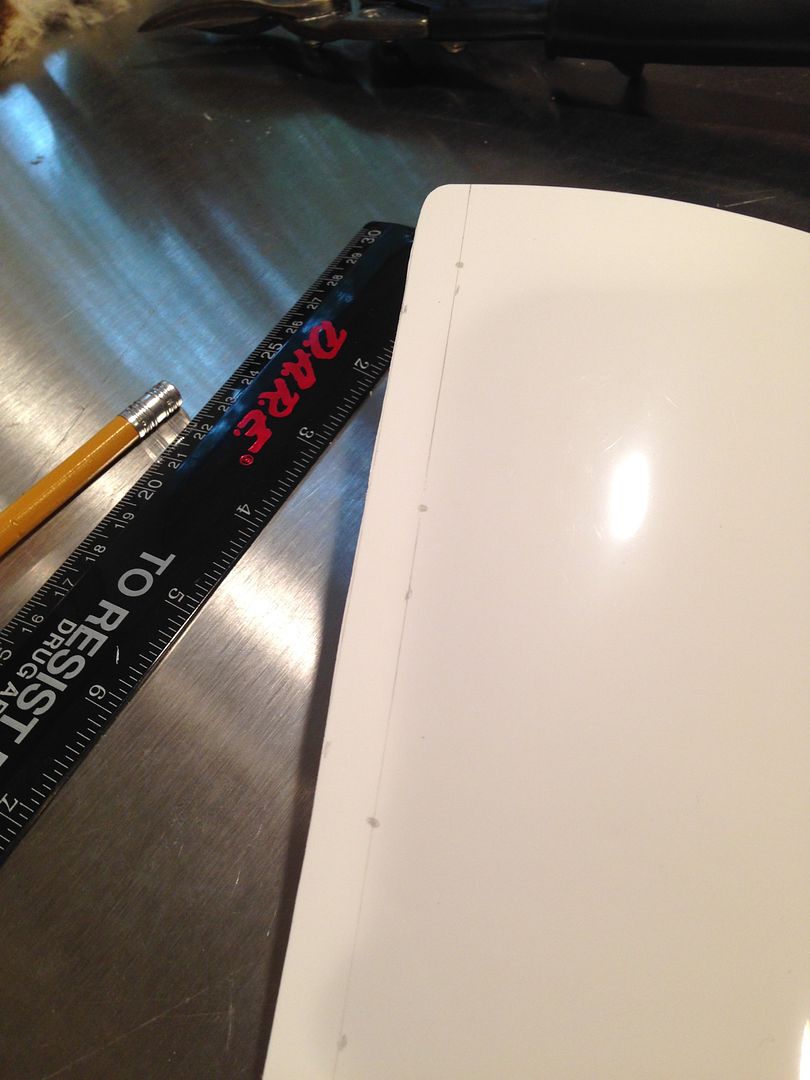
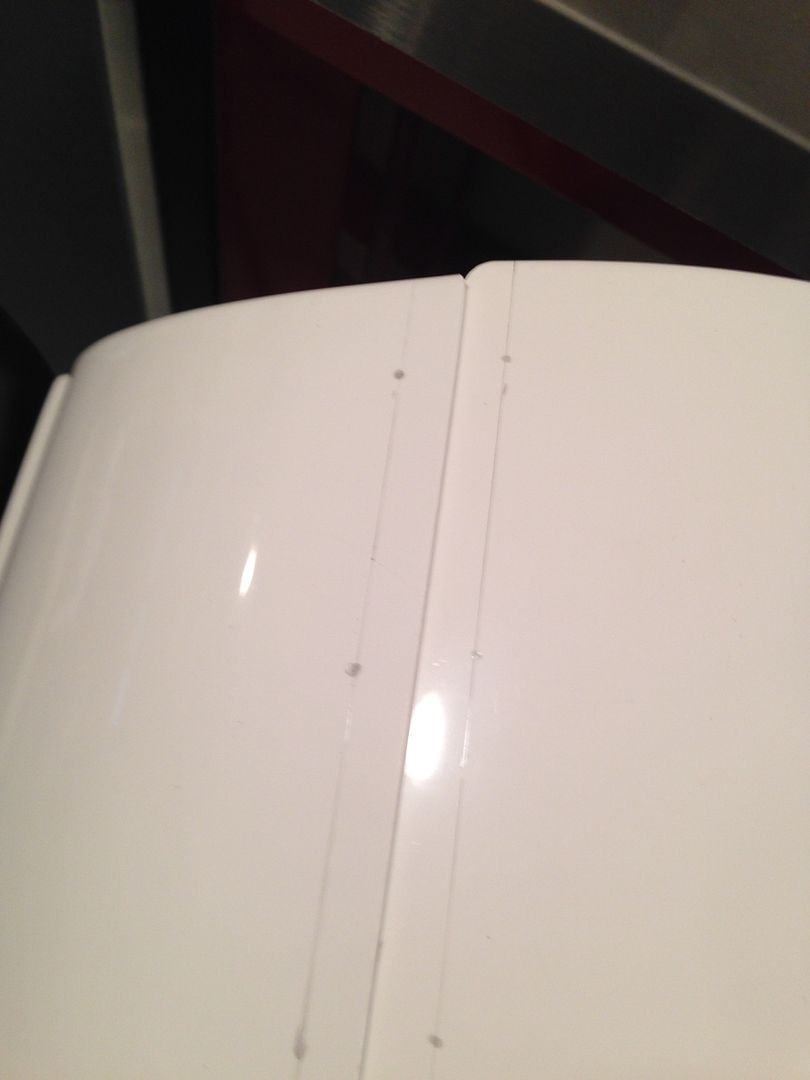
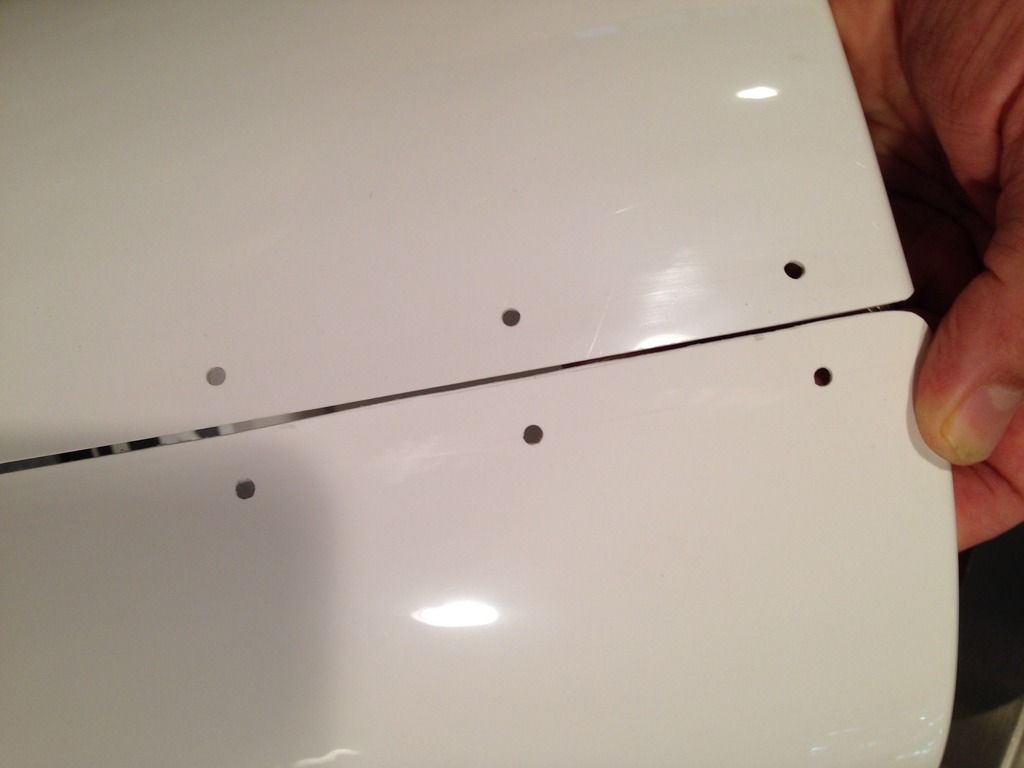
3) Some guys do the rivets for aesthetic and accuracy purposes, we did that with Justin's. I decided to try something new on mine (didn't want to test case on someone else hahaha), I'm using 2" elastic, longways, and am going to secure it with the rivets. This will completely lock me into the pieces being forever connected, but I think it'll hold the sides together and even much better then any other way we've done. Fingers crossed....
First I line up the elastic so there it's dead center (1" in each side). Marked it with silver marker.
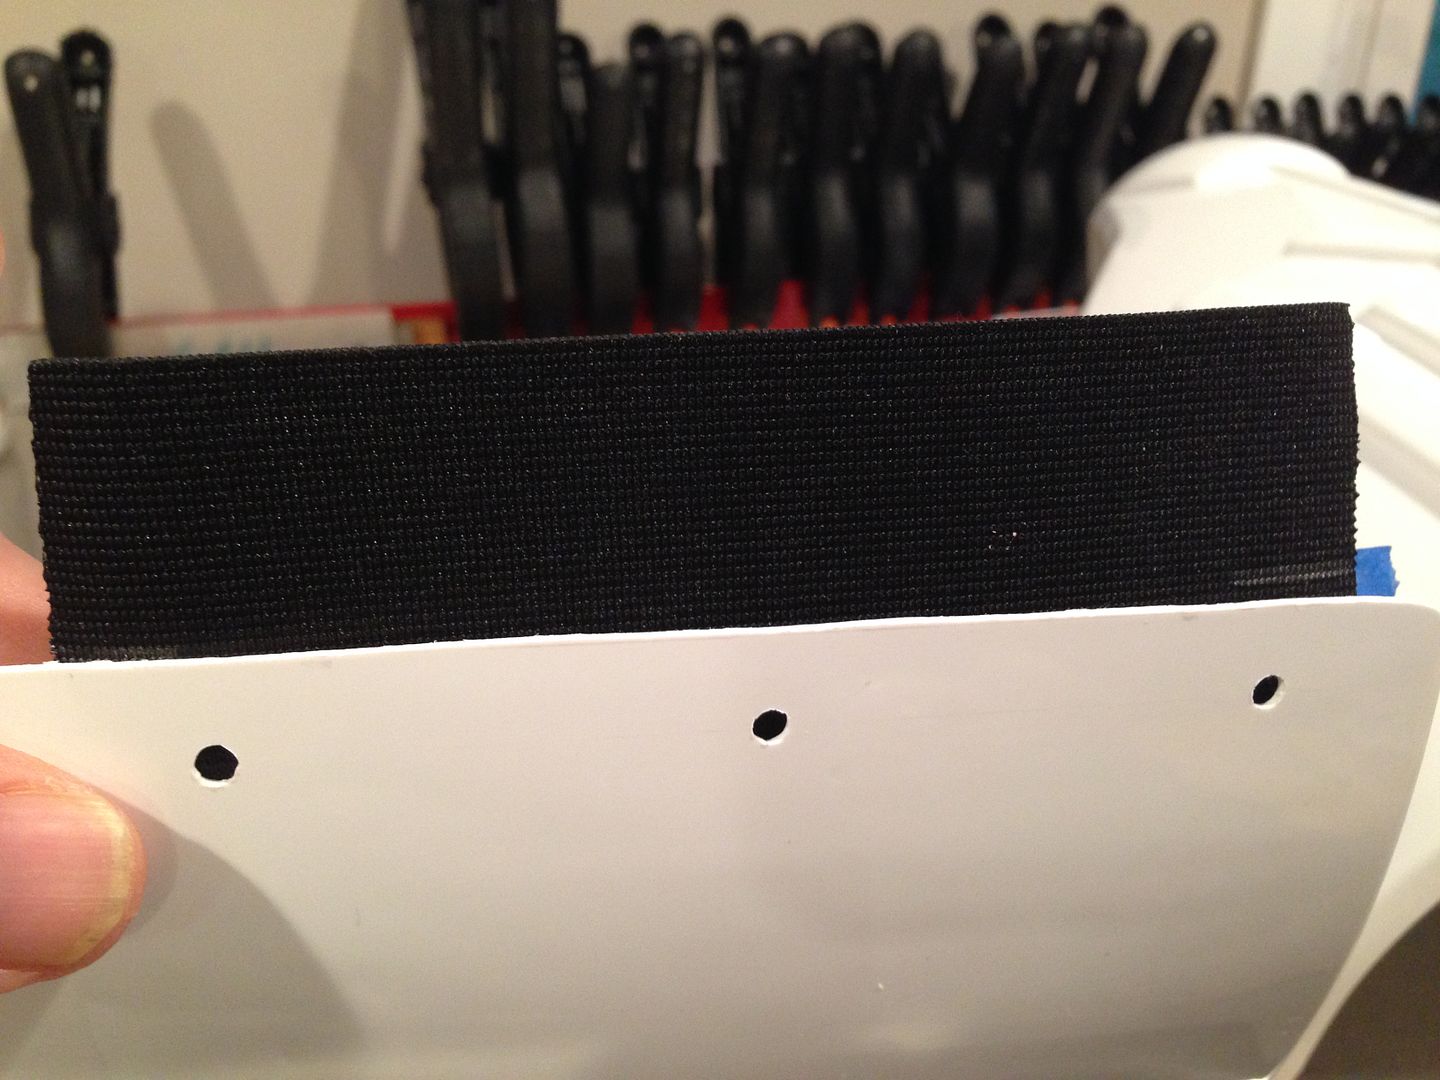
4) Used the marker to mark the holes then flipped it over and did the other side
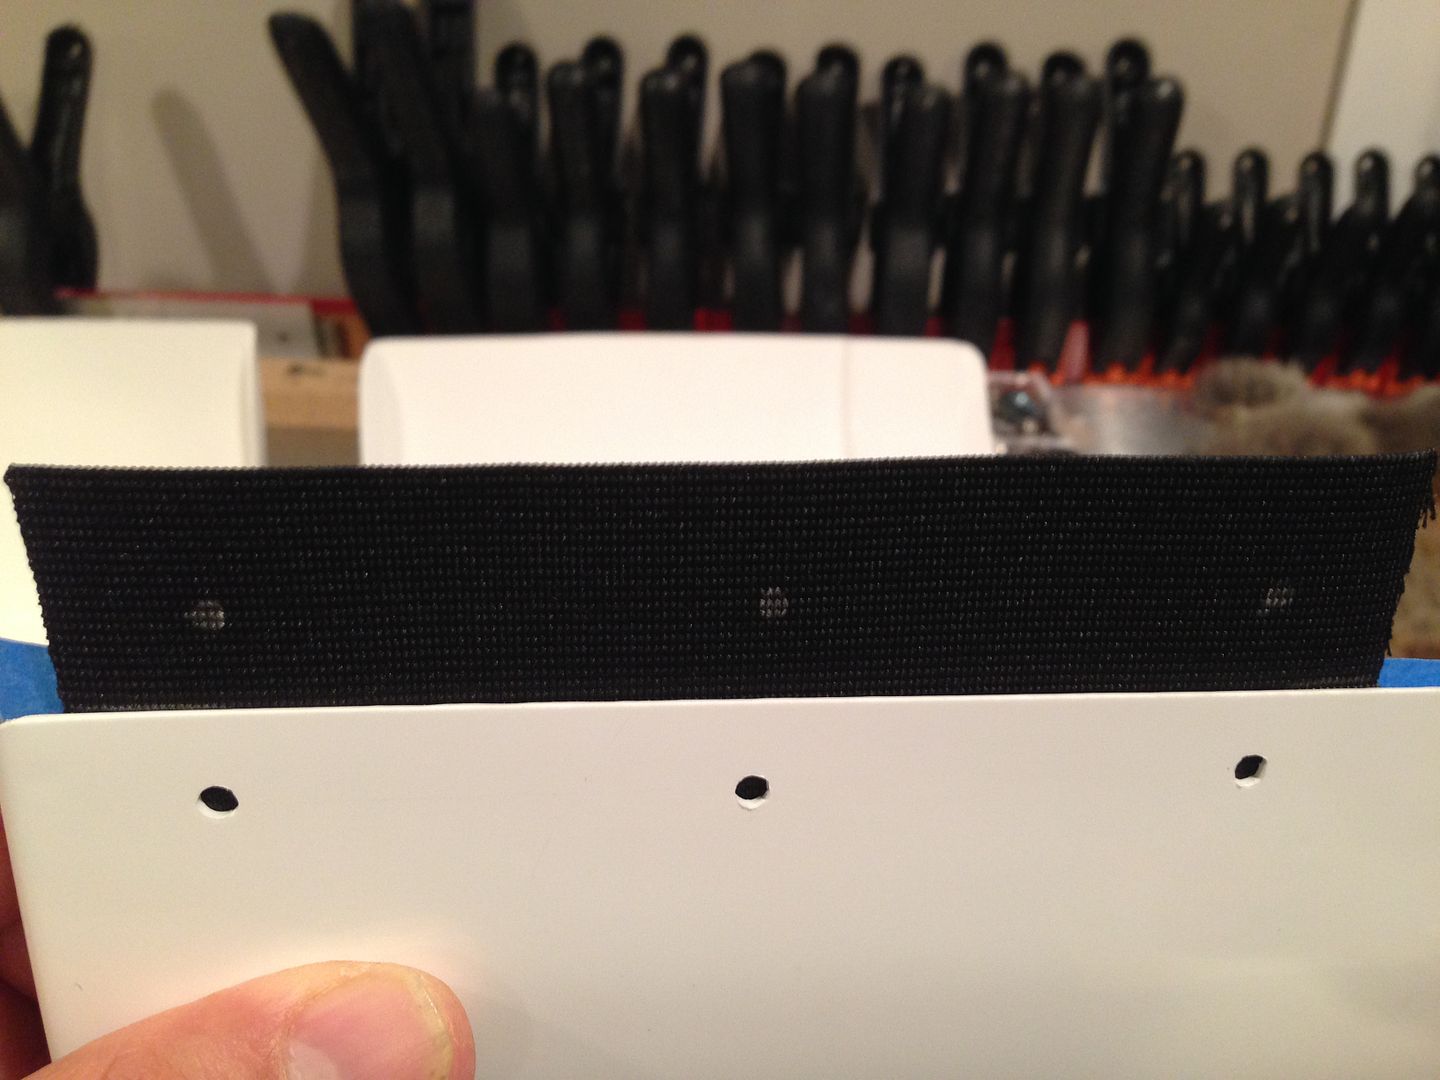
5) Marked it as to which side is which and also the top so I can line it back up
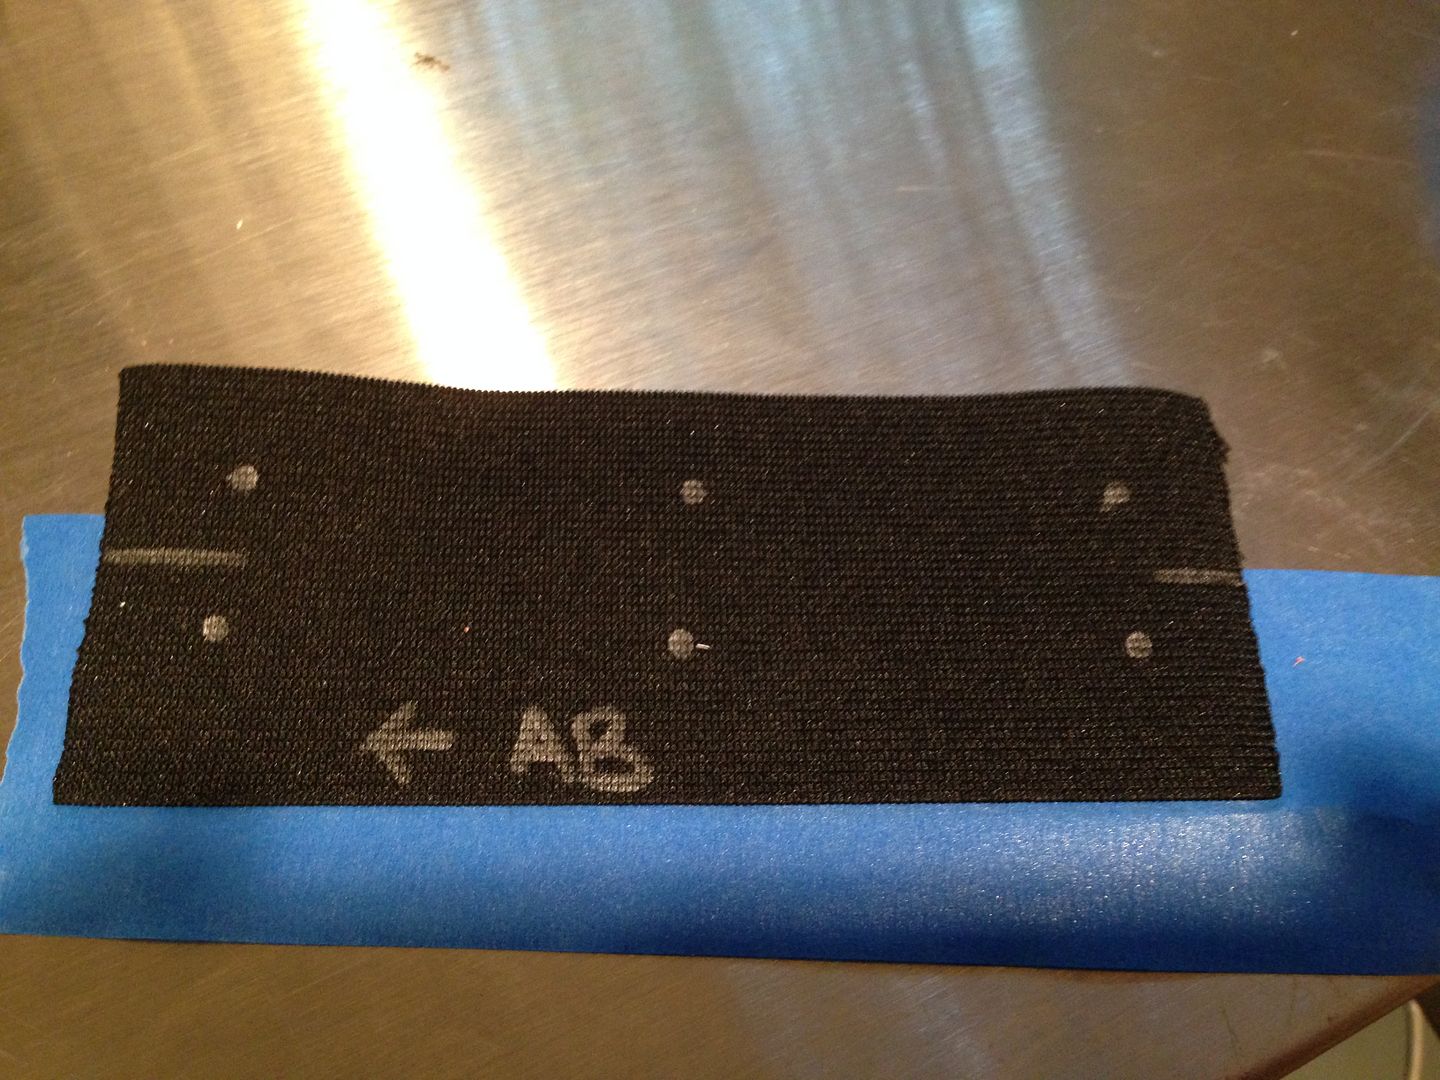
6) The split rivets need a little extra washer space because they don't really end up flush (we learned that with Justin's build), so I am using the supplied metal washers along with make shift plastic support. Lined it up and marked the holes.
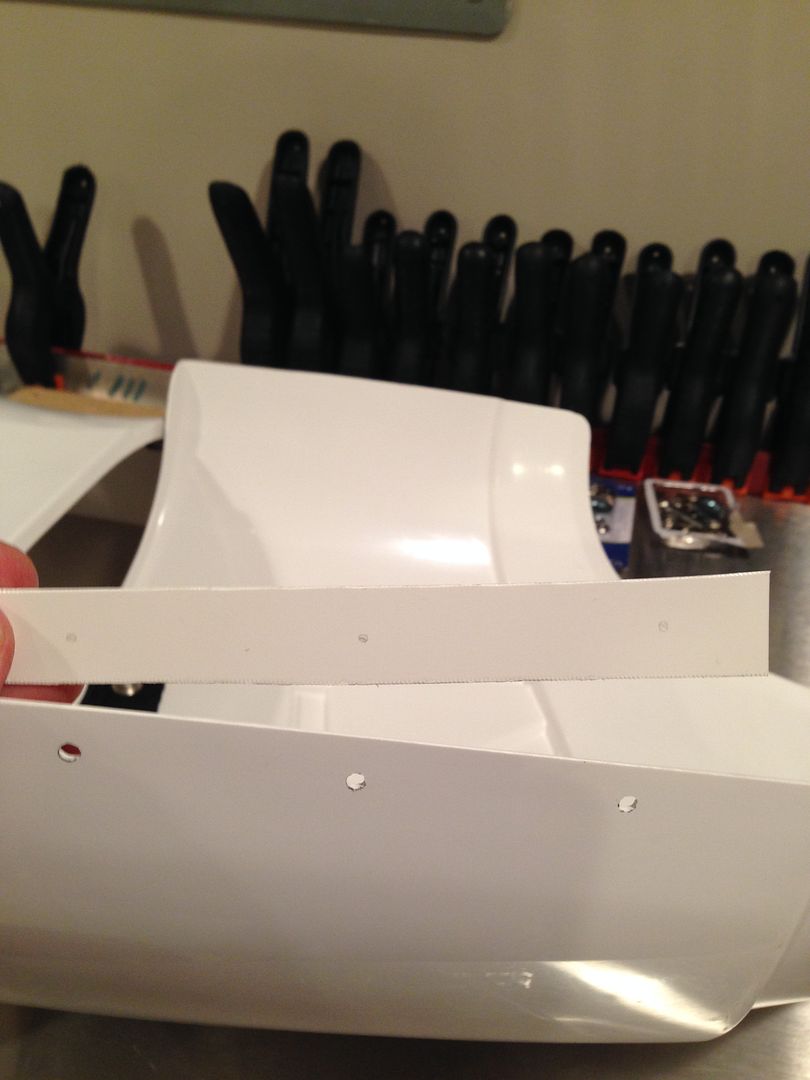
7) Put the rivets, washers, elastic, and plastic in then taped it down for a test fit.
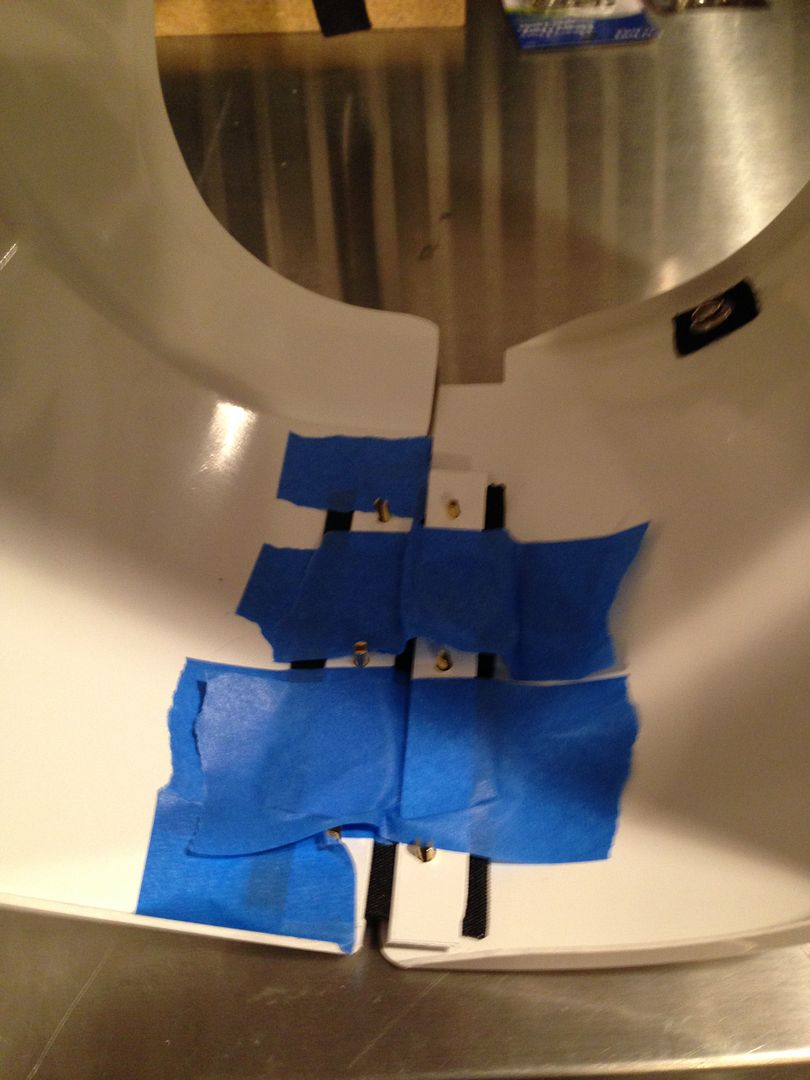
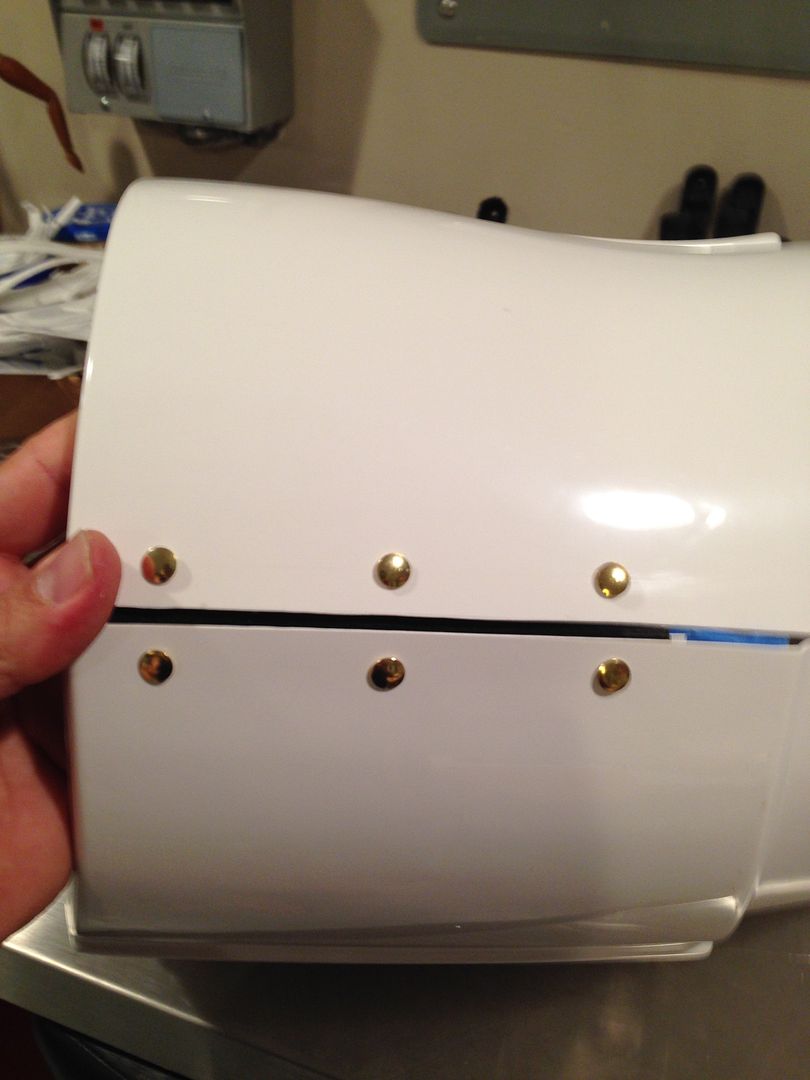
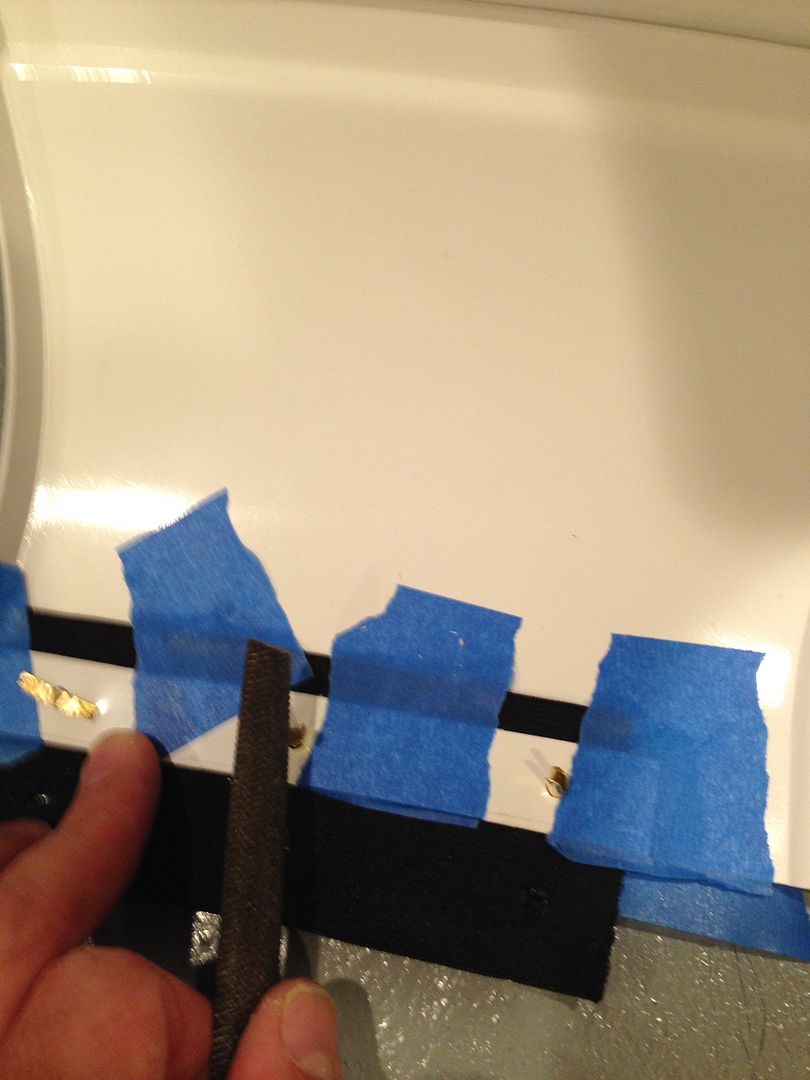
8) Looks good so I smashed the rivets in hahaha! I used a file and hammer for the initial spread, then a nail punch and ultimately just the hammer to get them down. I also put tape on the outside so it offered a little protection against the shop floor.
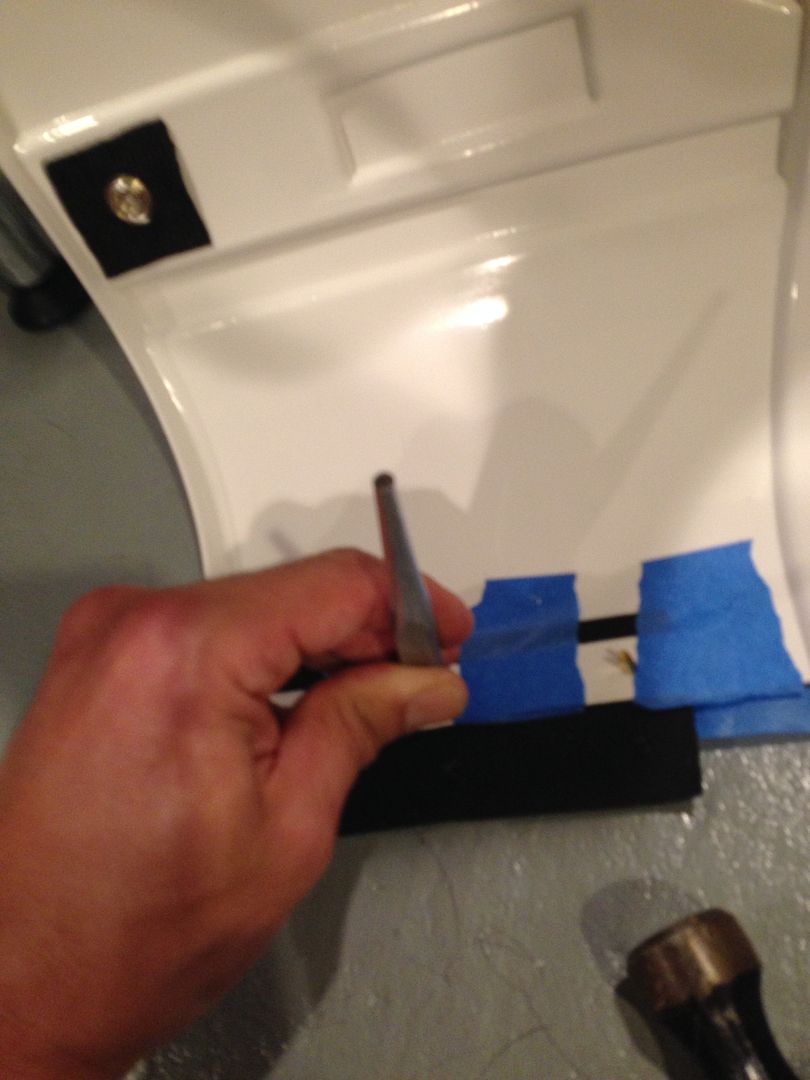
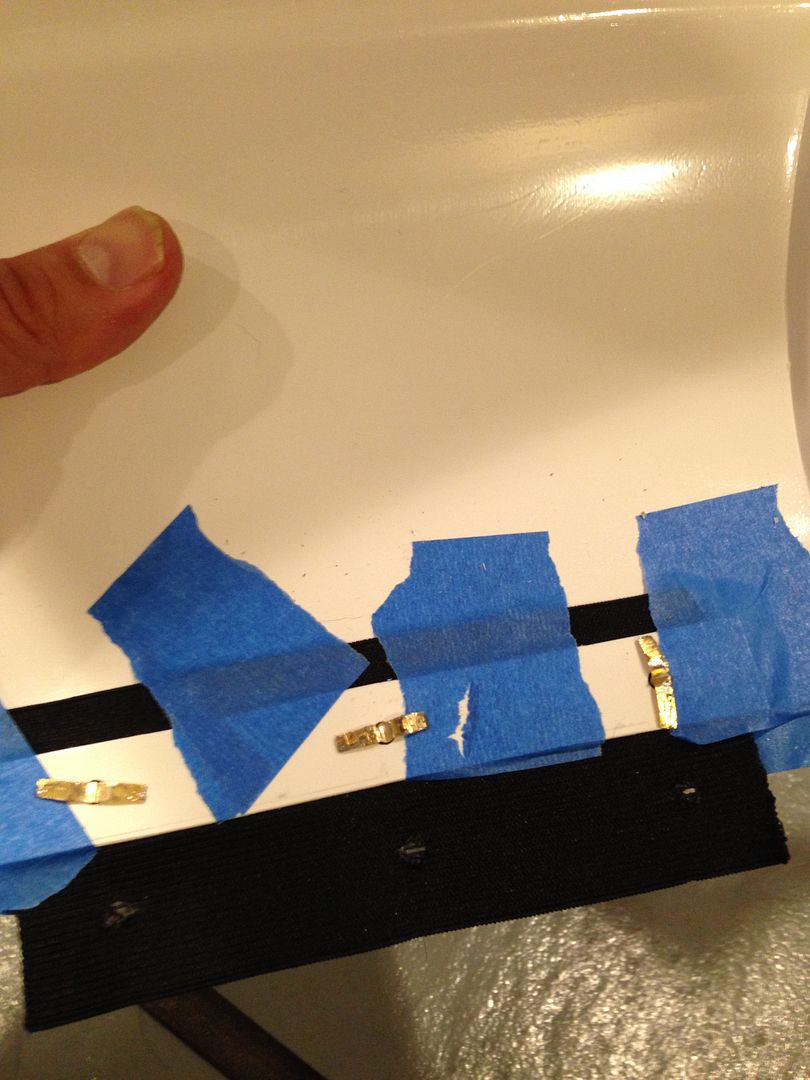
9) Came out pretty good


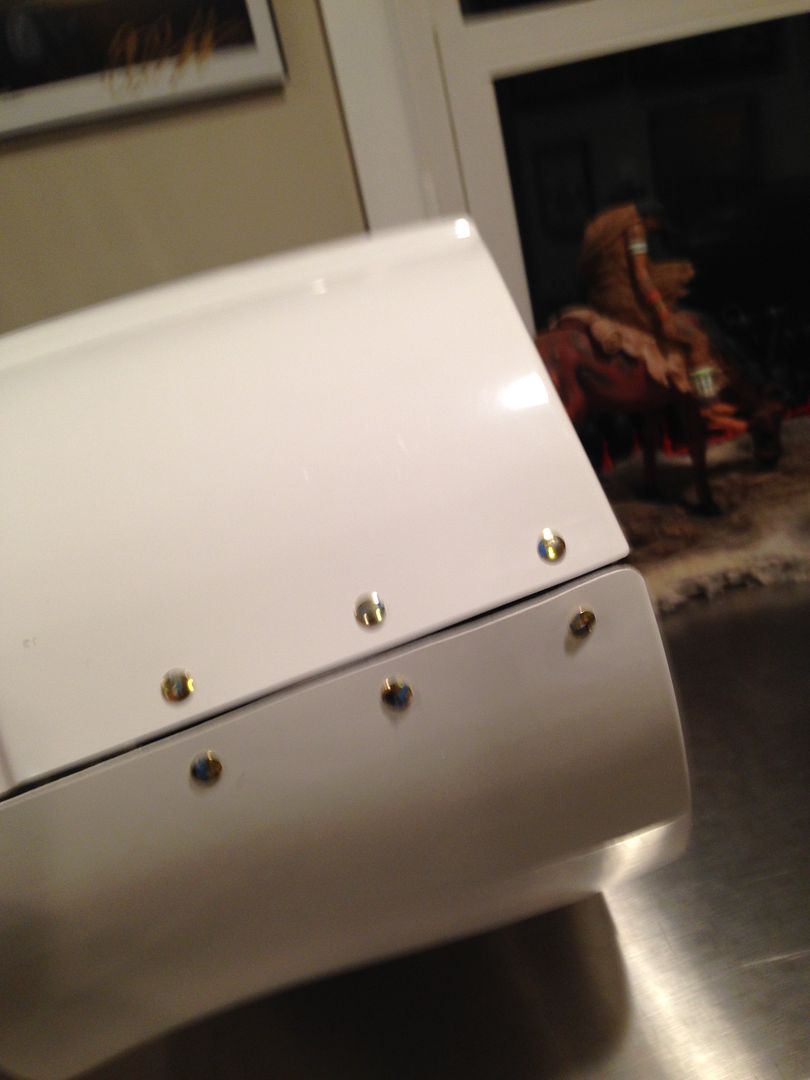
On the manikin
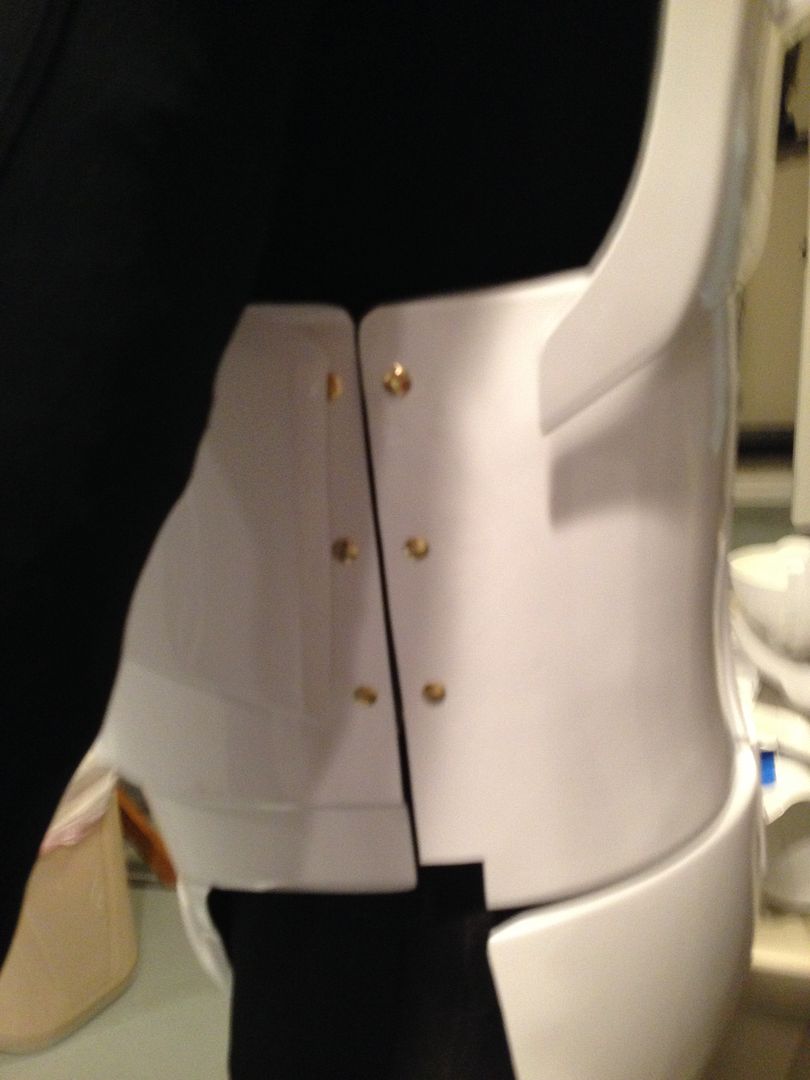
On me
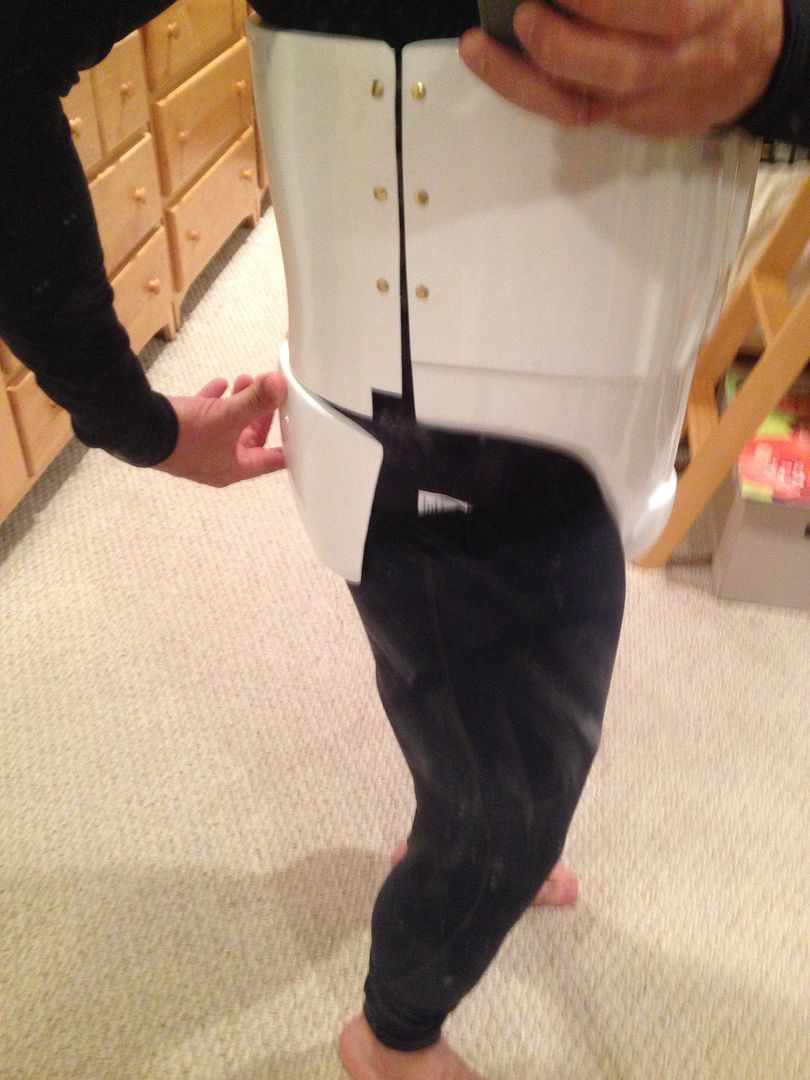
-
AB TO CHEST CONNECTIONS:
1) To start I simply but the chest/back on and then held the ab plate up. Used painter's tape to hold it, then transferred it to the manikin...
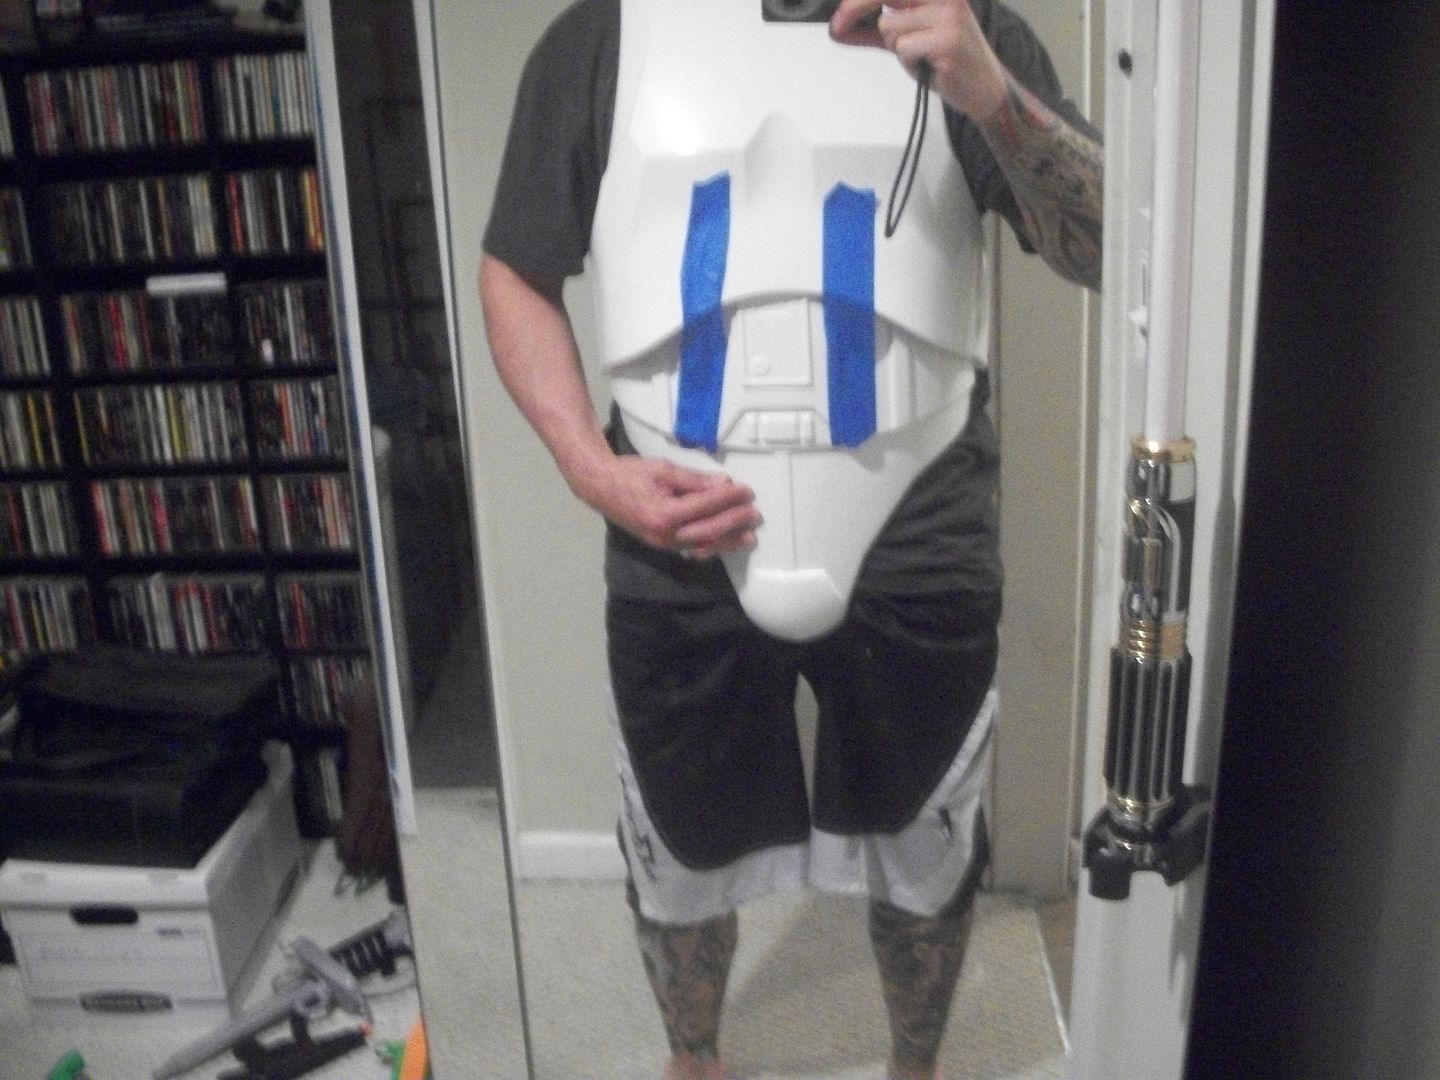
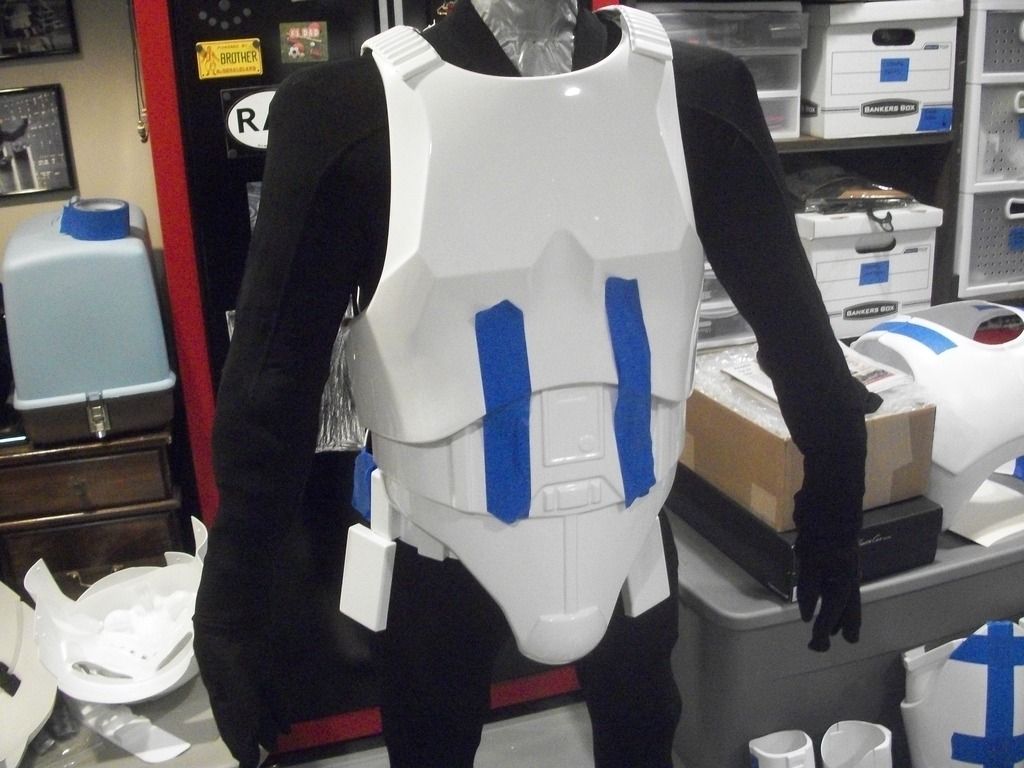
2) From the manikin I added some more painter's tape on the inside to hold it steady.
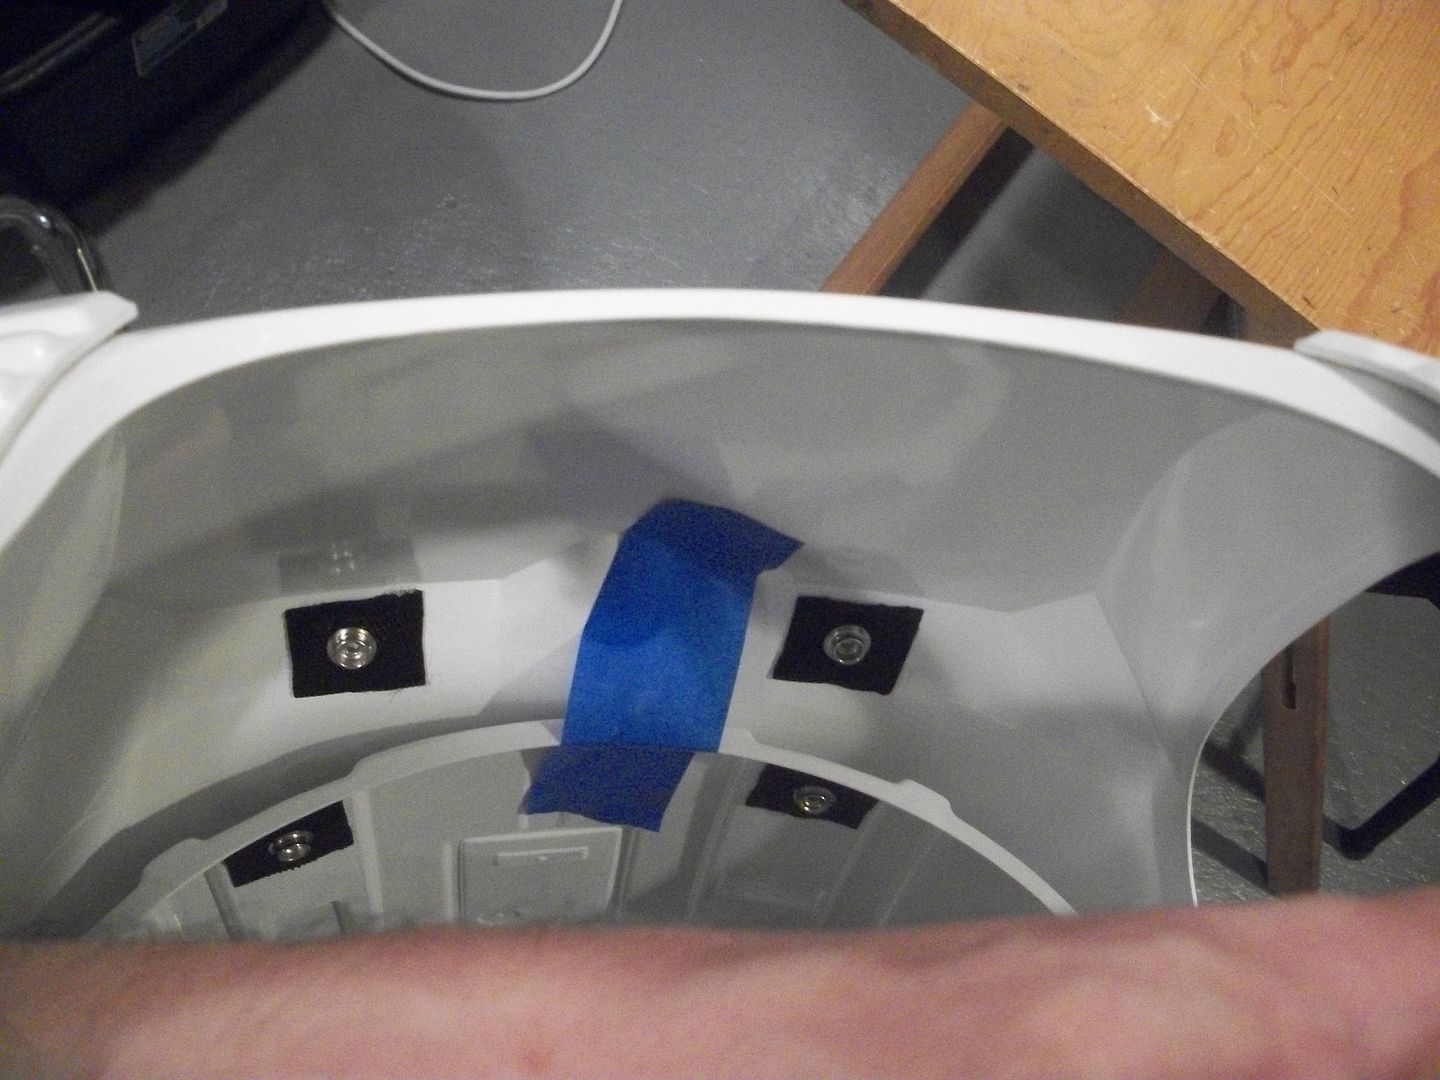
3) Did a couple more test fits to make sure it stayed in place and looks good then made the elastic connections. I'm using 2" webbing with snaps. Remember to use the correct snap parts!!! I already made all the snap / webbing and glued them on, so for the elastic connections I use the compatible part and double check each time to make sure I have the right ones

The first thing I do is add the top snap, and top snap only
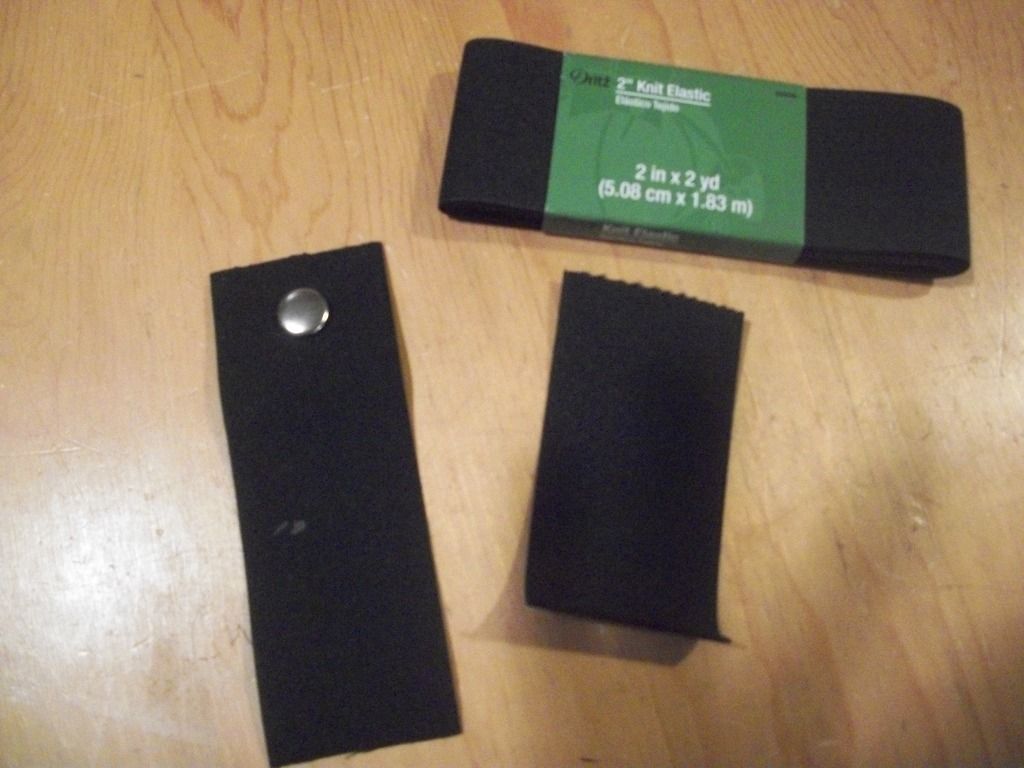
4) Everything is still held together with tape so I snap the top part on, then use a marker to dot where the bottom snap will be. I then add the second snap and it should line up. I also trim off the excess.
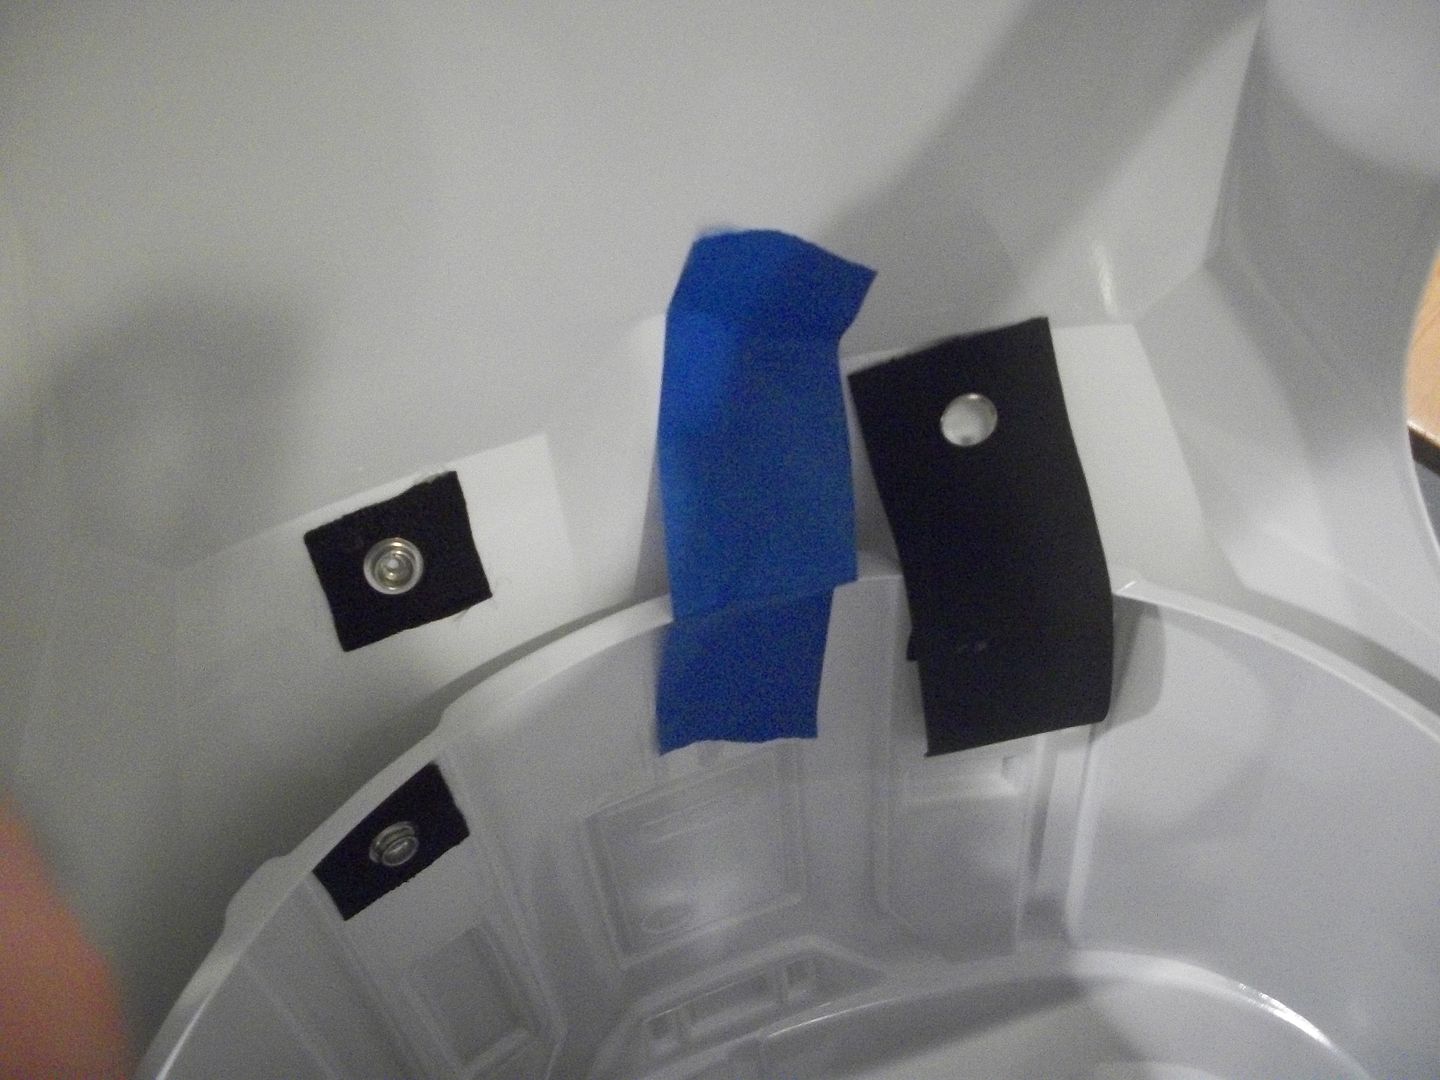
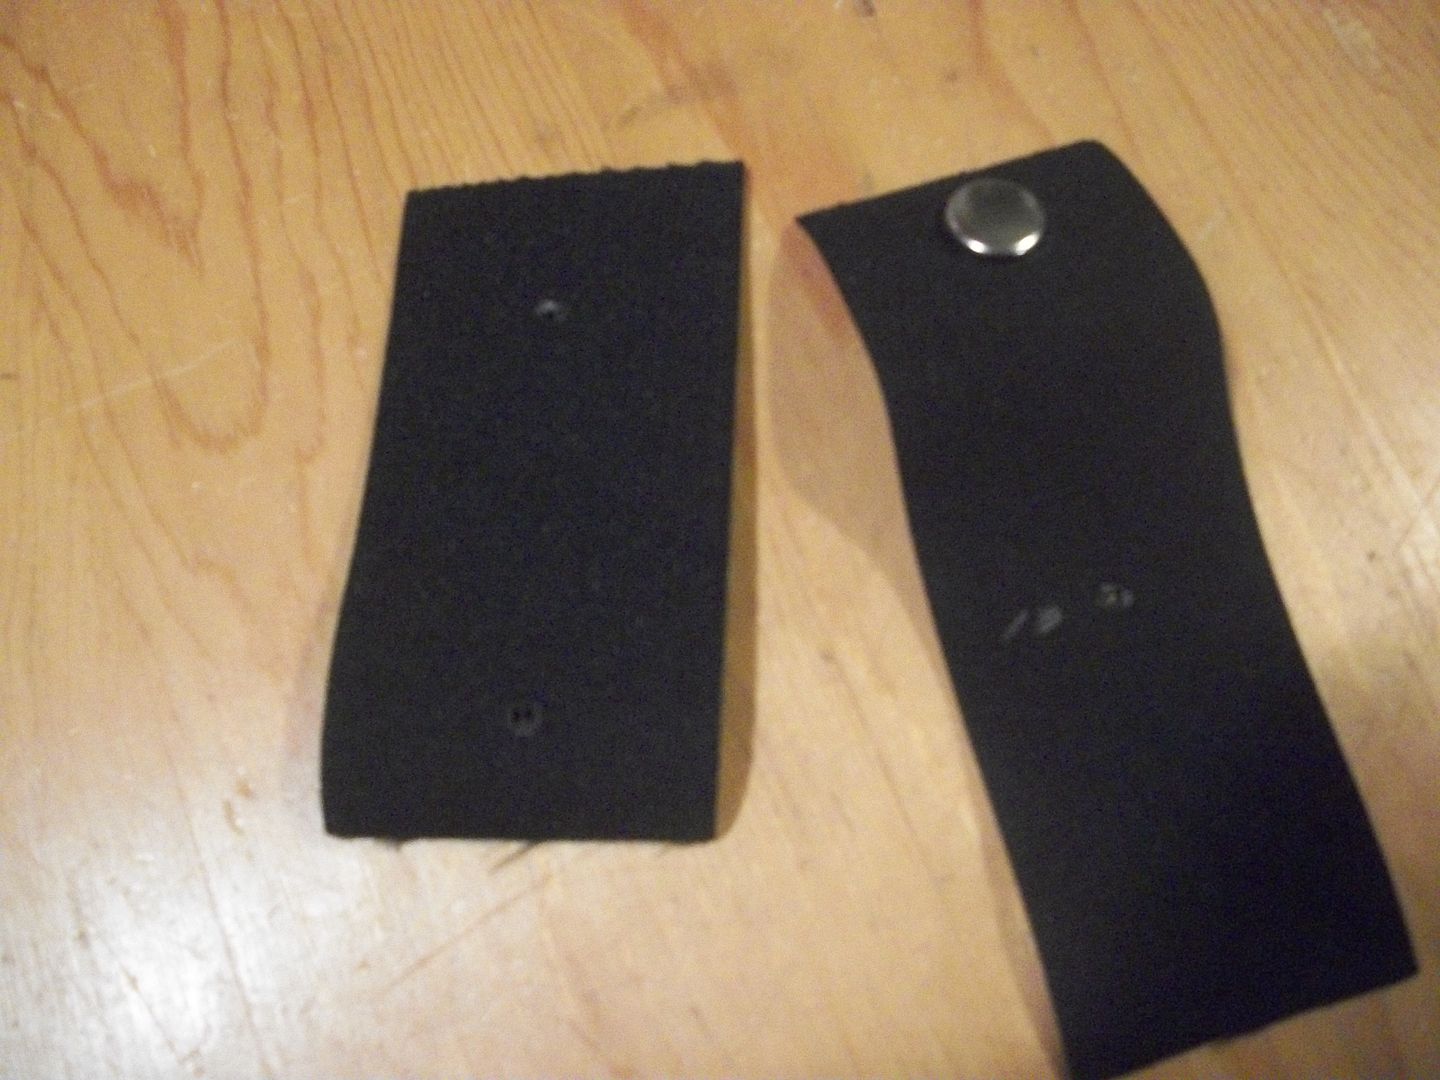
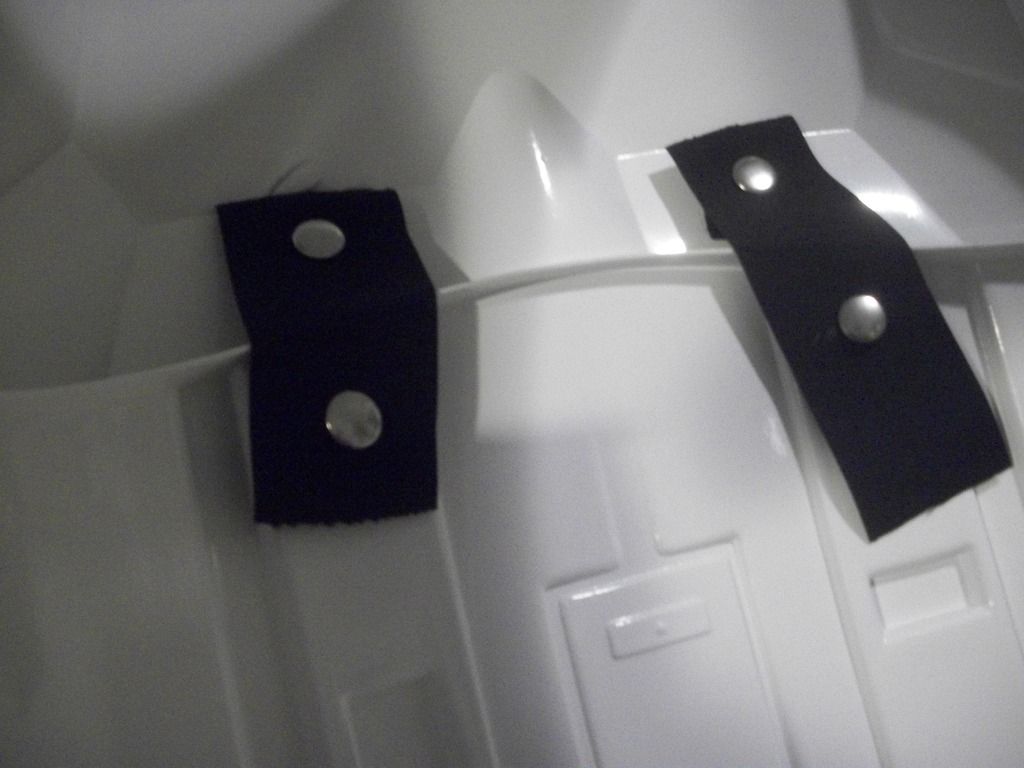
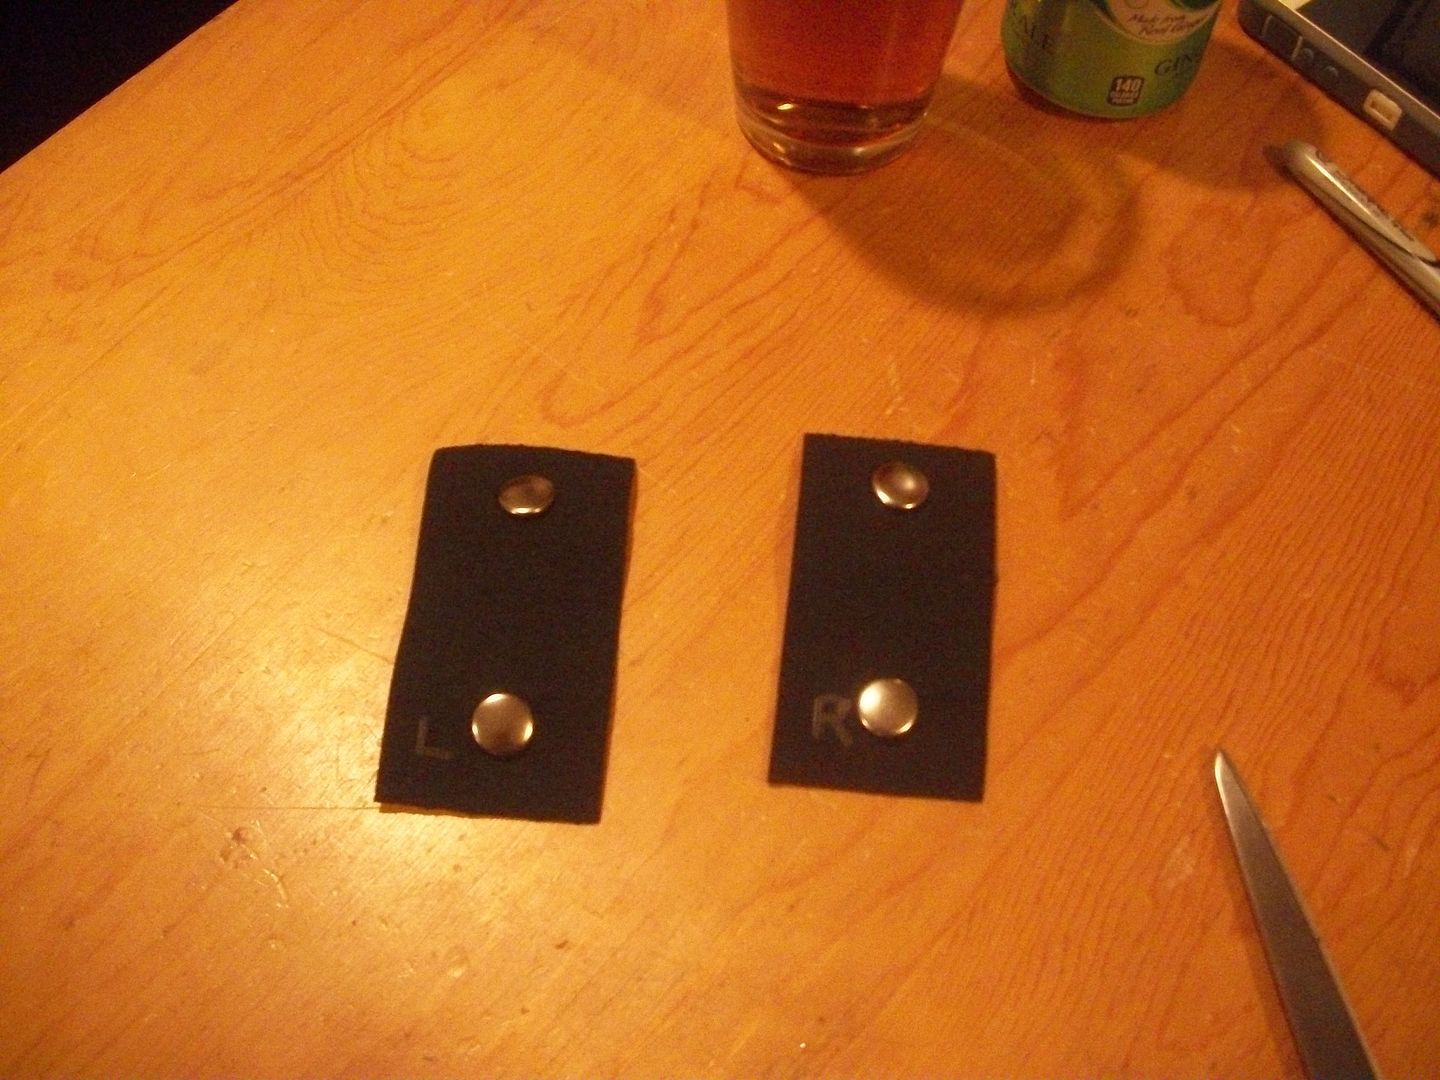
*** AGAIN, NOT MANDATORY BUT A GOOD IDEA TO MARK THEM. I PUT THE "L" AND "R" ON THE BOTTOM SO I ALSO KNOW TOP FROM BOTTOM
5) Test fit with the connections all done:
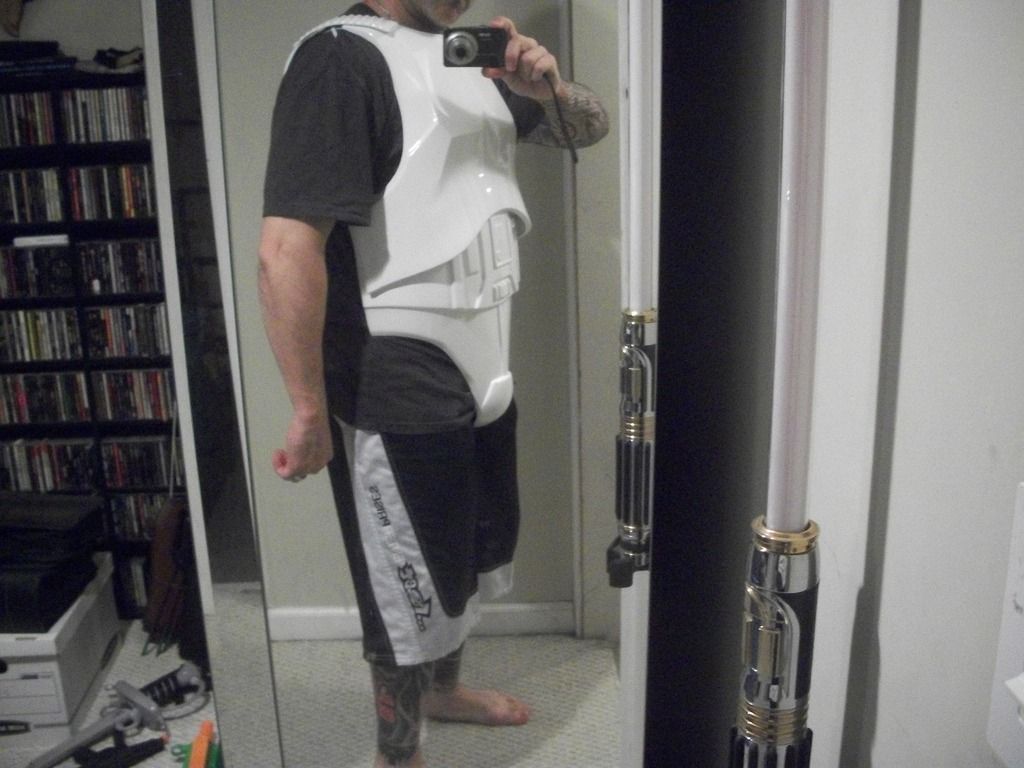
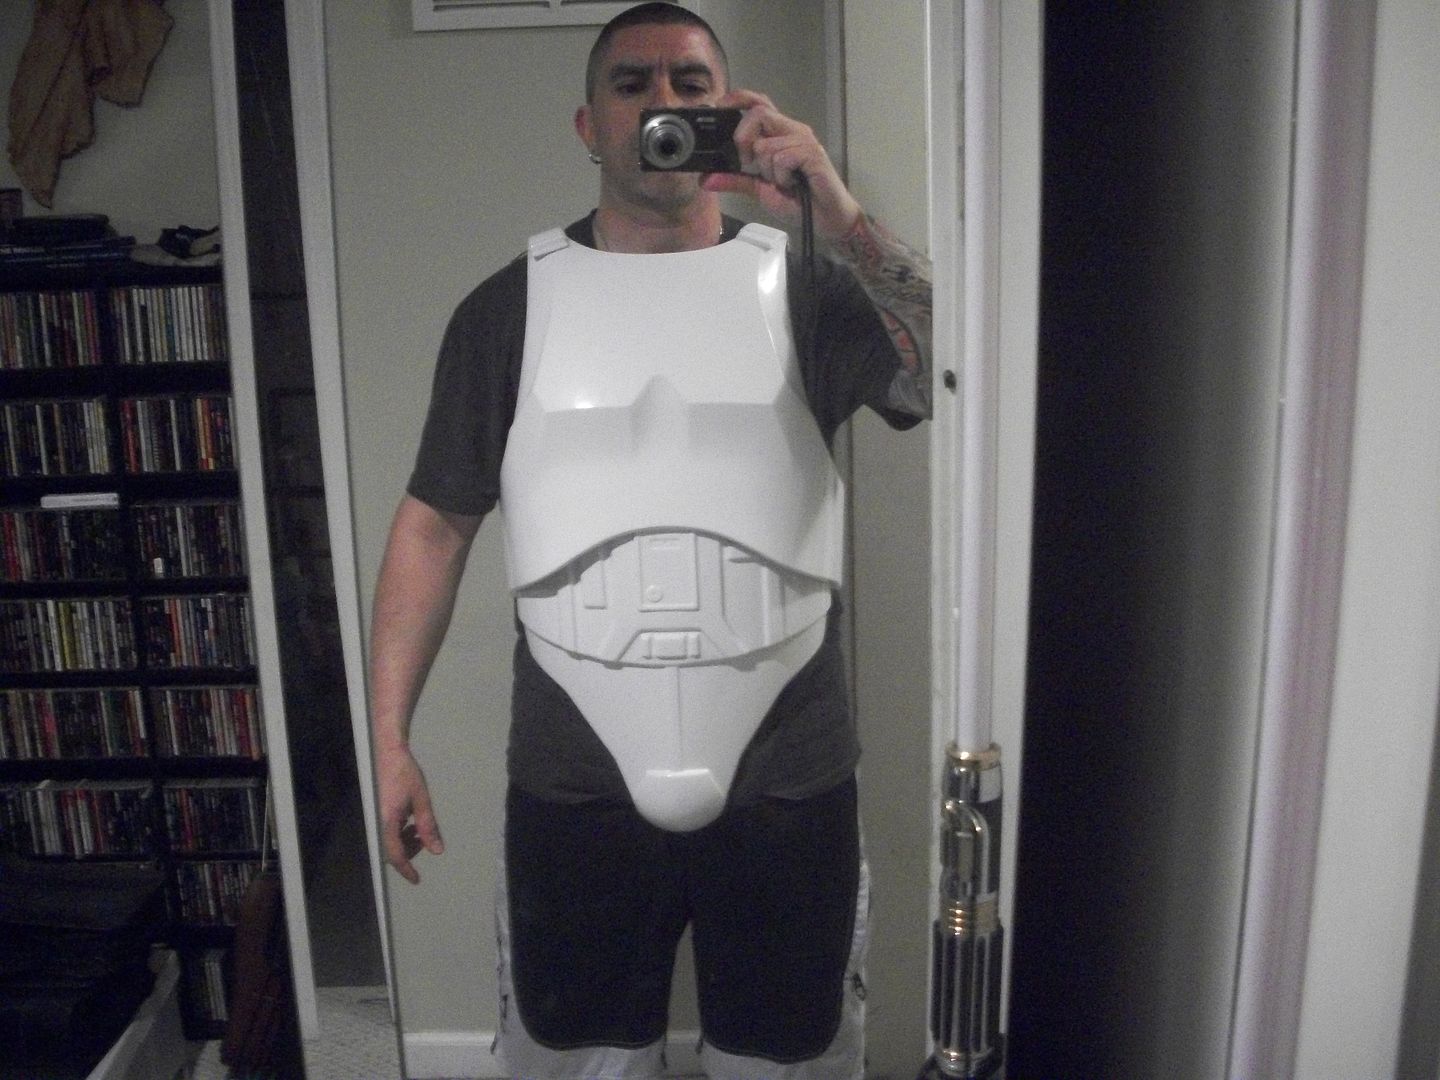
AB / CHEST CONNECTION:
TIME CHECK: MINOR TRIMMING AND SANDING ON COD, FITTING AND ELASTIC CONNECTIONS = 1 HOUR
BUTT / KIDNEY
1) Same deal with the back as in the front, using painters tape and the manikin to line everything up then test fit and mark the connection spots:
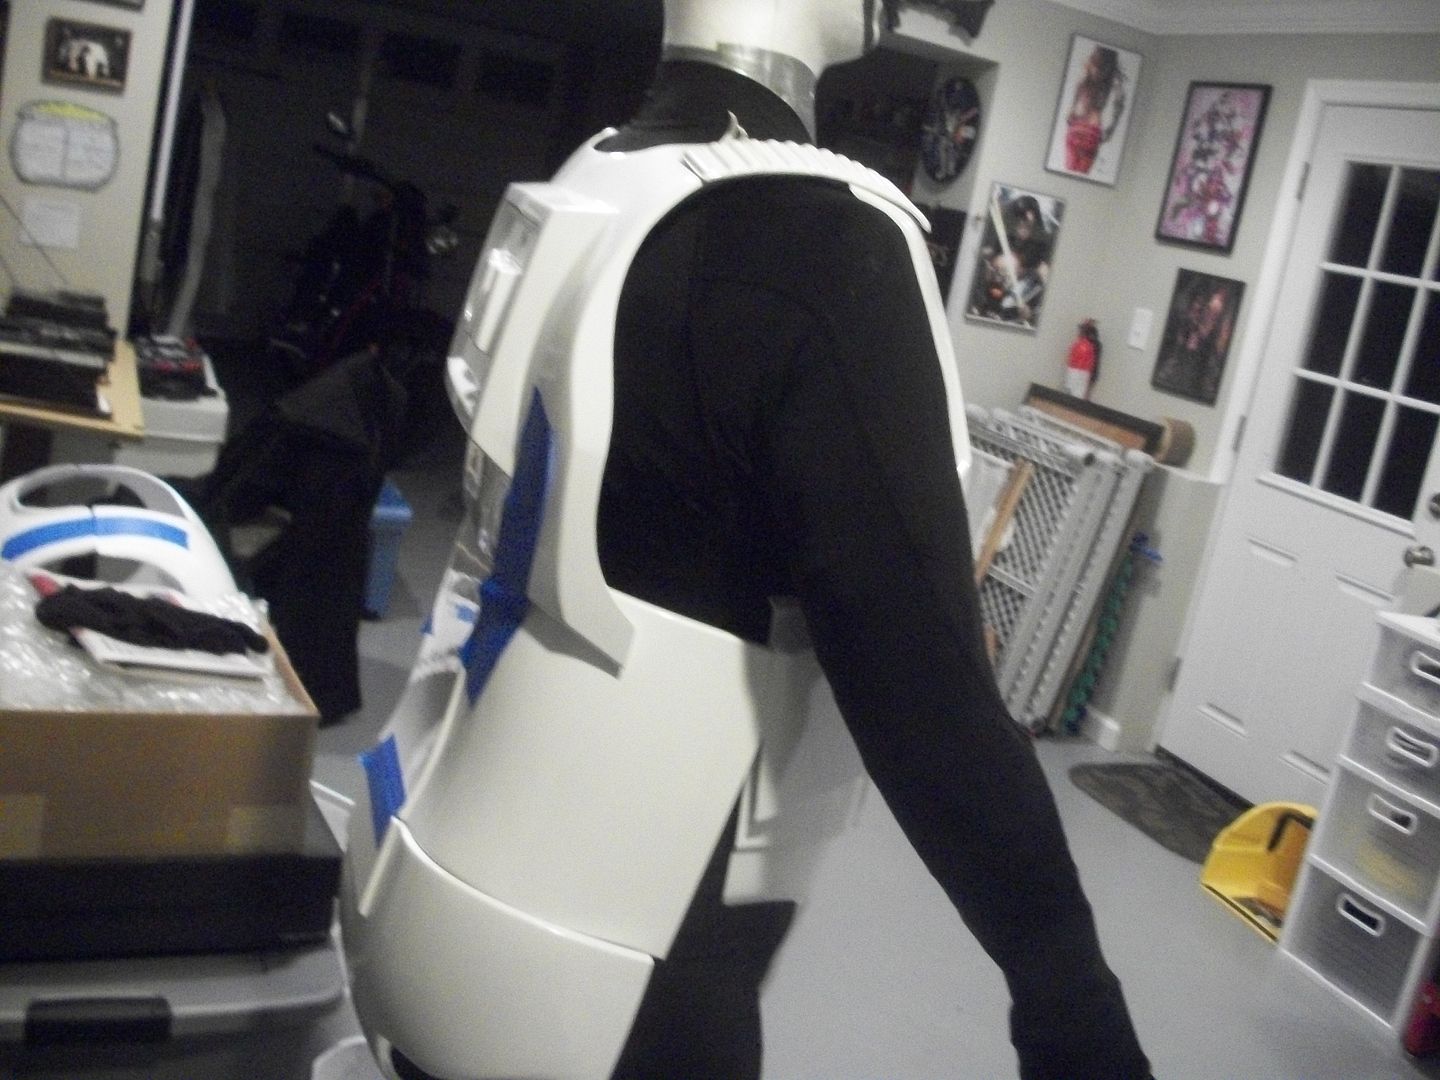
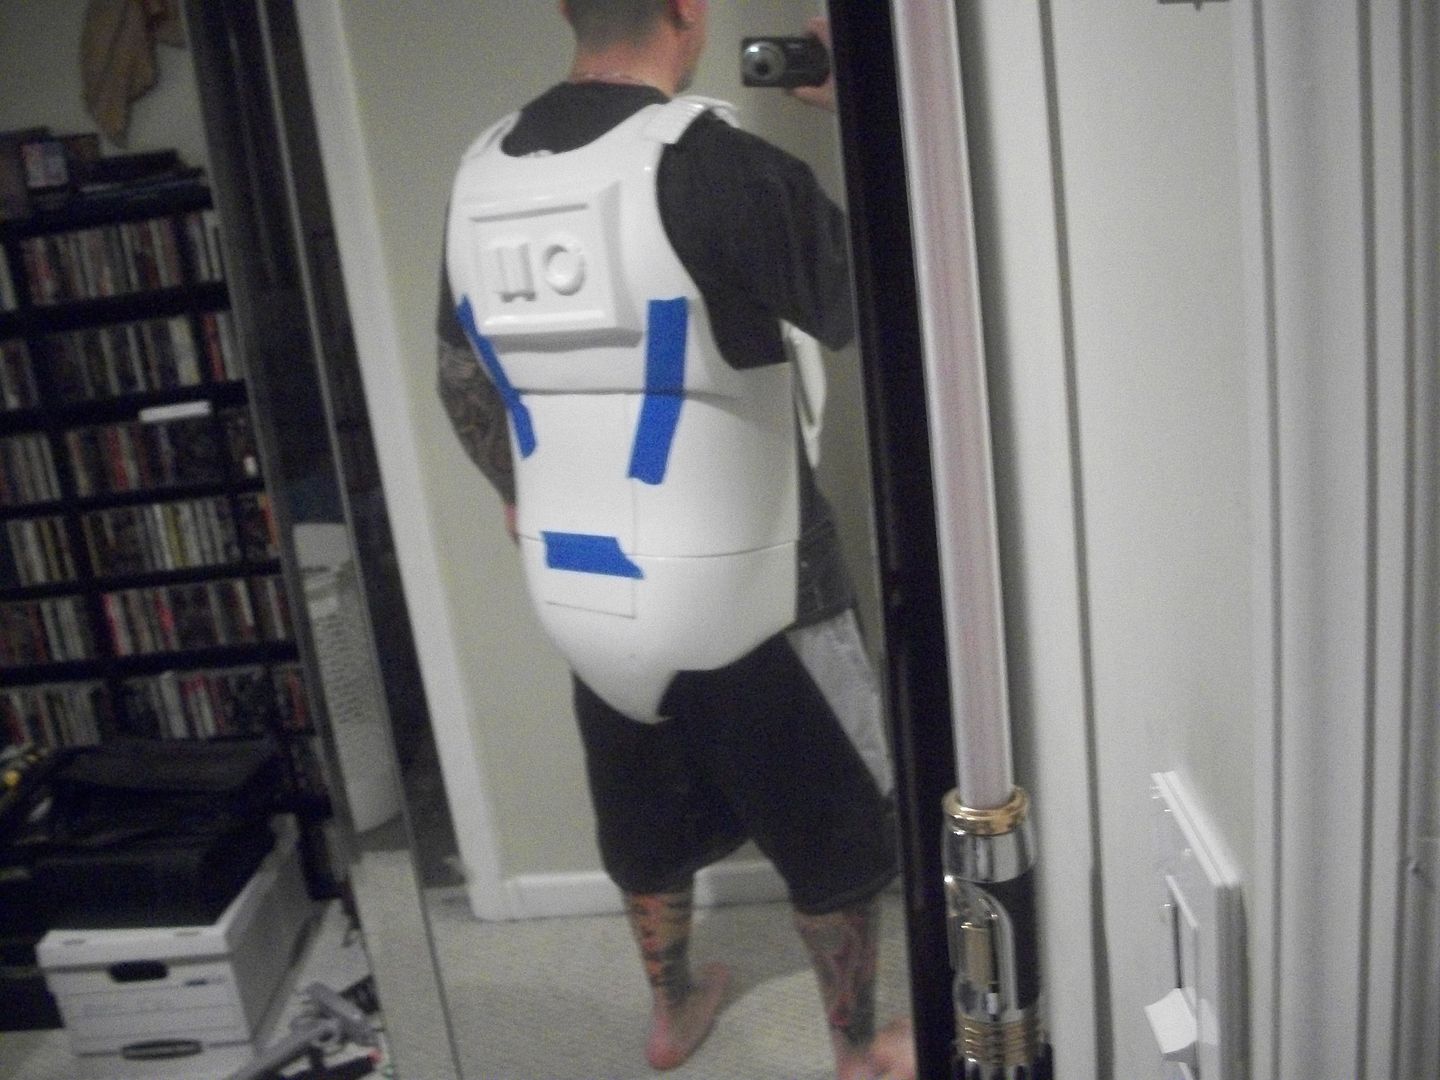
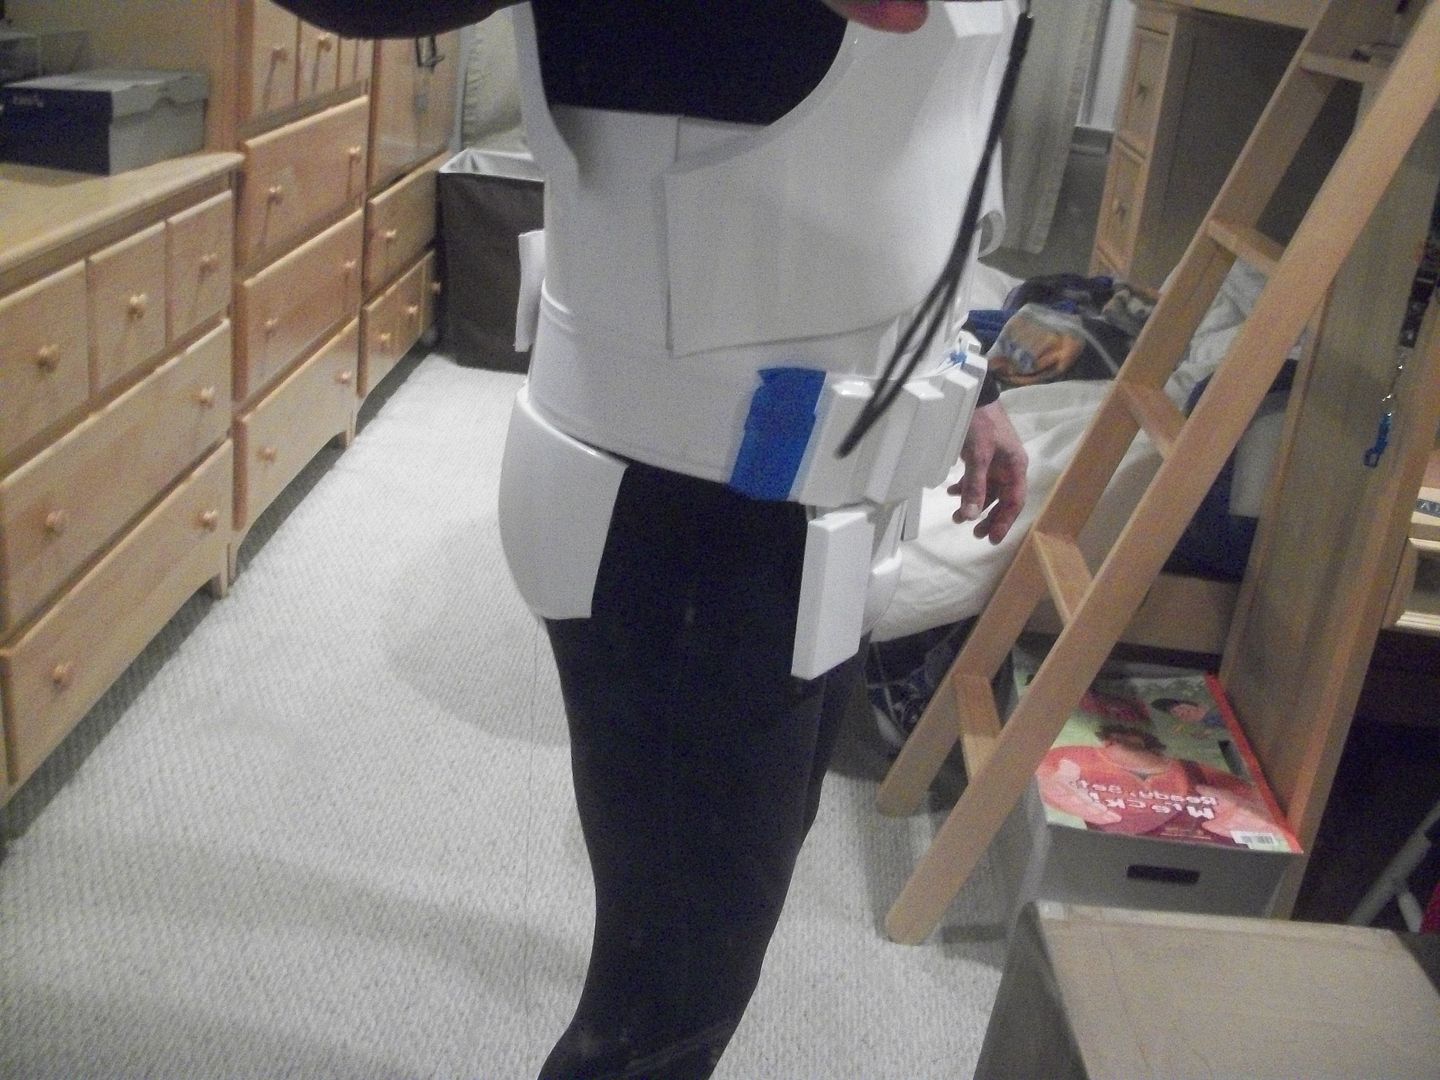
2) Once the elastic is done put it all on and check the sides. They should meet up as close as possible without either overlapping or large space. As you can see mine overlaps a little so I'll have to trim.
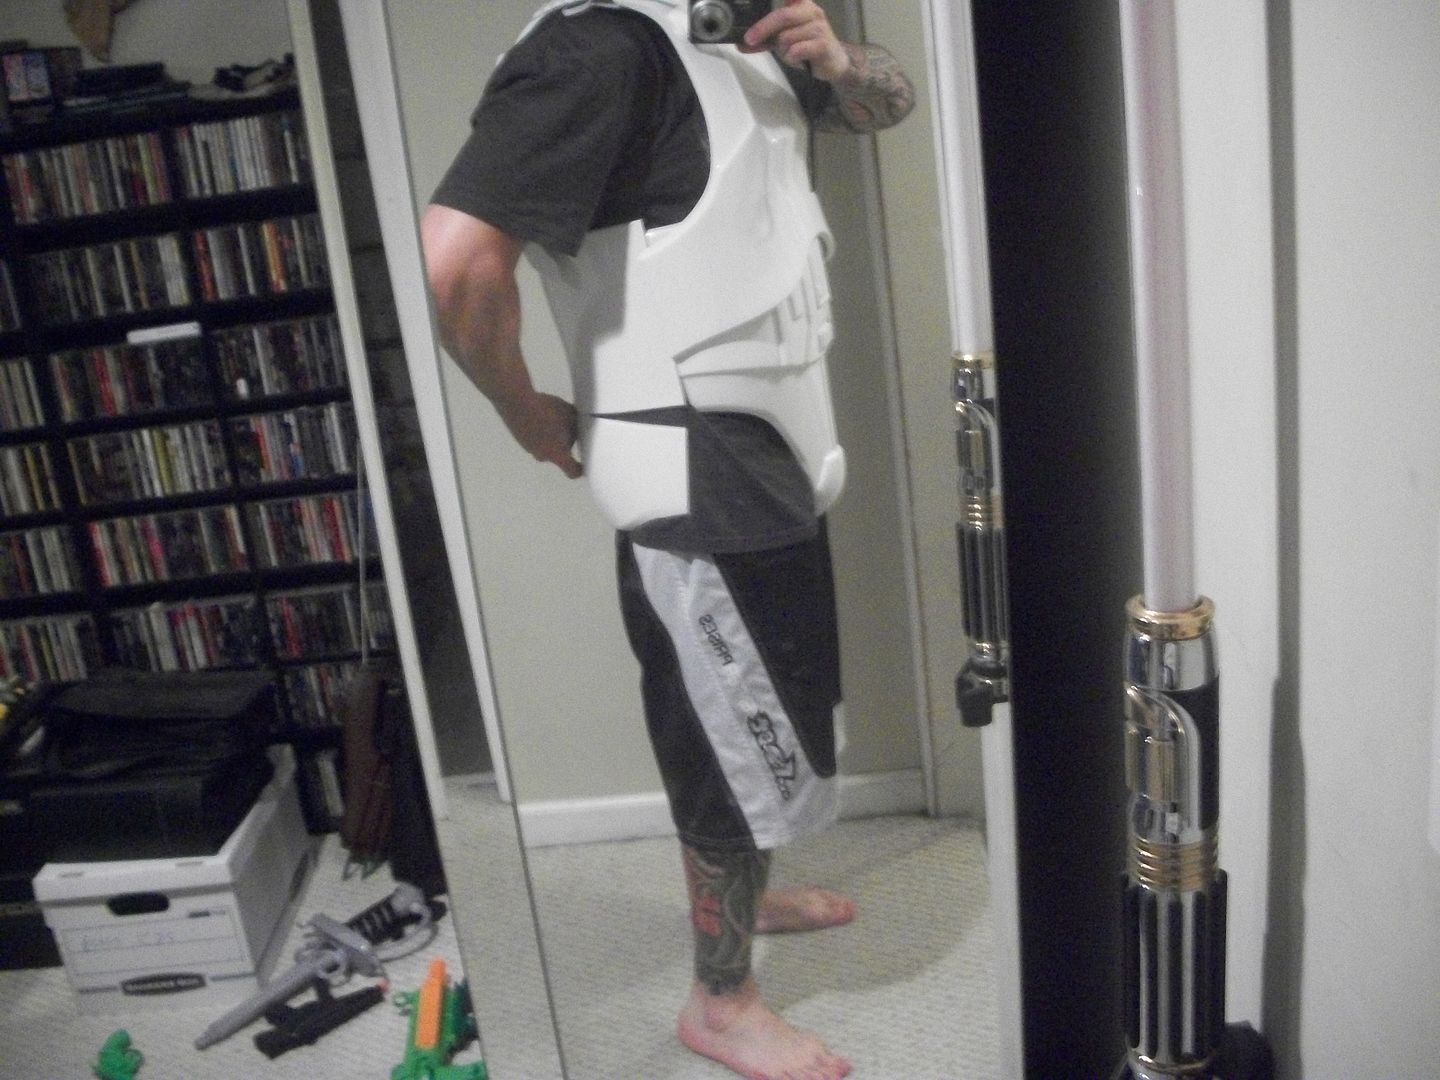
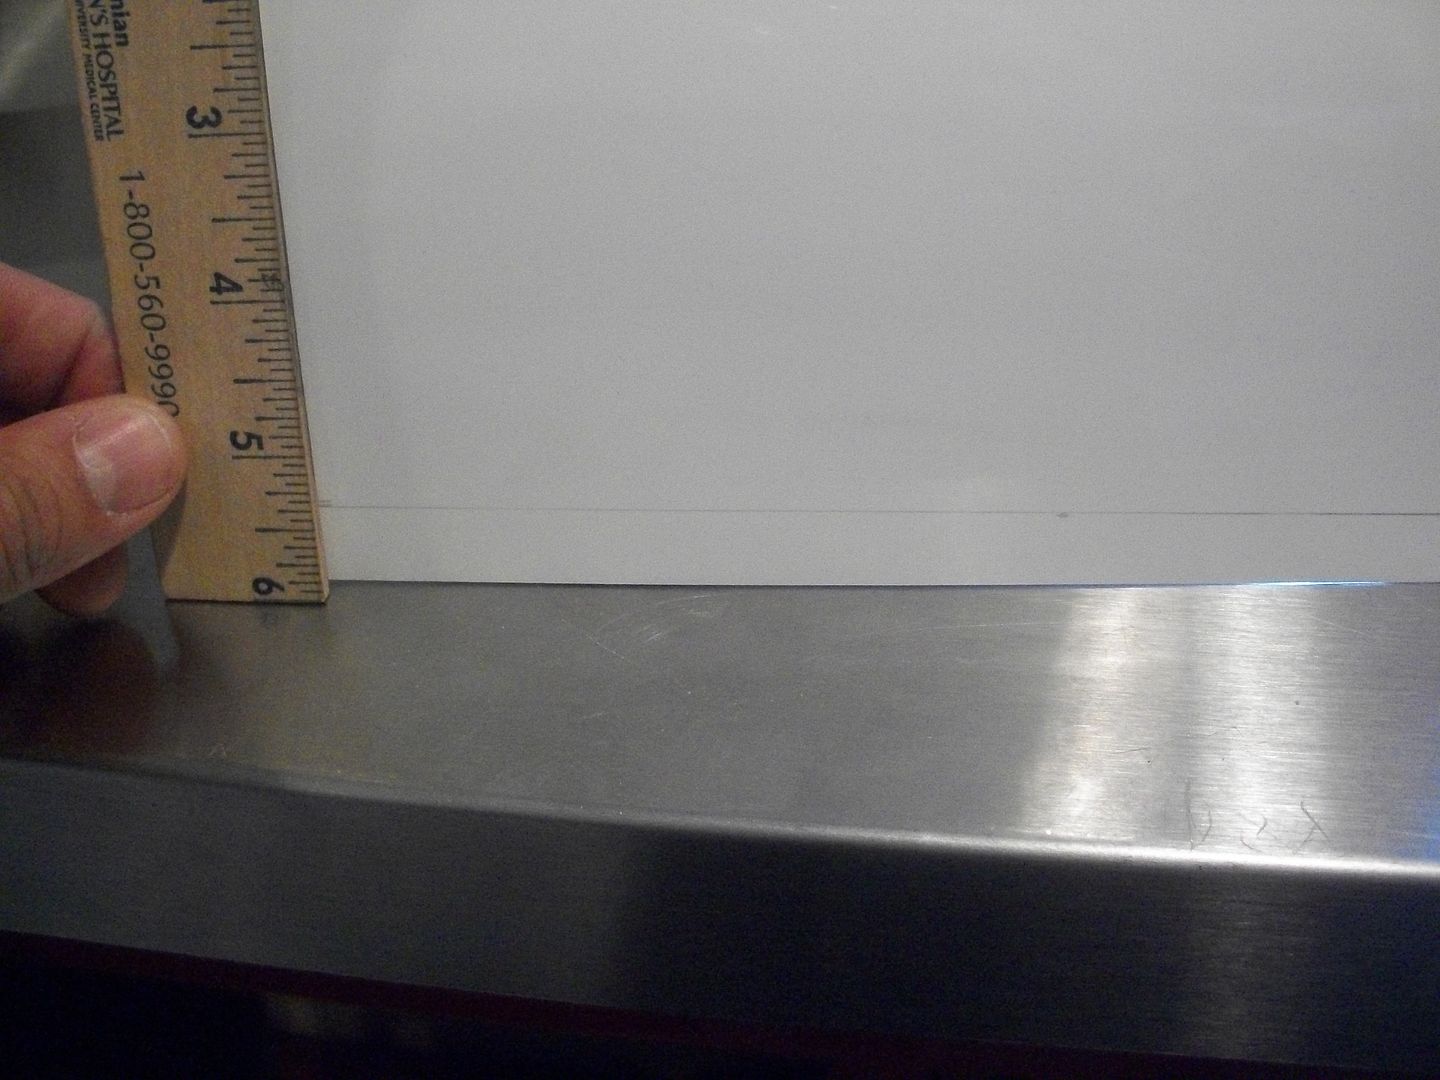
3) I needed to take off 2" to make it flush. I opted to just take it all from the back because I felt the front was about where it should be. For Steve and Justin's builds we took the excess off in an even way (half from the front half from the back). In hindsight I probably should have done that, it's still okay but my bubble butt makes the bottom look a little less then I would have liked. I did test fit with the leg parts and it's fine, so I'm not really concerned lol. I measured and then took off the plastic from the kidney, remeasured and took it off from the butt.
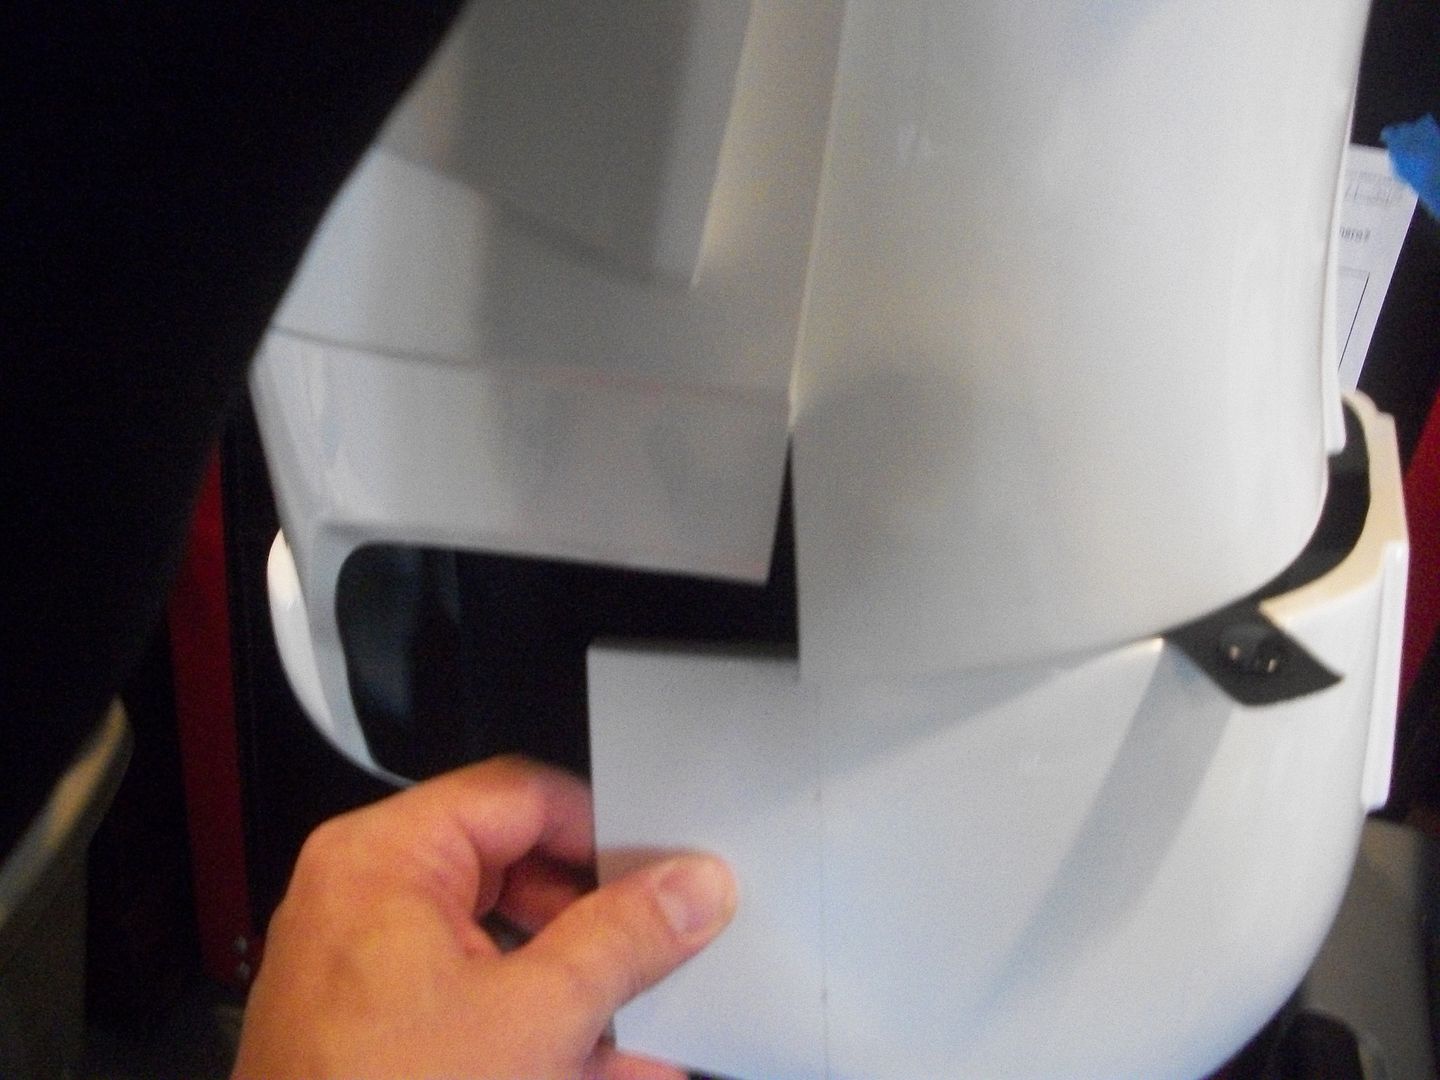
3) For the "inbetween the legs strap", I'm going for high level cannon and using the two male snaps in the back and a split rivet in the front.
I lined up the first snap on the outside, and marked it though the hole:
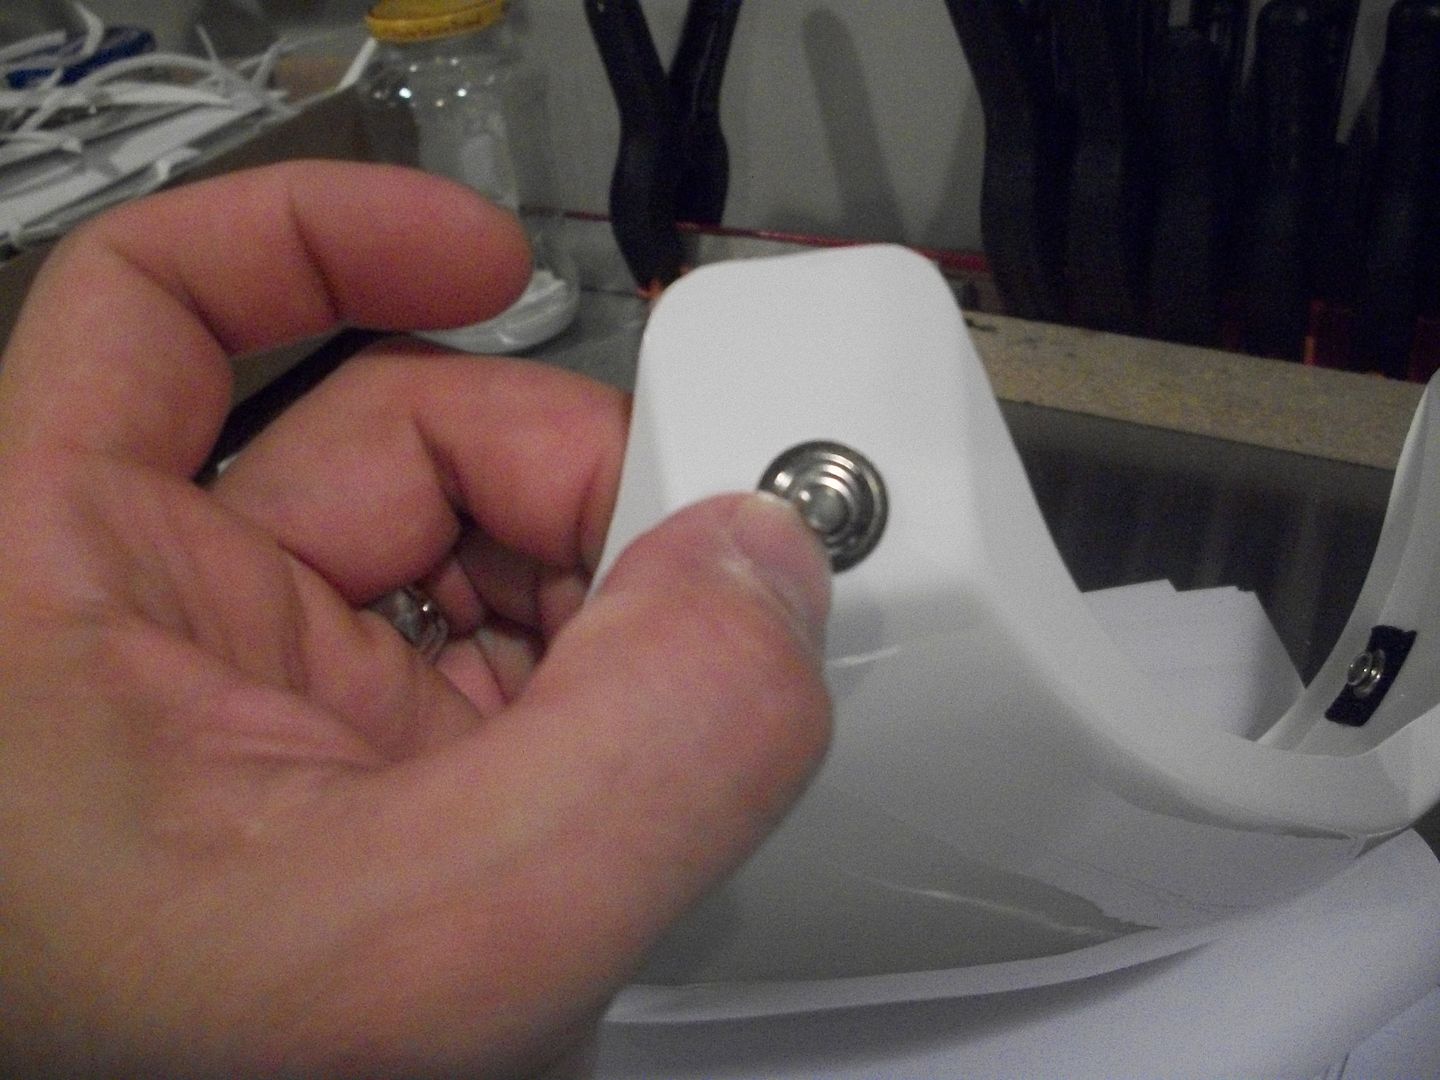
4) Drilled the hole, put in the snap, used the phillips head screwdriver to lightly spread then snap tool to finish:
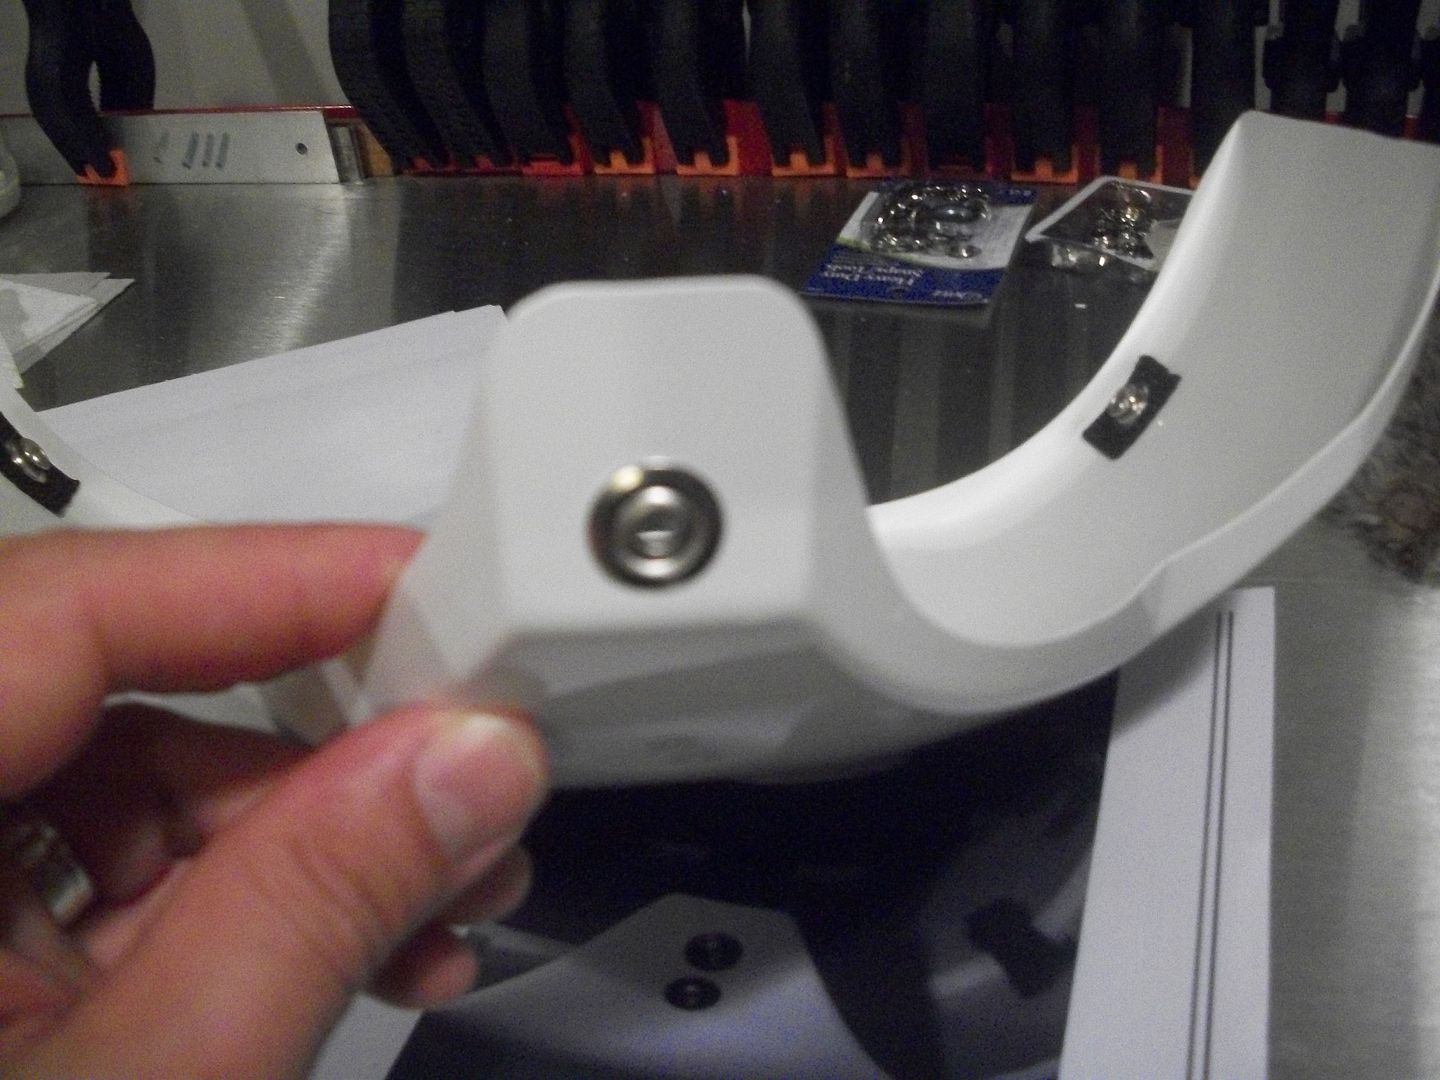
5) Same method, lined up the second one:
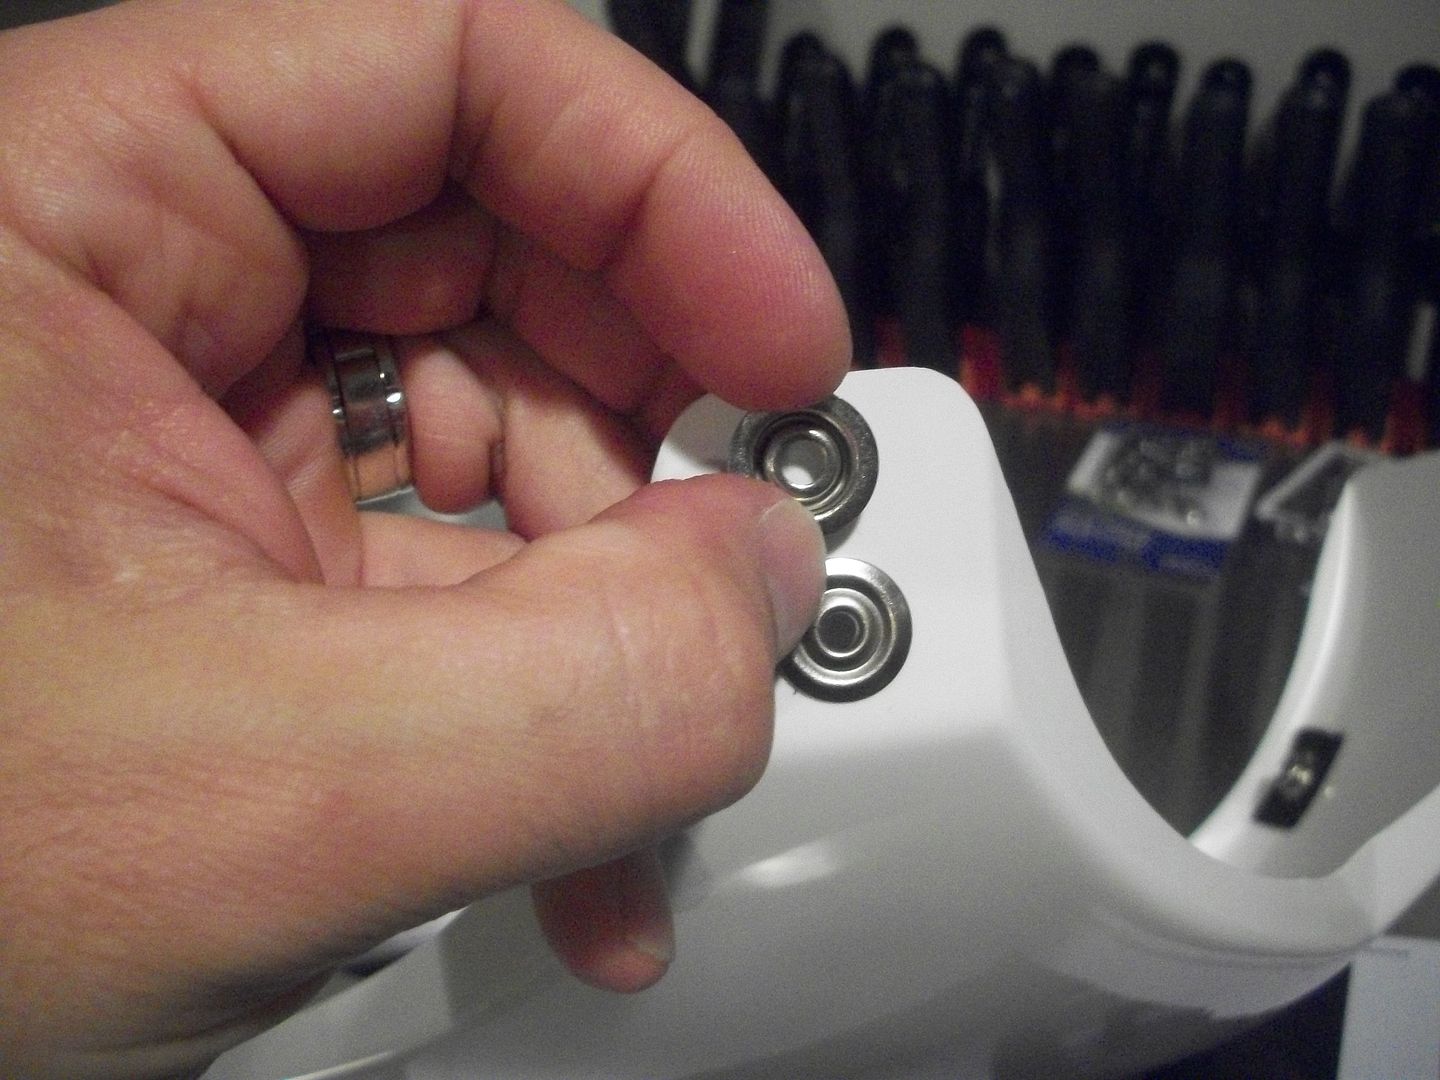
6) For the front, I marked it, drilled the hold and prepped for the snap rivet.
7) Snap rivets are tricky, especially by yourself, but can be done. I used a file, hammer and nail set to accomplish the job. Along with a small scrap of plastic to act as a second washer.
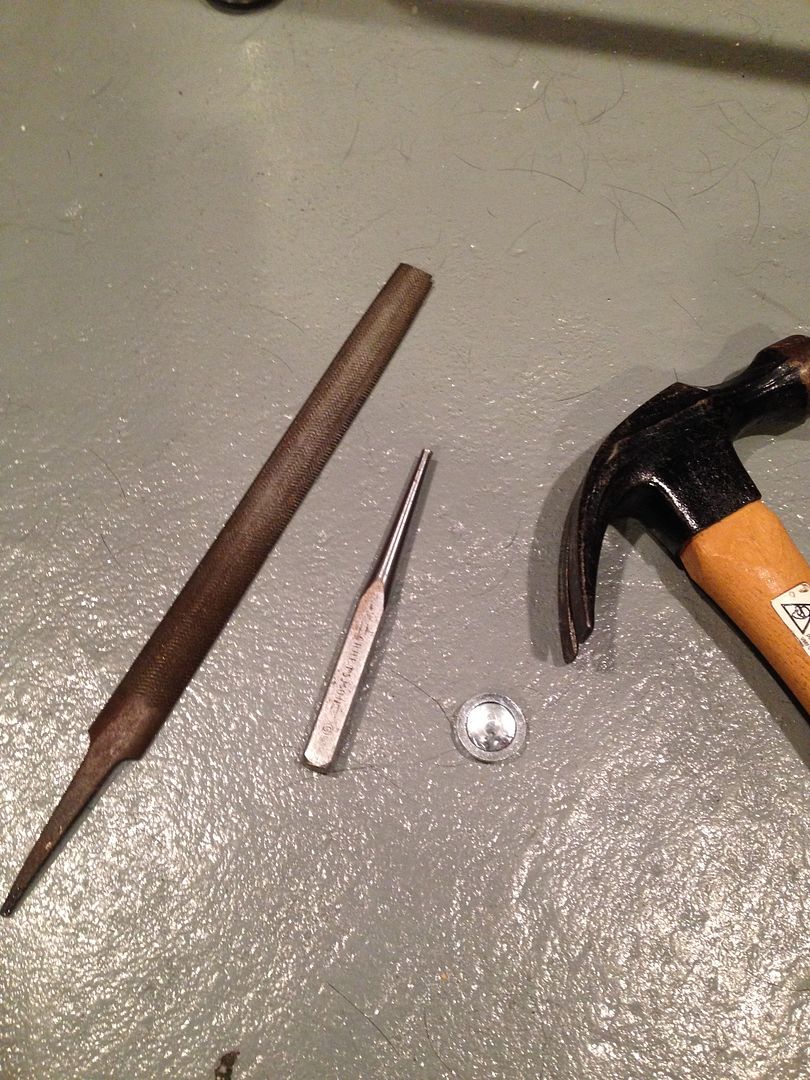
I put the rivet through, then the washer on the inside, the elastic, then the plastic made washer...
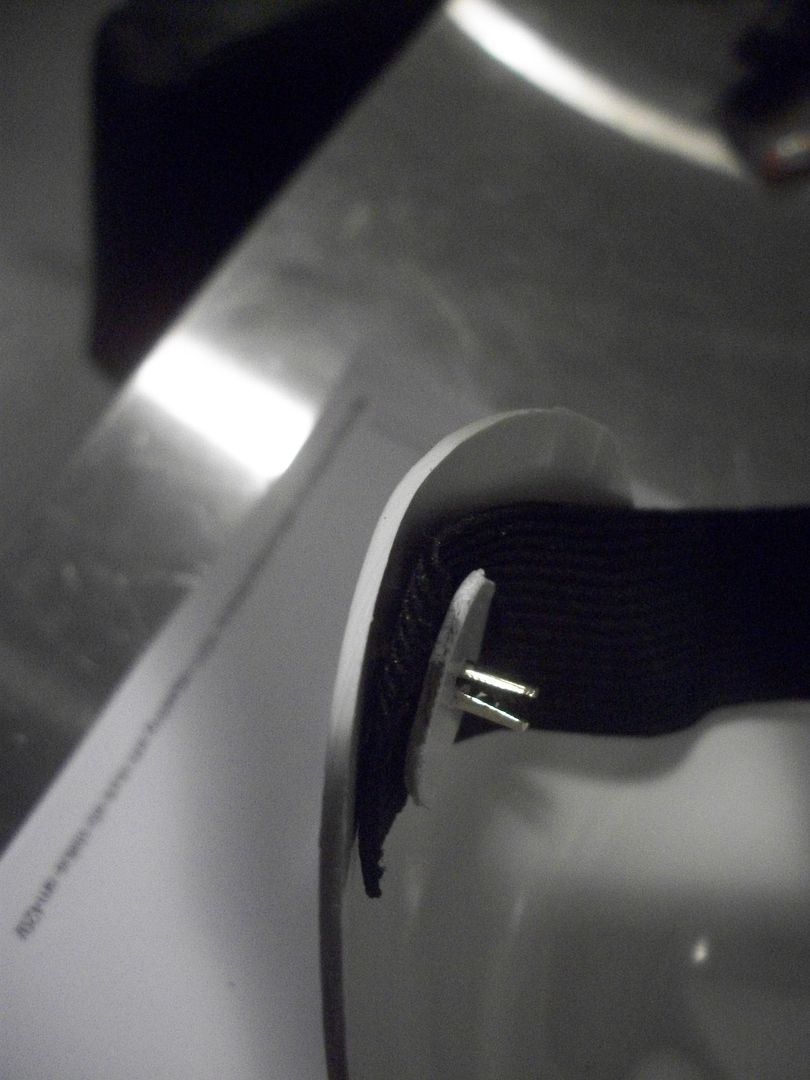
Using the file to start I slowly spread out the ends of the rivet:
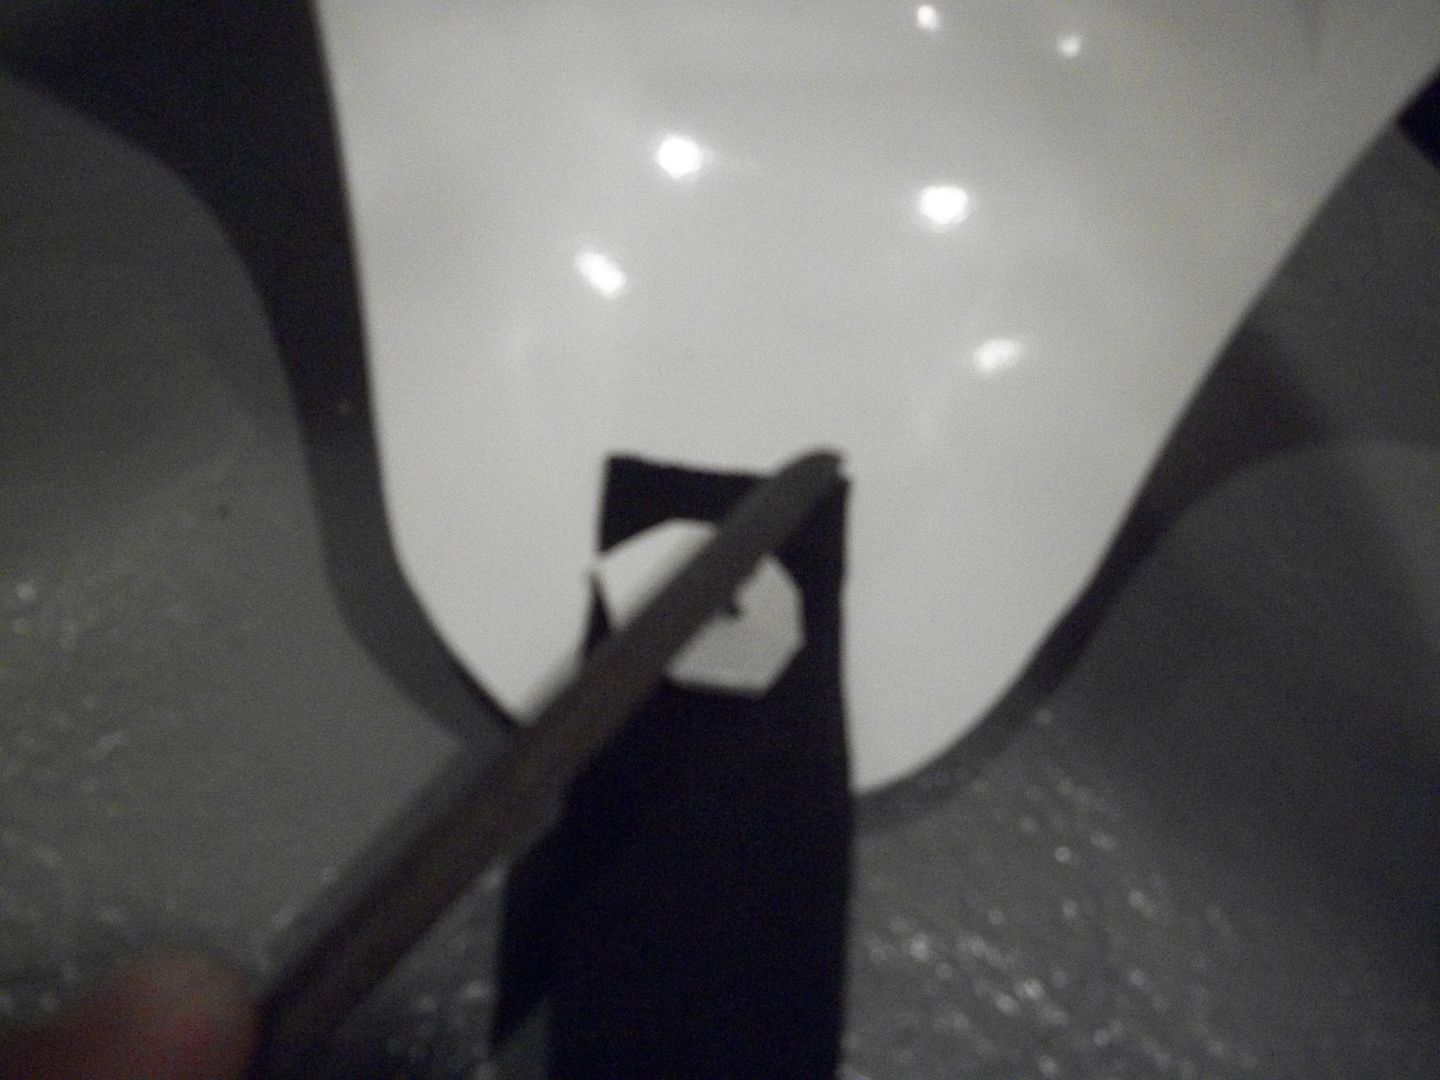
After they were out enough I used the nail set and hammer and spread them out all the way:
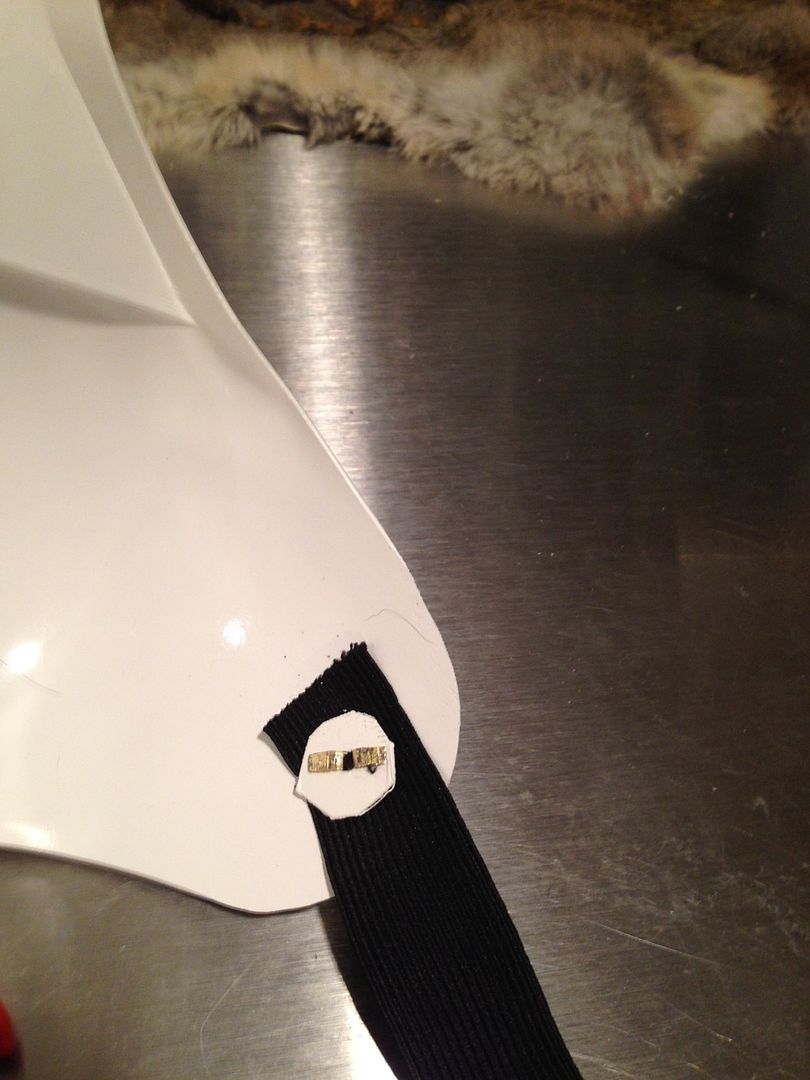
8) Using the manikin I lined up the elastic, pulled tight and marked where the rear snap will go. Without a manikin you'll need a friend and hopefully that friend is not shy because he'll be way up in there hahahaha! Sean, Justin, Steve and I can attest to this

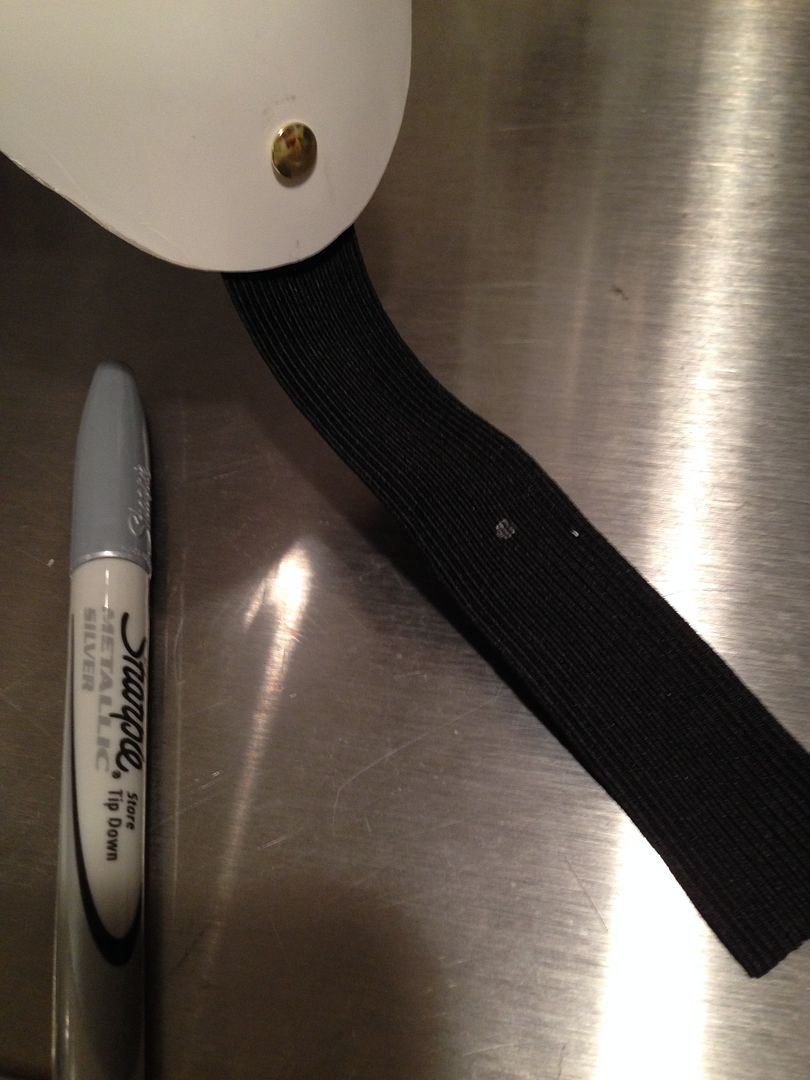
9) Once it's marked just add the proper snap (again making sure it's the opposite of what is on the armor) and you'll be done:

TIME CHECK:
BACK / KIDNEY CONNECTIONS - MINOR TRIM AND SANDING, TEST FITS, CONNECTIONS AND "TAINT" STRAP = 3 1/2 HOURS
-
 1
1
-
-
I'm doing a few builds along the way (helping Carol) so some of my documentation might end up out of order, but it'll still be as complete and thorough as possible

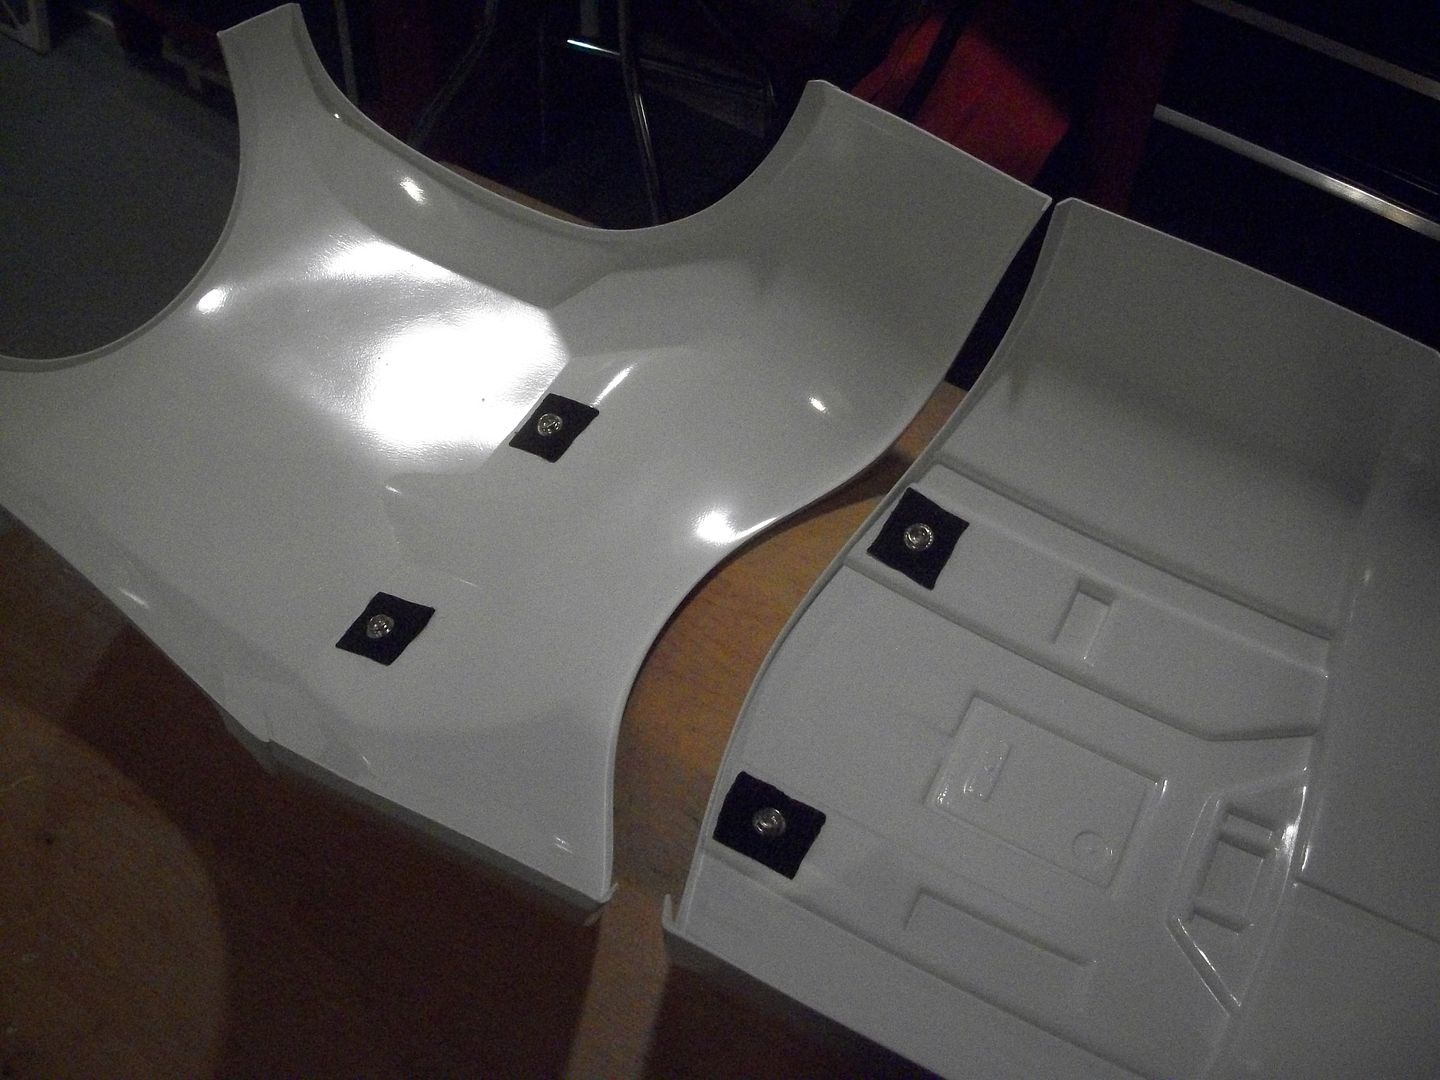
For the chest I also made the strap connection underneath that actually holds the parts together and isn't really seen.
1) I had 2" white webbing and trimmed it down a little to match the size of the armor parts:
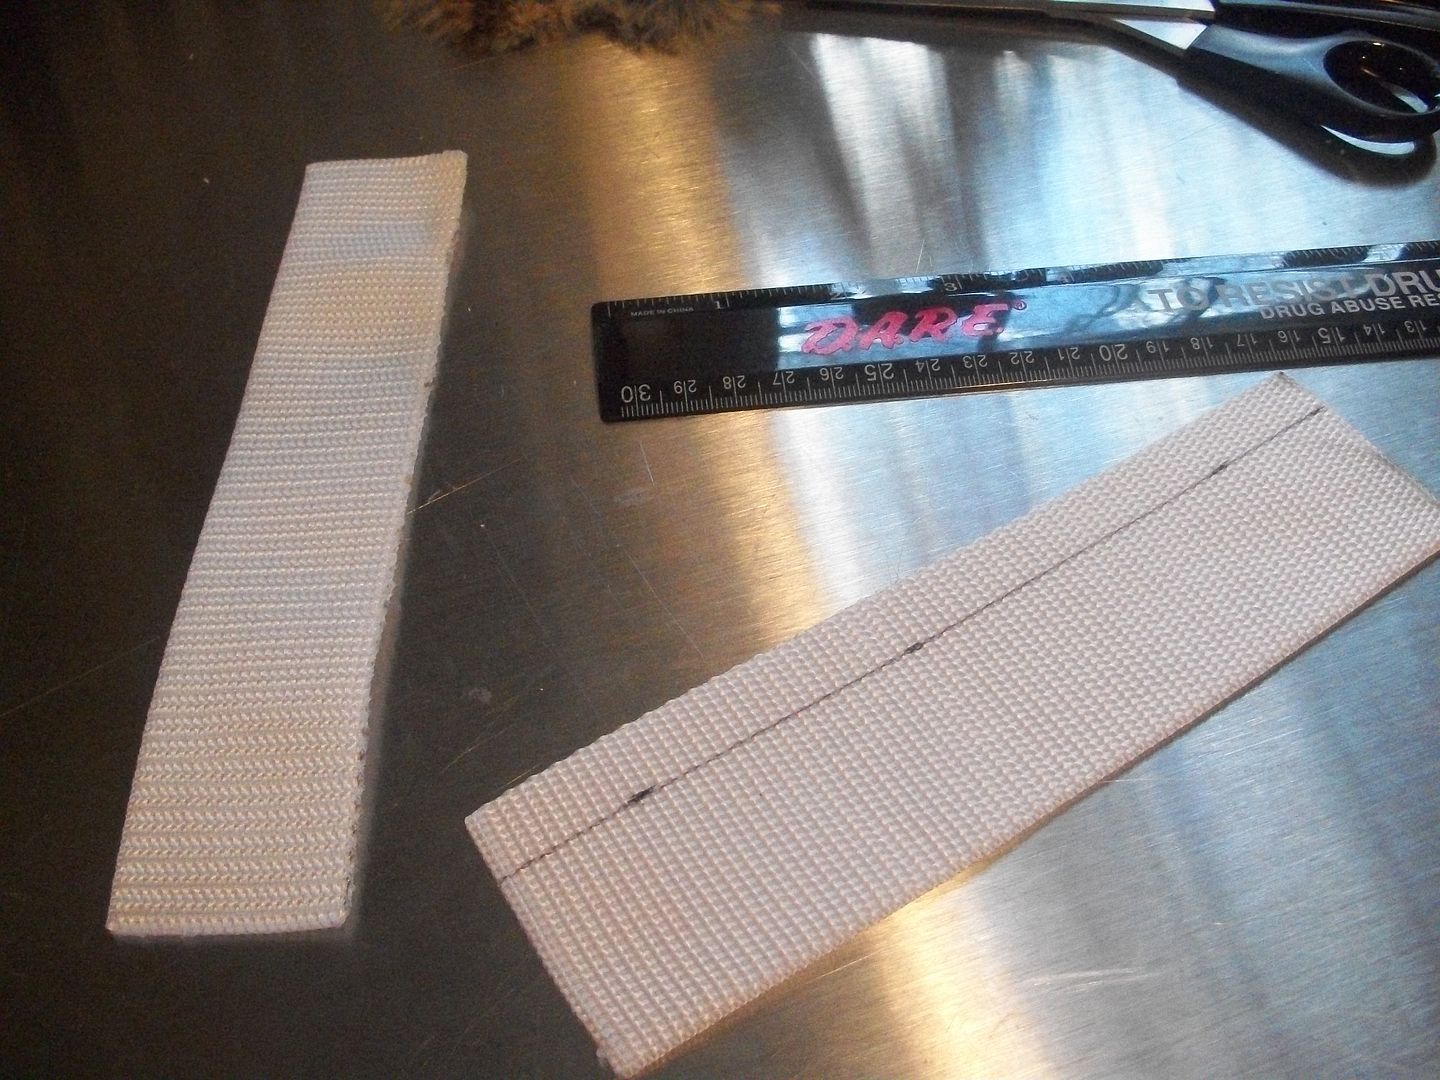
2) Made the snap / webbing thing but only in the FRONT:
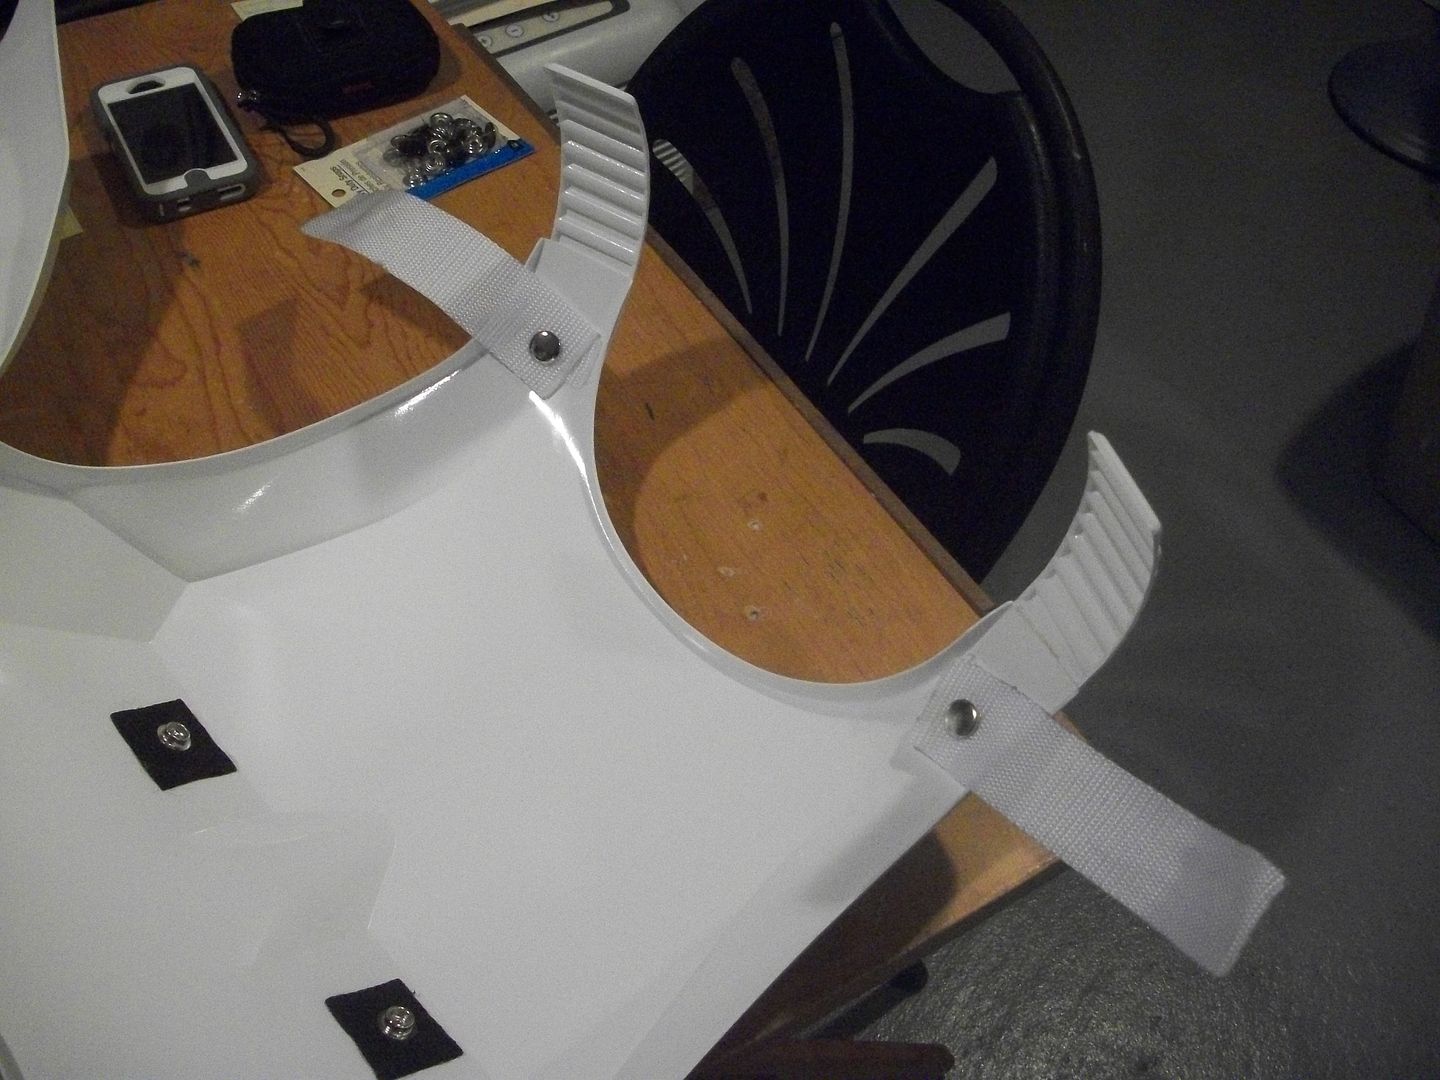
3) Glued small snap connections inside the front:
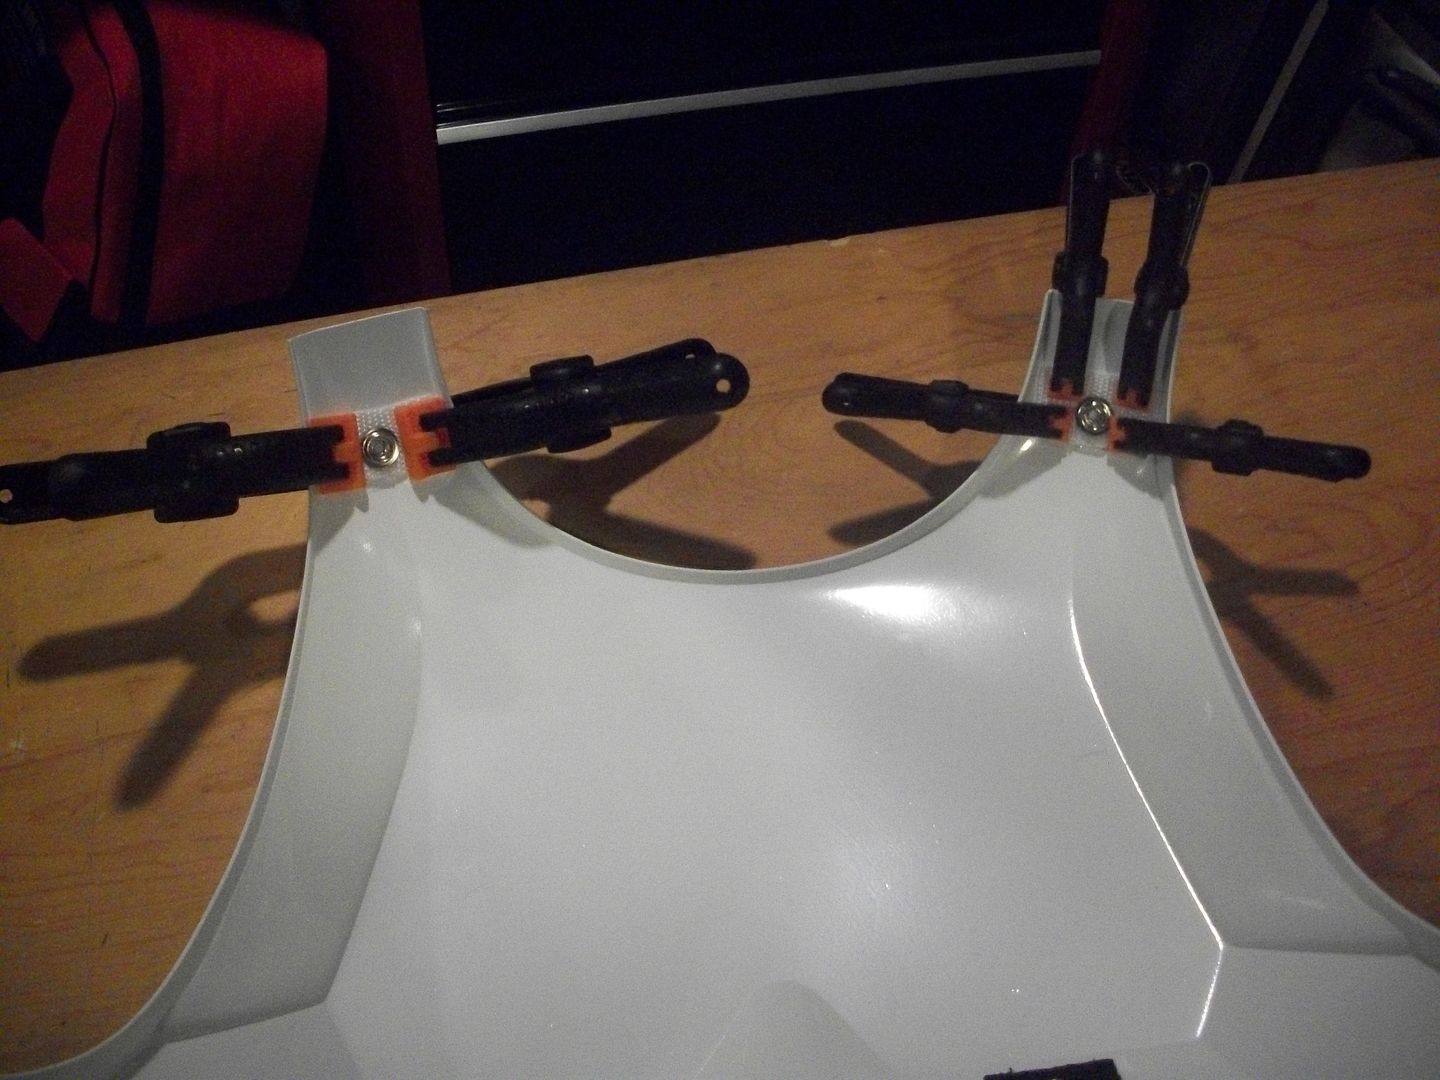
4) Added in the inside chest/ab plate elastic connection snaps:
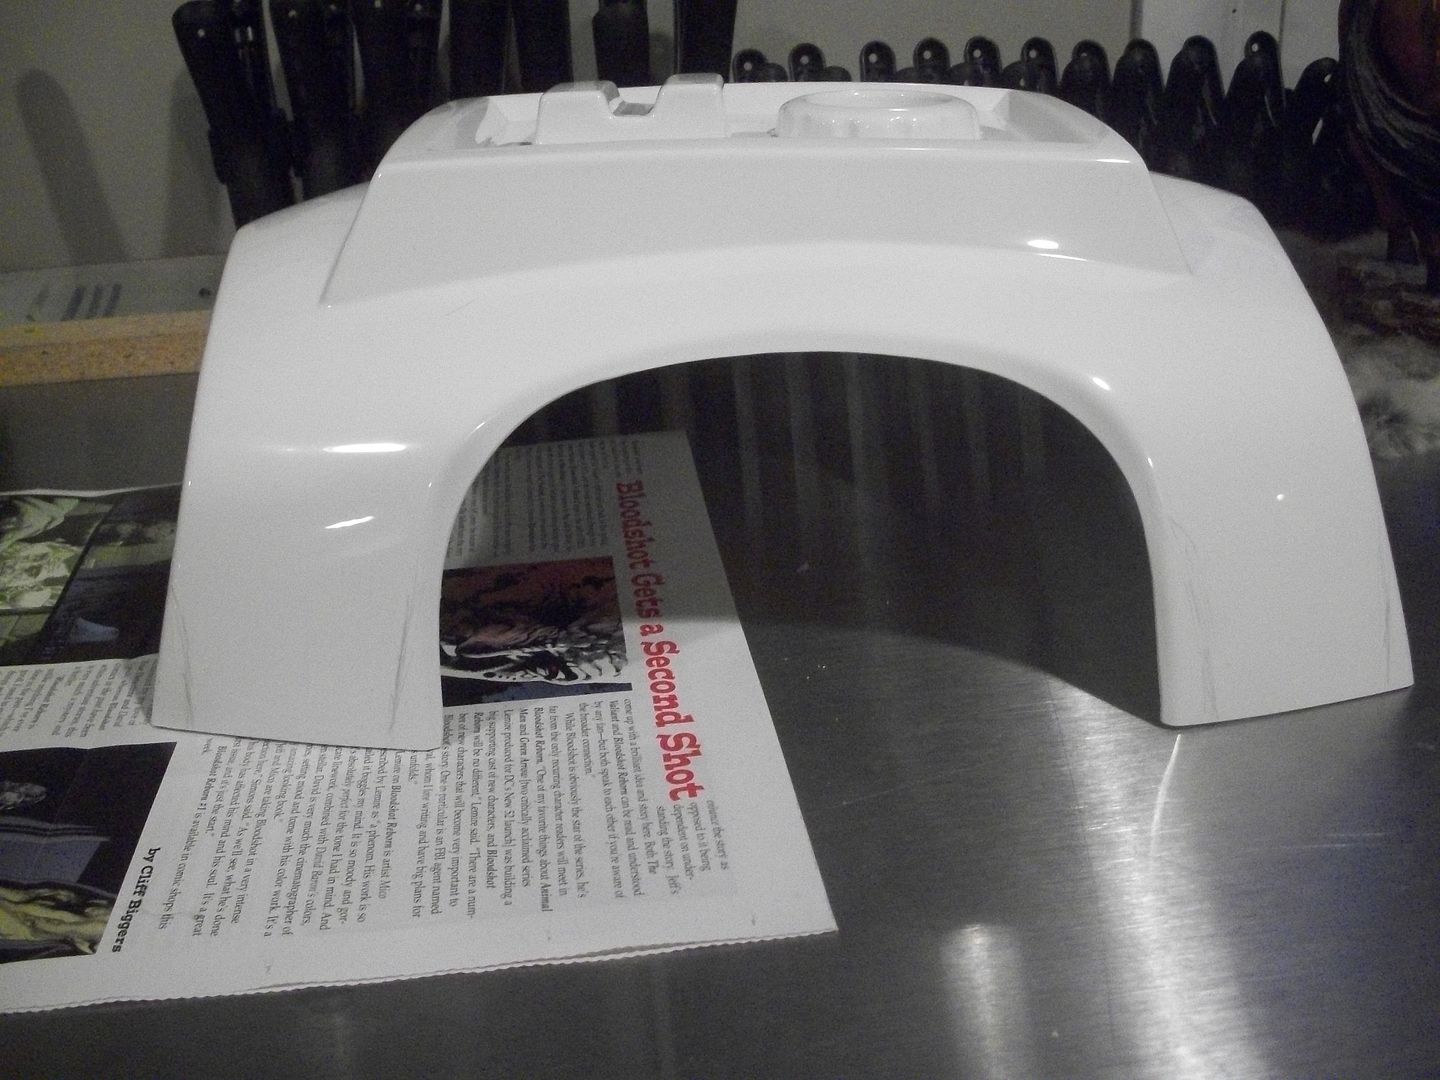
BACK
1) Trimmed a little off the inside top of the backplate where it'll meet the chest plate area:
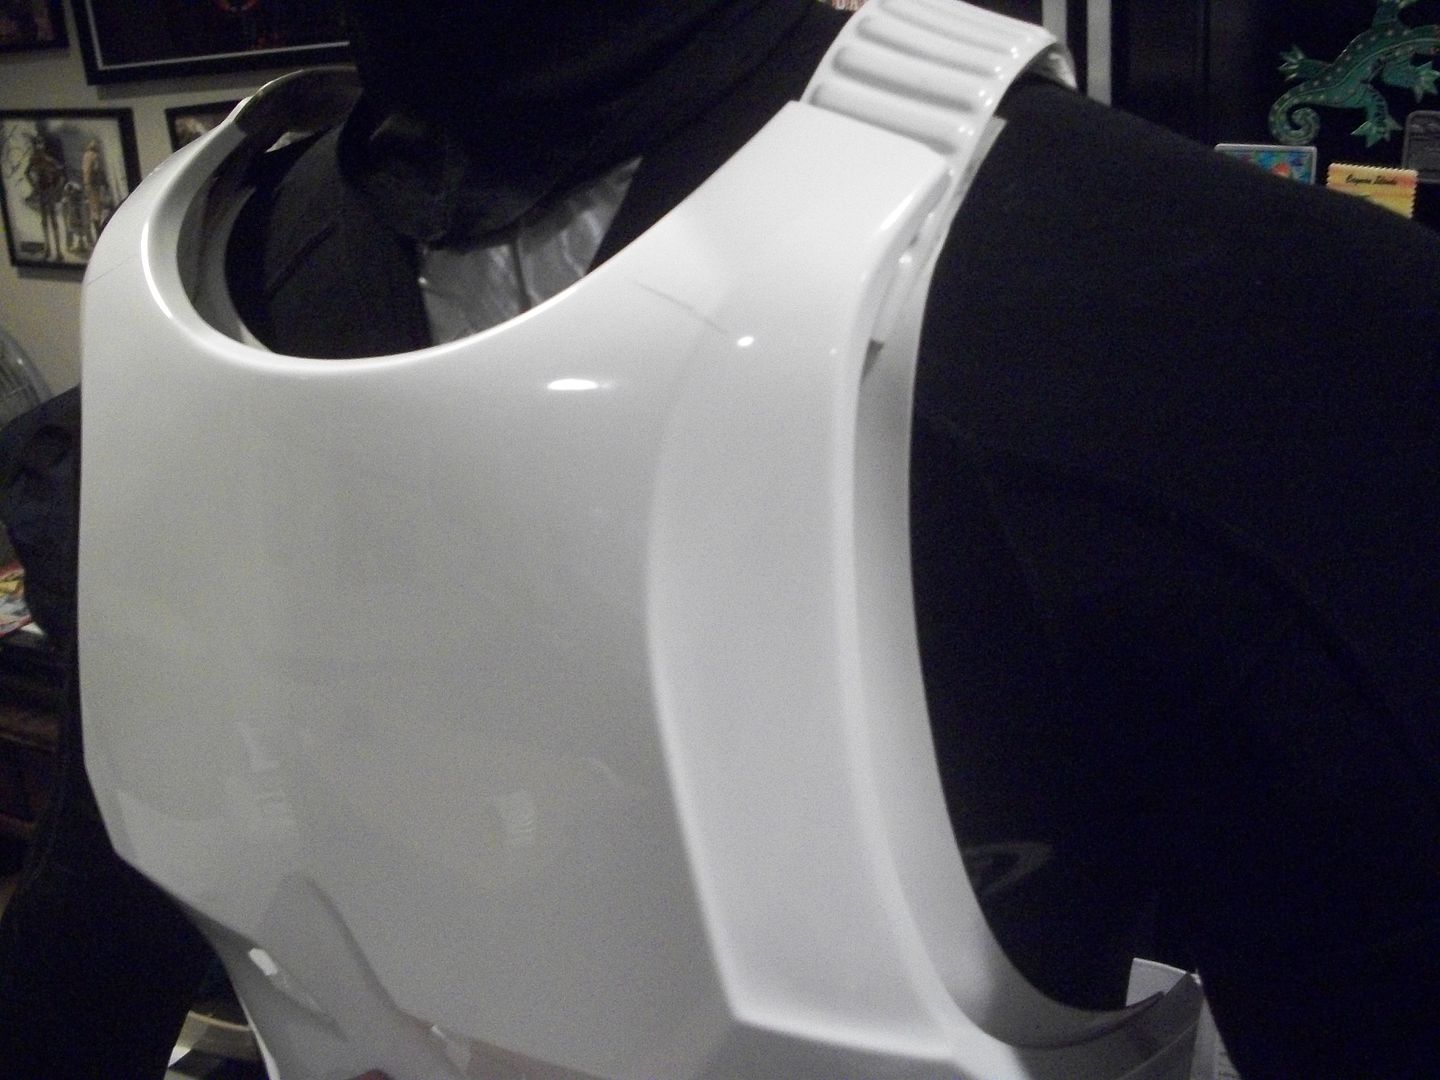
2) Lined it back up on the manikin and myself using painters tape:
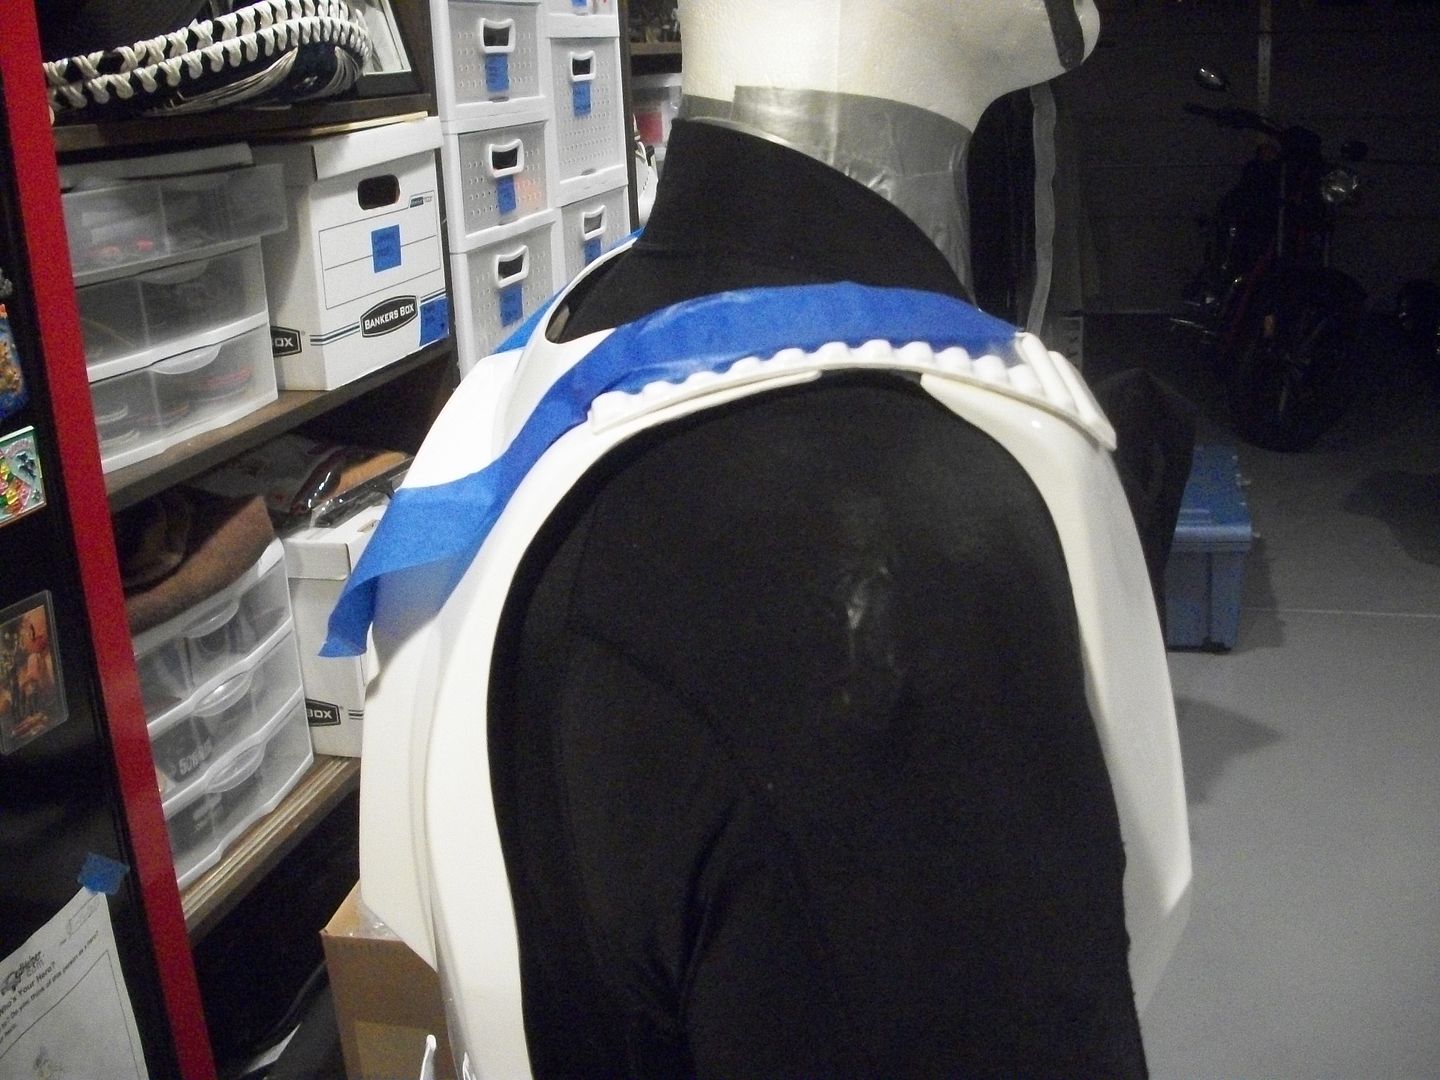
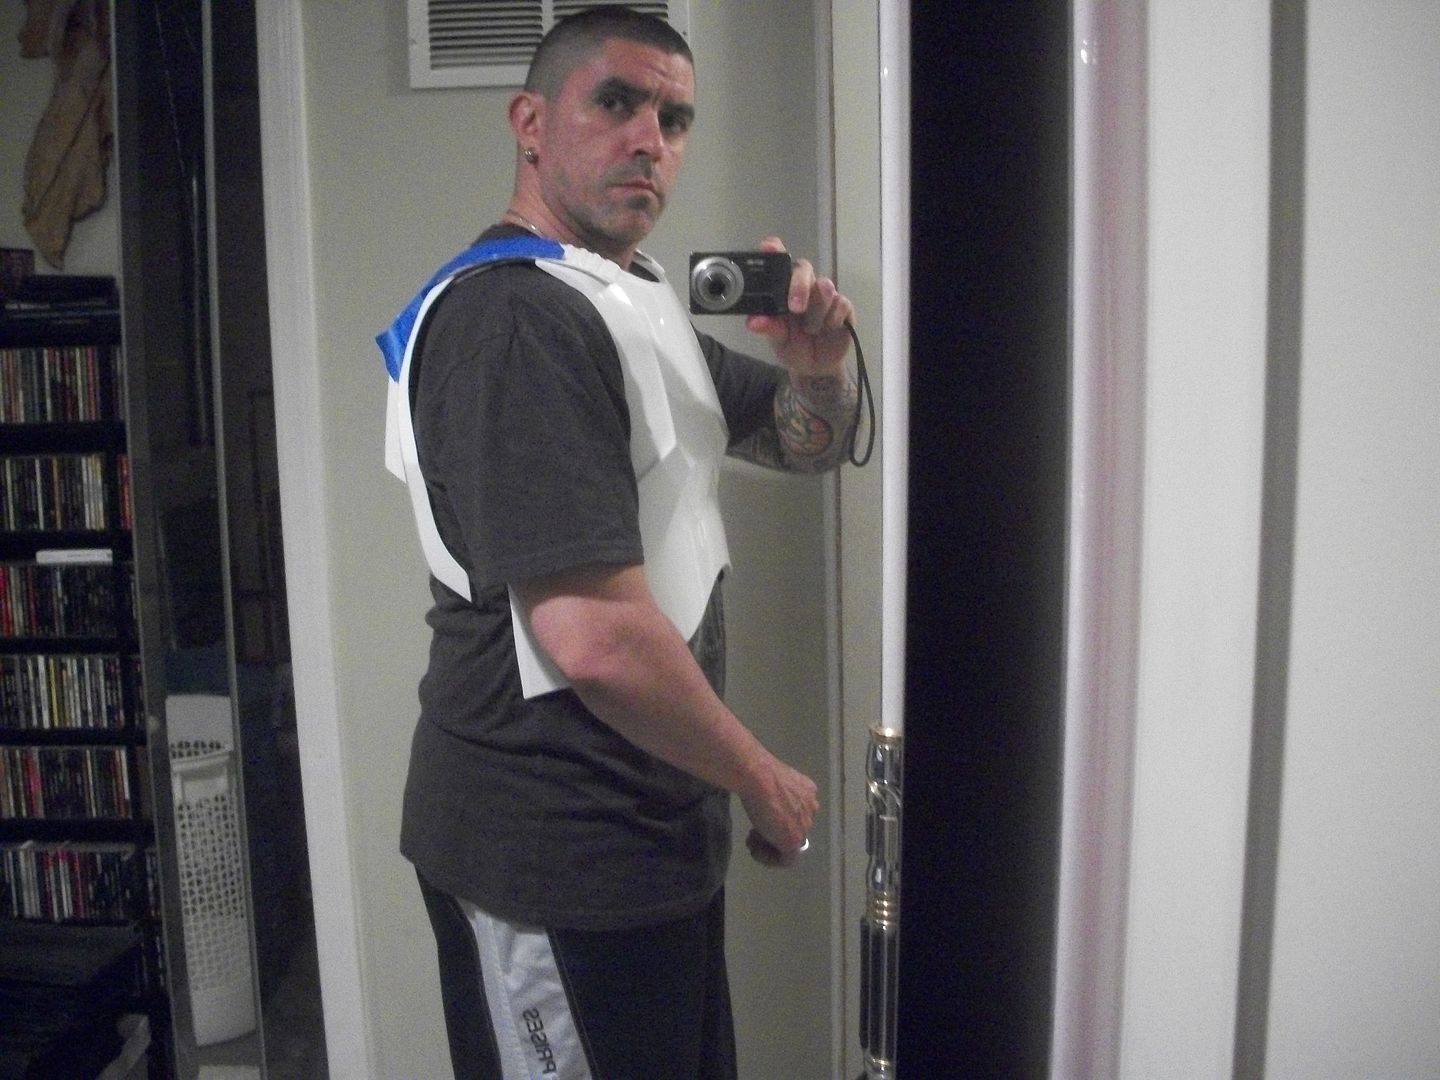
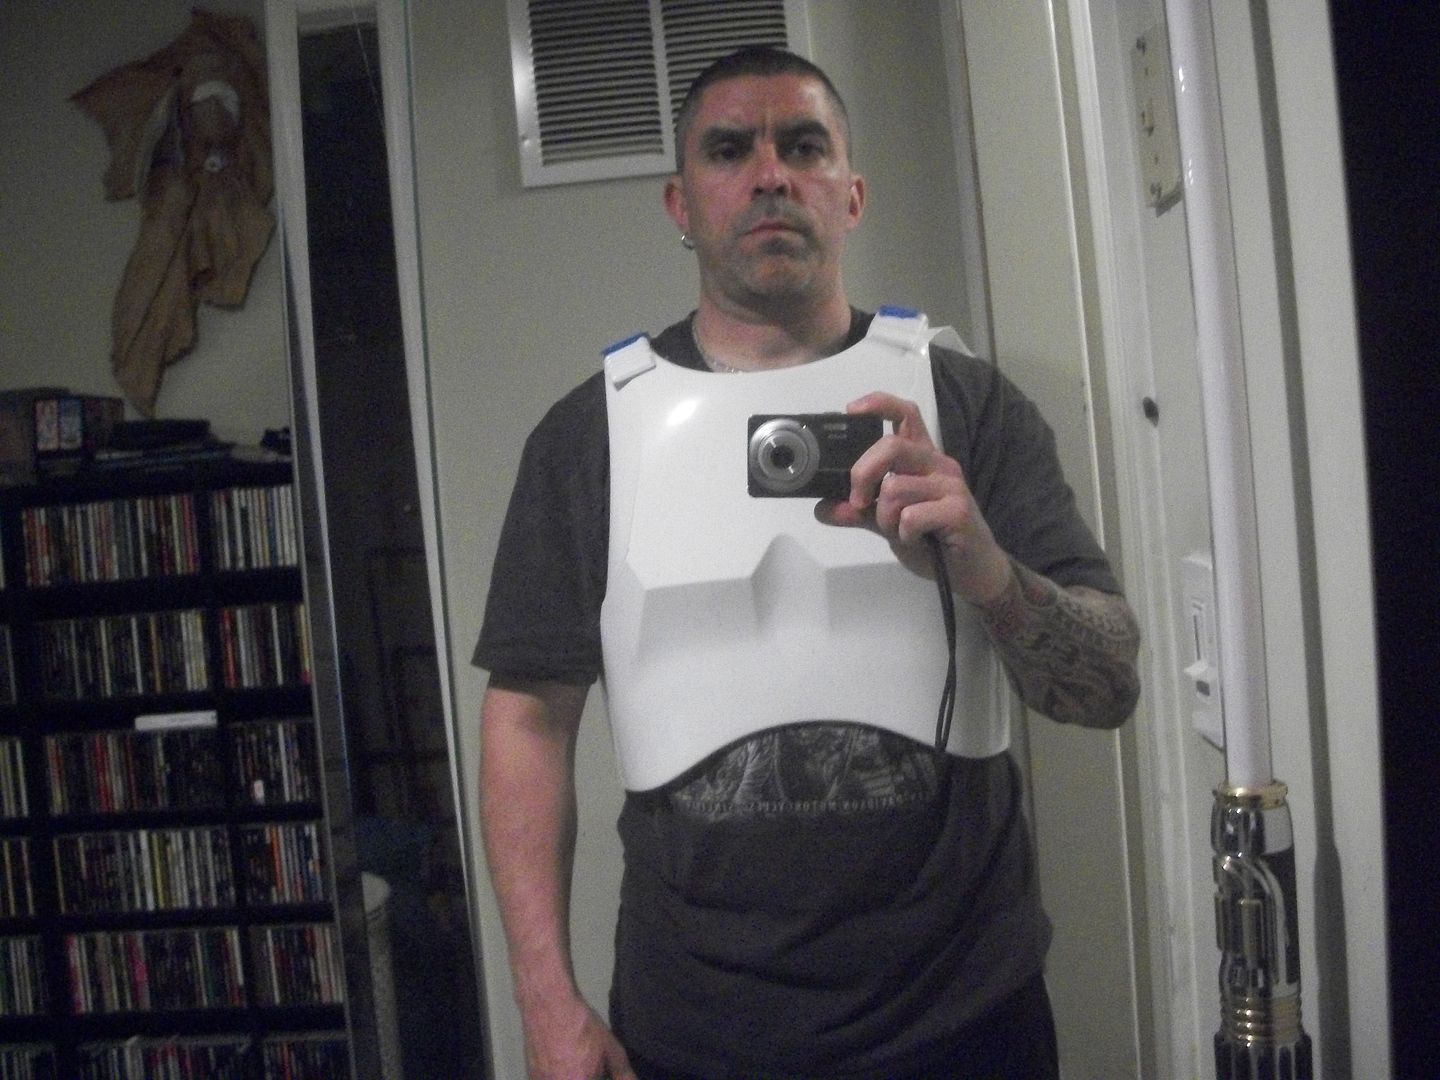
3) Once I was happy I then took the webbing that was attached to the front and marked it on the back plate snap, then made the hole with ye ole soldering iron:
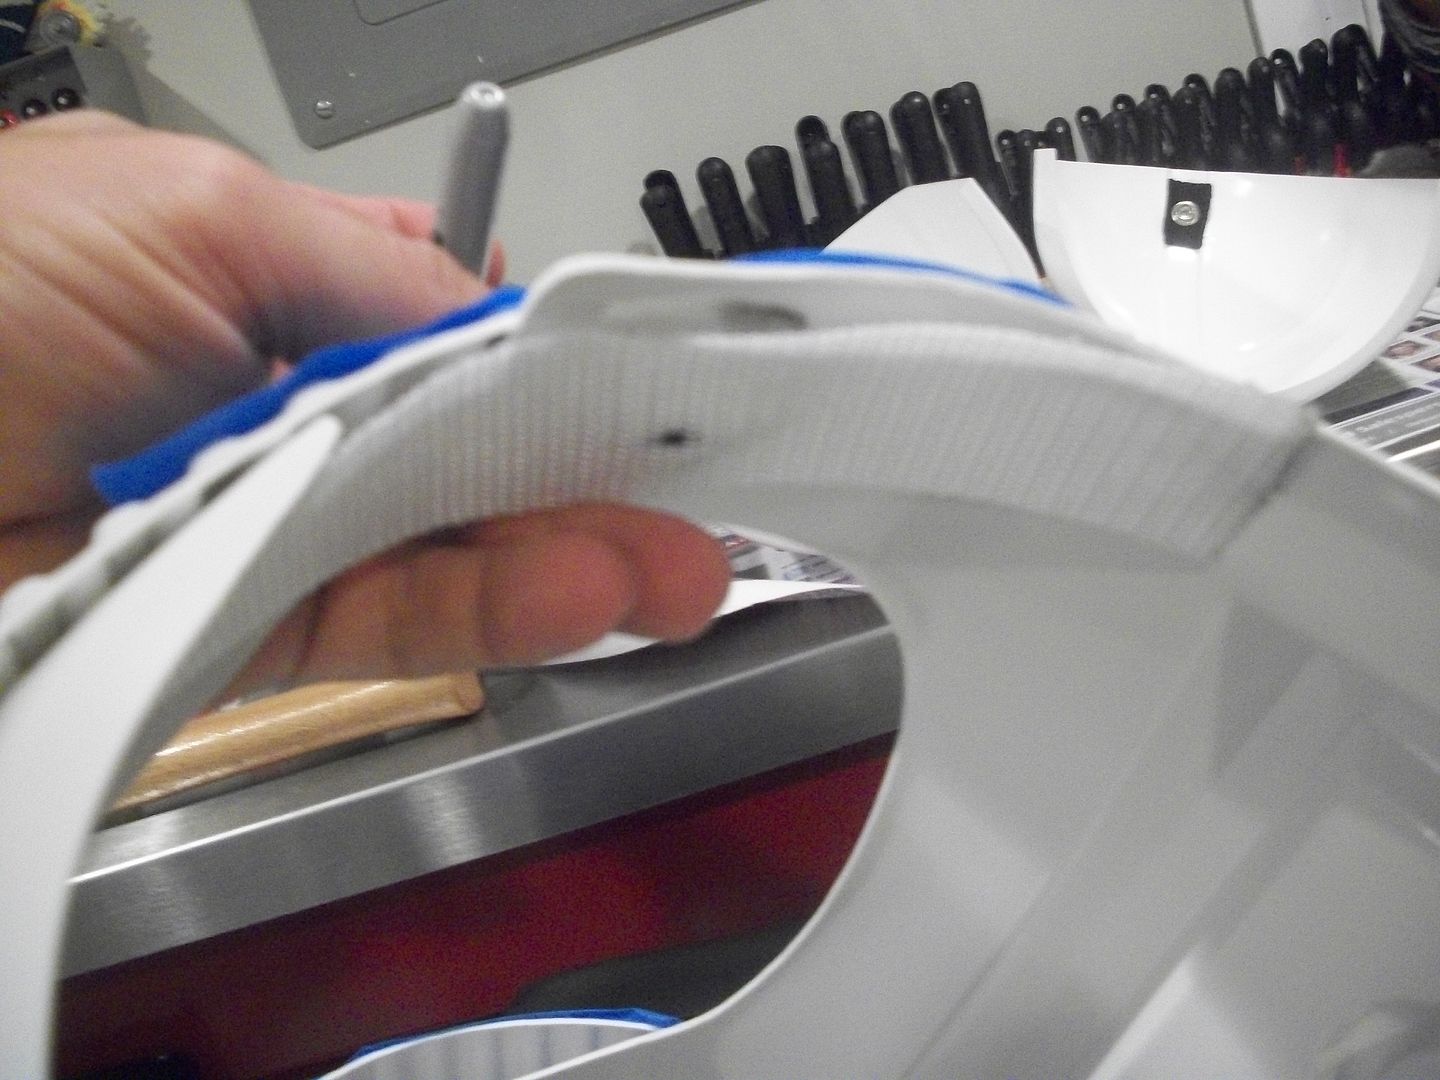
* It's somewhat important you label the straps because you'll be taking them off and even though we try to remain symmetrical we aren't machines so sometimes you can be a little off. By putting "LF" for left front, and "RF" for right front you can take them on and off a million times and always end up putting them back in the same way

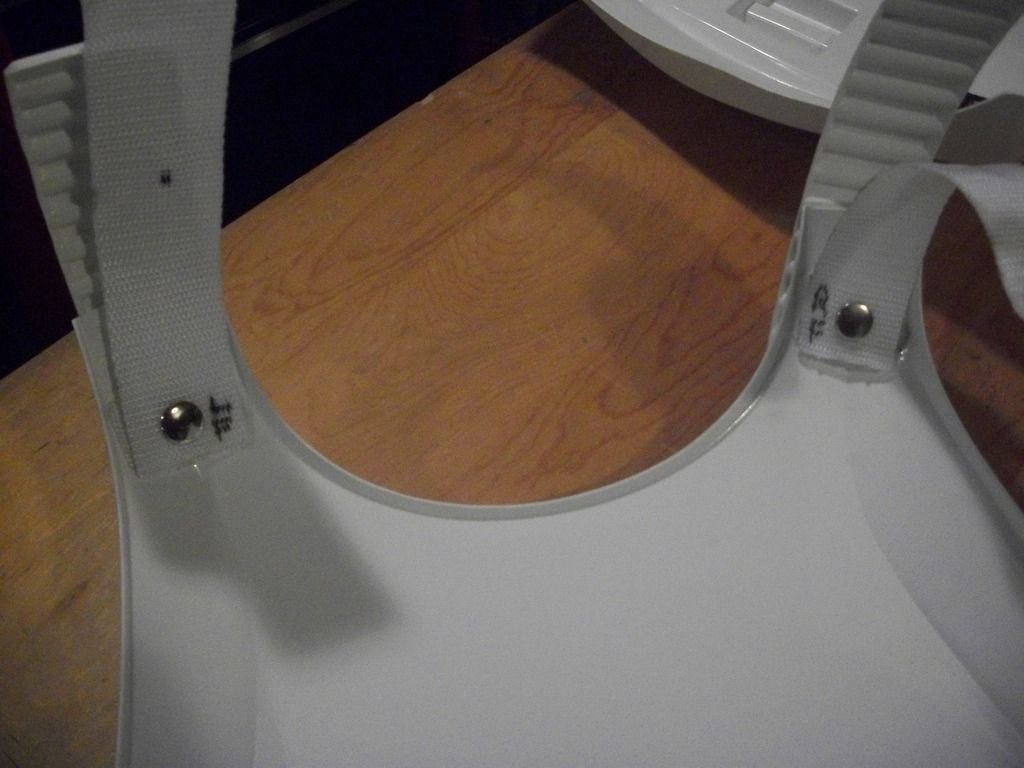
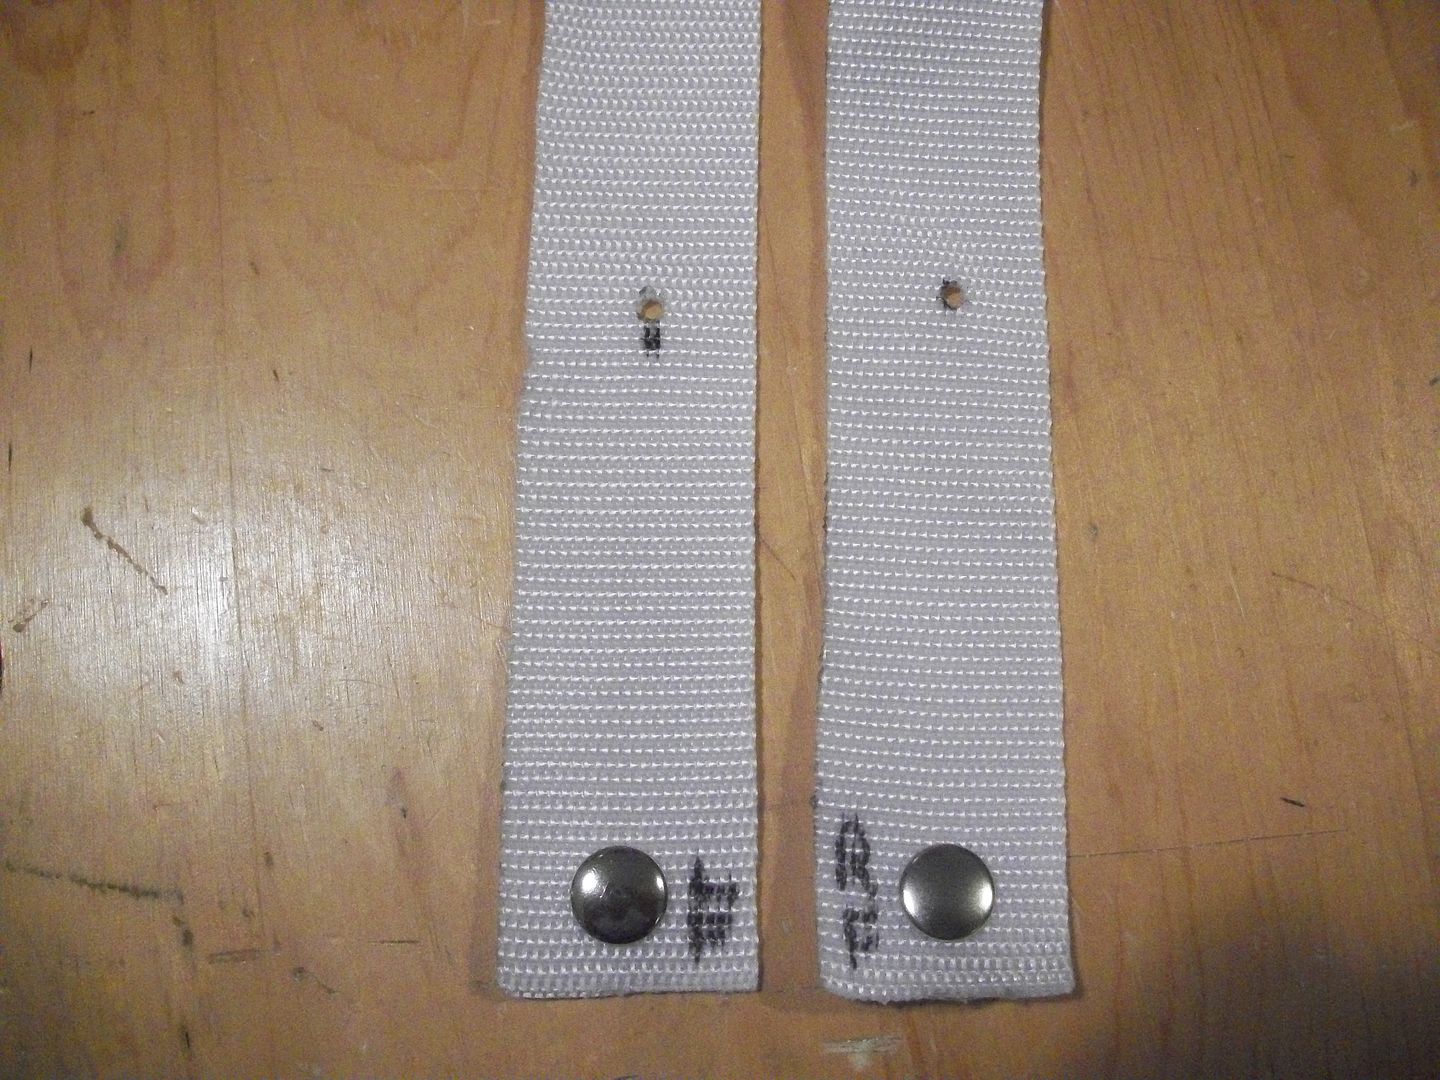
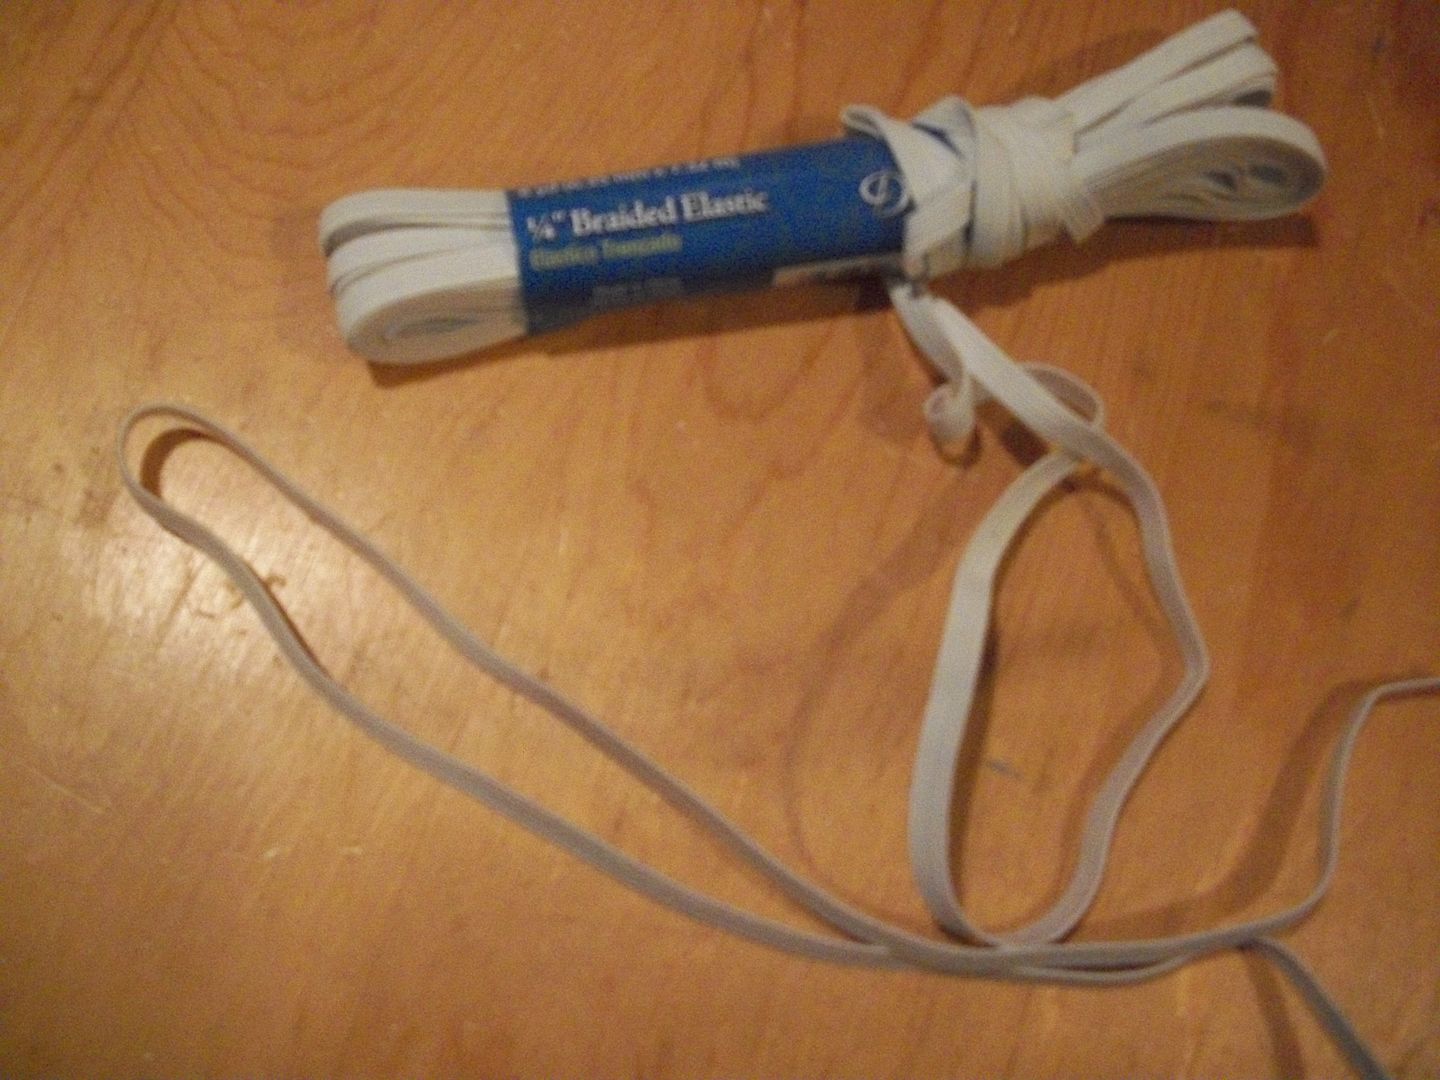
4) You use 1/4" white elastic to tie the shoulder strap down in the back:
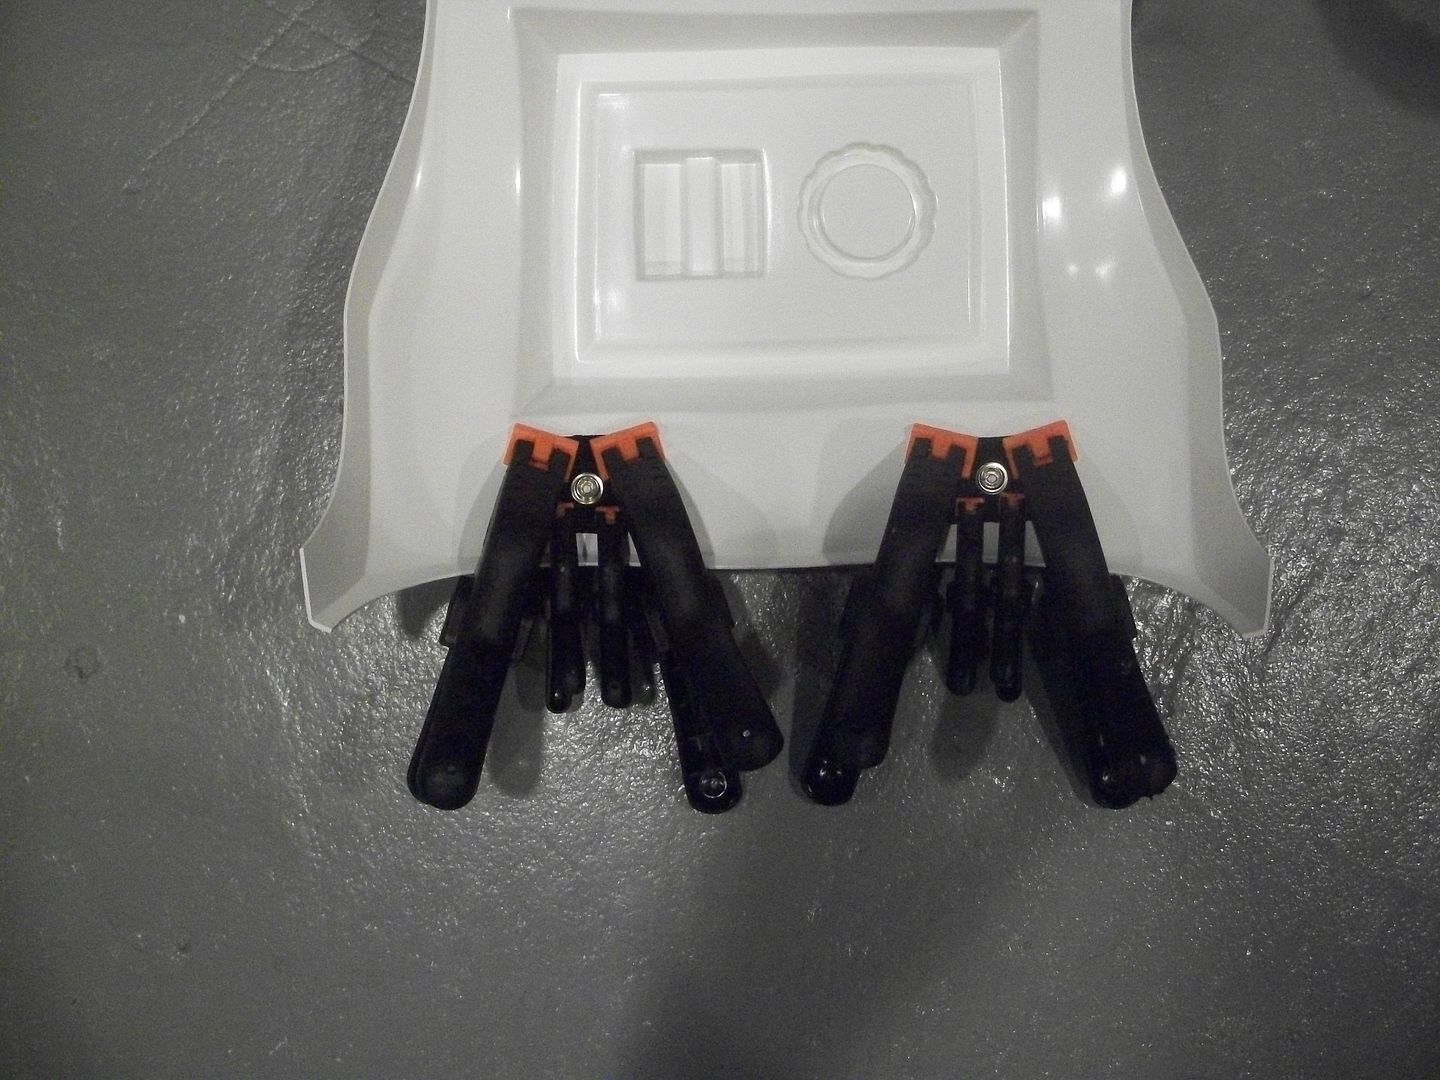
5) Added the snap webbing for the elastic connection:
6) Test fit again to make sure it looks okay:
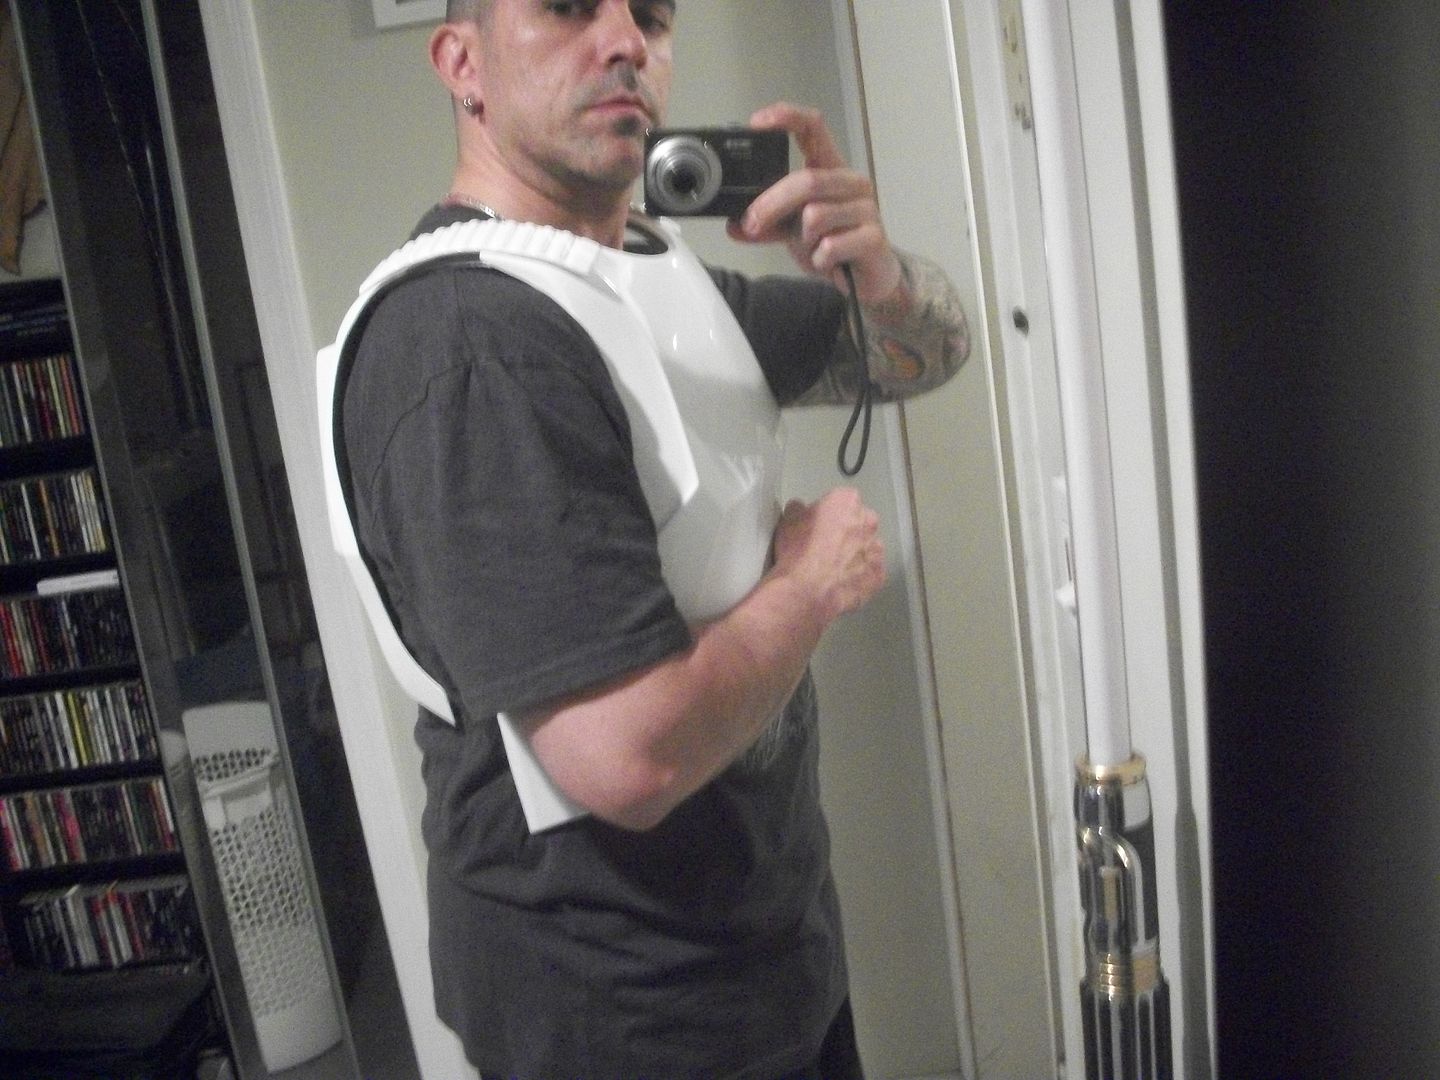
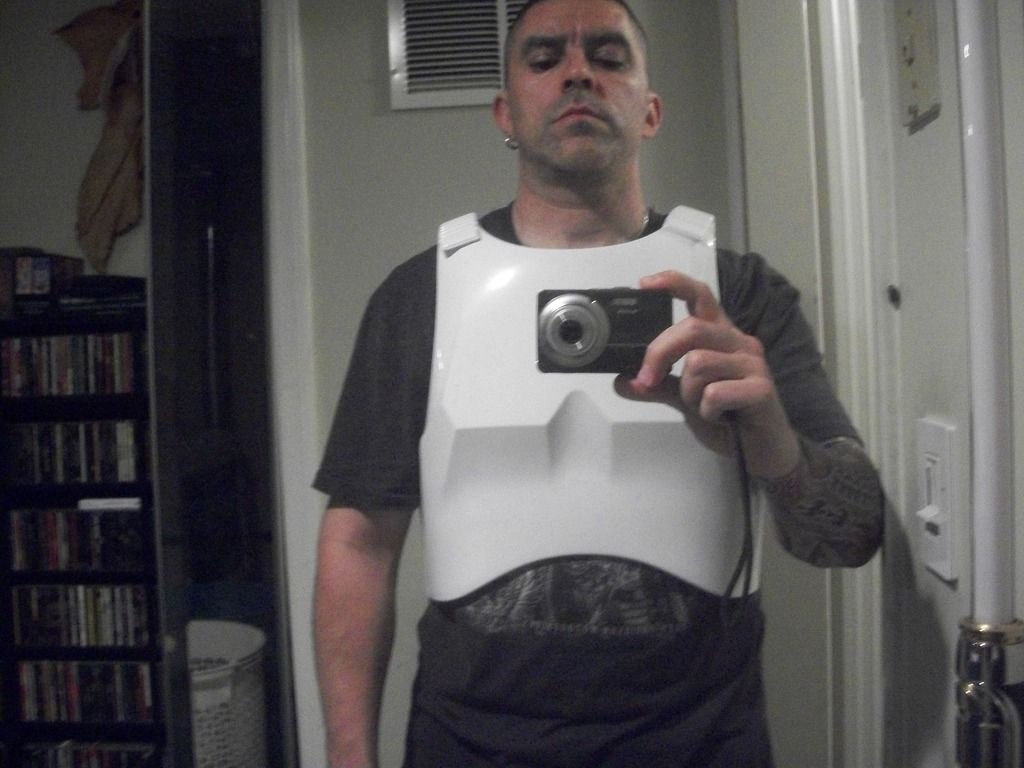
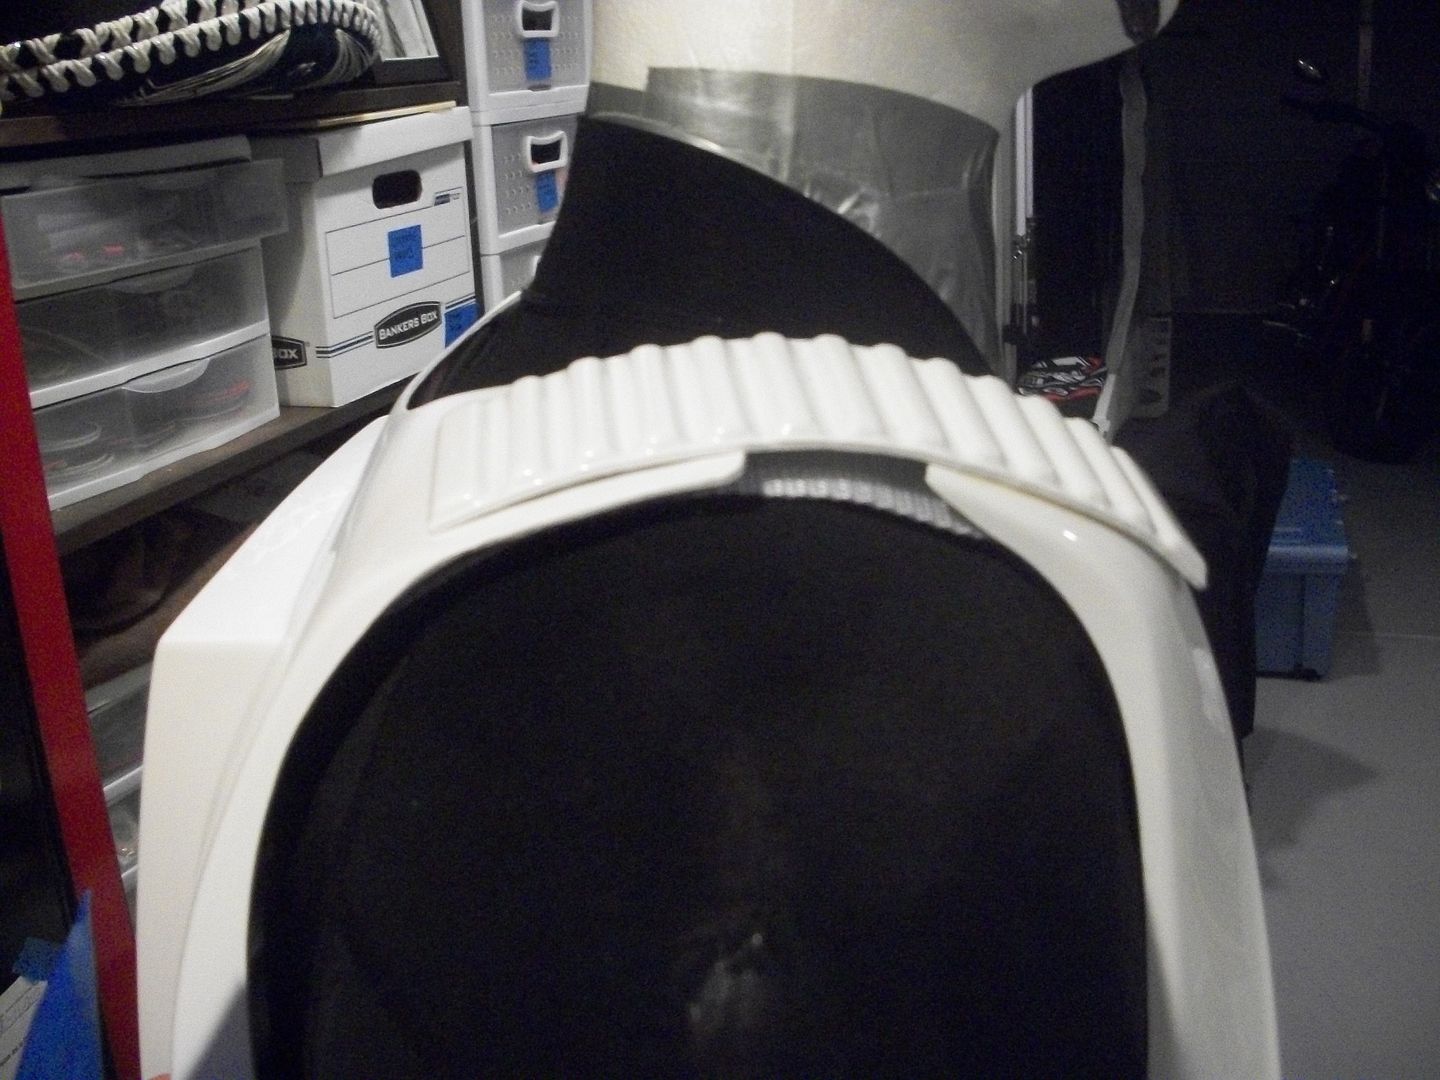
7) Note that the bottom of the chest is a little large on me so at one point I'll probably trim it back some more...
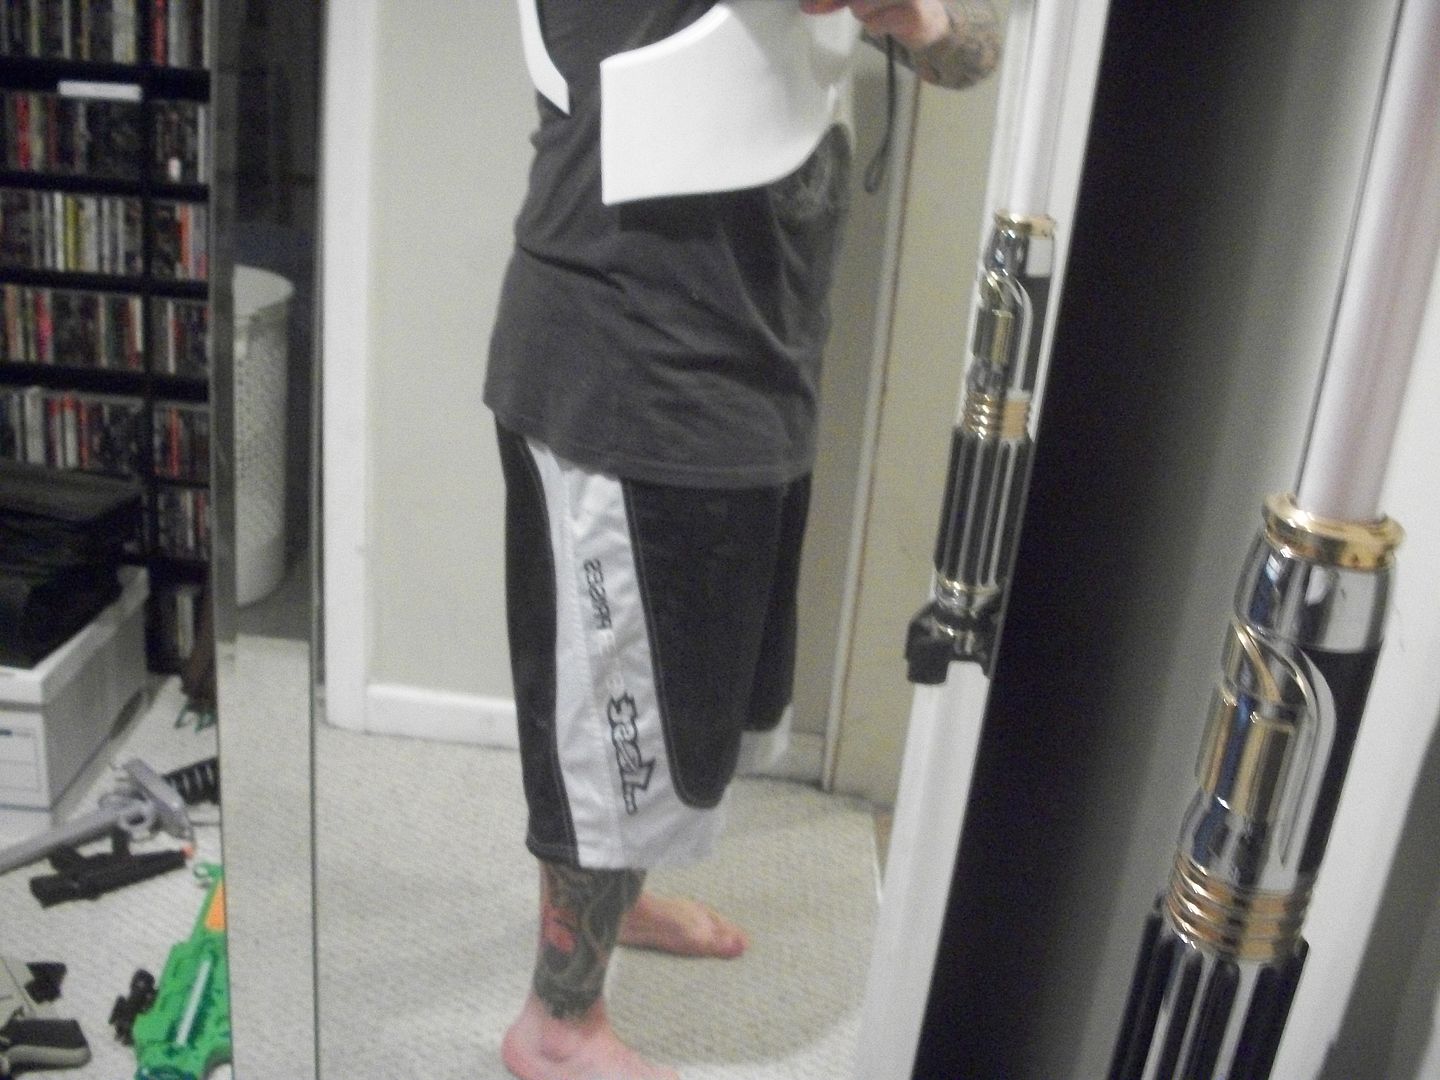
TOTAL TIME FOR CHEST TRIMMING, SANDING, TEST FITS, WEB PREP AND ATTACHMENT = 2 HOURS
TOTAL TIME FOR BACK TRIMMING, SANDING, TEST FITS, WEB PREB AND ATTACHMENT = 2 HOURS
-
Continuing the butt/kidney:
14) Elastic connections. Pretty much the same as all the other connections, make the holes with the soldering iron, singe all cut ends and attach snaps. For black elastic I used a sliver marker to hit the hole spots on for the snaps.
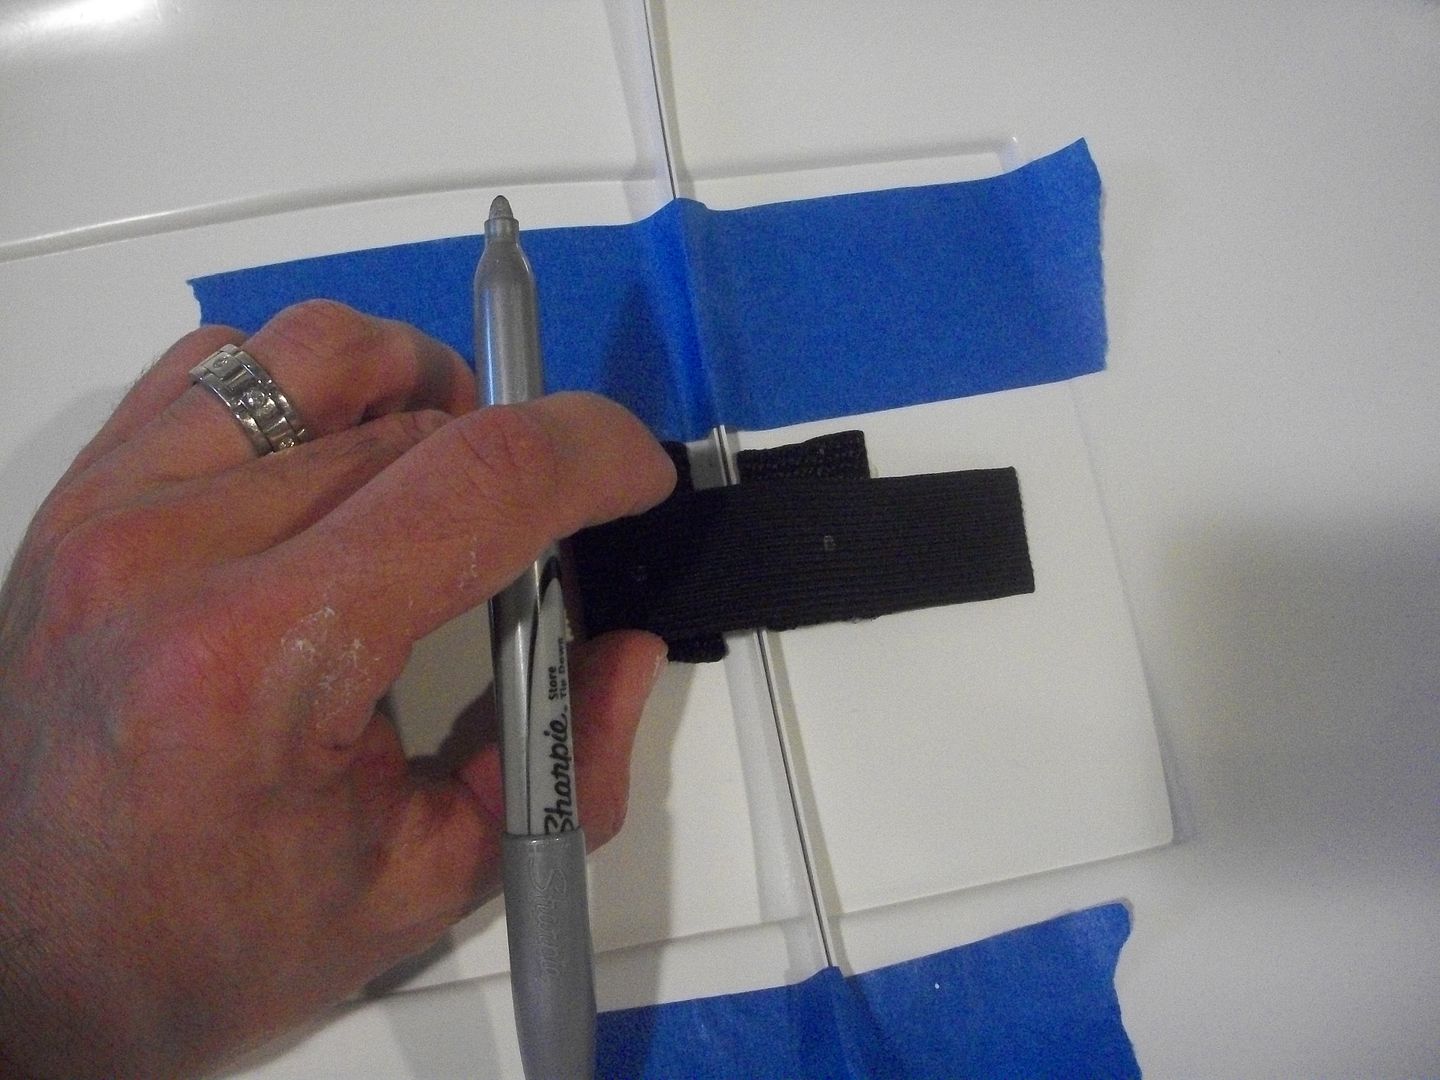
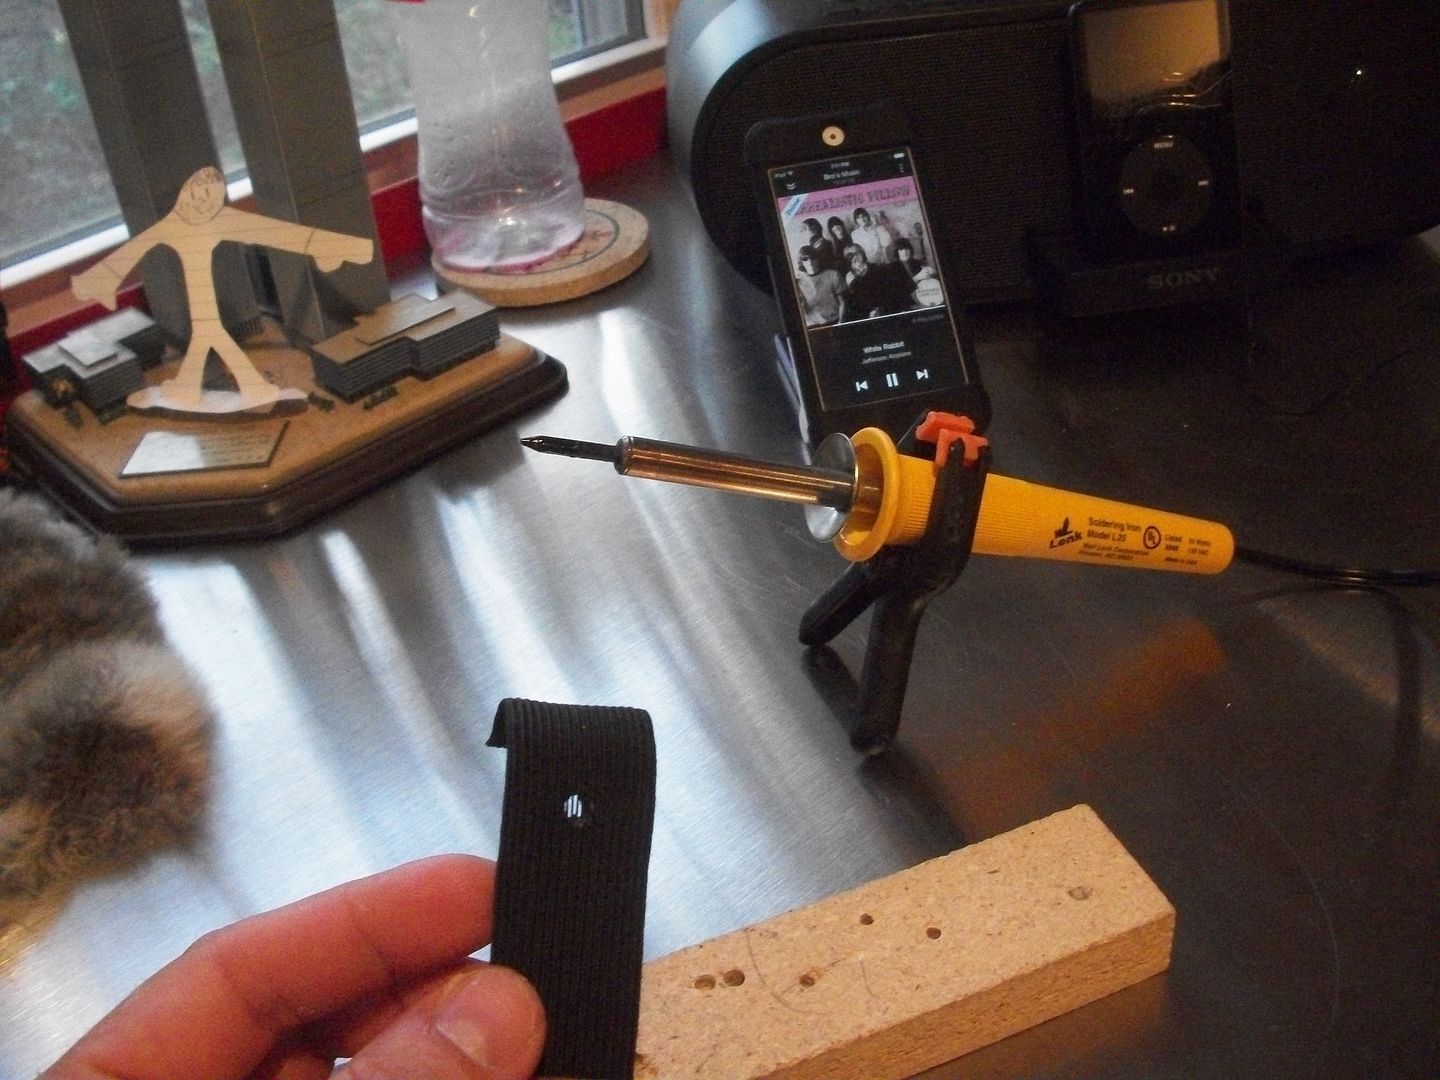
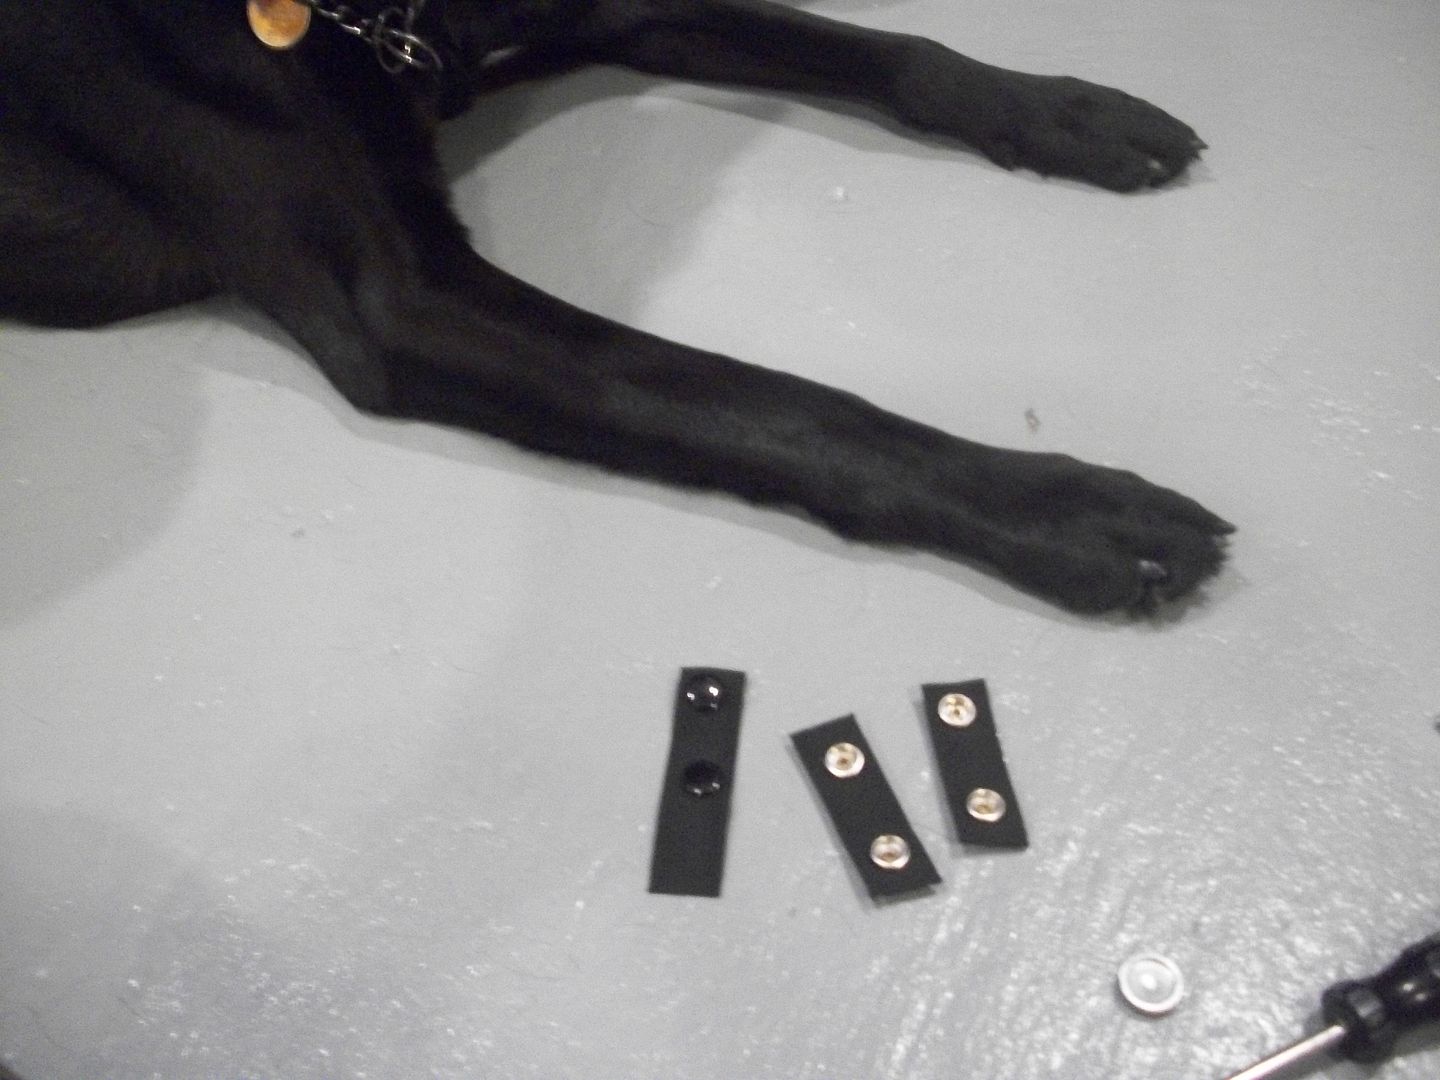
15) Putting it together. Snap it all in place, trim the excess as needed to make it look better

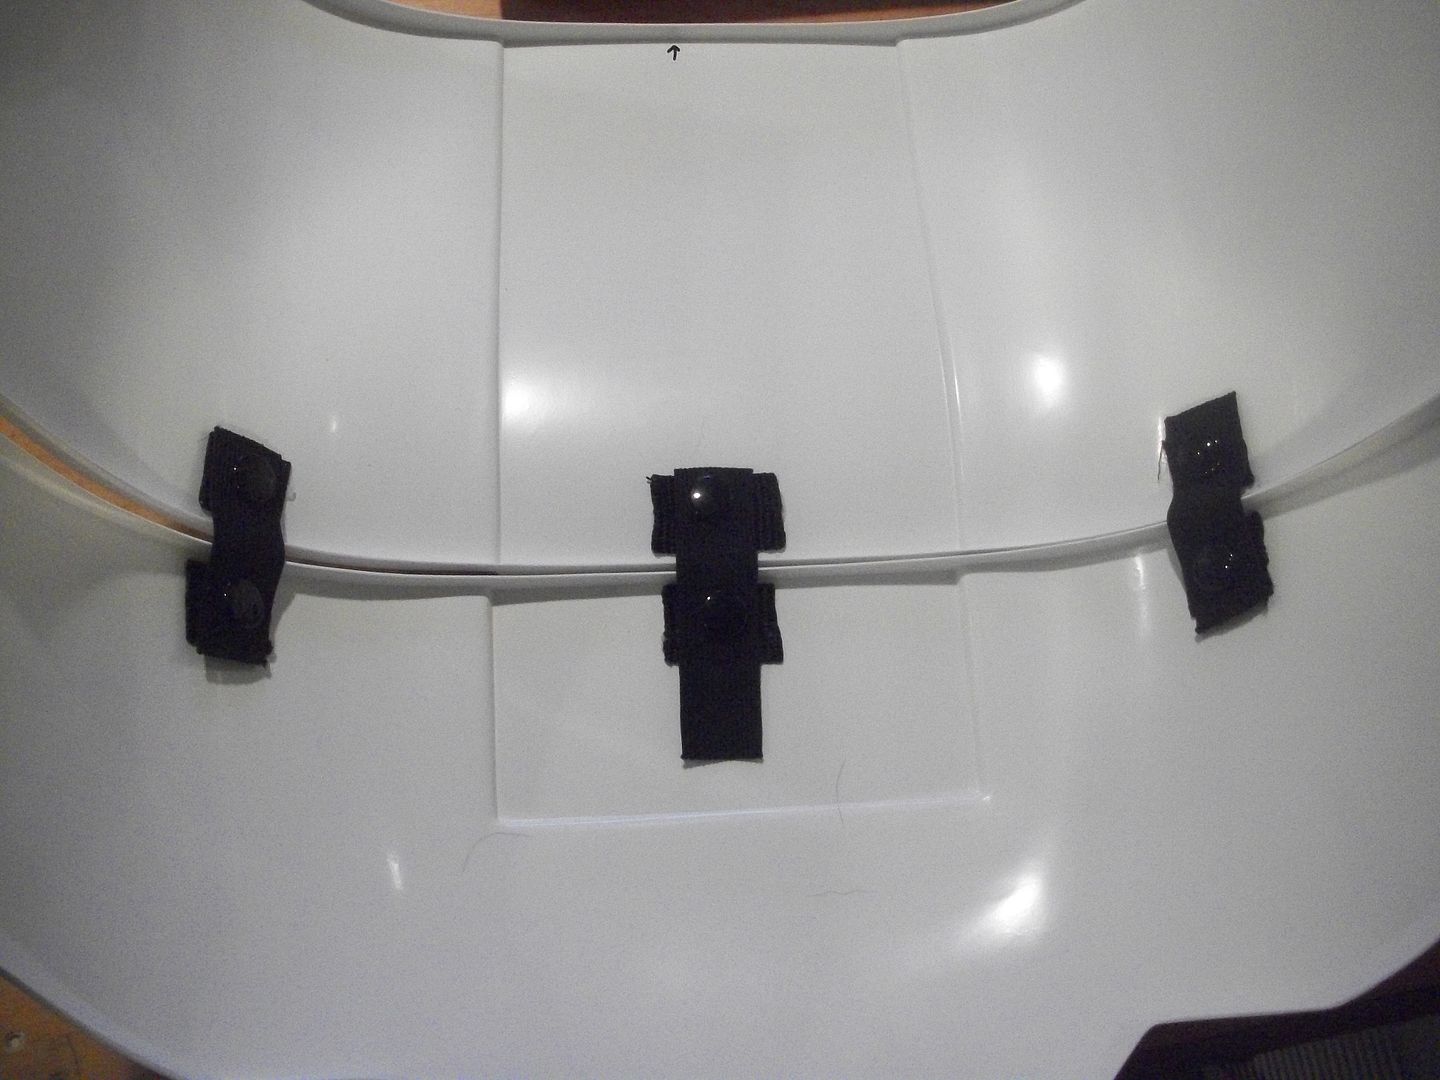
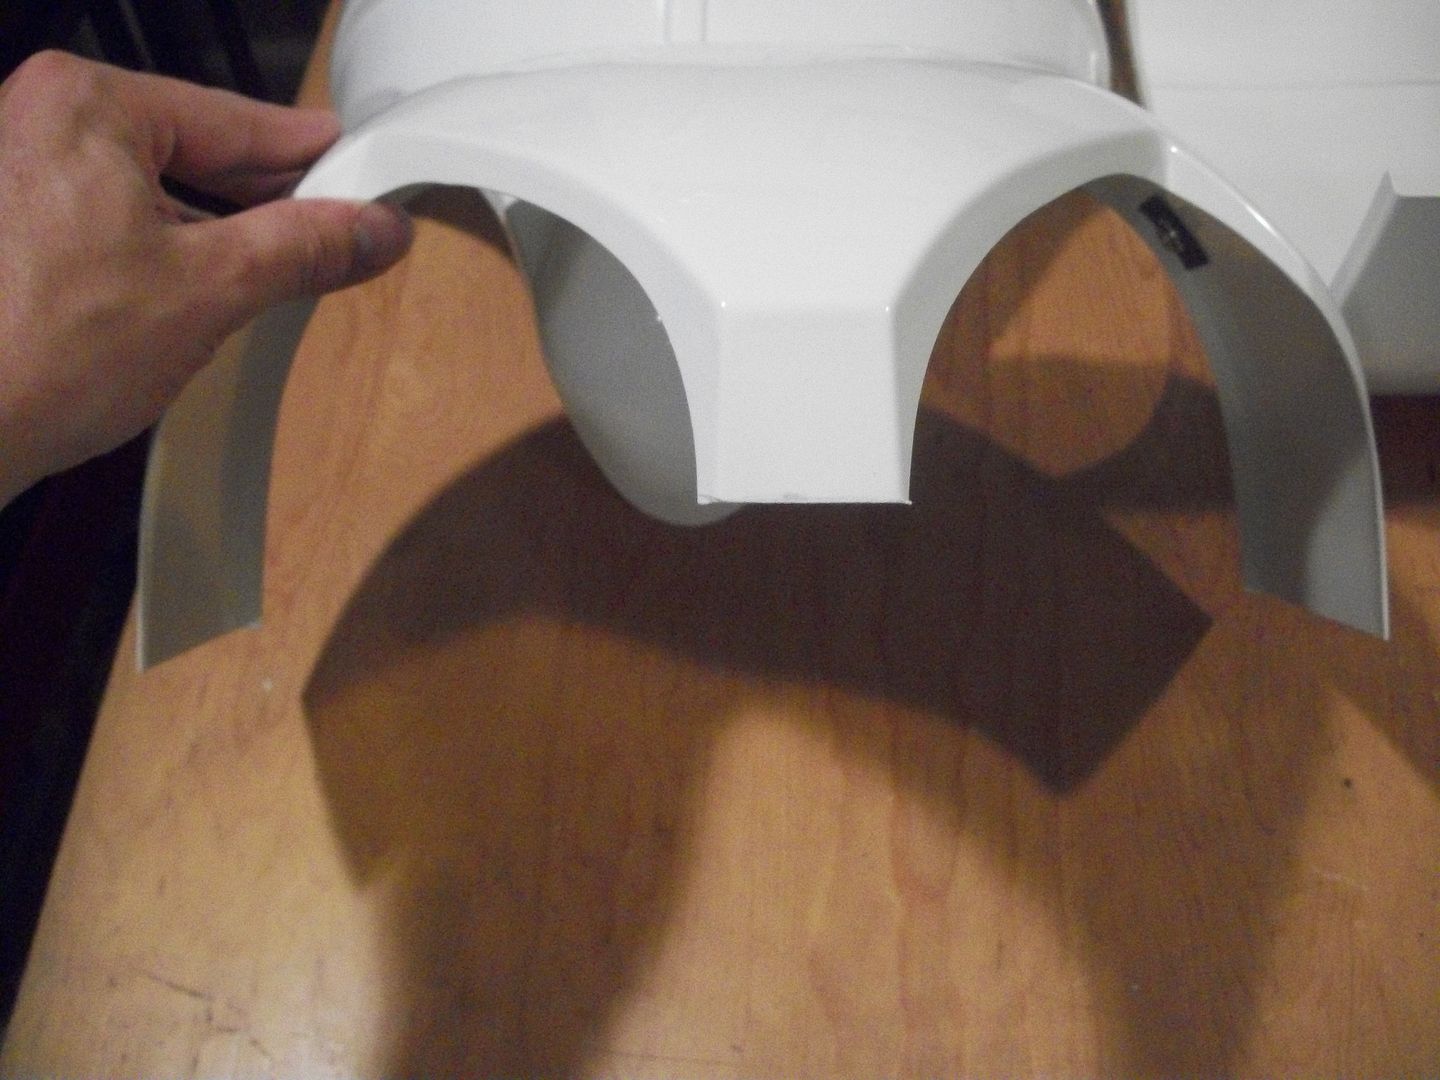
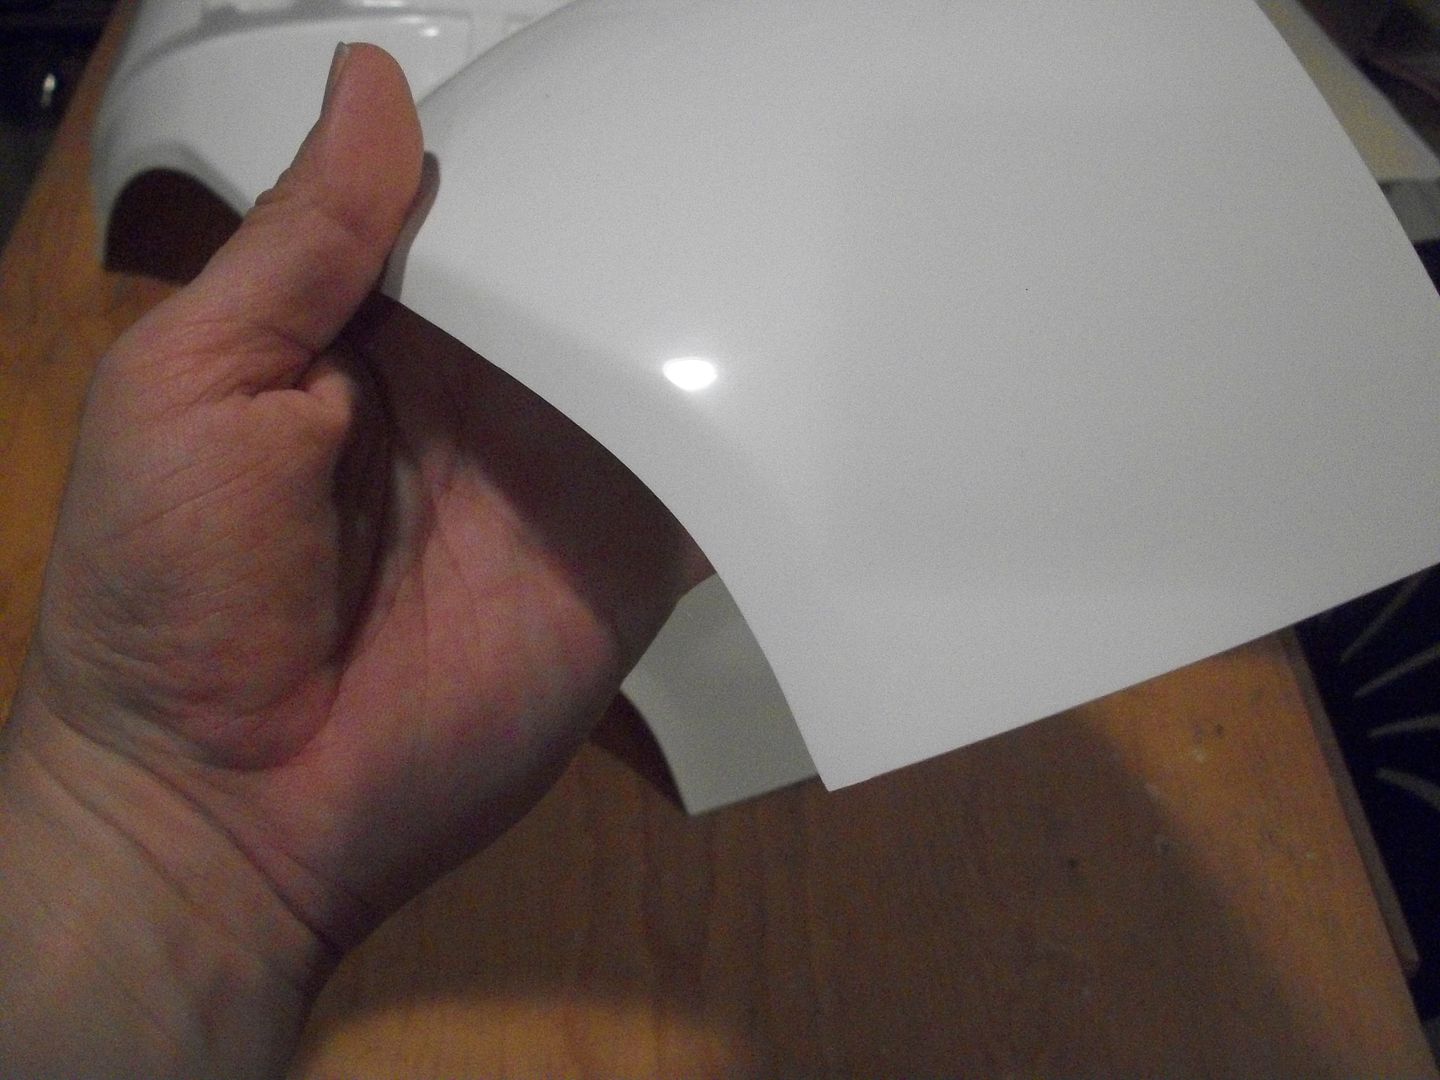
16) Also trimmed the butt plate a little where it goes between the legs. Cut off these sharp edges and basically rounded everything:
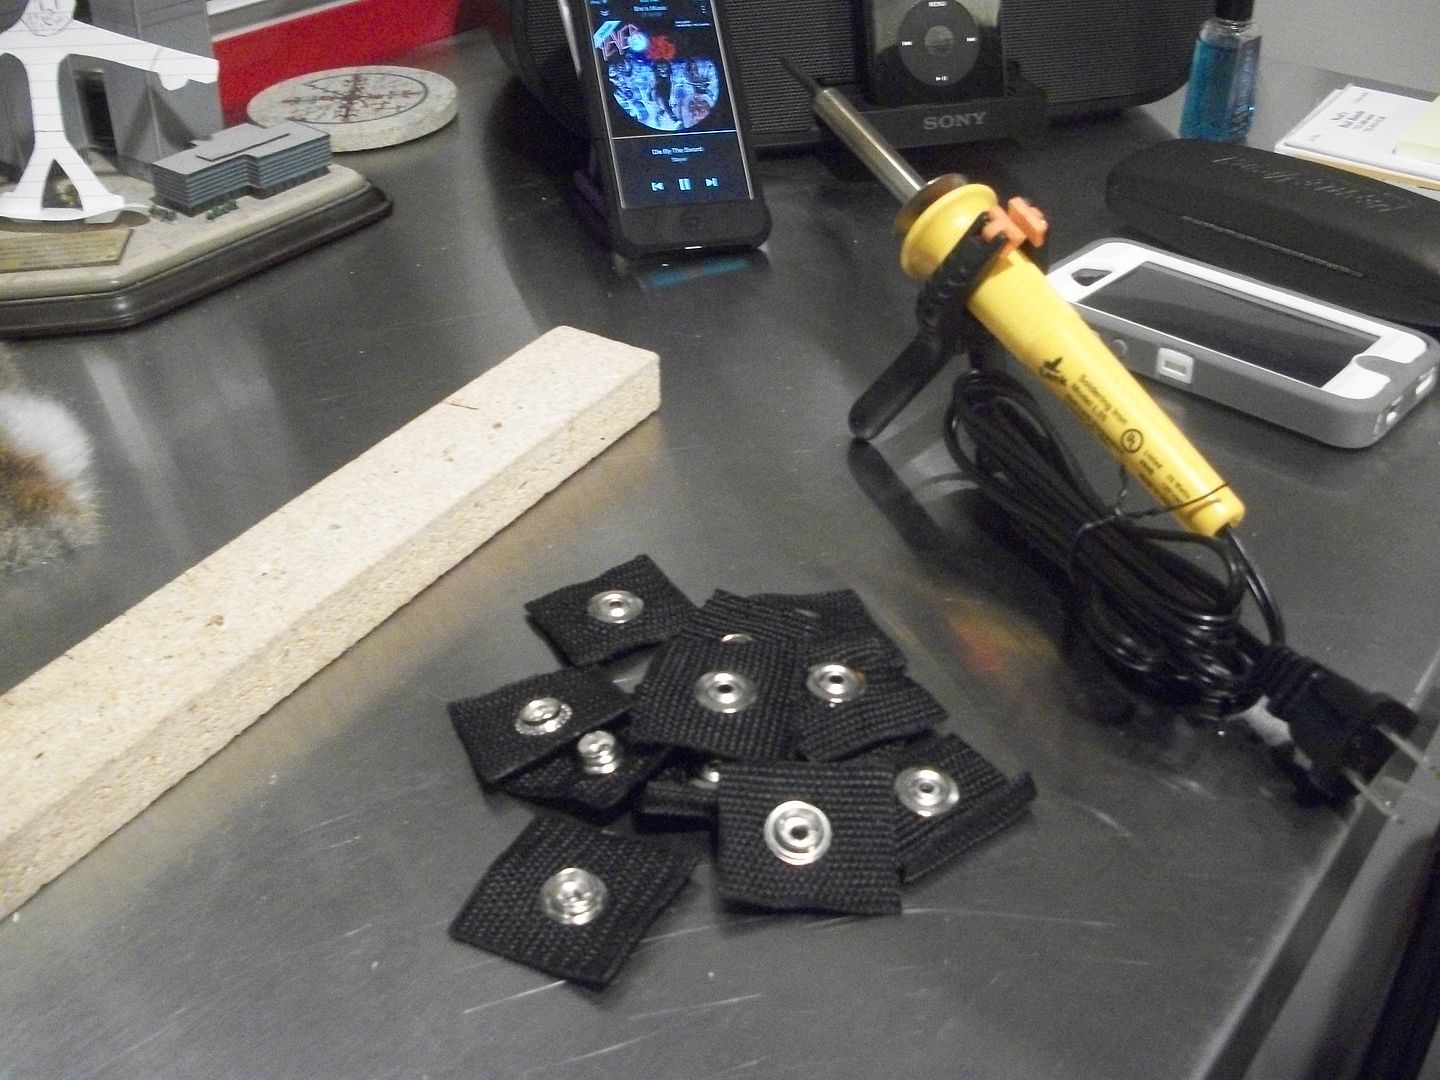
Make more prep squares/snaps lmao...
BACK/KIDNEY CONNECTIONS:
TIME CHECK: SMALL AMOUNT OF TRIMMING AND SANDING, LINING UP AND ATTACHING = 1 1/2 HOURS
Trimming the chest.
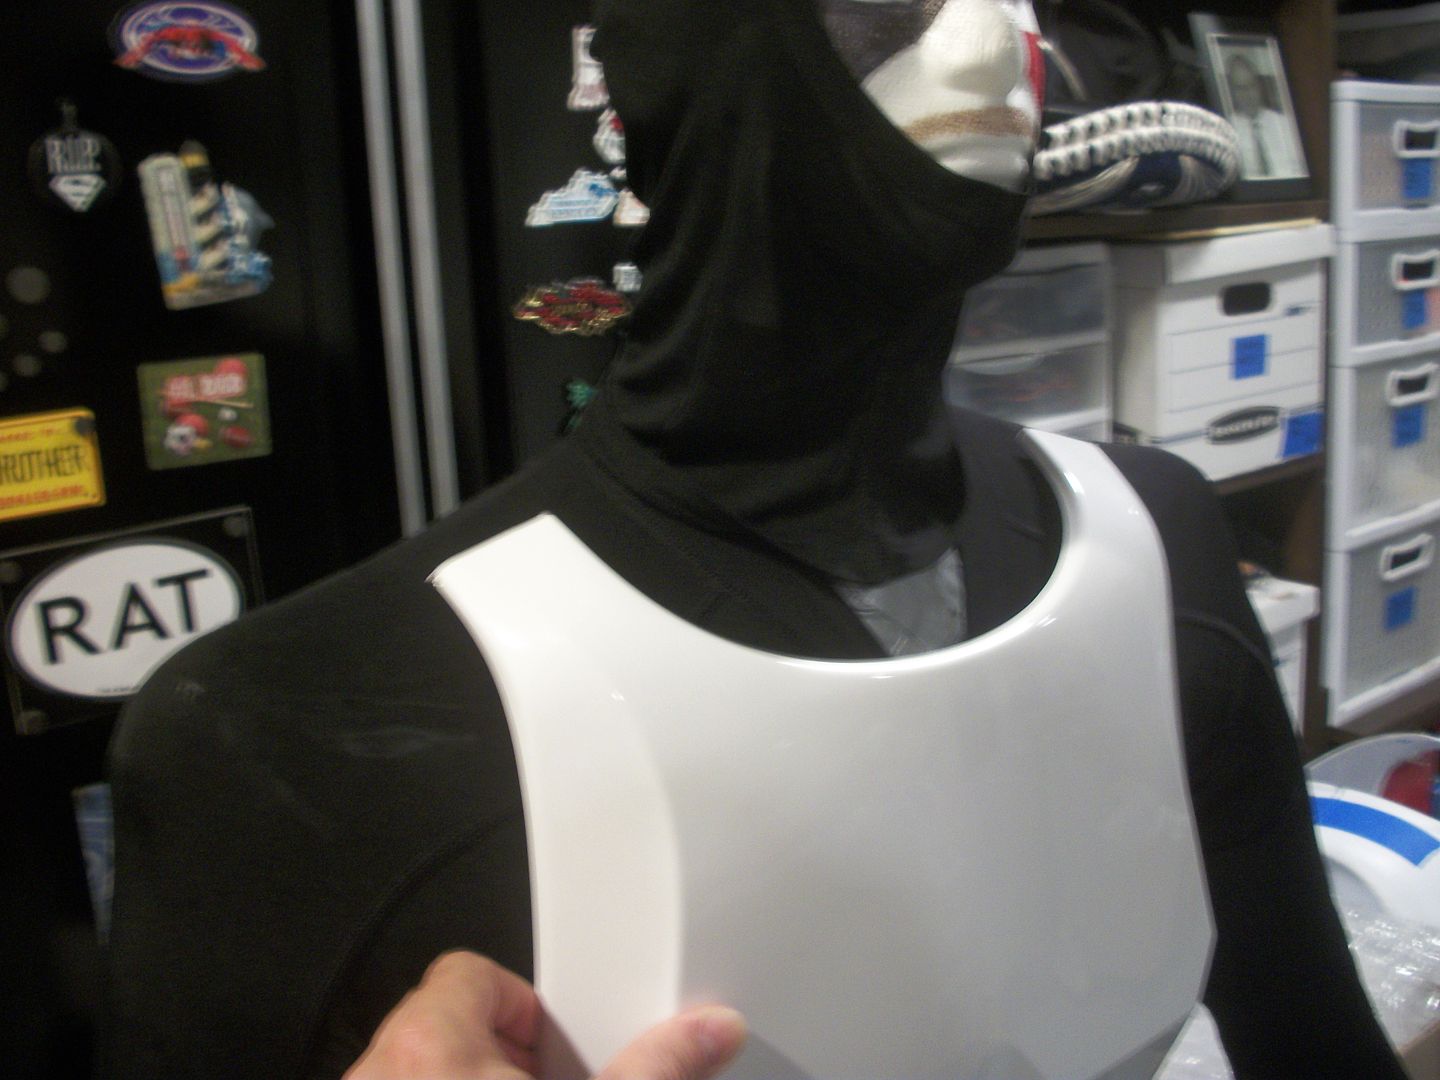
1) The AM 2.0 kit has very long shoulder parts that need to be trimmed down.
I used my manikin (as well as mirror on myself) to gauge where I'd want to be and cut it. I measured both sides to make sure I cut off the same amount and they ended up even.
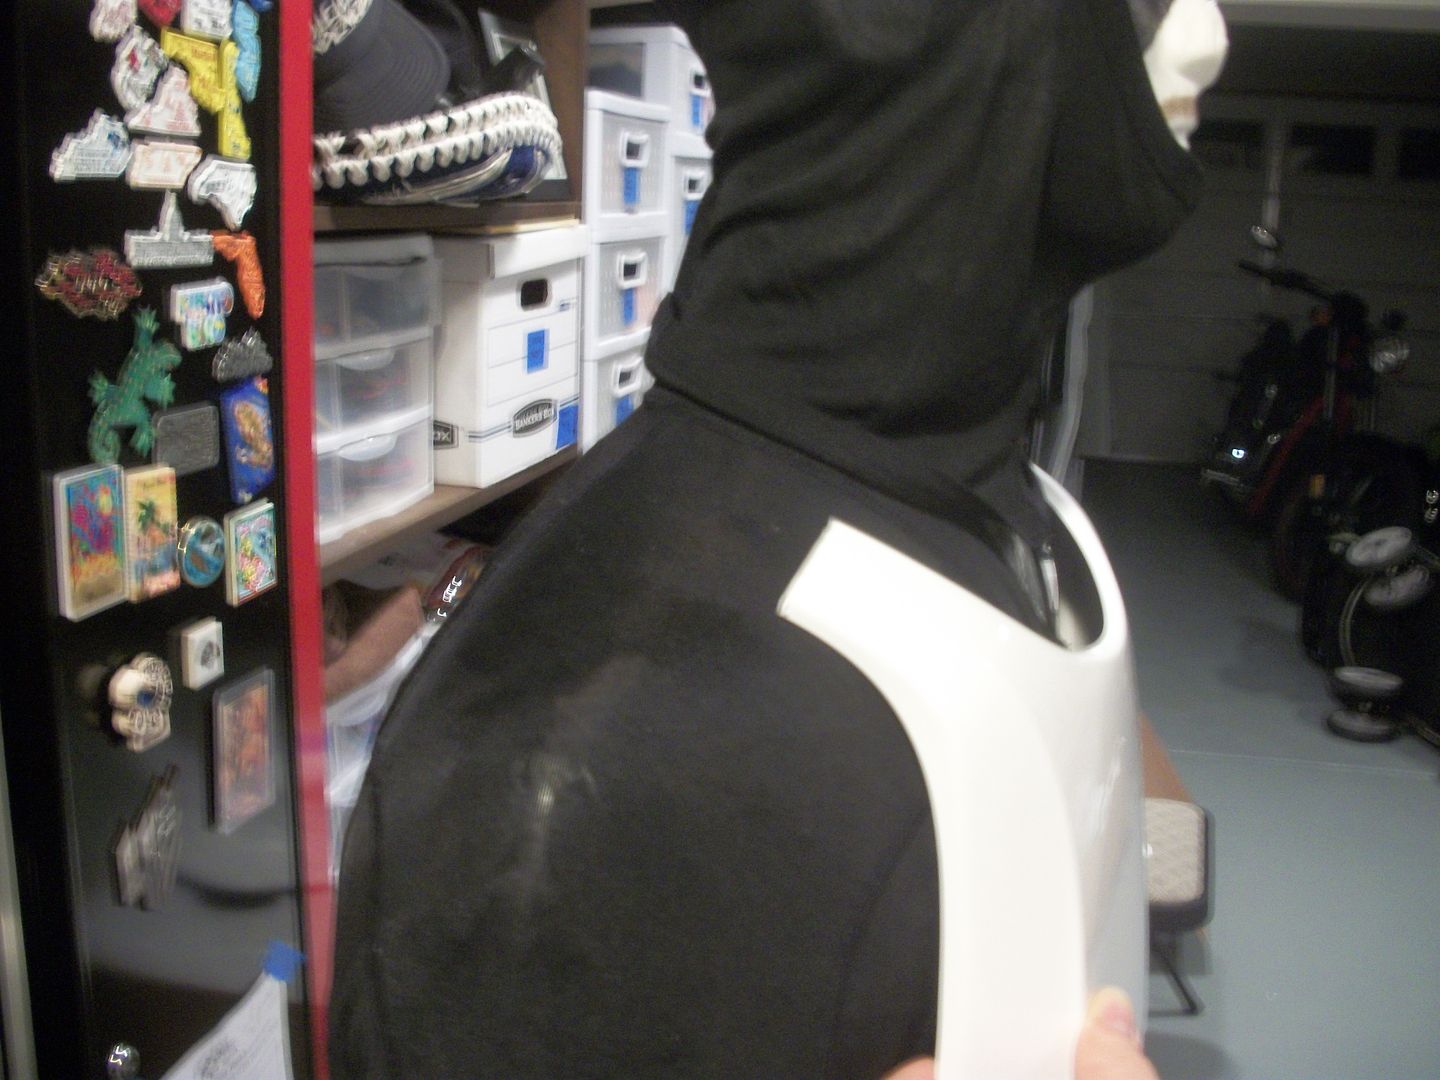
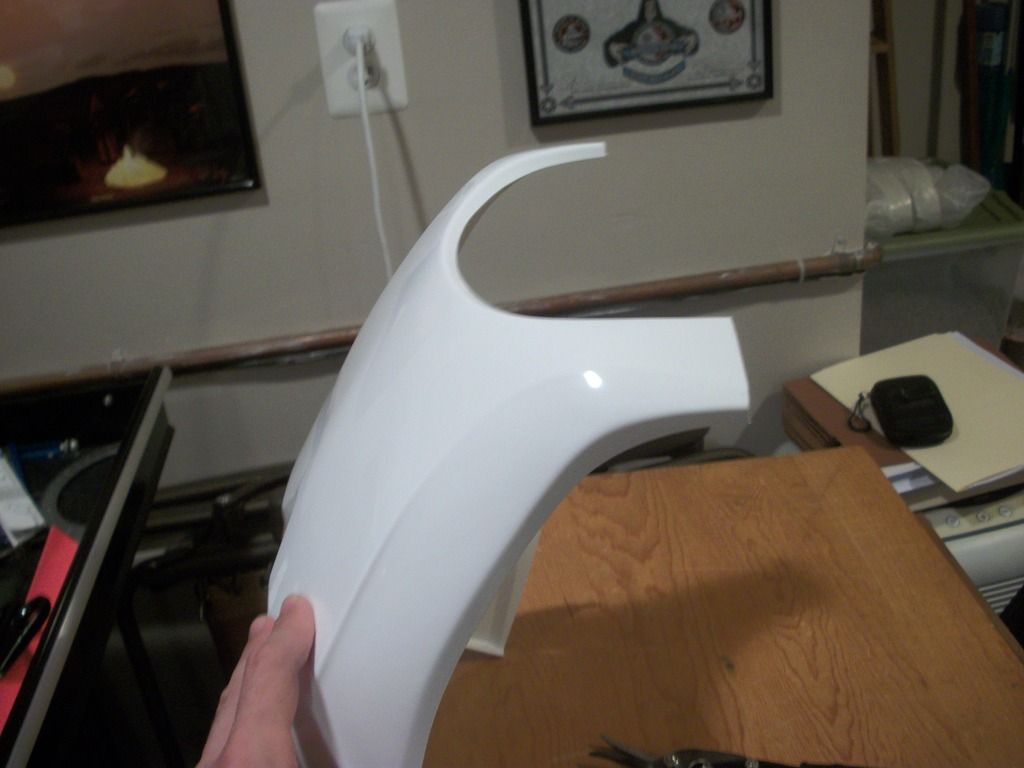
2) The sides have a little edge that gets trimmed. Ultimately I might need to trim it back more but for now I only did that.
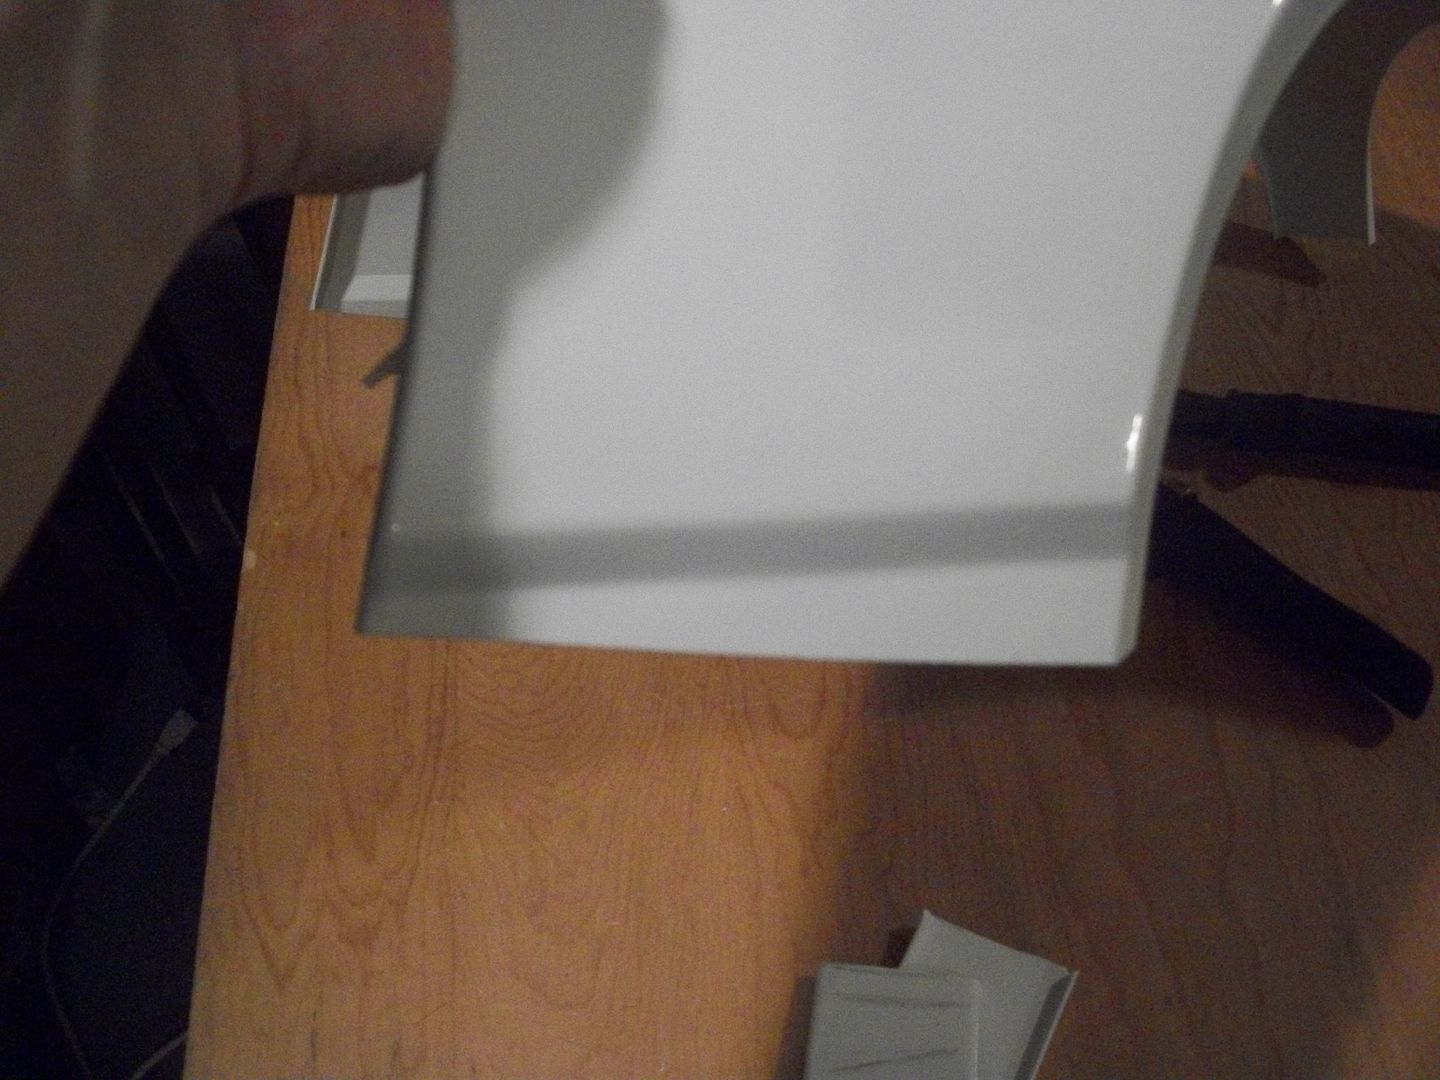
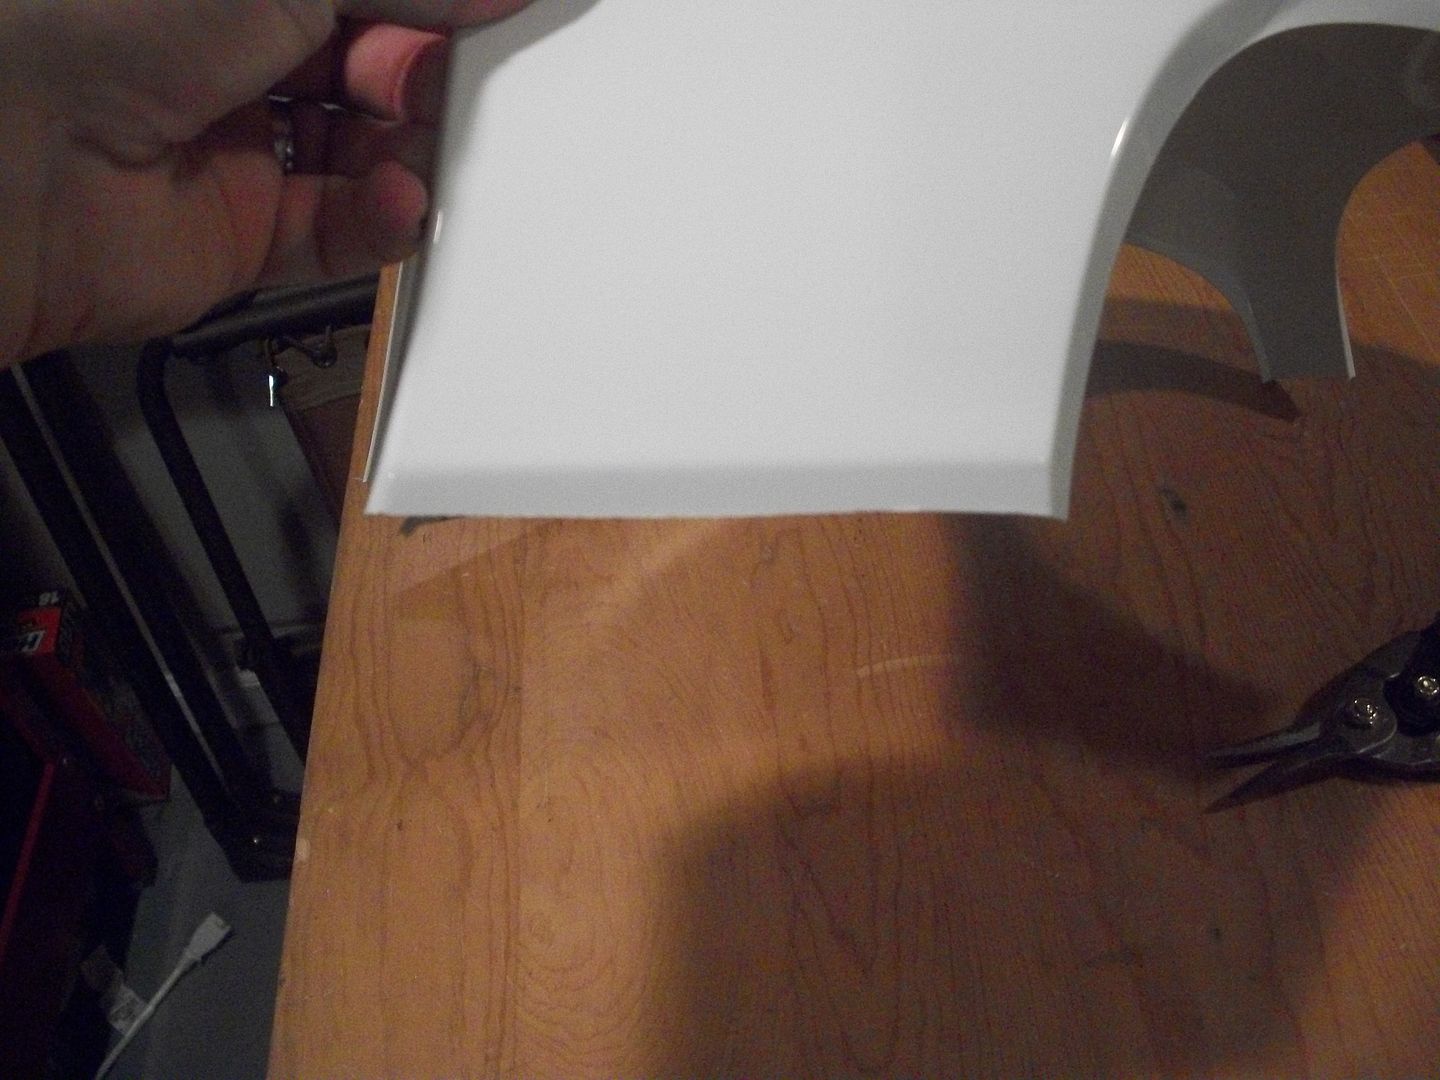
3) I'm leaving the return edge on the top and bottom for now.
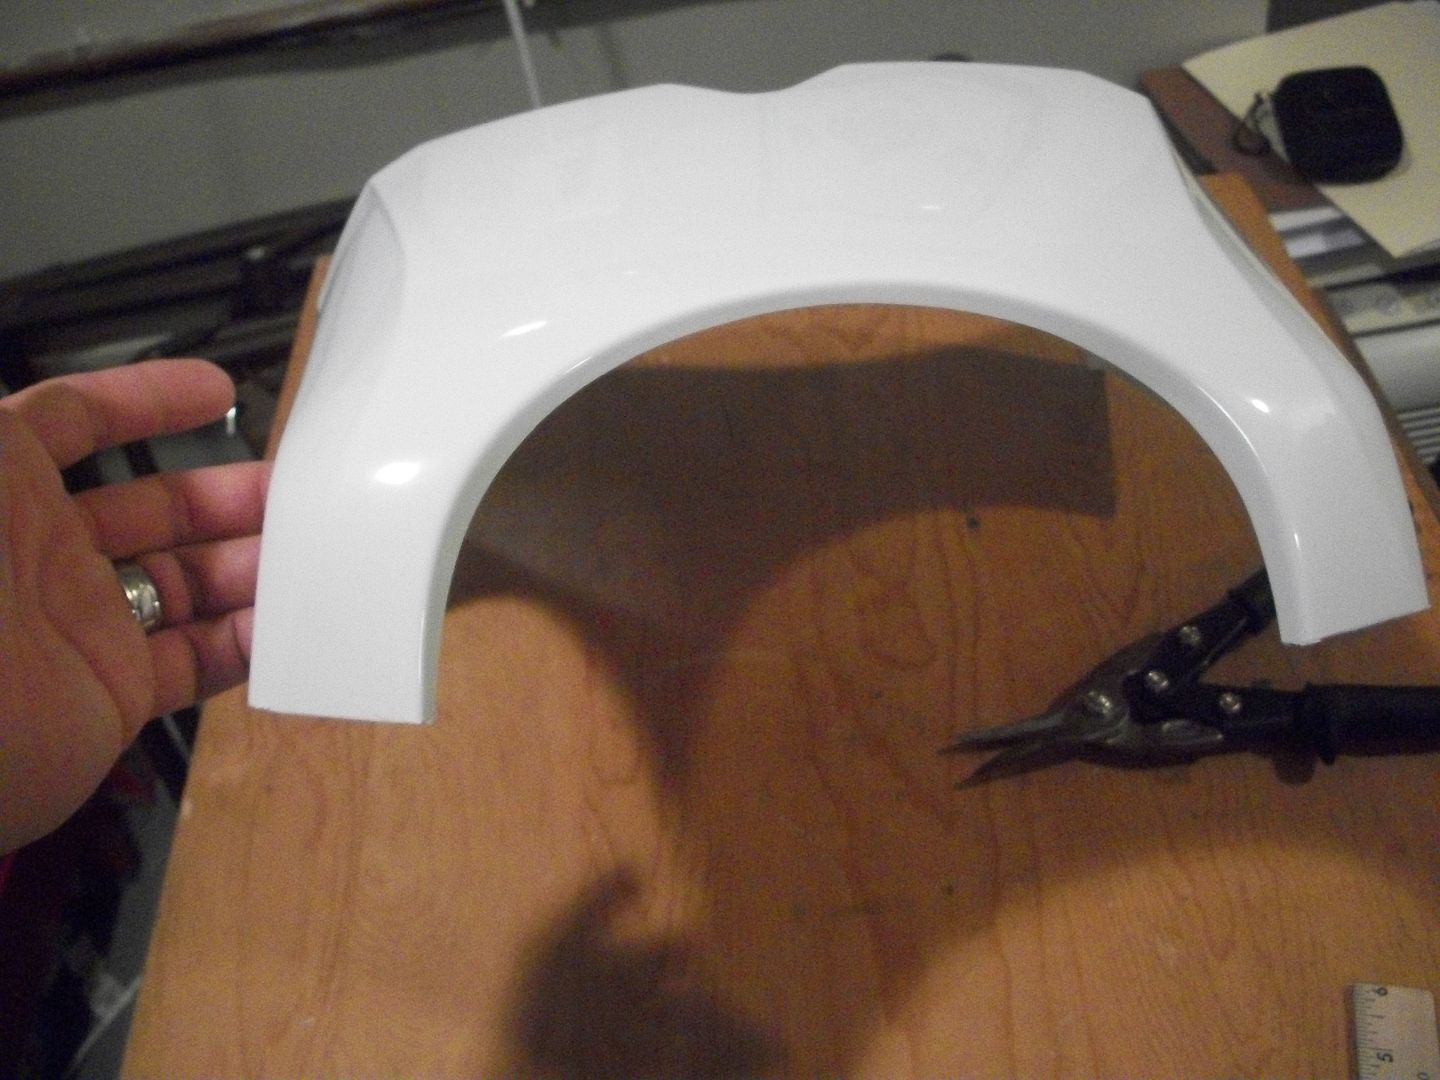
* Some random "catch up" photos.... AND FOR THE RECORD THIS IS MY SON'S BEDROOM, LOL, IT HAPPENS TO BE DOWNSTAIRS NEXT TO THE WORKSHOP AND HAS THE BIGGEST MIRROR !!! not that I wouldn't enjoy bunk beds...
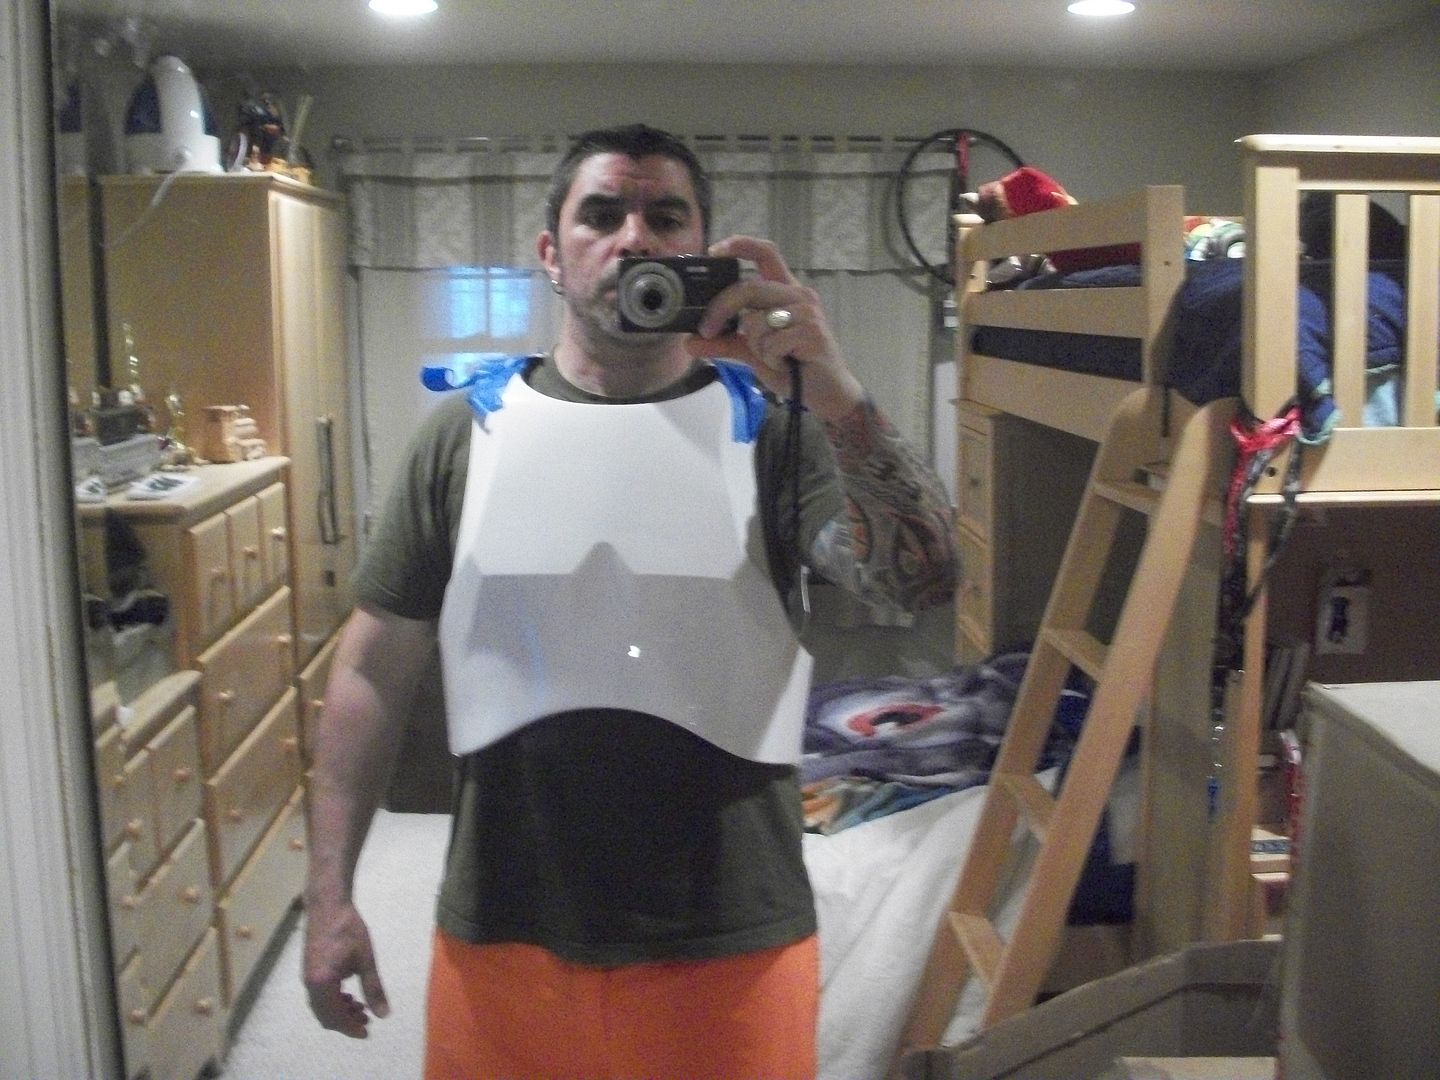
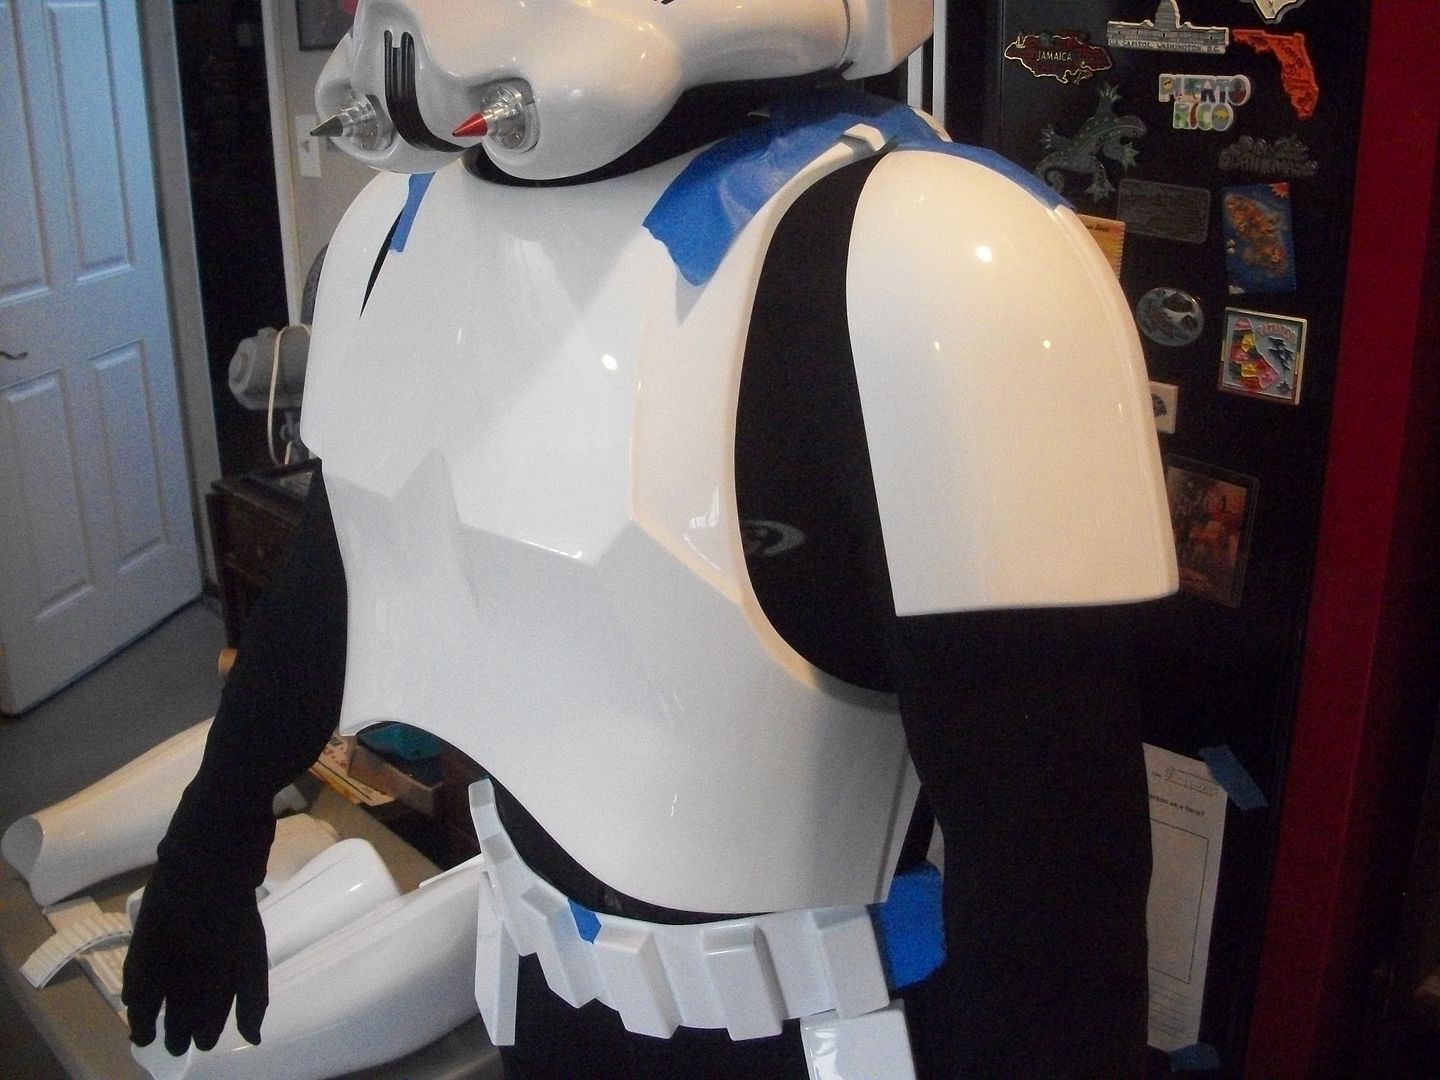
Before I trimmed the chest I checked all the fits with simple painters tape, on both me and the duct tape manikin. You can see the extended shoulder connections and I also started lining up the shoulder bells:
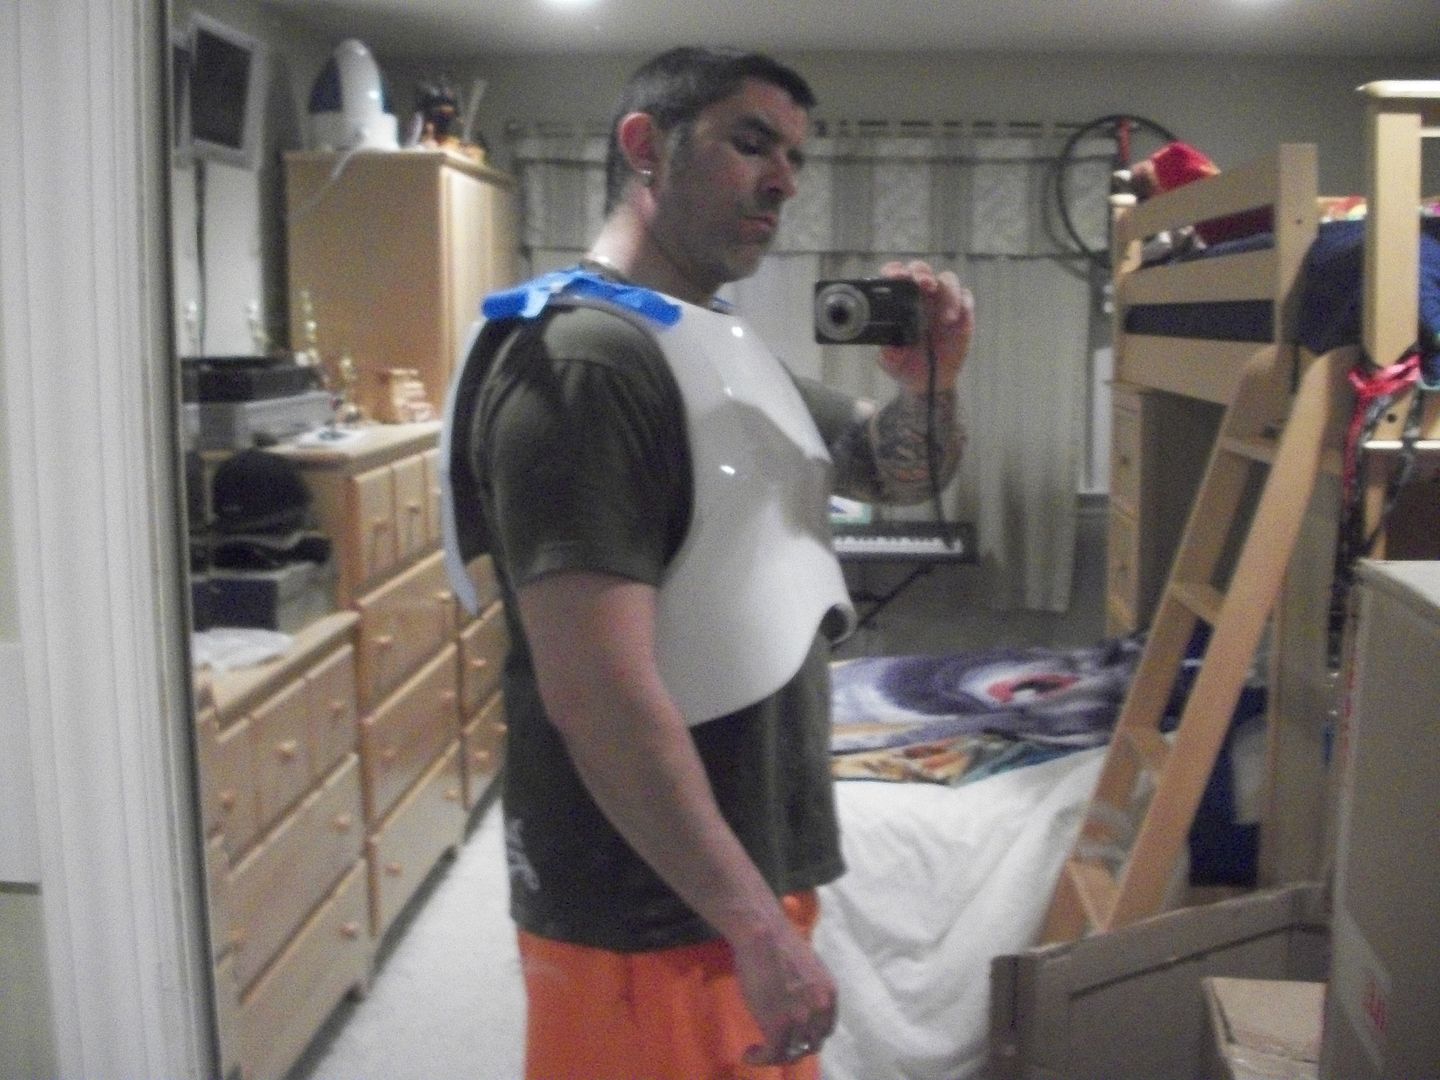
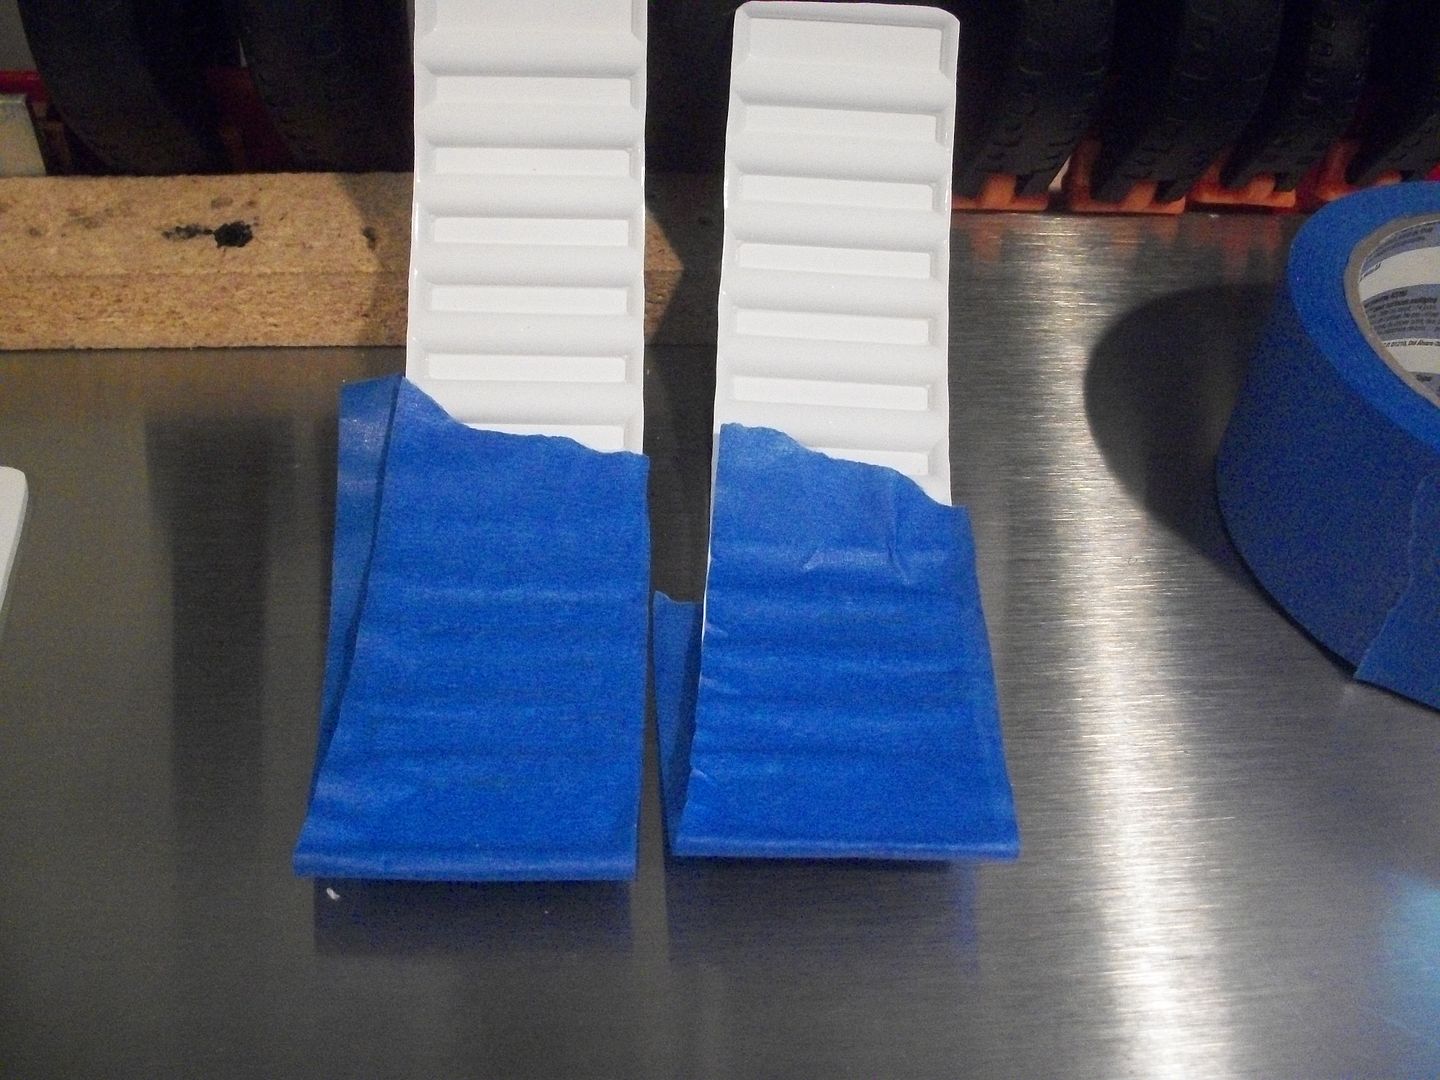
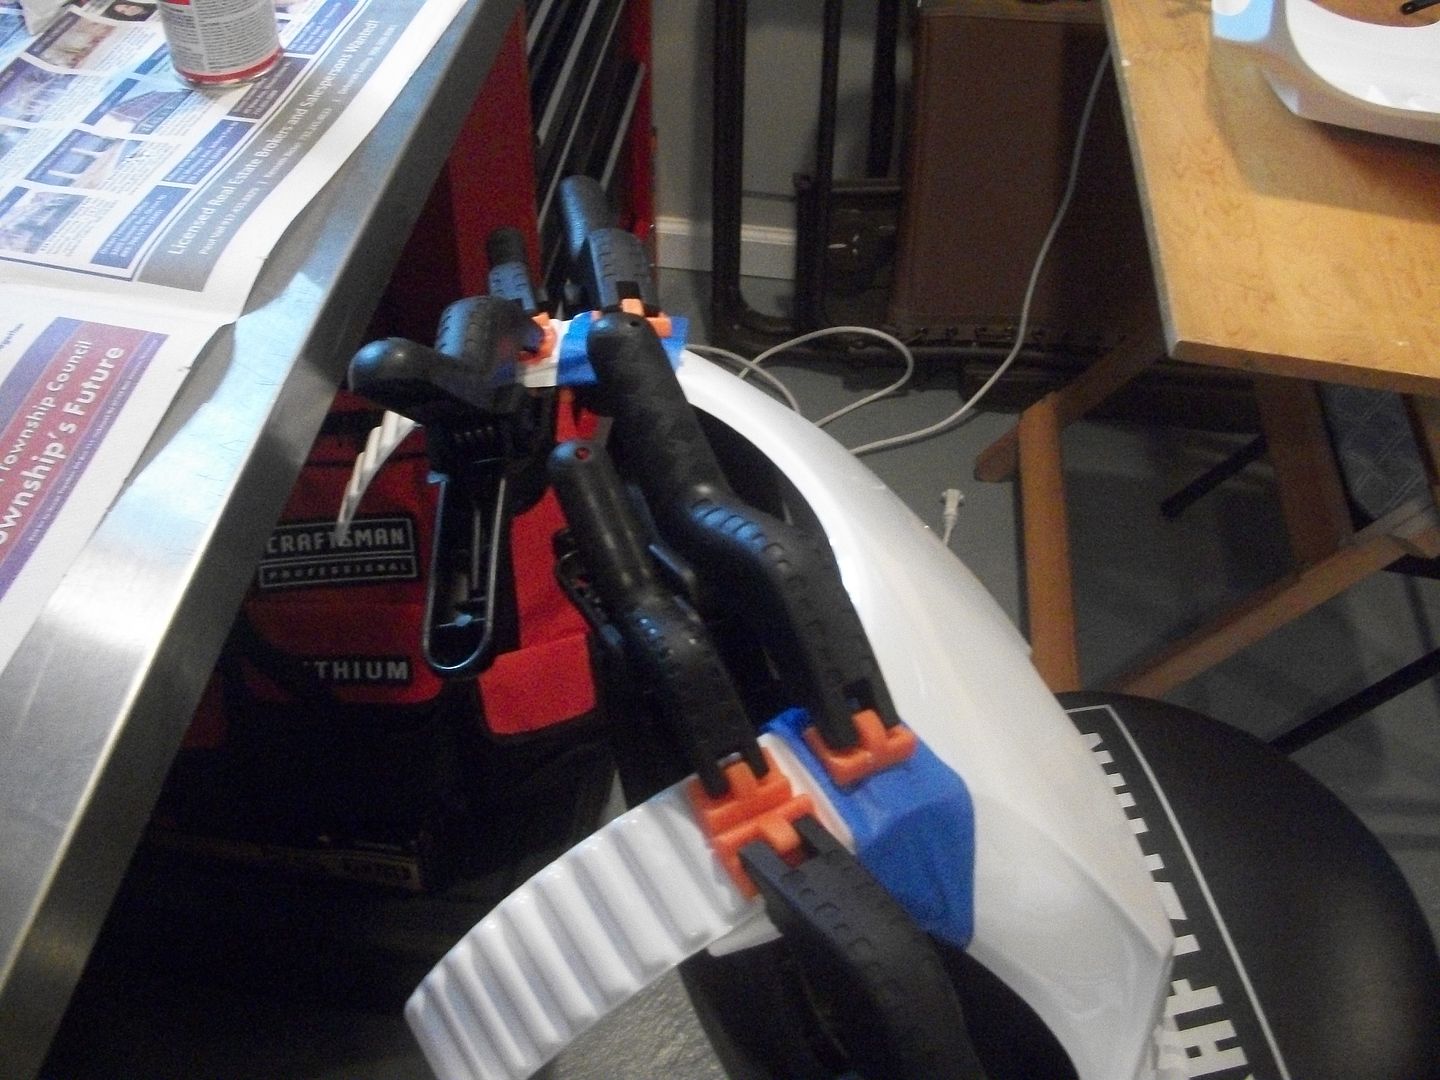
4) Now that it's trimmed I prepped the shoulder straps by gluing small "filler" strips in the front where it'll be glued to the armor:
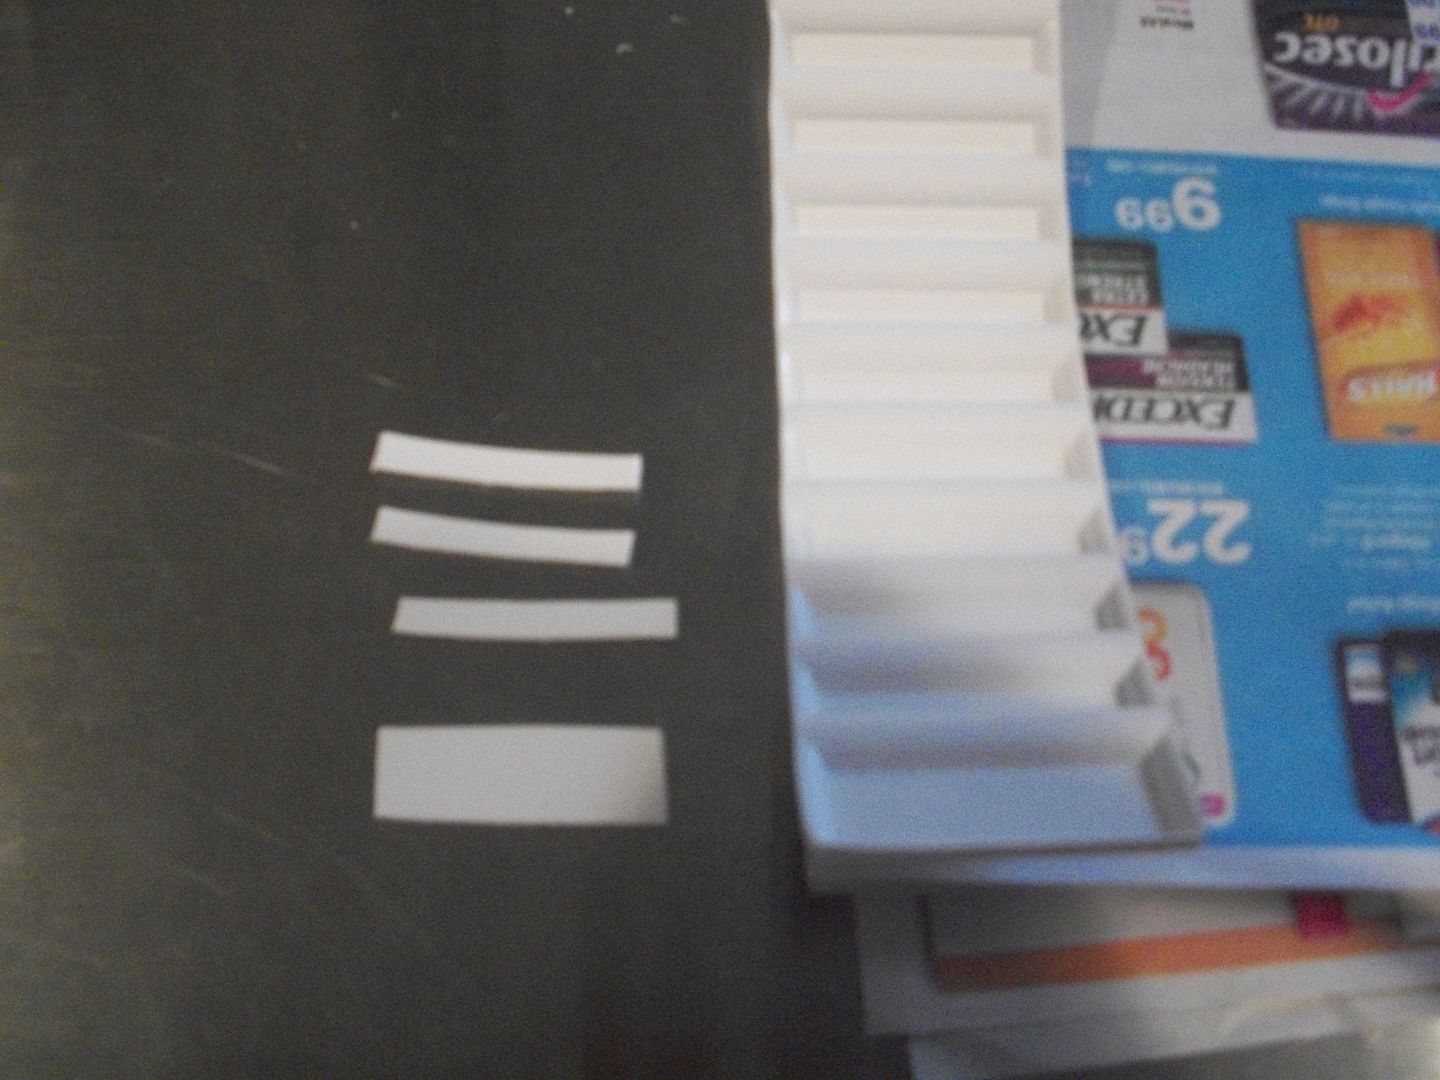
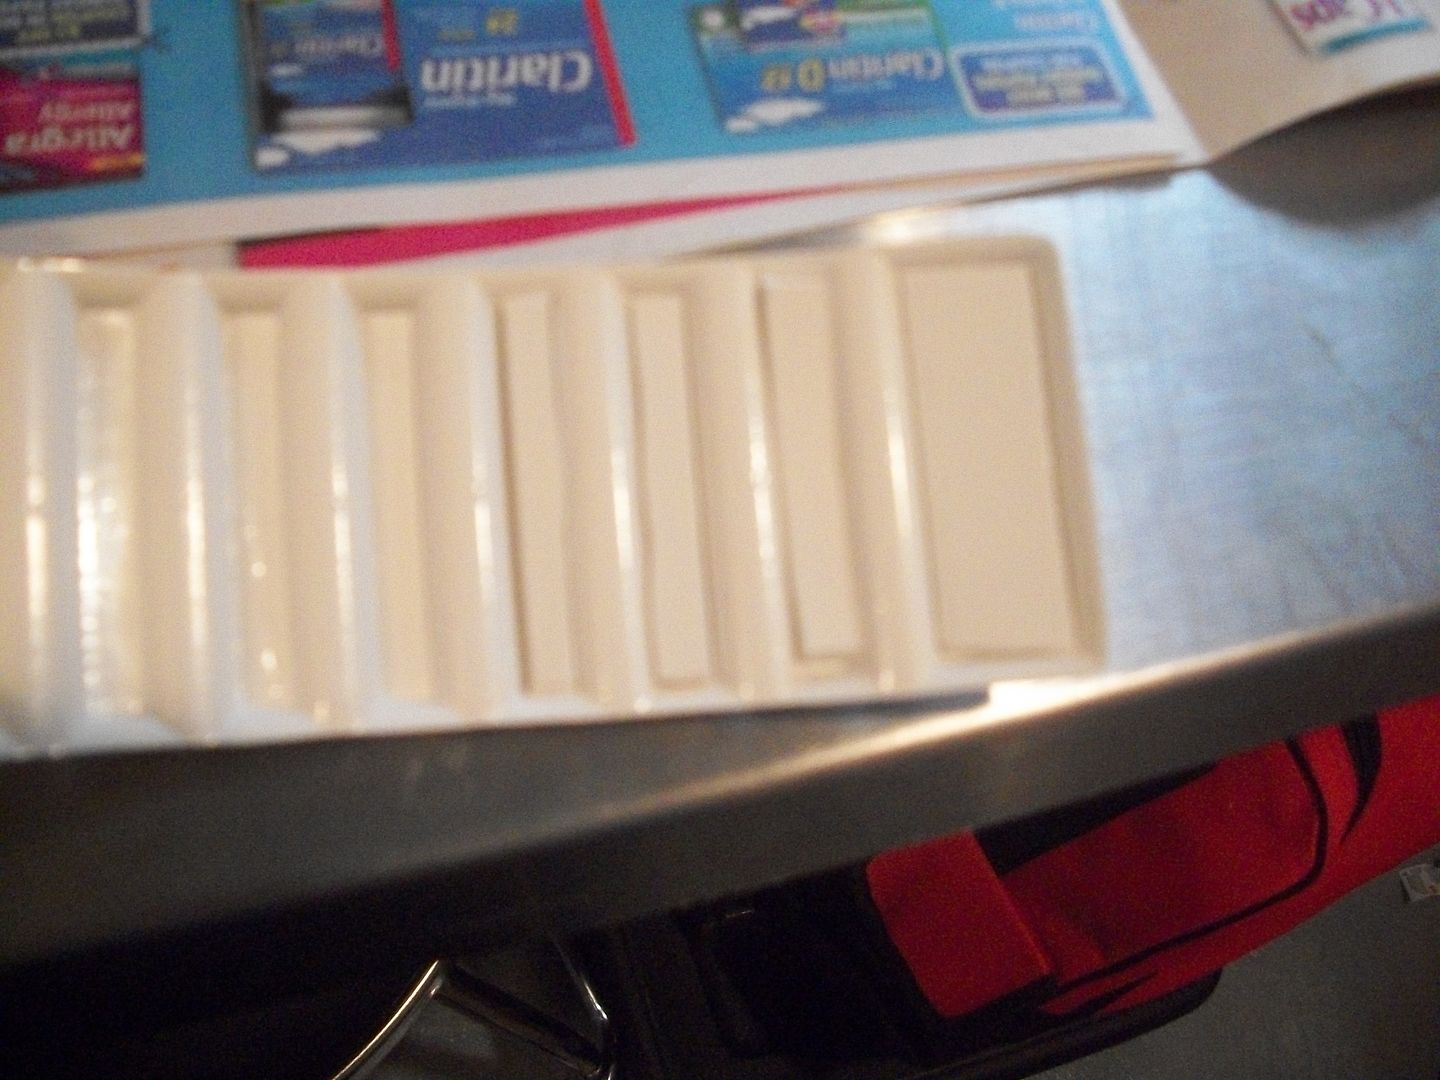
5) Glue them on with a million clamps to maximize stick hahaha!
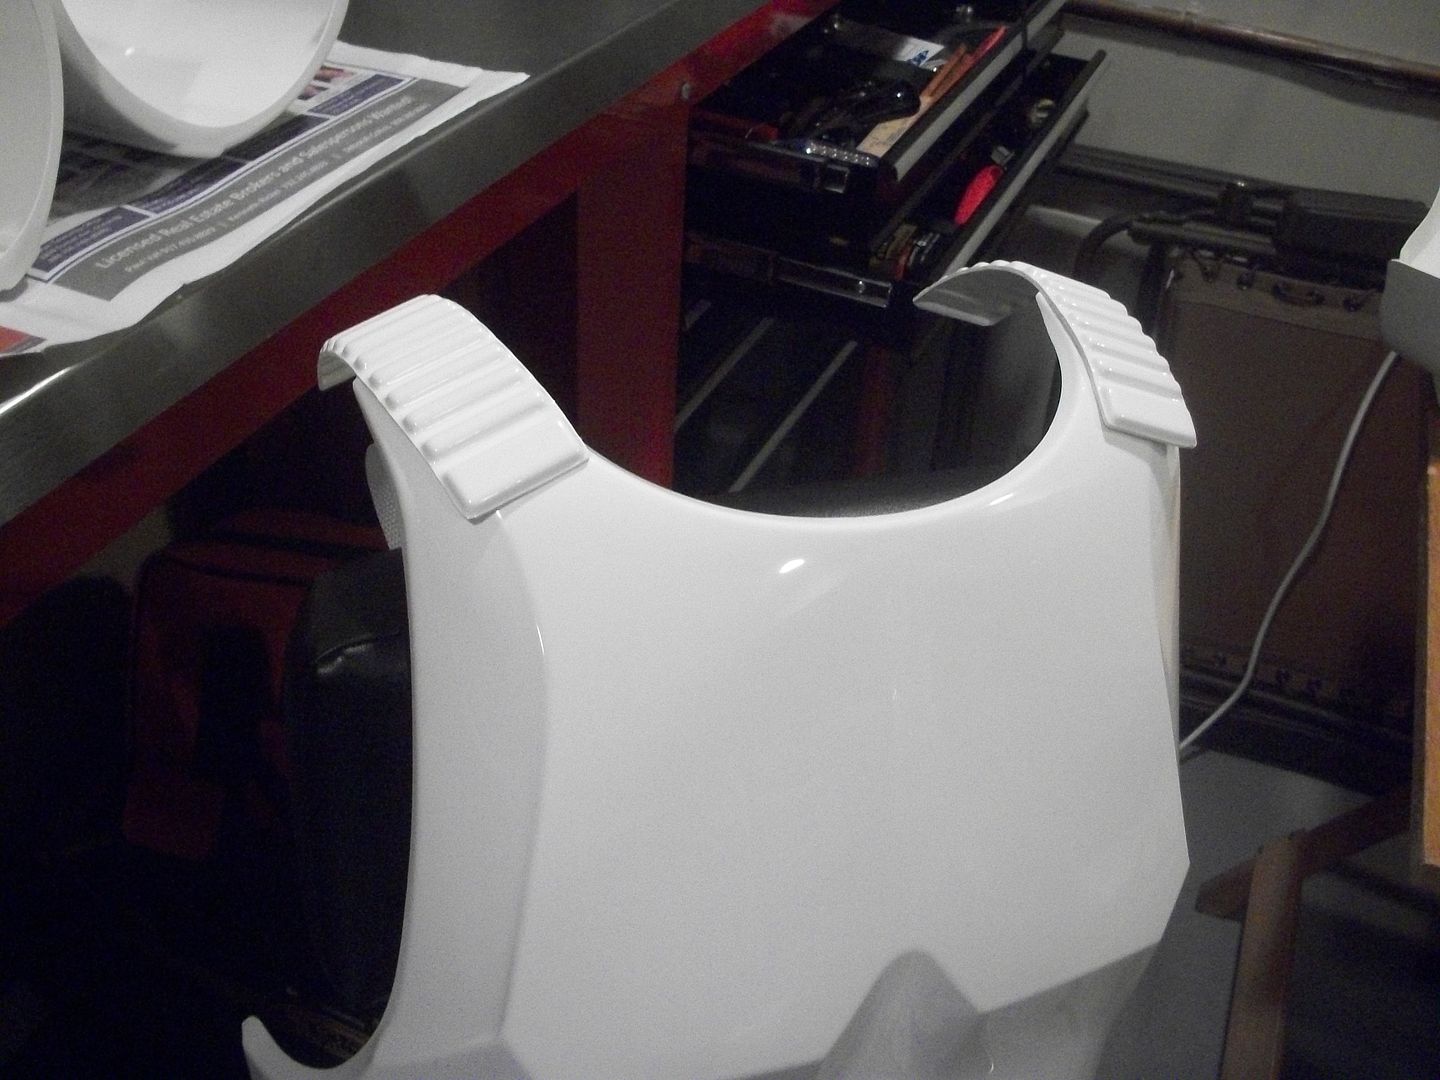
6) Finished:
-
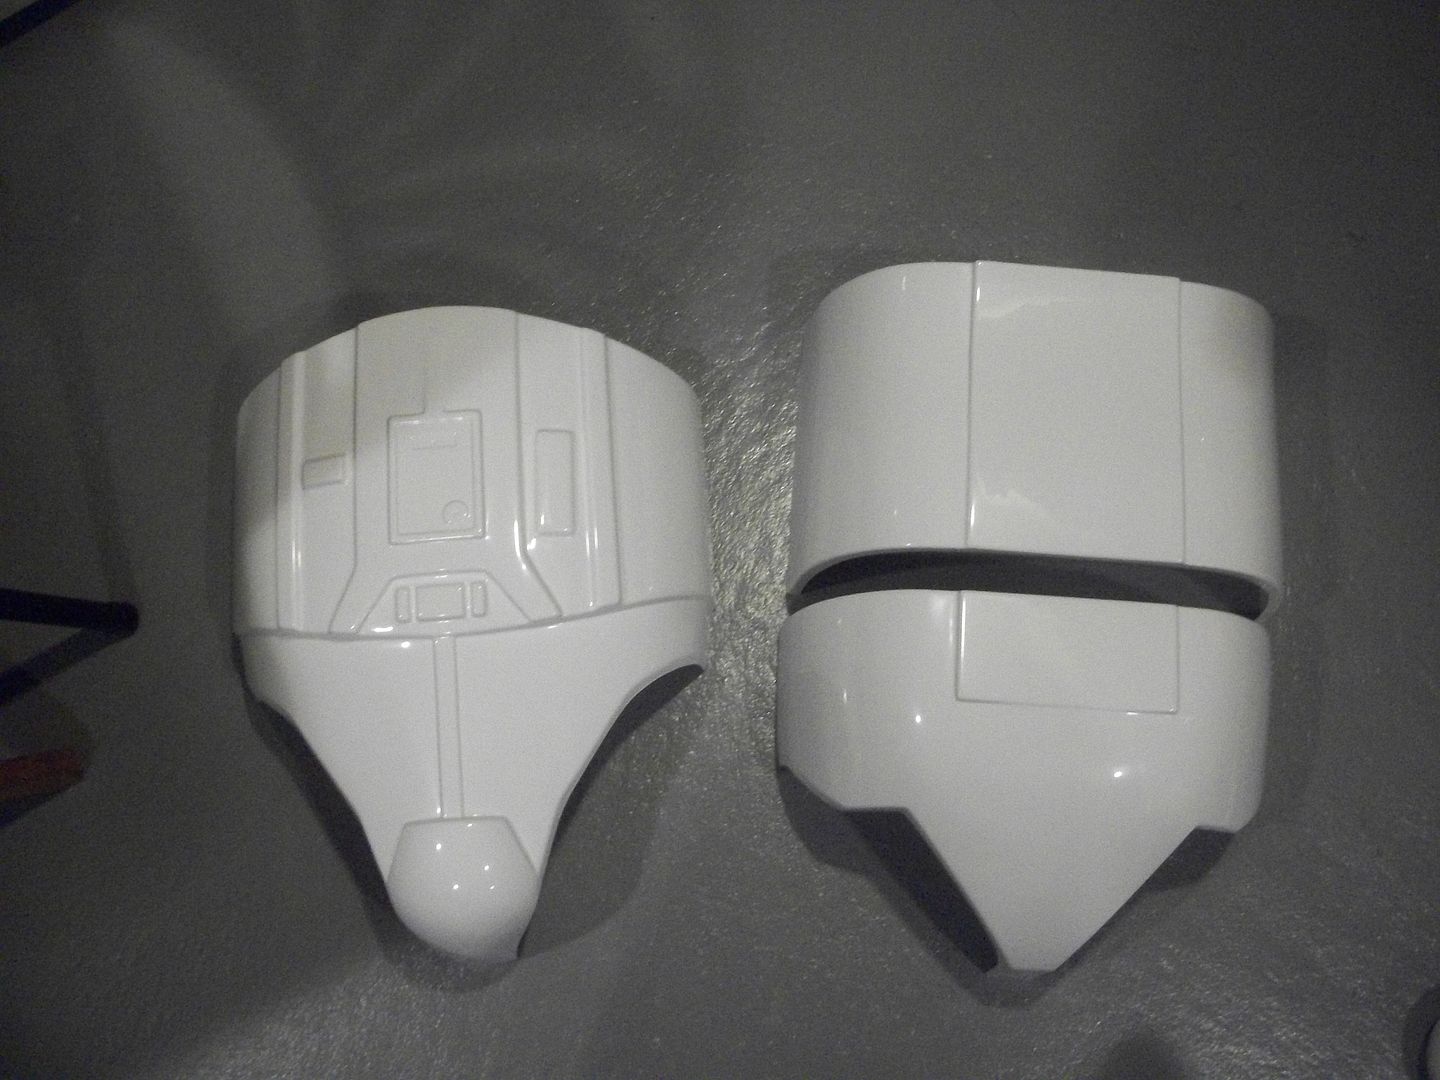
Ab plate:
I'm going to leave the return edge on the top for now.
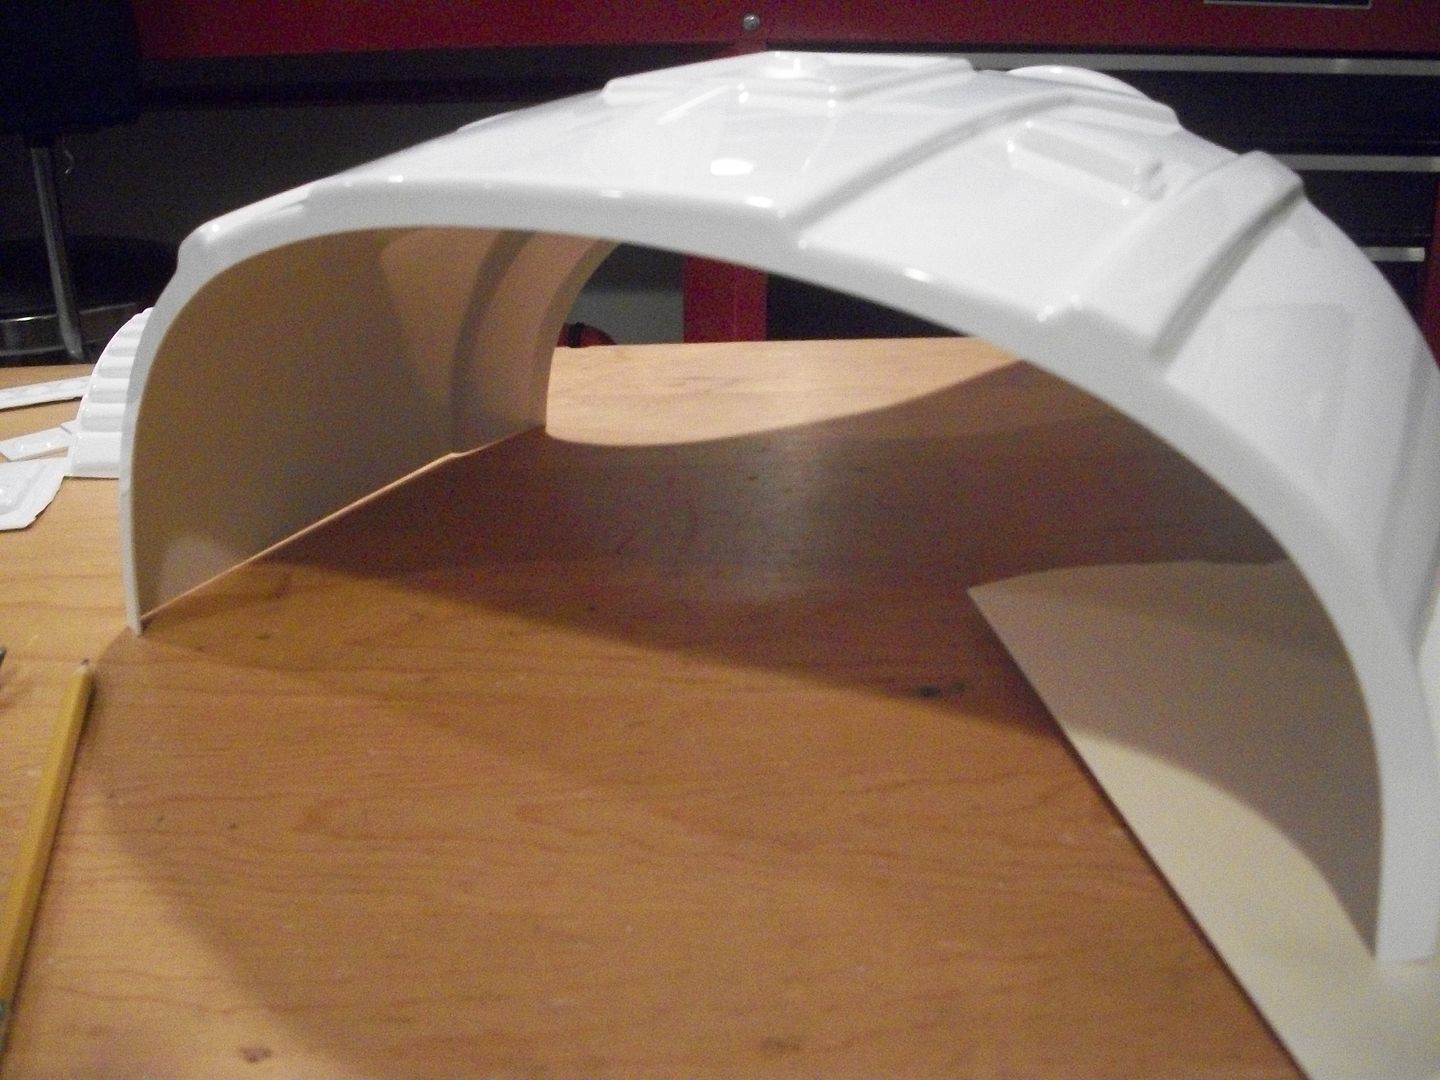
1) First thing is trim off the cod area. Rough cut then dremel smooth.
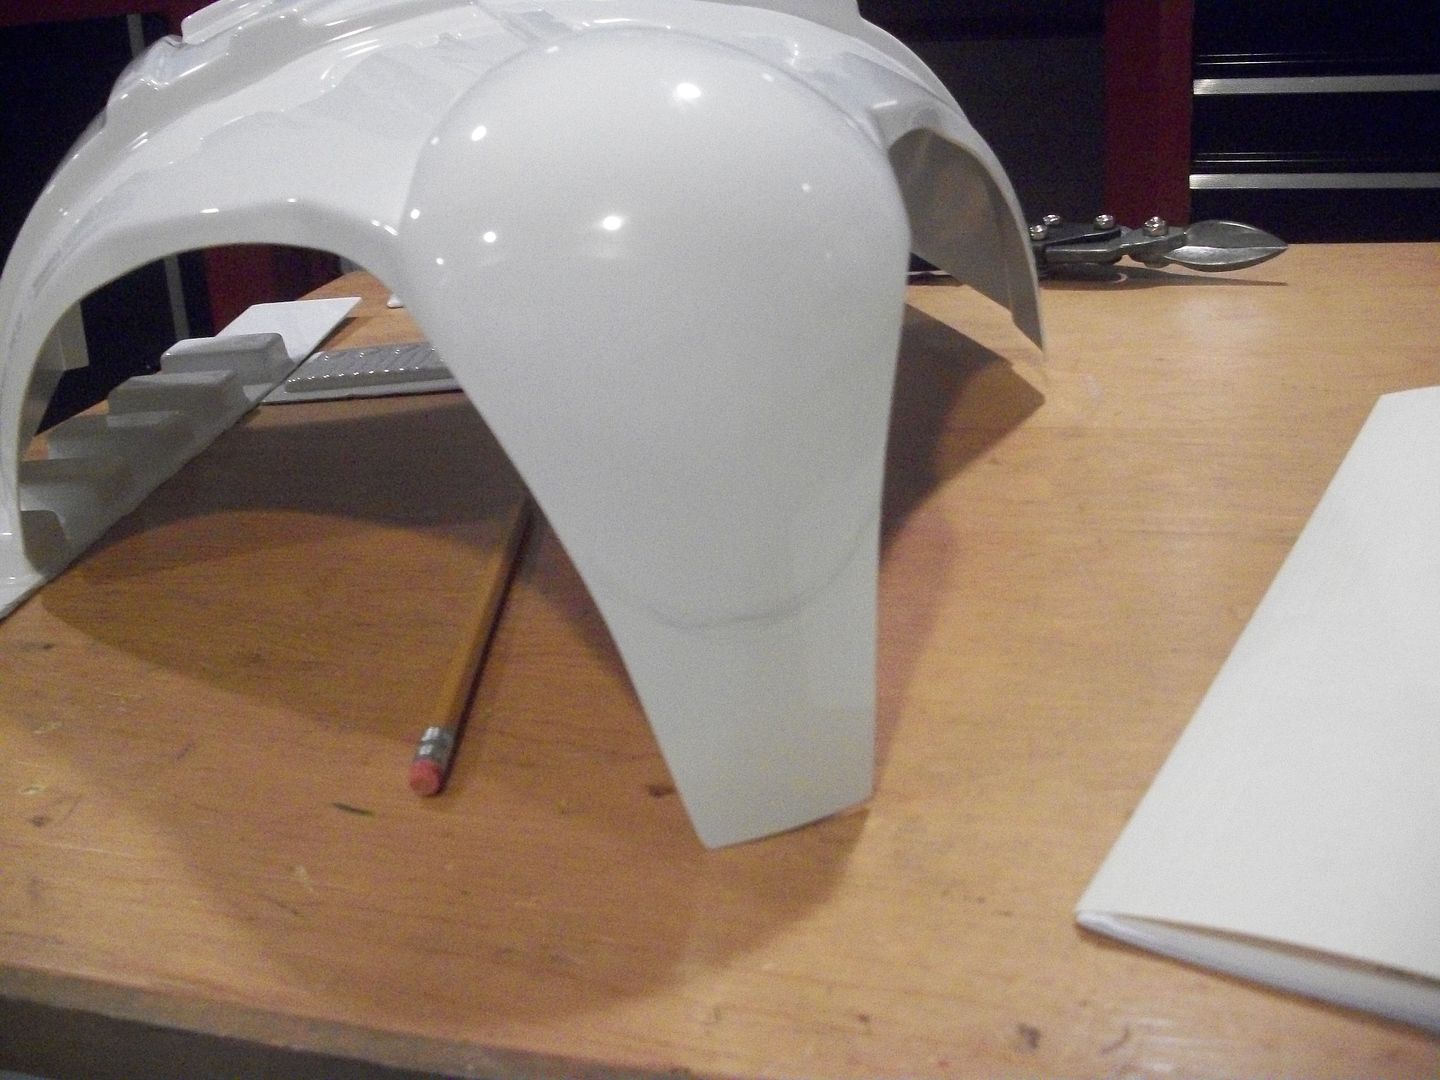
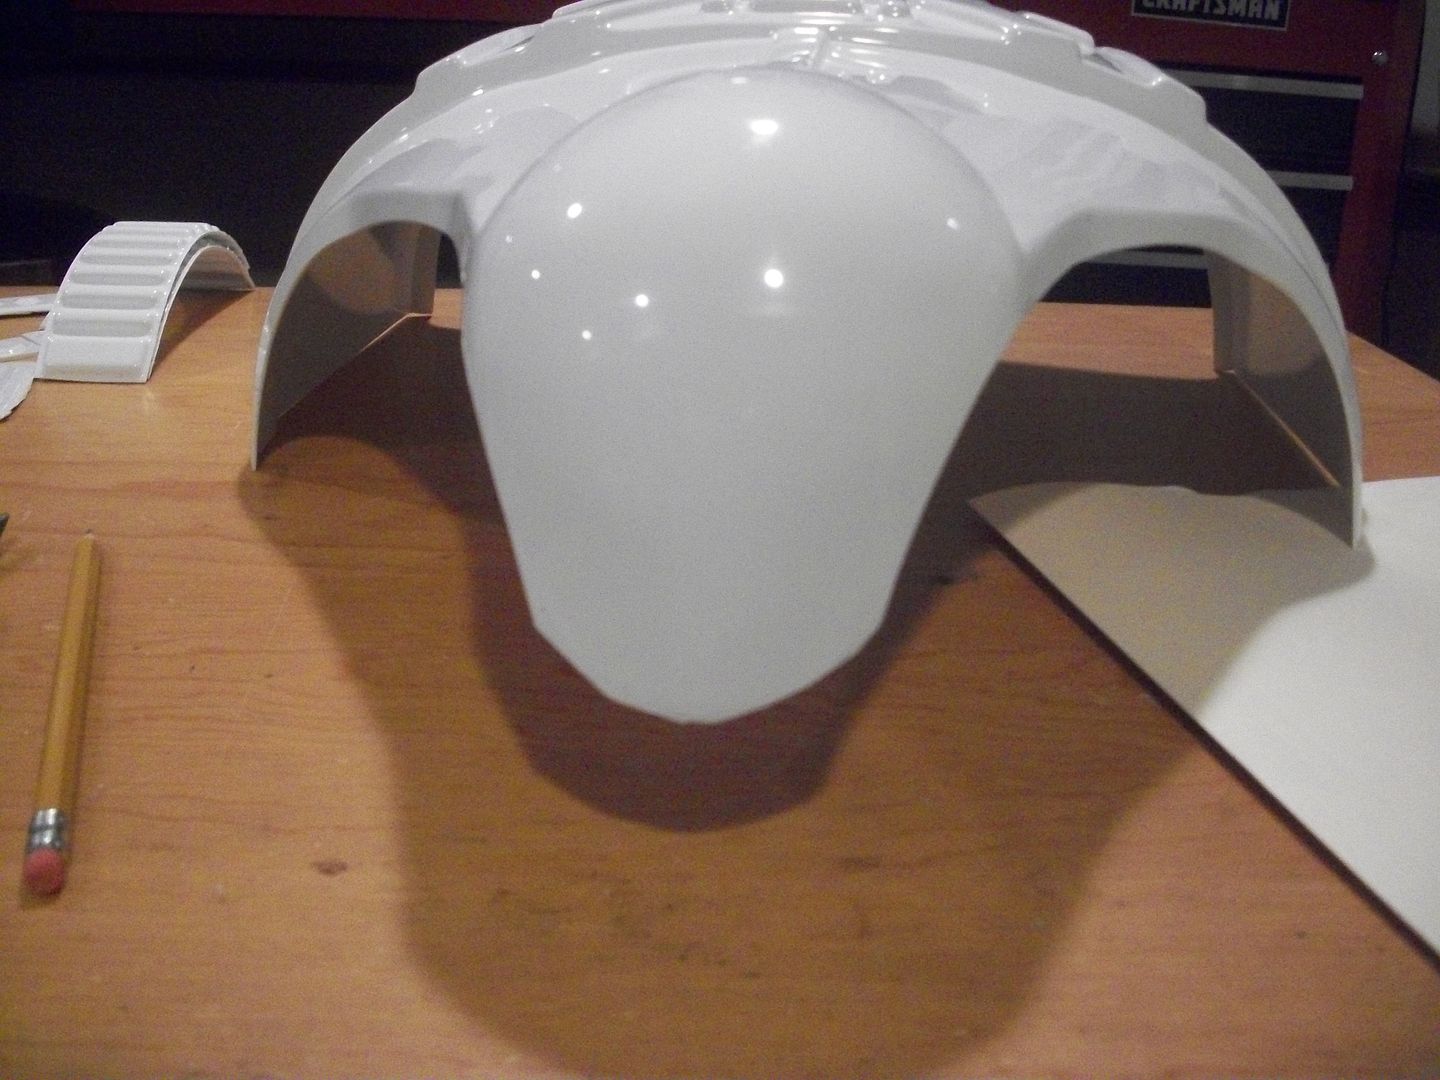
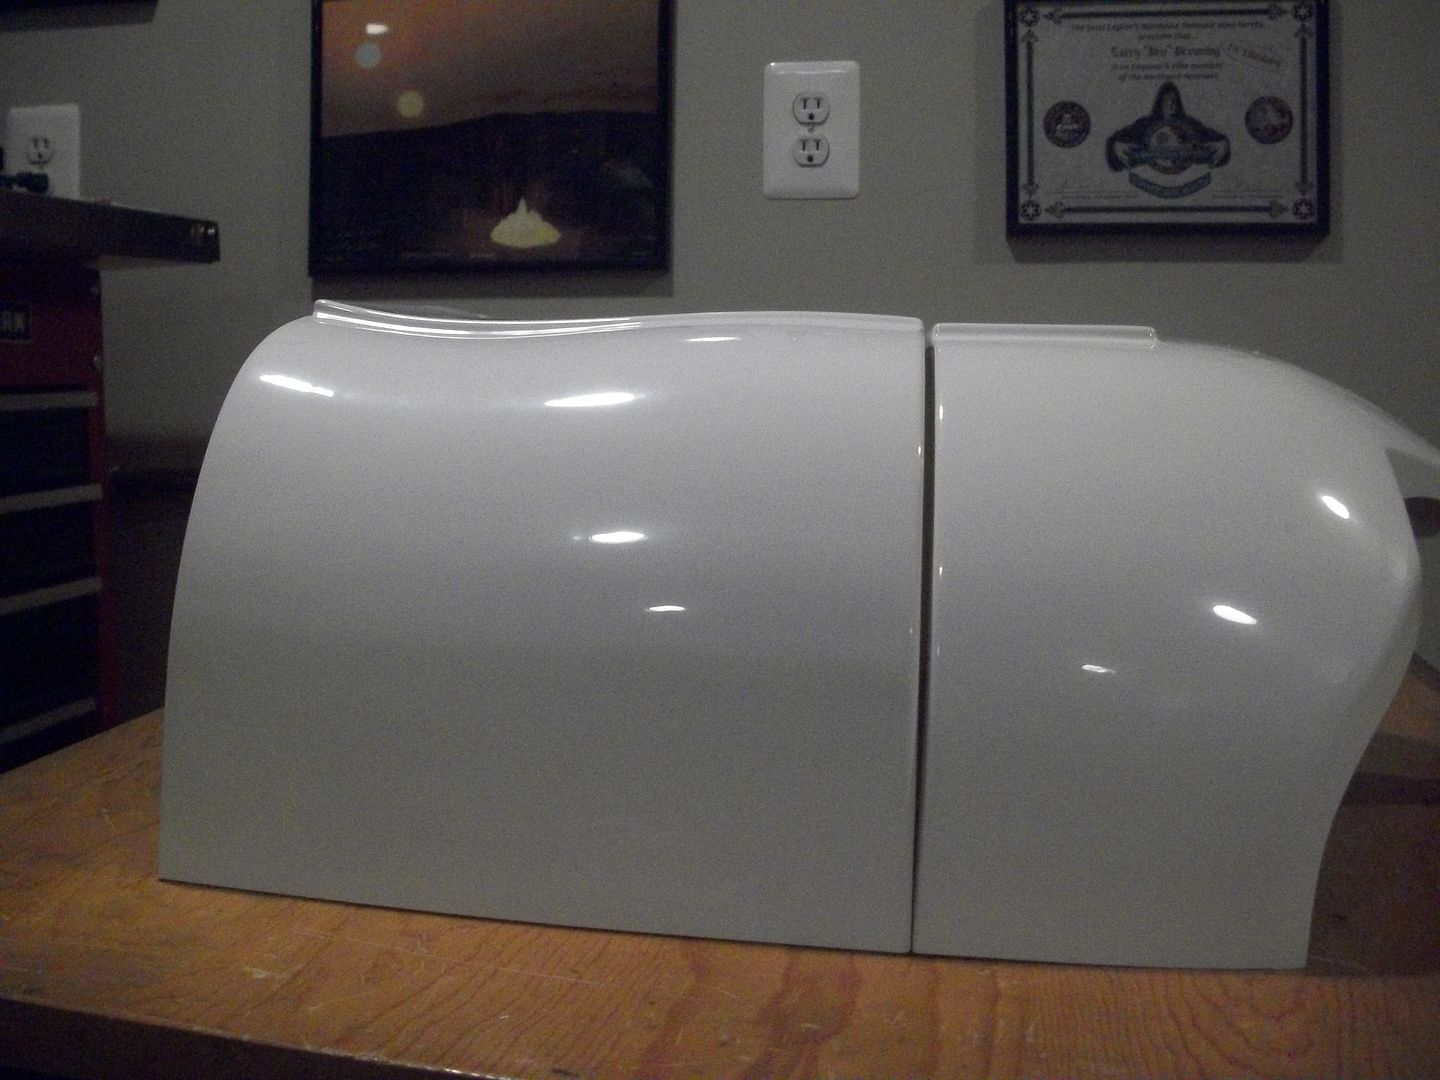
Going to work on some attachments. Starting with the butt and kidney.
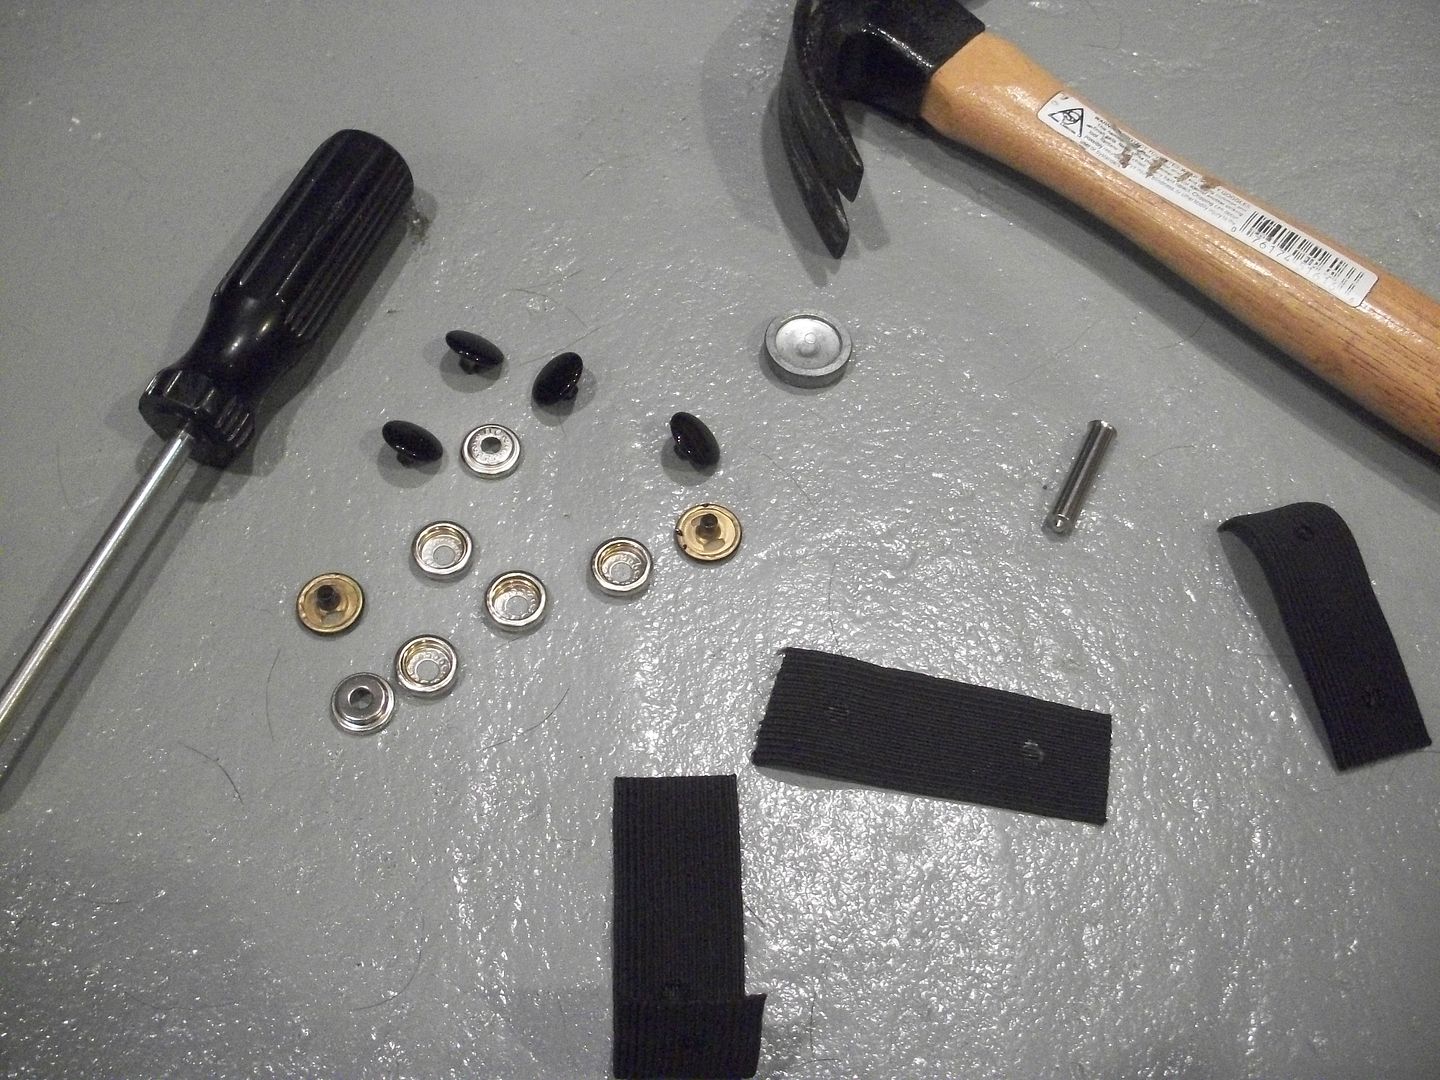
1) I am putting the standard three connections, and using the snaps in webbing method. It's better then velcro, and putting the snaps in webbing holds better then putting them in plastic squares. The plastic squares come off easily, and getting the snap into the square is difficult. All you need is standard snaps, a snap tool kit, philips head screwdriver and hammer. It helps to have a soldering gun to put the holes in the webbing but you don't have to have one. You can use scissors to make a small cut for the snap to go through.
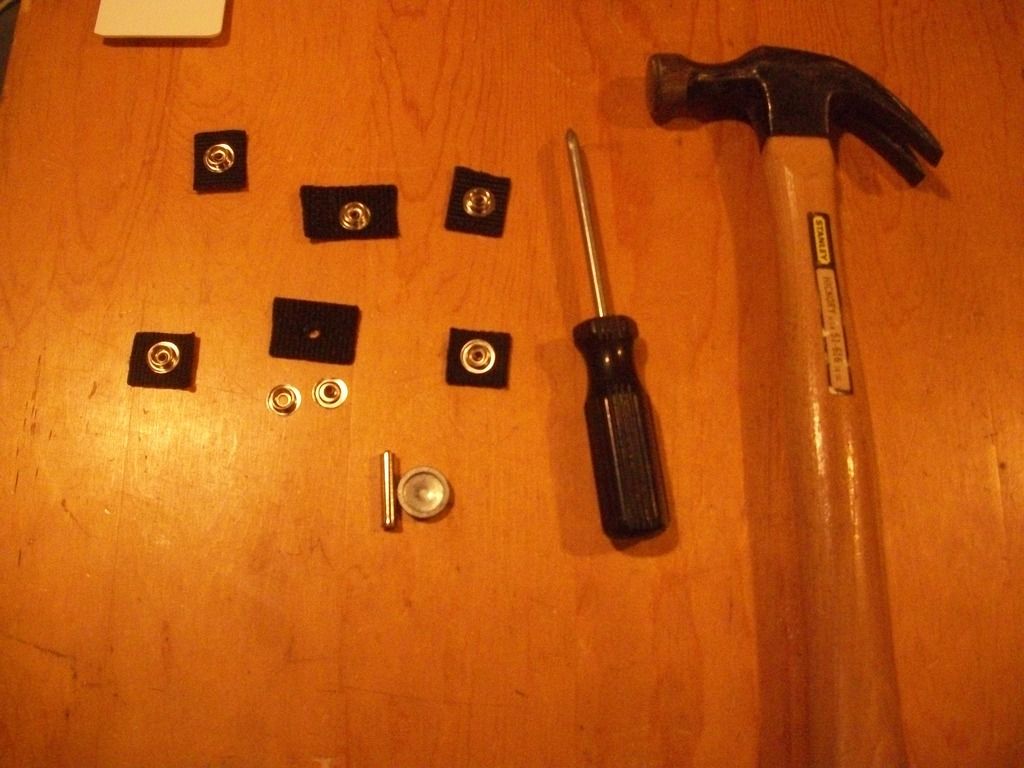
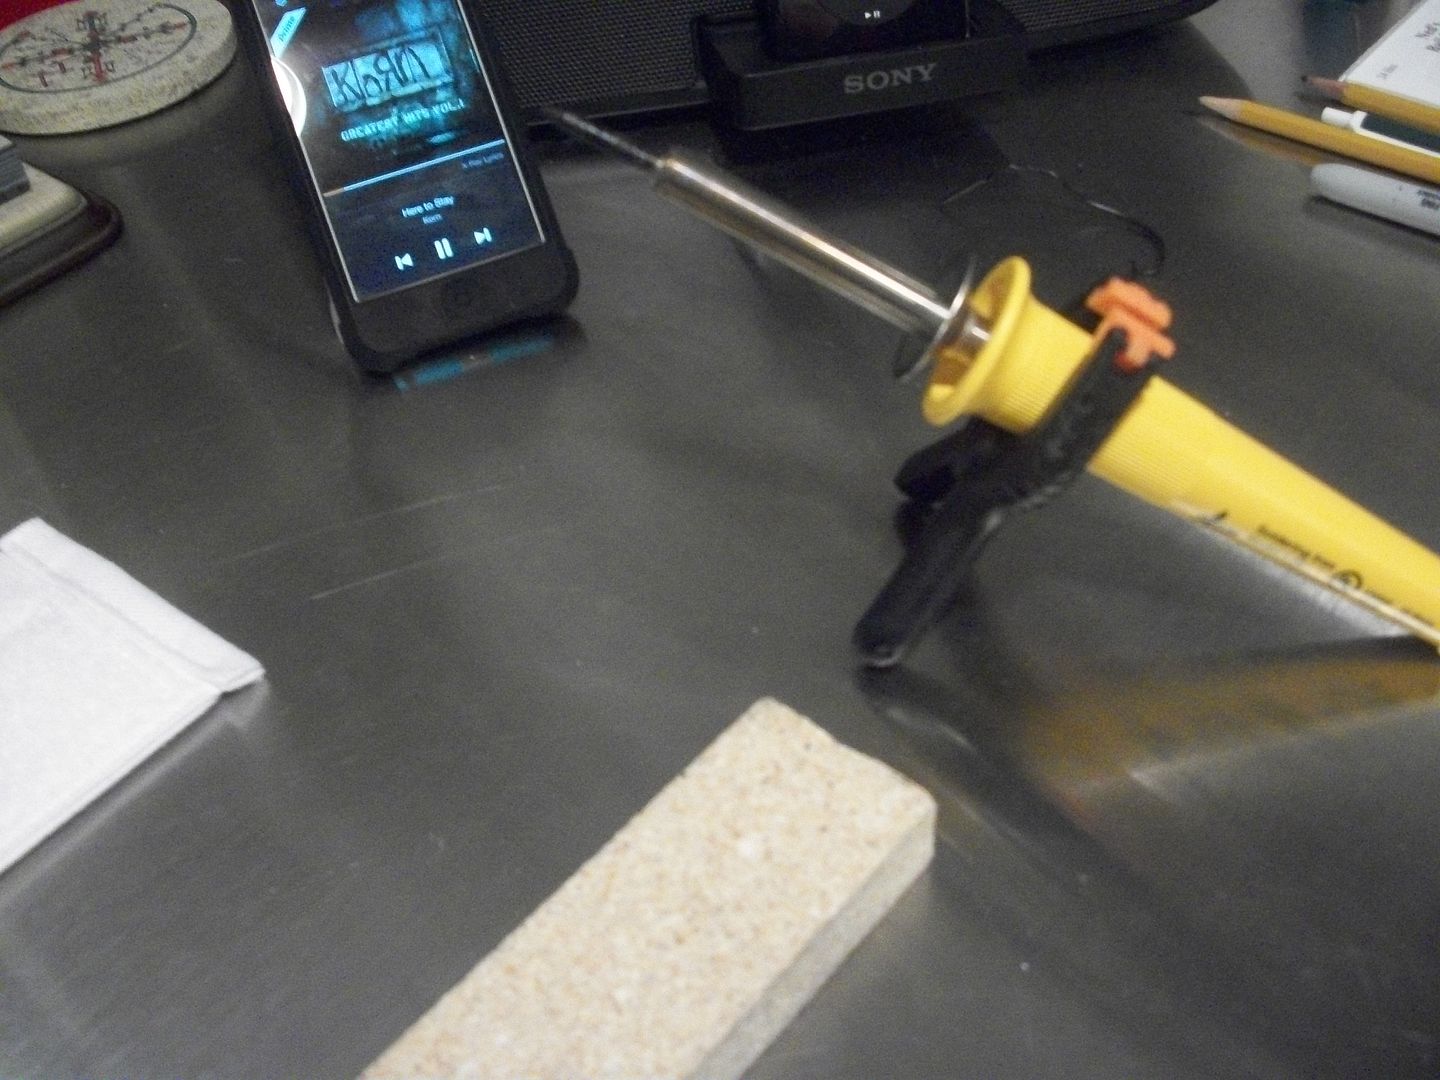
2) Use the soldering iron to make the holes in the webbing just like I did with the drop box elastic.
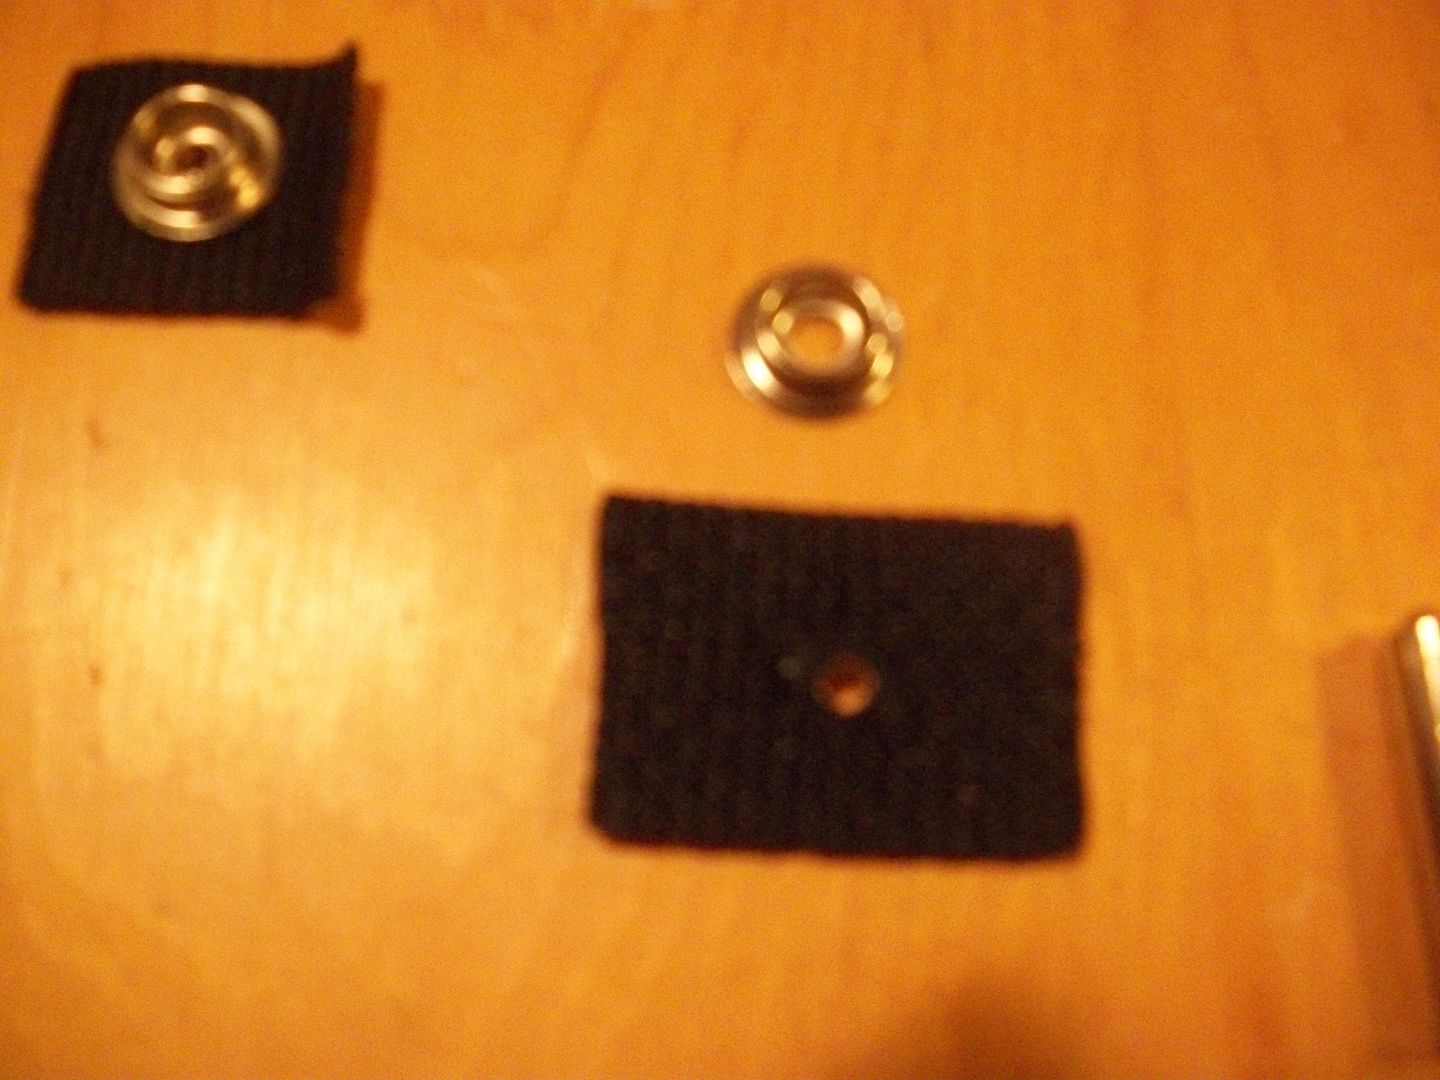
3) Put the post through the webbing, then the snap on top.
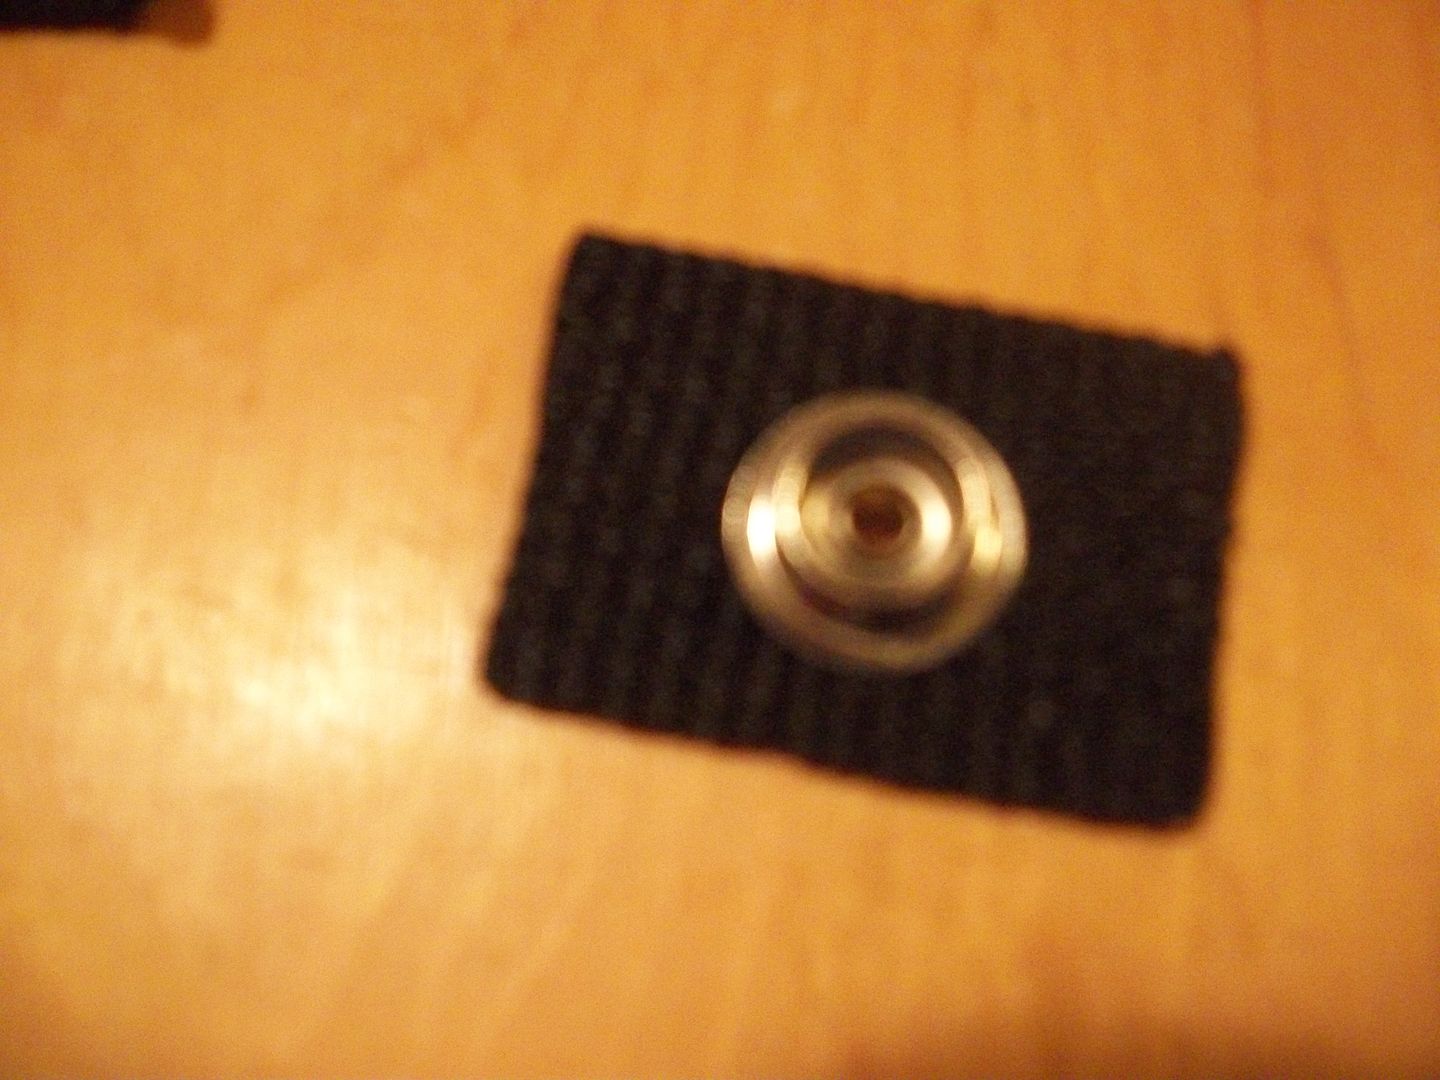
4) Use the snap tool part to give it support when you are hammering it down.
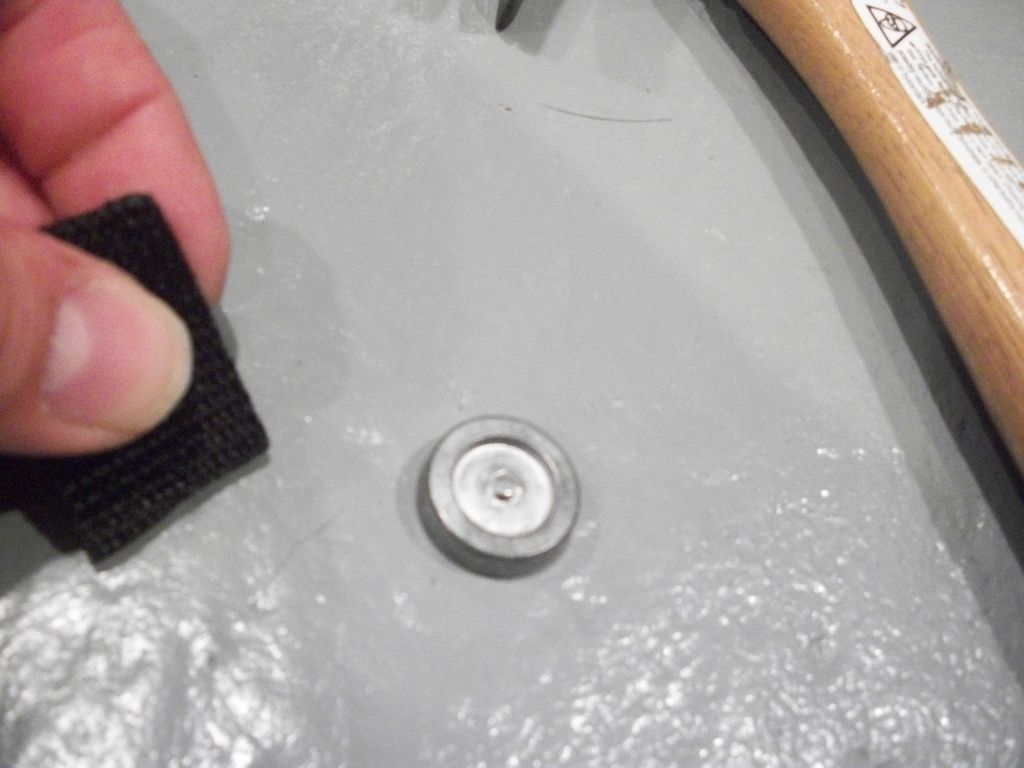
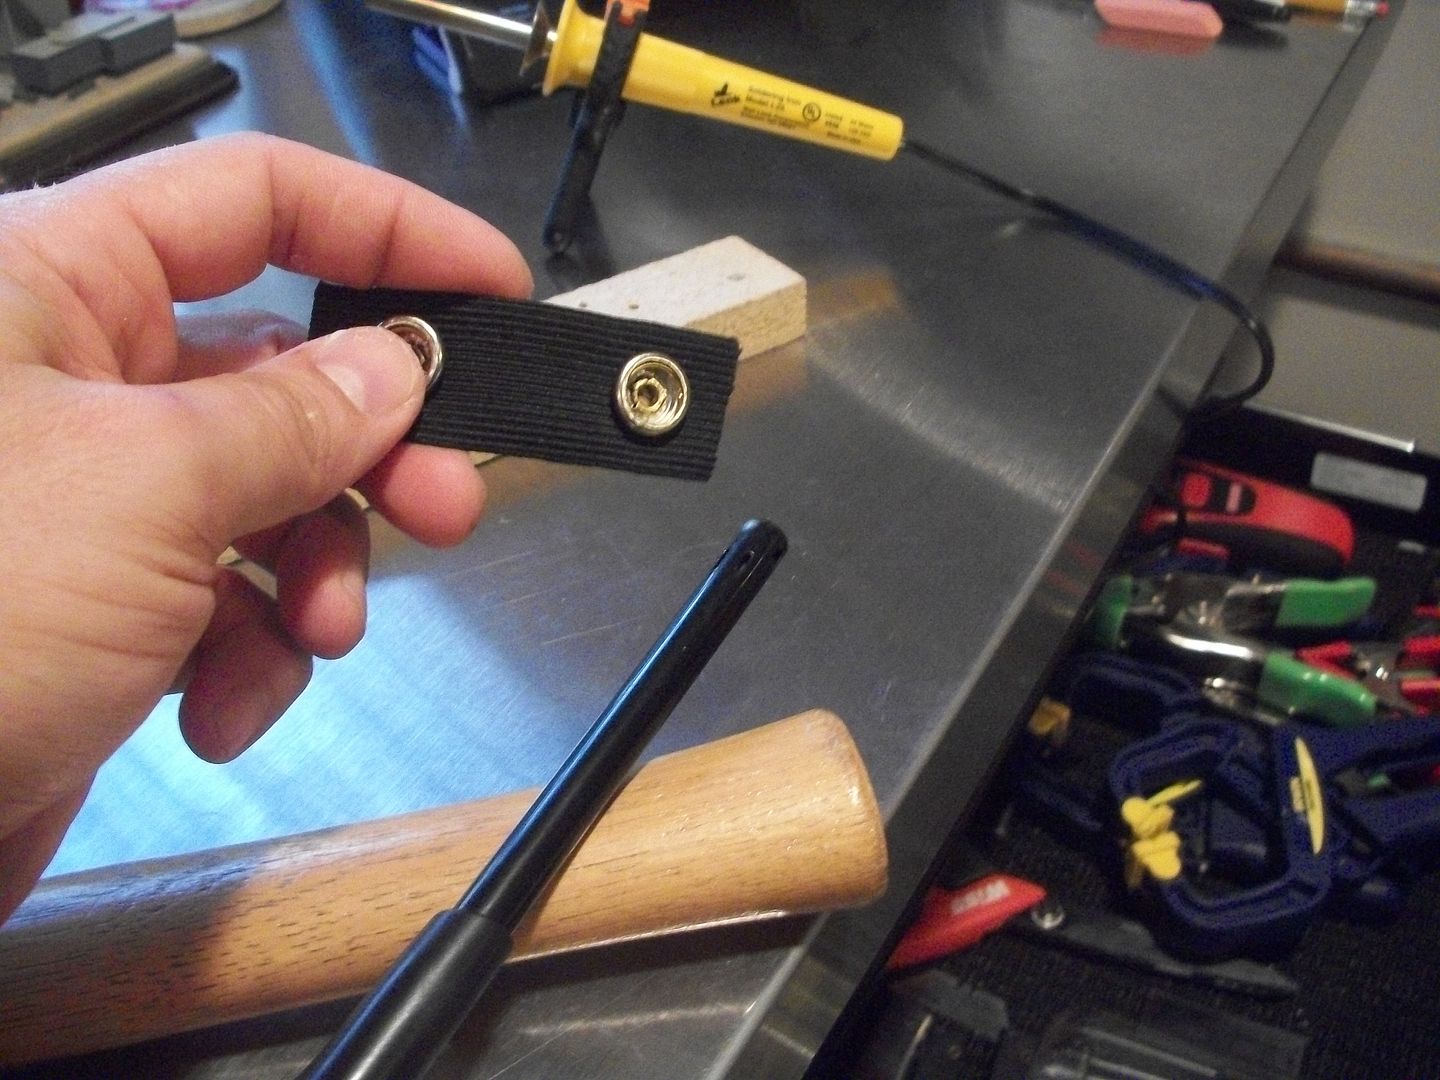
5) Not mandatory but a trick I just picked up. Use the philips head screw driver first. Give it a very light tap with the hammer. This will start to split and widen the post, making it event when you smash it completely down.
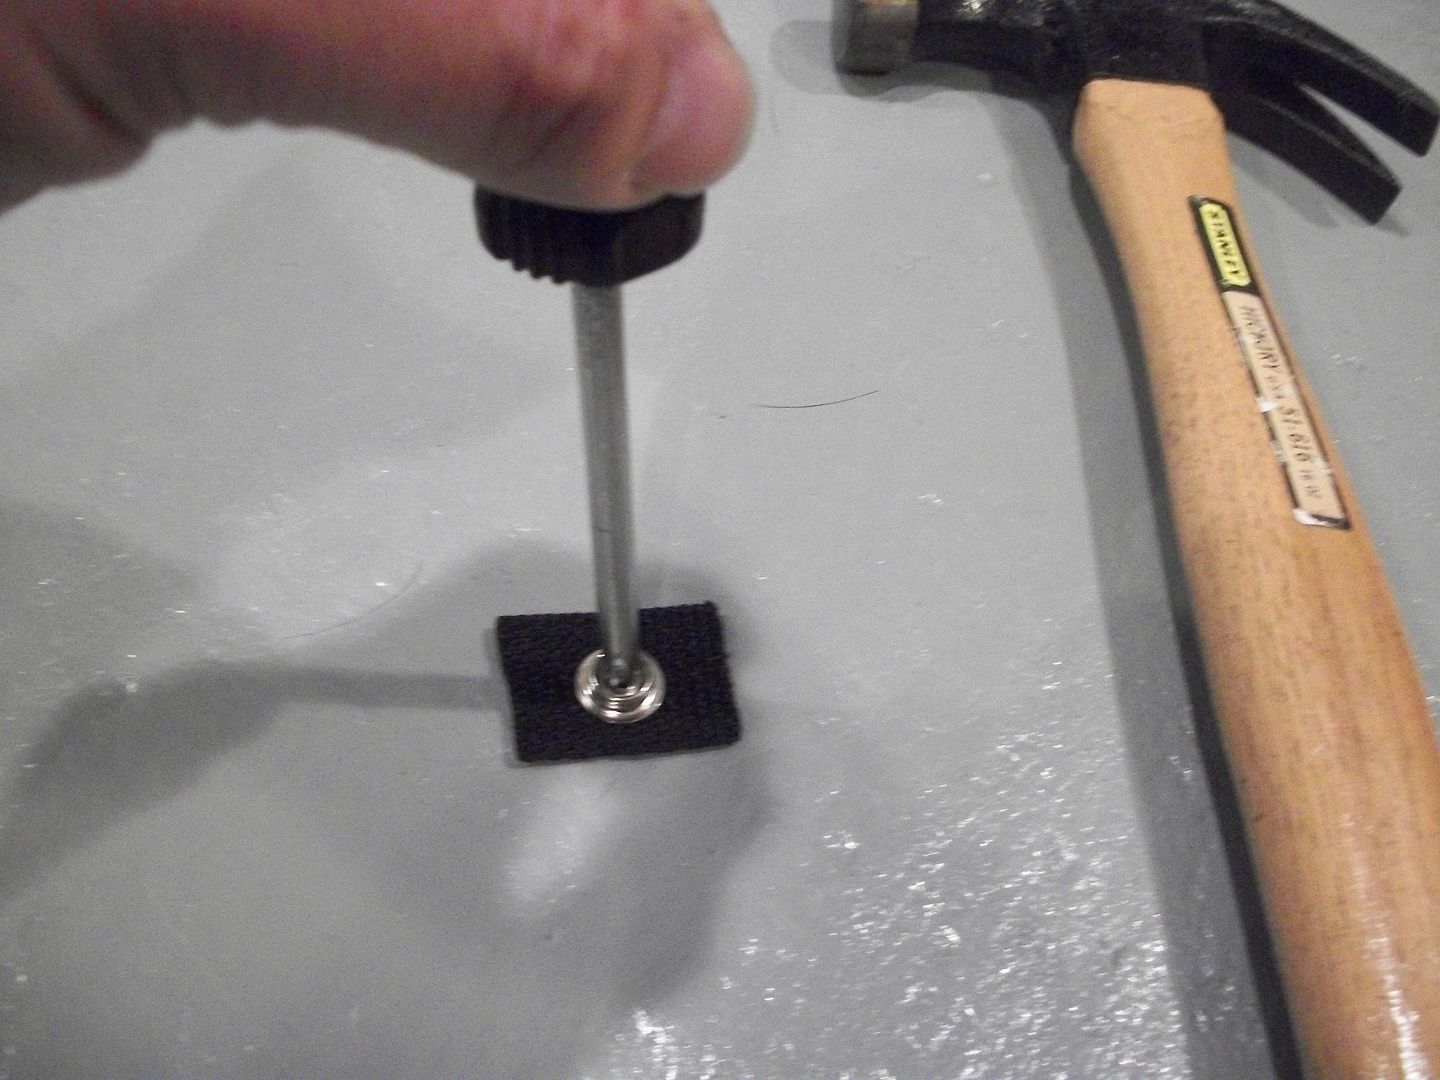
6) Use the snap tool post thing to finish the job. Put the little nib in the post and hit it with the hammer. This will spread out and smash the post across the snap thus securing it.
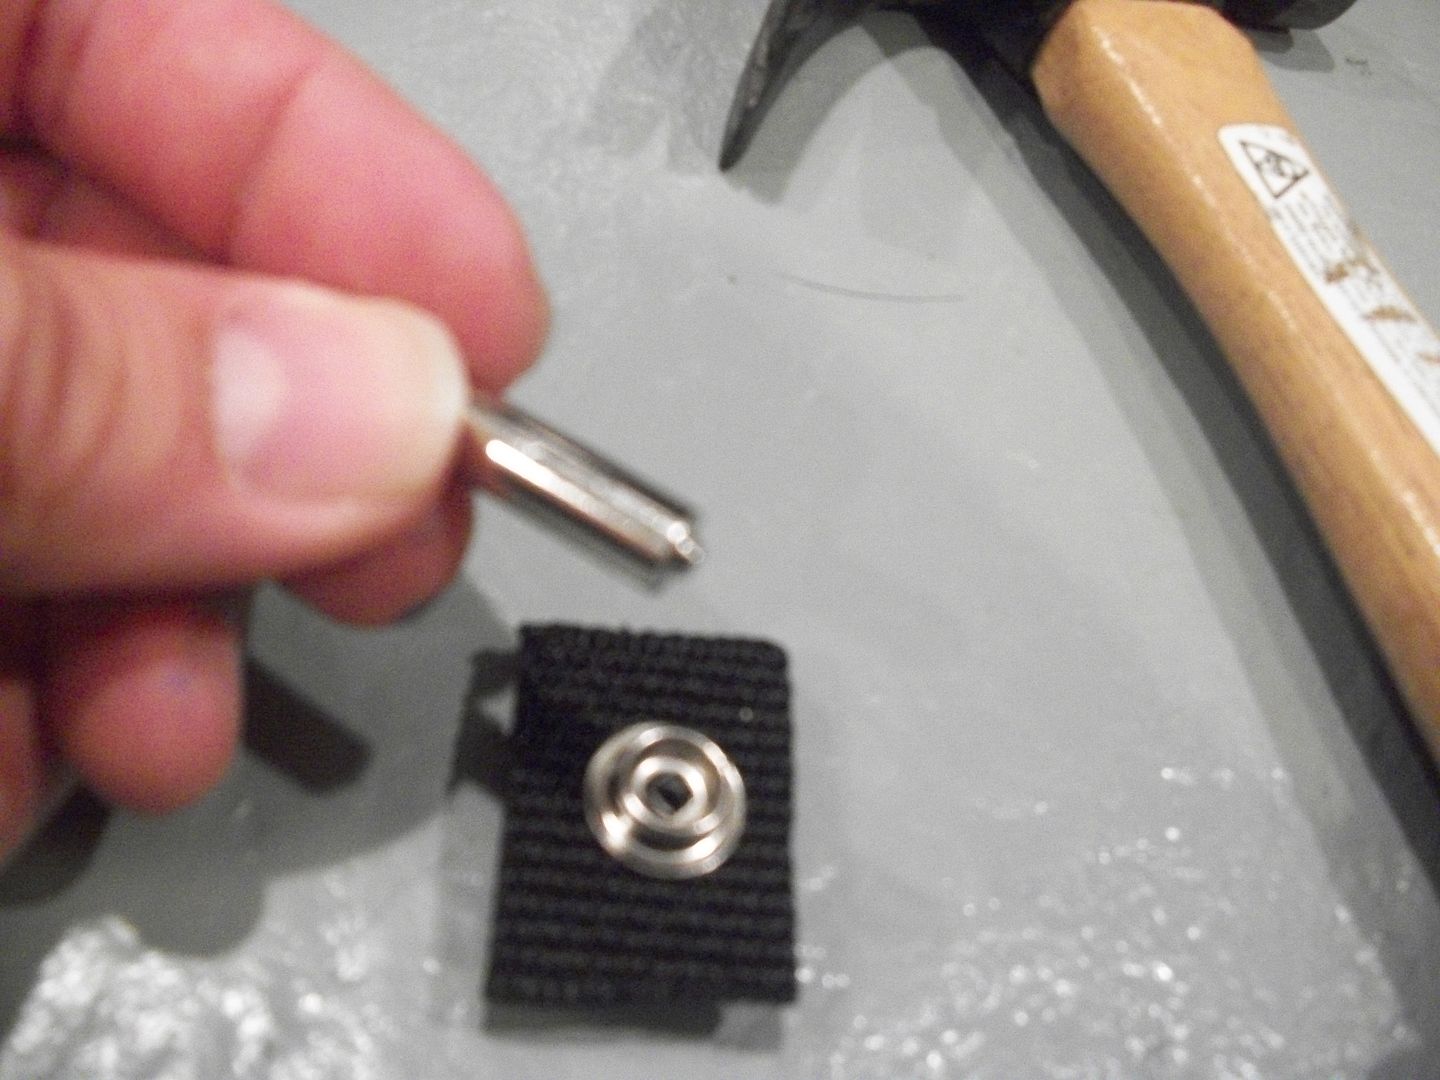
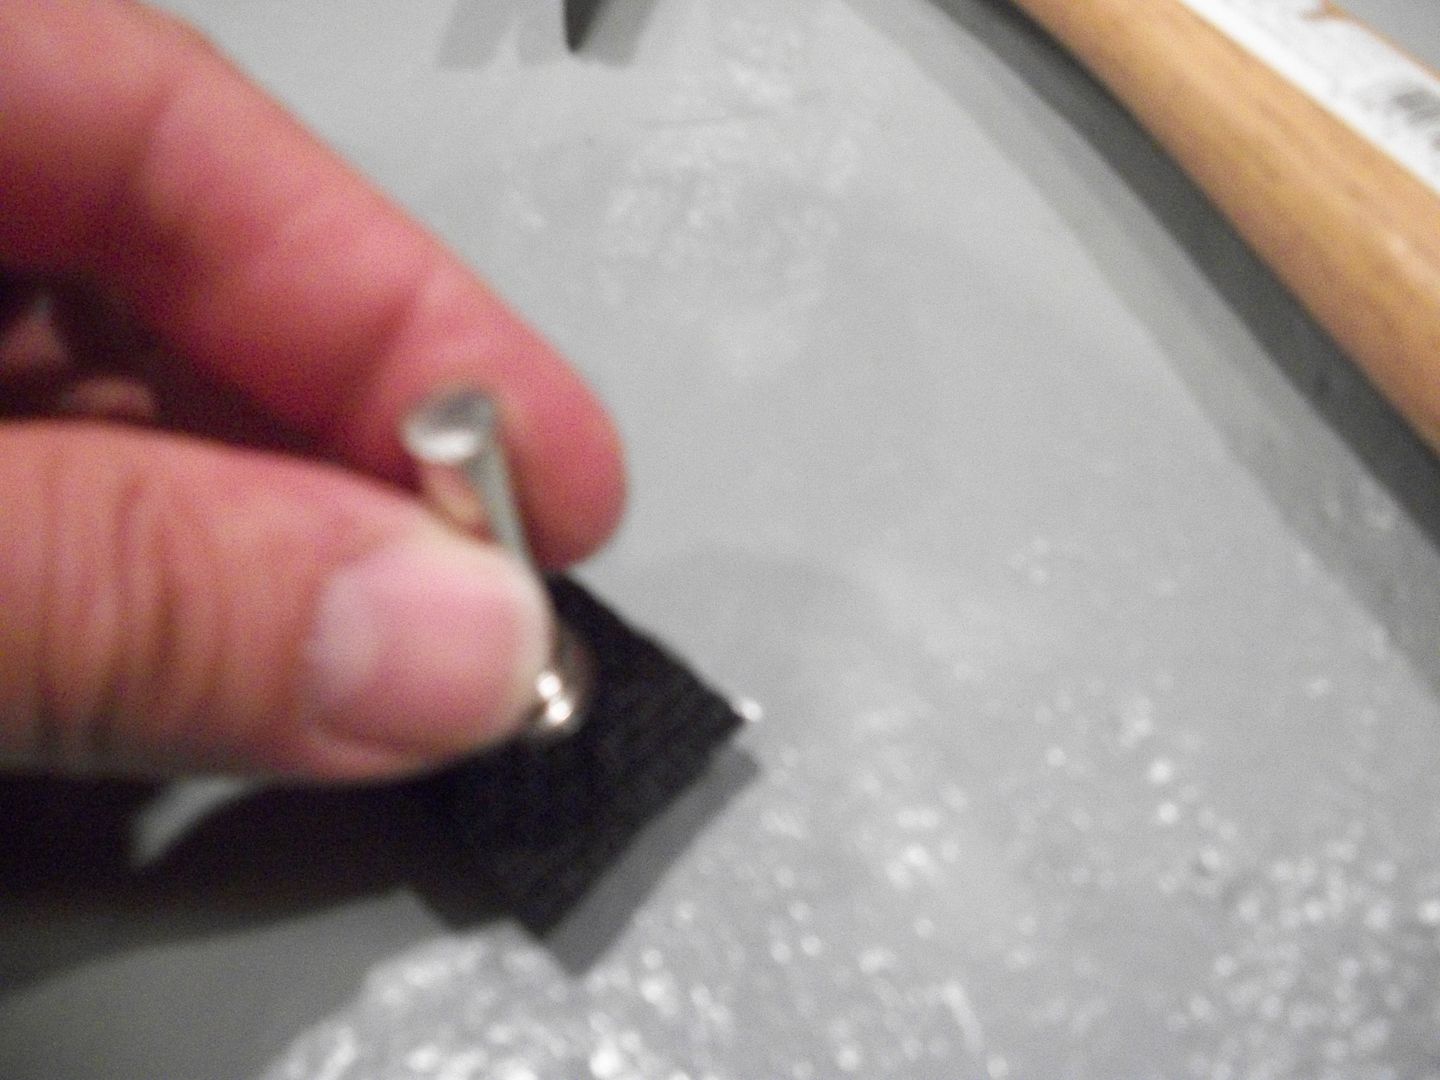
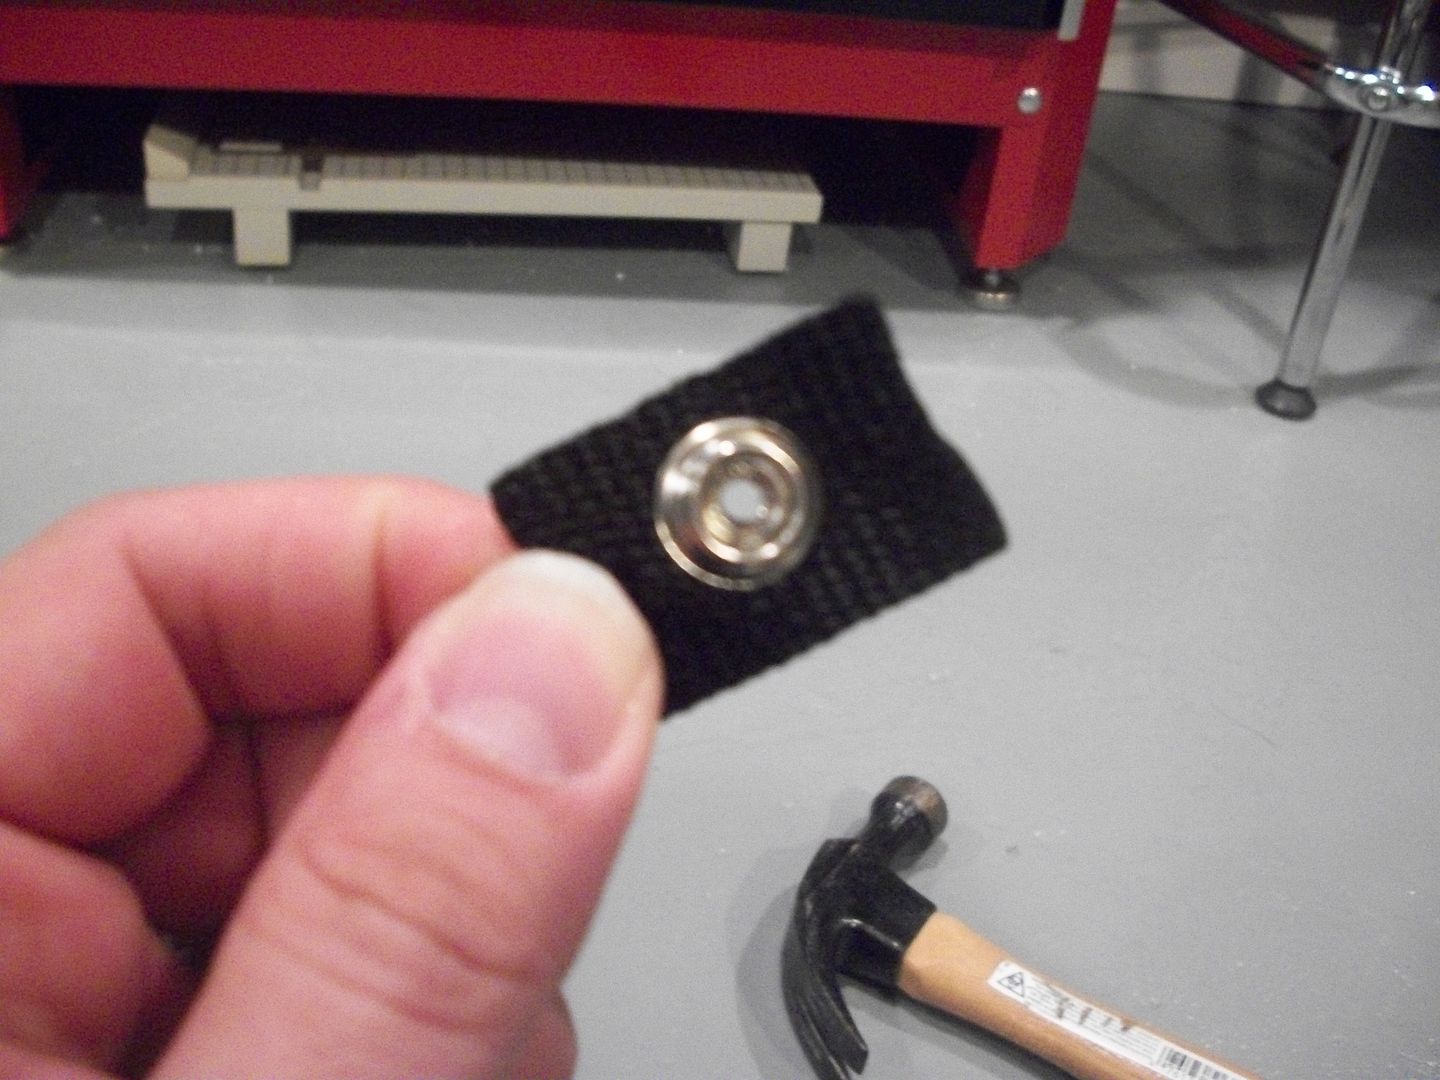
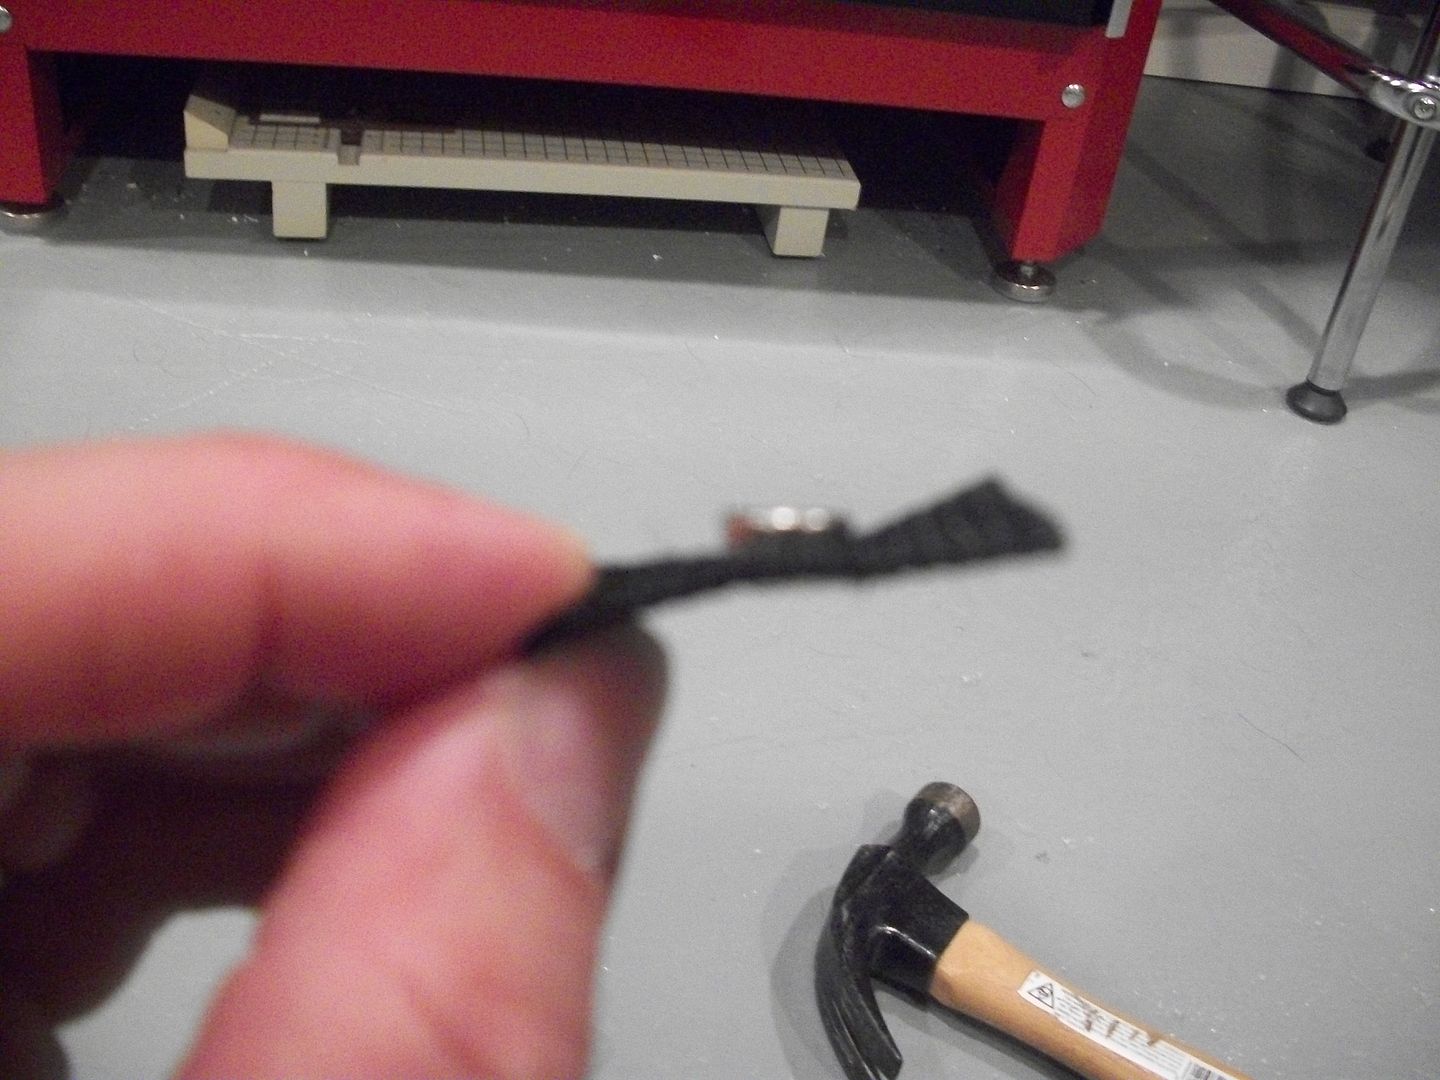
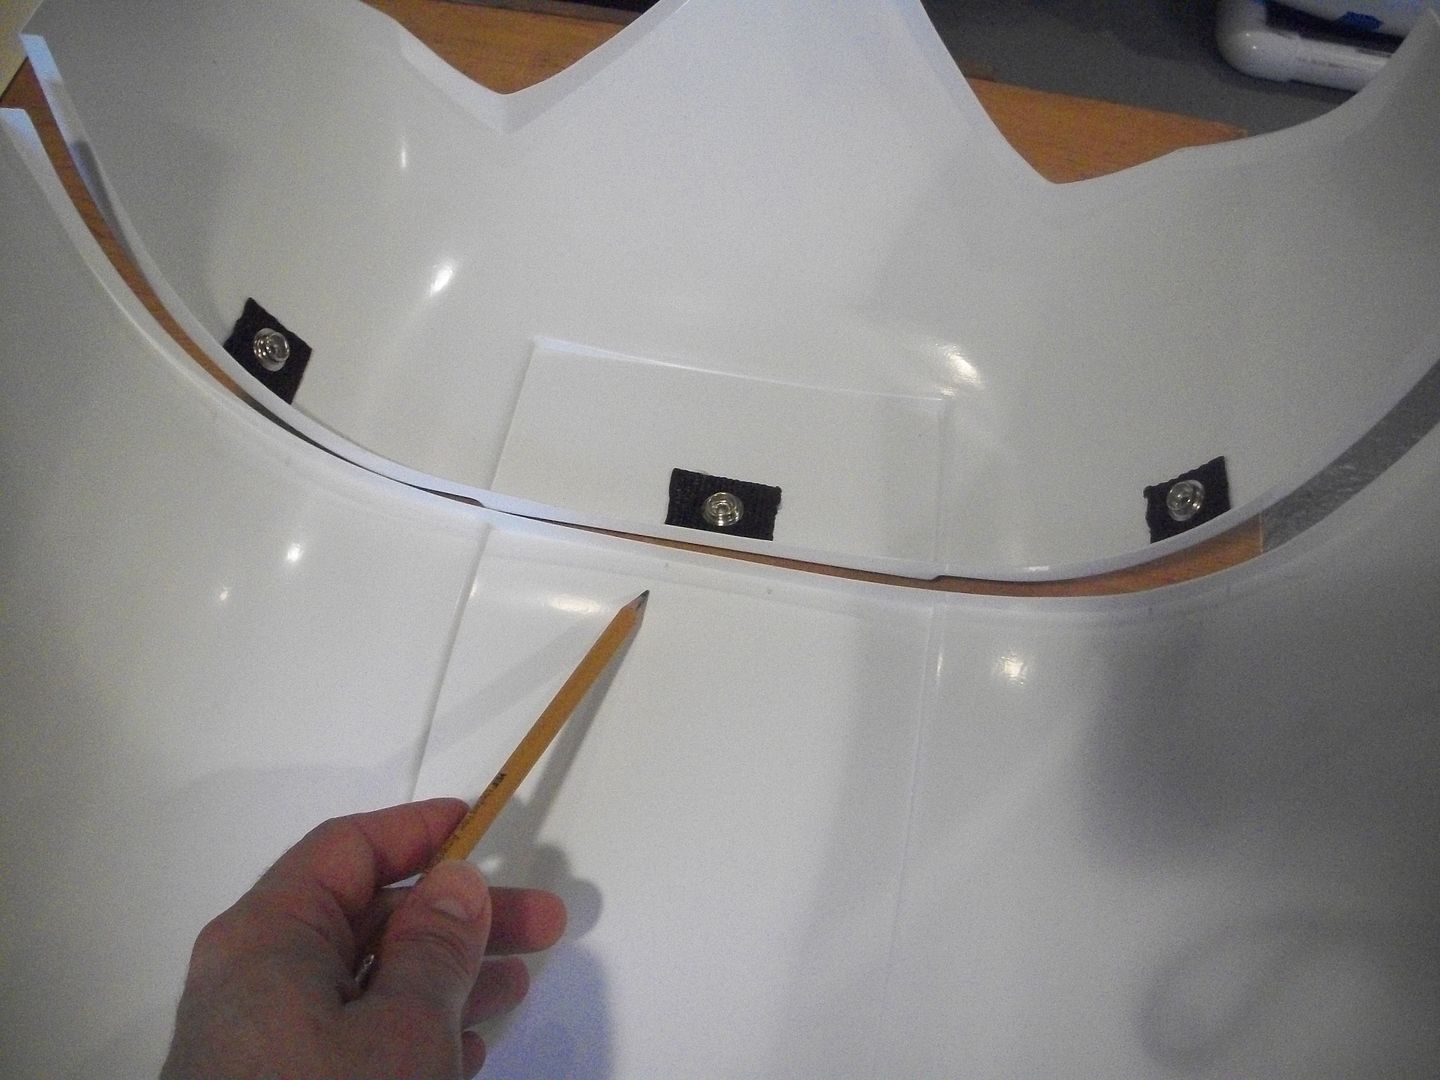
7) Line the squares up, mark it with pencil.
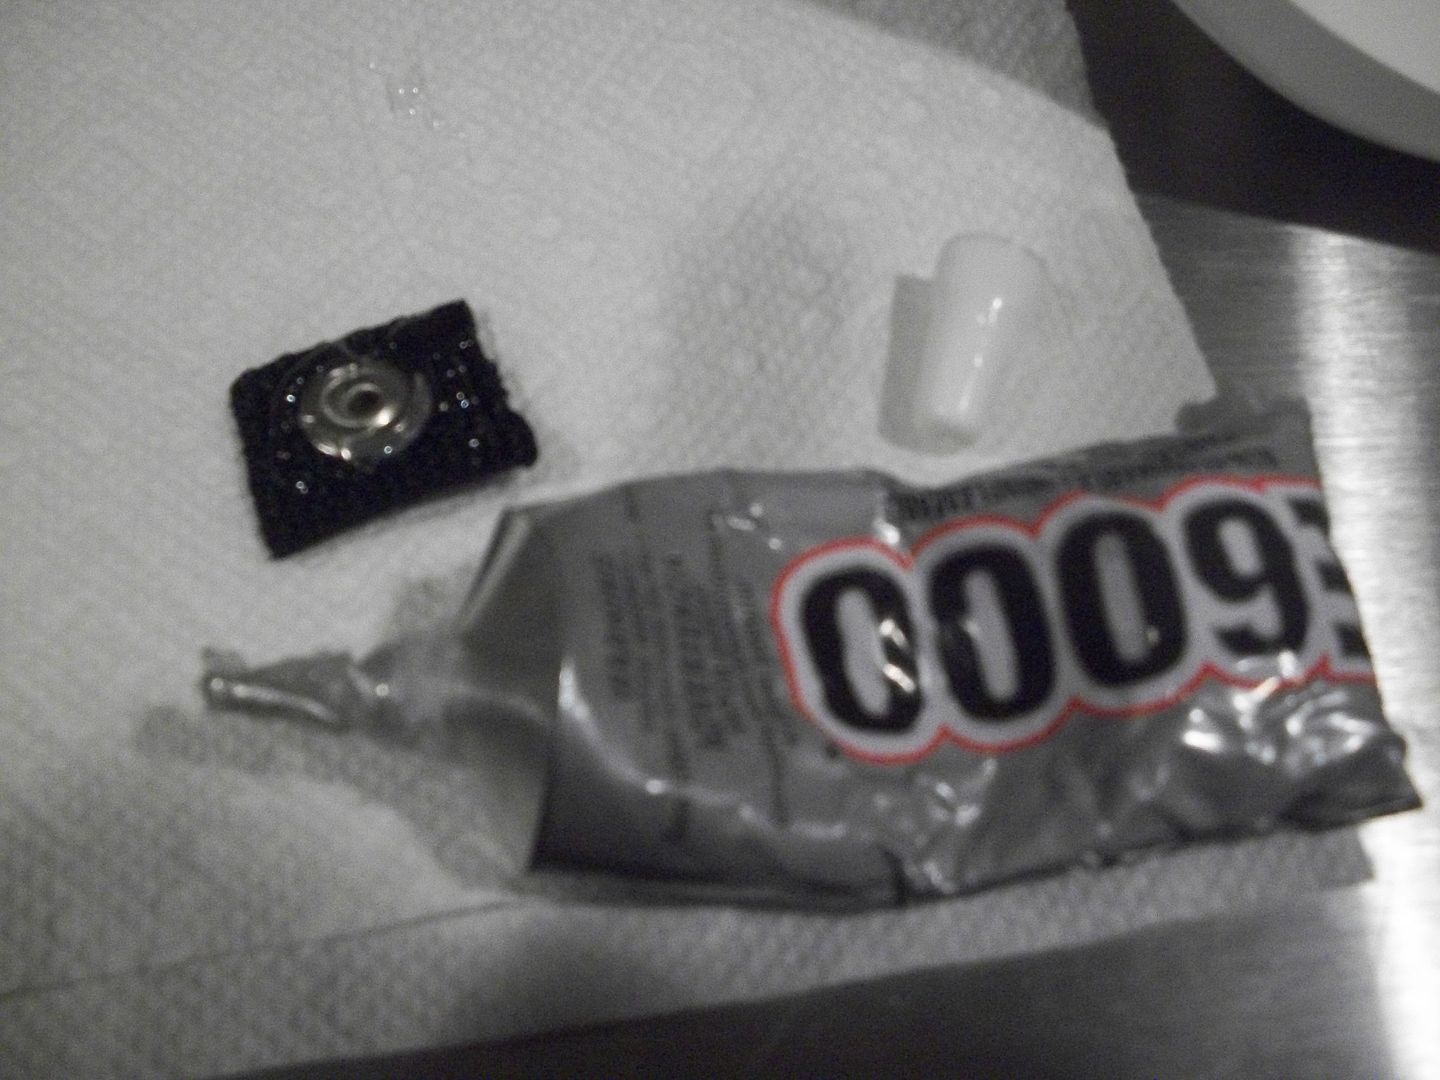
8) Use E-6000 on the webbing. Use a lot of it, really cover the entire webbing area.
9) Use as many clips as possible to maximize the hold on each square.
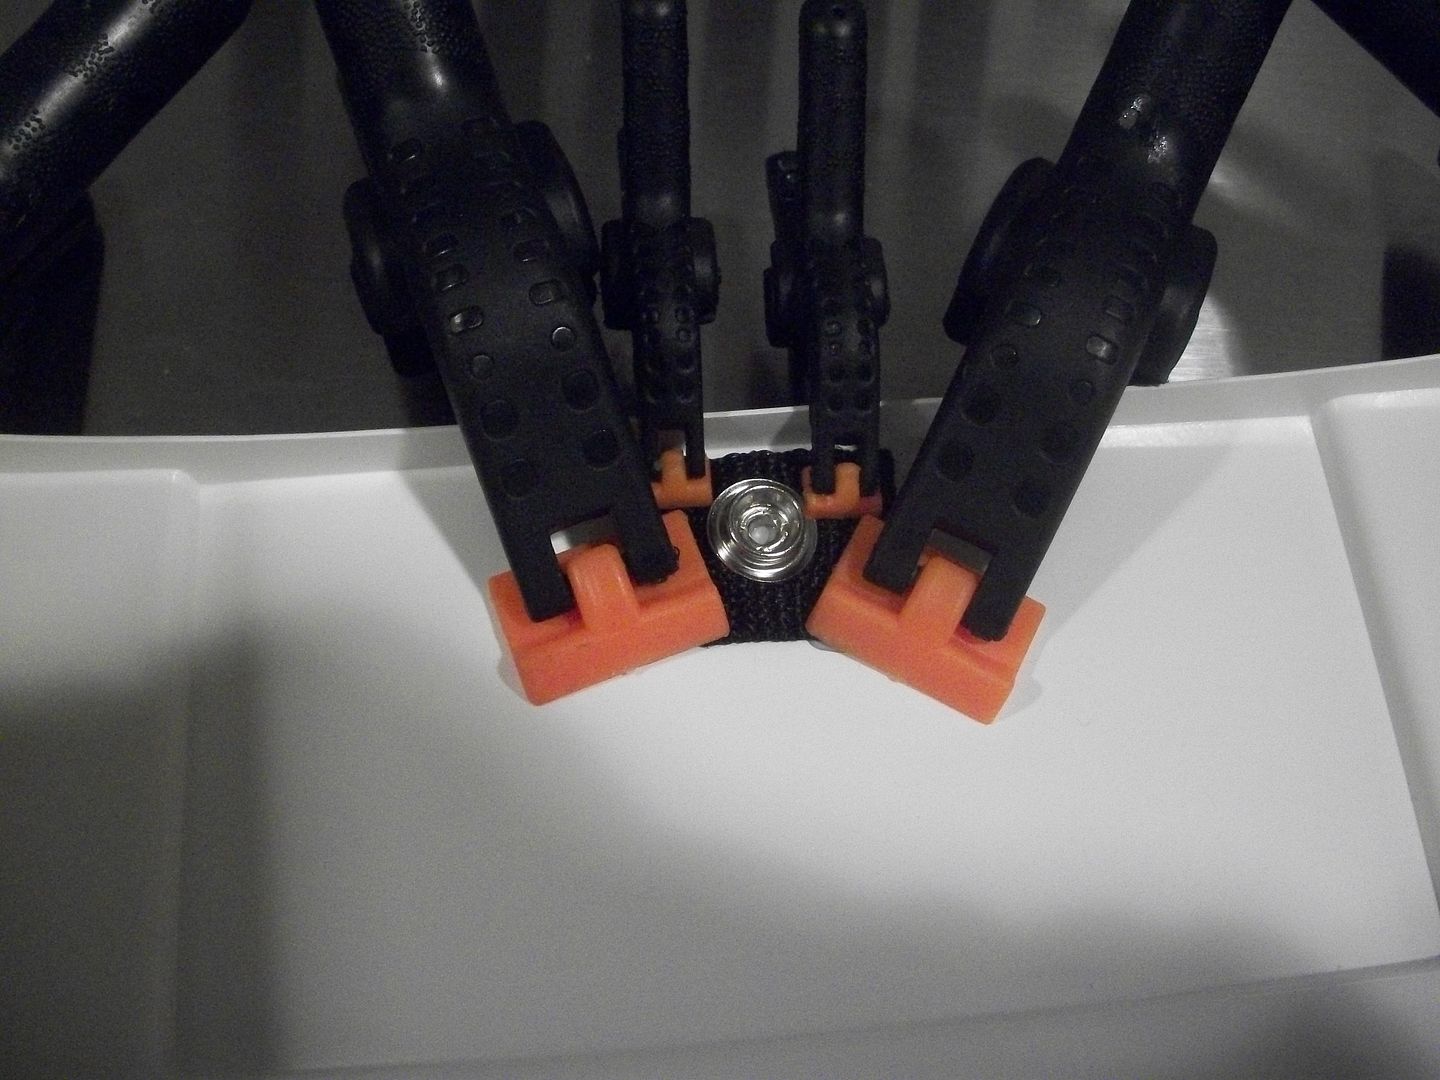
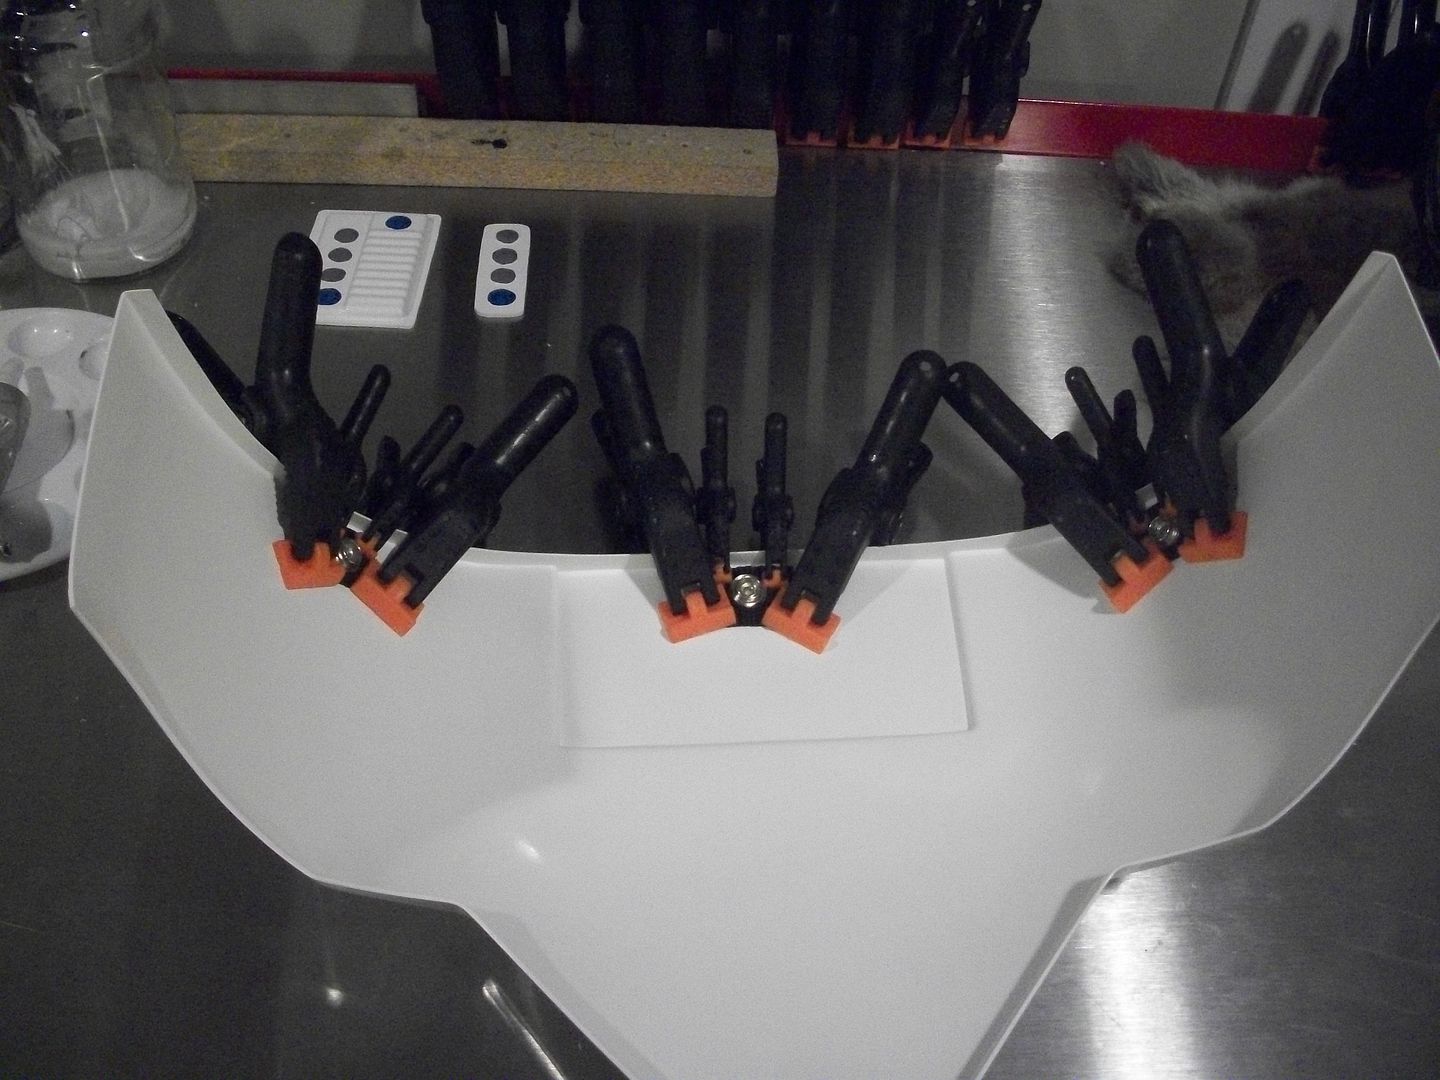
10) Done.
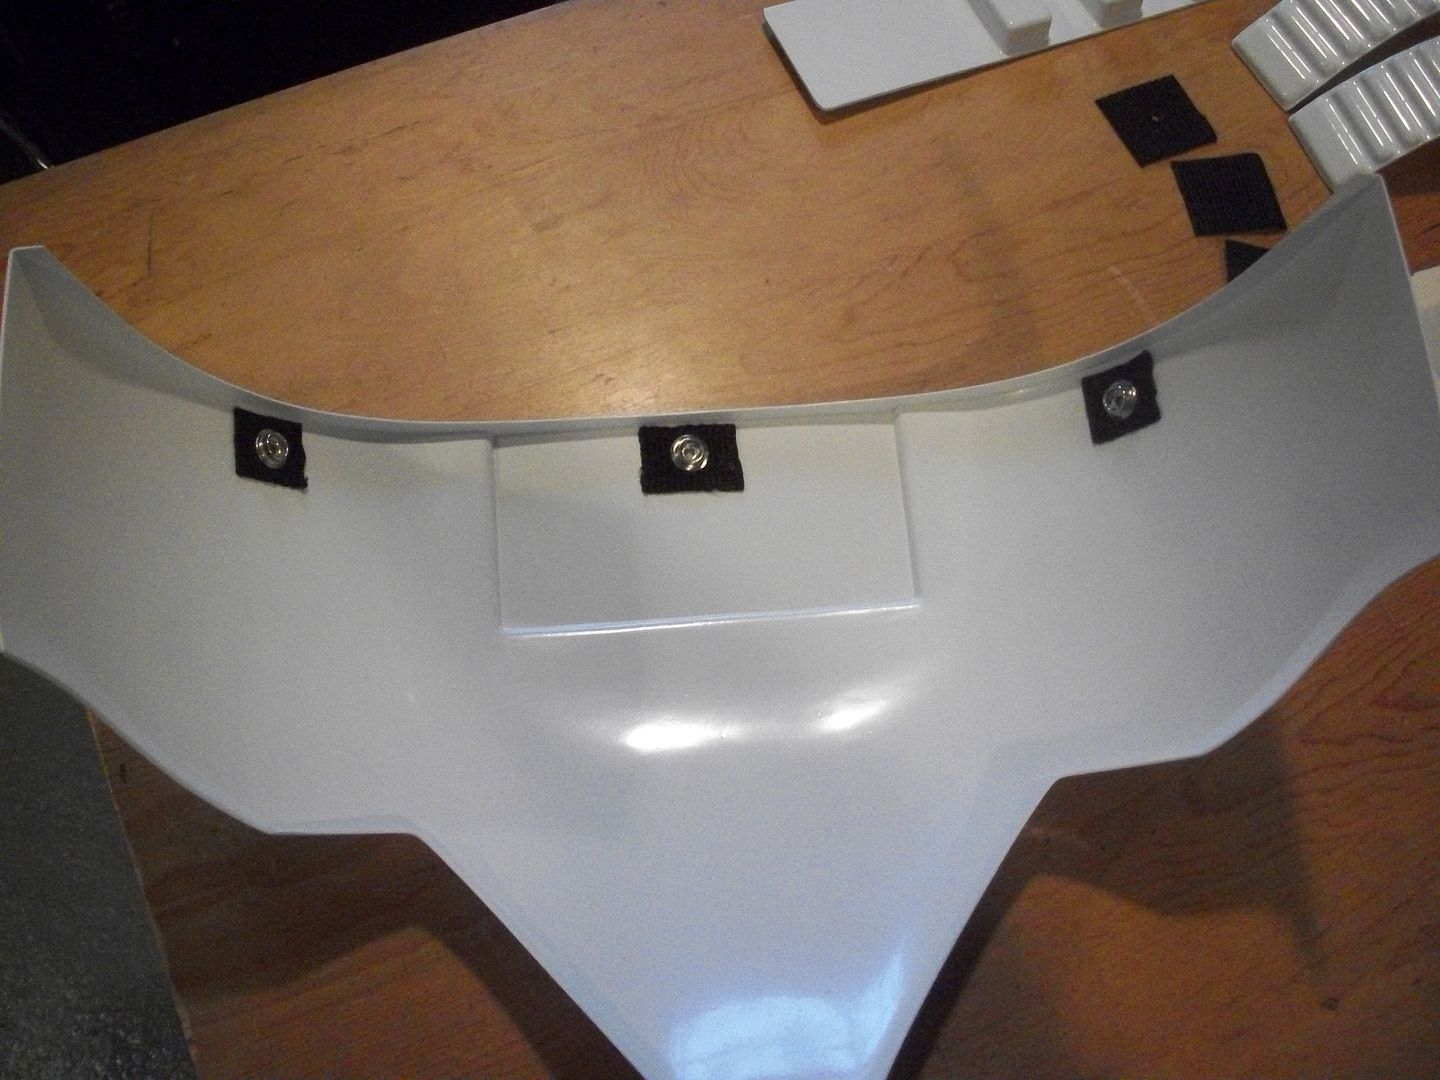
11) Using the ones you did as a guide, mark the kidney with a pencil so they line up.

12) Same method, glue the other three on.
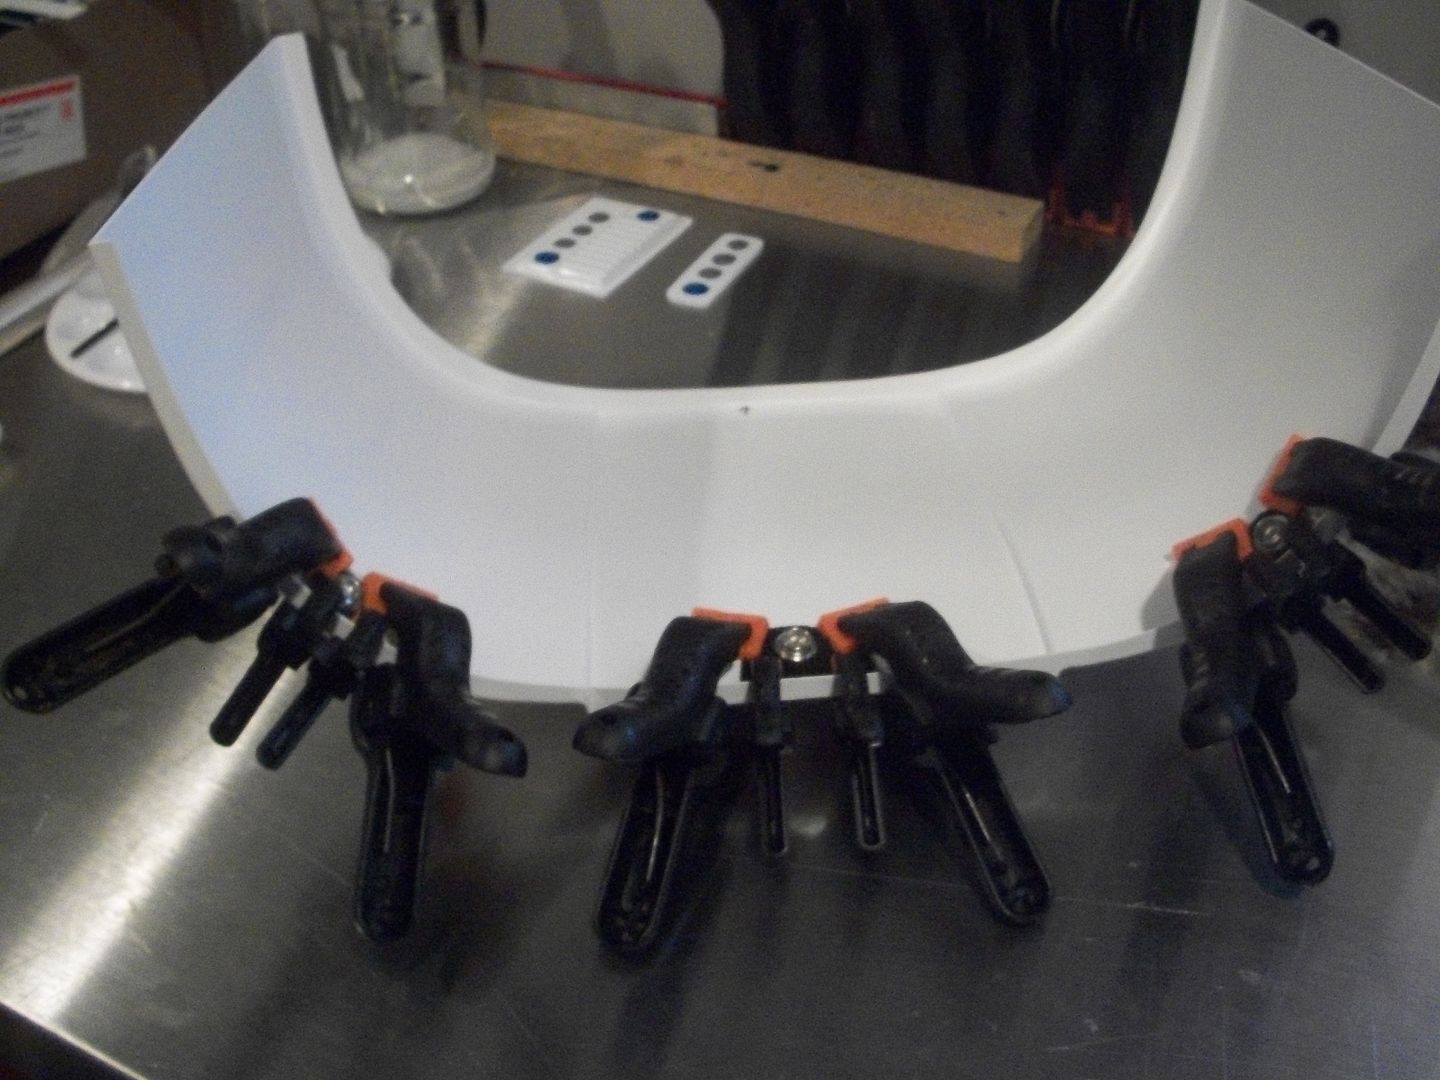
13) Done. They should now match up.
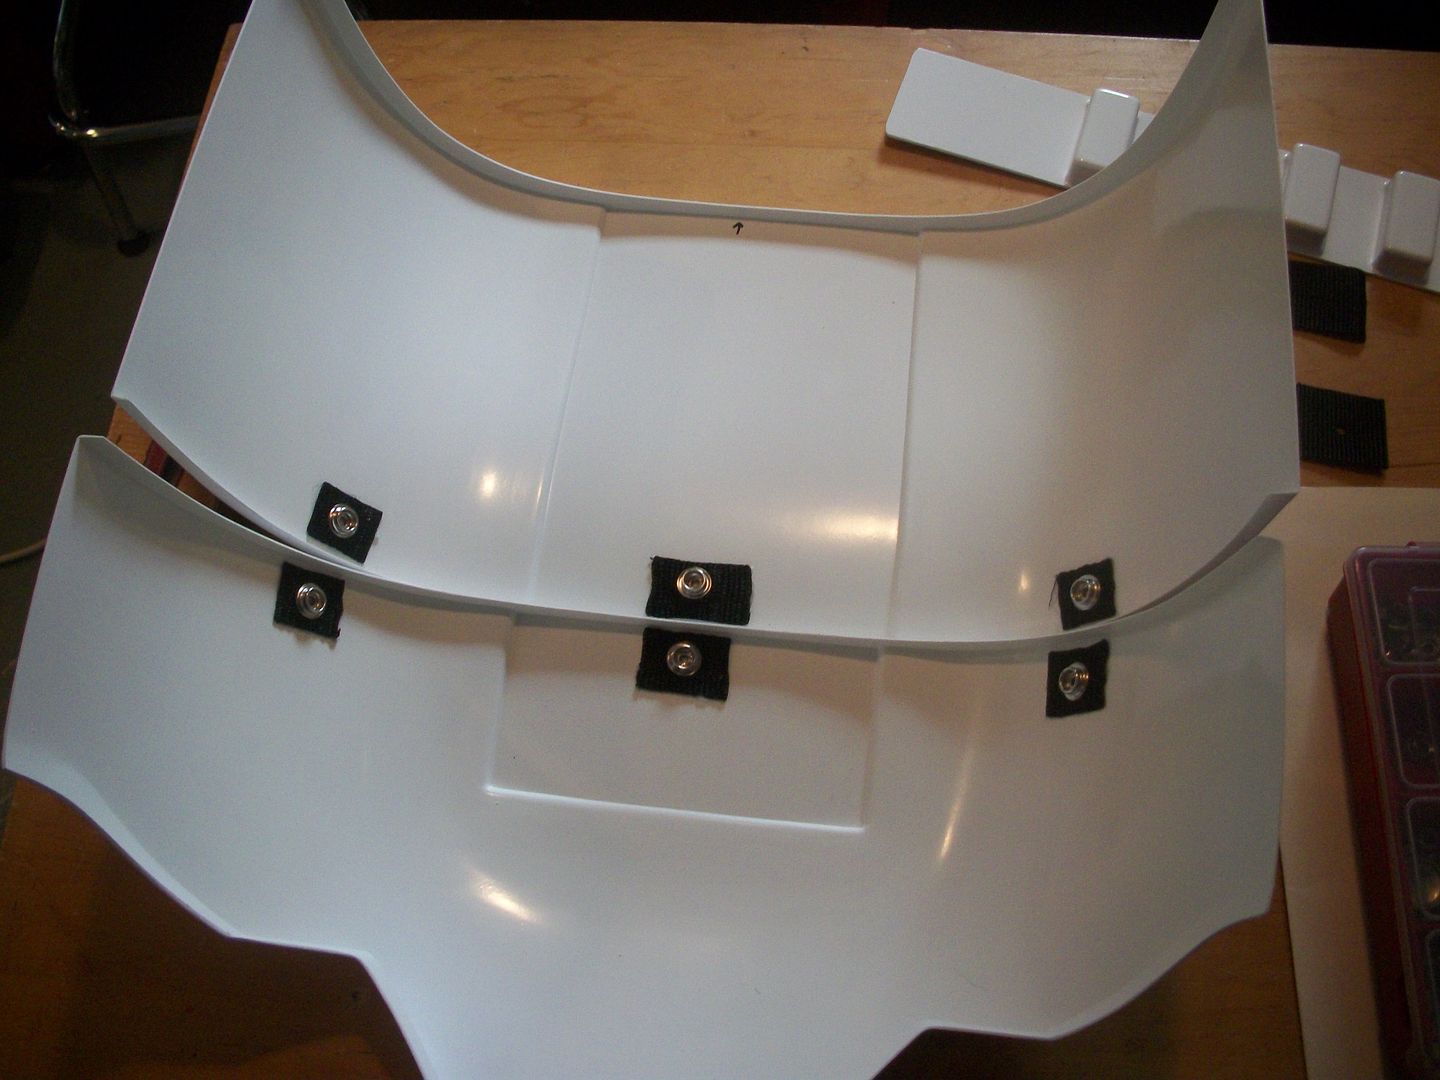
TIME CHECK:
Making squares with snaps, gluing on = 30 MINUTES
-
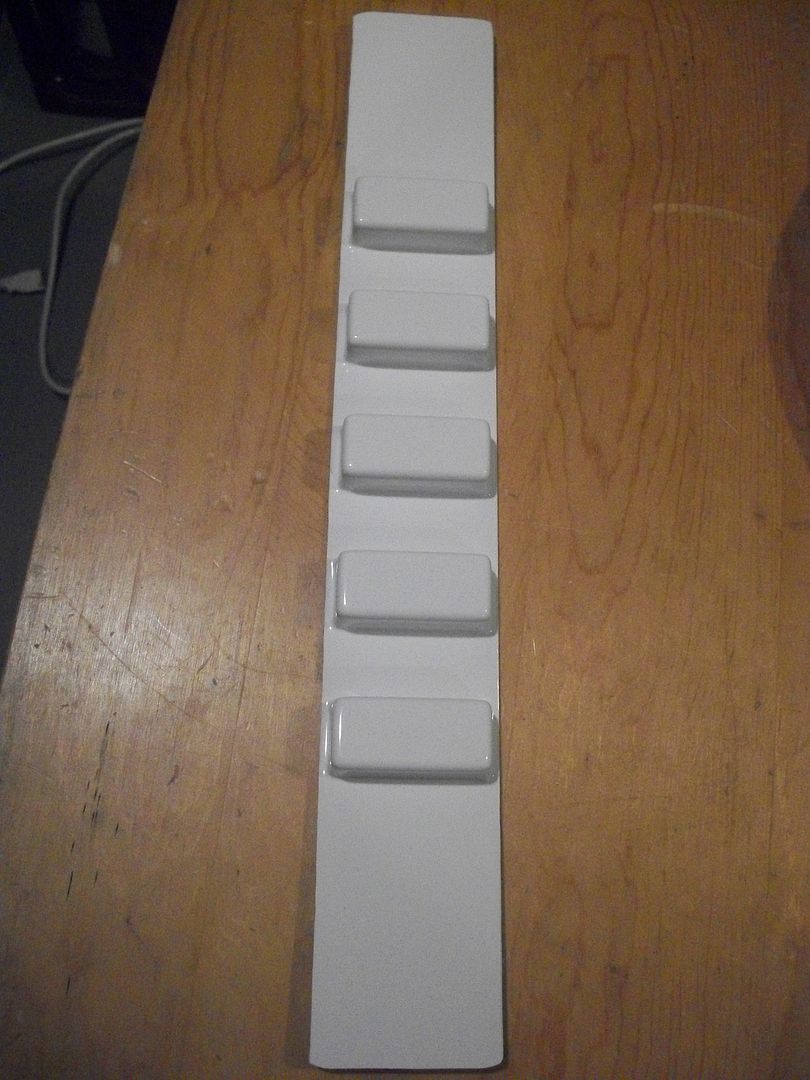
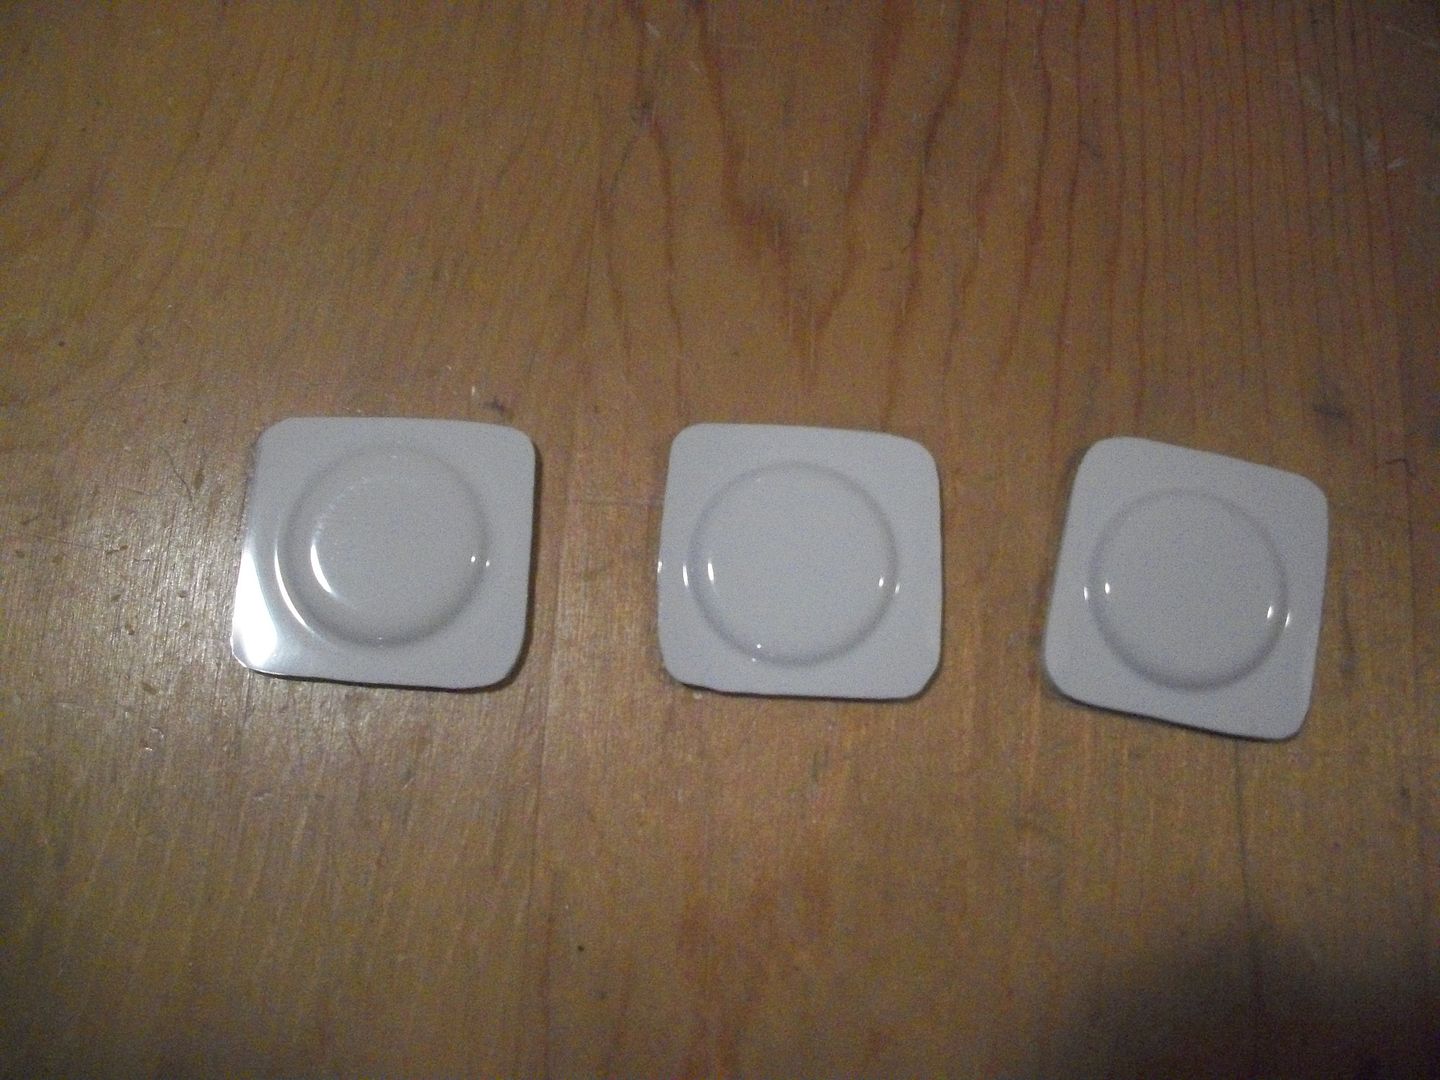
Busted out the dremel and smoothed all the minor accessories.
1) Shoulder straps
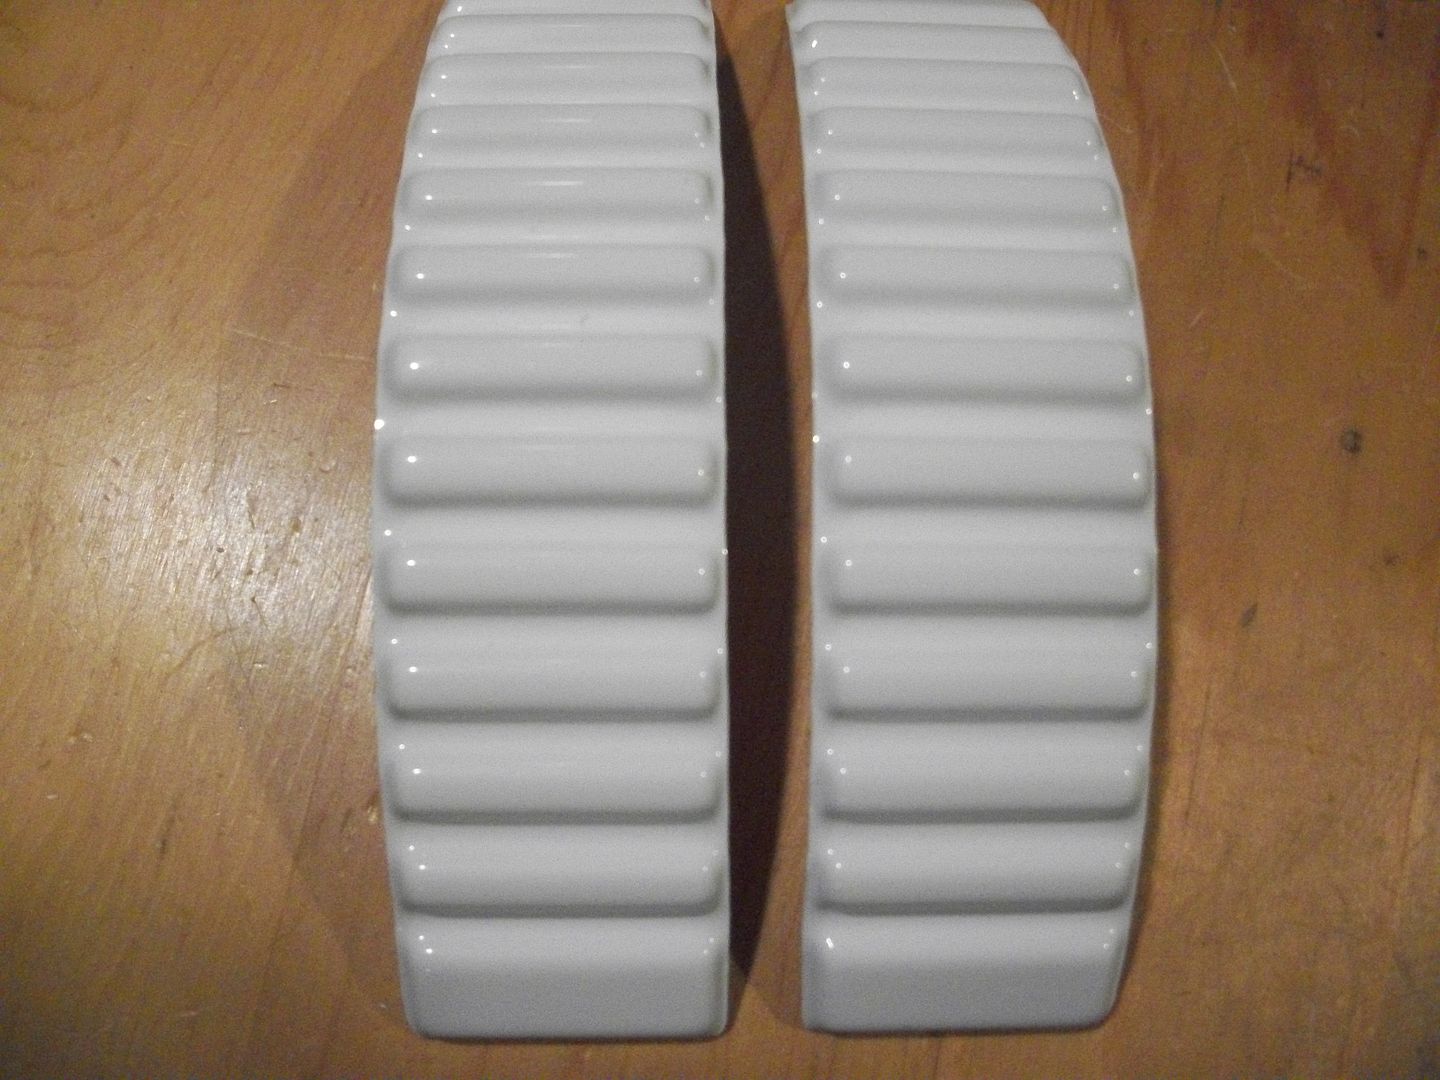
2) Thigh ammo pack
3) Belt buttons
4) Ab plate details
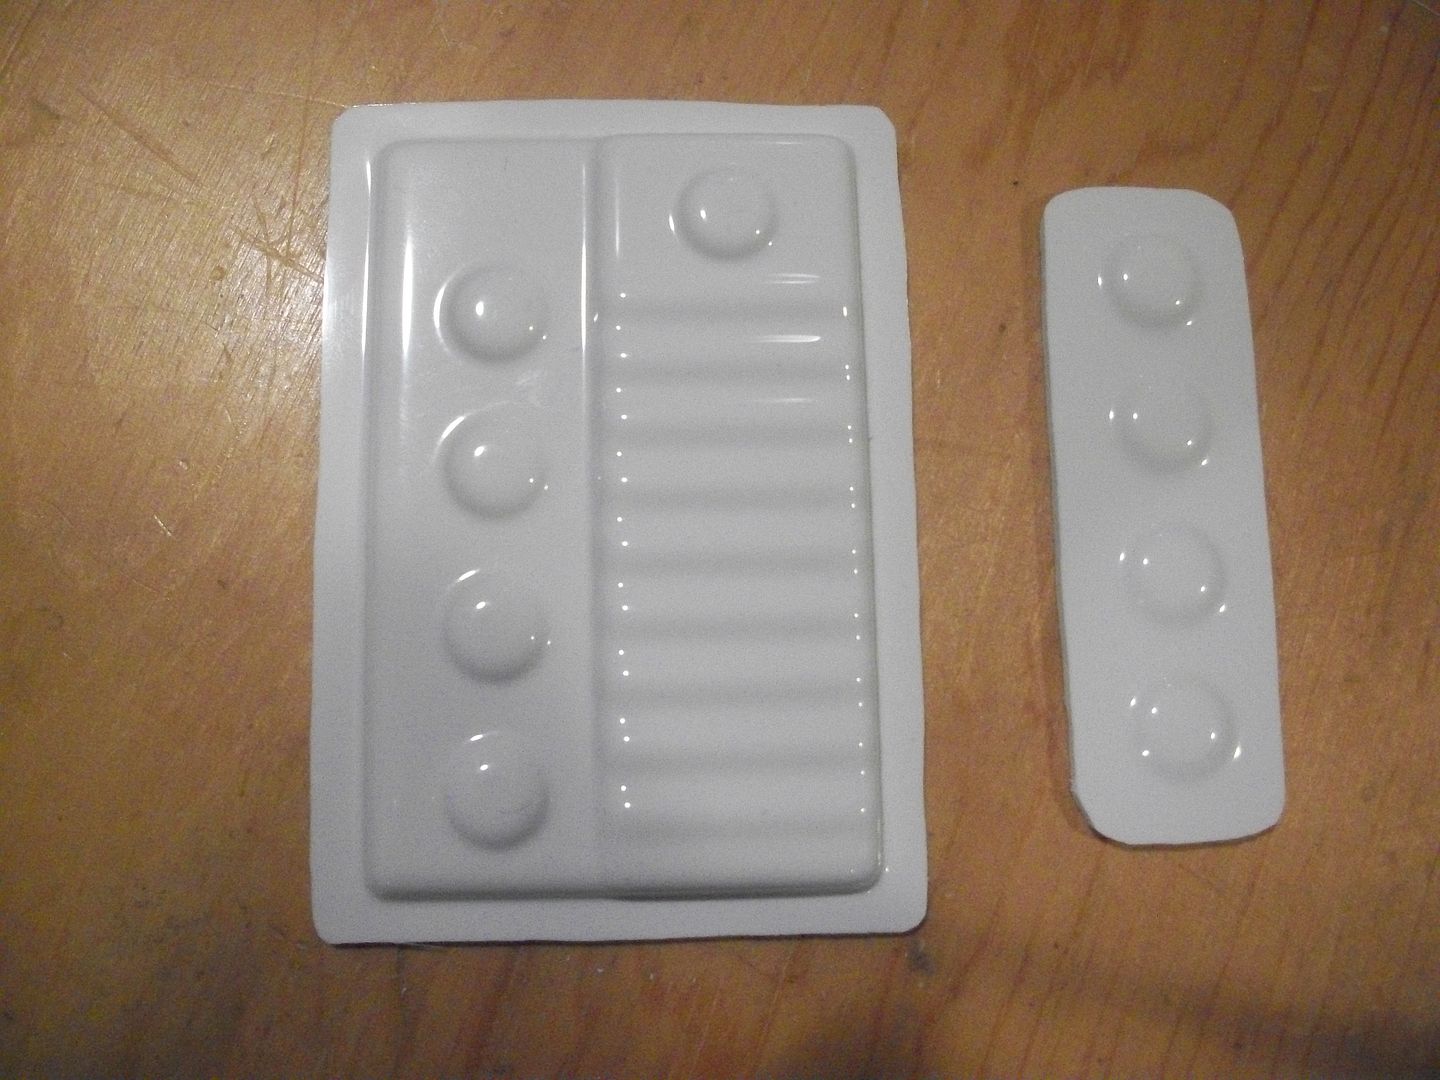
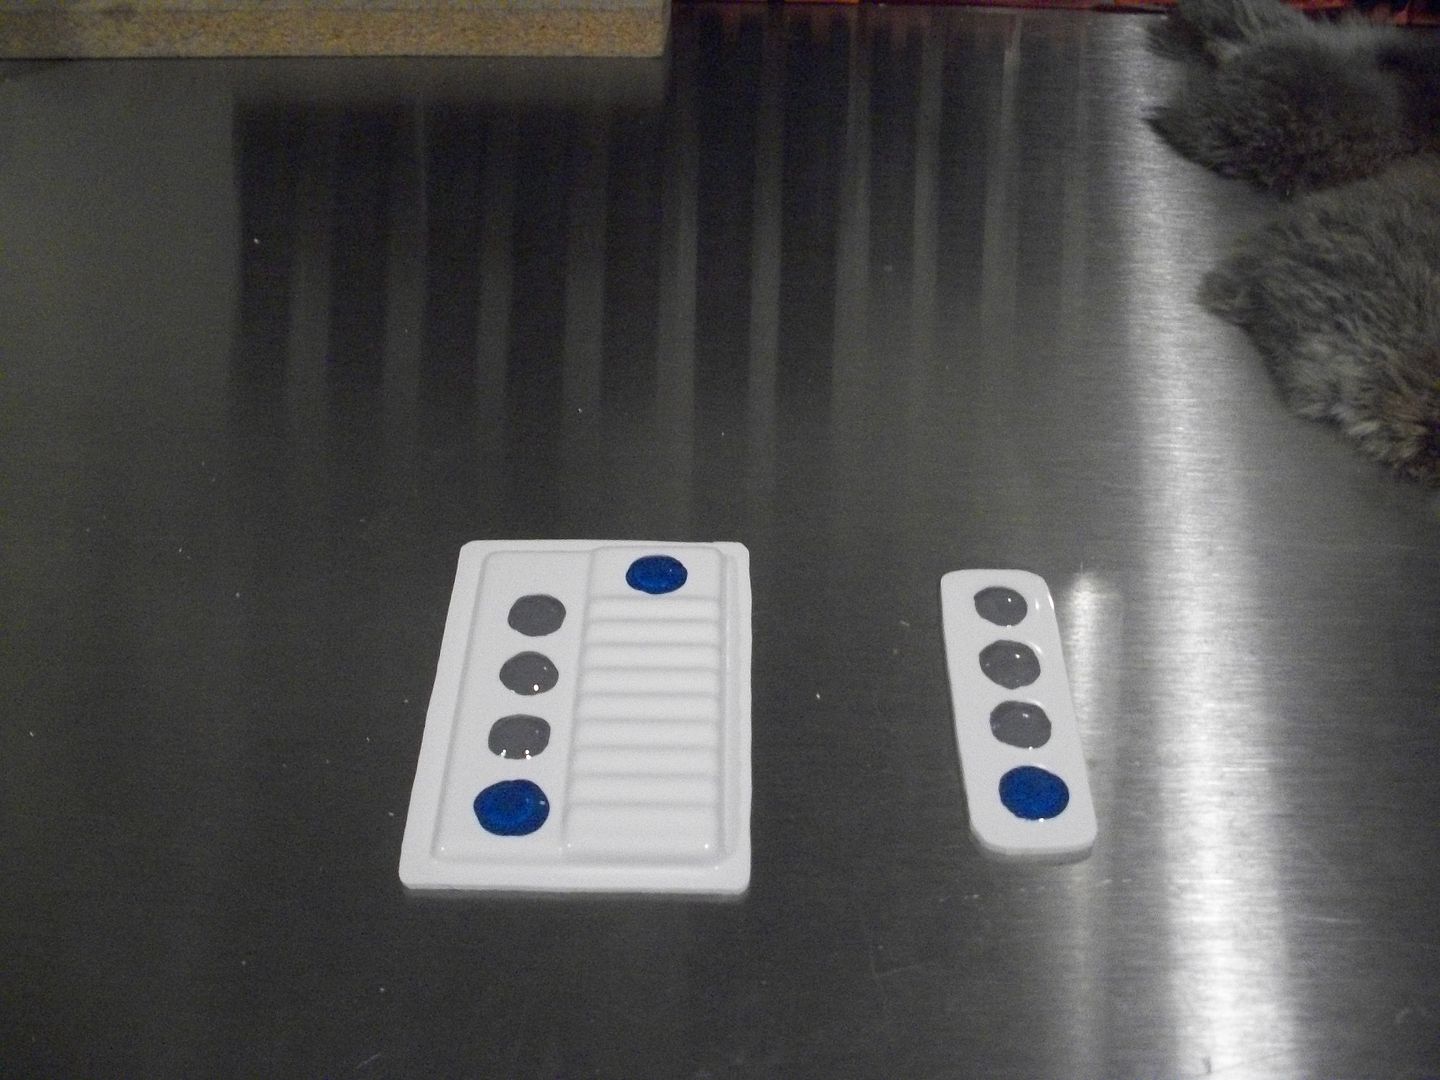
For the ab plate details I also painted them. Using the correct "Testor's" brand paints grey and blue
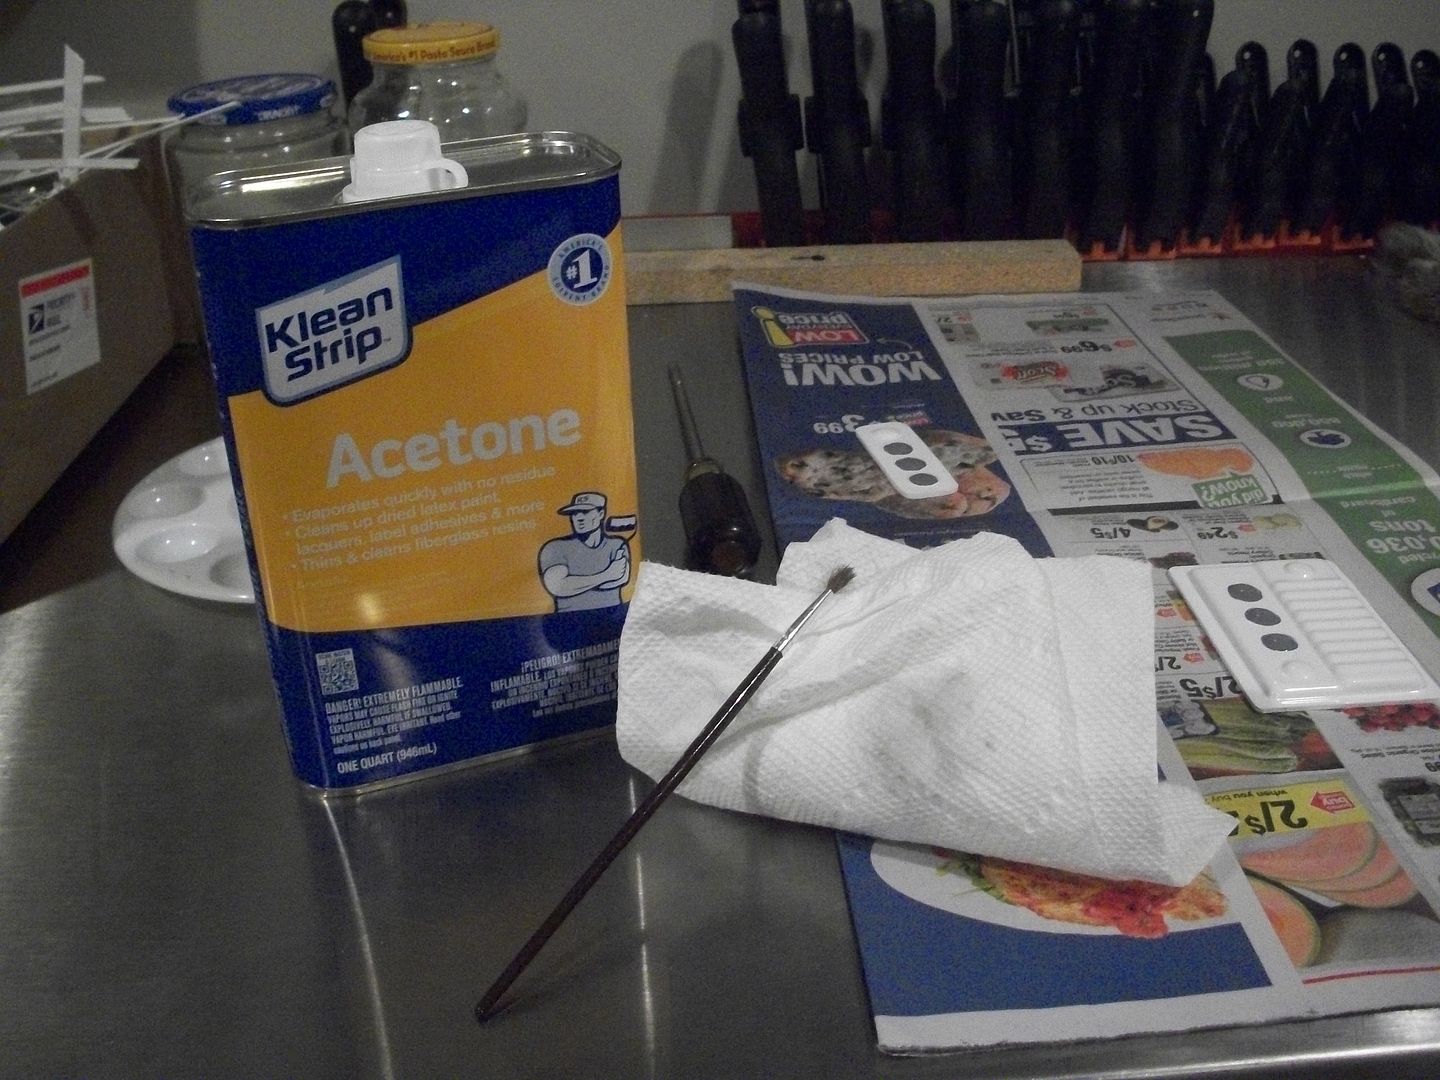
If you have multiple brushes great, if you don't since this is NOT water based you'll need acetone to clean the brush up. You can just take a paper towel and put it over the can opening, turn it upside down for a second then use what's on the towel to clean up the brush. Or you can get a dixie cup and dip it in. Also, if you mess up the paint, just get the acetone towel thing and wipe it right off. Start over lol.
TIME CHECK:
Smoothing accessories, painting buttons = 30 minutes
I'm going to get and use the screen accurate rubber gloves with attached rubber hand plate, but I also have a set up for the hard plates.
1) Using old "511" brand cop tactical gloves, I just created an elastic loop. Sewed in a circle with velcro on the top. Then a sticky velcro square matched up and ready to attach. Put the strap over the glove and undo the sticky velcro back.
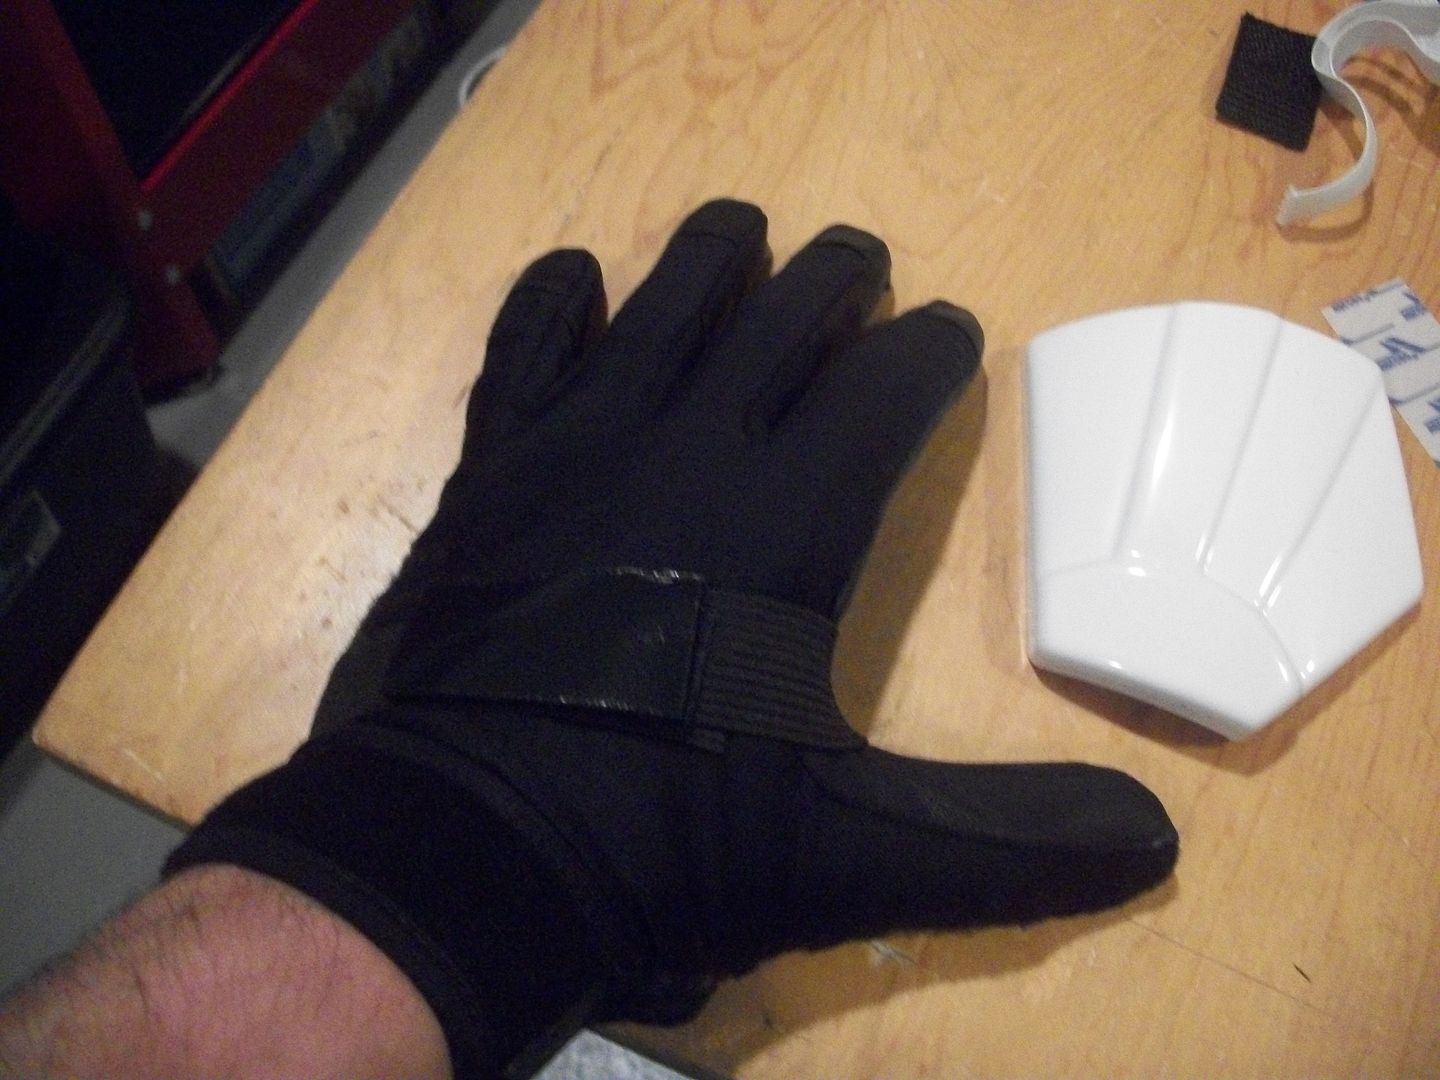
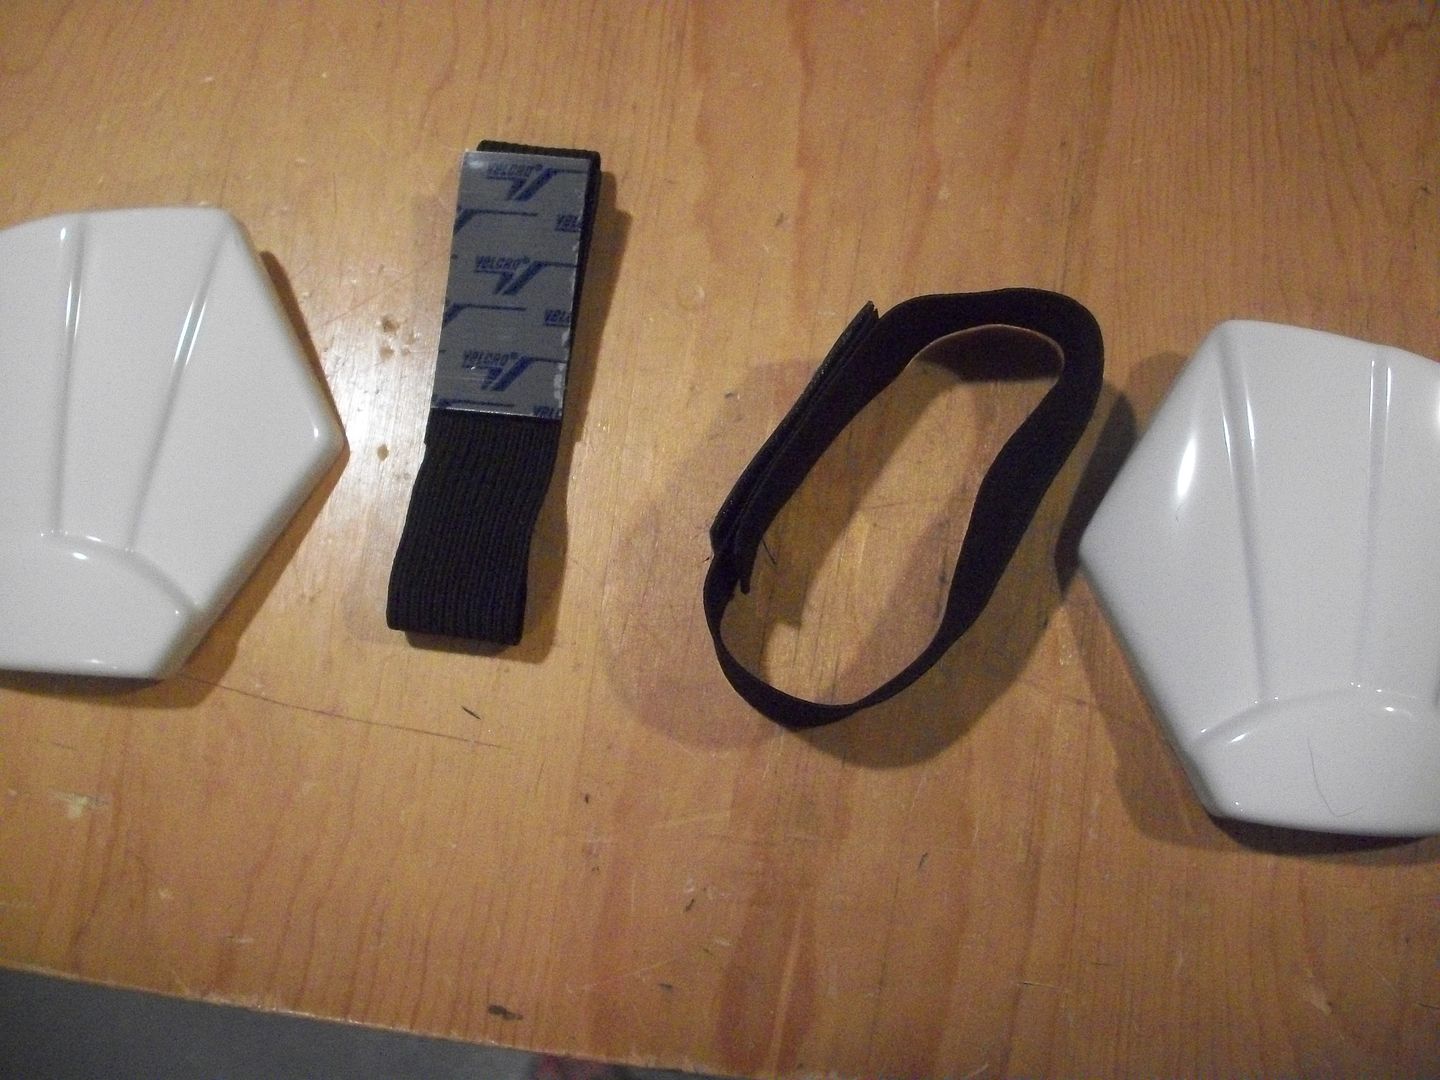
2) Place the handplate on the sticky velcro and it's done. Adjust if necessary.
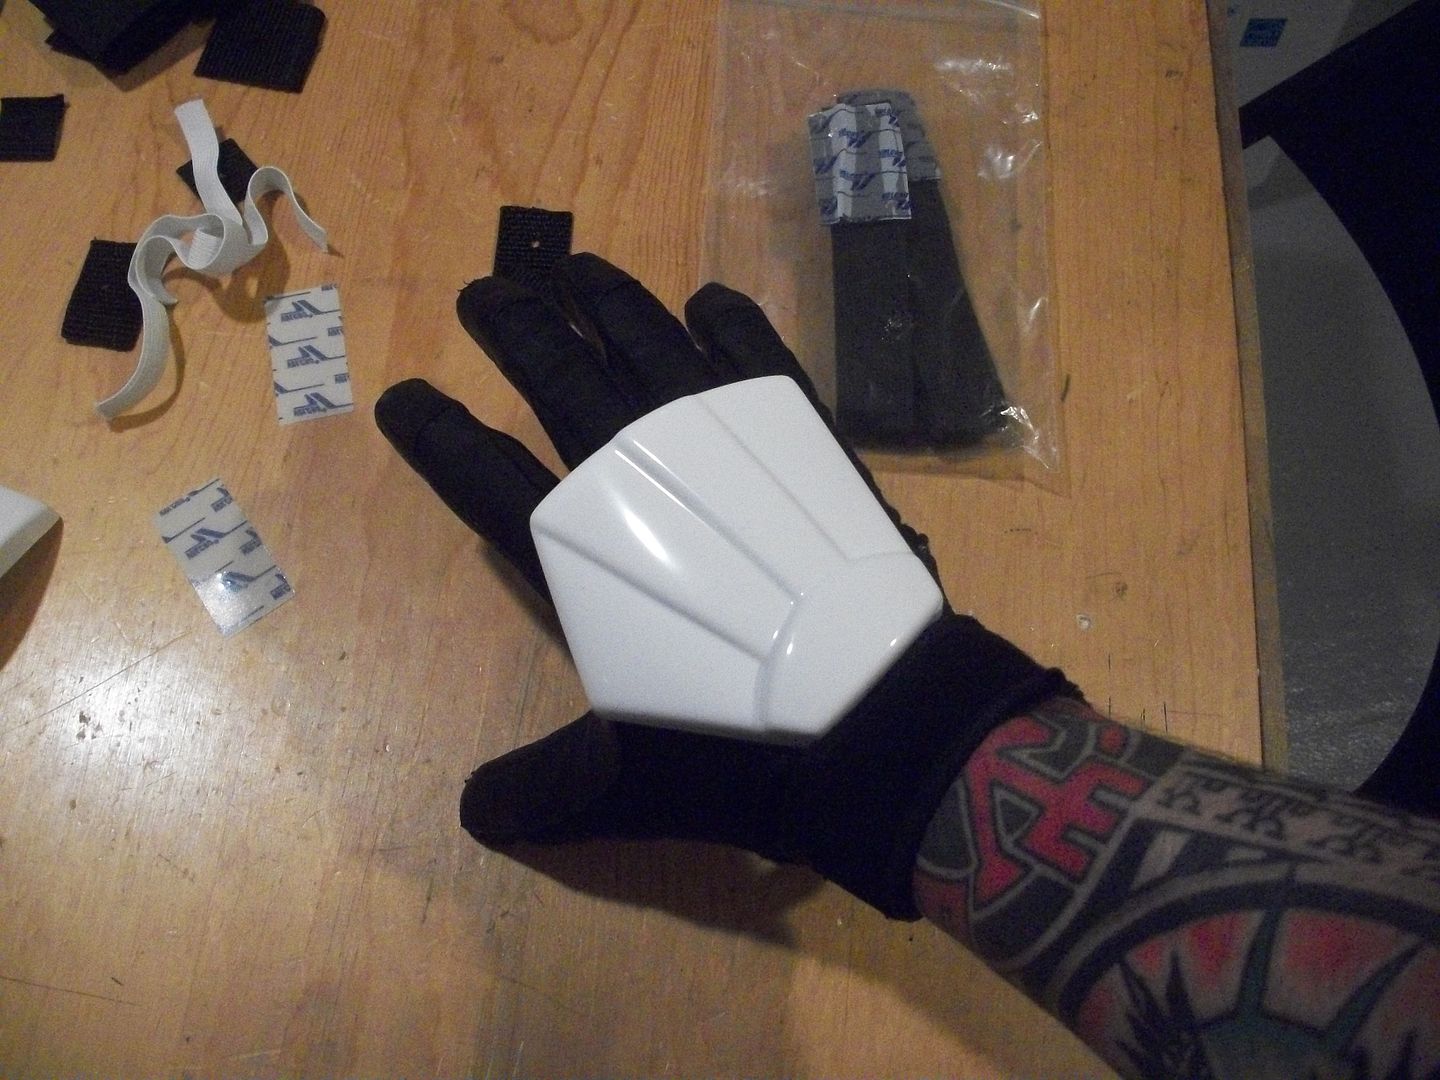
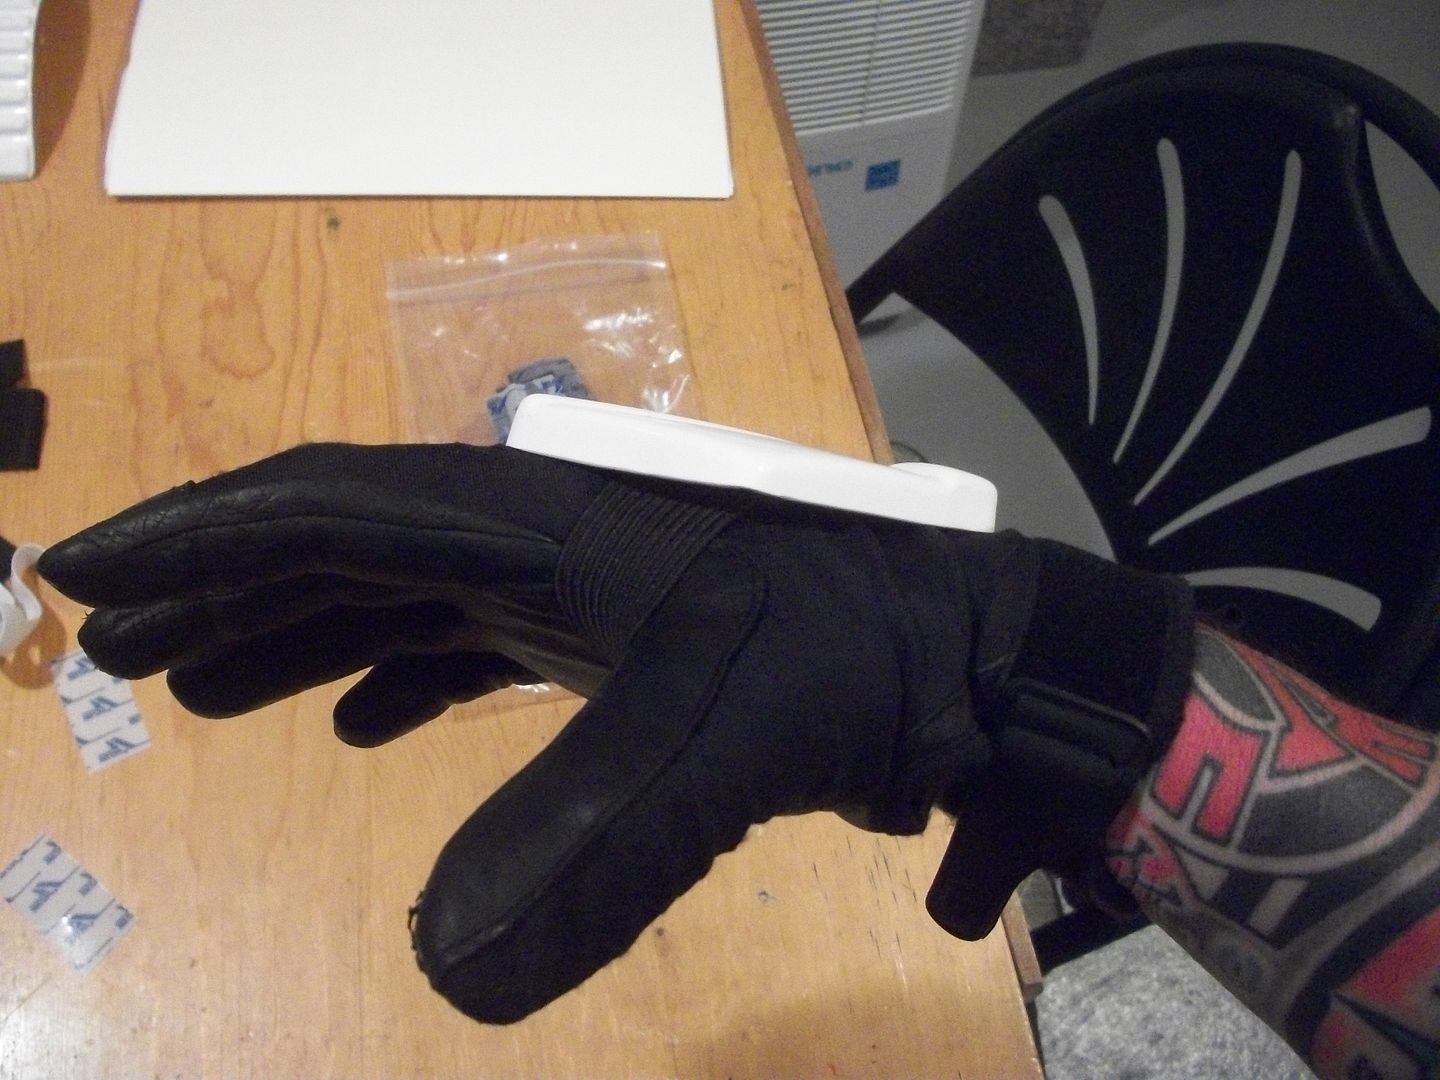
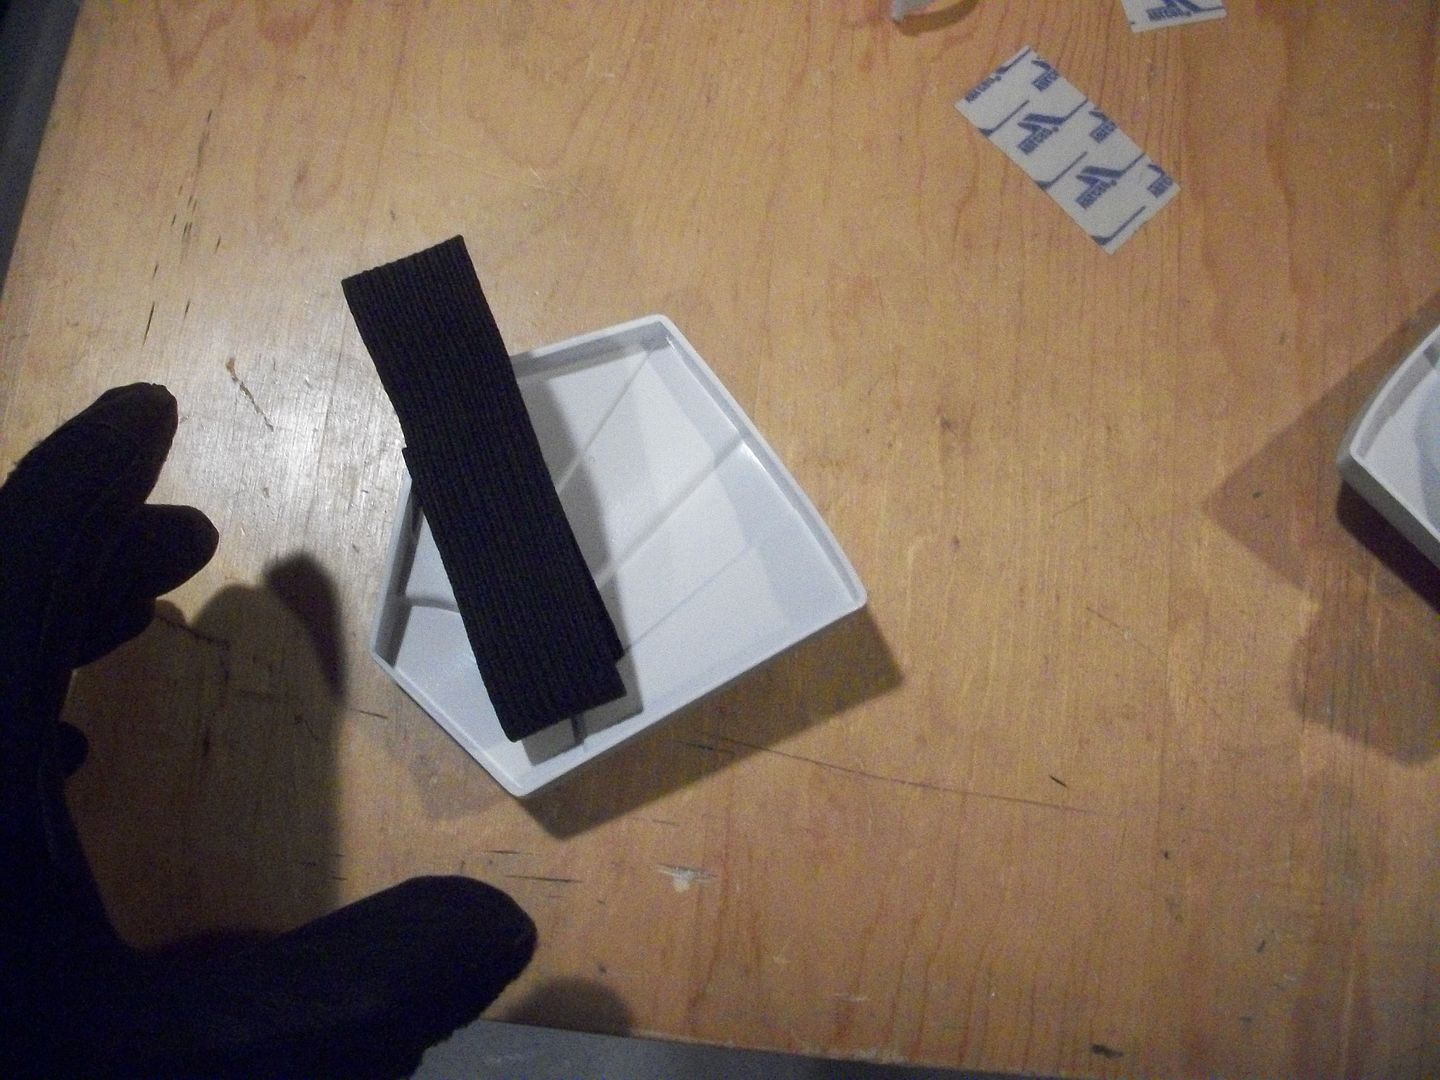
TIME CHECK FOR HAND PLATE ASSEMBLY: 30 minutes
** CANNON GLOVES AND HANDPLATES:
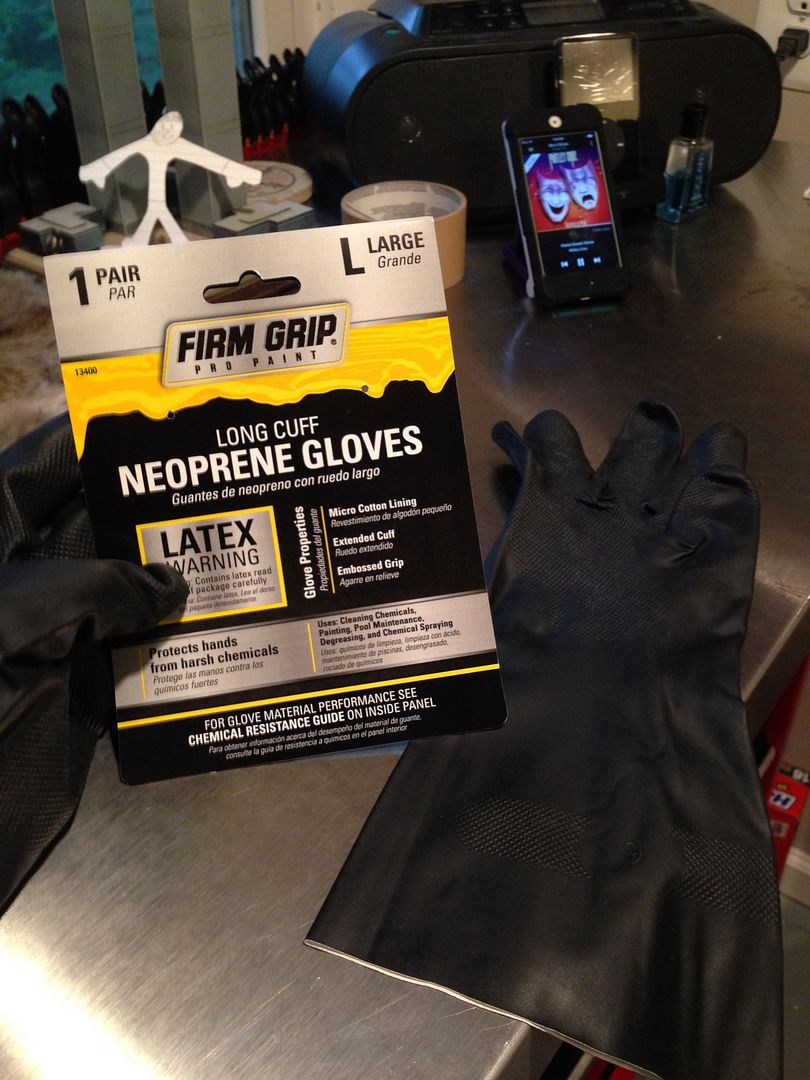
Using the gloves I got at Walmart and rubber handplates from Trooperbay...
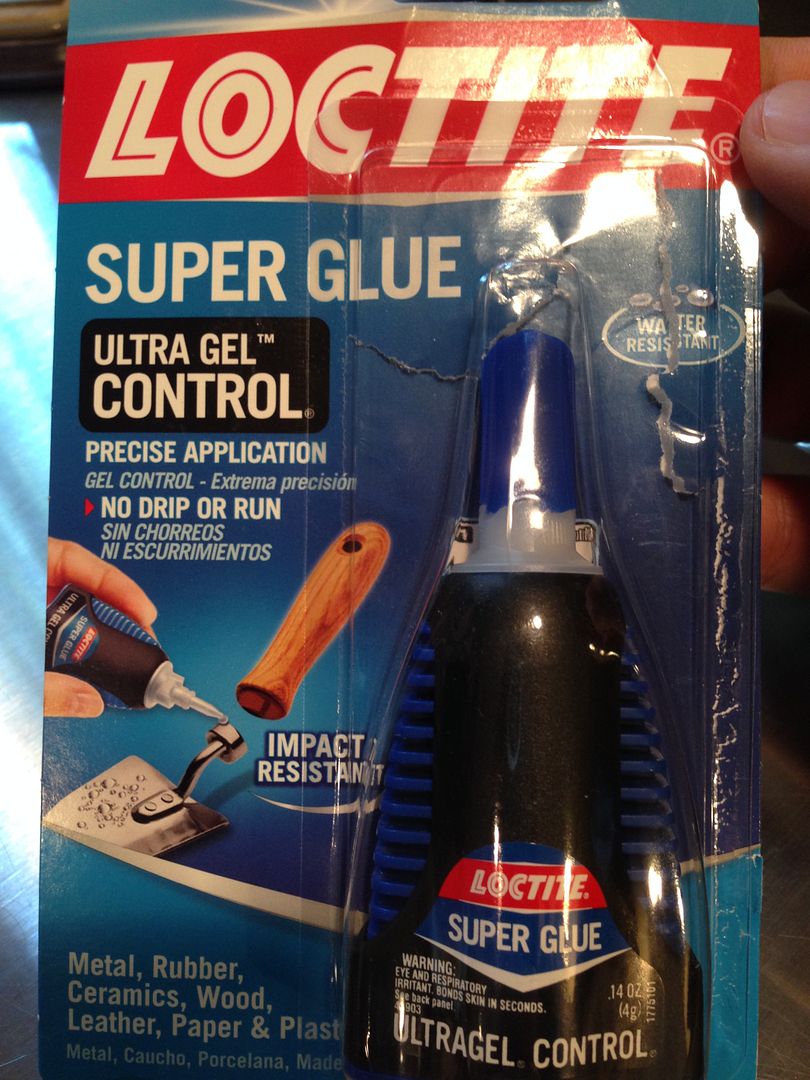
1) Used "Loctite" brand super glue - gel control. It was awesome and really easy to use. It didn't run like normal super glue, it came out in a small bead and stayed where I put it:
2) I used a marker to hit the corners where the handplate sat:
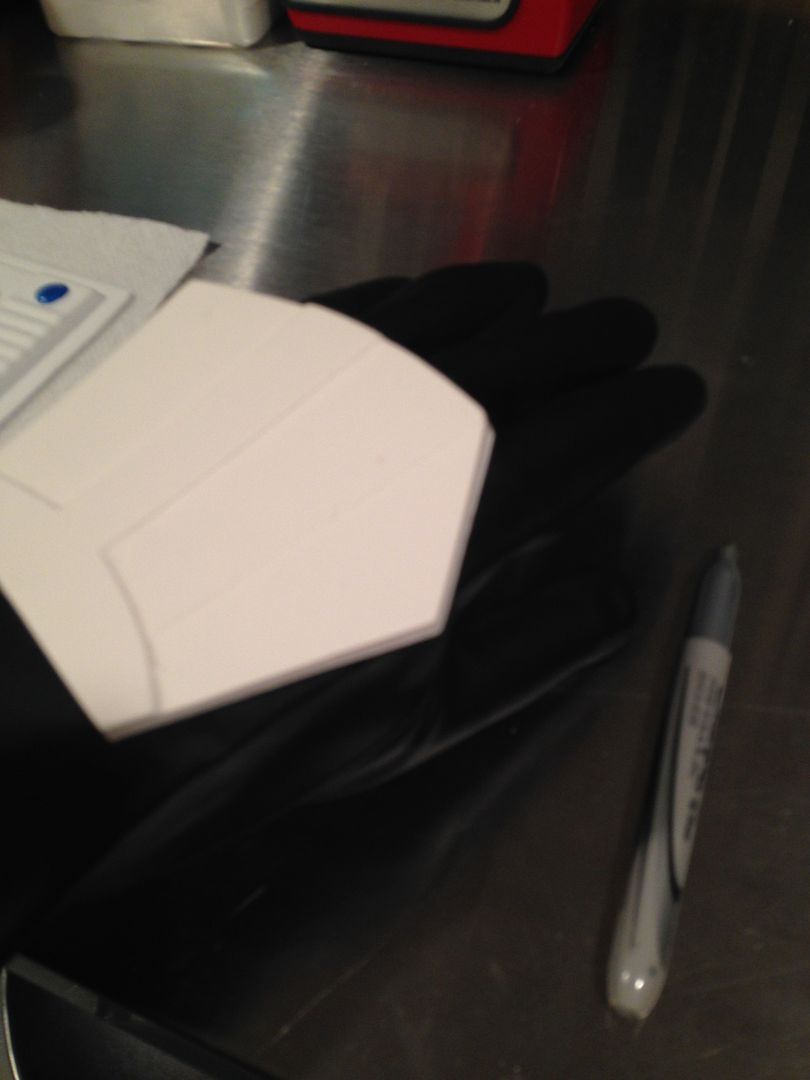
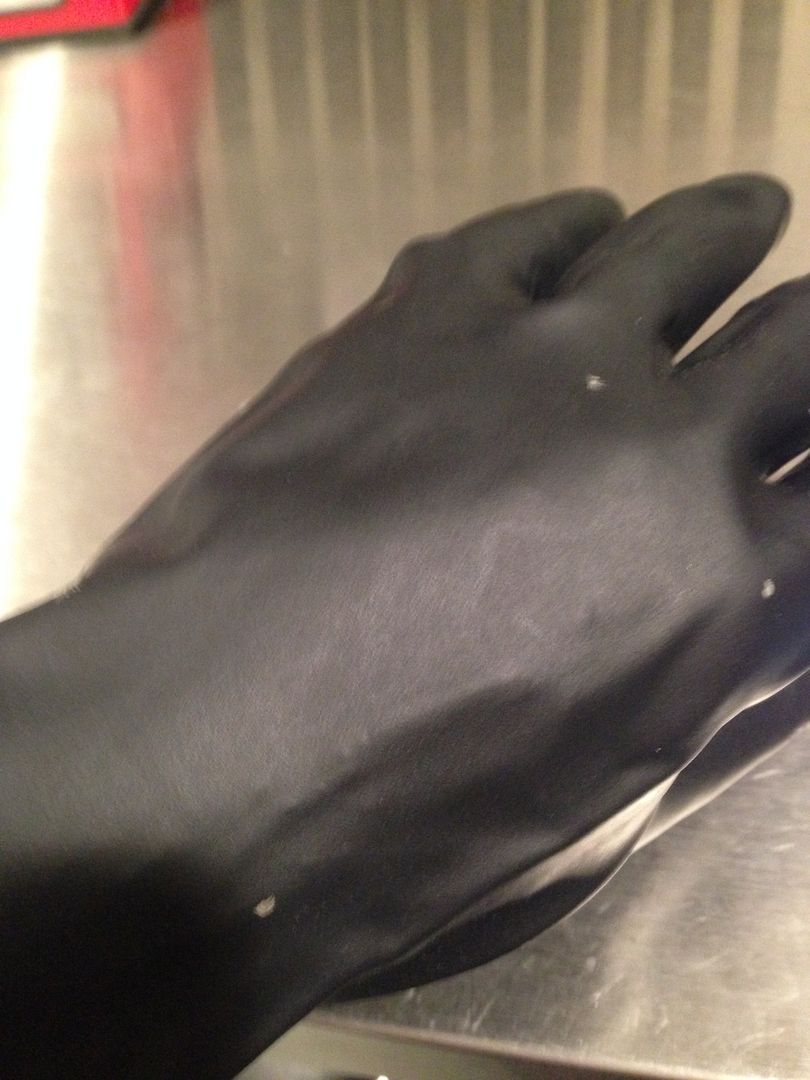
3) I then put the glue on the rubber handplate (didn't get a pic because it dries super quick lol), then the handplate on the glove. I did it on only the back of the hand part, leaving the side edge where it wraps down alone. I held it in place for about 45 seconds and it was secure. You can see from this shot after I put it on how far the first glue went:
4) I then put the glue on the handplate in the area that goes down the thumb and held that down. I did it while I was wearing the glove. Finished product:


-
I'll come back to those parts later when I have my dremel out and sand them up...
Thermal Detonator.
1) CRL has it at about 7 1/2 " long. The stock one is about 1/4" longer when put together so I pulled out the miter saw and did a quick snip.
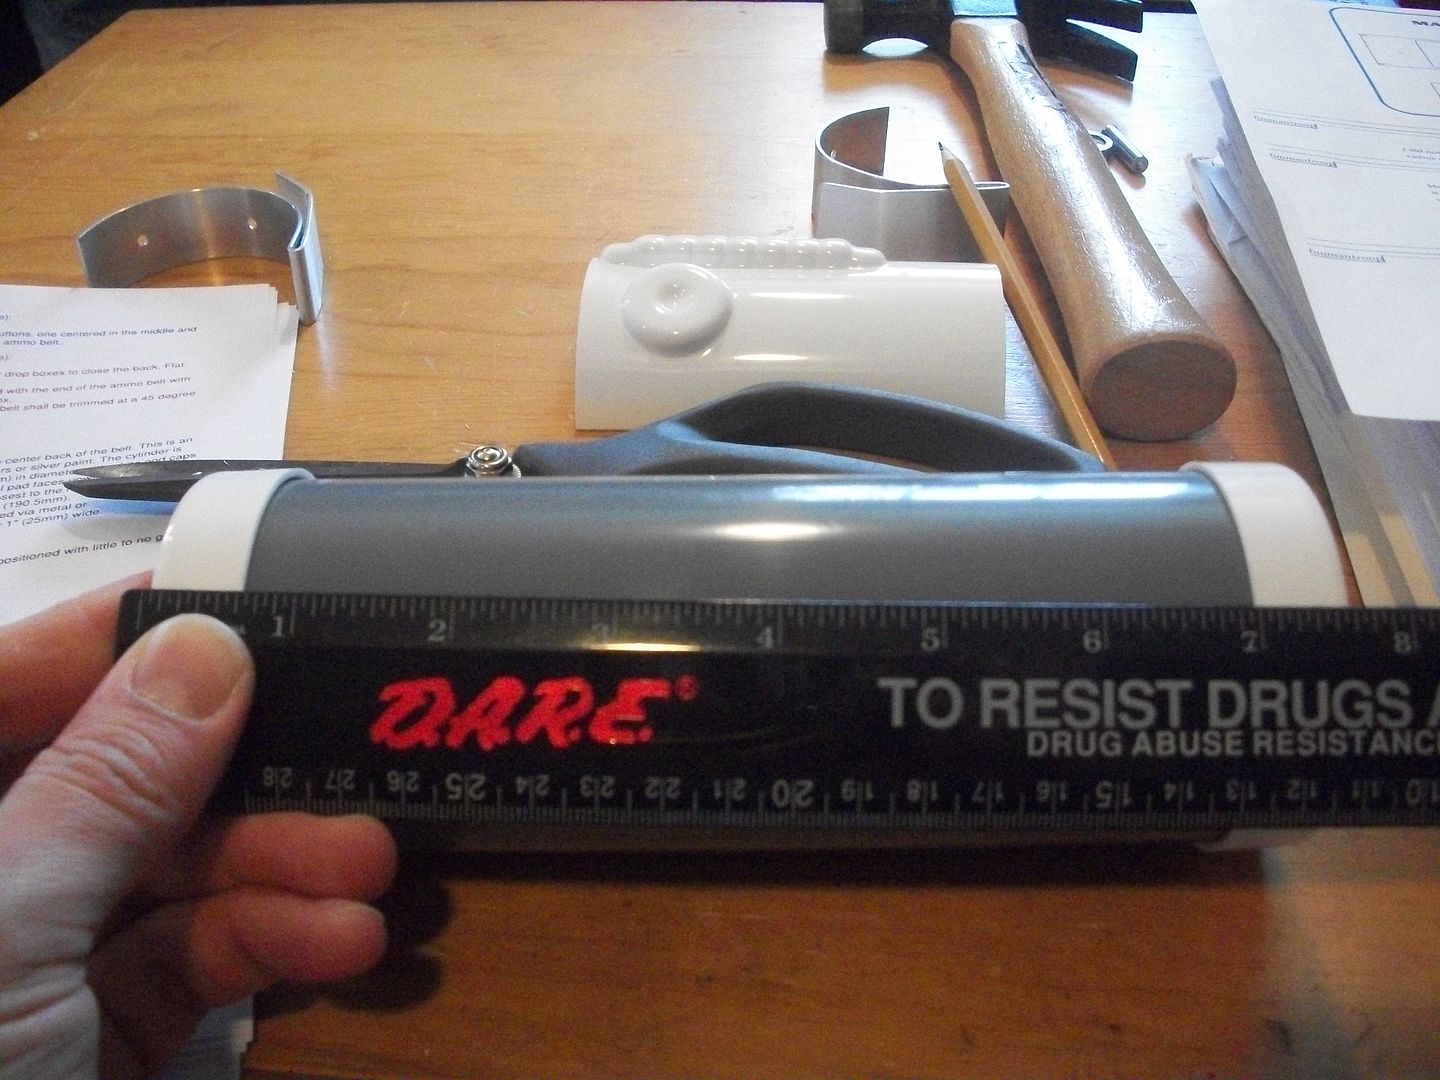
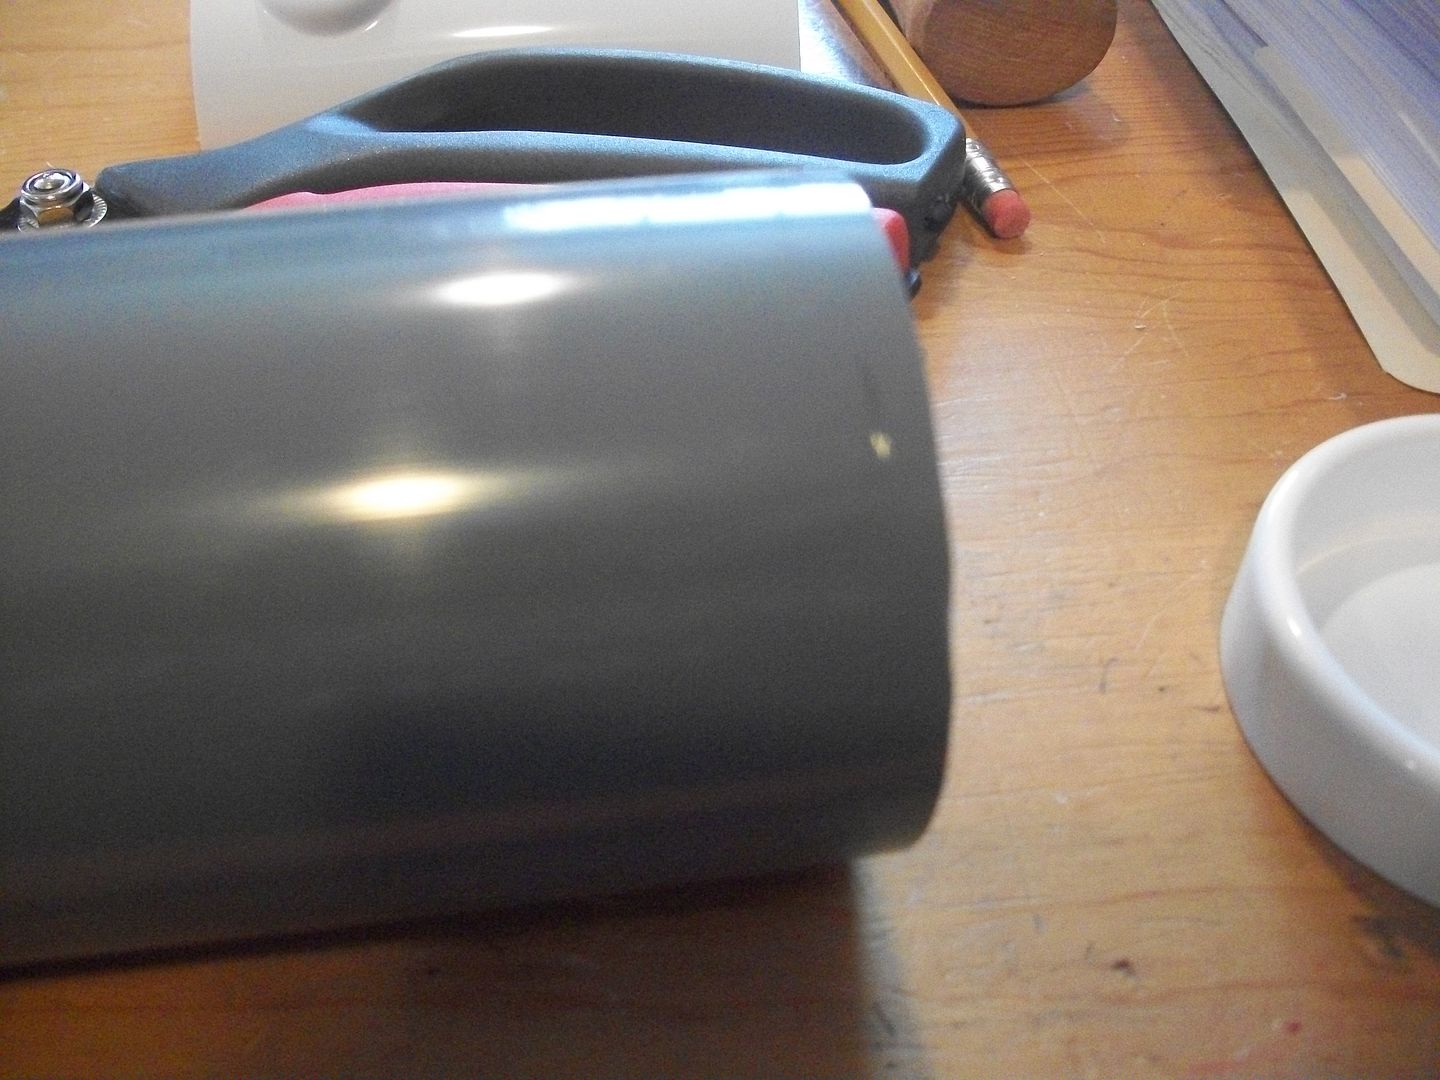
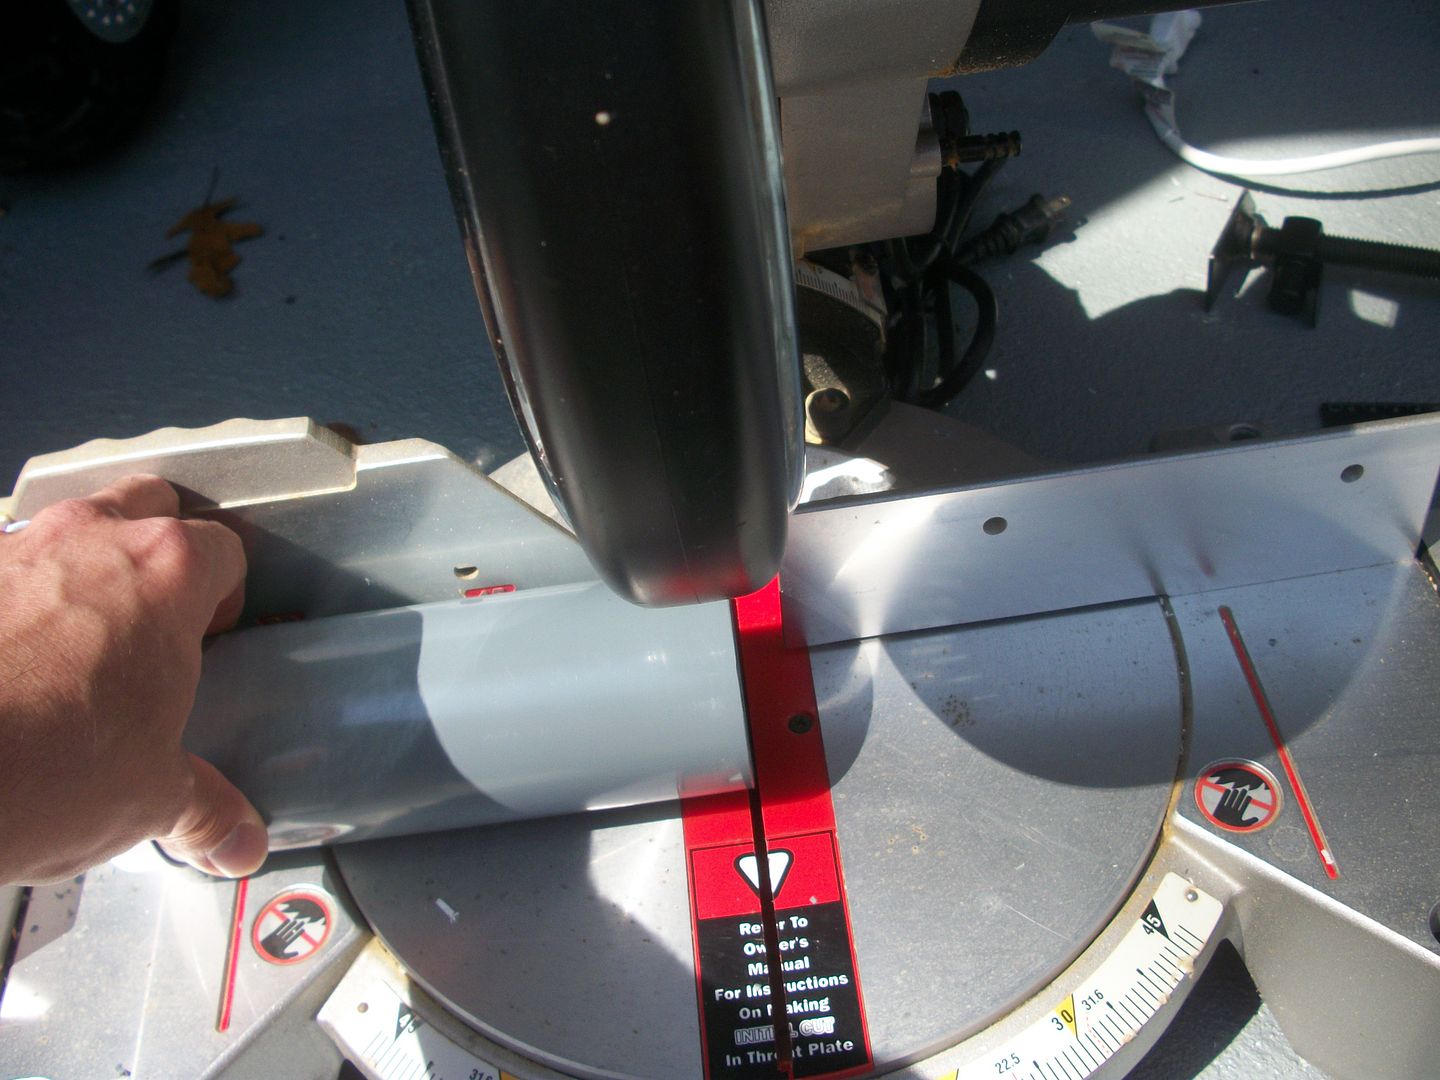
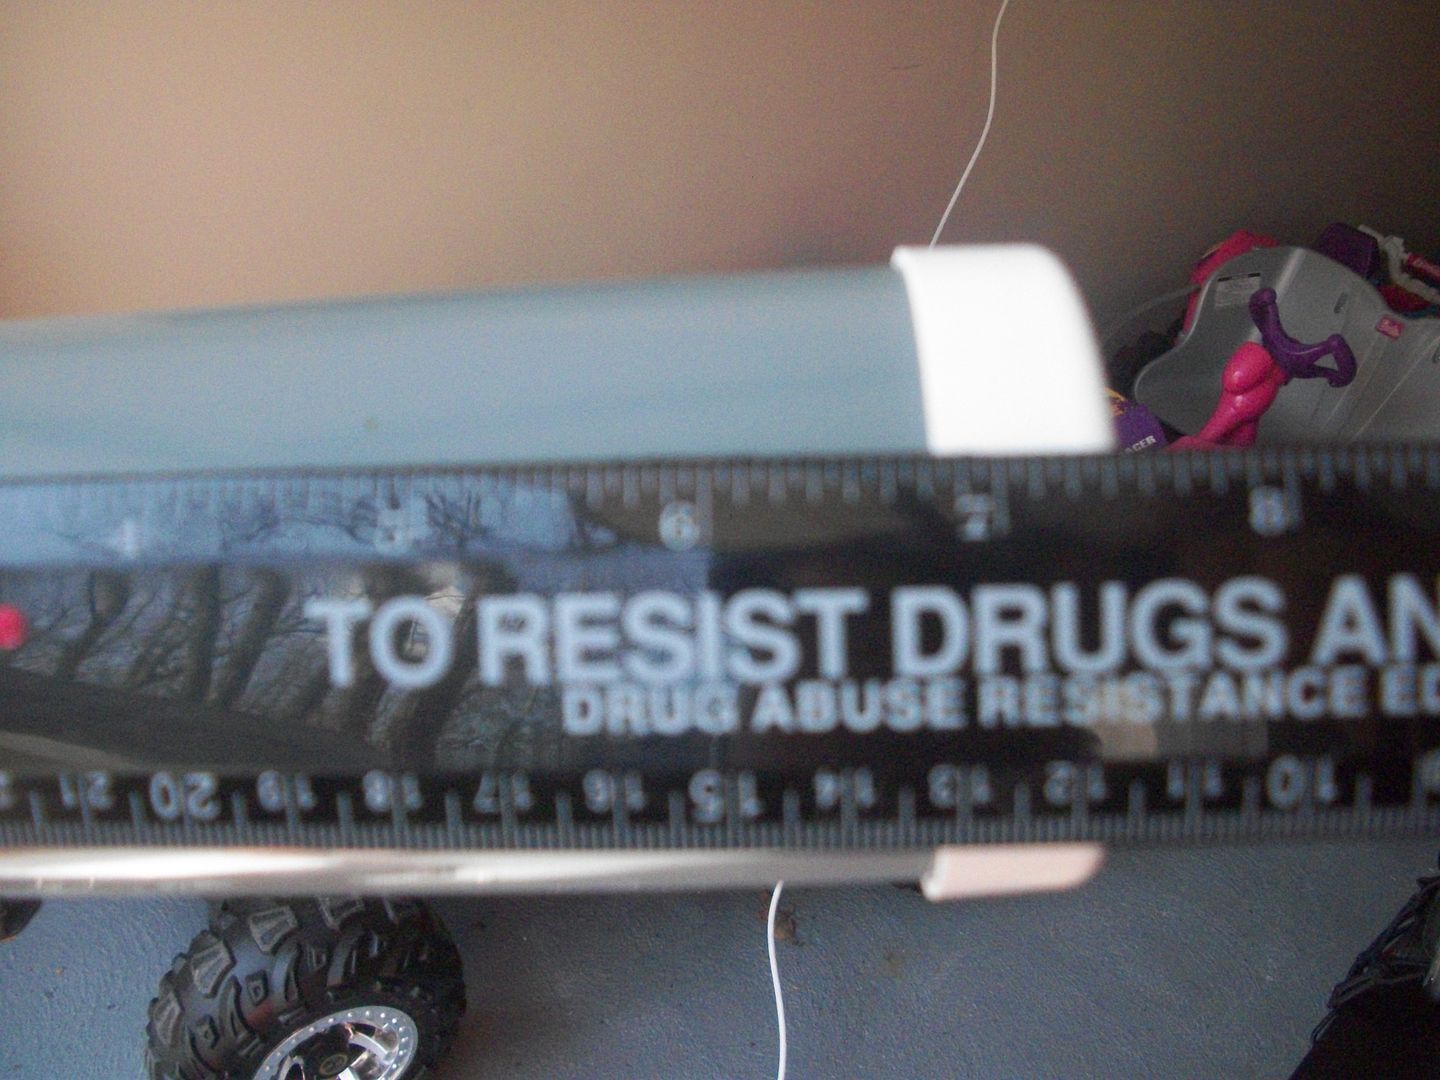
2) Lined up my metal clips so they are touching the end caps and taped them in place (but nothing is glued yet).
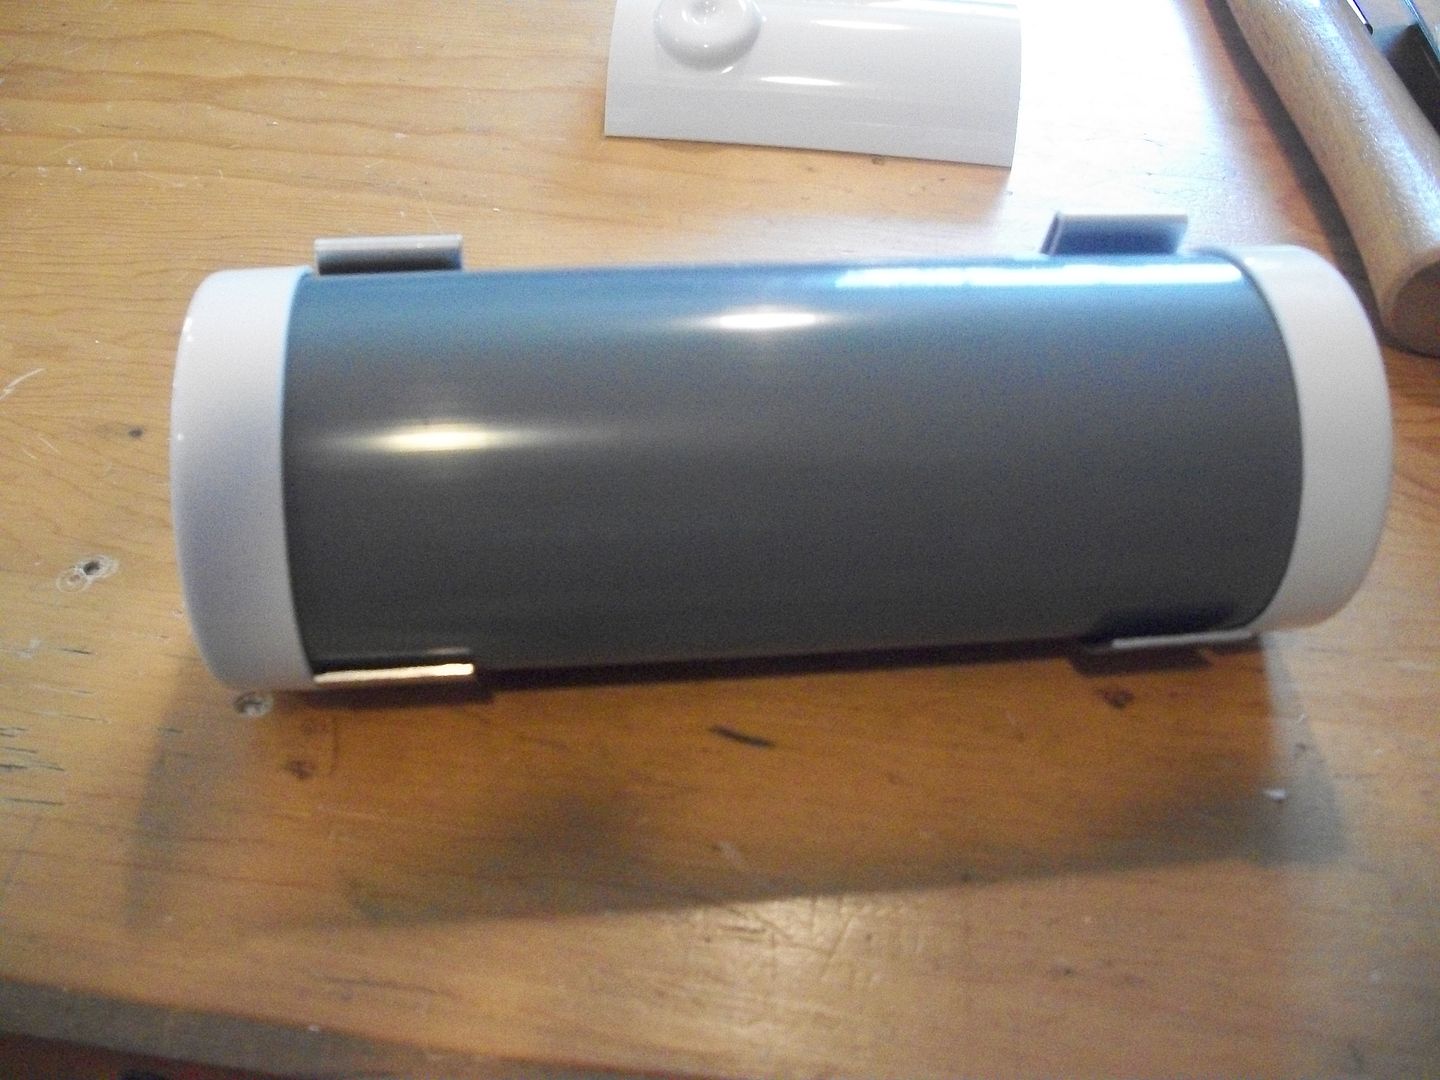
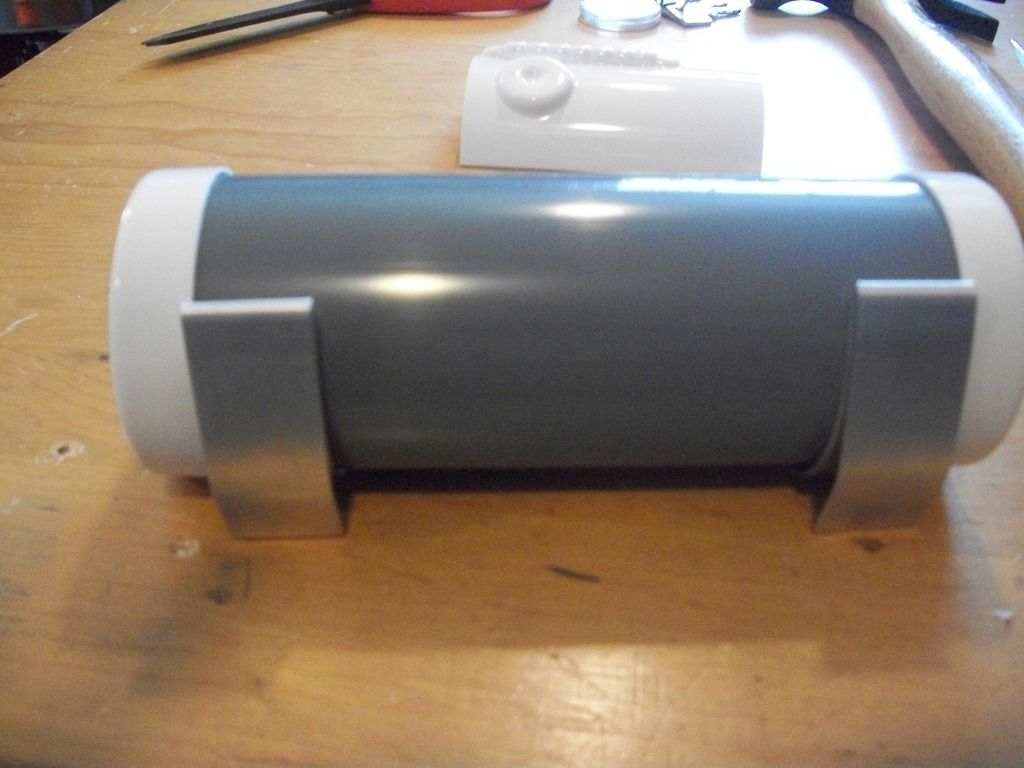
3) Marked the screw holes
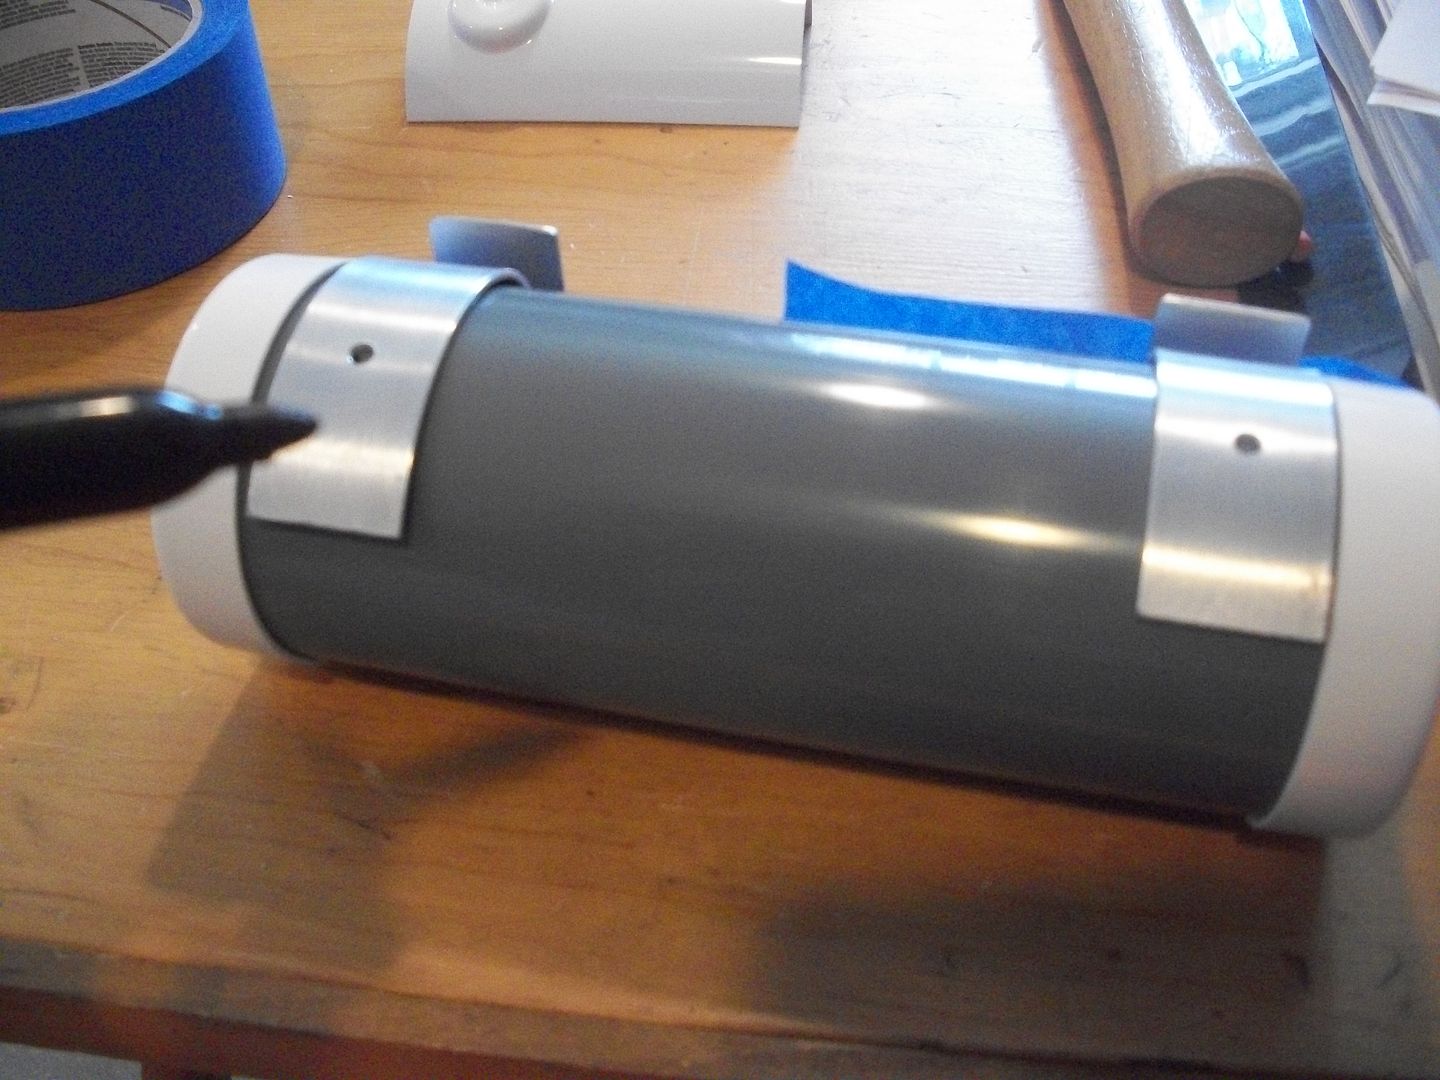
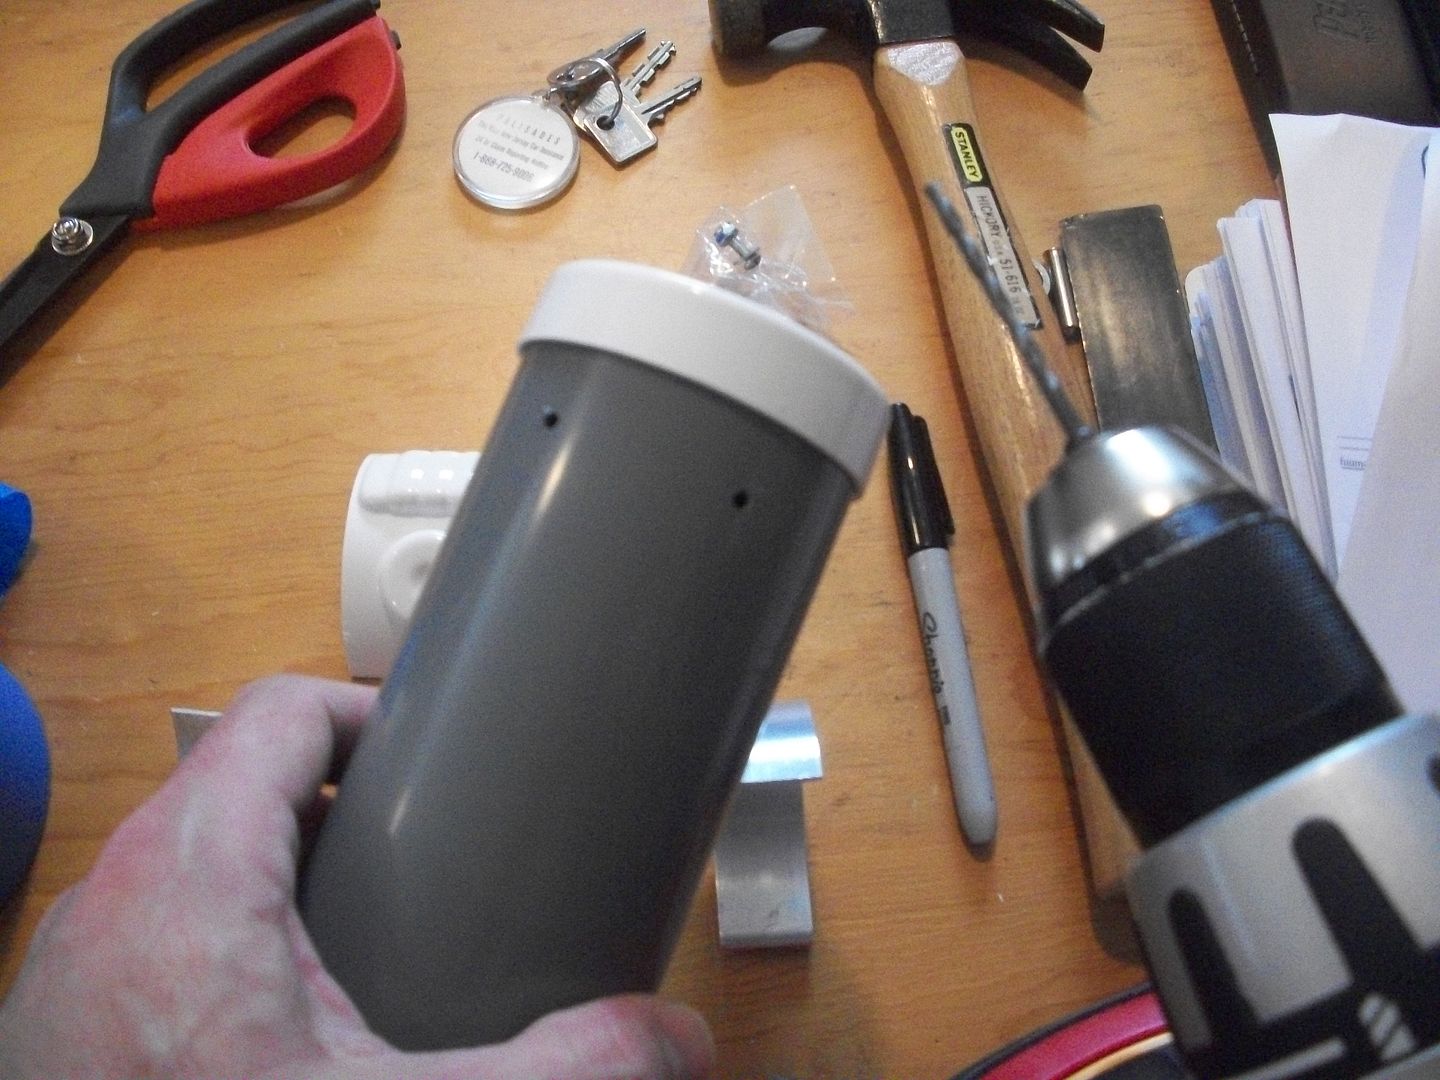
4) Note that the clips are not exactly the same size and shape so your hole marks will look slightly off. All you need to really worry about is that the clips will be even when attached to your belt.
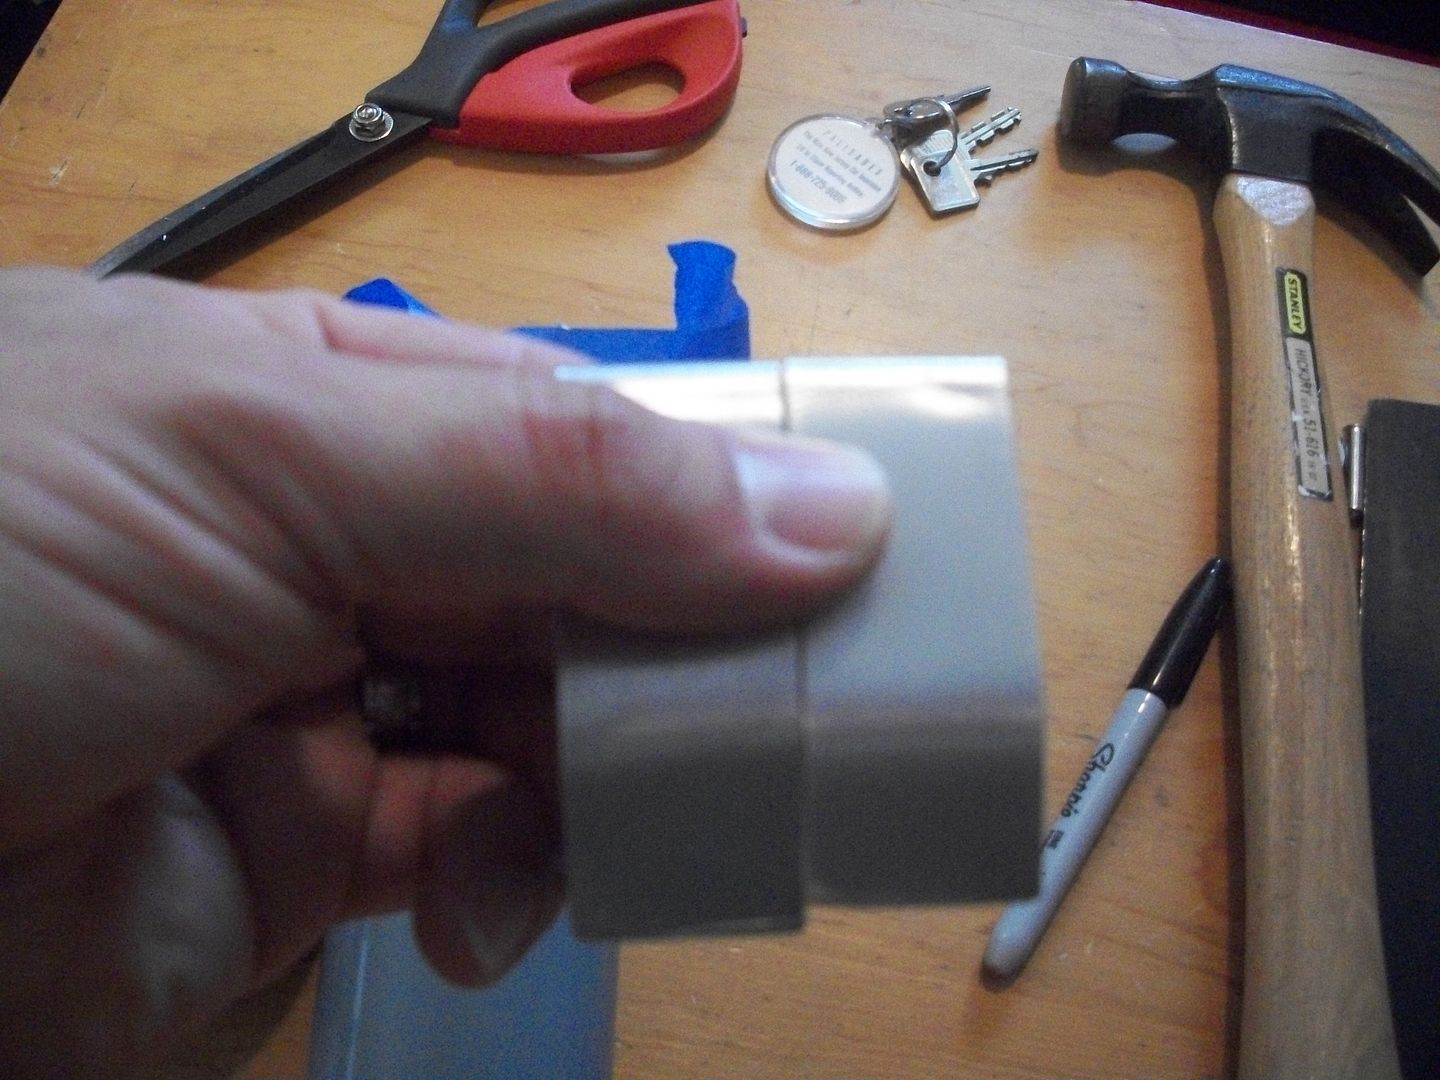
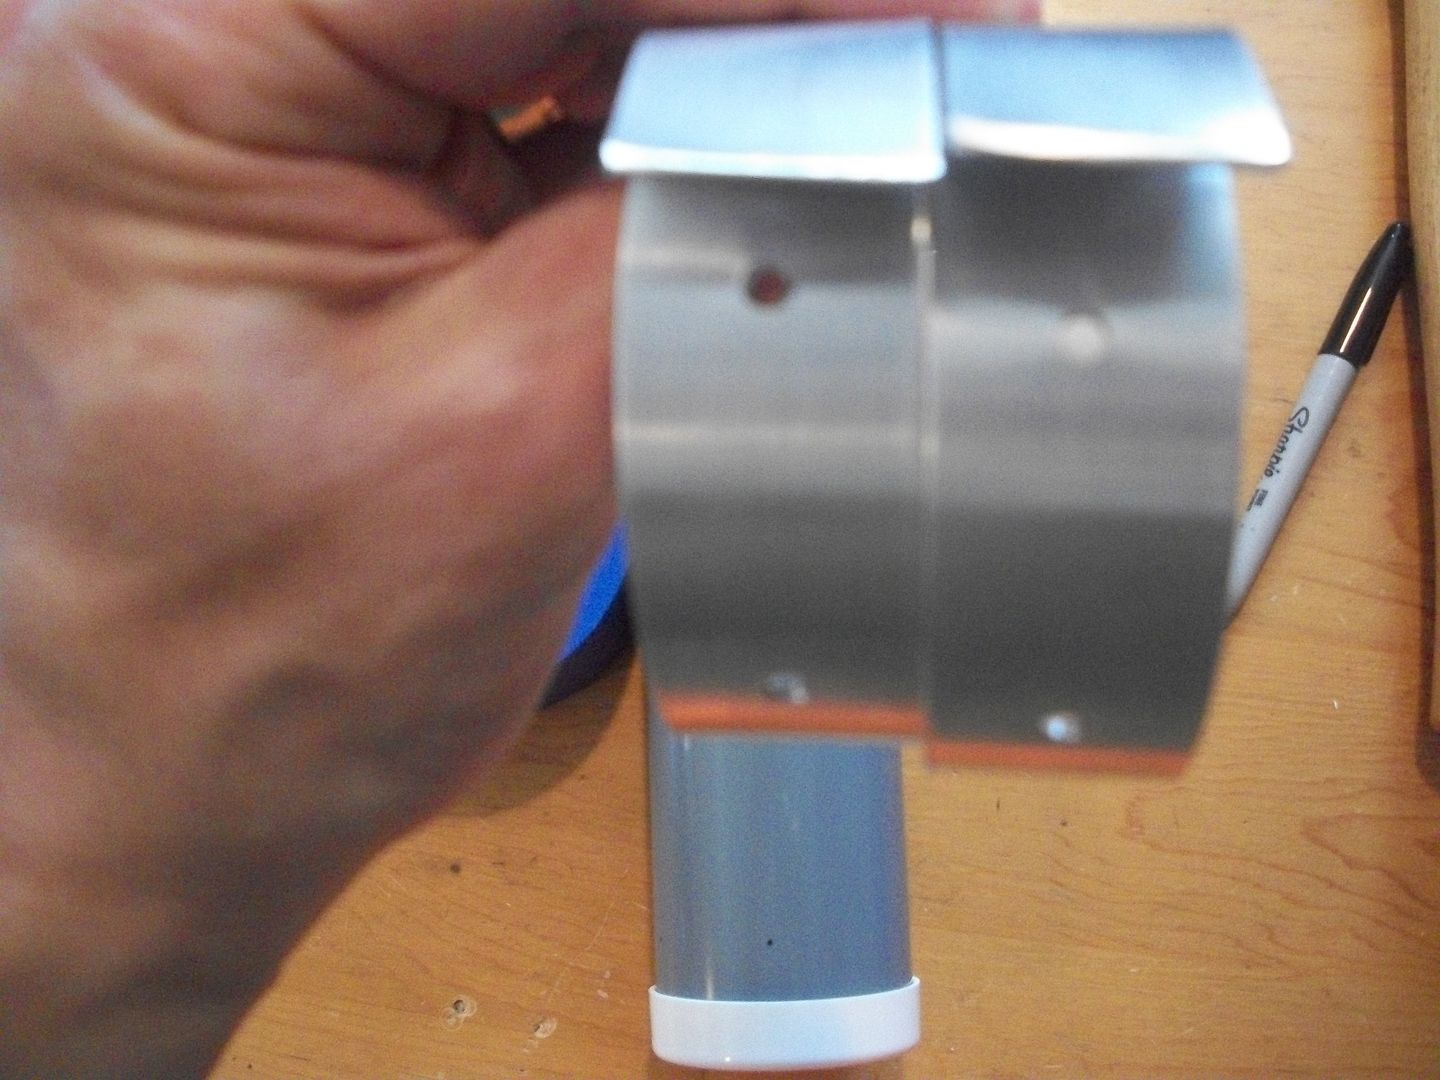
5) Drill some holes and screw it in. You want to do all this before you glue the caps on so you can get a wrench inside to help tighten it

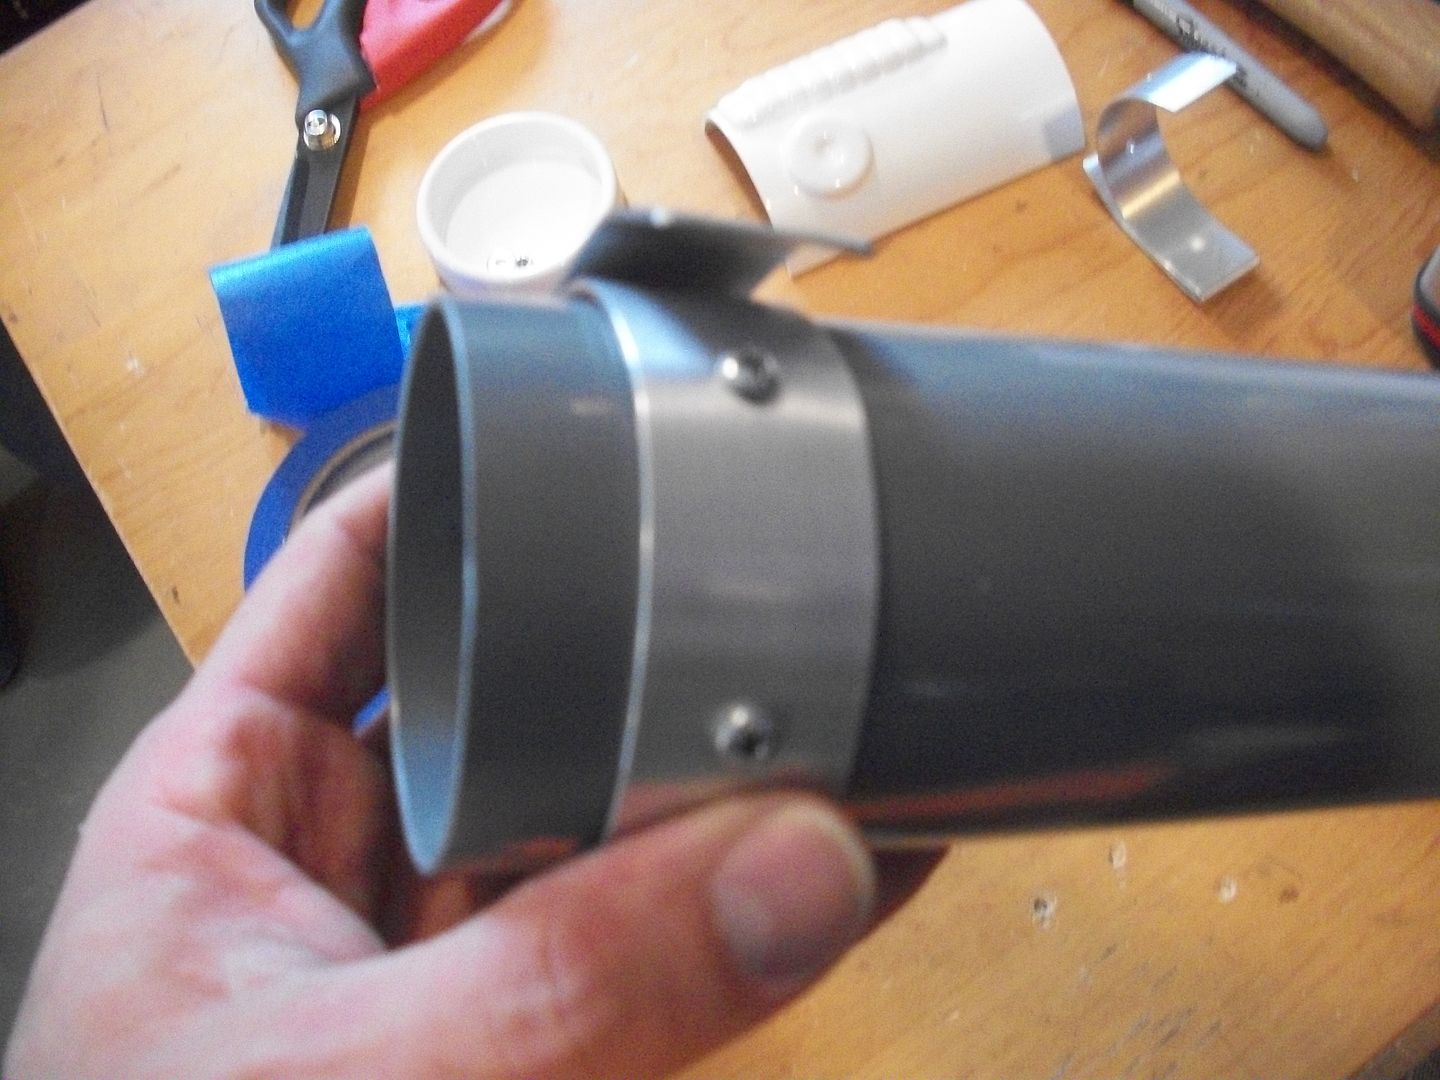
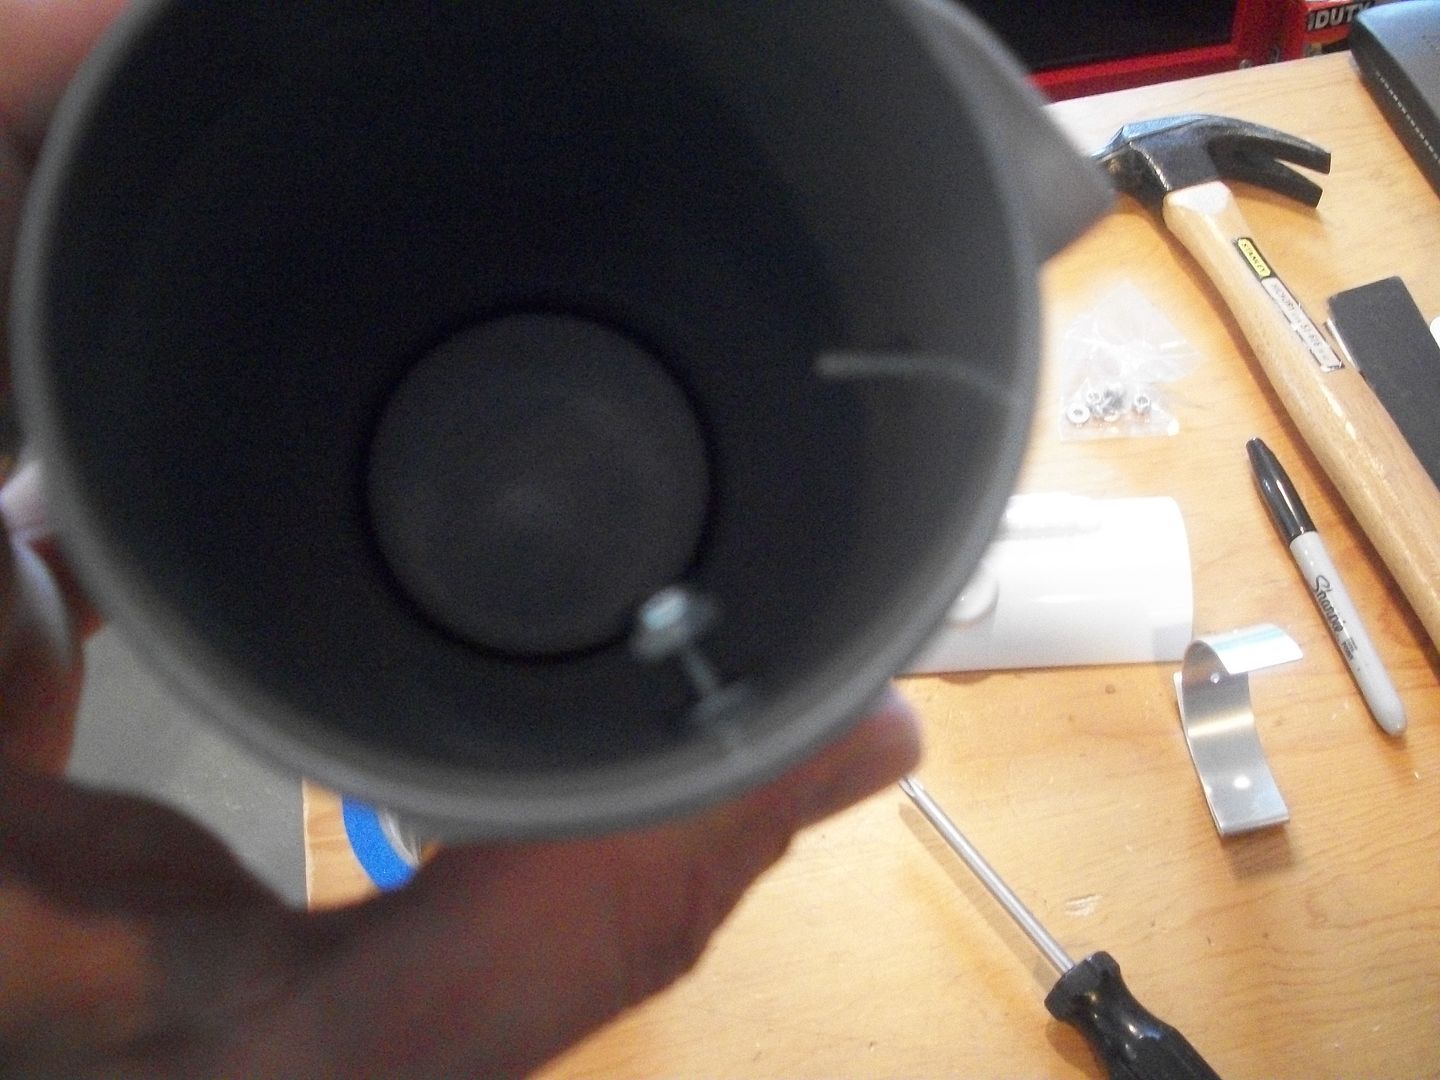
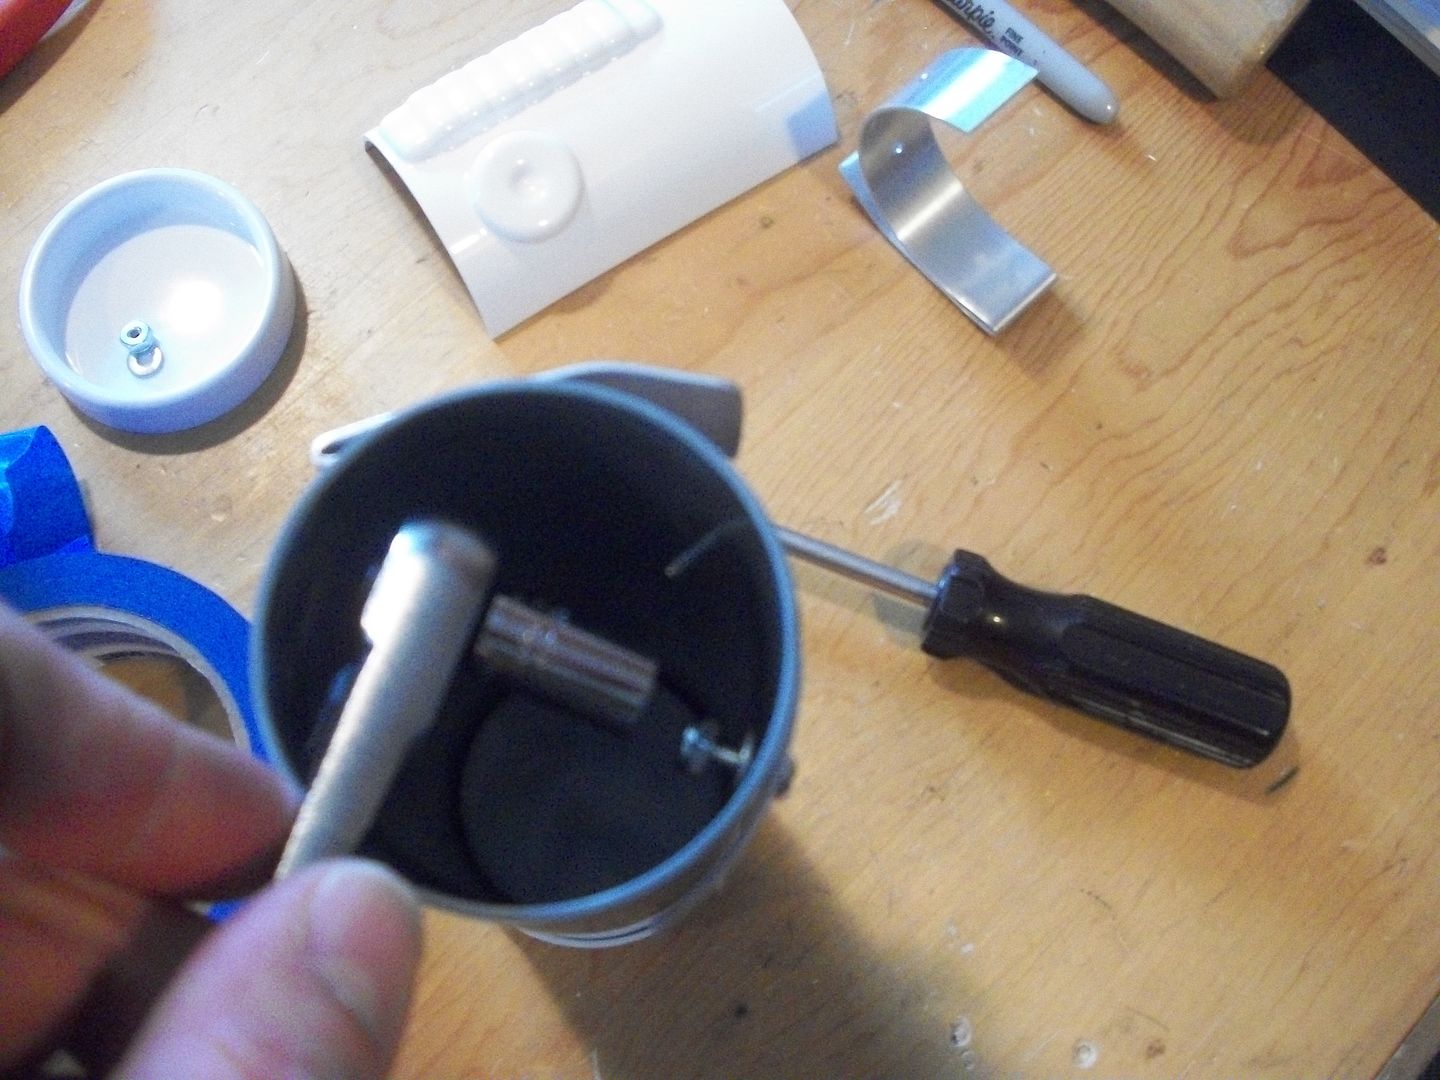
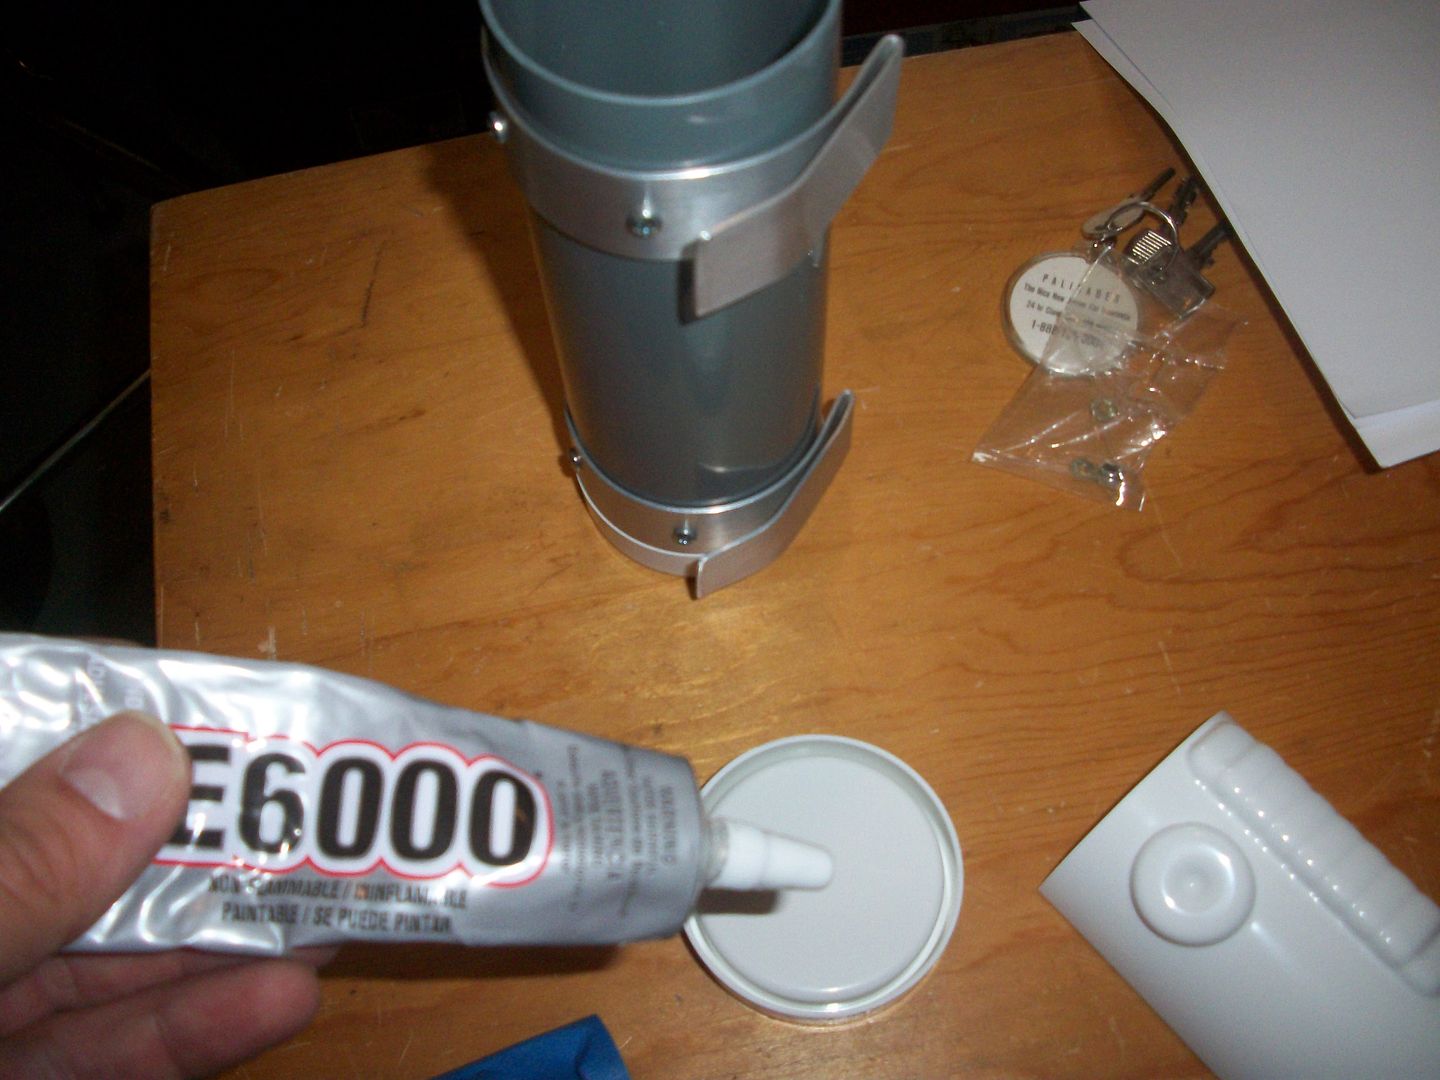
6) Now you can glue on the end caps. I used E-6000 and but the glue inside the cap edge as well as a little around the outside of the TD
7) Push the caps on tight, then tape them down to dry.
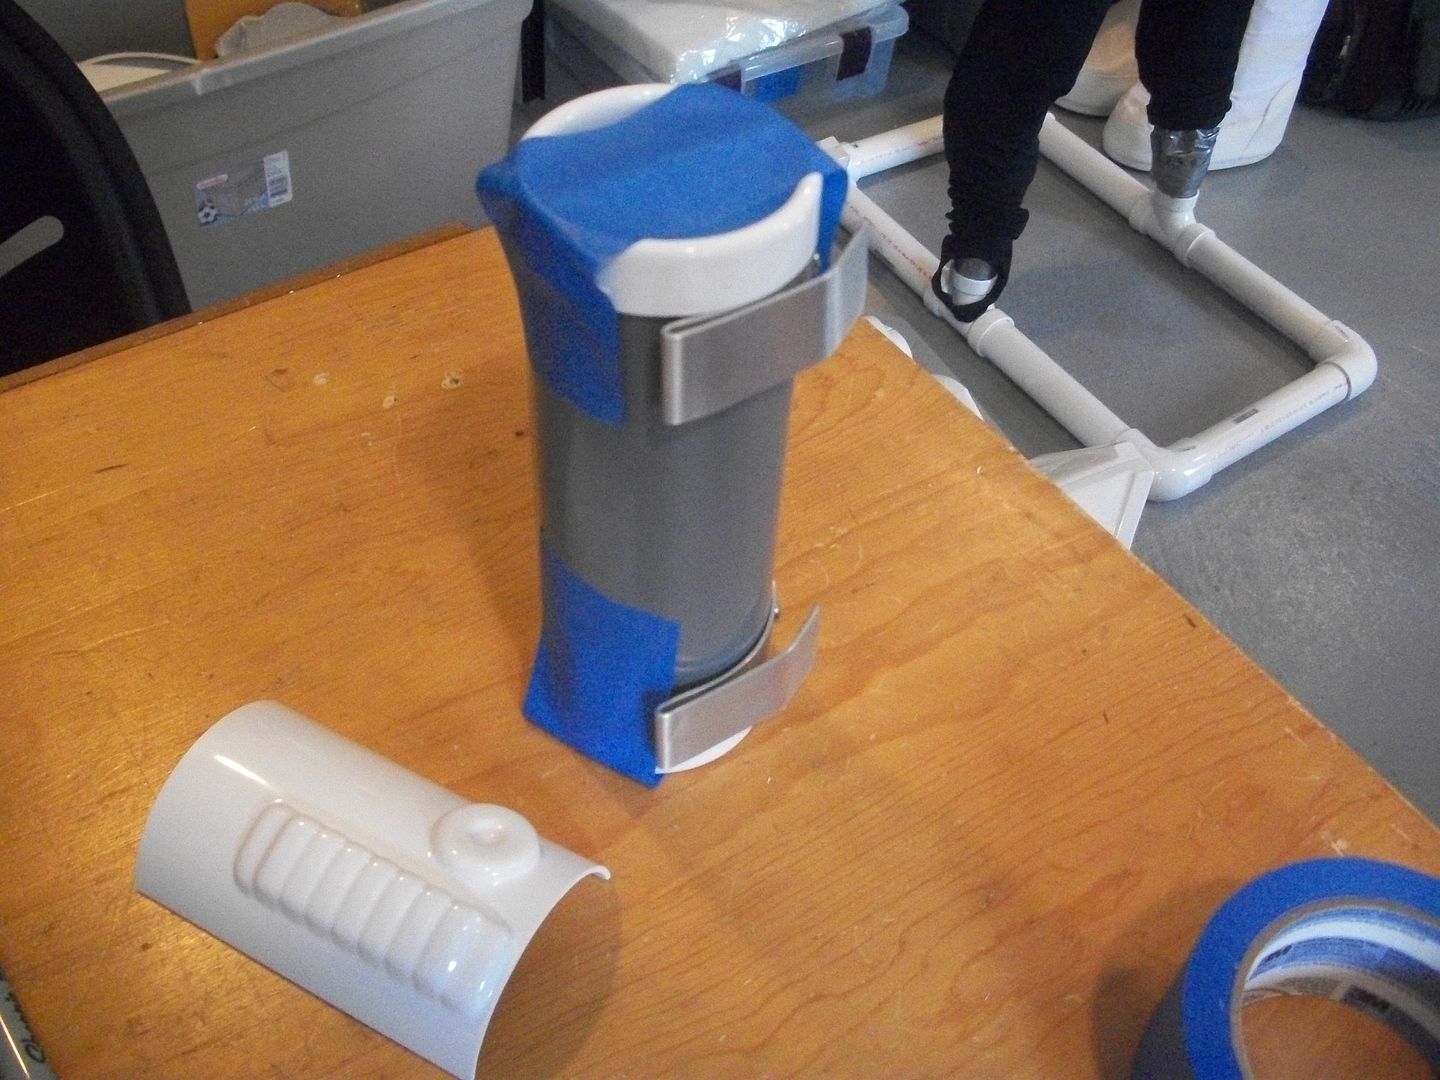
8) Face plate thing. Simply glue it on, it fits pretty much on top of the tube with the bottom of the plate touching the top of the clips. Make sure the doughnut is on top right

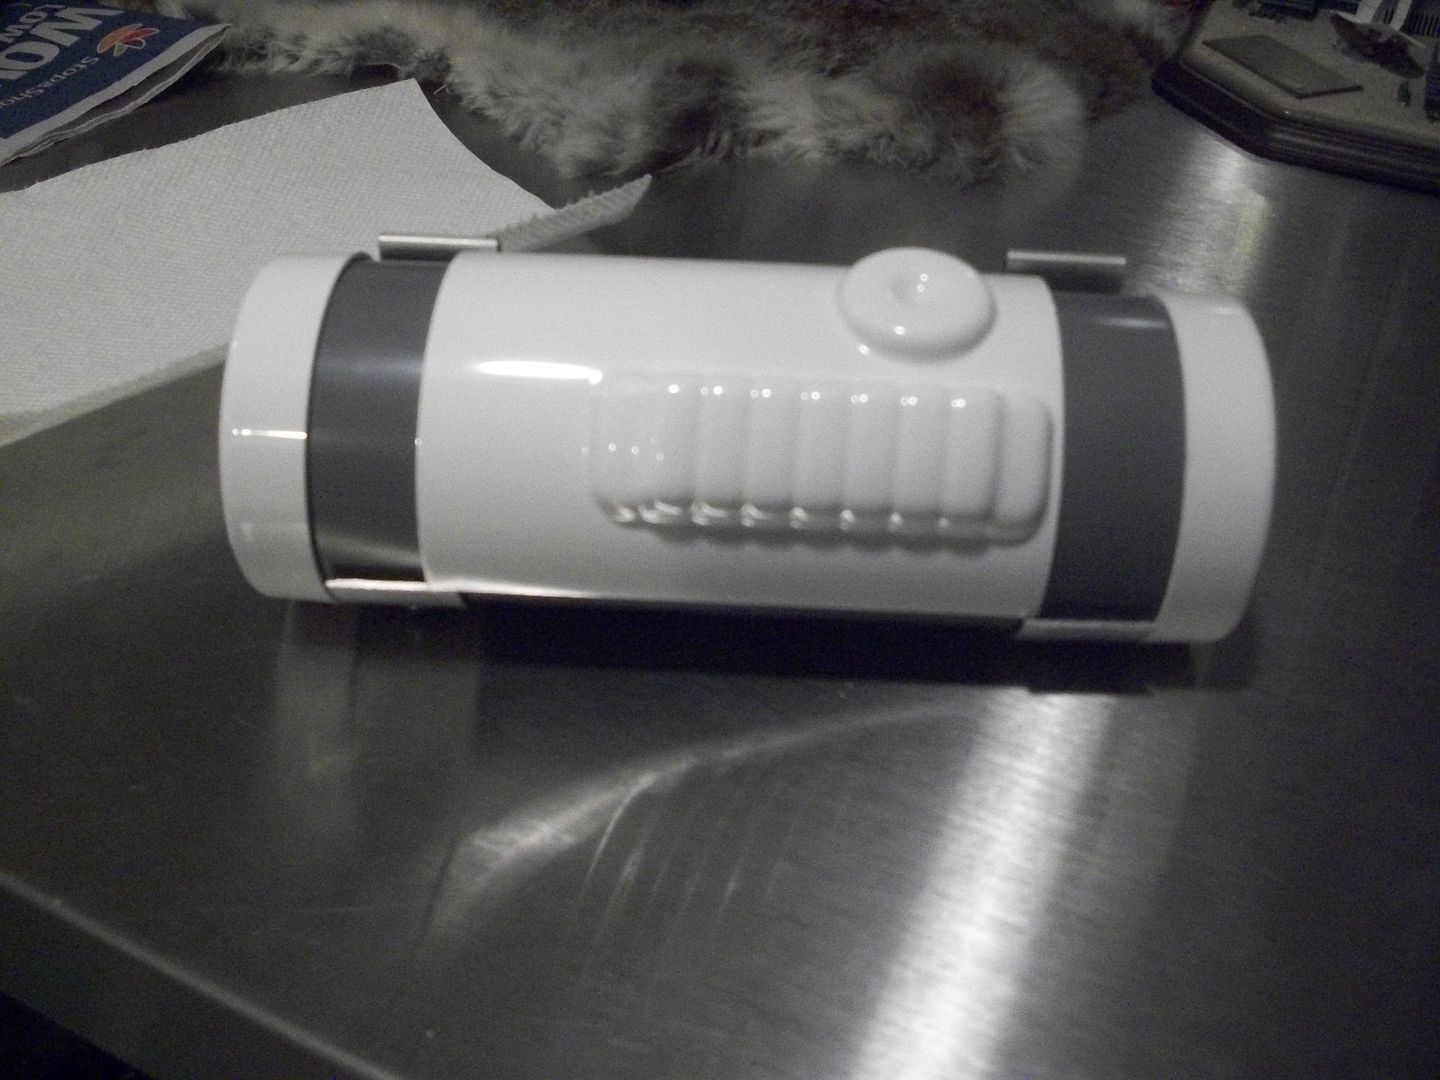
TIME CHECK:
Complete thermal detonator assembly = 30 minutes
Shots of some of the dremel smoothing on arms and legs:
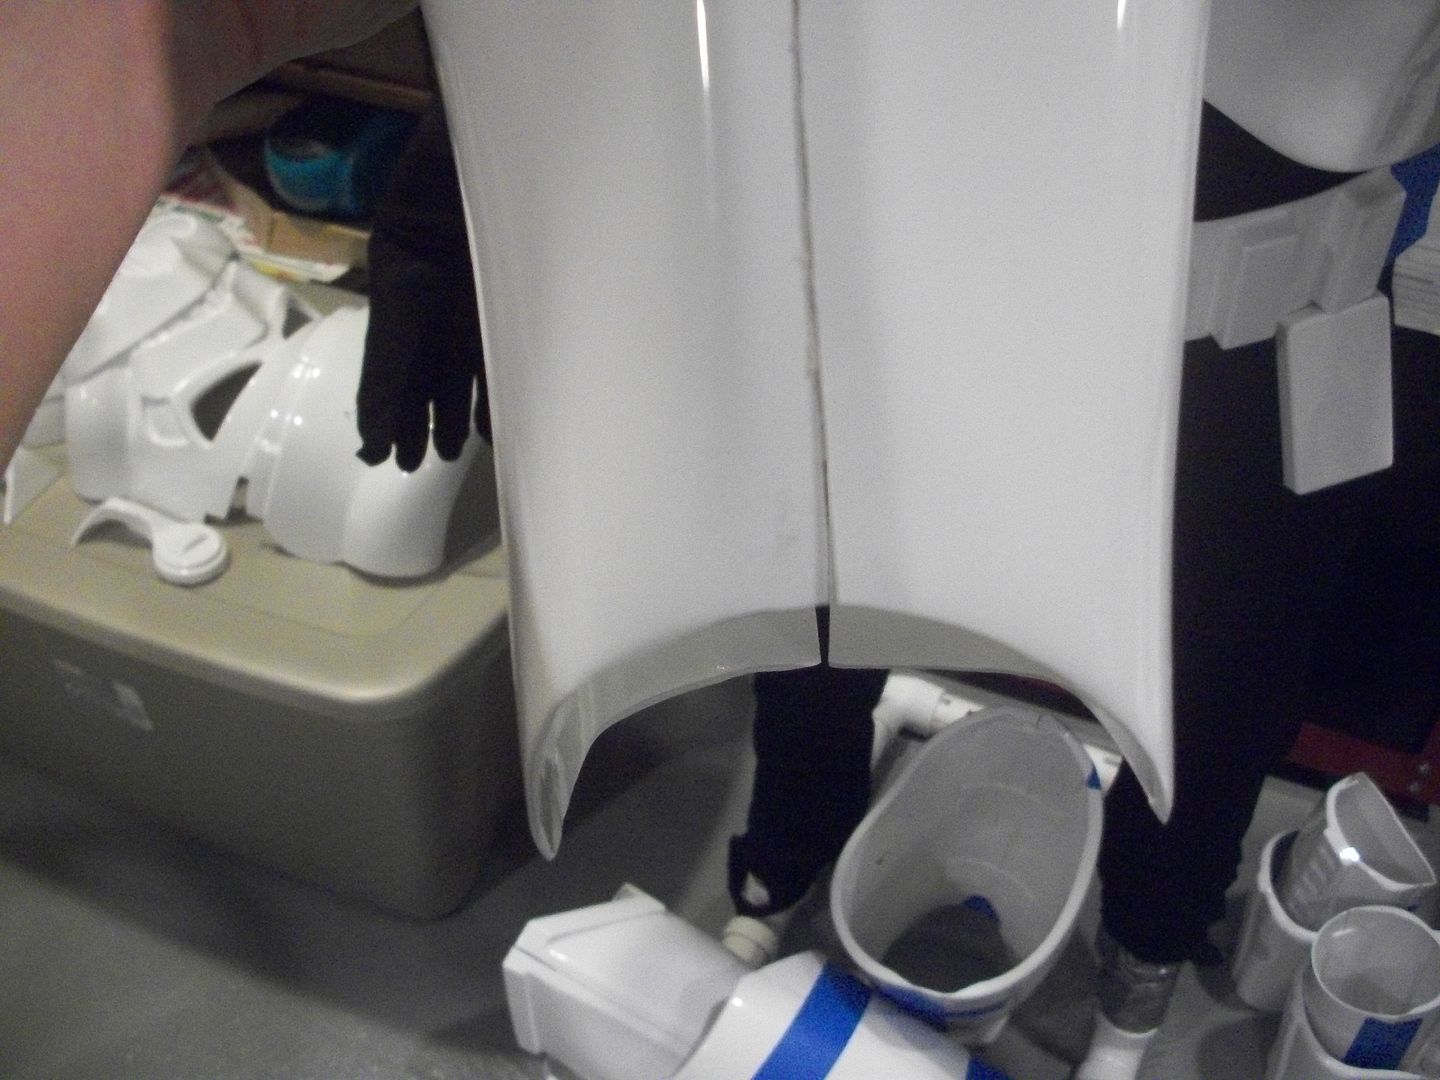
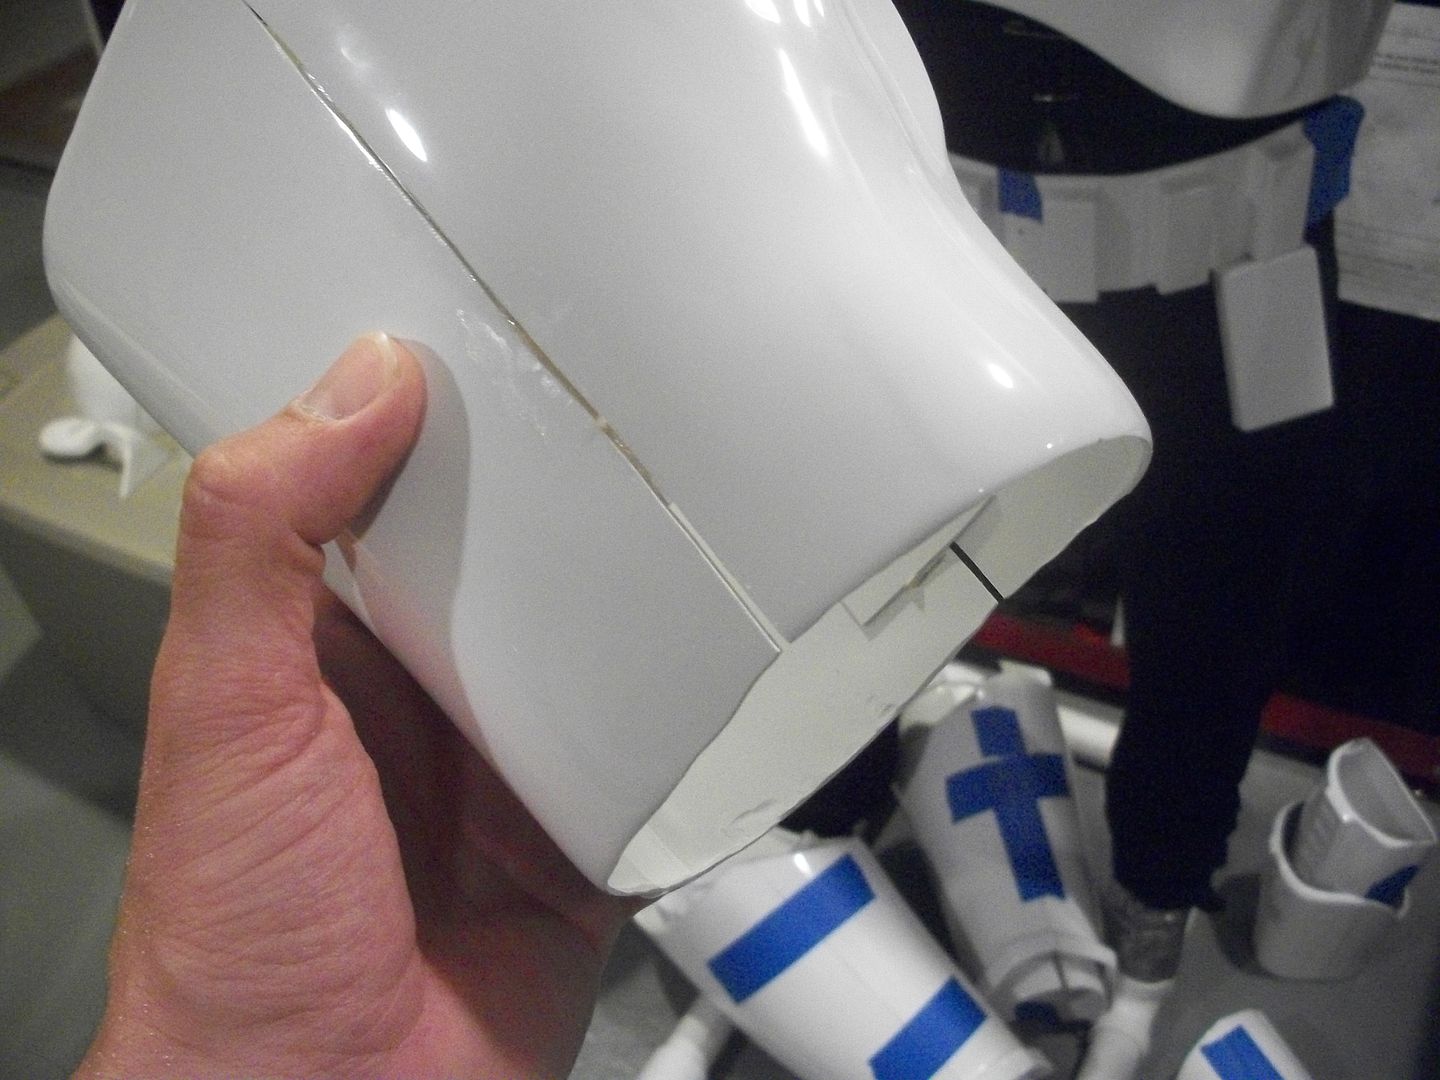
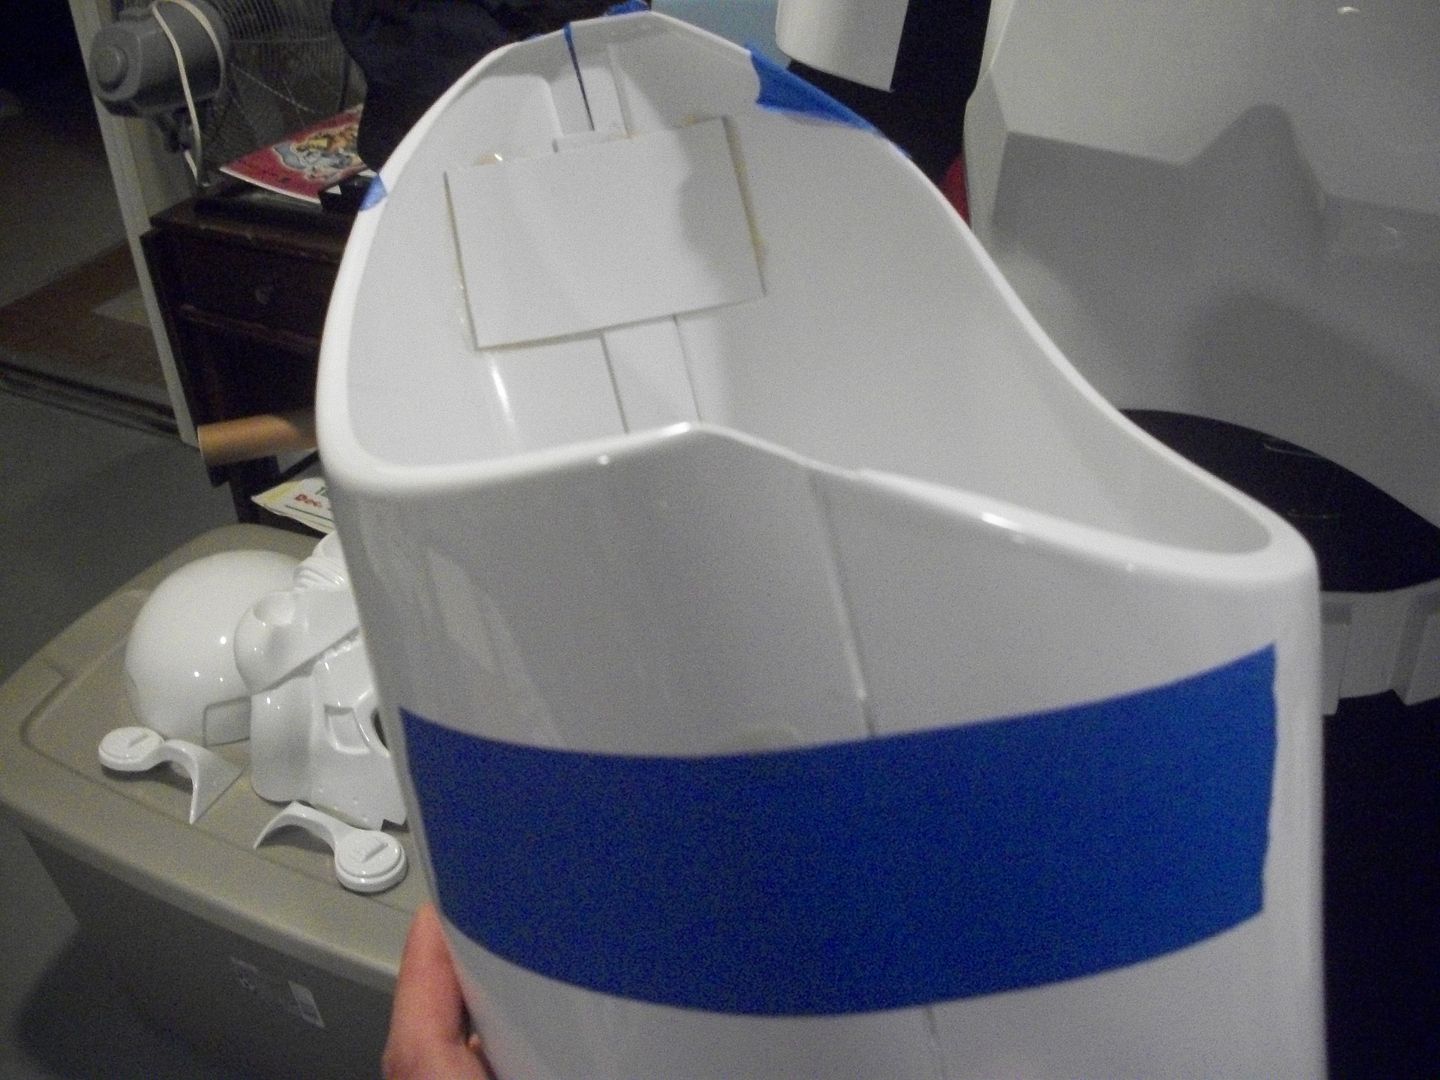
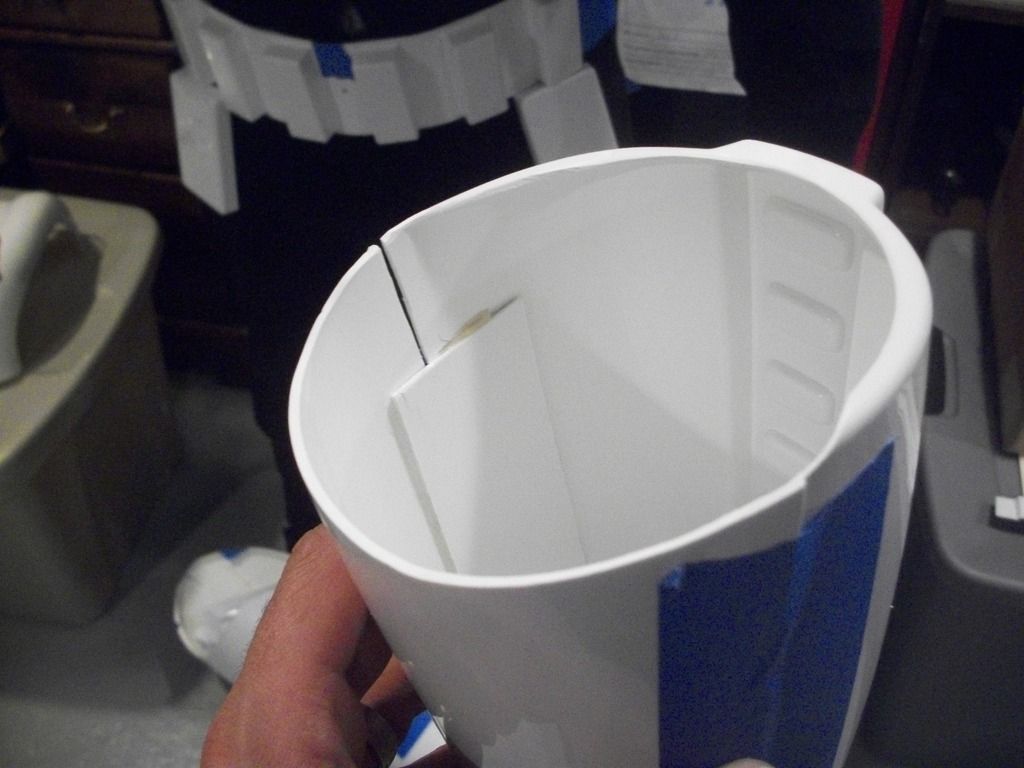
Adjustments, finishing shims, smoothing edges = 2 hours.
-
Prepping some of the parts, I trimmed excess off of :
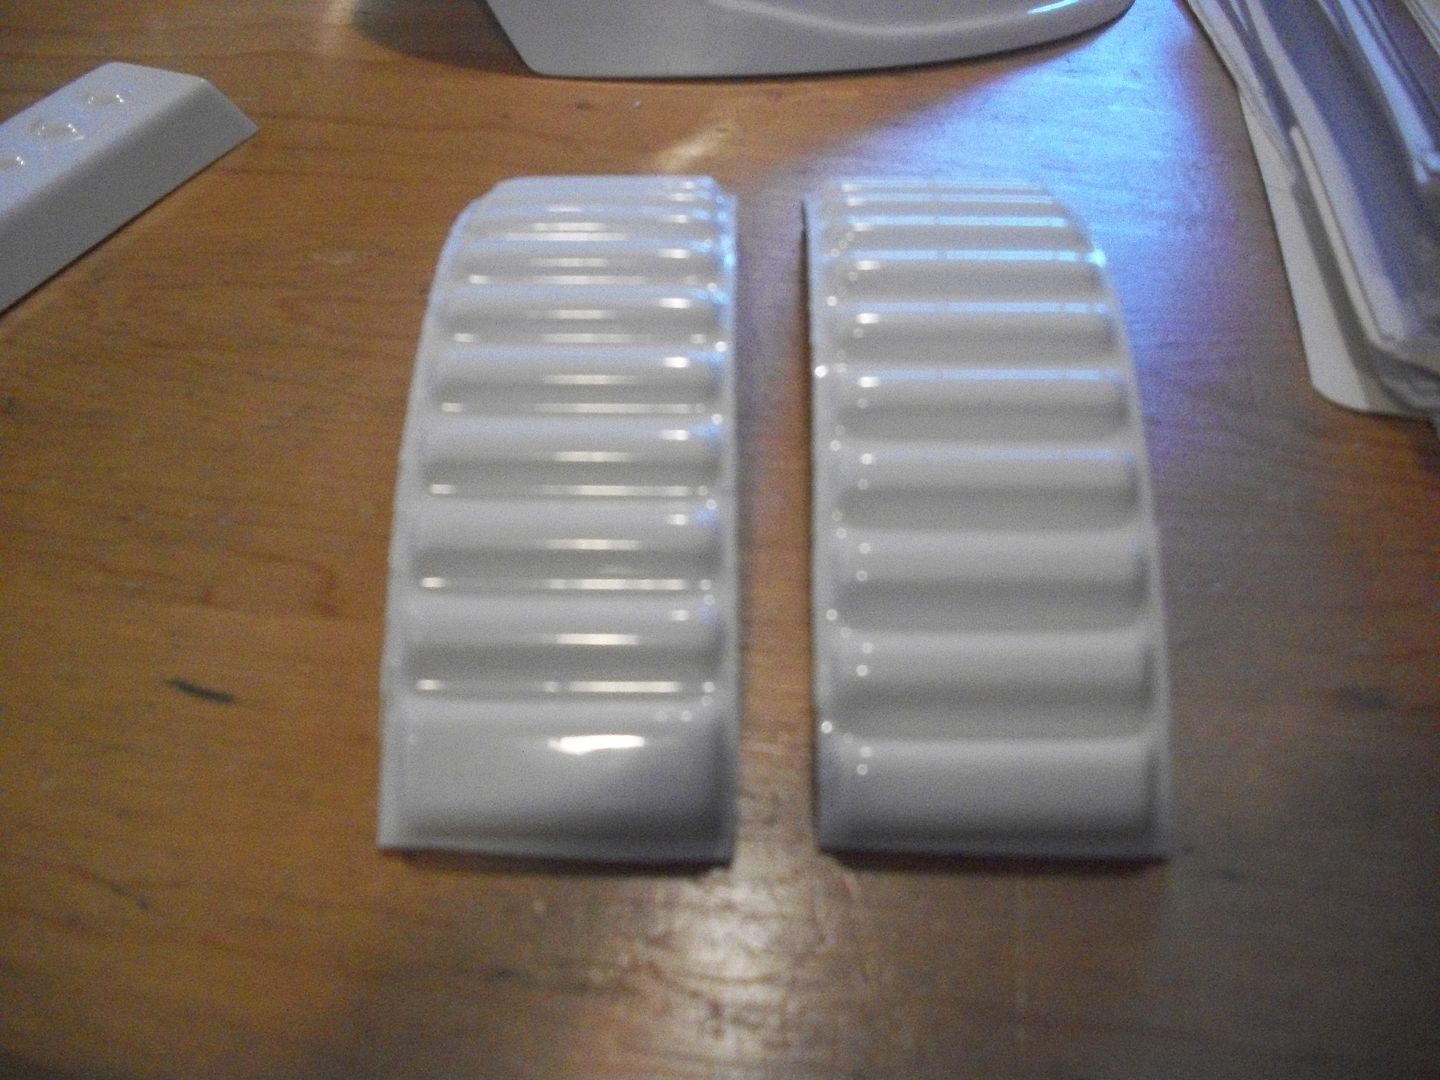
1) Shoulder straps:
Stock =
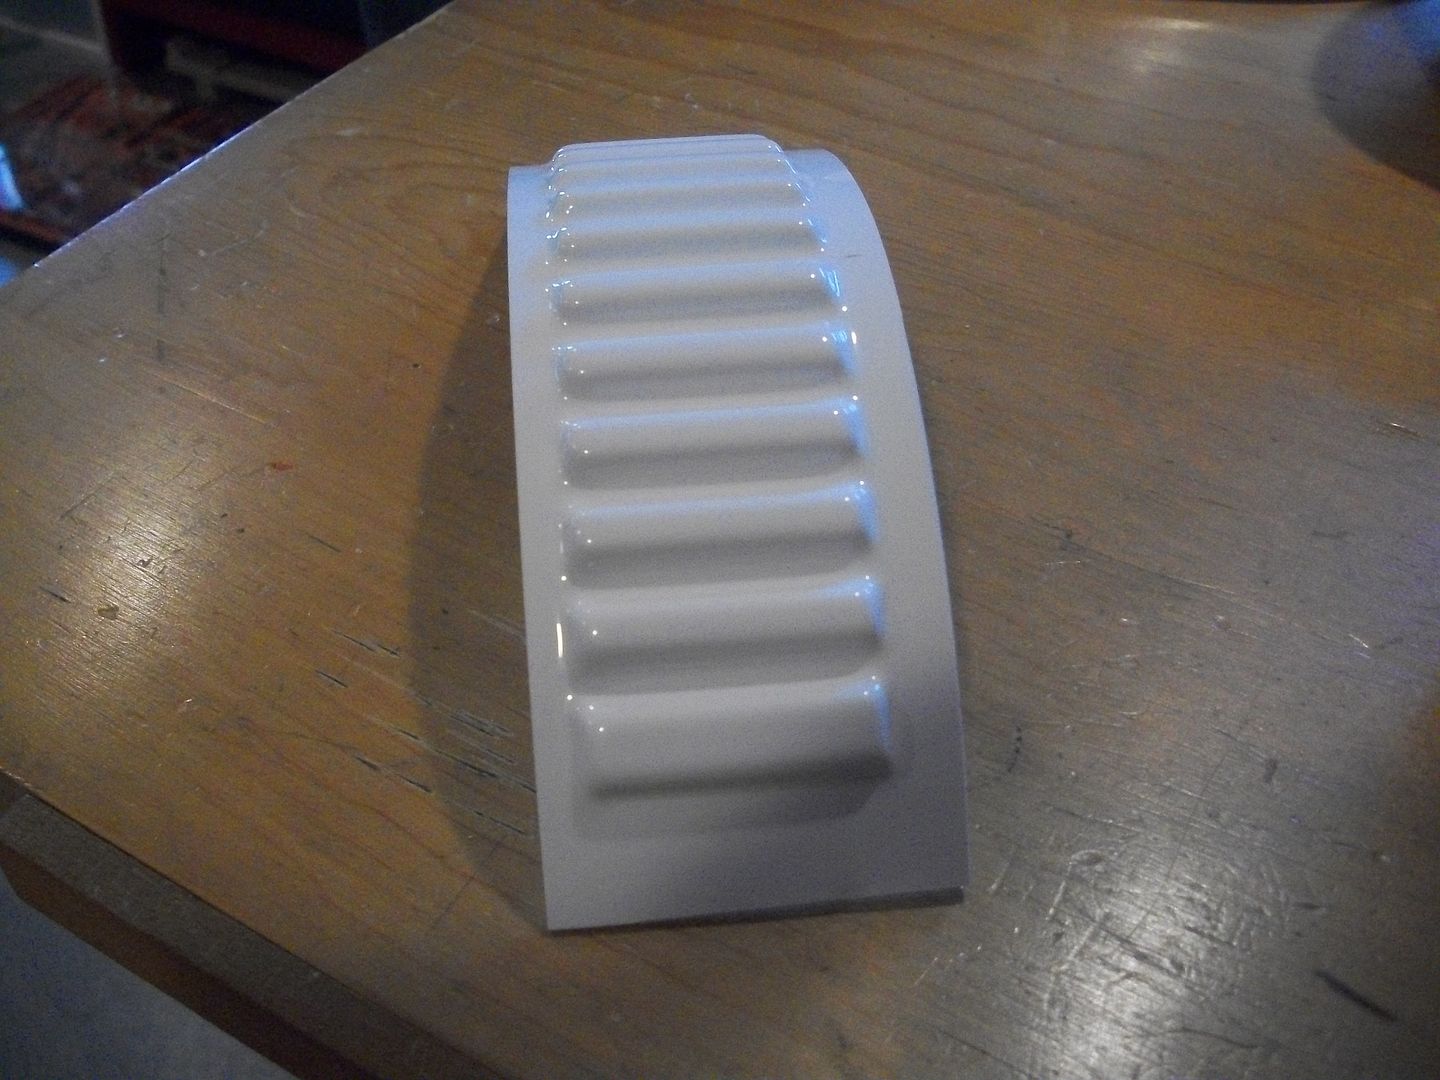
Rough Cut =
2) Ab buttons:
Stock =
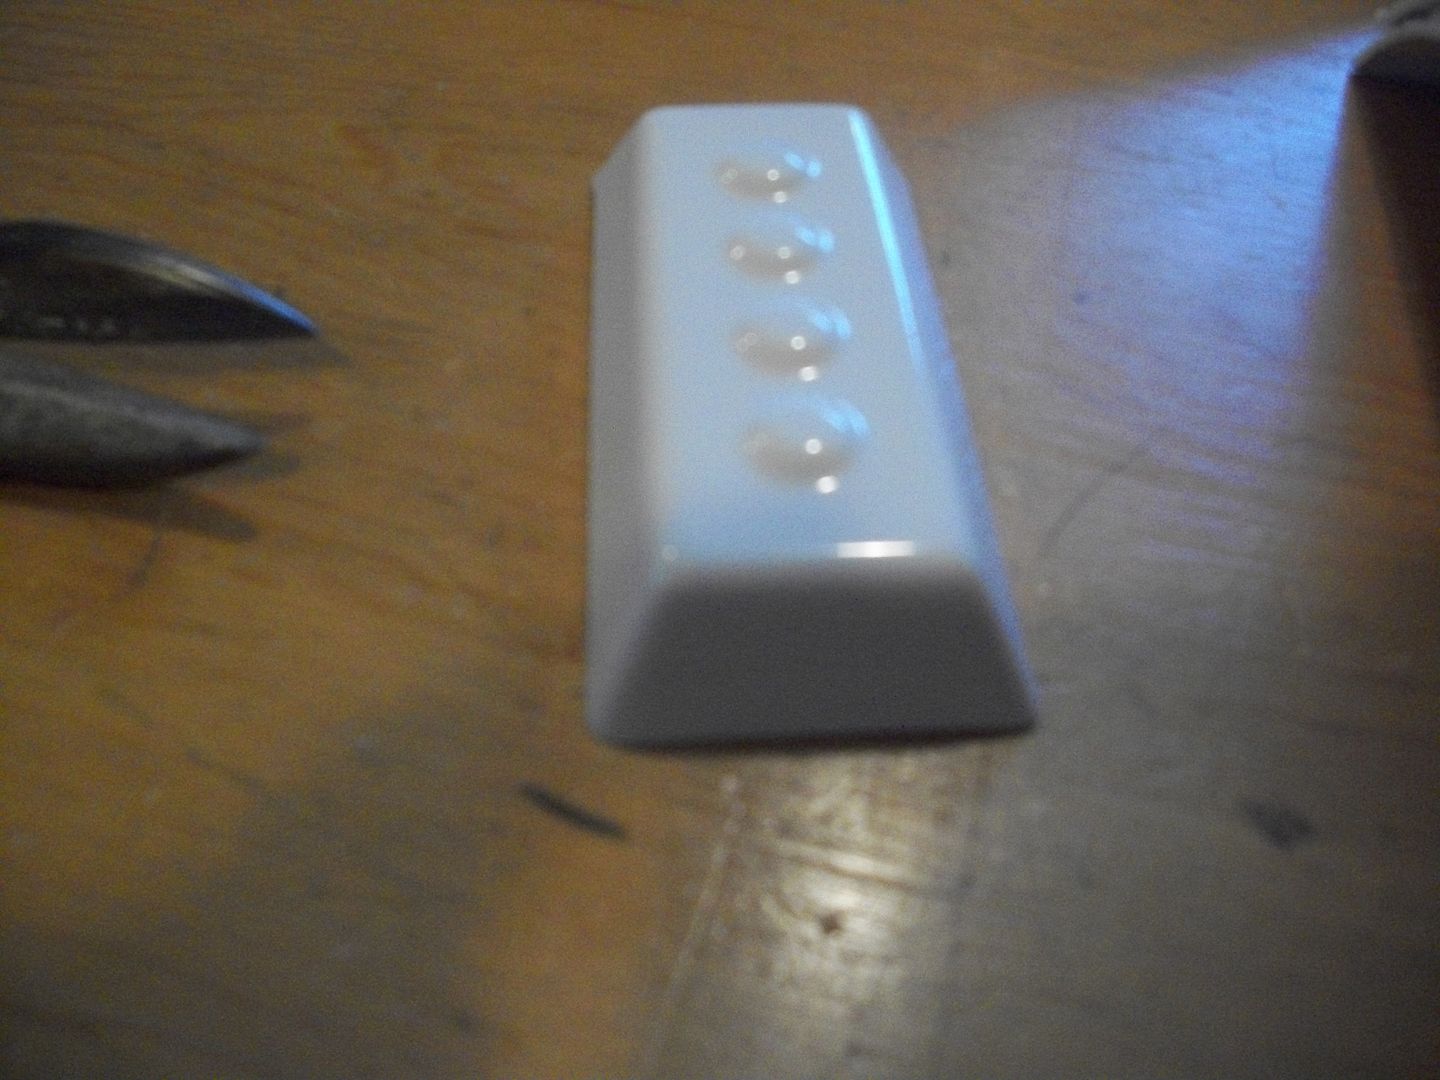
Rough cut =
(Note how to get in there, make some angle cuts first, then go right around)
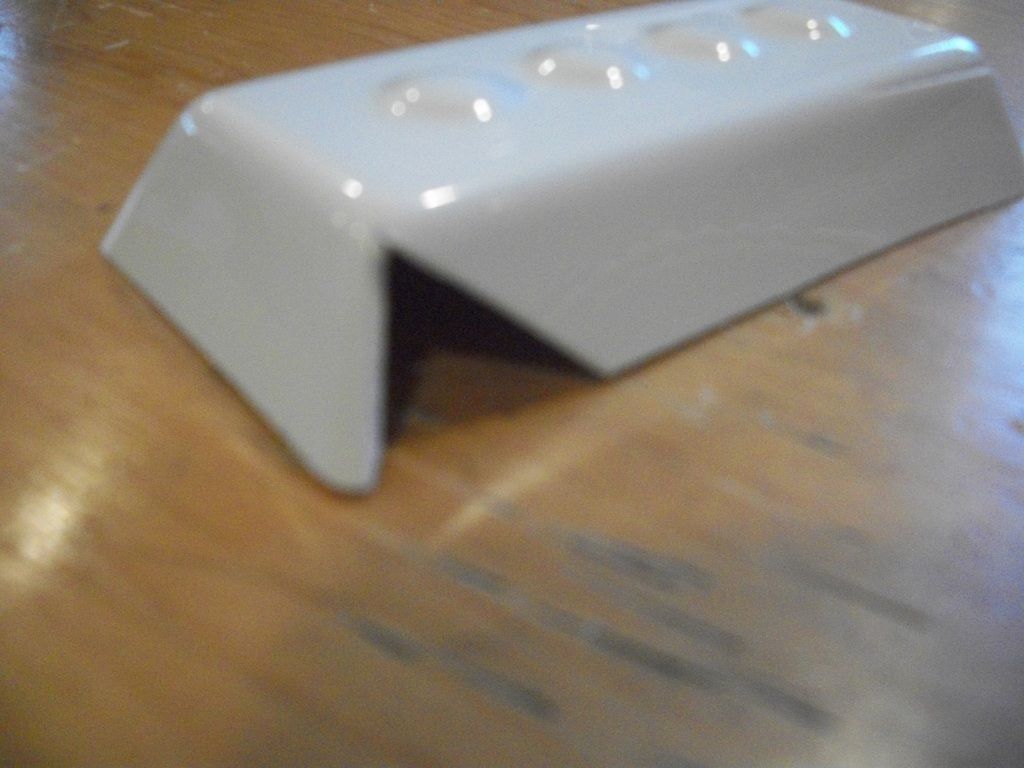
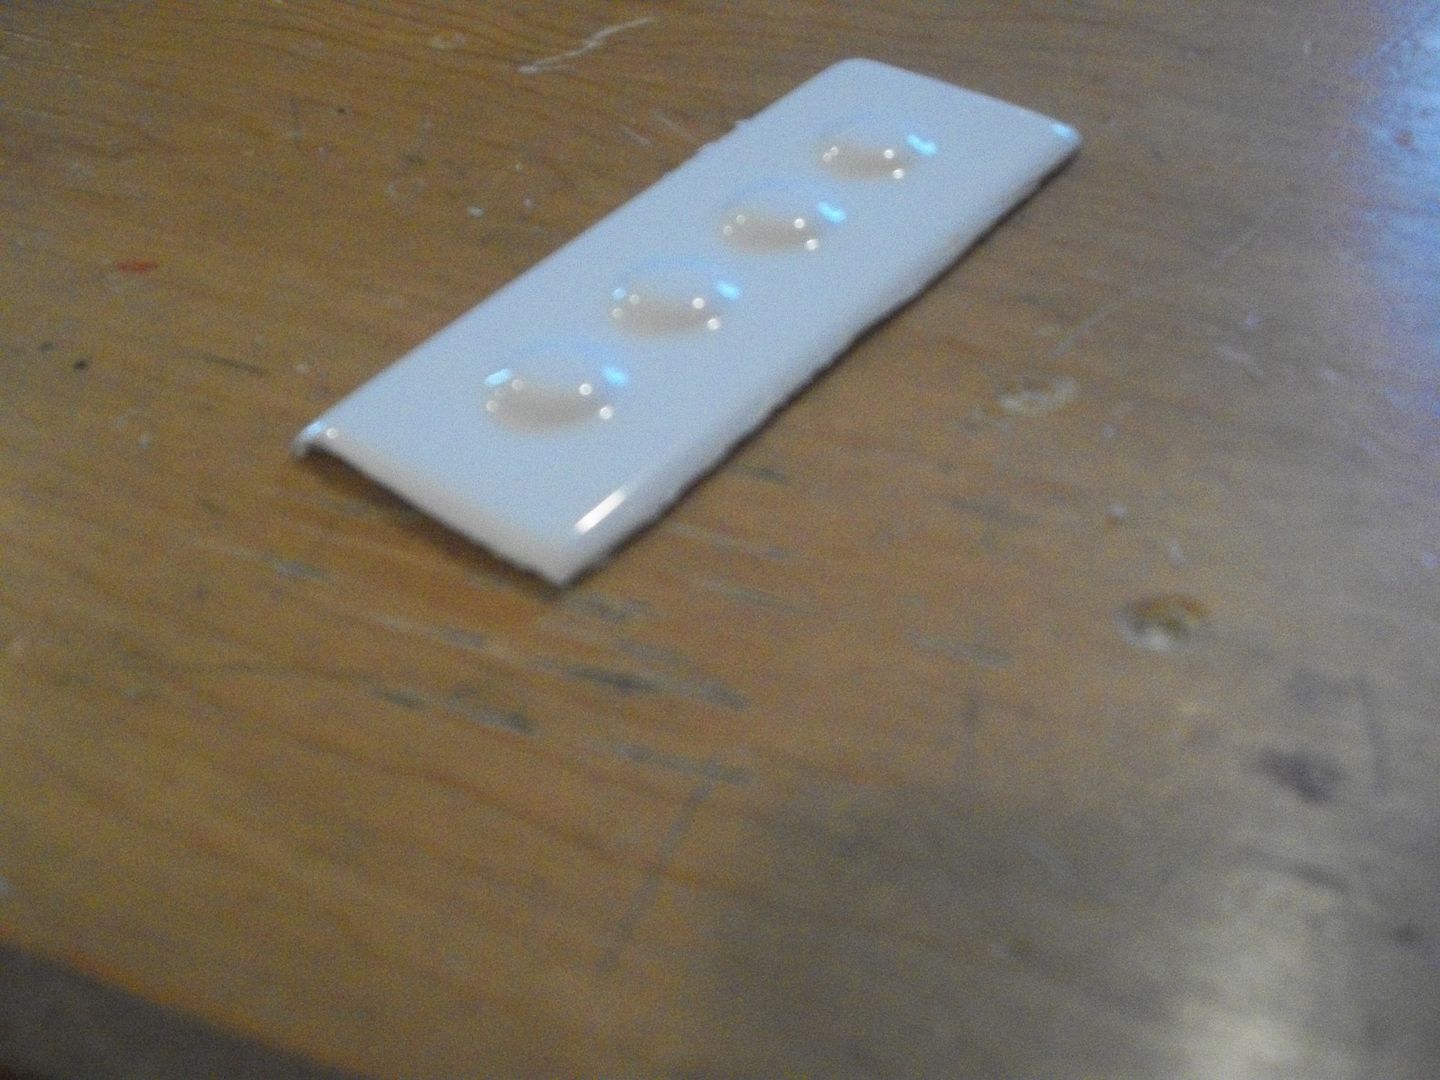
3) Ab plate:
Stock =
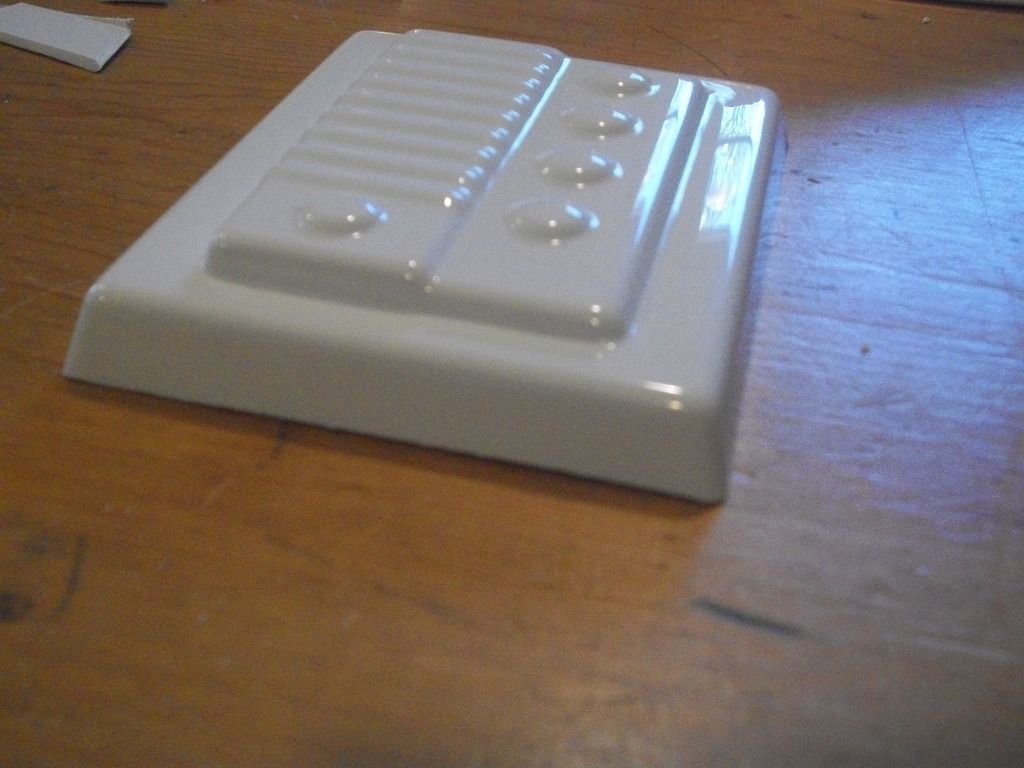
Rough cut =
(same method)
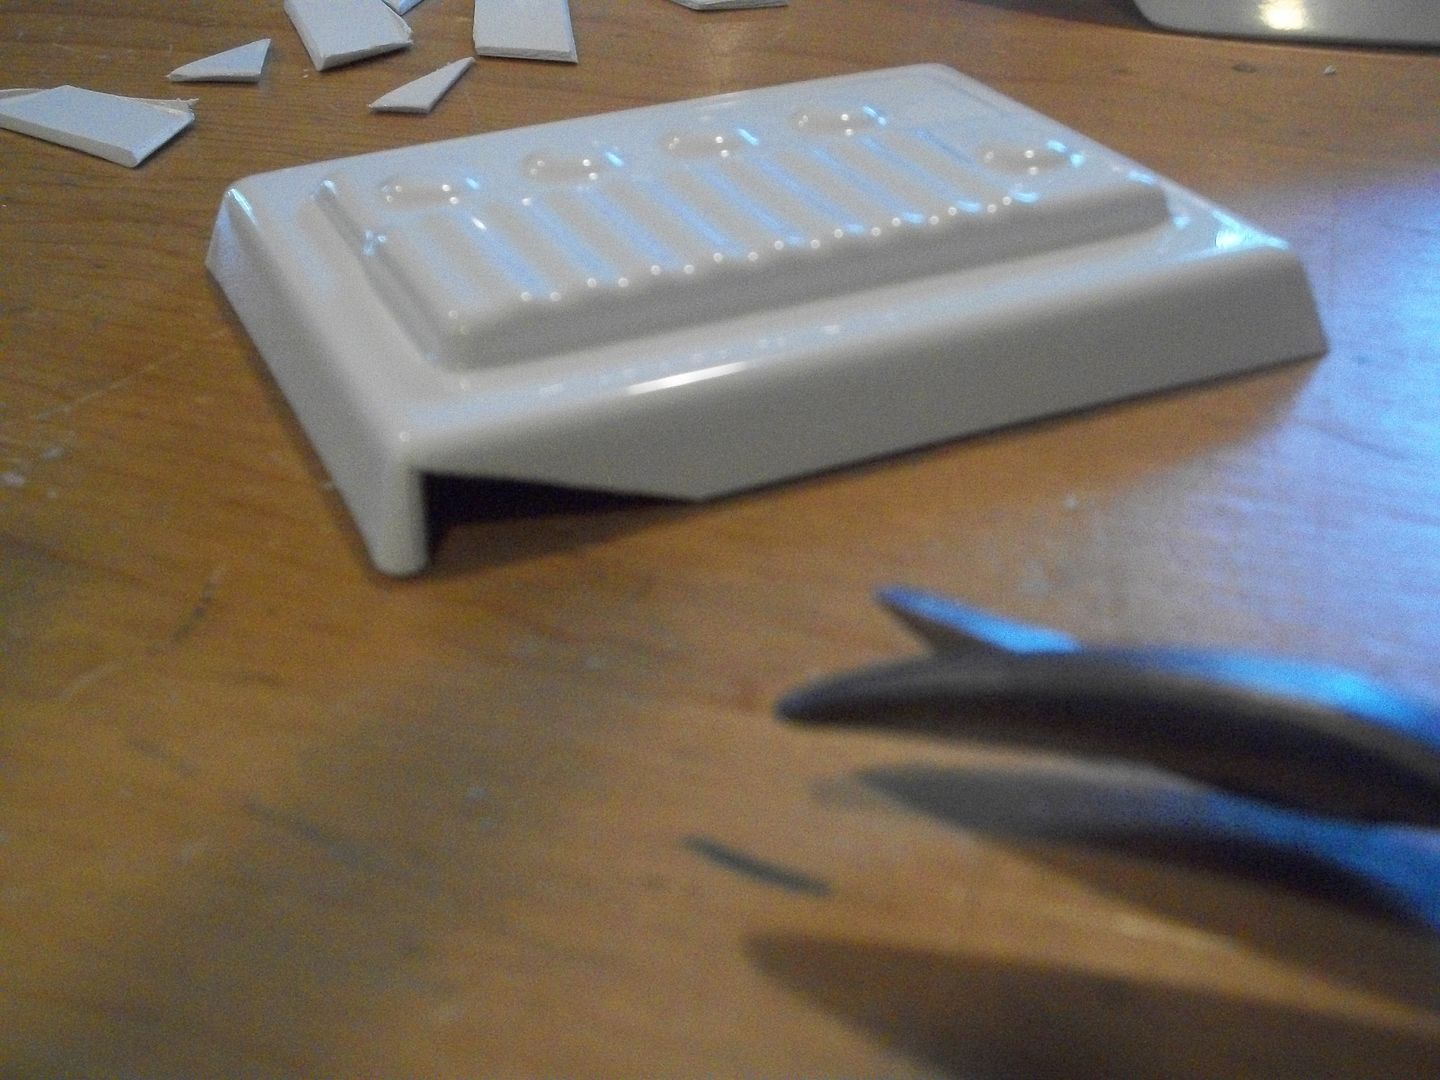
4) Knee plate:
Stock =
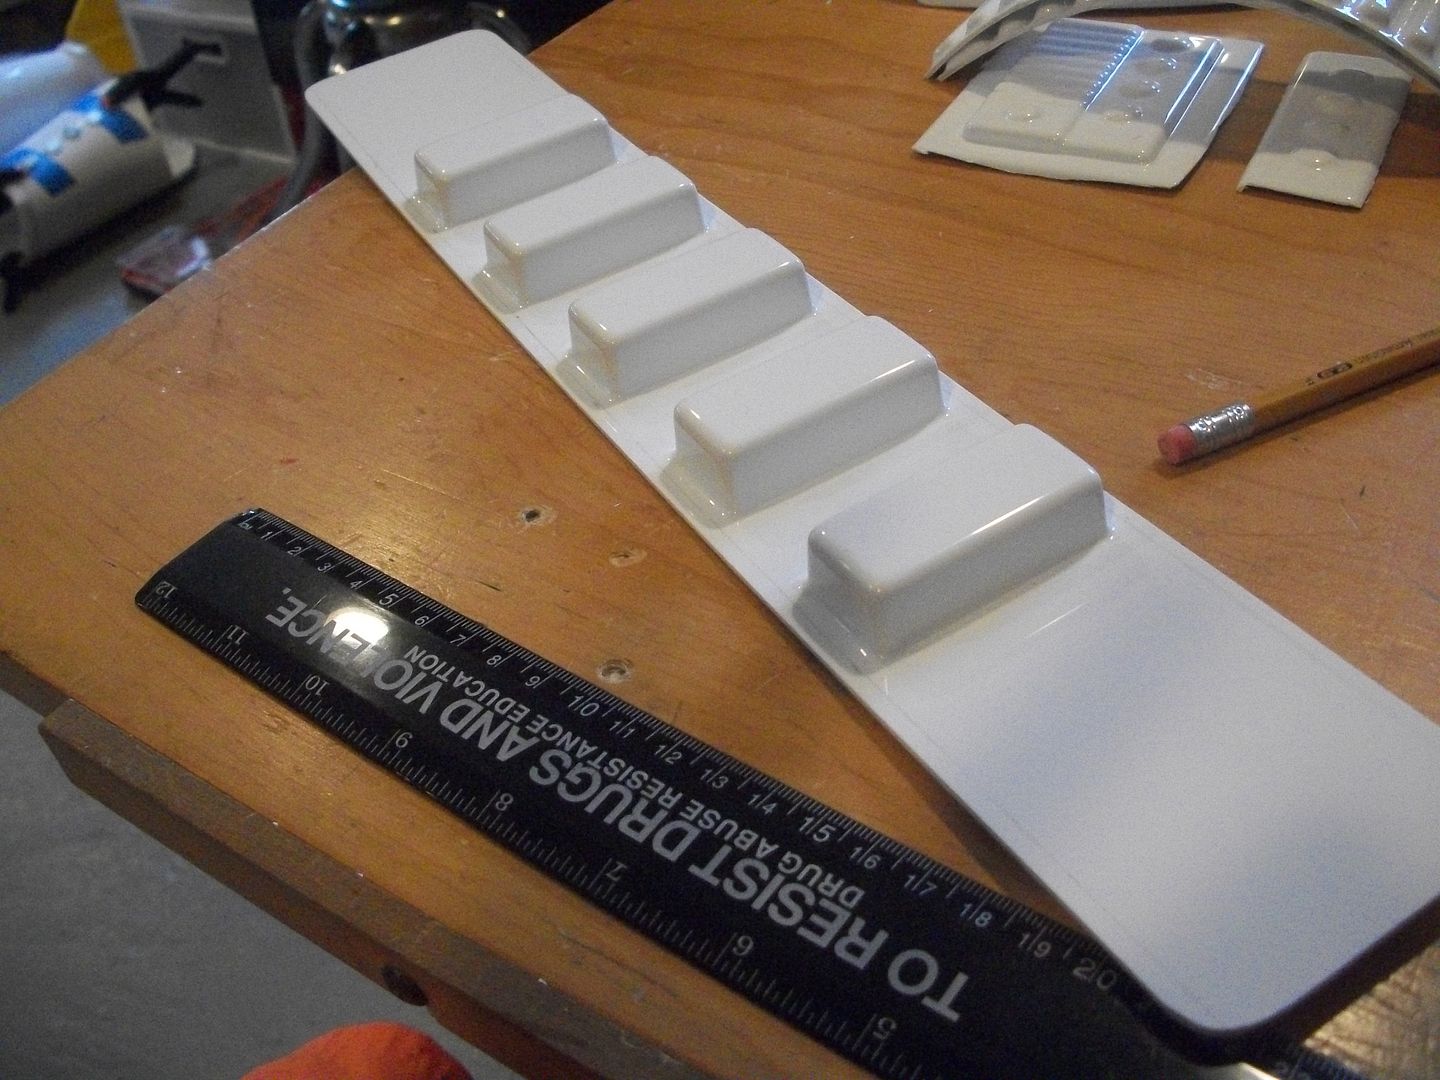
Rough Cut =
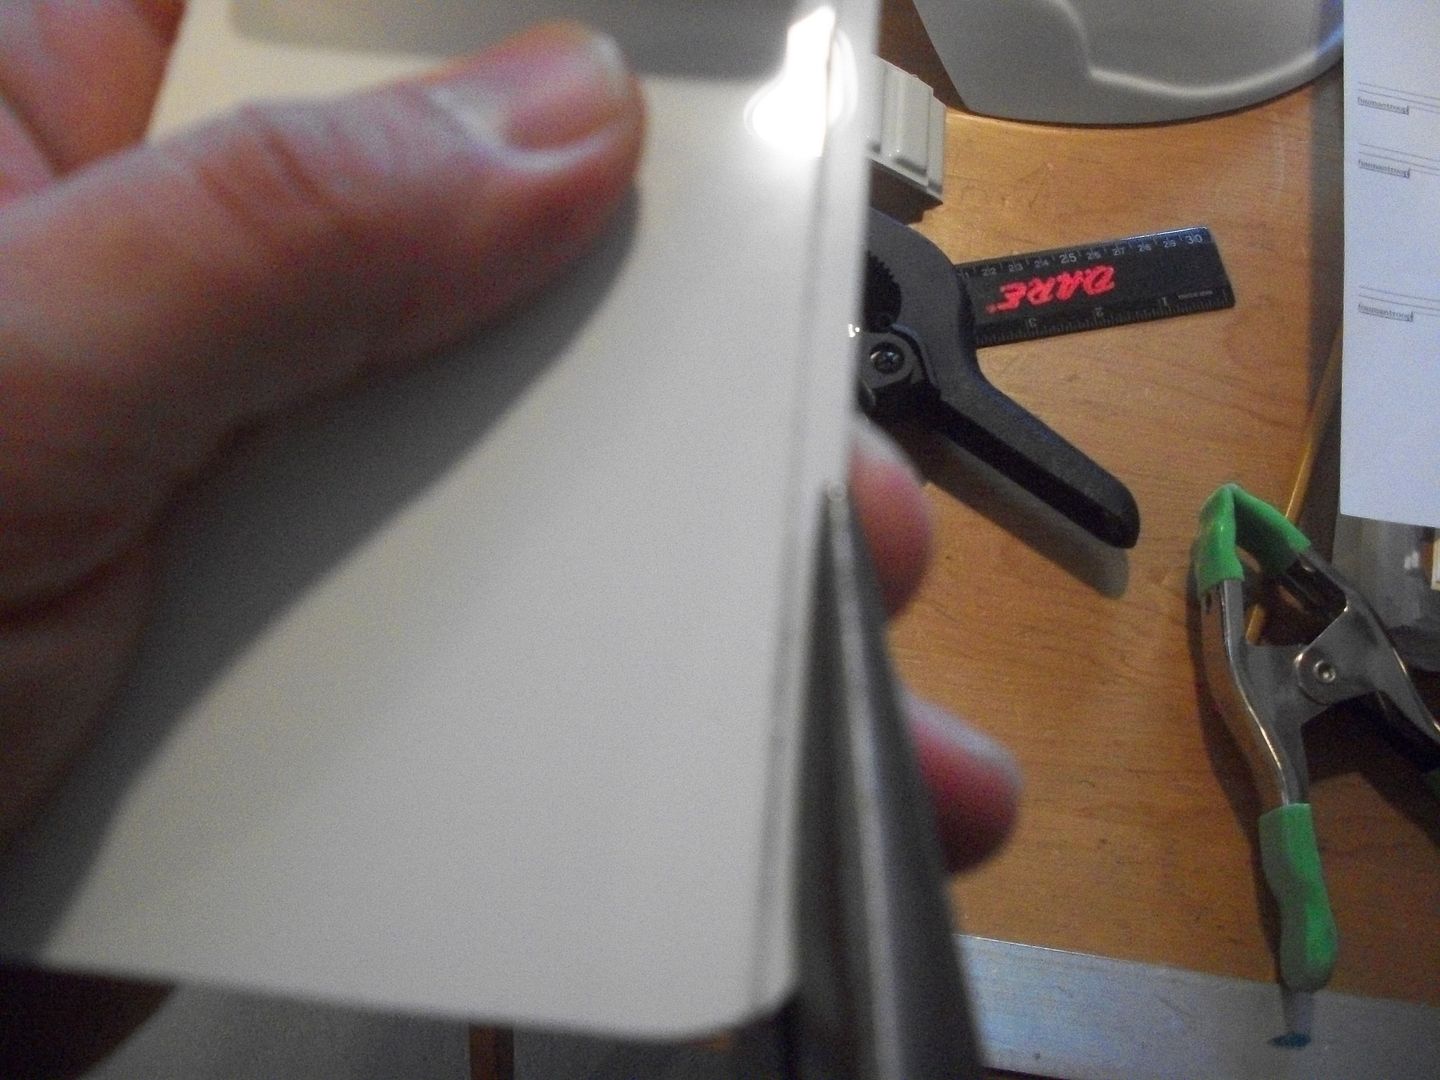
Just like the belt I want to trim off literally like 2mm which is tough. I mark it best I can then clamp it down with the straight edge:
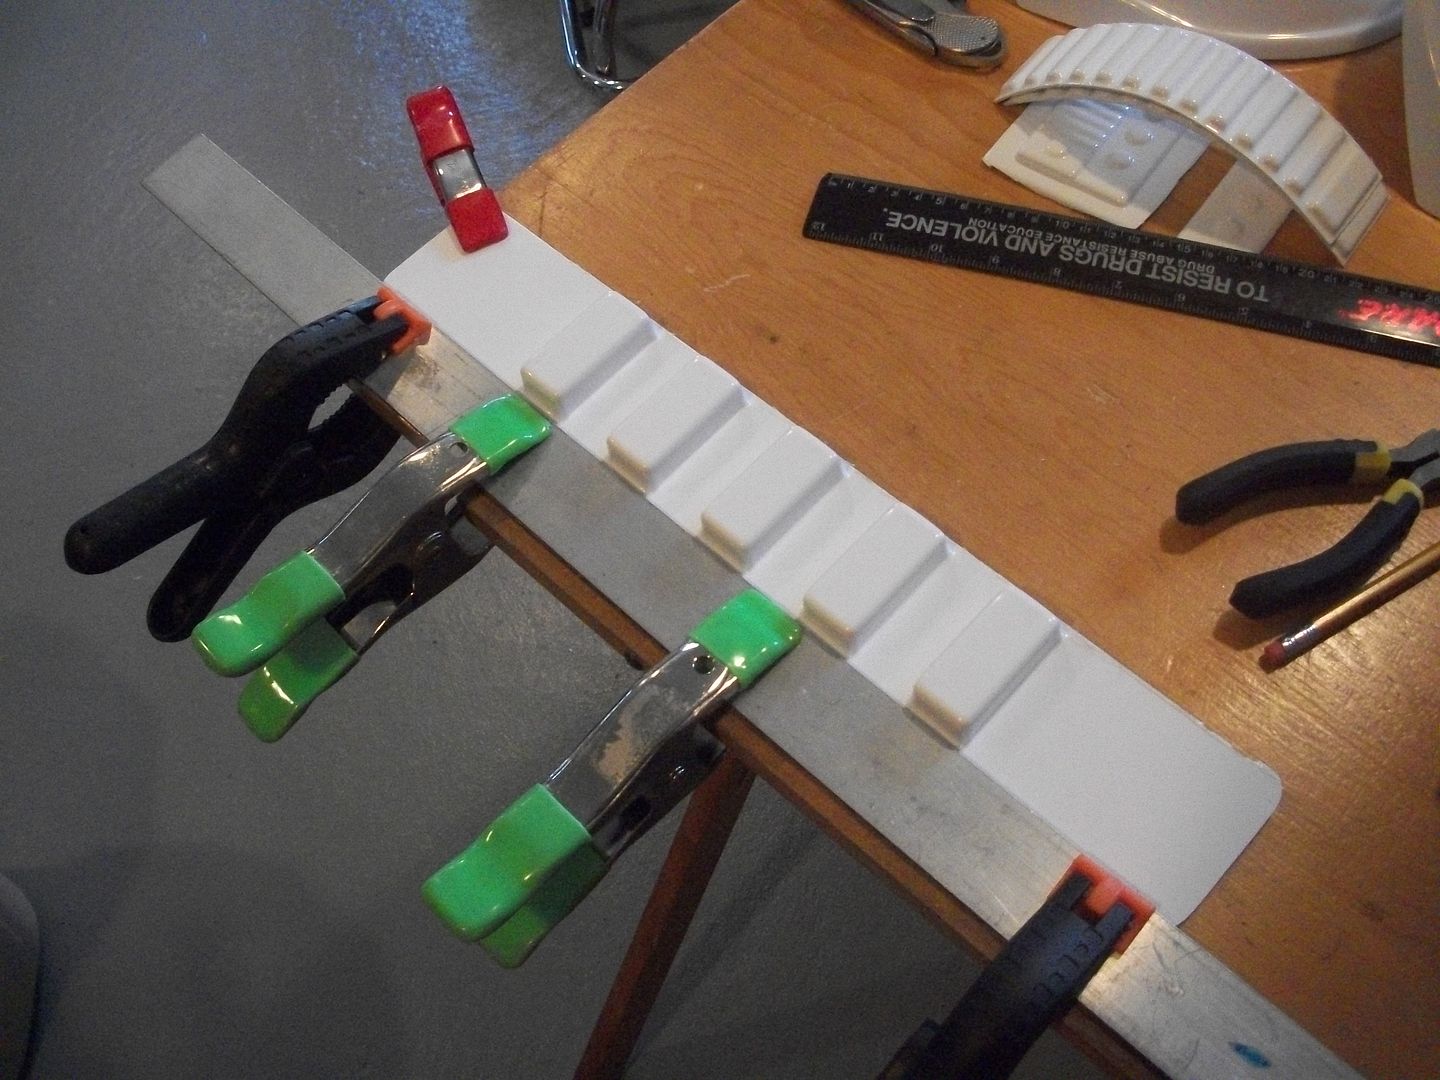
Knife it good, careful not to move the straight edge though

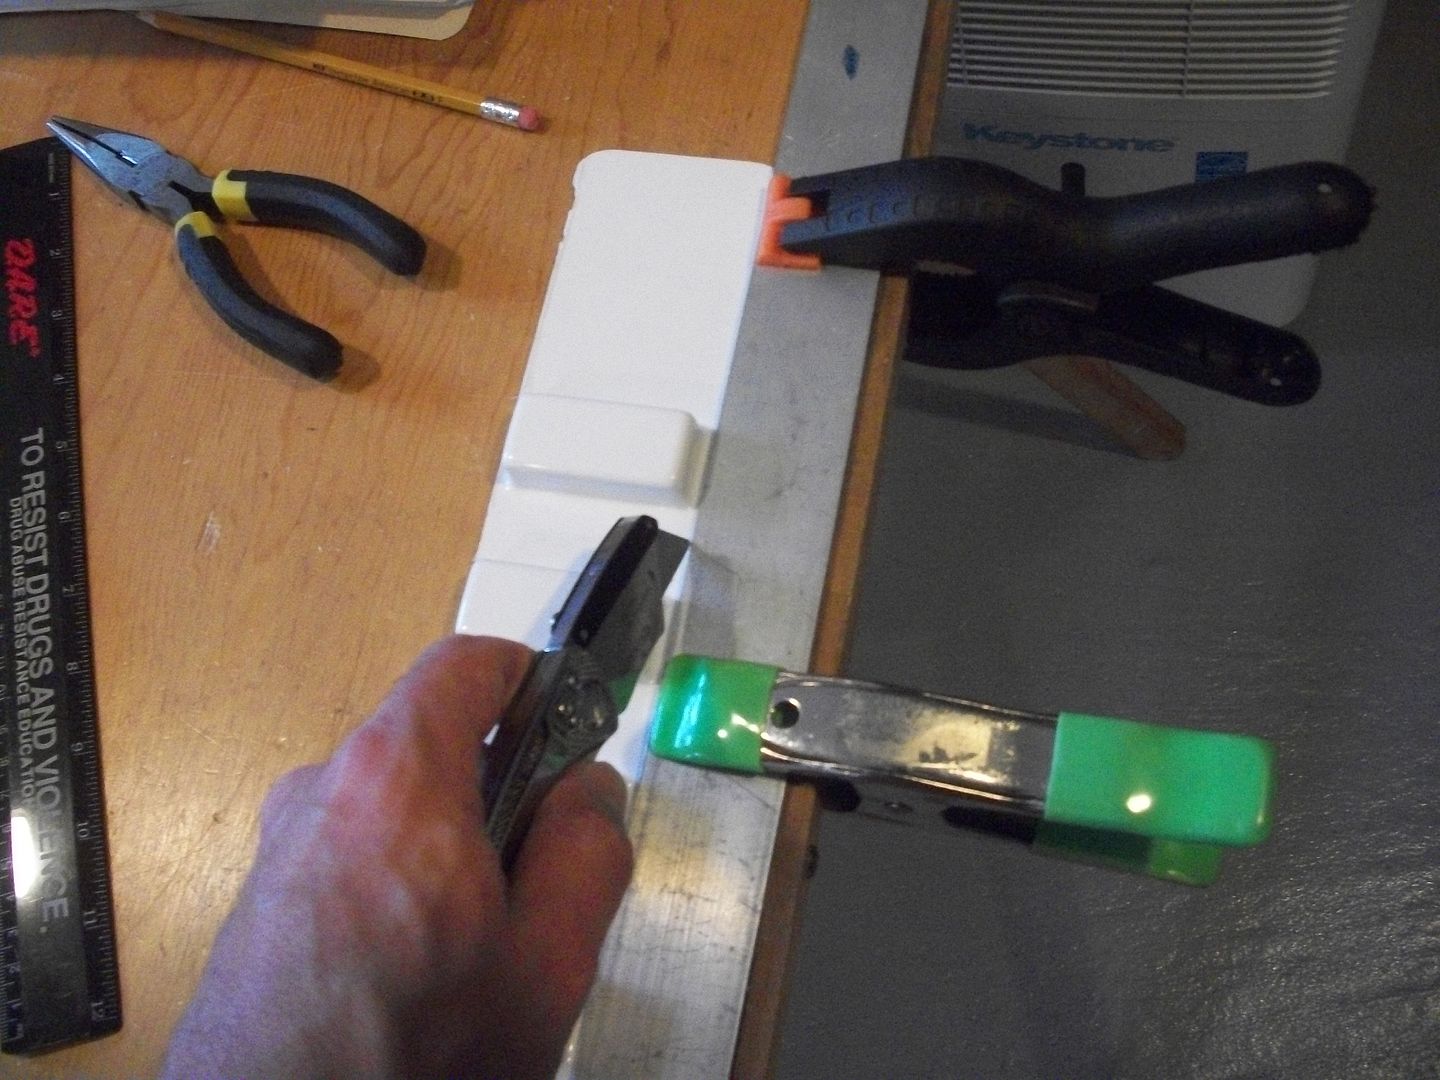
Use pliers to slowly and carefully snap the strip off. You are moving it back and forth to snap it and work your way up
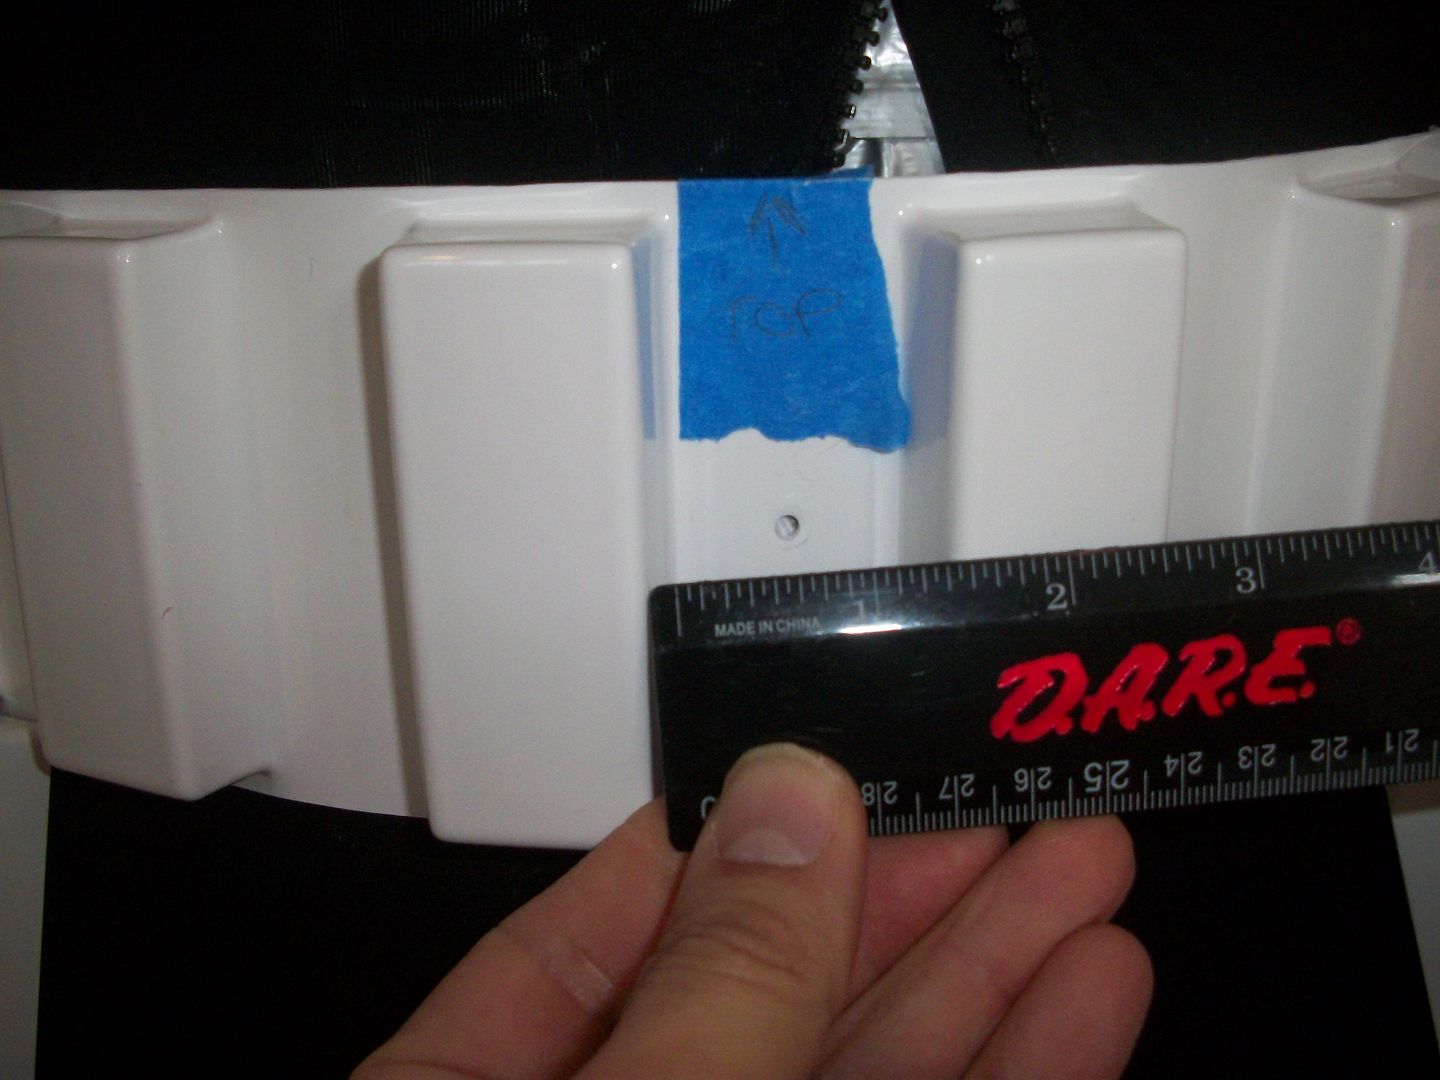
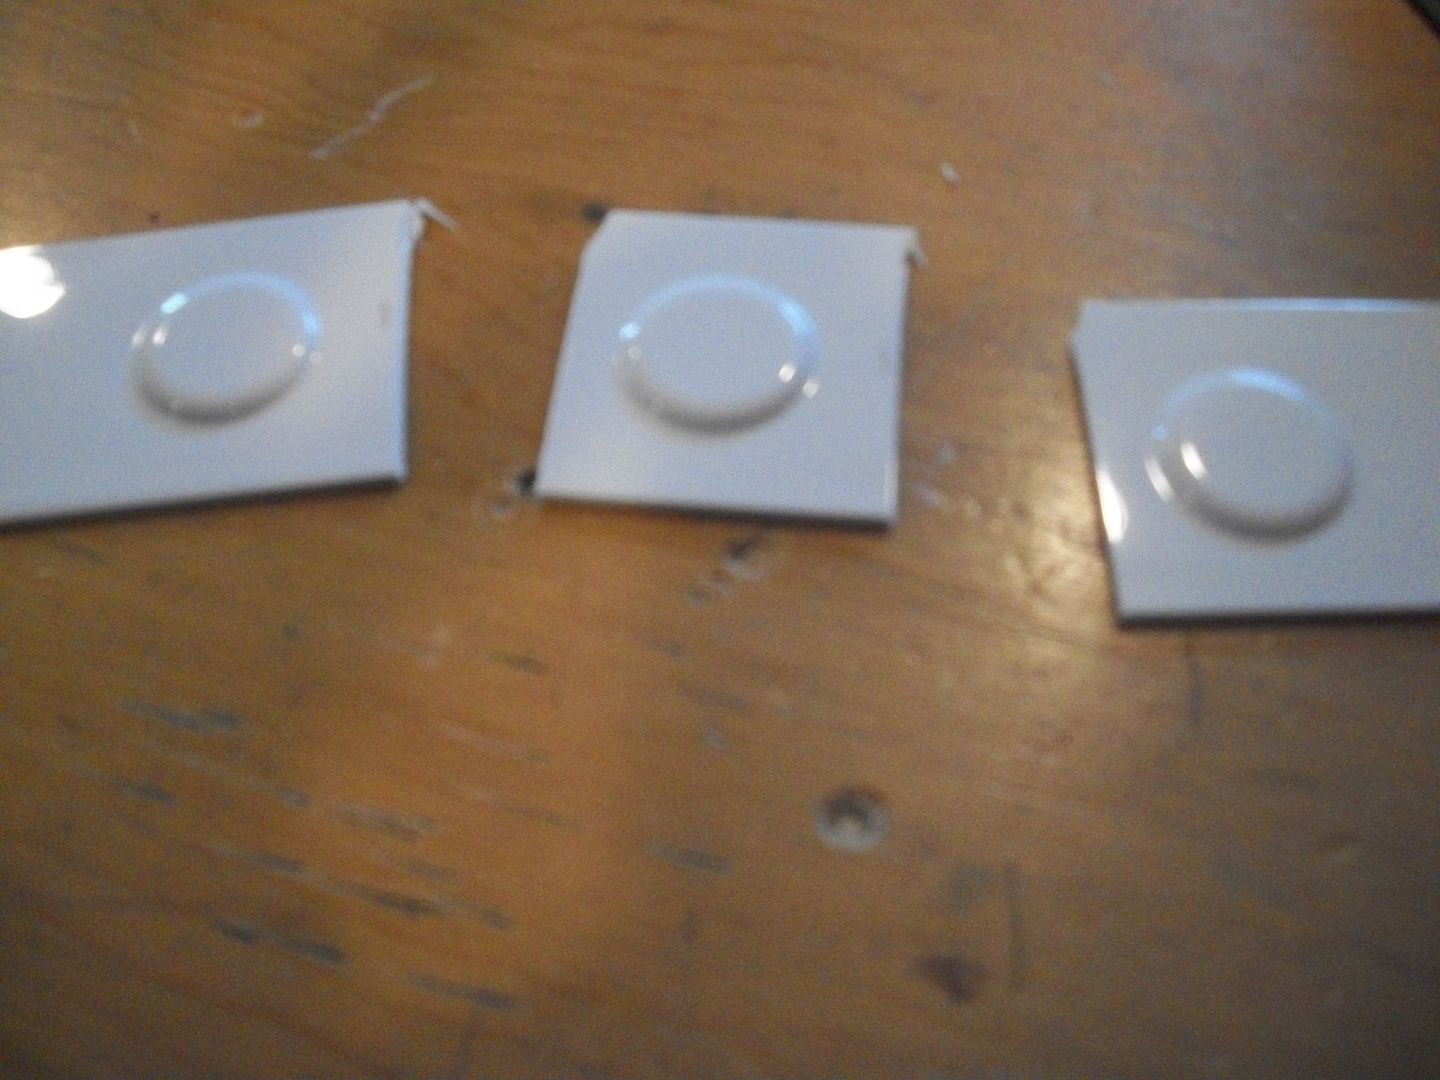
5) Belt buttons. These will cover the rivets when I attach it to the canvas belt.
Measures about 1 3/8" space on mine.
Gotta make three of them, so rough cut evenly the stock strip
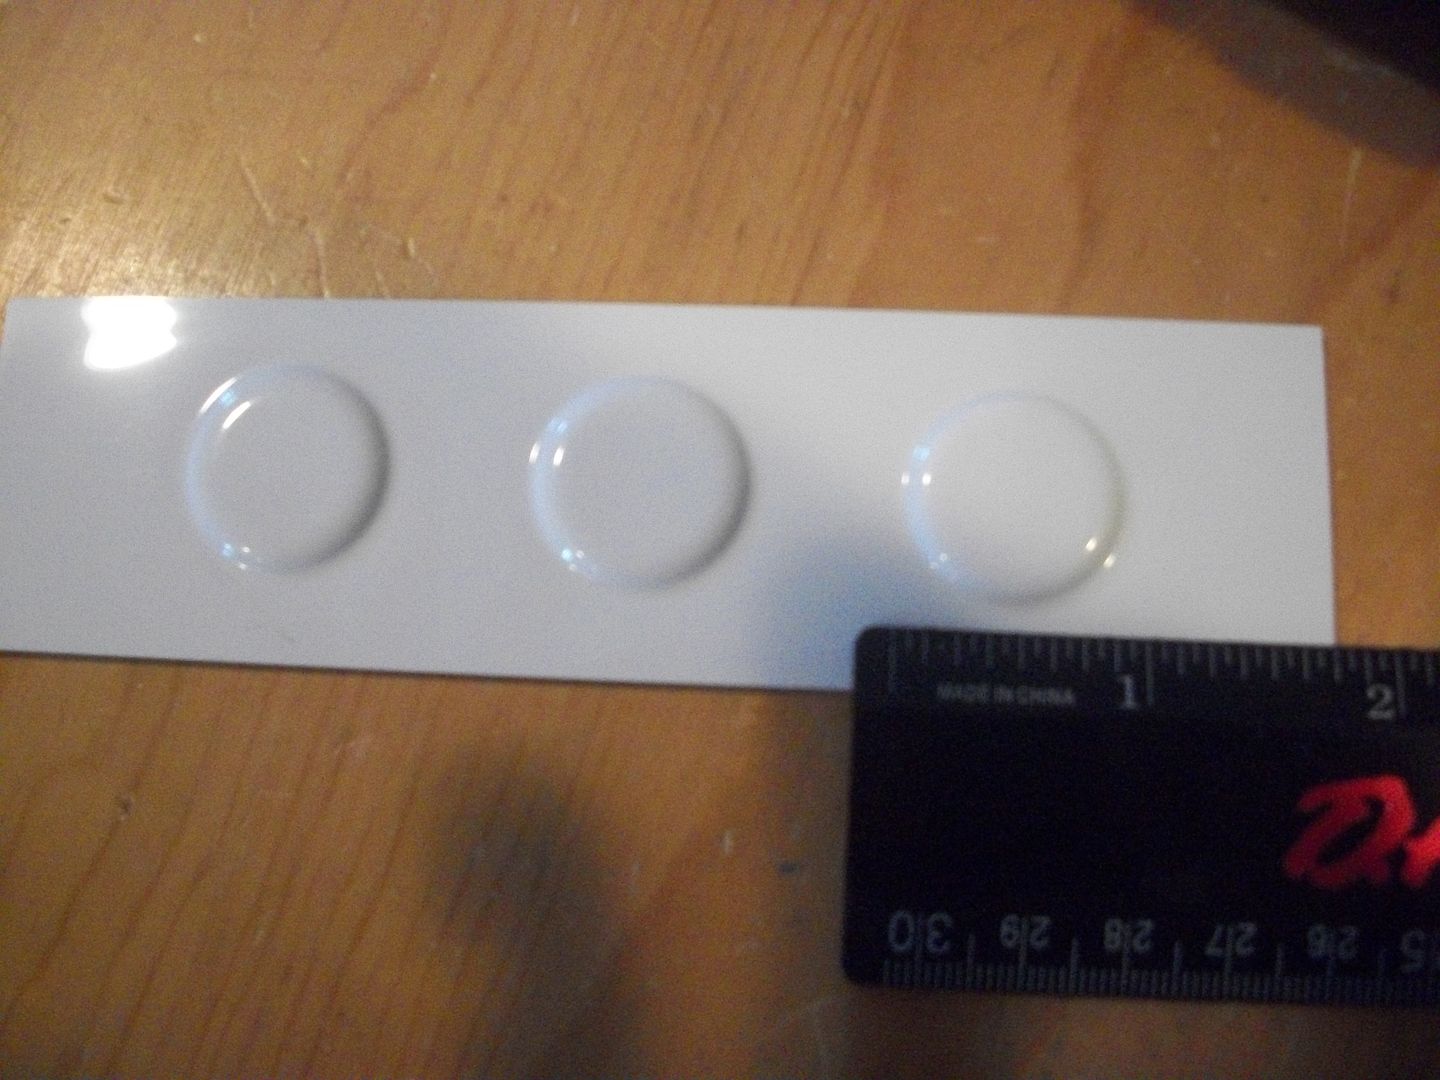
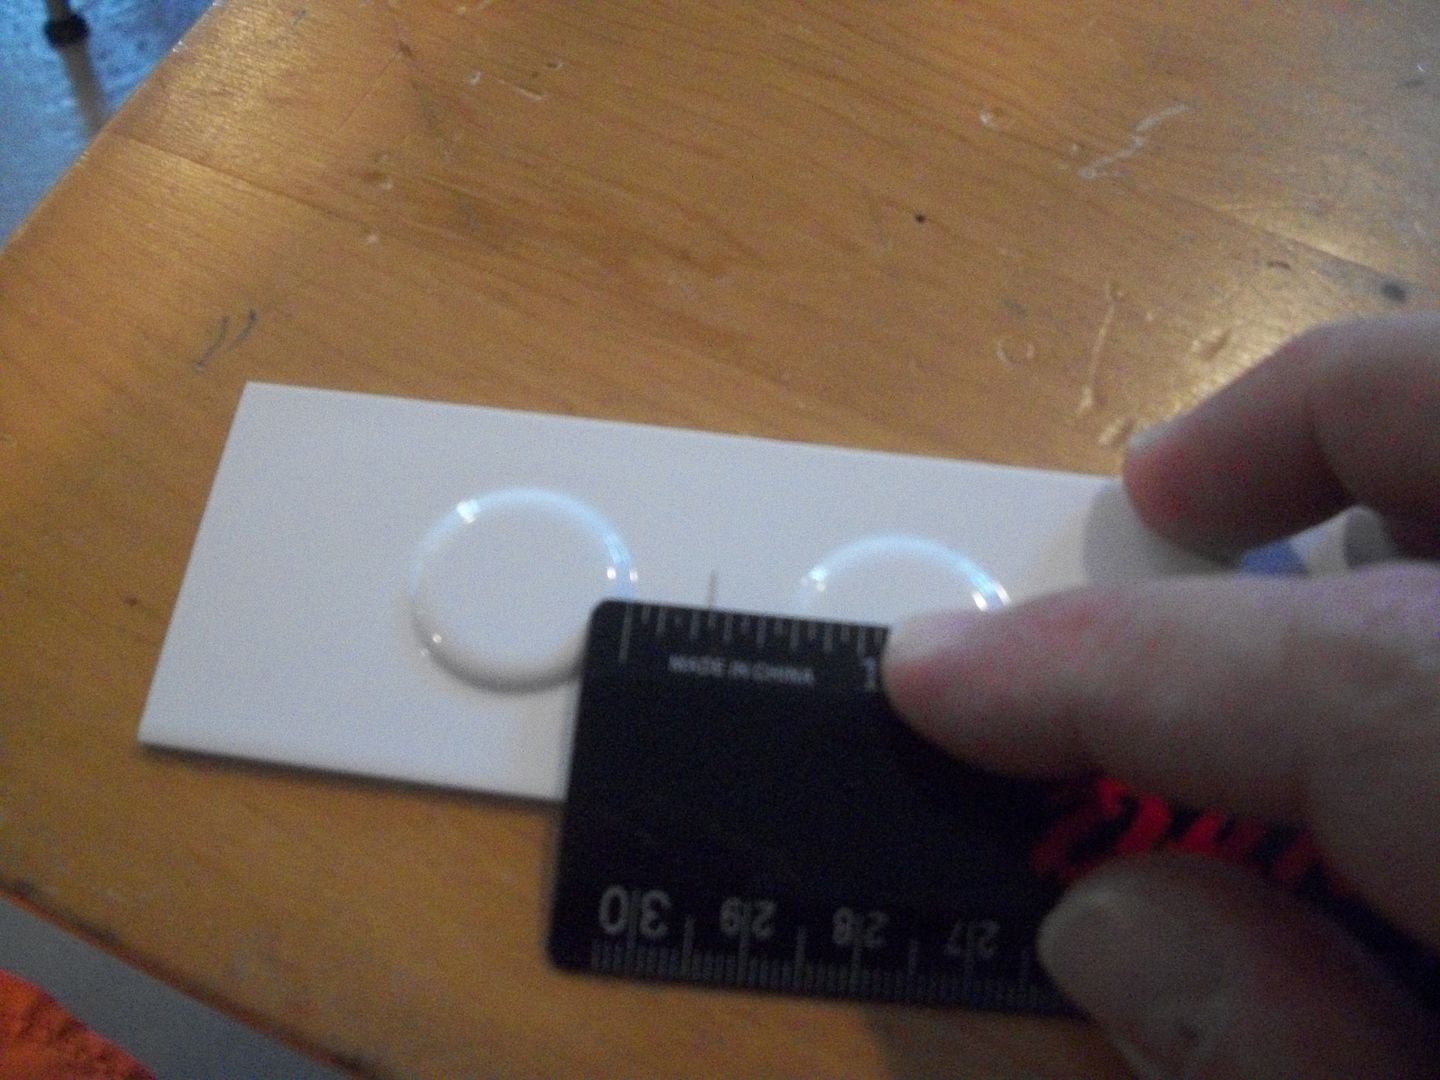
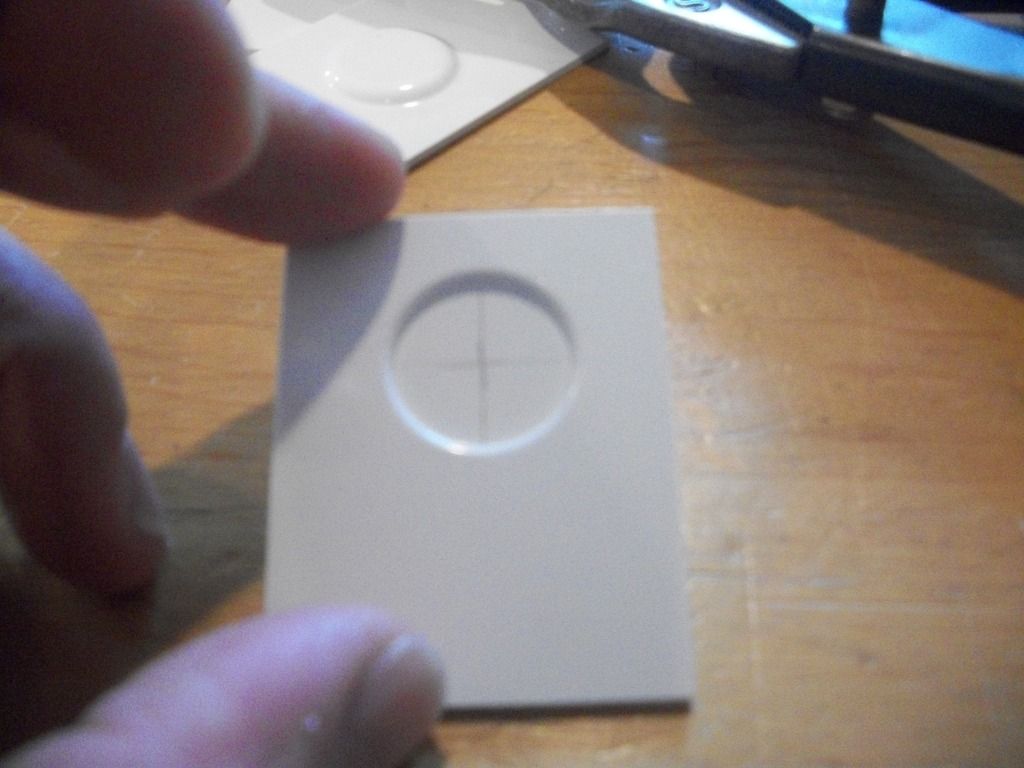
Easier to mark it underneath in the indent as opposed to over the curve.
Find the center and mark it out
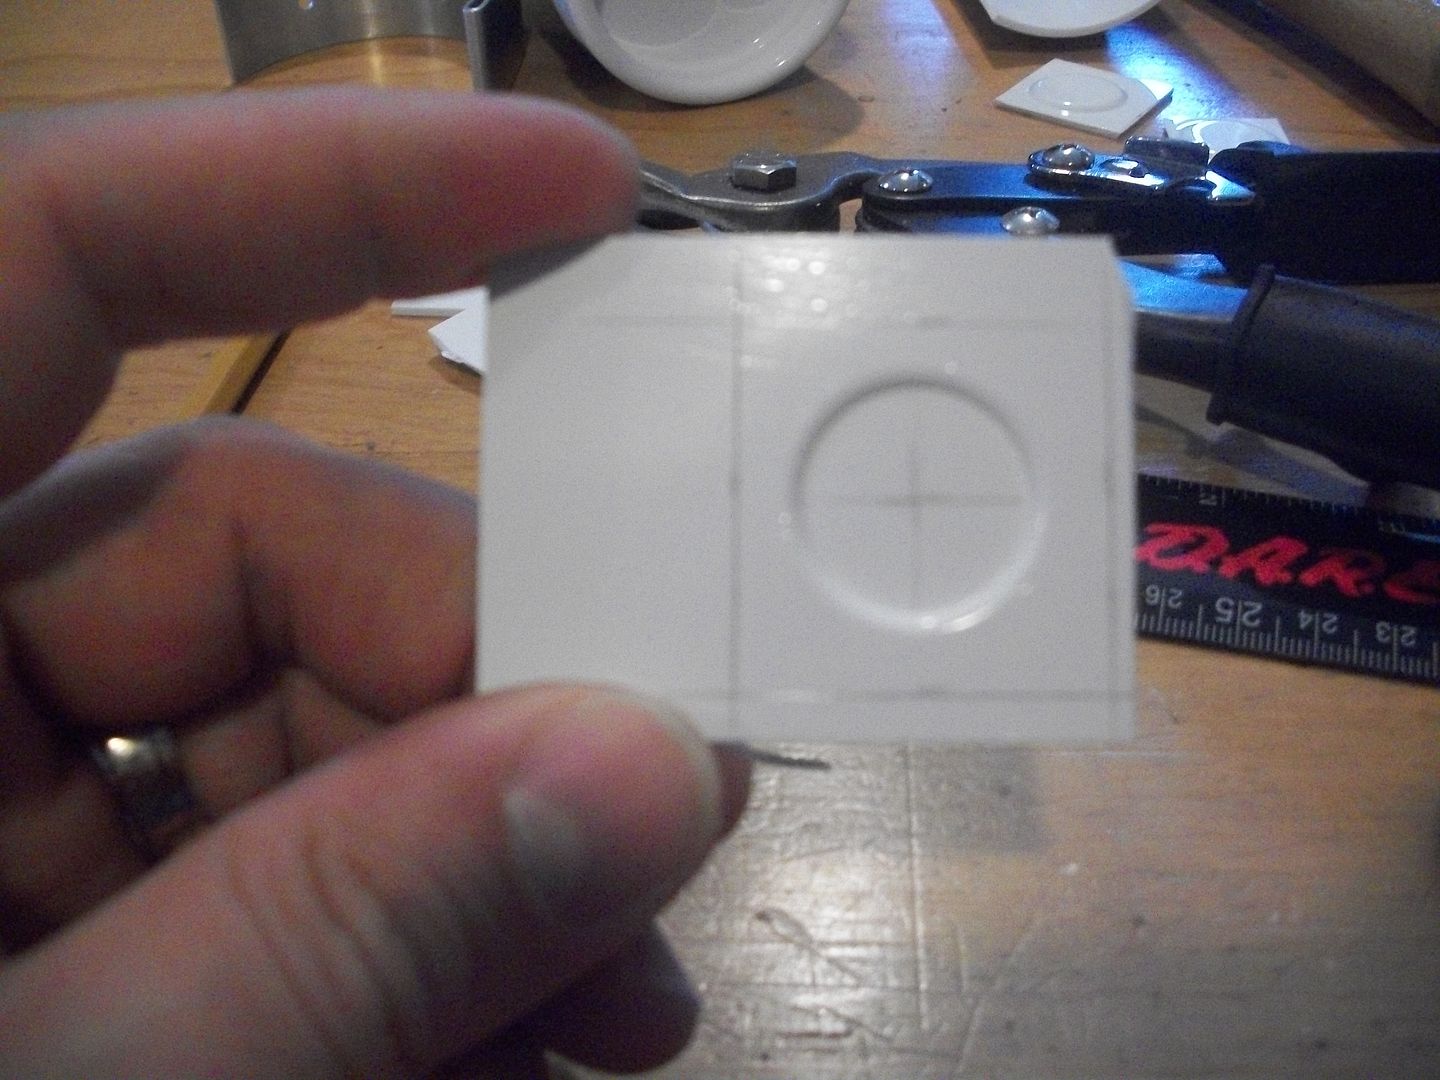
Then use the lines to mark out the box
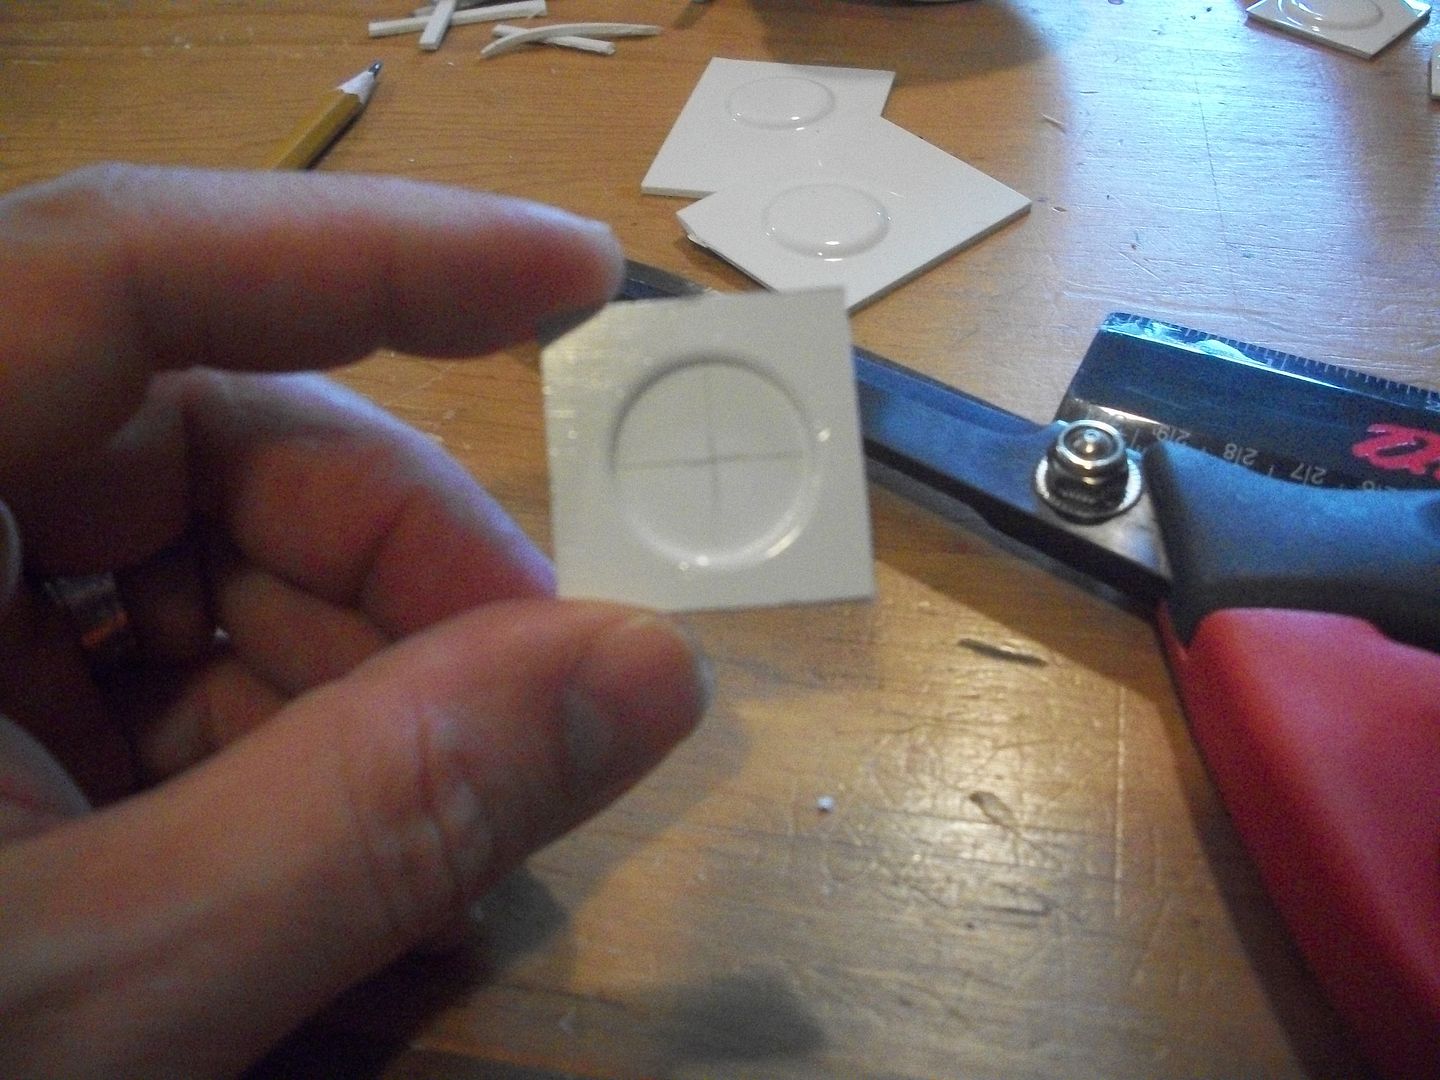
Simply cut it out. You can use the first one as a template for the rest.
Rough cut =
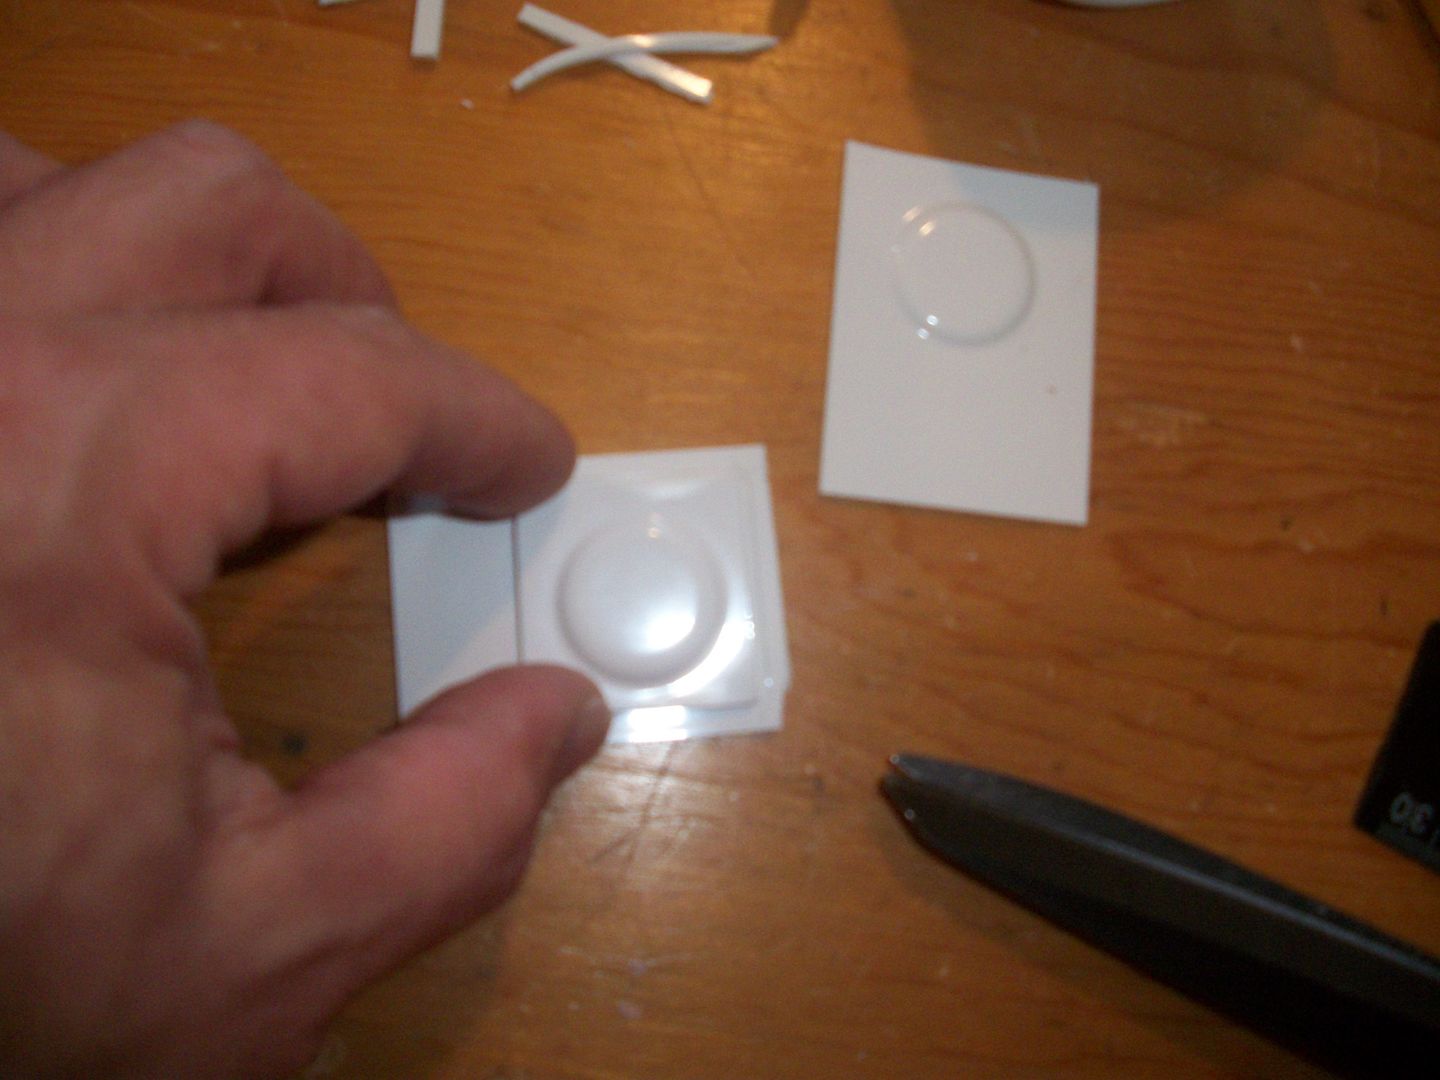
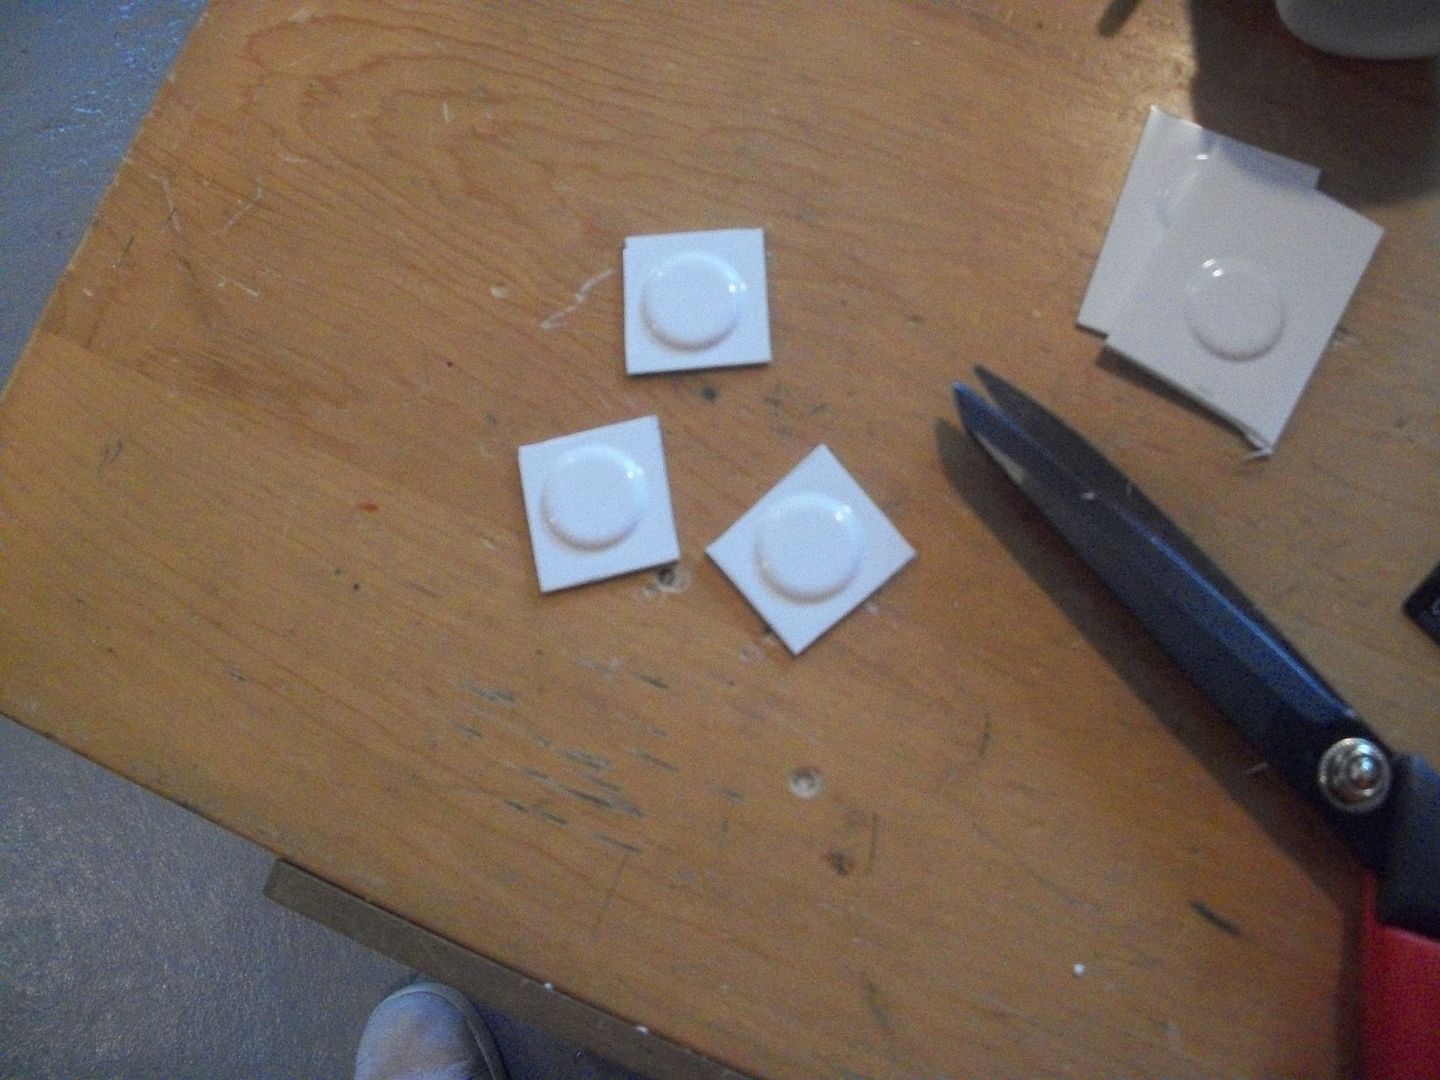
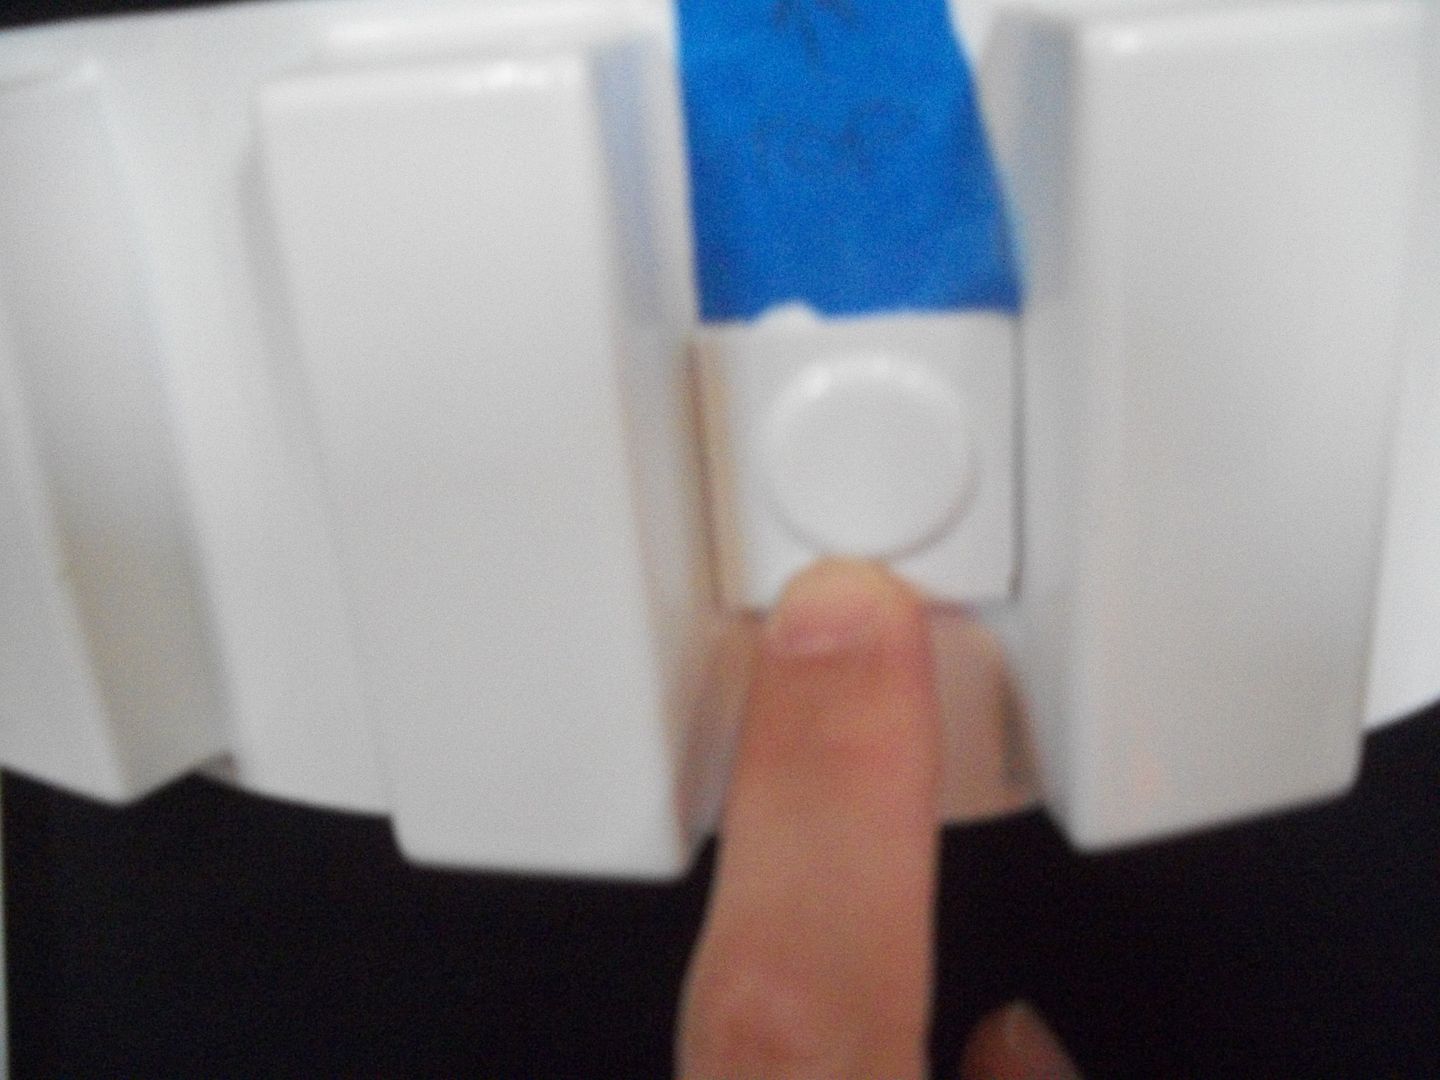
TIME CHECK:
All prep on accessories = 1 1/2 hour
-
** shins were done basically the same way so skipping the copy/paste here

I'm happy with the shins so far, but like Paul said wanted to taper the thighs a little more. So before I glued anything permanent I simply lined it back up, squeezed the bottom a little more, marked it and then trimmed. Using the same exact method with the ruler and clamp.
Now I'm going to glue the front part of the thigh first. This way I can do one more test fit before locking in the back.
1) I had the time so I took the sanding bit and really tried to make the parts as close as possible on the top and bottom. This way when they line up they will be as close and clean as I can make them.
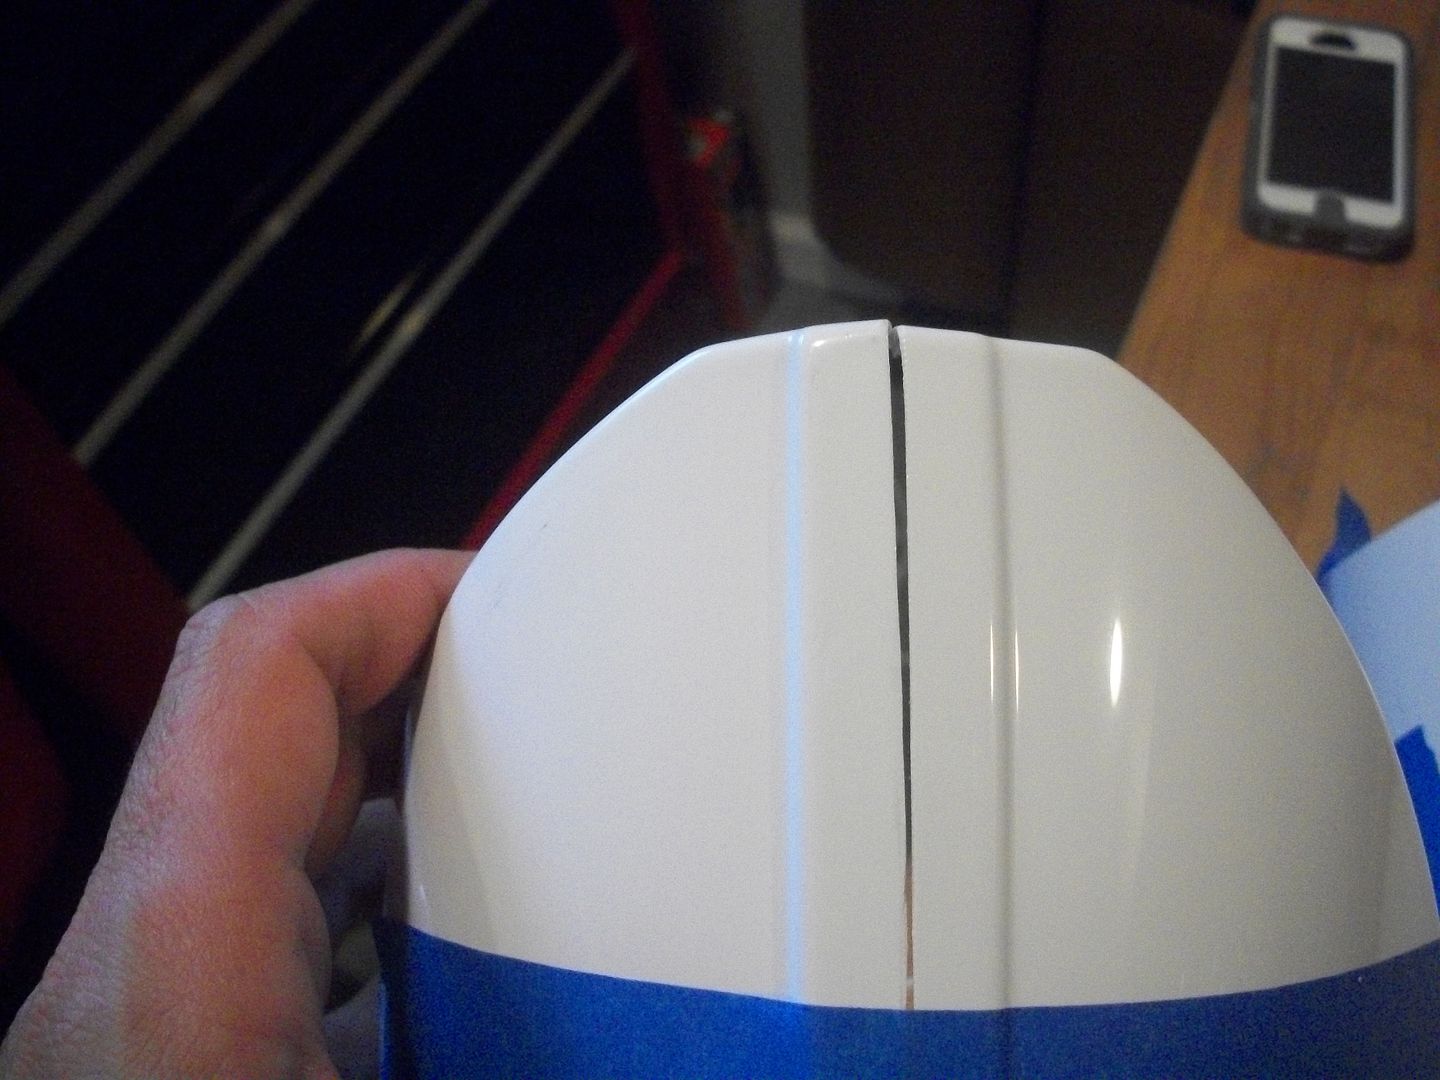
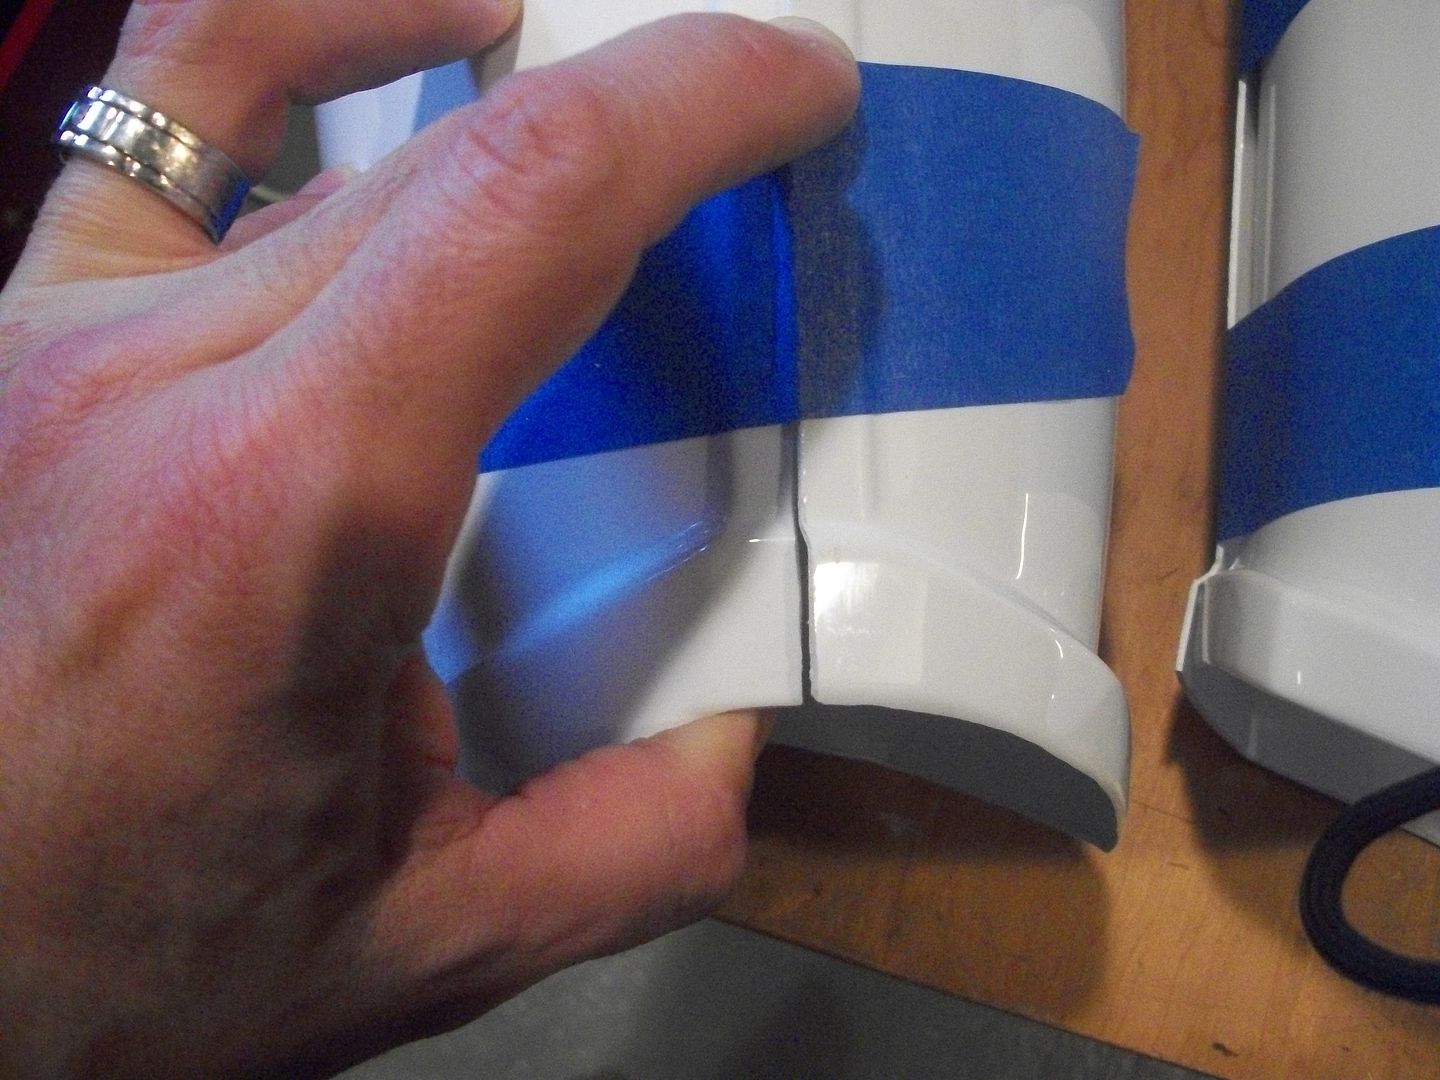
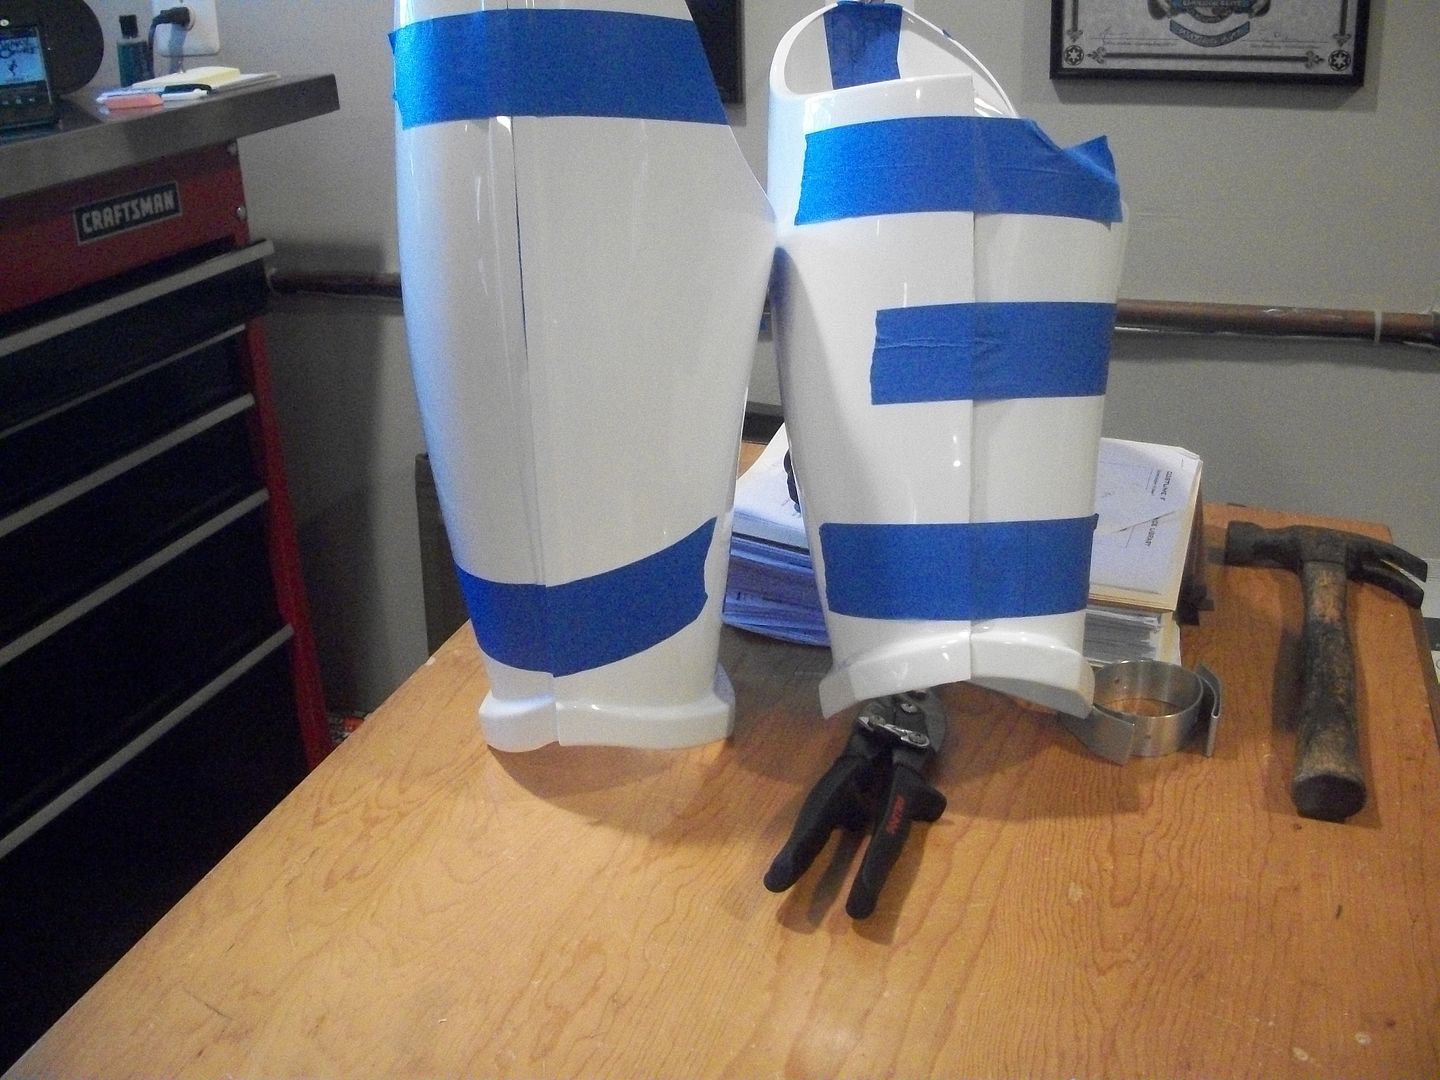
2) I then cut the shims to match the 20mm this way they fit tight in the inside notch. I'll have the cover strip on the outside to help keep it all secure, and might even mod another inside shim for extra hold.
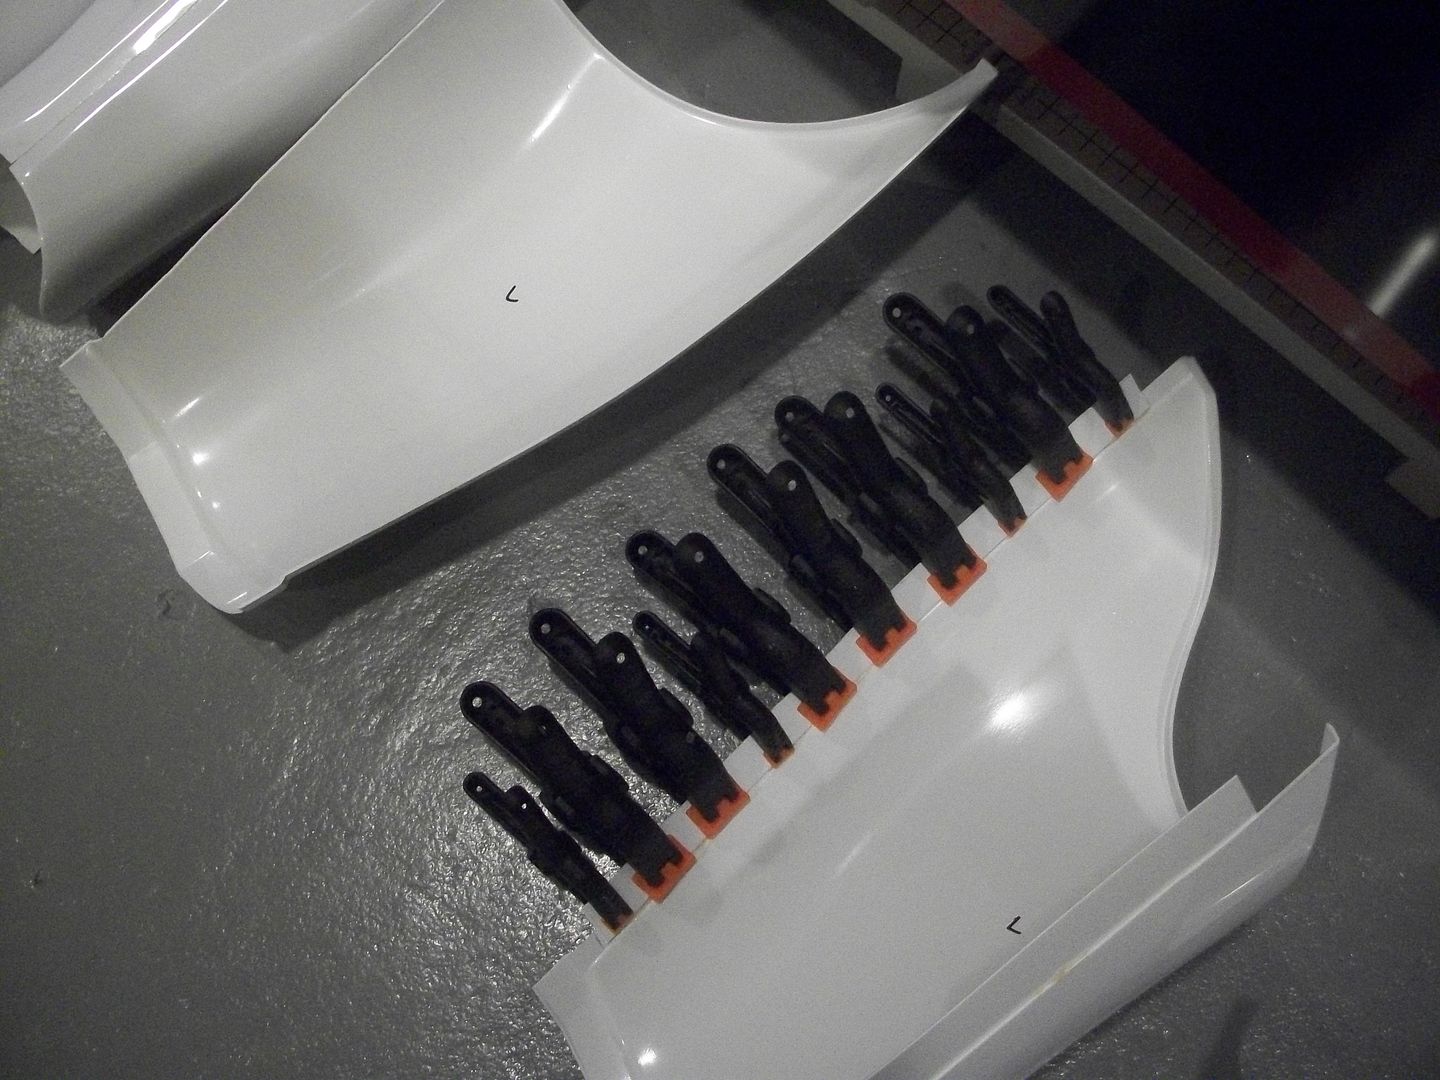
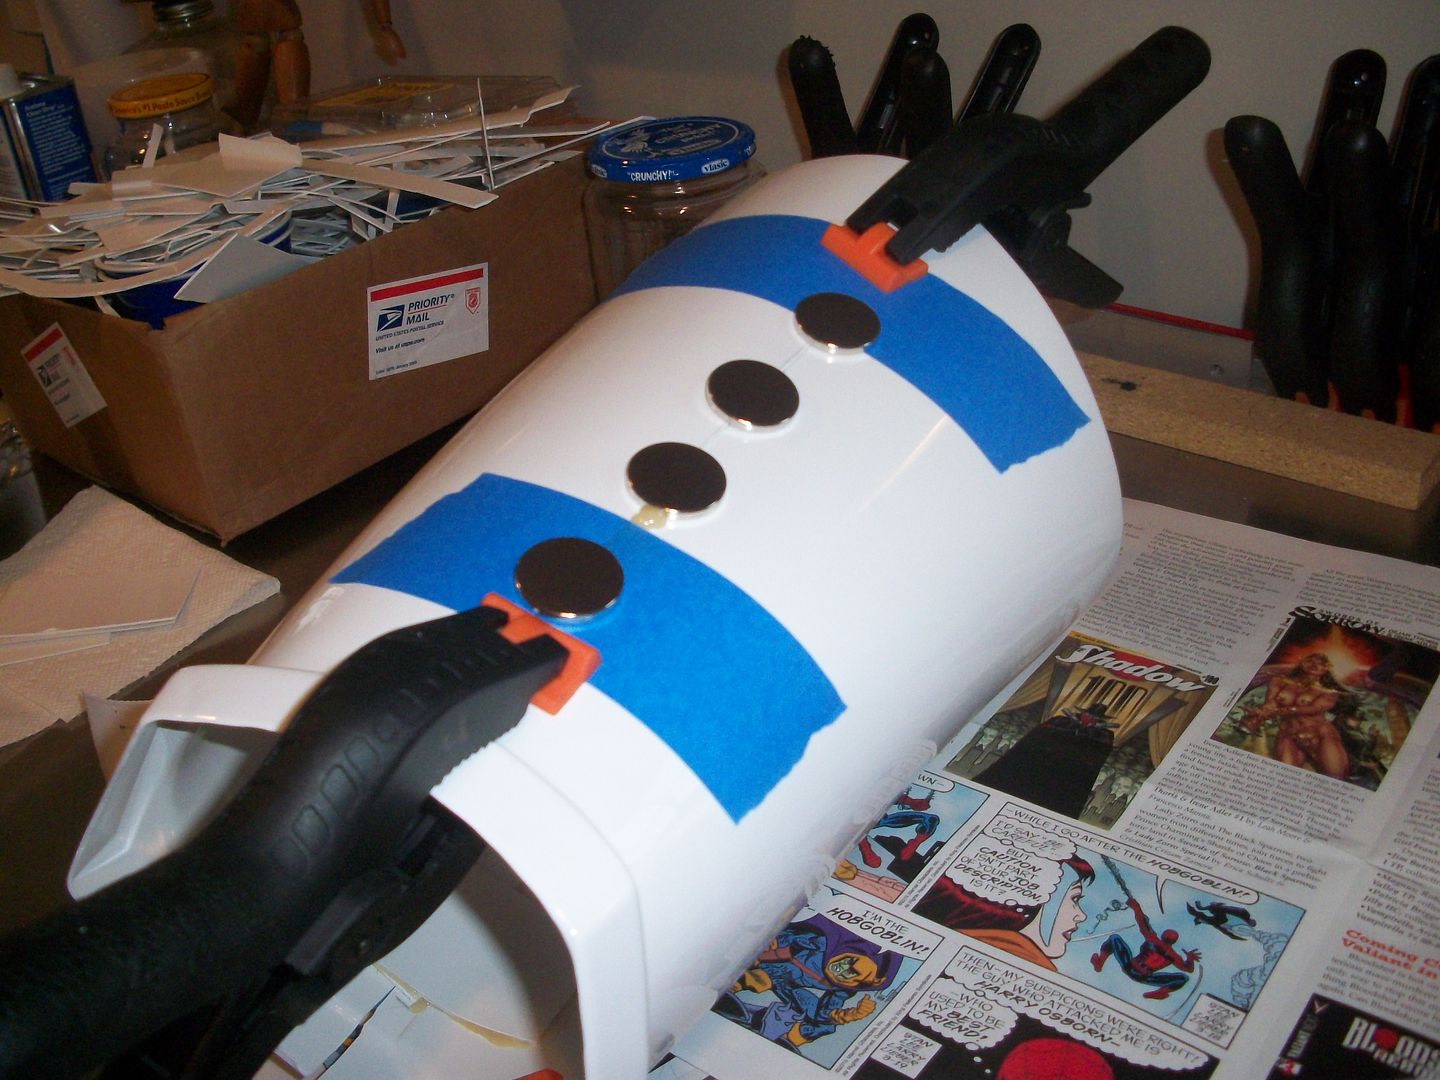
3) Once that dried I lined it all up again, trimmed off the excess glue to the seam would be tight and glued on the other half. It's tricky doing it by yourself, so I had tape lined up already on one side both top and bottom and as I put them together slid it over to hold the pieces in place. Then I adjusted it tighter, put more tape on and used magnets to hold it as it dries.
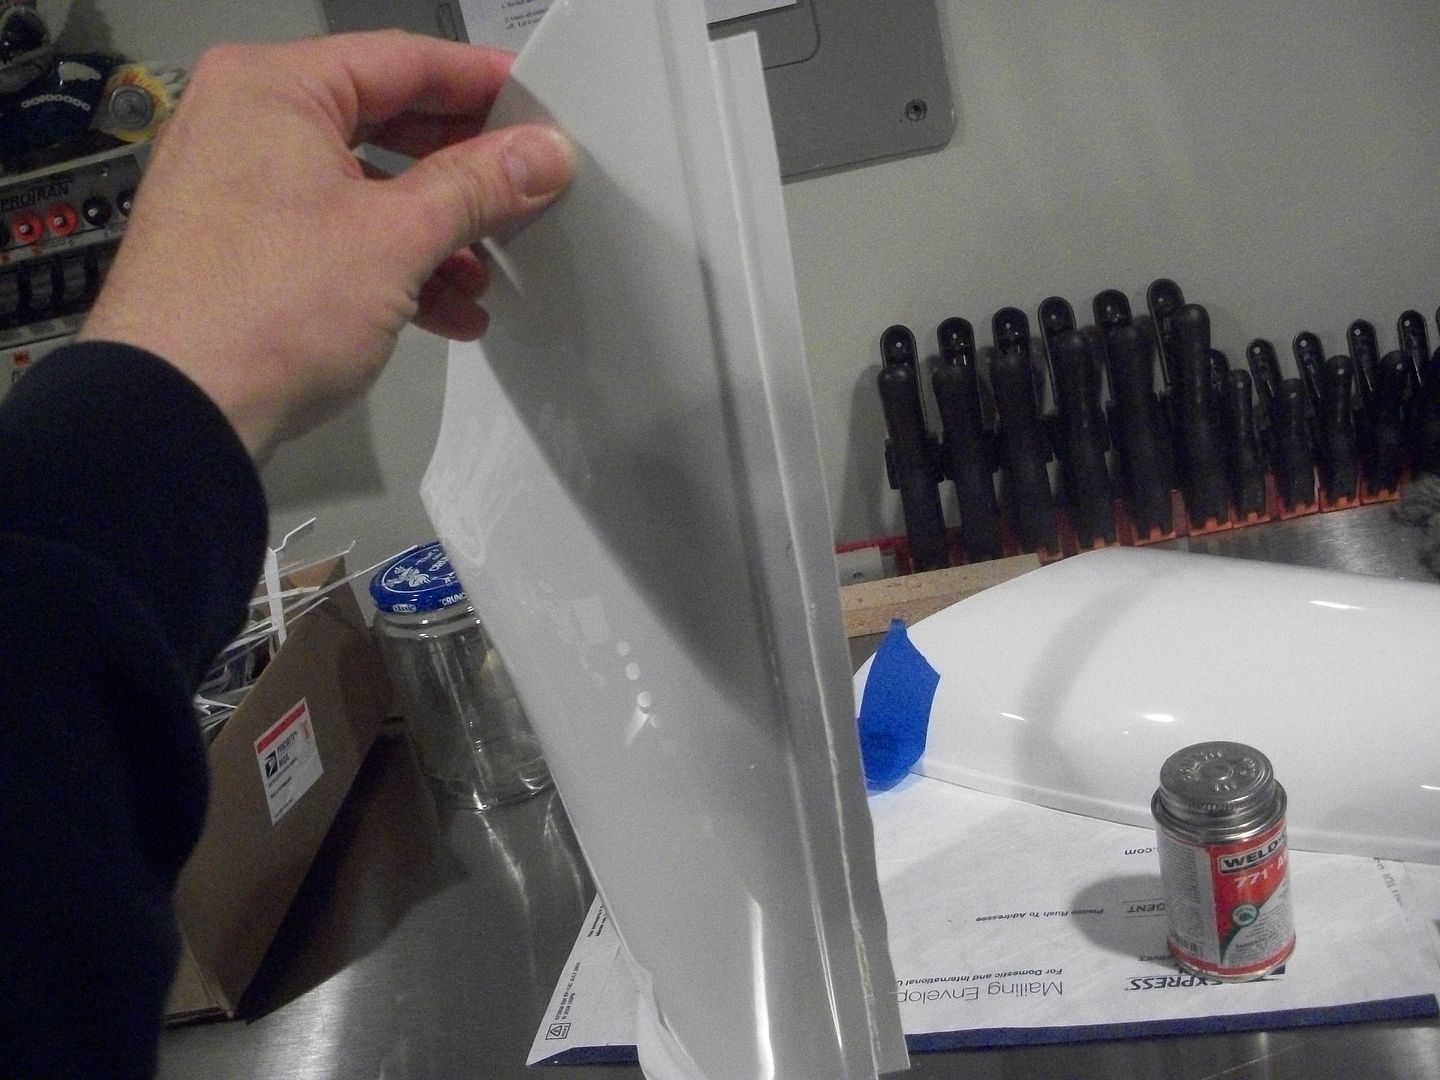
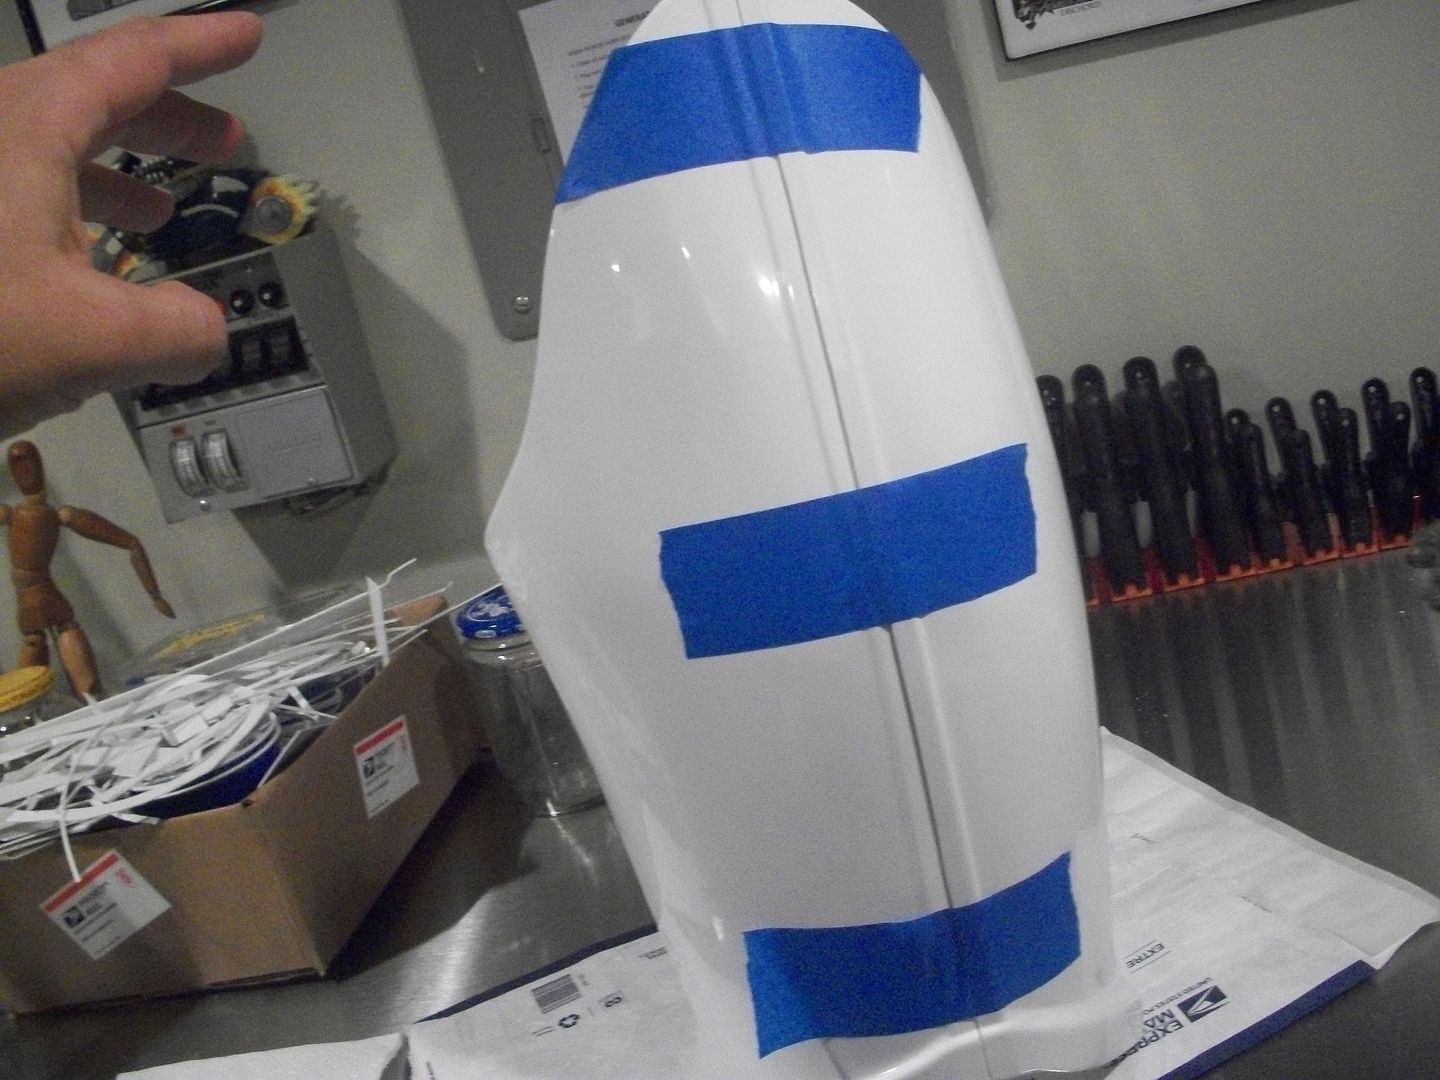
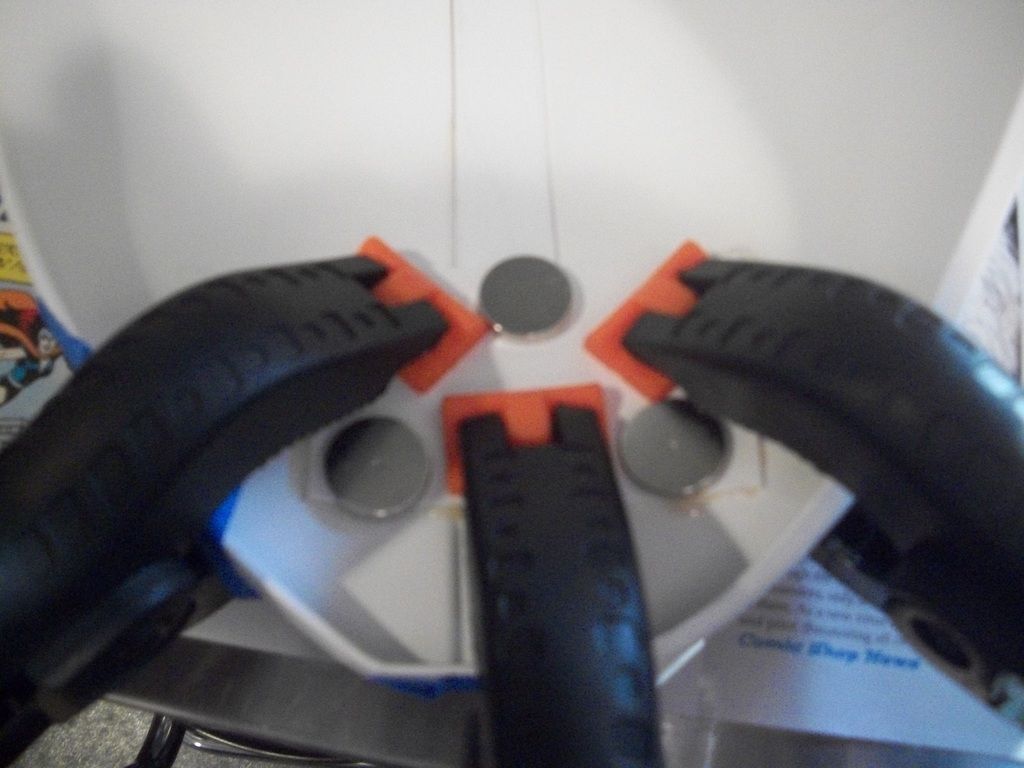
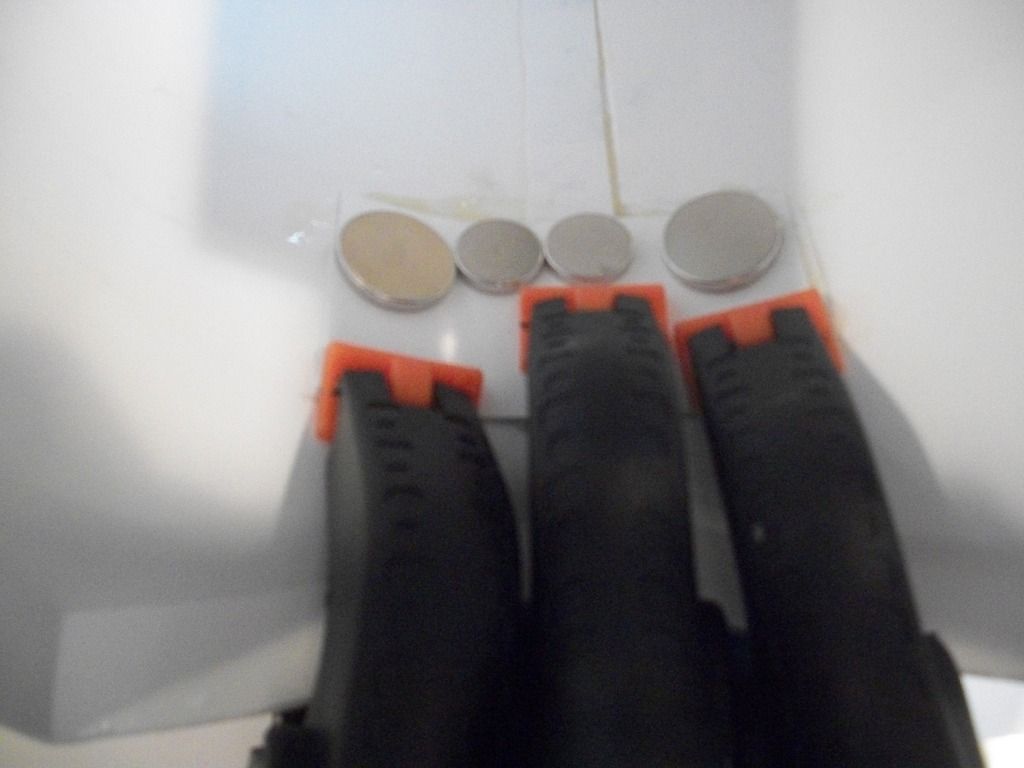
4) I used smaller magnets on the inside, and larger on the outside and used as many as I possibly could without having them all snap together lol. This way the shim will be glued tight in as much space as possible. But the amount of magnets meant I could only do one part a day, which obviously slows me down

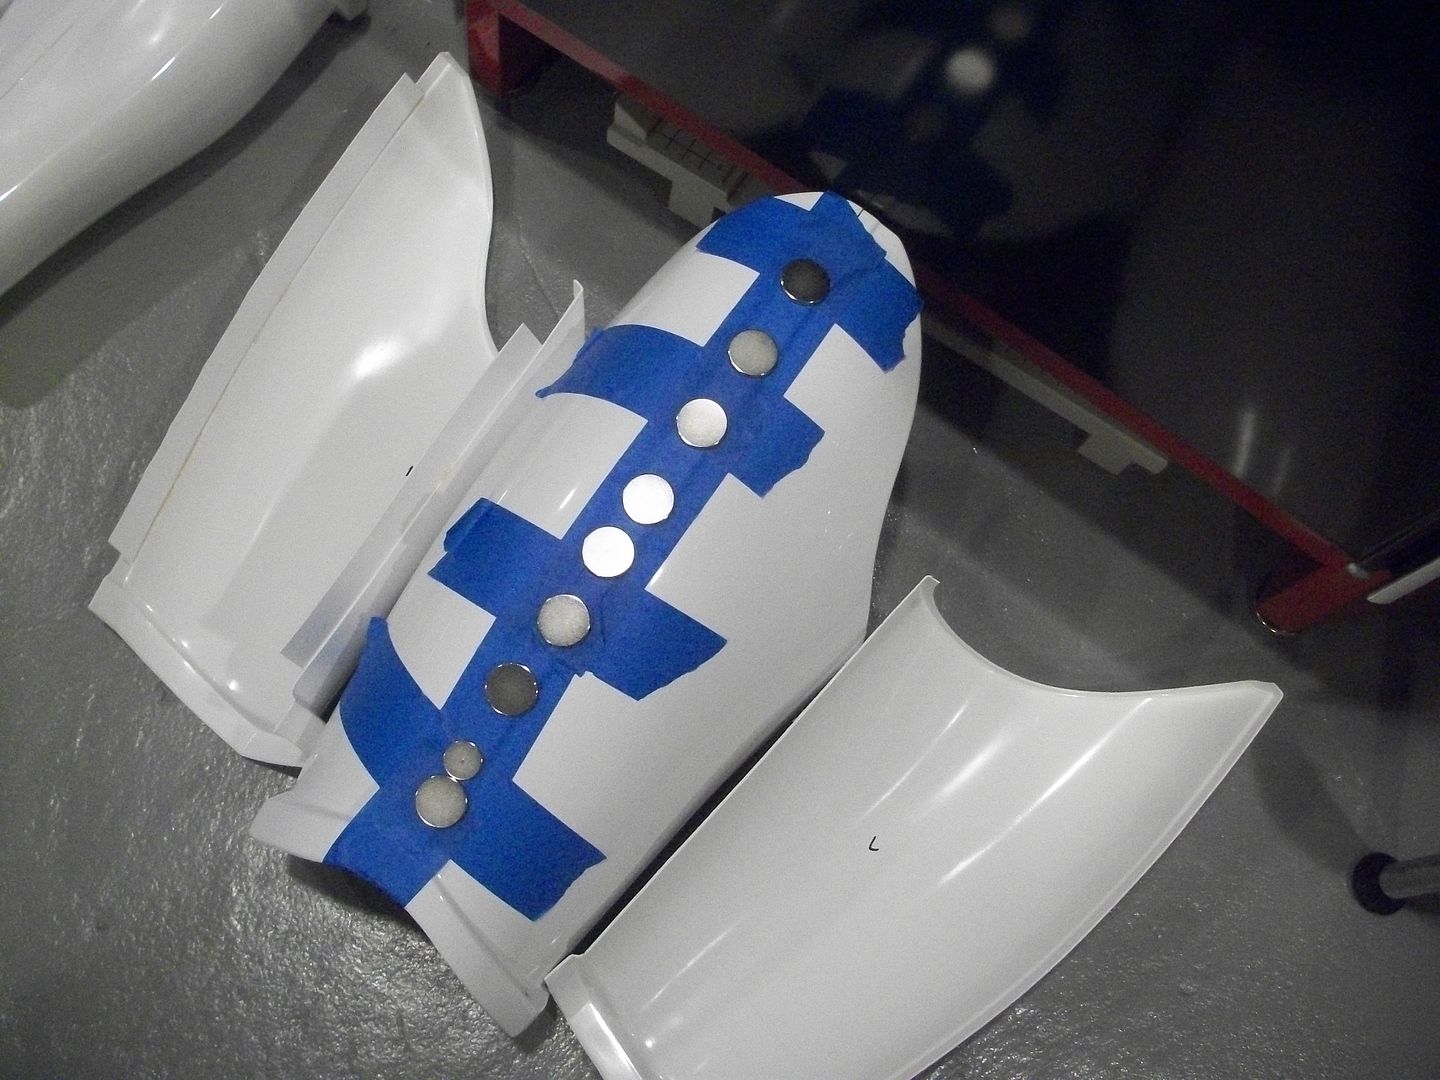
I did the same exact thing for the shins - trimming and sanding for close seam then using 20mm shims inside with tape and magnets to get a good seal.
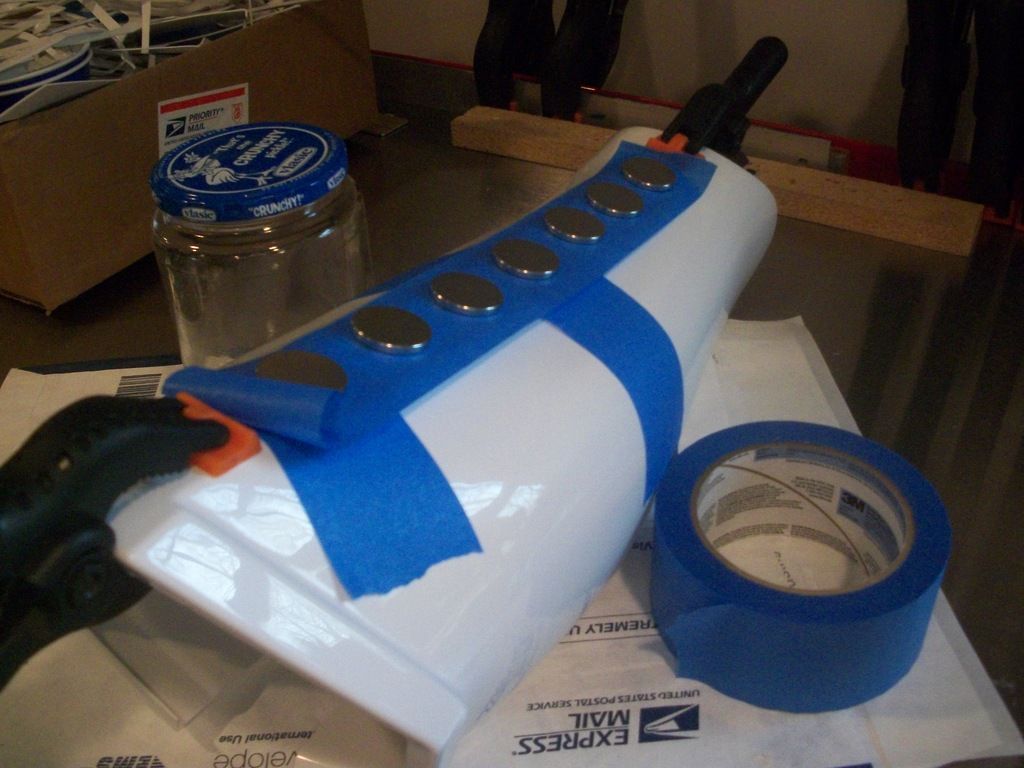
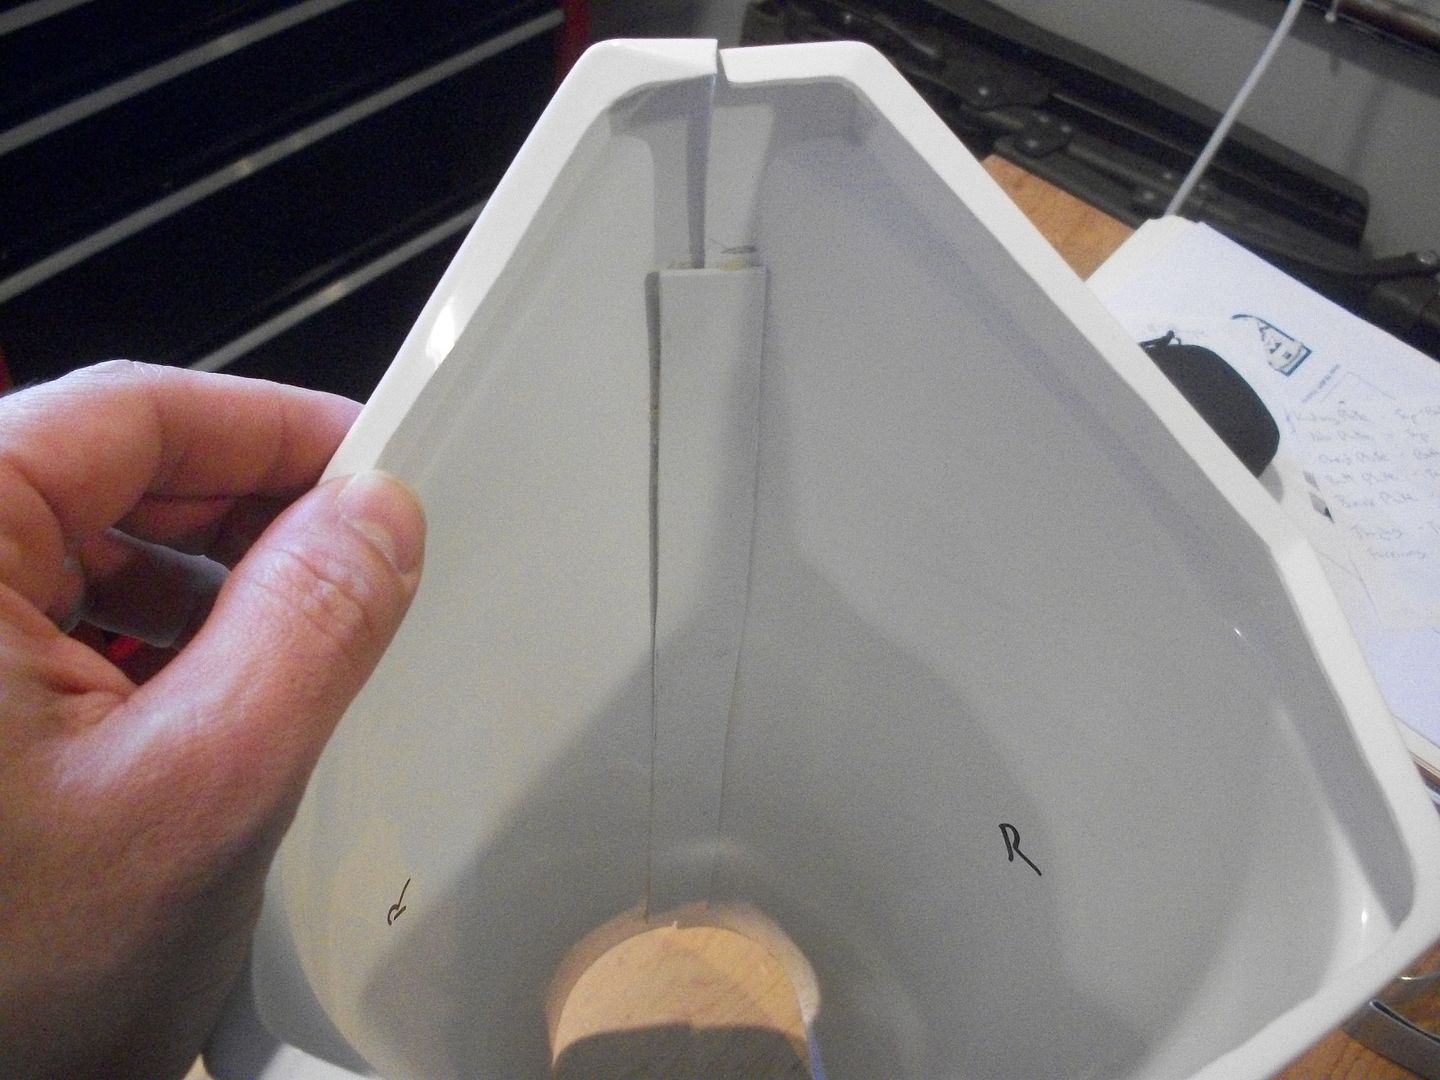
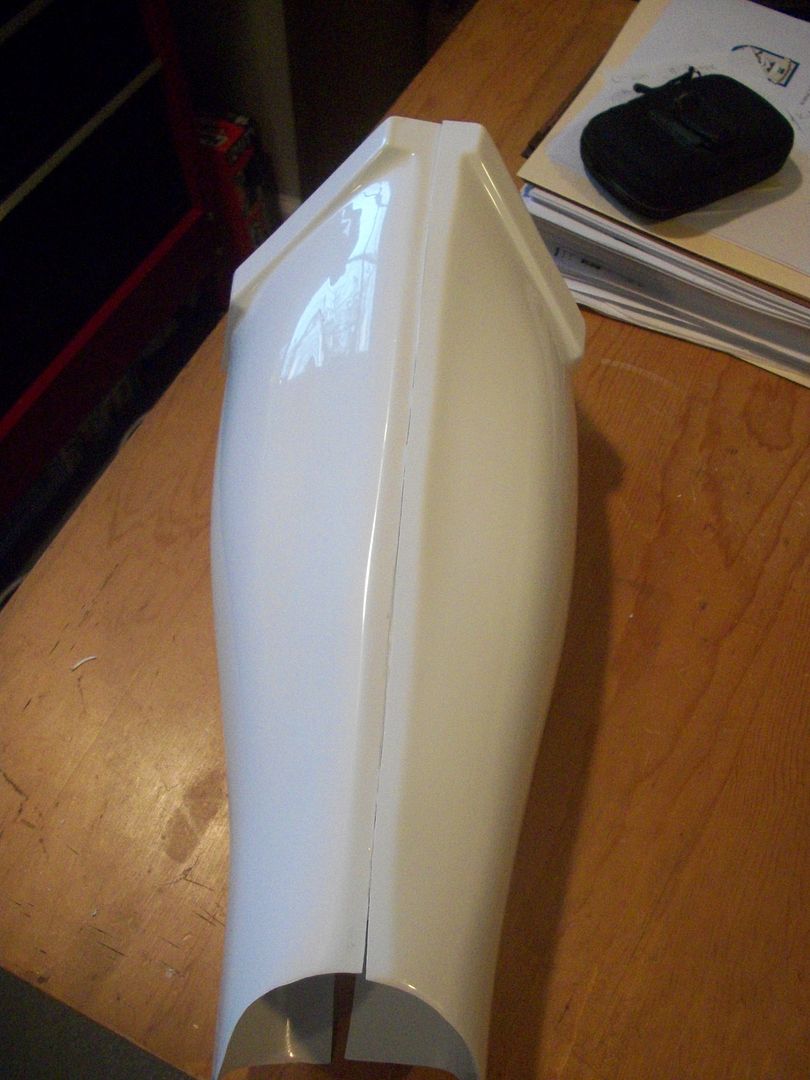
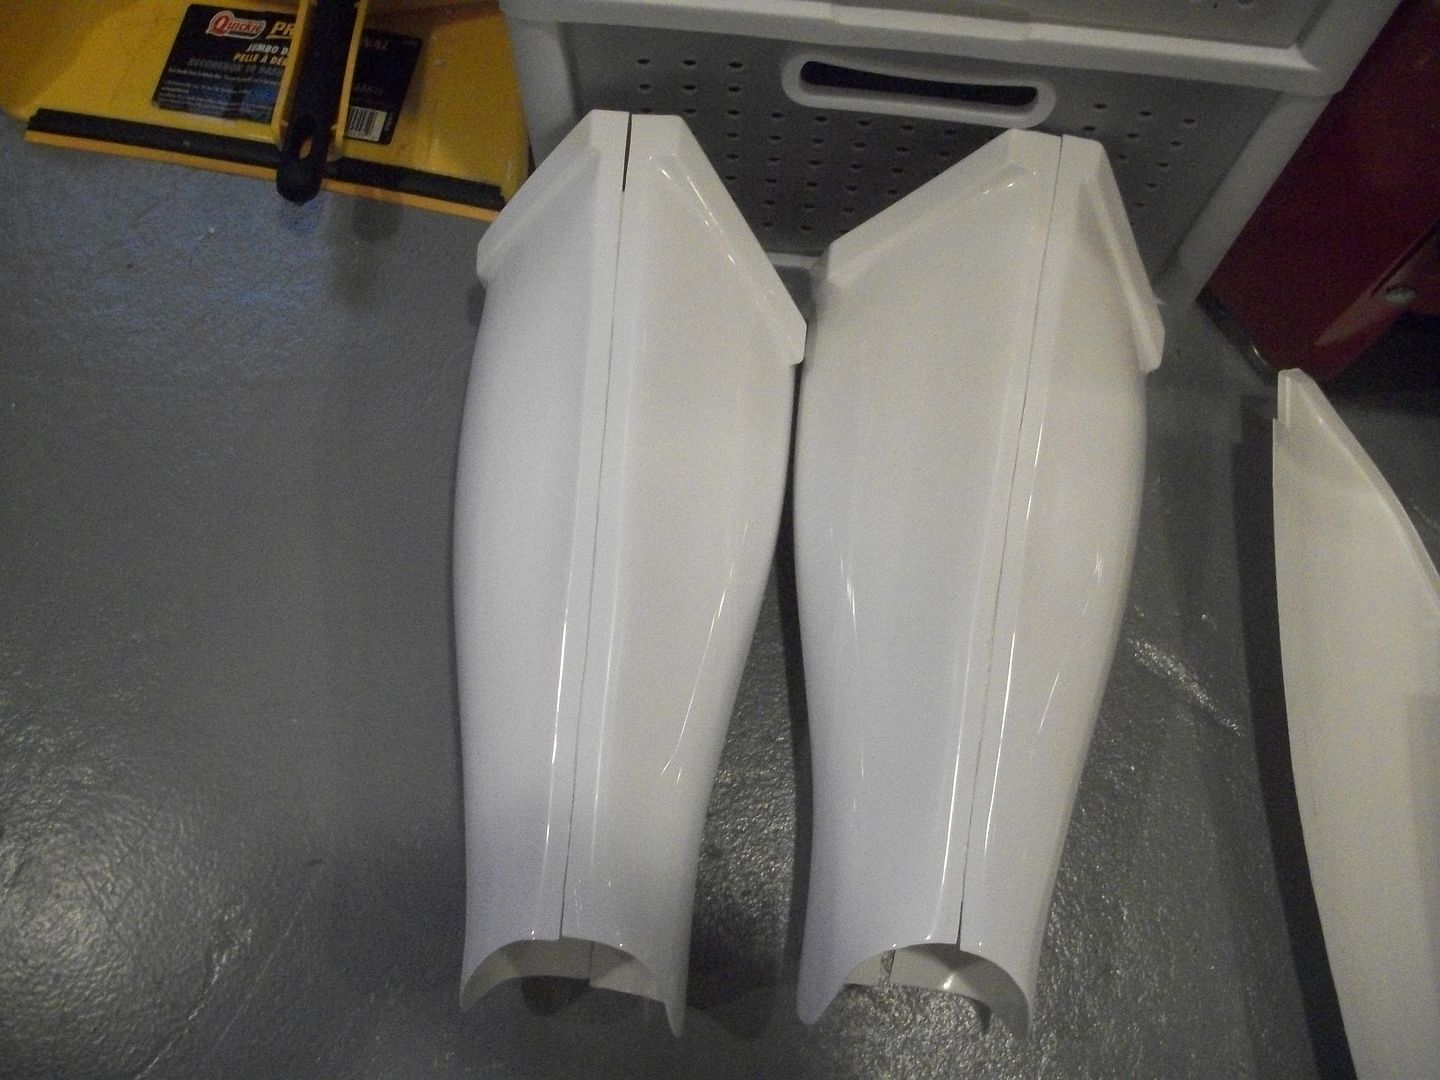
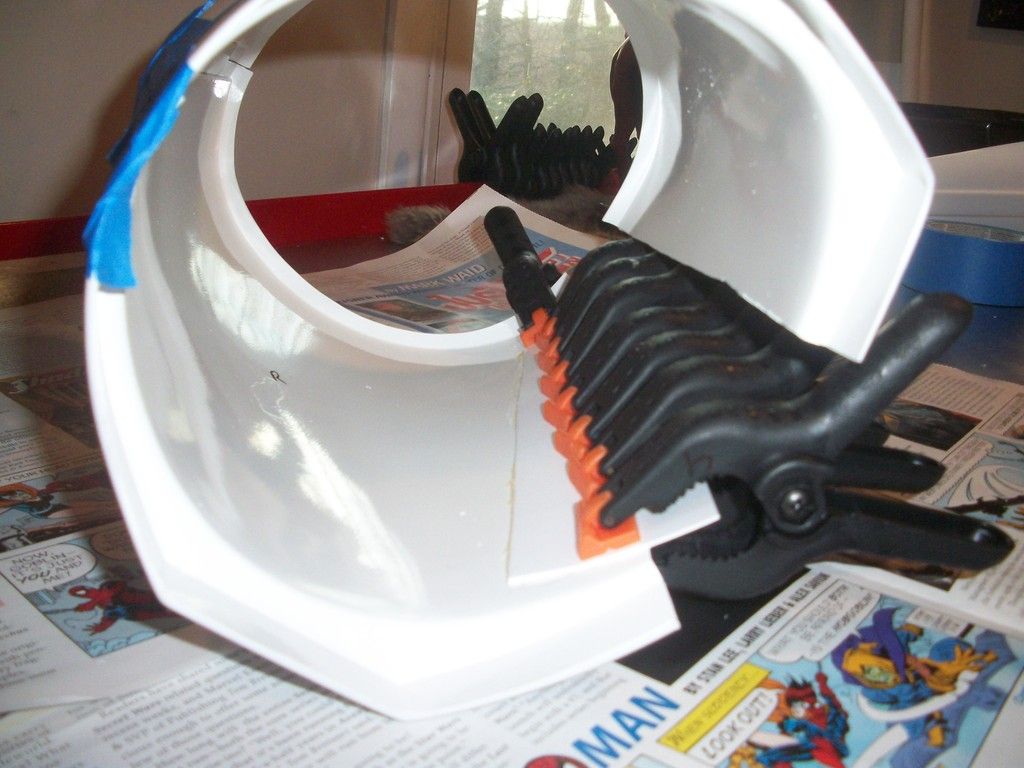
So sometimes we screw up, lol, I actually managed to glue one of the biceps together with the front and back upsidedown!
It's good because it shows how you can easily fix your mistakes. I used an exacto knife to carefully get under the shim and between the armor. Slowly using it to cut the GLUE and not the ARMOR I was able to simply cut the shim off. I cleaned off most of the glue and just redid it

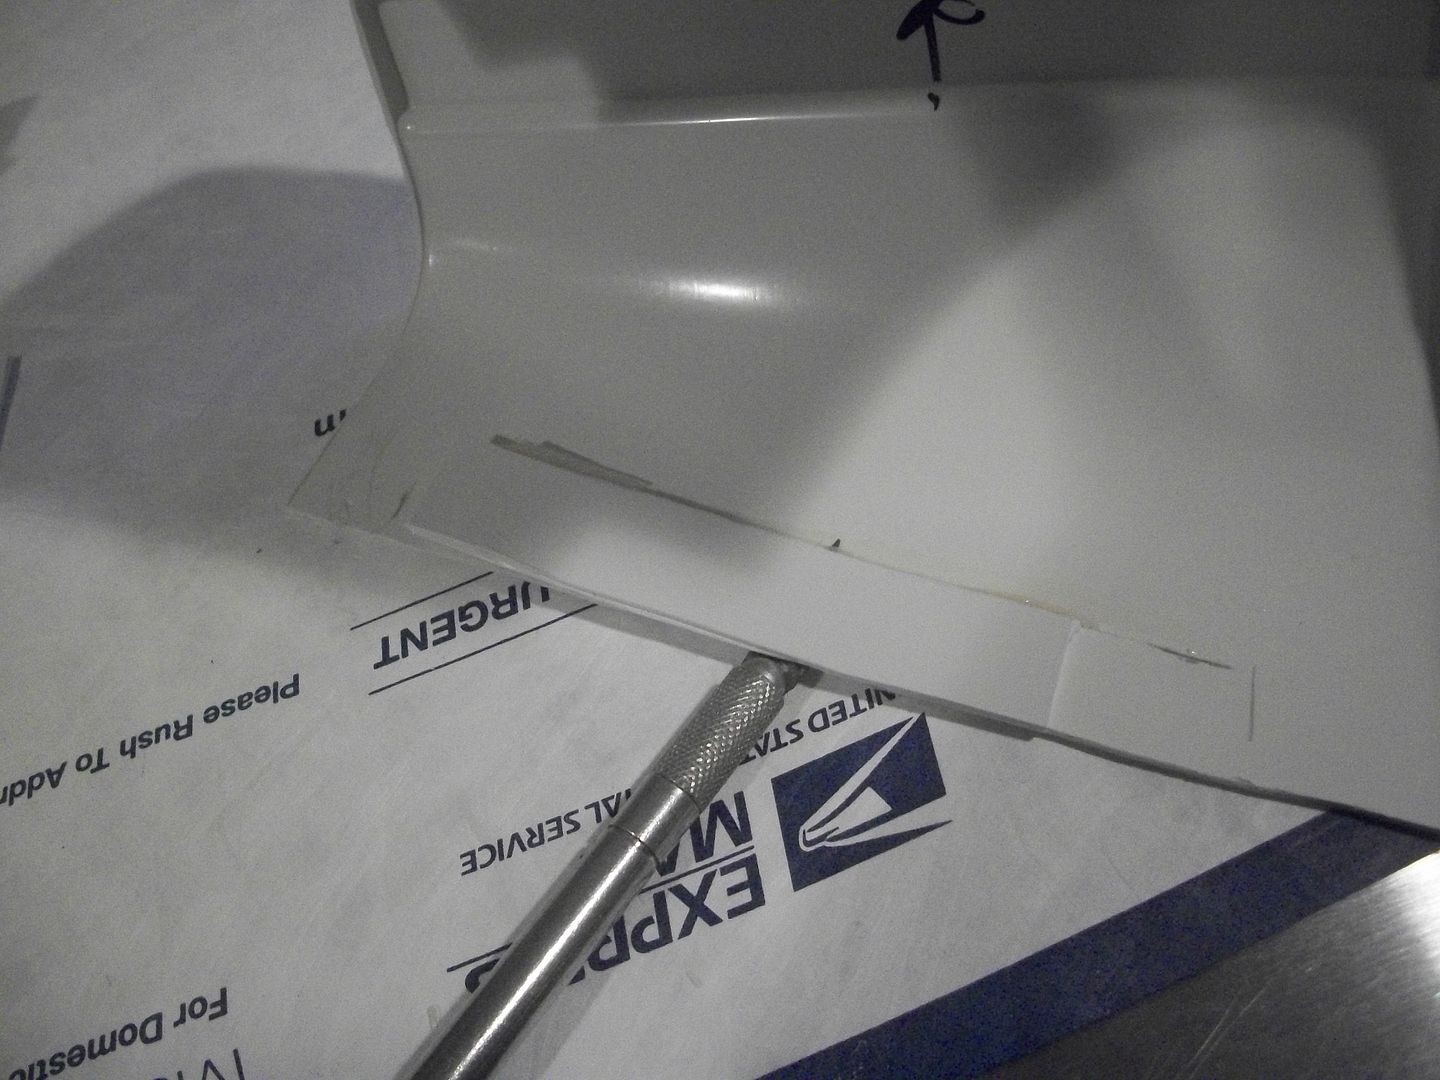
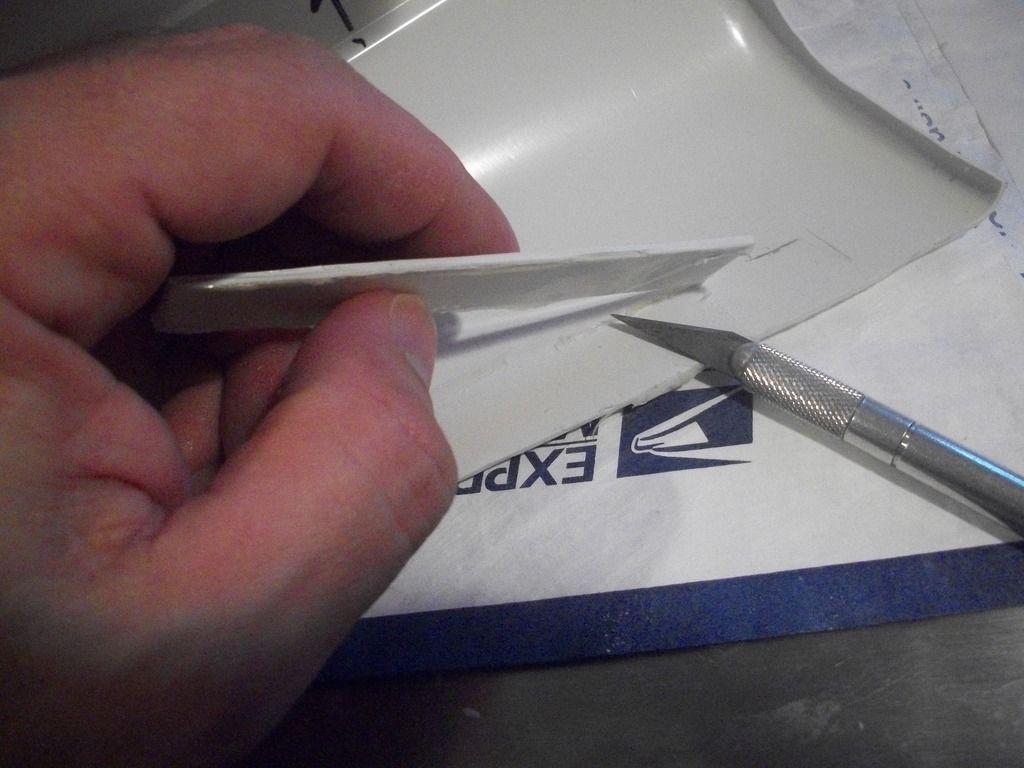
Finishing up on the thighs, to close them up:
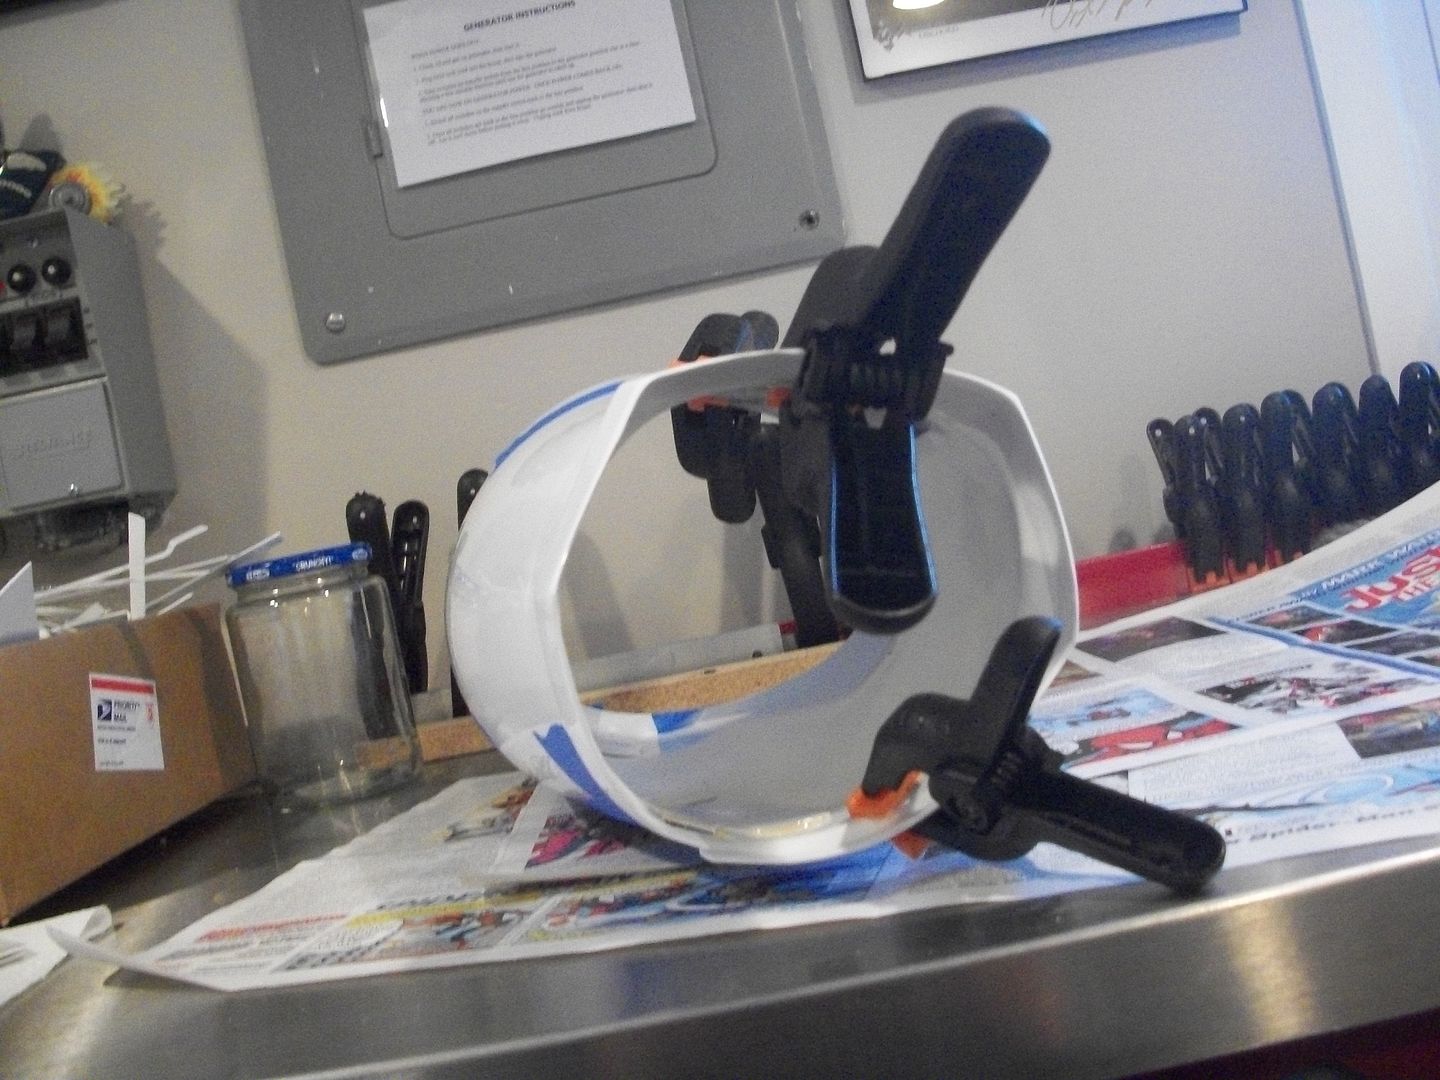
5) As before, glued the shim on one side then closed it up and glued the other with the help of magnets:
6) Finished product so far:
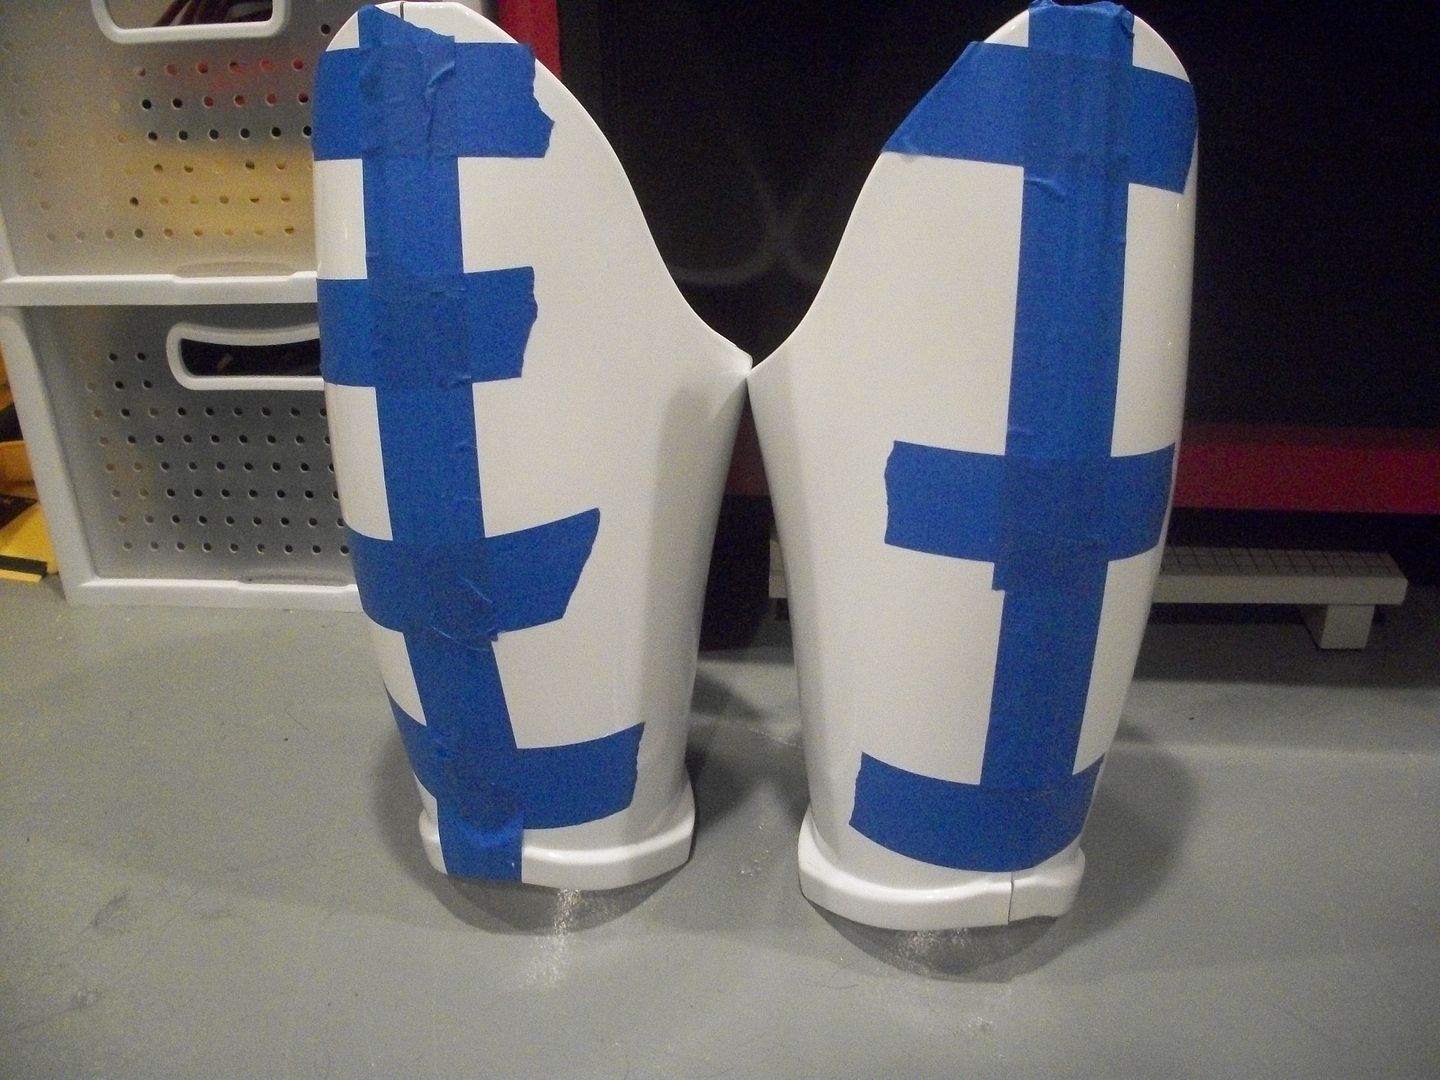
7) For extra support because the shims are smaller I threw in a few small cross squares. Marked them out, put the glue on then held them there with magnets and clamps:
TIME CHECK:
Thighs and Shins: Cutting off the return edges, lining them up, cutting them to seam, sanding them with a dremel and attaching first shim = 2 hours.
-
Next up legs!
Thighs are pretty easy to figure out.
Right
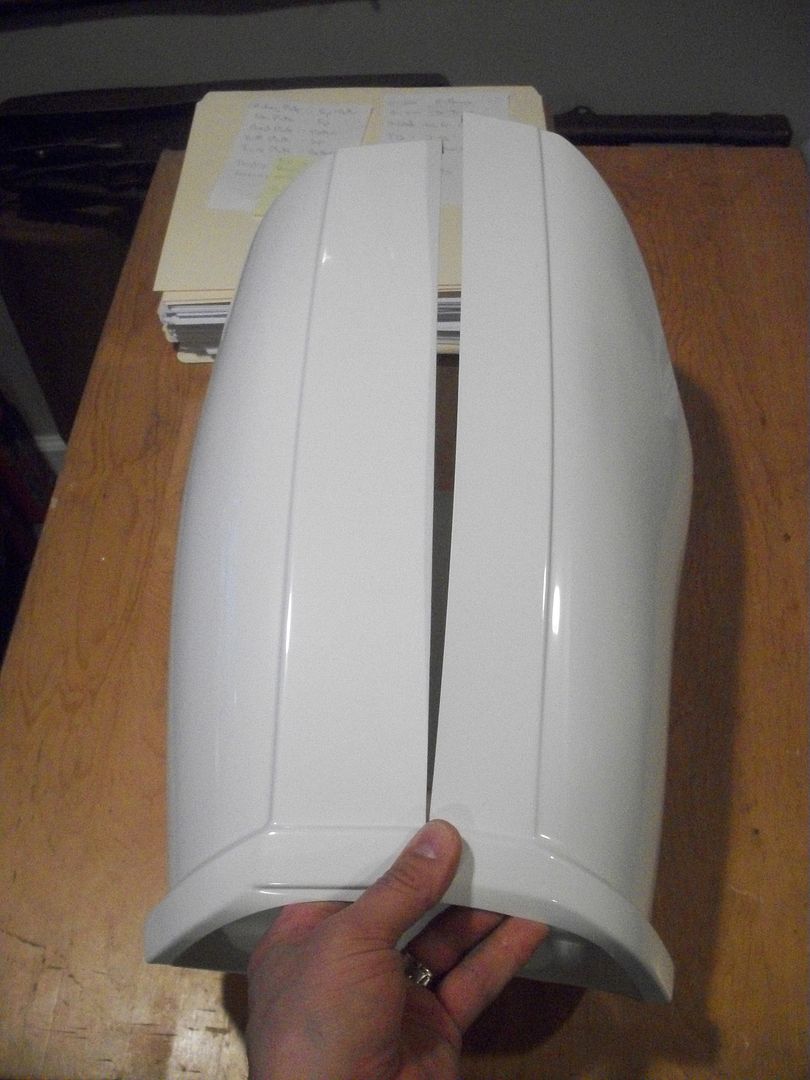
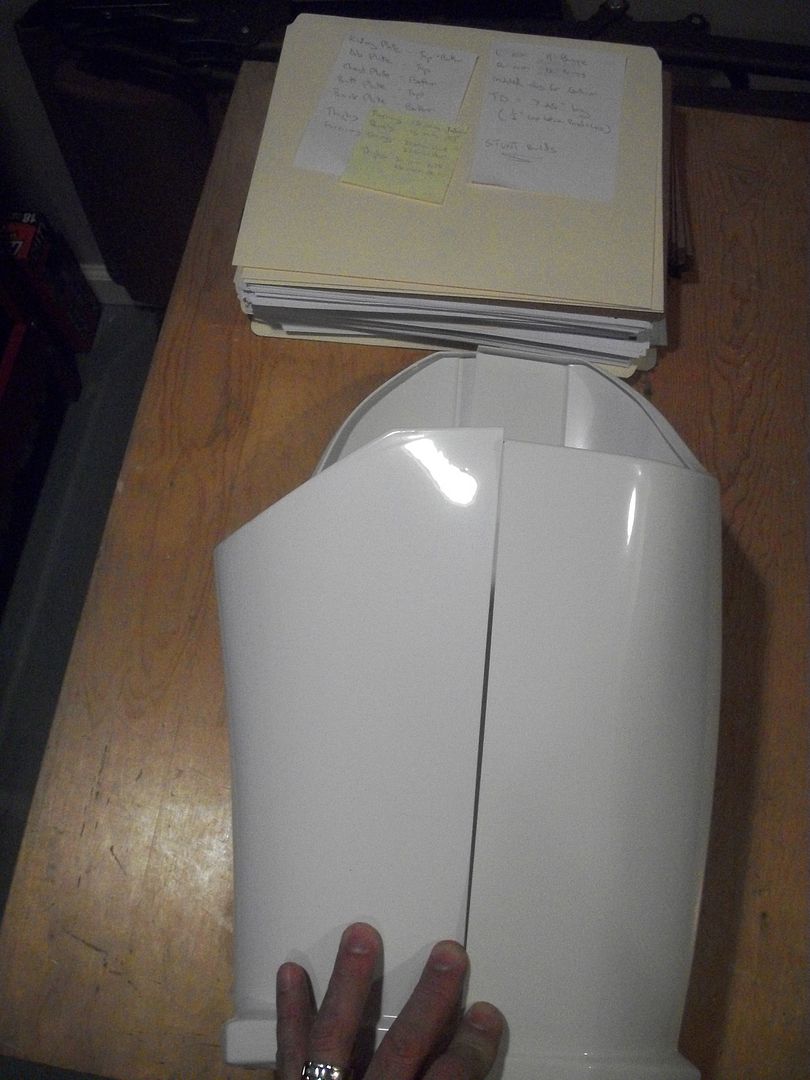
Left
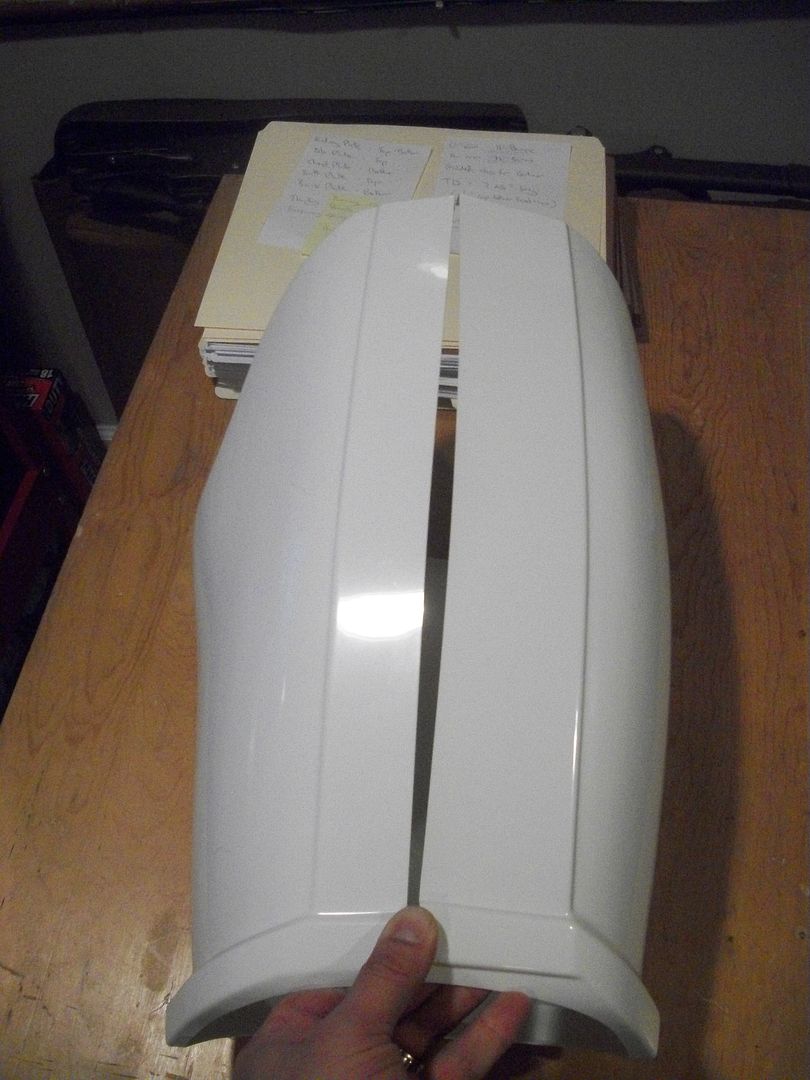
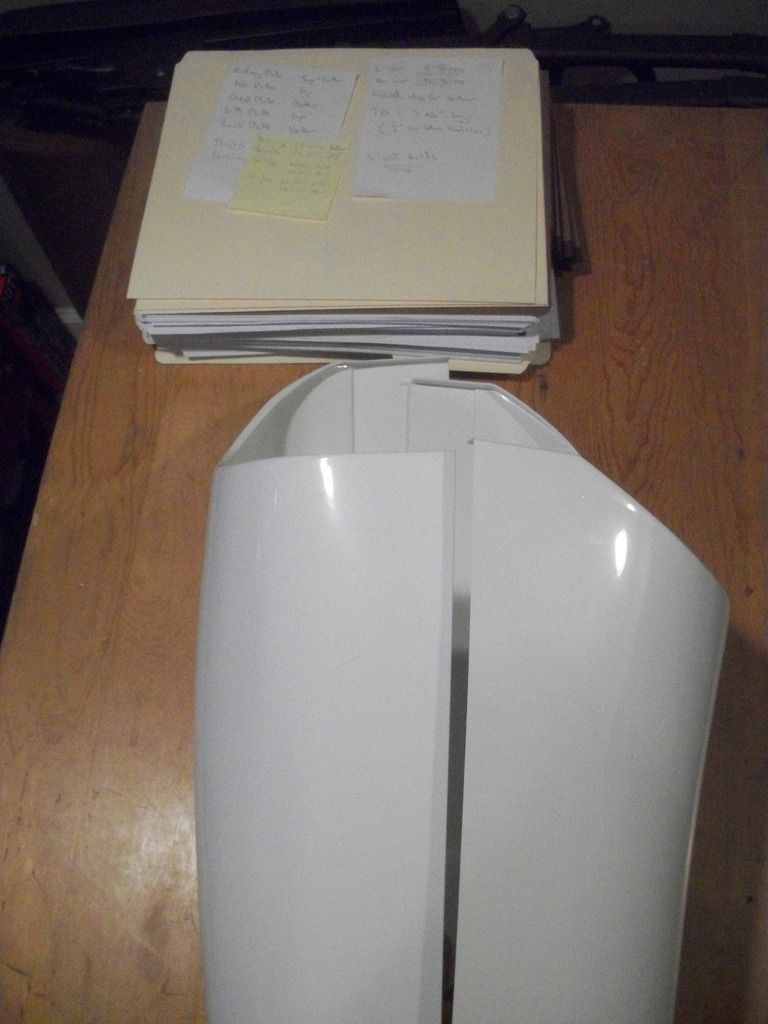
Again we have the return edges. For this I did the following:
Kept the return edge:
- Thighs upper both front and back
- Shins upper both front and back
Cut off the return edge:
- Thighs bottom both front and back
- Shins bottom both front and back
Now even though I have some of these return edges most likely I'll be trimming parts off because realistically certain areas will really cut into me. But for now I have them on. I did trim then down a little.
1) Cut them all rough with tin snips
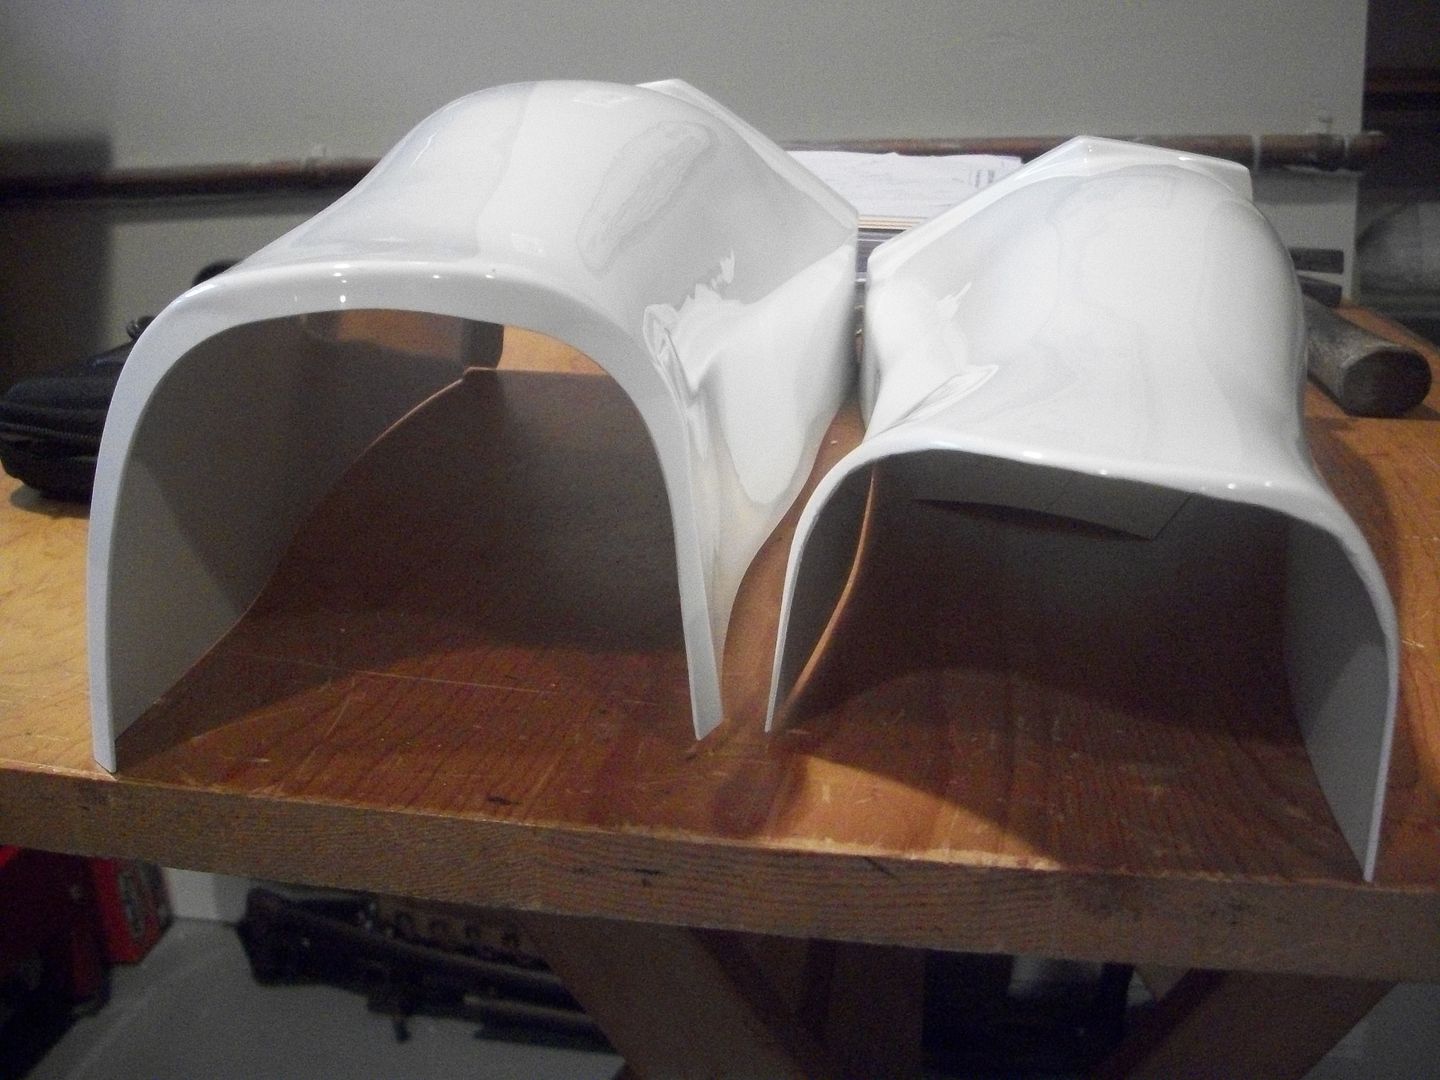
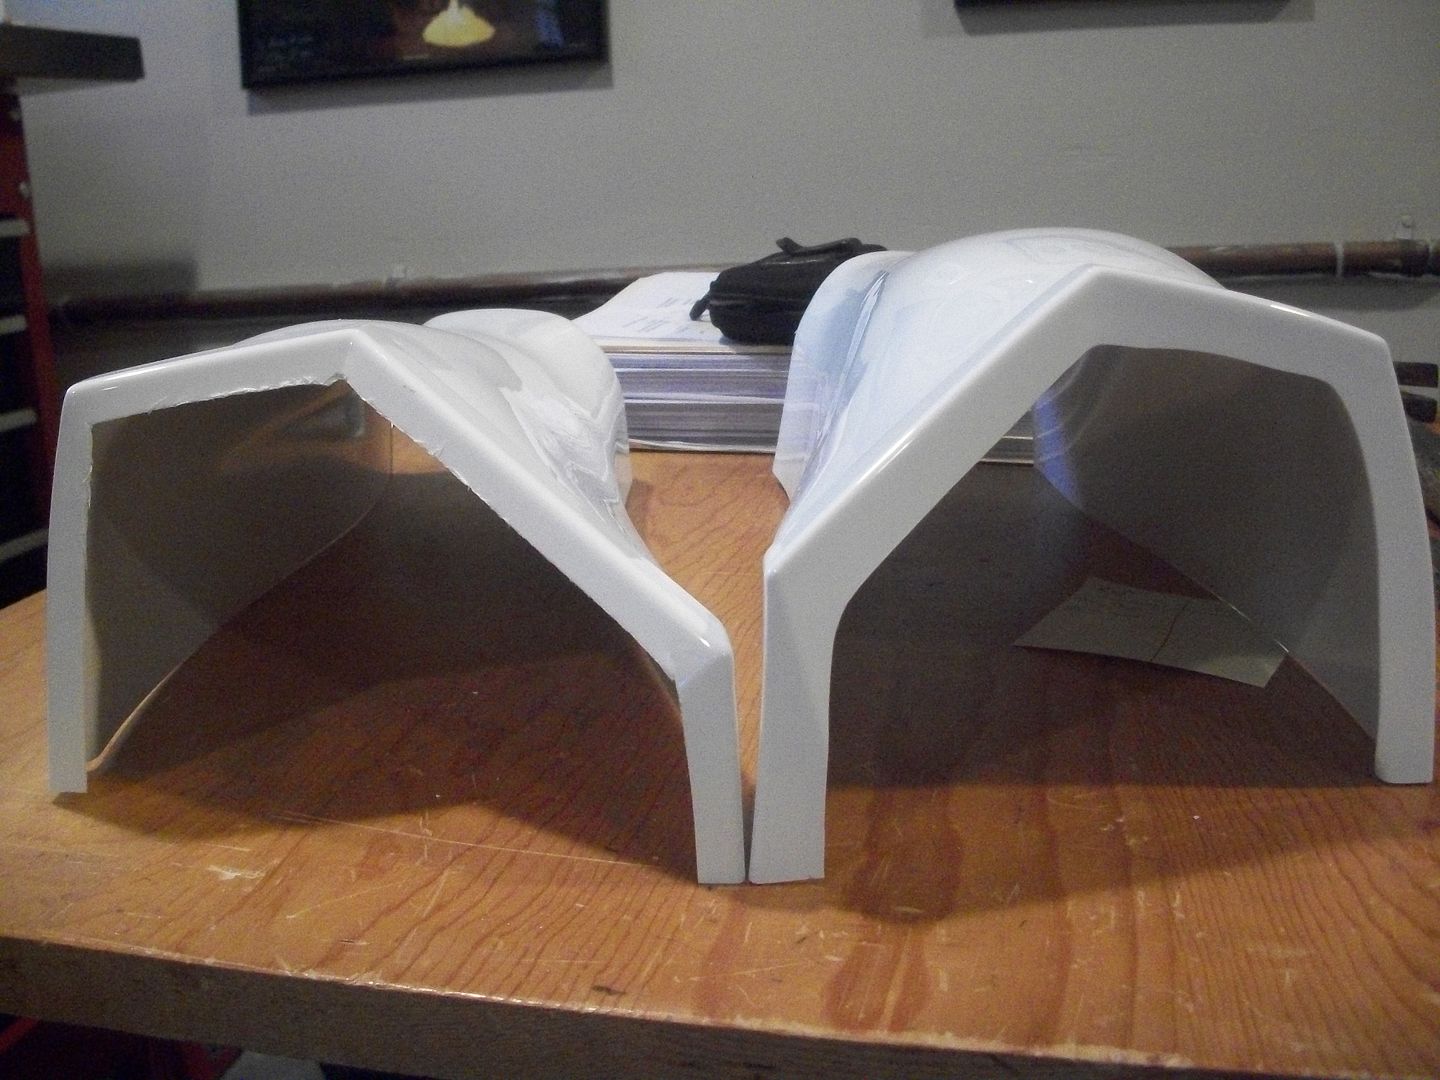
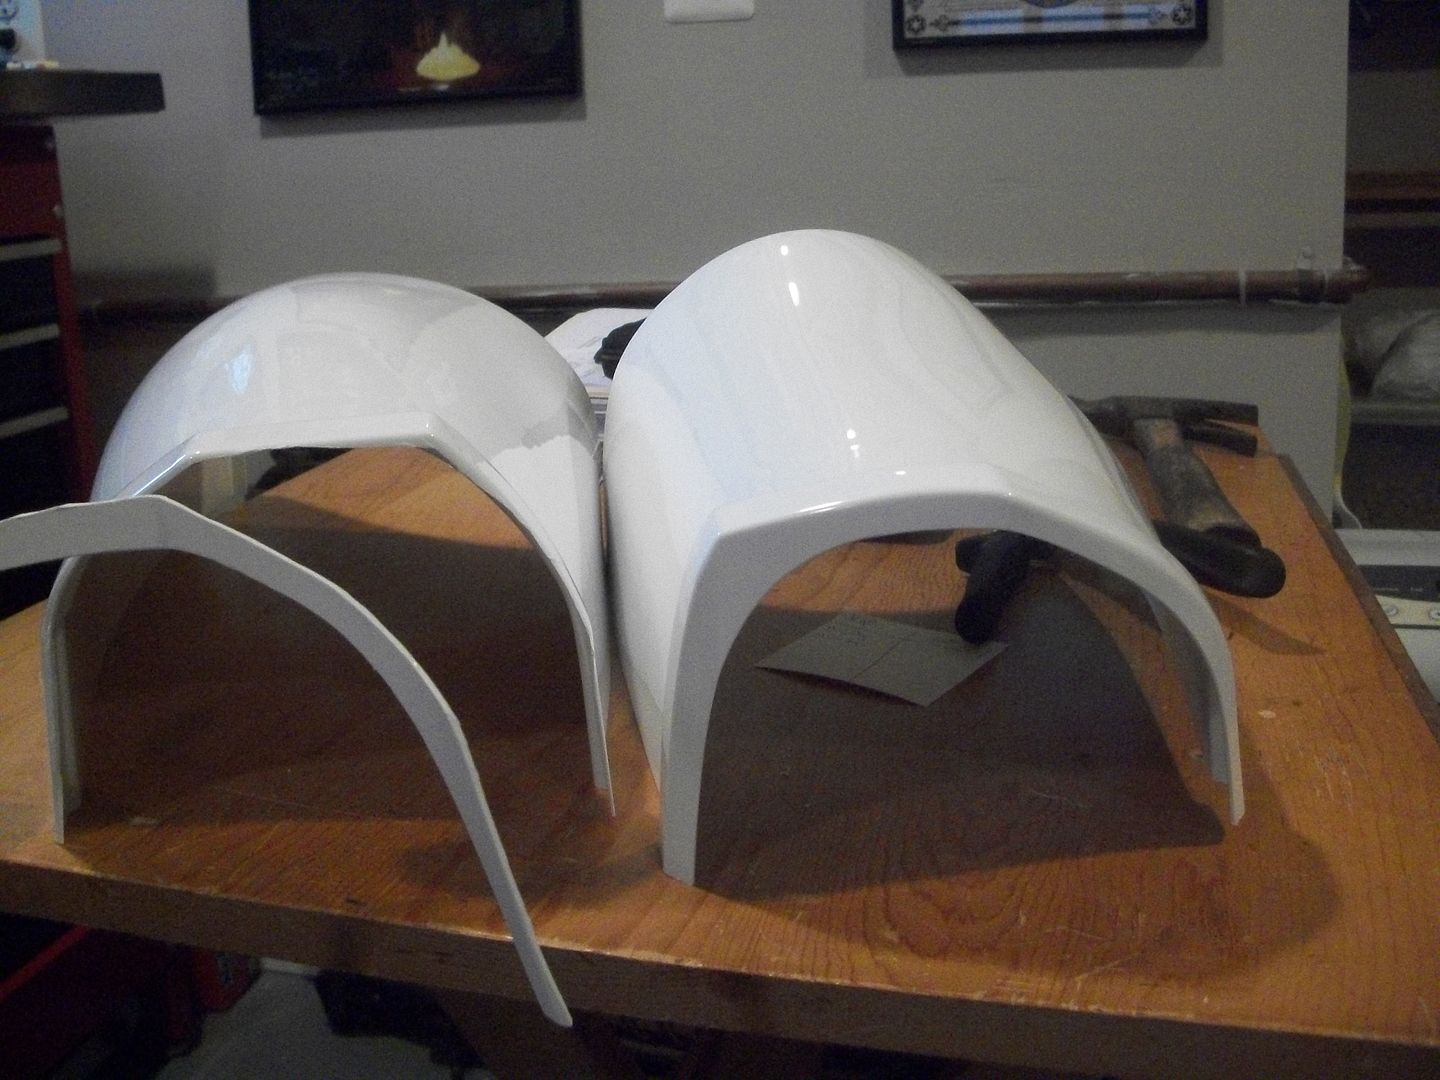
2) Now to line them up. This will be done the same way as I did the arms. But the front thighs have a "flap" of sorts, with lots of extra plastic.
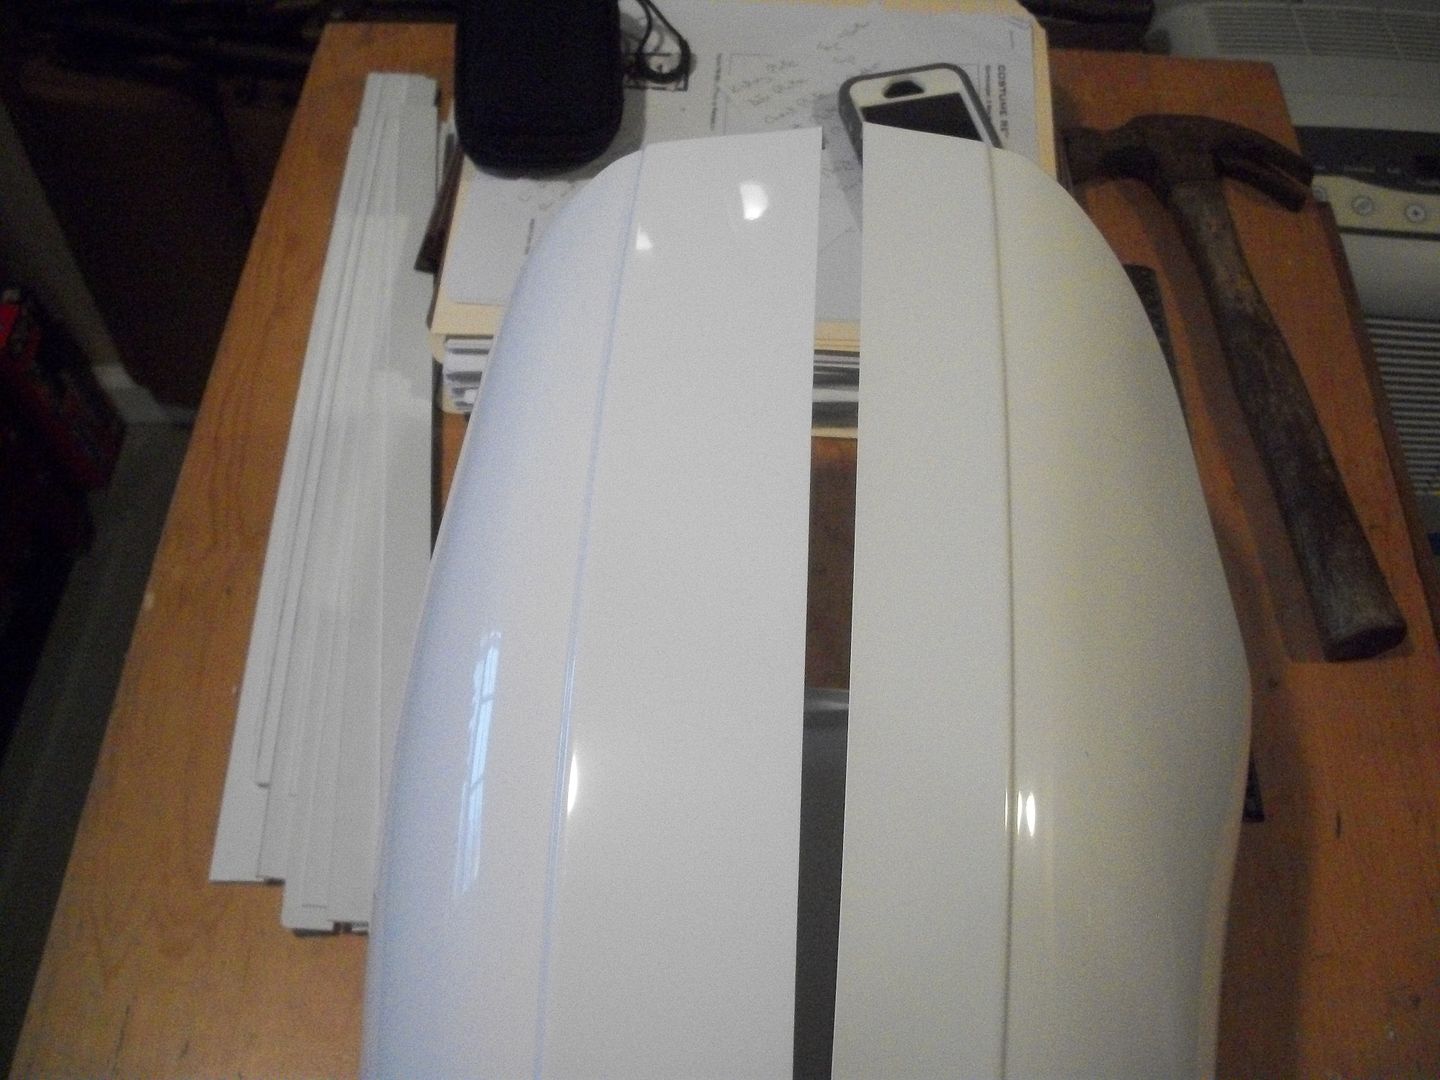
3) The cover strip will be 20mm long for front of thighs. So the bump should ultimately only be that big. To make it even I measure 10mm from each respective edge then make a line and cut off the excess.
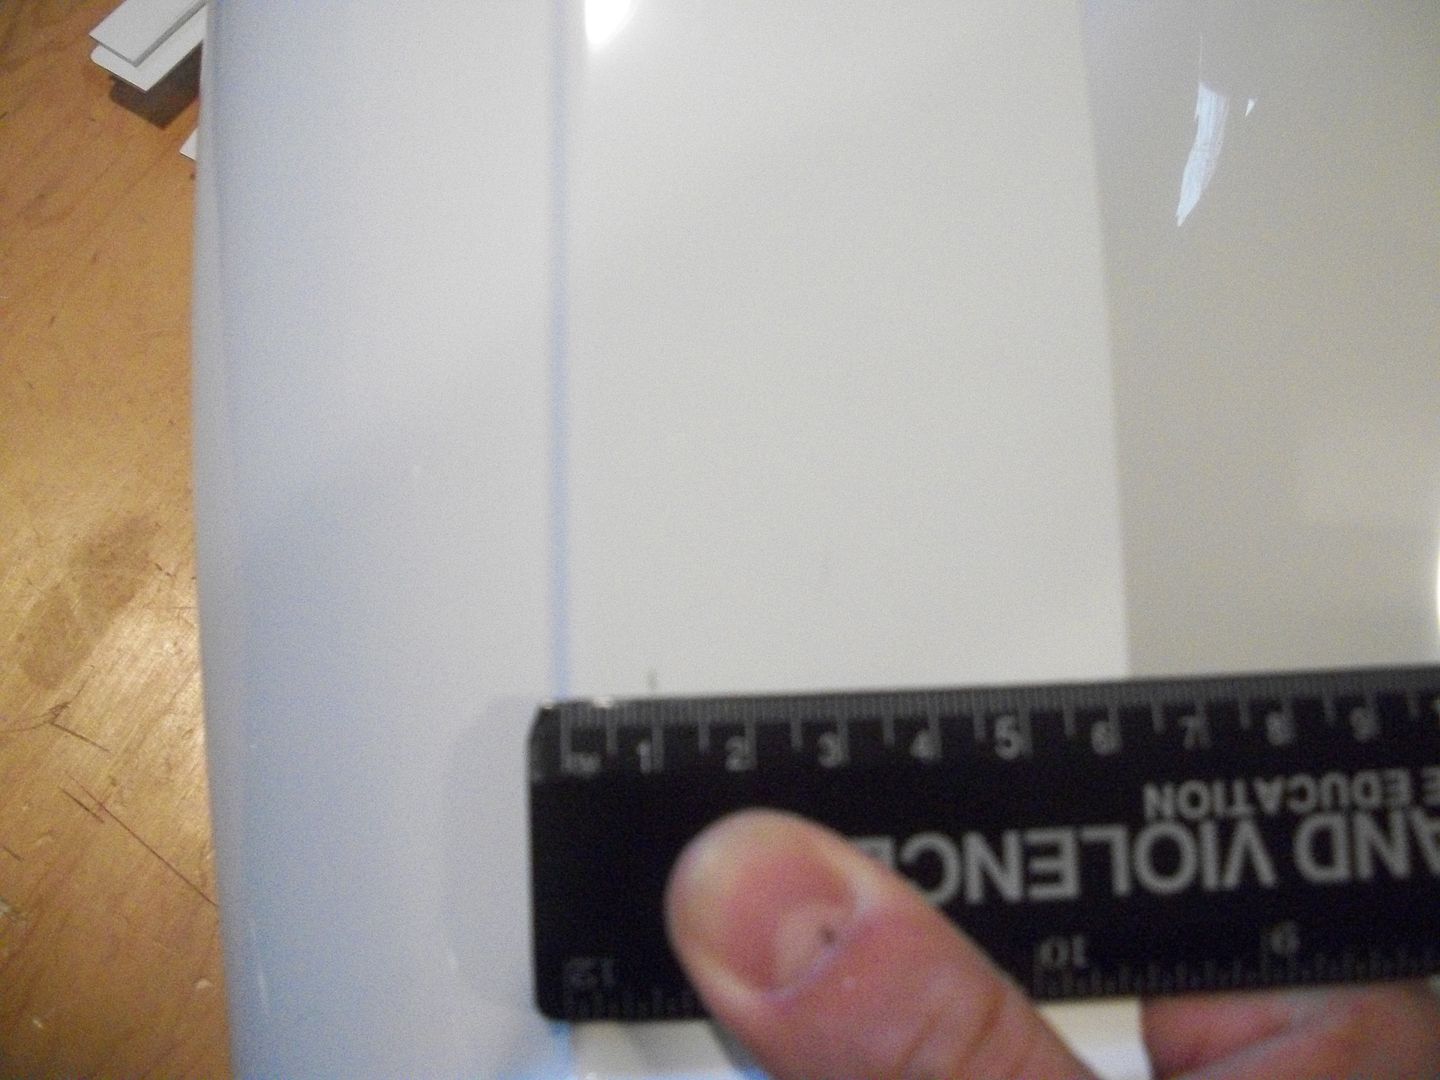
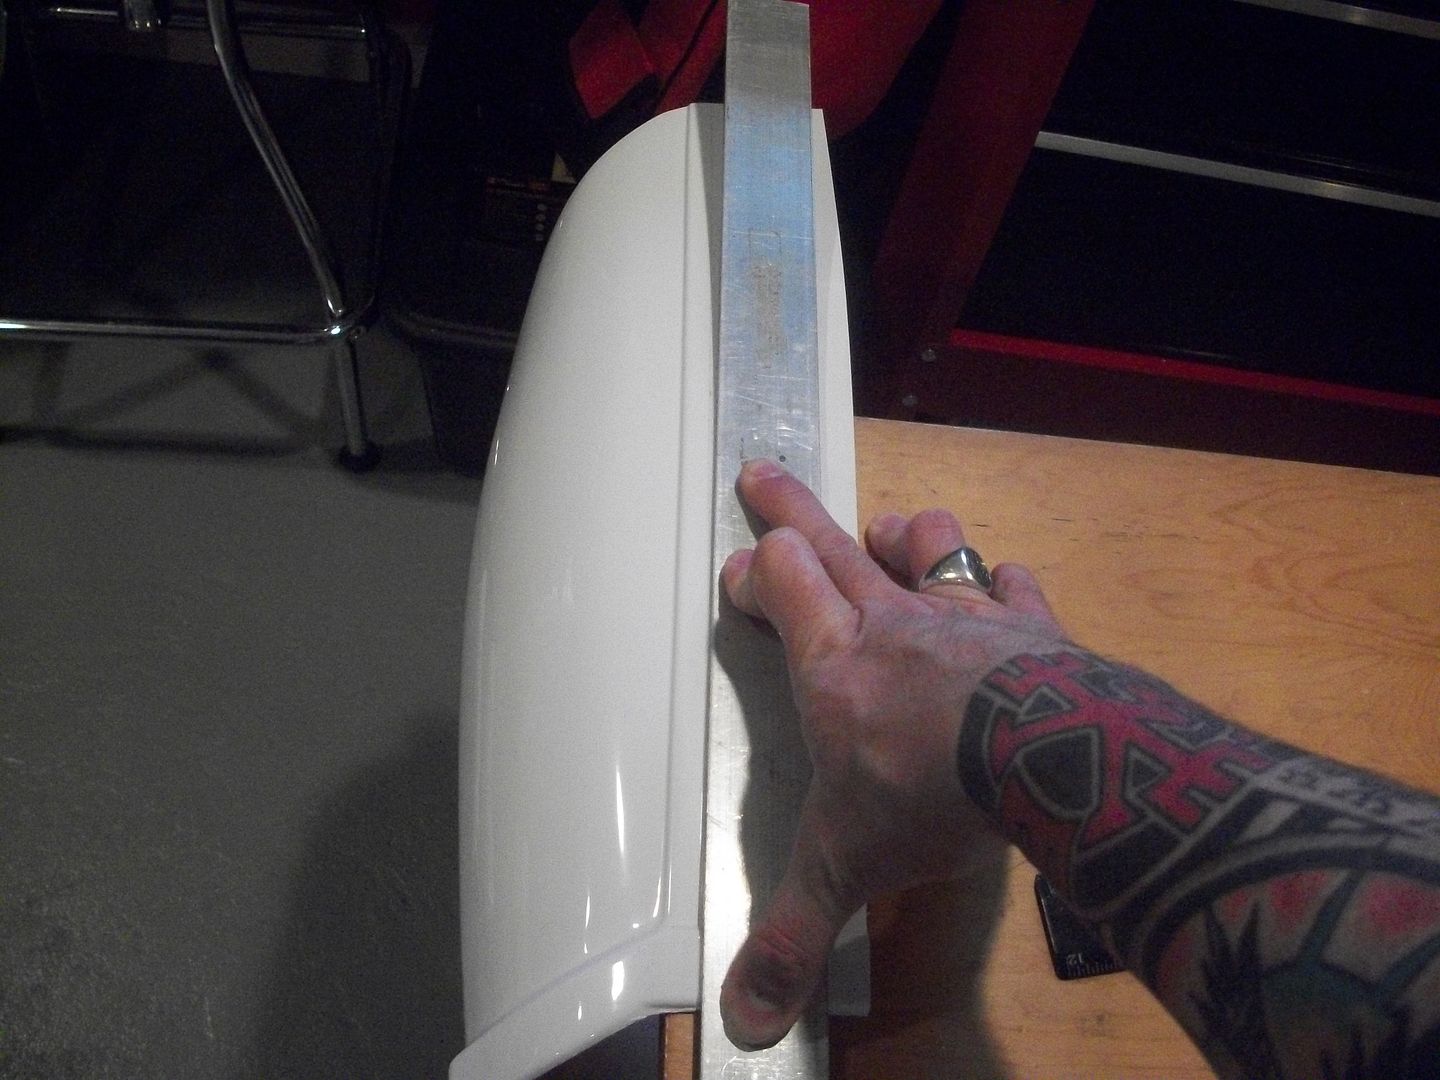
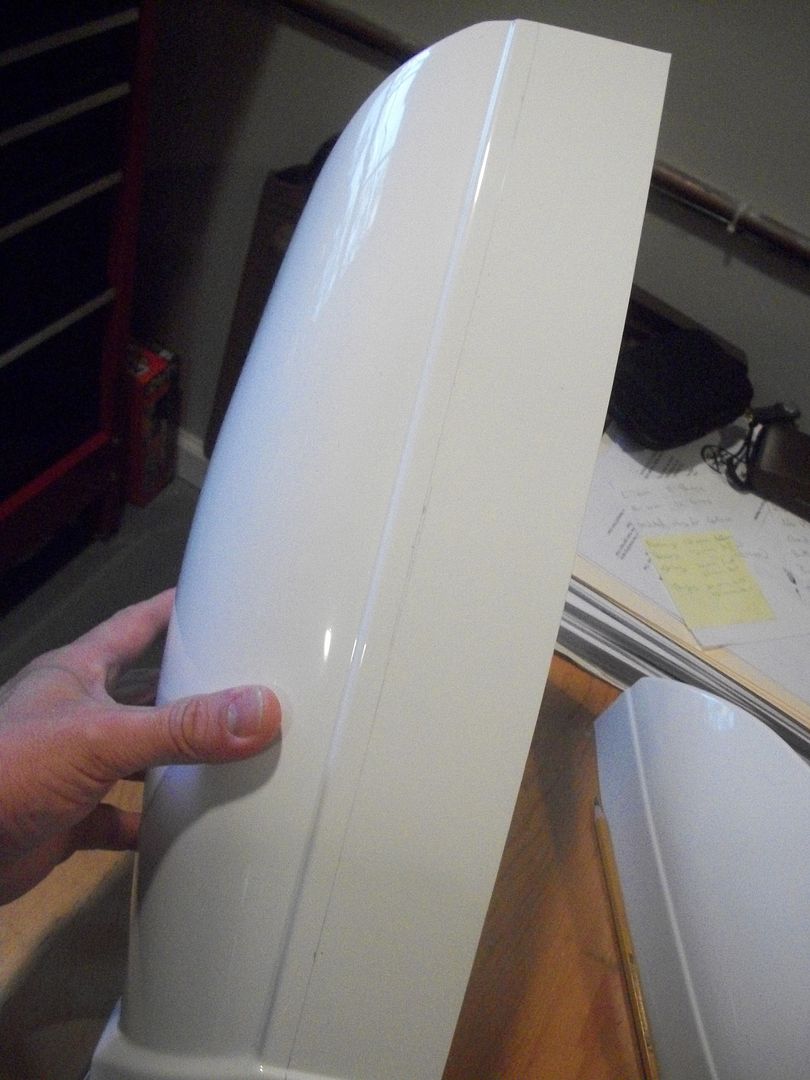
4) Once the cuts are made I line them up, and tape them. I also tape the inside for support since I'll be fitting them.
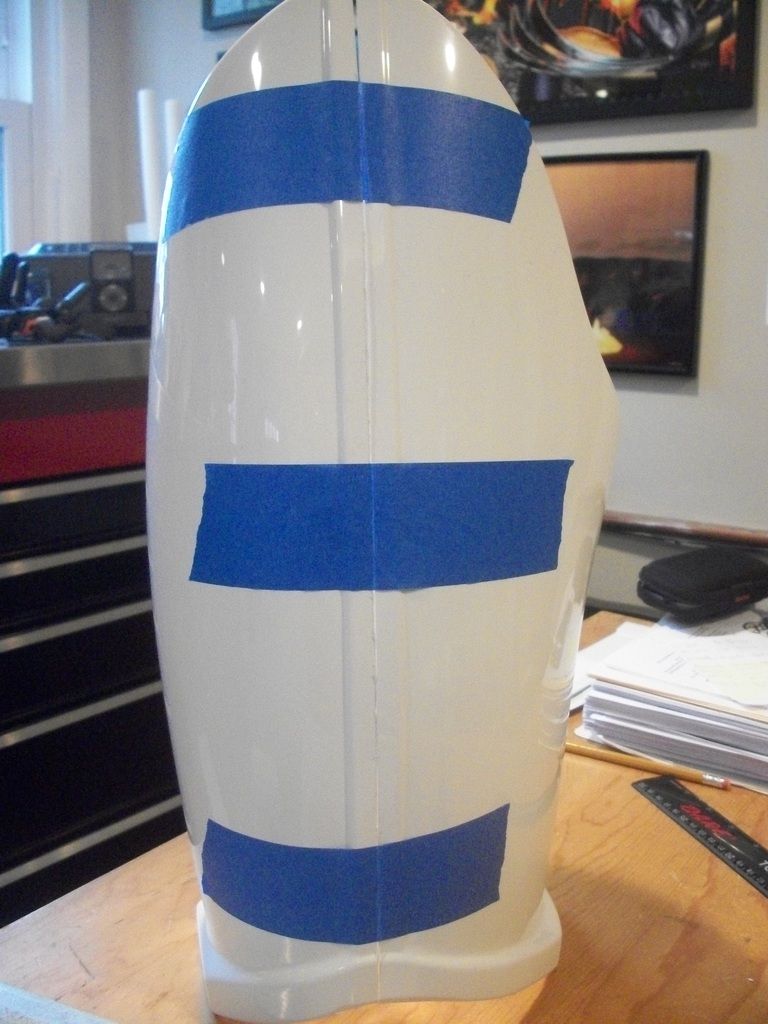
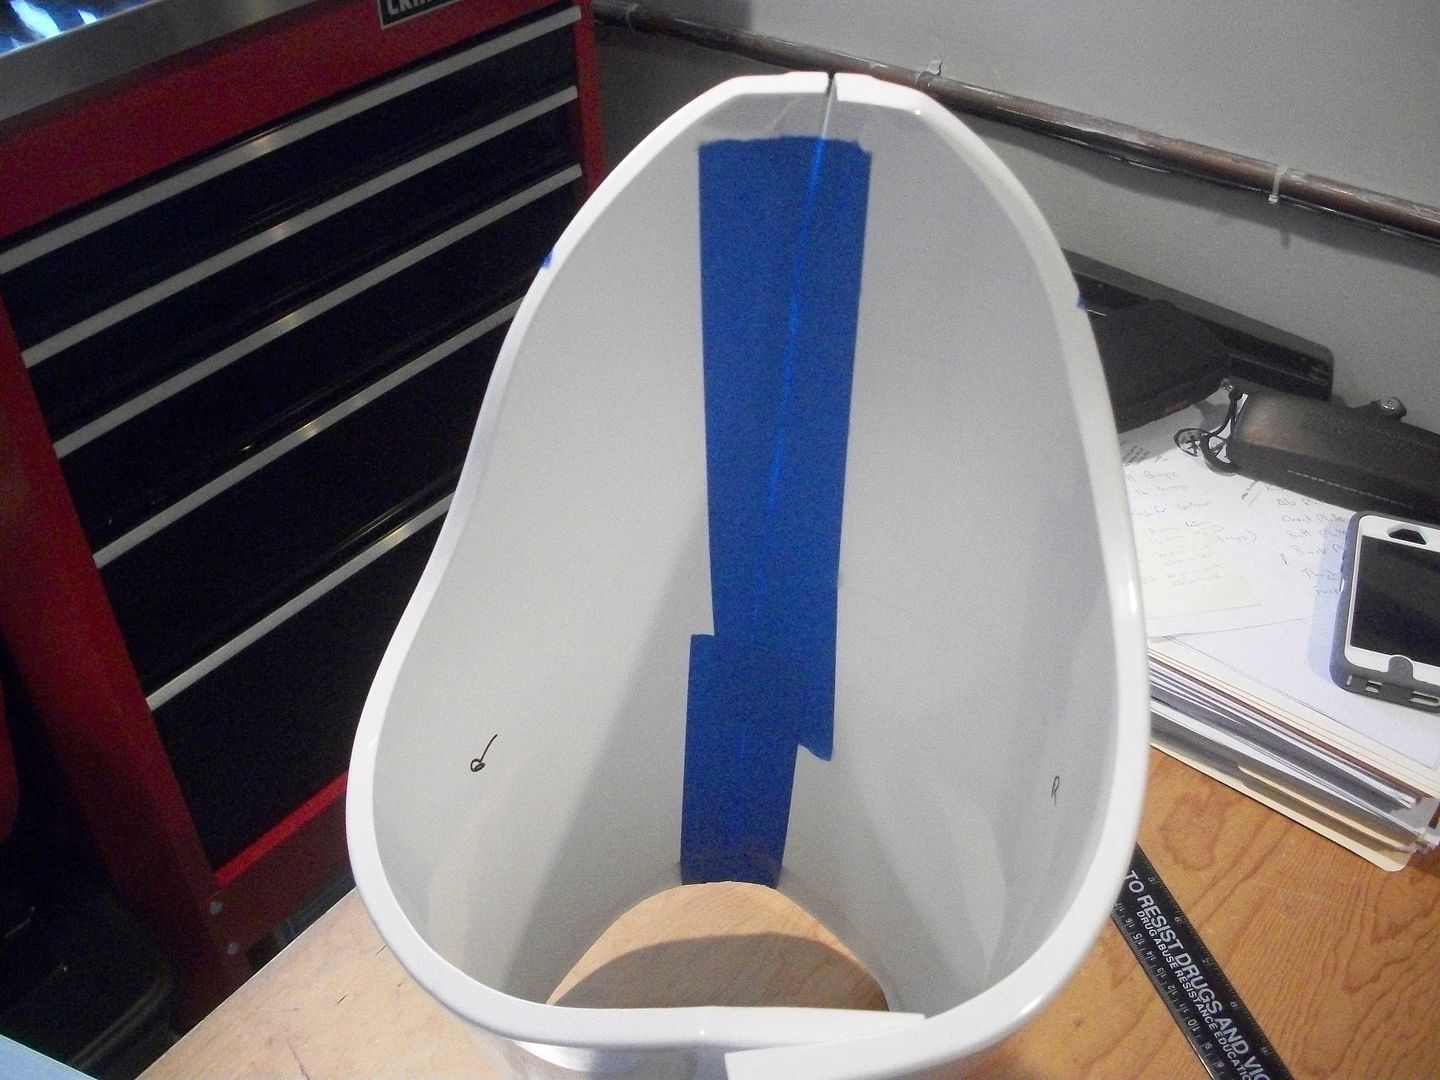
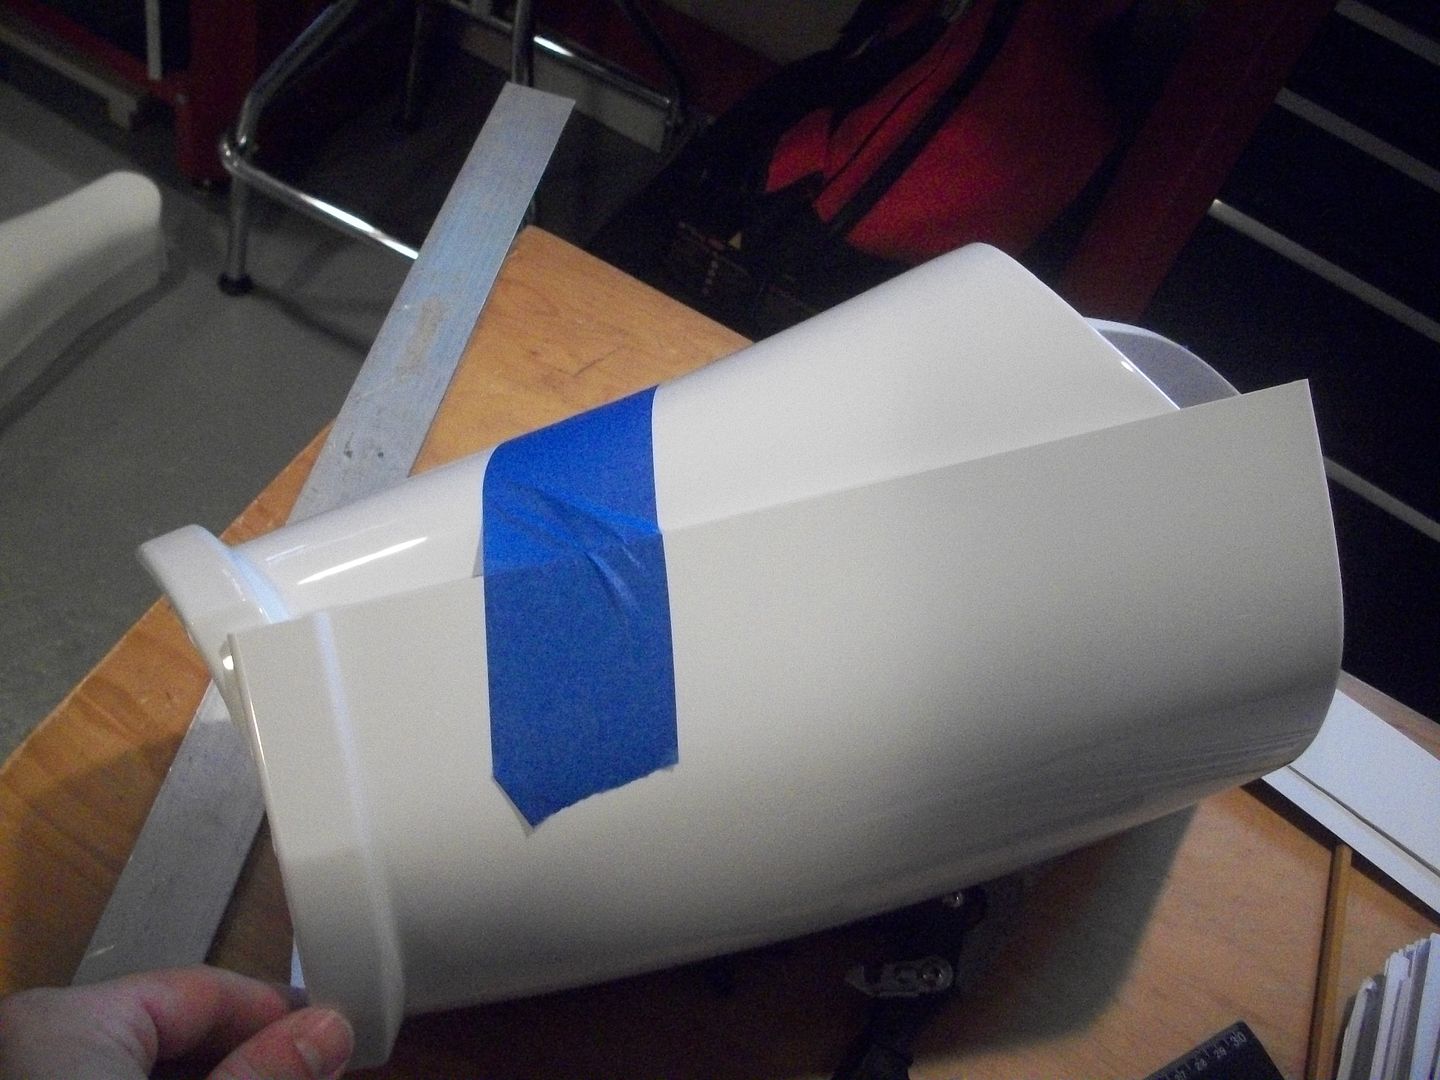
5) I taper the bottom, estimated, tape it up then try them on.
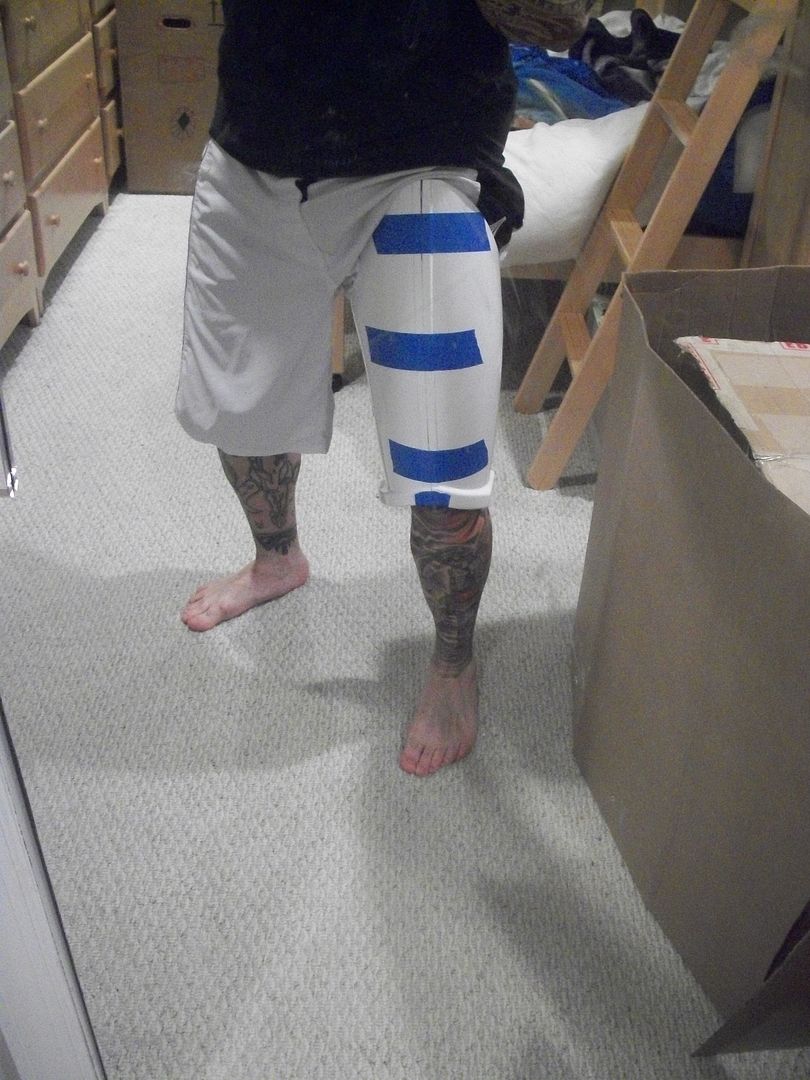
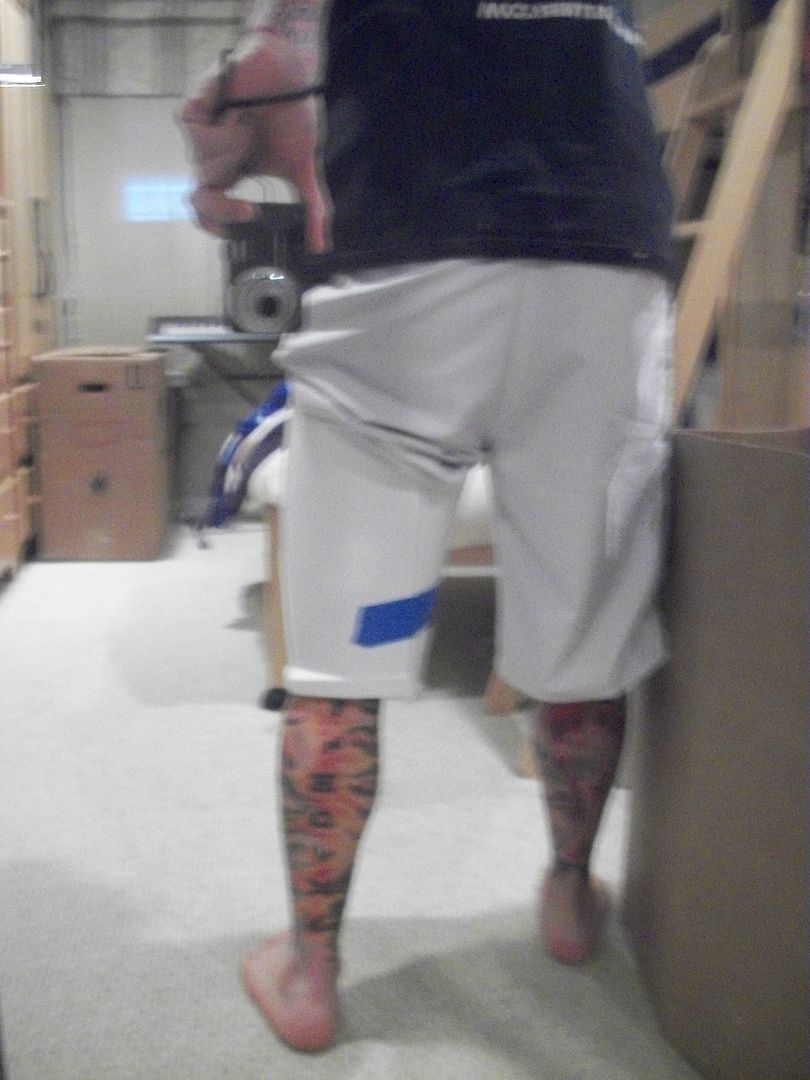
TIPS:
First and foremost 10mm equals 1cm hahaha! I stink with the metric system and on the other guy's builds we were measuring 10mm equals 1 INCH lmao, but Justin caught it before we cut

Also, the leg parts are all rounded significantly so making a straight line the length requires multiple markings and doing it half then the other half best you can, moving the ruler or straight edge. After you make the pencil line take the ruler and check like 10 different spots all the way along the length to make sure it's consistent.
Looks good so I'm ready to cut the backs...
6) Using the same method as the arm, find the top center and clamp the ruler or straight edge. Make the mark. Check it by seeing that the top and bottom pretty much match up with the front line.
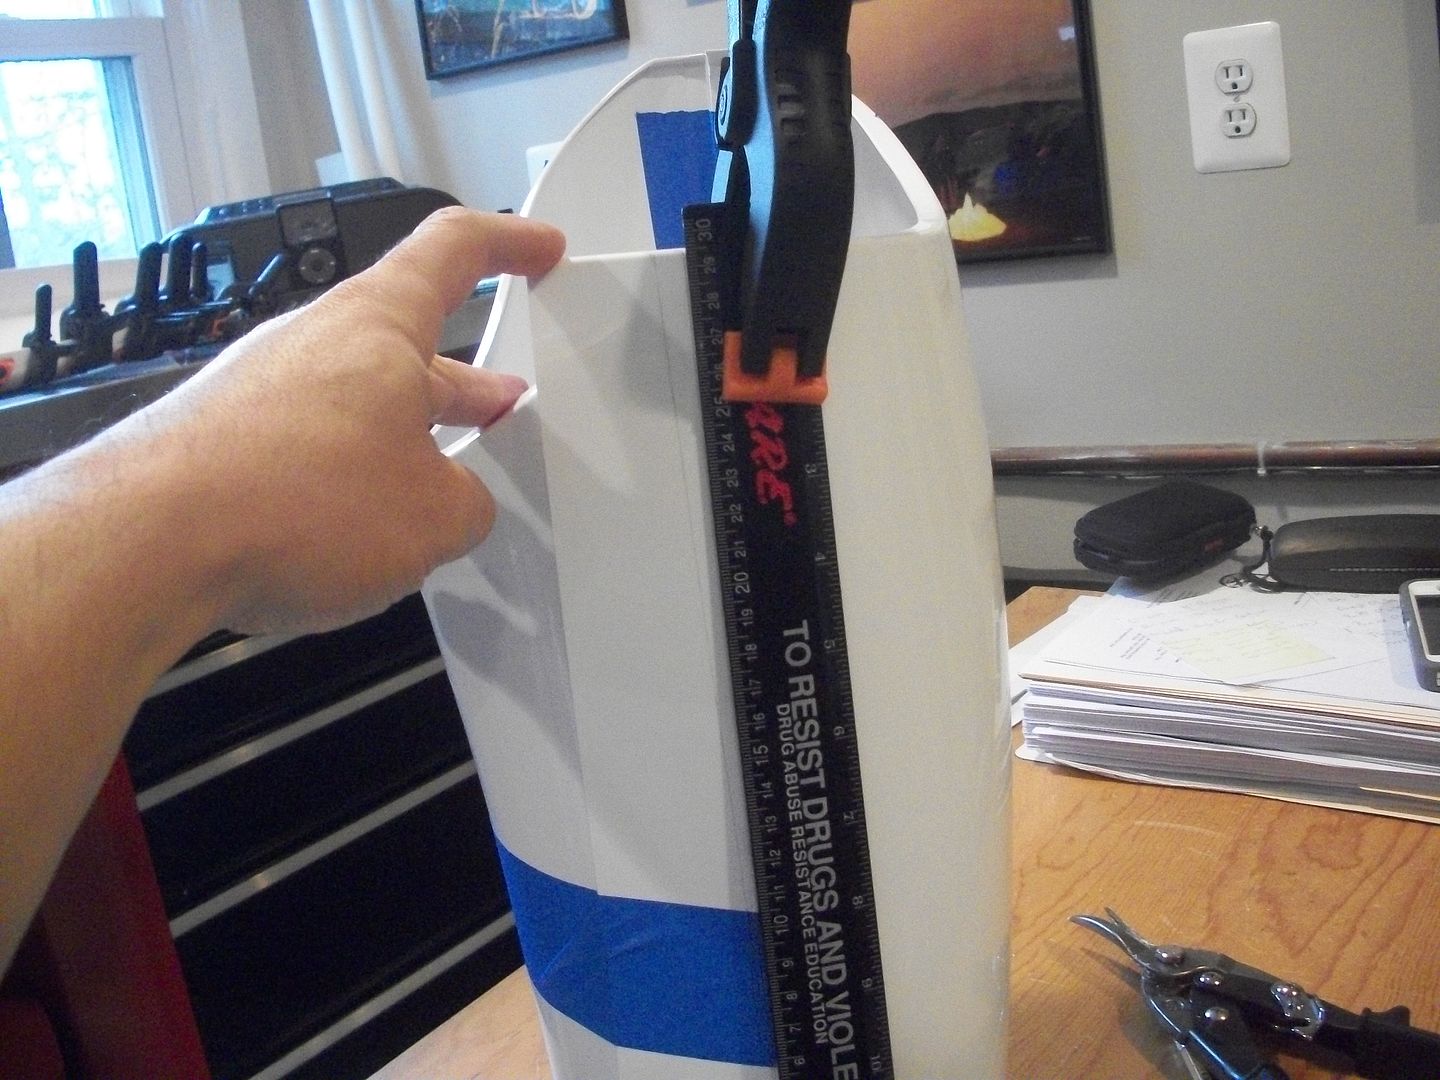
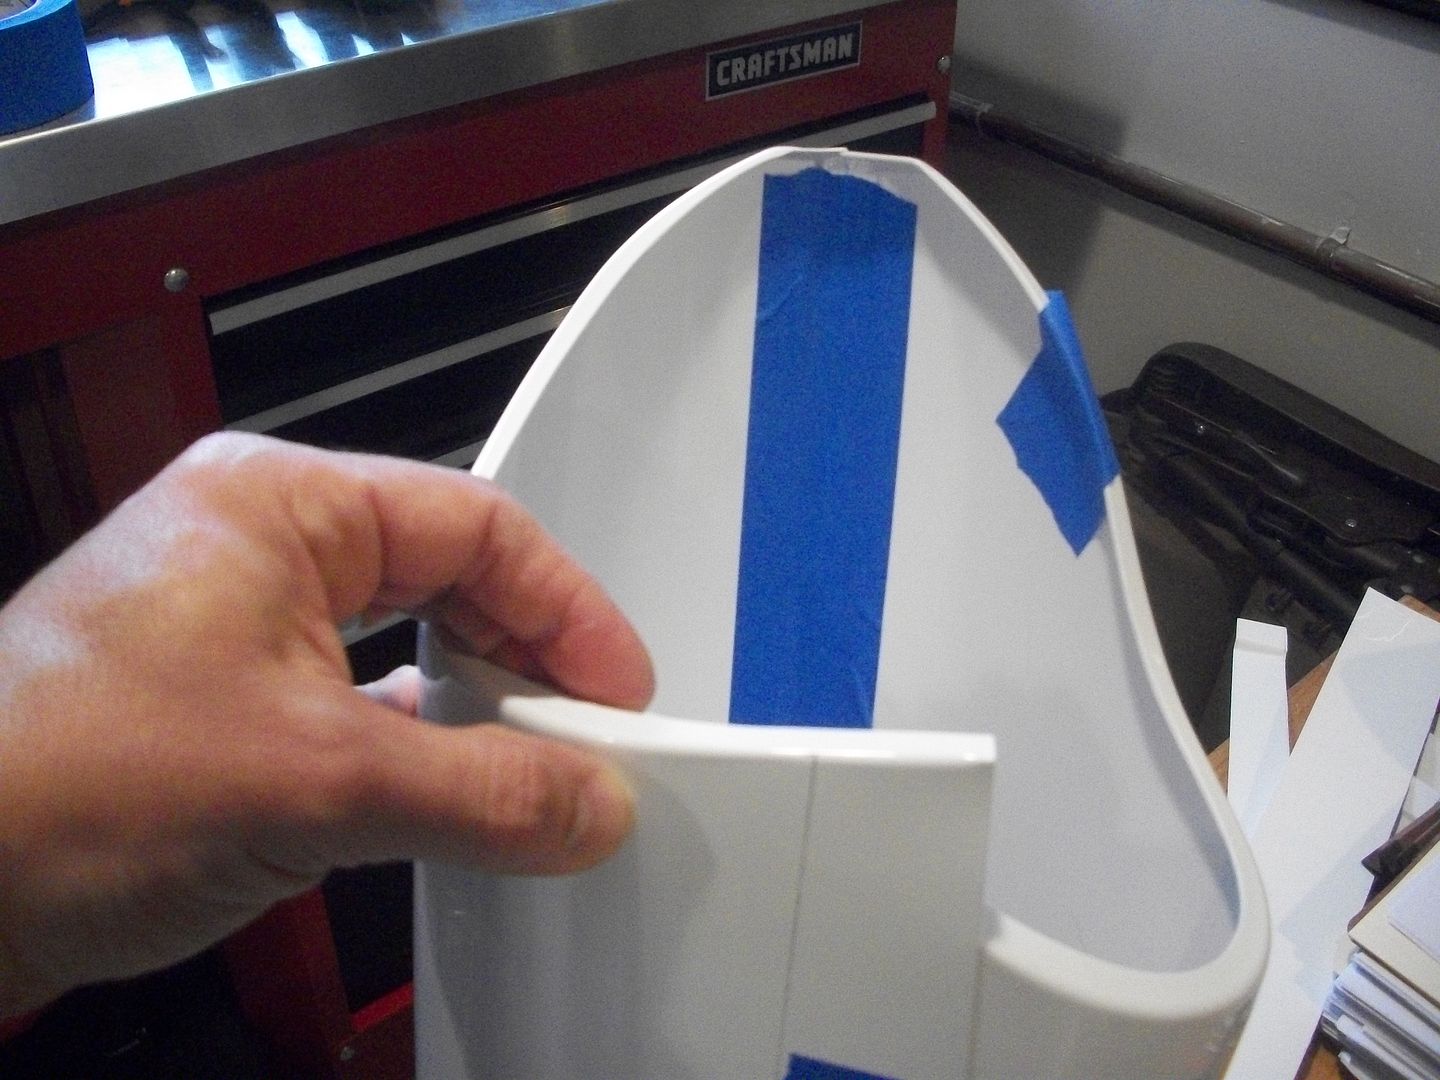
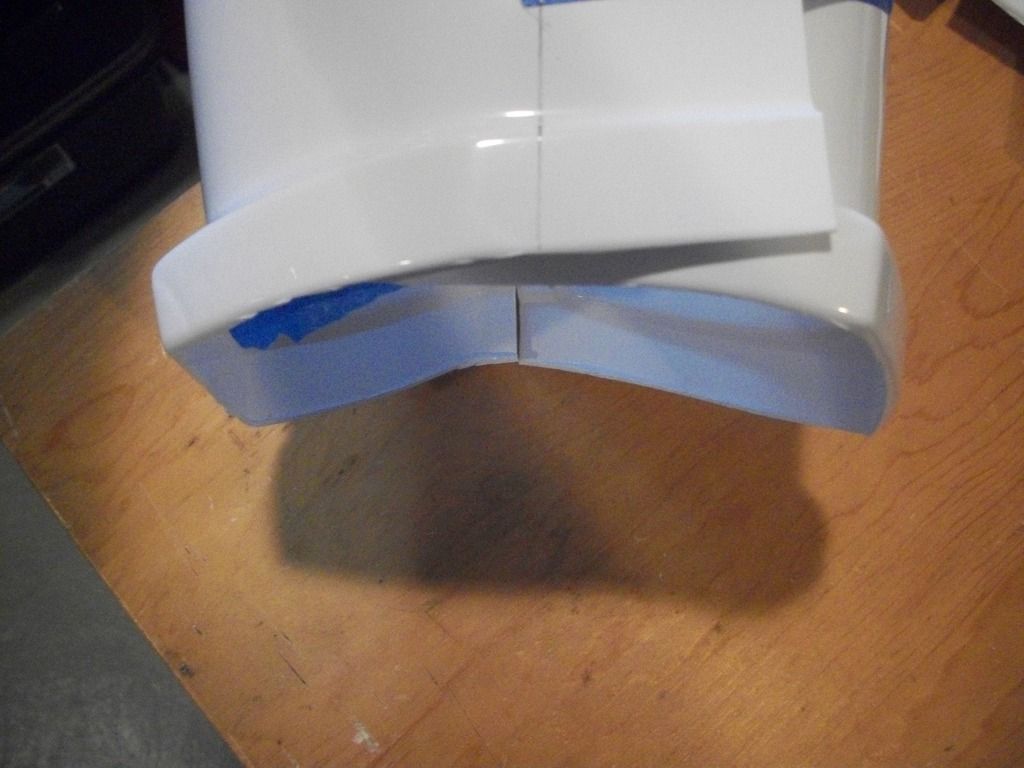
7) Cut off the top excess. Before you make any cuts though tape the inside as well (for when you make the next cuts so it'll stay in place).
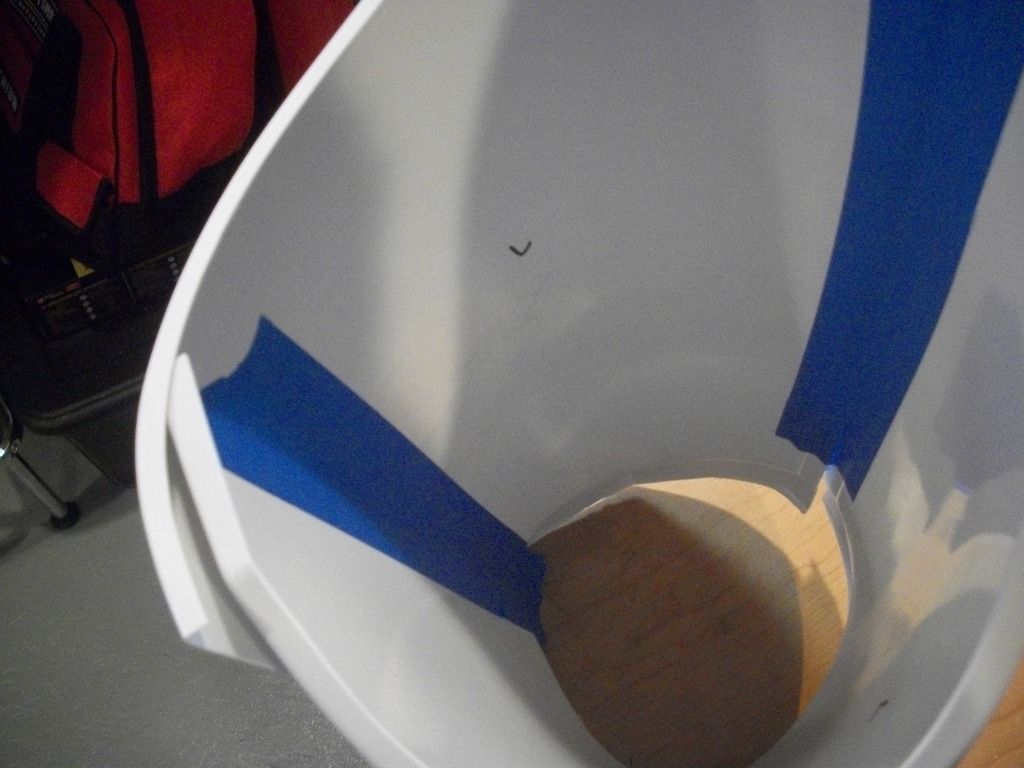
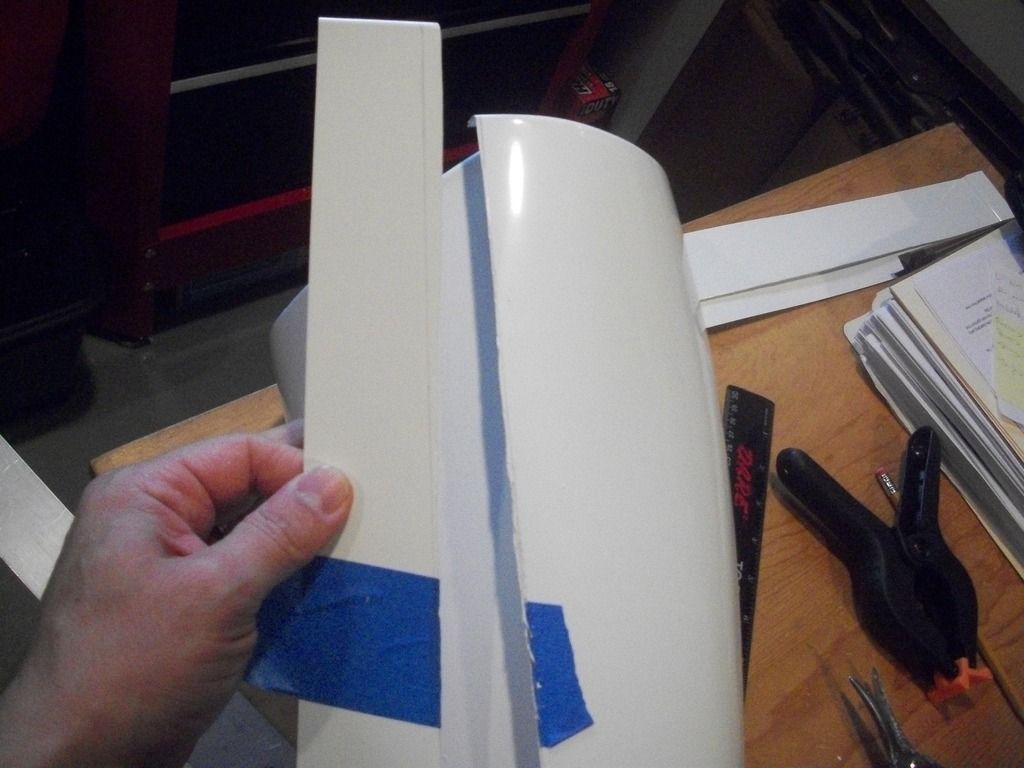
8) Mark another line straight down on the second part and cut that off.
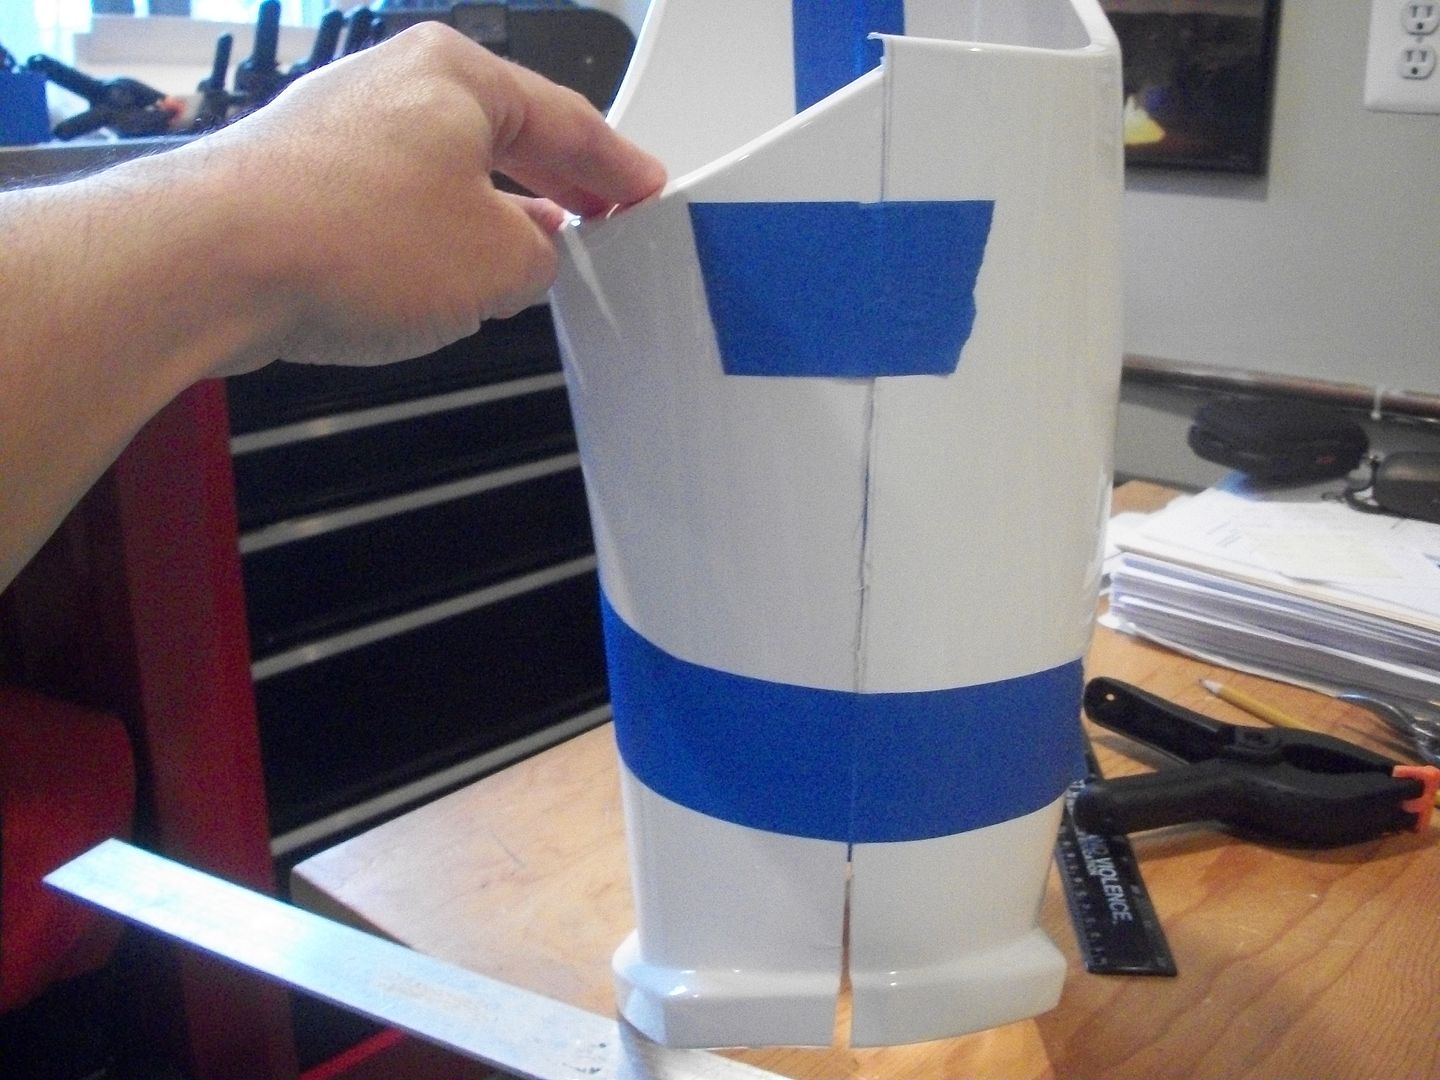
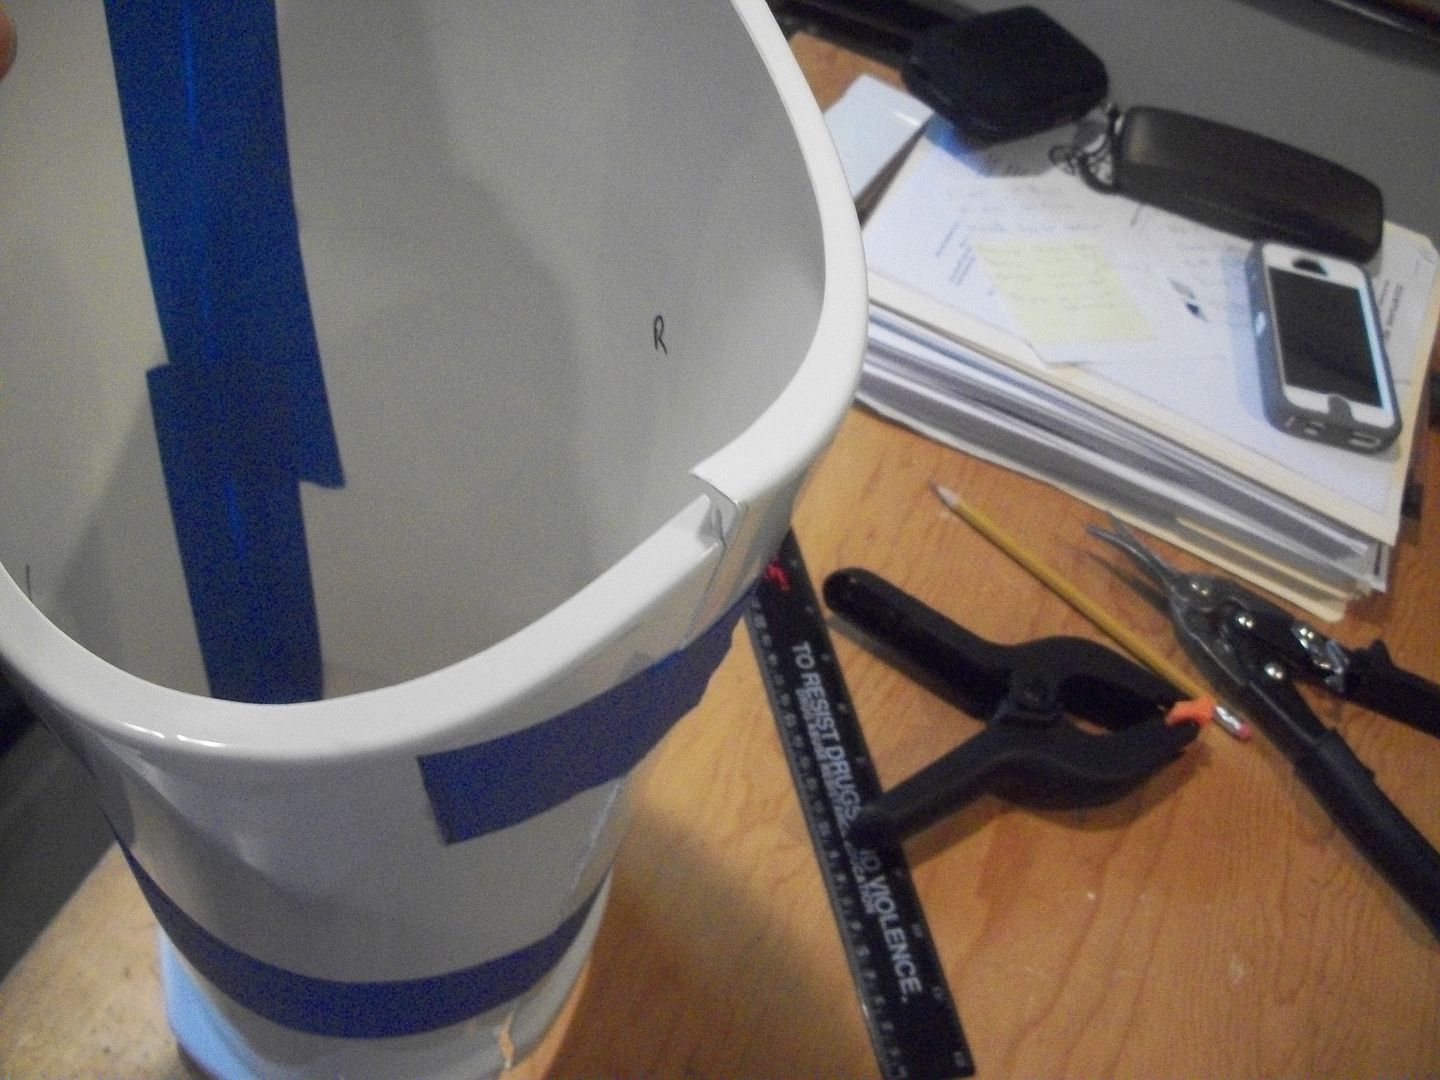
9) Tape them back up and check them out. Should be pretty good. The inside should also look about even.
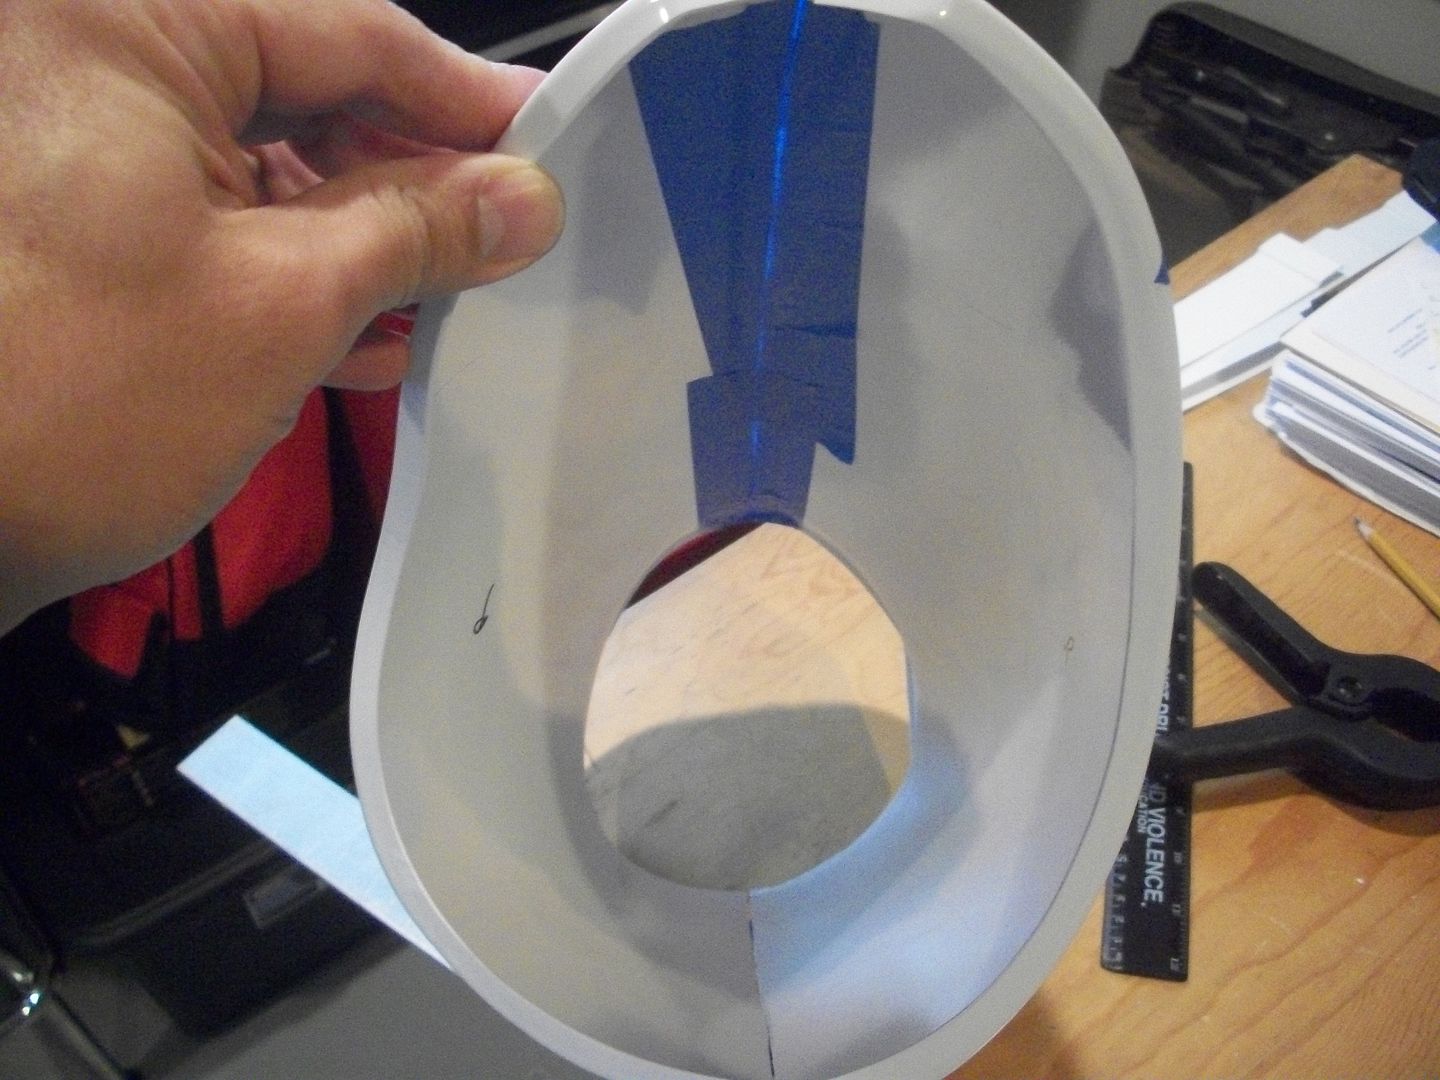
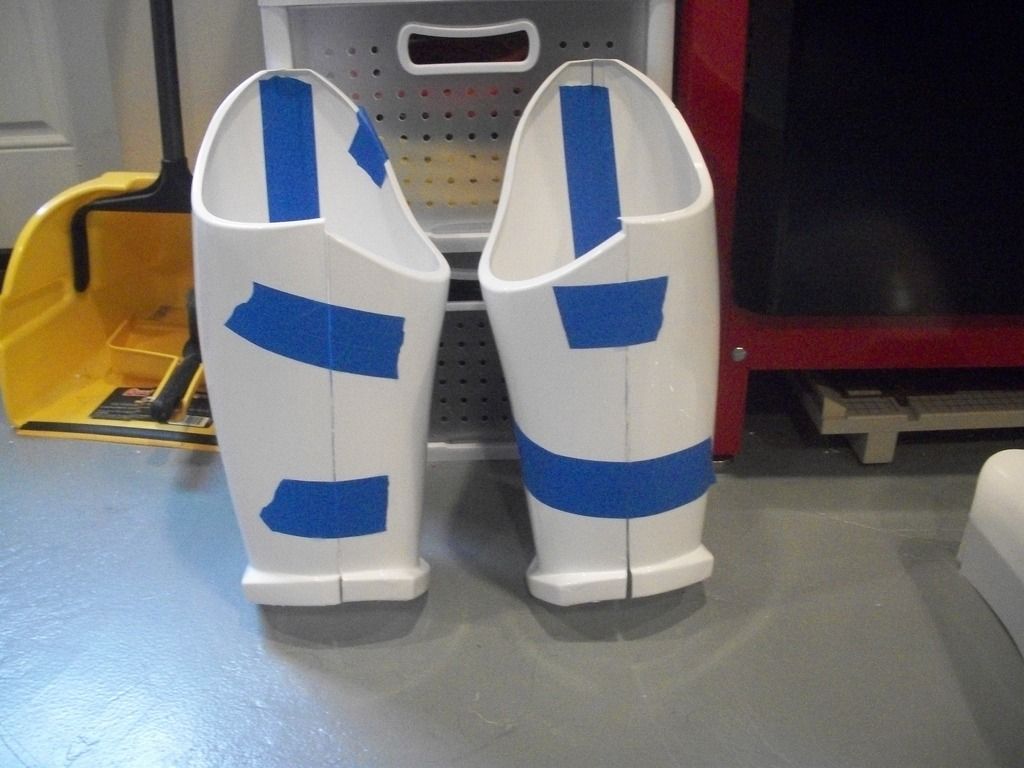
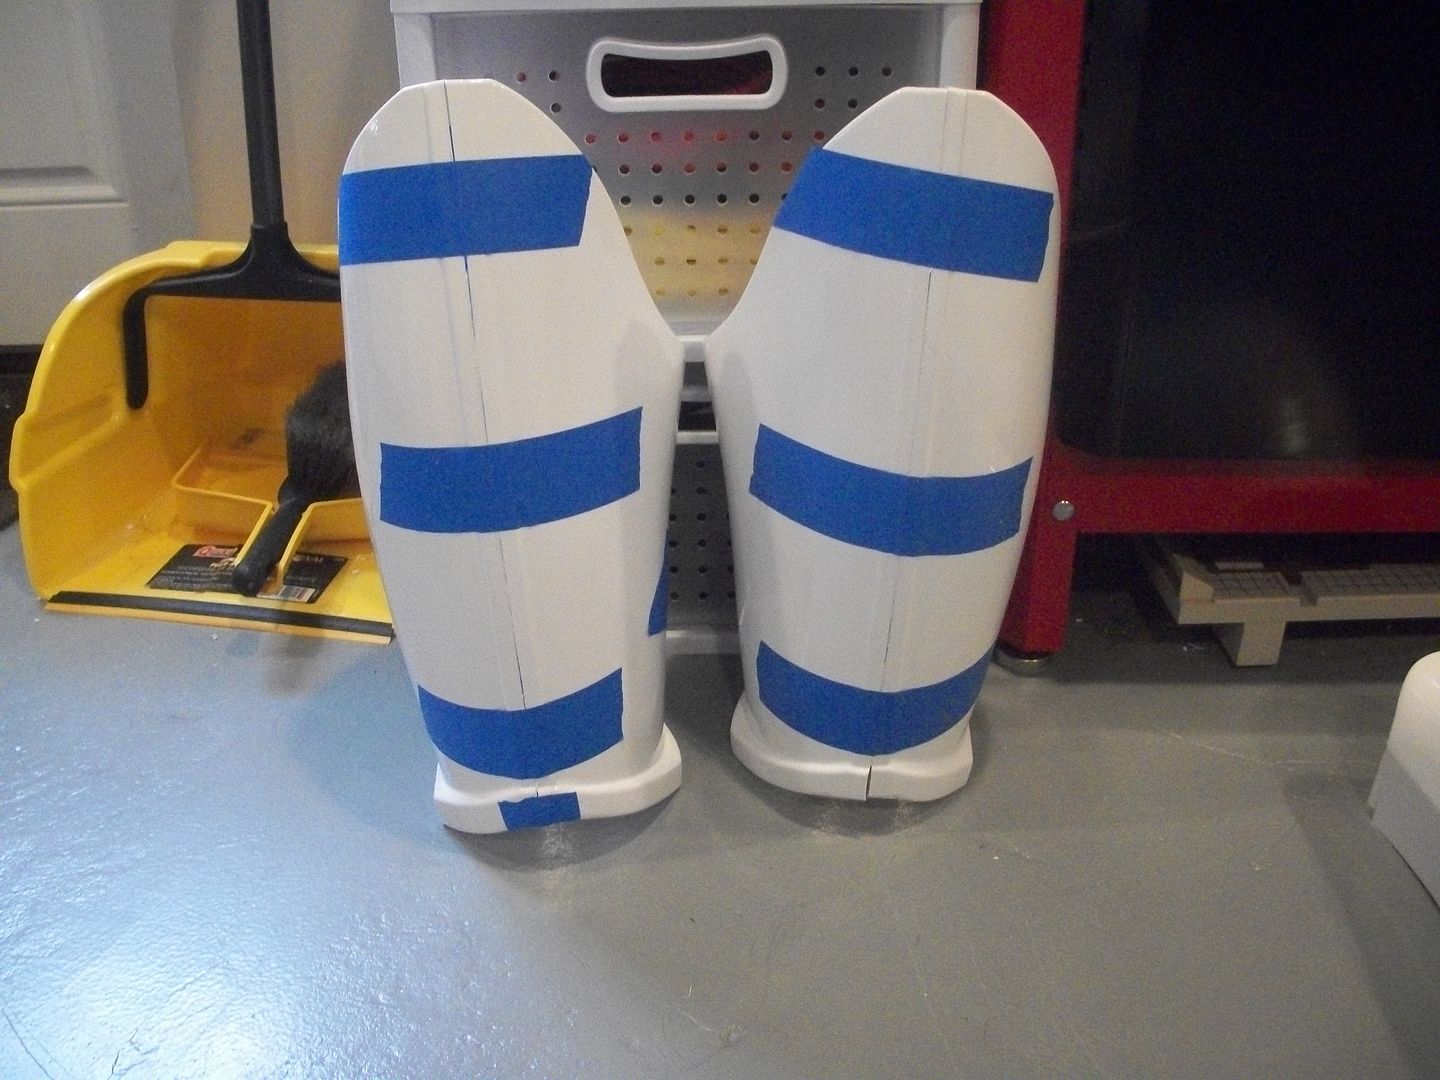
* Don't sweat some uneven seams, you'll trim stuff down later.


Navajo Bro's FOTK Build Thread
in TFA Build Threads
Posted · Edited by Navajo Bro
Thanks, so far it's all rough trim and acclimation for part fitting. I just cut out and washed the gaskets, I'll make my attempt at gluing them tomorrow. After that I'll start really smoothing things out and making a go at assembling some parts with bondo or ABS paste