-
Posts
270 -
Joined
-
Last visited
-
Days Won
1
Content Type
Profiles
Forums
Gallery
Articles
Media Demo
Posts posted by Navajo Bro
-
-
I finally got back on this, I had been helping new recruits with their TK builds but I'm happy to say the last two are DONE hahaha. I still have one more guy but we have a conflicting schedule to the next few weeks so I jumped back to this

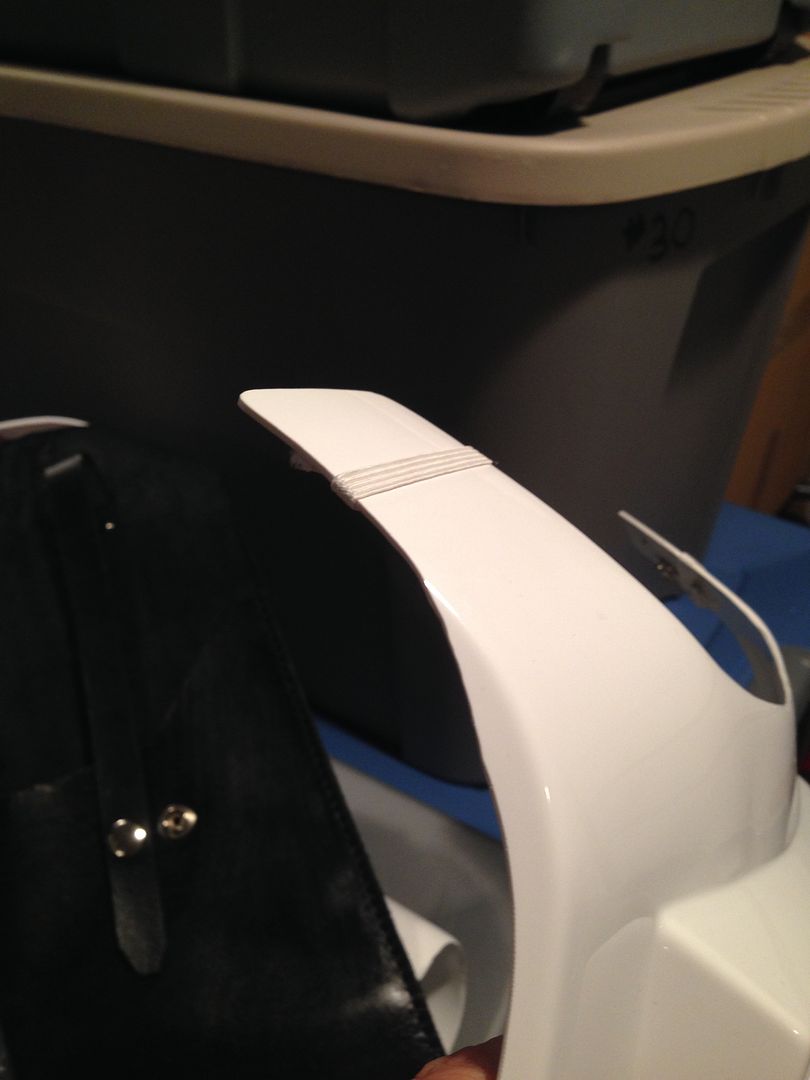
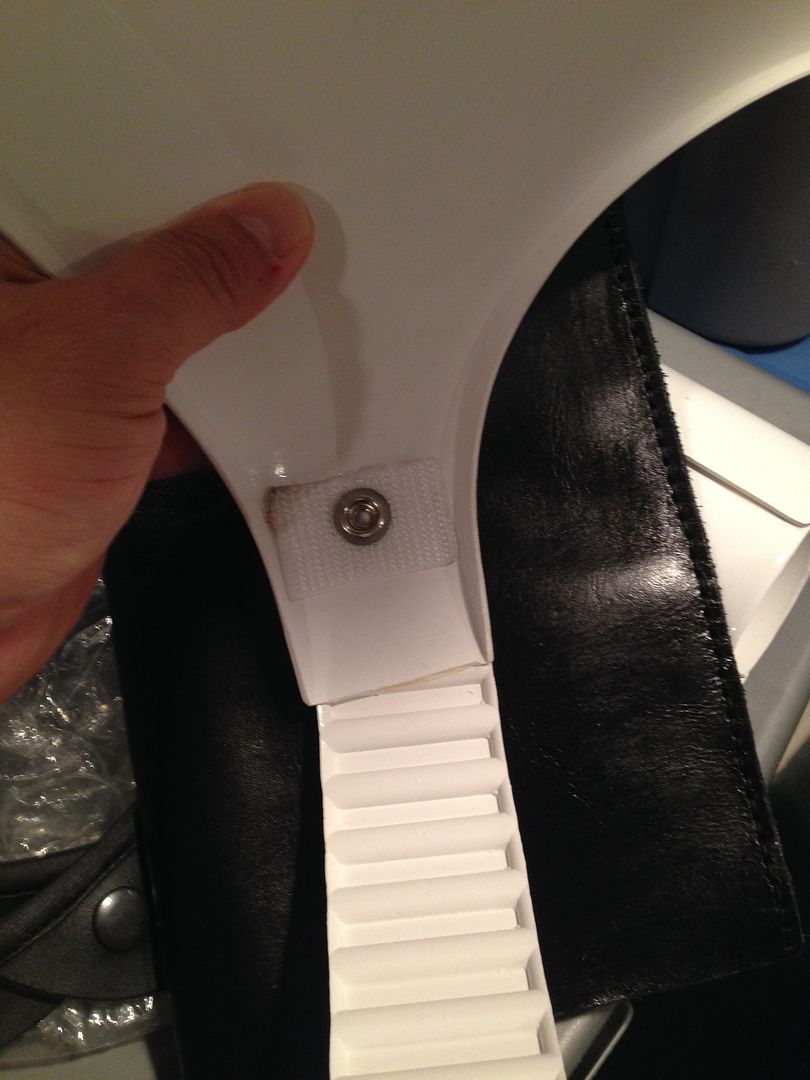
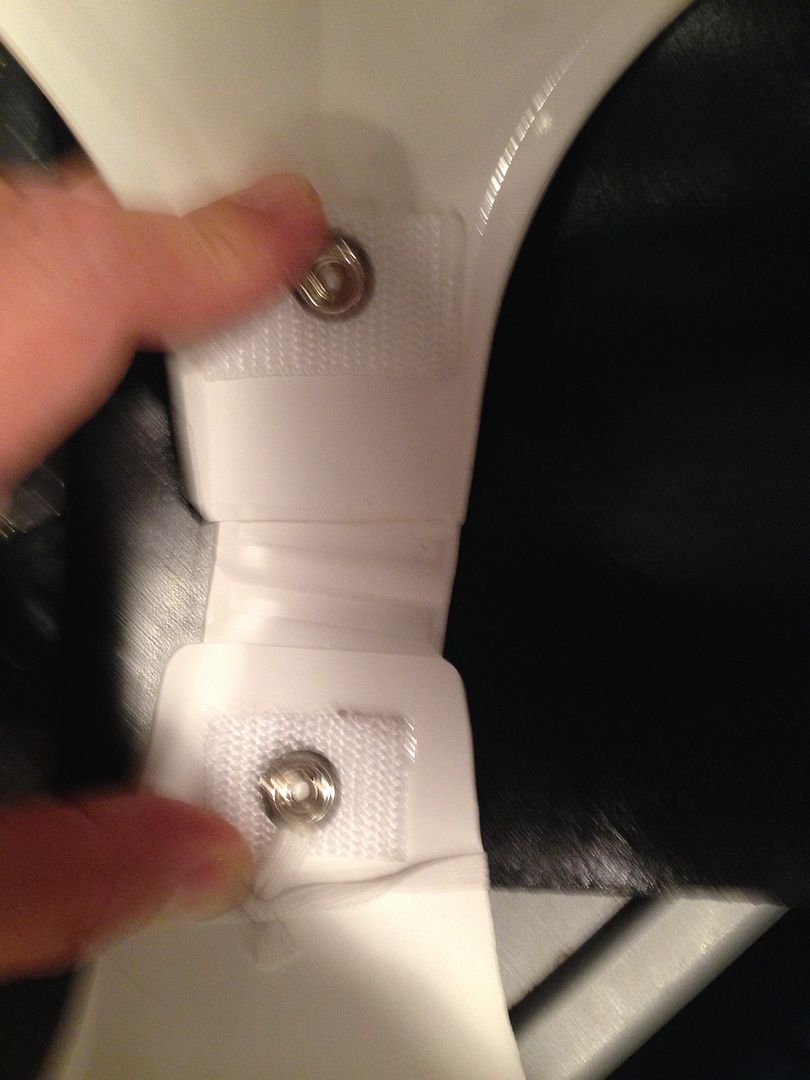
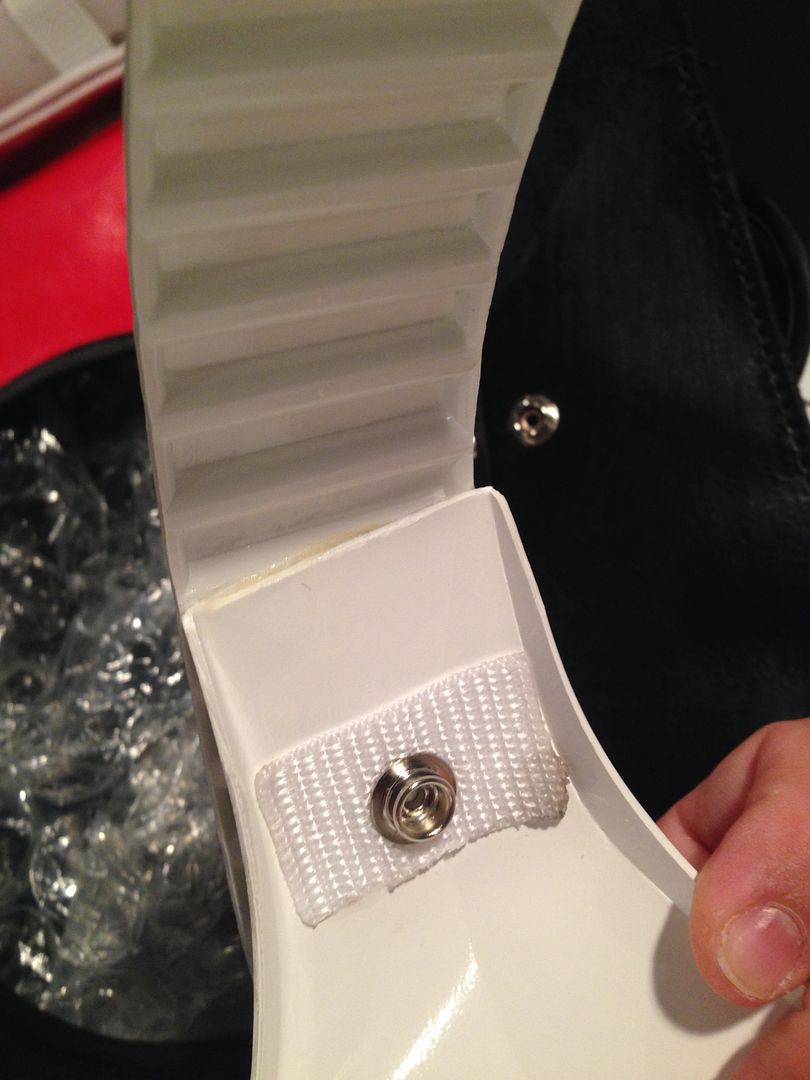
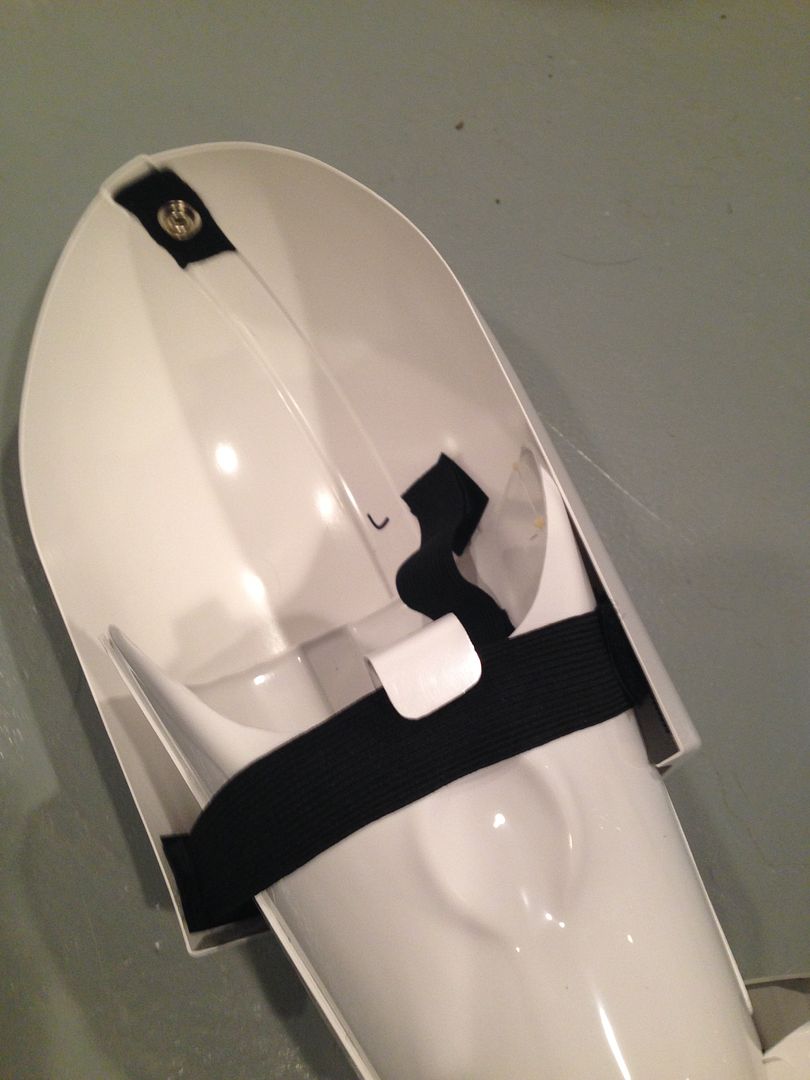
Shins initial construction was simple. Sand the edges as flush as possible and line up the glue tabs. The outside is glued, the inside will be velcro so you can put them on and take them off:
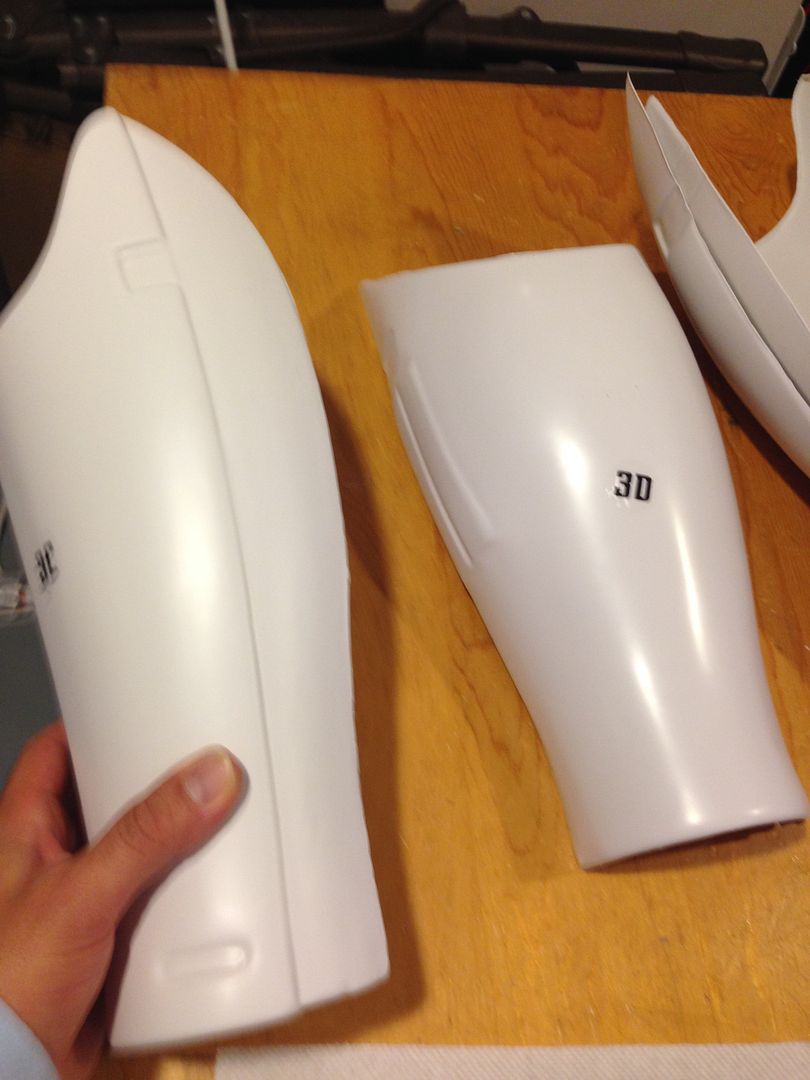
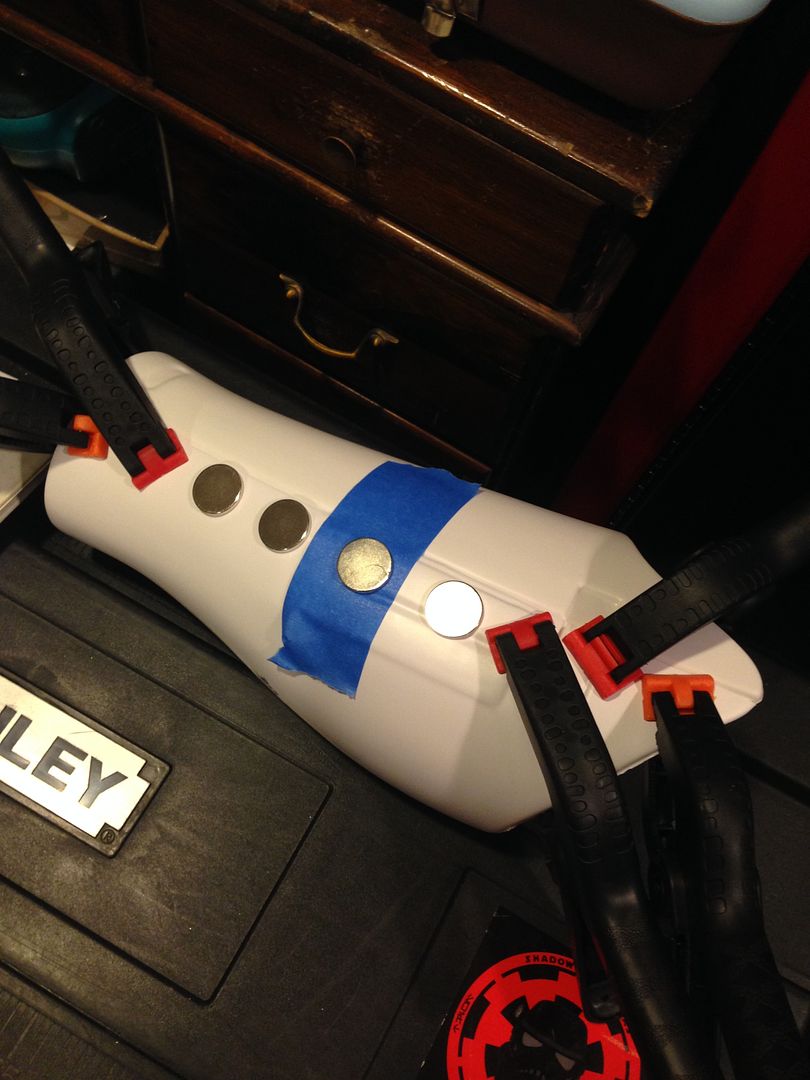
As with all the leg and arm parts, once they are glued and the seams are addressed I'll add the greeblies.
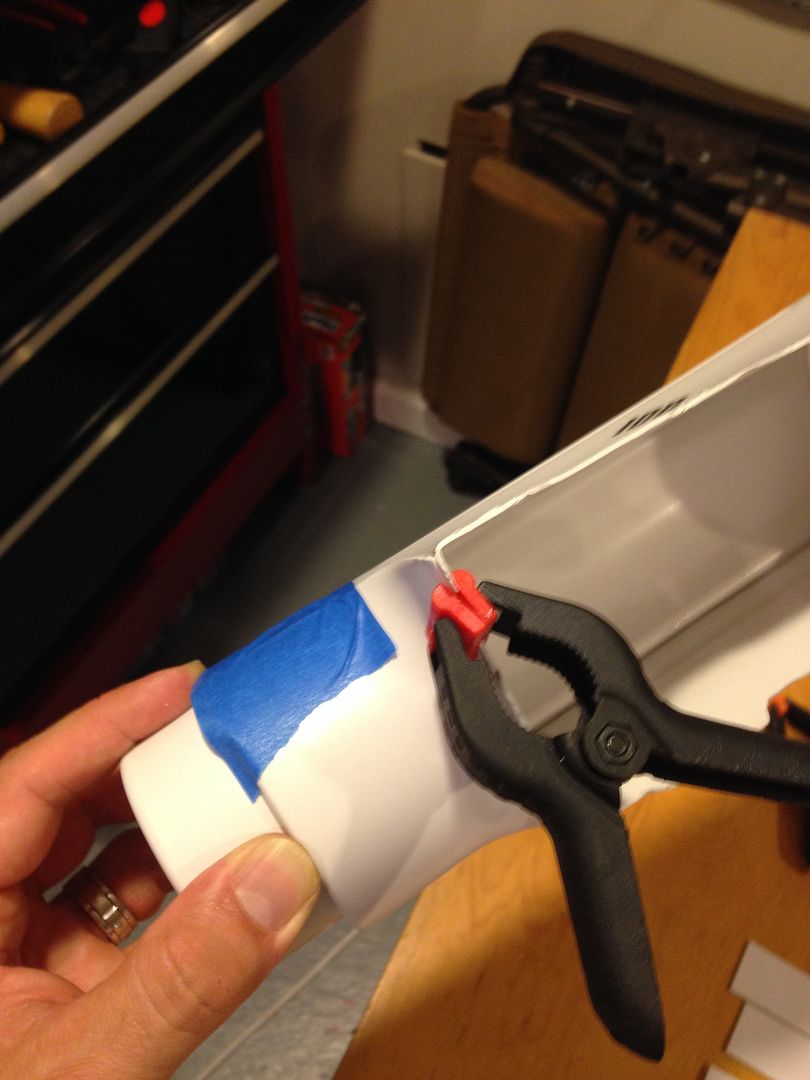
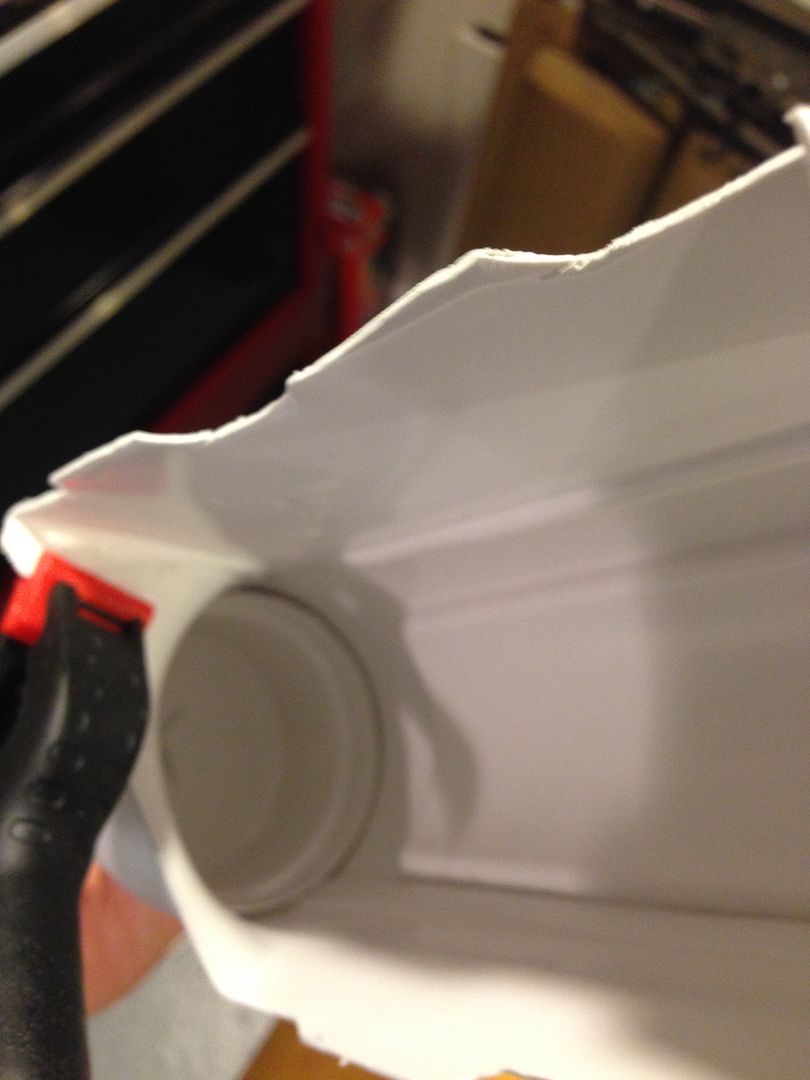
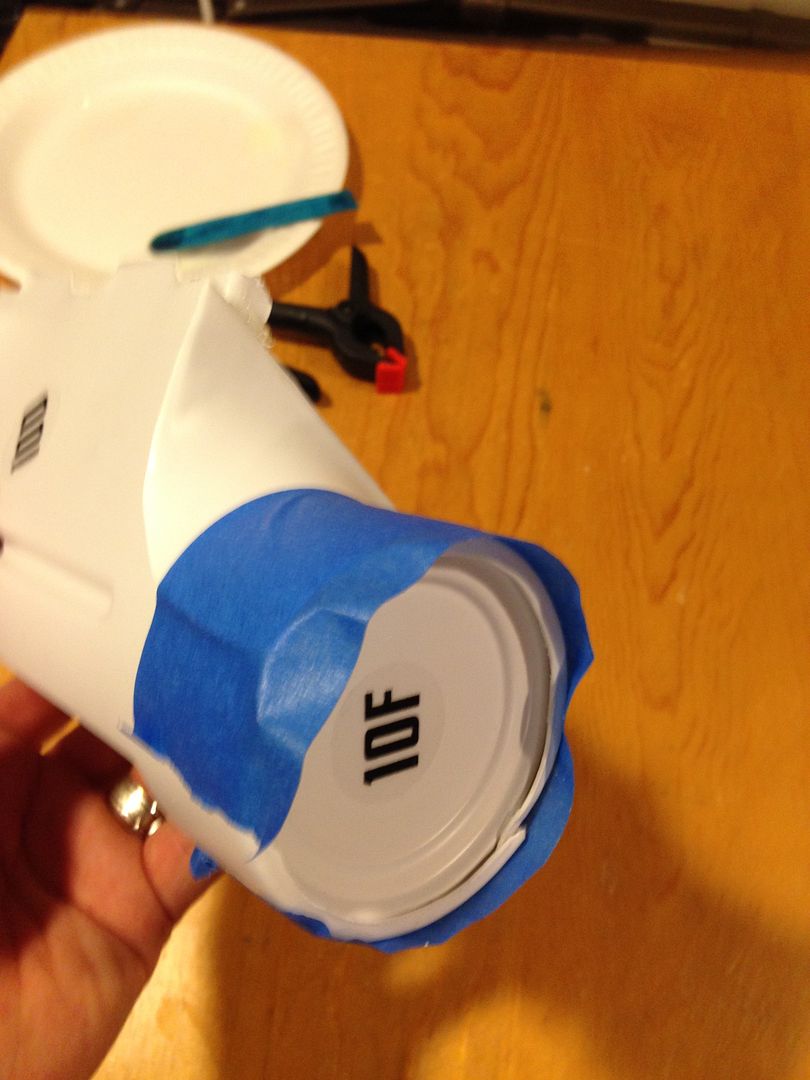
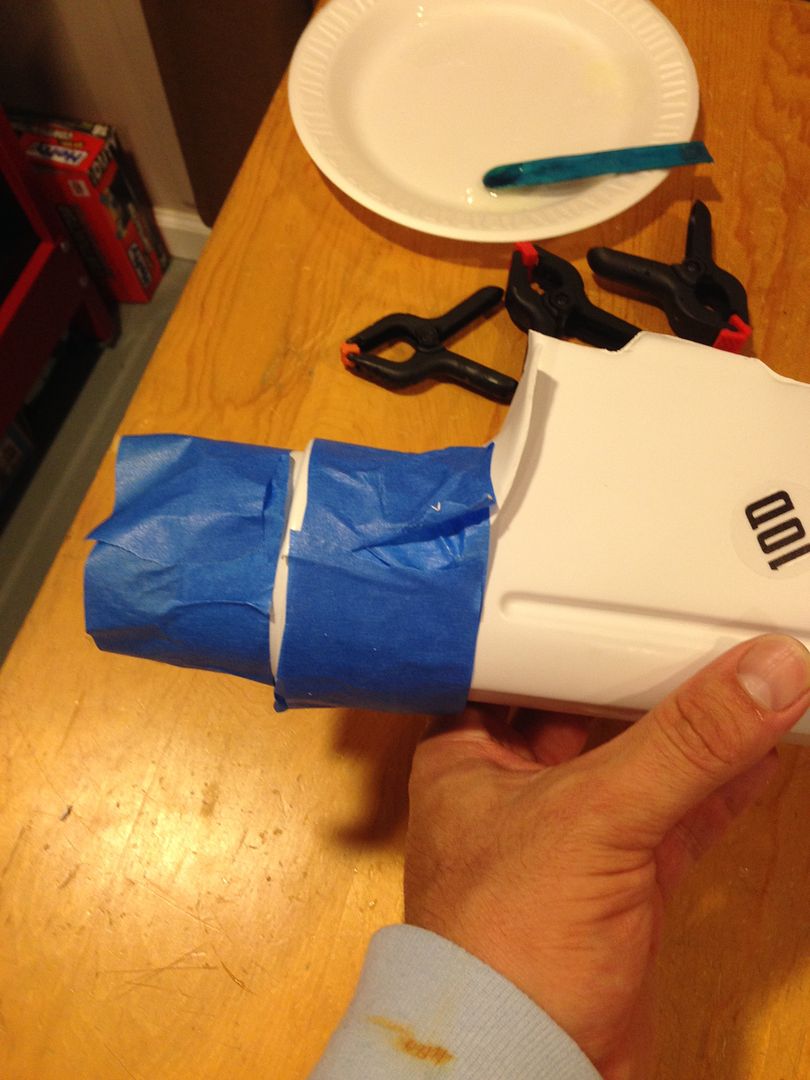
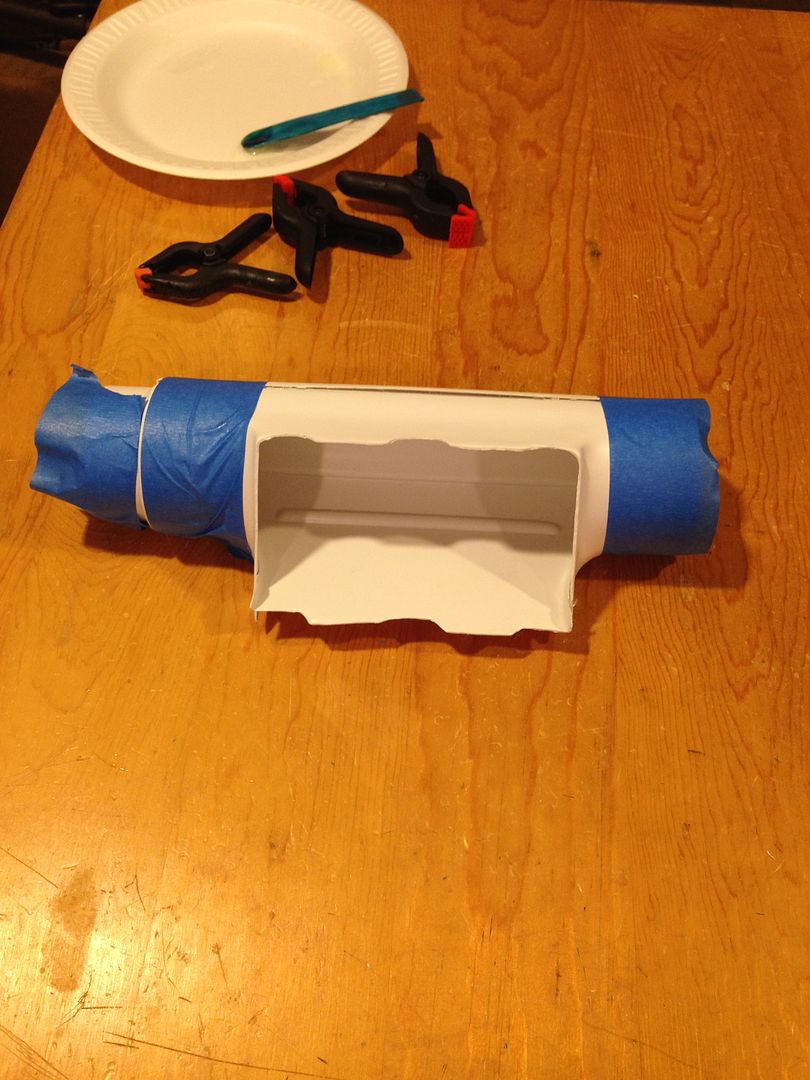
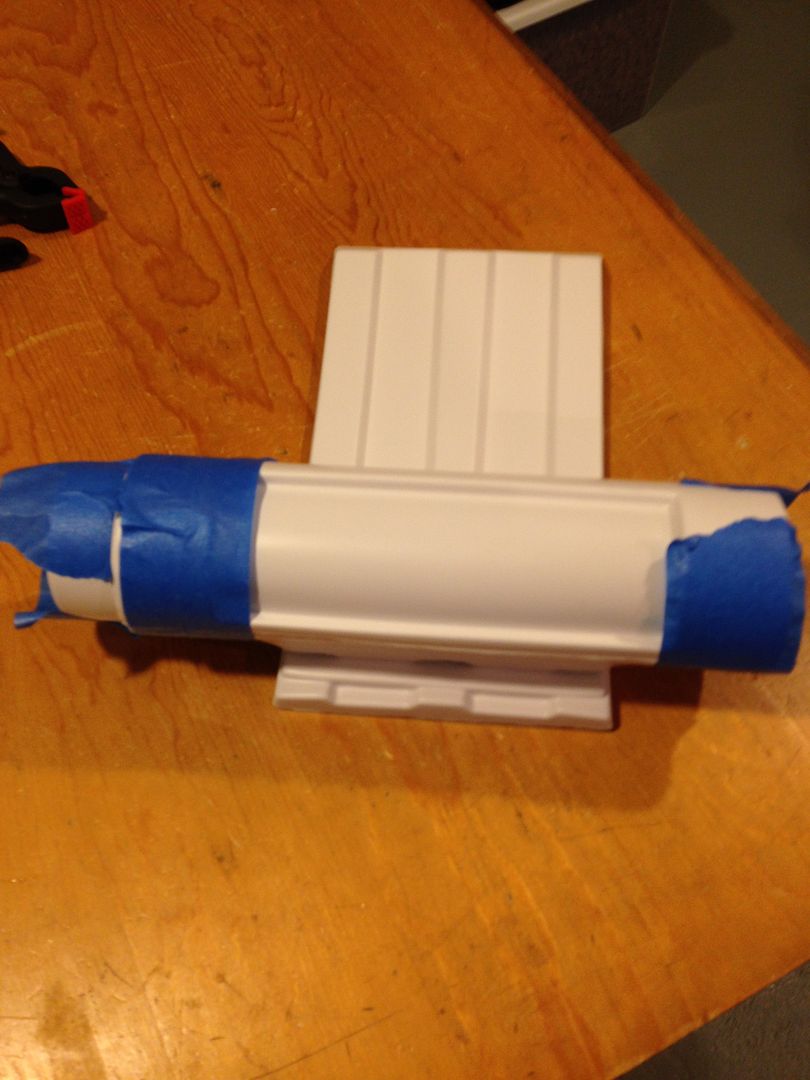
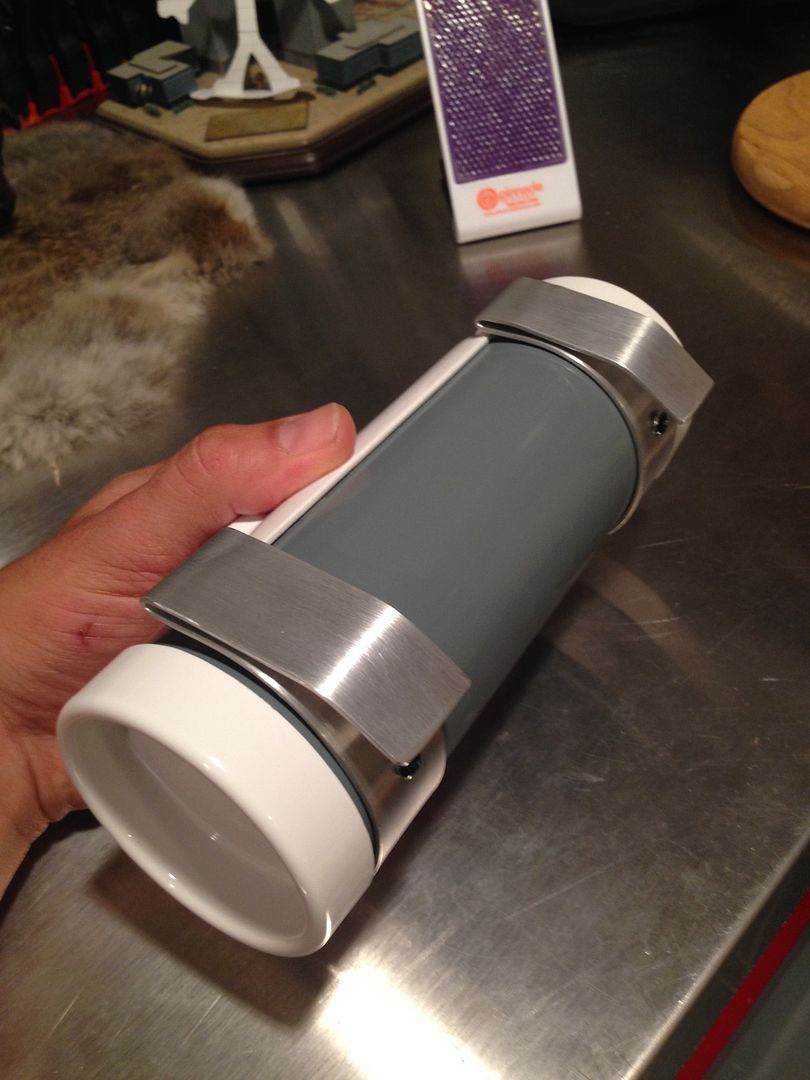
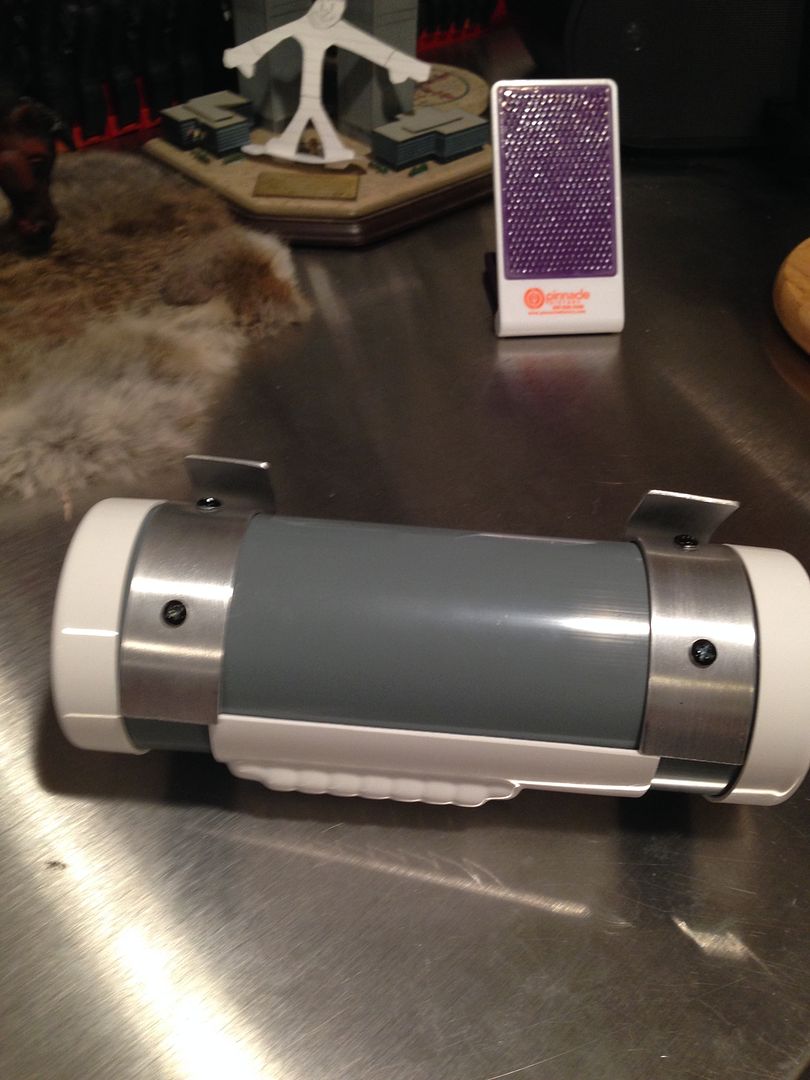
The thermal detonator was a little challenging to figure out but I did it lol.
Basically a lot of sanding and test fitting to get it lined up then gluing it together in stages. It's really weird but once I figured it out was easy enough.
1) Glued the bottom parts first, bottom seam first
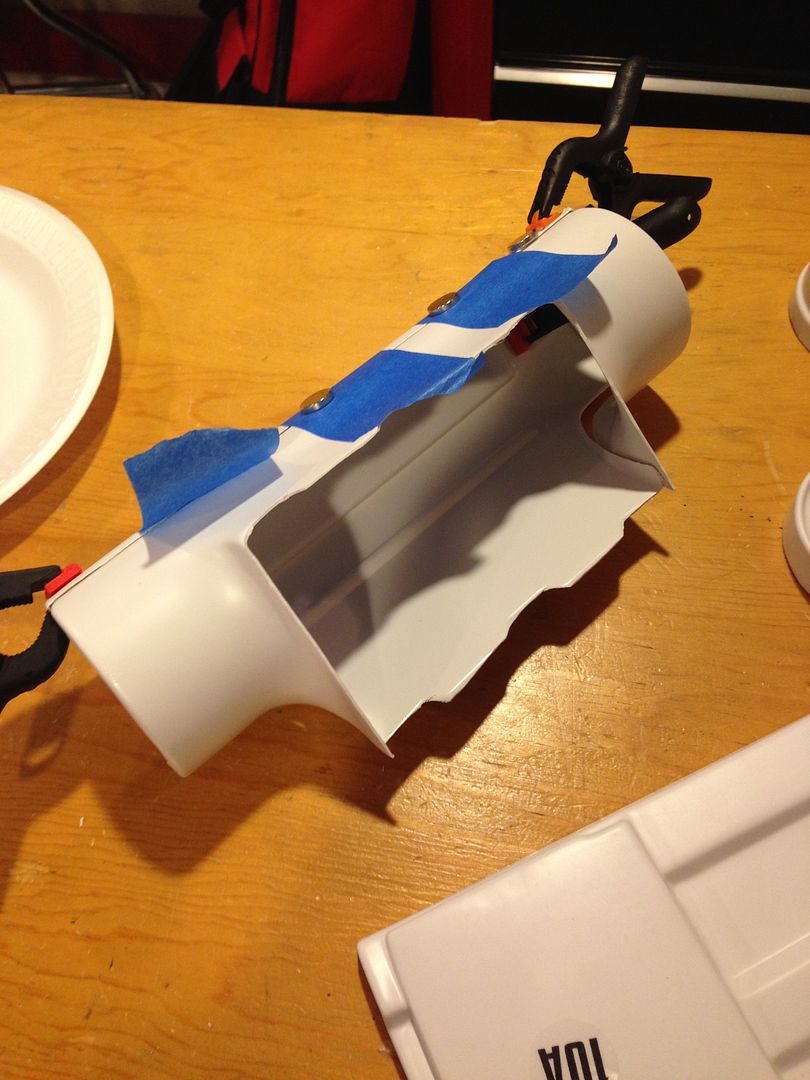
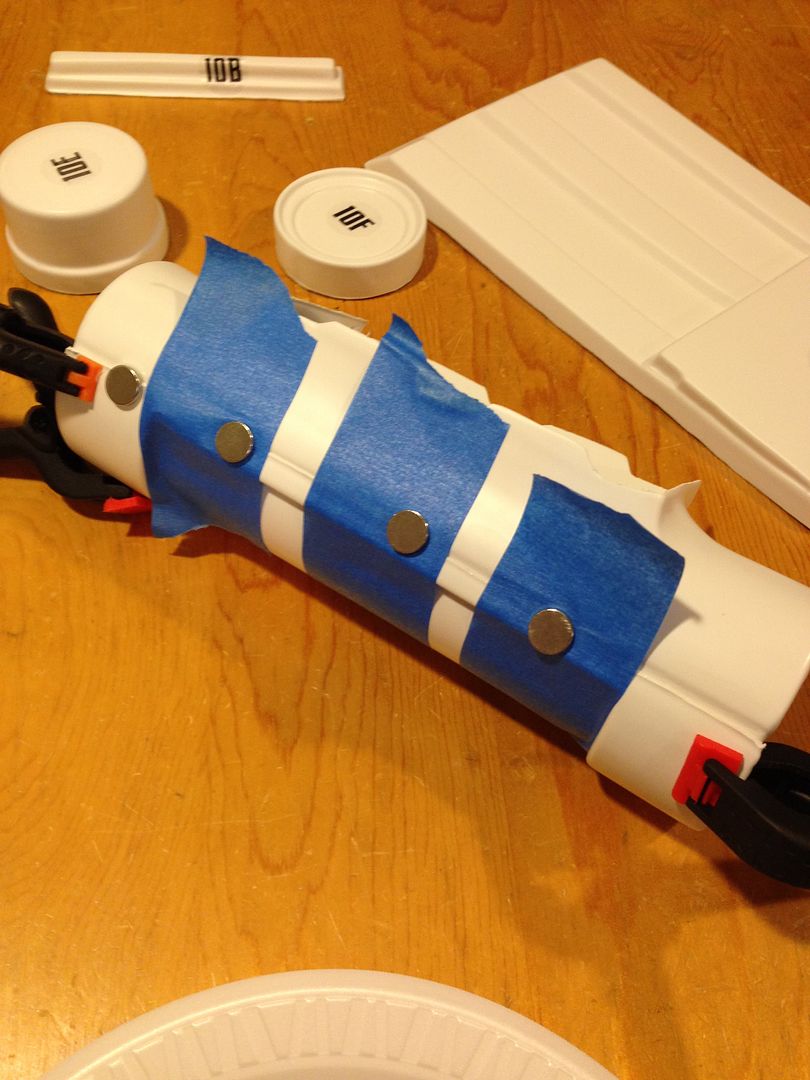
2) Glued the round end caps in before connecting the top edges. I was careful to set up the correct right and left, but of course when I actually glued it I had flipped things over and ended up attaching the left on the right side hahaha! I caught it and corrected it but some of the photos show the initial wrong way.
-
Hey Terry, How did you ultimately affix the dropboxes to the belt? are the loops just loose or are they riveted?
The elastic is riveted to the back of the inner drop boxes, but they are just loose and looped around the fabric belt. With the end rivets on each side holding the canvas belt to the plastic front belt, and the snaps on the canvas belt that connect to the ab plate the loop sits between the two and thus stays in place

If that makes sense. If not let me know I can grab some photos
-
No worries all around, I can definitely do the mods for the blaster if I don't have a more accurate one. Again, I feel silly - the only two things I used from my original '06 suit are the two things I didn't even think about checking ahead of time hahaha!
I'm more happy that my build is close enough for EIB, that was what I was going for. As much as I love my FX simply because it was my first suit and I have so many trooping milestones and memories, I fully understood how out dated it was now and after helping build a few new ones with our recruits felt it was time to get back in line with the group lmao

-
Awesome thanks for the feedback, I wasn't in any rush

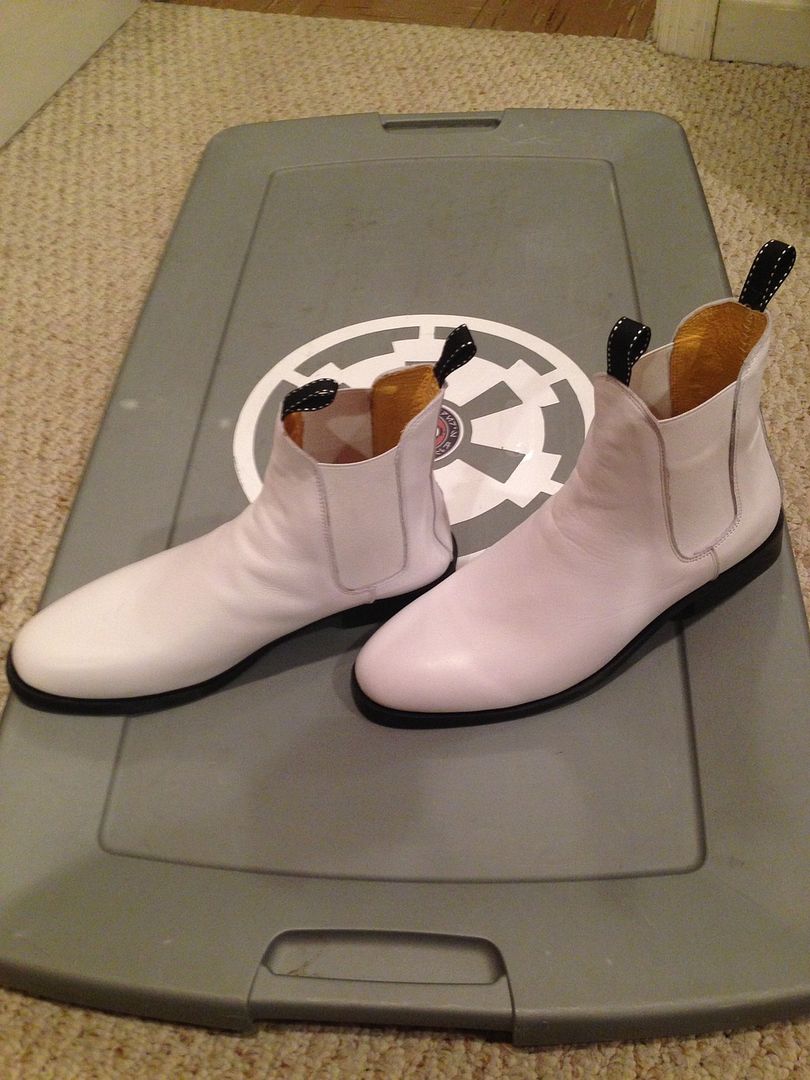
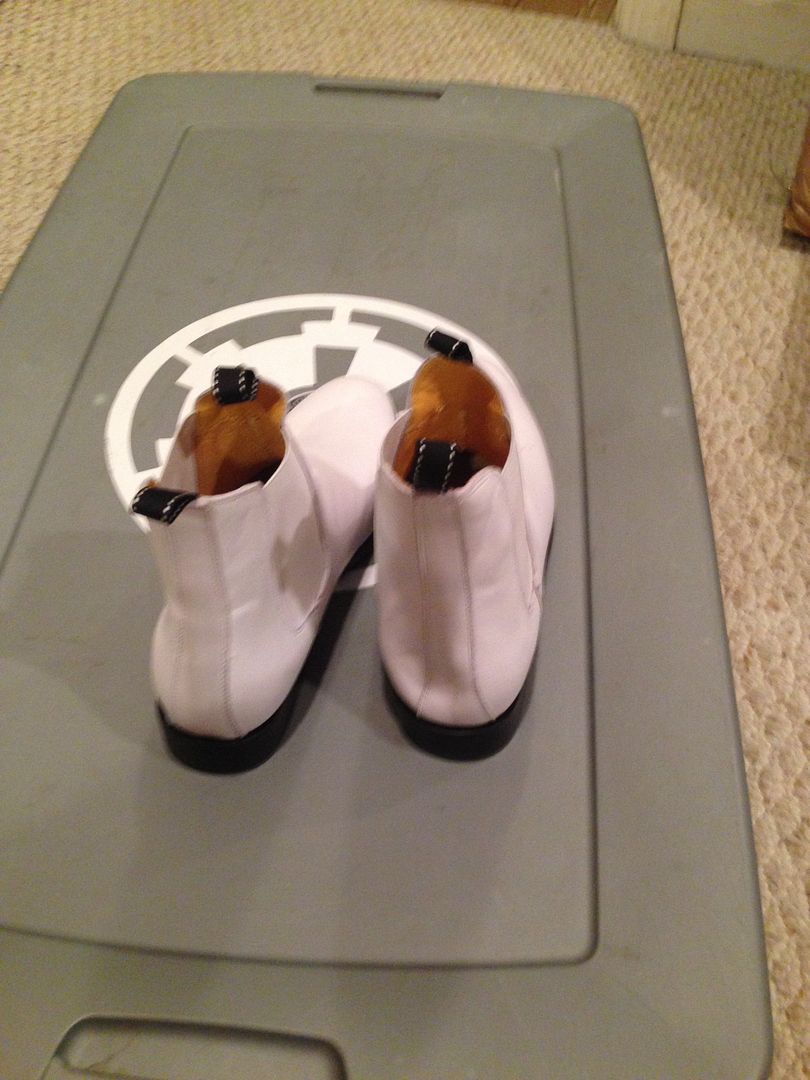
I have to check my boots, honestly I might need new ones - those are the only ones I had and they are from '06 so they might be outdated. I think they were CA Boots but again, from a long time ago. I am planning on getting new ones anyway, so that might speed things up.
The rivets do look washed out - that shot was from the first application and I've added more since then just need to give you a new photo.
The blaster is another original conversion I did from way back when, I wasn't paying attention to the details on that sorry! I have some other blasters, I'll see if they are accurate for EIB if not I'll forgo it until I get a new one. I am saving up for a Hyperfirm since I've seen two of our new recruits with them

Again, I apologize for not noticing the boot and blaster details ... I was so focused on the new armor and making it as accurate and up to EIB as possible I didn't think twice about the "old" stuff I was using hahaha! I'm glad that the new stuff I did seems to be okay then though

-
Hey Bro, on your AM 2.0 are there two different shoulder bells?
Yes, they are definitely shaped differently... I can grab a shot of which one I made left and right, basically I fit them and chose what looked best hahaha, not sure if there is actually a standard. The center line of each kinda curves towards the back on mine

-
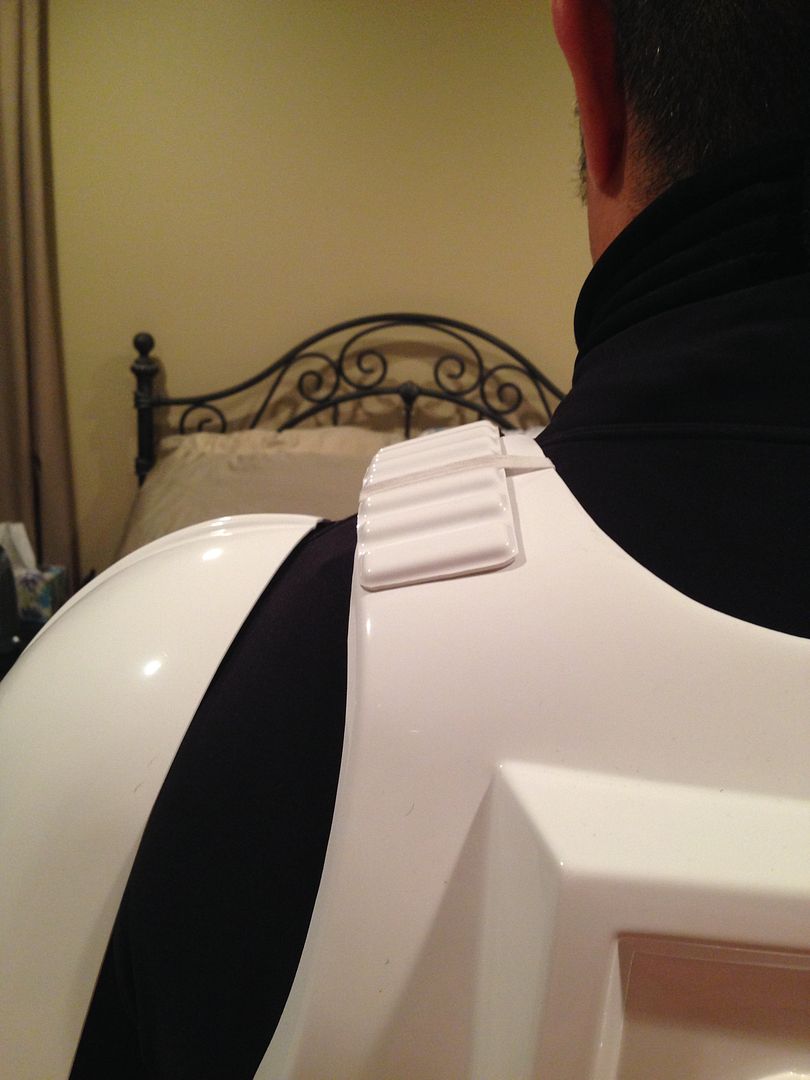
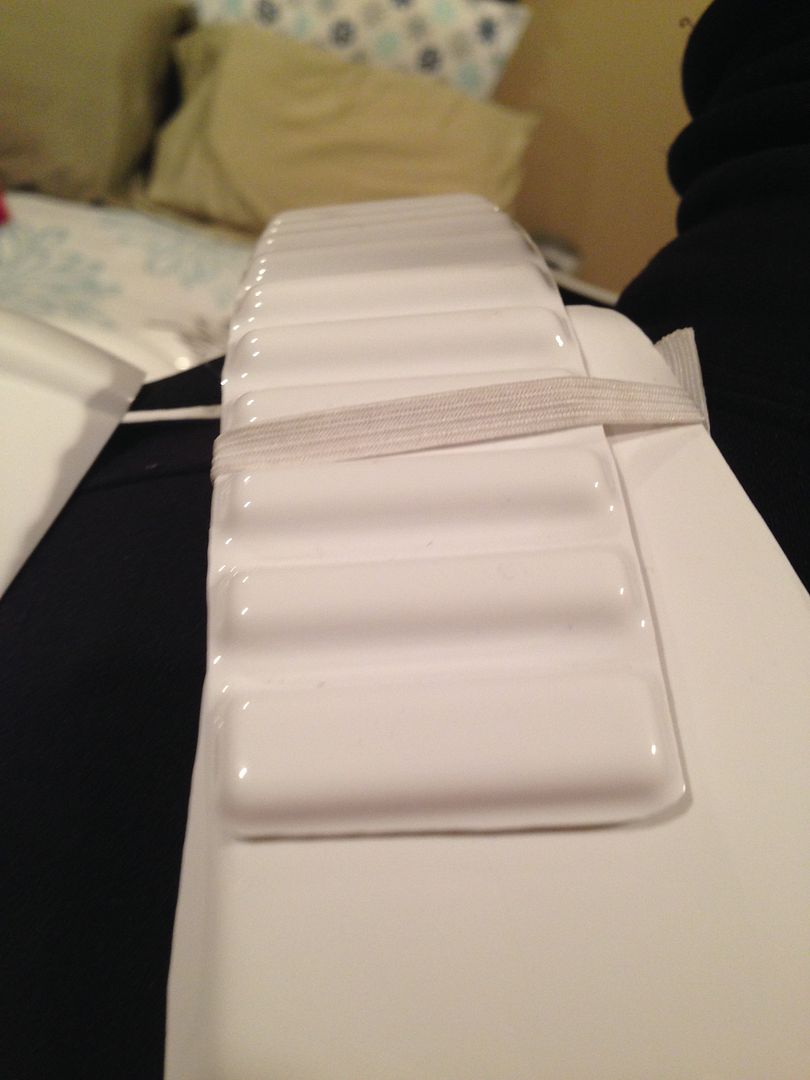
Here was the placement of my shoulder straps. You can see it's about 5 or 6 "bumps" up:
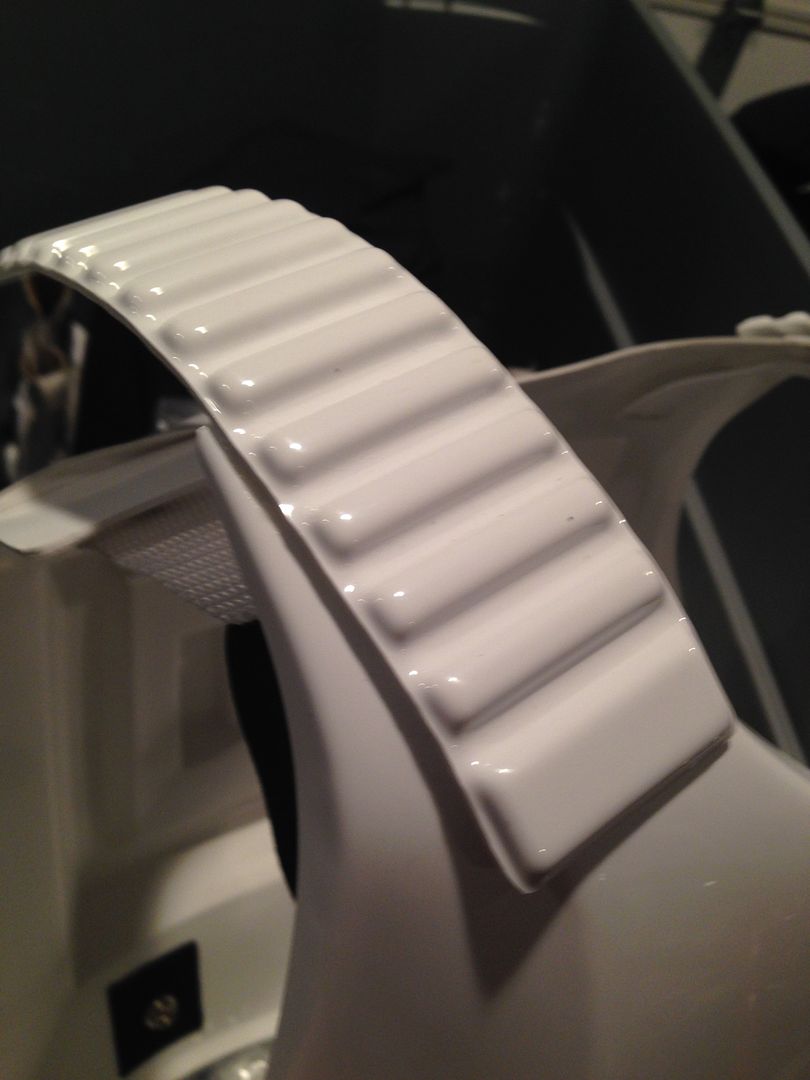
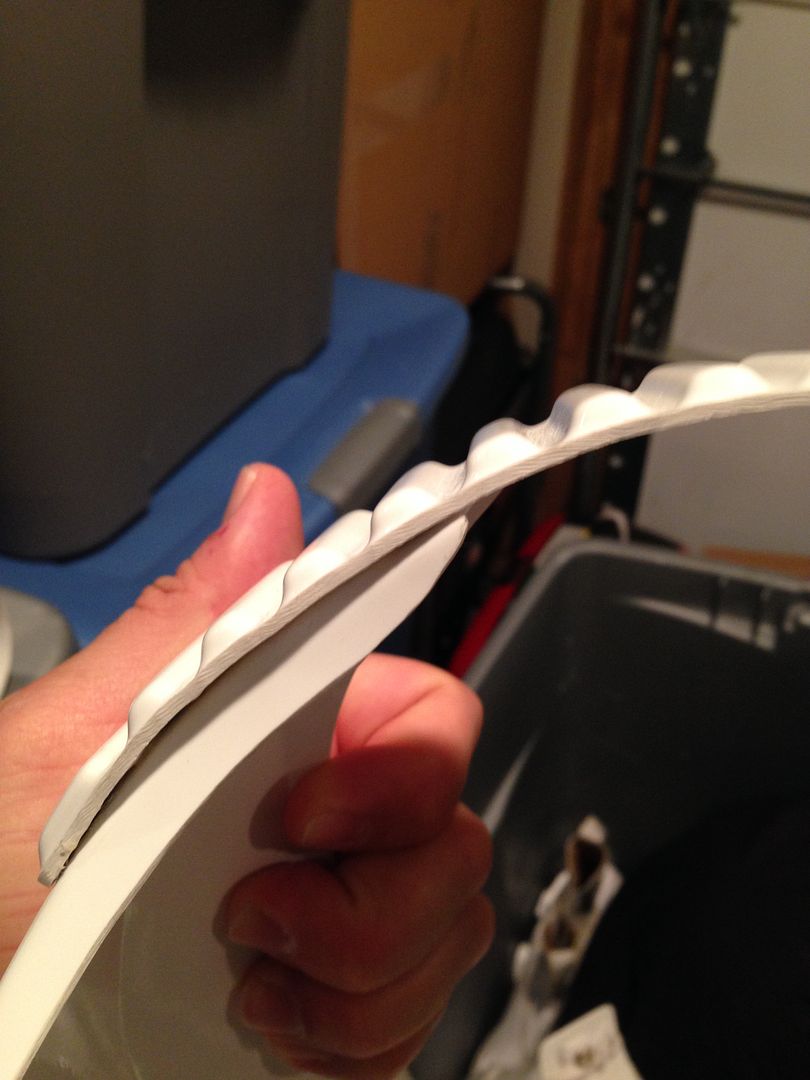
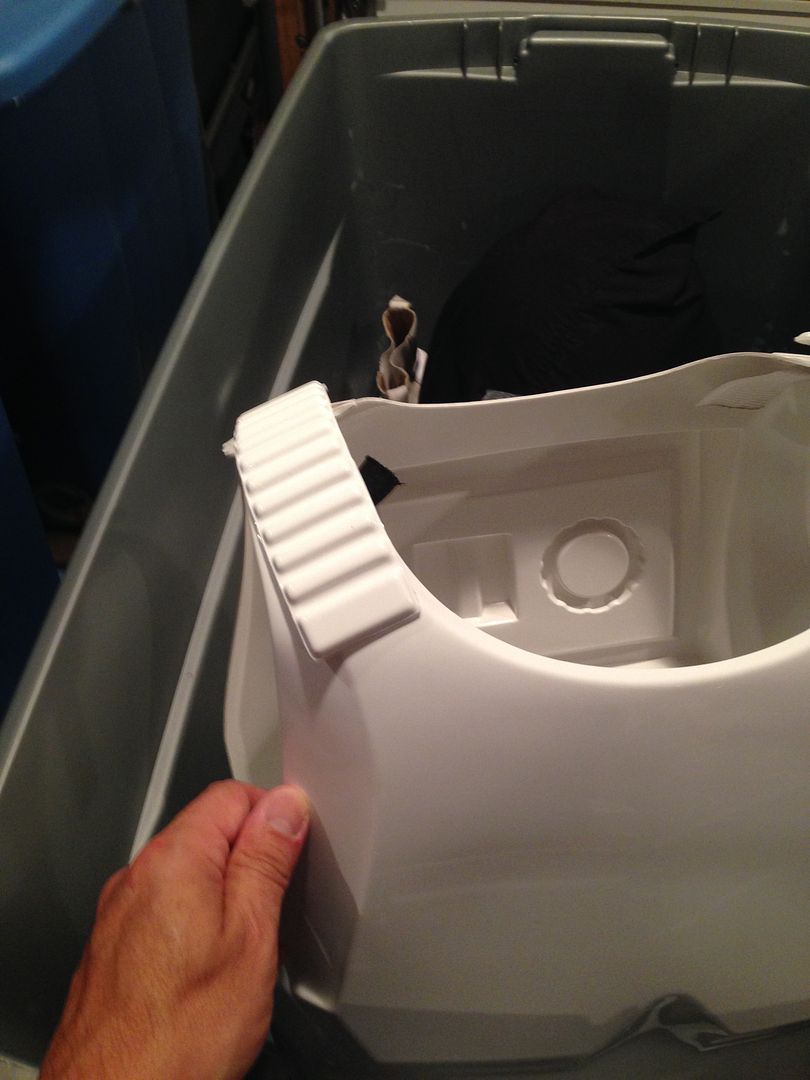
We're doing a new recruit's Shadow Trooper AM 2.0 kit and although it wasn't planned and built several months later, his ended up being about the same spacing:
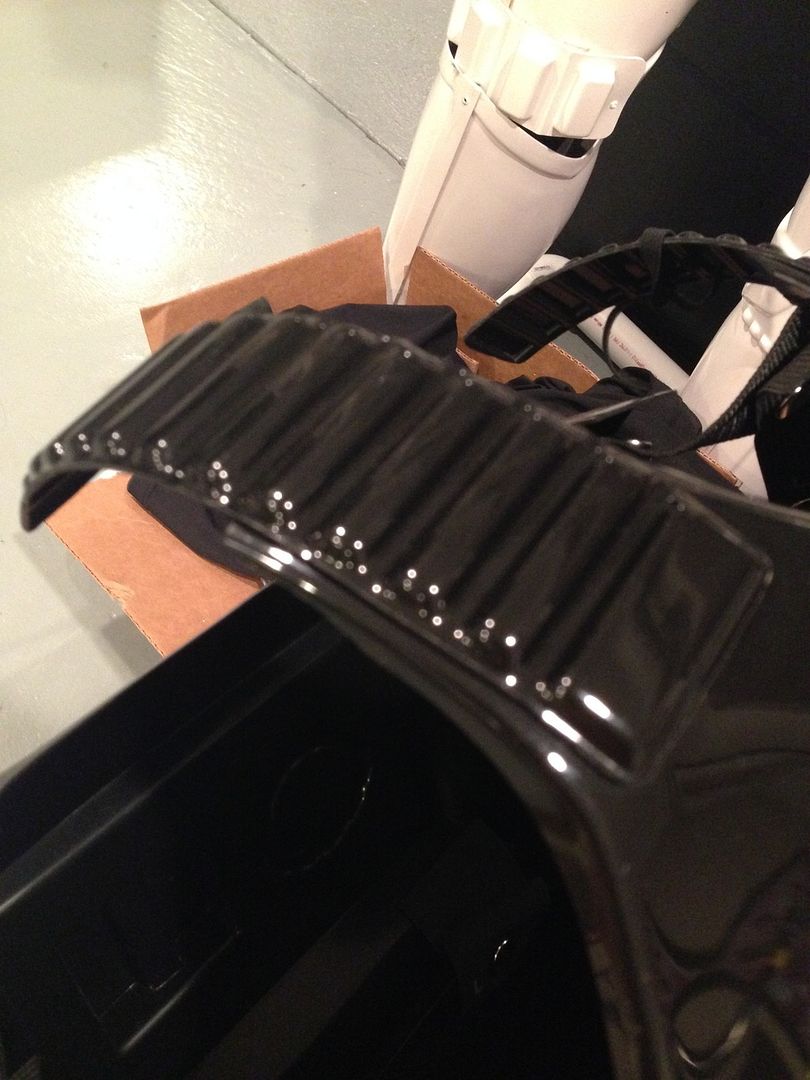
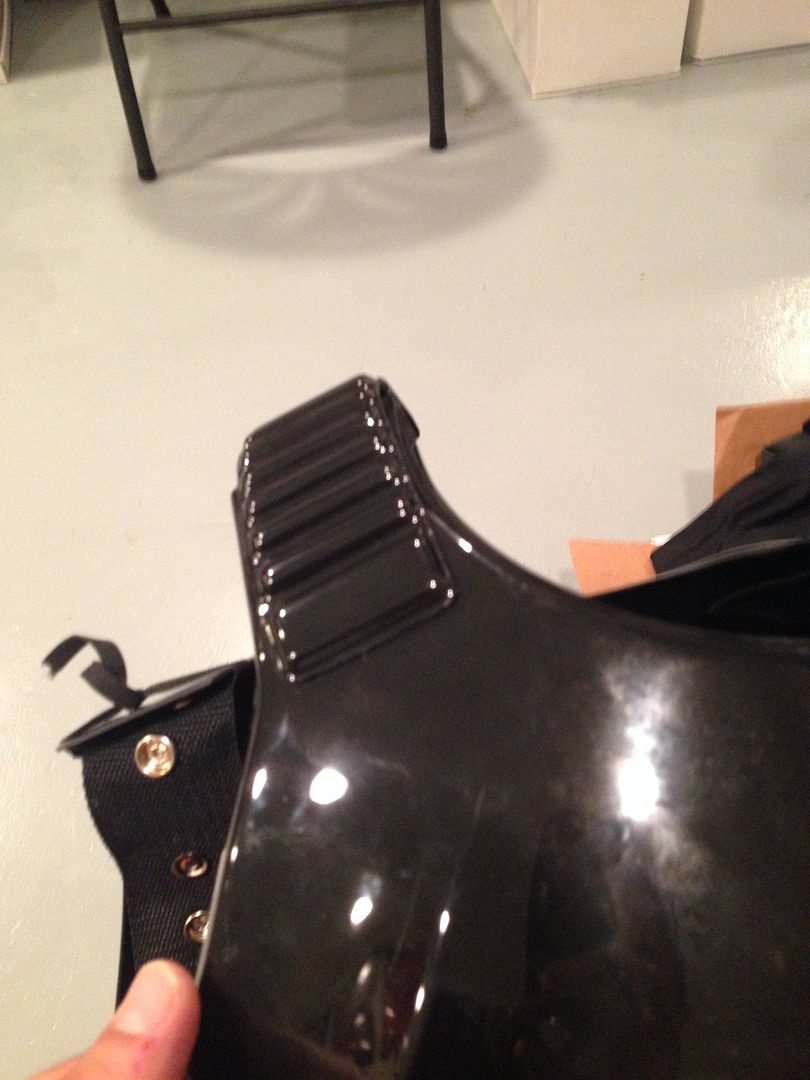
And here is how I tapered my back/chest at the shoulders. I basically found center of the armor and measured so it would be about 2 inches total (so one inch in each direction from center):
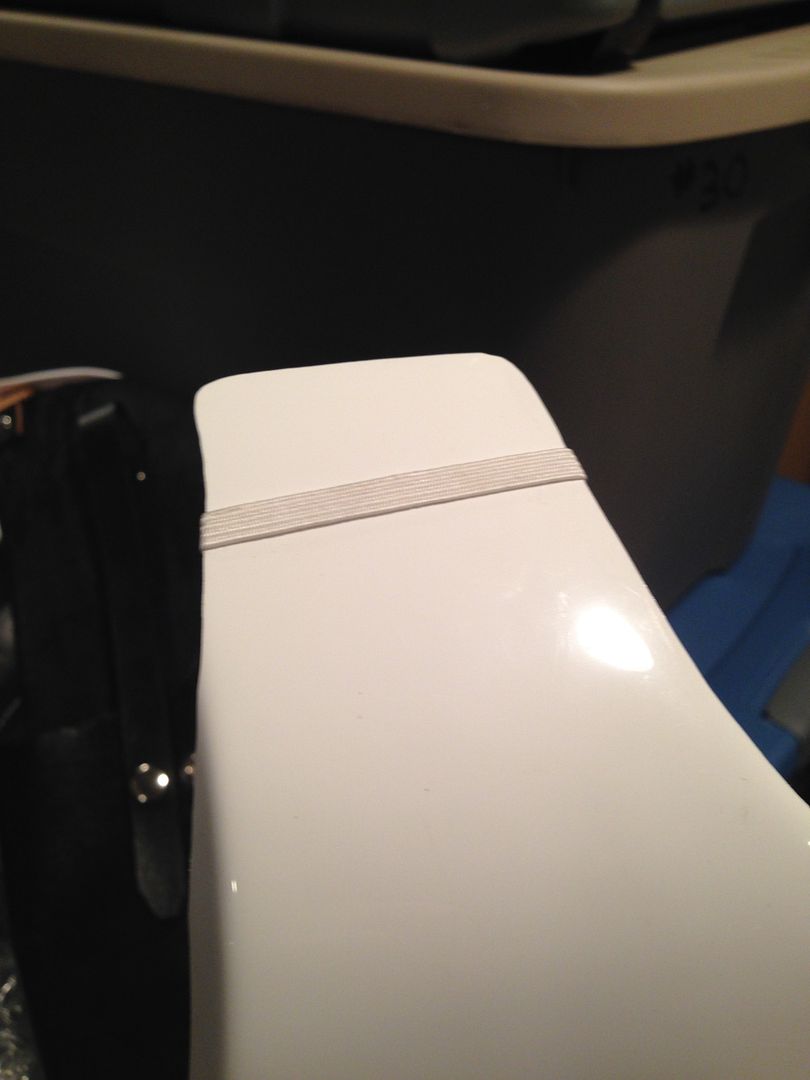
Hope that helps!!
-
 1
1
-
-
Hey Bro... I've been using your threads to build my am 2.0.
So far so good... My limbs look great and I'm waiting on some supplies before gluing. I'm starting to look at the chest plate (AM 2.0 chest plate is screen accurate as far as I know - they changed the design)
I have a few questions sir:
Could you help me with the shoulder strap placement? Is there a standard. Centrion etc?
How much did you trim from each side?
The back plate straps are wider then the front plate. should they be the same width?
How much room needs to be between you and the chest plate?
I tried pm'ing you but you are not excepting messages at this time. thanks!
Sorry man, got tied up with work and some troops

I have another event this morning so I'll pop back in later with some photos but quick answer:
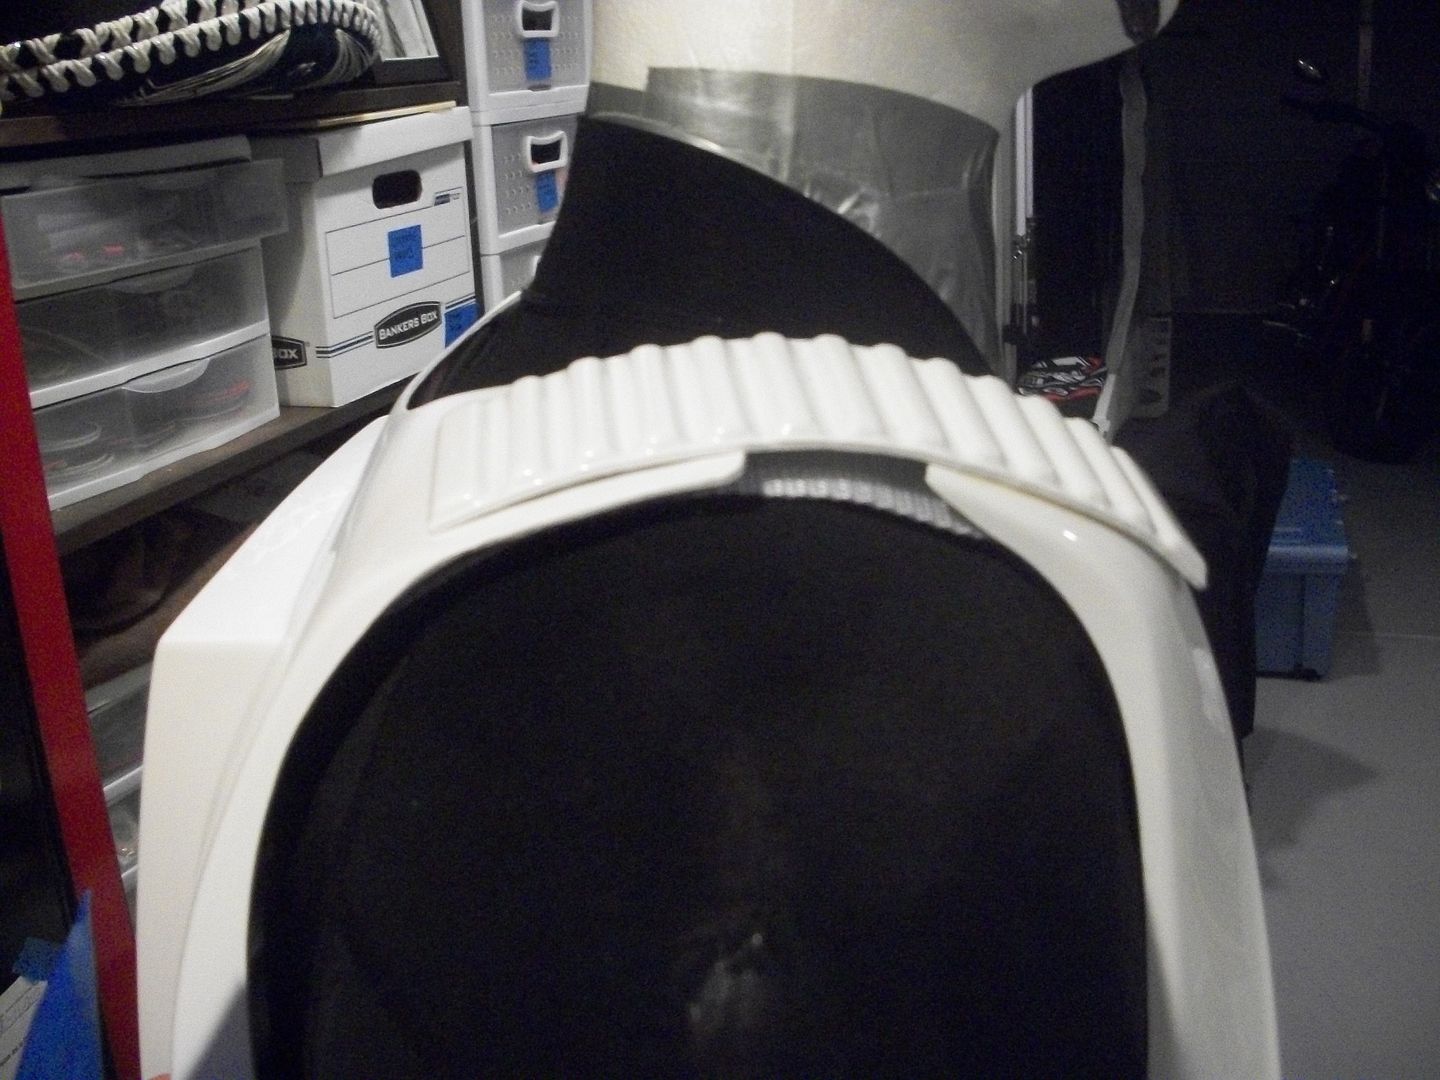
1) Shoulder strap placement - I don't think there is an exact "measurement" but I tried to place them in a spot that simply looked good. Not to far up, but also leaving enough room so that they extend over the back evenly. I imagine because each person's physical build is different where they sit might vary slightly, but I think it was about 5 bumps up on the hard plastic strap - meaning if you count the bumps from the bottom, the end of the chest armor (top) was between the 5th and 6th bump. I'll throw in a photo later

2) I trimmed pretty much all the way to the bumps on all sides.
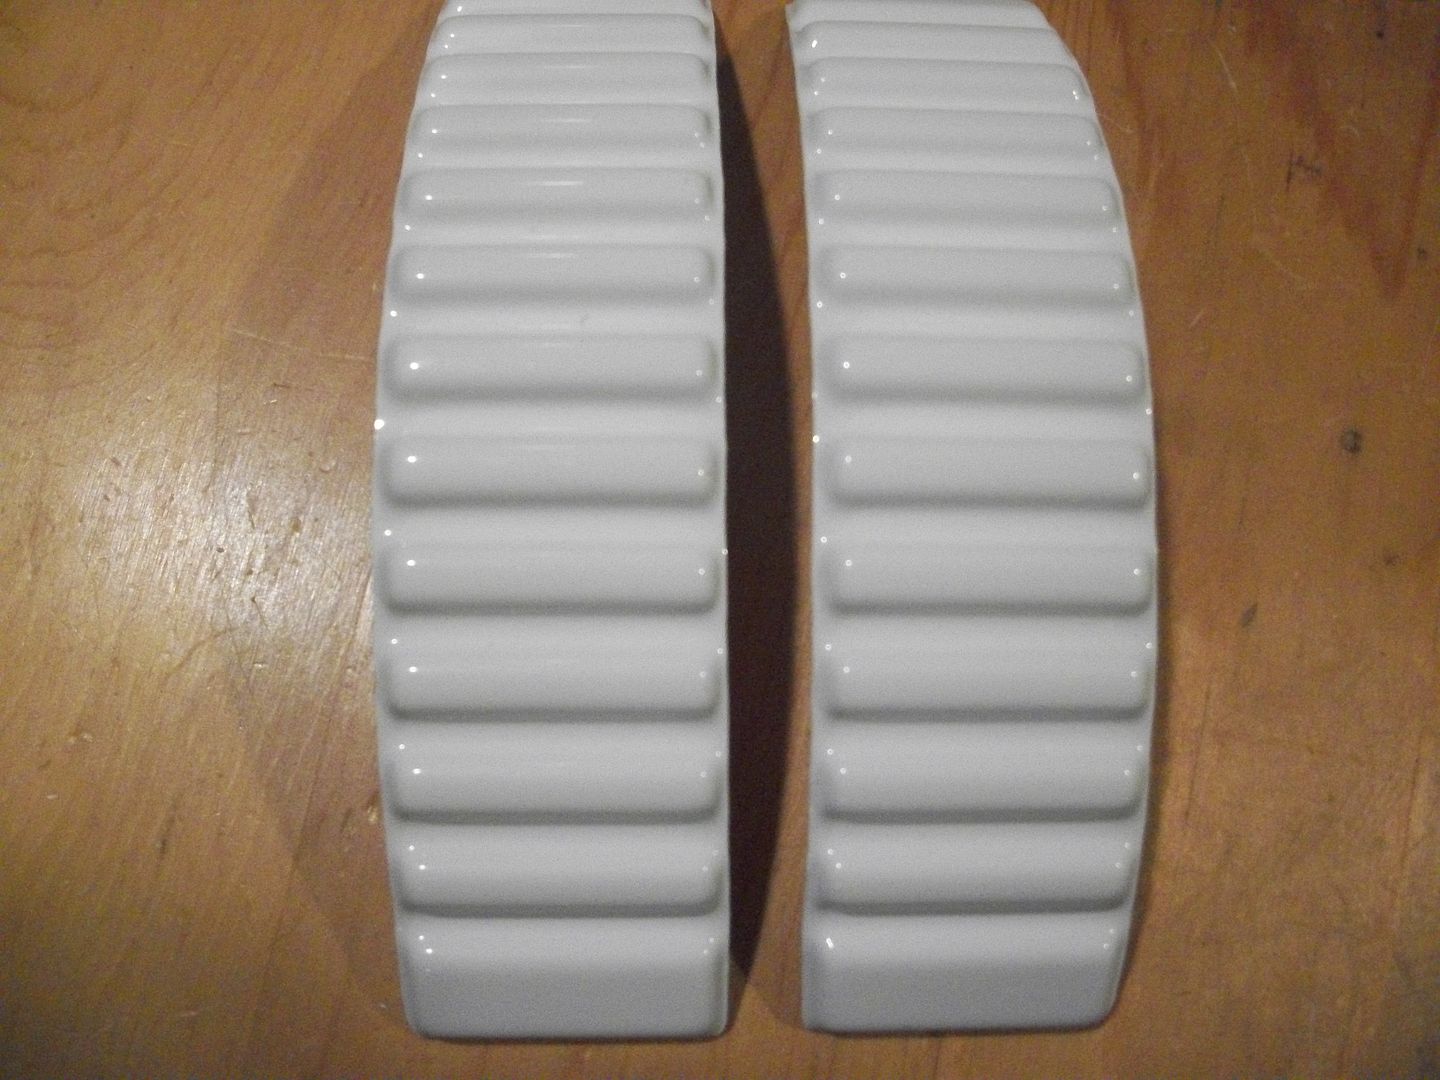
3) Back plate was definitely wider, I ended up tapering them to 2" - I found the center then marked out the measurement then slowly cut away and dremeled until it was even.
4) I think about an inch or so between the chest and back plate. Enough to see the difference but not a ton.
-
 1
1
-
-
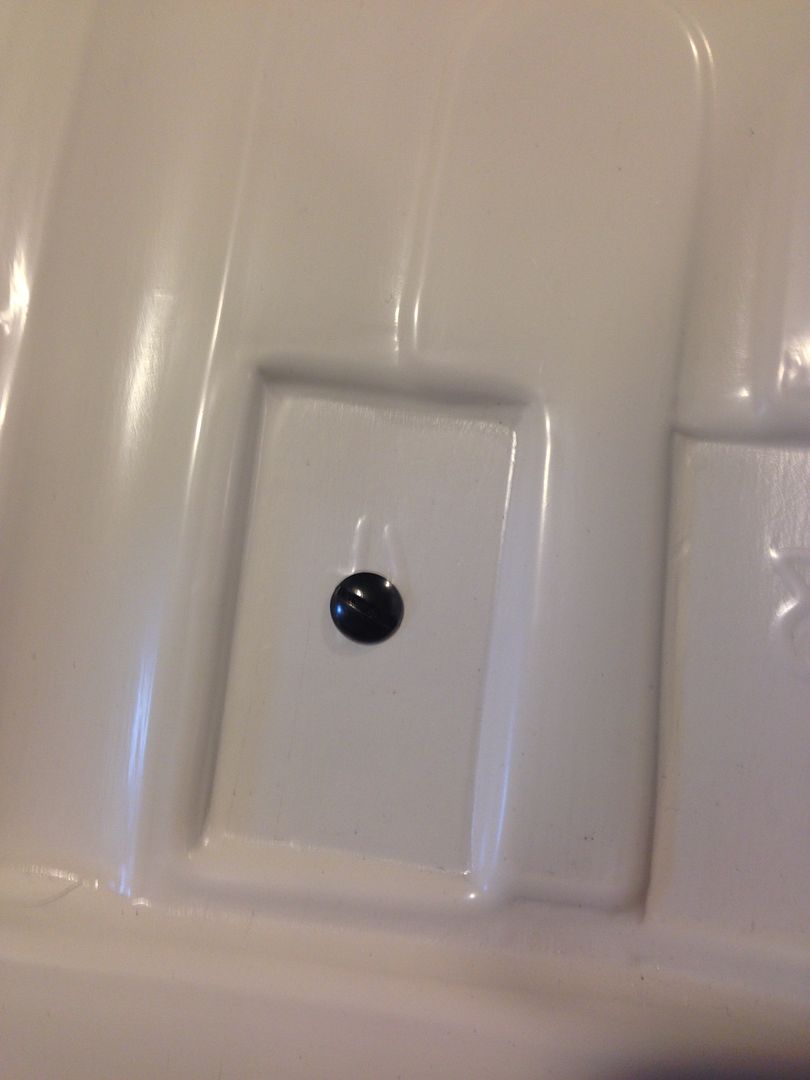
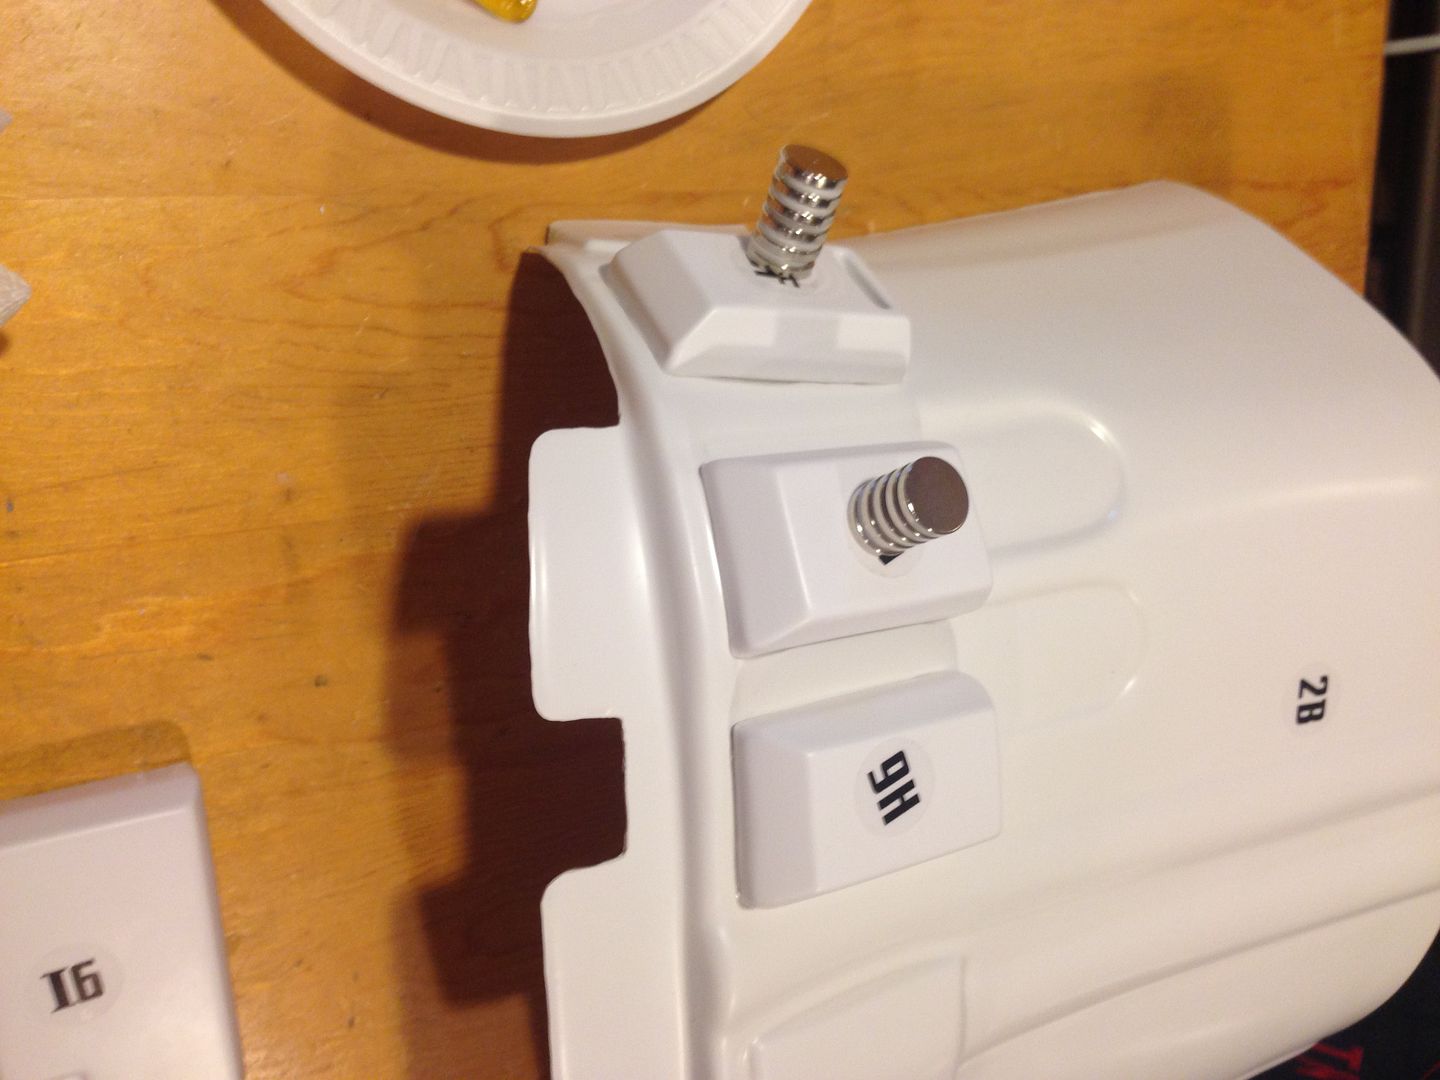
Though I haven't posted the info on my boxes yet I simply glued nylon bolts to the inside of each box, drill a hole in the ab where the bolt ran through and is secured on the other side with a nylon nut. My two cents
I actually did almost the same thing.... another guy had a bunch of chicago screws left over so I rigged up some spacers with extra plastic, put in the screw, lined it up and glued as an extra support. I'm happy with how it came out

Inside:
Outside:
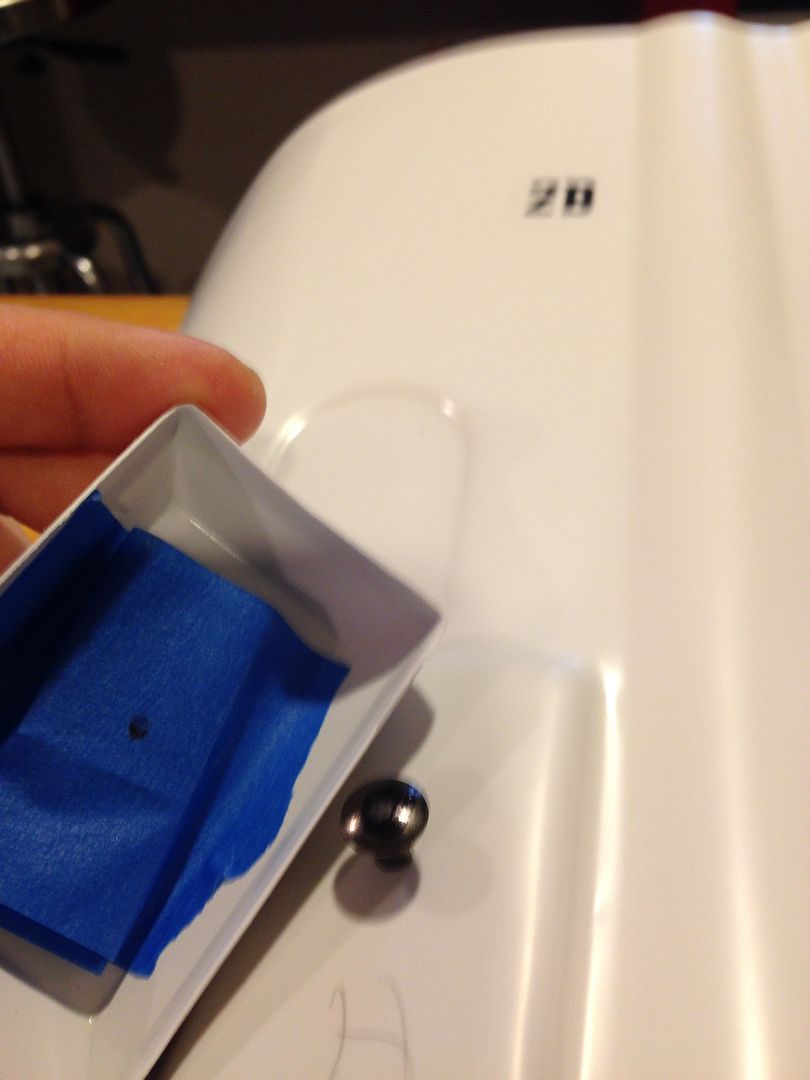
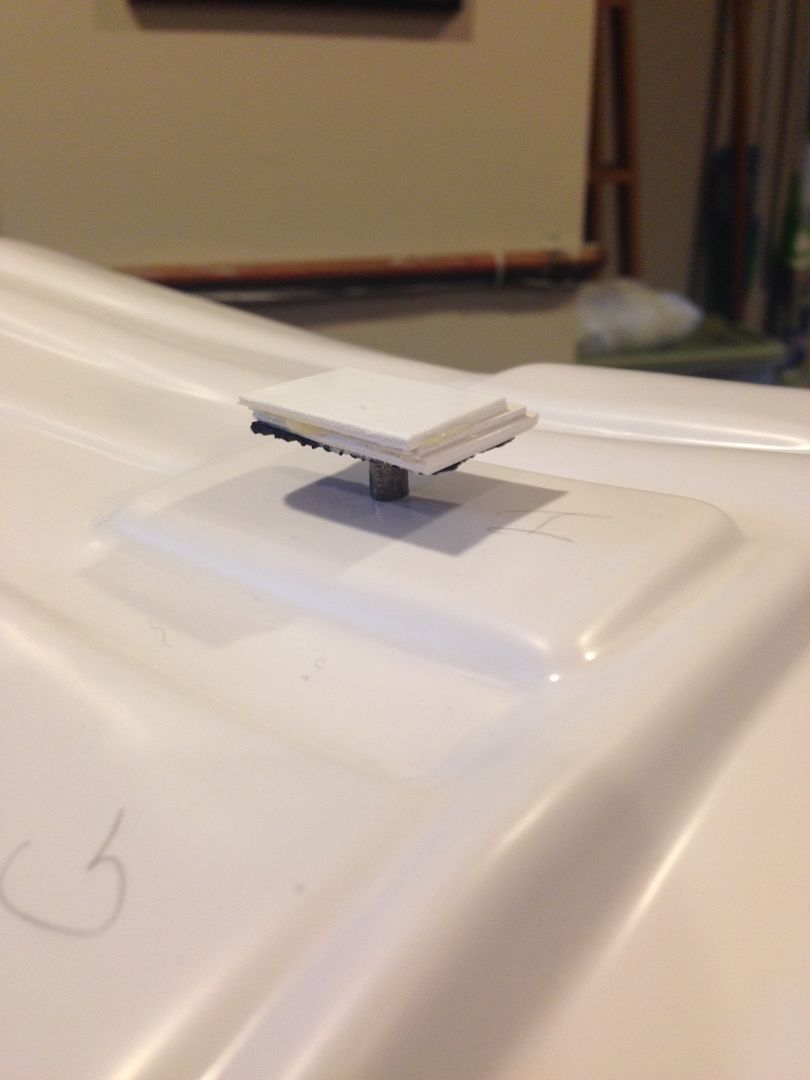
I used plastic weld and it seems to hold very nicely, I doubt I needed the extra support but it makes me feel safer lol.
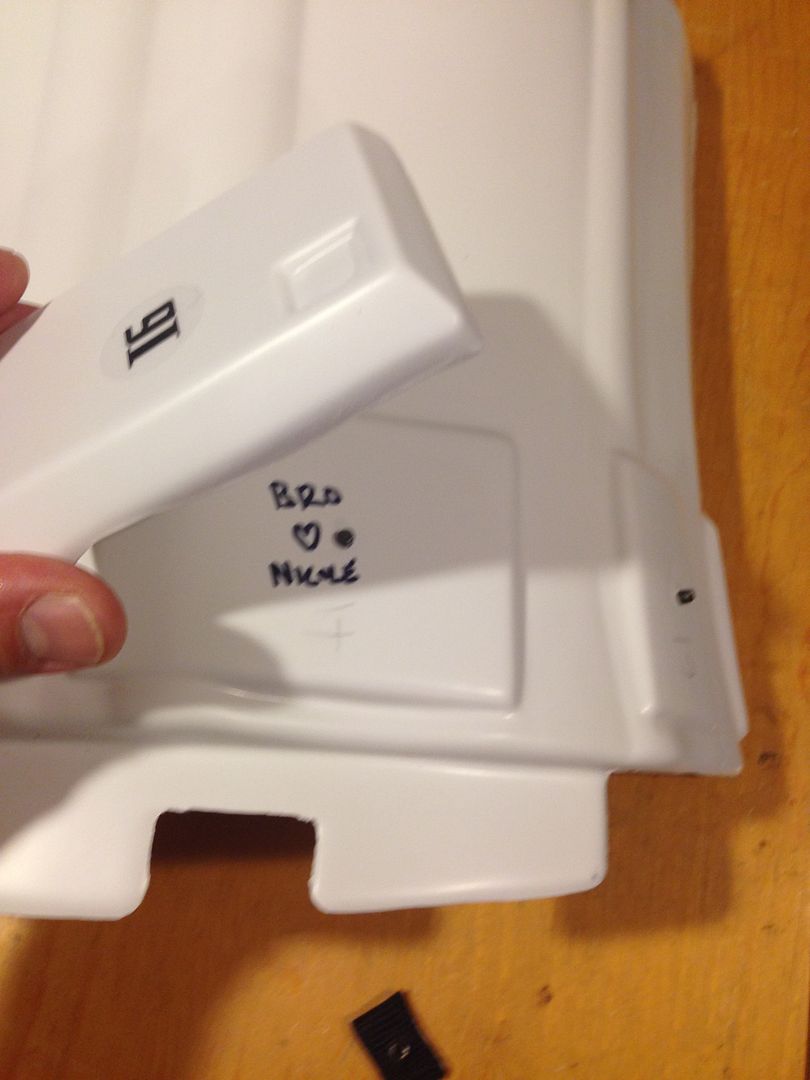
I also write a love note to my wife hidden somewhere in each costume I build hahaha!! My TK has it in one of the drop boxes, here I put it under the big ab box
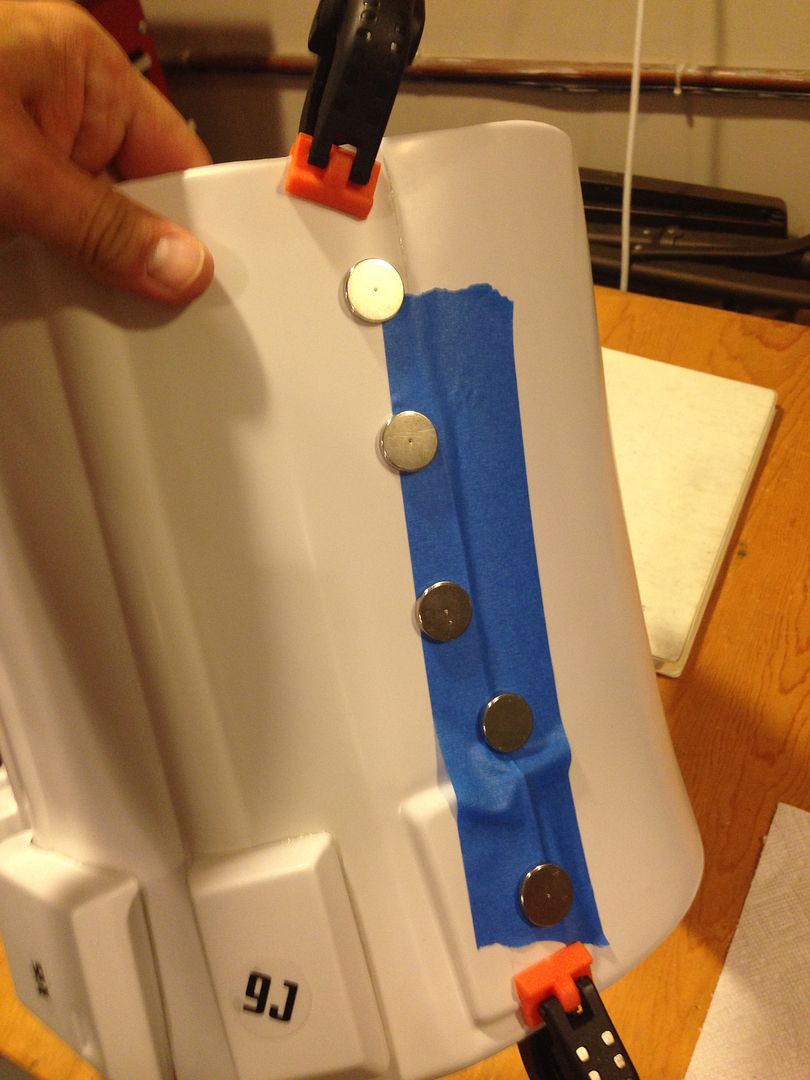
I also got the kidneys put on:
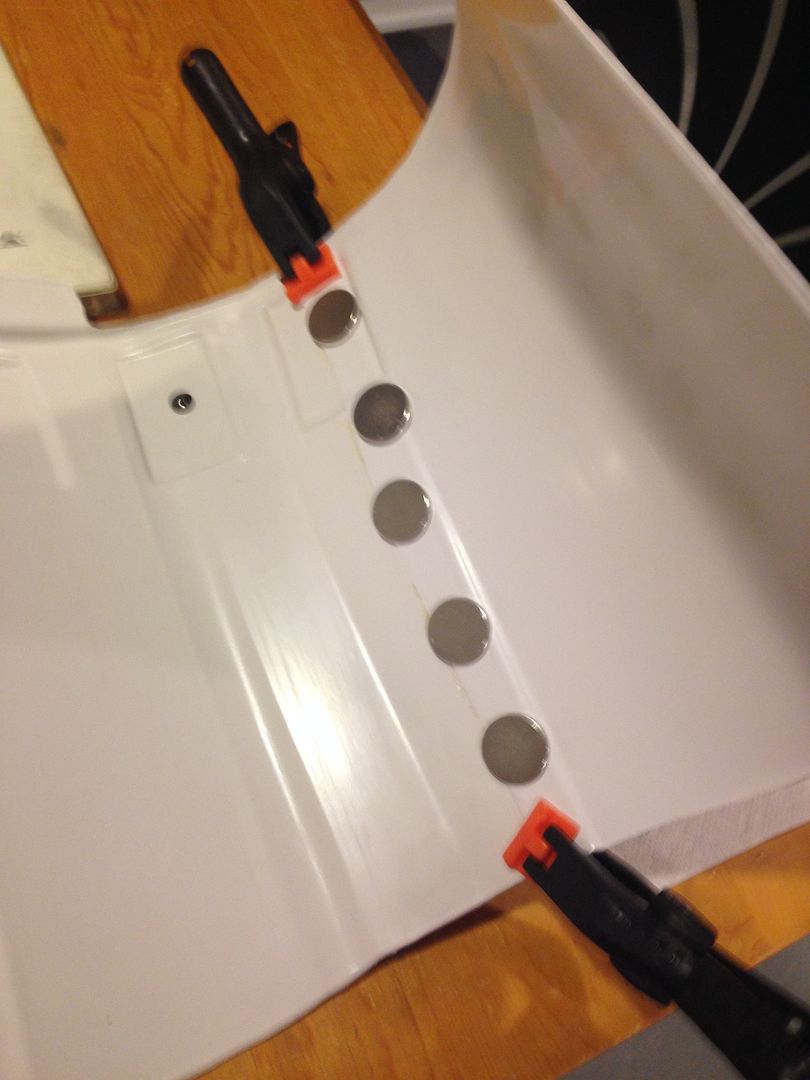
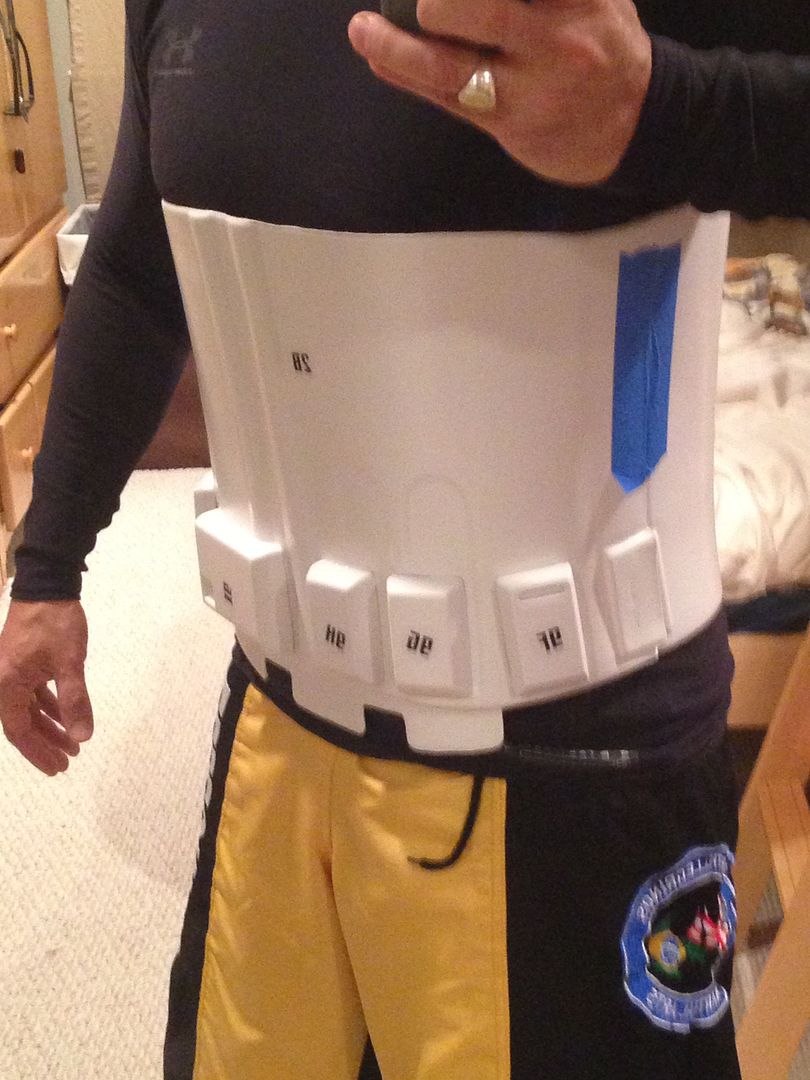
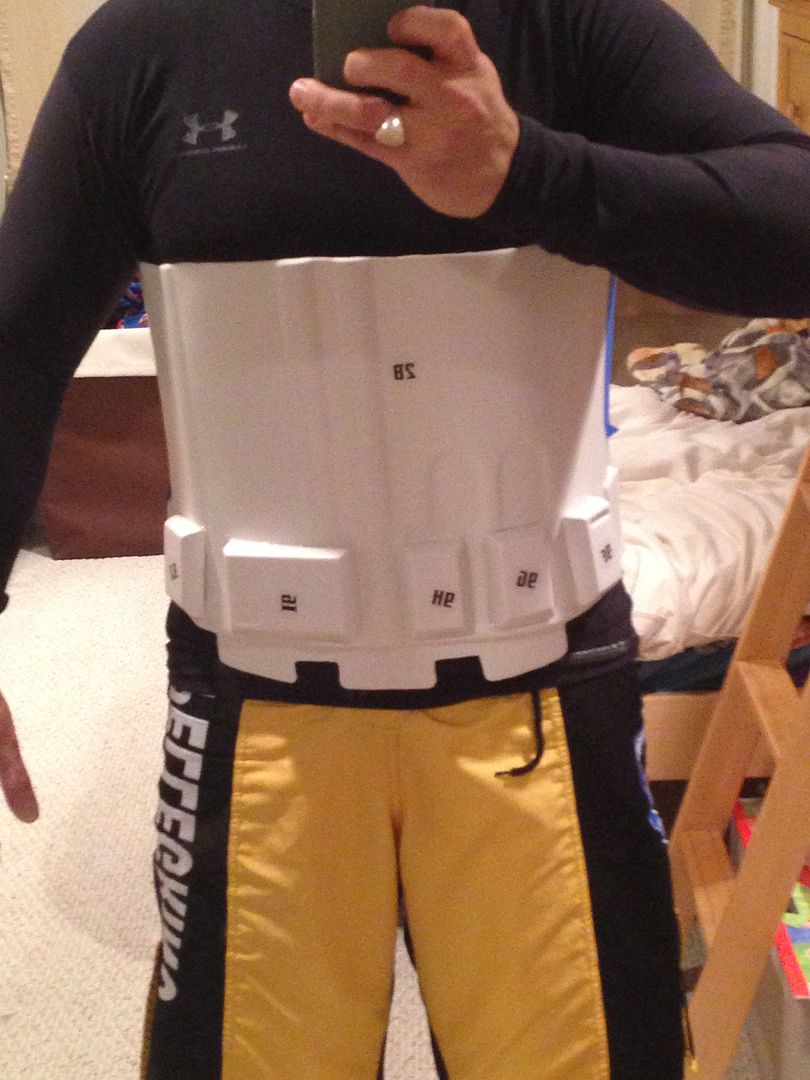
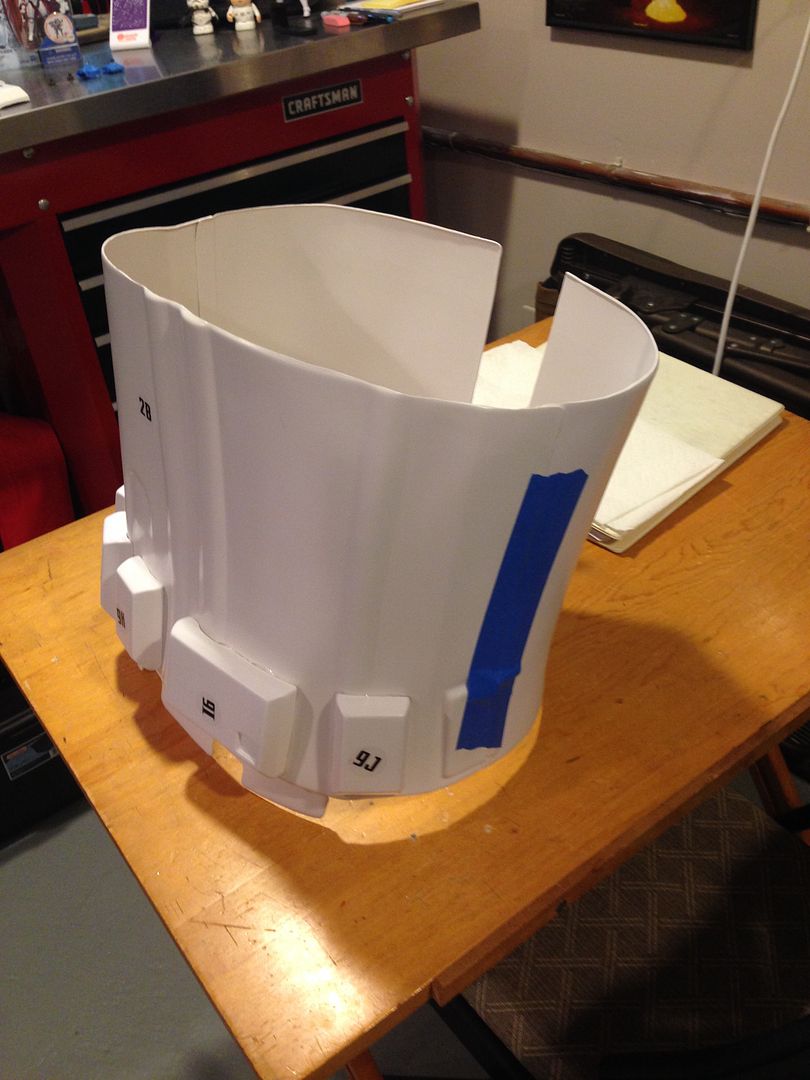
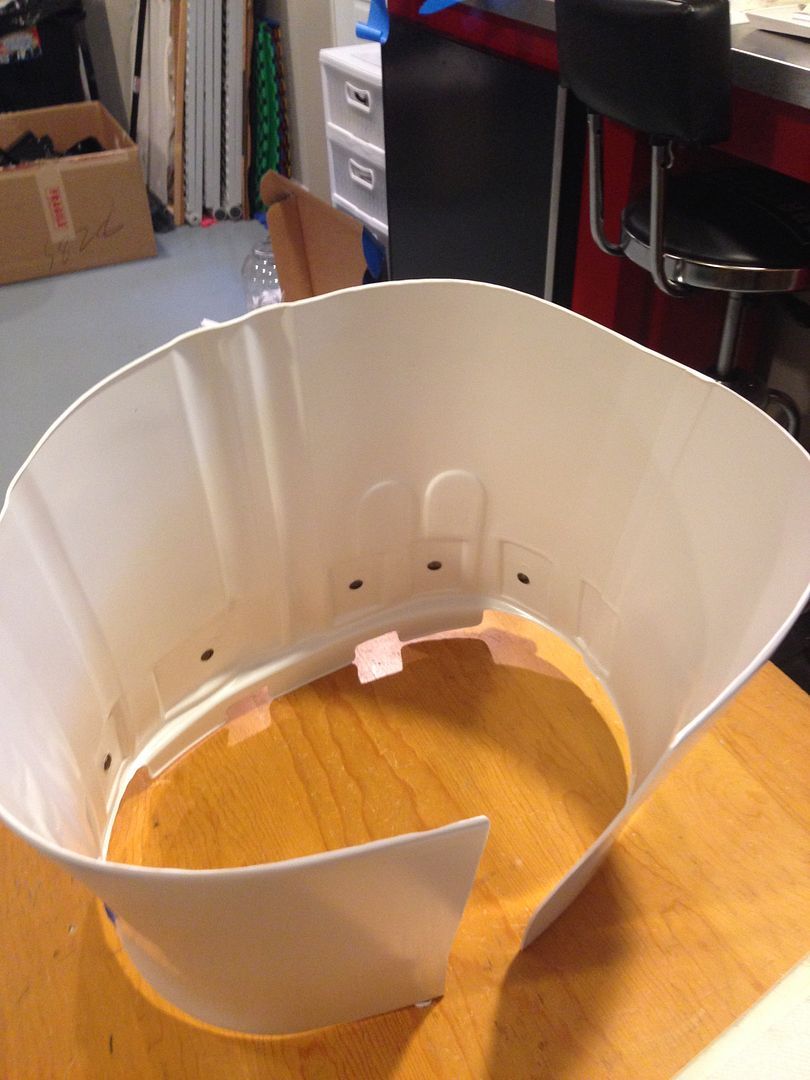
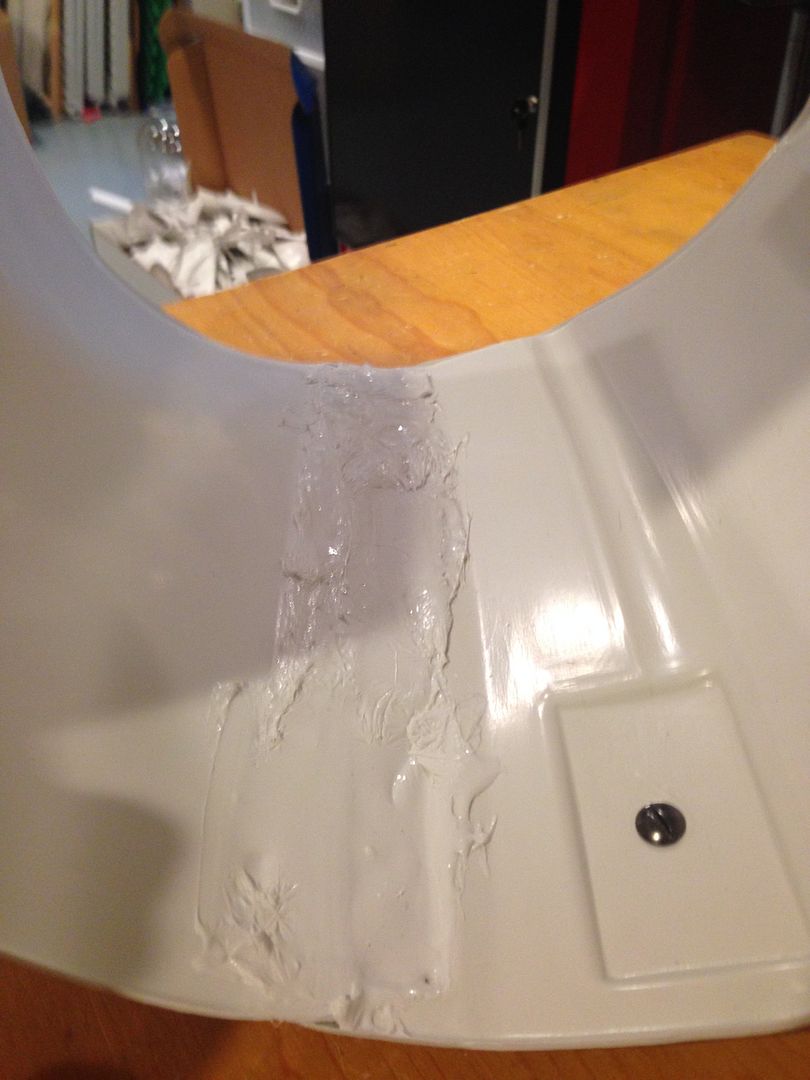
I know it's a "debate" over the type or thickness of plastic in these kits, lol, but I don't know enough about ABS vs HIPS to know the difference. I will say that although some parts are pretty darn thick, some are also paper thin. When I went to put this on the slightest flex made some serious creaking and cracking noise, so I reinforced the seam with a ton of ABS paste. Didn't clean it up yet but it's on the inside so I'm not to worried...
-
Be careful though. When you trim the butt point. You will need to extend the crotch strap or it will be to tight and cause diaper butt.
Yeah, I thought of that, it would be an easy enough fix... I have some extra split rivets if need be I can take it apart and re-do it, but I also left extra space on the snap end of the elastic while building so I might be able to fit in another snap. I can also sew so another fix would be add another piece of elastic lol. thanks

-
Yep. that's where it should be trimmed. Where you have the snaps right now is just extra plastic left from the vac-forming.
To be fair, AM is far from "trimmed" out of the box. They should either stop saying that, and/or make a better job of indicating where to trim.
Yeah I understand that thanks, should be an easy fix I can cut that off and add new straps and re-do the elastic if needed

I get that "trimmed" part too, I let guys know it's cleaner then some raw kits but still needs to be cut to fit you so it's not really trimmed out of the box lol. I also tend to only suggest AM kits for our bigger guys and most of our new recruits have been monsters, like well over 6' and well over 200lbs, so it was good for them. I'm not tall but I am solid hahahaha, and I do like how thick the kit is so when I saw one up for sale I jumped on it. I'll probably never hit Centurion level because of some of the fit issues being a larger kit on my size, but wanted to add as much accuracy as possible with my build. Plus it was fun.
-
 2
2
-
-
Nice work on the assembly. But I have one comment on a common mistake with AM armour. You've trimmed your buttplate incorrectly. If should be trimmed at the indicated line.
It shouldn't affect your EIB, I'm just tired of seeing people make the same mistake over and over.
Wow how did I miss that? So basically where my snaps are would be cut off... the red line should be where it is trimmed? I can actually fix that no problem, I feel silly but also thought that was a little tight and close in there hahaha! Thanks man

-
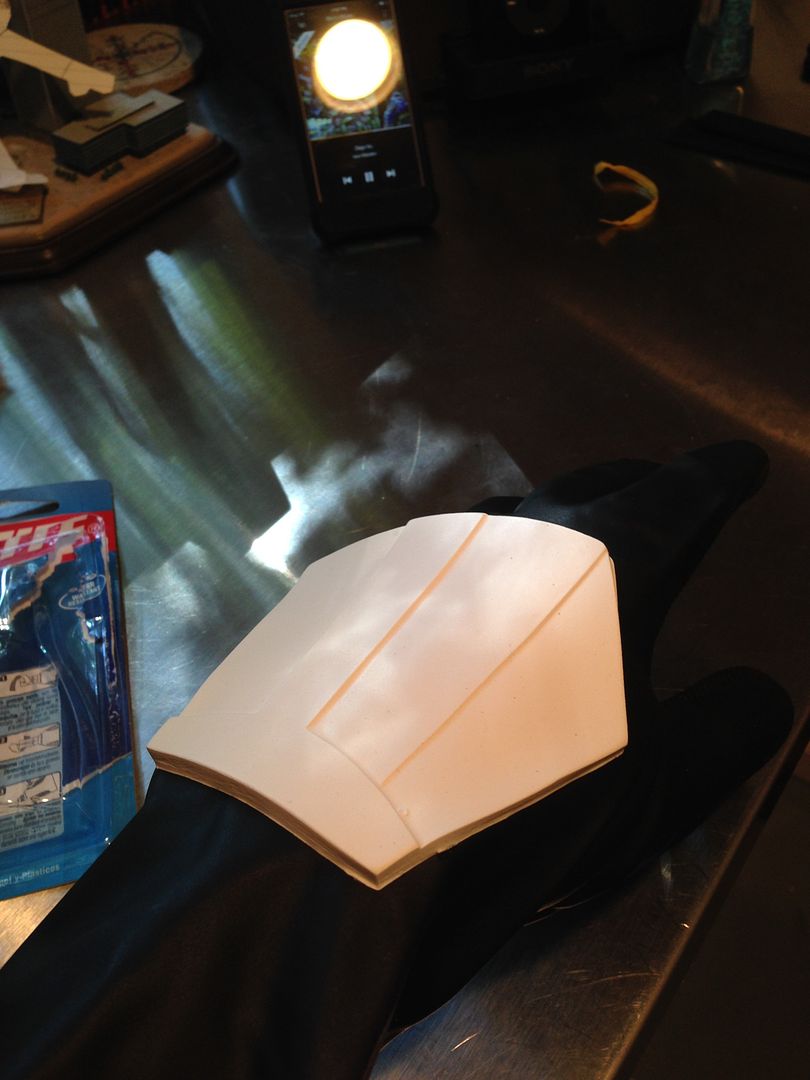
I know I have more in there that is necessary for EIB but would like feedback on the accuracy and look of all the extras. Also, I took the green sheet shots with my hard handplates, I hadn't assembled the rubber ones at that time but have since completed them and added the photos. Hope I submitted this correct, thanks!
-
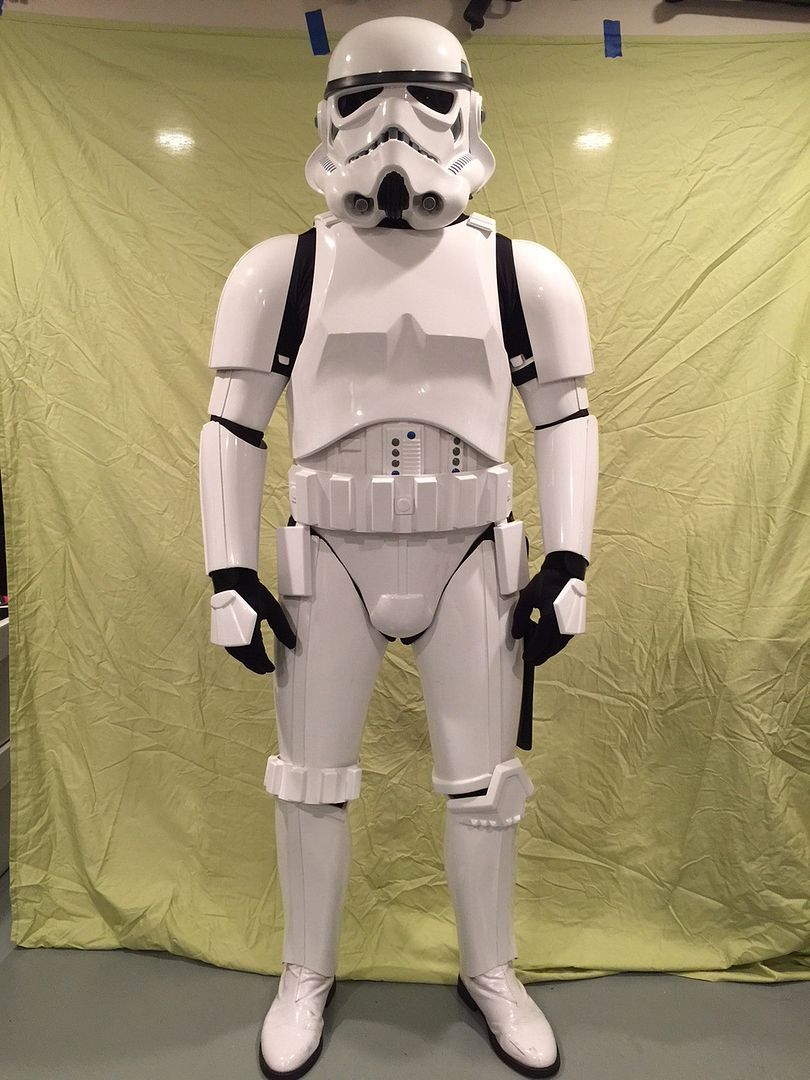
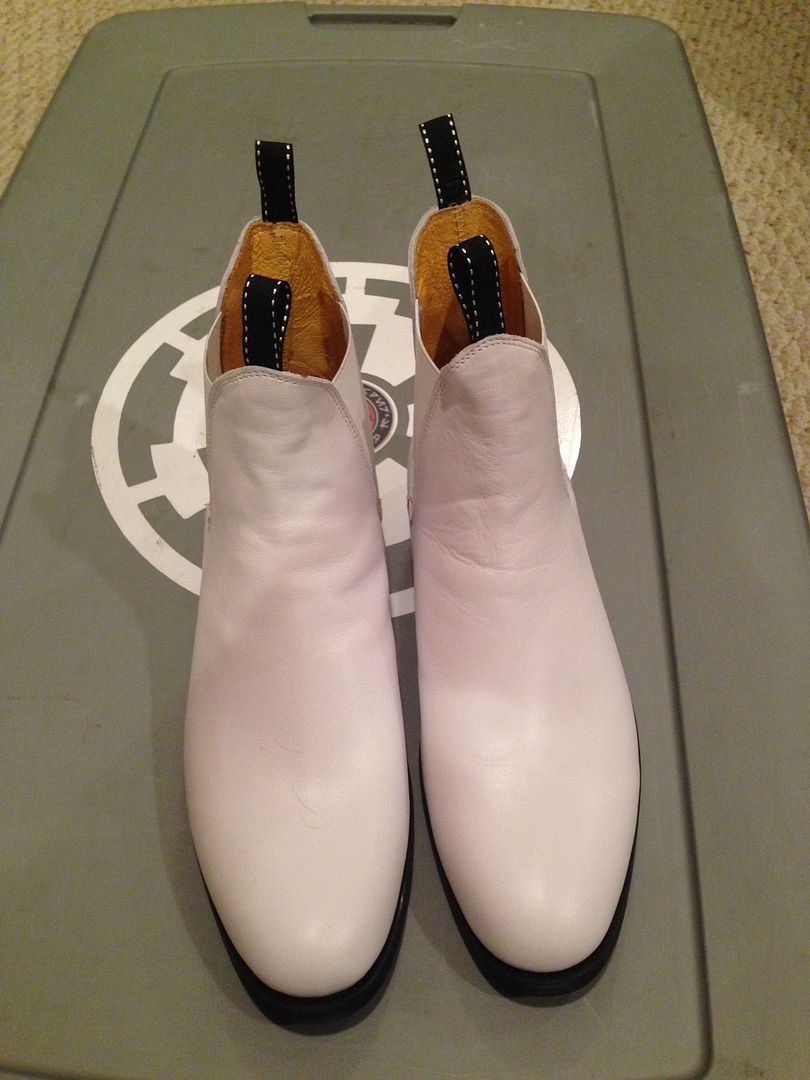
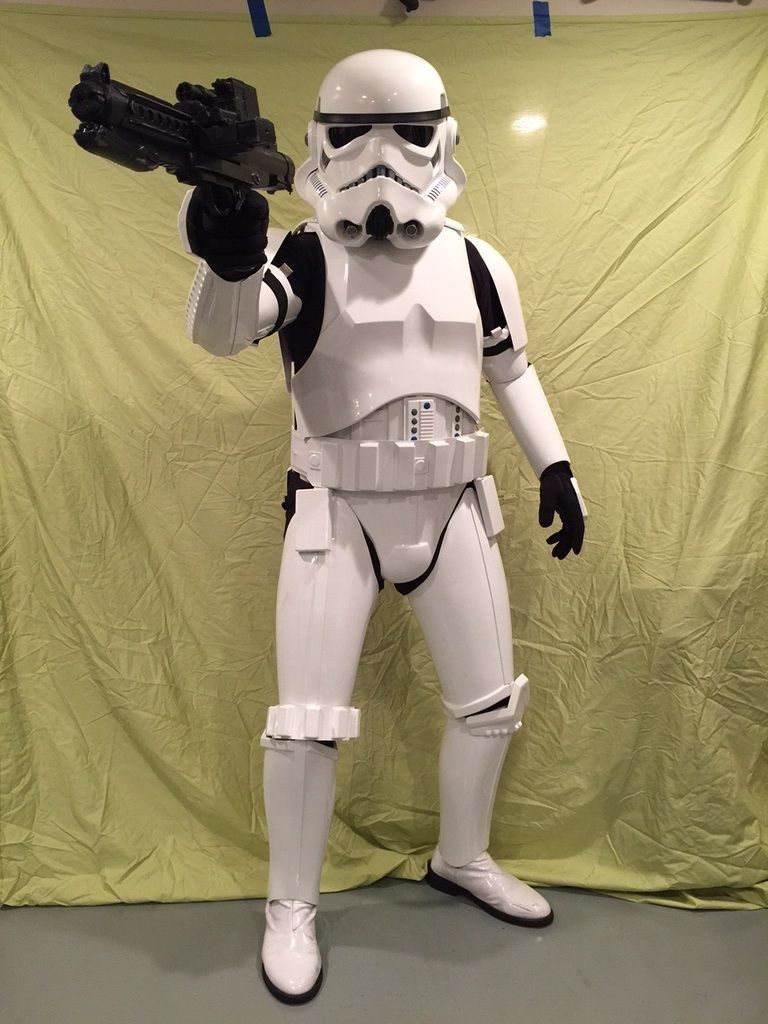
Name = Terry BrowningTK ID = 8869FISD Forum Name = Navajo BroGarrison = Northeast RemnantArmor= AM 2.0Helmet= AM 2.0Blaster= HyperfirmHeight = 5'9"Weight = 190 lbsBoots = Imperial BootsCanvas Belt = TrooperBayHand Plates/Gloves = TrooperBay plates / "Firm Grip" neoprene long cuff blackInner Drop Boxes = AM 2.0Holster = AM 2.0Neck Seal = from old TK, believe it was made by "costume junkie" '06FULL BODY FRONT:
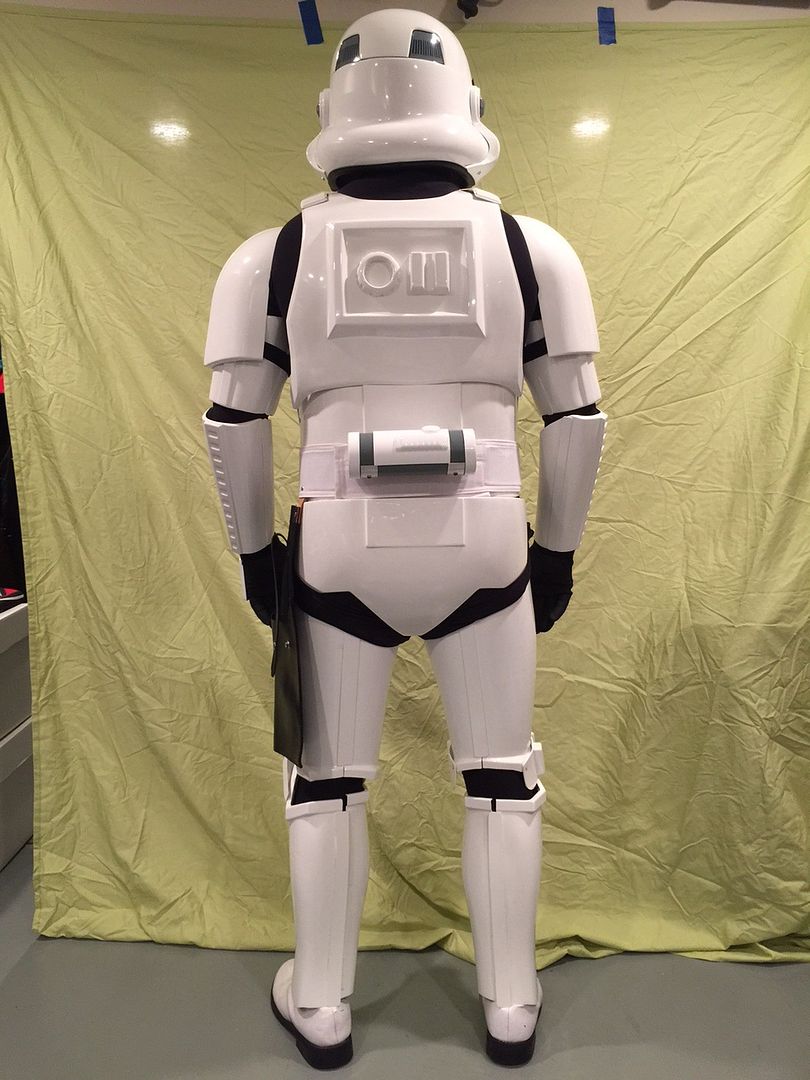
 FULL BODY BACK:
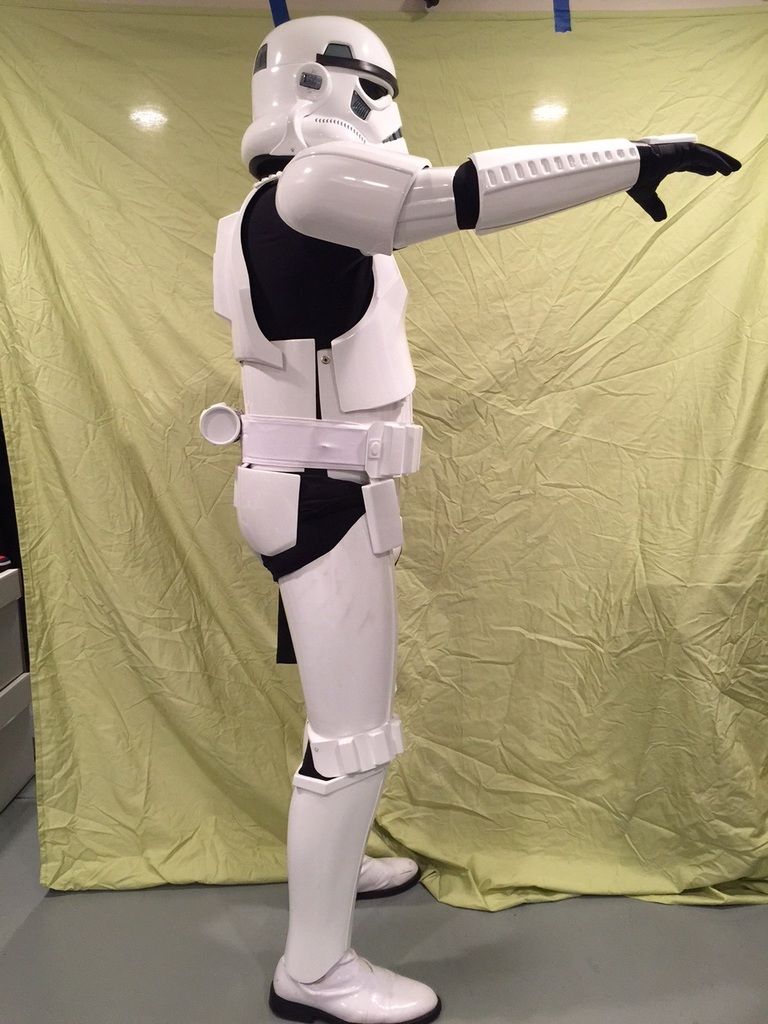
 FULL BODY RIGHT:
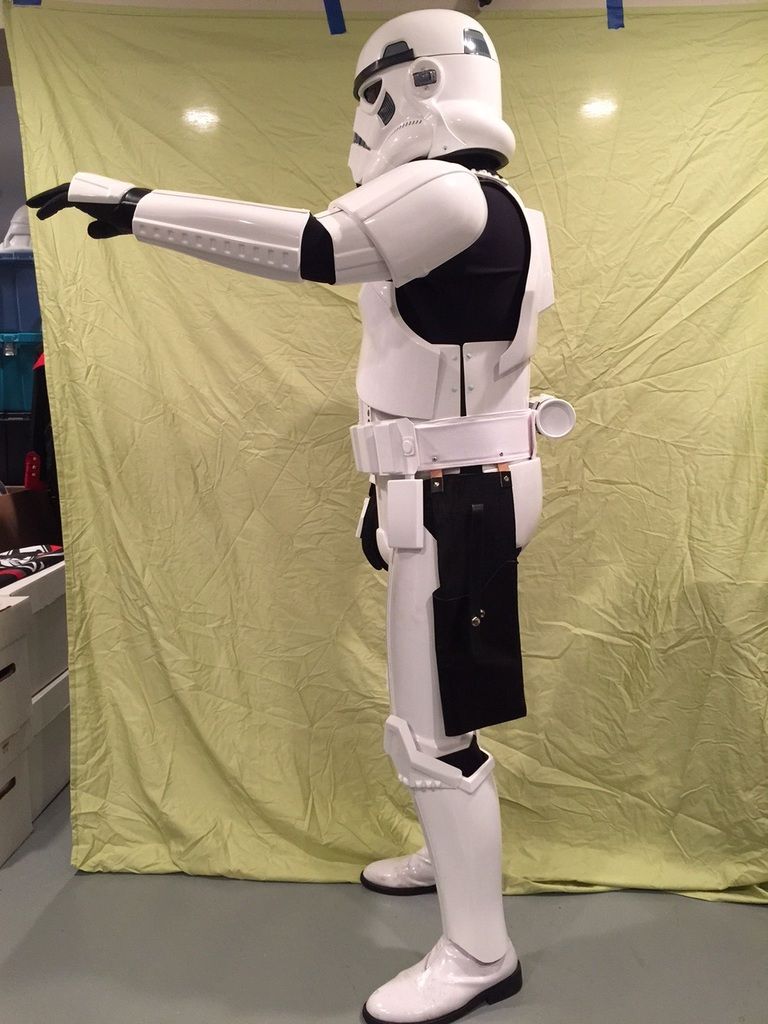
 FULL BODY LEFT:
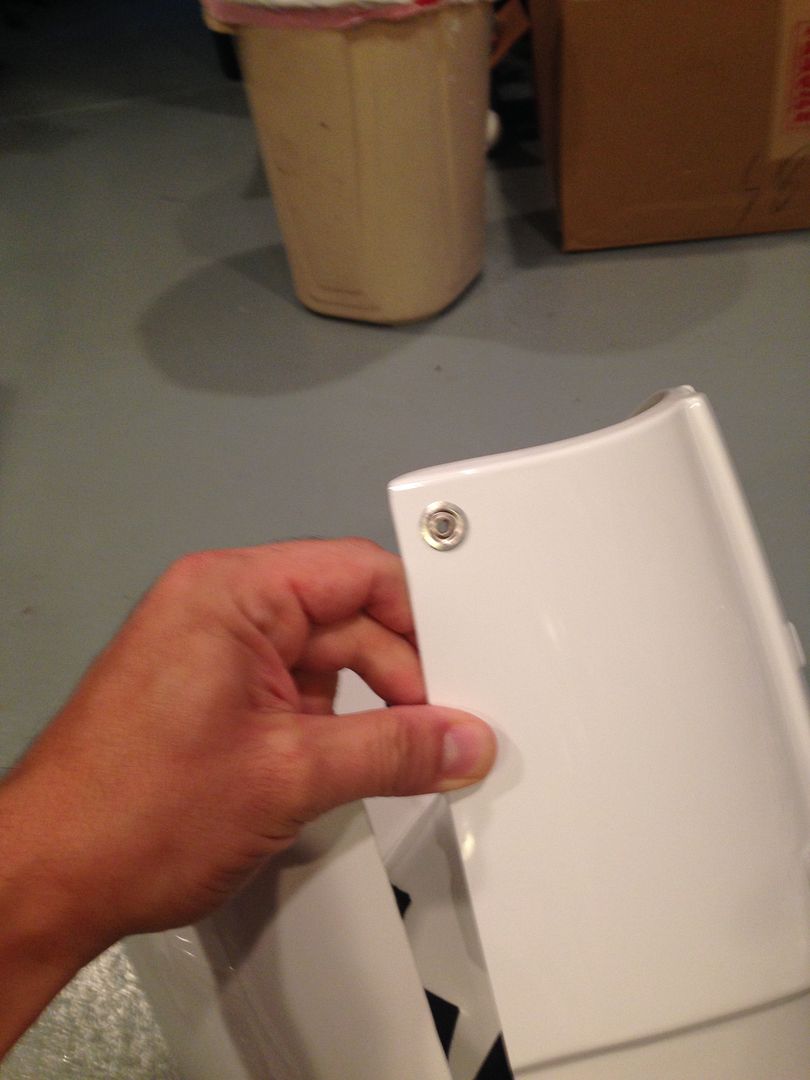
 DETAIL RIGHT:
 DETAIL LEFT:
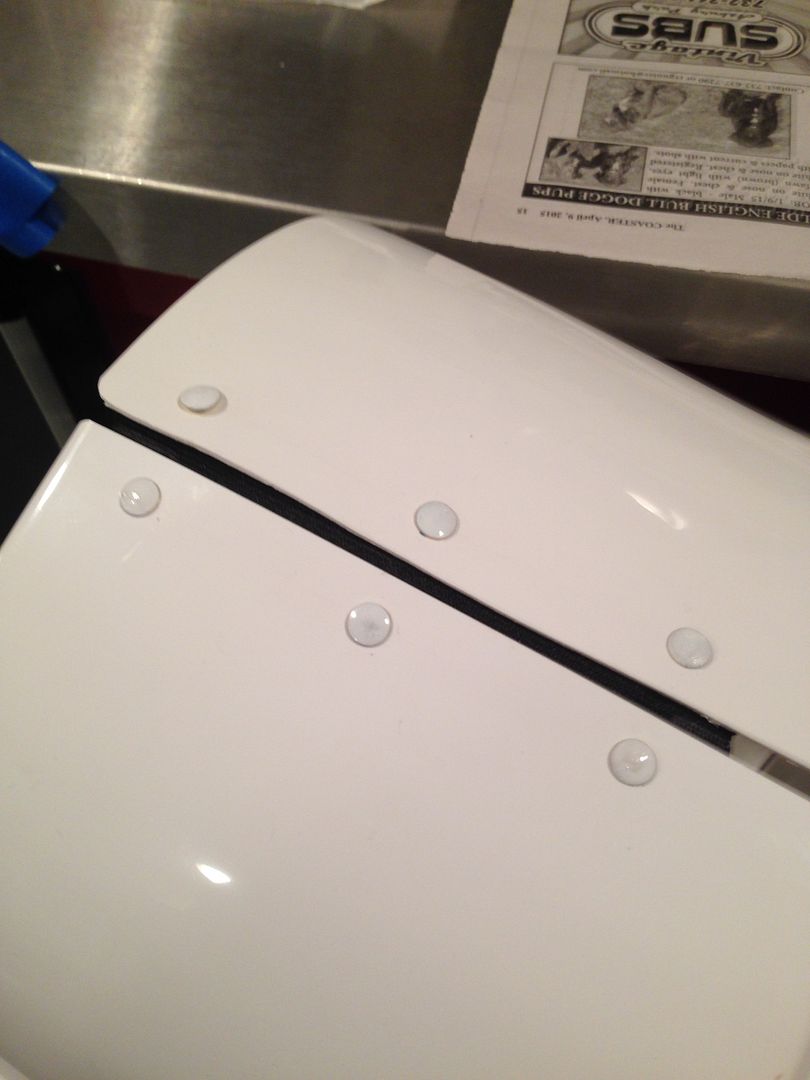 NOTCHES (BOTH SIDES ARE DONE)
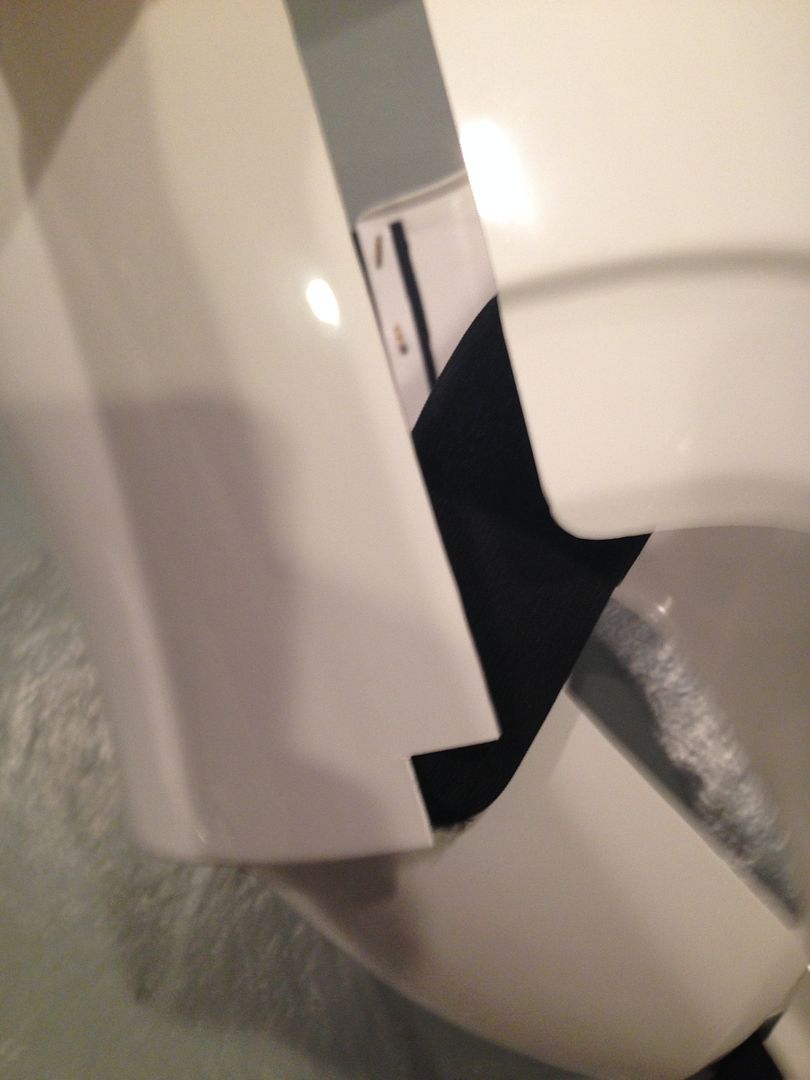 COD DETAILS:
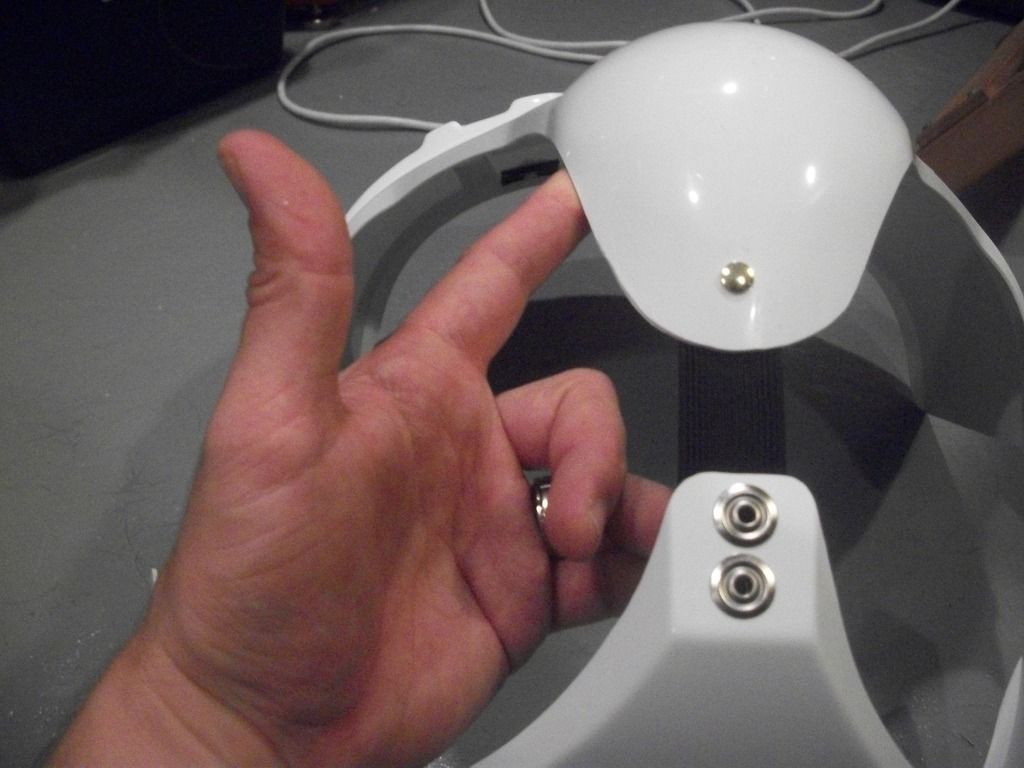 AB DETAILS:
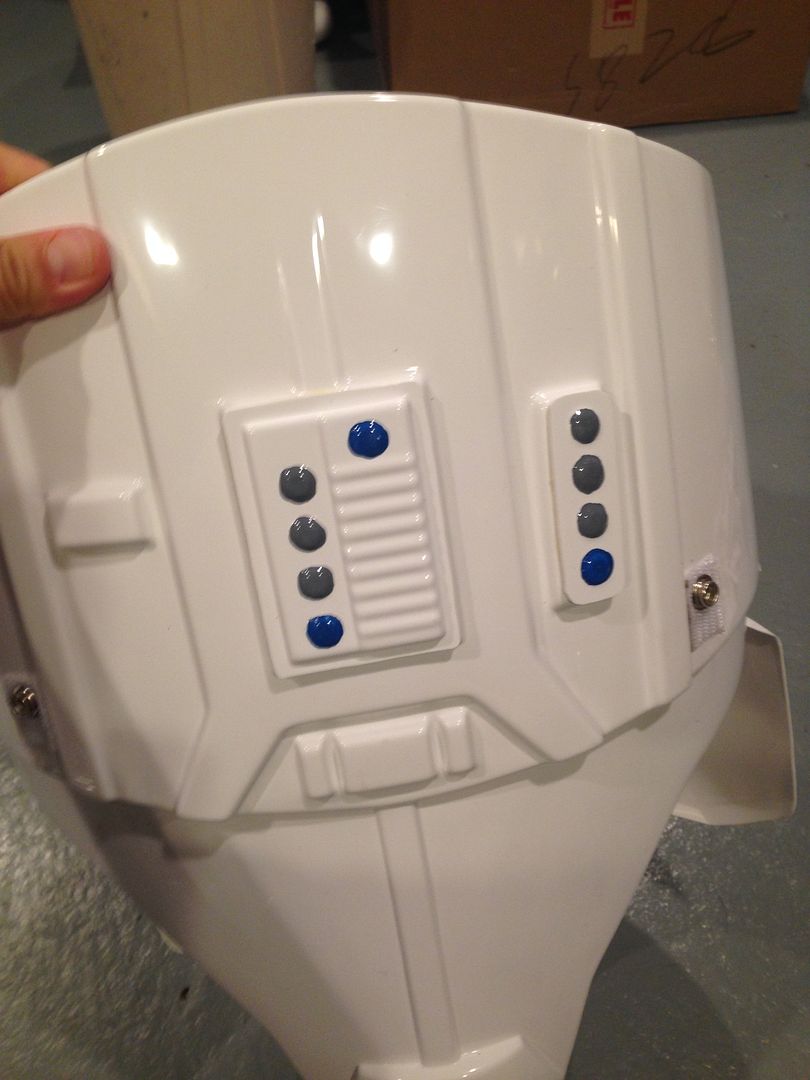 THIGH PACK:
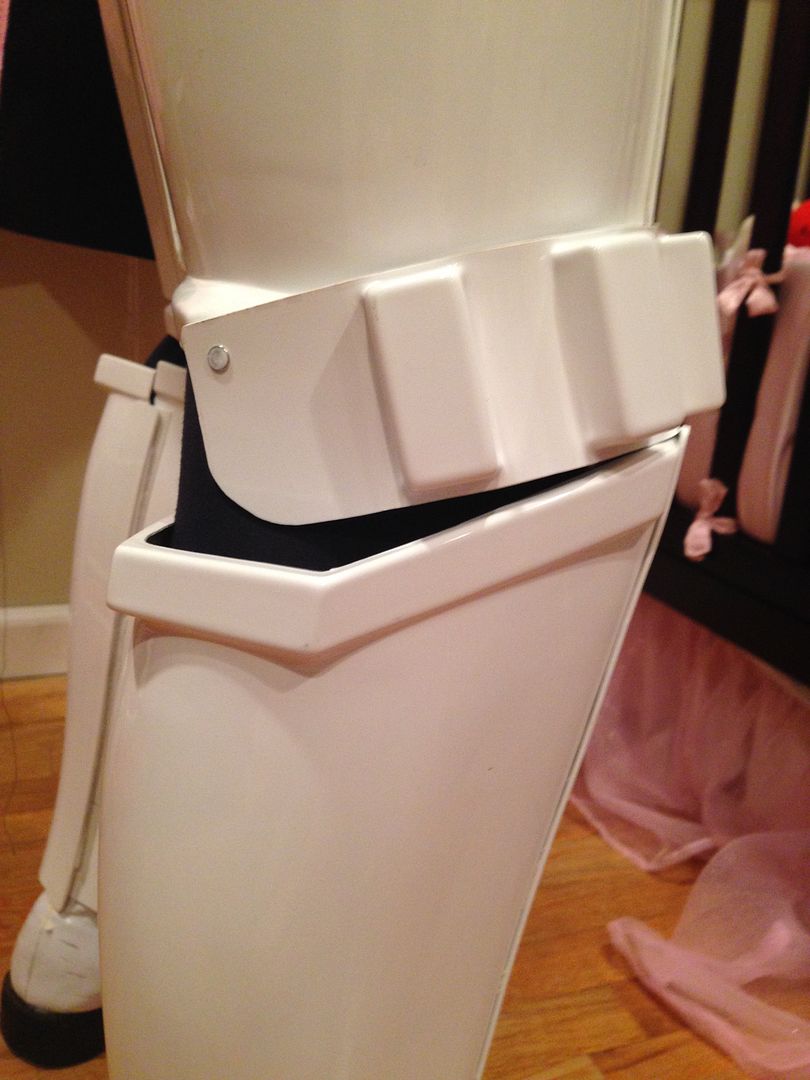 Recent paint touch up: ****
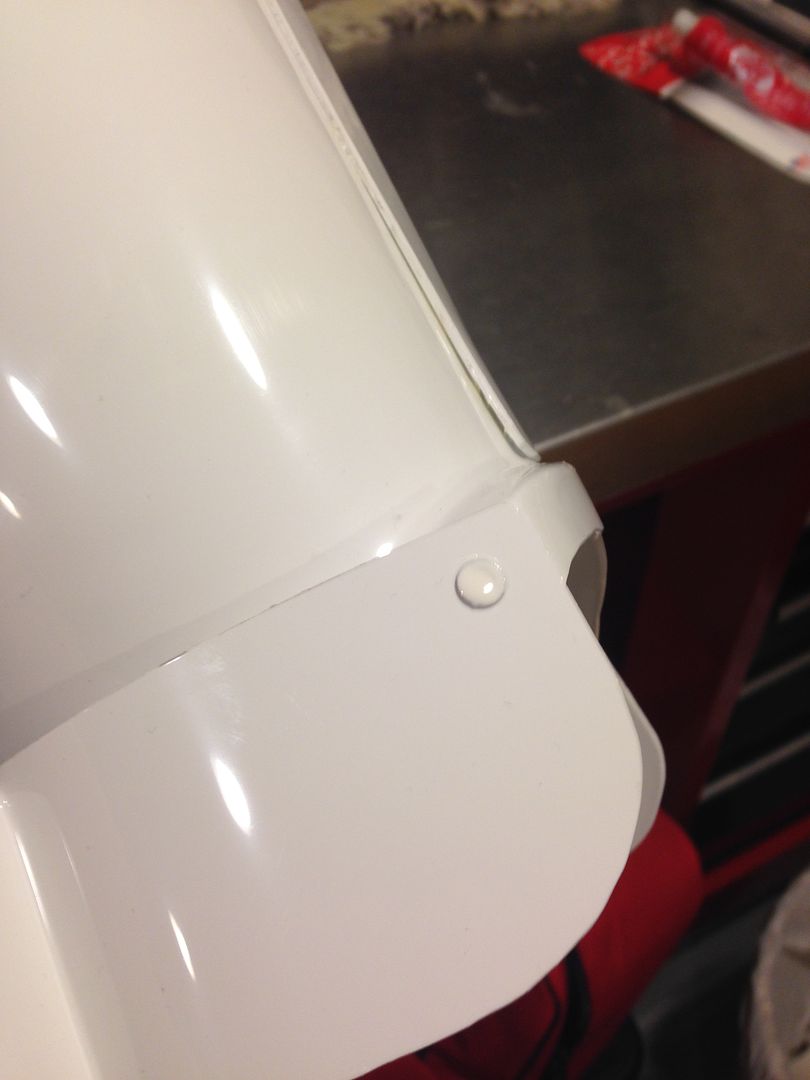
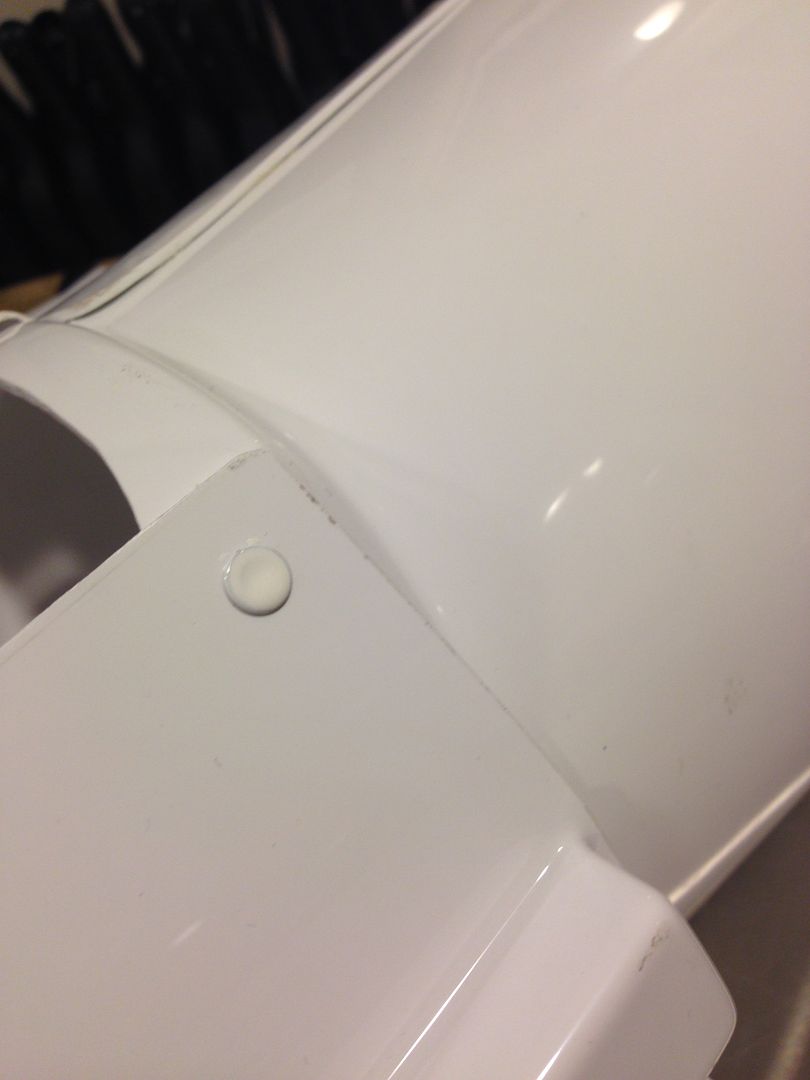 KNEE DETAIL:
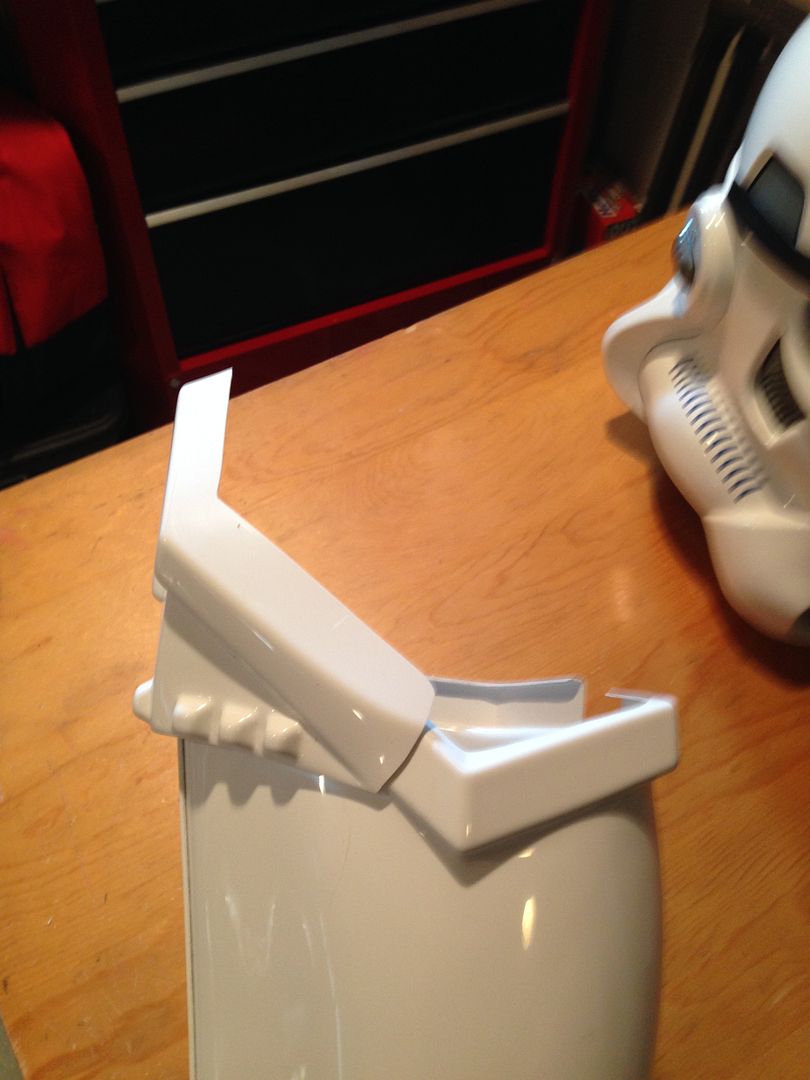 FREE FLOATING SHOULDER STRAPS W/ ELASTIC:
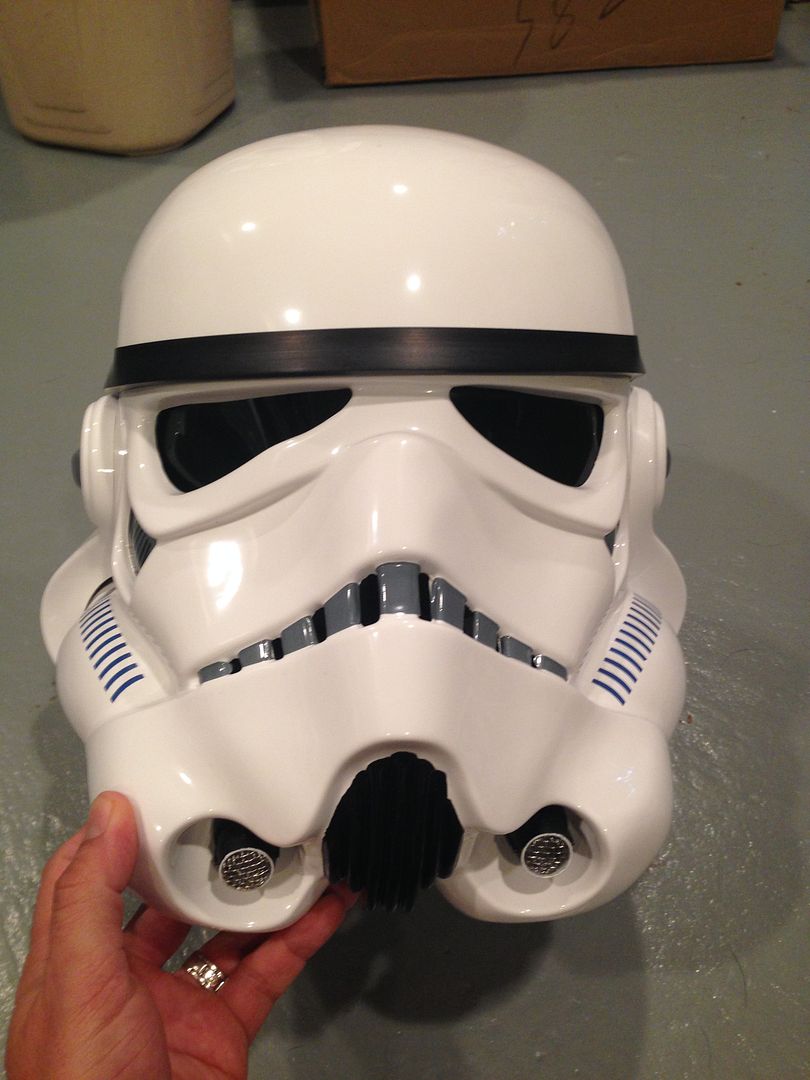
 HELMET FRONT:
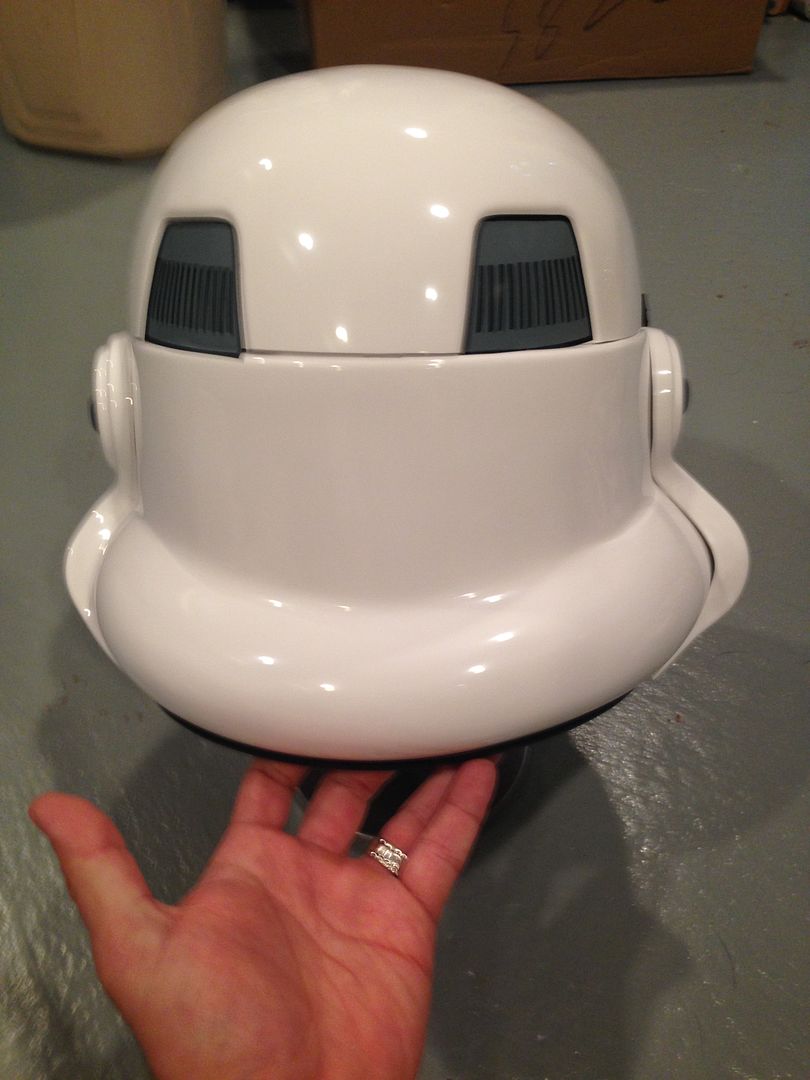
 HELMET BACK:
 HELMET RIGHT:
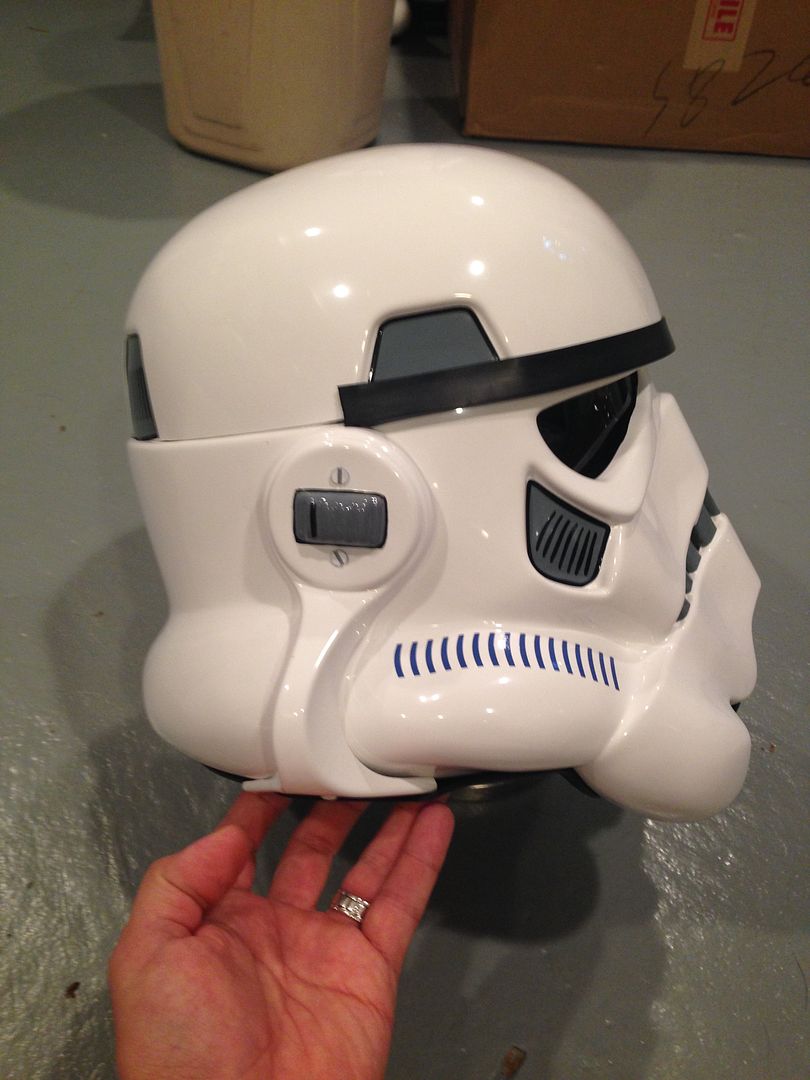 HELMET LEFT:
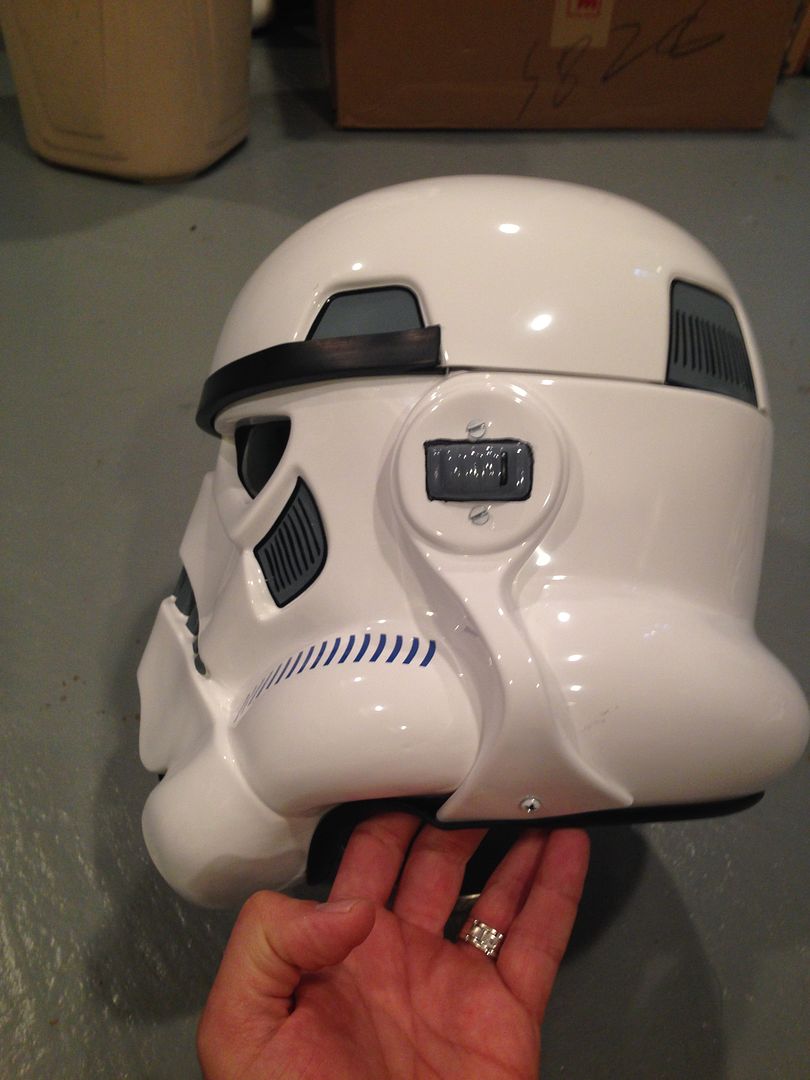 HOVI MIC DETAILS:
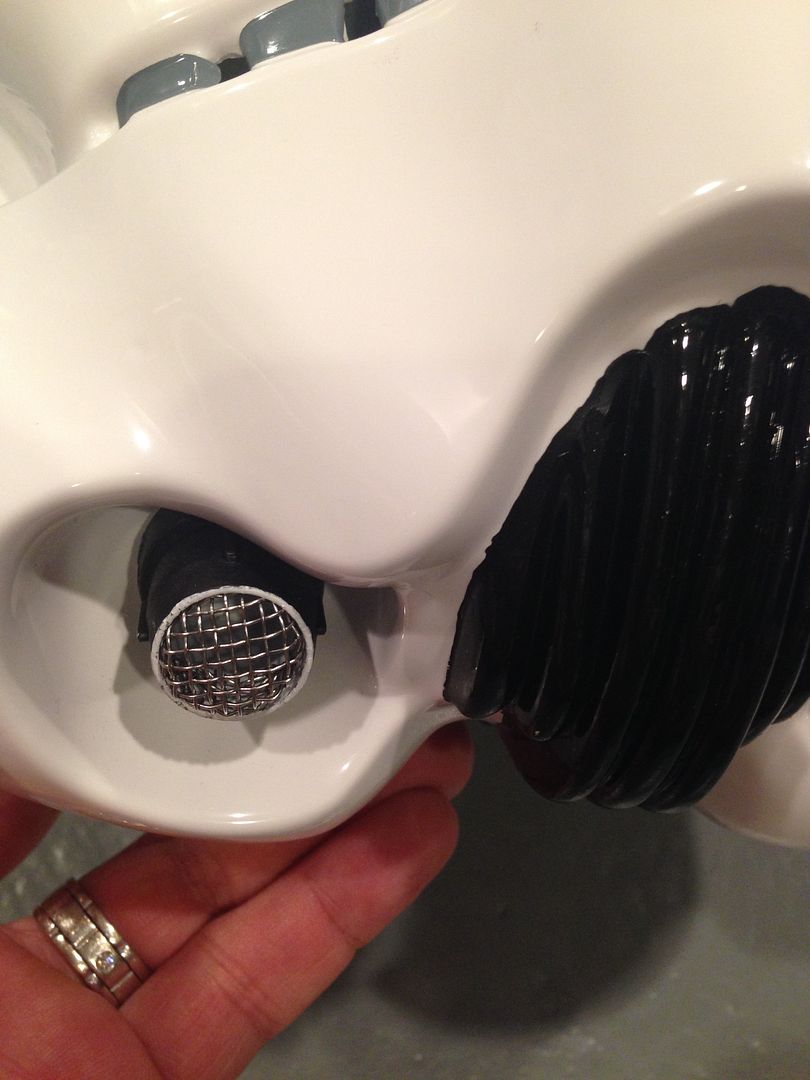 LENS COLOR GREEN:
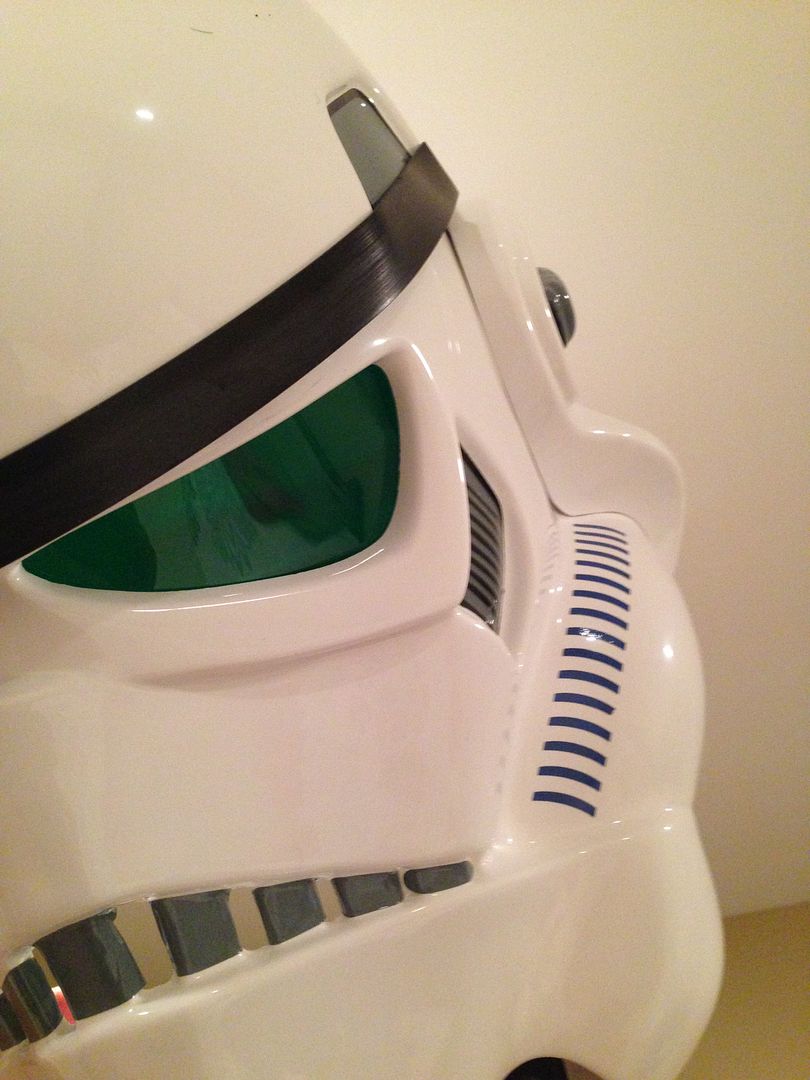
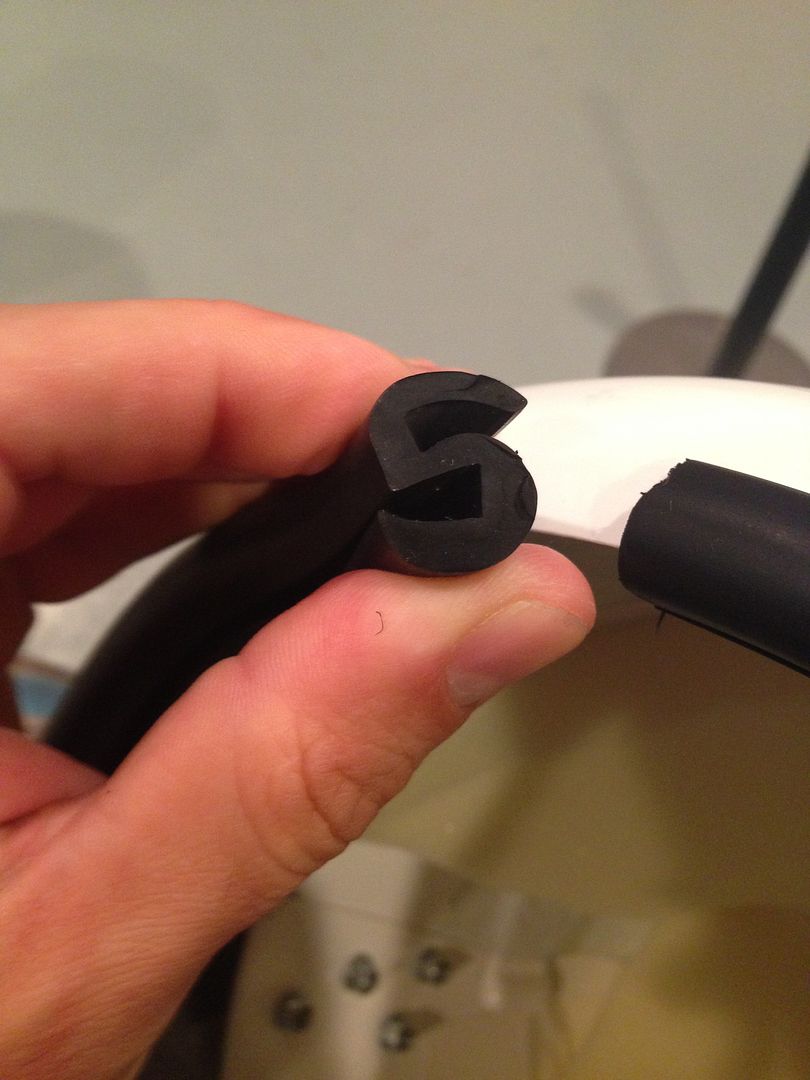
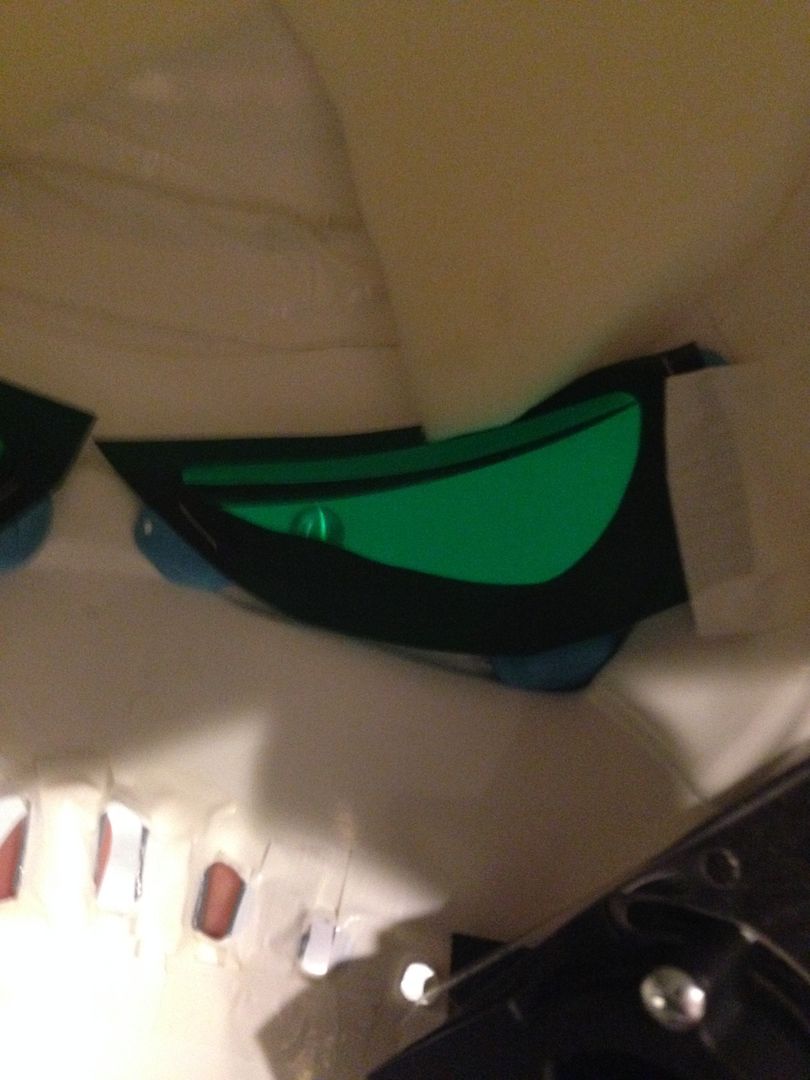 S TRIM:
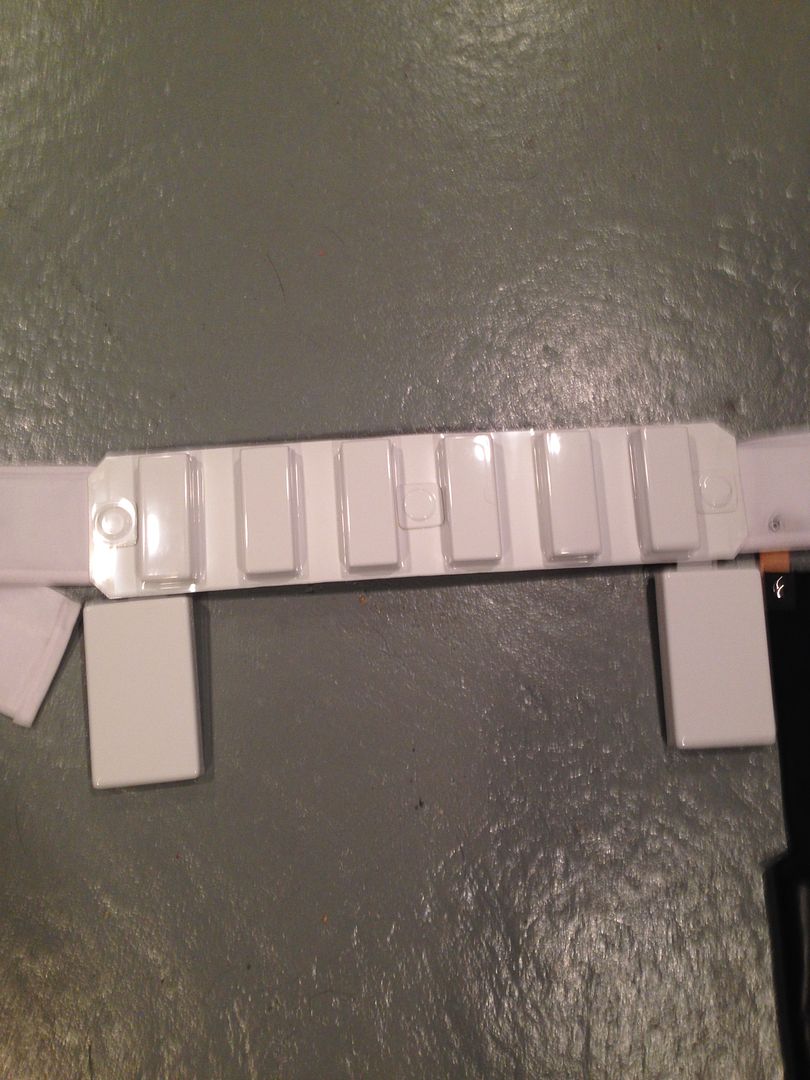
 AMMO BELT:
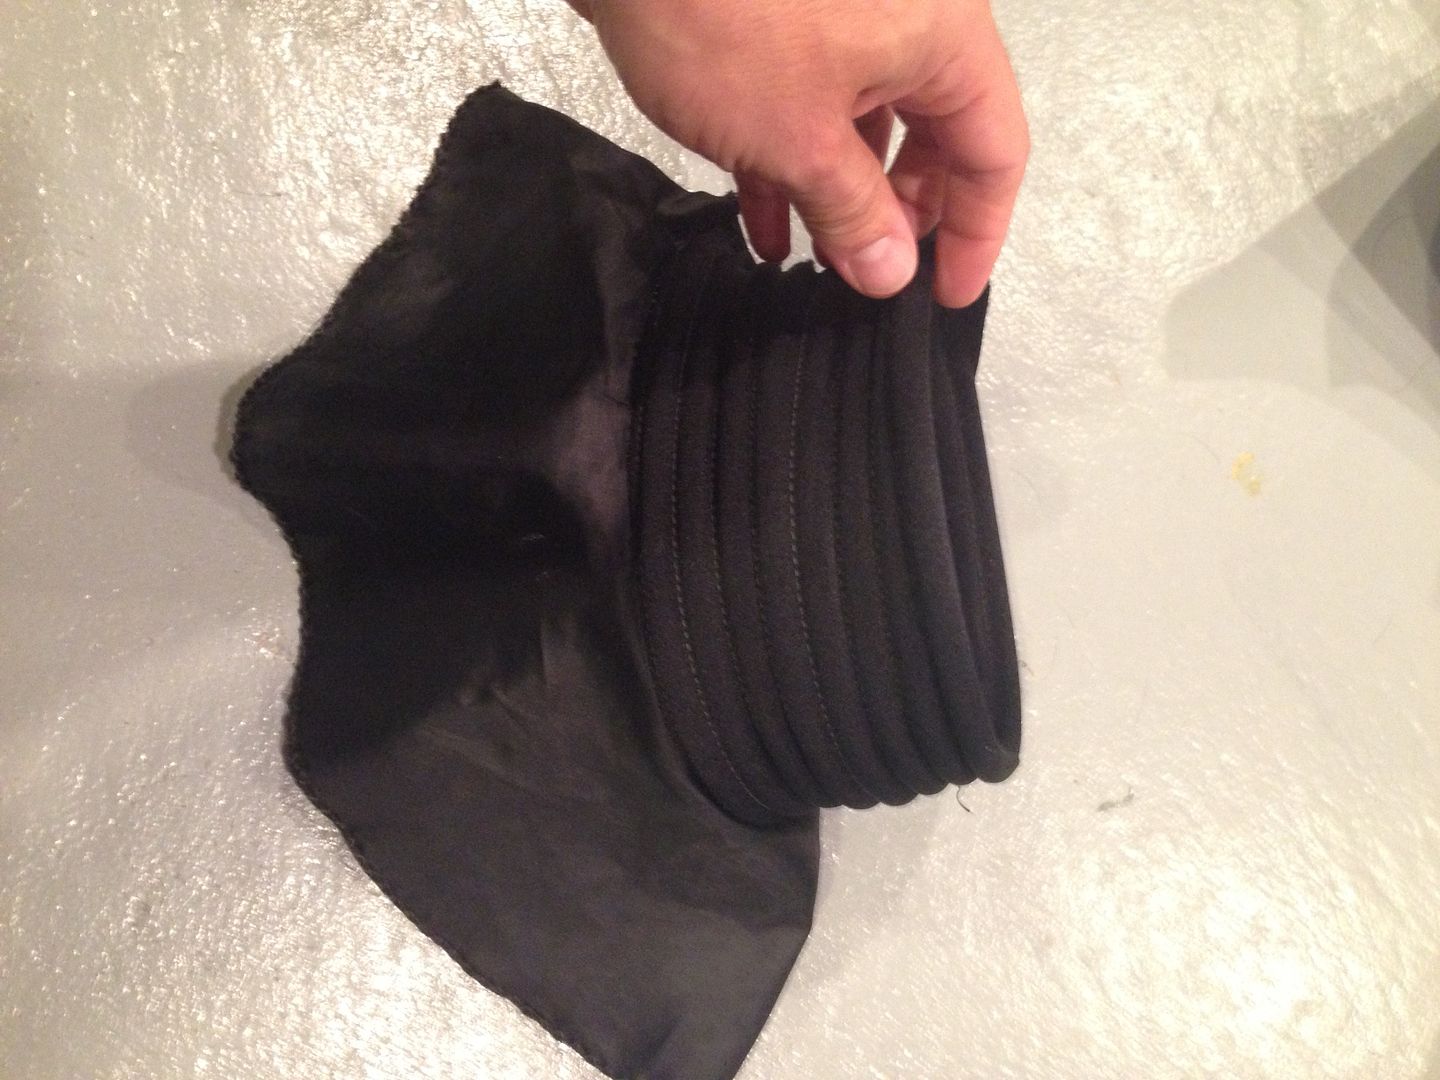
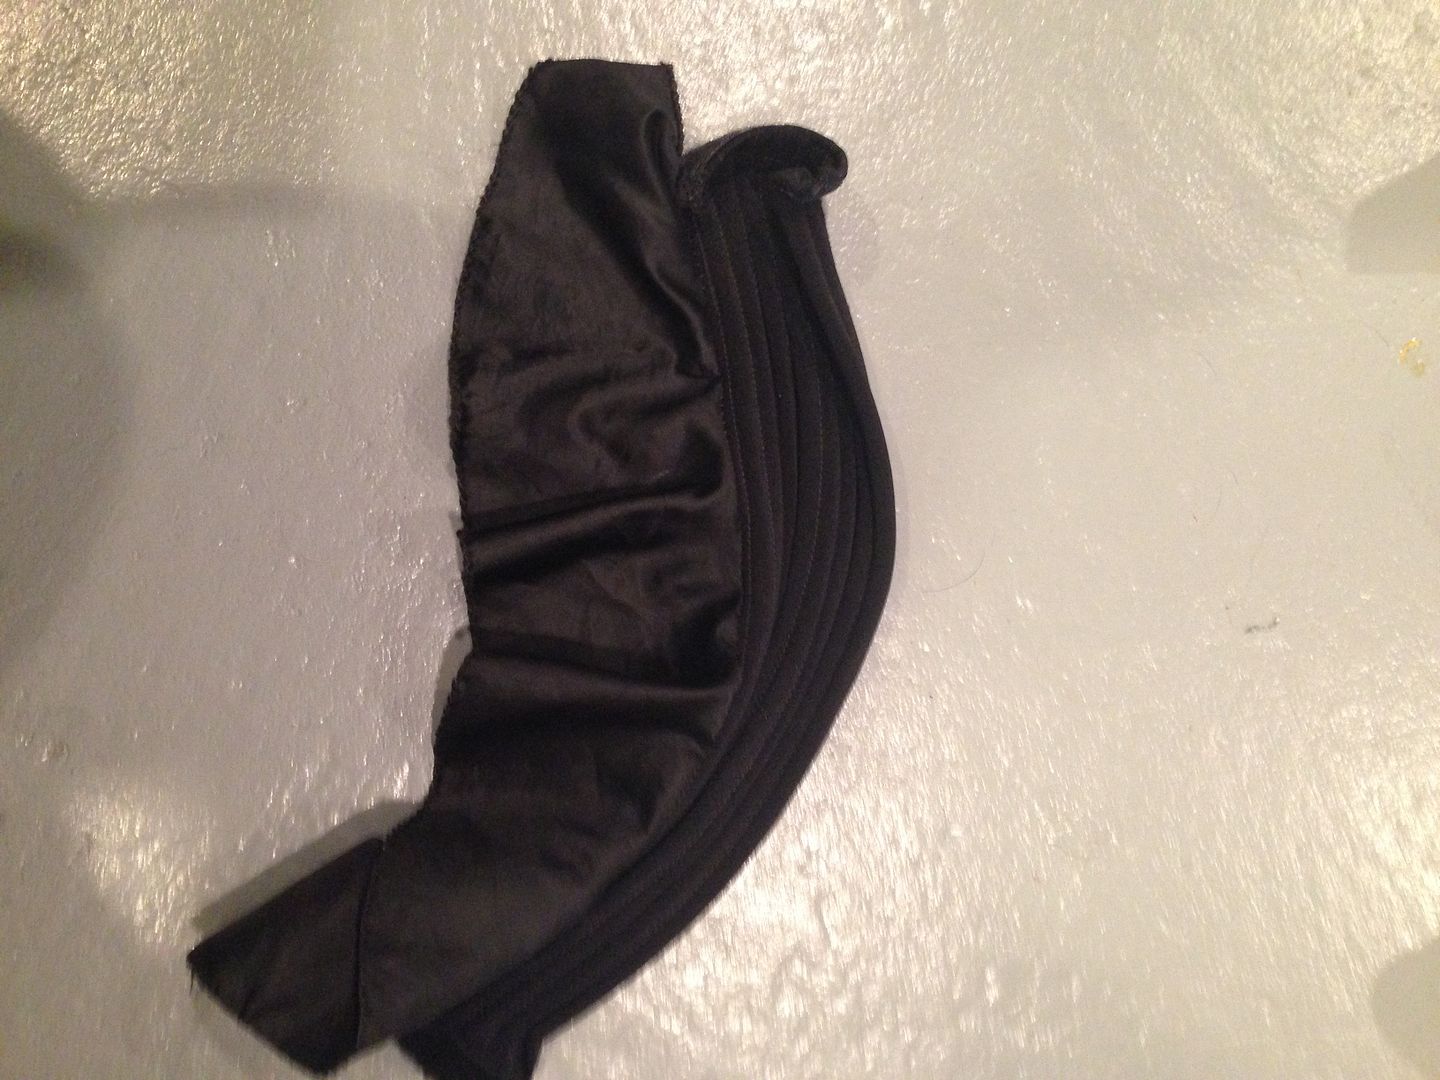
 NECK SEAL:
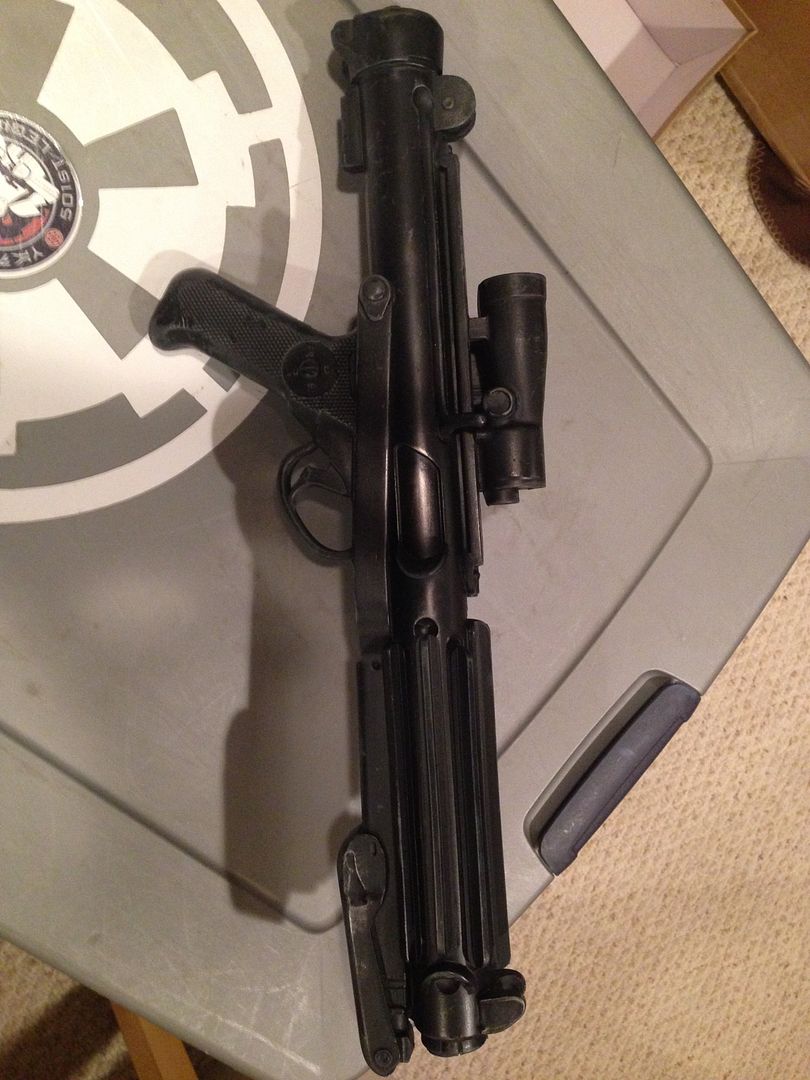
 BLASTER RIGHT: ****
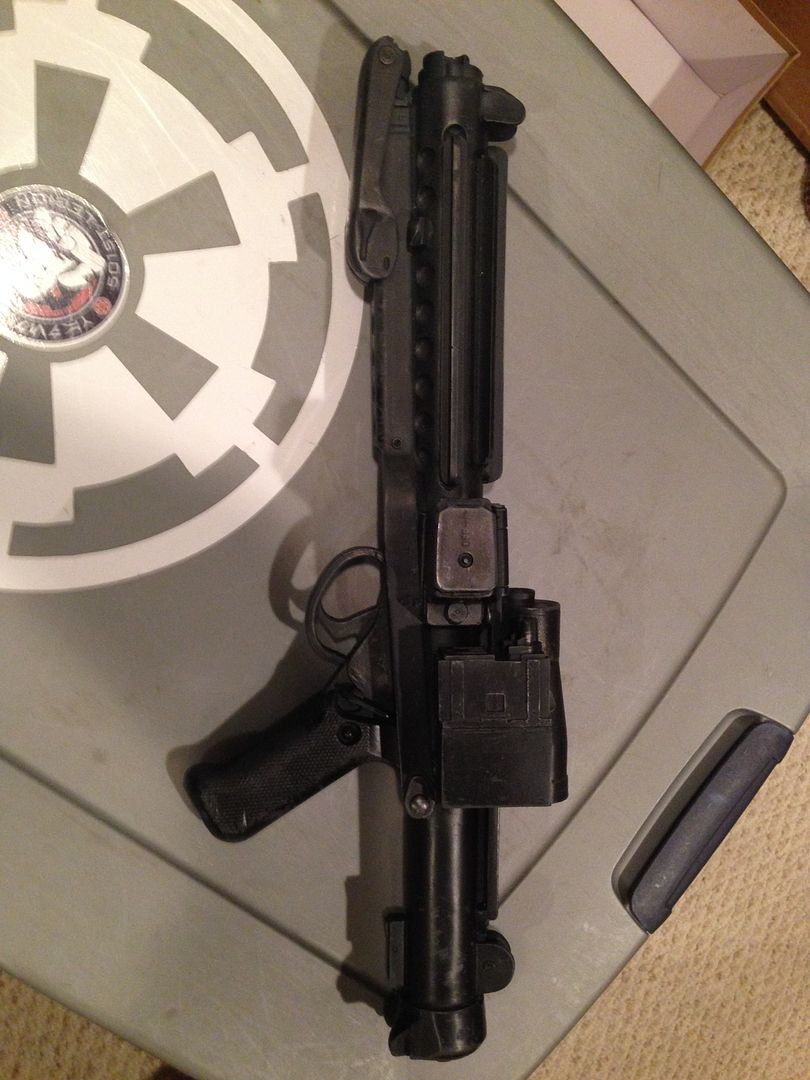
 BLASTER LEFT: ***
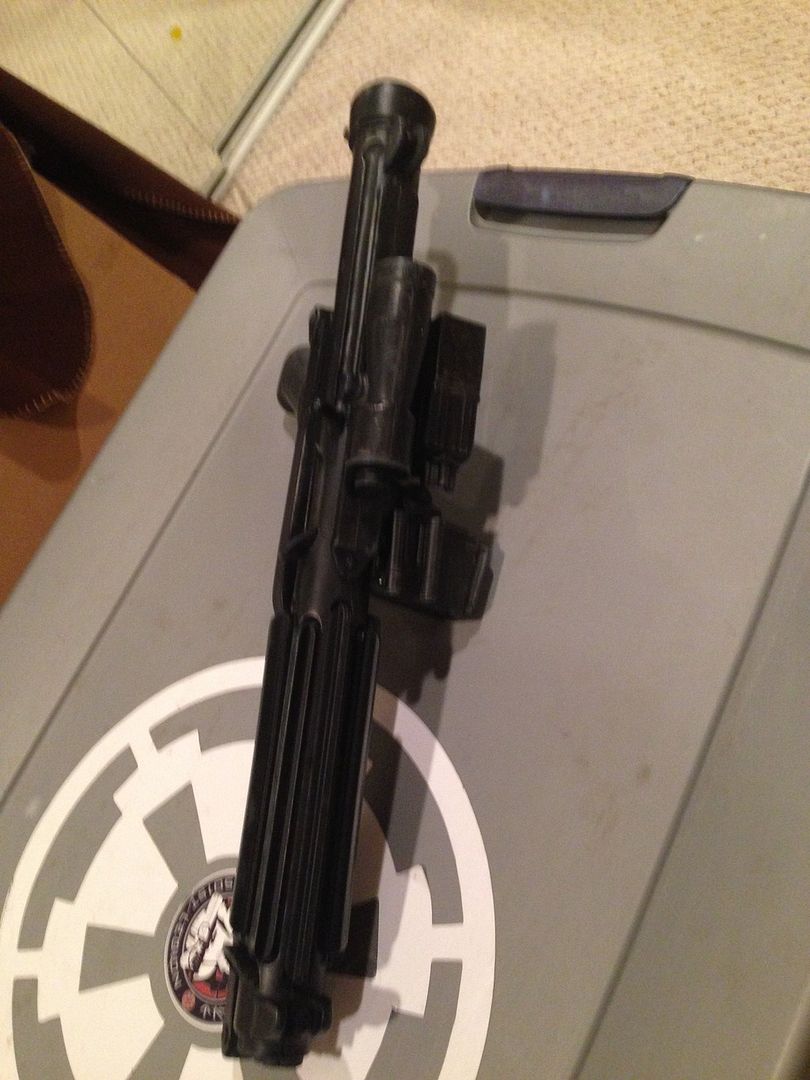
 BLASTER TOP: ***
 THERMAL DETONATOR:
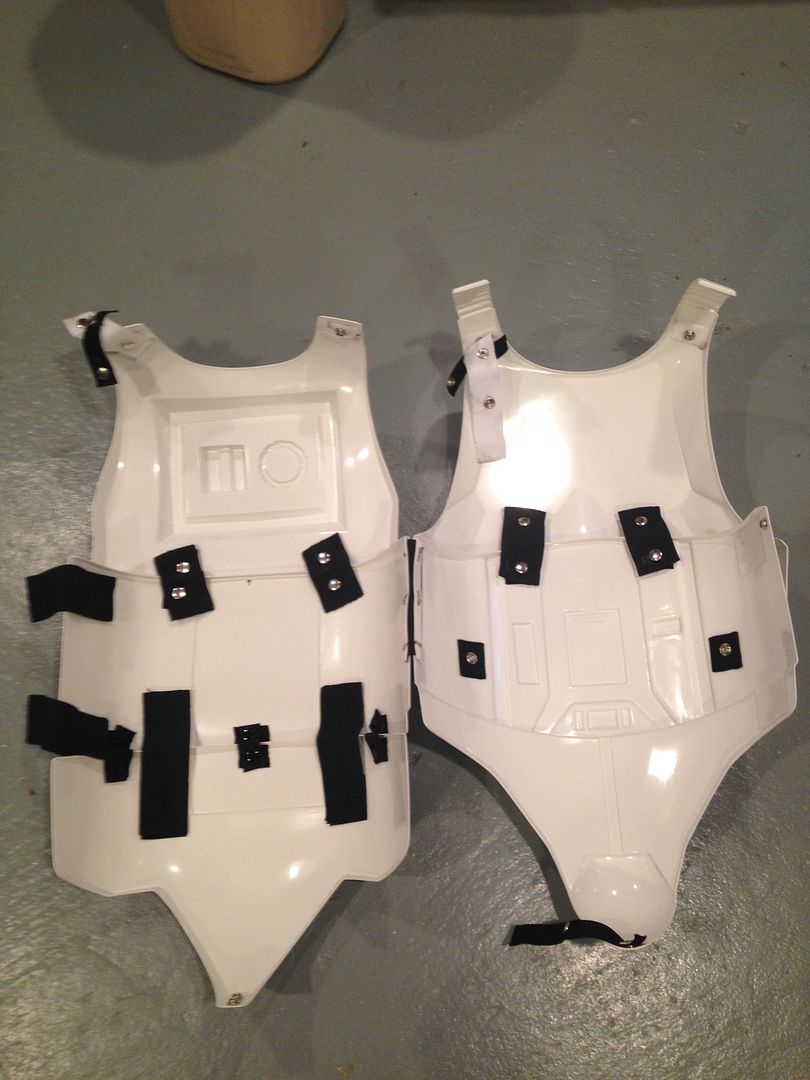
 INTERNAL STRAPPING:
 RUBBER GLOVES AND HANDPLATES:
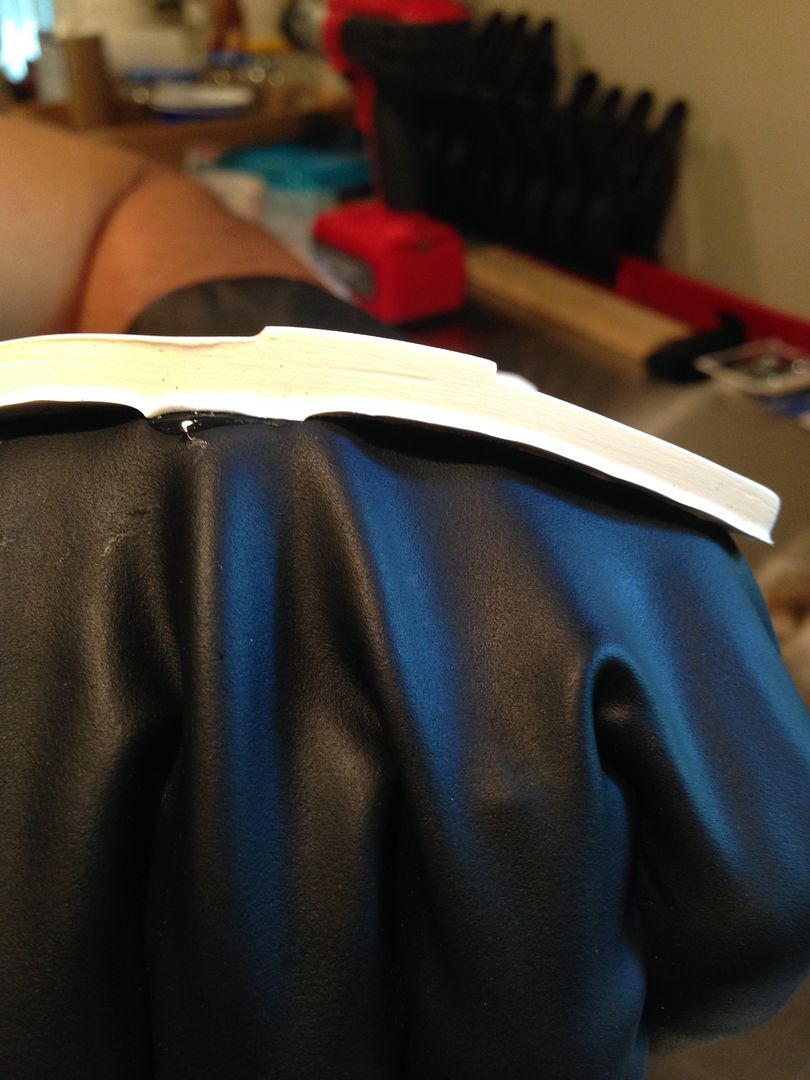
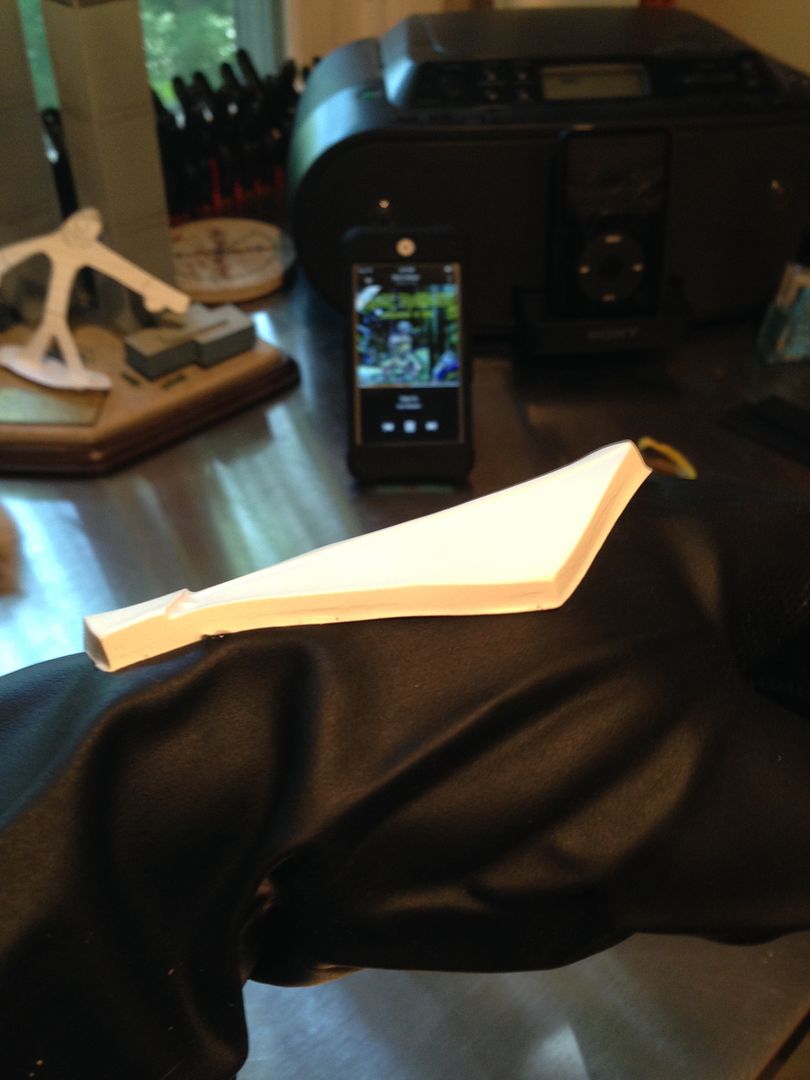
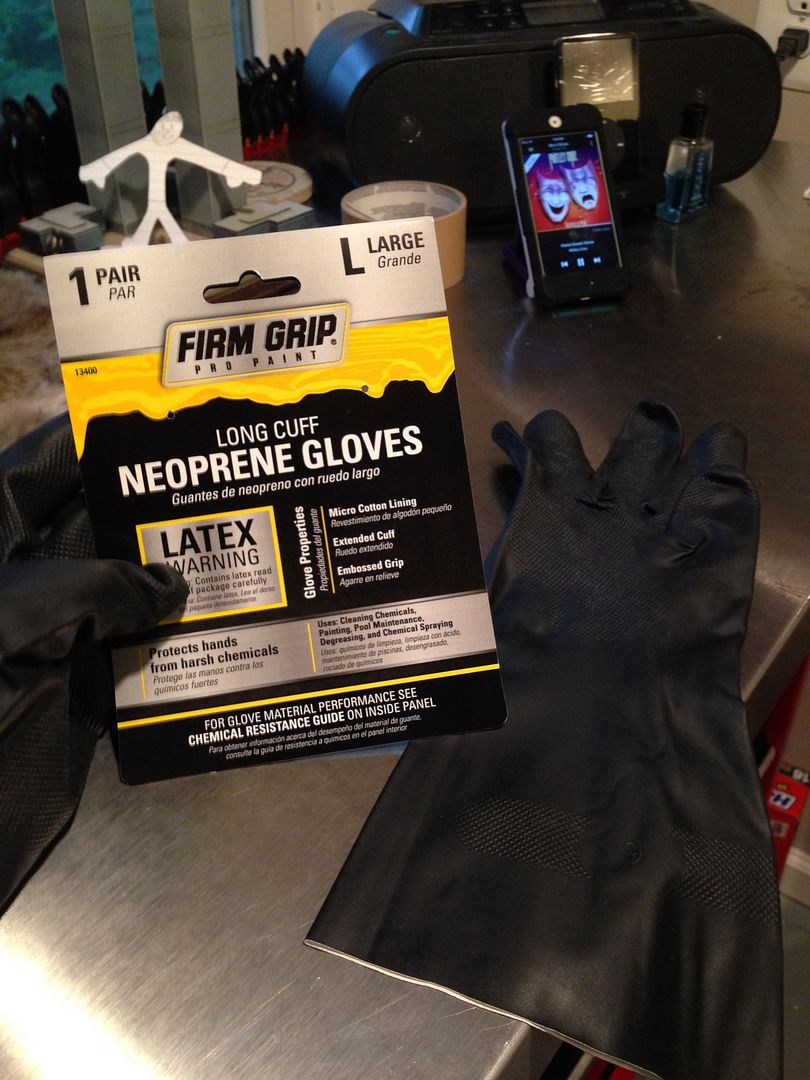 BOOTS: ***
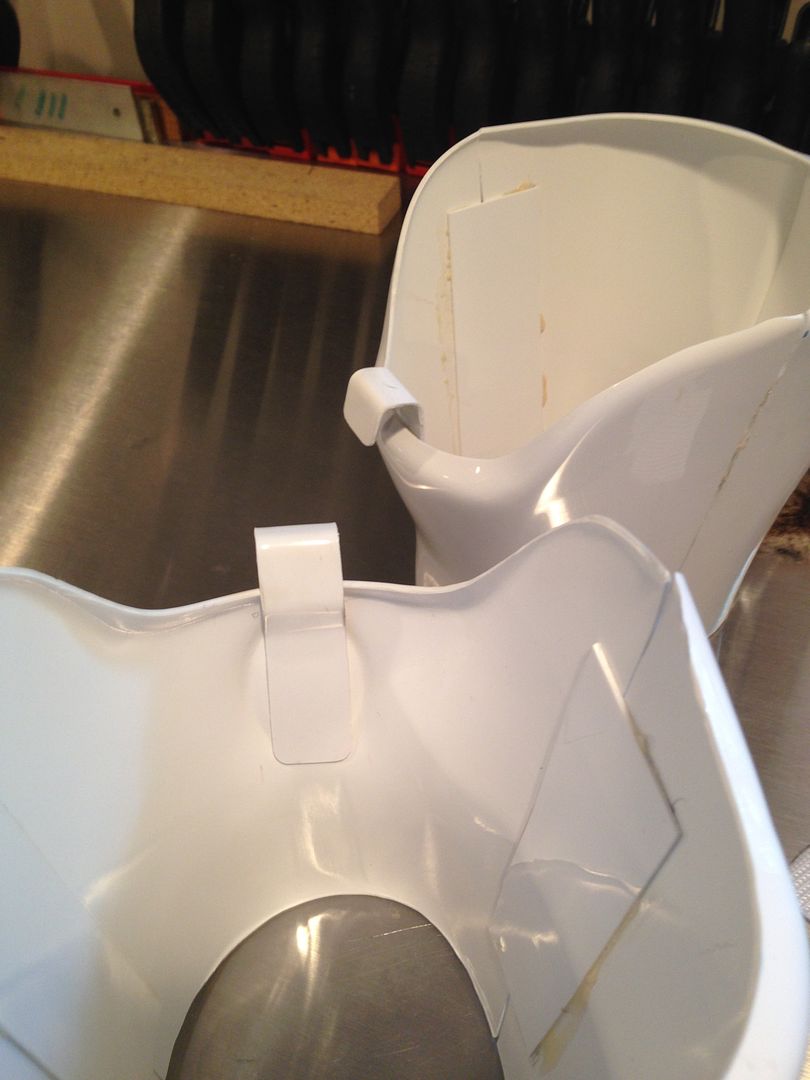
 EXTRA DETAIL - BICEPS HOOKS:
 ACTION SHOT:
 Photobucket album:
Build thread:
-
lmao wow thanks for all the great comments! I don't know how I missed all the recent replies, I was popping in each day but my "view new content" thing doesn't work right on this sight, so I pop on "my content" and just check to see if there was a different name as the last reply. Somehow I was off

I need to submit for EIB, I wasn't putting it off, I've actually been busy helping new members again. I'm not really an expert IMO, but I can follow directions and have been here long enough to feel confident in my builds, even if they aren't as clean as some of the great ones. I also have a pretty good schedule with work and family which gives me the ability to help others - over the last year I've had four new recruits come to my house every week or so and use my shop space, tools and advice to assemble their own AM TKs. All four did a fantastic job and are approved.
I just started two weeks ago helping another new member with his AM Shadow TK, and have three more recruits that are expecting their AM kit to arrive this week. So pretty much all my free time is spent helping them (God bless my understanding wife).
Oh, and on a rare occasion I have a little time to hit the FO Trooper for myself lol....
Tony, like I said I'm going to submit ASAP. The other reason I wasn't rushing was because I have the accurate rubber gloves and plates but in the photos I was using the hard ones. I wanted to suit up and take some updated shots but haven't had the time.
Christopher, sorry I missed those posts before but we talked via PM and glad some of my photos helped you out ! My build took about 30 hours total, but over like 3 months because I wasn't in any sort of rush and just doing a few hours every other night or so. We did one trooper in the Garrison in about the same amount of time, but he came by a lot and a few days we put in like 16 hours straight. He was done in only a few weeks. But like Tony said, it really varies and it's better not to rush and instead post a thread and get some help along the way. Once you get a few things going you'll find a lot of it is repeated and as it goes on gets quicker and easier. The thing that takes the longest is allowing the glue to dry at time before moving on lol.
Kirk, Jamie and Michael thanks for the kind words! I'm just happy to finally have a good, accurate TK. My old one was the FX from 2006 hahaha!
Also Kirk, I used heavy duty snaps found almost anywhere from JoAnne's, AC Moore, Michaels and even Walmart. I've never had any problems and have used them on all my costumes. Obviously some spots take more abuse then others, but when they occasionally break it's an easy fix. I love the webbing method of gluing them on plastic, back in the old days I tried to put them through the plastic or used plastic squares and the posts weren't really long enough so then never held up.
Pat man what's up! You gotta come back out one day, we miss you man!
Marilyn, glad I could help let me know if you have any other questions I have lots more photos in the album and can always take more

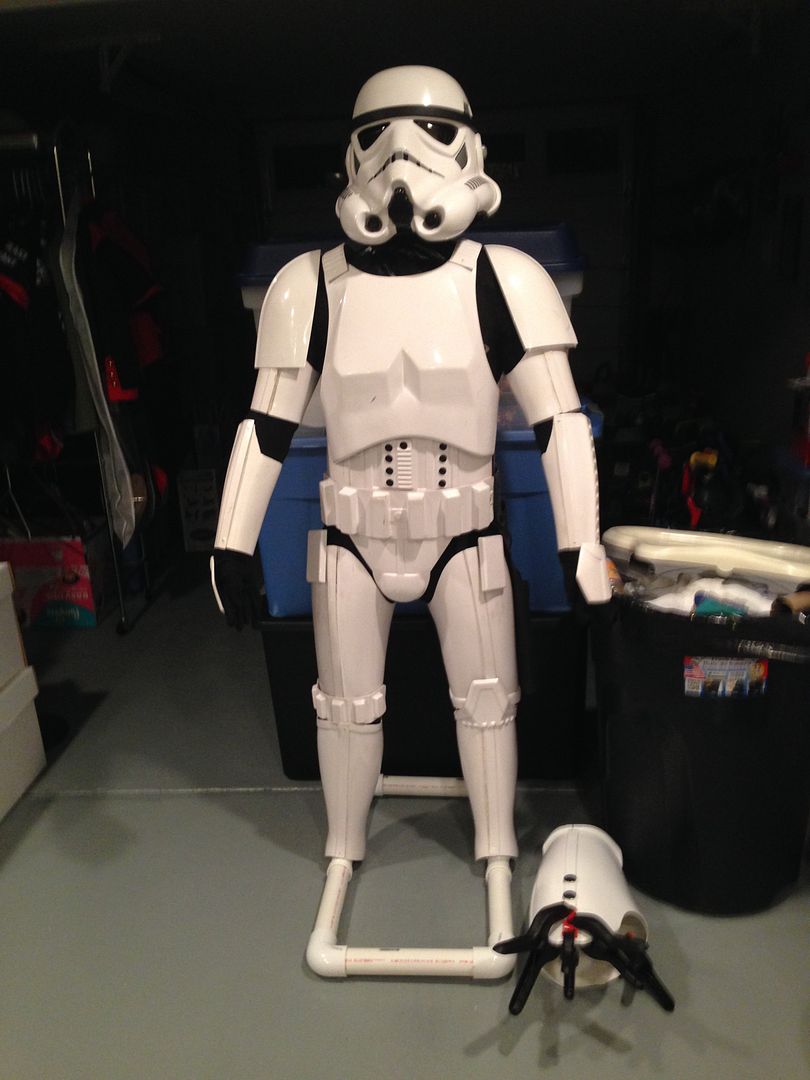
Lastly, here is old faithful, the original FX Stormtrooper I joined with in '06... retired to the duct tape manikin...
-
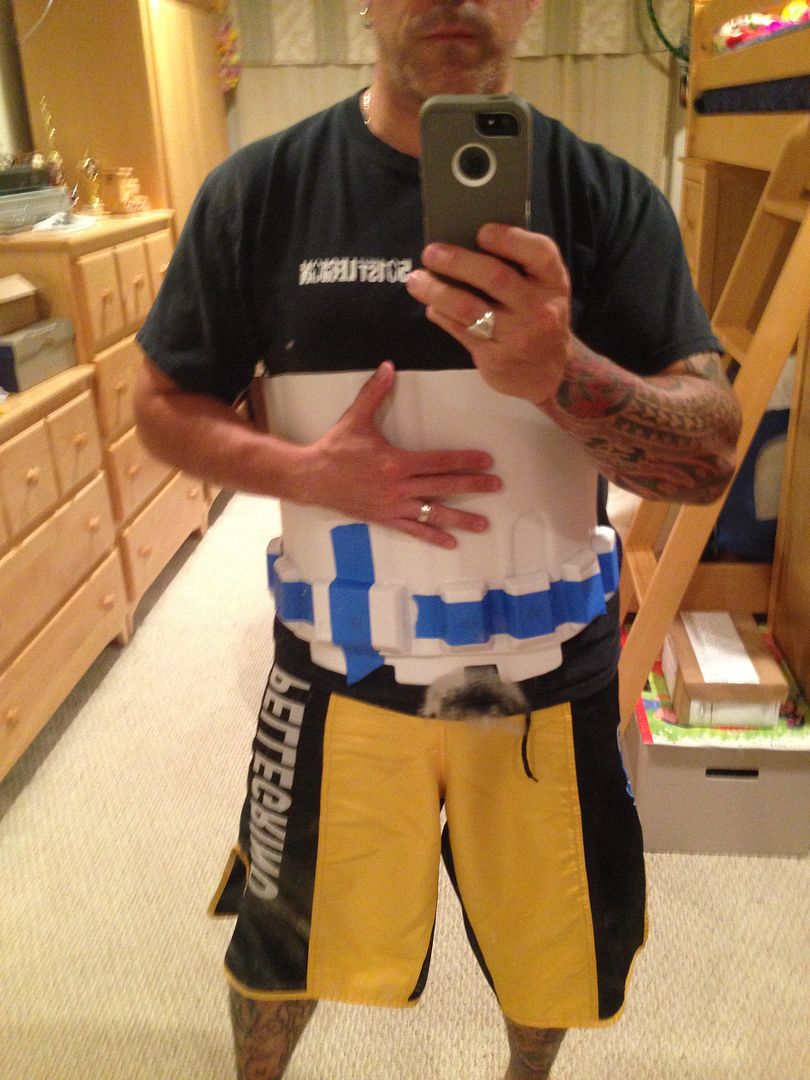
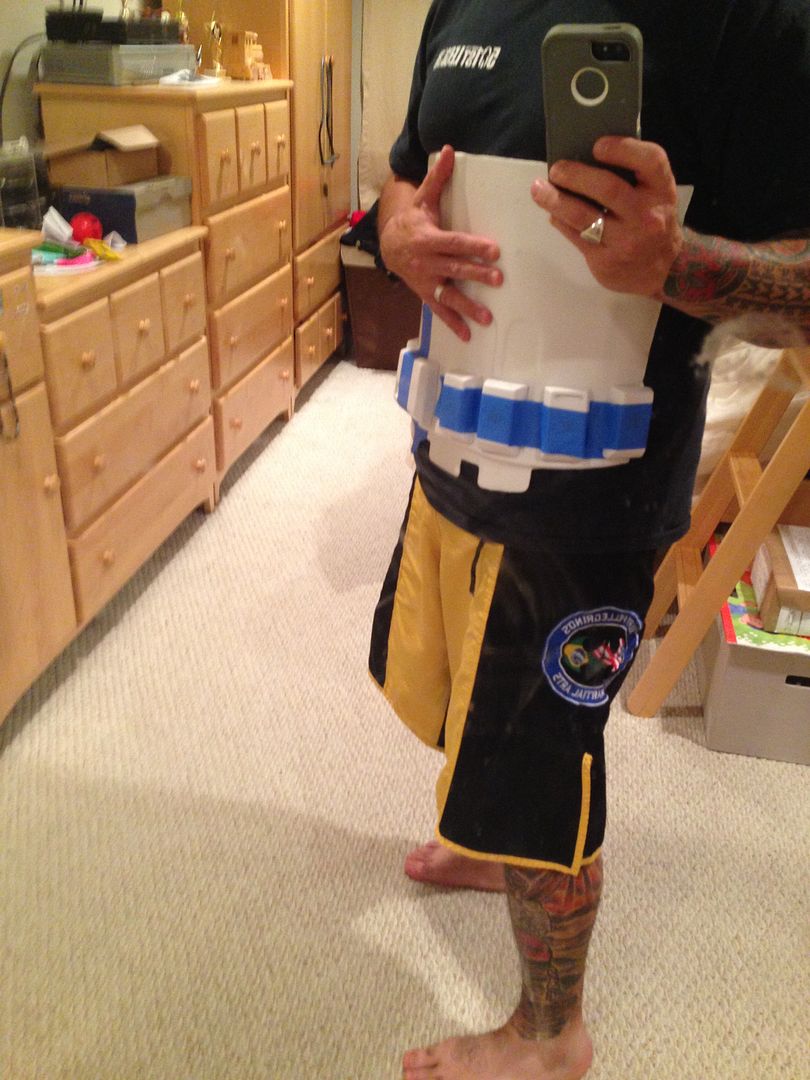
I'm also moving to the ab plate and boxes while stuff dries.
I trimmed and laid them all out, they are flush and fine. I know I've seen some builds but have to search them out - people put like support strings or something on them right? In case they fall off? Or is there some backing I'm supposed to use?
-
.... I've been using my son's room for photos the last few years because it's right outside the workshop, and every picture has that ghost image in the refection near my waist hahahaha! I'm going to go windex that right now before I forget

-
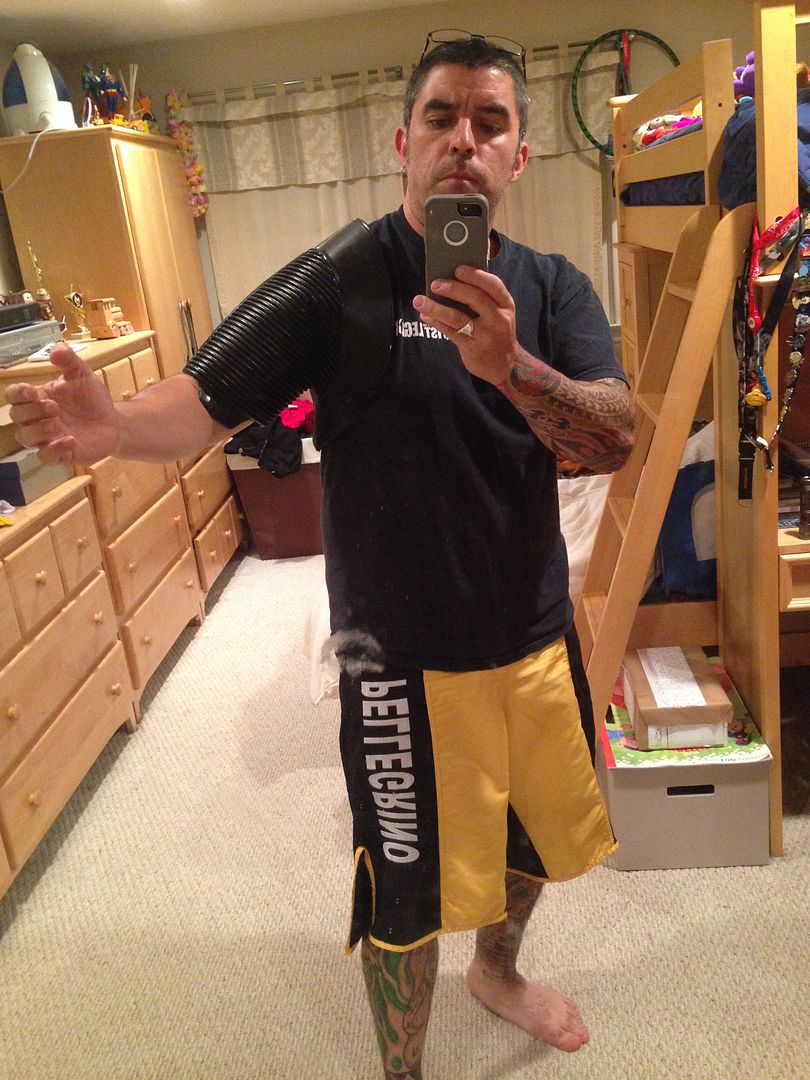
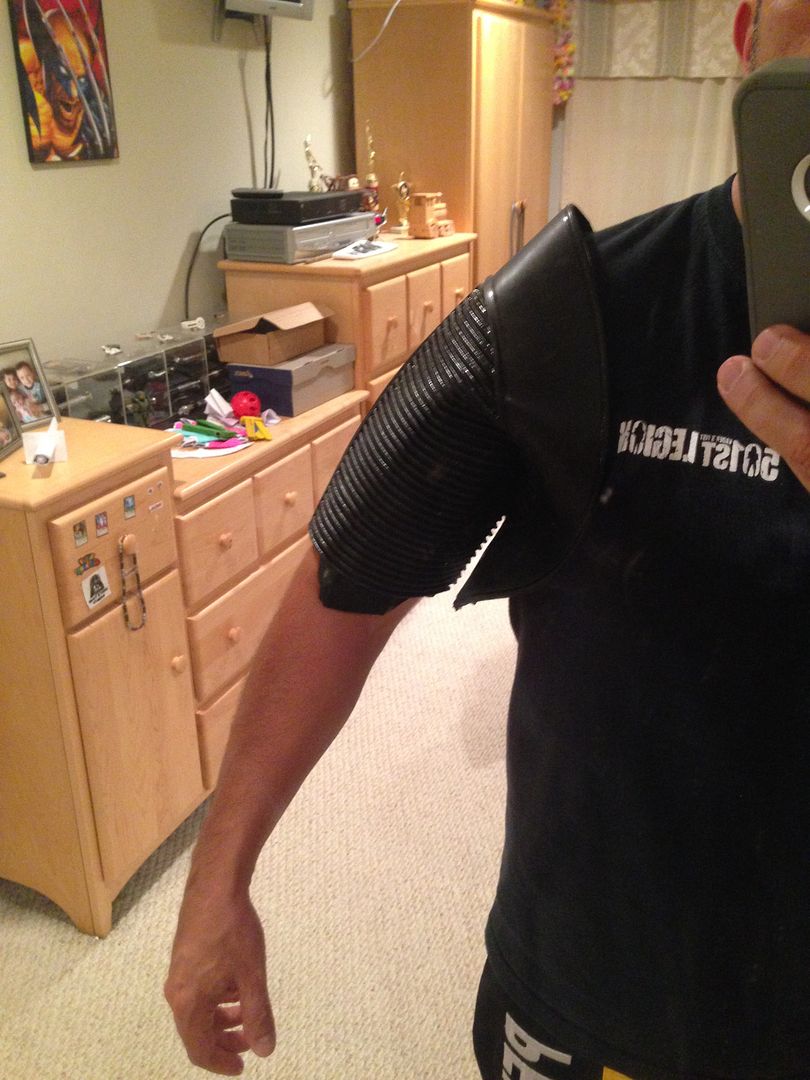
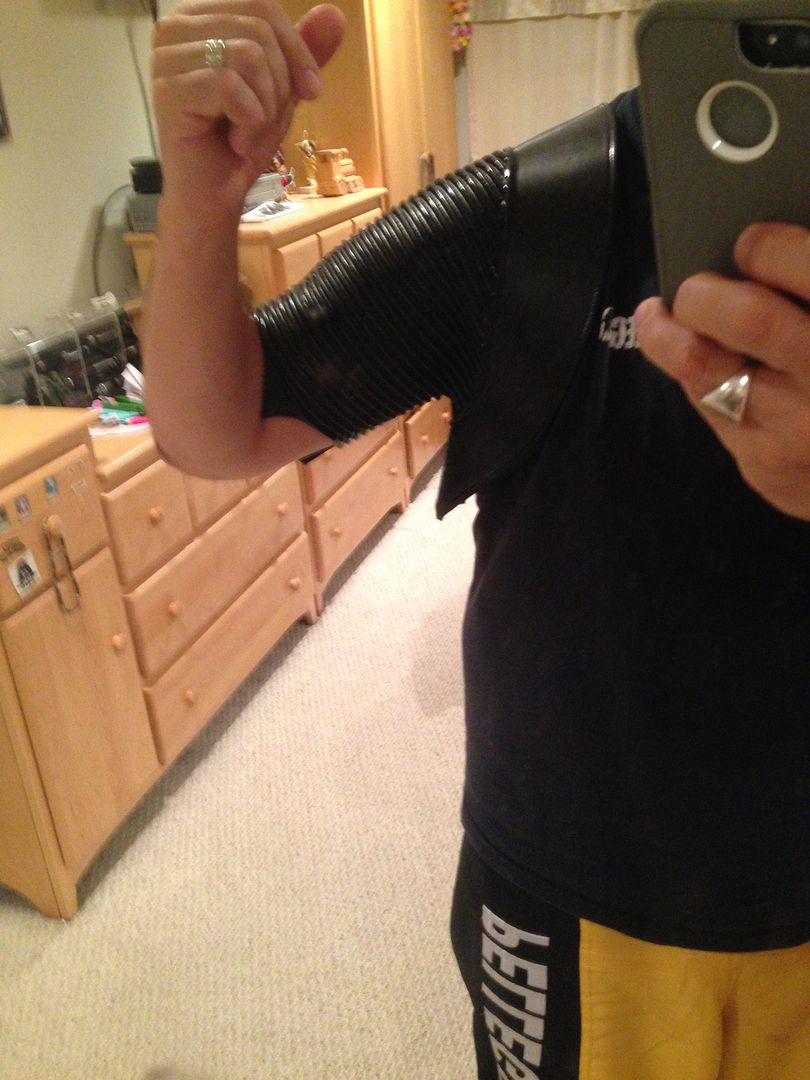
In the meantime, I did the shoulder gaskets but might have screwed it up a little. Looking back I think I was supposed to possibly trim somewhere?
It is hard to see because of my black shirt, lol, but they only sit flush it my arm is out:
If I put my arm down they bunch up a little:
-
Here's what I did on the suggestion of another member who had the same problem with tight biceps :
Used the glue tab as a length mark, added a shim:
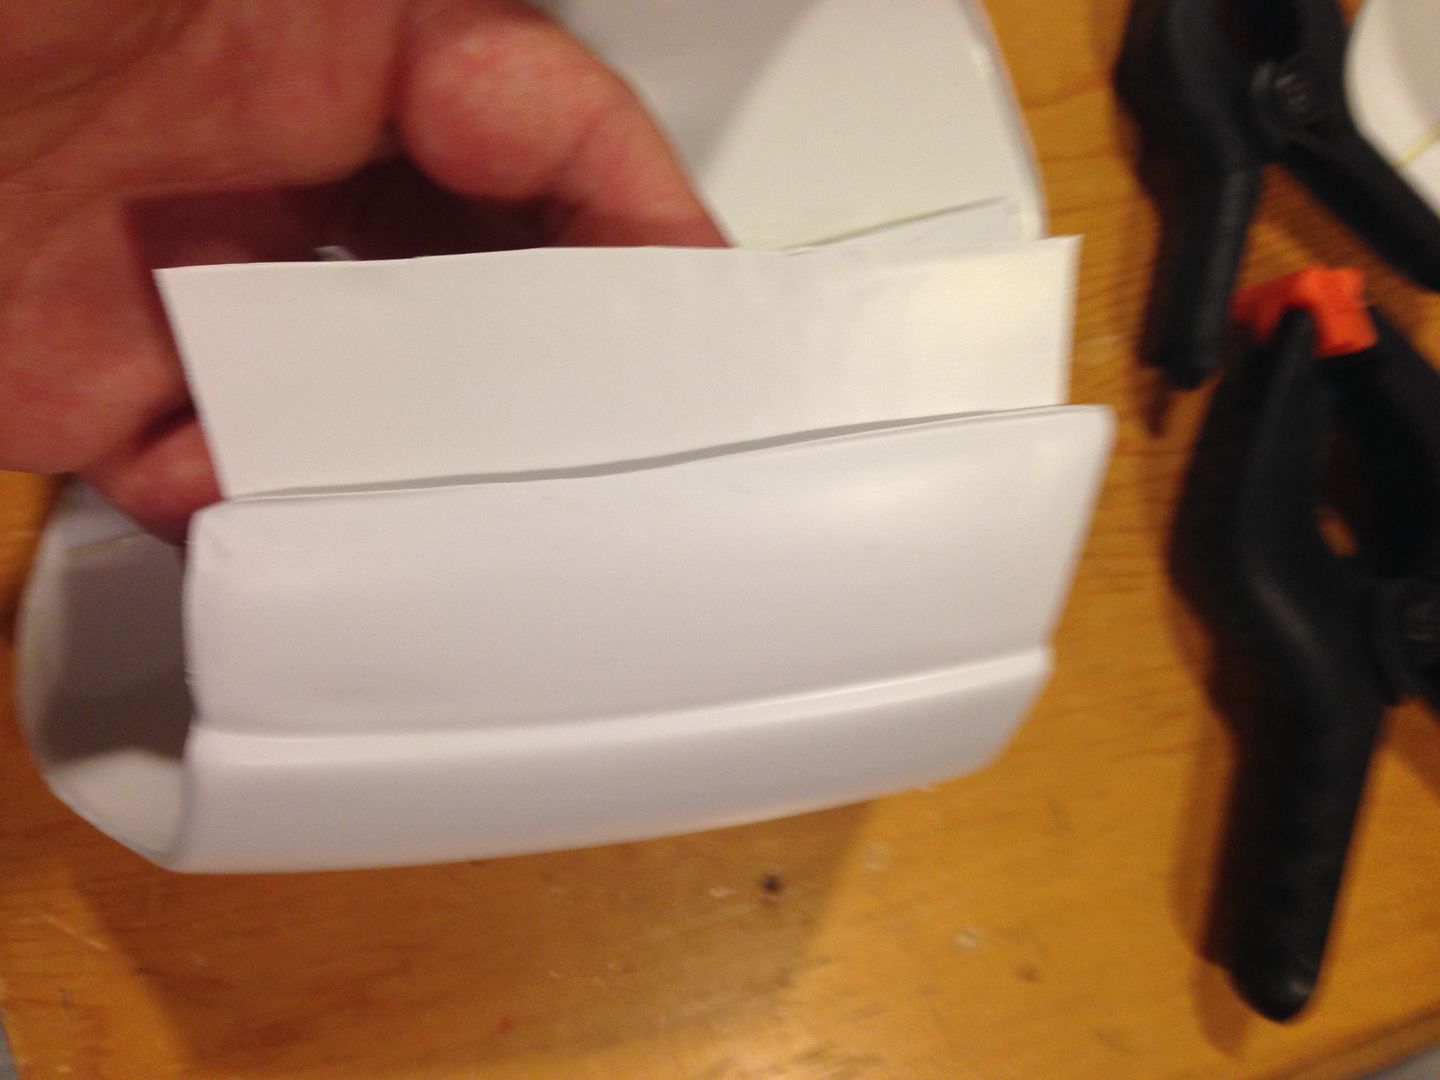
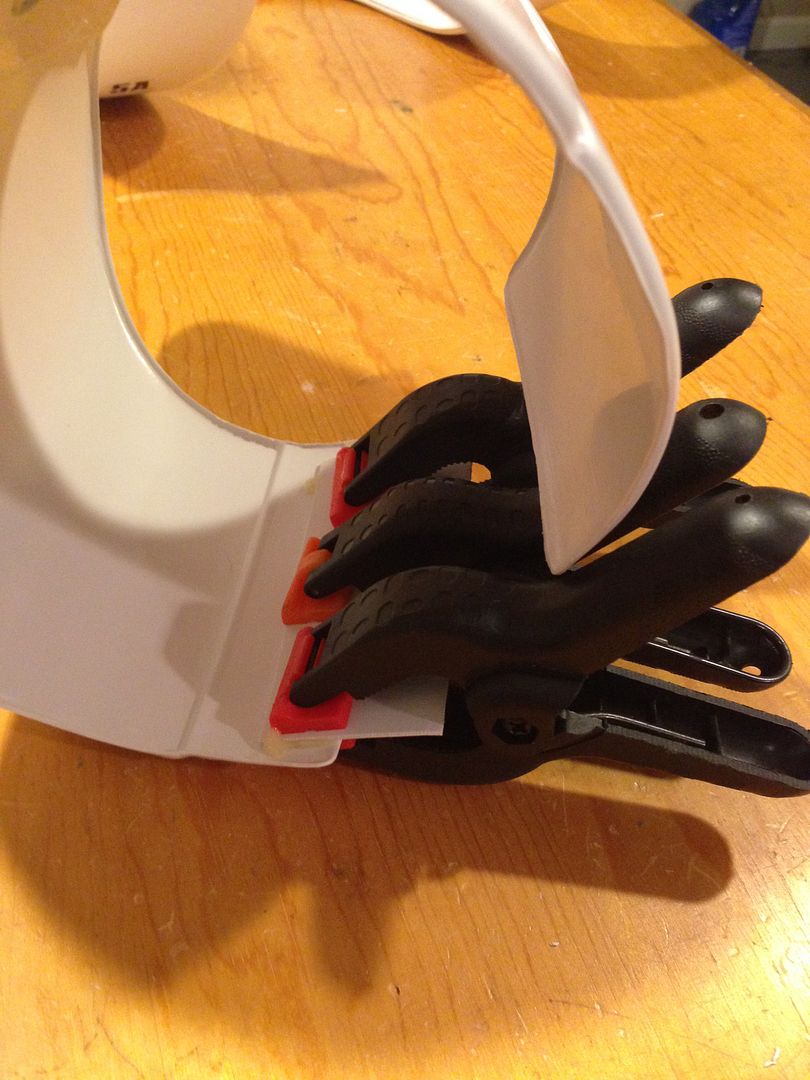
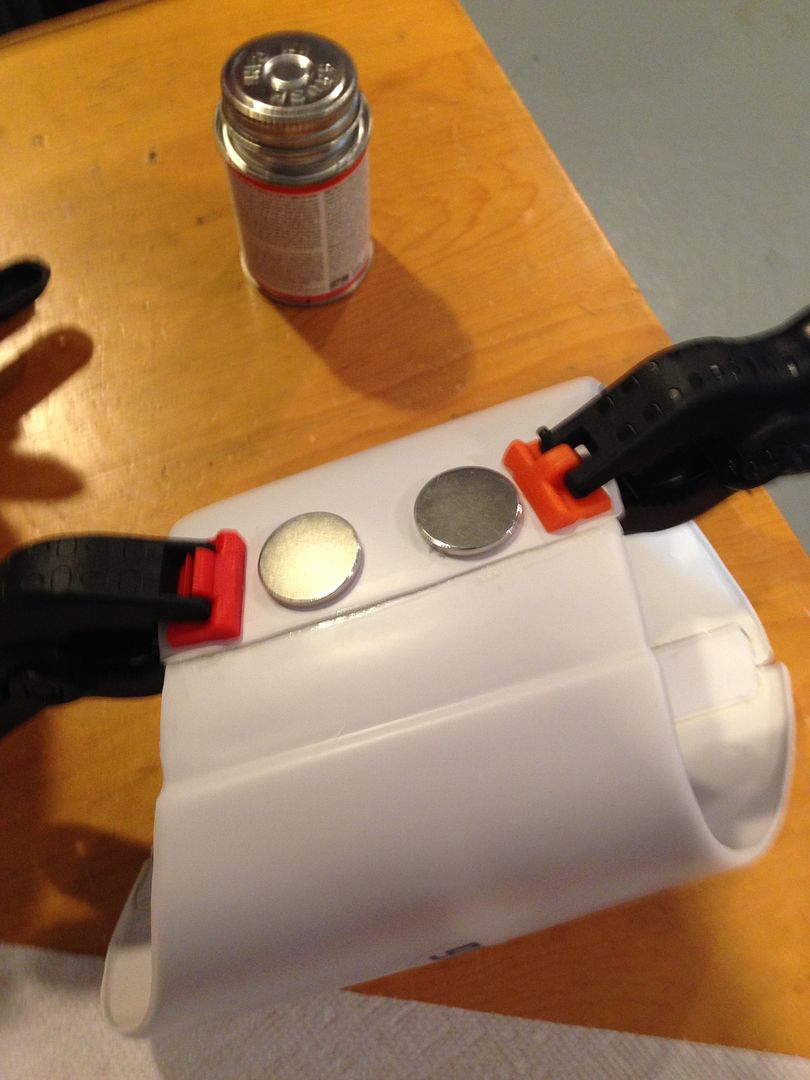
I'll fill in the space with either an ABS scrap cut to fit or paste/bondo.
-
 1
1
-
-
Now that the arm gaskets are done I can work on the biceps. The arm gaskets are tight but okay:
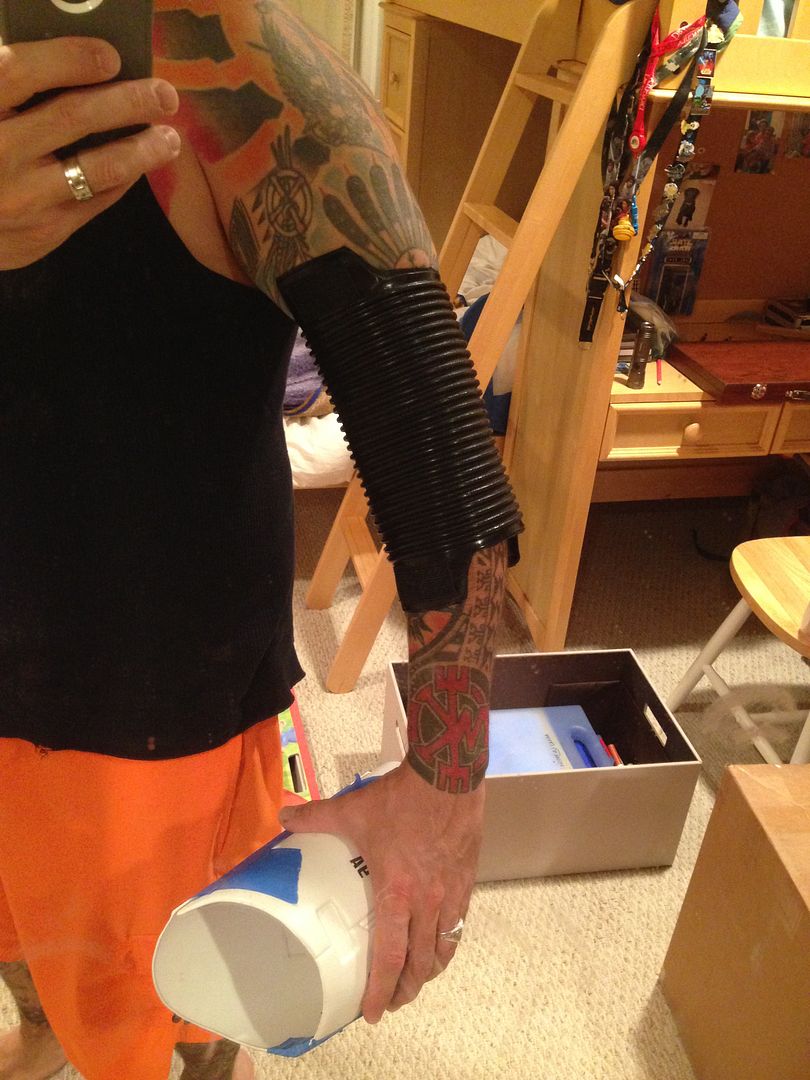
I could just about slide the biceps part on the way it's supposed to connect stock, but couldn't really get it all the way up and if I bent my arm it would probably snap lol:
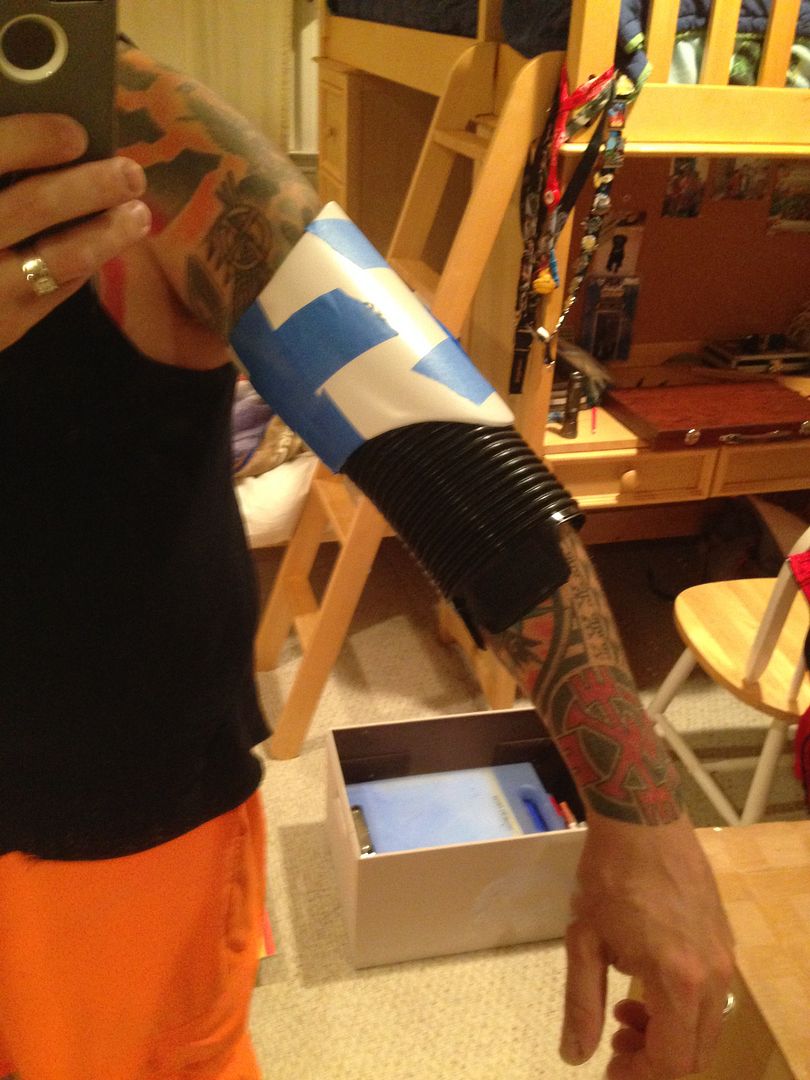
If I use the glue tab as a mark to extend, then add a shim on bottom to connect and on top to fill in the space I am fine:
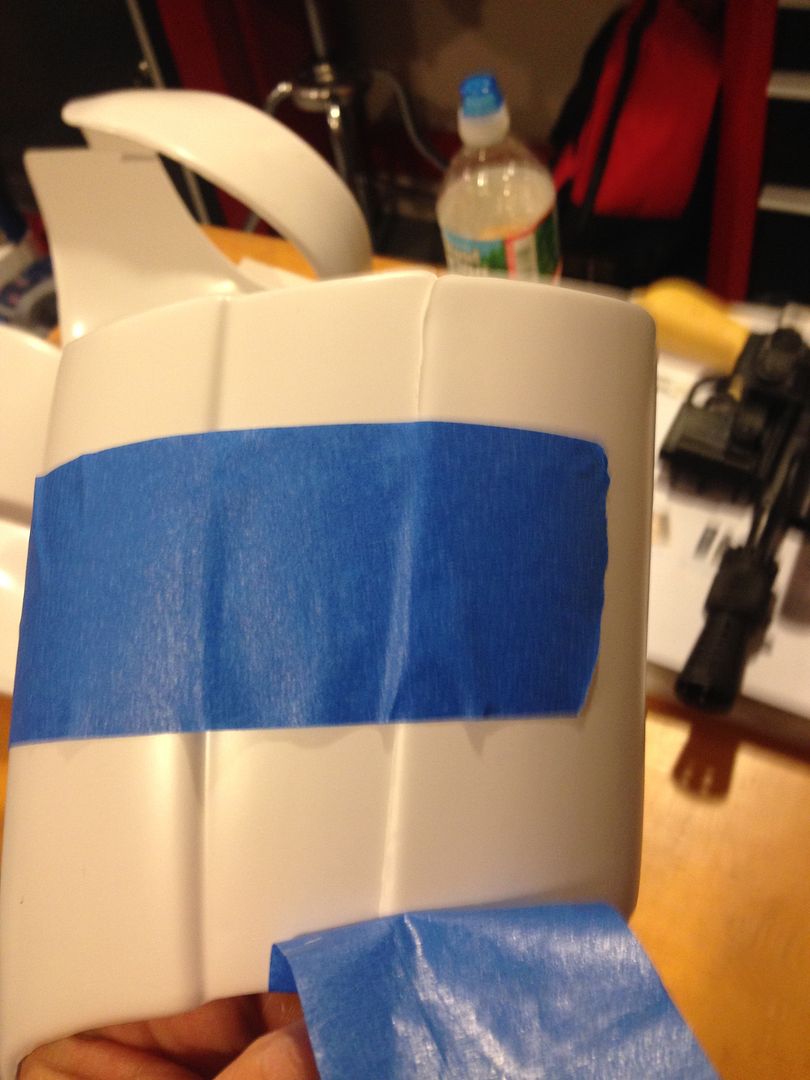
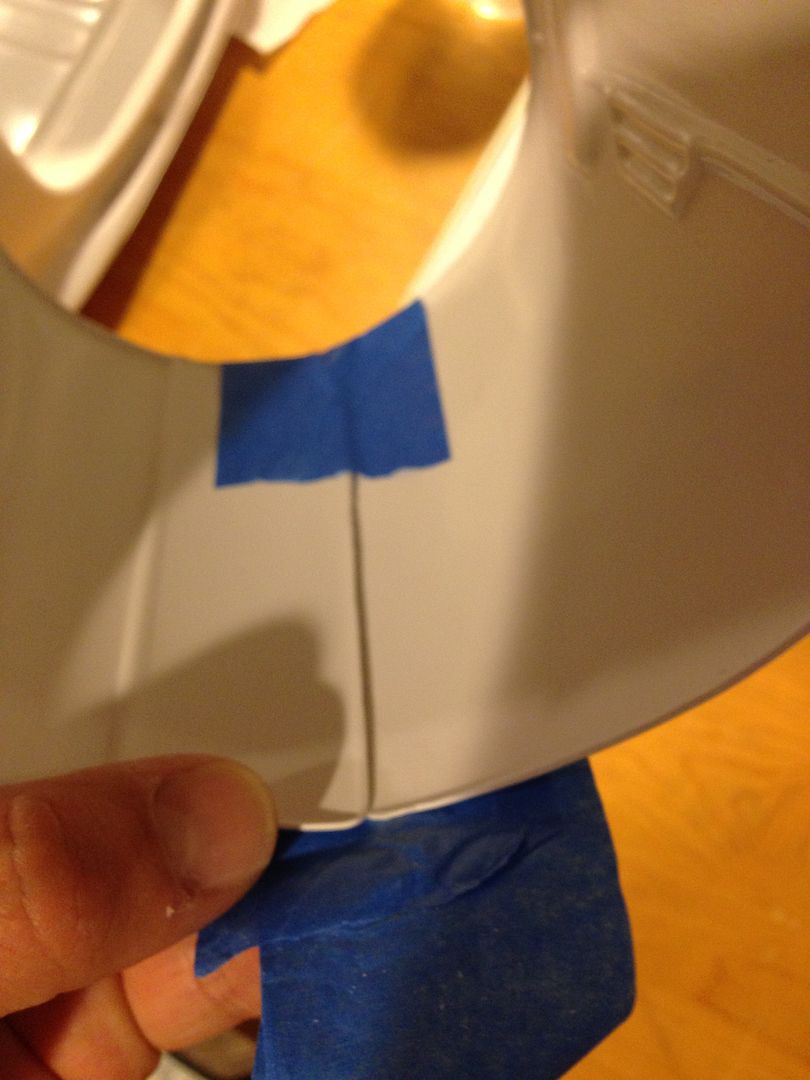
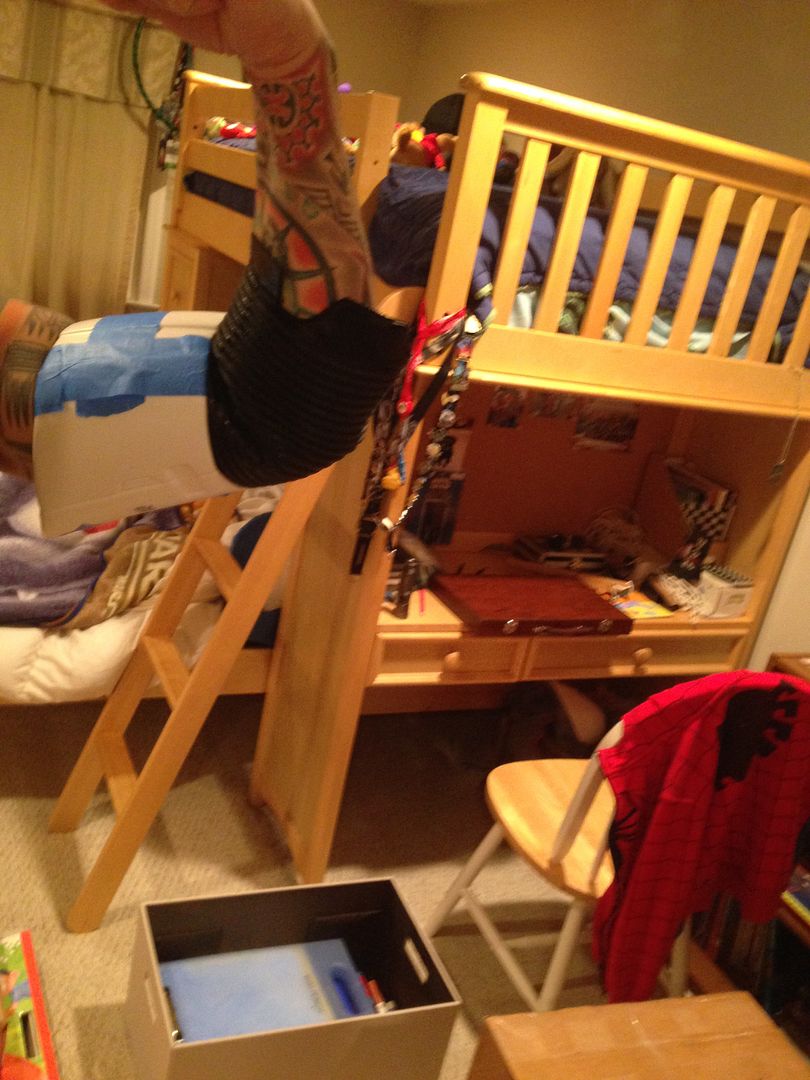
I'm gluing the shims in the biceps and thighs, I'll address the shims after those are dry....
-
I trimmed the yoke, test fitted and am adding the support shims I made from scraps:
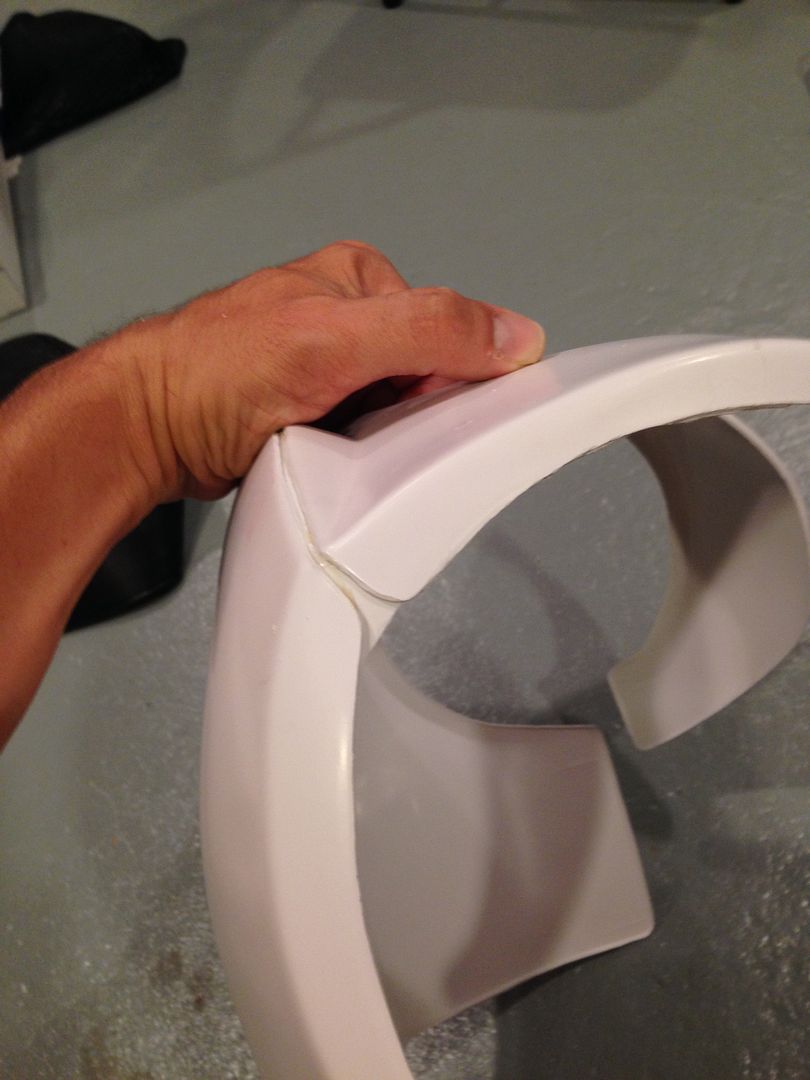
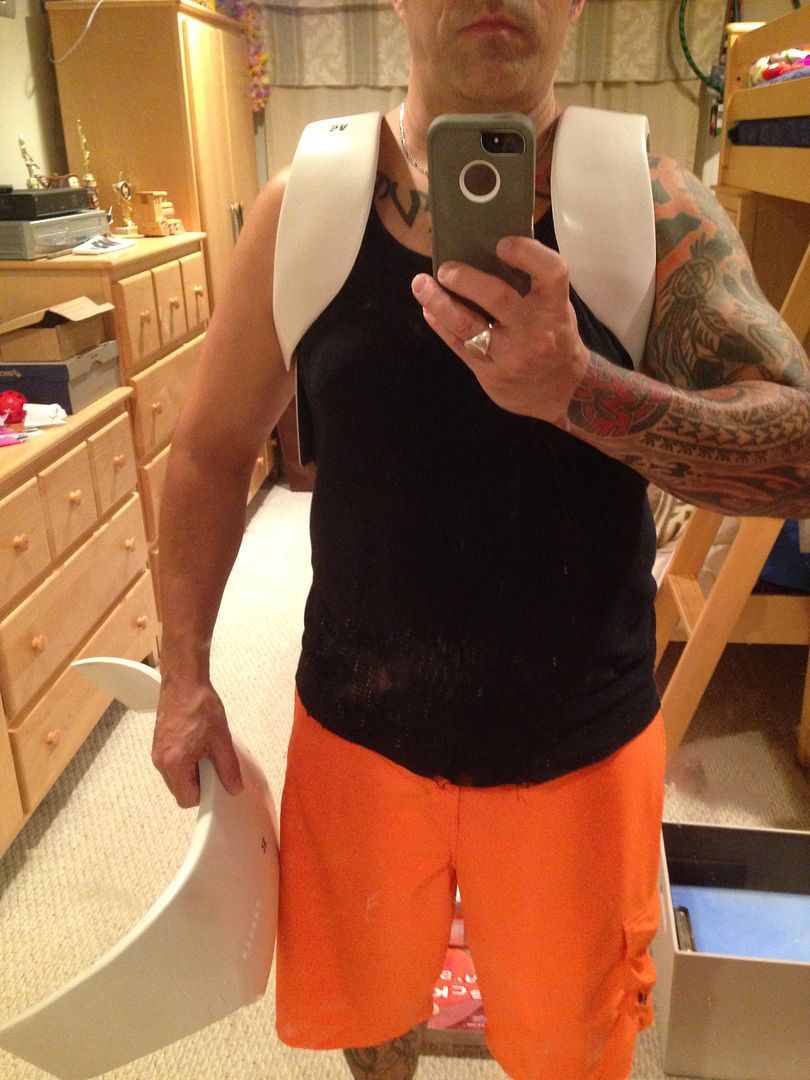
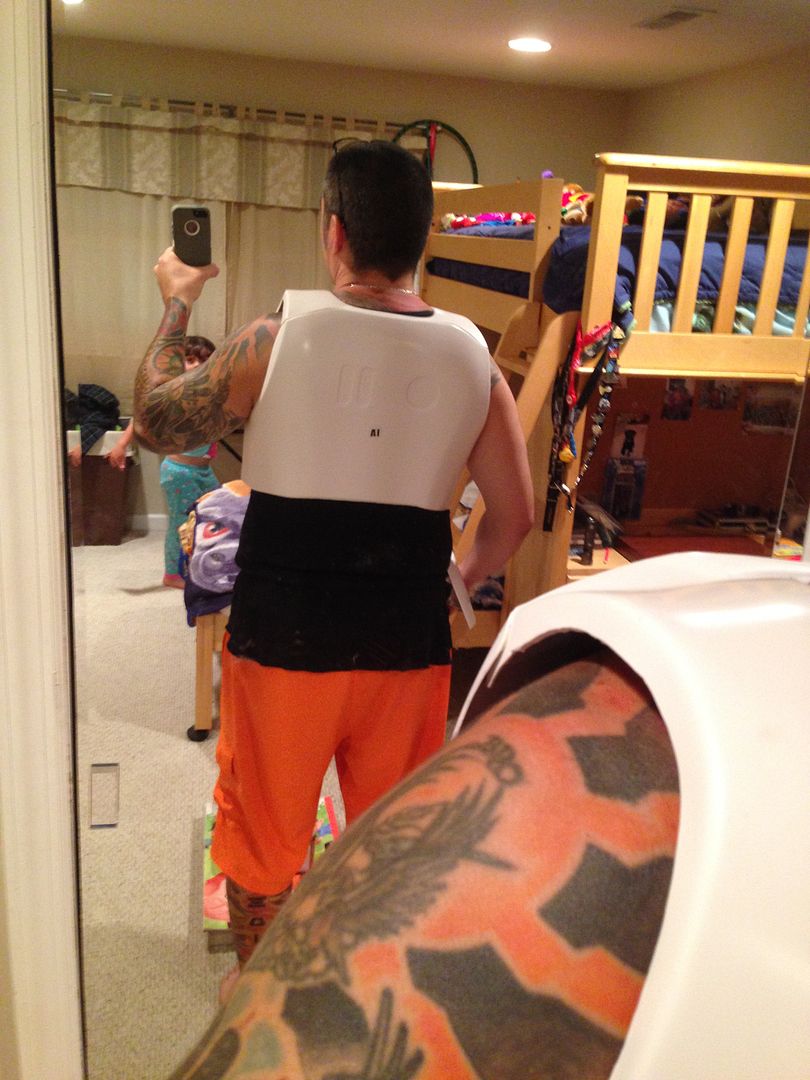
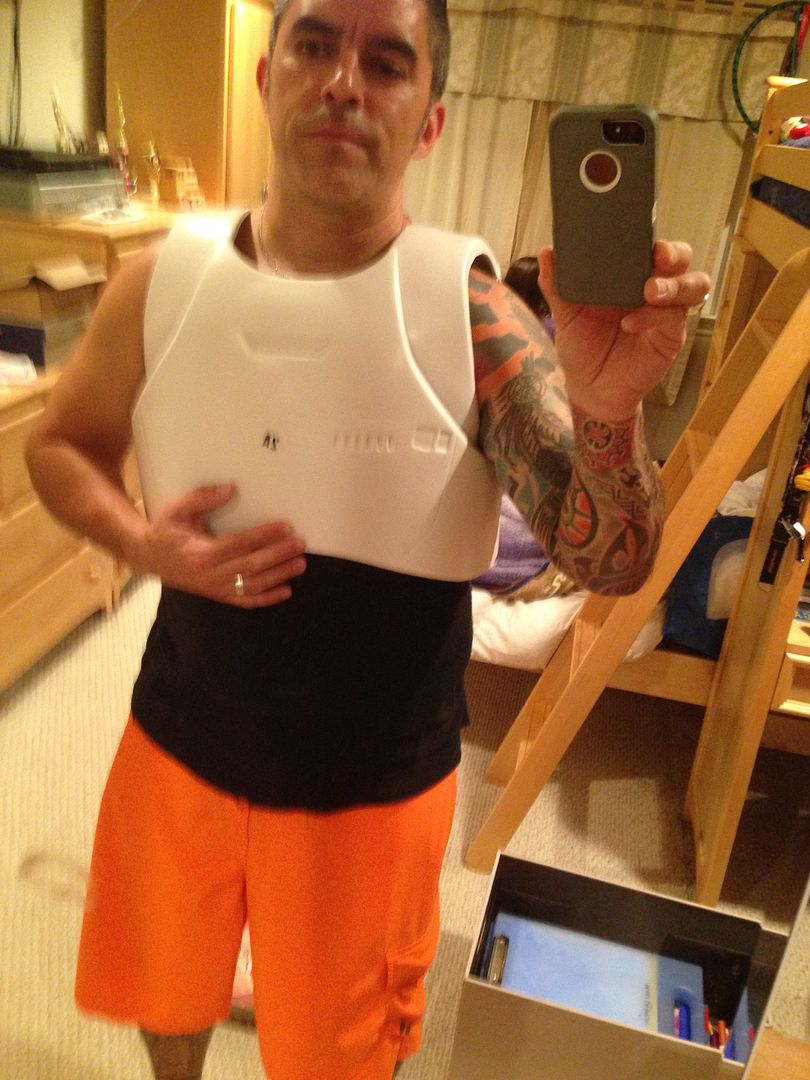
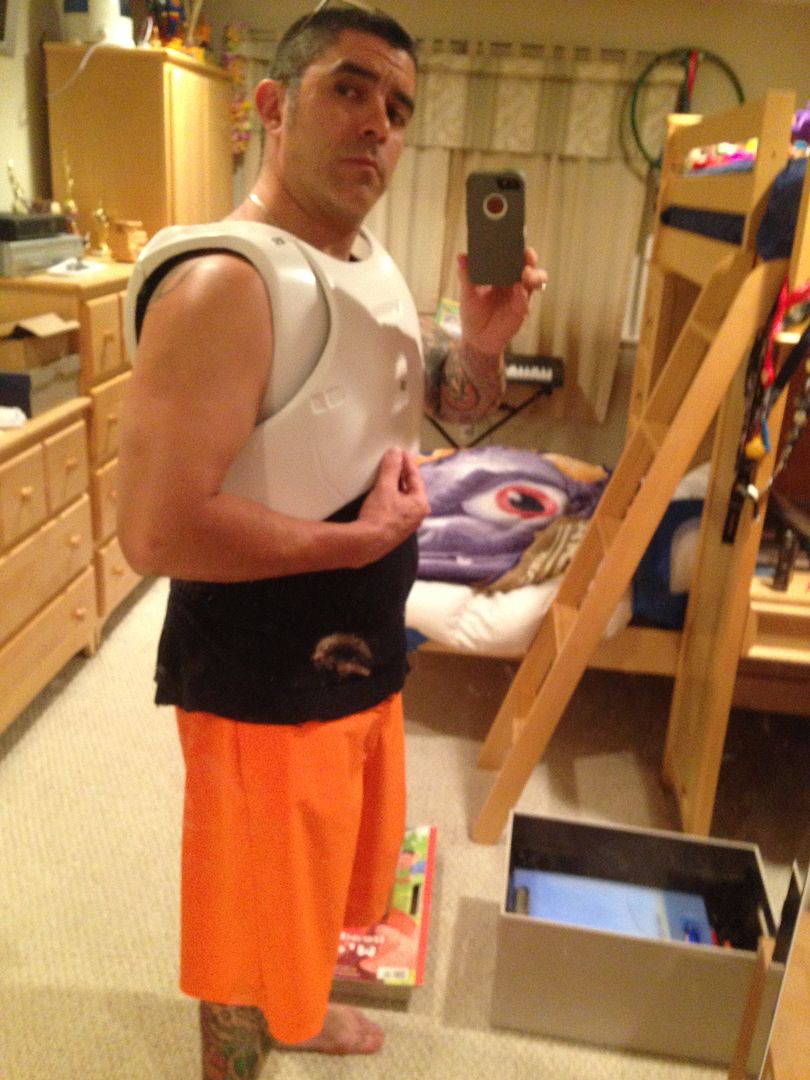
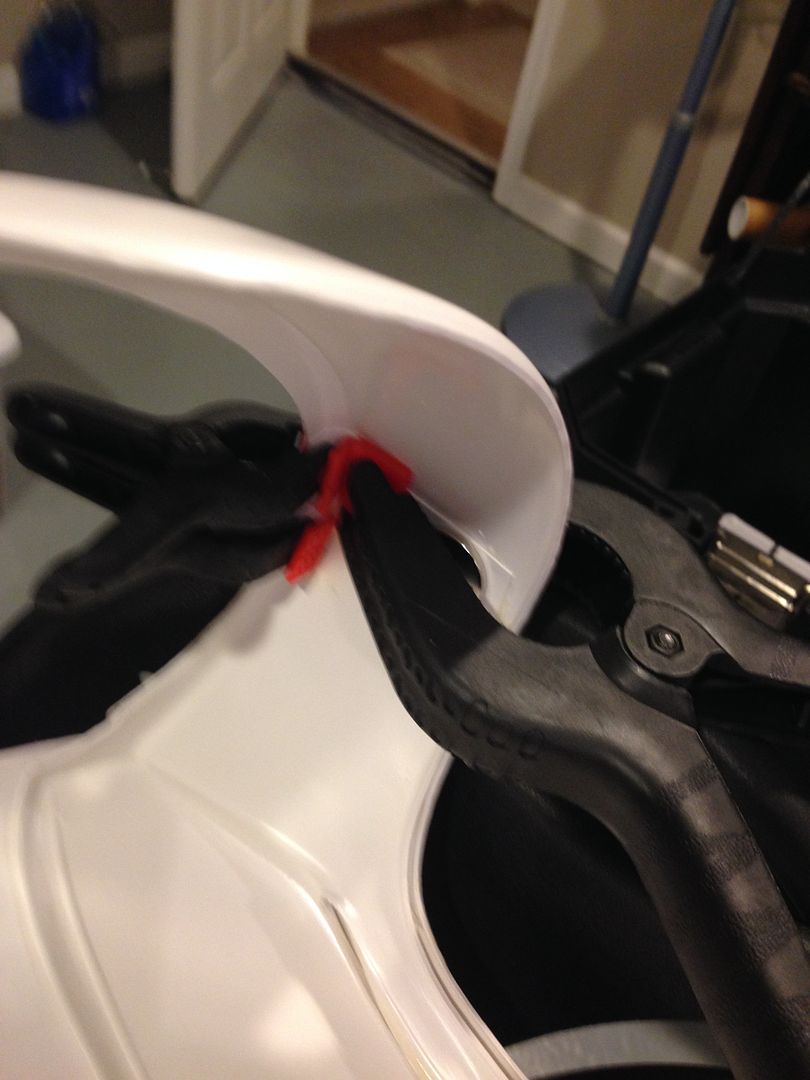
All my builds are like Where's Waldo, my son's room is downstairs right outside my workshop and he has the biggest closet mirror so all my photos are in his room hahaha! My middle daughter is also always roaming around and sneaking in his room to climb on the bunk beds or play with his stuff

-
Hey man, I just responded to your message

Join the forums of our local NJ chapter of the 501st Legion (Northeast Remnant), you can get a TON of information here but over there we can also give you some hands on help and you can see the local troops so you can come out and meet us in person and see stuff first hand.
I literally just helped our last four recruits build their AM 2.0 kits at my house over the last year. I had the time and space, they came over and I gave them tips and helped explain stuff but they did most of the work and it was a great time all around. I'm working on some of my own stuff but also helping yet another new recruit, and I'm sure we can fit in some time to help you as well.
-
 3
3
-
-
I just finished the arm gaskets, had a build set back because I took a week to help a new recruit finish her TK

I plan on getting back to this over the weekend, I'm still excited to go forward on this so first thing I'll do is dremel down all the rough parts and try another test fit..
-
Thanks Tyler, I've been posting questions both here and on the facebook build group (sometimes the answers come quicker there because pretty much this entire planet spends all day browsing social media on their mobile devices hahaha) and they said the same thing. Pretty much not to trim it and instead just do my best to reinforce it at the weak point and get dressed carefully with a good spotter lmao

I trimmed the gaskets and am going to glue them next so I can get that done and have the available for test fits like this.
-
Here's a shot of the glued back/yoke (haven't filled in seams or sanded down inside yet)
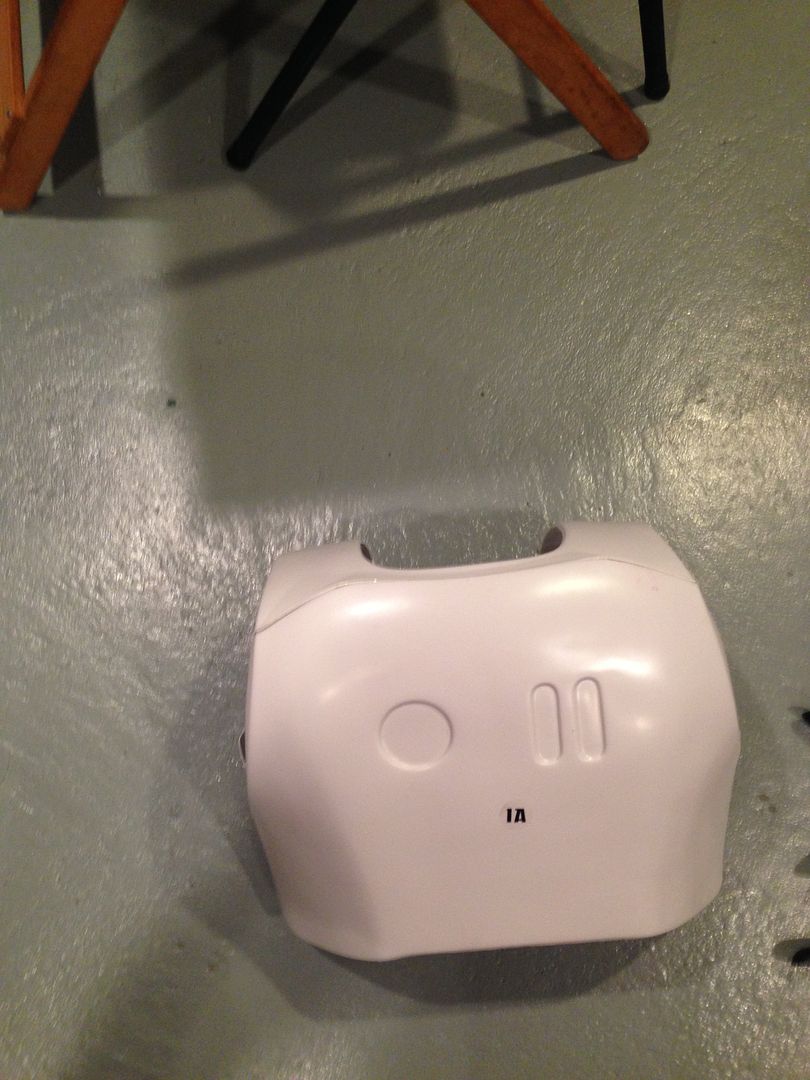
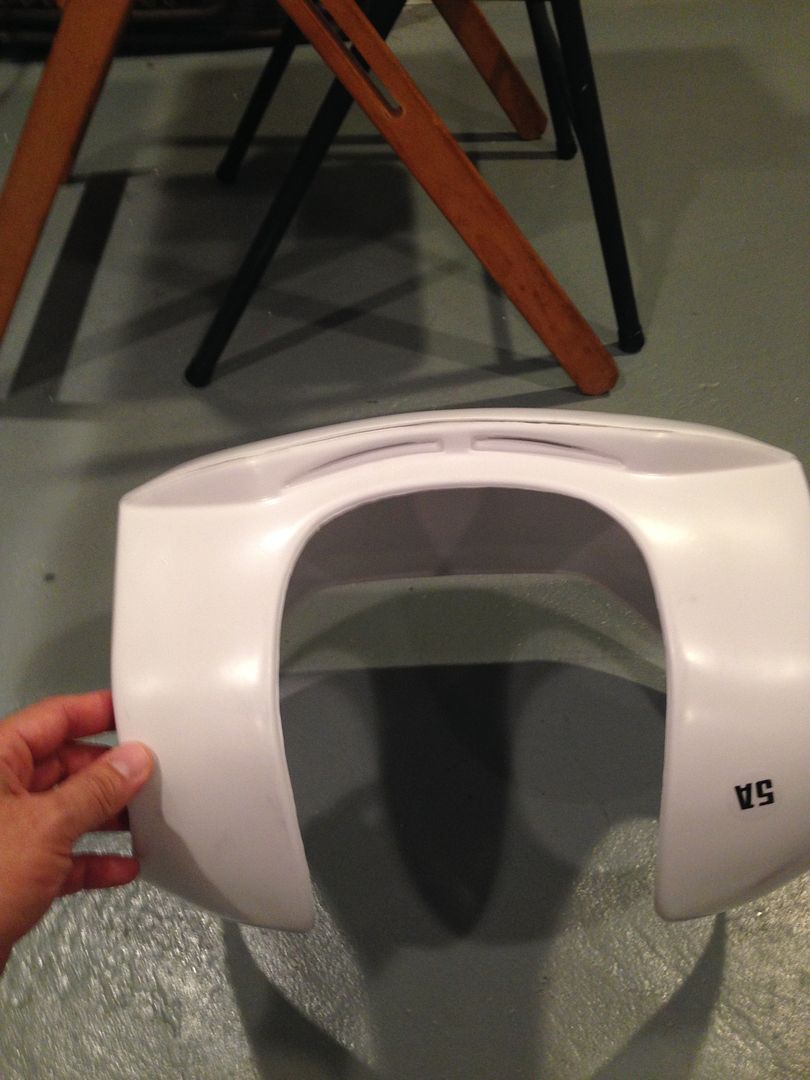
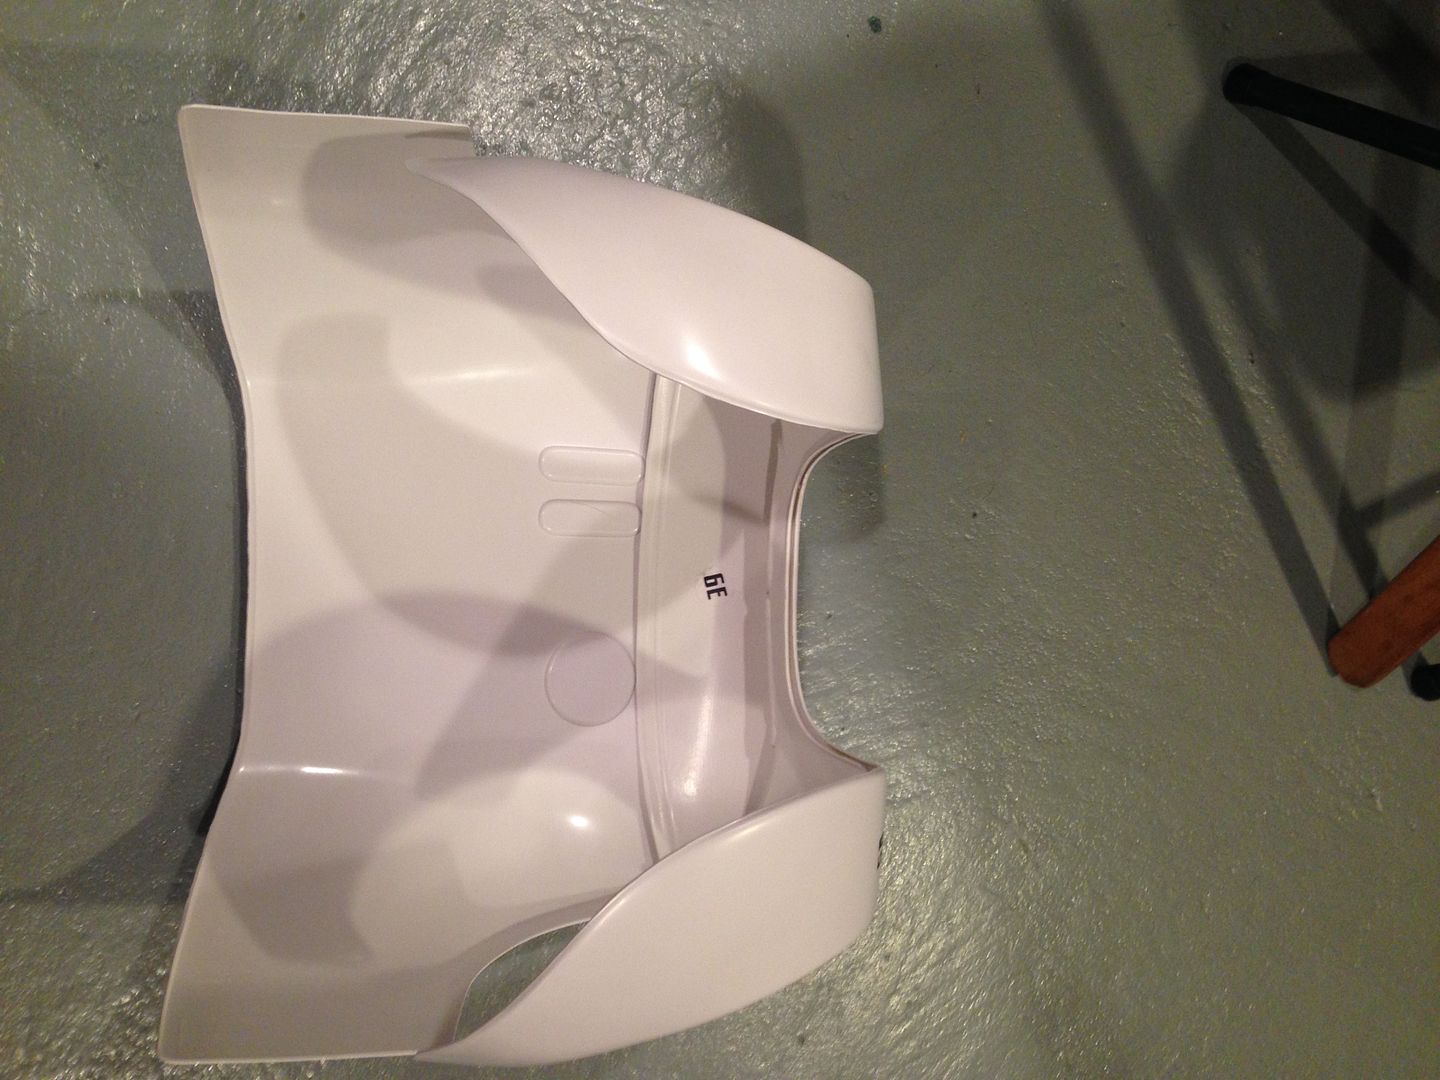
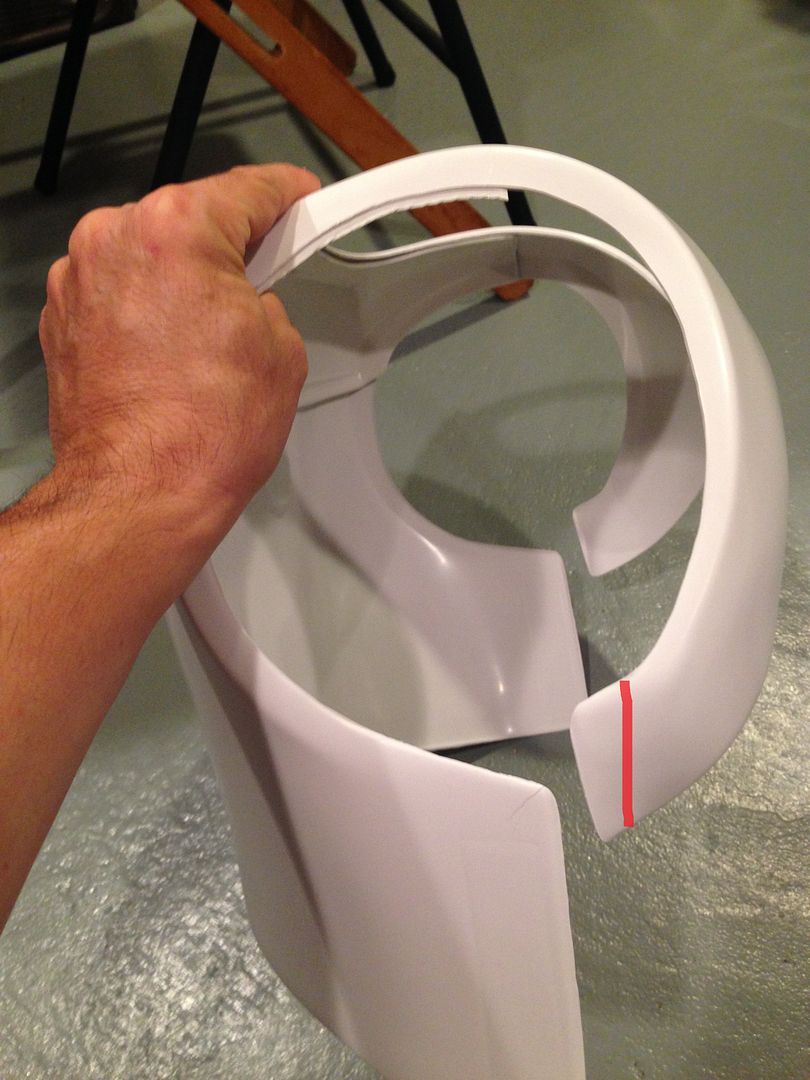
I have a questions about getting it on. I have to pull it out to get it over my arms, and obviously this will lead to stress fractures and breaks. Can I trim down the bottom of the fronts about an inch or so? That would probably enable me to get it on better...
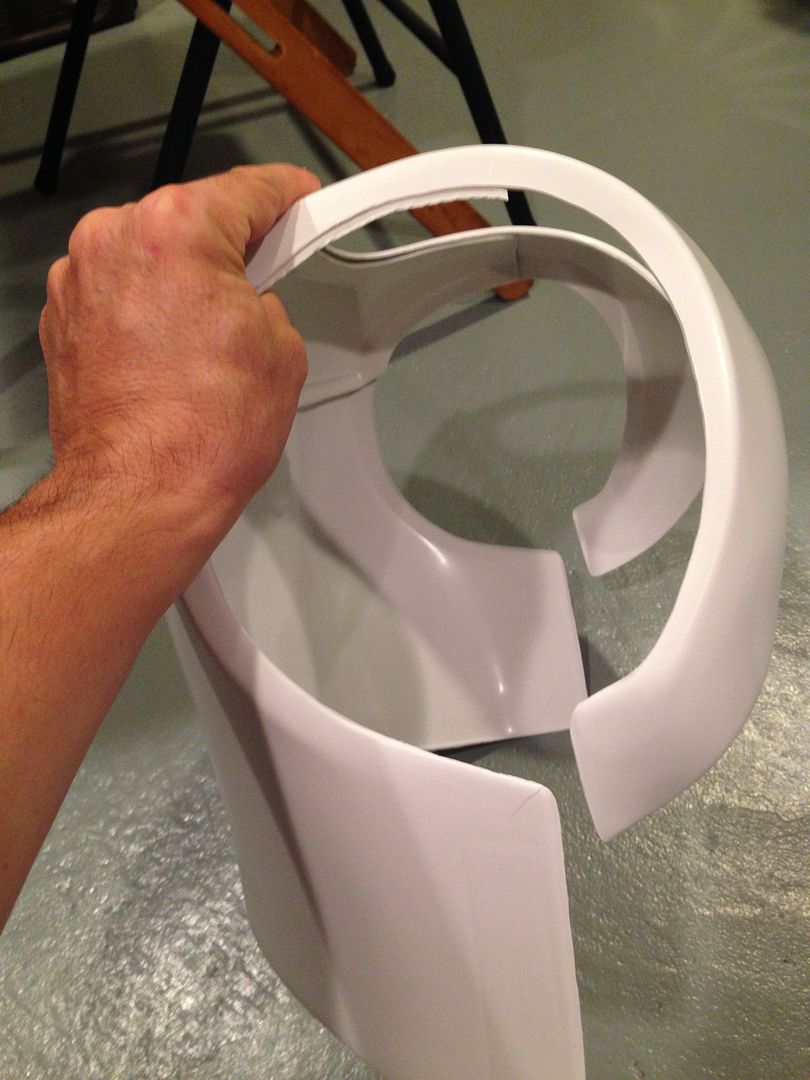
like this:


Navajo Bro's FOTK Build Thread
in TFA Build Threads
Posted
3) Glued that part onto the base, which again was simply sanding and lining up. Eventually the entire thing will be covered with bondo
4) Last thing was the hook on the top
It came out a little rough, but I'm pretty sure I can clean it up with some sanding and bondo