


Navajo Bro
-
Posts
270 -
Joined
-
Last visited
-
Days Won
1
Content Type
Profiles
Forums
Gallery
Articles
Media Demo
Posts posted by Navajo Bro
-
-
Hey man great progress and I'm glad my build thread is helping you! Let me know if you need any specific shots or explanations, I'm always happy to help.
I know a lot of people have had problems with rare earth magnets, pulling them apart is almost impossible if you just try to muscle it off but if you slide them they are easy. Even without spacers it works, check out this quick video I did a while back to help out my Garrison guys
I'll try to keep an eye on your build in case you need help but shoot me a PM if I don't get back. I try to pop over on FISD as much as I can but the notifications and "view new posts" never works for me so sometime I miss things

-
 1
1
-
-
I also have the AM 2.0 kit.
Did you notice that the Hovi tips are considerably bigger than the indentation, and they can't sit flat. This means that there is a big gap behind them.
Do you have the gap between the Hovi and the helmet as well?
I don't recall having this problem at all, and besides mine I built I think 6 more over the last year with other members. The hovi tip went all the way to the plastic and sits flush.
-
Which baton did you go with? Looking for one myself. Great job on your builds.
I actually got in Peter White's version one last year before the movie came out but opted to wait for the V2. It is awesome, I just got around to building it after finishing the resin blaster and by using his tutorial it was a breeze.
I'll update my thread here with my resin blaster and baton builds over the next week
-
1
-
-
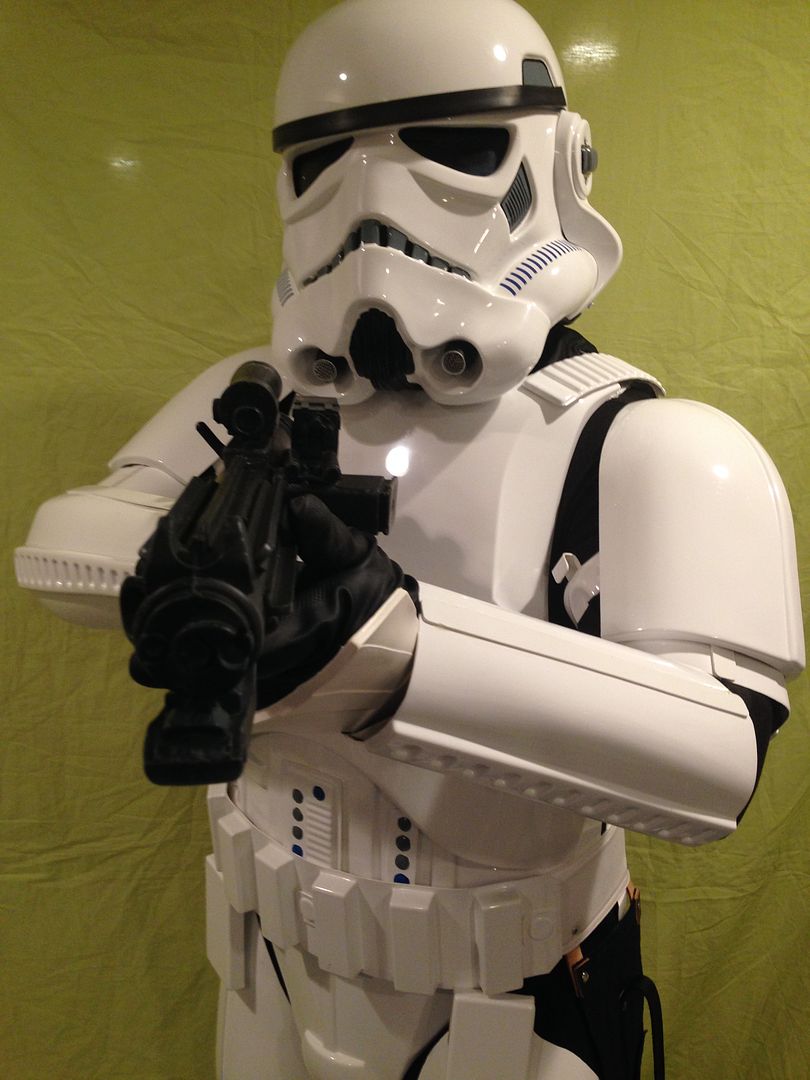
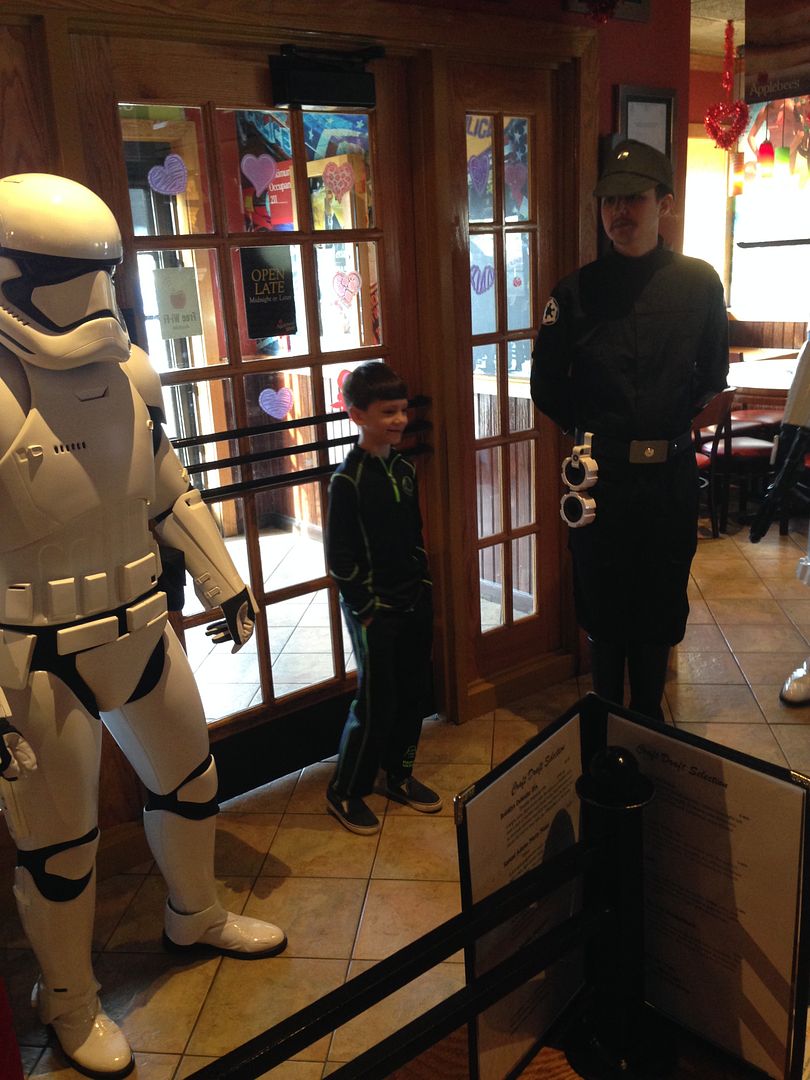
I also received my 3D finished F-11 and love it! As I'm working on the DDay resin kit I now have this to troop with. Today at the local FCBD troop I finally got to go fully equipped hahaha!
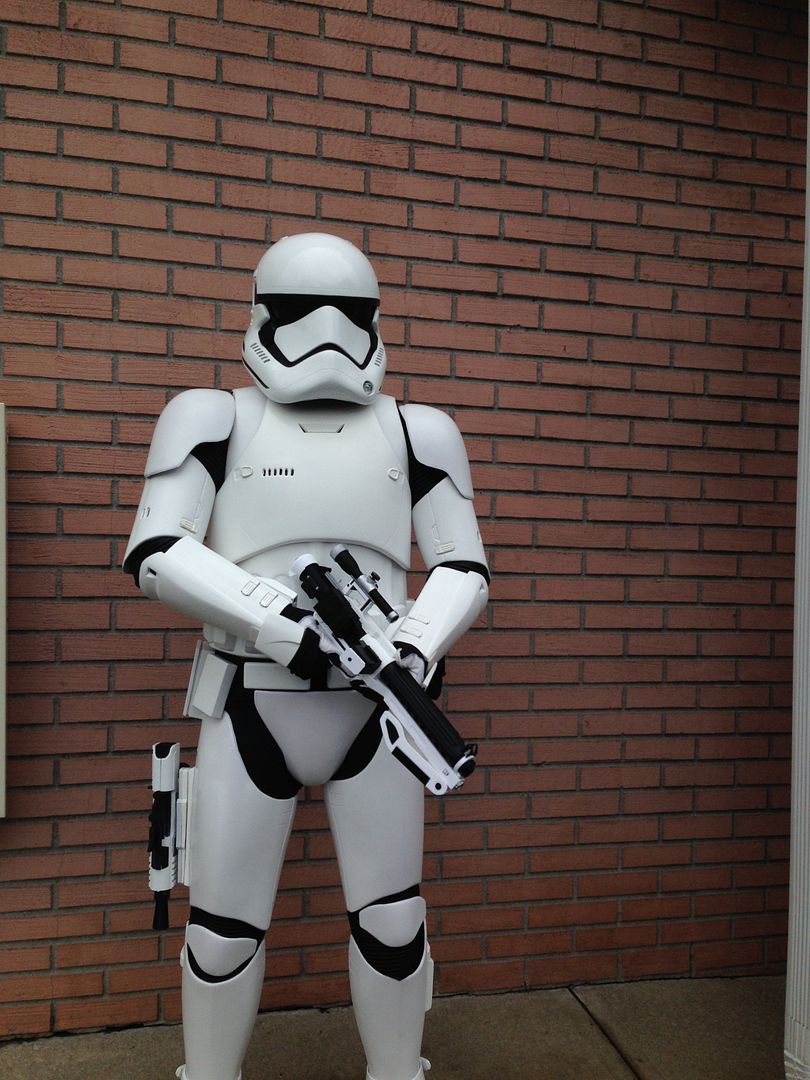

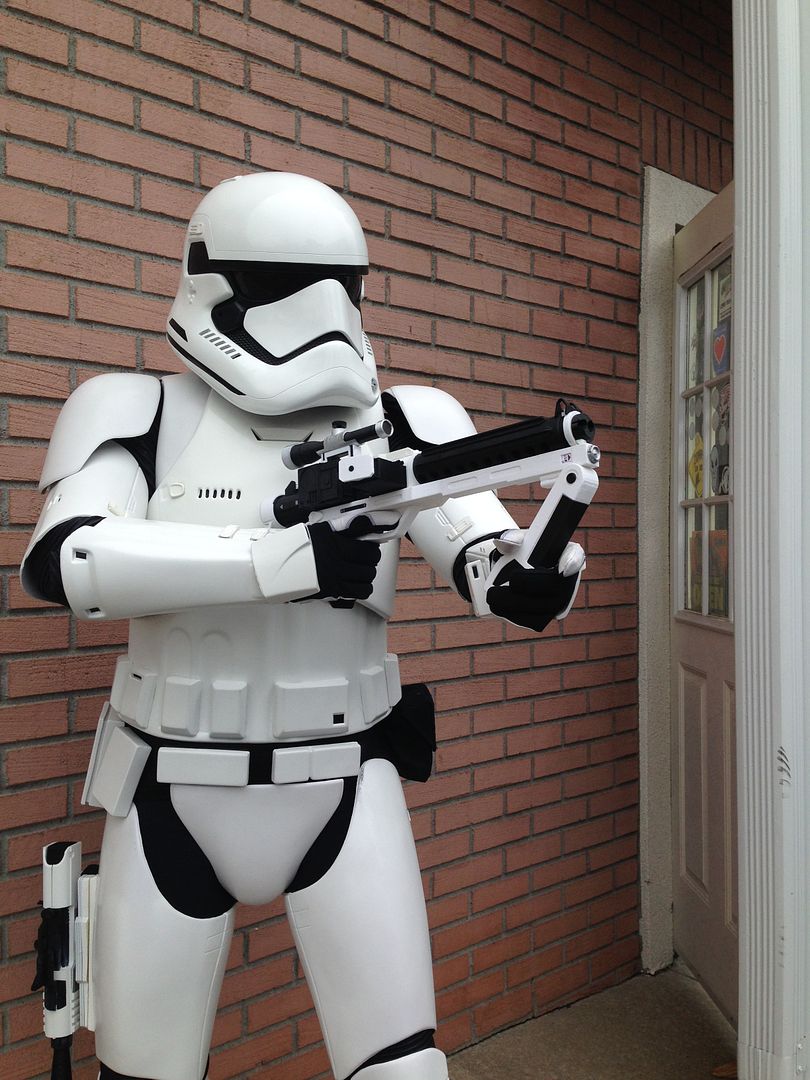
I'm already working on the resin kit, and also have a baton. Once I finish them I'll copy over my progress shots
-
2
-
-
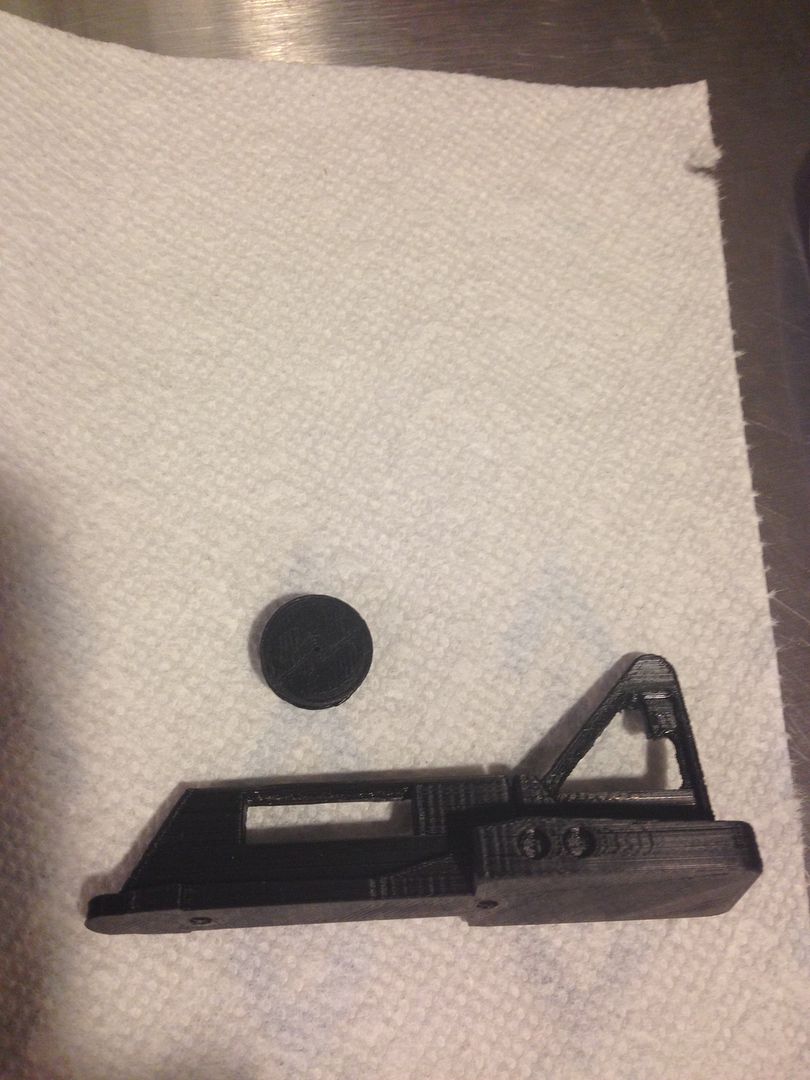
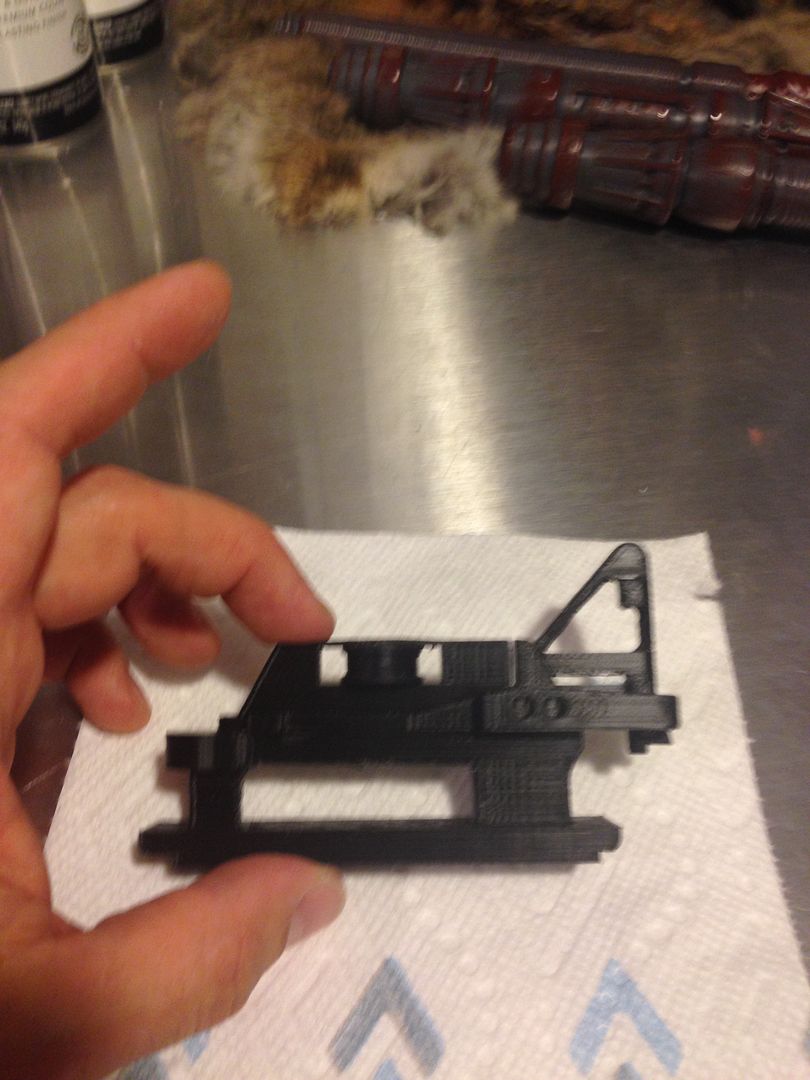
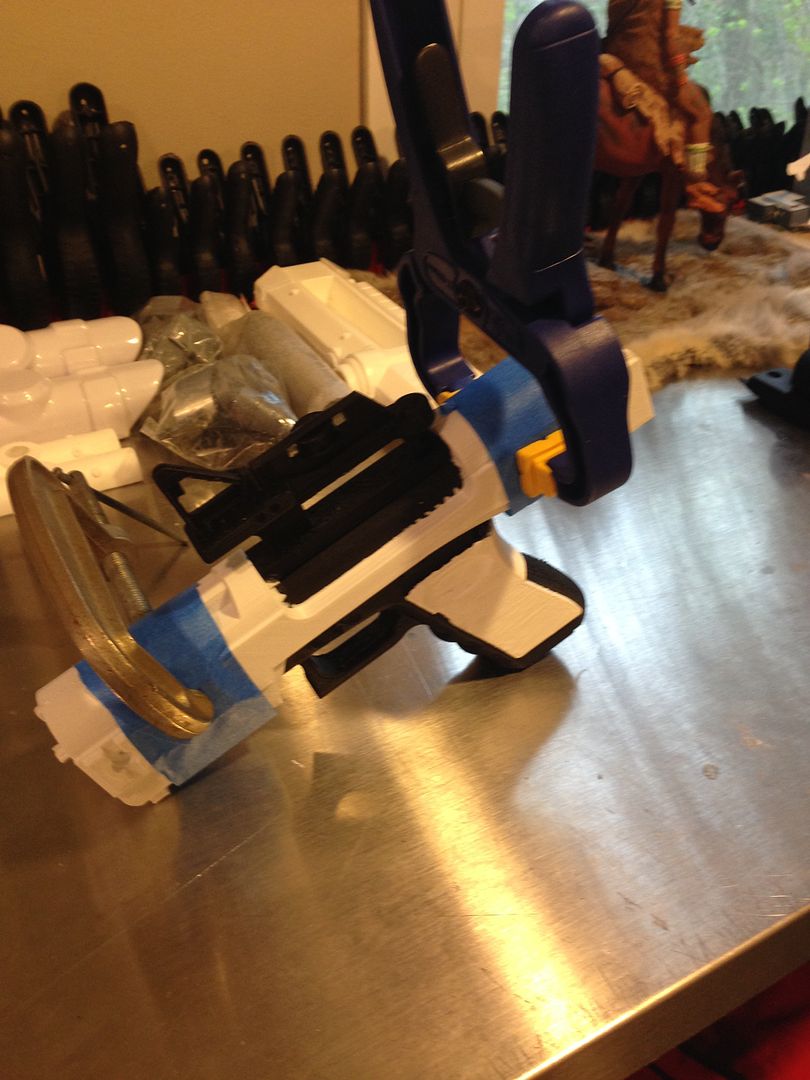
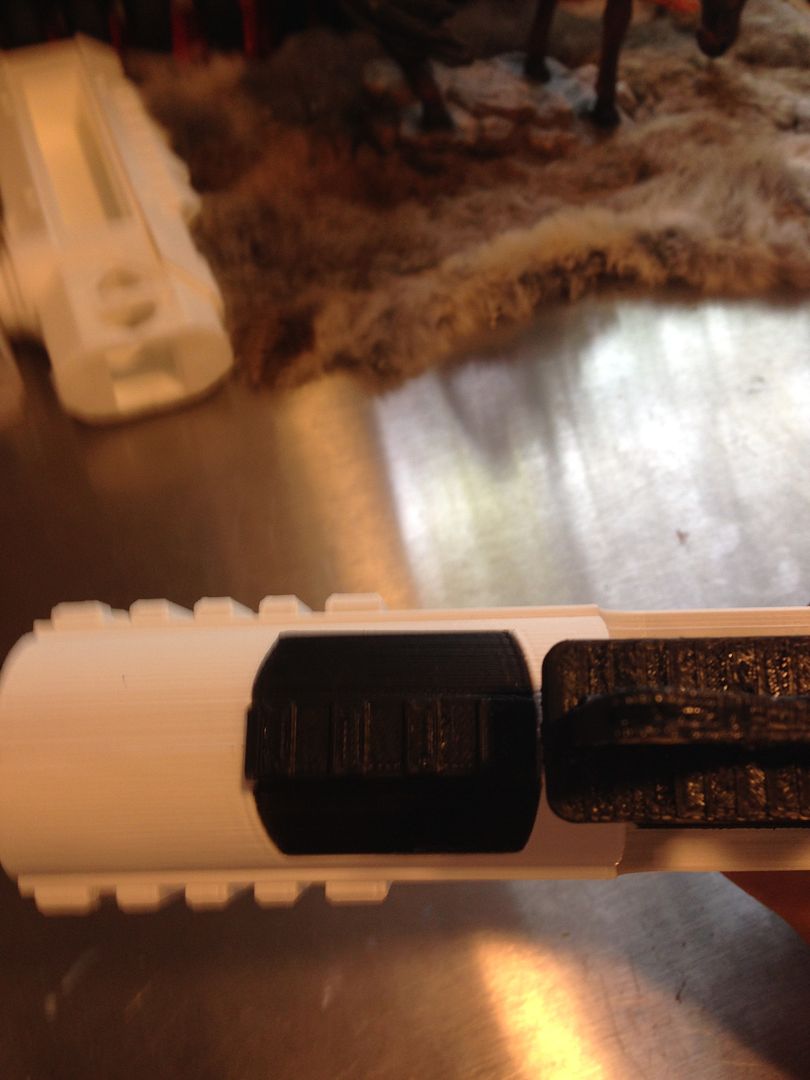
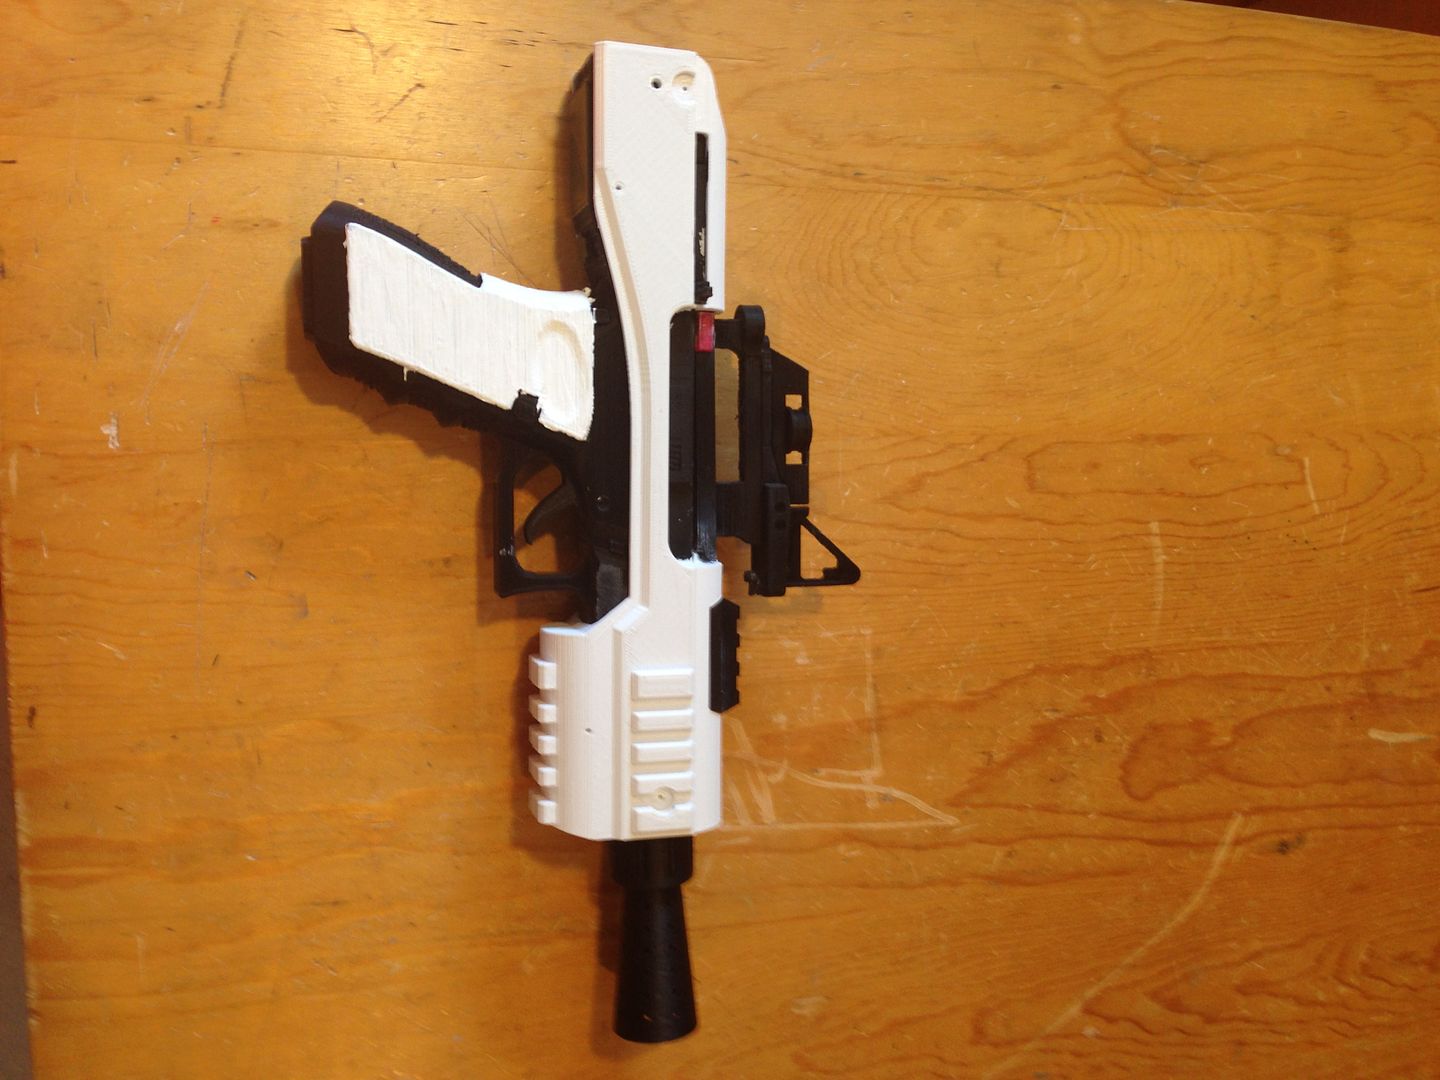
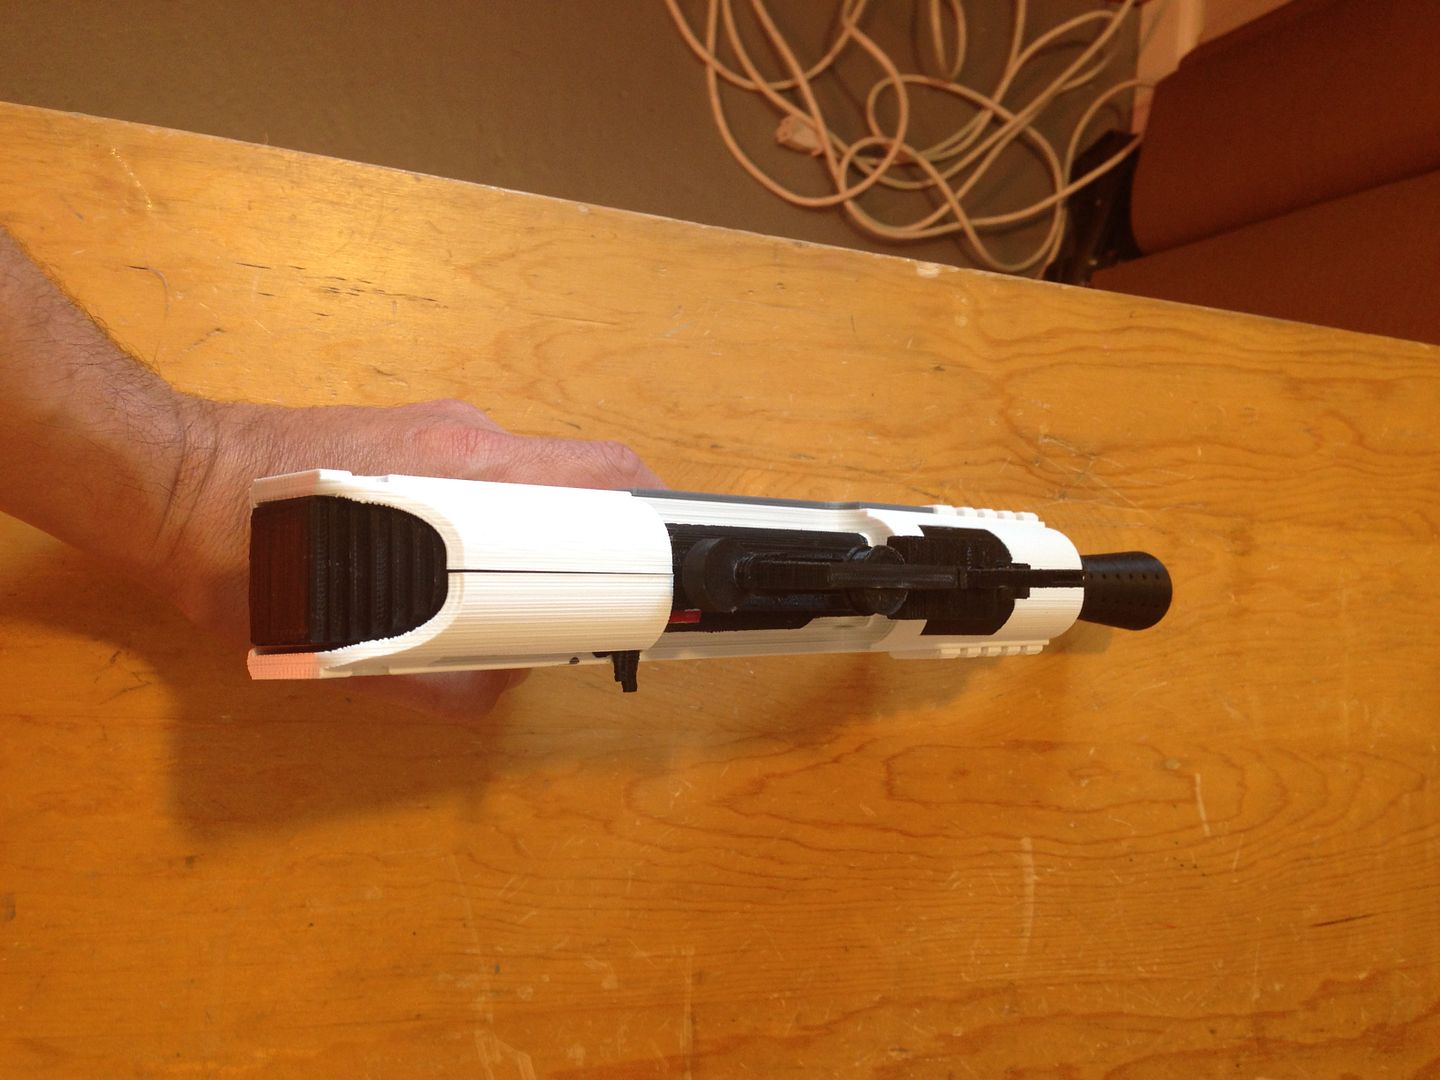
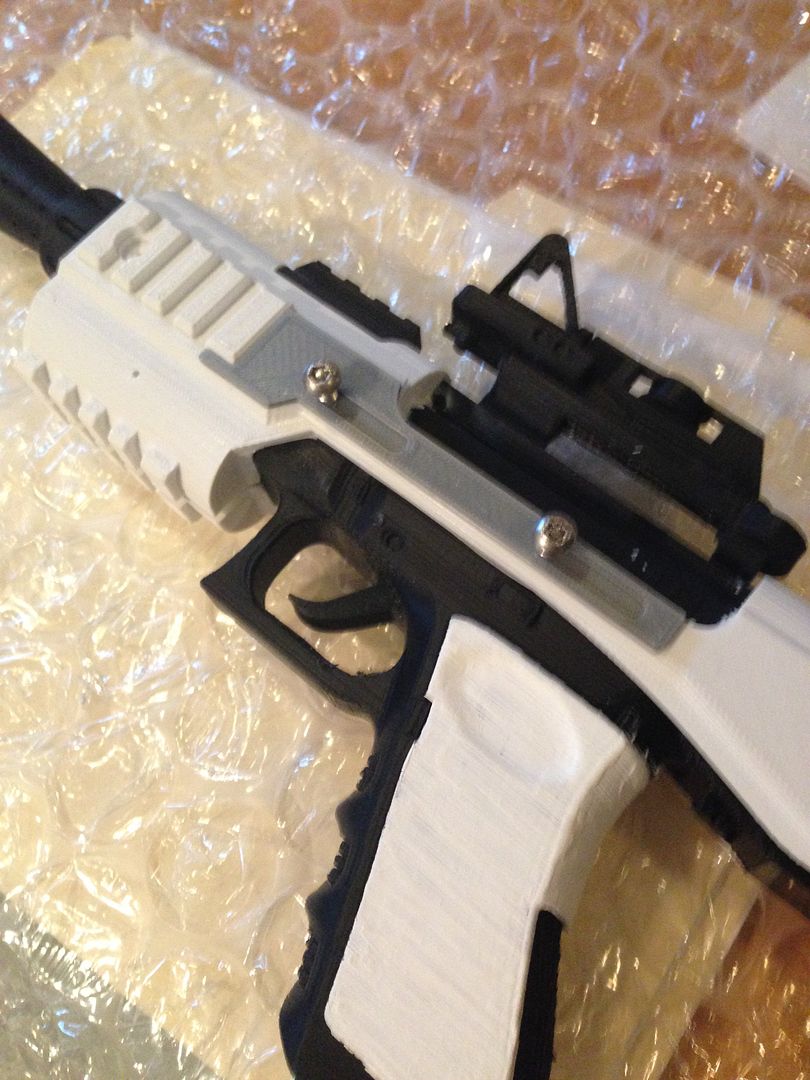
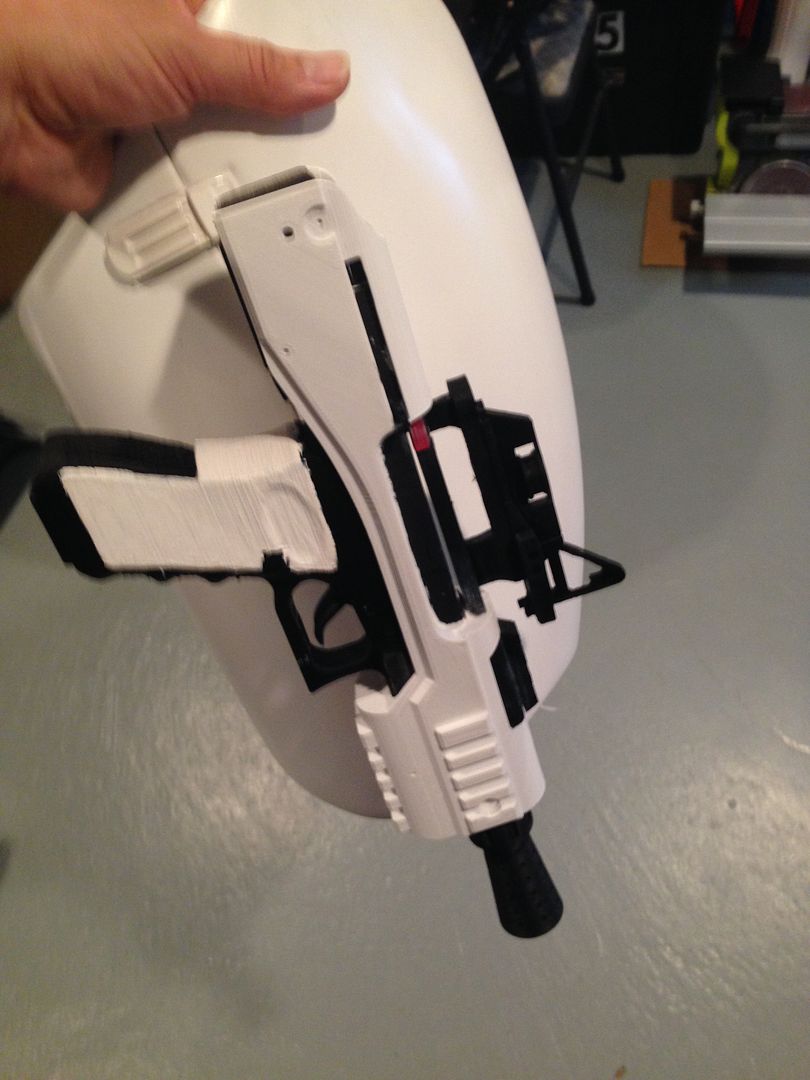
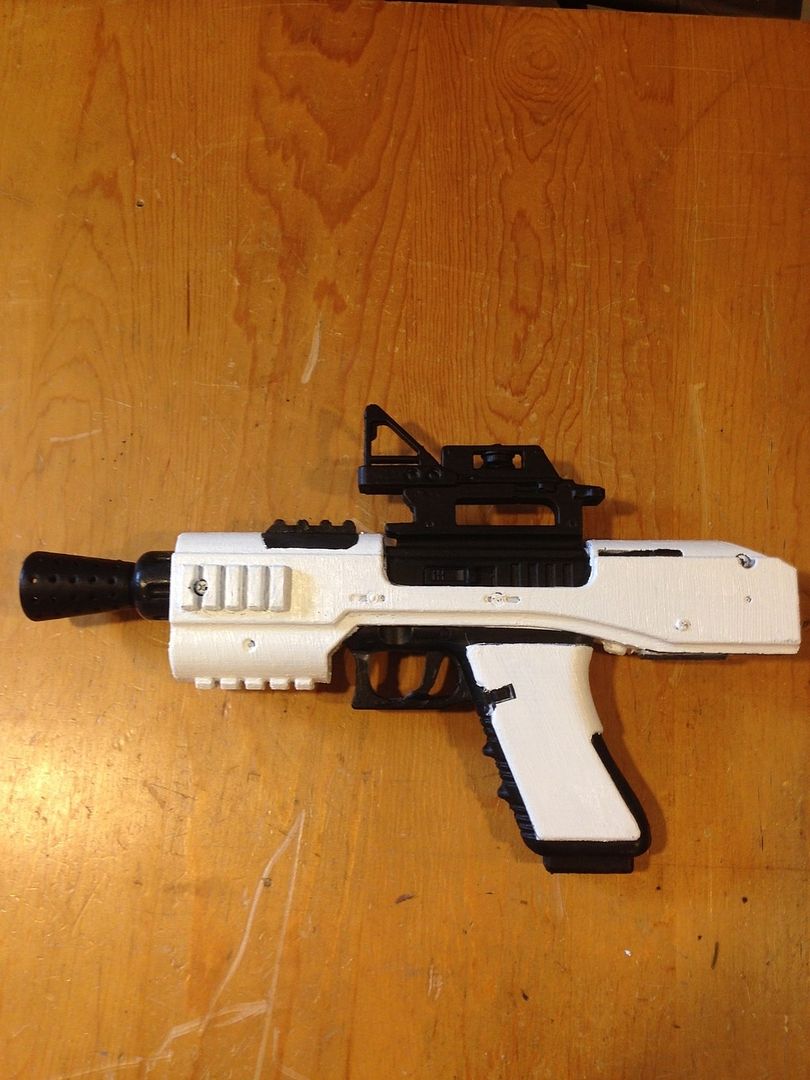
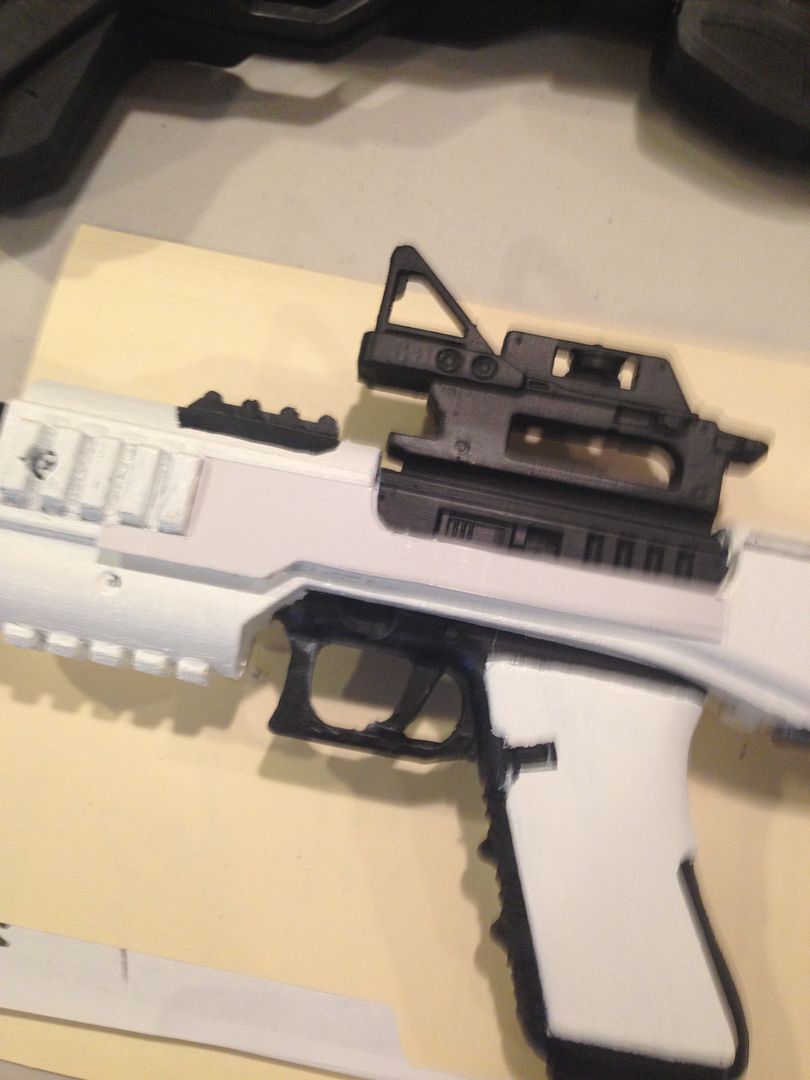
*** 3D PRINTED SE-44 PISTOL ***
My very first time working with a 3d printed kit, it was a learning experience but I'm happy with how it came out. Clearly I need a little more practice and understanding on how to clean up the parts but it wasn't as hard as I thought it was going to be.
I used the manual / tutorial provided on the FISD boards for the actual kit. Again, as my first time and with the tools I had I wasn't able to follow it completely and as perfect, but it got done. It also helped that it's based on a real world Glock with real world attachment - and I'm familiar with that because we carry Glock 23 as duty weapons lol.
1) Basic parts, most printed in correct color
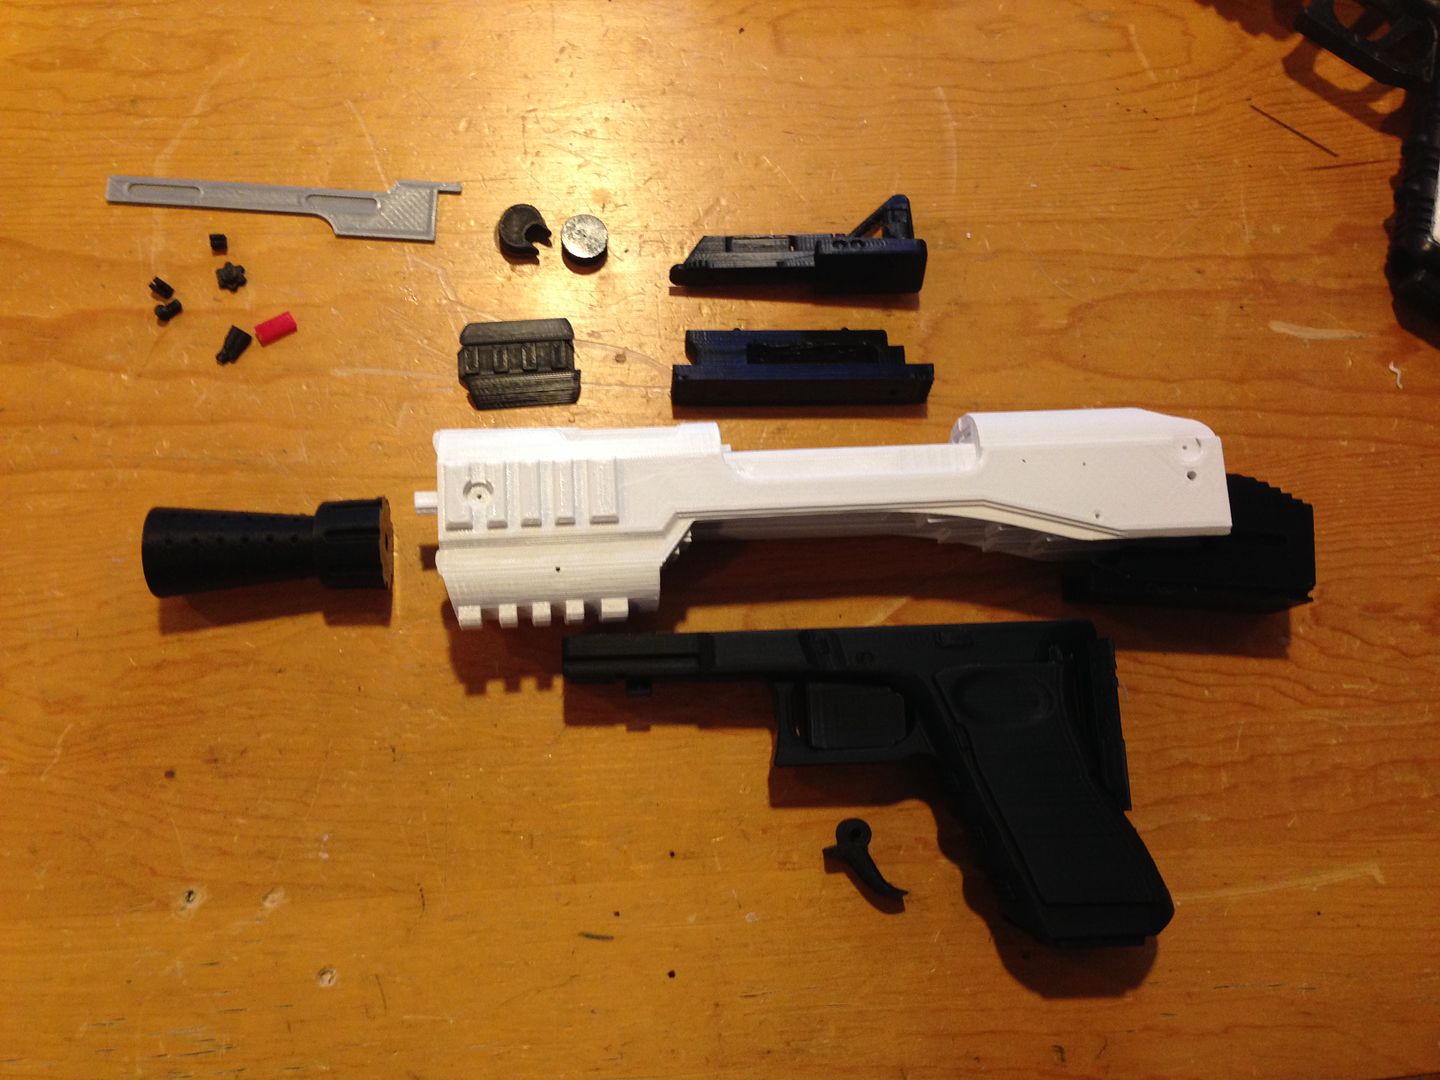
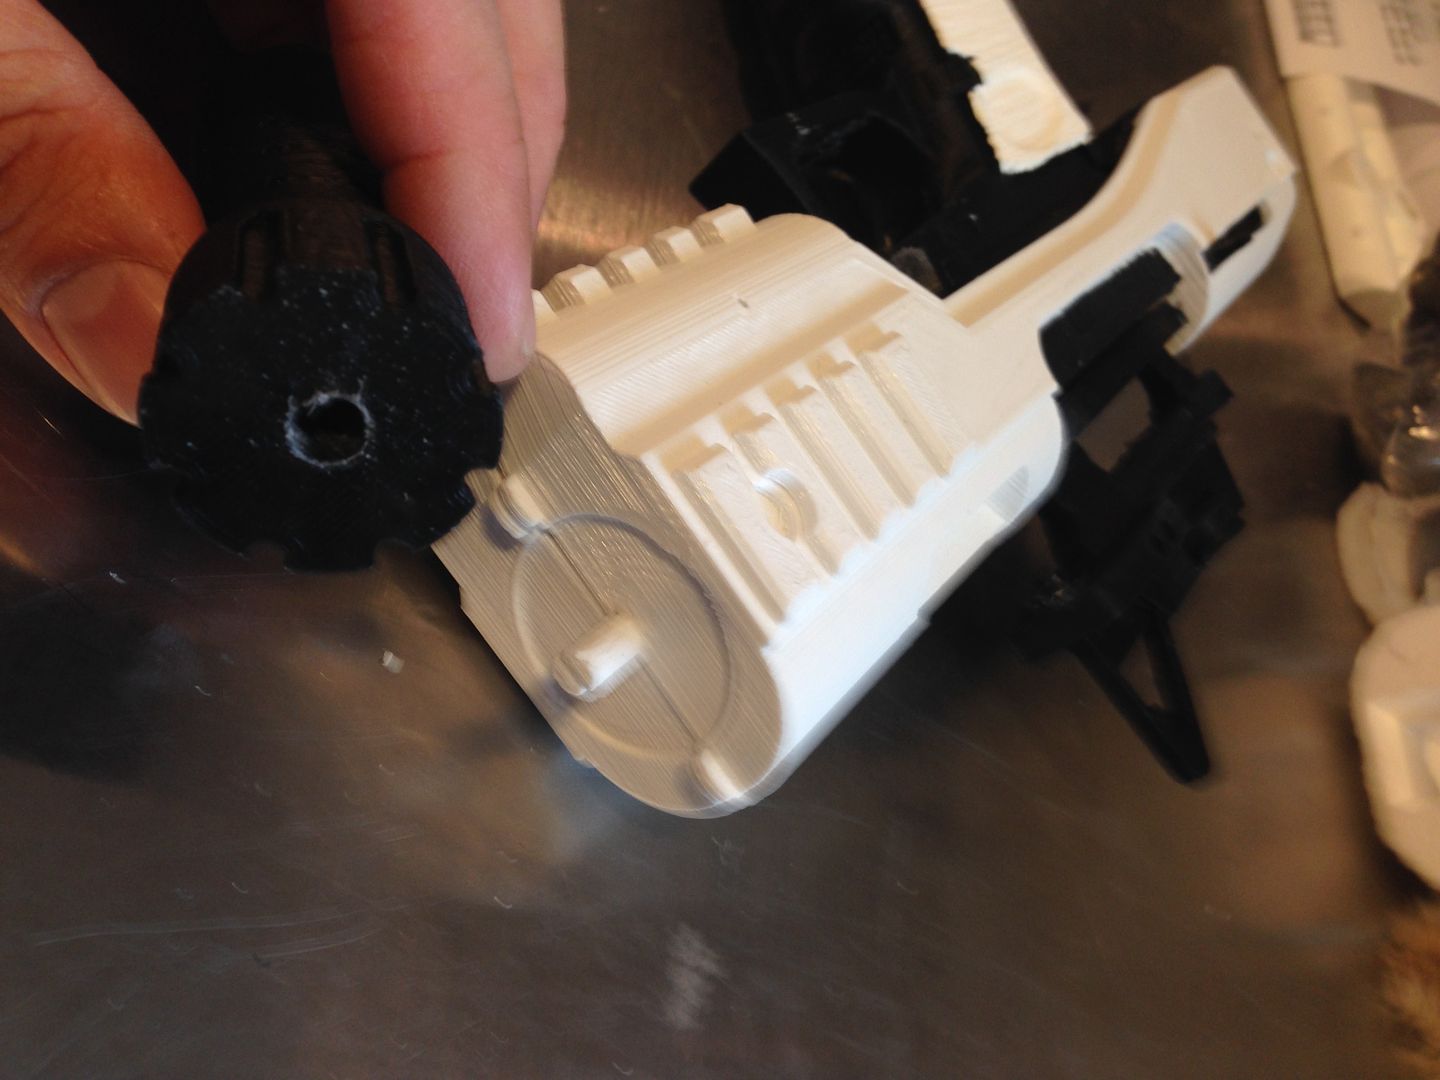
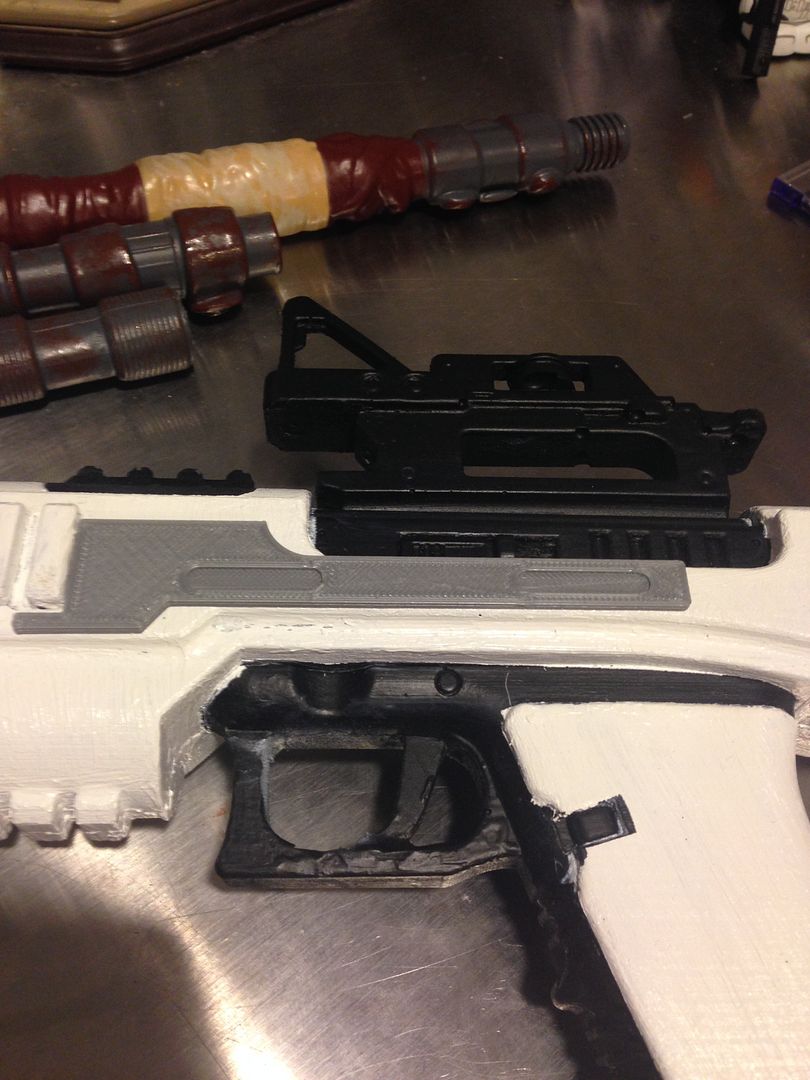
2) Glued the scope parts together
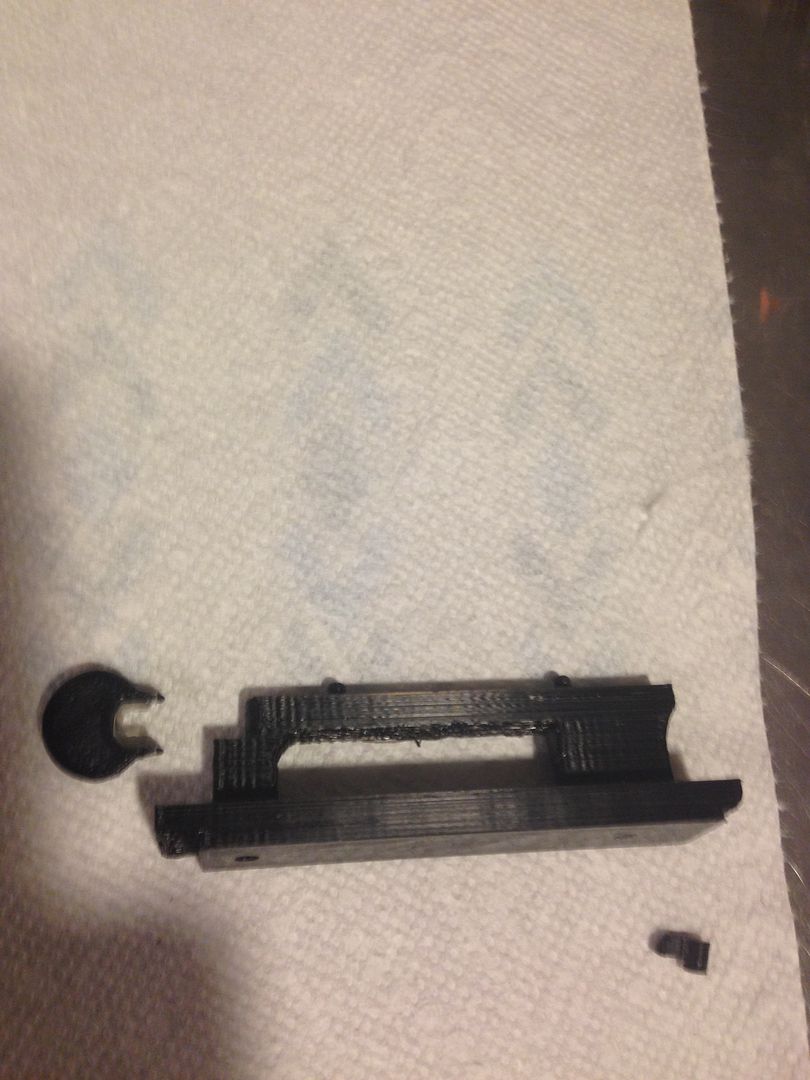
3) Small part on the back end piece
4) Small part in the side piece
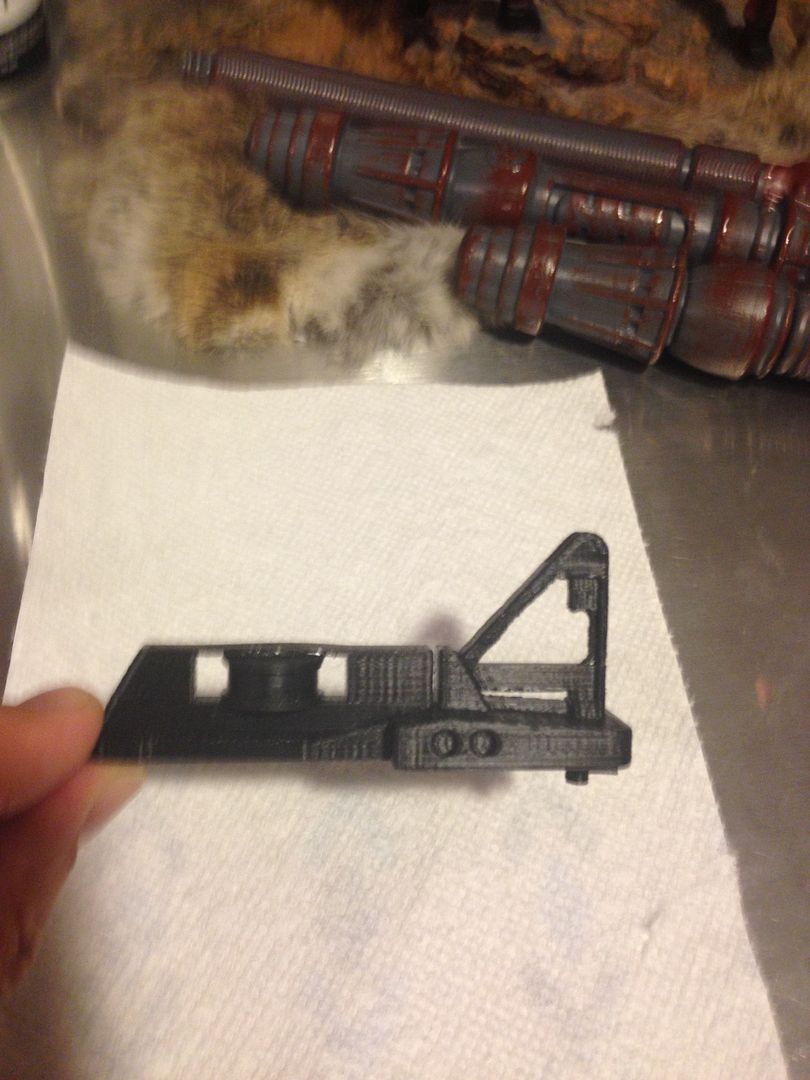
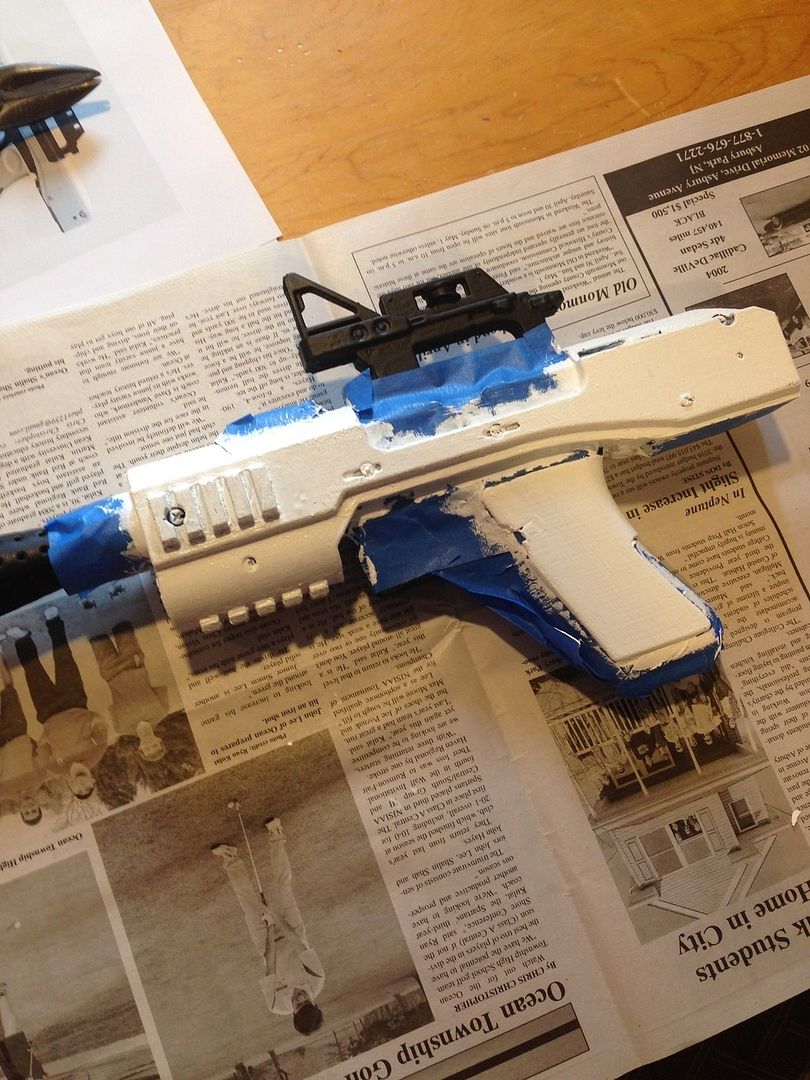
5) Only thing I had to paint was part of the grip and some black in the attachment. I did my best, but everyone knows painting is not my strong suit
")
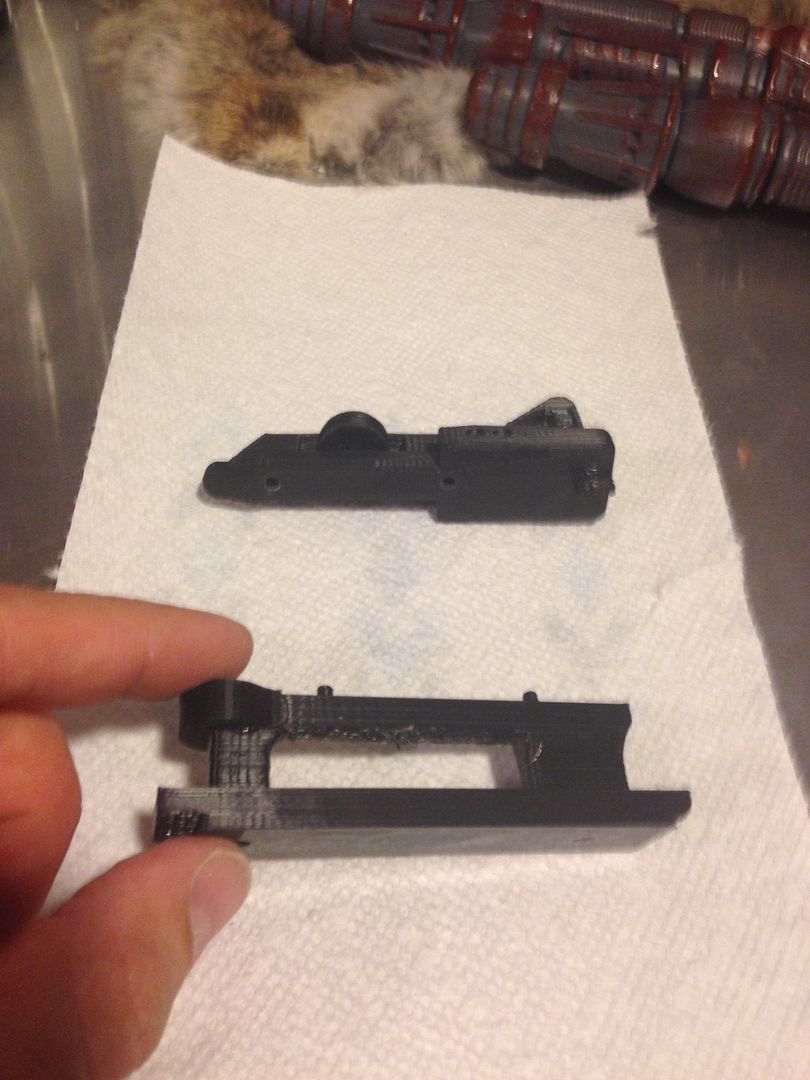
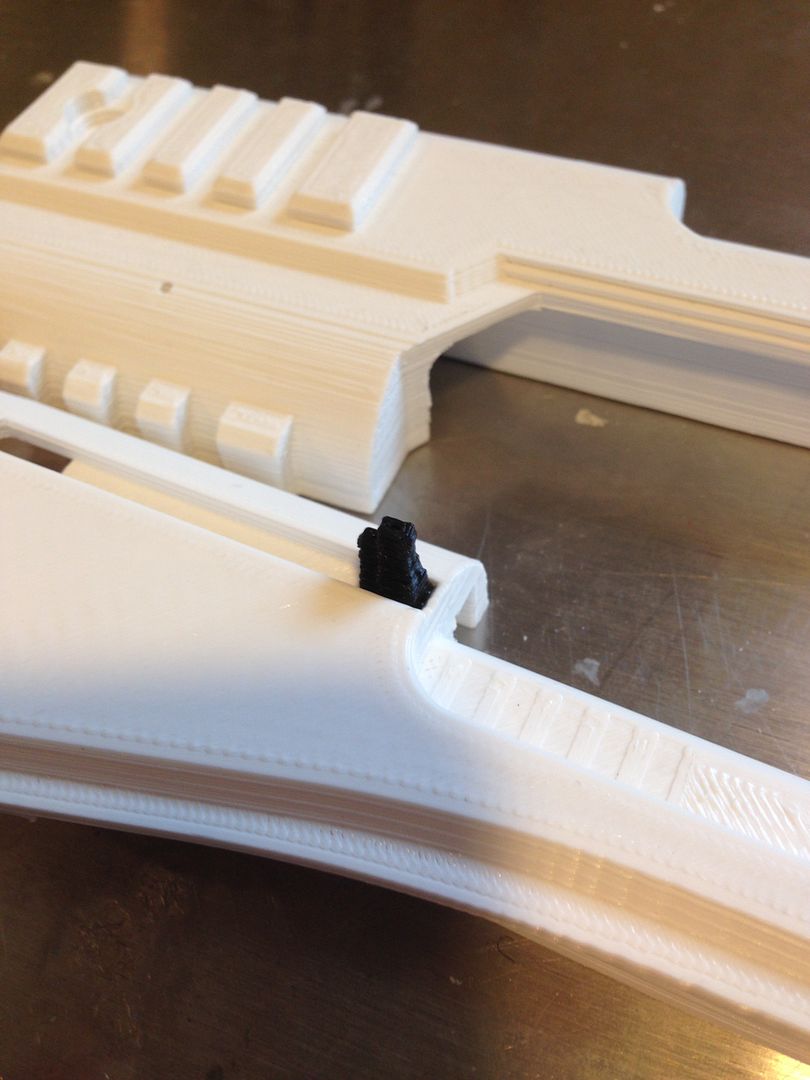
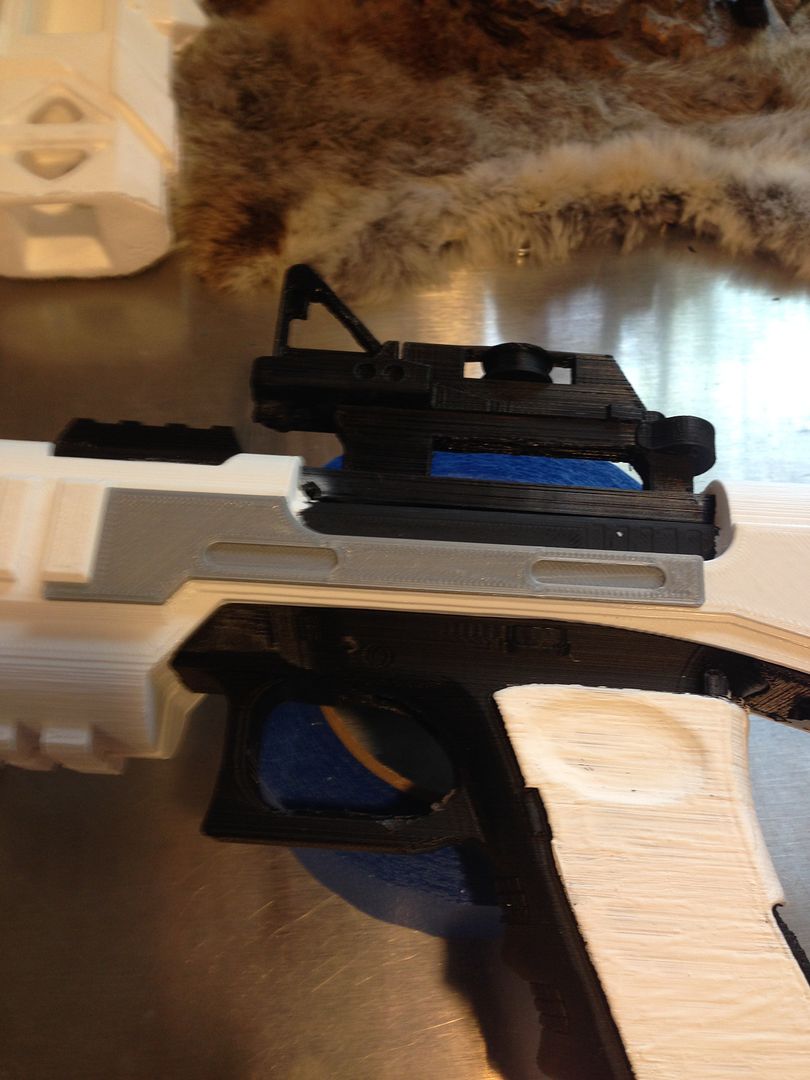
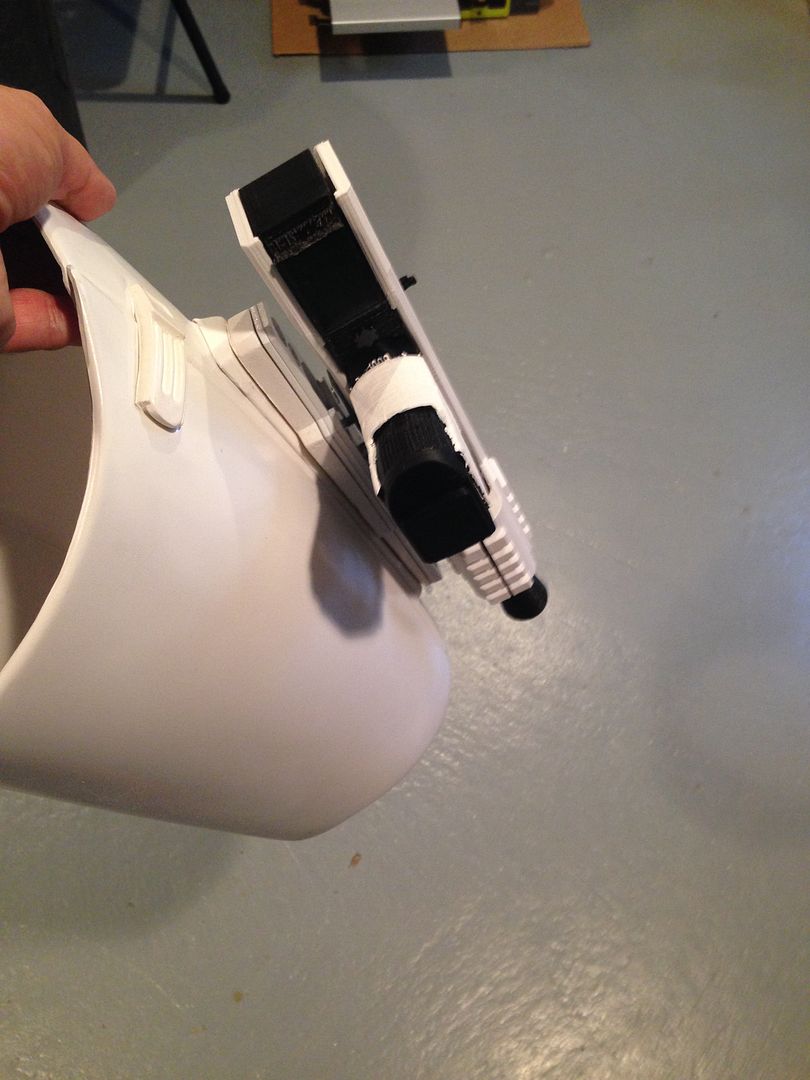
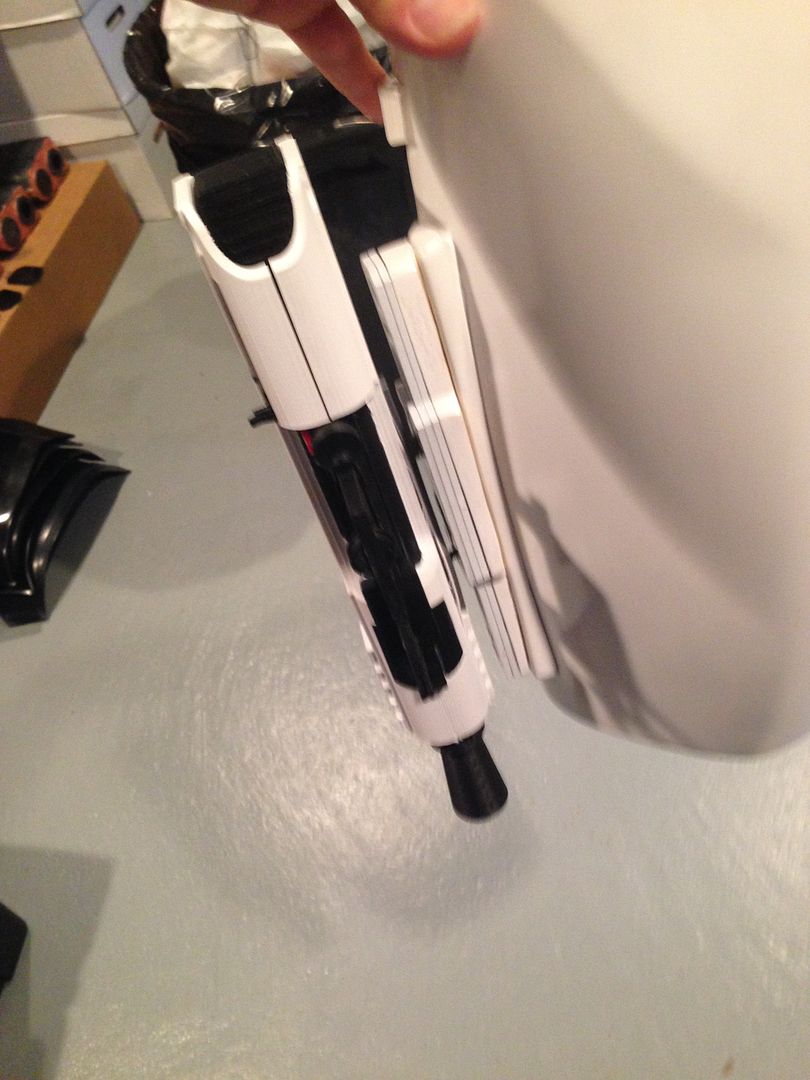
6) Basically the grip, two sides and scope all fit together like a model kit (although I couldn't get the front bottom completely flush). Simply glue them together.

7) Slide in that back part
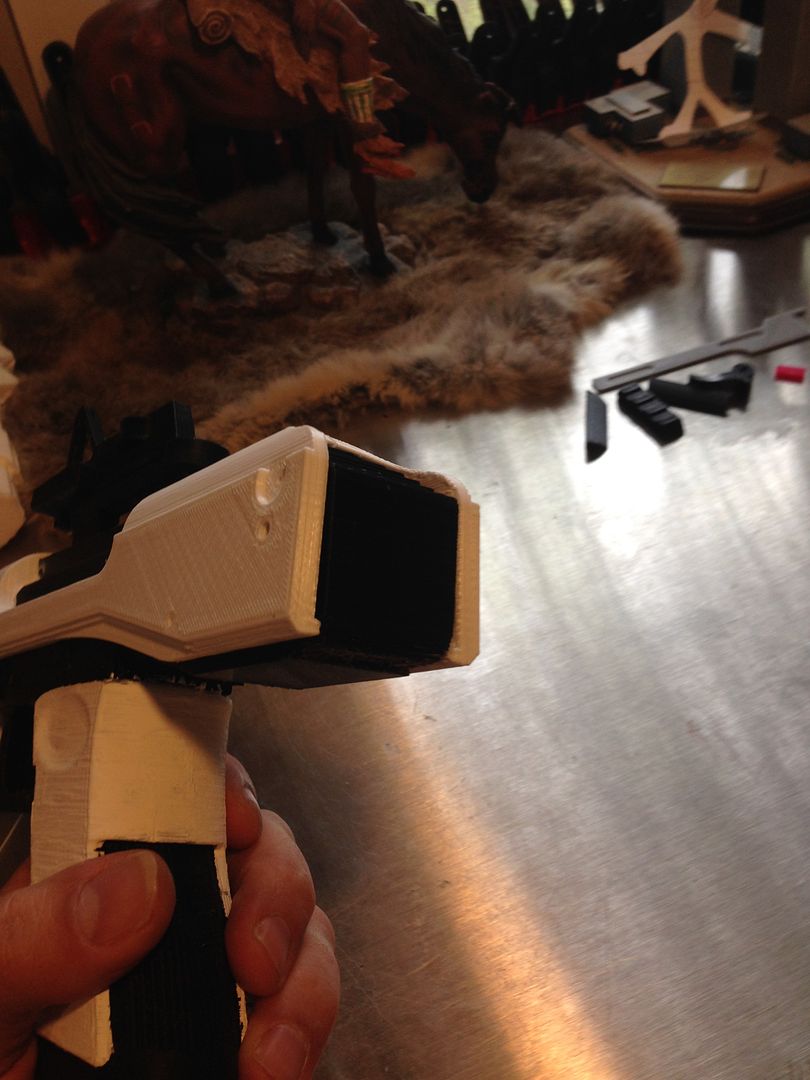
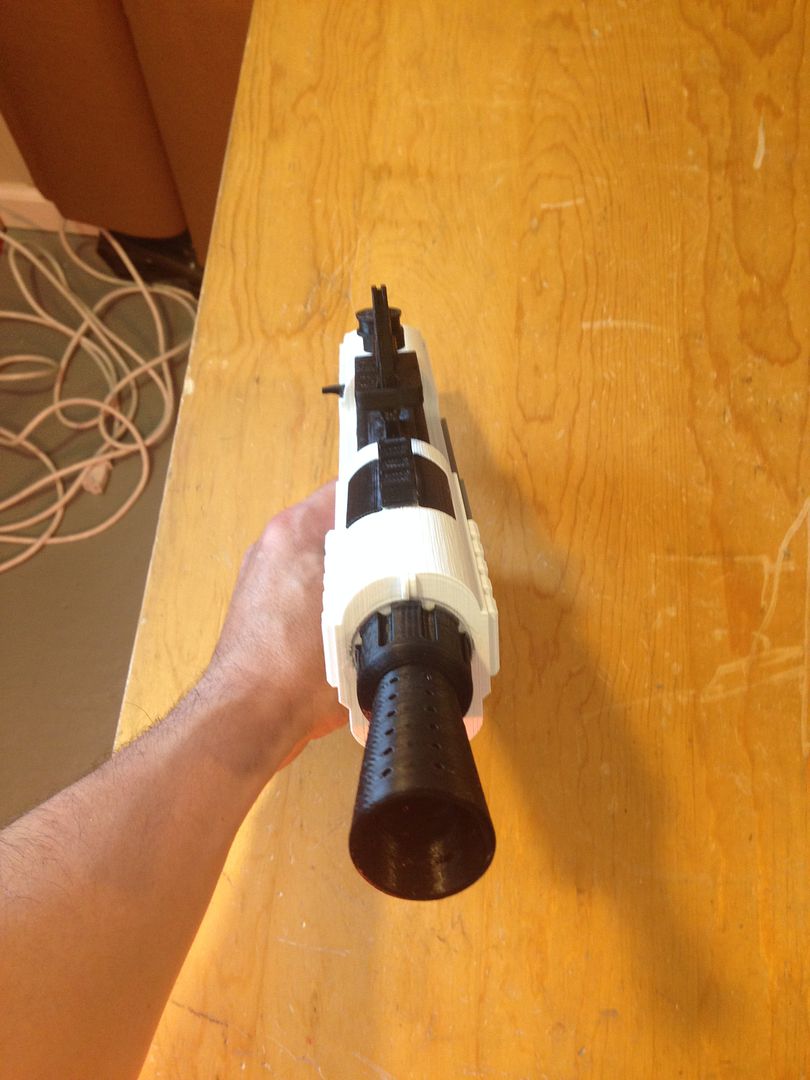
8) Glue on the muzzle

9) Glue on the front black parts, small red part and grey side plate
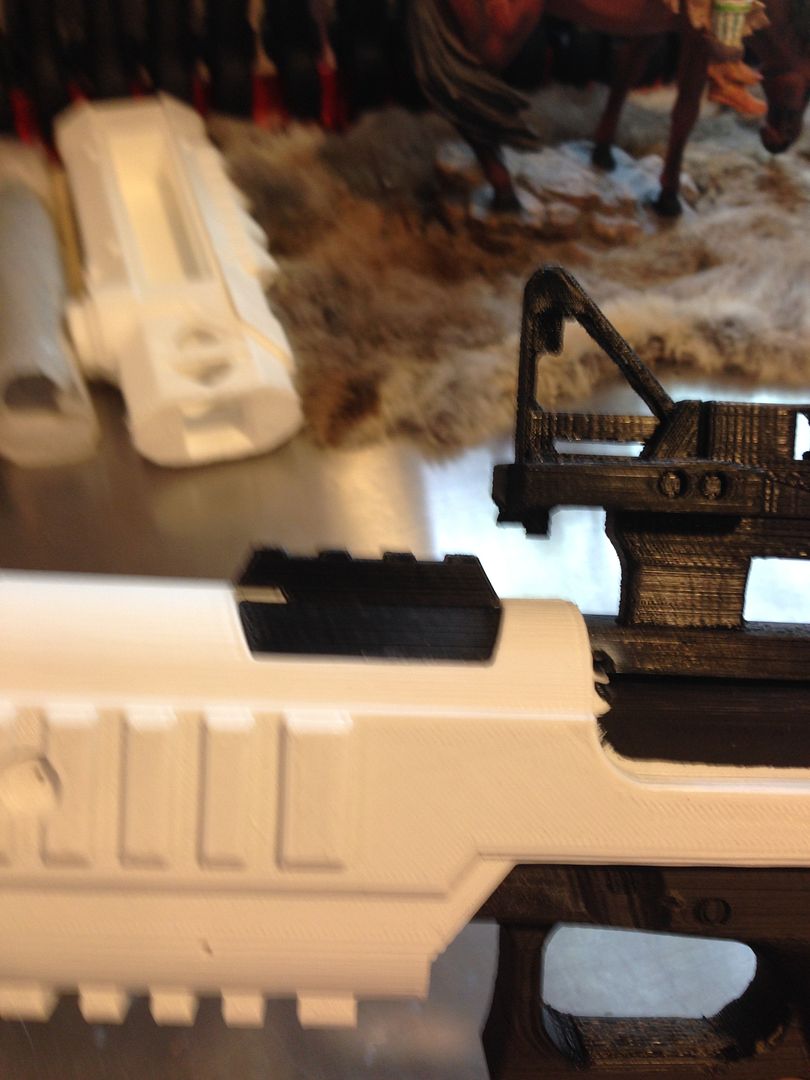
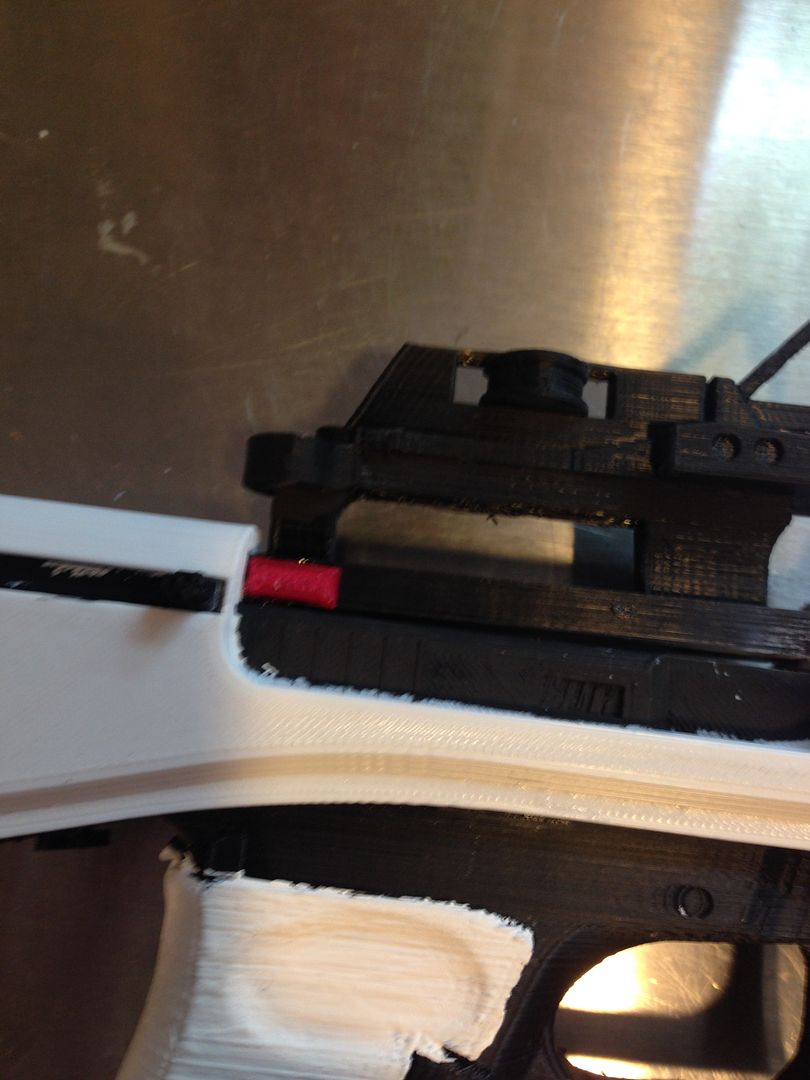
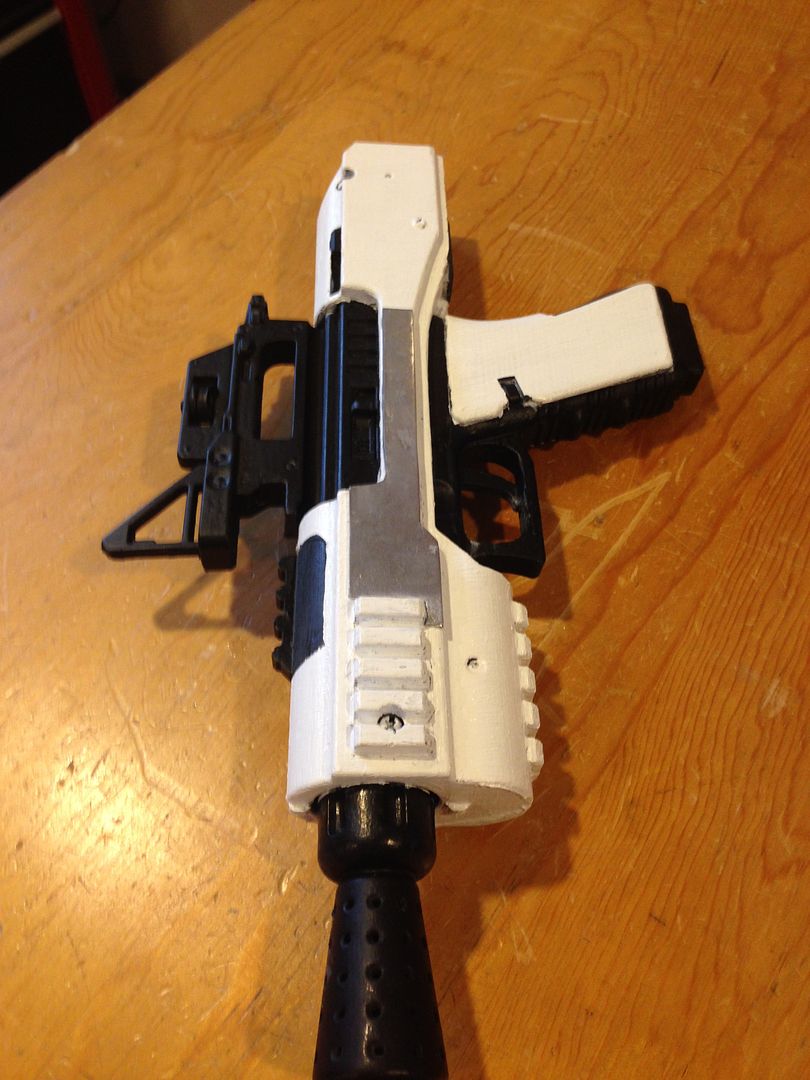
10) Done
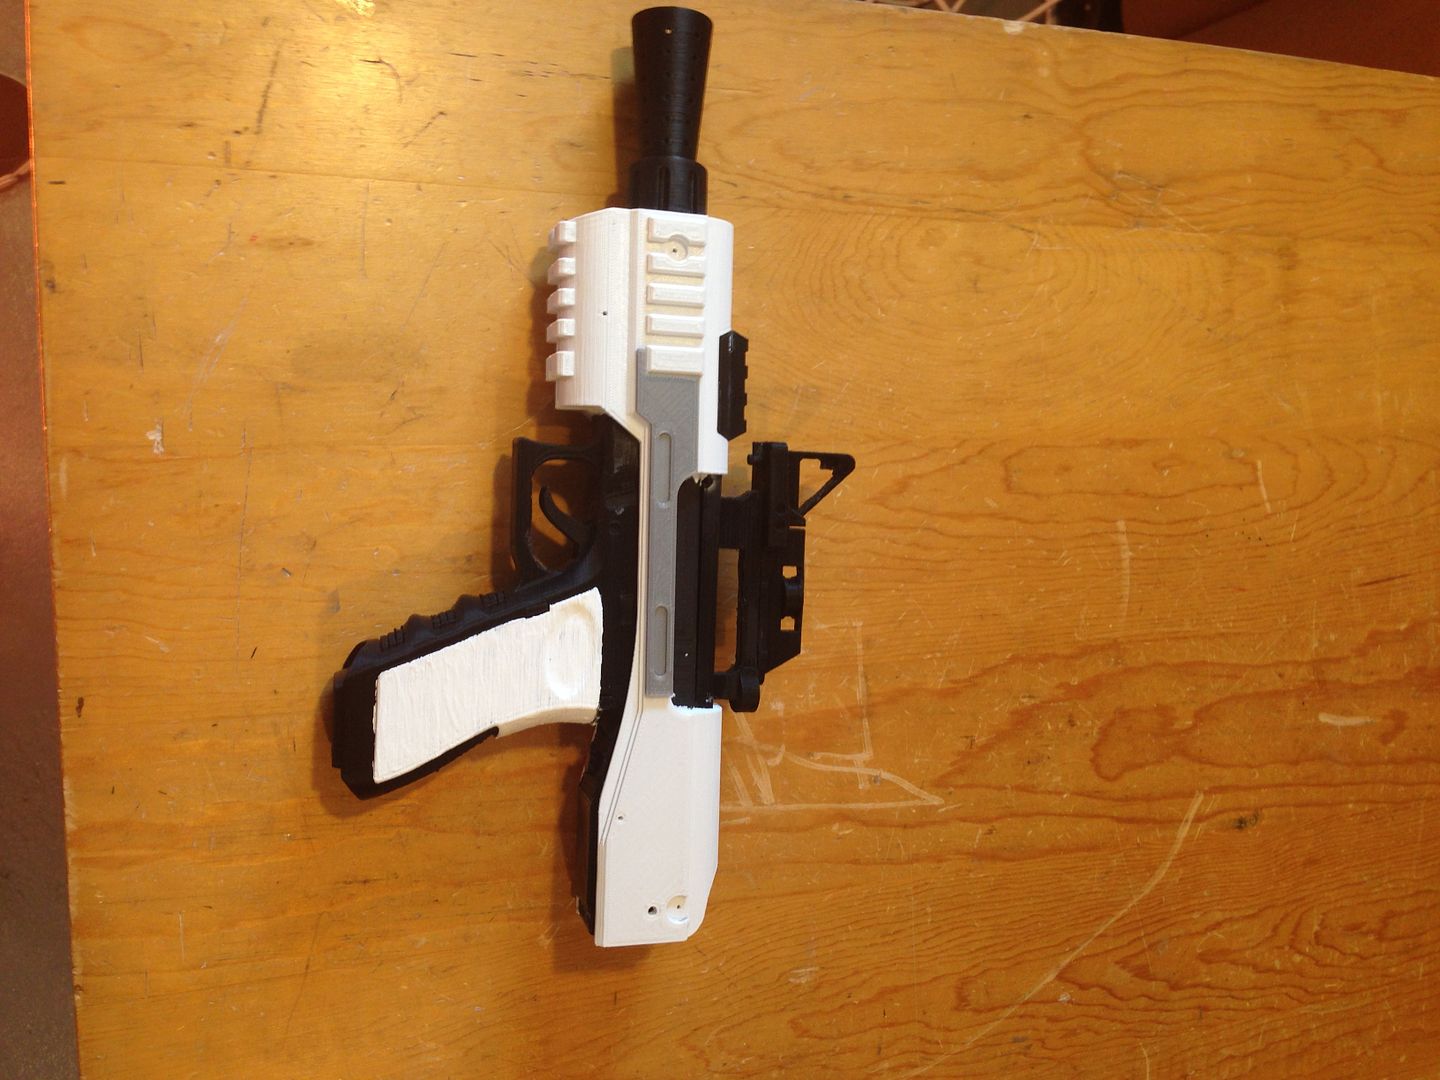
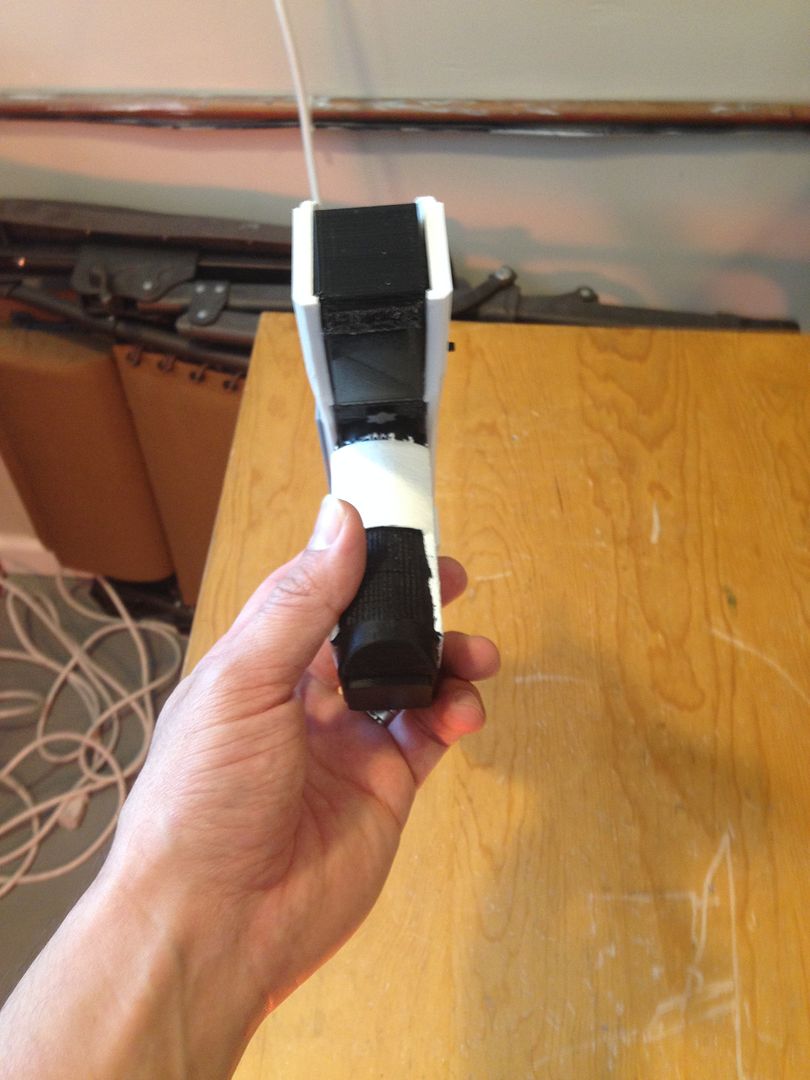
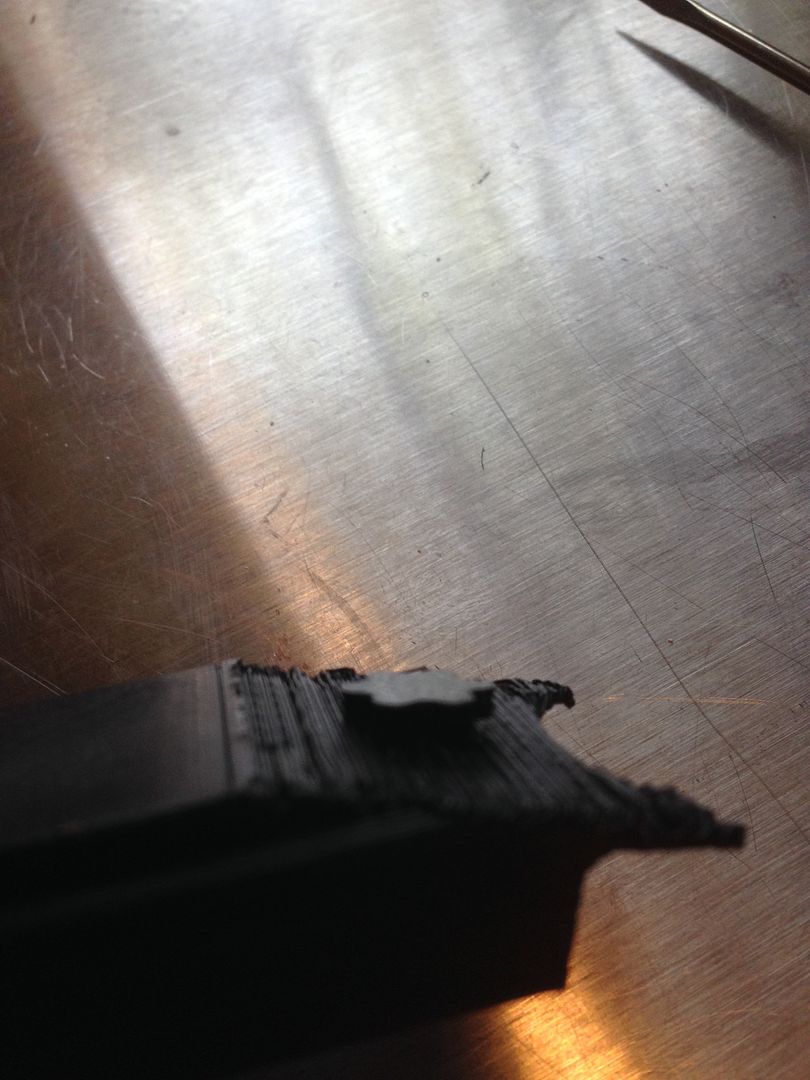
This is super lightweight, so I threw in the screws so I can put it in my holster. Here's where my inexperience with 3d printed kits hurt me... I drilled pilot holes slightly smaller then the screw like you normally would , and I should have drilled the holes as big or even bigger lol. As I screwed the hardware in (carefully) I could hear cracking and moaning. I should have pulled them out and corrected the holes but I kept doing "one more half turn" to see what would happen and eventually began cracking the side.
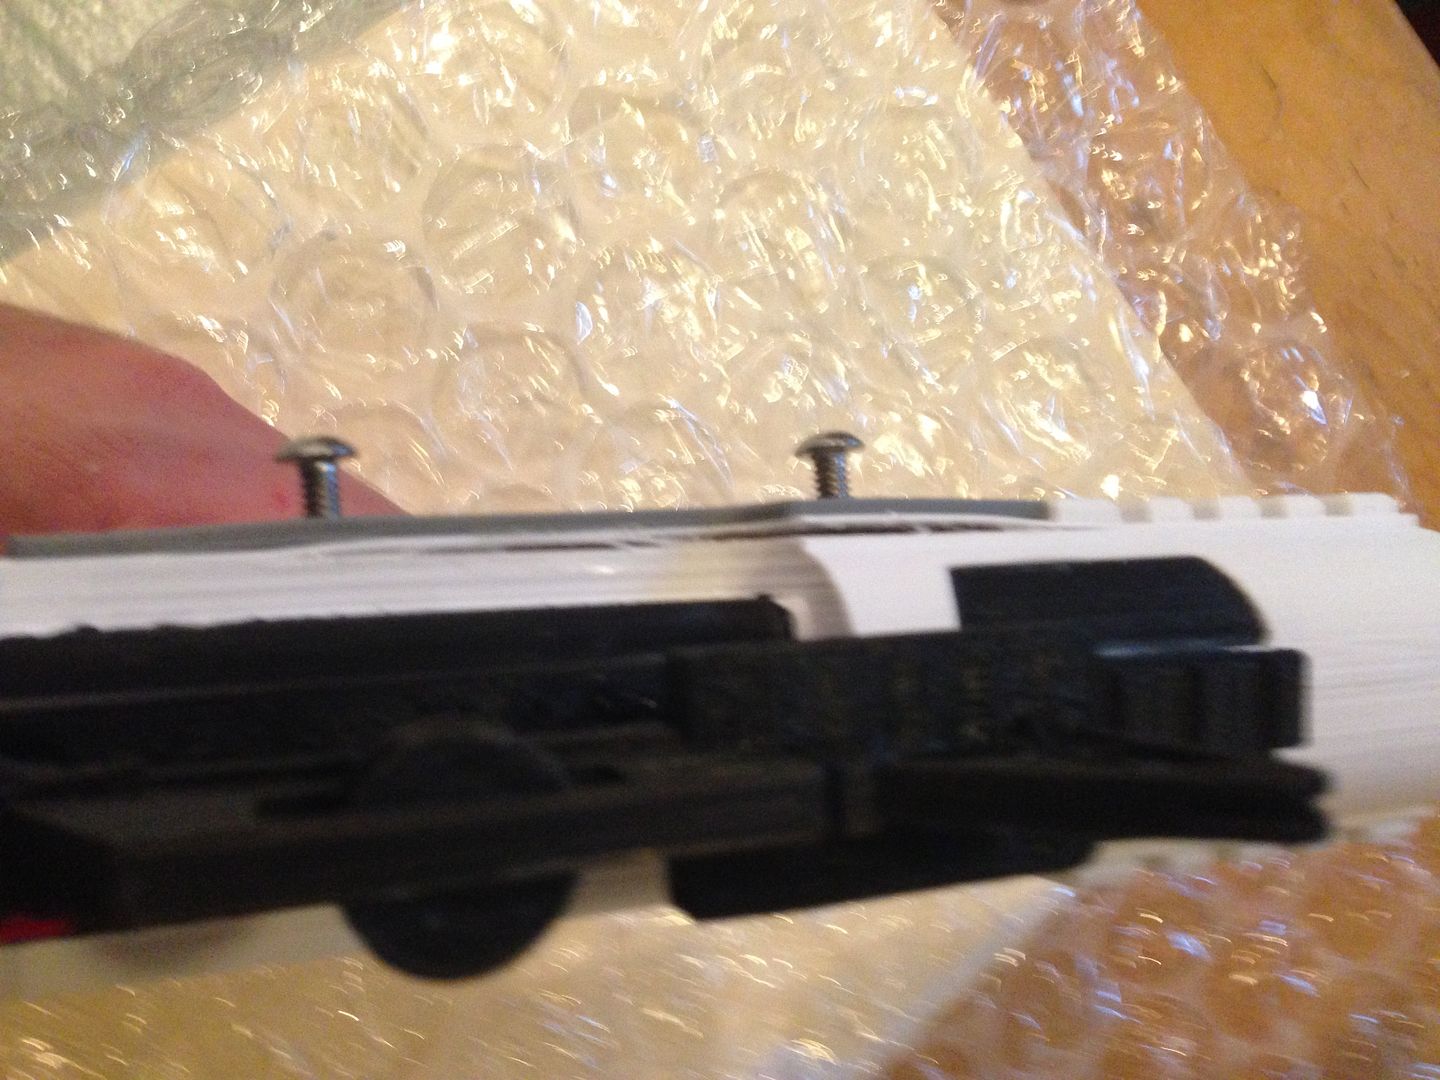
I threw a ton of superglue in there and for now it's okay, although a little sloppy, and I would like to go about 1/8" more in but can't risk it. It's almost flush and good enough to attach to the holster for now. Down the road I might try to gently get the screws out and then drill the holes bigger so I can get them further in without breaking anything
")
-
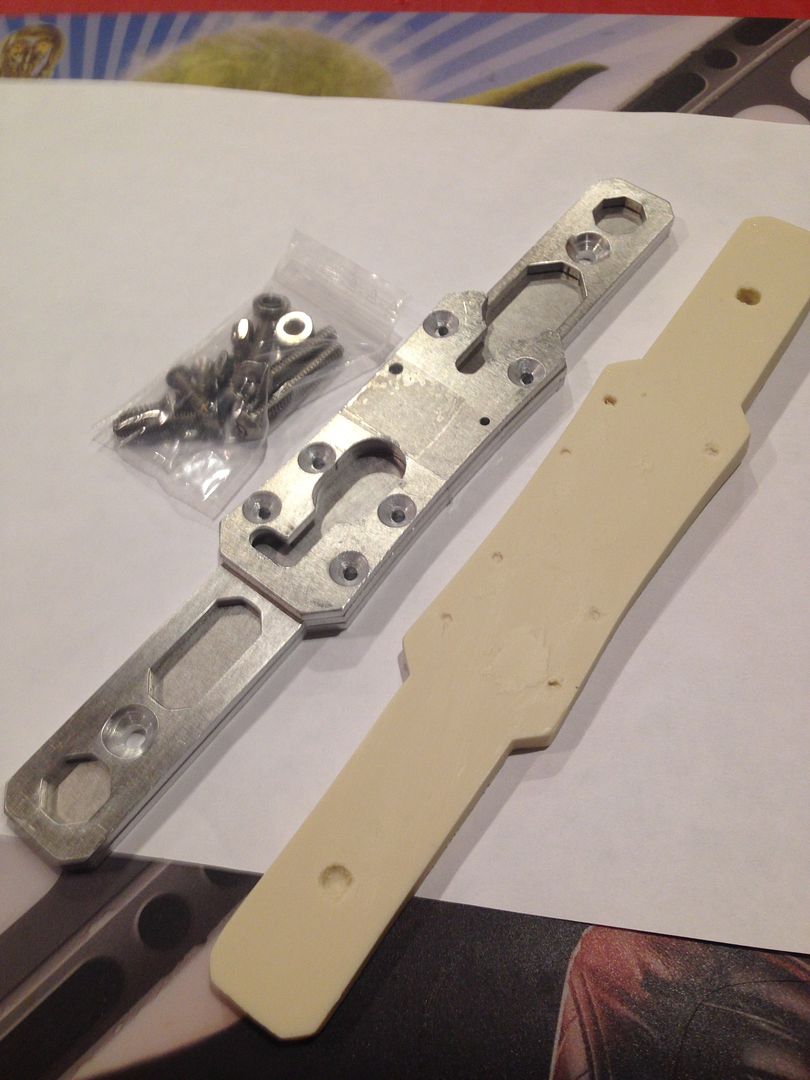
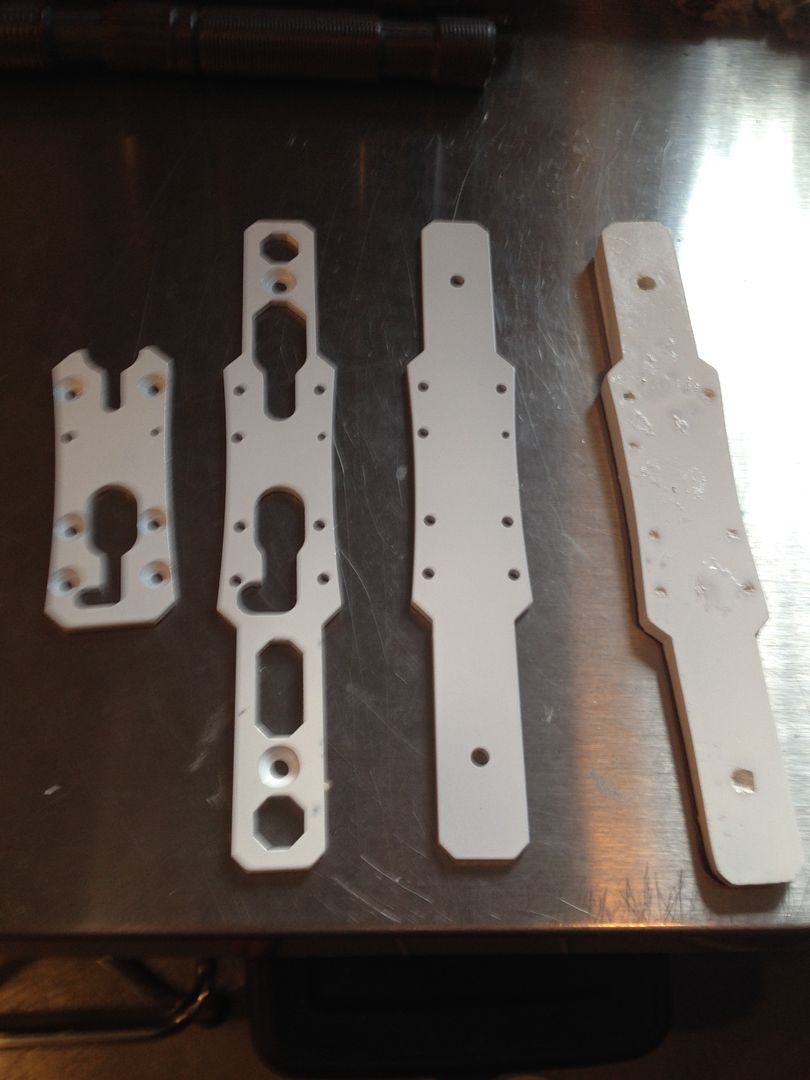
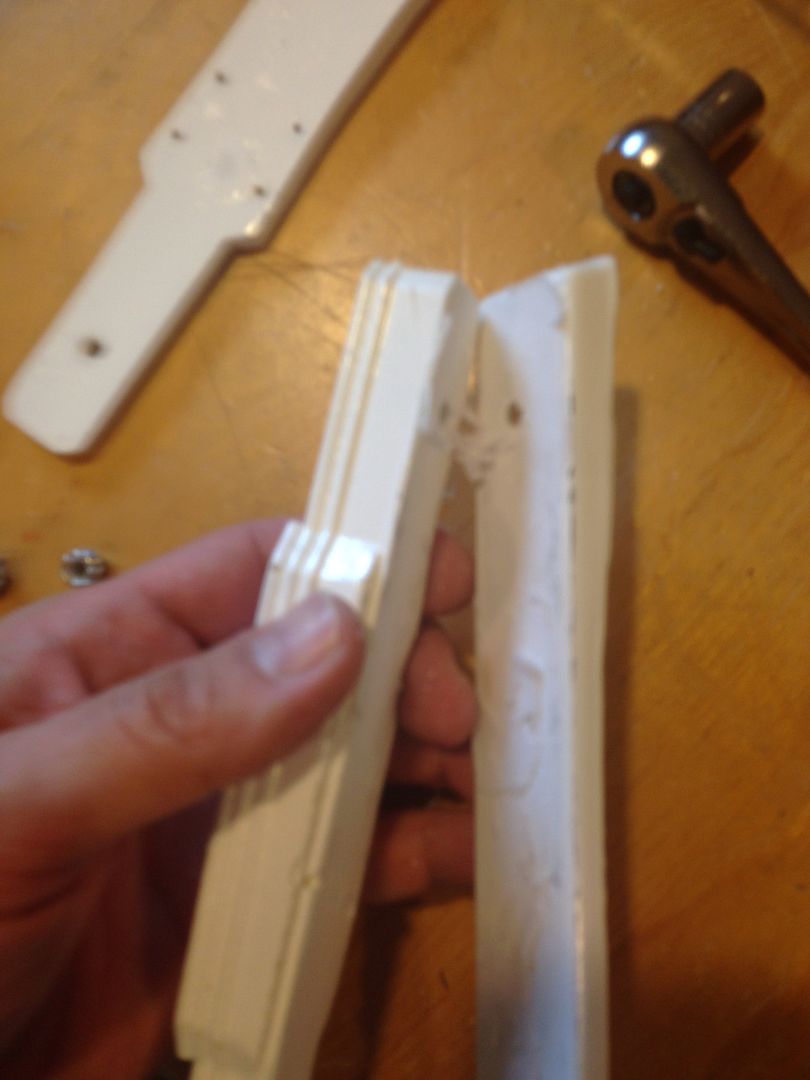
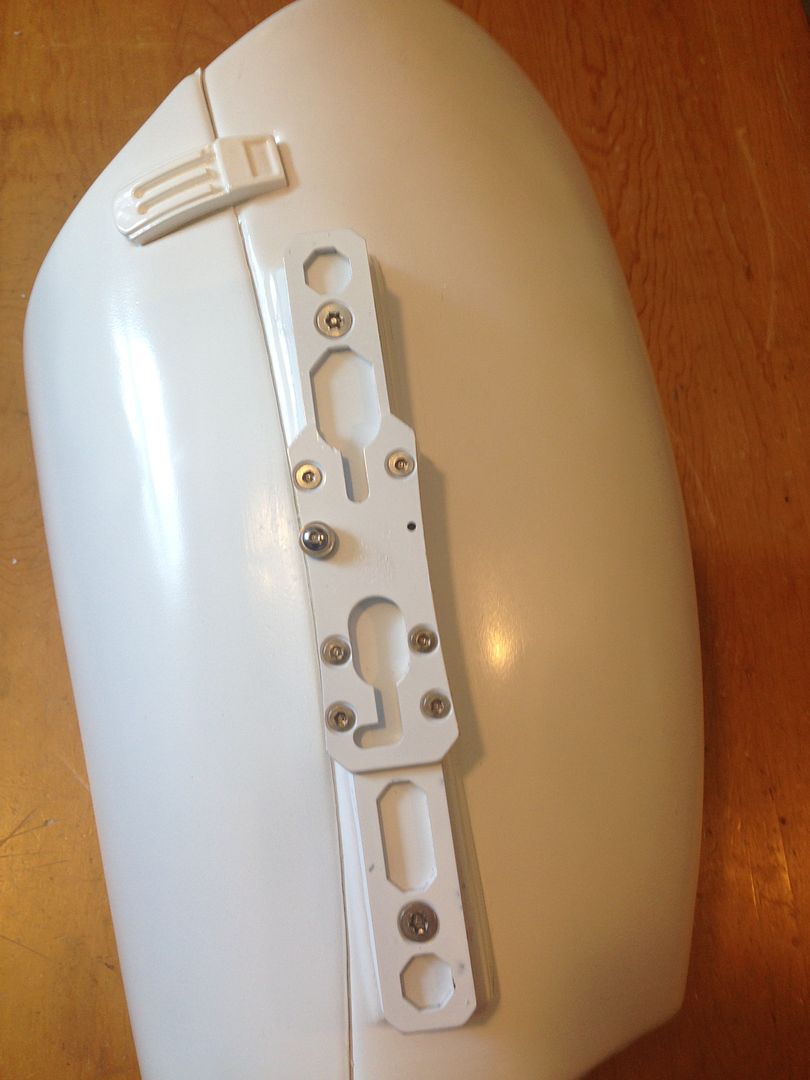
I also got an upgraded metal holster I'm going to switch out. This is cut in separate sheets and when put together will give me the slots for locking the blaster in. I also got the screen accurate hardware with it, so when I get around to painting the blaster I'm also going to hit this and swap it out.
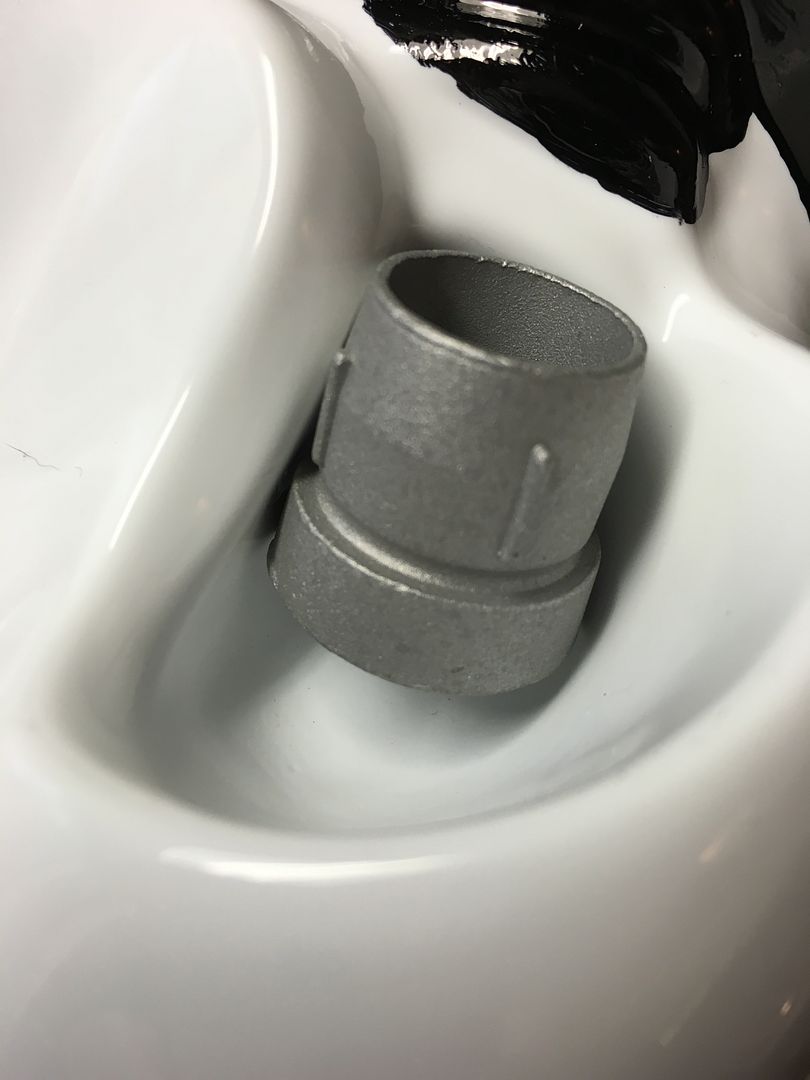
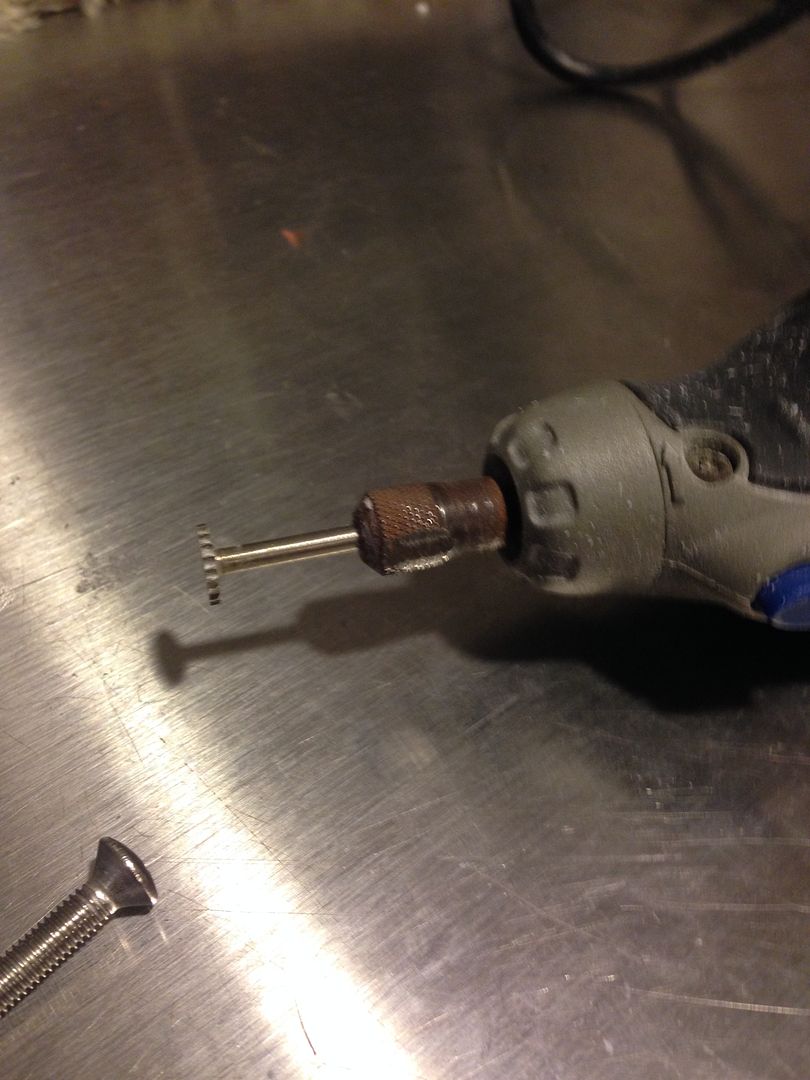
I also found a small enough cutting wheel to add the slots in the resin holster (so blaster or baton screws can slide in):
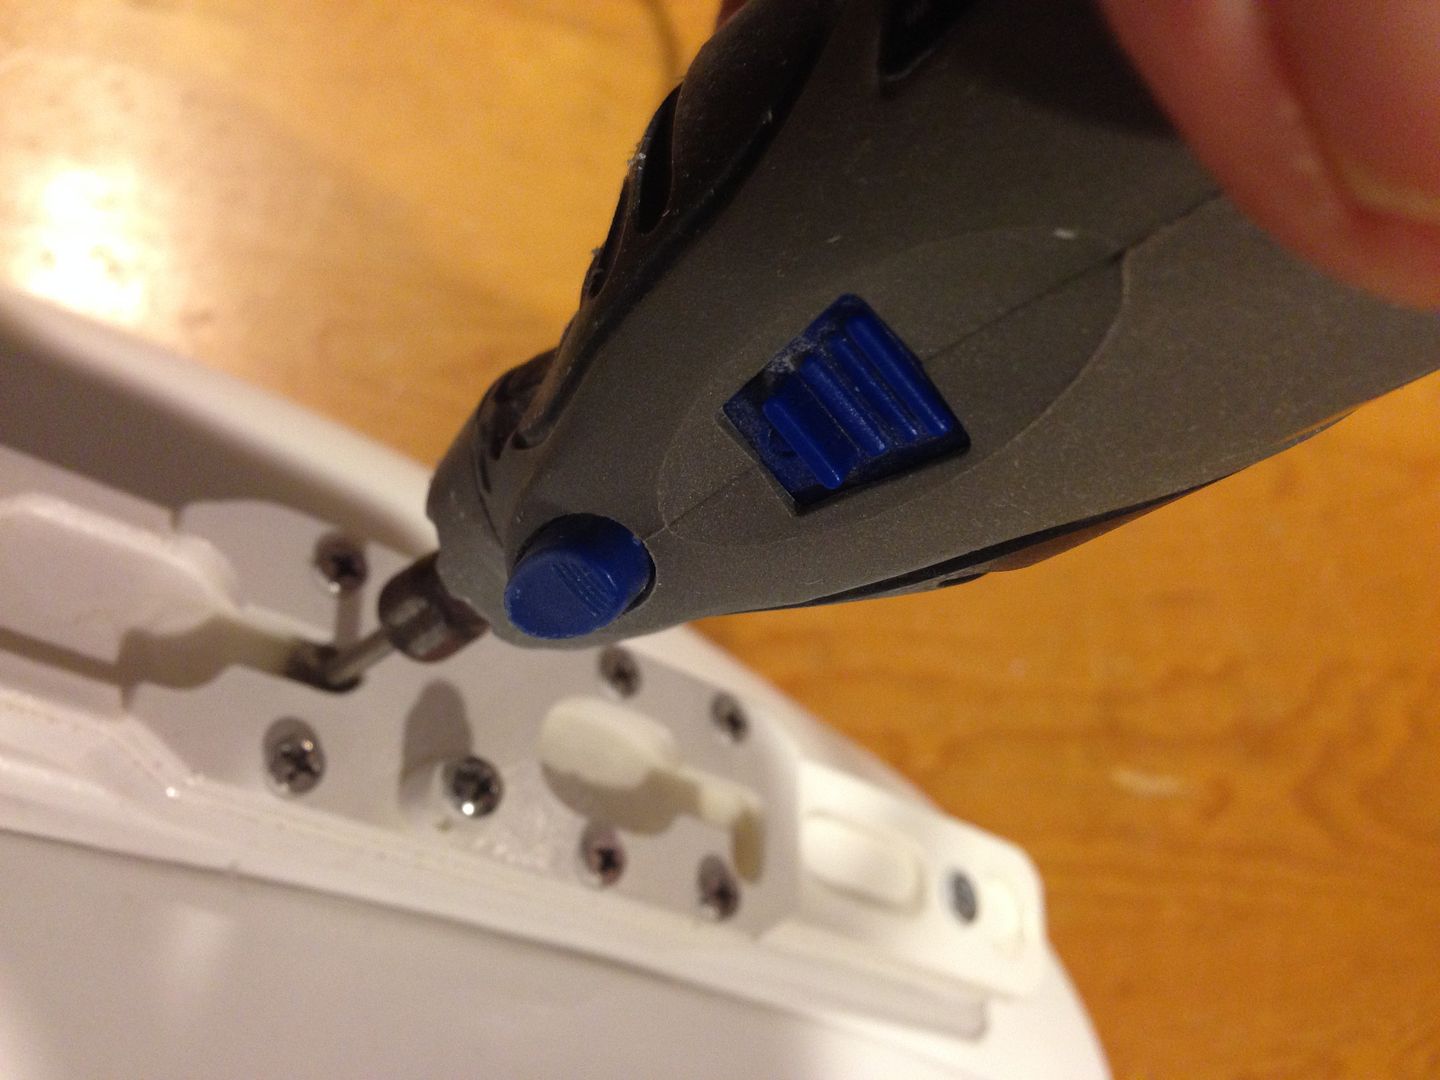
That being said, I also got around to upgrading said holster to the metal one I got a little while back hahaha! I plan on using the resin one for Nicole's Fem7 kit which is why I dremeled it out
The metal kit is awesome, first I painted it:
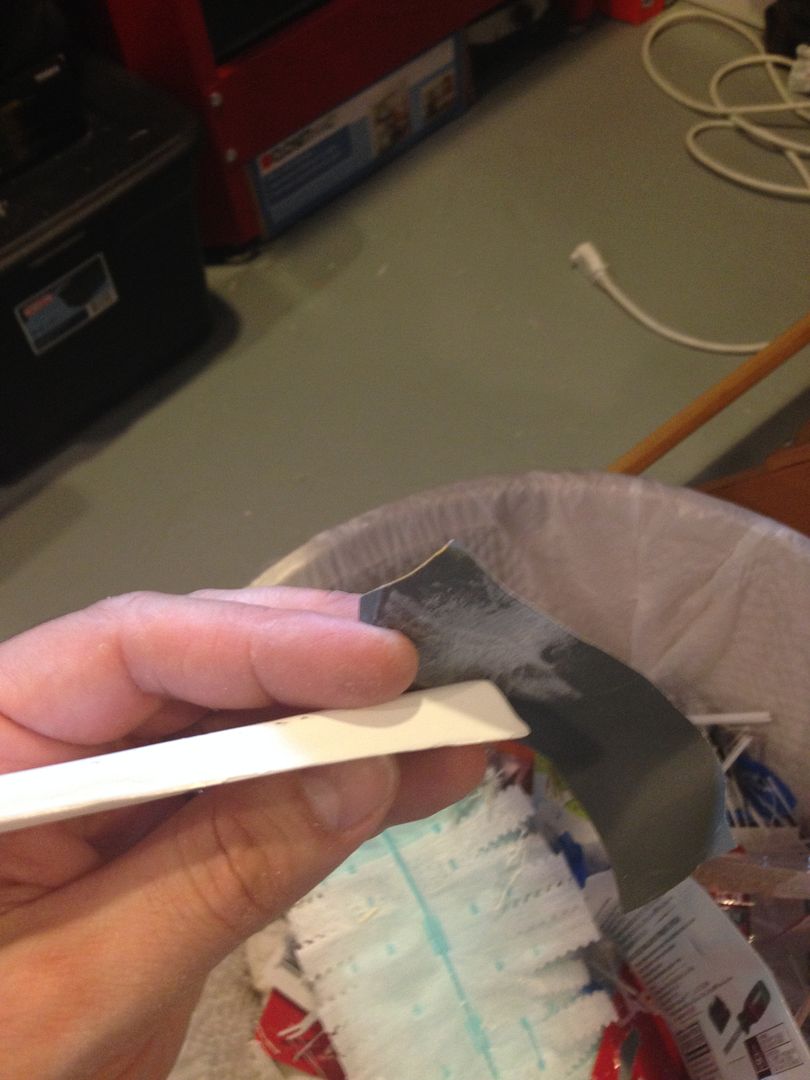
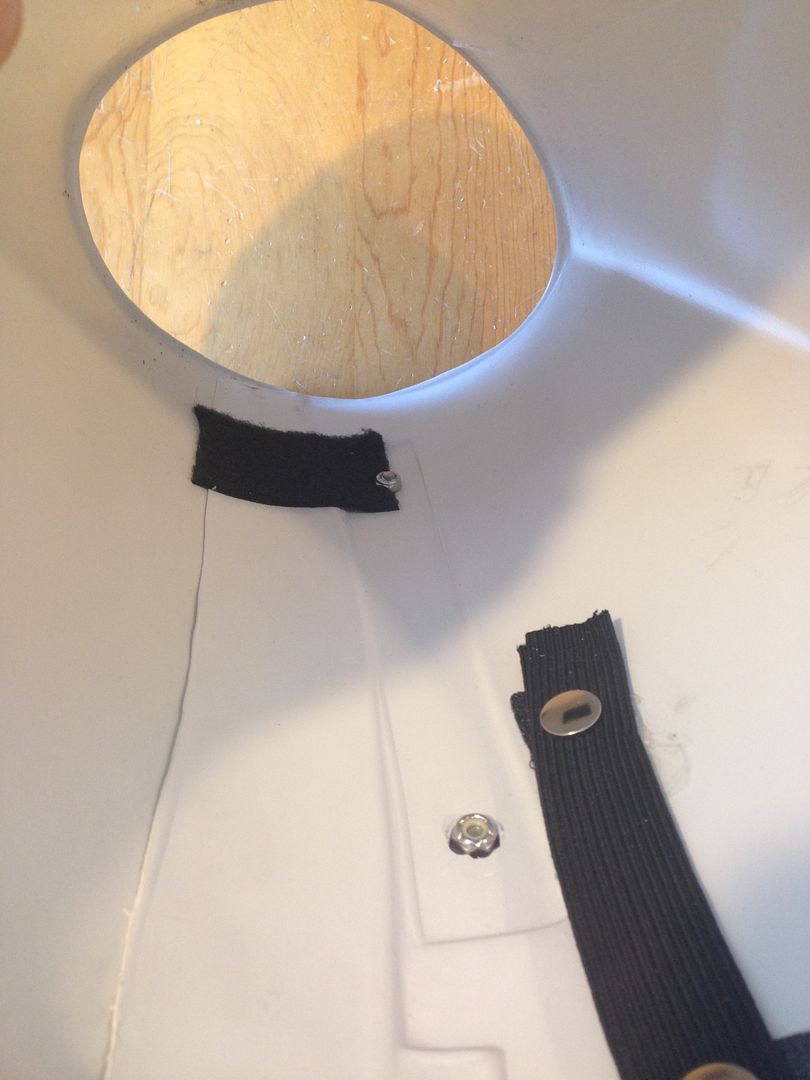
Then I popped off the resin one. I had to take off the abs part because it was glued together. I used an exacto knife to very carefully slice it off. This is possible because I used E-6000 glue on it. Remember that in your builds - if you want a PERMANENT bond use ABS glue, if you want to have the ability to remove stuff down the road but still have a very secure bond use the E-6000.
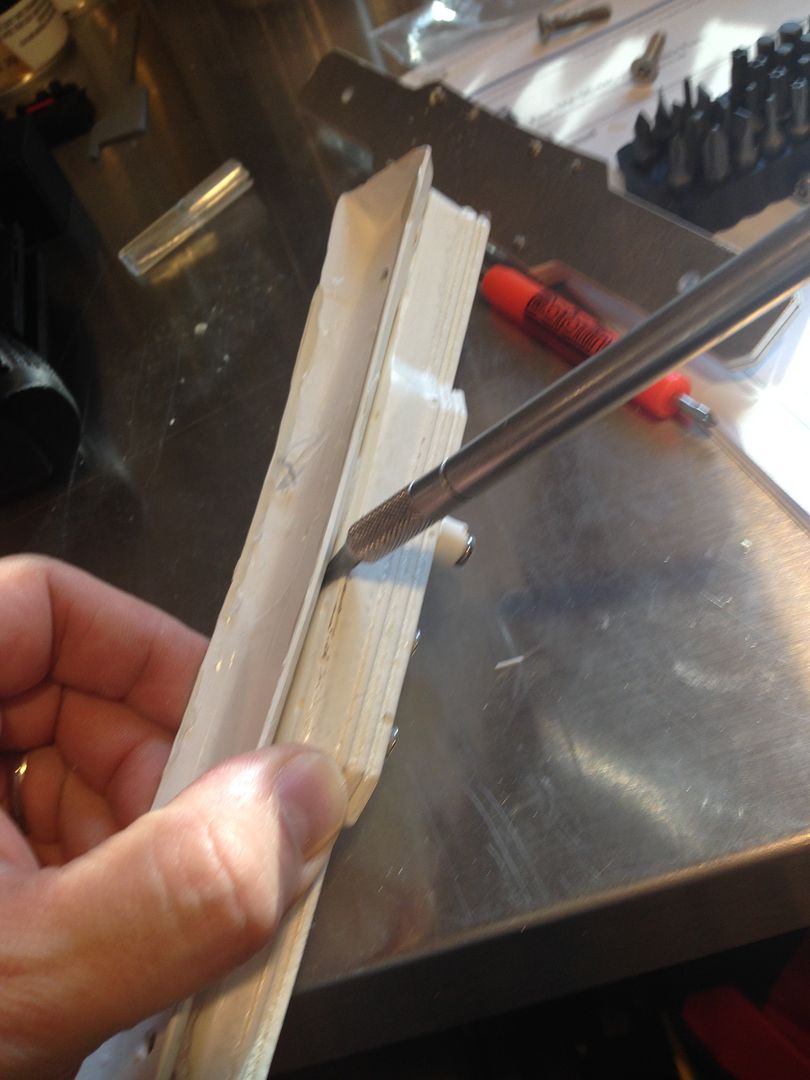
The E-6000 residue cleans off pretty easy. Once it's apart you can peel it off almost like the sticky on a credit card that's attached to the paper mailer, lol, then sand it down and repaint:
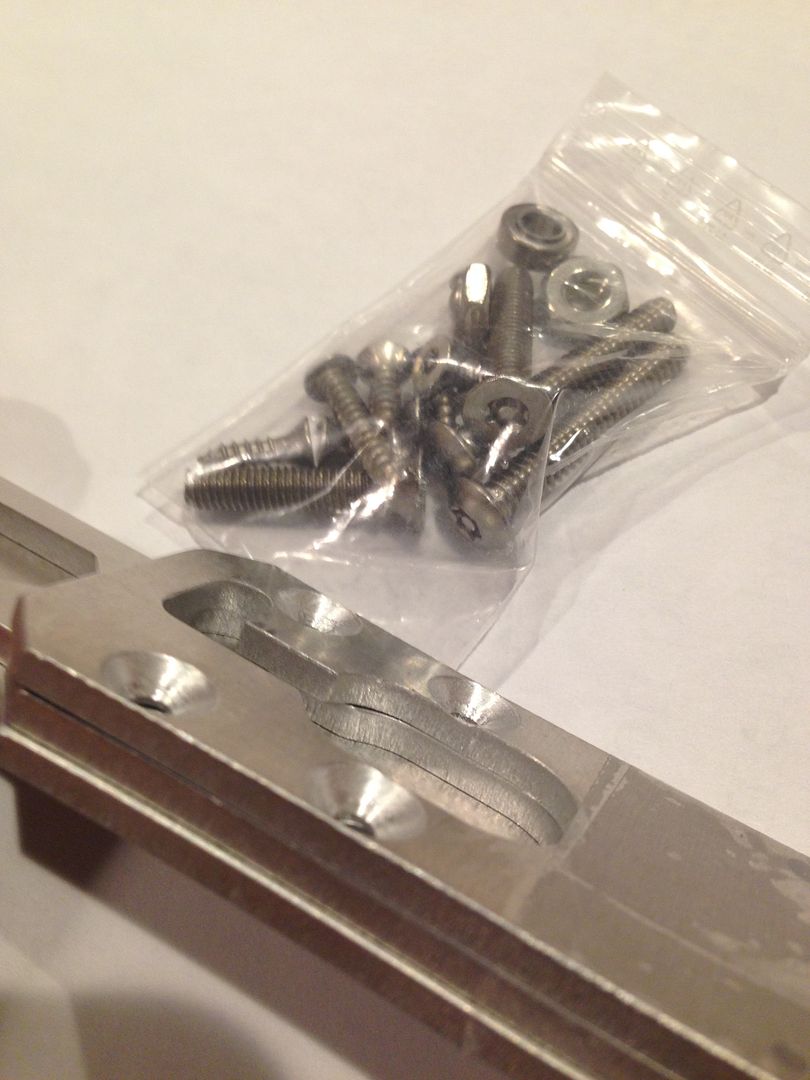
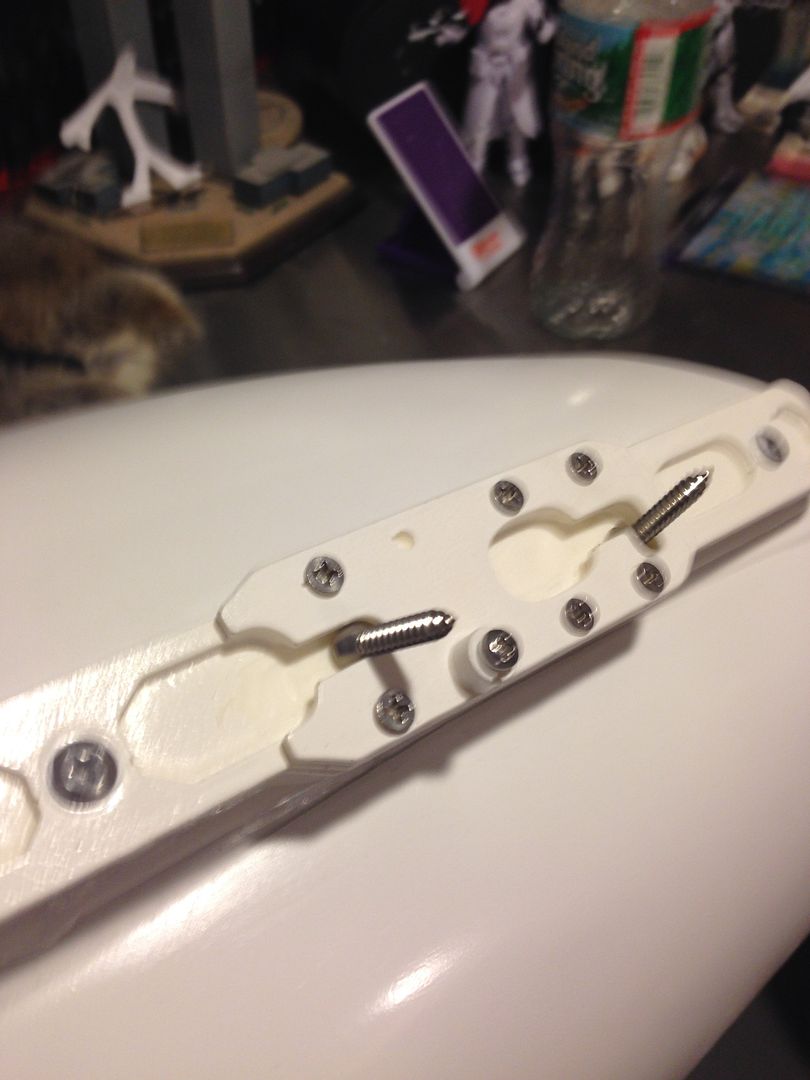
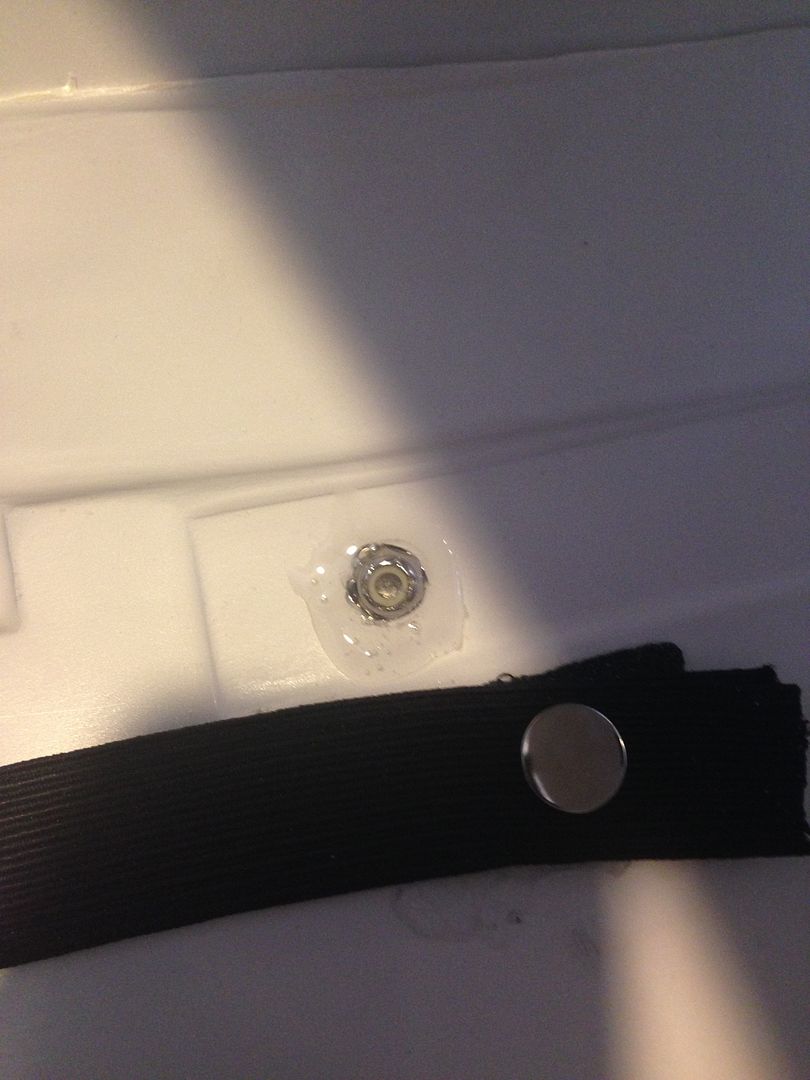
The metal upgrade also came with screen accurate hardware, basically it's security torx bolts which you can get online (came with holster though). I ran to Home Depot and got a security bolt screwdriver kit for like $10
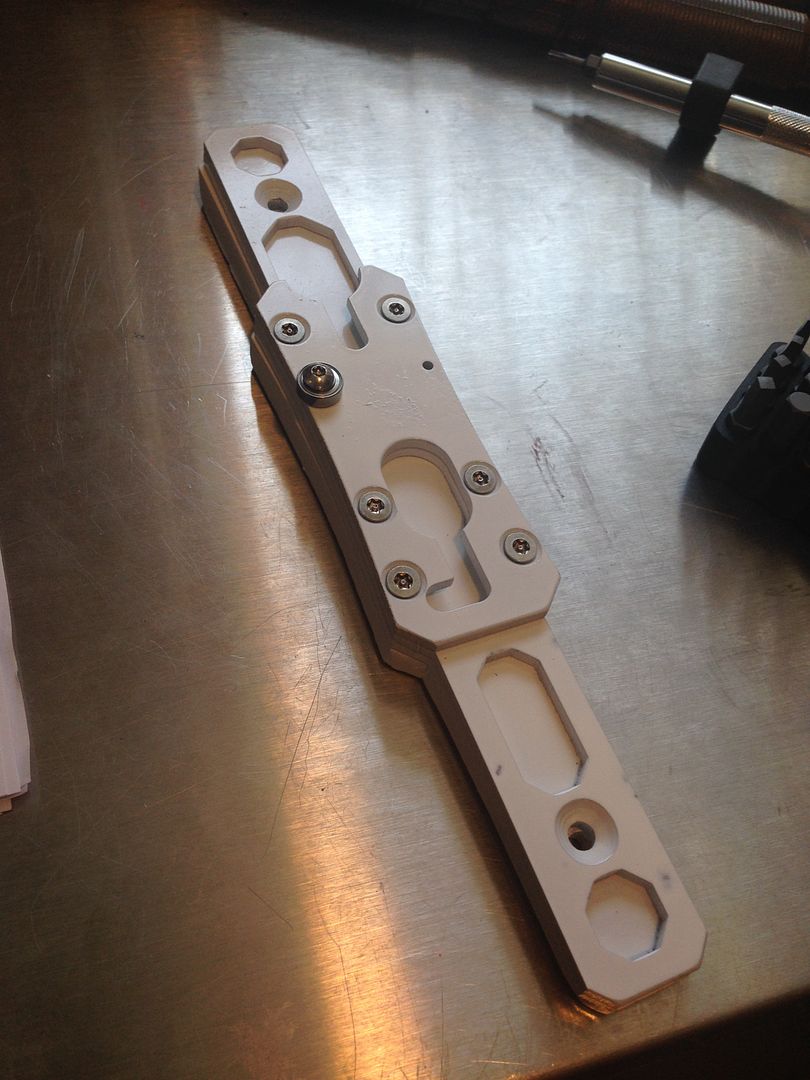
Glued it all back together :
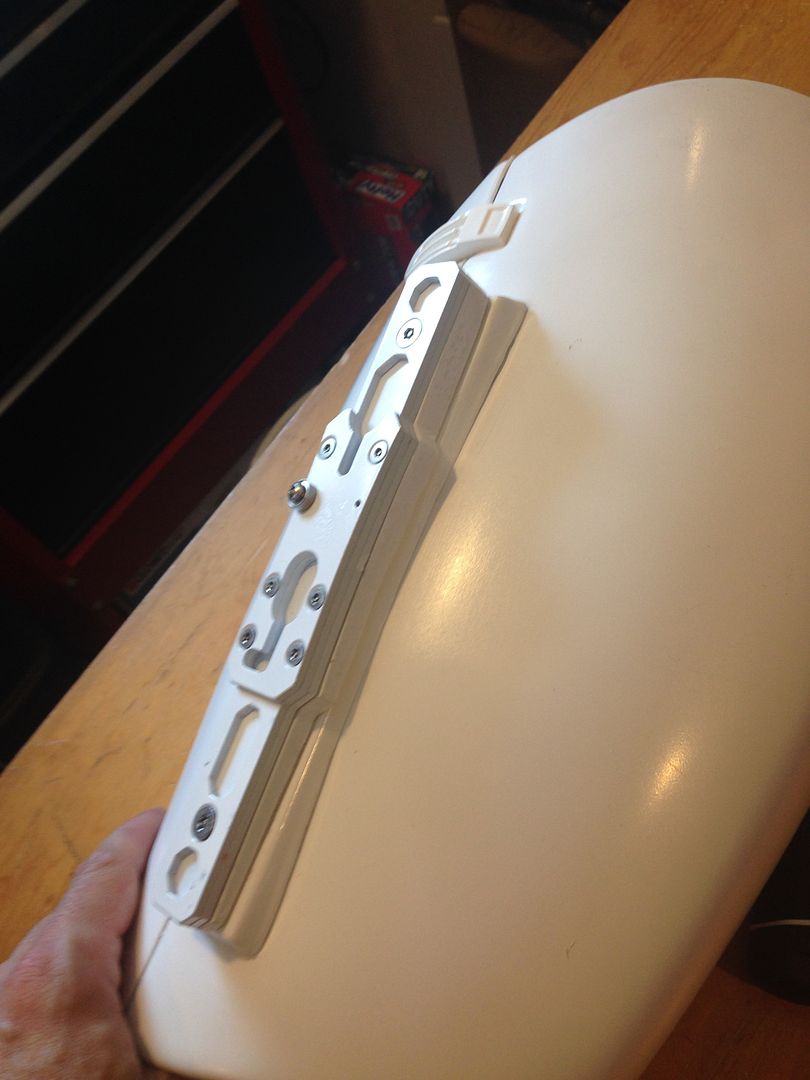
The bolts were a little shorter then the ones I had on the resin part, so I had to cut a little into the armor to get the nut on. This is to hold it more securely. If it's a problem down the road I'll just get a longer bolt and add in a big washer to cover the hole I created, but for now I filled it with E-6000 for holding power:
Once I get the blasters done I'll show you how it holds them
-
**** FYI I'VE DONE A TON OF TROOPS IN THIS AND HAVE SINCE UPGRADED A BUNCH OF PARTS. I ALSO FINALLY GOT SOME WEAPONS HAHAHA. I'M GOING TO COPY/PASTE SOME OF THE POSTS FROM MY LOCAL NER FORUMS BUILD I HAD GOING. MY STUFF IS DONE DIRTY JERSEY STYLE AND NEVER AS CLEAN AS TONY AND SOME OF THE OTHER EXPERTS HERE, BUT HOPEFULLY THIS HELPS SOME OTHER BUILDERS HERE
Got one of four pending weapons
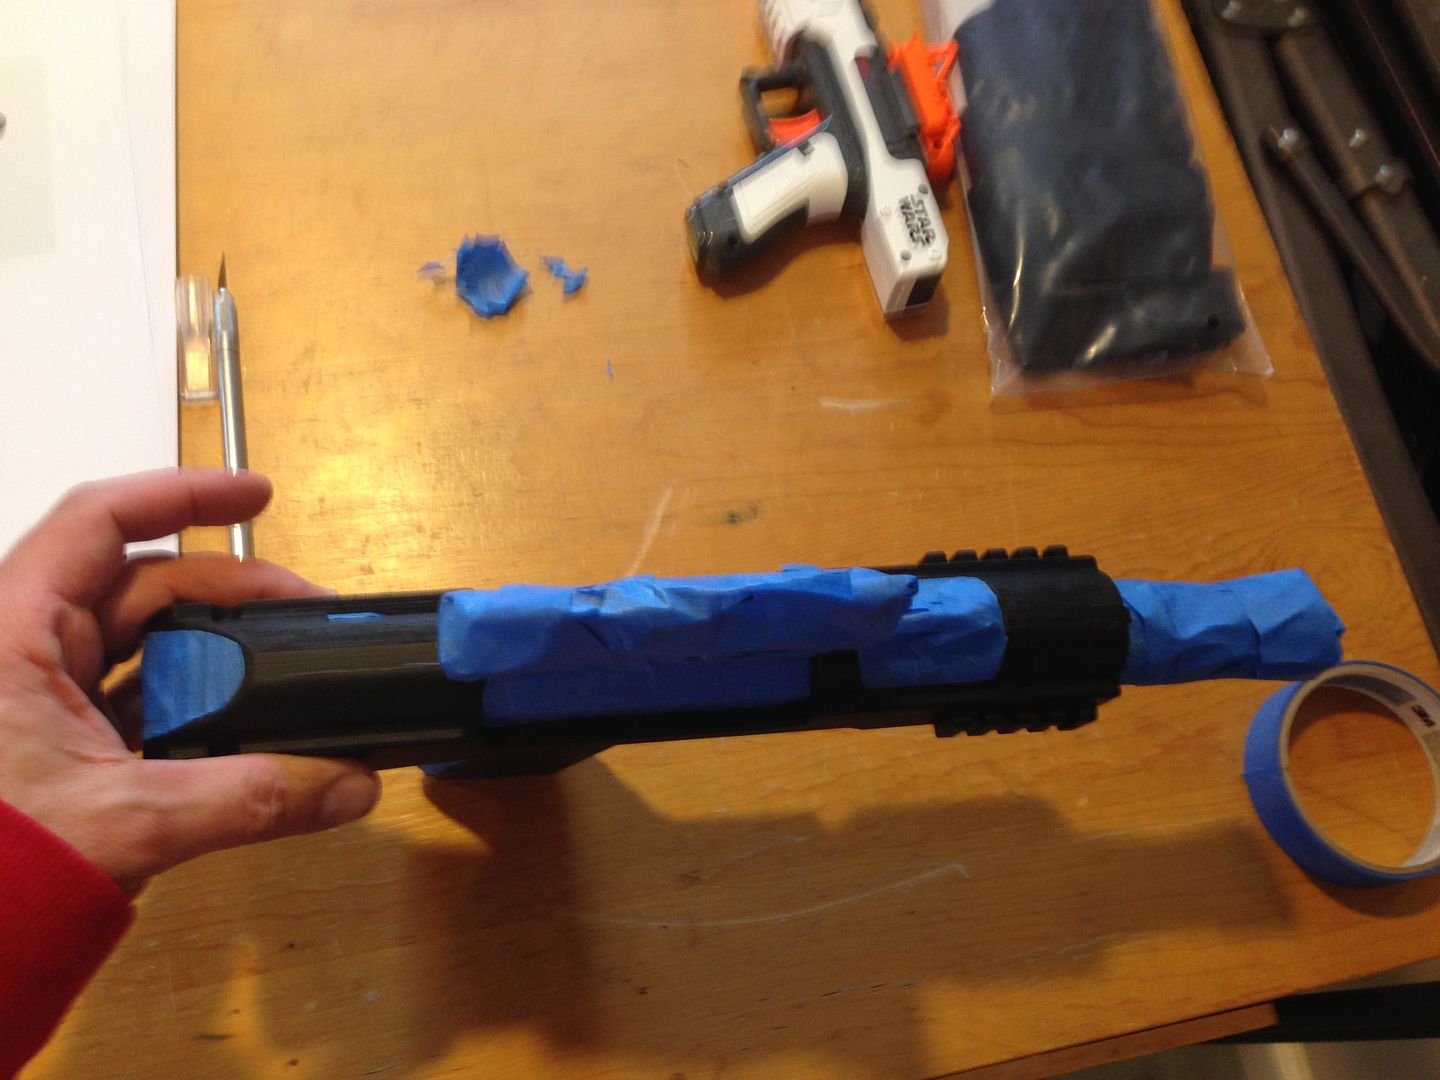
This is a "unbreakable" rubber/resin SE-44C pistol from Kai, a dude in Germany. I think it's a little bigger then most of the other ones available but I wanted something in this material and it was available hahaha!
I taped it up and am ready to go

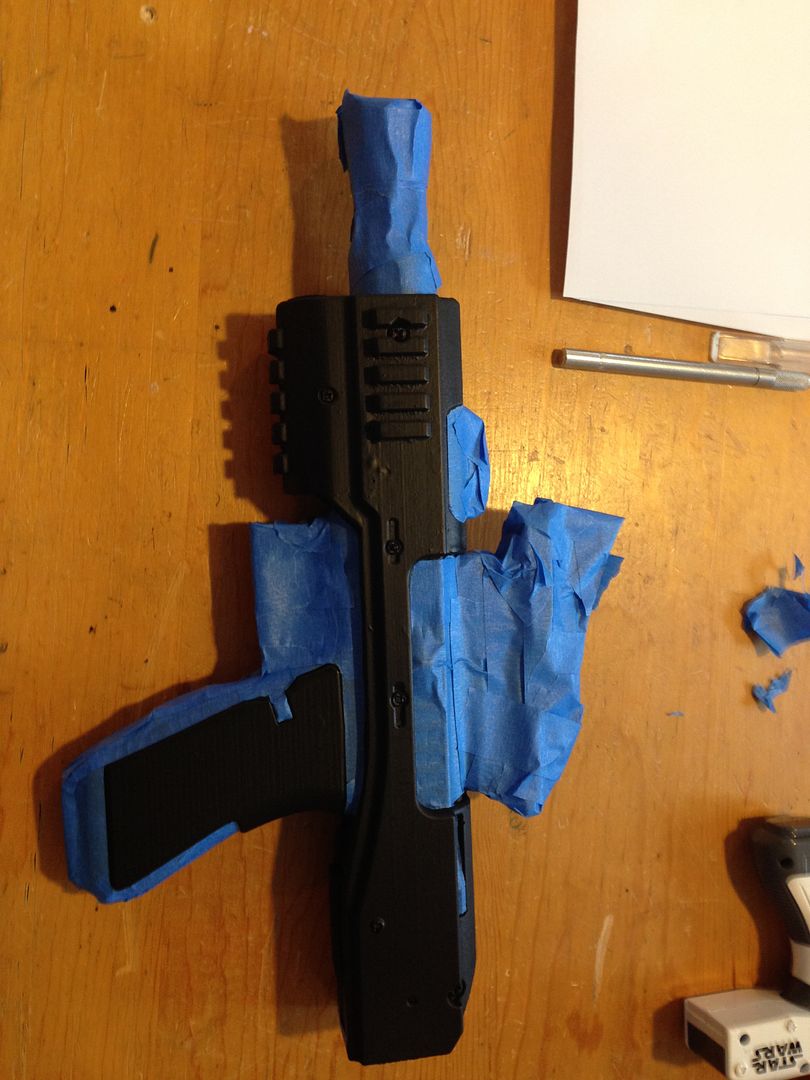
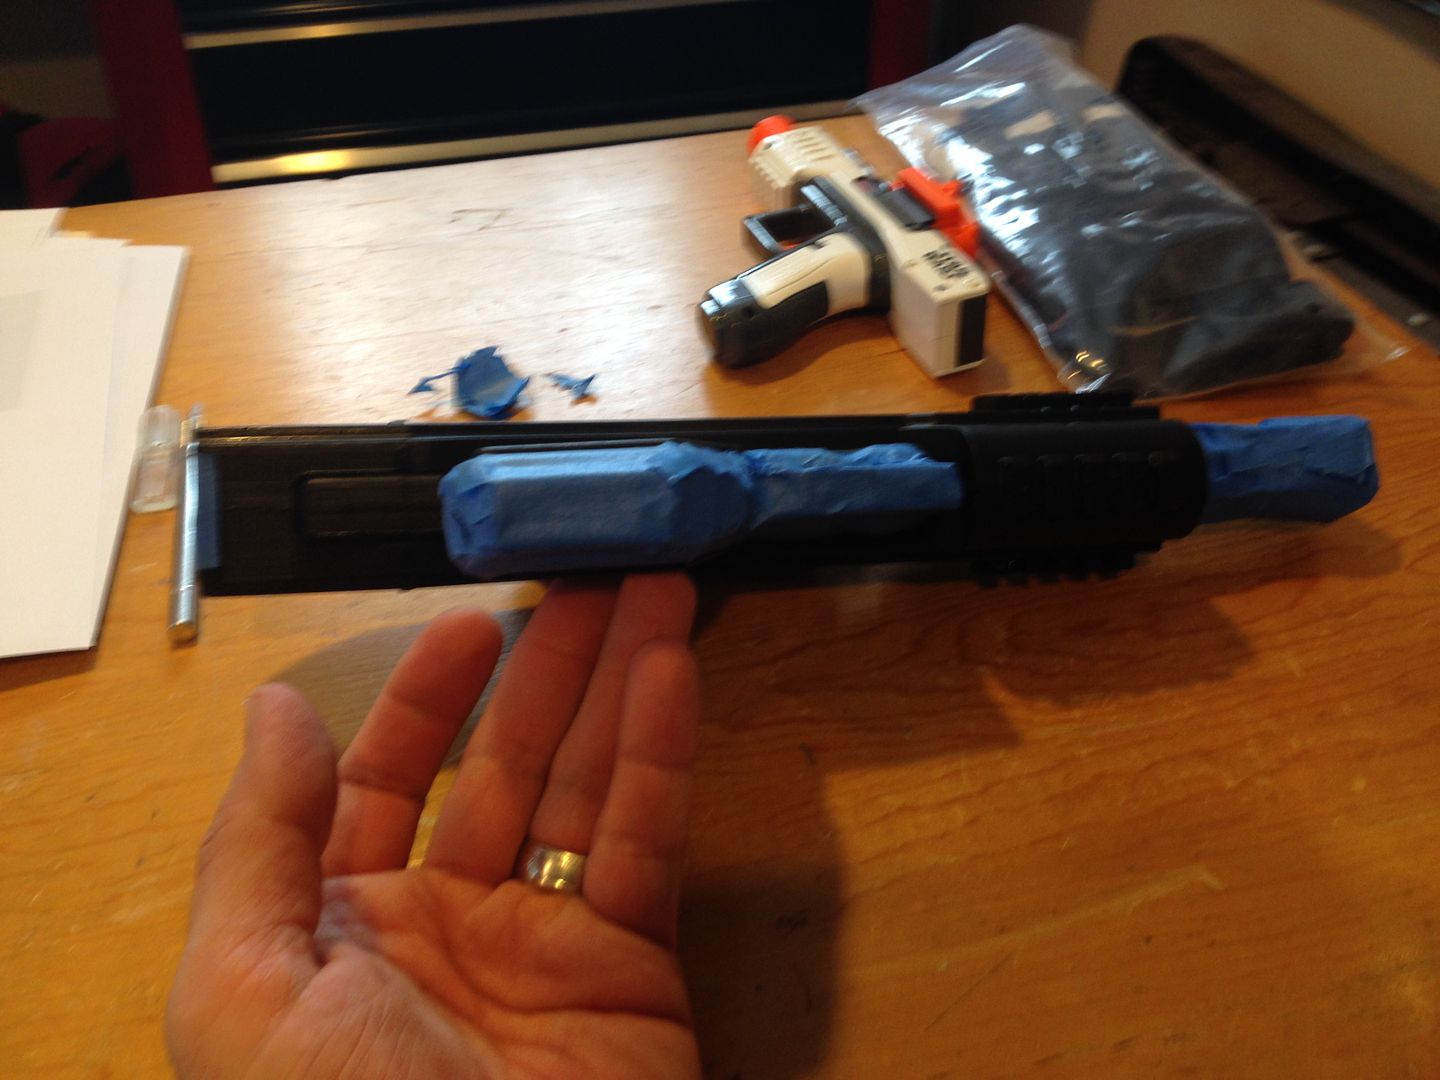
FYI I painted the blaster finally with acrylic paint. Came out fine
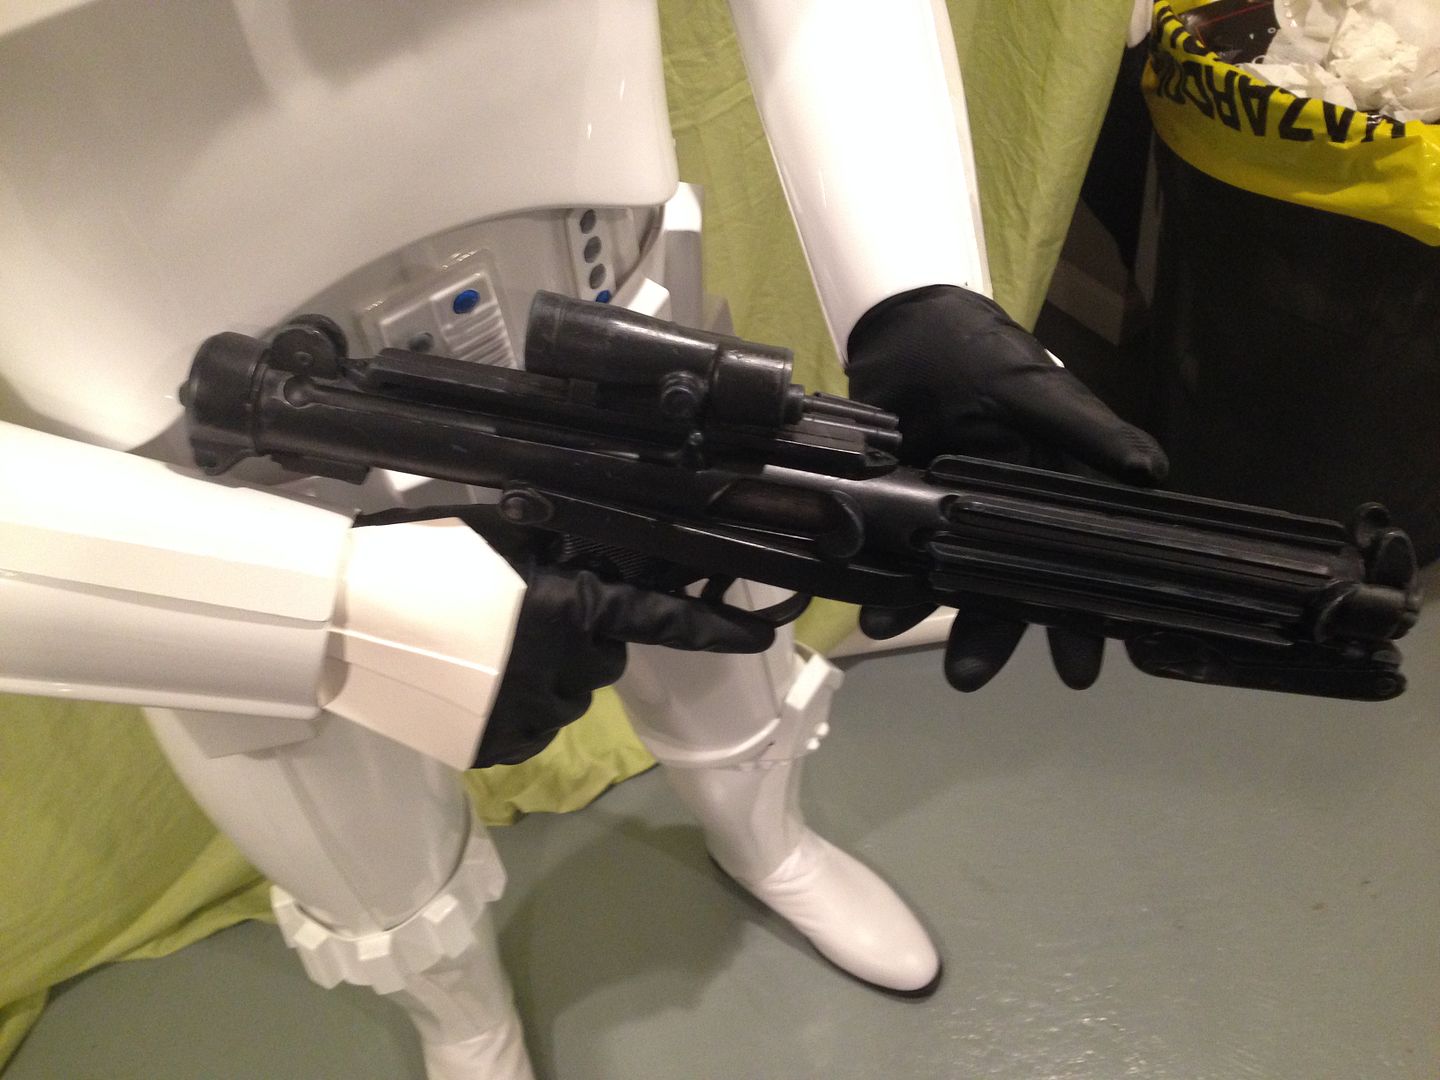
I also got my "DDay" resin F-11 kit based on the 3D print files. It is SUPER sharp and literally has slots and holes to assemble. I'm going to clean it up (min amount of work), paint it and put it all together
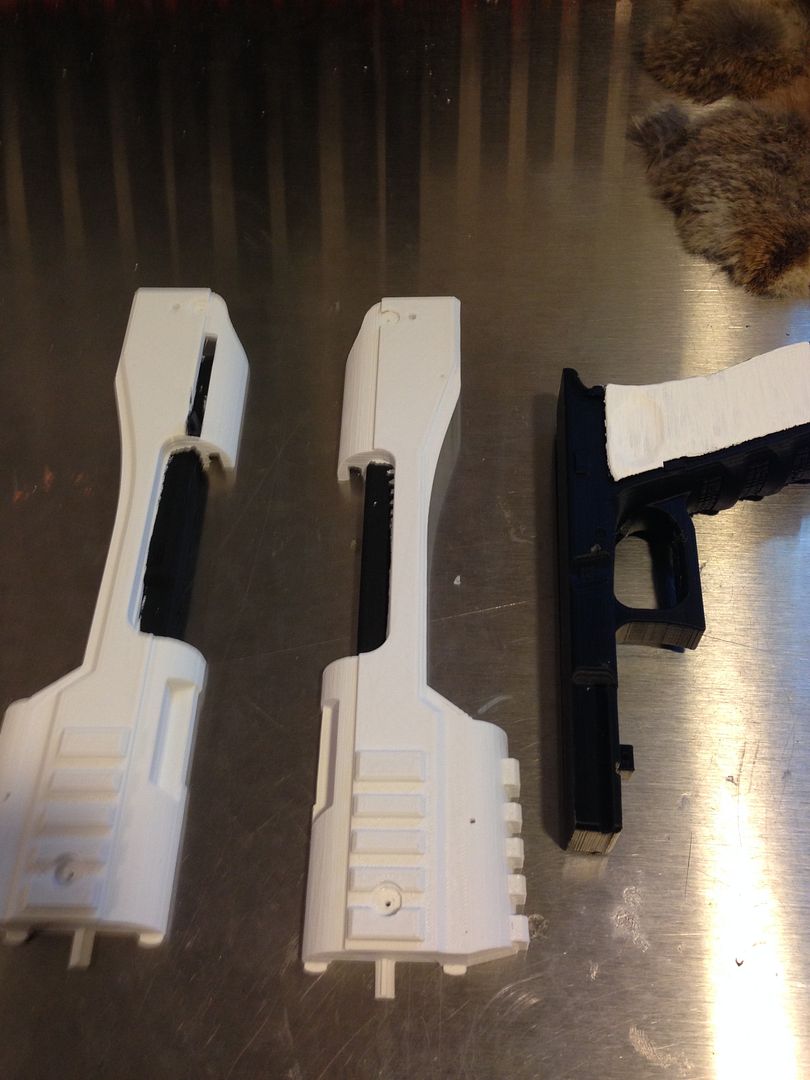
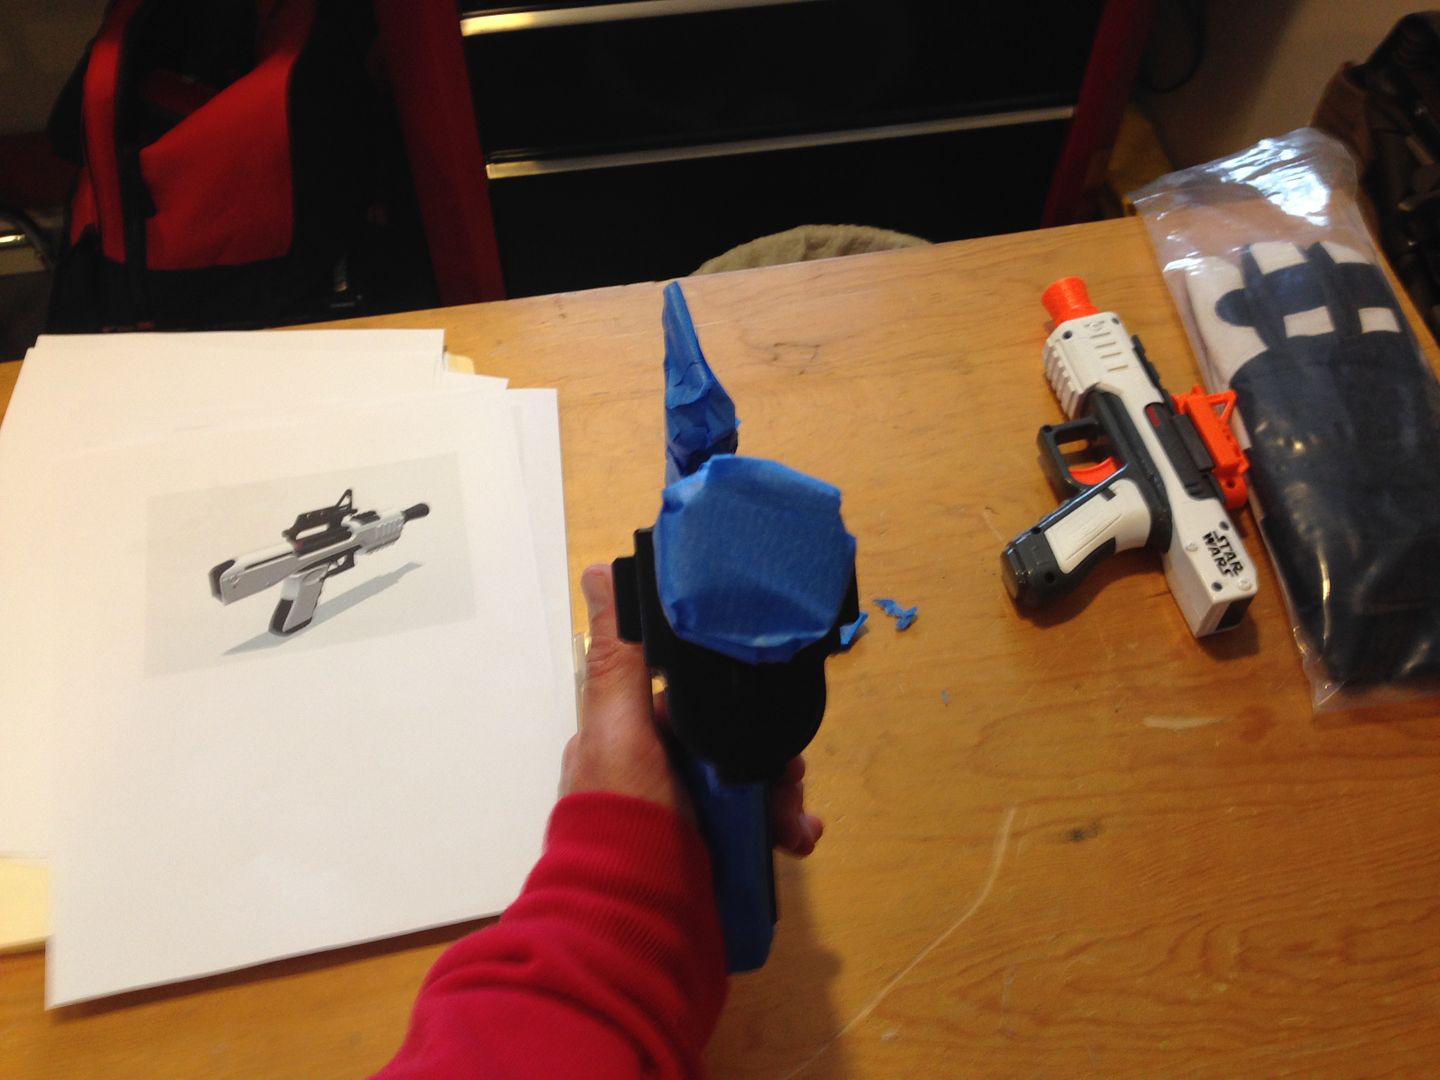
Continuing upgrades. I haven't finished yet but I also got a 3D printed pistol. I noticed that has a side rail where the holster screws go, so I traced it out and made one from scrap ABS for the above rubber pistol. The 3D print is very slightly smaller then the rubber one, so I accounted for the difference by using math!!
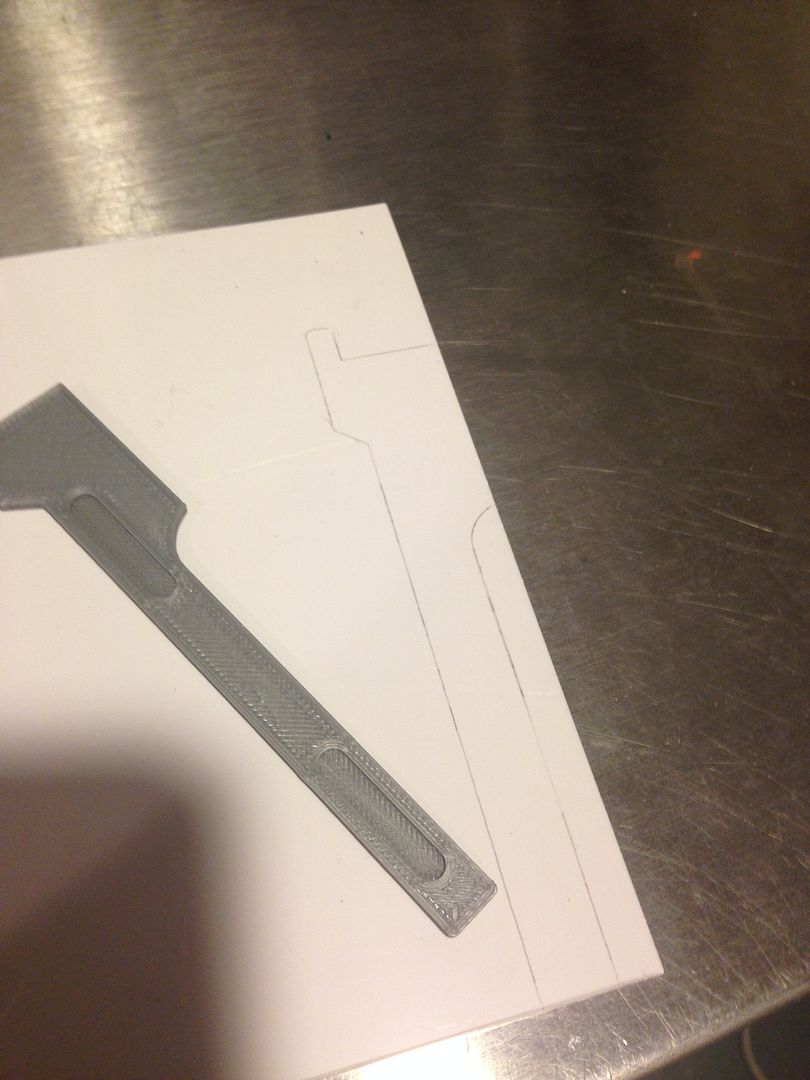
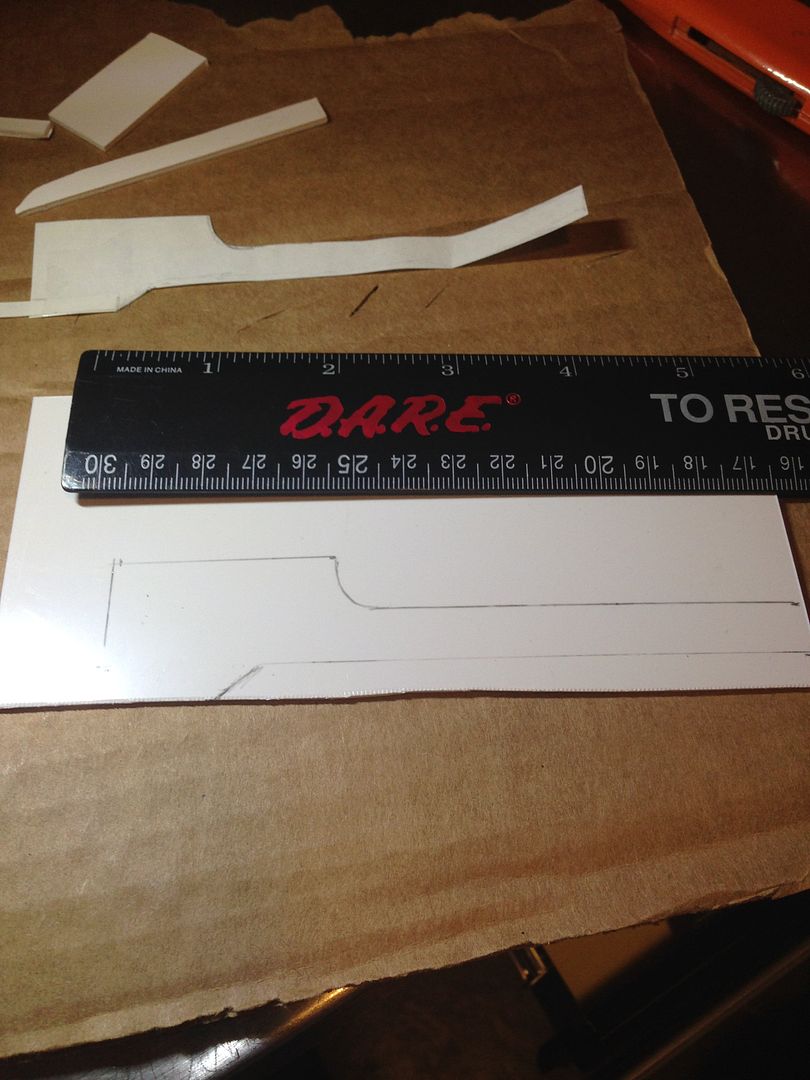
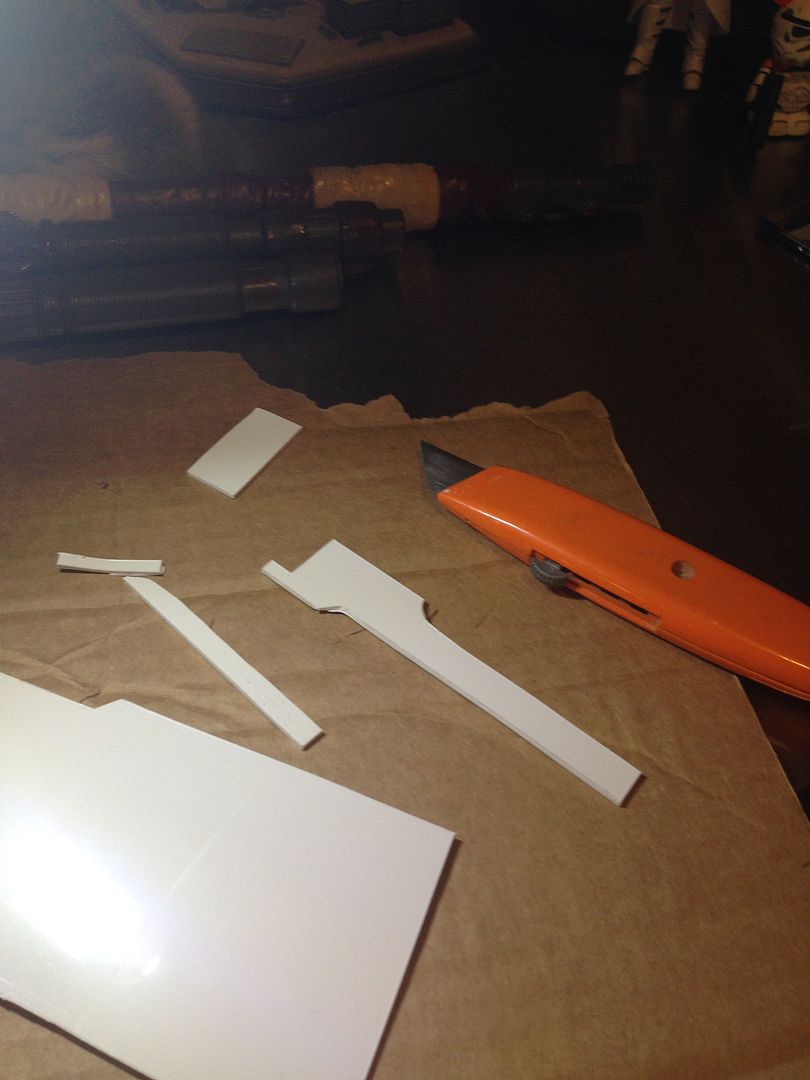
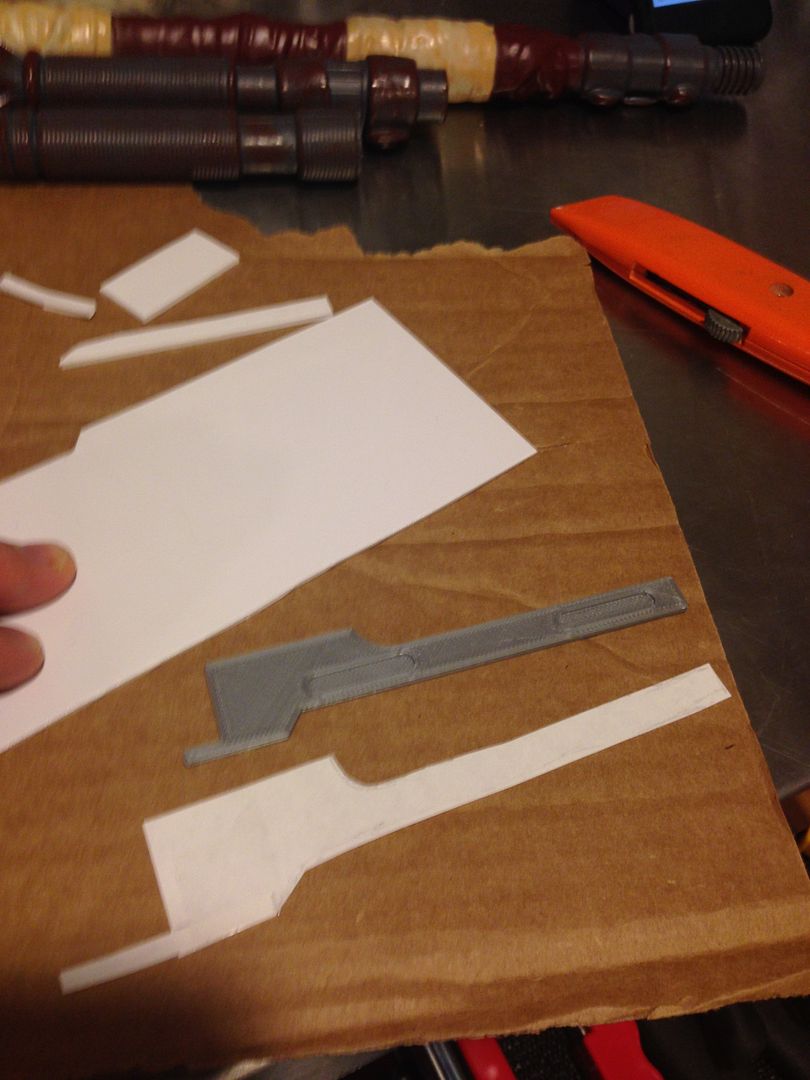
added the homemade silver plate to the rubber pistol:
I scored a pair of Dan's resin accurate handplates, painted them and replaced my plastic ones:

Side by side comparison (Anovos on right):
-
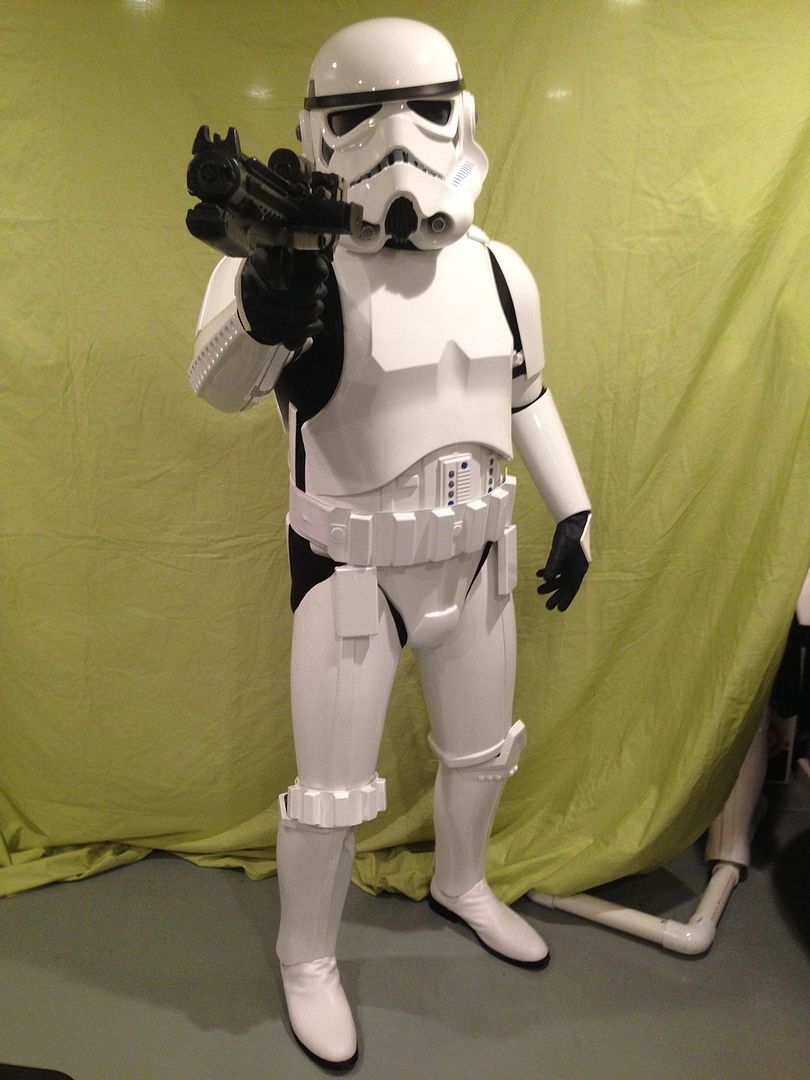
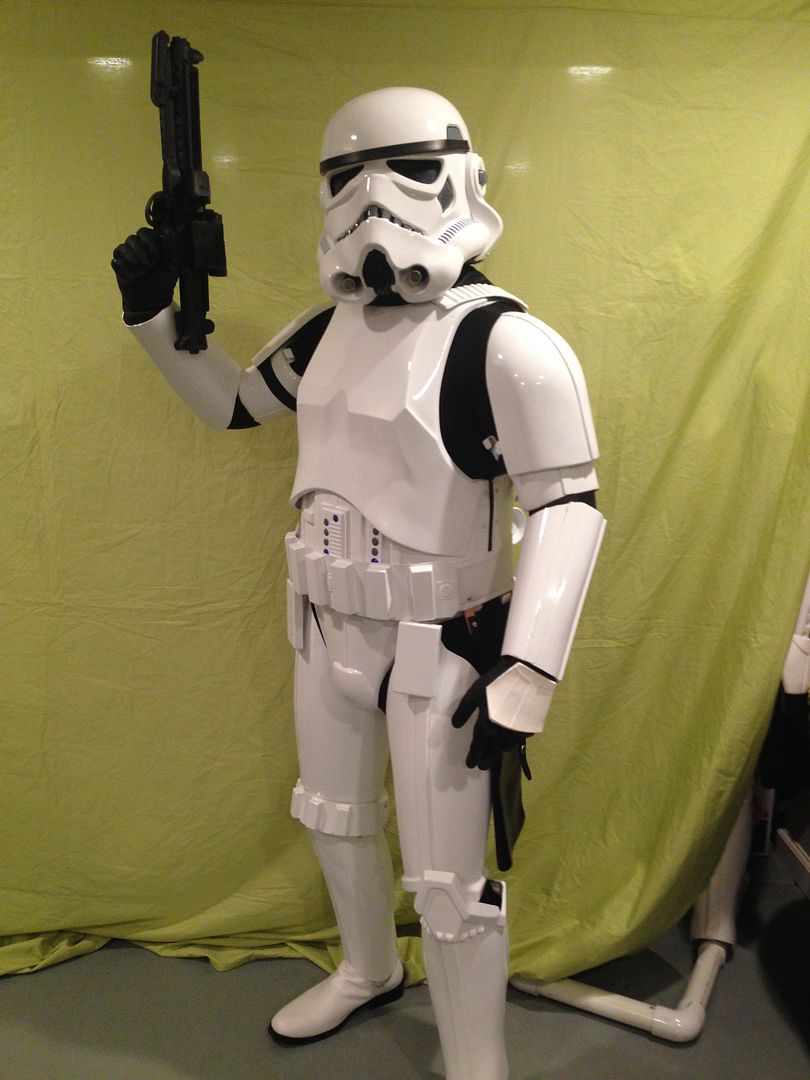
FYI my blaster did arrive last Thursday. It is ABSOLUTELY SPECTACULAR!!! Just wow, man, wow. Thanks again
-
For what it's worth it looks like our DL was correct and I apologize... the tracking number was CREATED on April 24th but apparently wasn't ACTIVE until just now. It's deceiving but that's not on Heston... it says on the link that when the number was created the "order was shipped" and obviously that was wrong. There was movement today, it is now active and shows enroute and set to arrive Friday. I'm super excited and hope this info helps ease others or at least answer some of those weird tracking questions
-
Trying to remain calm at our DL's request, but it's hard when the tracking number was received 4/24 and it was supposed to be a 3 day deal - here we are almost 10 days later and there is no activity on it, no blaster and no updates....
-
Nothing here either, hoping it arrives soon
-
Hey Sean, my schedule changed for the month (I rotate shifts) so they aren't "weekly" anymore but we still have some times when guys are going to pop by. I'll let you know when we have another full day build.
I'll be at the Brielle Library event tomorrow, gonna rock my FOTK so hope to see you guys there!
-
Thanks for the kind words Kevin, but don't sweat it I wasn't offended and no one needs to feel bad or apologize to me - I've been around long enough to know what to expect on the various forums and Detachments. And I also know that sometimes comments and meanings aren't exactly conveyed properly in written form, so I wasn't hurt or upset.
I only posted in FISD at all because I knew the sculpt was loosely "based" off the Legacy stuff, so I could use some of the builds here to mirror cut lines as this is brand new for me. When all is said and done I did get the help I needed here, and am well on my way building it. I have a WIP on my local Garrison boards, but if there is ever interest or other people need help down the road I'll gladly share it.
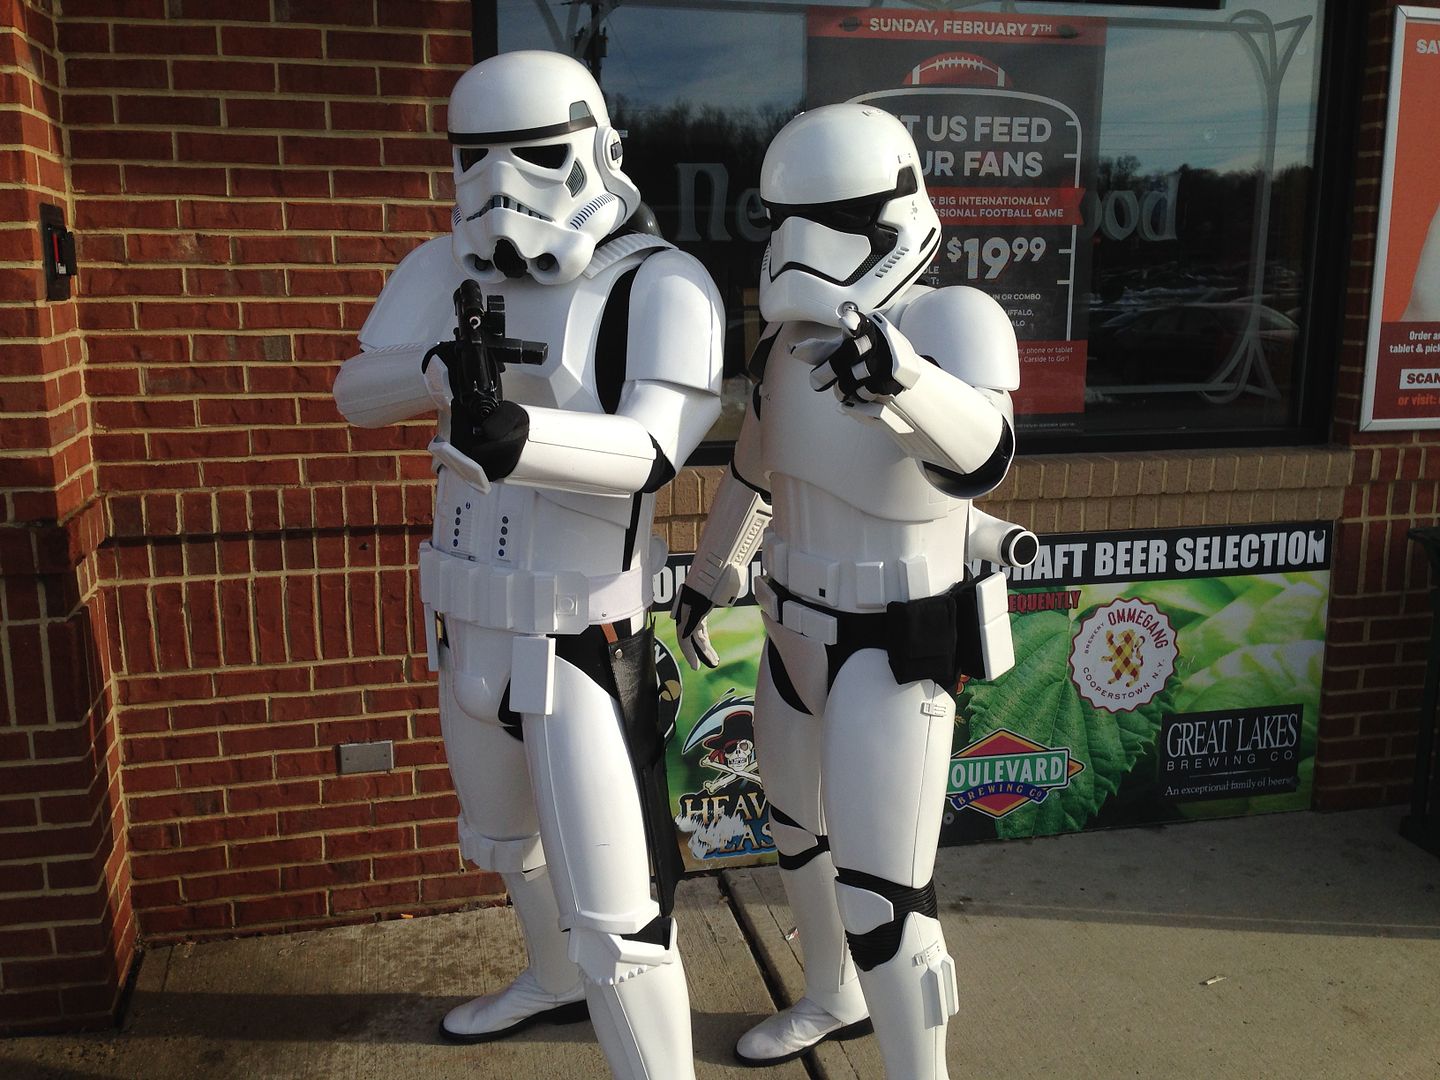
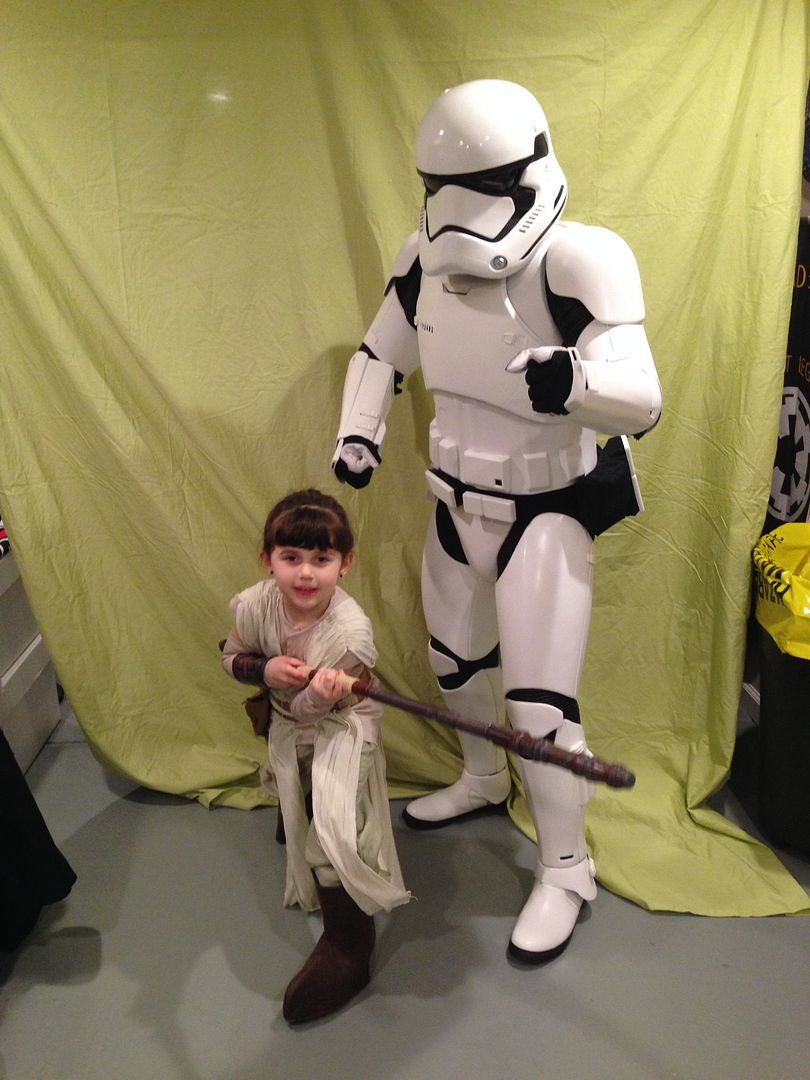
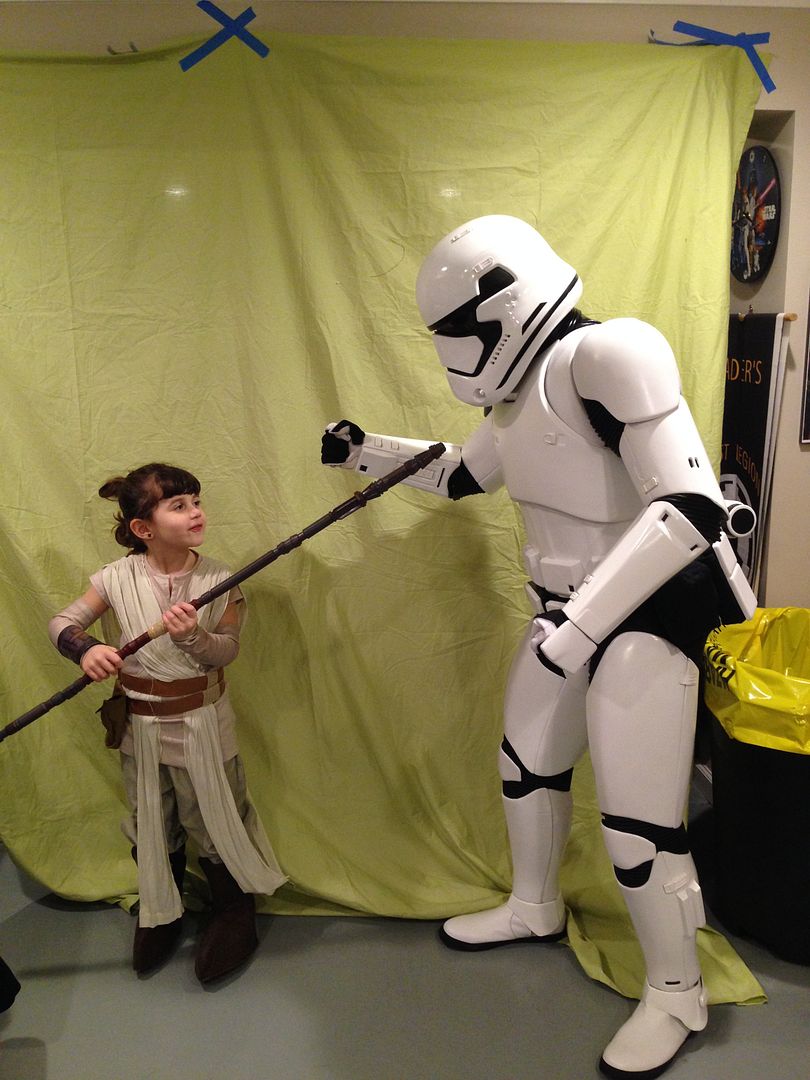
My wife and I have between us probably 25 or more costumes, and although most are cannon and 501st approved several are just for fun because we love costuming and love dressing up. This is one that we are planning for fun, and really looking forward to because our middle daughter has embraced Star Wars and dressing up more then any of the other kids and almost as hardcore as me! The goal is to get my wife in hers so we can take some nice family pix.... imagine her next to us in a shot like this hahaha!
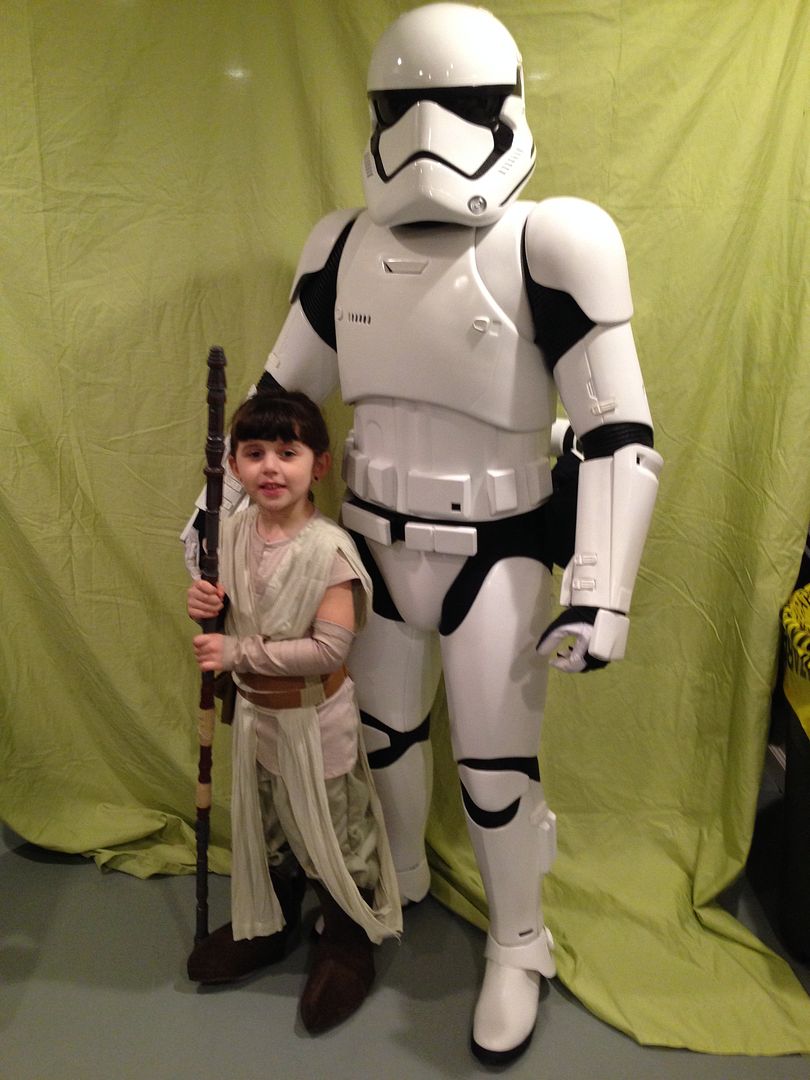
Little Rey with a boy and girl FOTK? Cute.
-
4
-
-
What's up Dave, we talked via email when you first joined up! Let me know if you need any help, especially since we live in the same town hahaha! I documented my last build both here and on our NER boards:
http://www.whitearmor.net/forum/topic/32531-navajo-bros-am-20-stunt-build/
I'll gladly give you a hand if you need it, Nicole and I have been hosting armor parties at our home pretty much weekly for the last year hahaha! So many new members in NJ and not many had the space or tools to work on stuff so we just opened up our home for anyone that wanted to come by and build stuff, and at this point guys are coming by literally a few times a week.
We completed 8 new TKs, 3 new TBs, 1 new TX and are working on another new TK, 2 TBs (Shadow) and 3 new TIE Pilots hahaha! We've also hit a few quick builds on just parts (some TR mods, IG mods, etc..) as well as my own projects I fit in here and there, so feel free to take advantage of the offer
-
3
-
-
Thanks Tim! Like I said, I'm just looking around for some reference shots of cut lines and seeing if anyone else built this yet to offer some tips. I initially asked in the other section since it is basically a slight modification on the existing Legacy stuff made by the same vendor but it makes way more sense to have posted it here lol. Sorry!
I'll figure it out and make sure to photograph things along the way in case someone else needs help down the line. It's just something fun for Nicole to wear at the major cons we have here in NJ now hahaha!
-
1
-
-
Just my opinion, but Fem7 armor is not a Star Wars related armor. There are no characters or mentions that I know of where the armor exists. I don't really think it has a place in a group that makes Star Wars related armor. Legacy armor can be shown where it is in the Star Wars universe. Fem7 cannot. Again just my opinion.
I agree with and completely understand that, please don't get me wrong. I'm not looking to make this official (she has plenty of approved costumes) nor am I trying to change anything in the Legacy area. I'm just trying to find some help and reference with a few of the cut lines, and the only thing I have to go on so far is the Legacy armor since it's very very similar.
I can figure it out it I have to, but there are a few spots (shins especially) that have either a "glue tab" or shim. I'm not sure if I overlap or cut, lol. I just wondered if anyone had built one yet and if so where they did. Or where I should put this up for my questions
Thinking back I guess it would fall under non-approved and custom stuff? Can this be moved there? Thanks!
-
I was able to score the new Fem7 armor from KW and spoke briefly with him about building it - as of now there are no real instructions and not many detail shots available, but it's very similar to the Legacy TK here.
My questions is does anyone else have or know of a build thread or place for reference shots? I don't think it will be too difficult since I've already built the FOTK and several normal TKs, but before I get to crazy with it I figured I should do some research lol
Also, if I wanted to create a build thread here would it go in this area or should I put it somewhere else?
* mods, if you need to move this to another appropriate spot please go right ahead. Thanks!
-
1
-
-
Using this thread as my template. Many thanks!
Thanks to you and good luck! Don't forget to follow anything Tony (Ukswrath) does as well, he has some great tutorials and is definitely a little more cleaner and technical then me. But we did have almost 10 new TKs join last year and they all had AM kits and all did it pretty much this way. Each one came out fine
-
fantastic job hiding the work on your chest detail. That looks like a tricky mod. It wasn't available for the Alpha so I didn't have the pleasure of doing it.
Thanks man, that was probably the most difficult part for me but I'm satisfied with how it came out. It was also my first time working with this amount of bondo and seam work (meaning for an entire costume) so it definitely tested my skill hahaha!
-
Thanks Andrew, I can definitely follow up on those suggestions, even if I don't go for Centurion I want it to be as nice and accurate as possible. Like I've said in my build thread, the TK is what I joined with back in '06 and it was the old FX one, and since I FINALLY got around to an upgrade I wanted to make this as clean as possible. I ended up with the AM kit event though I'm not necessarily a big guy (tall wise at least) so I knew I'd have to do some extra trimming at some point.
I wanted to go as little as possible to start and then work my way down more as needed. I see the spots you are referring to, and now with the new boots I plan on addressing some minor issues like this to create the proper space all around. But I can't tell you how happy I am to have achieved the EIB, thanks for all the help and encouragement here and especially with guys like Tony and their threads
-
2
-
-
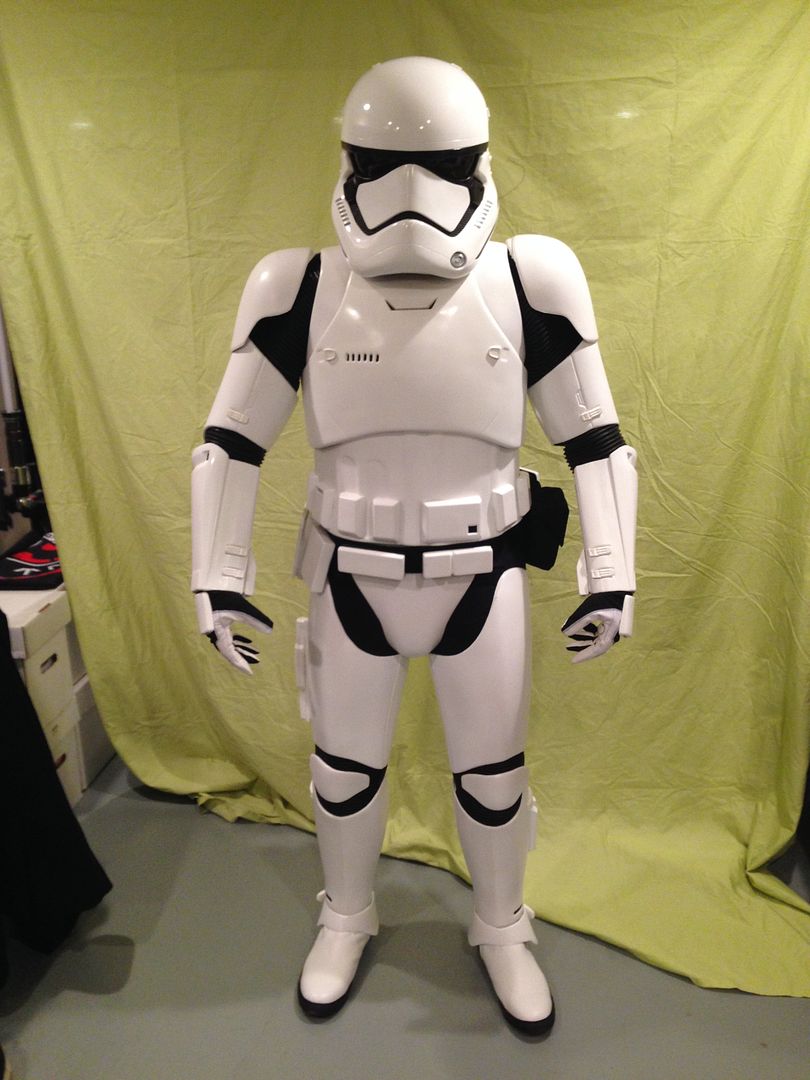
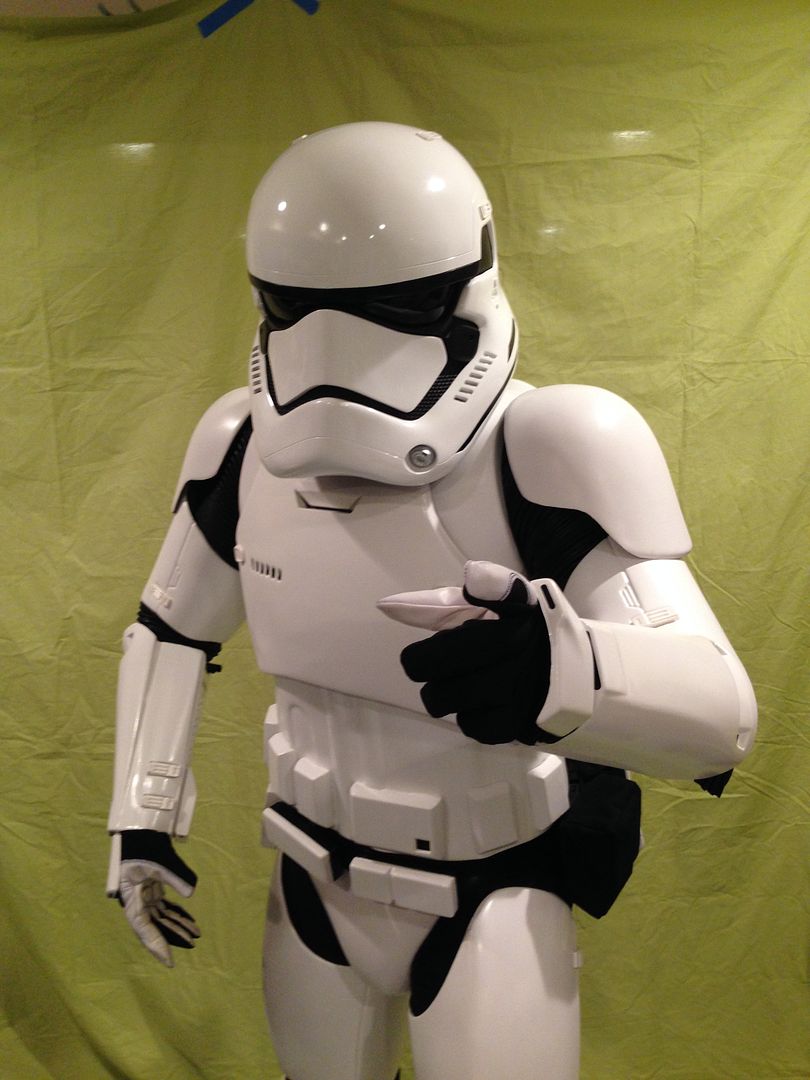
I'm back!!!!!
I finally got my replacement boots from Imperial Boots and switched out my old Hasbro mod for a Hyperfirm
I put those photos in the first post application, and also a current shot of the ammo pack with better paint application.
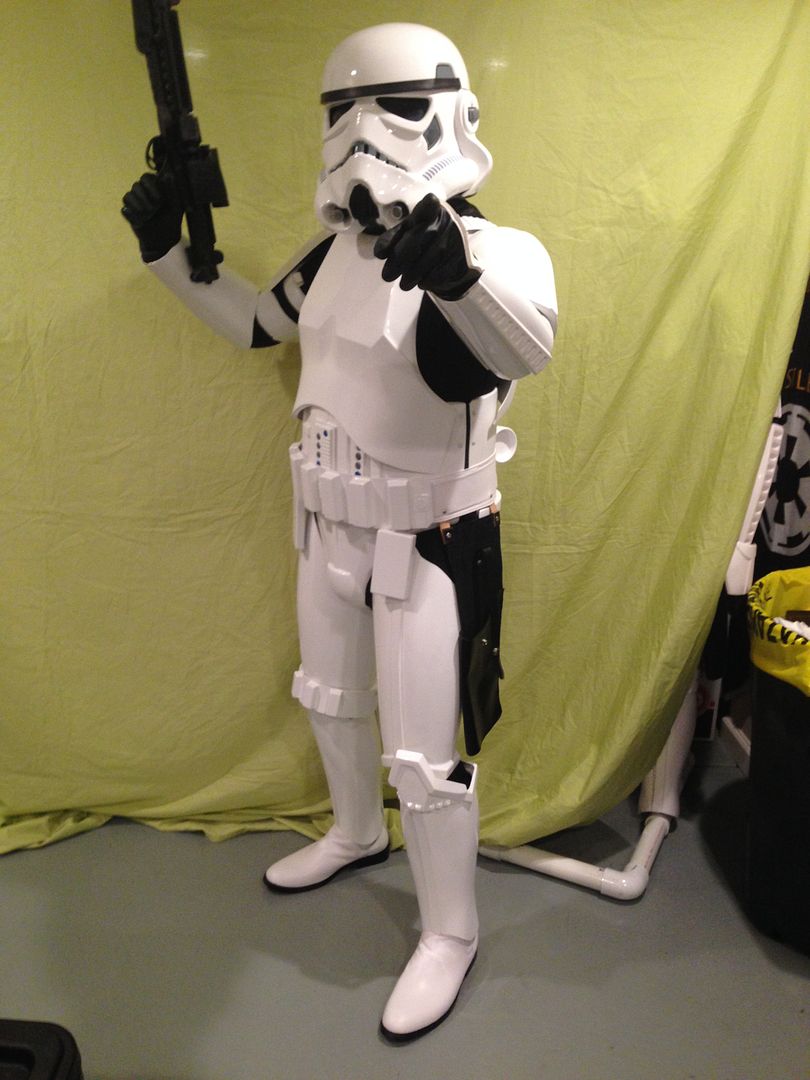
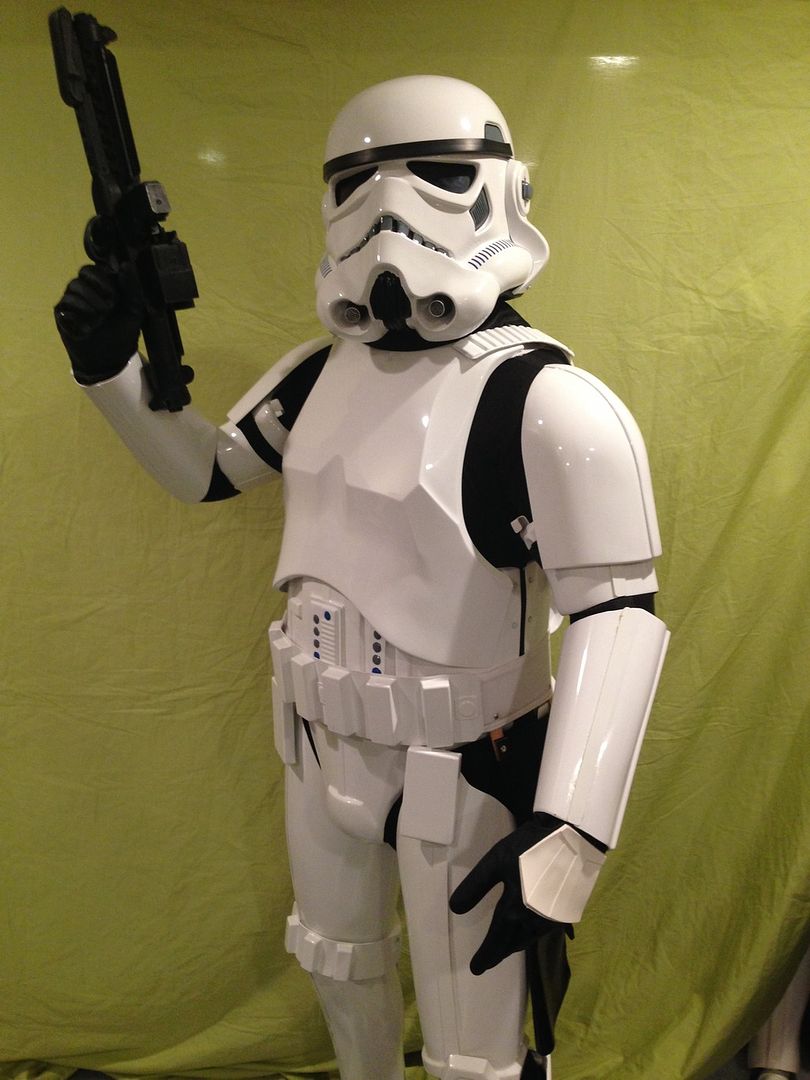
A quick suit up but we were in the middle of building some new member's armor so it's a little rushed sorry. I figured after the update notice you'd let me know if you actually need brand new full submissions shot, which won't be a problem I'd dedicate that to anther day. I want to make sure there was nothing else before I do a that but for now here's a quick look:
-
I also did my first troop in it a few weeks ago (prior to the upgrades, so the old boots and gloves in the shots lol). It held up great went over well
I can tell I need to do a few very minor tweaks to make it more troop friendly. I'm going to secure the biceps and shoulders better, but also aren't going crazy with them until I get the cloth gaskets because I'll need to fit it to them when they arrive. The guy who helped me get dressed was brand new to the Garrison and put the shoulders on a little further out and I didn't notice until the photos lol.

-
1
-
-
FYI I got my upgrades!! Here are the better gloves and accurate First Order boots:
Anovos gloves on left / Imperial Boots gloves on right:

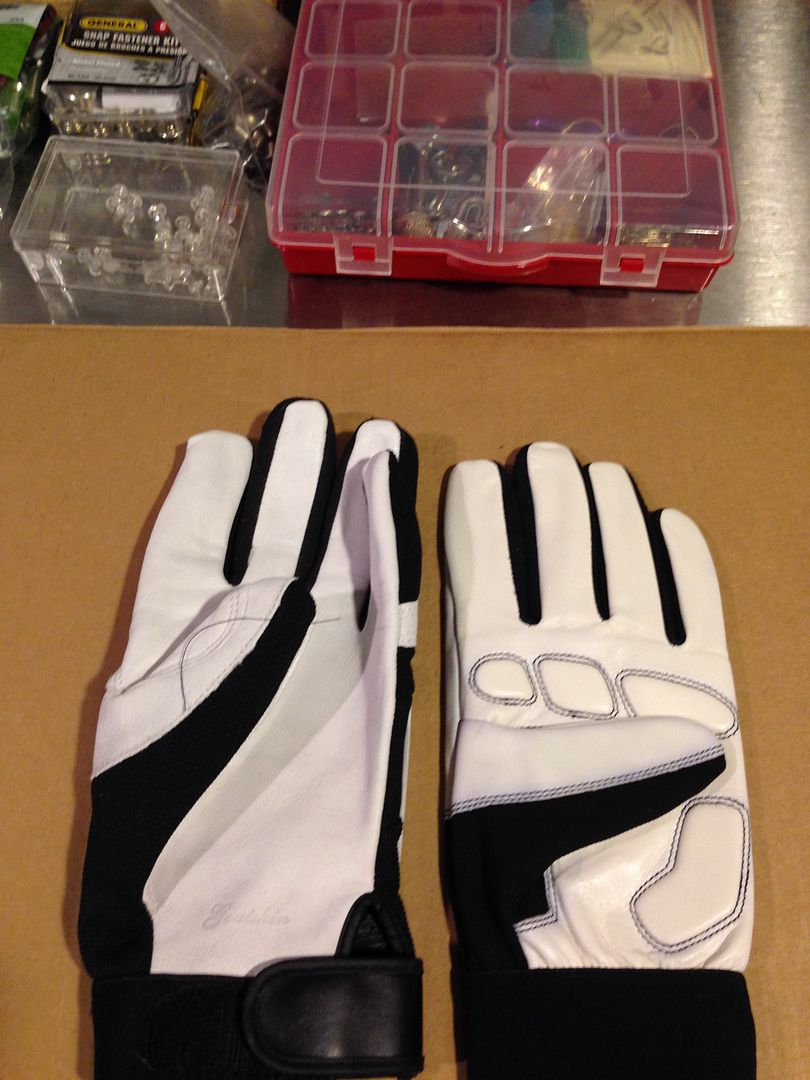
You can see the IB ones have removed the white knuckles and added the stitched padding in the palm.
Imperial Boots FOTK boots on right / old, CA TK boots on right:
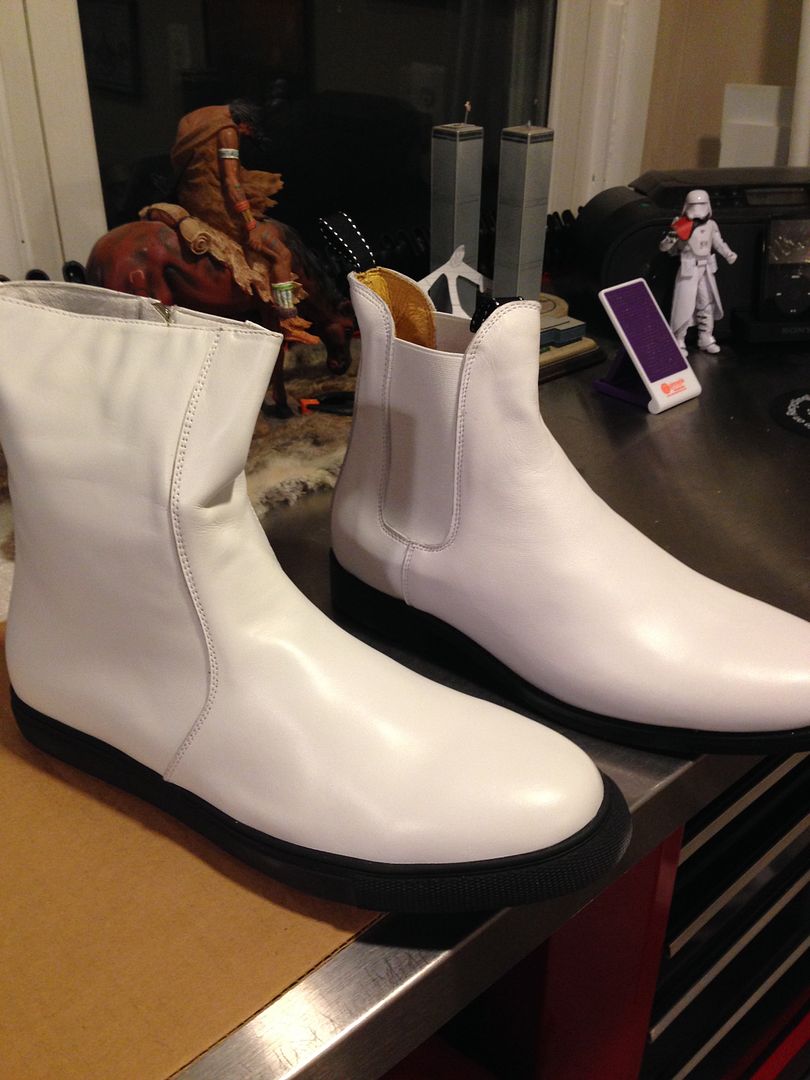
Pretty obvious there hahaha!
I also corrected the position of the biceps and took some new shots:
Still waiting for the cloth gaskets, and plan on tweaking the ankle spat greeblies but at least I'm still moving forward with it
-
1
-
-
Yup, you're in!
Awesome thanks!!
-
1
-
Navajo Bro's AM 2.0 Stunt build
in ANH Build Threads
Posted · Edited by Navajo Bro
Glad to hear my build thread is still helping people!
I never followed up in this thread, I did in fact obtain EIB here:
http://www.whitearmor.net/forum/topic/33314-tk-8869-requesting-anh-stunt-eib-status-am20-537/
I just had to swap out my old '06 CA boots for accurate ones and switch to a Hyperfirm as opposed to my modded Hasbro / Doopy Doo hahaha!
Also, worth noting I really should have trimmed the part on the butt where the strap connects, it didn't affect approval or EIB but for more screen accuracy it's meant to be cut off. Check out the suggestion by Mathias in my EIB submission, right under the first few posts.
I'll add a few videos I made over the years showing some basic "live" action work with the tools. A few are just random things as our PR guy is making a promotional video and wanted some shots of different armor making things, so there might not be any voice over or explanation hahahaha. Others are old and some are just fun
MAGNETS
Here is a quick one on how to handle rare earth magnets, as some people get them stuck and can't get them apart. I use spacers and just hold them carefully but others wrap them in tape or fabric to pull them apart. I've found it's easiest to just slide them, even if the spacer isn't there they will come right off :
http://s199.photobucket.com/user/bro117/media/Armor%20Parties/IMG_5354_zpsgcmfftzd.mp4.html?sort=3&o=121
VACUUM FORMING (trip to WCA to pull clones)
Here are the specific armor building shots, that show and explain how vacuum forming works:
http://s199.photobucket.com/albums/aa207/bro117/?action=view¤t=100_3549.mp4
http://s199.photobucket.com/albums/aa207/bro117/?action=view¤t=100_3550.mp4
http://s199.photobucket.com/albums/aa207/bro117/?action=view¤t=100_3551.mp4
http://s199.photobucket.com/albums/aa207/bro117/?action=view¤t=100_3552.mp4
http://s199.photobucket.com/albums/aa207/bro117/?action=view¤t=100_3566.mp4
HEAT GUNS
You can use a hair dryer if you have to, it just takes a little longer. When using a heat gun ALWAYS have on gloves, you can easily burn yourself pretty bad if you get your bare skin under the blower. Also, MAKE SURE TO HAVE A TEMPLATE for the shape you are making, meaning soften the plastic then push it against something solid in the shape your are aiming for. Don't just soften it then try to mold it with you hands, lol (laugh but we had a guy try that and ruin his armor). Metal pots are great but remember the heat gun will also heat up the metal so if you have helpers make sure they have gloves too. (guy in the video holding my pot is a monster and a mechanic in a military base, his hands are like baseball mitts hahaha. Don't be like him). Lastly, remember to move the blower evenly and quickly across the piece, don't leave it in one spot too long or you'll have melt spots.
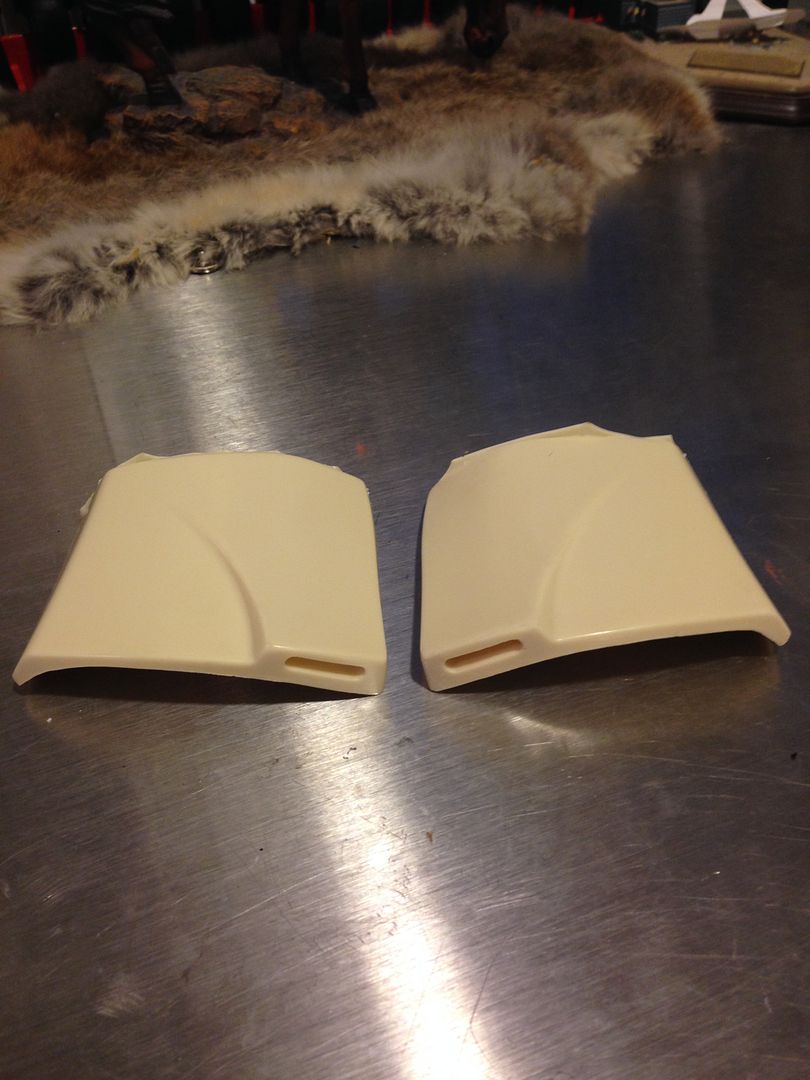
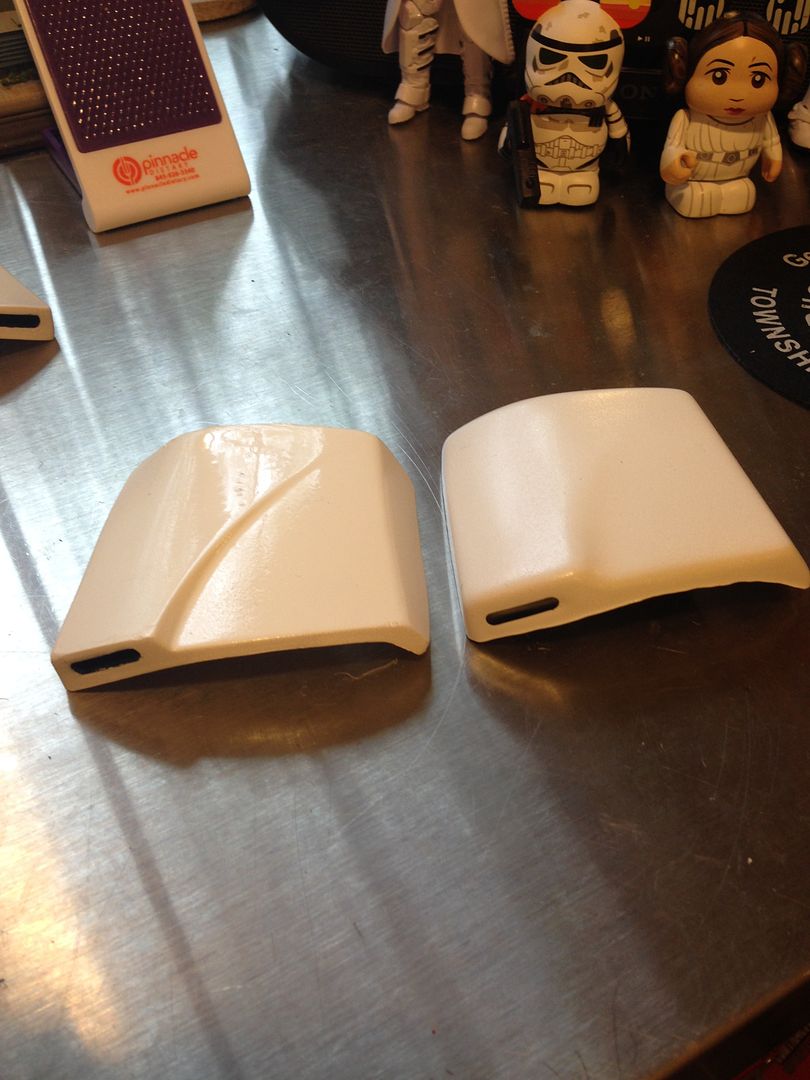
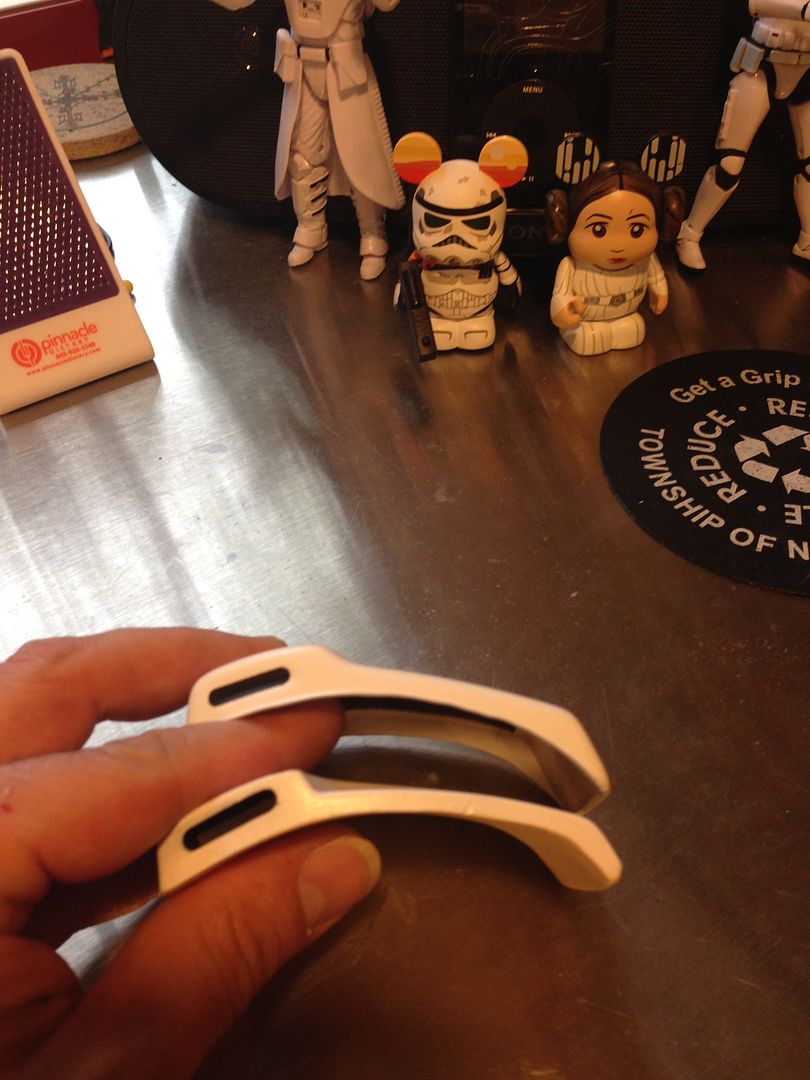
For this one we were making the arch wider on a TIE shoulder
http://s199.photobucket.com/user/bro117/media/Armor%20Parties/IMG_7706_zps5diptkvs.mp4.html?sort=3&o=23
Here I was making a support shim for a larger guy's shoulder armor (to go under the detail piece) since his old one snapped. Had to make it curvy again
http://s199.photobucket.com/user/bro117/media/Armor%20Parties/IMG_6486_zpssxy52egd.mp4.html?sort=3&o=55
HOLE CUTTER
Here's our monster Ralph using the drill and hole cutter to make his TIE box
http://s199.photobucket.com/user/bro117/media/Armor%20Parties/IMG_5899_zpstwv9ujpj.mp4.html?sort=3&o=93
MASKING OFF PROPS FOR PAINTING
http://s199.photobucket.com/user/bro117/media/Armor%20Parties/IMG_5872_zpselbssvia.mp4.html?sort=3&o=101
SANDING / BONDO / BELT SANDER
These were for the promotional video, just a clip of putting in work. 30 second shots. When you actually sand or using bondo always make sure to have on safety equipment...some type of face mask or respirator, gloves and goggles, and do it outside or in a ventilated area. That stuff is bad for you. I actually didn't use the clips because after the fact I realized we should show us in the safety equipment so we have to reshoot them hahaha, but you get an idea of the methods.
http://s199.photobucket.com/user/bro117/media/Armor%20Parties/IMG_5853_zpspyyzhopt.mp4.html?sort=3&o=102
USING A DREMEL
CUTTING WHEEL
http://vid199.photobucket.com/albums/aa207/bro117/100_3973.mp4
SANDING WHEEL
http://vid199.photobucket.com/albums/aa207/bro117/100_5192.mp4
http://vid199.photobucket.com/albums/aa207/bro117/100_3979.mp4
HOW TO ROLLER SKATE IN ARMOR
http://vid199.photobucket.com/albums/aa207/bro117/MVI_3189.mp4
HOW TO NOT BE ABLE TO EAT OR DRINK IN ARMOR (lol, this was way back when I first got it and hadn't really trimmed anything yet. Also it's the old FX)
http://vid199.photobucket.com/albums/aa207/bro117/100_3140.mp4
http://vid199.photobucket.com/albums/aa207/bro117/100_3141.mp4