-
Posts
198 -
Joined
-
Last visited
-
Days Won
1
Content Type
Profiles
Forums
Gallery
Articles
Media Demo
Posts posted by ticopowell
-
-
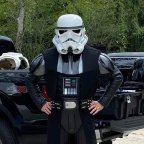
Well, I suited up again, I had to measure the shim to get it correct. I found that it likes to be angled a little bit.
Couldn't not put the helmet on :D.
The bottom part of the shim is closer to the front than the top. The pictures didn't show the shim being level like it should be height wise, but when it is it's angled back. I assume I should still cut it vertical so it holds the kidney plate level on the sides.
-
 1
1
-
-
Well, looks like RS prop masters is selling HDPE helmets again... for display only due to the fragile nature of the paint.
---------------
Congrats to them on 10 years!
-
Don't worry, I saw it to, the coloring underneath the helmet makes it look funky hahahaok thats cool my eyes are not.

-
 1
1
-
-
Great Paint work Caleb !
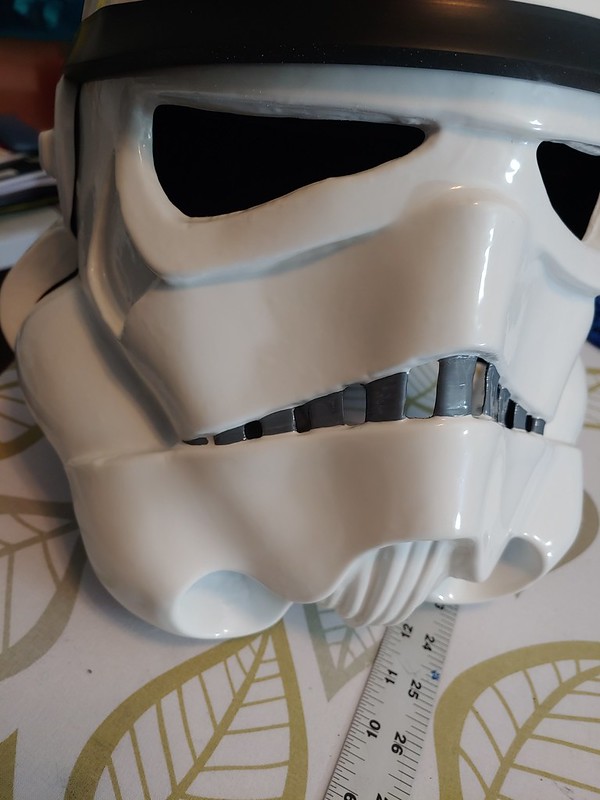
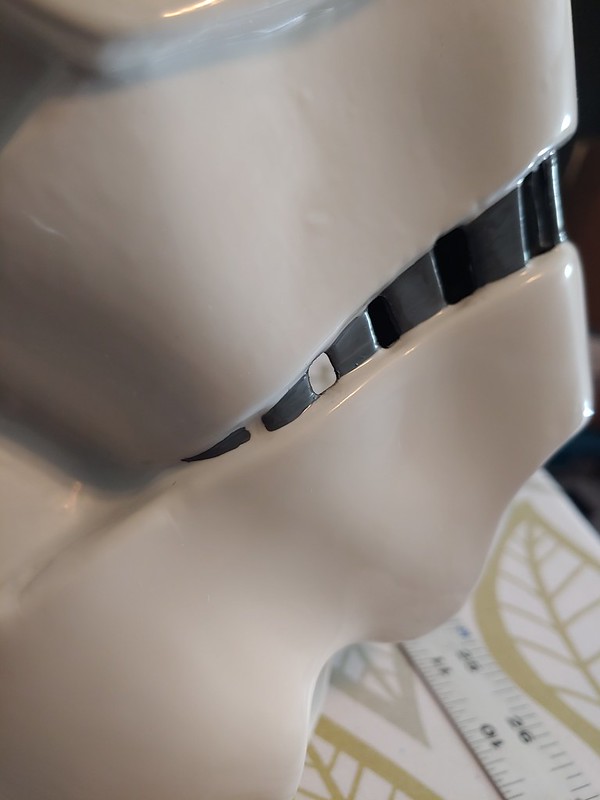
I'm not sure if it's a light effect or my eyes ,or maybe both ,but it looks like there's a bit of paint between the white area as shown and there's still a small paint detail that I would suggest to take off, just a toothpick with mineral spirit, no acetona, and it is.

looking good so far,
I see what you mean, I attached a closer version of the photo. I think what we're seeing is just a shadow. And we'll touch up that edge too. Thanks!
-
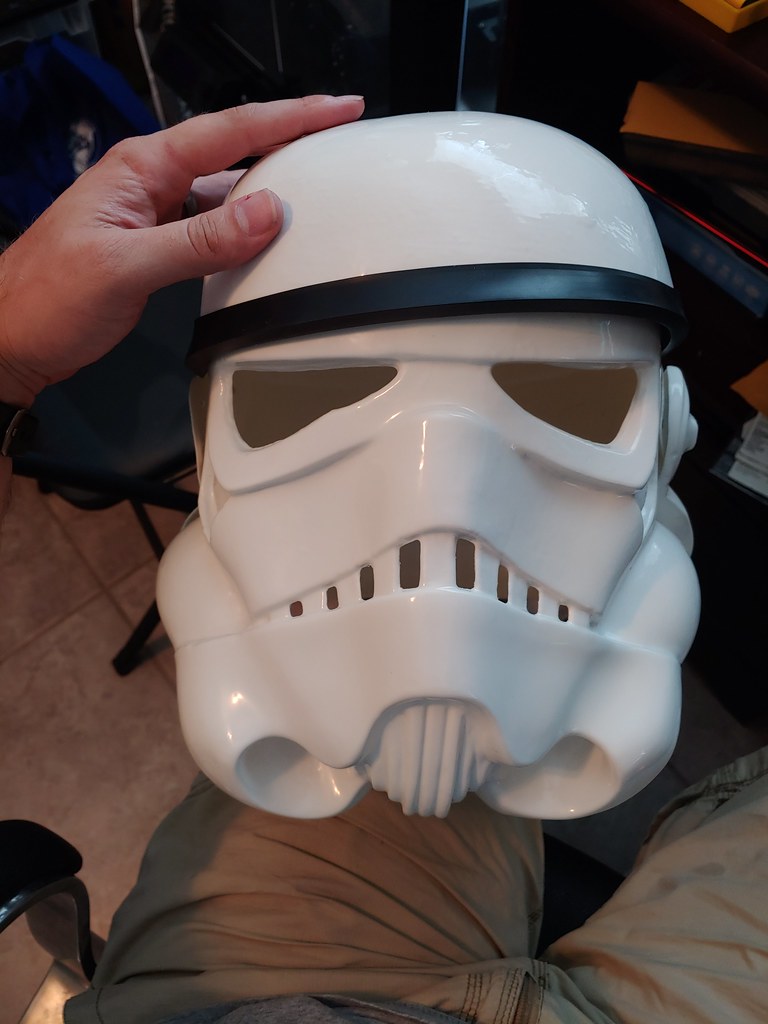
Well, the wife had some energy and was able to paint the helmet a little bit tonight. I also painted the screws in the torso armor so they are now all white.
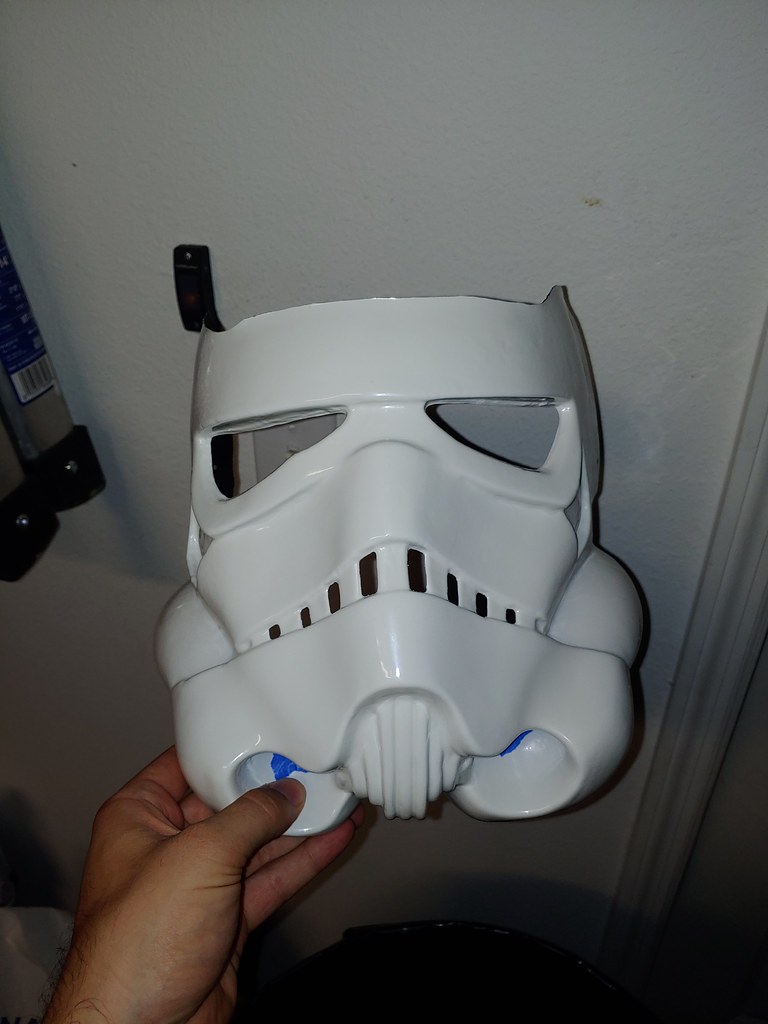
Any feedback on the helmet? the paint is still wet and I know a few teeth go a little high.
Is this too much on the tip?
We still are going to do one more coat, there are a few thin spots, but i think it looks great so far.
-
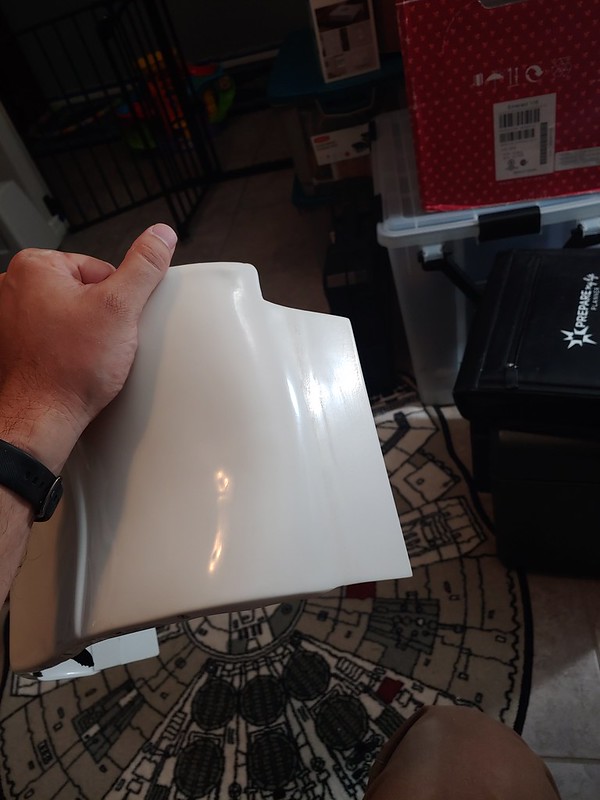
Alright, I did a lot of sanding, filling holes in ABS paste, sanding again, filling holes, etc... I now have 2 mostly done shims. They are fairly shiny and nice, but they aren't perfect. What do you all think? I tried to capture the shine, right on top of the not as shiny spots. There is a little different color there, some of that is from the NOVUS polish, the rest... idk, I'm guessing that the white ABS paste had some pencil marks or something else in there so it's a little off but most people won't notice. Here are the pics.
well... I'm done with this for the night... I think. lol
-
 3
3
-
-
color matching for that spot won't be an issue, what I would do is put tape on the outside of the hole, then ABS paste the inside, then add other thin strips of support of some sort. If you don't want to use or don't have plastic then fiberglass or even fabric with superglue should do the trick.
-
I have a can of unused 2K spray, I think it has a 48 hour limit after popping the 2nd tube. But your can should have good instructions on how long you can wait before it cures inside the can.
The build looks great! it's good and bad that my 18 month old wont be big enough for armor for a while... I'm doing enough work for my armor, I don't need to do that for his yet haha.
-
 1
1
-
-
The checklist stands at:
Fix weak shoulder elastic (not enough space to double up with what I currently have, so maybe order new ones or sew cloth strips or something. Maybe it's just the shoulder bells so ill look at those too)
Finish the kidney shim (Let dry, sand, polish... hopefully. It should be smooth enough to polish after this next round of sanding)
Add rivets/straps to kidneys and abdomen, waiting on kidney plate to be finished with shims.
Paint all the rivets and screws that need paint (6 ab-kidney, helmet ears, thigh ammo box rivets, torso brackets)
finish helmet. (paint, install lens, start and finish hovi mics)
Talk to the GML
Getting closer

-
 1
1
-
-
2 minutes ago, gmrhodes13 said:
You may be able to apply some ABS paste behind the ear to give a little strength to the area to stop it coming through again. I would maybe have put the screw back a little more central though, looks a little to much to one side.
I definitely added quite a bit behind the ear and left it there. I know ABS paste is weaker, and I agree it's a little far back, but without getting a new ear I didn't want to risk the screw pulling out again.
-
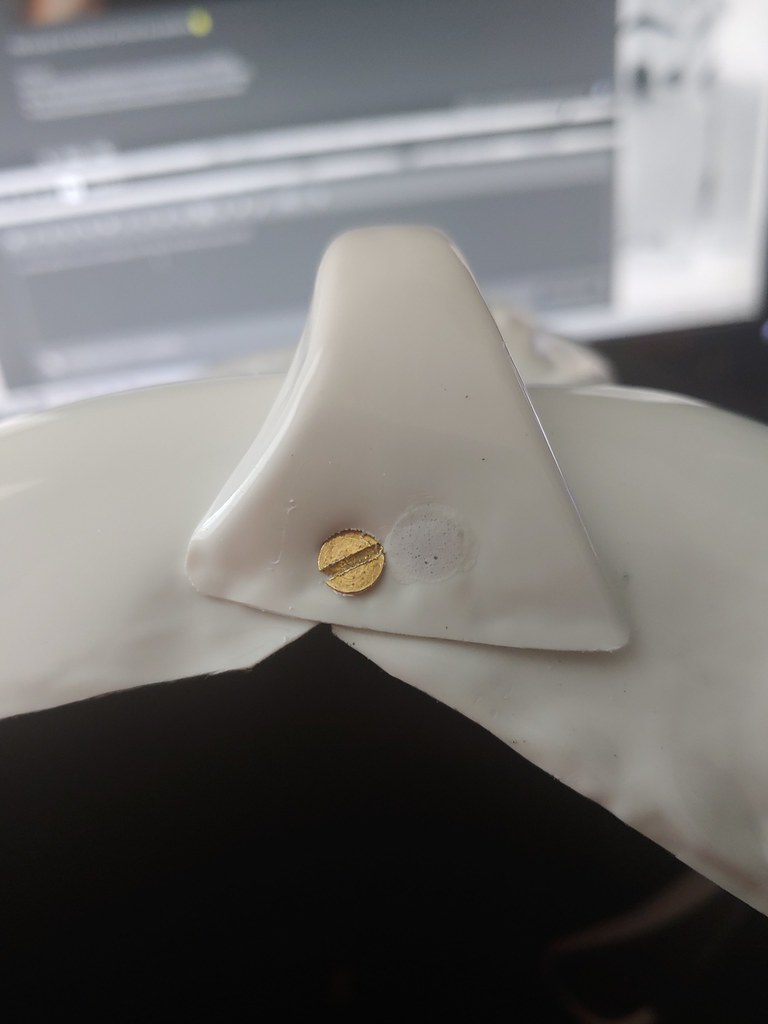
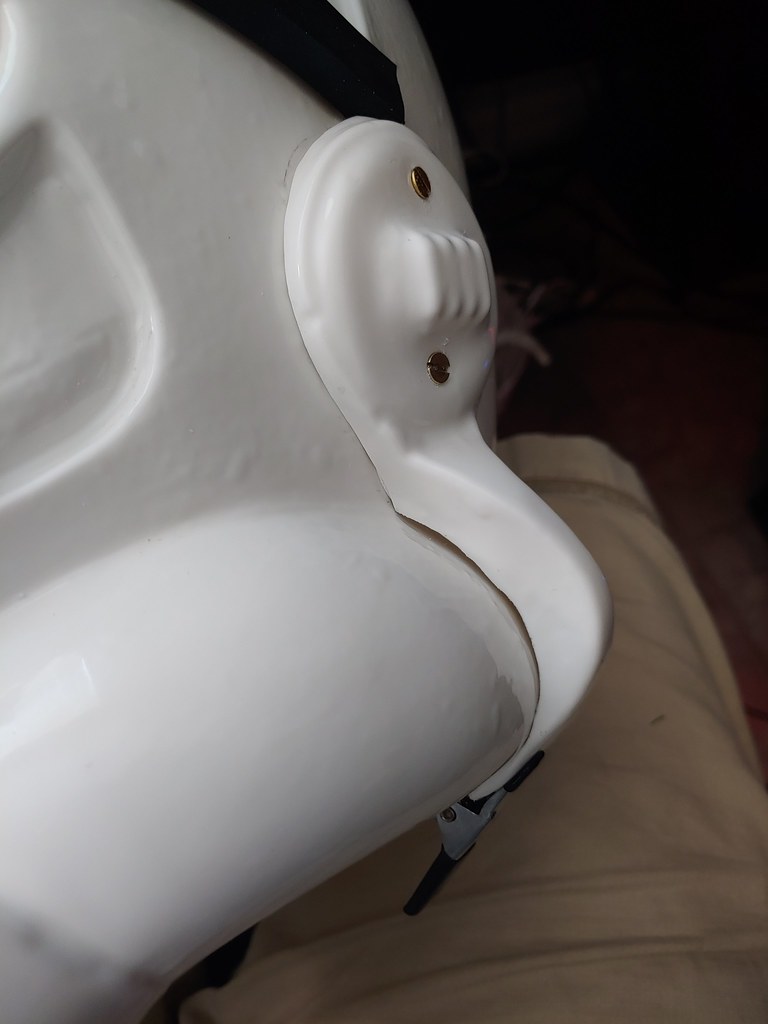
couple updates, had a shenanigan that I fixed, the bottom screw on the right ear decided to pull through.
Where it should be,
Where it is when I tighten it,
So I ABS pasted the hole, and since I could reuse a hole I drilled before the ear was fully trimmed I just had to drill one hole. Here is the final product.
I also bought a hardhat and have modified it a tad....
Now I can put the important bits in the helmet. I'm planning on using E6000 to glue the yellow mounting points to the inside of the helmet. I guess I could have plasti-dipped the inside after... oh well, forgot about the mounting when I did it the first time
 , Here is the approximate location (as in, it fits but I haven't measured at all)
I also finally finished the snap on the holster, and attached the holster to the belt.

I did try and fix that seam on the kidney plate, it's drying right now so I should be able to sand it down again tomorrow or monday, then it should be good to go for sizing, final trimming at the ab plate, and finally rivets installed

Not sure what else is on the docket for the night, probably playing a bit of DCS, I might convince the wife to paint a little on the helmet, as you saw before I shouldn't be trusted with the fine details like that. I did get some vinyl stencils to use, so I might put those on tonight, idk.
-
 2
2
-
-
Small update for the night, got the shin elastics glued in, so I think they are done completely now.
I plasti-dipped the back of the helmet with black, I didn't like how see through the plastic was so it should be a bit better now. I did 3 layers, if I need more I can still do more.
For those that haven't done it before, here's what I did.
Step 0, Wash the helmet out so the plasti-dip can stick
Step 1, cover all the holes so nothing gets on the front
Step 2, cover the outside, plastic grocery bags might work, make sure to put tape on all the holes.
Step 3, follow the instructions on the can, do a fairly light first coat, then a decent thicker 2nd coat. The next pictures are after 2 coats.
Wet
Dry
Step 4, do a 3rd coat, and let dry. You will want to either remove the tape while it is still slightly wet (within an hour or so I'd say), or make sure to score the painted edges of the tape so when you peel it off it doesn't pull the plasti-dip off. My can said to wait 4 hours for the paint to dry.
I got a little on the outside , but it will be under the dome, and under an ear, so I'm not worried about it. If you do get an excessive amount of visible black on an outer dome part I would try removing it with a paper towel, or sponge, or even a Popsicle stick. It's made to come off, so it shouldn't be an issue.
There ya go, let me know if you have any questions

-
 2
2
-
-
I gotta say, it would be nice if all the RS helmet pictures were in one album. There are something like 32 helmet pictures that I've found in the RS albums.
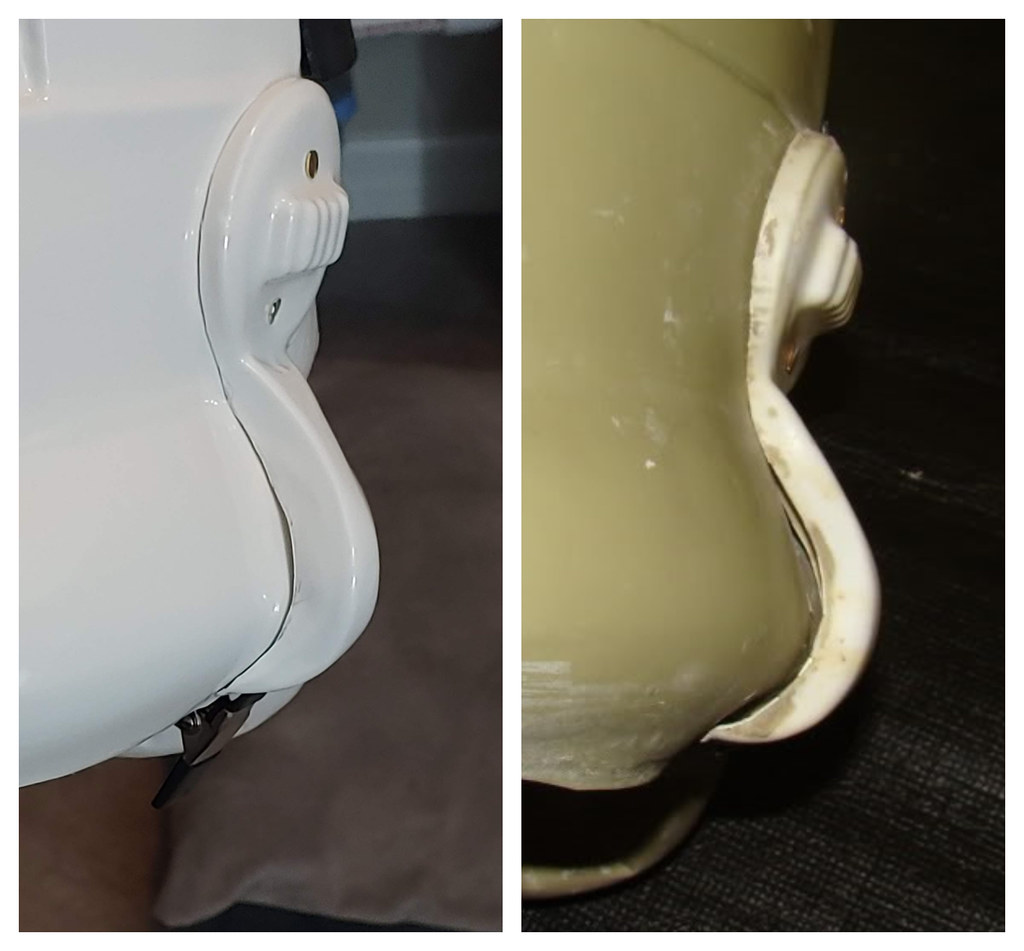
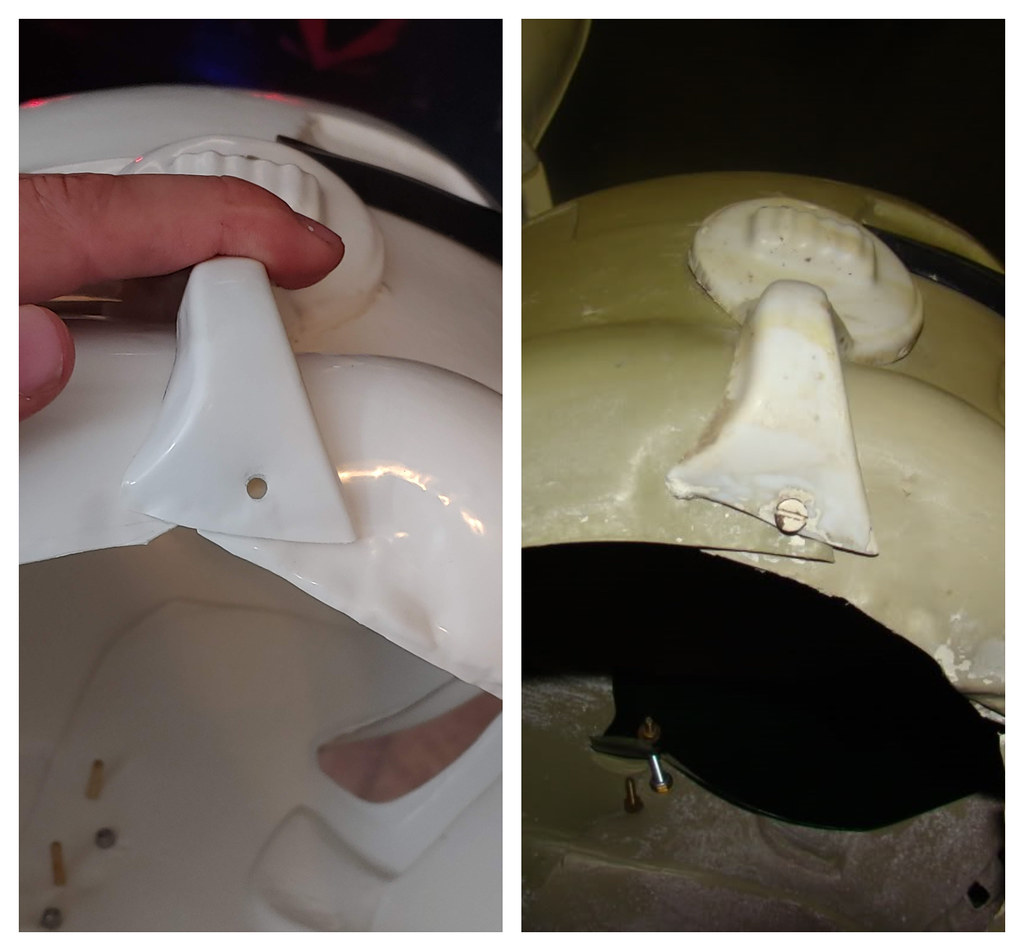
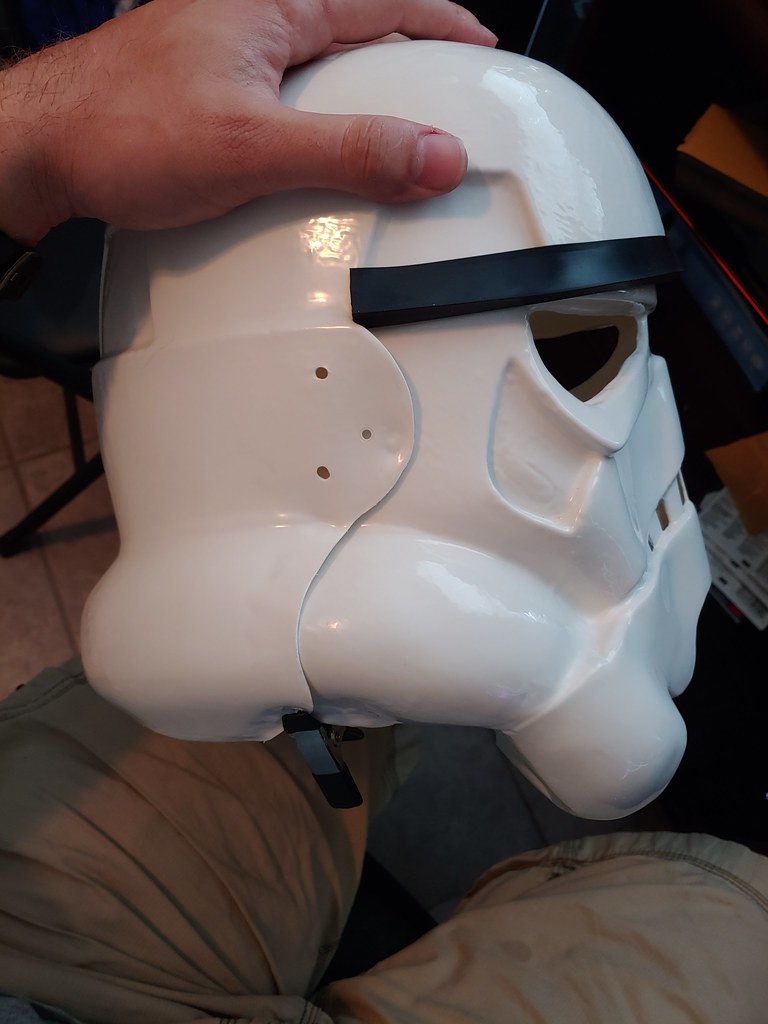
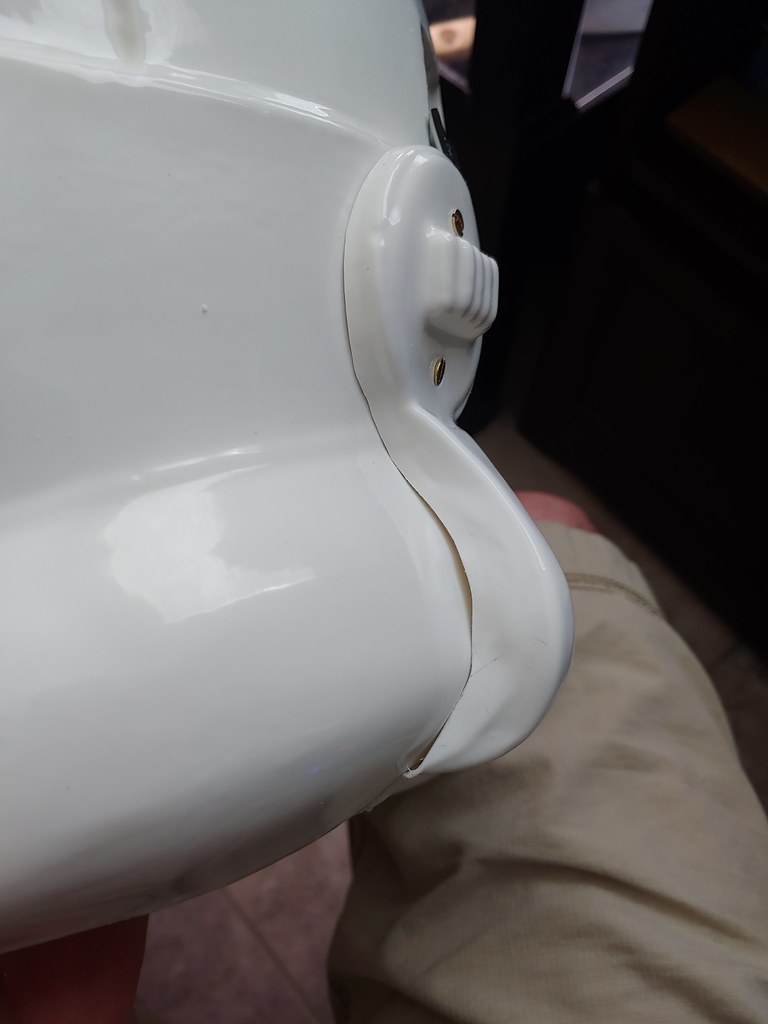
I got more trimming done, here's the current state of the ears.
I think that they are close enough for me. I massaged the curve of the helmet under them slightly to match the curve of the ears, and to match other helmets from the movie, and I like it better.
Here are comparisons to the RS helmet. I used https://www.befunky.com/create/collage/ to make the collages, had to figure out a way to download the RS pics to compare, ended up copying them, pasting them to a word document, then saving them as a picture by right clicking them. Then I uploaded them, collaged them, downloaded them, and then uploaded the collages to flickr. Here you go

Well, it's midnight, so I'm off to bed. let me know what you all think of the ears.
Thanks!

-
 2
2
-
-
Thanks, that's the photo I went off of, now getting the ears to sit right is... Entertaining lol.try to emulate this alignment

I will see what I can get done tomorrow with it
-
 1
1
-
-
Thanks!
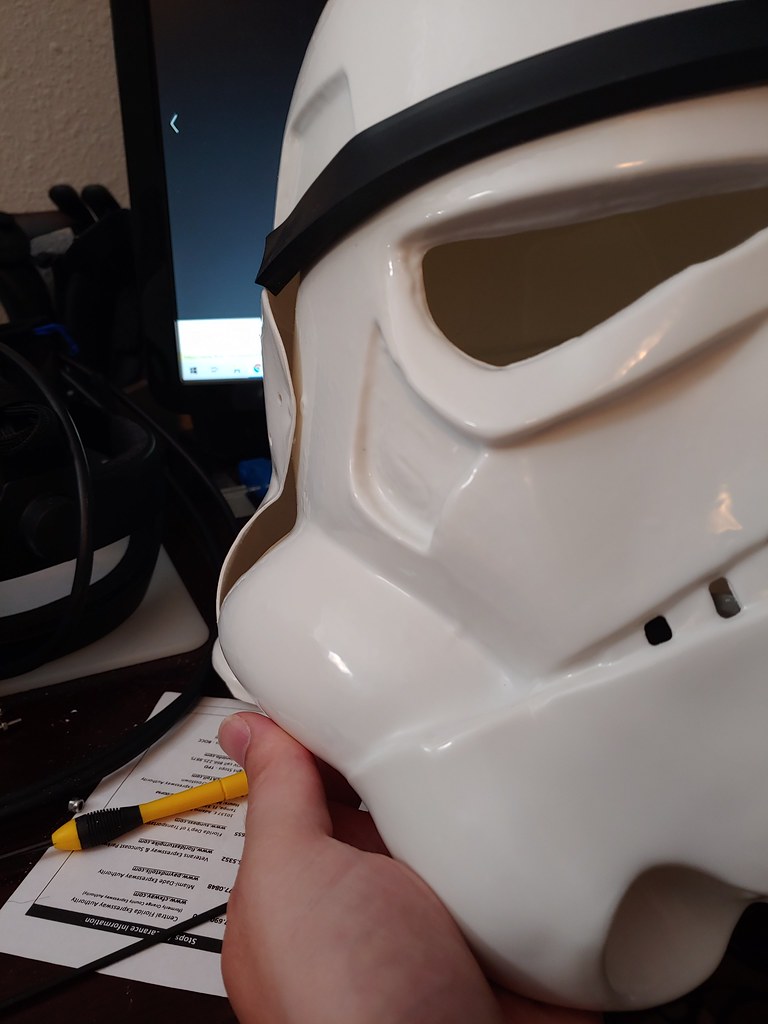
Ill keep working on the ears, I think they might just be too high for what they are, but I don't really want to lower them because of the funky helmet underneath. If the back were more flush with the front it wouldn't look near as bad I think. Here are the gaps, are those normal? I did fix the left side a little bit, it was a lot worse but I used a heat sealing iron to massage it down so it was more flat.
Here's the other wonkiness I've had with this helmet, If I line up the side tubes the brow gets way crooked.
vs lining up the brow to where it should be.
so... my ears aren't perfect? yeah, Ill keep working, but I almost think the helmet doesn't want me to do any better lol.
well... back to trimming

-
Working on the helmet a little more today, I have trimmed the left ear a bit more, but I figured I'd post here. I posted on the stormtrooper armoury (OTTK) facebook page by cable guy and they all think the ears needed more trim. Here is the left ear with a little more trimming.
I also noticed that the hovi mics have a few gaps in the resin, I'm assuming some bubbles. What would you guys do to fix these so they are flat and have the right amount of edge? the edge looks a bit thin at the moment.
I'm thinking that my options are to bondo them, sand them down so the bubbles disappear, or just get pre-made ones.
I'm really tempted to get the speaker ones by ukswrath, but I'm worried that they won't be loud enough, does anyone have any experience with those?
-
Also the belt boxes are done. The glue is setting right now.
Back to my personal checklist:
Fix weak shoulder elastic (not enough space to double up with what I currently have, so maybe order new ones or sew cloth strips or something. Maybe it's just the shoulder bells so ill look at those too)
chicago screw holster onto belt
Install snaps for holster retainer
Add rivets/straps to kidneys and abdomen
Paint all the rivets that need paint (6 ab-kidney, helmet ears, thigh ammo box rivets)
paint the screw heads around the torso pieces
finish helmet. (feedback on ears, wash, assemble, paint, install lens, start and finish hovi mics, decided on fans and electronics)
Talk to the GML
-
 1
1
-
-
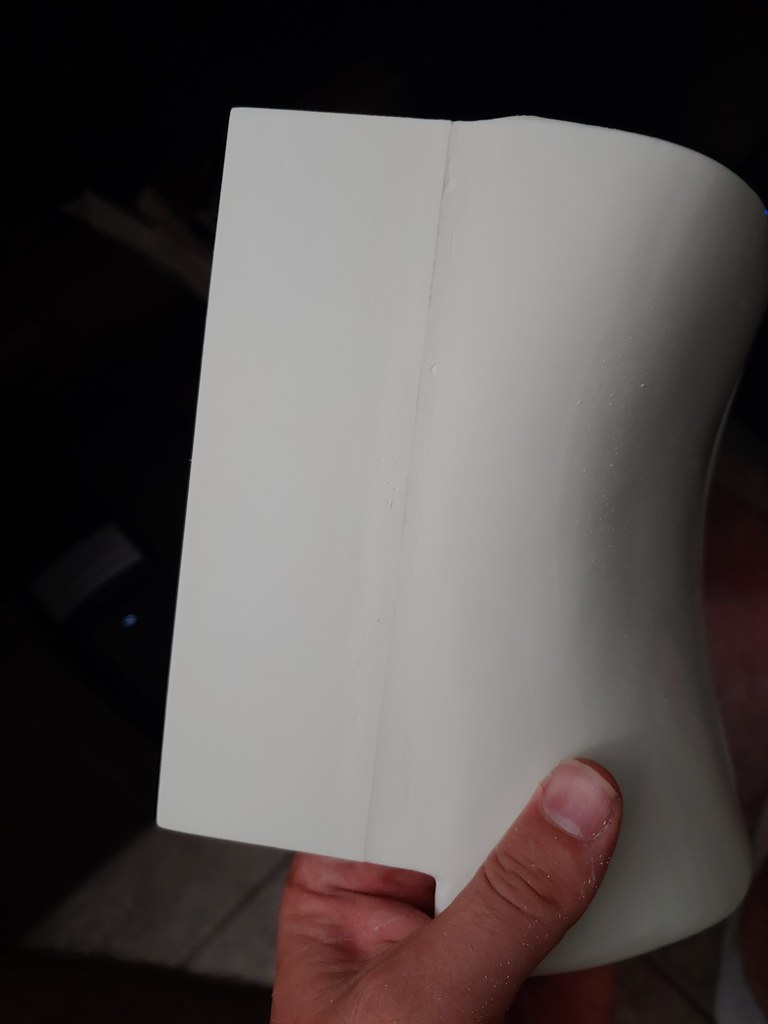
Well, I got the ABS paste mostly sanded off, but there is still a visible line so I think I need to add a bit more paste, and not sand down quite as hard. I'm assuming that's the superglue showing through. I sanded with 80 grit, 220, 320, 400, 1000 and then 2000. It feels mostly smooth, but there is no shinyness to the plastic as expected. I will use Novus to polish the plastic up a bit more. Also this was dry sanding, I might try wet sanding as well before the novus.
Here are the pics.
Like I said, the line is smooth, but it could disappear a bit. I could also just paint it, but idk what paint matches best and I'd hate to have a miscolored kidney piece.
The other option would be to finish sizing with the shims, finish the costume, get approved, then remove the lines later, but I have it all apart, so I might as well fix it now.
Also, any more thoughts on the helmet ears? @justjoseph63 @TheSwede @TKSpartan
-
 1
1
-
-
-
I got a few more things done.
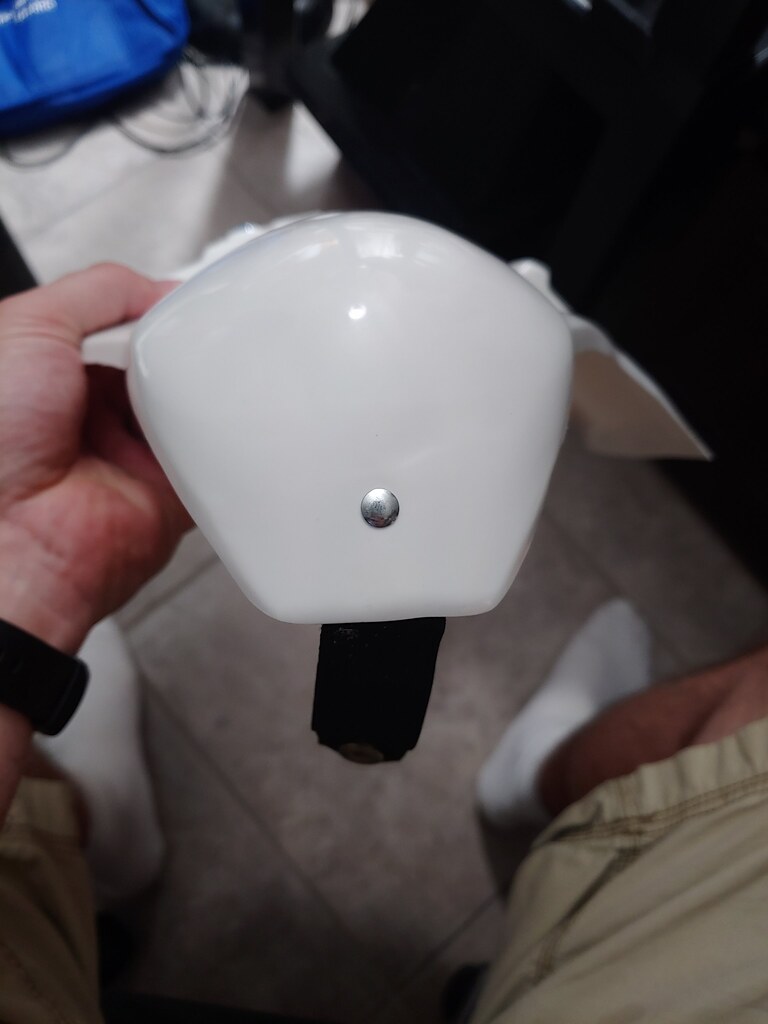
I went through and countersunk all the torso screws and the helmet ears if you didn't notice in the last post. I made one a little too big so the screw pulled through so I took some ABS paste and filled the hole. Ill sand and drill it back out tomorrow. I know it will have no strength, but it will look better. I might move the bracket left or right if I have to, not quite sure what to do yet.
I installed the cod rivet too, that was easier than expected. I did the rivet through the strap, and then I used some E6000 just to make sure it doesn't pull out ever... not sure it would but hey, why not.
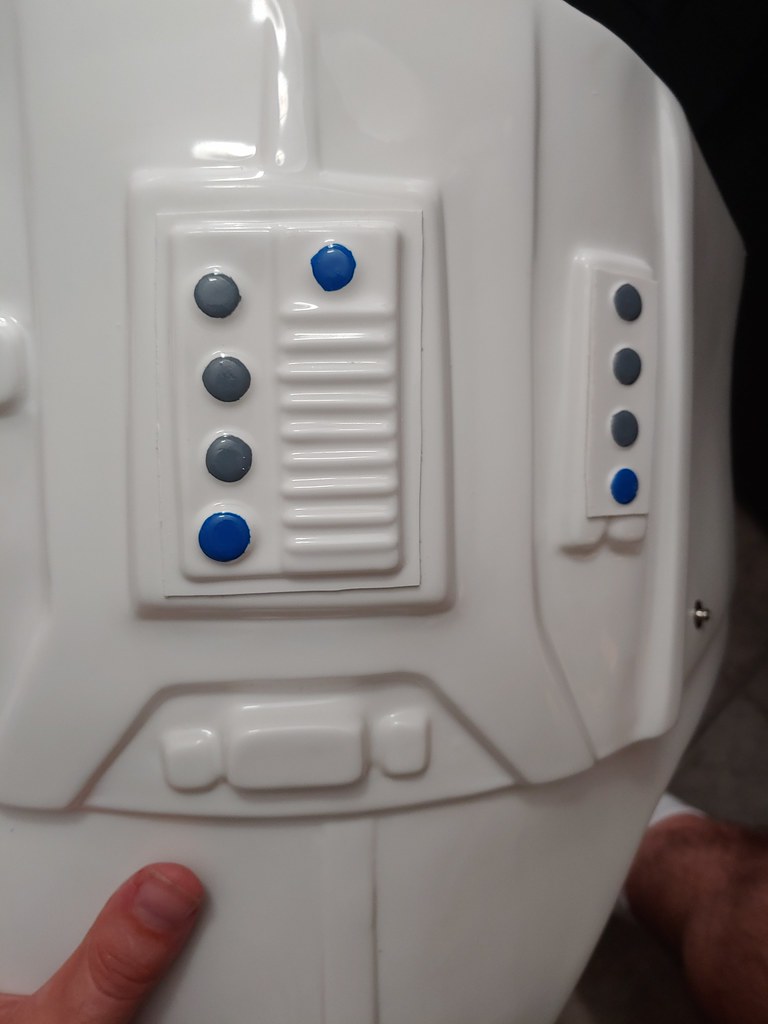
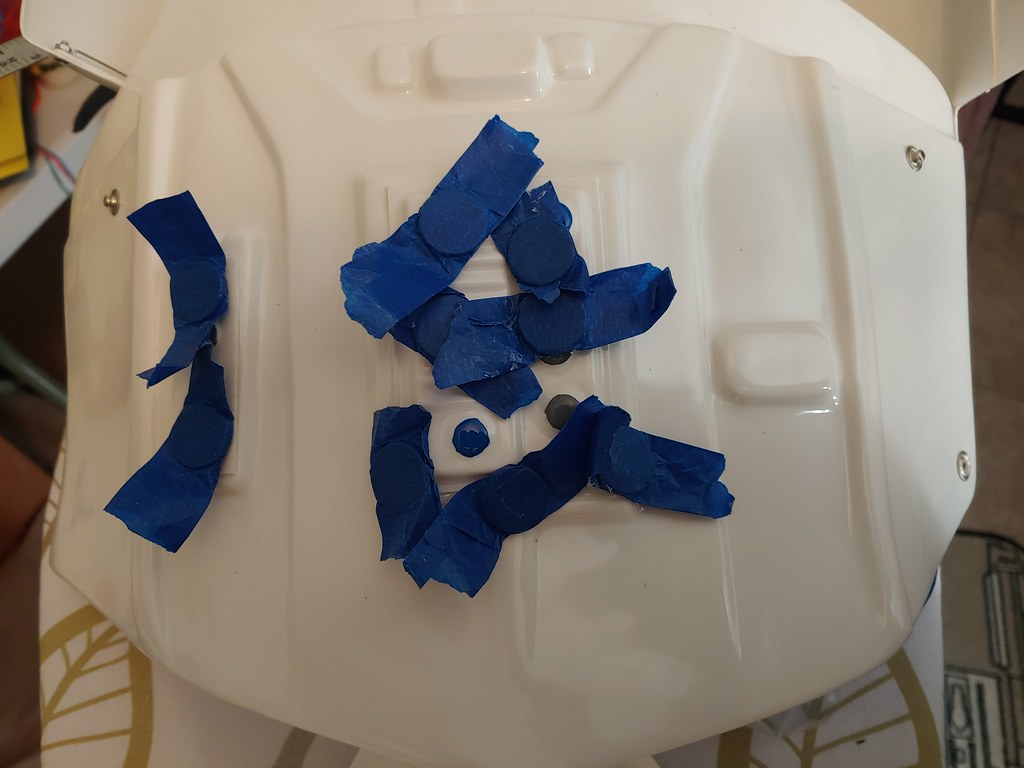
I installed the ab buttons right after the cod rivet, I trimmed the buttons down a little bit more to match the reference photos so they should look a bit better. I just gooped a bit of E6000 and magneted them together.
Also I figured that since I had the ABS paste out I would goop up the shims. One is a bit smoother, but I won't really know how they turned out until I sand them down.
I'm not sure how long the paste takes to dry, but I'm going to wait at least a day. I bet it is almost ready already, but I want it to dry all the way though.
Ill try and finish those tomorrow, then possibly get the left side rivets installed in the ab and kidney plates but we'll see how the day goes.
-
 2
2
-
-
-
2 hours ago, TheSwede said:You are clear to proceed
 (I’m guessing what appears to be burnmarks won’t be visible?)
Yeah those should be hidden by the holster... I hope.
-
 1
1
-
-
-
Weird... I clicked on the page to write this post and my last post was there still. I guess the forum saved it and forgot that I had already submitted it... eh... oh well lol
I glued the shims on with superglue yesterday and today. I had an early morning today so I glued the backer plate last night, and today I glued the visible piece.
I think they turned out very well!
The seam is visible, and the shim is thicker than the kidney piece as expected, but a tiny bit of sanding, and then a tiny bit of ABS paste and sanding/finishing and I think the seam will disappear nicely. I am probably jinxing myself but I feel like the abs paste won't be a ton of work now. I thought it was going to be a big deal but I guess it's just not as scary with such a nice line to hide.
Question on the paste, I have a bit mixed up in a baby food glass jar, but the seal on the lid came off and warped. Are there any better glass jars recommended? I'd hate to have a glass jar full of hard plastic because the acetone evaporated after a few days.
-
 1
1
-

























Tico's RS Props build
in ANH (Stunt and Hero)
Posted
Thanks for the tip, One side seems to always be lower when I wear them, as you can see the armor touches between my thighs and one is always pushed down. Ill double check the connection strap length and try and bring the right one up a little bit and see if that helps.