

zv288bot
-
Posts
1,009 -
Joined
-
Last visited
-
Days Won
10
Content Type
Profiles
Forums
Gallery
Articles
Everything posted by zv288bot
-
Looks great. If you need slotted machine screws (assuming you are in the US, sorry I am on my phone and can't tell) Ace Hardware has #6 screw in their loose section. Love the boots. I went TK and my exact size and they don't feel so good after a couple of hours. Anyway, move along move along... [emoji14] sent from my phone
-

Cricket's RS Stunt Build (for the Vertically Challenged)
zv288bot replied to Cricket's topic in ANH Build Threads
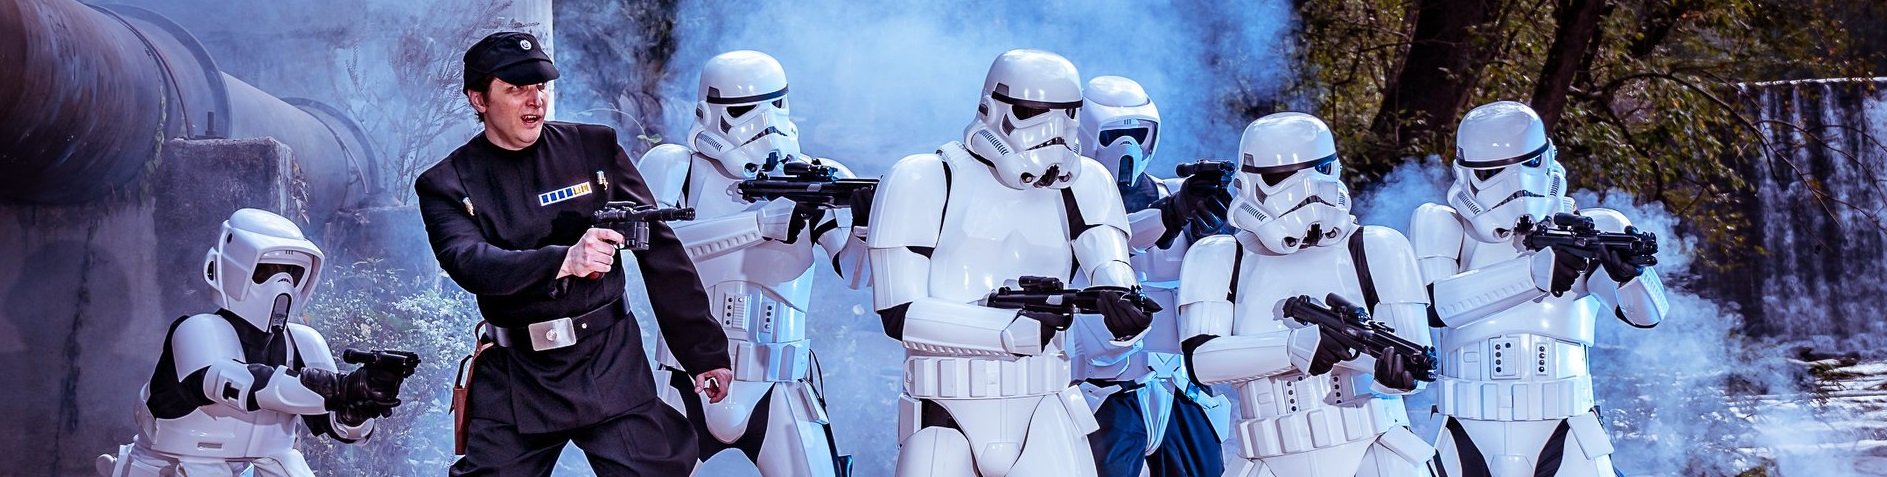
Holy smokes! Have you seen this! This is all you... https://www.facebook.com/Far-Away-Creations-124196600929034/photos/?tab=album&album_id=991947624153923 Amazing!!!! -
Mysterious Blue Stains [AP armor]
zv288bot replied to SpiceCredits's topic in Hard Armor (General Discussion)
Good call... Ditto... -
Mysterious Blue Stains [AP armor]
zv288bot replied to SpiceCredits's topic in Hard Armor (General Discussion)
Yeah AP. I did spy some of these mystery stains on another set of armor at last night's troop. It's got to be partly due to the black undersuit. sent from my phone -
Mysterious Blue Stains [AP armor]
zv288bot replied to SpiceCredits's topic in Hard Armor (General Discussion)
Interesting....<br><br> I was thinking Rick it might be the blaster too. I have a hyperfirm and just leave it floating around the bin. Did you ever get one? -
Mysterious Blue Stains [AP armor]
zv288bot replied to SpiceCredits's topic in Hard Armor (General Discussion)
I have the same issue. It's on the outside of my forearms by the in side elbow. I thought it may have been from my undersuit. -
Cricket's RS Stunt Build (for the Vertically Challenged)
zv288bot replied to Cricket's topic in ANH Build Threads
You should have left the animal print on. [emoji1] -
Cricket's RS Stunt Build (for the Vertically Challenged)
zv288bot replied to Cricket's topic in ANH Build Threads
Looks amazing!! Of course, no one expected less (no pressure no pressure). -
I believe AM does a split cap but I am not saying that it is an AM helmet. Just that they do one as well. [emoji1] sent from my phone
-
Ace Hardware has #6 slotted sheet metal screws for cheap cheap. [emoji1] sent from my phone
-
I made it through EI with my brow trim cut at an angle. I wouldn't worry about replacing it. Not sure about centurion though... sent from my phone
-
I think in one of Tony's build threads he talks about the space in the relaxed state of the forearm and bicep without being worn. I wonder if your strap is too long. Anyway, it sounds like you might have it covered, good times!
-
With the biceps, do you have a strap connecting the bottom of the bicep to the elbow part of the forearm? I forgot if you did that or not. It may help with keeping that guy pulled down a bit if you haven't fixed the issue yet.
-
Cricket's RS Stunt Build (for the Vertically Challenged)
zv288bot replied to Cricket's topic in ANH Build Threads
Man going back and looking at it again, It does look like you may need to add a piece just maybe not as severe as the pic with the dotted line. sent from my phone -
Cricket's RS Stunt Build (for the Vertically Challenged)
zv288bot replied to Cricket's topic in ANH Build Threads
You are gonna get some pretty nasty armor bites filling that in. Agreed with Sarah, you want some swoop in there that top piece needs some kind of reforming so it's not so sharp. Can you cut the top to be a mirror image of the other one? sent from my phone -
Nice! sent from my phone
-
Yea!!!! Congrats!!! Easy Peasy!! Great job! Whoop whoop!!! sent from my phone
-
That's an amazing picture! Congrats on the weight loss. I could use to drop 10-15 lbs myself. sent from my phone
-
Oh yeah oh yeah!!! sent from my phone
-
You are a helmet modding wizard my friend! sent from my phone
-
Cricket's RS Stunt Build (for the Vertically Challenged)
zv288bot replied to Cricket's topic in ANH Build Threads
When is the next armor party? I'm gonna need you to paint my buttons as well. I'm holding off on applying for centurion cause they are not painted, and losing 25 lbs. -
Wowsers! What an introduction. Glad you made it back! As far as the picture sizes are concerned I think the image sizes are just right, I don't think you really need to do anything with them. I updated the majority of my pictures taken from my phone's camera via tapaTalk. If not, resizing them with photo bucket works as well. <br> Anyway, glad you made it, good luck with the build. It's a good looking kit!
-
TK 70926 Reporting for Duty
zv288bot replied to Brattie's topic in Newly Approved Members - Sound Off!
Yea!! Big congrats Angie. So well deserved! Congrats Congrats Congrats! -
Looking good! Sent from my KFTHWI using Tapatalk
-
Looks great! Good luck!! TK for your husband as well? Sent from my N9132 using Tapatalk
