

Starfox2010
-
Posts
486 -
Joined
-
Last visited
-
Days Won
4
Content Type
Profiles
Forums
Gallery
Articles
Media Demo
Posts posted by Starfox2010
-
-
Hey Tony, regarding the Devcon glue;When done for the day, do you dispose of the syringe or do you put something over it to use another day?
-
 1
1
-
-
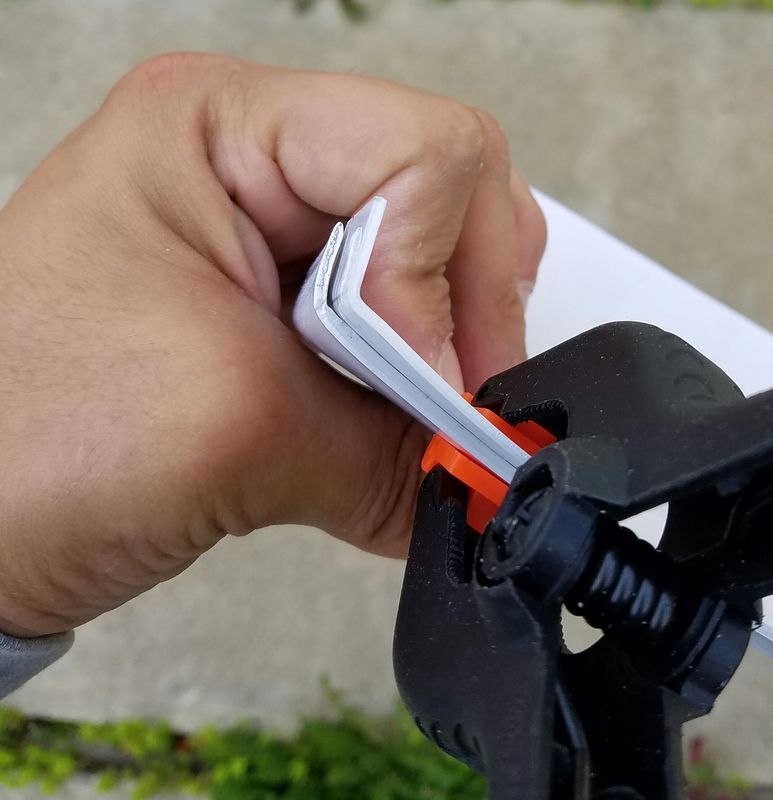
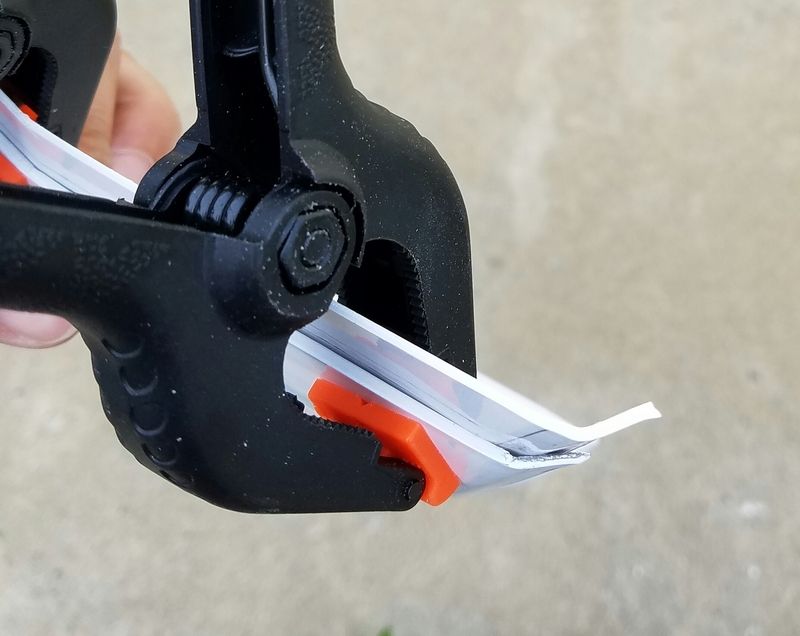
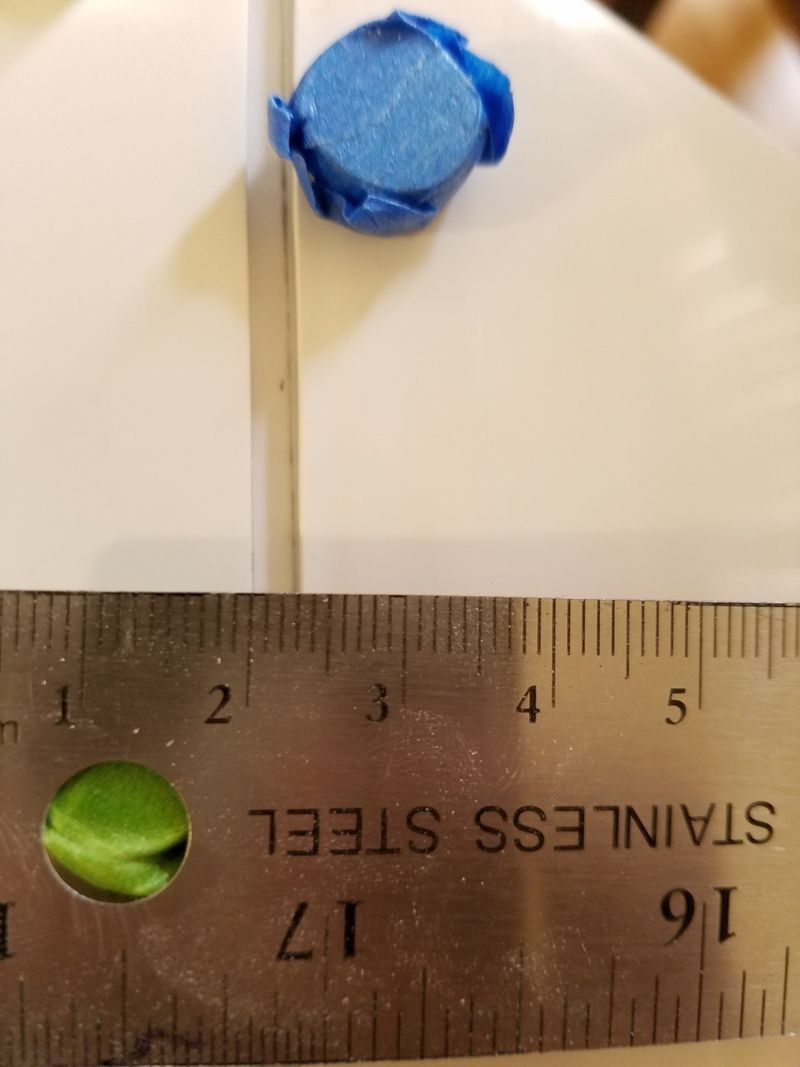
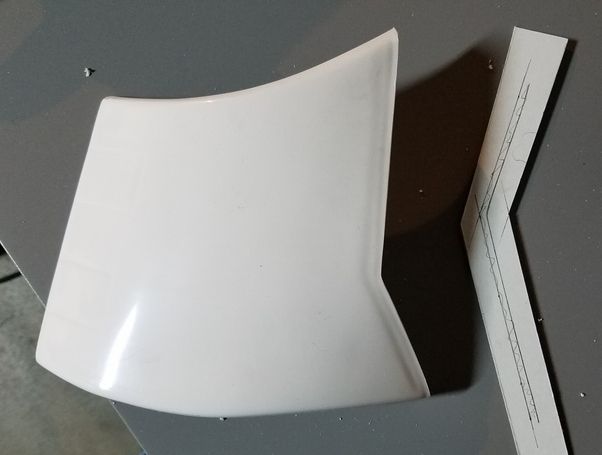
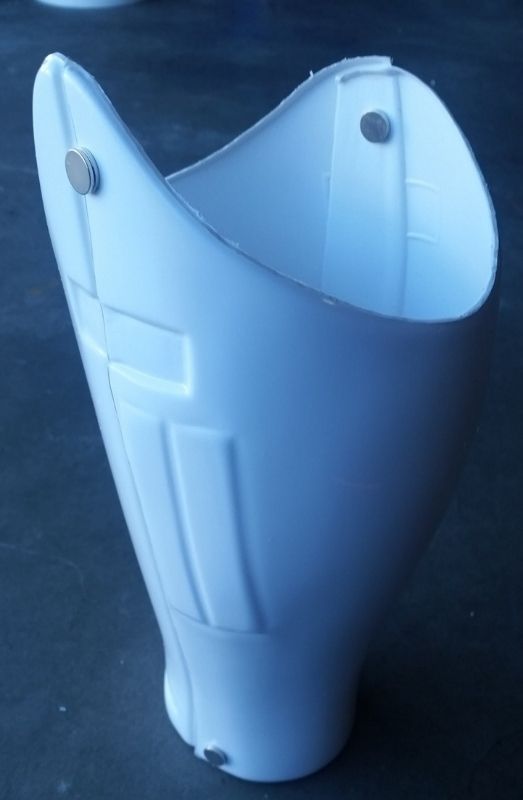
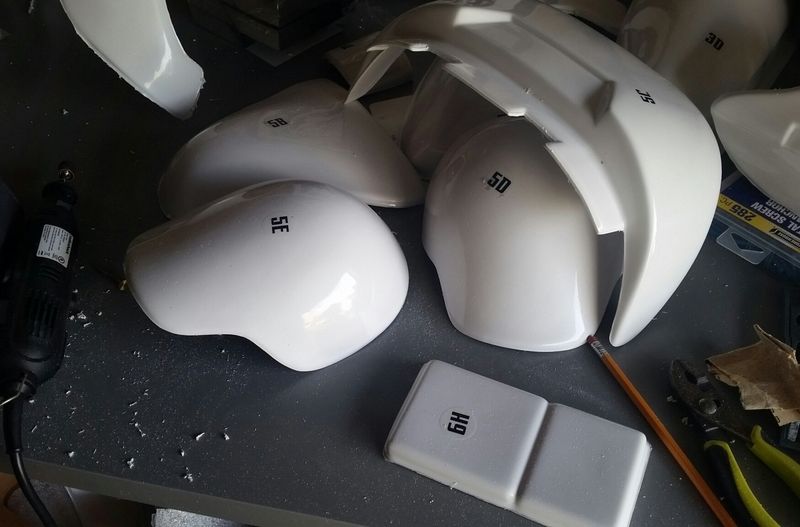
Cover strips. used to make a 3mm gap on chest plate wings. Check out Tony's build
http://www.whitearmor.net/forum/topic/31877-ukswraths-tfa-build-thread-tk-10116/page-8#entry429933
-
2
-
-
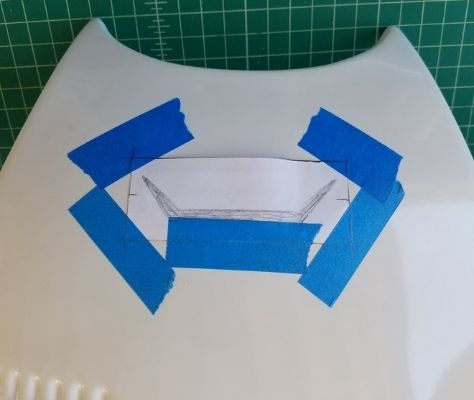
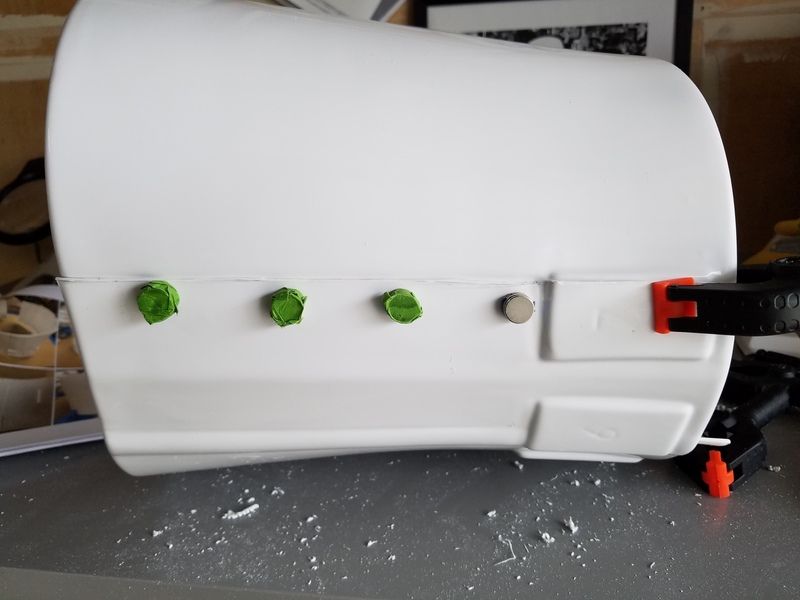
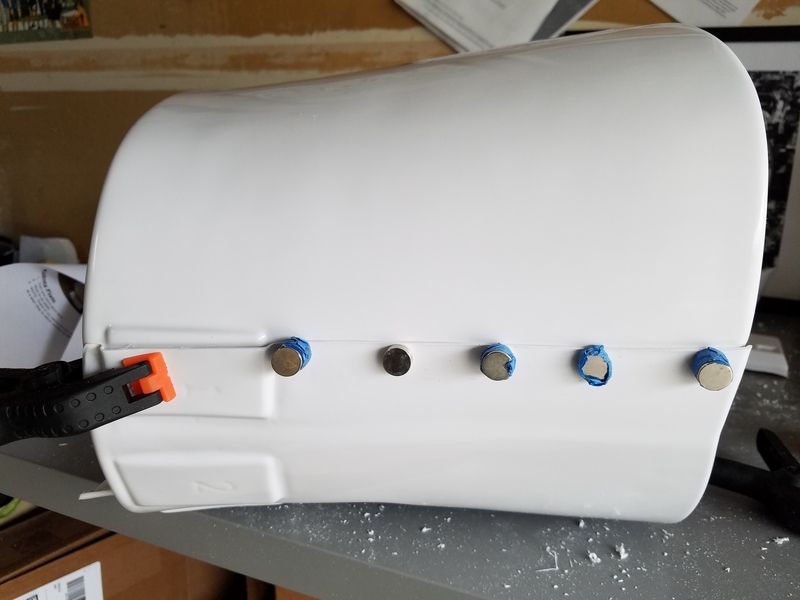
Well here's a winner, Hopefully. What do you guys think, is it a go?(no I haven't glued it).
Bottom:
Top:
Front:
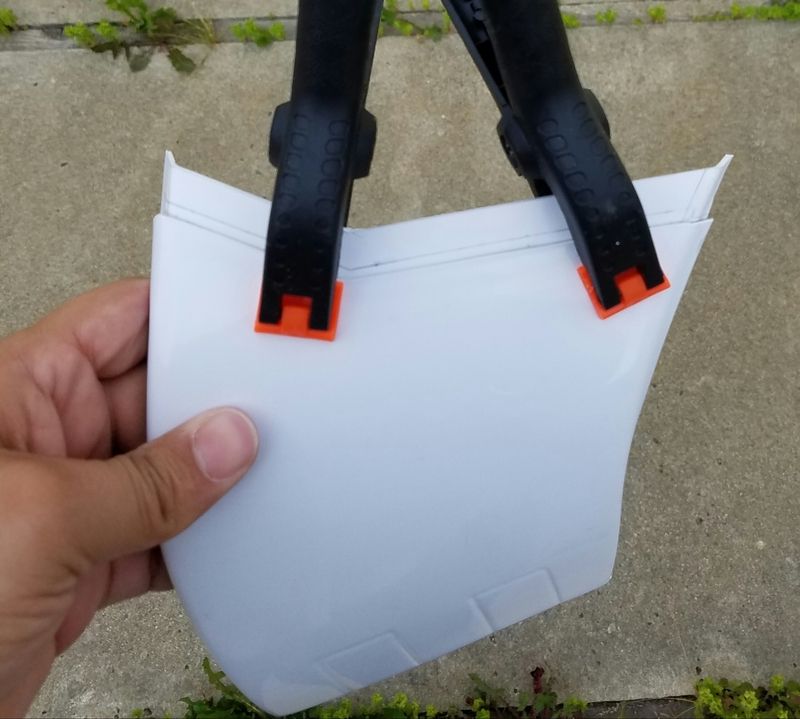
Space in between (3mm):
Attached by magnets:
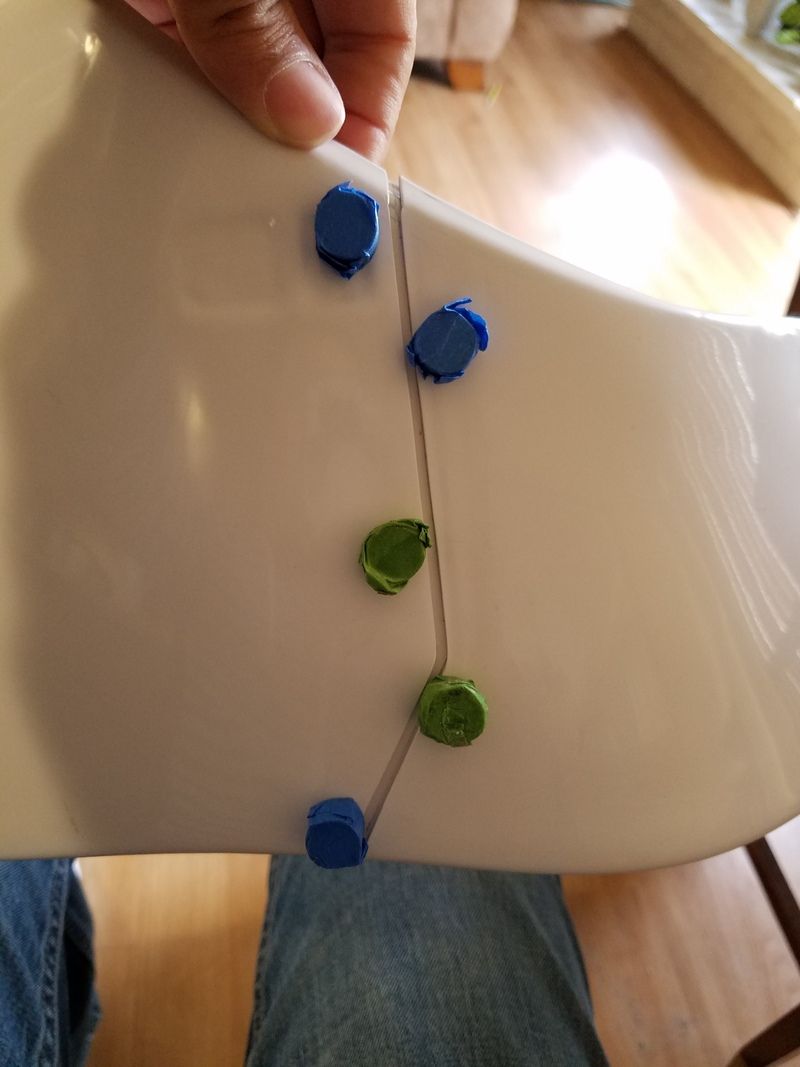
Shall I proceed with gluing?
-
1
-
-
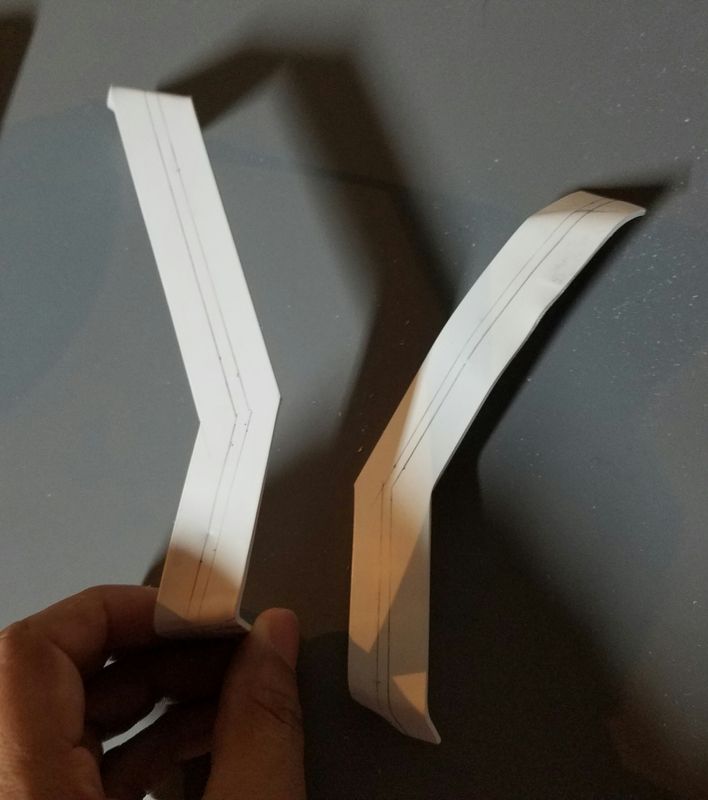
Well I tried doing the strips for the wings this morning and.....uh, I need a new gameplan. tried to fold the corners by hand and then I believe I over heated it.
Then on one part I pressed it against an uneven table and made an indentation. Going to order some more ABS strips from Trooperbay and work on something else in the mean time.

-
1
-
-
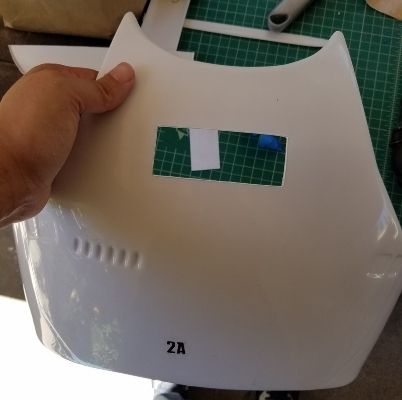
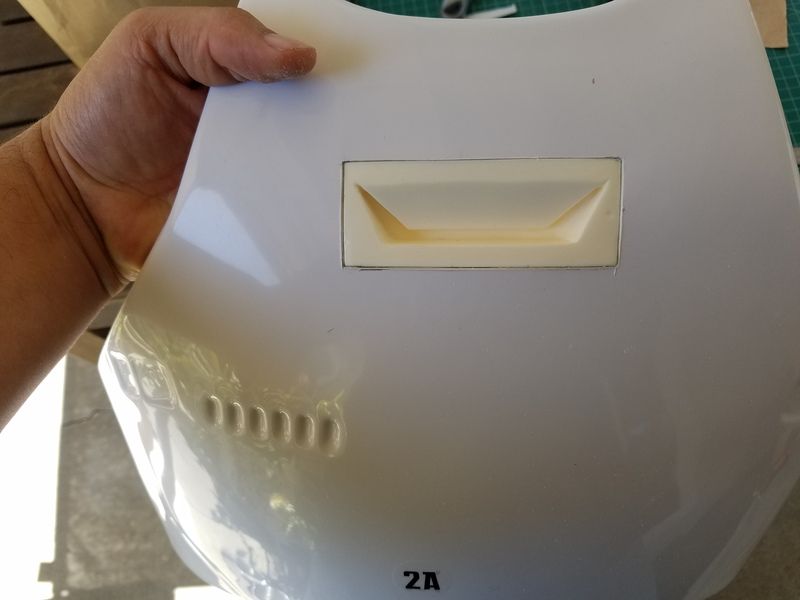
Baby steps on progress. this is pretty scary, if it were E6000 I would have glued almost everything already. oh well.
So the little progress I have for today was the pill holes and the center chest piece. I was able to cut out the smile, and trim the square enough for
the piece to slide in.
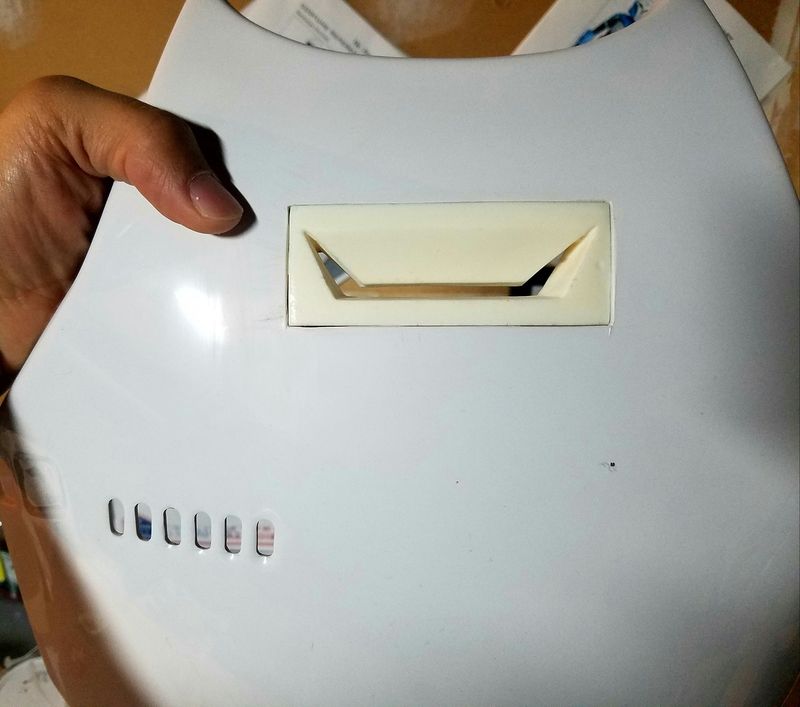
Going to try and glue in the chest piece tomorrow.
-
1
-
-
Overdue update.
I didn't have much time to work on my armor, My highschooler has been going through prom, finals and graduation is around the corner.
I had time to work on some stuff over the weekend, and hope I can get some suggestions.
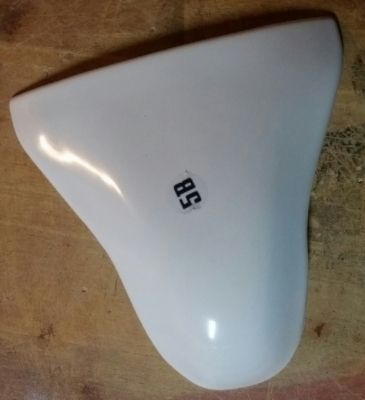
CHEST PLATE

My friend Walter (Haribon72) had a great idea about photocopying the resin piece to make the cuts as close to the shape as possible.
Ever ordered a Red Eye from Starbucks? well the the shakes you get from the caffeine resemble what I felt like making the cut with a Box cutter.
The idea about photocopying about the resin chest piece.. GENIUS! It was spot on. I think im going to sand a little bit more, to make sure there's
no tension.
I clipped the wings and also started on the pill holes, man are these nerve wrecking.
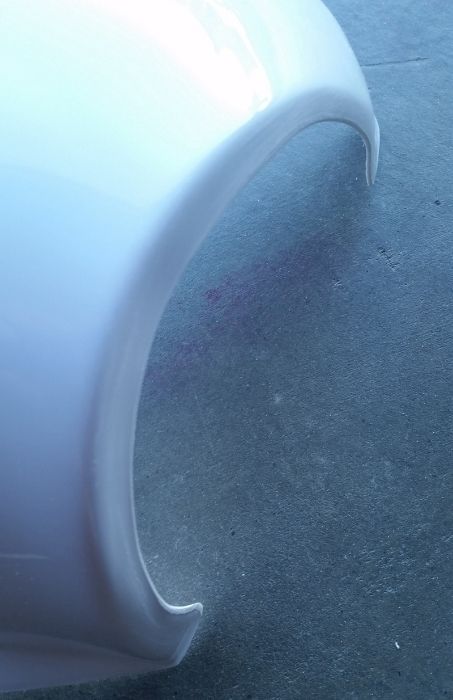
Here's where I'm stuck. I clipped its wings and if you can see, the way it was pulled you can see 2 return edges, not including the one I cut.
I think, im going to go acording to the back of the wing, and then just bondo the front to smooth it out. Any suggestions? you can't really tell with touch,
I think I just took a great shot of this because its difficult to see normally. But I can see

Thanks.
-
1
-
-
Dude, looks awesome.
-
Monday update.
I wasn't able to get much done since I had to work through the weekend. On the bright side, I got lots of OT which helps me out getting more stuff for this awesome hobby
 .
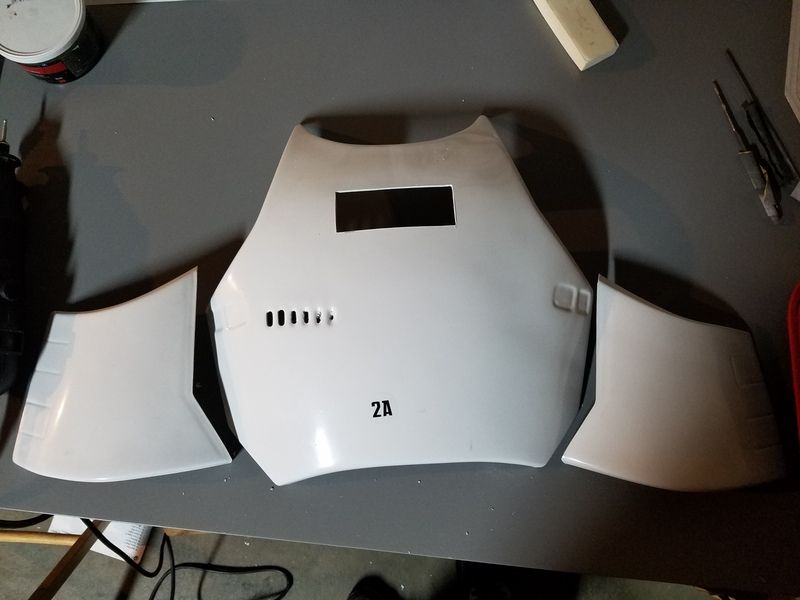
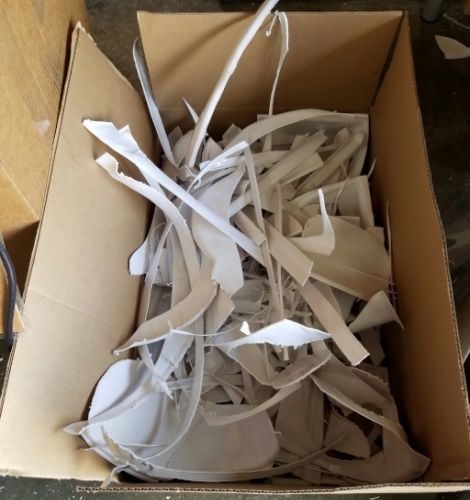
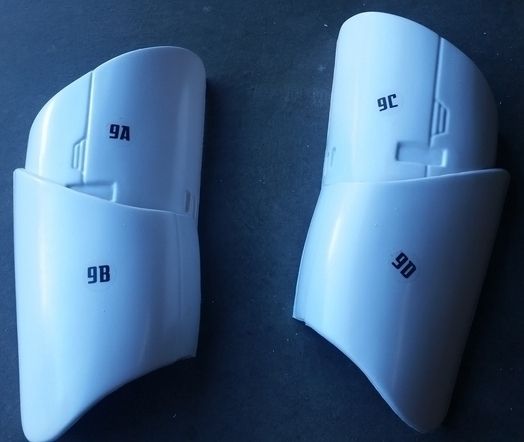
.Ok so I trimmed and I trimmed and I trimmed and just about finished trimming everything. Next is sanding everything down.
Obligatory box of trimmed pieces:
I'm a bit unorganized, doing random pieces, and holding back on ones that i'm worried about but here's the ab piece im working on right now.
Trimmed and sanded, top and bottom
Left Side (I tried trimming with a dremel sander, no no):
Right Side:
Is the bottom part supposed to be like this?

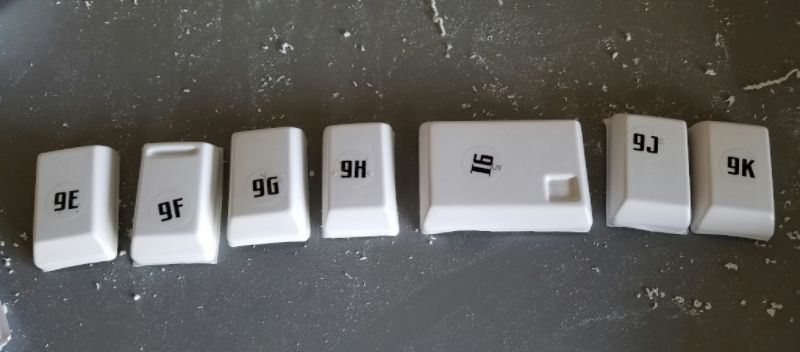
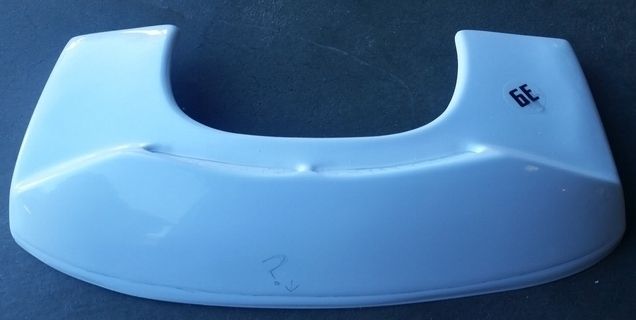
Next up is fitting the boxes. I did the center one (I9) and it looks good hardly any gaps.
I'm going to continue what I can and with prepping. I think i'm going to consult with someone in my garrison before I glue my first piece,
although I was able to do my other TK by myself, I find this one a little more risky, and the way Anovos is with getting our stuff out, who knows
when I would be able to get a replacement part. Not bashing, just know that they are overwhelmed.
-
1
-
-
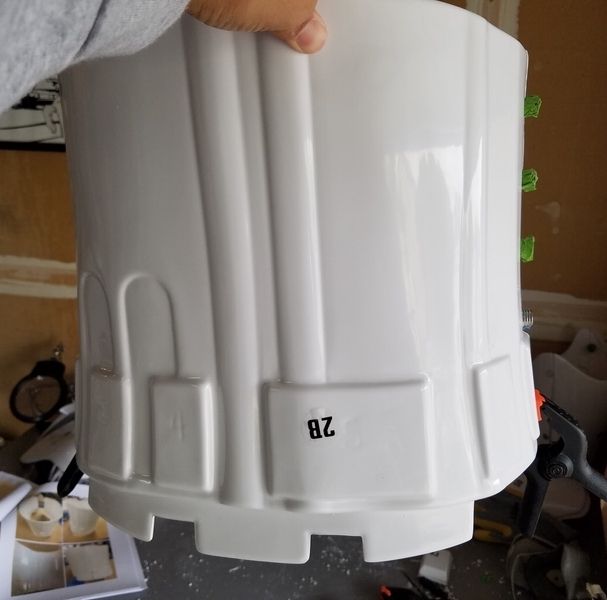
Time for a Monday update:
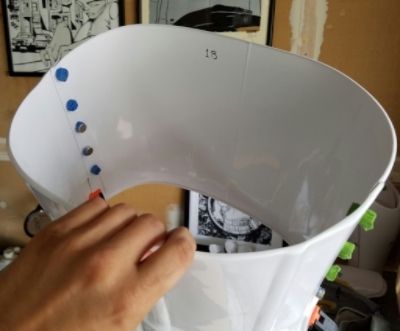
I was able to trim a lot of them but not sanded down to perfection just yet. I did have a question though, Do I trim this part down on the shoulder piece? (shown in pencil). The one displayed on the manual is an overhead shot.
 \
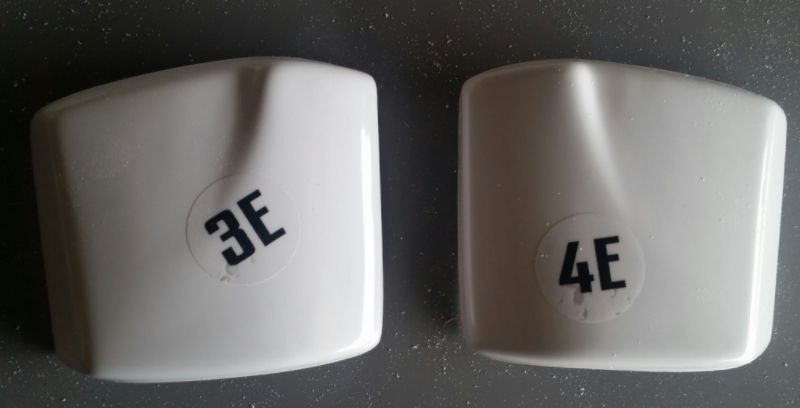
\Here are some more trimmed items, since the majority of this build is trimming I thought Id display some, lol.
Cod
Biceps
Ankle parts

Shoulder bell parts
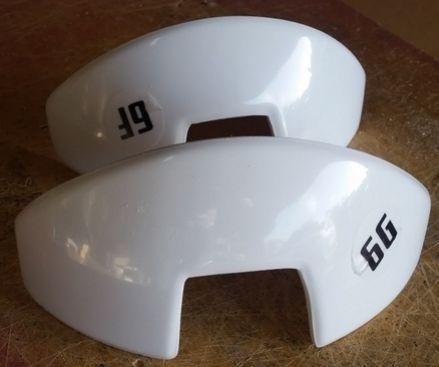
and shoulder piece.
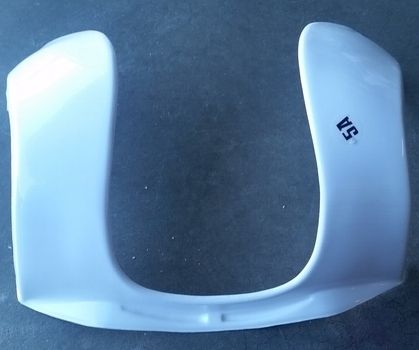
One question on the shoulder piece from the side. do I trim down the end piece on the sides or shave
it even? I hope you can see it
Also started working on the ankle pieces. in this image, I just wanted to
see what I will be working with, I haven't really sanded it down yet (or glued).
One last question. should I start sanding/prepping the pieces for painting, now or wait until everything is put together?
Thanks for watching / helping
-
Thanks guys.
Can't wait to be an addition to our TFA crew for the GGG.
-
1
-
-
So...Here I go (takes deep breath and exhales).
My build might be a bit slow, My helmet with softparts hasn't came in yet and don't know when they'll be shipped.
I also don't have the instructions manual yet, and might be some time before Anovos gets that to me (I placed a ticket).
My Checklist
Boots / Gloves: Imperialboots✔
Undersuit / Neckseal: Stormtrooperundersuits
Holster: R2Dan ✔
Suspension Kit: Ukswrath ✔
Pouches: TK-4510 / grmhodes13 (not sure yet)
Blaster - F11-D: JJ Armory Inc.
Riot Baton: Still looking.Riot Shield:
Obligatory boxes
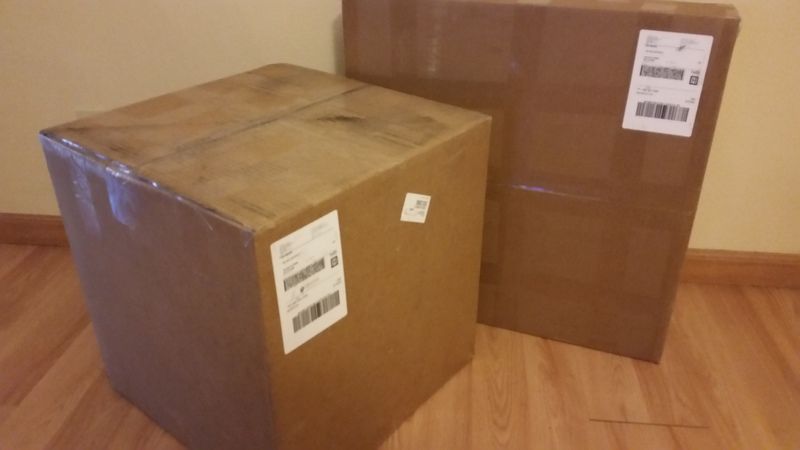
Sh** really got real when I took out all of the parts. (obligatory FB post photo)
Ok, so since i'm going off of other post pics, I am trimming some to a certain point until I know for sure.
What's a bit tedious is the return edge's..return edge? (if thats how you say it).
I still feel these need a bit sanding down, what do you guys think?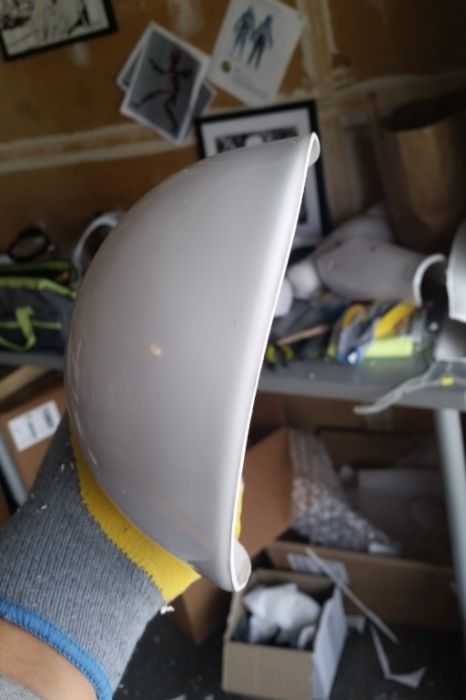
-
3
-
-
Would you be able to team up with someone on casting your original printing when you are finished, or cast them yourself?
-
Yea I have an AM armor. I a very happy with it. I'm about 6'2" around 190pnds. He has also upgraded the back and chest plate since I bought mine. There's also extra abs in the pieces if you're a big guy.
There was a shipping error when a few others and myself ordered, he was quick to respond and correct everything very quickly, that's a + in my book.
Sent from my SM-G900T using Tapatalk
-
Lol well to be honest only one other person has asked. I'm working on a price so ill let you know as well. Thanks Tim.
I might be #3 to this. I just got a notification from Anovos, so things just got real...again.
-
Extra:
Steel Holster kit - Available through The New Order Facebook page
Hey Tony,
Is it possible to add the link to this? I can't seem to find it, all I seen were bands and Nazi pages... lol
-
not sure on the shoulder bell but the belt is a big concern.
-
1
-
-
1st and foremost, freaking awesome job on the build.
2nd For anyone reading this, Never go through this post at work. My co-worker came to ask me a question while I was on the part of you doing your harness kit.... "Hey can you oohh....i'll come back later"
me: "wait its not what you think"
 lol.
lol.3rd. Can I hit you up about your painter and his/her price (if he/she is able to)? I'm next on Anovos's armor, i'm doing my homework & future debt list.
+1 for GGG!
-
1
-
-
Hey,
Trooperbay has some real informative videos, including tools and supplies you will need. Hopefully you already have them on hand.
------------
Take the time to look through the AM builds, you can find answers to similar questions you may have and avoid some mistakes we made.
Most importantly, Use the E6000 glue, its the best mistake friendly glue there is.
Also, take your time and enjoy the build.
-
1
-
-
Any updates?
Stumbled onto this gem while doing research for my daughters build.
-
Congrats and welcome to the garrison! Hope to see you at a troop soon
Sent from my SM-G900T using Tapatalk
-
Looks great, almost at the finishline!
-
Me gusta, I'll be following to check your progress. I'm planning on getting one myself.
-
Thank you! I'll look into it, and just in case, where did you get your T tracks, and do you have a link?
I bought a blaster that ended up needing a lot of TLC. It already had the T tracks but were coming undone because they used E6k. If you just use the glue by itself, it will not hold. That activator works Magic.
Check the Sales threads, I believe theres someone that sells them here.
-
Use this:
-----------
Worked for mine.
Starfox2010's TFA Stormtrooper Build
in Build Threads Requireing Maintenance
Posted · Edited by Starfox2010
well i've been behind schedule, home need some repairs and got a graduation party this week but managed to pull up my big boy pants and go for it.
and also started the biceps
Tada!
Sorry, got so excited I forgot to take individual side view and gap measurement pics.
I got set back on the forearms, looks like I really do need a belt sander, I cant seem to even out a side of the fore arm to begin adding the cover strips,
and I also can't finish the center chest piece because I need to sand it down a bit. Going to ask around to borrow one here in town. I might move on to thighs and shins.
One of the small challenges is being able to have plenty to glue so the mix nosle's on the glue gun don't go to waste on just 1 thing. that makes you really
quadruple check to see if what you're about to glue is correct, and not just doing a bunch of pieces to save a nosle.