

Starfox2010
-
Posts
486 -
Joined
-
Last visited
-
Days Won
4
Content Type
Profiles
Forums
Gallery
Articles
Media Demo
Posts posted by Starfox2010
-
-
Nice shot!
-
Looks like a good cut.
-
Thanks Andrew, Ill keep you guys posted.

-
Thanks,the waiting is torture. I got an email last night from my garrisons GML that its in review. Can't do any additional tweeks in case they need better pics, so im on stand by.
-
LOL, the list goes on and on. Since you you're getting your armor in a month, I would suggest getting your supplies and tools first (mentioned in above posts). It took me a couple of months to get the armor built so maybe order your belt and holster when you are planning on working on the belt (usually towards the end). The gadgets and blaster you can save for last.
What I recommend is looking for deals in the craft stores like Jo-Ann's or Michaels when getting your elastics, e-6000 and or scissors etc, they almost always have 40-50% off coupons. Harbor Freight has pretty cheap clamps and tools.
What should have been my first suggestion is find builds based on your armor and follow them so you can have it saved, study what you will need to do in order to reach IEB status and Centurion, lots of research.
Lastly, if you have any loved ones, talk to them about this little project. I've been grounded from my build by my wife and kids for spending more time on it than with them

-
What both Andrew's said on the trimming, just keep posting more pics if needed or worried.
-
A lot of stuff has been updated. From my understanding, the back plate is the only piece that needed replacing as shown in the above pic. Now I hear the chest piece as well but I am still trying to find out why, even though I remember reading a post by TG stating that it is Centurion acceptable now.
I would suggest working on reaching IEB status for now, I know TG is working on the replacement back plate. I am currently awaiting my Standard approval from my local garrison but if you take a look at Fuumantroop's he has just been IEB approved.
As for your brother, there is so much I had to trim off of every piece that he should be ok. I don't know how much he weighs but there are plenty of topics posted by big guys.
Hope this helps. Also, there's a few of us AM guys, feel free to hit us up if you are needing help.
-
You inspire me to divorce my wife just to do a wedding like this. I just don't think she will let me finish saying my plans without her putting a lightsaber through my chest.

+1 for the both of you!

-
For the pics, upload them to photobucket or flickr, you can edit them there and post them here.
can you take closer pics? the forearm looks like it could use a bit more trimming, can't really tell on the biceps though.
Don't worry about the strapping, that will come in due time.
-
 1
1
-
-
Try looking for Baseball helmet padding. I got lucky and got it off of my daughters that only used it for a very short amount of time.
if you are going to look online, be carefull because some just offer the thin padding not the half thick and half thin.
I could have sworn I also seen somewhere in either the "For Sale or Trade" or the "On-going sales" that were offering.
-
Welcome!
+1 for another GGG member.
-
1
-
-
Welcome to Hotel California! lol


-
Congrats on the armor.
The bicepts are a bit big, you'll need to trim it down some more. Before you reglue them again, use the blue tape and post another pic.
-
1
-
-
Enjoy the build.
-
Sometimes i have problems with it keeping my items in the shoppimg cart.
Could be on their side.
-
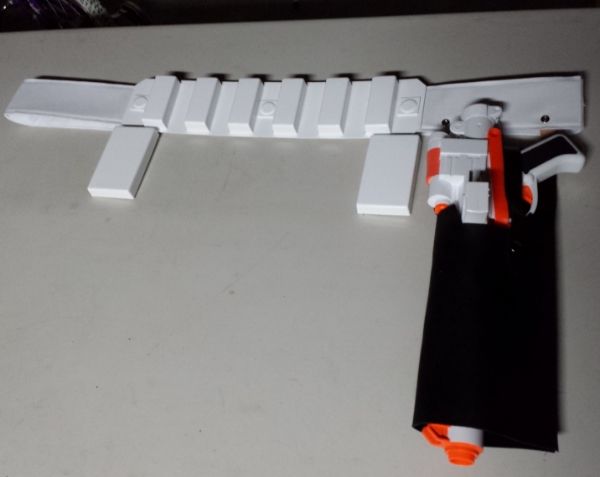
I use it while i'm finishing up on my DD kit. The folding Stock is pretty awesome and I like playing with my daughter, I get to pretend shes an rebel scum and we shoot each other. Also, you can use this one where the other ones are a little too risky to bring with.
-
Alright!
Good luck!
-
Weekend update.
I just sent some pics to my garrison's GML for verification, I will be submitting my application for basic approval when he gives me the ok.
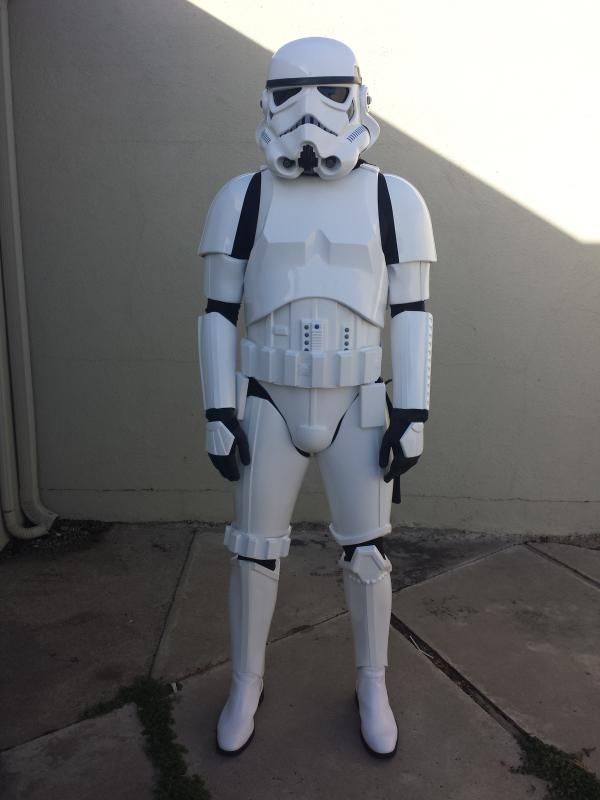
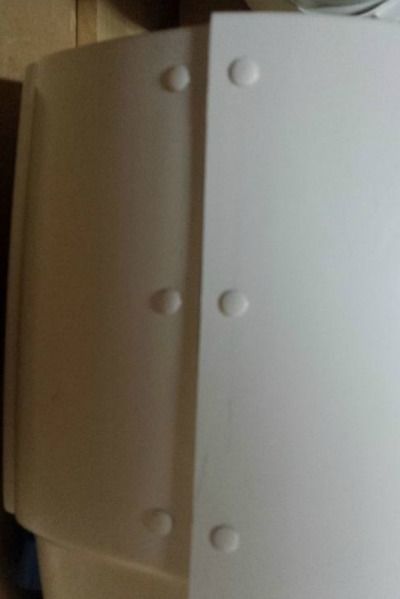
Here is what I have so far. I still need to add the snap on the top right side of the ab plate, since I always have good luck I ran out of snaps and I just needed 3 more. If any newbie is reading this, order 100 as mentioned a few posts back.
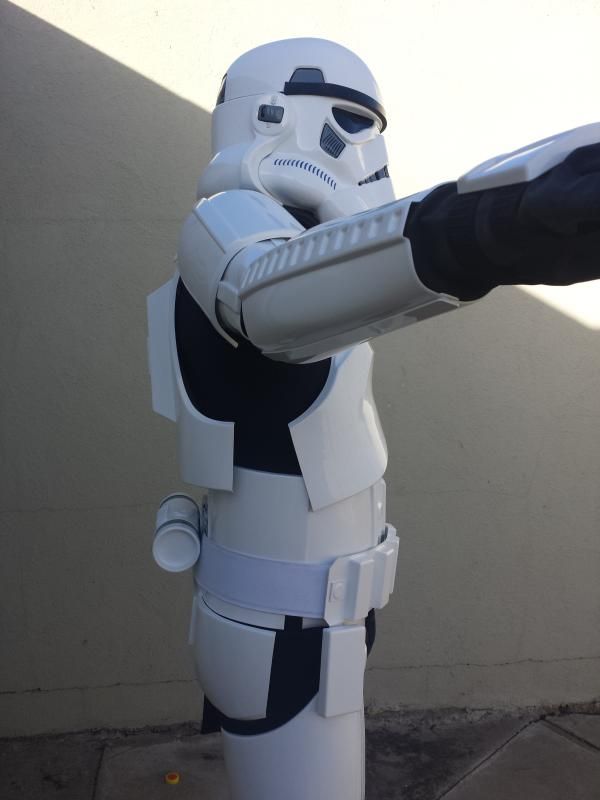
Here is the front side. I managed to lessen the gap on the shoulder bells, I was able to also keep the little white elastics on the shoulder straps in place somehow, those were a little pain in the but. The belt will be getting some more heat bending and left to cool in place this time.
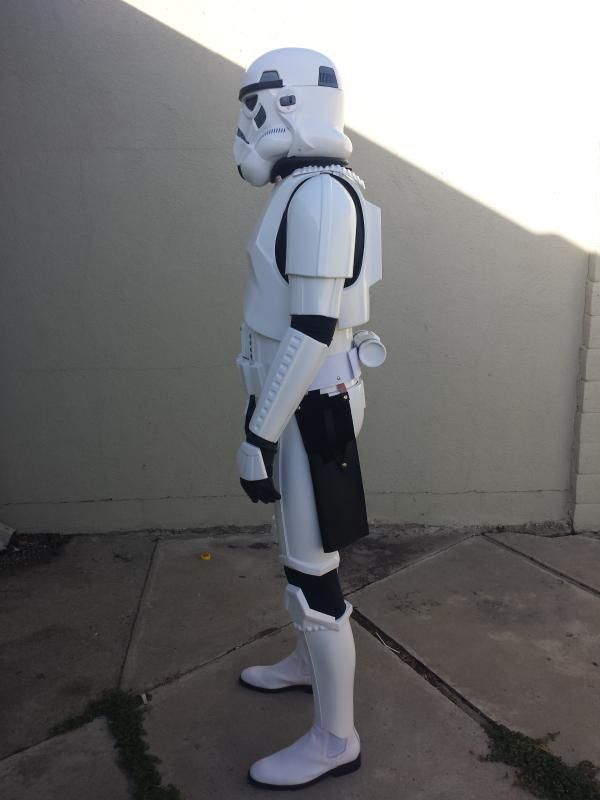
Right Side
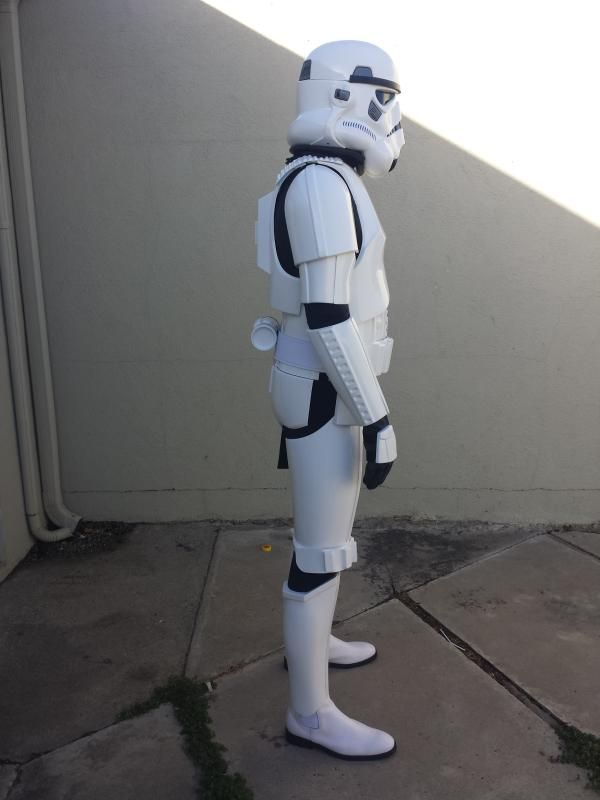
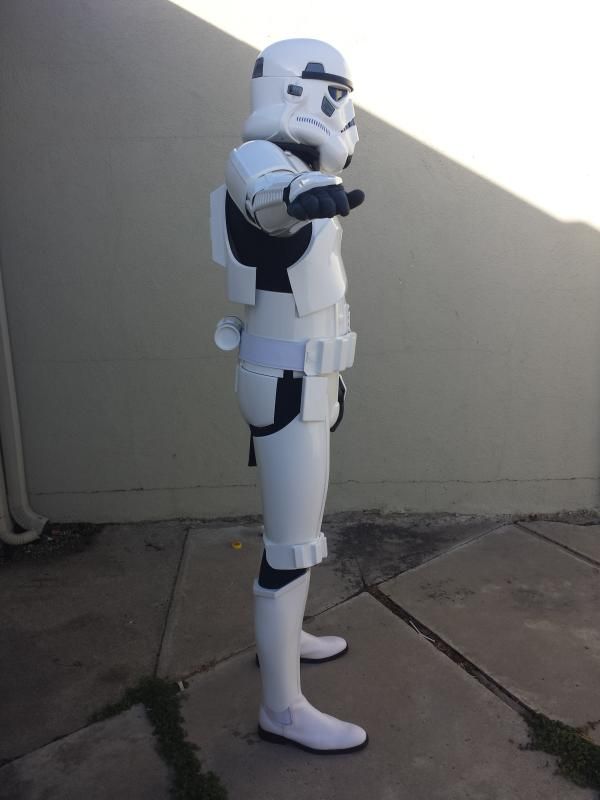
Left Side

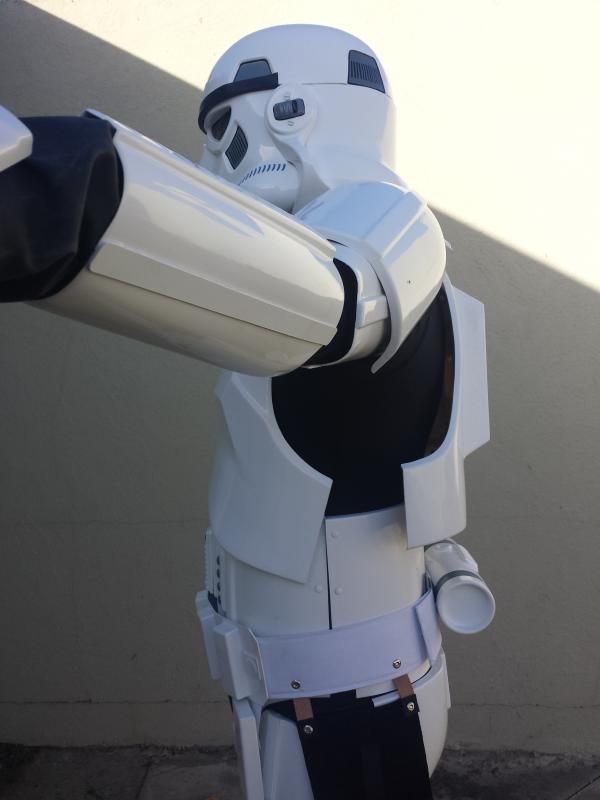
Backside

Notes:
I'm waiting to see if TG is going to update the back plate, for now I'll just have to see how I can raise and trim it down so there's minimal to no overlap. I will also be trimming down the thighs later. I would like a little more flexibility if that's possible.
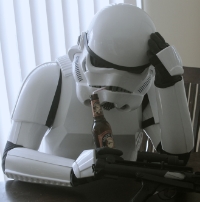
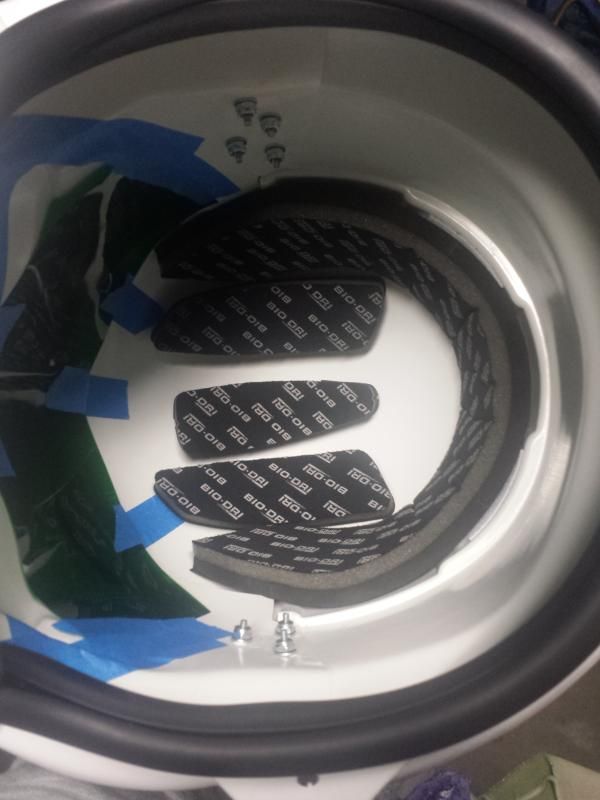
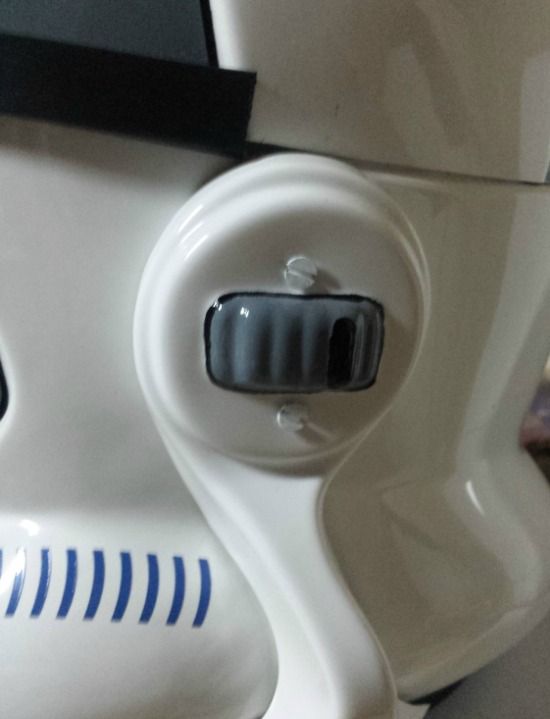
I'm still working on the inside of my helmet, I haven't permanently installed the visors or the frown mesh because I'm going to order a fan system and see what else I can add to make trooping a bit more easier. I managed to get a hold of some baseball helmet padding, Here's what im working with right now. This guys setup is awesome and inspiring http://www.youtube.com/watch?v=8EBpFHYuv-0
Beginning my helmet interior.
-
1
-
-
Hey Andrew,
I did heat it up a bit and bended it, I just didn't leave it bent to cool off and stay that way, however it is a bit more flexible. I'm not going to take any chances and will see how I can do it with belt and all. It really sucked when I was ready to take a pic and the rivet popped right off as my wife was taking a pic.
I'm going to post some pics in just a second.
-
1
-
-
This is awesome!
-
Thought i'd post a few pics of painting the rivets and adding the ab buttons. I also have pics of my hand plates and belt.

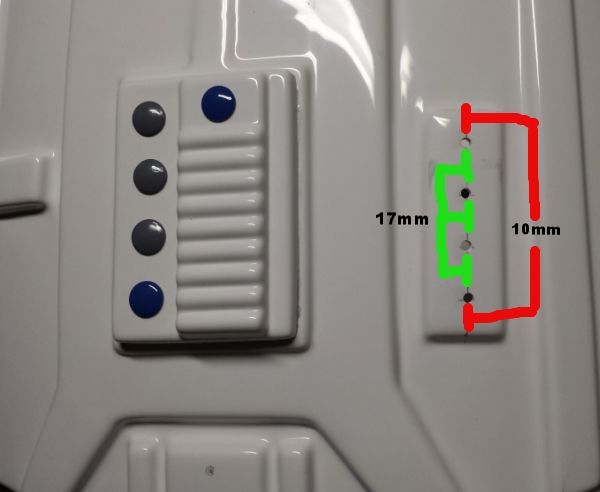
Here is the ab plates.
The right side, I spaced out 10mm from the edge of the top and bottom.
I then made a 17mm space between the center of the buttons.
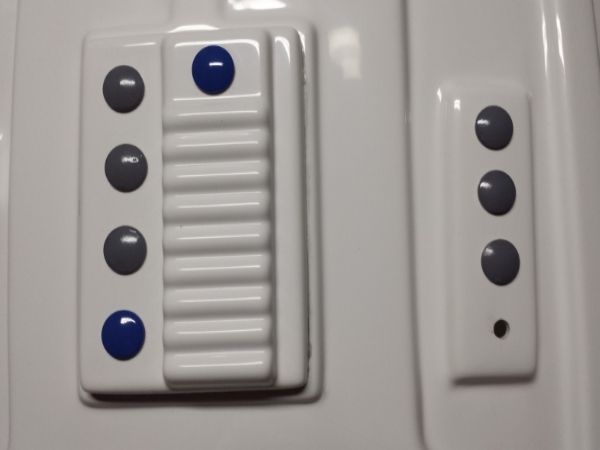
This is pretty embarrassing. I thought I painted all of them and turns out I forgot 1.
I just finished painting the last blue button and will add it as soon as it dries. (Rookie mistake
)
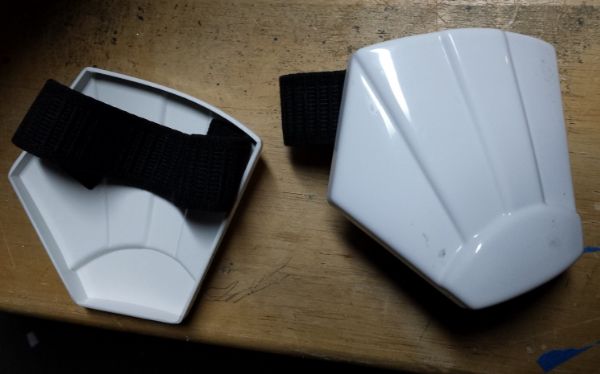
I also did an experiment with the hand plates. I did one plate with 1 elastic and the other with 2. I kind of like them with just 1
elastic, it seems to hold it together just fine.
You can't tell the right side has 2 but here's a pic anyways.
Lastly I finished putting my belt back together. I still need to add the snaps to my ab plate but that will come in due time.
P.s. I will be using the new Hasbro blaster for Halloween activities, I could be done with my DD blaster by then but there has
been some incidents with cops being trigger happy here so i'm not taking any chances ( not to diss cops, but its a small city
and some good amount of gang violence).
-
Looking good Rick! You may want to reshape the tail end of your butt plate. Not that Im checking you out! Just the tail sticks out a bit like mine did. I had a snap fail at a photo shoot last night on my ammo belt. Im now in the process of installing the other plastic belt that came with the kit. Should be done soon

I'll try heat bending the but plate a little, thanks for the heads up.
Reg: ammo belt, yea looks like we forgot to heat bend it a little (at least I did). I still don't think i bent it enough but ill see this week.
-
1
-
-
Line 24 snaps from Tandy Leather Factory. Order about 6+ packs, I ended up mixing and matching between these and the ones sold at Michale's/Jo-ann's because I thought 3 packs were enough

http://www.tandyleatherfactory.com/en-usd/search/searchresults/1263-03.aspxI like these bettere because the little little thing you hammer down is longer that other heavy duty snaps.
-
Thanks, Andrew.
I was trying to figure out how to put my armor on by myself, I put on the belt on backwards so I can attach the TD. When I got to rotating it to the front, it popped out.
I have added bigger rivets and heat bended the ammo belt a bit, hopefully this fixed the problem.
I will post more pics when I fix the elastics on my shoulders and add some to my hand plates.
Having some shin trouble. What do I do?
in Hard Armor (General Discussion)
Posted
Should be ok. Mabe have the cover strip a little more on the left side? If you are planning on making a rounded edge at the top it shouldnt look too noticible.
Mabe someone else can add their opinion.