Leaderboard


Popular Content
Showing content with the highest reputation on 01/19/2026 in all areas
-
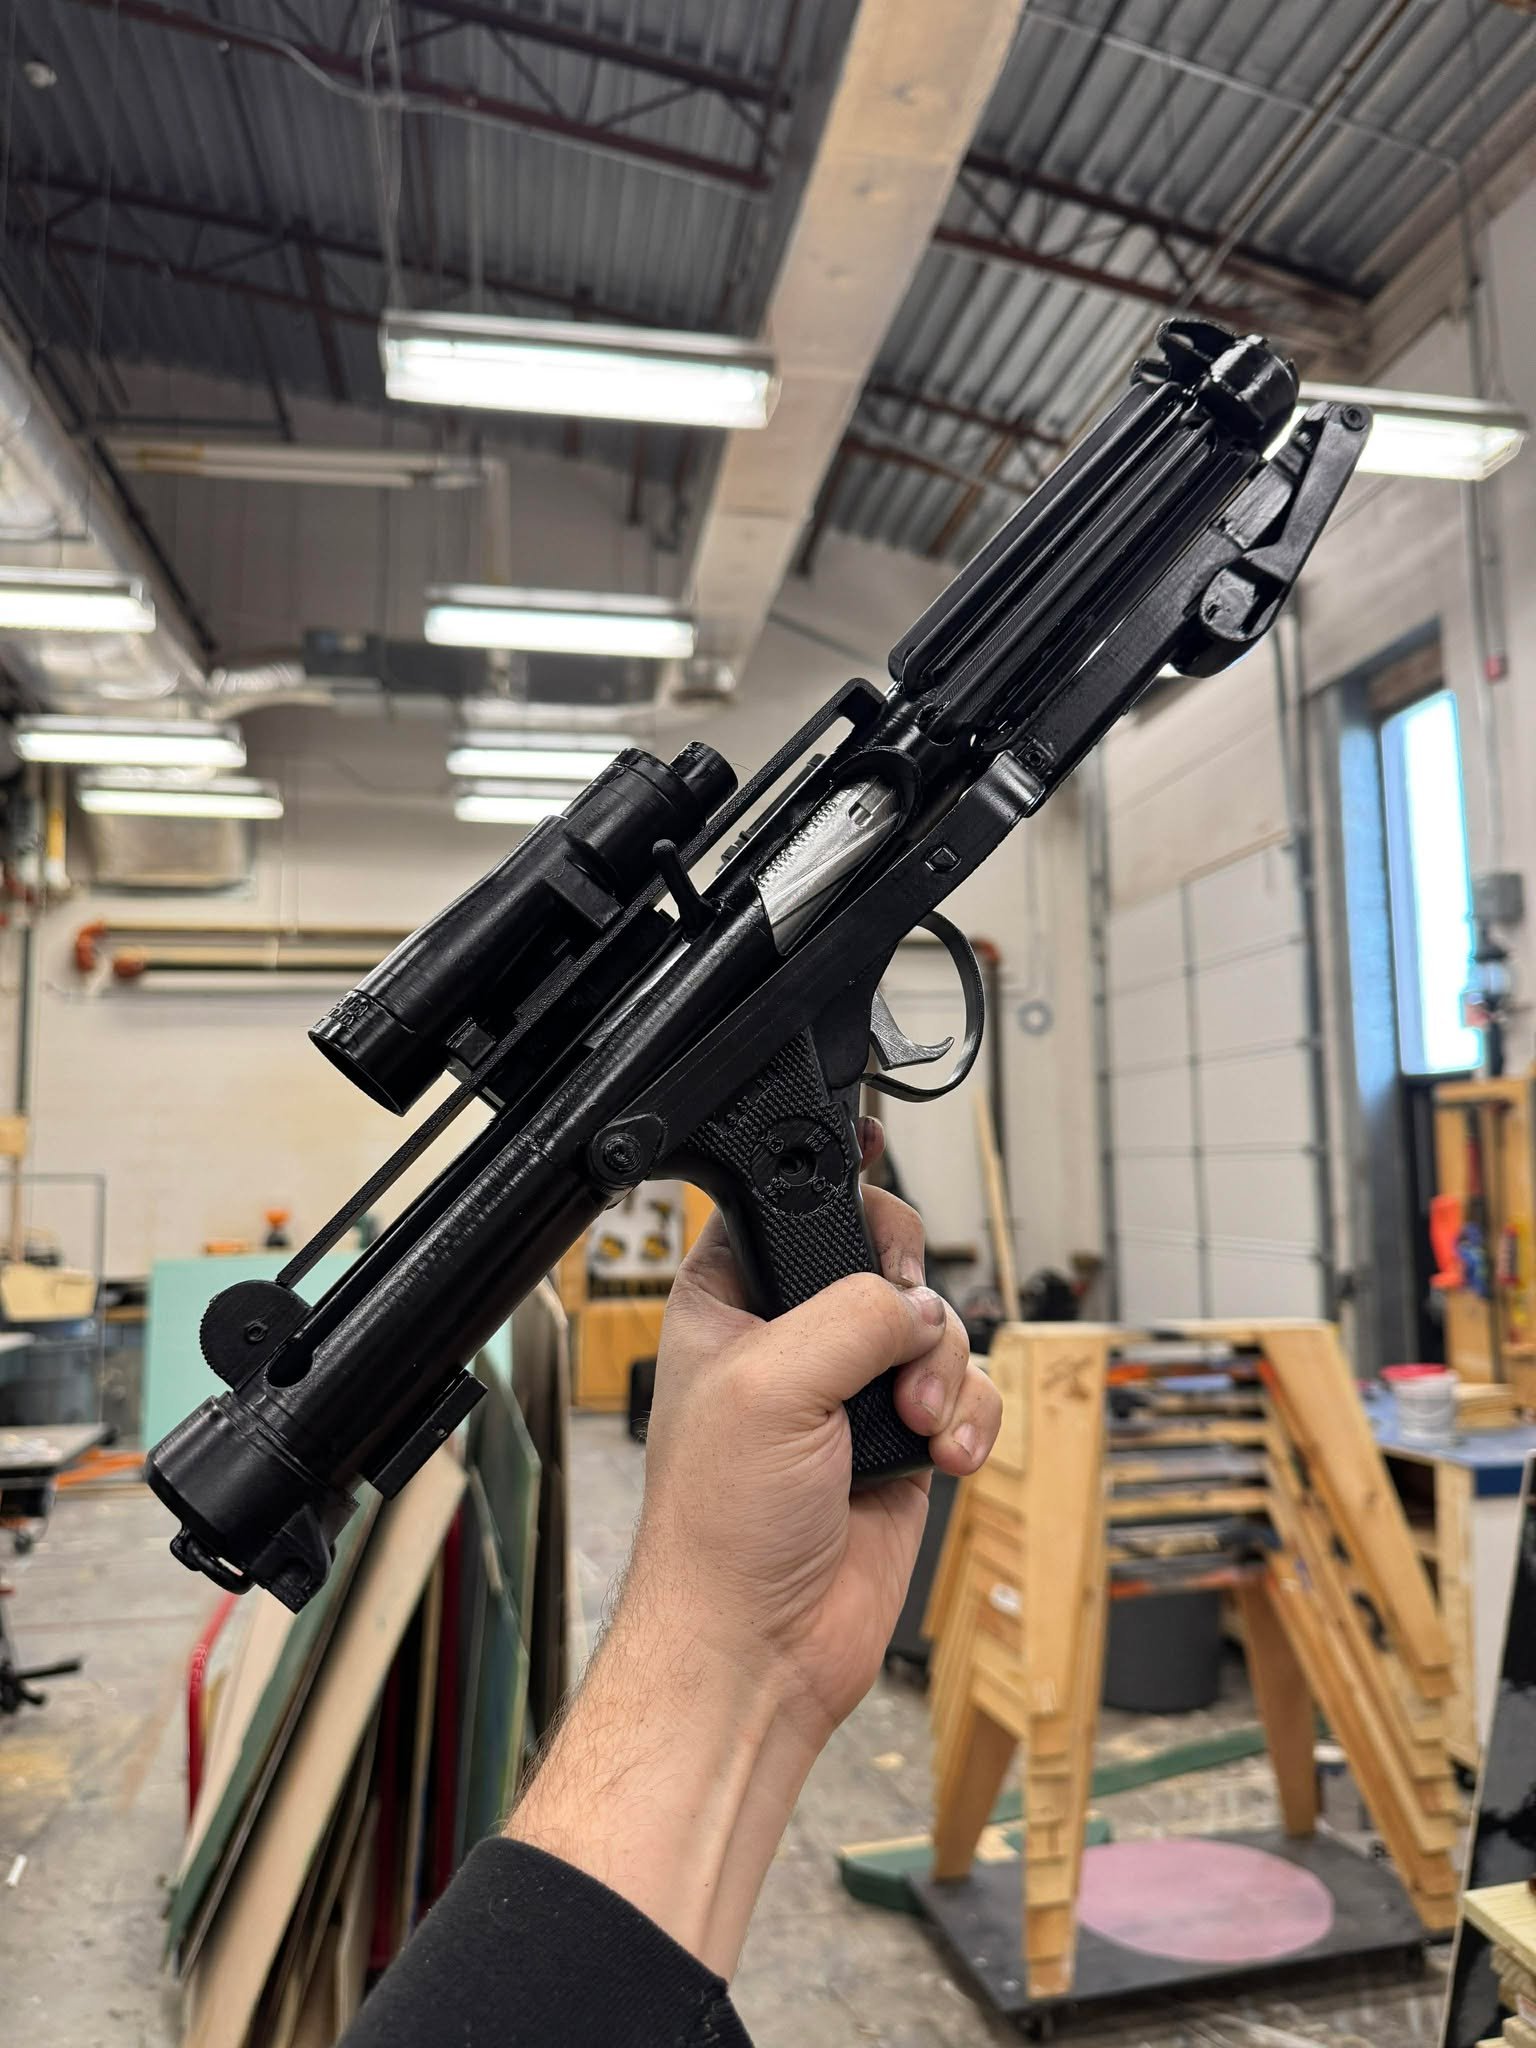
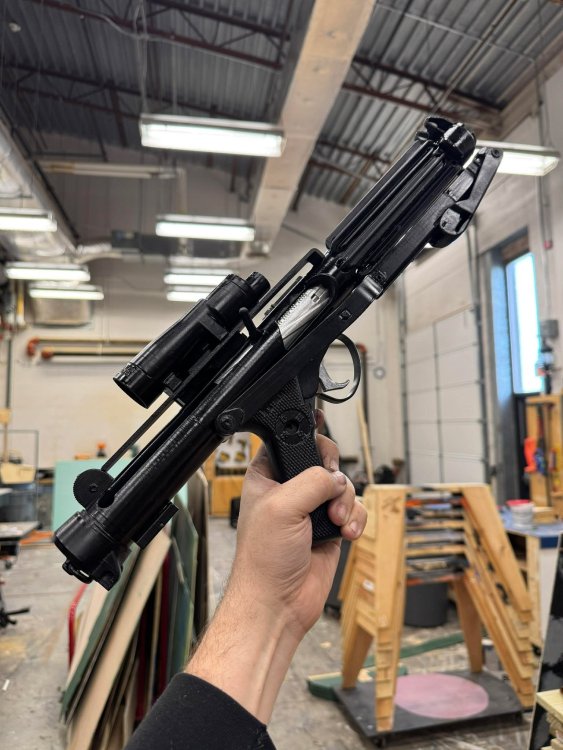
Update 1.19.26 I've actually begun working on this costume! With lots of research and comparing images.. I believe (strong emphasis here) that the kit is a TE kit .. probably the 2nd edition. It is definitely made of HIPS, as I've begun trimming it and it is TOUGH to get through. Early days but I'm excited to start! I also printed TK14082's e-11 kit and am very happy with the whole thing. An early win is important! I will keep updating as I work through trimming everything up. It was loosely trimmed before, but I will be working to get them closer to wearable in the coming days/weeks.
 3 points
 -
Hi Larry; Thank you for your patience while we looked over your costume. We are going to need some adjustments before we can give you the EIB certification. Let’s start from the top and work our way down. Helmet We will need a bit of clean up on your frown. The grey paint should not extend up onto the gums. This can be achieved by using a tooth pick dipped in mineral spirits or varsol (DO NOT USE ACETONE as it will melt the plastic) and carefully scratching off the over painted areas. CRL Basic: Frown is painted gray and does not leave the teeth area. A total of 8 cut outs in the teeth area of the frown are present. References Your paint on your vocoder is a bit too wide and extends onto the bulge that holds the hovi tips. Similar to the frown, we will need a bit of work to remove some of the excess paint. References Abdomen Plate The gap on your right side between your ab Plate and Kidney Plate is within the required size but the left side is a bit too wide. We made the reference image based on sizes of the known components of the armour (ab rivets at 5/16" diameter). This may be corrected by tightening the armour slightly, if there is no room to tighten it, then shims may need to be used. CRL L2: Any gap between the abdomen and kidney armor is no more than 1/2" (12.5mm) wide References Thermal Detonator The control panel of the thermal detonator is facing a bit too much in the upward direction. It should be brought down slightly. This can be achieved by unrolling the clips slightly to reposition the placement of the control panel face. CRL Basic: The white control panel raised ribbed pad faces the rear, with the controls/round washer style detail closest to the right end cap. References Your thermal detonator screws appear to be too large and should be replaced for a more screen accurate smaller flat or dome type slotted screw head. Finally, your clips appear to be a bit narrower than those used on screen. Replacing the clips with slightly wider ones would correct this. CRL L2: Clips shall be attached with slotted type, flat or dome top style screws, and be black (two per clip). CRL Basic: The thermal detonator is attached via metal or metallic-appearing clips, approximately 1" (25mm) wide References please feel free to reach out if you have any questions.1 point