Leaderboard


Popular Content
Showing content with the highest reputation on 08/01/2025 in all areas
-
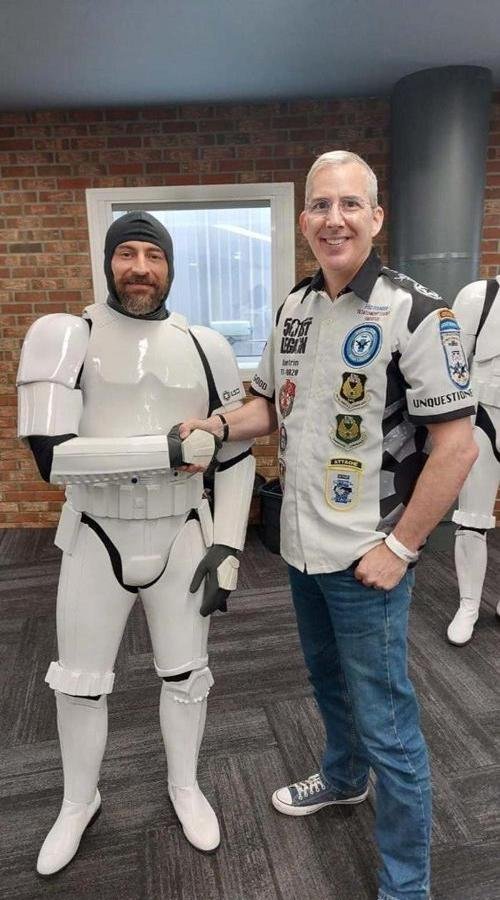
Hey everyone, Just a quick message to introduce myself—I’m Ben Weiss from the UK. After what may be the longest build in UKG history (a solid 10-year WIP… yes, really!), I finally suited up for my first troop in Manchester this past weekend—and absolutely loved every second of it. A highlight of the day was meeting Paul Hoeffer, and I had the honour of him placing my UKG insignia on my armour—definitely a moment I won’t forget. I’m really looking forward to meeting more of you in the future. All the best until then! Ben
 1 point
 -
Well it's been a busy week, had a camping trip, but thankfully I'm back to work on this. Drilled out the rivet holes on the left side of the abdomen and kidney, and then glued on some reinforcement to both areas, and the shoulder straps. Would have worked on more straps, but I've run out of time for the day. (and clamps lol)1 point
-
Thank you, those will be helpful. I will review them and apply the techniques. :)1 point
-
Many of us use a free online image host Imgur, here is a great how to guide. Make an account, upload your photos then copy the links to each of the photos and paste them into your application. You can find the photo checklist here1 point
-
I appreciate the links. I guess I could have found them just the same, but sometimes the obvious isn't obvious when I'm in the thick of things.1 point
-
So as I alluded to a few posts back, I was happy about the chest and back sizing, but now quite unhappy about the helmet size. It somehow doesn't show as much in photos, but in person I felt like a FOTK Funko pop. I really really didn't want to have to print the helmet, but seeing how amazing @zediyeti looked made me finally bite the bullet. Like Zediyeti I sized my helmet to 92%, but I had to slice it into parts due to my smaller printer bed. Each part took 12-ish hours. 1) Top. I used a support blocker under the dome, but you can see how a bunch of supports are needed under the brow. Concerned about the finish, I decided to use PLA as the support interface, and it worked amazingly. The black is PLA: The brow surface: 2) Bottom rear. I was a little too aggressive with support blocking which caused some artifacts near the edges but nothing unfixable: 3) Bottom front: And a size comparison with the Anovos: It is certainly going to be a chore to finish the helmet, but I didn't see a better path forward. It's possible I could have been approved with the Anovos helmet but I know it would have just driven me up the wall every time I looked at it.1 point
-
Out of frustration, I put the build down for about 4 years, until after I got a 3D printer and I realized I might be able to 3D print some pieces of armor. I actually bought 2 sets of files, this one from Etsy and this one from CGTrader. Edit: I think the chest is from CGTrader and the back is from the Etsy files. I wish I took better notes. :) I also decided on PETG for heat resistance. I scaled the back and chest down (I can't remember how much; I think it's at 90% scale) and did a few test prints: Two different sizes. Left is 100%, right is 90%. A partial print: A comparison of the KB back and the 3D printed back: Test prints of the back and chest: The final back: The final chest. It turns out zip kicker yellows PETG. Who knew! The fun thing about 3D printing is that you can also modify the files before printing. I don't actually know how to use any modeling software, so I did everything in the slicer. Some simple mods were: Cutting slots in the yoke, and I also shortened it so I could better fit my arms through (not shown in this pic). Lowering the neck of the chest, and slightly shortening the tips: Lengthening the 'wings' of the chest so they overlap the back more: Here's the result of that. I'll fill the extra square: I printed the yoke so that it will flex with the layer lines, but with the back being in 4 pieces, I'm worried about the flex, so I backed the seams with some extra ABS: Here's a sizing check. Some tweaks for comfort and fit, but I was much happier with the size: A comparison of the KB chest on the left and the printed chest on the right. You'll notice that the smaller chest reveals a new problem, which is that now the helmet looks too big...1 point