Leaderboard


Popular Content
Showing content with the highest reputation on 05/23/2025 in Posts
-
They are the same helmets so yes.1 point
-
Due to the new CRL structure under way, there are delays on all new additions. I think Chris has almost completed our end of the work, the rest is on the LMO team to complete. We are in a cue for Enoch already, so it may be a little while yet.1 point
-
Just checking to see what the current status is on this?1 point
-
I've put a pretty big dent into updating the first post, any makers find incorrect or extra information please let me know1 point
-
I have no idea why I opened this thread and read it. Bart1 point
-
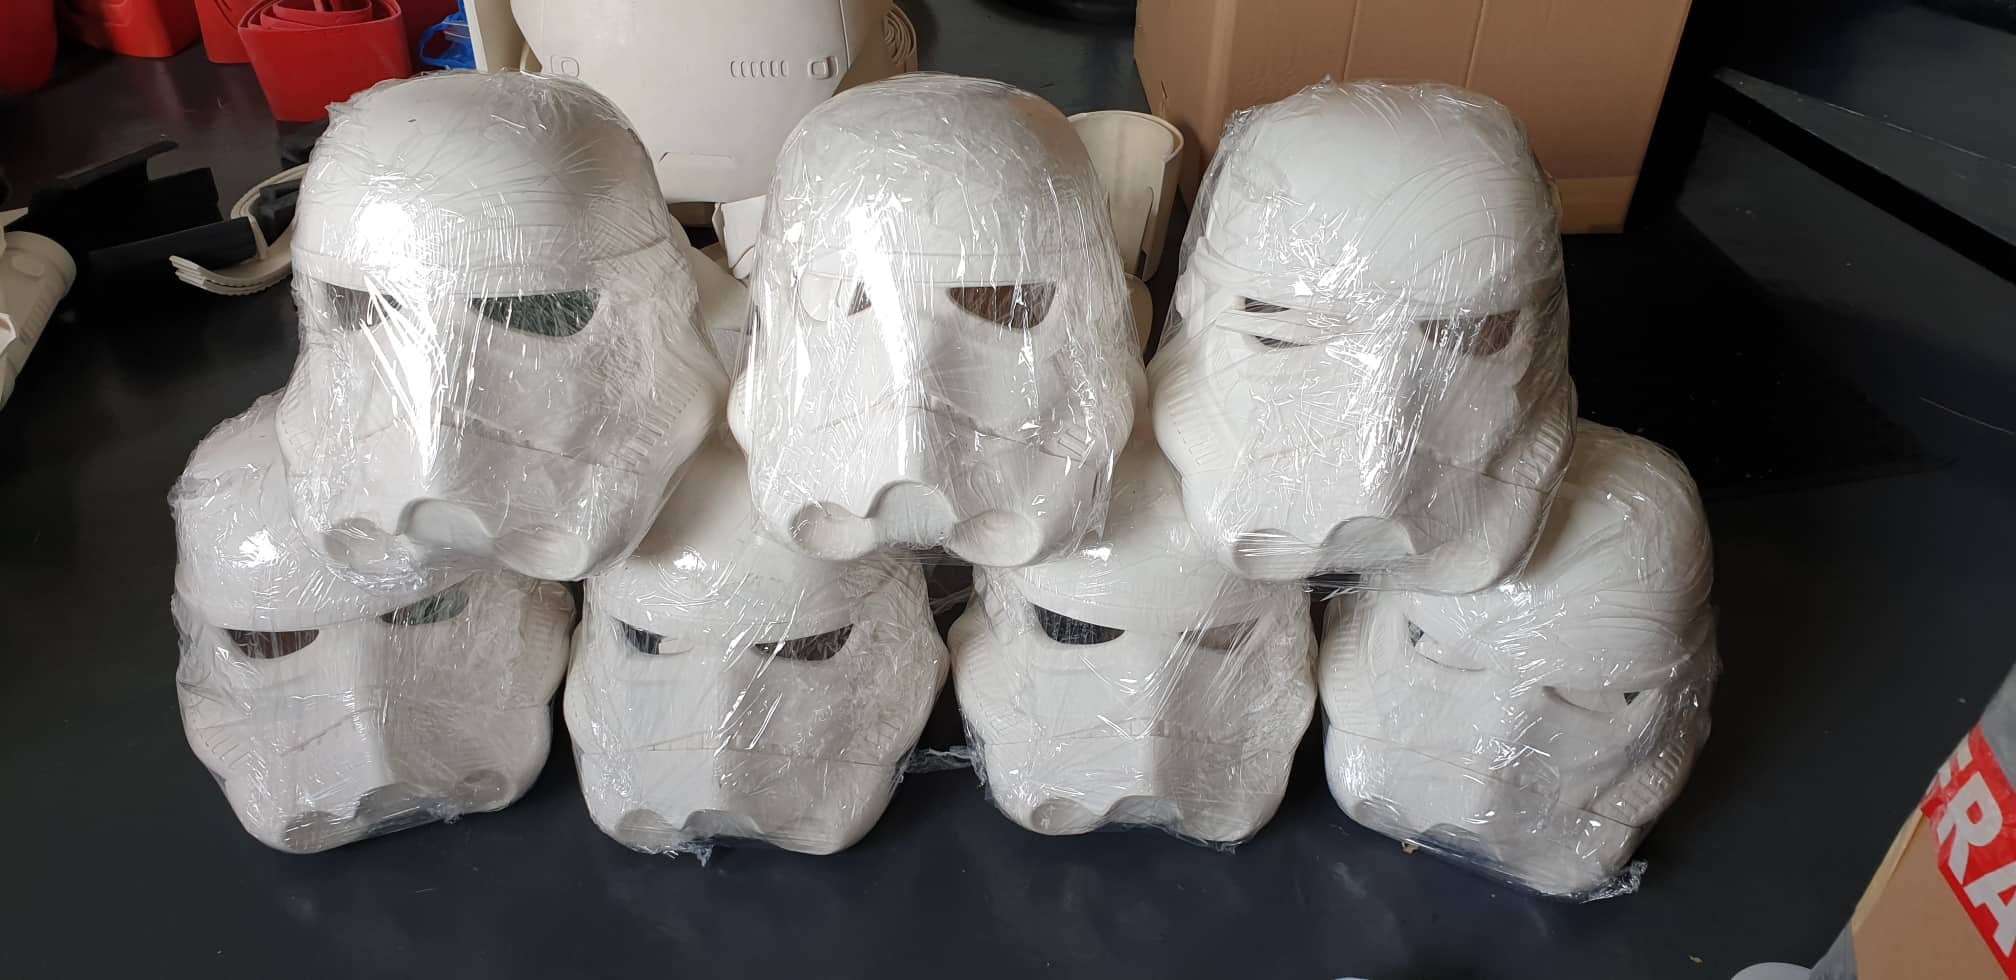
****WORK IN PROGRESS**** (relevant photos have mostly been moved over but I'll flesh out more descriptions/info as I can) Hey all - mostly for @RINZLERz but also in case it helps anyone else, I'm going back and compiling just the HELMET build portion of my Jimmiroquai Rogue One TK into one, more straightforward thread/post. There's a lot of info in my main build thread, and if you're just working on painting and assembling an ROTK helmet (of almost any make), this may be more user friendly. I'll still start at the very beginning, but I hope it helps! I organized a group buy of Rogue One style Stormtroopers from Jim "Jimmiroquai" Tripon in the Philippines in 2019 (to save shipping), with Big Brown Box Day not long after! My fiberglass helmet, as received, in all its glory: One of the better reference shots of a studio helmet, and what we're aiming for here: The first thing I did was reinforce the interior of the helmet, as I felt there were thin spots and that the helmet would not withstand almost any type of impact. My guess is that Jim leaves his fiberglass unsealed on the back to allow for flex, or for the end user to apply additional resin as they see fit, but I definitely wanted to. I gave Fibreglast 1110 vinylester resin a go with very positive results. Any in her very first coat of (actually light grey) sandable filler primer! I always recommend using different colors of primer when prepping, as it will allow you to more easily see high and low spots when you've sanded from one color to another. I think this actually still ended up being a good approximation of the products I used to prime and paint the helmet - could you do it with less? Probably. But I wanted this to be perfectly smooth and glossy, and it is. I also prepped and painted the interior black, which I do on all my helmets. Note that this is entirely optional, and that the studio helmets were not painted inside. I just prefer it. It also was an opportunity to address any final spots that looked thin or any big high/lows in the interior with a quick rough grit scuff. Primed, filled a few spots, and lightly sanded: And finished with truck bedliner spray. You can also see where I began cutting out the tube stripes. I chose to cut the tube stripes, but not the traps or tears, as on the real helmets, they weren't cut and backed - they were a separate piece added on top. Most helmets I've seen with them cut don't look as good, and its very fine detail work. I'd skip it, but the cheeks really should be properly recessed in my opinion, as it's a hallmark of the helmet, as opposed to the OT helmets. I drew the edges with a sharp pencil, drilled a hole at either end of the recess, then used a tiny cutting wheel on my dremel to connect them (BE CAREFUL), and finally jeweler's files to get all of the edges as square and uniform as I could. Just so it's noted, I was sanding in between each coat of primer to level out any high and low spots or to address any pinholes or imperfections. I would take it with me and wet sand in the shower for a few minutes like every day for a couple of months, no joke. But here she is in her first coat of flat white: Next up was masking off the helmet to do the gray details on the tears, traps, ears, and frown. I taped all around each of them, then covered the helmet with a garbage bag, cutting holes for the areas I wanted color on, then taping around them. I did about 4 light coats, 5-10min apart of RustOleum Painter's Touch 2x Satin Granite gray. I haven't been the best about documenting, but you can see the masking underneath after I removed the plastic bag. I actually got very little overspray and didn't need to do much cleanup. It's worth it to take the time to mask properly! And finally with all the masking removed! It was a LOT! I went in with my awl again and lightly scraped off any overspray - the 2K clear is hard and smooth enough that the awl would remove the gray paint, but not noticeably scratch the white. I then went around with a Q-tip and some polish to clean anything left up. This let me get even smoother, cleaner lines than I probably could have achieved with masking alone. Again, in hindsight... using a white tape on a white helmet probably wasn't best. The frown was hardest to mask, but cleaned up pretty well too! Next I tried to go in and do the black outlines with a fine marker, which worked okay at first, but when I touched them several HOURS later, still smudged... I gave it overnight to dry, but it was still wet the next day. Upon closer inspection, the pens I was using were water based and probably not bonding to the paint and drying properly. I ended up just wiping as much of the black outlines off as possible, and ordered myself an Extra Fine Oil-Based Sharpie that should arrive this weekend, then I'll give it another go. Next up was the neck seal trim. Didn't take photos, but same deal - masked with the Tamiya, some thicker masking tape, then a plastic garbage bag and a piece of adhesive foam sheet to block the head hole, similar to when I did the white paint. Again, cleaned up with the awl and polish for a respectably smooth line. I used RustOleum Painter's Touch 2X Flat Black for this to simulate rubber and am pleased. I used the same flat black and masking technique - this time with some spare newspaper instead of the plastic bag - to do the brow trim. Once I removed the masking, I went ahead and installed the blacked-out mic tips from Ukswrath (after painting the interior stem, nut, and washer with some flat black) - they look great! Of course, I'm sort of a perfectionist and took the time to make sure they were straight, as was the mesh in them (it was a pain). I set the helmet in such a way that it would stay in place overnight, then used some Gorilla Glue to attach the vocoder as well. I ended up having to heat it with some HOT water and bend it slightly to get it to connect at the top, and at the bottom near the neck seal - it previously had about a 1/4" gap. I also used my Dremel to rough the surface up slightly where it contacts to give it a better physical bond (hopefully if it ever comes off, it doesn't take a bunch of my clear coat with it......). That dried very securely, and brings us to where I'm currently at... all done with paint and just a few items left to assemble! I'll be finishing any final cleanup around the frown tonight, then using some strips of black 3M VHB tape to attach my frown mesh, and some velcro to install the lens (I like it easily removable for cleaning). I'll likely use the VHB to secure some fabric under the tube stripe vents as well. I also added some "airsoft helmet"-style padding from Amazon, but haven't dialed the fit in just yet (pics when I do) - it's a pretty room-y helmet.
 1 point