
All Activity
- Past hour
-
Sha Sha's (Slow) KB/850/3D printed FOTK Build for Short Troopers
gmrhodes13 replied to shashachu's topic in TFA Build Threads
This would make a great addition to the How To area, when you get some free time -
Sha Sha's (Slow) KB/850/3D printed FOTK Build for Short Troopers
gmrhodes13 replied to shashachu's topic in TFA Build Threads
That worked out great, must admit I've never tried tinting acrylic, but think I'm going to have to give this a go now, luckily our haberdashery store carries that line of dye -
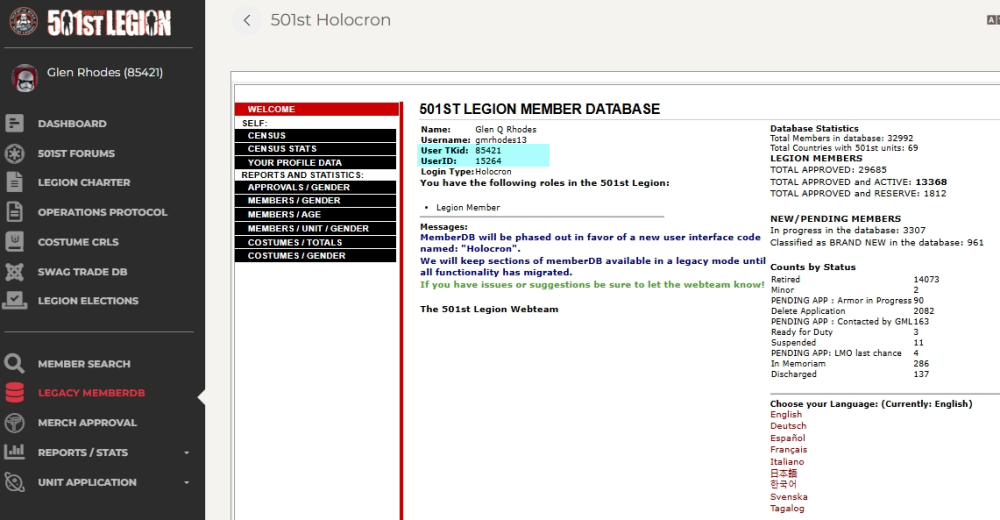
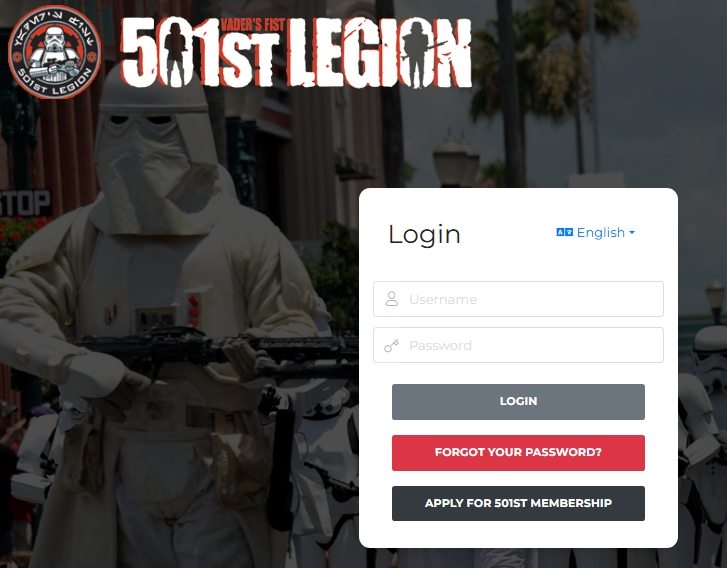
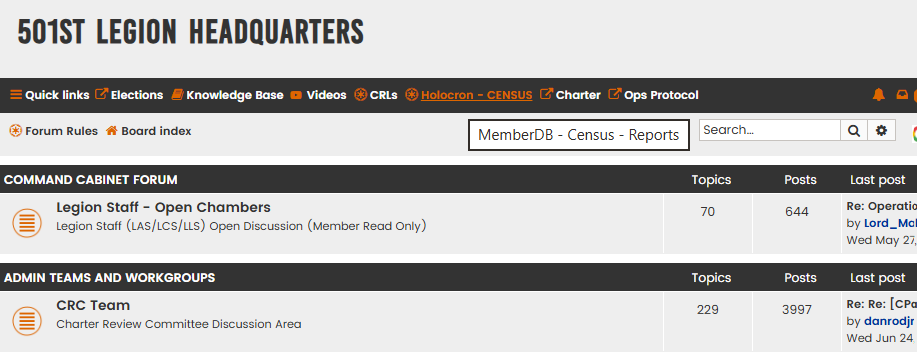
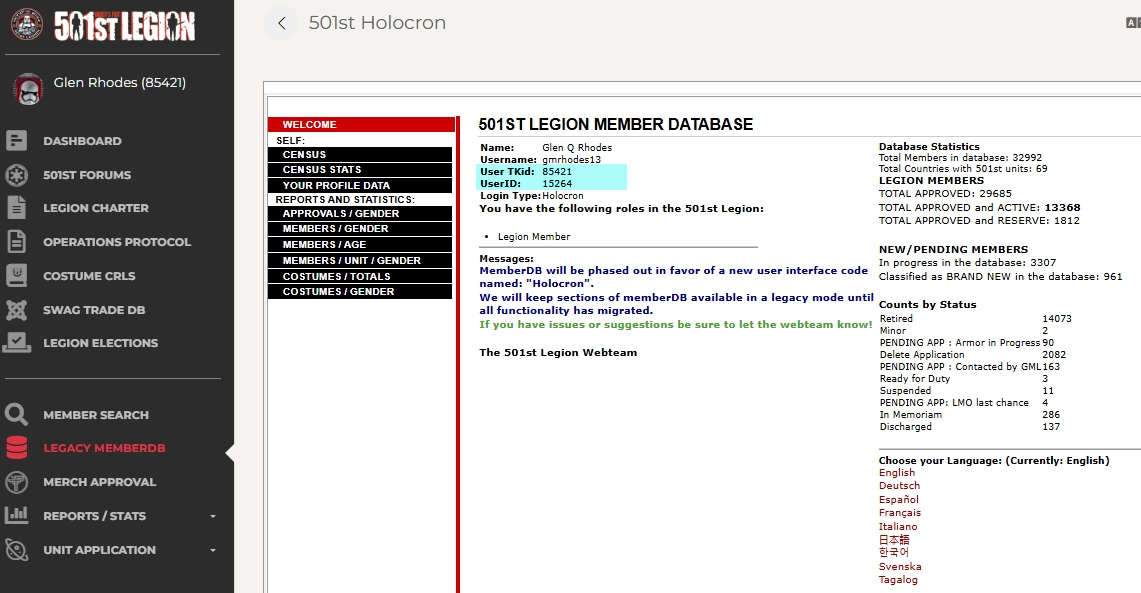
My pleasure, I've tried again and this should allow you access Go to legion forum https://www.501st.com/forum/index.php Click on Holocron/Census https://www.501st.com/holocron/login?returnUrl=%2Fmember%2Flegacy Enter your legion username and password then Login On the side menu click on Legacy/MemberDB and you should be able to access your USER ID
-
Sha Sha's (Slow) KB/850/3D printed FOTK Build for Short Troopers
shashachu replied to shashachu's topic in TFA Build Threads
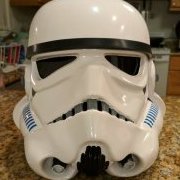
I haven't been taking as many photos because it's all just prime/paint/sand etc, but I've painted the calves, spats, thighs, and shoulders: I'm also fixing the last few imperfections in the chest and back: As well as priming the ab, biceps, and finally the helmet/snout: In non-painting news, I dyed the lens and it worked amazingly! I used one packet of iDye Poly, did the first dunk for 5 mins, then a second dunk for 2 mins. One of the lenses got slightly deformed because the water was a bit too hot, but it's thin enough that it can still be installed in the proper shape. (I'm sending one to @zediyeti because we are fellow tiny-TKs and our helmets are printed at 92% and 93% respectively). My grill has a burner so I was able to do it all outside and not risk getting dye all over our very white kitchen. I used these videos as guidance: -
 thanks man, I work in IT and couldnt figure THIS out?! lol thought i was going crazy
 -
Appears the web team have changed something at their end and we are no longer able to access the USER ID, please standby A.C. NoVATie will be along in due course.
-
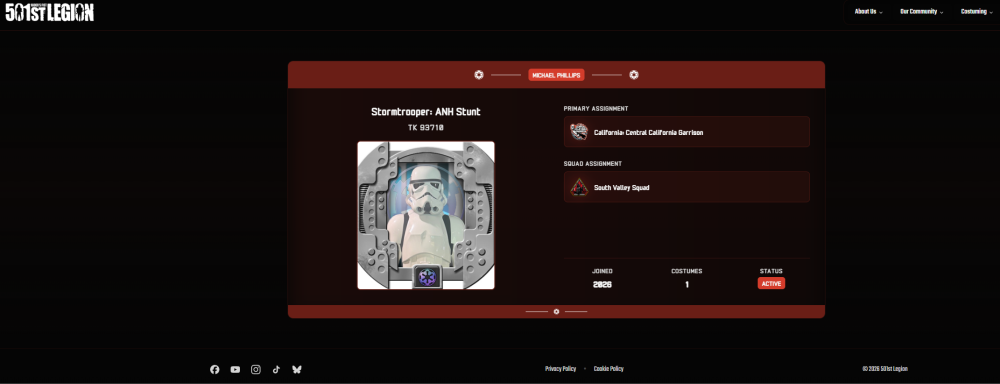
this is all i have
-
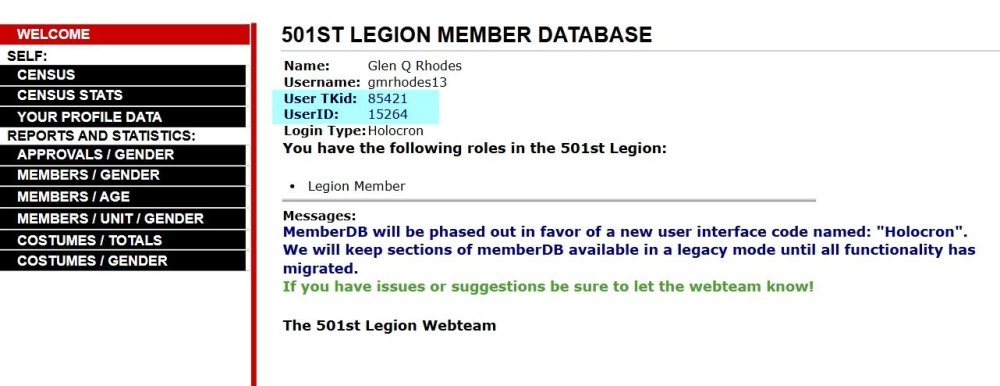
In the navigation bar post this link https://www.501st.com/member/85421/ and replace 85421 with your TKID then click enter Then you should see the following with your TKID and UserID

-
im struggling to locate where that is
- Today
-
Could you please also add your USER ID
-
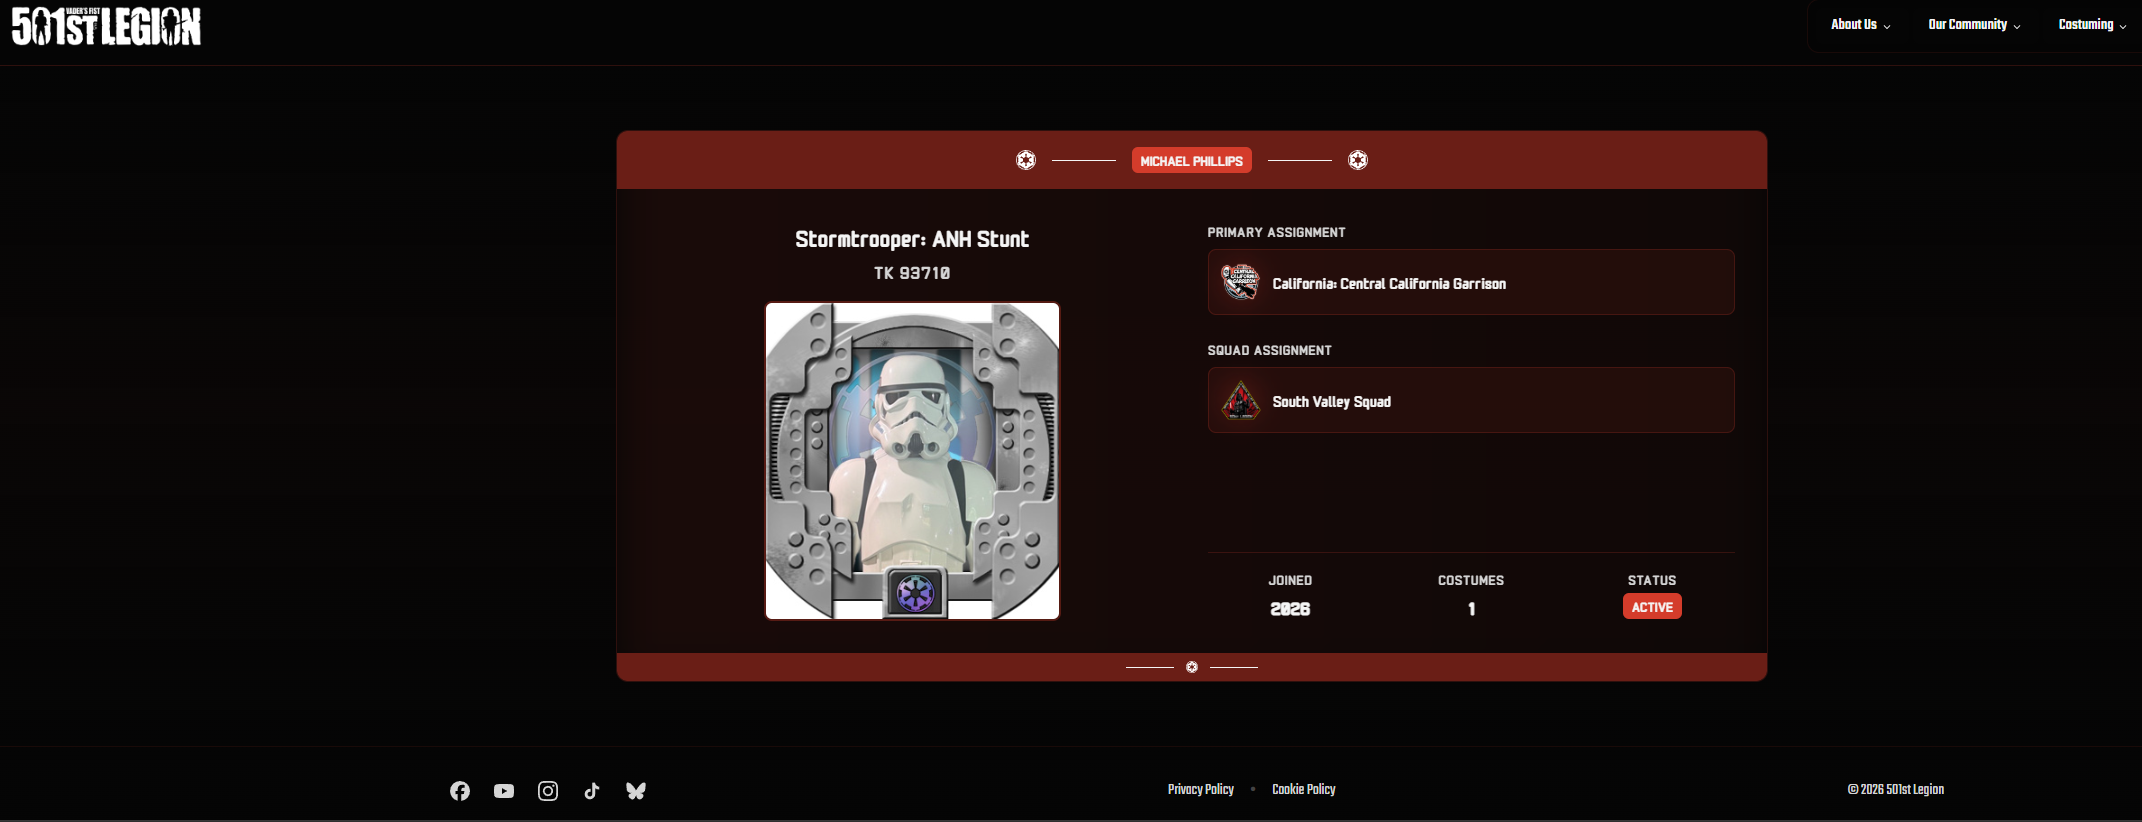
Requesting access central California garrison TK93710 https://www.501st.com/member/93710/
-
TK-93710 of the central California garrison requesting access please
-
 Please approve my 501st status access. Tk ID: 17009 UserID: 49709 https://www.501st.com/member/17009/
 -
Tom TD17009 joined the community
-
 JazzHandsAlien joined the community
 - Yesterday
-
 TK9612 changed their profile photo
 -
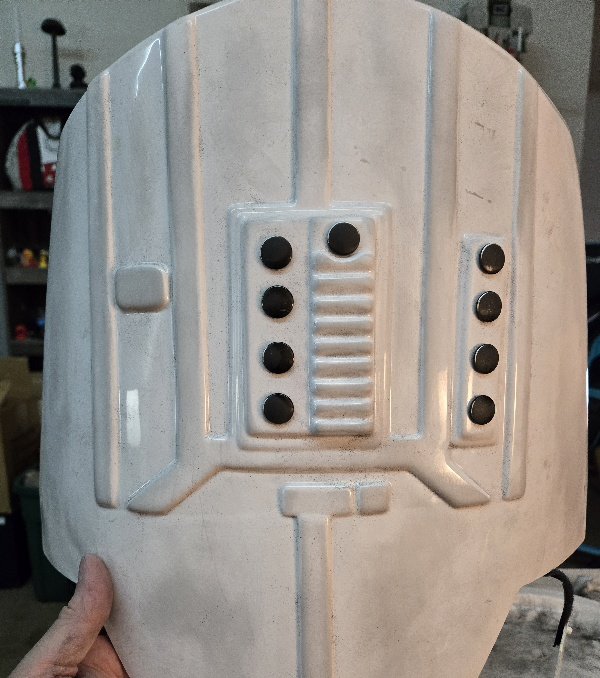
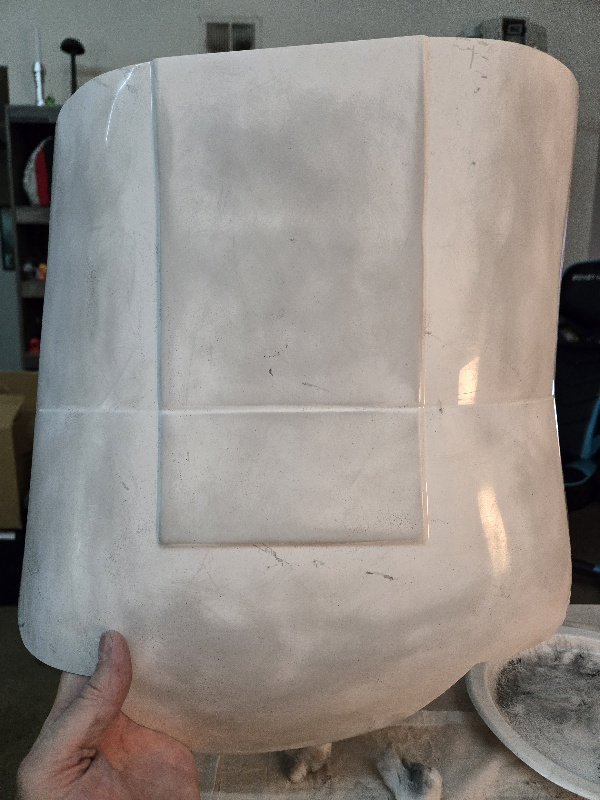
Front ab plate. Good thing about the powder is, it'll show you where scratches are located.
-
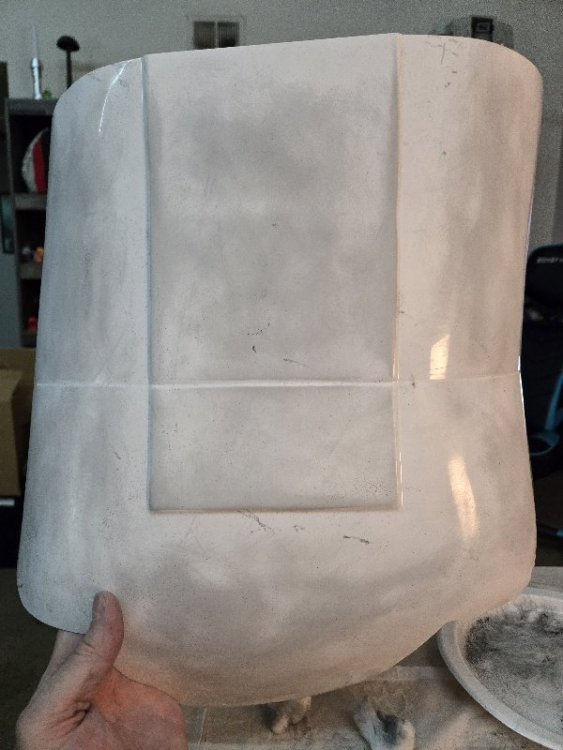
Little bit more productive progress today. Pre damage and painting: sanded and then blotched the ab and back plate with graphitepowder. Turned out better than expected.
-
TX-17241 Starting My Journey!
dogbertwrldrulr replied to dogbertwrldrulr's topic in New Member Introductions
So I'd like a sanity check here. I would appreciate any comments on all of the sections/pictures. I'd like to know if you agree with what I am seeing or if I am way off base. I laid my armor out and I feel that the back does not align well with the chest piece which then leads to the fit issues. Here is the armor laying flat on the ground. In my opinion the back shoulder pieces are significantly lower than chest ones. Here is the armor with the sides aligned the best I could by hand. Again, the back shoulders do not seem to align well with the chest. Here is me in the torso armor and the thighs. The thighs are pulled up as high as they can go. I think the top of the back sits too low and should be closer to my neck/collar, but there is also too much of a gap between the butt and thighs. Or am I crazy on the gap between the thighs/buttplate and it is fine here? Here is the front view. I think the chest sits too high as it presses a bit into my throat and there is obviously a lack of coverage at the bottom. Similar to the back, I believe the gap between the cod and thighs is a bit much. Here is the side view. The back sits too low and the front is sitting too high, however the sides are very misaligned and moving the back up and front down would exacerbate this issue even more. Am I crazy? Am I missing something?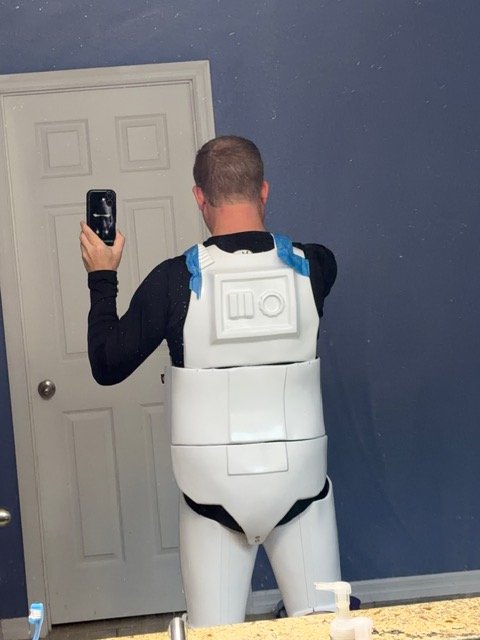
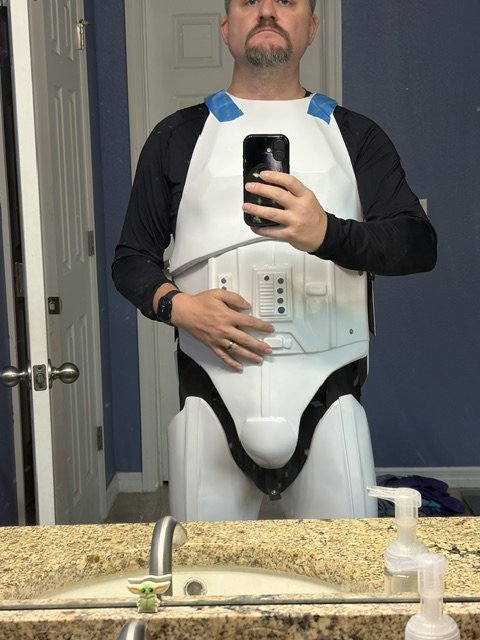
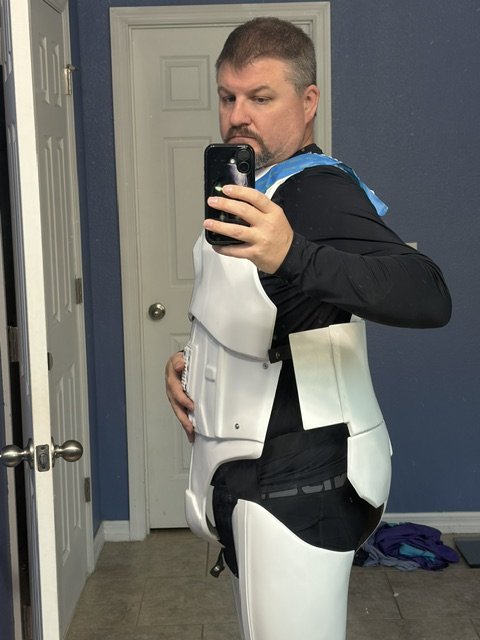
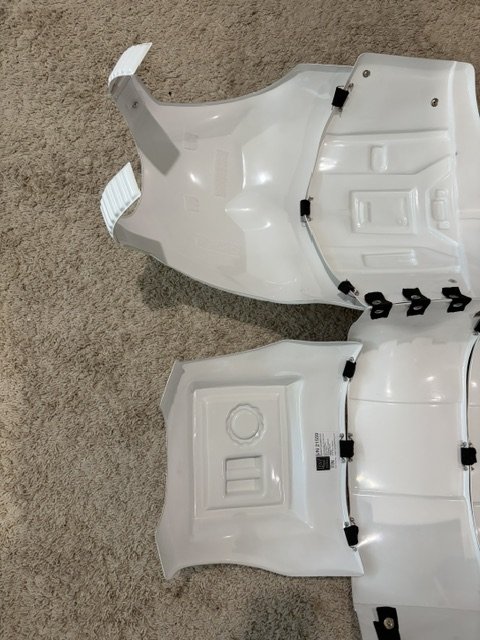
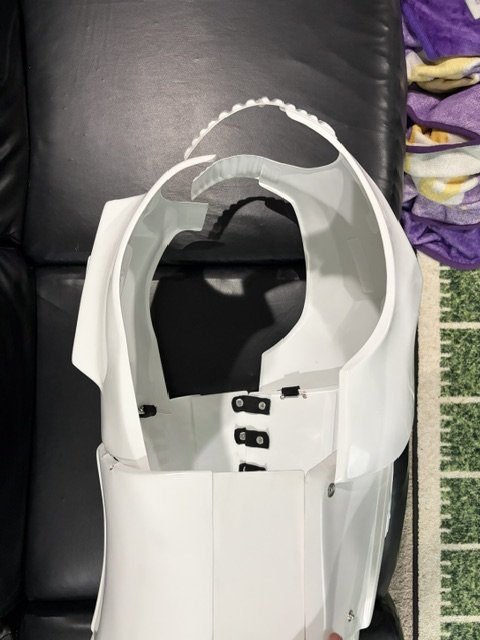
-
TX-17241 Starting My Journey!
dogbertwrldrulr replied to dogbertwrldrulr's topic in New Member Introductions
Thank you for all of the information! Yes, I bought the complete kit from them under the assumption I would be able to wear it out of the box. The legs, arms, and helmet all fit fine (one shin is a little tight at the knee), its just the torso where I have the issue, hence all of the questions/issues. As for why I need to replace the buttons. One of the first comments that RS gave me for working fit issues was to replace the shoulder straps which which means I would have to replace 1 button on the right shoulder strap. Another major issue I have is the strap that goes between my legs is way too short which means I have to replace that strap and button as well. This is because the back armor set does not completely cover my back from collar to butt so it sits high. Looking through your thread, I had some questions on your strapping. 1. On the armor itself where you have the "male" end of the buttons, it looks like you used a short piece of nylon and attached 2 button pieces to the nylon and then glued them directly to the armor, correct? What did you use for the glue? Super glue, CYA, E6000? 2. I saw one question you had was about opening the rivets. Were you able to open them or did you end up buying new ones? Do you have a link for a source for them? -
 Can I please be added to the detachment? My TKID: 73114 My userID: 33811 https://www.501st.com/member/73114/ Thank you!
 -
 jllwilson521 joined the community
 -
 Rud1ga joined the community
 -
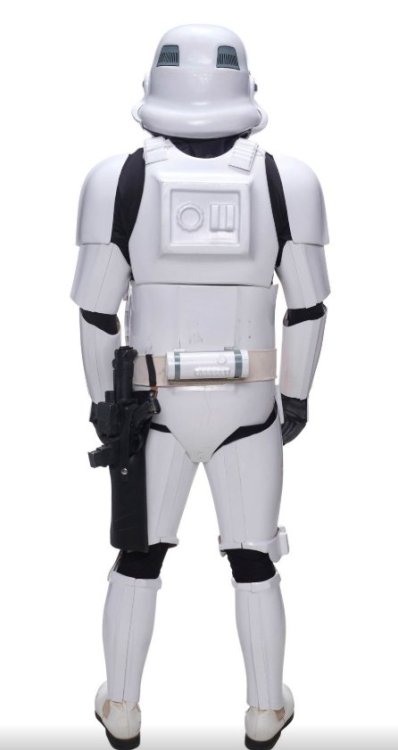
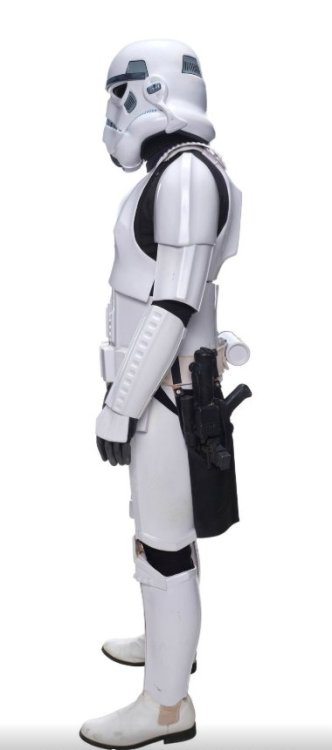
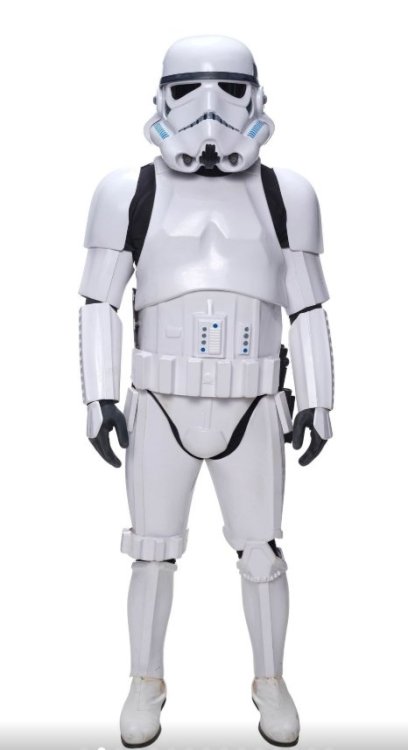
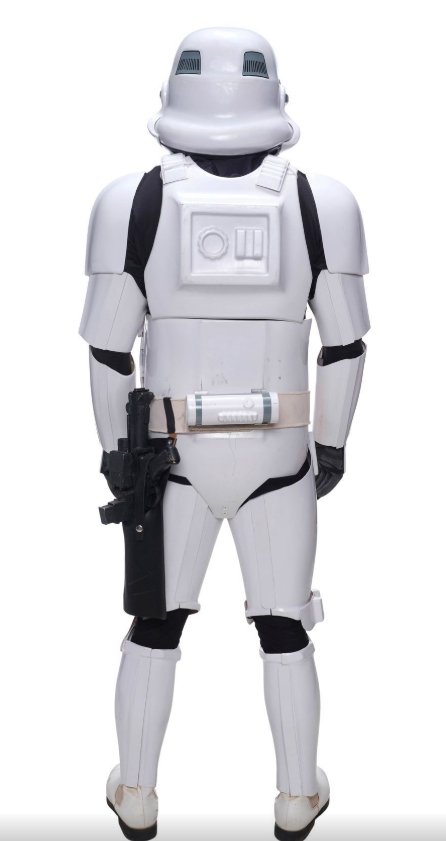
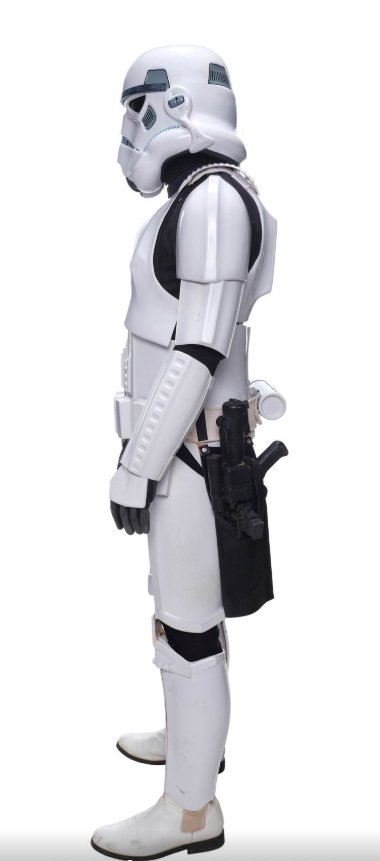
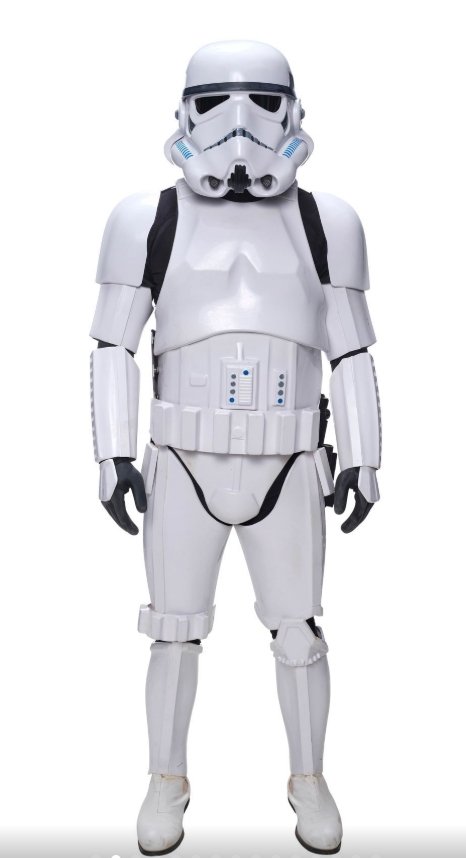
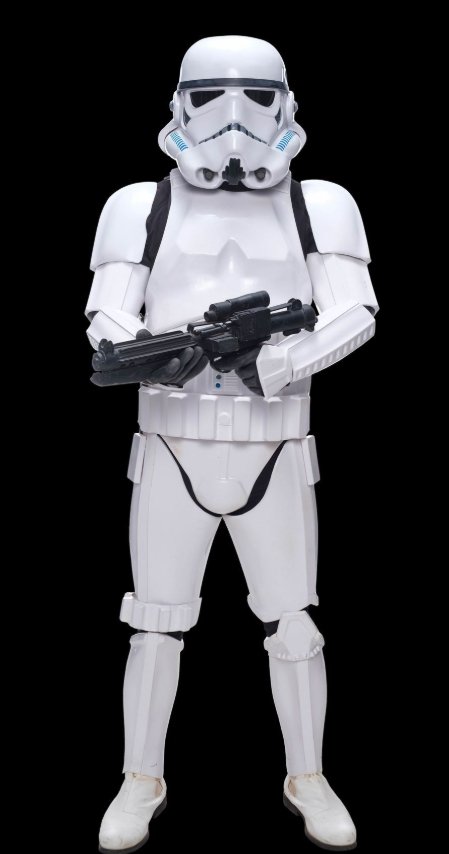
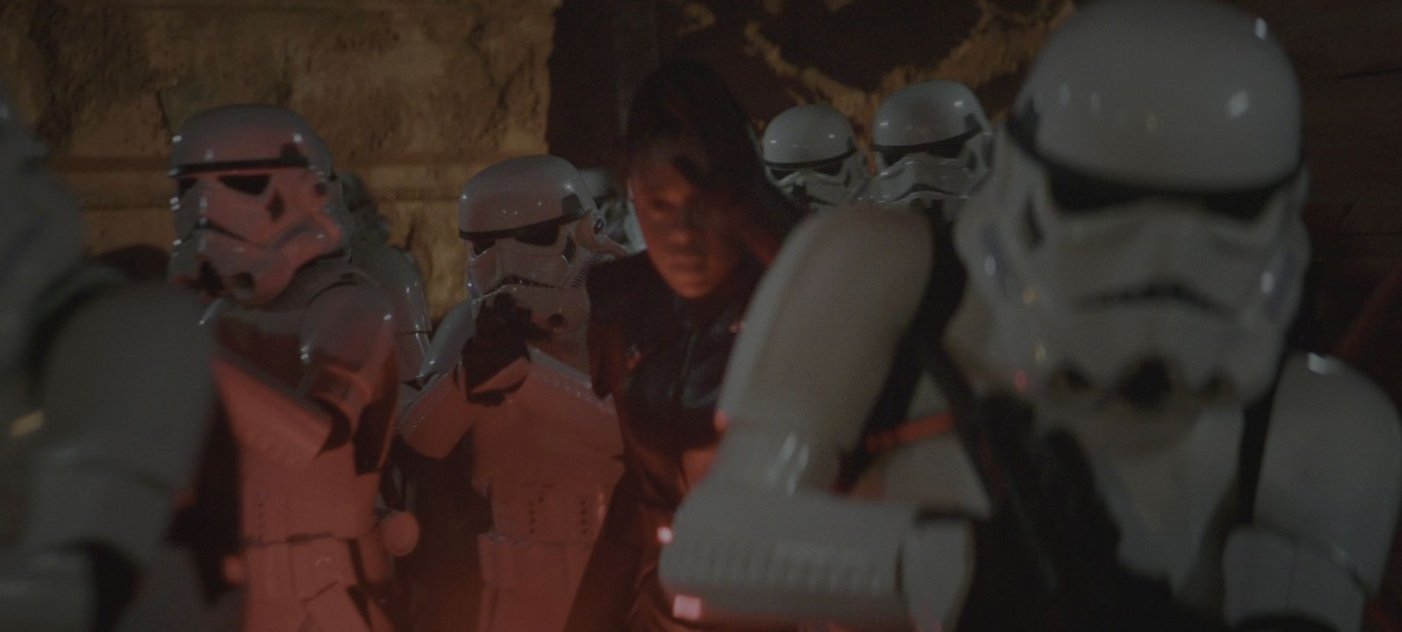
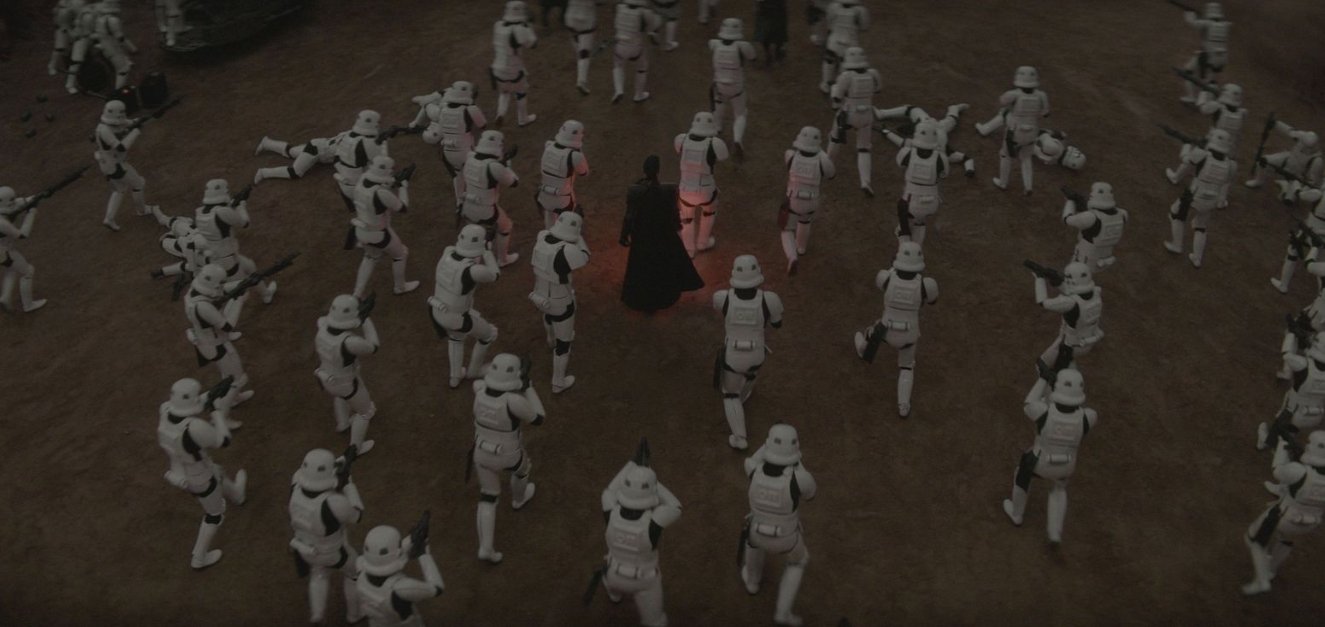
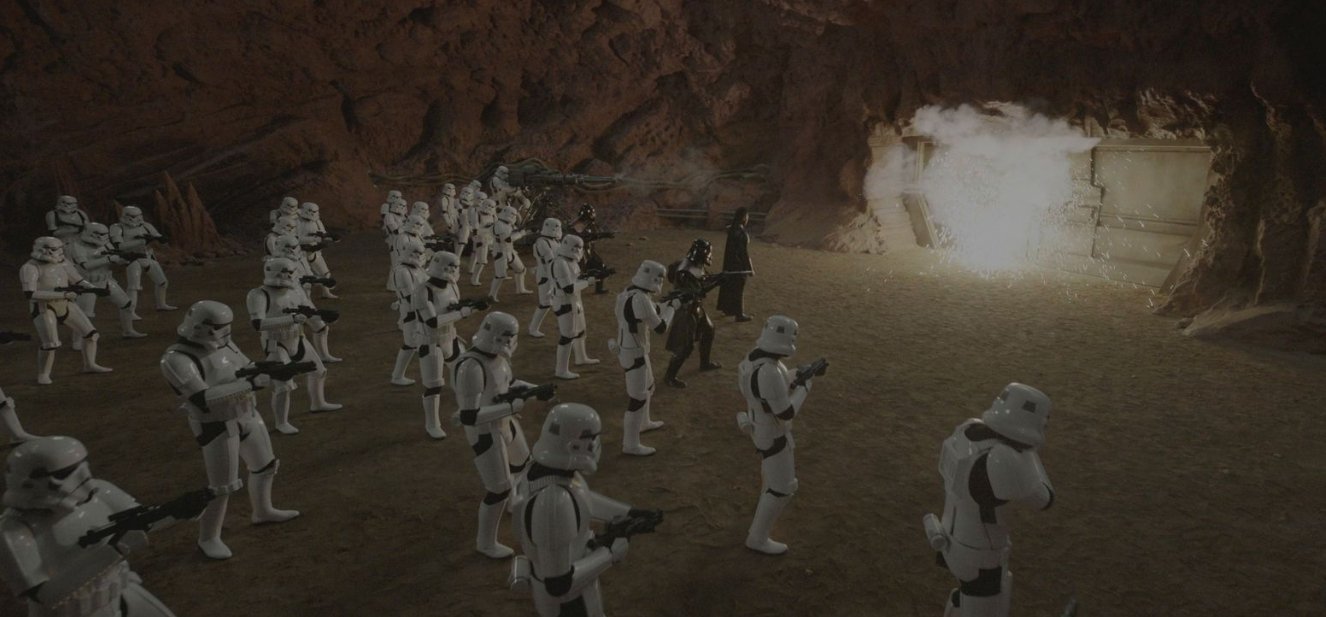
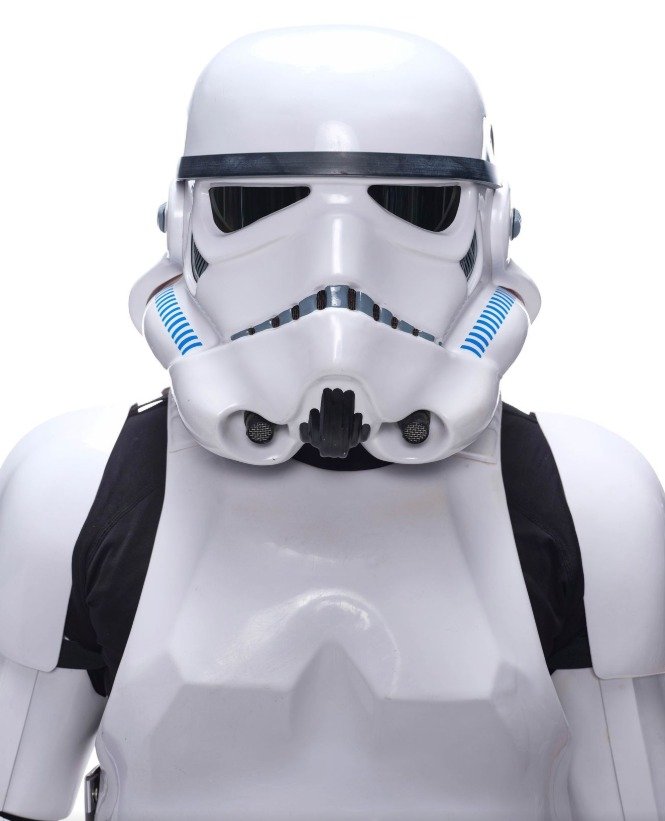
OBI-WAN KENOBI (2022): Stormtrooper Costume Ensemble with E-11 Blaster Propstore https://propstoreauction.com/lot-details/index/catalog/449/lot/157243/389-Imperial-Stormtrooper-Costume-with-E-11-Blaster-OBI-WAN-KENOBI-2022?url=%2Fsearch%3Fpage%3D2%26key%3Dstormtrooper%26xclosed%3D0 Estimate $15,000 - $30,000 Sold Price $18,000 (1 bid) An Imperial Stormtrooper costume with an E-11 blaster from Deborah Chow's Obi-Wan Kenobi. Imperial Stormtroopers wore their uniforms when they brought a large twin-barreled hover cannon to blast through the doors of the Path base in Jabiim in the Season 1 episode "Part V." One of the most anticipated new series of 2022, Obi-Wan Kenobi became the most-watched series premiere on Disney+ in its first weekend. The series was nominated for five Emmy Awards®, including for Outstanding Fantasy/Sci-Fi Costumes and Outstanding Limited or Anthology Series This costume was created by a member of the 501st Legion, a fan group dedicated to creating screen-accurate Star Wars villain costumes and whose members also portrayed many of the Stormtroopers in the series. Consisting primarily of white vacuum-formed plastic components, it includes a hand-painted helmet with a green-tinted visor; front and back chest plates; front and back abdominal plates with decorative gray and blue buttons; a pair of vacuum-formed pauldrons with a connected elastic strap; upper-arm, forearm, hand, thigh, and leg armor plates; an off-white belt with vacuum-formed dropboxes and a black holster; a removable thermal detonator; and white leather Chelsea boots. The underlayer of the costume consists of a black ribbed neck polyester dickey; a black long-sleeve polyester shirt; a black polyester/nylon belt with a plastic buckle; black polyester pants; and black gloves with silicone grip texturing. Also included is a resin foam E-11 blaster. The costume comes mounted to a mannequin for display. This costume exhibits scuffing, minor marks on several armor components, and discoloration on the boots, chipped paint on the blaster, white discoloration, adhesive residue, and loose pieces, including the Hengstler counter box. Dimensions: 33" x 18" x 72" (84 cm x 45.75 cm x 183 cm)
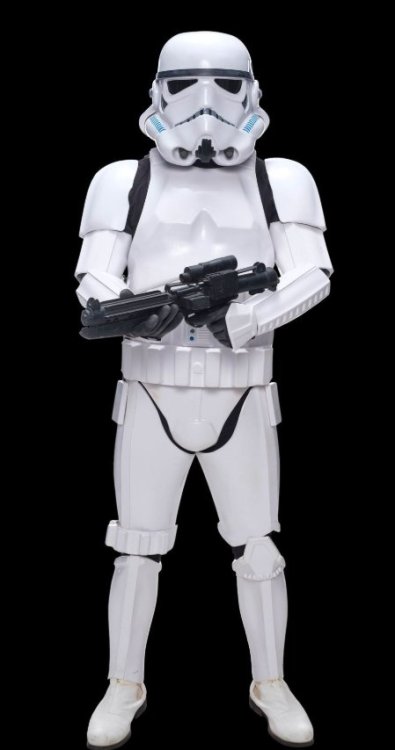
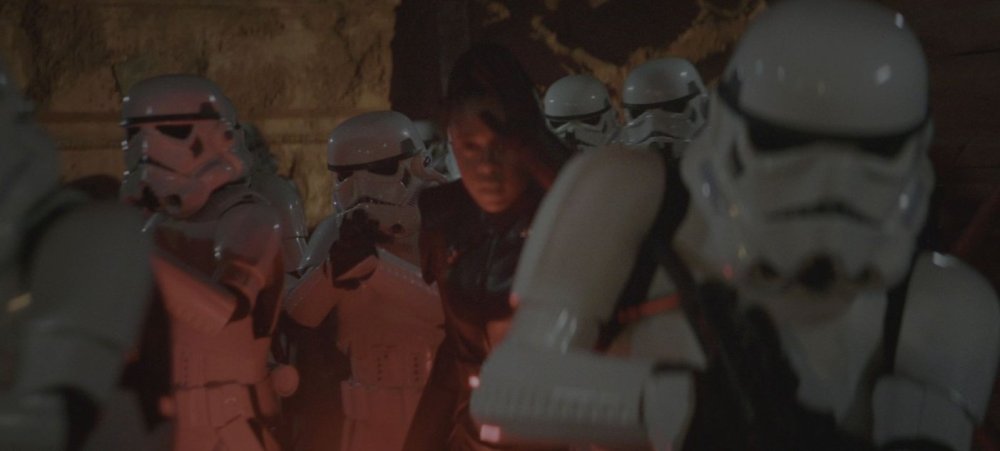
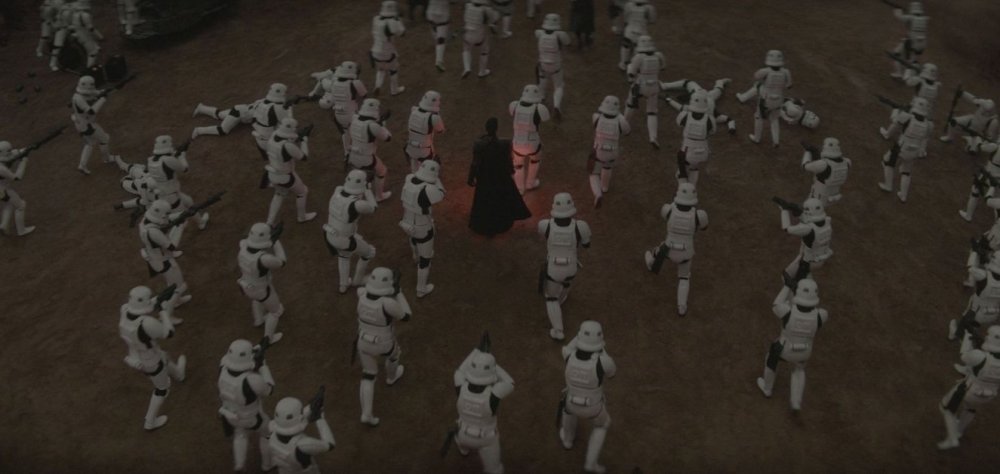
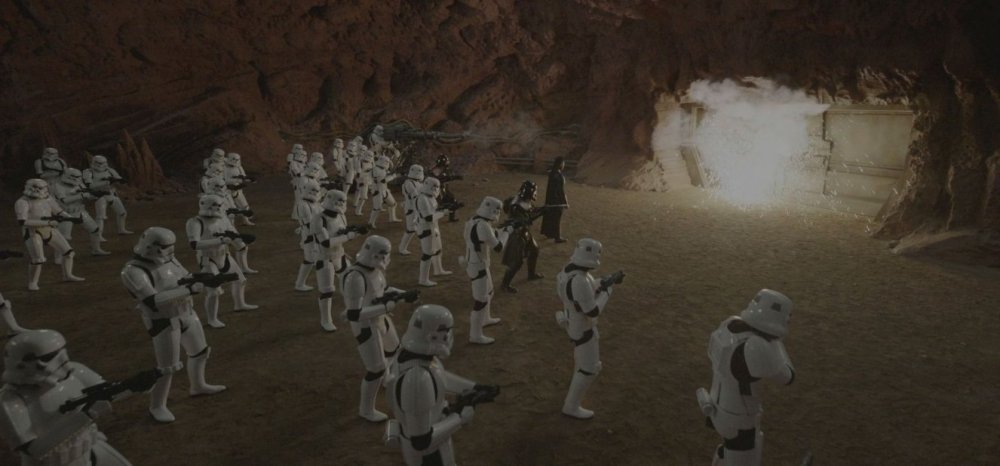
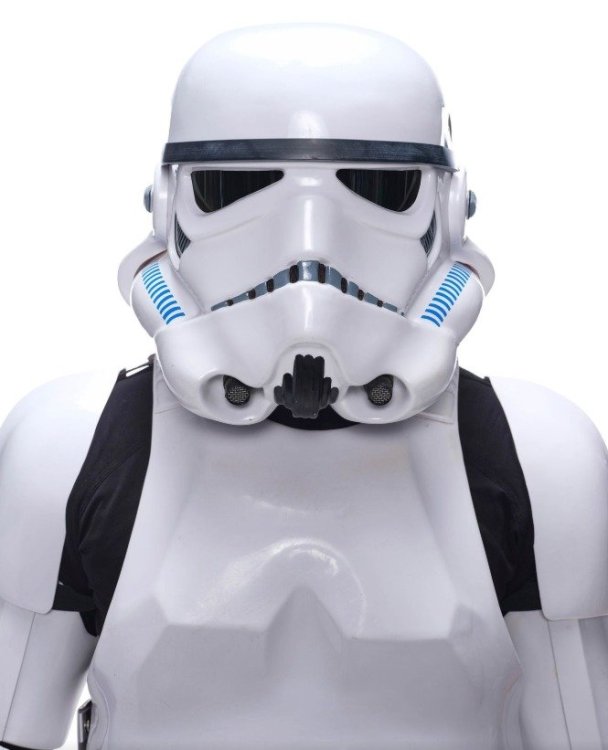
-
- 2
-

- Last week
-
TX-17241 Starting My Journey!
TK Monkus replied to dogbertwrldrulr's topic in New Member Introductions
Hey Dan, No problem! Did you order the kit pre finished by them? So it was ready to wear when you received it? That may be where I got a little confused (not that you can't change things even now!). If so, now I understand as they installed their strapping system it sounds like. I ordered the armor from RS unfinished so built and sized it all, so I never installed the RS strapping system, I went straight to the double snaps. 1. Is that elastic you used for the strapping, or nylon webbing that is more rigid? I used nylon for my strapping so there wasn't as much give as I wanted the pieces to stay pretty much where they were. The collar, butt, and side ab are elastic though. 2. Did you have to replace any of the buttons/snaps that RS provided (collar, cod/butt strap, right side)? If so, can you tell me where you got them? I know I will have to replace at least 1 and I want it to be compatible with what they have used. I did not. Even though I bought mine unfinished, I did buy their strapping pack so have all of those, and I kept those as is. Why do you think you need to replace one, and which one? If you do need to replace, you could probably ask RS to send a replacement. 3. RS internal strapping used little wire things that are screwed into the edges of the armor, did you take those out, or leave them in and just ignore them and put your straps over them? Even though I bought the RS strapping pack, I didn't end up using most of it. My armor was raw so none of that was installed. I had decided from the start, after much research and many questions, to go the double snap route and not the RS strap route. Take a look at my build thread if you'd like and you can see how I ended up strapping it and the process. I think you probably could just put snaps over the "wires" they use as if you take them out, you will need to fill those holes. -
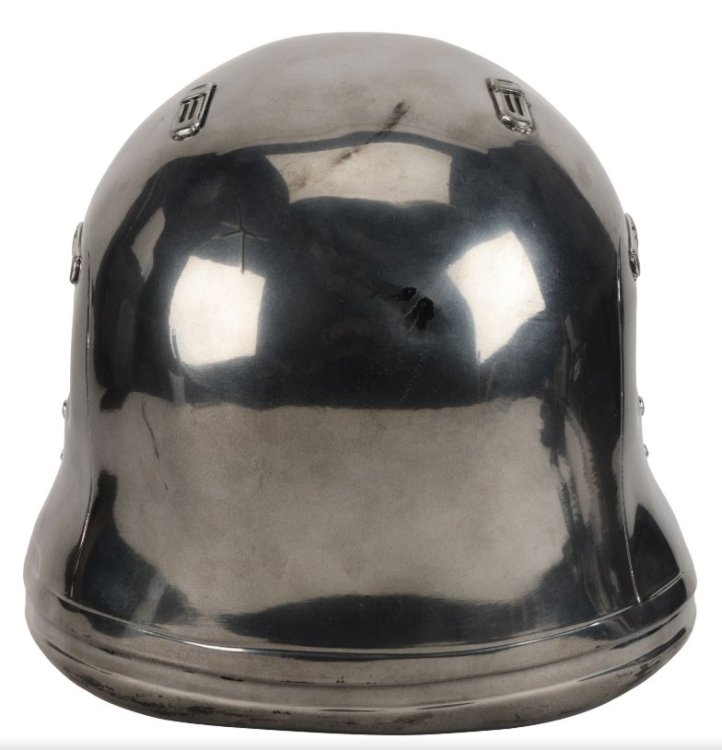
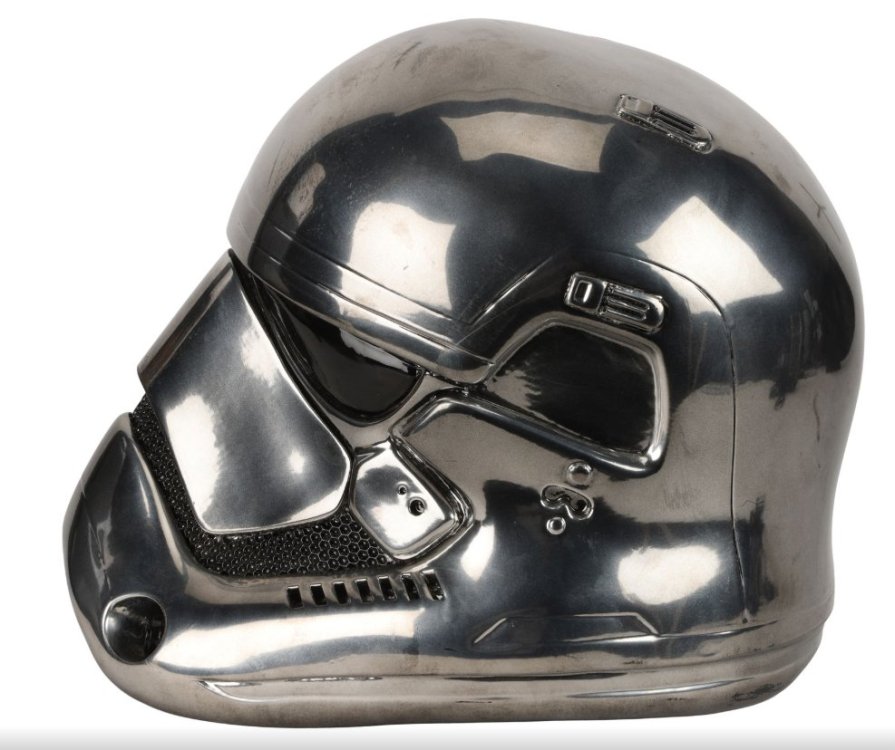
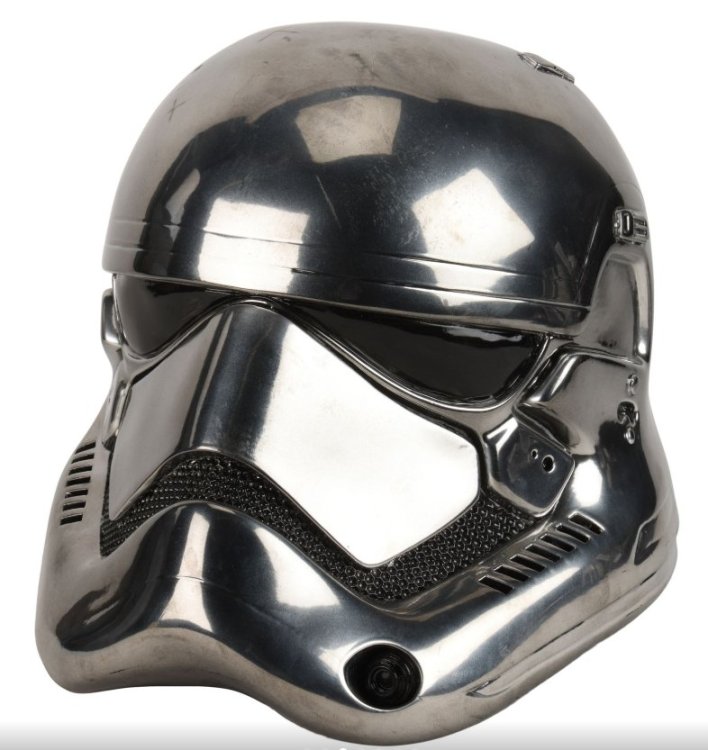
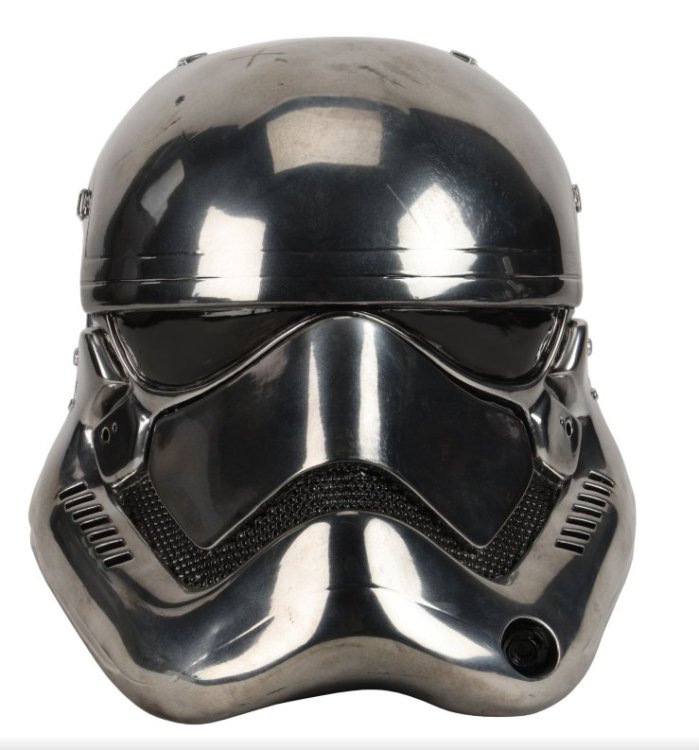
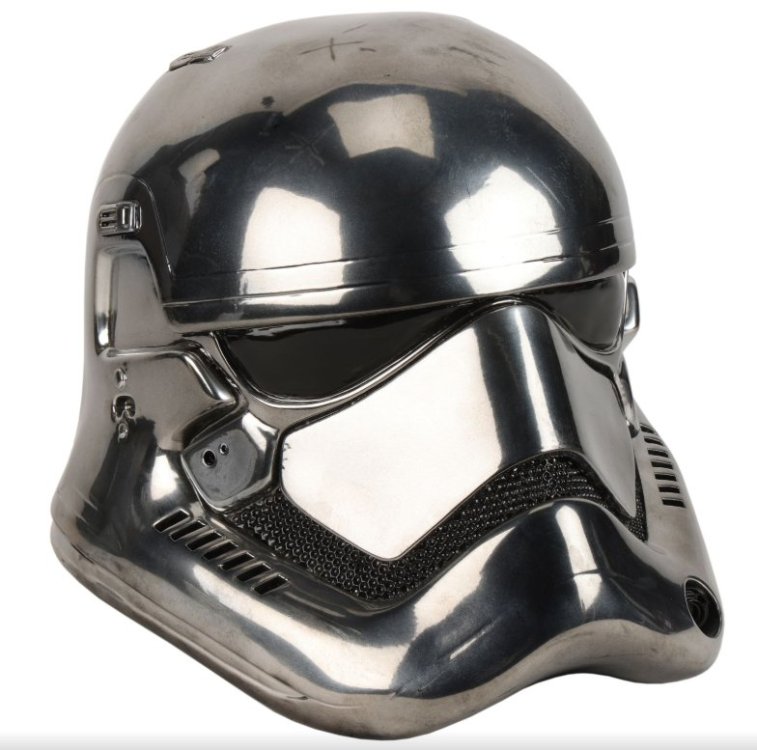
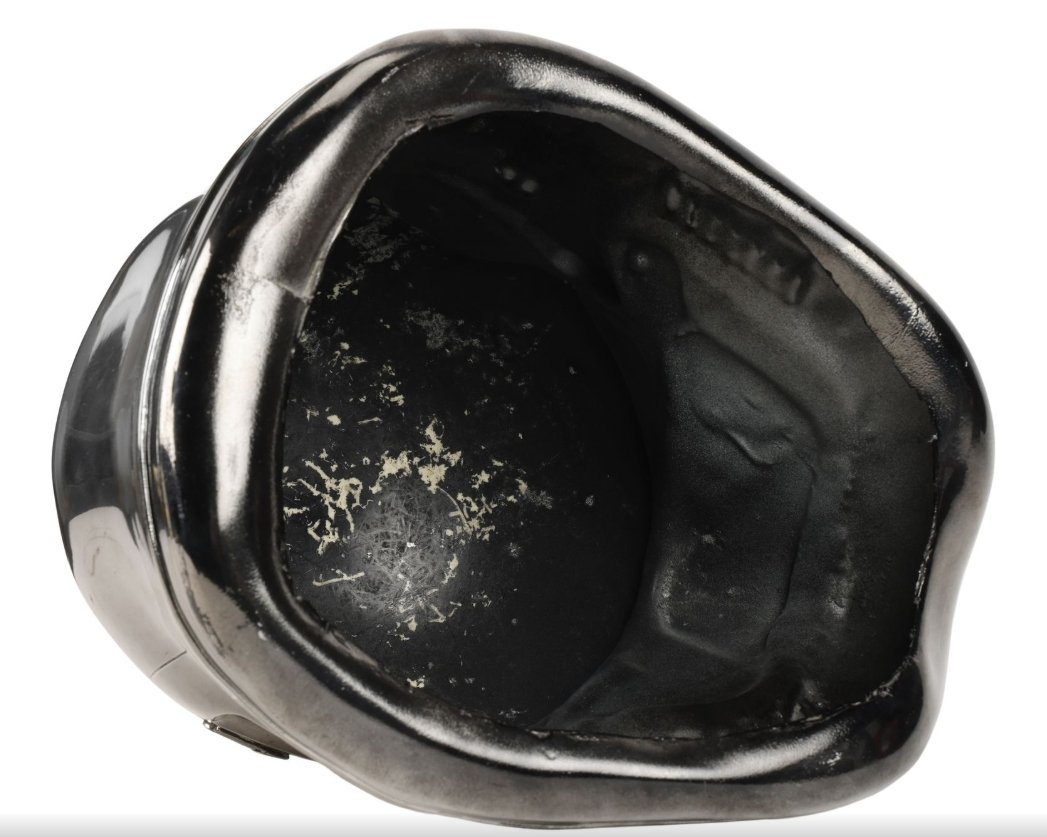
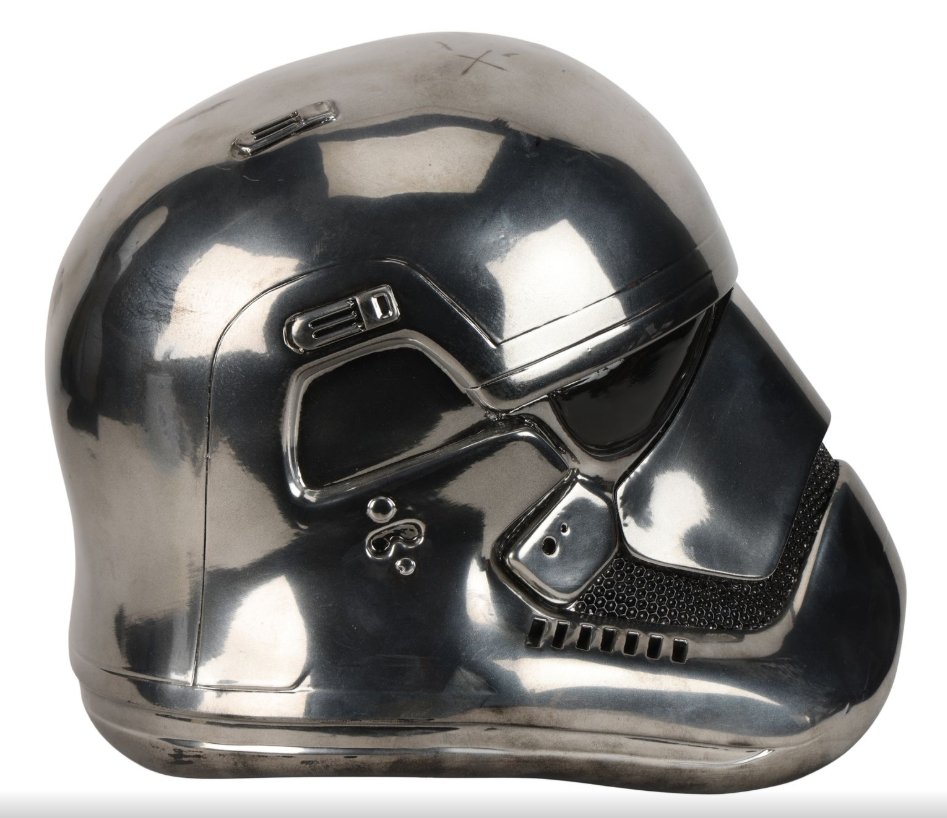
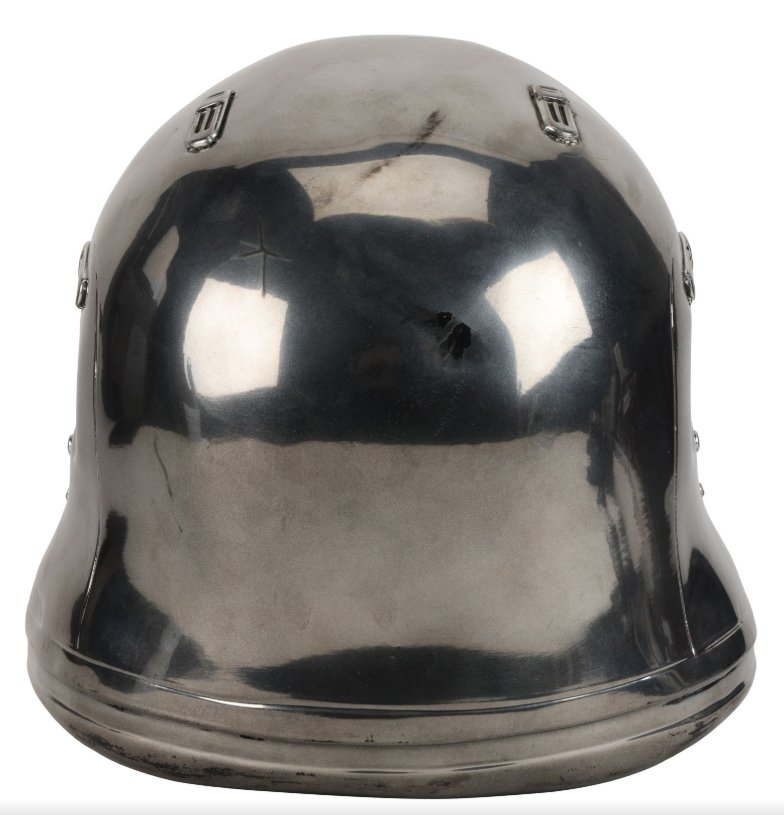
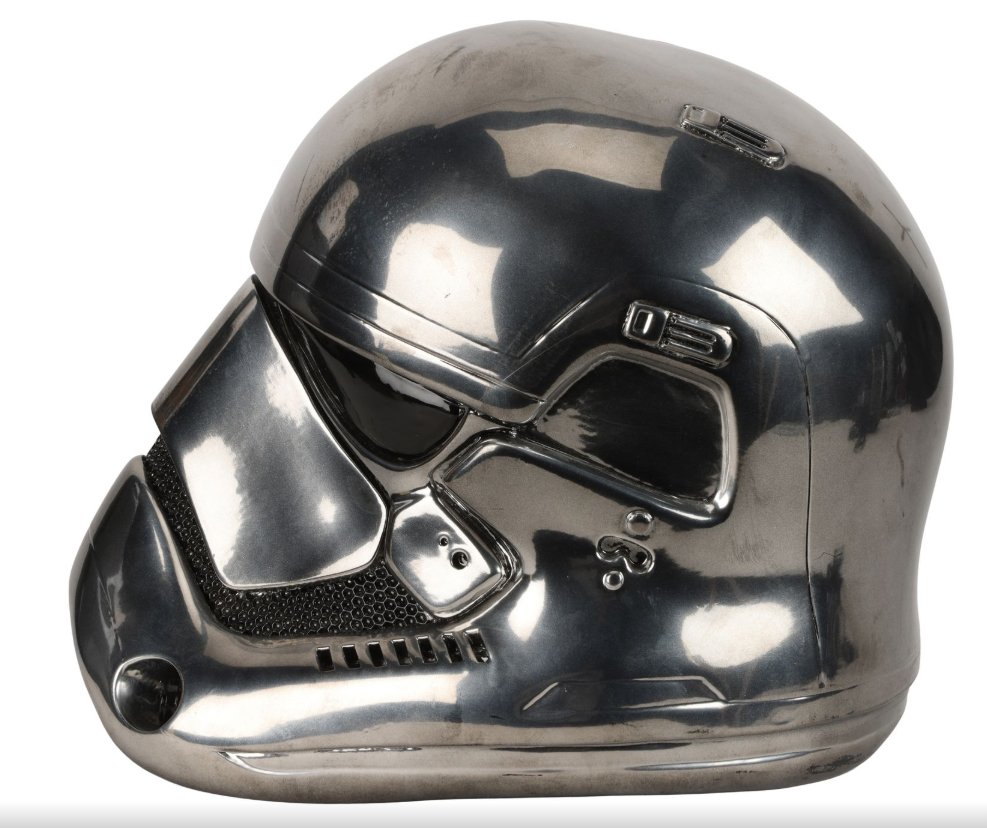
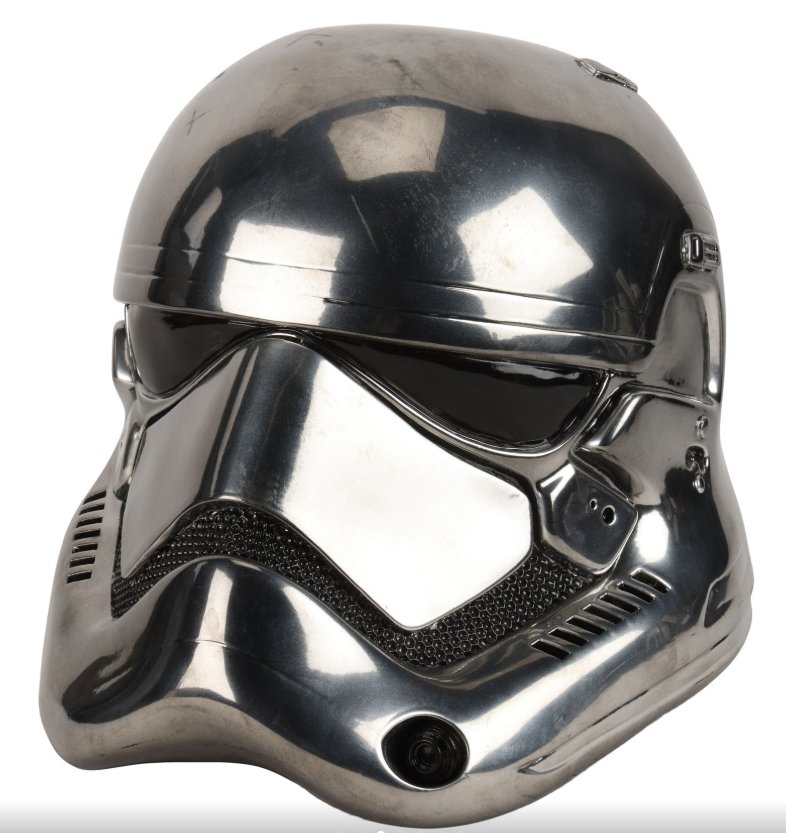
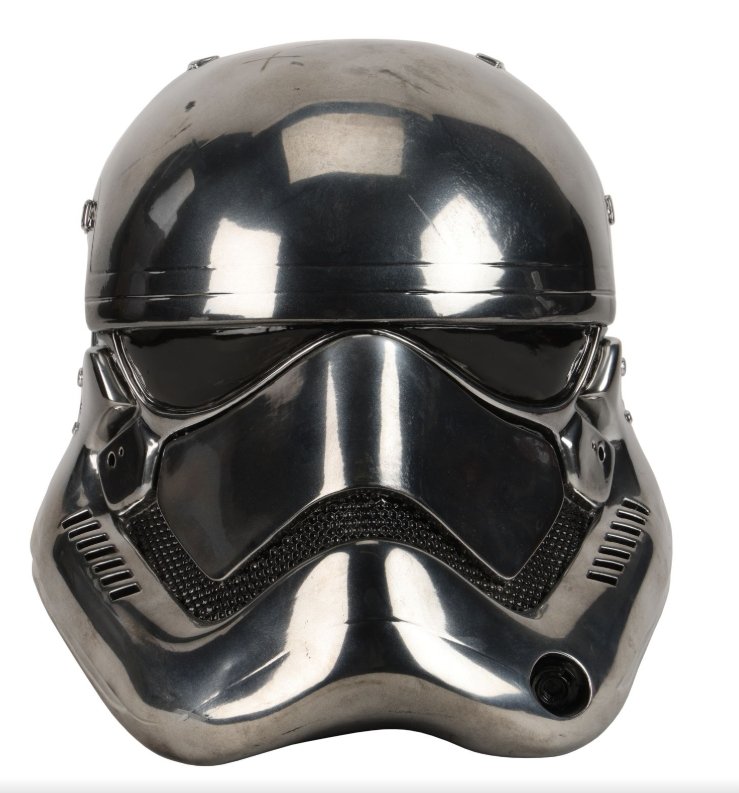
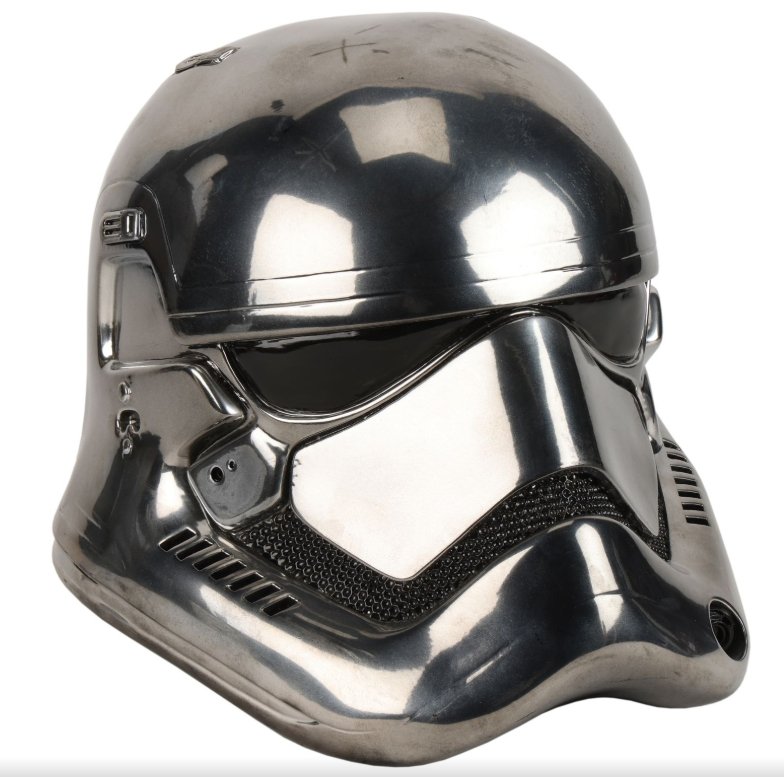
First Order Stormtrooper Helmet Chrome-Plated: SEQUEL TRILOGY (2015-2019) Propstore https://propstoreauction.com/lot-details/index/catalog/508/lot/197726/366-Chrome-Plated-Stormtrooper-Helmet-STAR-WARS-SEQUEL-TRILOGY-2015-2019?url=%2Fsearch%3Fkey%3Dstormtrooper%26xclosed%3D0&sc=449 Estimate £1,000 - 2000 Sold Price £6930 (24 bids) A chrome-plated First Order Stormtrooper helmet from the production of the Star Wars prequel trilogy. First Order stormtroopers were the infantry soldiers of the First Order, a fascist military group. The helmet is made of chrome-plated resin and was produced as a workshop sample which was ultimately unused on screen. Dimensions: 27 cm x 28 cm x 32 cm (10.5” x 11” x 12")
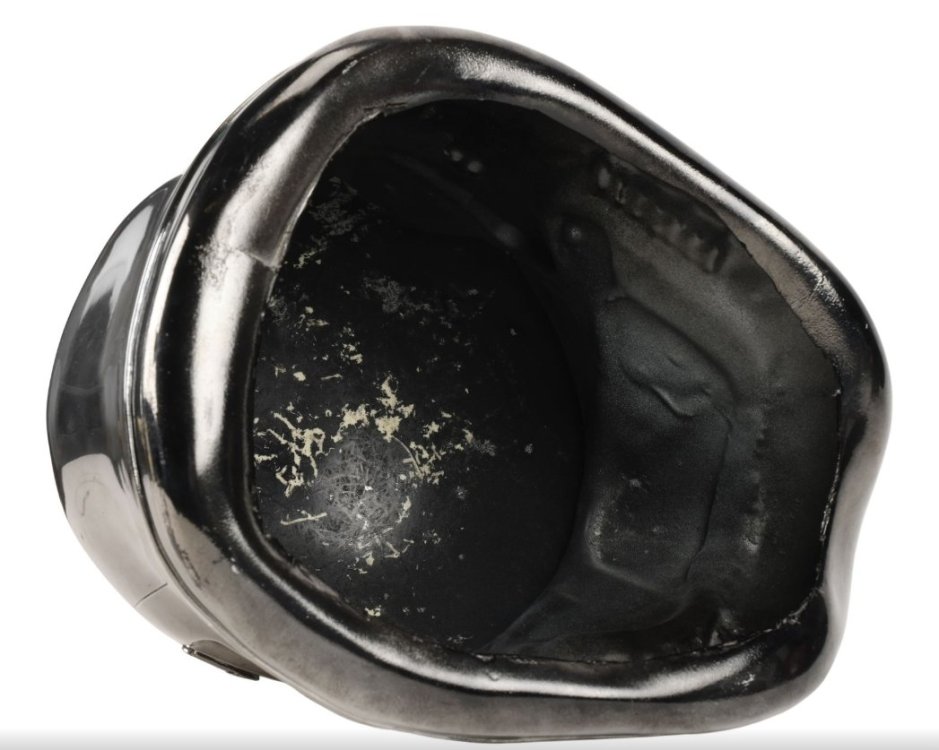
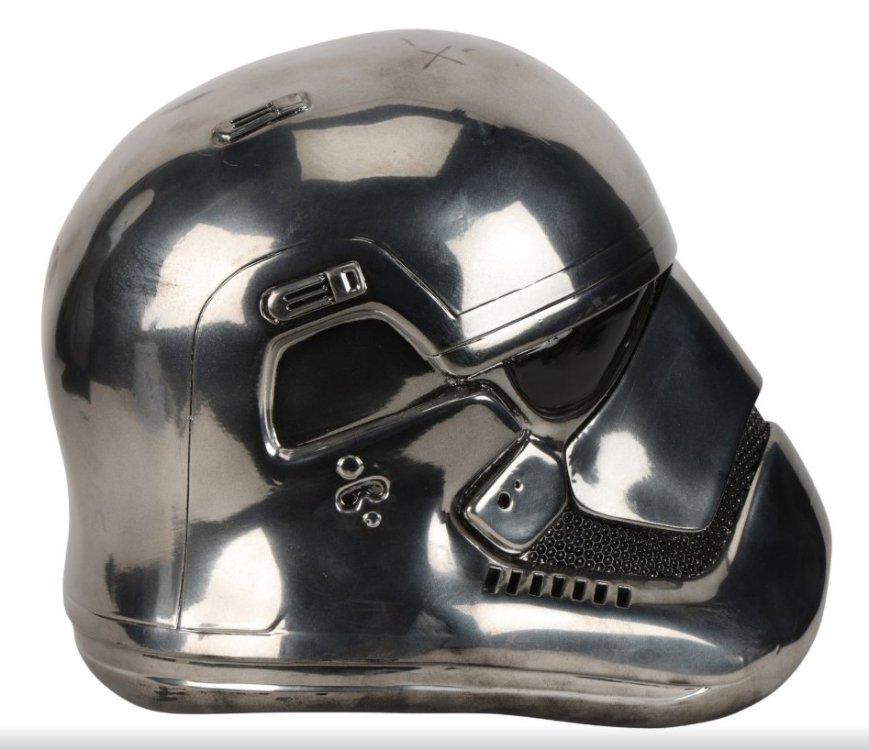
-
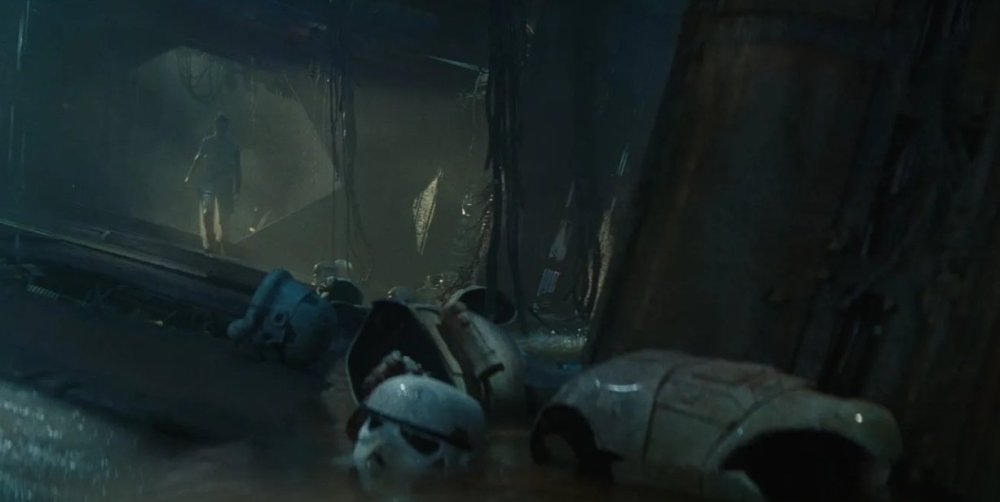
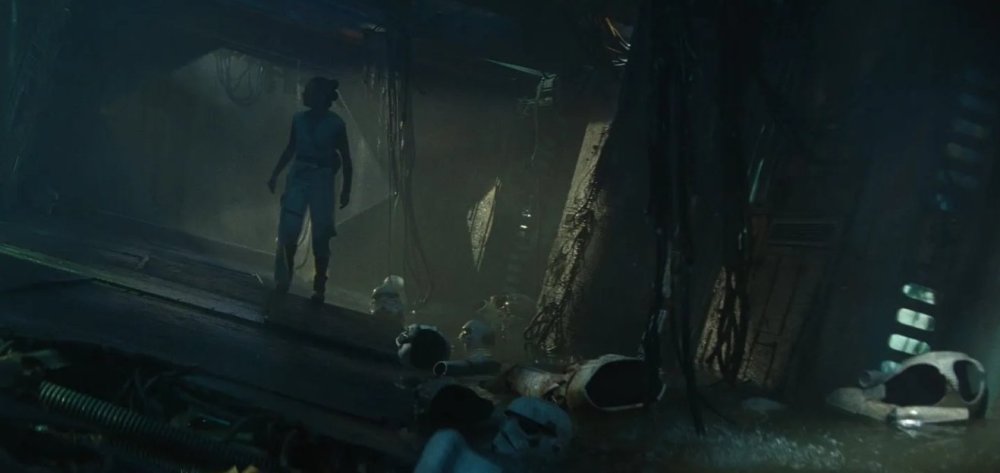
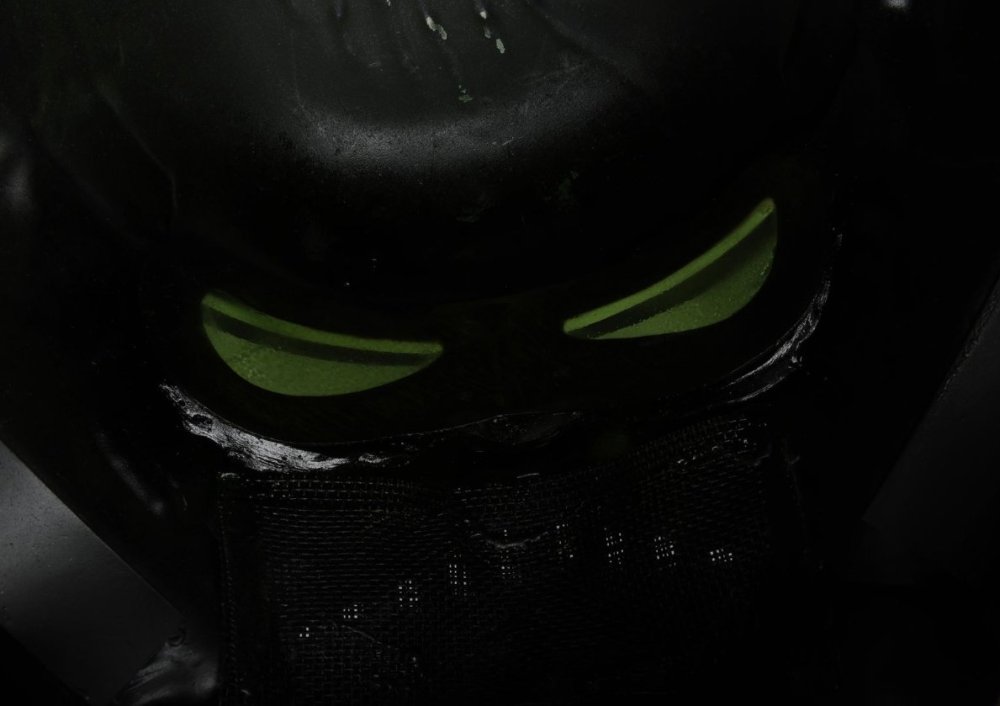
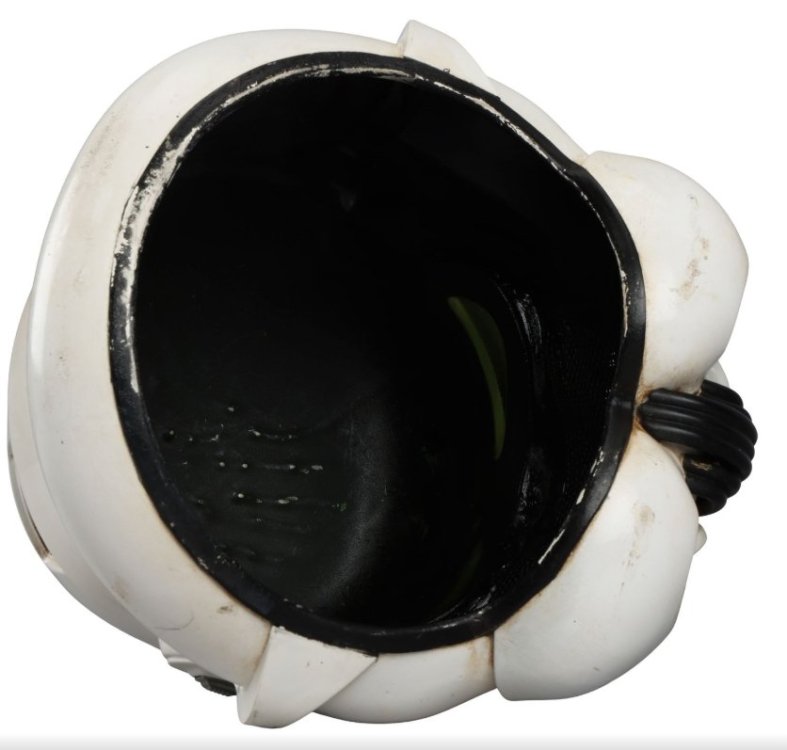
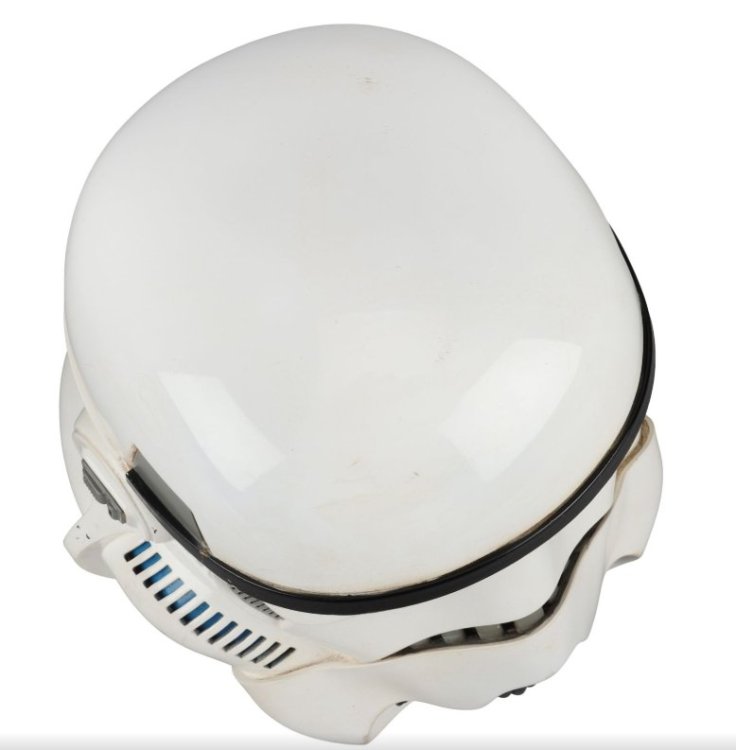
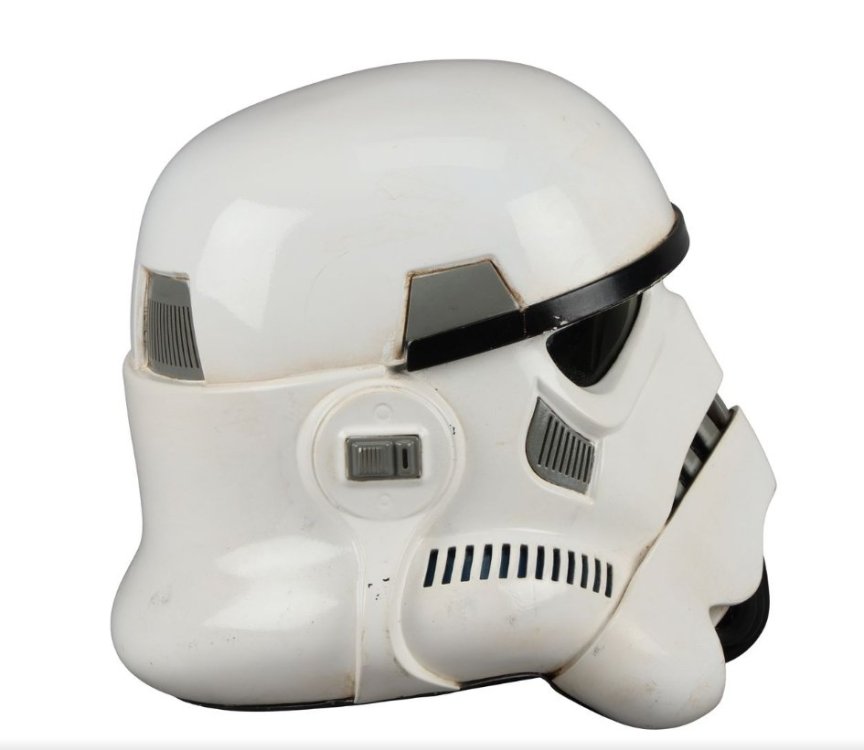
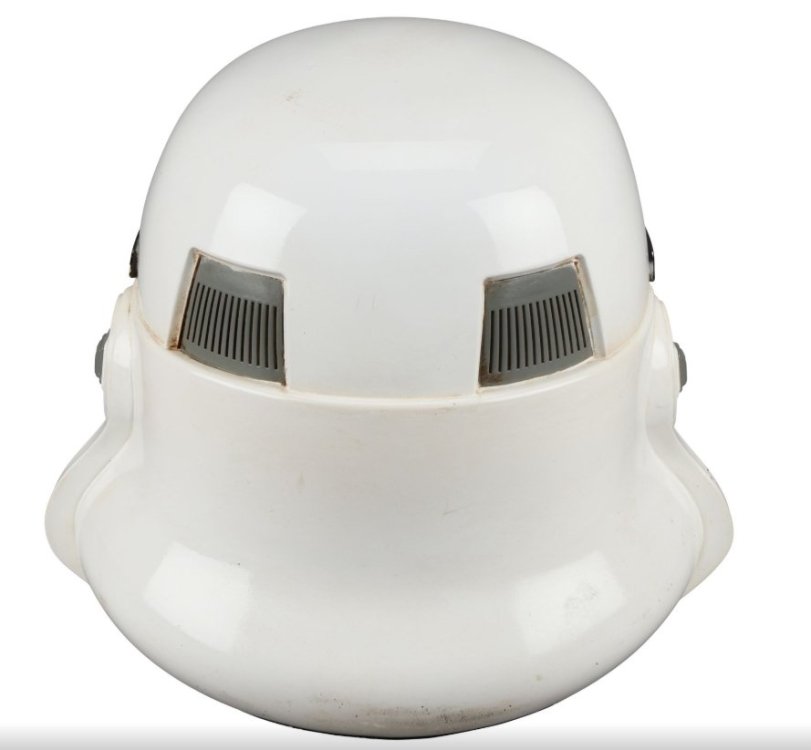
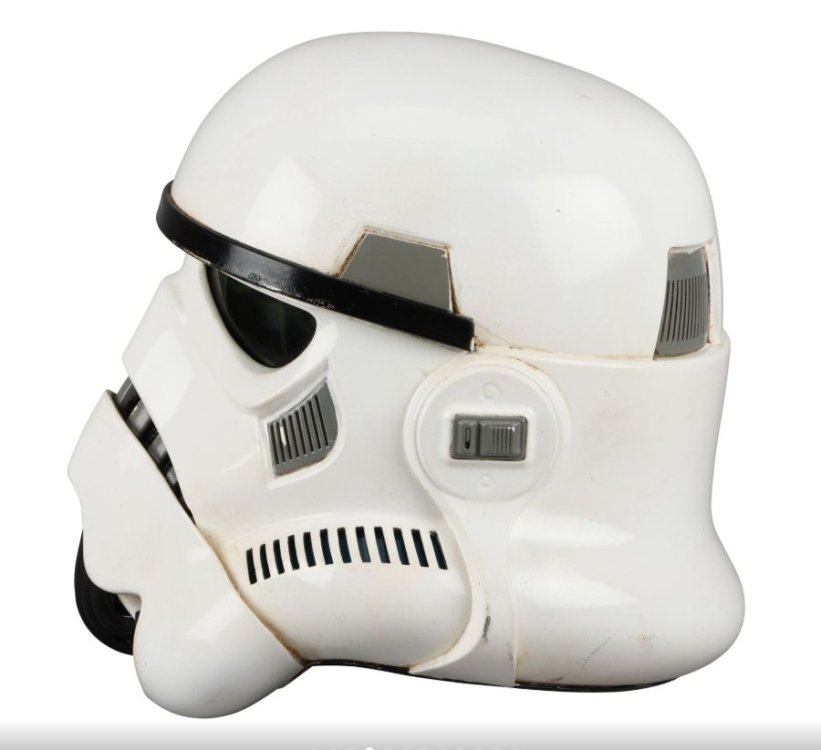
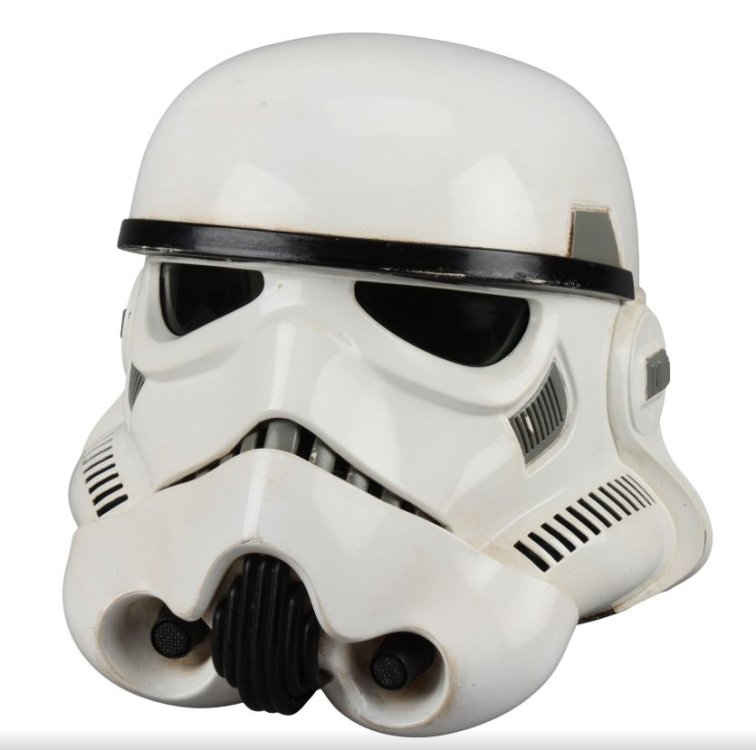
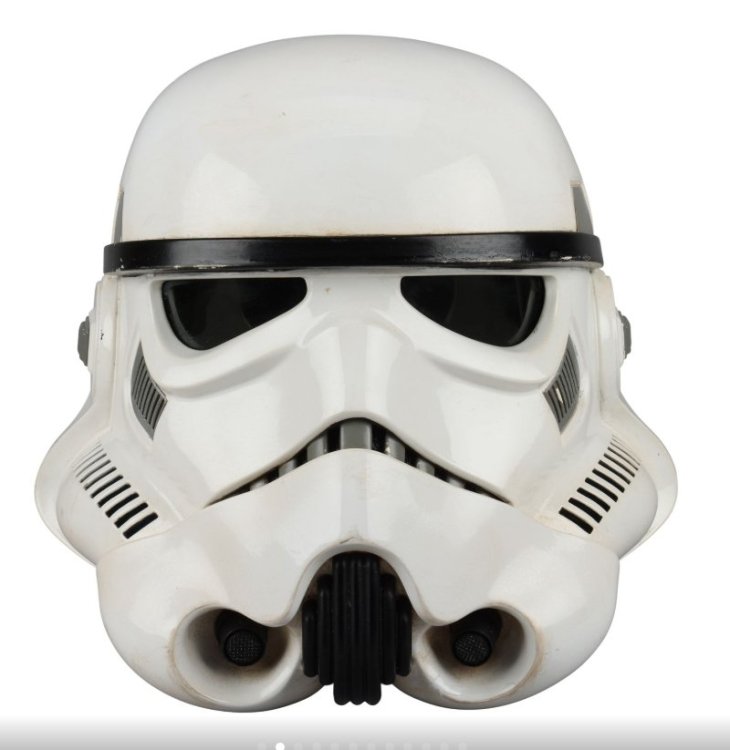
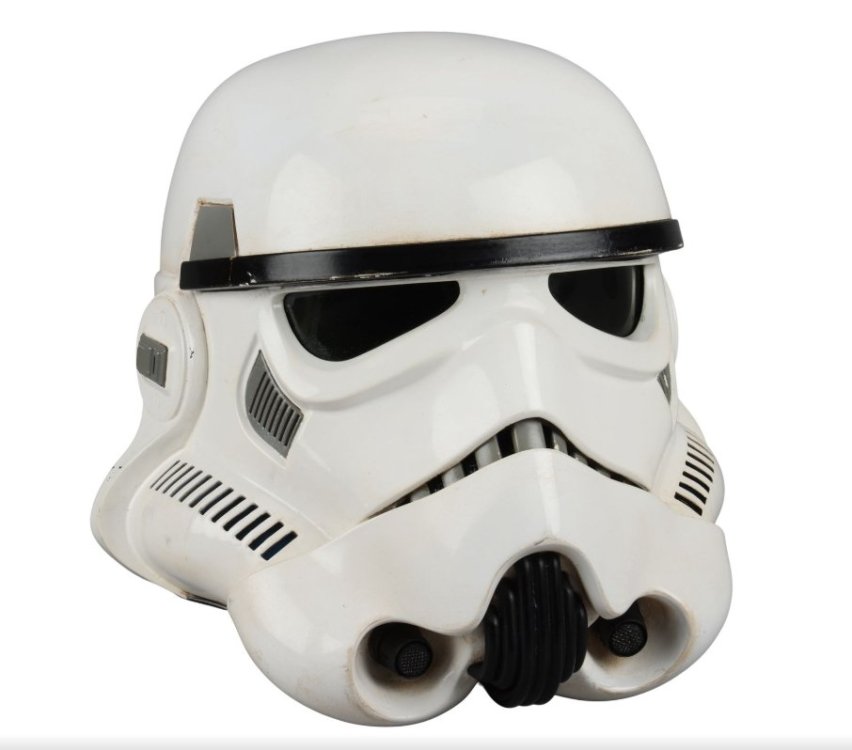
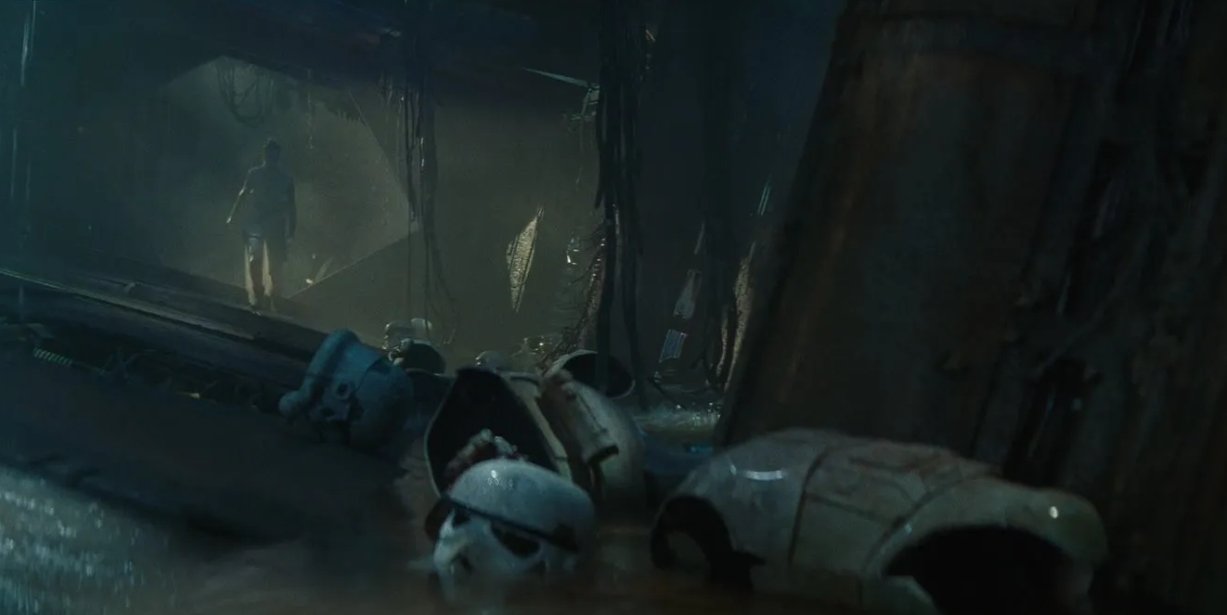
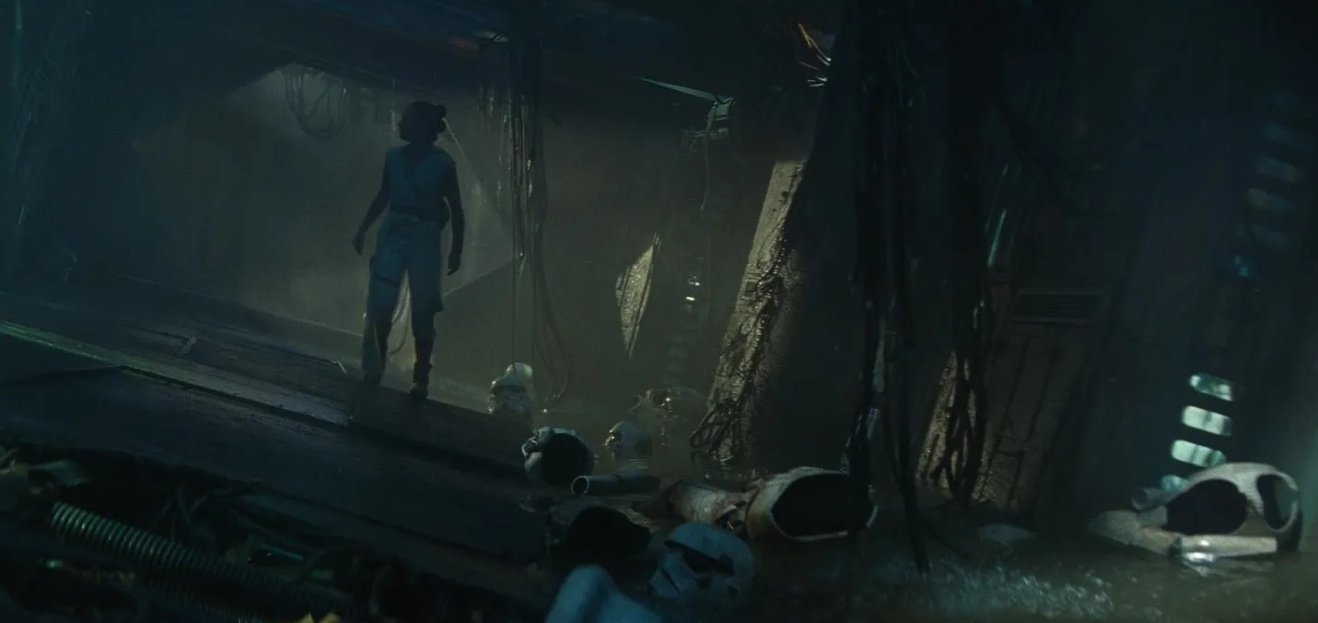
STAR WARS: TROS (2019) - Set Dressing Stormtrooper Helmet Propstore https://propstoreauction.com/lot-details/index/catalog/508/lot/197721?url=%2Fsearch%3Fkey%3Dstormtrooper%26xclosed%3D0 Estimate £2,000 - 4000 Sold Price £44,100 (26 bids) A set dressing Stormtrooper helmet from J.J. Abrams' Star Wars: The Rise of Skywalker. When Rey (Daisy Ridley) searched the Death Star ruins for the Sith Wayfinder, original Stormtrooper helmets littered the floor. The original Stormtroopers were part of George Lucas' earliest concepts for Star Wars, which he conveyed to seminal designer Ralph McQuarrie, who memorialised them in a series of concept sketches and production paintings before the famous costumes were produced. The presence of original Stormtrooper helmets in the scene mentioned above is a subtle yet significant nod to the original films that die-hard Star Wars fans would have spotted. This helmet is made by slush casting fibreglass and resin, which involves pouring the liquid form of the material into a mould, then rotating it to form the finished shape. It was designed specifically for set dressing rather than for use by an actor. Dimensions: 30.5 cm x 31 cm x 30 cm (12" x 12.25" x 11.75")
-
- 1
-

-
File Name: Star Wars Jedi Training Droid Designer: EssentialCrafter Last Update: 15/07/2026 File: https://makerworld.com/en/models/3055433-star-wars-jedi-training-droid?from=search#profileId-3437672 Description: Here is something a little different a Star Wars training droid from the iconic movie that I incorporated led lights in the inside that are color changing to give it the realistic look and effect, there are 2 profiles one with a larger hole to pass lights through and the other which I did where a passed the lights through one of the laser holes, I used some led light strips from amazon that were battery operated with a remote. Images:
-
TX-17241 Starting My Journey!
dogbertwrldrulr replied to dogbertwrldrulr's topic in New Member Introductions
Thank you for the information, and I appreciate you reaching out and commenting. I know in some of the pictures I sent that the armor is misaligned, those are what I have been sending to RS to help me with the strapping based on their feedback (which has stopped after 2 whole emails). I do plan on replacing the internal straps and have been poking around looking at what others have done before I cut what they provided. A couple of questions for you... 1. Is that elastic you used for the strapping, or nylon webbing that is more rigid? 2. Did you have to replace any of the buttons/snaps that RS provided (collar, cod/butt strap, right side)? If so, can you tell me where you got them? I know I will have to replace at least 1 and I want it to be compatible with what they have used. 3. RS internal strapping used little wire things that are screwed into the edges of the armor, did you take those out, or leave them in and just ignore them and put your straps over them? Thank you! -
 Elena Foster joined the community
 -
 danmulvey joined the community
 -
Sha Sha's (Slow) KB/850/3D printed FOTK Build for Short Troopers
shashachu replied to shashachu's topic in TFA Build Threads
Yeah before I got the toaster oven I tried to use a heat gun. It was difficult to heat it evenly but worked surprisingly well to just heat the plastic then stretch it over the mold with my hands.



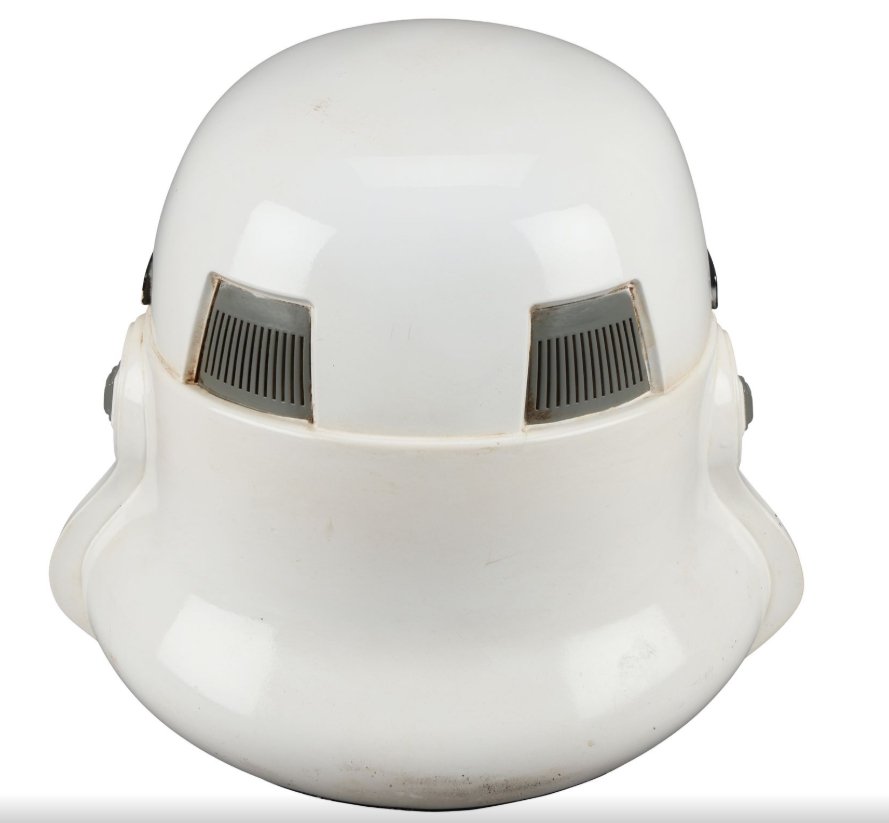
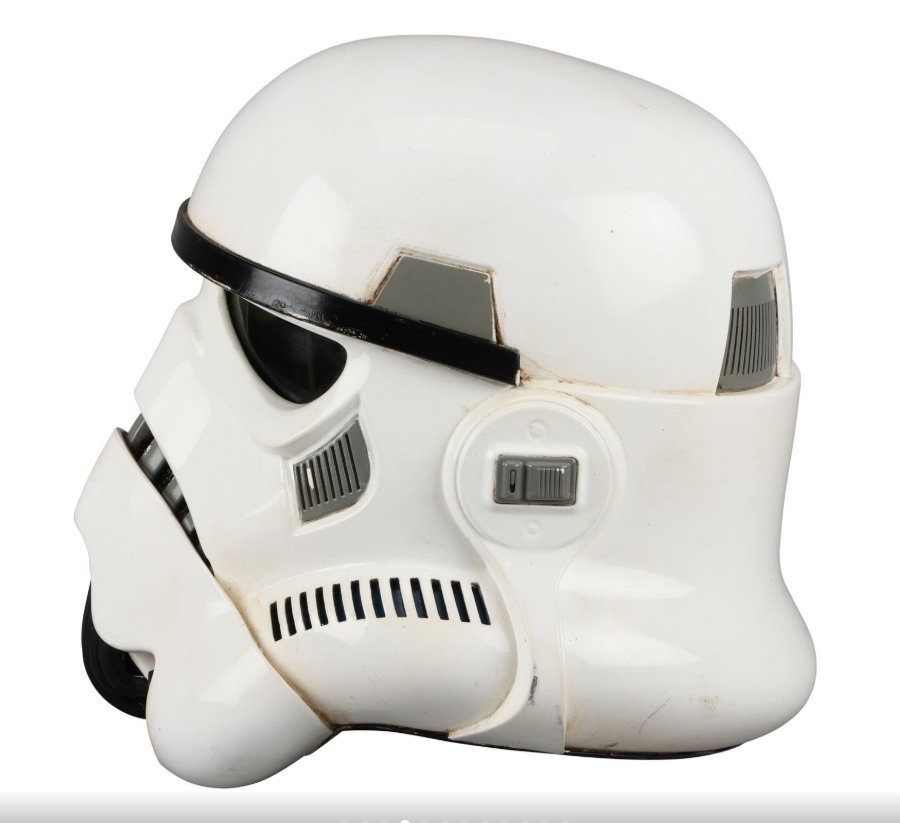
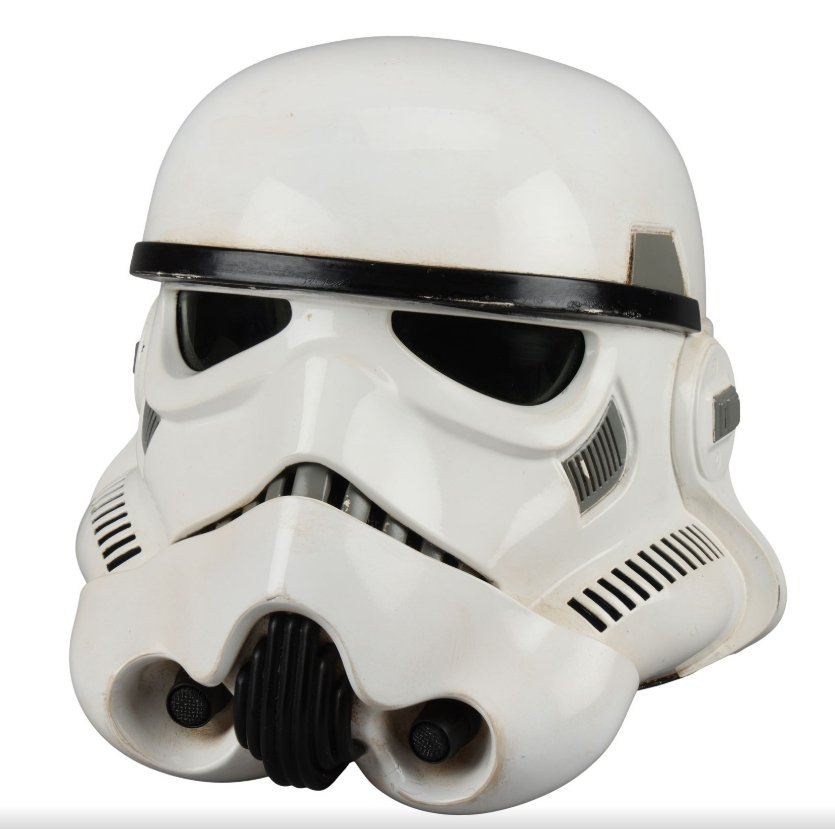
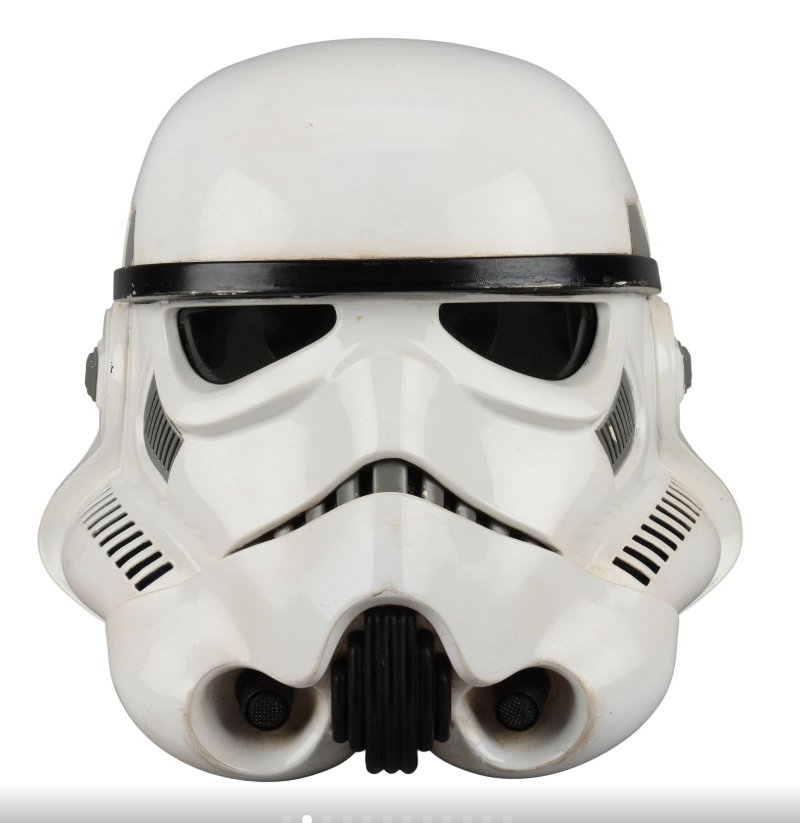
-
Albums
-
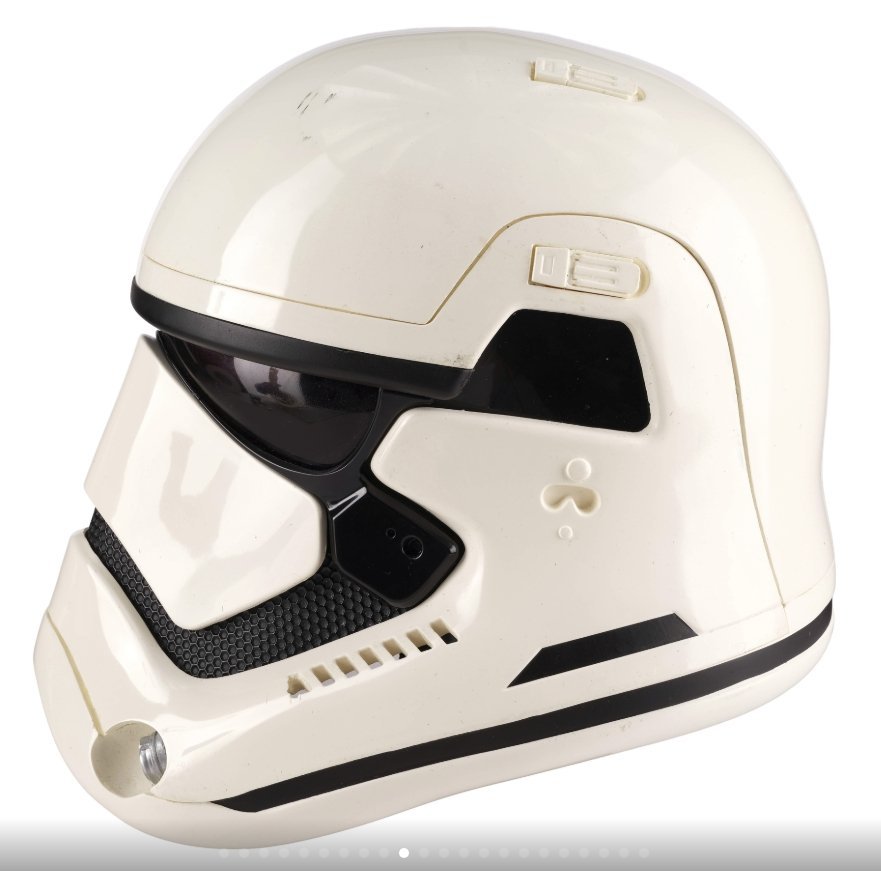
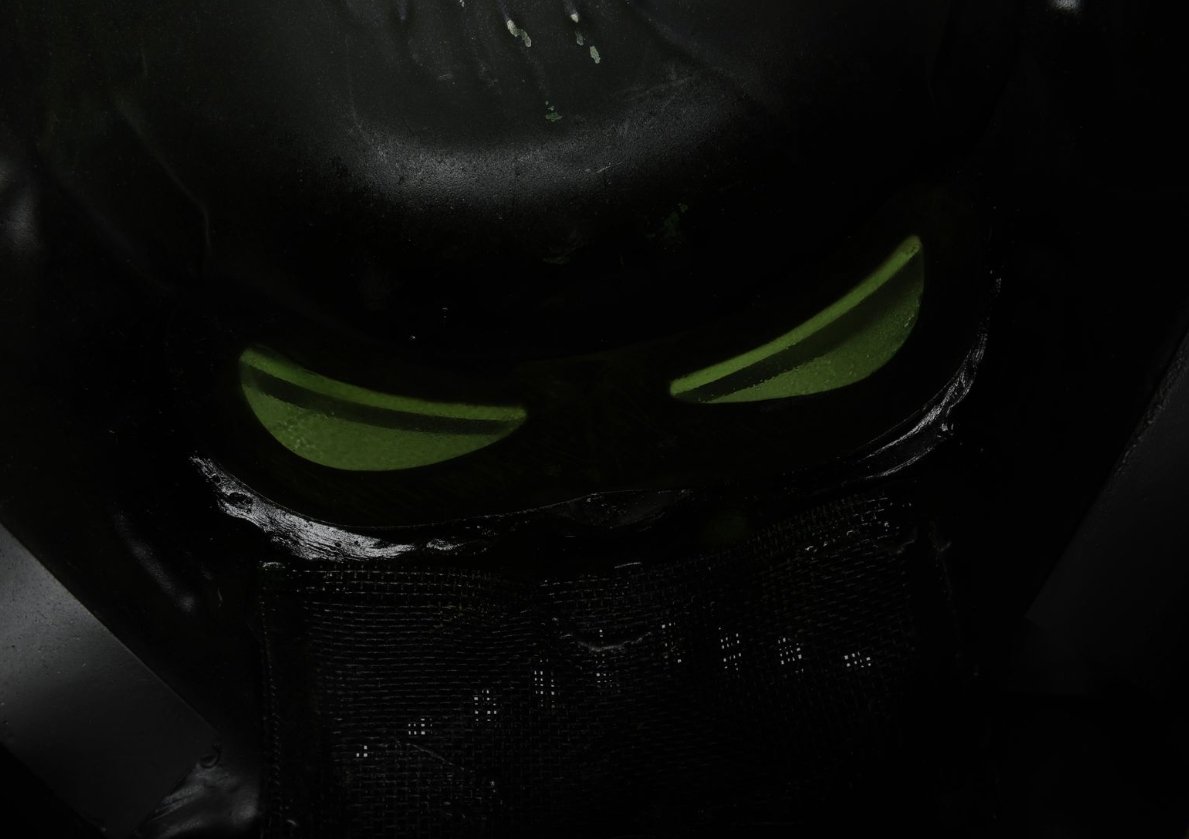
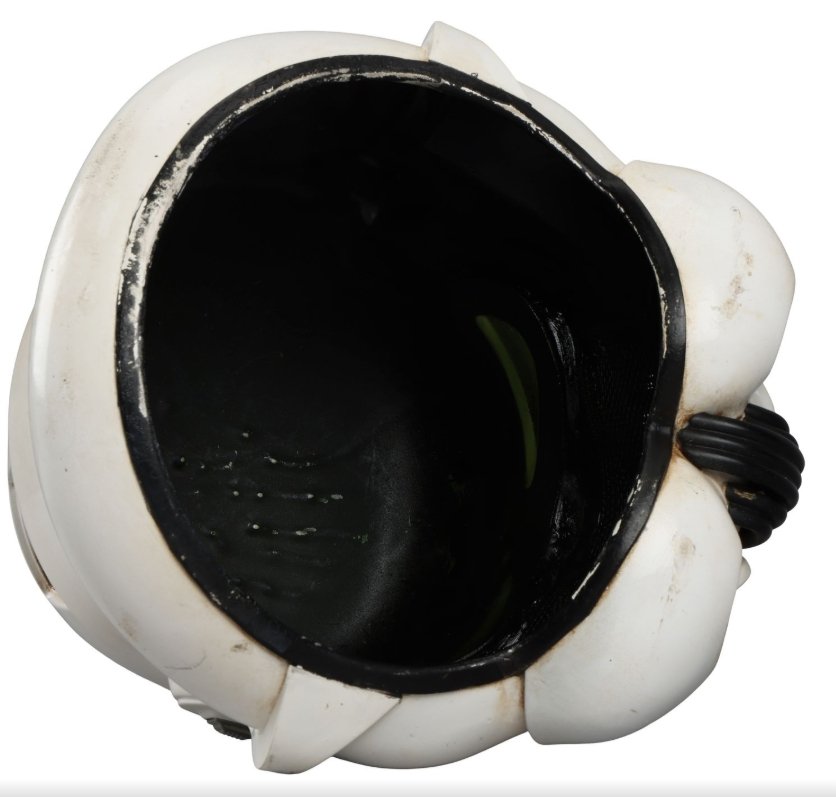
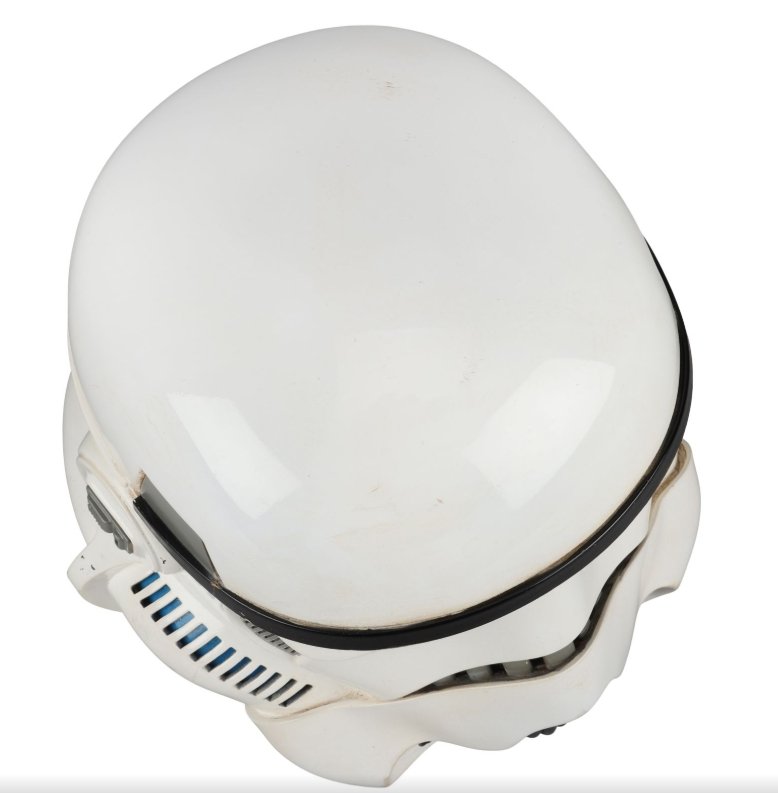
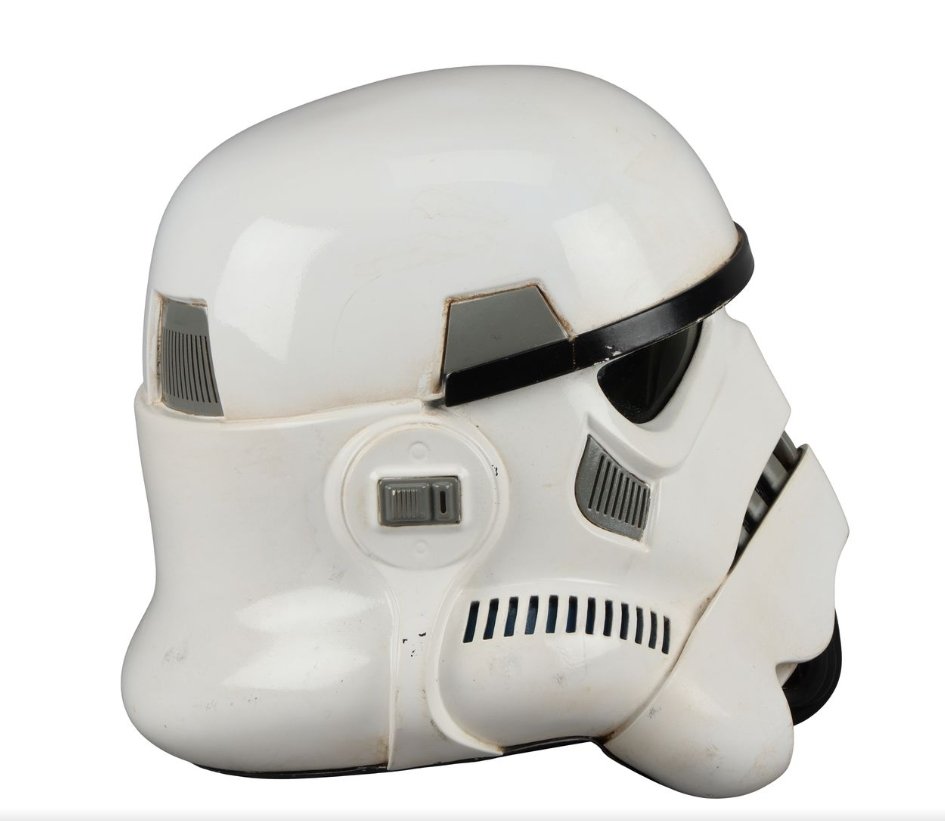
TFA Screen Used Helmet- Propstore Auction
- By gmrhodes13,
- 0
- 0
- 6
-

Andor Behind the scene Credit Makinarium UK
- By Sly11,
- 0
- 0
- 3
-

ILM-Made Stormtrooper Appearance Costume 1995
- By gmrhodes13,
- 0
- 22
-
.jpg.4442dc5fe3f1c7f833bba442847f56e5.jpg)
R1 Visual Dictionary, Promo & Behind The Scenes
- By gmrhodes13,
- 0
- 0
- 45
-

ANH Hero Helmet - Hovi & Mesh Coloring
- By gmrhodes13,
- 0
- 0
- 11
-