
Easy
-
Posts
80 -
Joined
-
Last visited
About Easy

Recent Profile Visitors

-

We want your Troop photos for our 15th anniversary project
Easy replied to Sly11's topic in Announcements
POST 22 1. 2. 3. 4. 5. 6. 7. 8. -
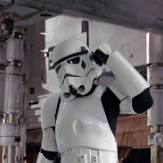
Now I’m making some changes to work toward centurion. To reach that I’m told I need to close the gap in the shoulder bells and get the shins lower. To do that I’m trimming the shoulder bells shorten the top and follow the contours of the chest and back plates. Next day: Trimmed out the tops and contoured them a little. This is with the straps reattached ANH hung in place. Once I test fit it to me I’ll know if any more trimming is needed. I put a piece of Velcro on the boots and inside the shins to keep them down and centered. I also trimmed out the top rear area like the screen used stunt kits. Next day: Both done now. I also trimmed a higher arc I’ve the heels. They don’t get pushed up when walking now. Pushing up sometimes made the backs open up as the narrow bottom area was pushed over the wider calf area. That takes care care of the gaps that were there (below picture). I’ll be trimming the thighs the same way. This will increase mobility and lessen the stress on the kit when moving I neatened up the vocoder paint as well. Before
-
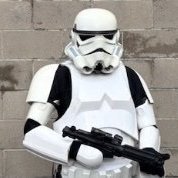
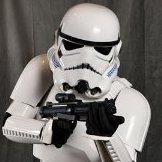
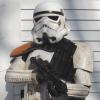
After some tweaking and tidying up I achieved EIB. Here’s some of the things I did to get there. I cleaned up the frown paint paint to keep it only on the teeth. Replaced the damaged and short brow with a new one from Trooperbay. I built a 3D printed E-11 blaster.
-
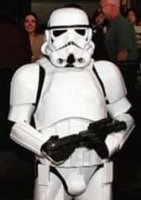
TK 46165 requesting ANH Stunt EIB status [920]
Easy replied to Easy's topic in Request Expert Infantry Status
I took the teeth paint down some to remove the excess area covered. I also replaced my brow with a new Trooperbay brow. The blaster that I’m submitting is the 3D print I built. -
TK 46165 requesting ANH Stunt EIB status [920]
Easy replied to Easy's topic in Request Expert Infantry Status
Here is my main blaster. -
TK 46165 requesting ANH Stunt EIB status [920]
Easy replied to Easy's topic in Request Expert Infantry Status
This one seems slightly lighter. Both good trooping weight though. This one is ready for paint now. -
TK 46165 requesting ANH Stunt EIB status [920]
Easy replied to Easy's topic in Request Expert Infantry Status
There are two blasters I’ll be using depending on the event. The complete prop and I’m including my current project that has lights and sound. This is the prop: This is the more functional unit still in progress. This is a kit from Raymond Hebert BlasterMaster. -
TK 46165 requesting ANH Stunt EIB status [920]
Easy replied to Easy's topic in Request Expert Infantry Status
On my to do list. -
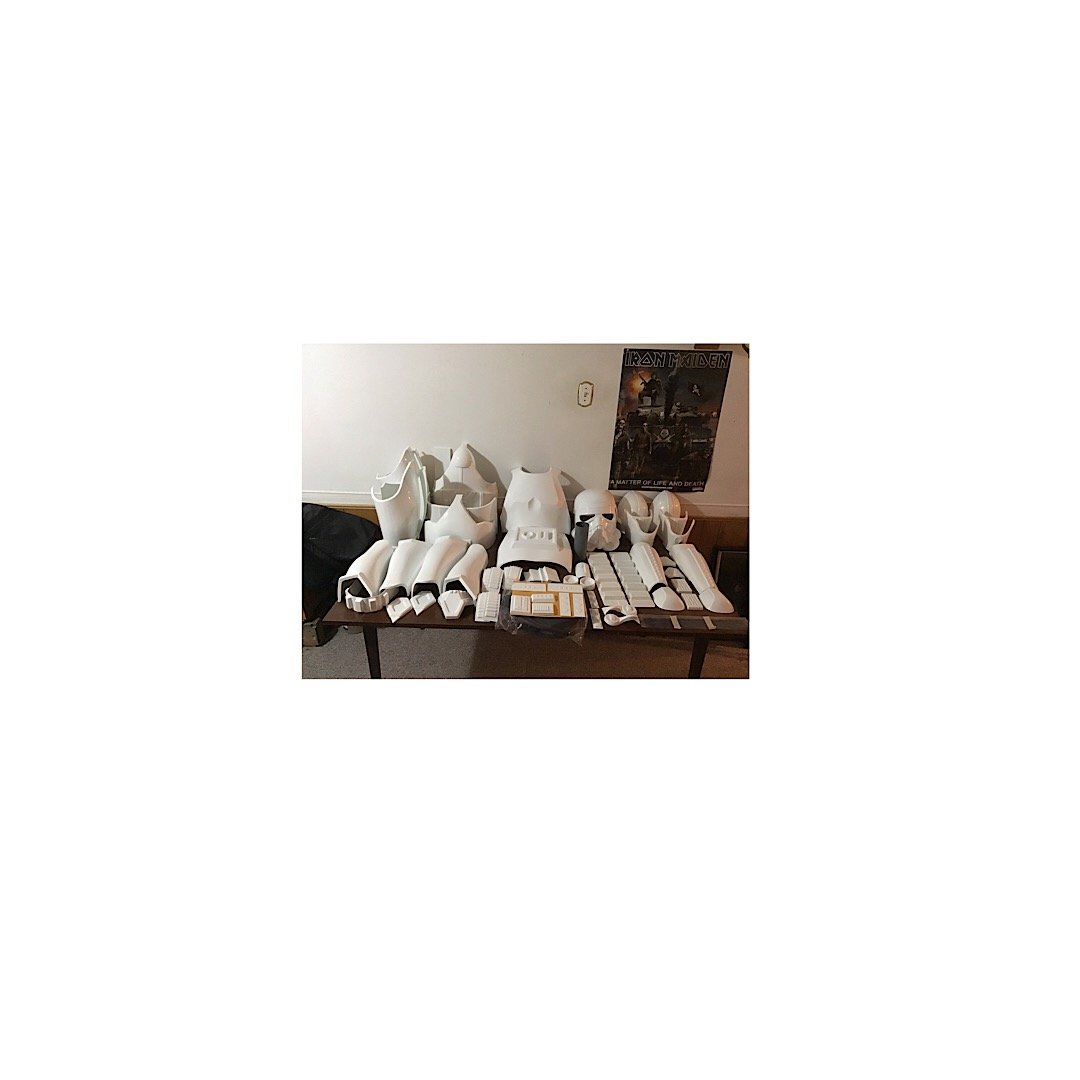
They came with my AM Armor kit.
-
TK 46165 requesting ANH Stunt EIB status [920]
Easy replied to Easy's topic in Request Expert Infantry Status
I added the pics as requested. I thought the Aurebesh would be a nice touch, thanks. I have a few compliments on it now. I also added a pic of the chest/ab bracket screws since they are required to be painted as well. The magnetic kidney/ab was possible because of your shins setup, I did it and it’s great. The main difference is that they actually slide but don’t lock. The Han snap holds the top together and the ammo belt holds the bottom, like the movie kits. The magnets slide out when bending or breathing deep then return everything to proper alignment every time. I can can imagine how trying it can be to walk newbs through this process. I appreciate your patience with me as well. Let me know if there’s anything else you need. -
TK 46165 requesting ANH Stunt EIB status [920]
Easy replied to Easy's topic in Request Expert Infantry Status
Ok. Hope I get this right. I included the left ab/kidney hinge and right ab/kidney magnetic latch. Armour: AM Armor 2.0 Helmet: AM Armor 4.5 Blaster: Blastpro Holster: Darmans Props Neckseal: Geeky Pink’s Phantastic Gaskets Thanks for looking. -
Easy changed their profile photo
-
It came with mine.
-
TK 46165 requesting ANH Stunt EIB status [920]
Easy replied to Easy's topic in Request Expert Infantry Status
I have to say…I used your magnetic shins build. Absolutely love it. Great idea. Thanks. -
TK 46165 requesting ANH Stunt EIB status [920]
Easy replied to Easy's topic in Request Expert Infantry Status
Thanks Cricket. Looks like I’ll be waiting a bit to get all the pics. The Blaster should be here soon and I’m waiting on my replacement neckseal from Teresa (Geeky Pink). My armour and helmet come from AM Armor. The Blaster is from Charles Craig of Blasterpro. -
TK 46165 requesting access. https://www.501st.com/members/displaymemberdetails.php?userID=30442
