

Addertime
-
Posts
489 -
Joined
-
Last visited
-
Days Won
1
Content Type
Profiles
Forums
Gallery
Articles
Everything posted by Addertime
-

TK Boots on the Cheap
Addertime replied to Addertime's topic in Boots, Soft Parts, and other Accessories
I applied it with a 3/4" sable artists brush using a proper smoothing technique. Upon close examination, there are a few visible brush strokes, but they would never be noticed in everyday use. I didn't consider a sponge but that's a great idea as is the steel wool. Thanks for the tips! -
TK Boots on the Cheap
Addertime replied to Addertime's topic in Boots, Soft Parts, and other Accessories
True. I've worn them around the house with the shins on and all is well so far but yeah, scuffs and scrapes will add that true ANH look. -
TK Boots on the Cheap
Addertime replied to Addertime's topic in Boots, Soft Parts, and other Accessories
I went with the satin finish and buffed it lightly with a soft cloth. It turned out glossier than I expected. I'm glad I didn't go with the gloss finish. -
Cricket's Hero Build (deep breath, let's do this!)
Addertime replied to Cricket's topic in ANH Build Threads
I've been a little remiss in my thread-following. I'm so glad you finally got your TK! I'll be following! Welcome to the party. -
Adder's ANH TK Build Thread [TM]
Addertime replied to Addertime's topic in Build Threads Requireing Maintenance
Thanks Christine! I like 'em! I keep threatening to wear them to work. -
This boot tutorial is from my armor build thread. I thought it was worth posting elsewhere as it is a good, stand alone chapter. I hate waiting for things to ship. I'm usually more than willing to pay more to have it right now. I considered TK Boots and the other options but the pay now, ship whenever business model is not how I roll. So I started looking at the more prop-centric method of buying regular boots and painting them. That's what they did for the screen-used boots and having built for theatre, it was really an easy leap for me to go that rout. I searched online and found some great, black, calfskin, Busse brand, jodhpur equestrian boots on close-out, priced at a mere $20 USD, Normally they cost about 4x that, I was pretty happy. Although I'm quite sure the screen-used boots were spray painted with white enamel from the hardware store, I wanted a little more durability so I opted for Angelus acrylic leather paint. It's great stuff. The trick is to build up thin coats. This paint cost about $6 with the finisher coat. Following the Angelus directions, I used acetone (well, actually faux-acetone which works just as well) and wiped the finish and much of the black dye from the boots. --------- Then I masked the soles. Then I laid down several light coats, allowing each to dry overnight. The shots below show coats two and four. I gave the boots six coats in total. Before removing the tape, I scored around the tape line with a blade. And here we have the finished product: I'm really happy with the way they turned out. I've worn them a few times to try out the paint and they still look great with no cracking or peeling. Even the paint on the elastic looks great. It's flexible and resilient.
-
Adder's ANH TK Build Thread [TM]
Addertime replied to Addertime's topic in Build Threads Requireing Maintenance
And now for the Boots... I hate waiting for things to ship. I'm more than willing to pay more to have it right now. I considered TK Boots and the other options but the pay now, ship laip whenever business model is not how I roll. So I started looking at the more authentic method of buying regular boots and painting them. That's what they did for the screen used boots and having built fir theatre, it was really an easy leap for me to go that rout. I found some great, black Busse brand jodhpur equestrian boots on close-out priced at a mere $20 USD, Normally priced at about 4x that, I was pretty happy. Although I'm quite sure the screen-used boots were spray painted with white enamel from the hardware store, I wanted a little more durability so I opted for Angelus acrylic leather paint. It's great stuff. The trick is to build up thin coats. This paint cost about $6 with the finisher coat. Following the Angelus directions, I used acetone (well, actually faux-acetone which works just as well) and wiped the finish and much of the black dye from the boots. Then I masked the soles. Then I laid down several light coats, allowing each to dry overnight. The shots below show coats two and four. I gave the boots six coats in total. Before removing the tape, I scored around the tape line with a blade. And here we have the finished product: I'm really happy with the way they turned out. I've worn them a few times to try out the paint and they still look great with no cracking or peeling. Even the paint on the elastic looks great. It's flexible and resilient. -
Adder's ANH TK Build Thread [TM]
Addertime replied to Addertime's topic in Build Threads Requireing Maintenance
Ok... let's do this... more cowbell! Er... bucket! I painstakingly mask the traps and painted them but I'm not sure what happened to the photos.. they might be on my phone. Anyhow, here's the rest... The tears masked and hand painted: Ear finishing work: And the infamous stripes. I was worried about painting these and hand cut stencils but was unhappy with the way they turned out so I bought a small vinyl cutter and some low tack stencil vinyl and viola! I was pretty happy with the result. Coat one: Coat two: Coat three. I gave it a nice thick coat and tilted the helmet so the paint would settle evenly: And the reveal... And there we go... one step closer. I'll add the eye film soon. Still working on how I want that to happen. I've seen some pretty tricked out buckets and I want mine to have a little "wow" factor to it too. -
(Work In Progress) Any advice?
Addertime replied to TK-0899's topic in Build Threads Requireing Maintenance
The biceps and thighs look loose. Maybe consider tailoring them a bit? As it was explained to me, about a 1/2 inch is plenty. -
This topic really made me grin. Good stuff and great build!
-
ANH Tusken Raider build by Christina
Addertime replied to TKZombie's topic in Build Threads Requireing Maintenance
Wow. I'm not sure which aspect of this is the most impressive... TK1, TK2, the Tusken or the fact that you did all three in a year! Good stuff! -
Anyone know a good way to install a lens?
Addertime replied to The Anonymous Egyptian's topic in Assembly, Mods, and Painting
That's an epic helmet build. I'll certainly keep it in mind as i pimp my own bucket. Is that black Sugru around the eyes? -
Sniper Knee Attachment Question
Addertime replied to Addertime's topic in Assembly, Mods, and Painting
Noted. After fitting it again, I see how it will work. There're still small gaps to either side of the cover strip but I guess that it how it is. -
Sniper Knee Attachment Question
Addertime replied to Addertime's topic in Assembly, Mods, and Painting
That's very helpful also. I was thinking the profiles on the upper edge needed to closely match but I see what you're saying here. -
Sniper Knee Attachment Question
Addertime replied to Addertime's topic in Assembly, Mods, and Painting
Well, I guess that's part of the question. If I make the bottom middle touch, there are still air gaps on the side of the cover strip. The photos show the way the knee wants to naturally sit against the shin. -
So, I meticulously fitted the fronts of my shins so the cover strip was sat right on the edge of the ridge the whole length of the shin. Then, when I went to affix the sniper knee it became clear as to why the top part of the front ridge had been so wide.. so I pulled it apart and reglued with a slight flare at the top to better match the knee plate which seems entirely screen accurate as I see that some of the reference photos in the FISD galleries look like the costumers did that exact same thing. So, moving on, the knee does not sit perfectly against the shin and there is an air gap along the bottom center even though the top is touching. Is this normal? I'd like it to sit perfectly against the shin but it doesn't really look like that's possible. Do I need to keep working with it?
-
Here's a shot of my black boots painted white with the Angelus shoe paint. It took five coats but they've been worn a few times and still look great. Of course you could also just use regular enamel spray paint from the hardware store. It's less durable but probably more screen accurate. -----------
-
Agreed. I used Angelus paint on my boots. Fast shipping, good prices and the quality of the paint is excellent. It went on smoothly and covered well, seems resistant to cracking and cost less than $10 USD. I'll post a photo of my boots when I get home from work. https://angelusdirect.com/collections/paint
-
Rogue One Death Trooper Build Thread
Addertime replied to mitcheg1's topic in Build Threads Requireing Maintenance
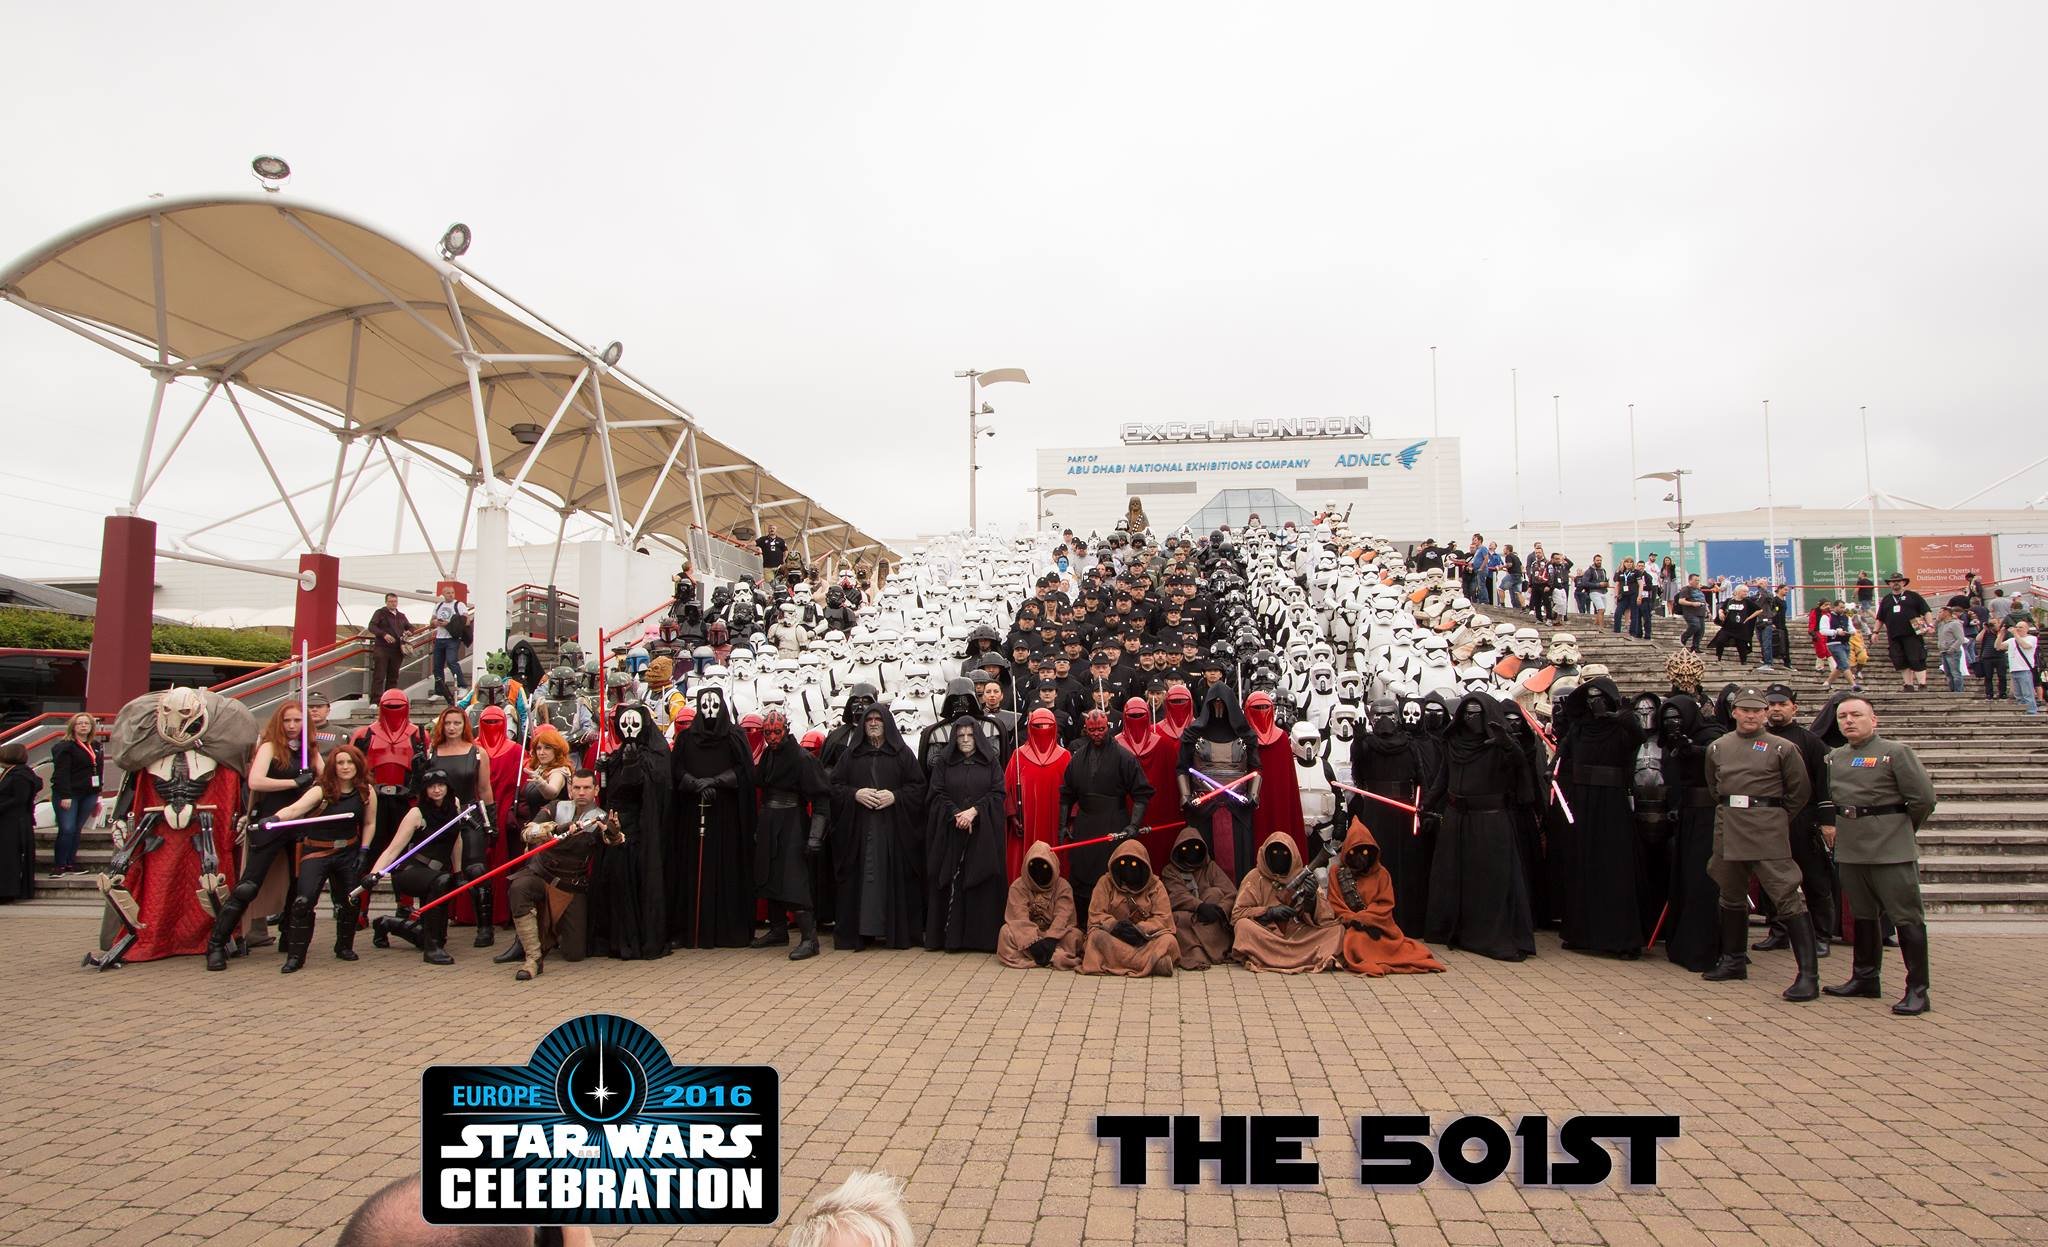
Truly, my favorite thing from SWCE2016. I took a bunch of photos of these suits. -
Adder's ANH TK Build Thread [TM]
Addertime replied to Addertime's topic in Build Threads Requireing Maintenance
The Testors paint worked really well. It was very smooth and luxurious looking compared to the thinner Humbrol and Revell paints I have which is kind of funny because back in my younger days when I built models often, I pretty much wrote off Testors as "consumer grade". I need to post more pics. The helmet has come a long way. -
Have fun with your build! It is an exciting and sometimes frustrating adventure but it's all worth it.
-
Cricket's Hero Build (deep breath, let's do this!)
Addertime replied to Cricket's topic in ANH Build Threads
This looks great. I'm at this point also and it's great to see what others have done. Stellar work! -
So, it looks like you went another way with your tube stripes. They look great! Care to share how you finally painted them?
-
Adder's ANH TK Build Thread [TM]
Addertime replied to Addertime's topic in Build Threads Requireing Maintenance
The helmet... it's been a lot of work... at least 10 hours so far... but you know, it's been an awesome roller coaster and I like where it's going! So, onto the painting! I laid down the black for the outlines first. I masked the straight lines and did the curves freehand for the most part. After curing overnight, I touched up a few spots by lightly scratching off the paint with a blade. The next step was to mask the black outline and paint the gray interior with my vintage 40 year old Testors 1138. I'll go back and touch up the corners with black when the gray dries.
