

Thrawn's guard
-
Posts
479 -
Joined
-
Last visited
-
Days Won
9
Content Type
Profiles
Forums
Gallery
Articles
Media Demo
Posts posted by Thrawn's guard
-
-
Well I now have one of Gazmosis' great looking upgraded magazines on order so I am well on my way to gathering all of the parts that I need.
I also have a number of new tools and items on order to help with the build.
In the meantime I will finish tidying up the parts that I have.
I should also probably invest in a completion kit.
At least I know what will be keeping me busy for the foreseeable future :-)
-
Richard I am glad to have been able to prevent you making the same mistake.
I think that this is really what the forum is all about. Sharing both what works well and what doesn't so that people that follow can pick up tips and suggestions. In the end we all help each other and as a result the standards of our completed blasters can only get better over time.
-
You've carried out Some more great work on your blaster.
I particularly like your method for adding the serial number and appreciate the research that you and Tino have done regarding the serial number combination.
If I can achieve a similar standard of build to what you are putting together I will be very happy.
-
 1
1
-
-
Good point about the tempered steel Michael.
I have things to do before I get on to the front sight pin so have time to gather my thoughts.
I may also have a go at 3d printing it.
Are there any dimensions out there or do people generally size them by sight (Pardon the pun).
-
Thanks for the feedback it is much appreciated.
With regard to the snapped piece I posted this was hopefully to help others avoid the same issue but as Michael says above these things sometimes happen.
The important thing is that these things are fixable and this community is a fantastic resource to find solutions to all sorts of issues.
Brian/Richard I hope your builds go well. I'm sure that we will all get there in the end.
-
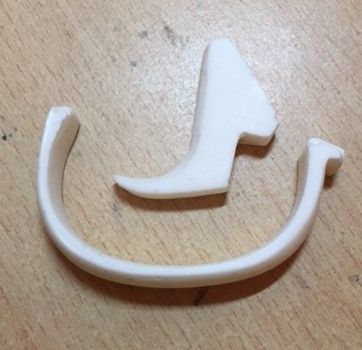
Well on to the last thing for tonight......a quick clean up of the trigger and guard.
After the issue with the cutters earlier I decided to simply rub the piece on a sheet of sandpaper. In very little time at all the trigger and guard could then be removed from the spare resin and tidied up with gentle use of a fine file.
The rest of the clean up will be done over the weekend.
-
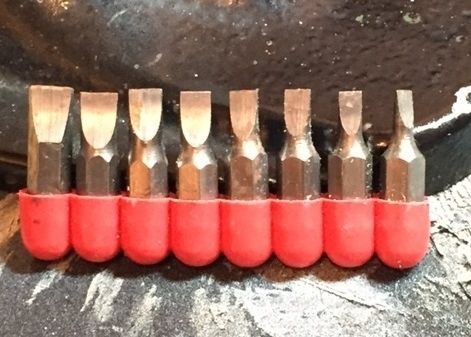
I just had a thought with regard to the front sight pin and was wondering what the opinion of the E11 experts, (basically anyone who had built there own blaster or has access to a real sterling), is.
Do you think that using a screwdriver tip i.e. the sort that are interchangeable and can be purchased from a pound shop or dollar store make a good sight? This would be an alternative to the details I have seen on here where a screw/bolt is ground/filed to the correct shape.
The top could be shaped to the correct angle.
Below is a picture of a selection of the typical sort of things that I have in mind.
-
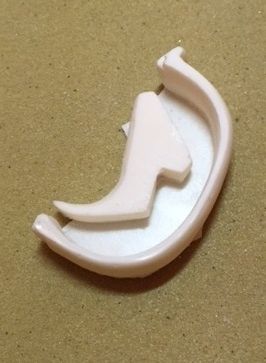
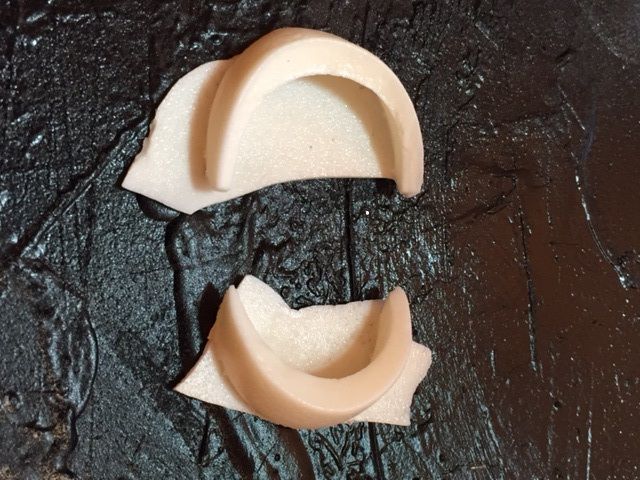
However after the initial panic had subsided I realised that in the scheme of things this was about the easiest fix I could have to make.
I decided to use sandpaper and files to remove the spare material before gluing the snapped piece back together.
Once set I will check and clean up if required.
-
Unfortunately I didn't have the best of starts.
I decided to use some cutters to remove the spare material around the pieces and managed to split the part in half.
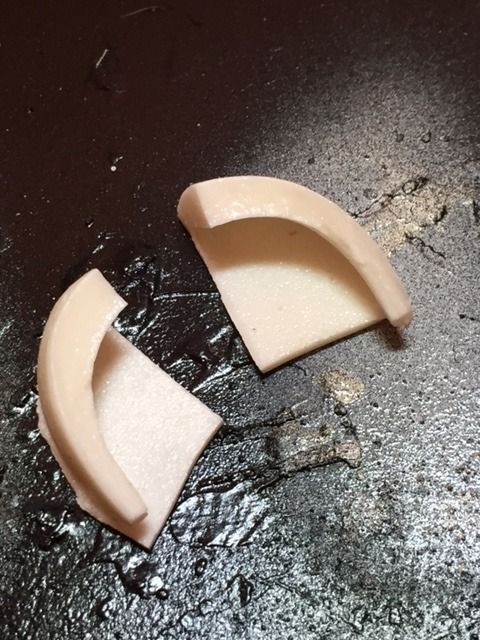
-
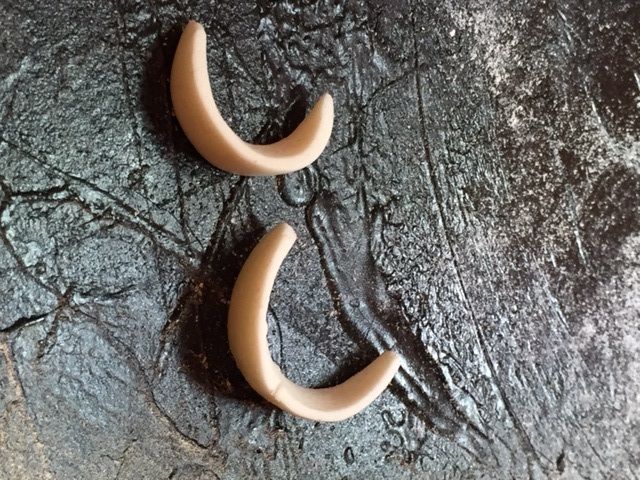
Well tonight is the night that I started actually working on my blaster.
My first thought was to have a go at what should be about the simplest job...........cleaning up a couple of the smaller pieces.
-
Michael I love the work that you are doing here in particular the working butt cap retaining clip and magazine release button.
These are the types of details which really do make a difference.
I had a similar idea with regard to adding serial numbers to the ejector port but have been struggling to find small enough metal stamps so it is good to see that they are available.
Did you get the channel for the butt cap retaining clip from the completion kit ?
The only problem with great work like this is that it keeps giving me new ideas which means my list of items to carry out is forever growing!!!!!
Anyway great work and I am looking forward to continuing to read your build thread.
-
Welcome onboard Toller.
-
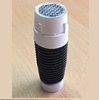
and the scope I will use the lenses from.
-
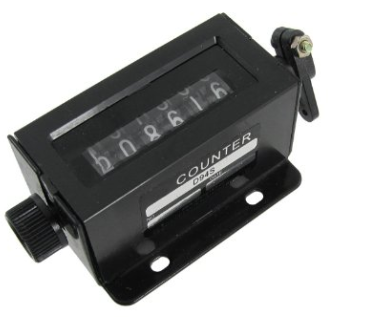
This is the counter that I intend to 'obtain' parts from.
-
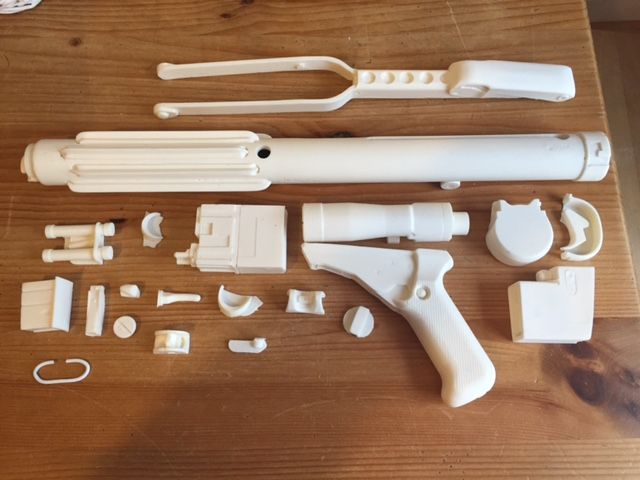
The kit once washed and dried.............ready for clean-up.
-
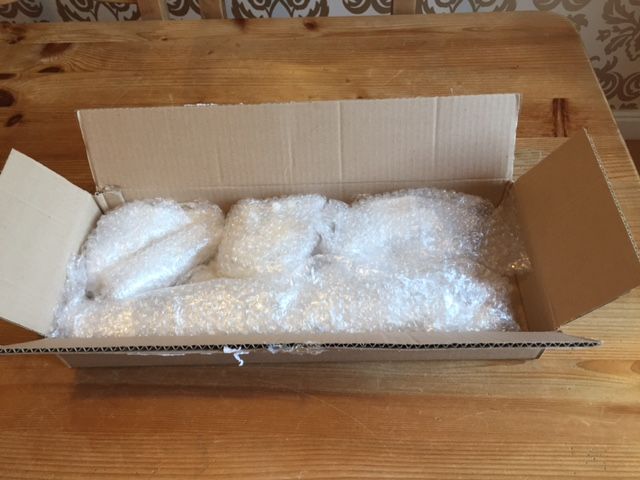
Well here it is.............The brown box shot!!!
-
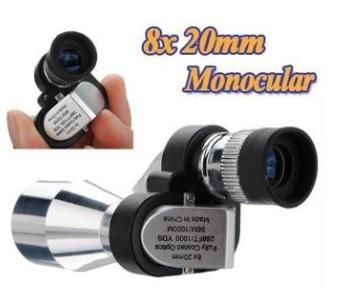
I also intend to order the monocular and a counter to allow me to upgrade the scope and counter.
My intentions are to carry out a number of modifications/upgrades for example hollowing out the scope and fitting lenses, adding the spring within the barrel, upgrading the counter to have a working button, have a working selector switch and trigger.
I may also look at incorporating one or two other upgrades if any come to mind during the build.
To be honest I can't wait to get my teeth in to this project.
Throughout the build any suggestions, observations or queries will be most welcome.
Also if anyone has any queries regarding how I have done something please feel for to ask (I will try to include sufficient pictures to convey what I am doing).
-
Well my Doopydoos resin kit arrived a few days ago and I have been spending the time since reading through many of the great build threads available here.
The first job was checking that my kit includes all of the parts (Which thankfully it did).
Having checked the parts were present I have carefully cleaned the kit in warm soapy water to remove all traces of the release agent and aim to tidy up and sand the parts as required tomorrow after work.
Whilst cleaning the parts I noticed a couple of minor errors in the cast, (presumably air bubbles), which I will make good.
What product is recommended for this type of small repairs i.e. Green stuff, car body filler etc ?
EDIT - After further research I have decided to carry out the minor repairs using green stuff modelling putty.
EDIT - Please find a link to allow you to download the M38 scope cross-hair sets as indicated on post 136 of my build thread and shown installed in posts 210 and 231. They can be printed as they are for installing on the monocular lens housing or rescaled as required for other applications. Please feel free to download and use https://app.box.com/s/o1ln2s40qmklzuslwrxhljji3upkc8pb</a>
-
1
-
-
They have some more on stock at the moment.
-
Welcome onboard Richard and good luck with your build.
-
Michael you have some great ideas here and I look forward to seeing how it all comes together.
-
1
-
-
Well having spent the last couple of weeks or so researching the various styles of stormtrooper I have decided to opt for the A New Hope stunt armour and blaster.
I prefer the style of the stunt helmets and the added detail i.e. counter, cylinders, wires etc of the ANH E11 blasters.
I have also managed to locate what appear to be the correct monoculars which will be used to 'donate' the lenses for my scope so will get them on order shortly.
-
Welcome onboard Ian.
I am a relatively new member myself but can say that there is wealth of information on here. there is also many members with a detailed knowledge of everything stormtrooper related.
So don't nebafraid to ask if you are struggling to find answers.
-
Hey Tim I have just received my Doopydoos E11 kit and thought it a good idea to read some of the build threads and came across this one.
I just need to say that what you have built is amazing but what's even more extraordinary is the fantastic effort in putting together such a detailed and helpful step by step guide.
I will definitely use this thread as my main point of reference in my own build and am sure that what you have done here, along with the helpful comments and suggestions from various other contributors, has and will help many others.
It's great to see so many likeminded people working together for the good of everyone.
For the glory of the empire.
-
1
-


Thrawns Guard's ANH E11 blaster build
in Build Threads Requireing Maintenance
Posted
Michael - I'll probably end up doing the same unless I come across some specific dimensions in the meantime.
I have a few things to look at before I'm going to work on the front sight anyway.
Thanks for getting back to me on this.