-
Posts
479 -
Joined
-
Last visited
-
Days Won
9
Content Type
Profiles
Forums
Gallery
Articles
Media Demo
Posts posted by Thrawn's guard
-
-
This is another unbelievable thread on a amazing blaster and a great resource for my own build.
There are many items here that have inspired me and given me great ideas.
Tino one quick question.
Can I ask why you decided to not use wires connecting to your power cylinders ? Was it just personal preference ?
-
I am really enjoying this build and are trying to take on board as much as i can from the many amazing builds on this forum.
I would however like to try to come up with something something new/improved to contribute the the community however I am struggling as each element of the build I think about already has a number of fantastic examples.
I'll keep thinking and maybe come up with something to post on here.
-
 1
1
-
-
After looking at some great photos of a front sight posted by usaeatt2 on T-Jays full resin E11 from DoopyDoss with some modifications topic I have further tweaked the sight pin housing.
The dimensions should now be more accurate, I have deepened the hole in the top face to allow a screwed pin sight to be installed and have also provided the hole in the side for installation of a suitably sized grub screw (I just need to find out where i can get the grub screw!!!).
EDIT - I just noticed that a front sight grub screw is provided with T-Jay's completion set ;-)
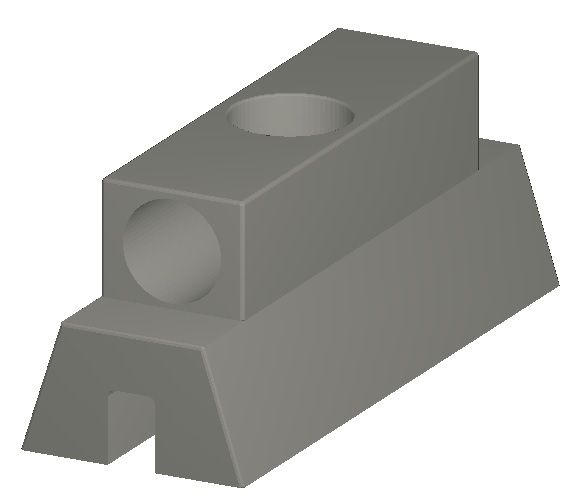
I shall print it off tonight and see how it looks/fits.
-
To be honest I was a little nervous to start the next step of the front sight upgrade as it involves cutting away a section of the front barrel and I had all sorts of visions of it going terribly wrong.
However worst case scenario was that it would look a mess and I would have to fill it and start again so any potential issues were not permanent.
.
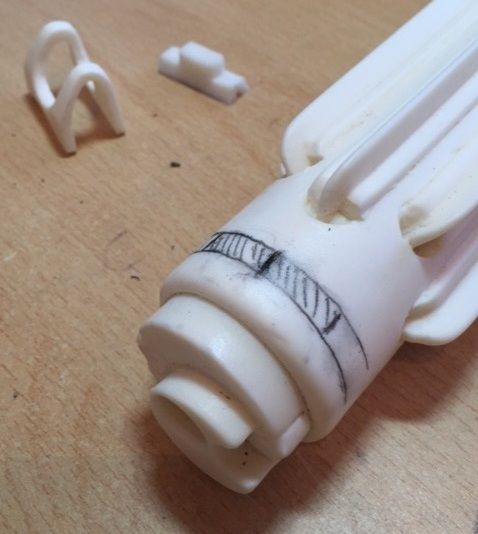
With this in mind I marked out the location of the sight pin housing and began very slowly removing material with a Dremel. I formed the cut by drilling our roughly with the Dremel then used files to smooth out a vertical channel. Once cut the the correct depth I opened up the dovetail by filing carefully with a small triangular file before smoothing with a fine nail file.
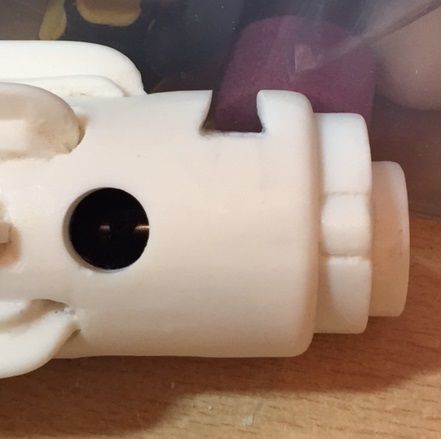
Whilst forming the dovetail slot I kept checking the fit by comparing shape with the housing. Finally when shaped correctly I was able to locate the housing in the correct position.
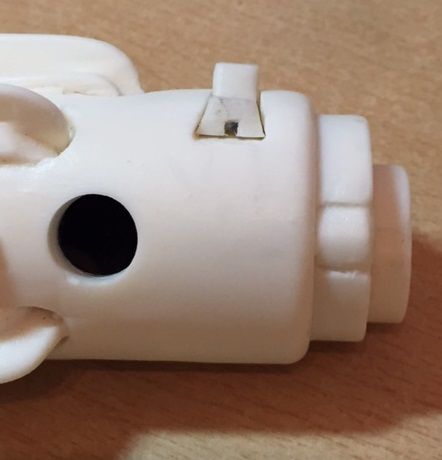
Here a a few pictures with the sight surround roughly placed in position.
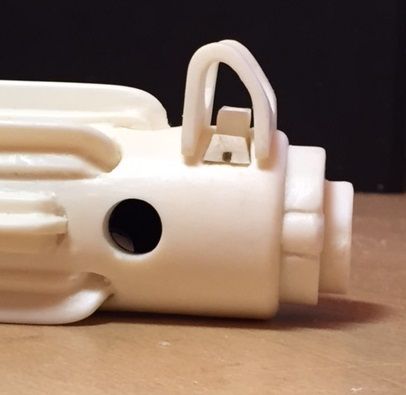
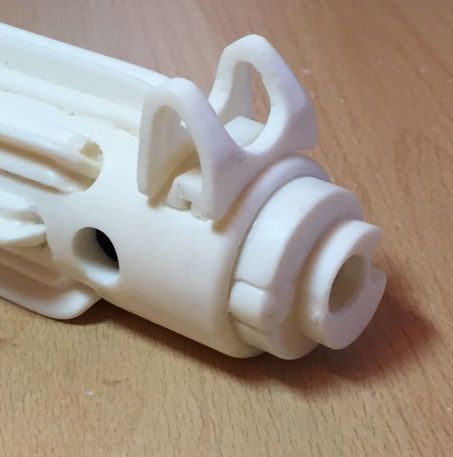
All of this took longer than I was expecting as it was quite painstaking work therefore the actual sight pin will need to be a task for tomorrow.
-
 3
3
-
-
Good spot Dennis.
I am a way off gluing anything however that is certainly not something that you want to do with your blaster build.
-
I have slightly remodelled the front sight pin housing (I have removed the top dimple and increased the length of the bottom section of the housing to 25mm (1 inch) long.
I should get the front sight modification finished after work.
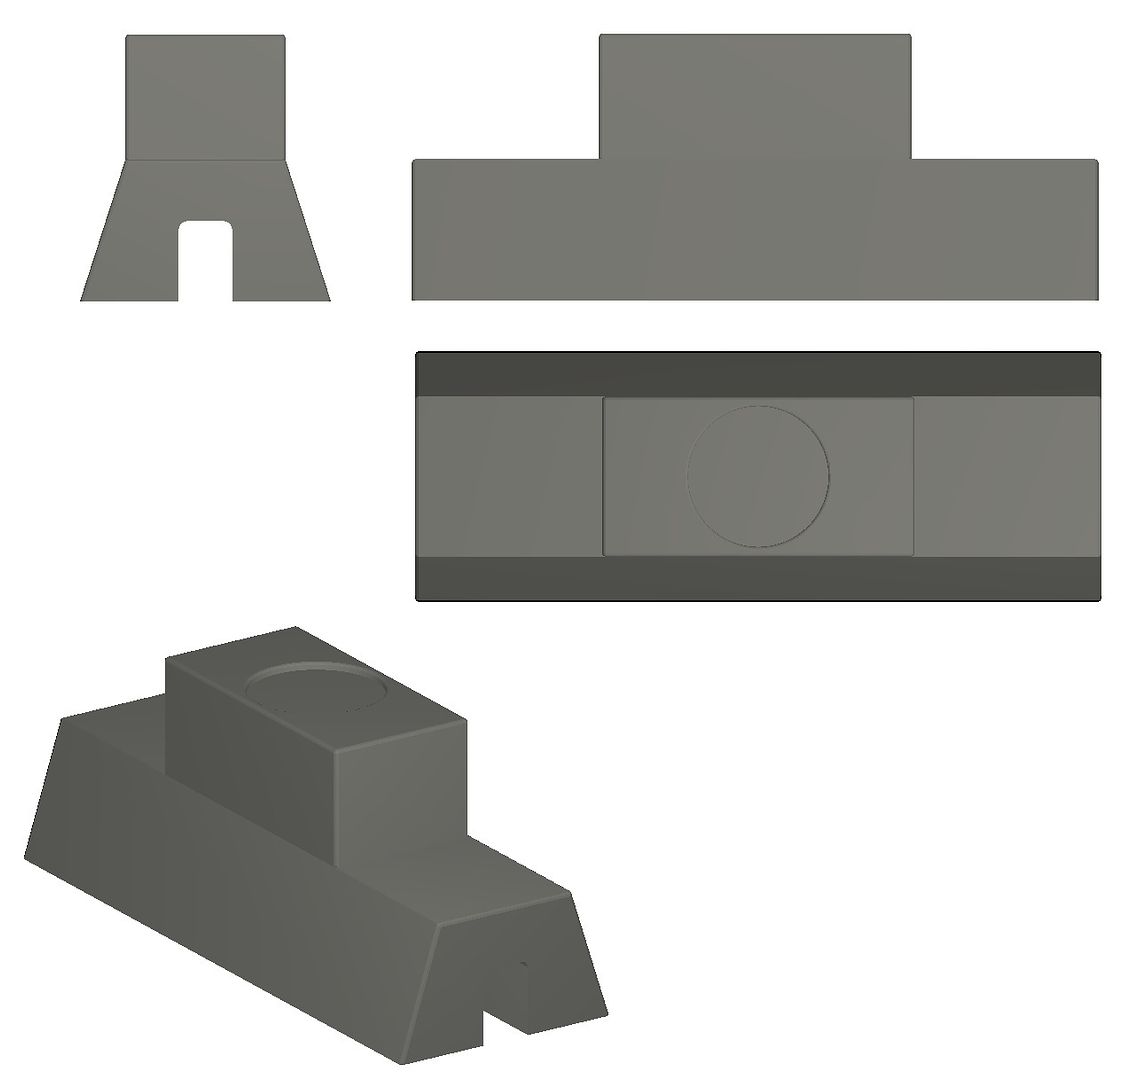
-
 1
1
-
-
I'm in the process of doing something very similar and have just come across this thread which will be very helpful.
Very nice work Aaron.
-
 1
1
-
-
Very nice looking work Tye.
-
This shot gives a idea of what it will look like in elevation.
I will of course need to let the housing in to the top of the barrel to get it to the correct level and as Tim says sort out the pin.
Do you think it better to grind off the bump on top of the housing or retain it and connect the pin in to this ?
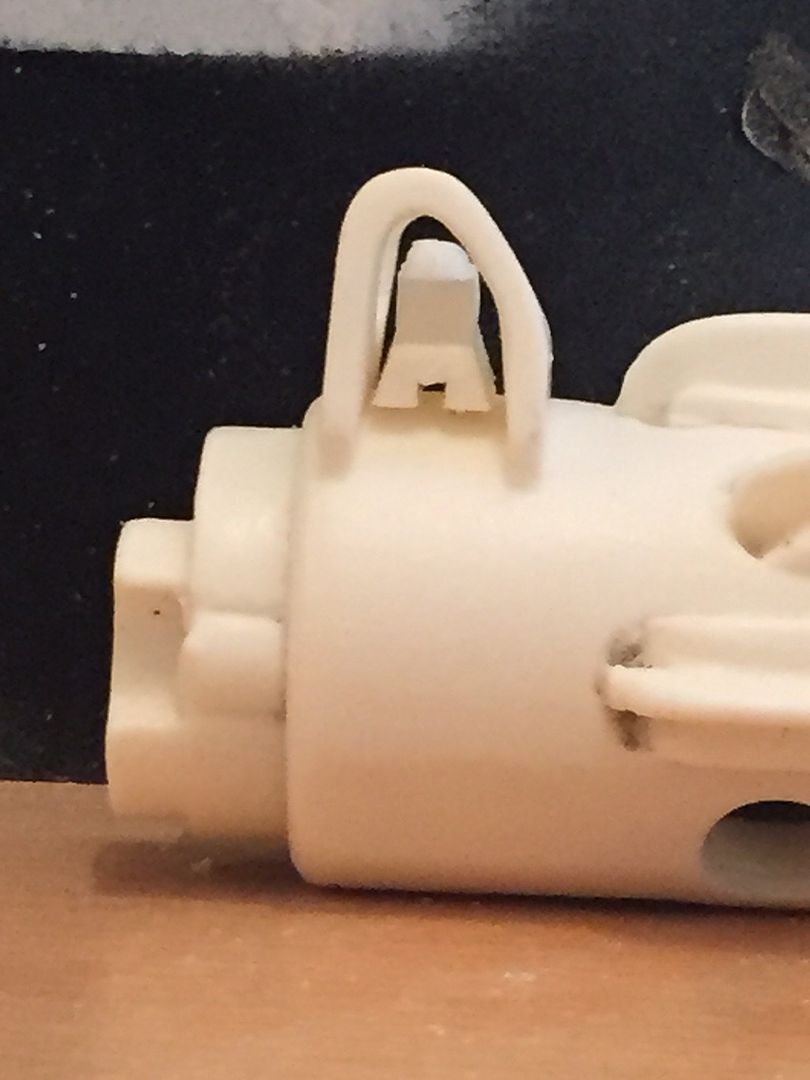
-
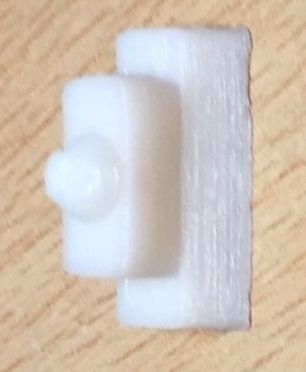
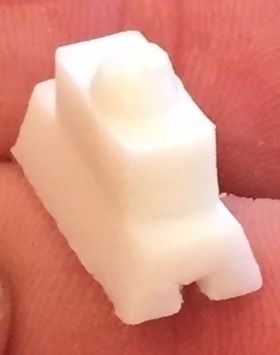
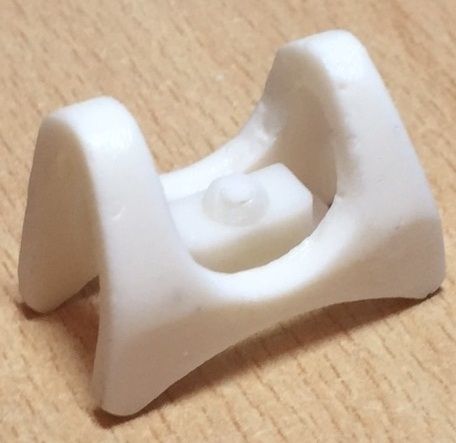
Well the main section looks like it printed ok however the tip didn't so has been removed.
I can fashion a tip from either plastic or from a screw (I think that I'll go for the screw option).
What do you think of the 3D printed sight pin housing ?
-
 1
1
-
-
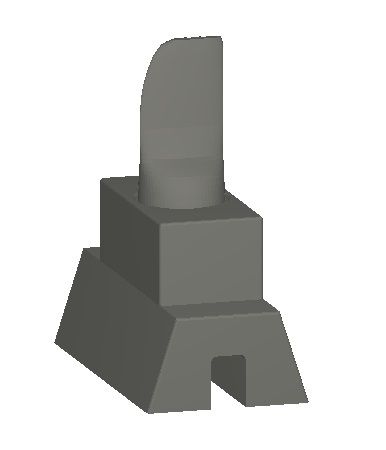
Once I got home I decided to try modelling the front sight pin housing in 3D (See picture below).
All I need to do now is wait to see if it prints on the 3D printer ok.
-
 1
1
-
-
This is what i have managed to do so far on the front sight.
I will rebuild the sight pin housing using green stuff.
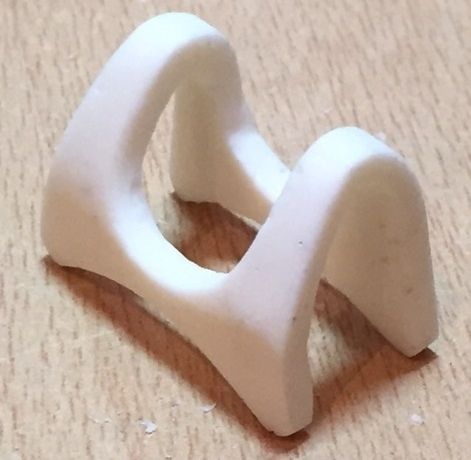
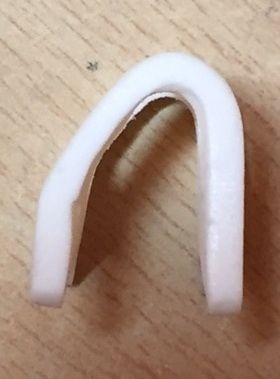
-
Problem solved ;-)
-
Still no luck.
-
Tim thanks for your constructive observations and suggestions which are always welcome.
With regard to the photos I uploaded them to Photobucket and was having all sorts of issues. It turns out that my flashplayer was out of date so I switched to chrome and all works fine. I'll get the photos posted tonight before continuing with the build.
With regard to the build I intend to carry on working on the front sight assembly tonight though I had hoped to get the pictures of what I had done and what I was aiming to achieve posted so that anyone can comment.
With regard to the air bubbles I will have a few that I will need to fill however I do like your suggestion with regard to using some to simulate dents.
The broken part issue isn't really something I am too worried about as it proved easy to fix and so long as I don't damage something which would be considerably more complicated to sort out I will be fine. Having some glue and green stuff to hand gives you all sorts of options for repairs.

Other than the issues with posting photos I am very much enjoying the experience...........much more than I thought that I would to bee honest.
-
 1
1
-
-
The top one looks more like brass to me.
-
 1
1
-
-
I have uploaded pictures and are given 4 share link options i.e.
Emails & IM
Direct
HTML
IMG
I can copy a link in photobucket from any of these options however I am not sure how exactly to paste the link in my reply.
I have used other forums previously but have not come across this issue before.......perhaps I am just missing something but I have tried a number of combinations to try to get things working.
-
I'm still unable to post any pictures :-(
-
I have had problems today trying to post images.
I generally select the more reply options in the bottom right hand corner and then browse to locate a picture on my computer.
However there is a message stating "... You can upload up to 2.47KB of files (Max single file size 2.47KB),"
I have not had any issues uploading photos in this way before today and obviously can't upload much with only a 2.47kN allowance.I did notice that earlier today I could only upload pictures of less than 16KB.
I have previously tried to use the images icon (Green square above), but when I do this I can't post a URL or any text and have to navigate back a step.
I am using Windows 7.
Does anyone have any suggestions and has this happened to anyone else?
-
I removed the internal part of the resin cast so one of tomorrow's jobs will be to reproduce the sight pin and sight pin housing and maybe add texture to the top part of the sight.
I have tried to post some pictures of what I have managed to do tonight but for some reason I can't upload a file larger than 2.47KB!!!!
Does anyone know why this may be ?
-
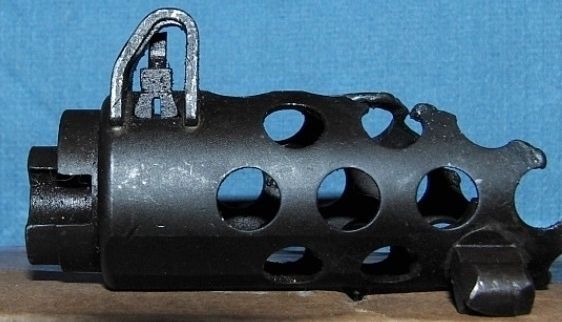
This is the look that I am aiming to replicate.
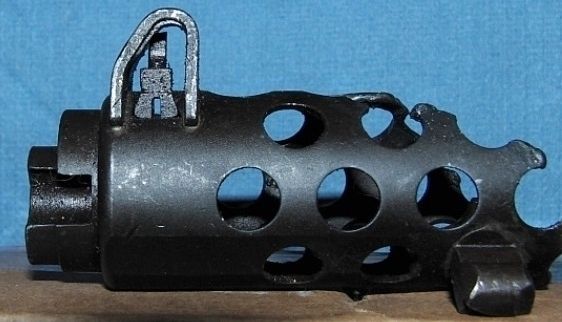
-
Well having carried out some research in the front sight of a Sterling SMG I decided that the DD resin sight needed something of a upgrade.
I therefore decided to take the plunge and get the Dremel out.
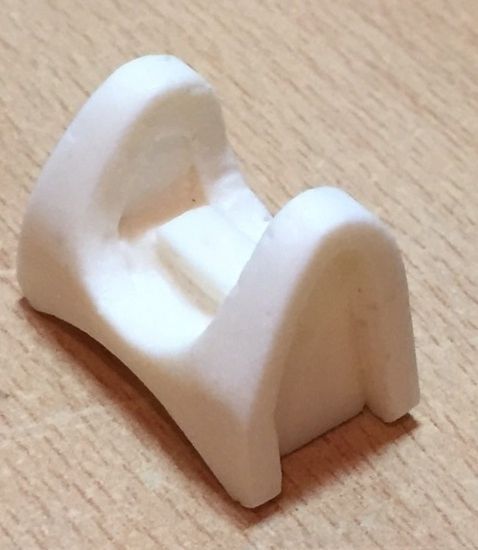
I took the DD resin cast shown below and removed the central portion of the resin cast so that I can try to reproduce the detail more accurately.
-
Very nice work on the cylinders so far Michael.
-
 1
1
-
-
Whilst I wait for T-Jay's completion set I have been cleaning up the remainder of the pieces.
When I was cleaning them up I did however noticed that a few pieces have small holes presumably due to bubbles in the resin cast.
Once the green stuff that I have ordered arrives I will make the minor repairs (I will show the process so that anyone who is unsure how to sort these small issues out can at least see how I have gone about it).
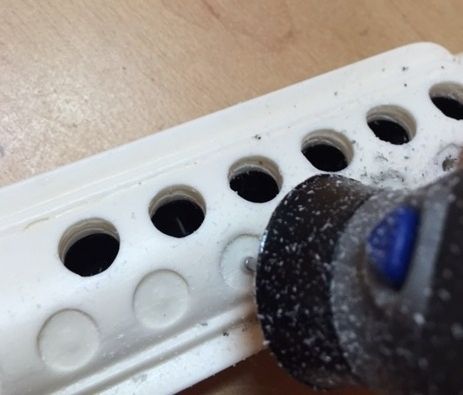
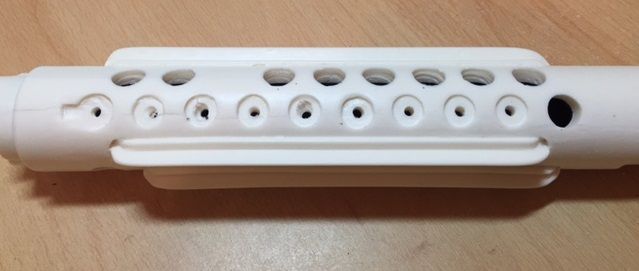
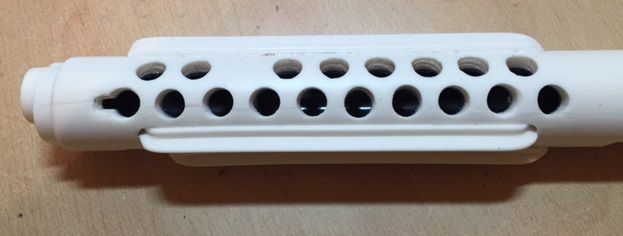
With regards to tonight's work I decided to open up the holes in the underside of the barrel.
I am aware that the majority of this work will be hidden once the stock has been attached however there are a few reasons that I have done this.
1) I will know that it has not been done............and though not a major issue I will later wish that I had sorted it out when I had the chance.
2) I have just received a dremel drill so it gave me the opportunity to practice using it on a less important area of the build.
3) If I was to add a folding stock at some stage I would then have to work on a completed blaster risking damaging it.
Below are photographs of me carrying out this process.
I first drilled a small pilot hole and then opened these up with engraving bit. Once I had removed most of the material within the hole I used a circular grinding bit to form the smooth circular finish.


Problems posting pictues
in Forum Help & Support
Posted · Edited by Thrawn's guard
It turned out that my Flashplayer on both my home and work computer was out of date.
The solution is either update your Flashplayer or if using Internet explorer use google chrome instead.
@ aliens8us - Nice picture.