-
Posts
313 -
Joined
-
Last visited
-
Days Won
1
Content Type
Profiles
Forums
Gallery
Articles
Media Demo
Posts posted by Chills
-
-
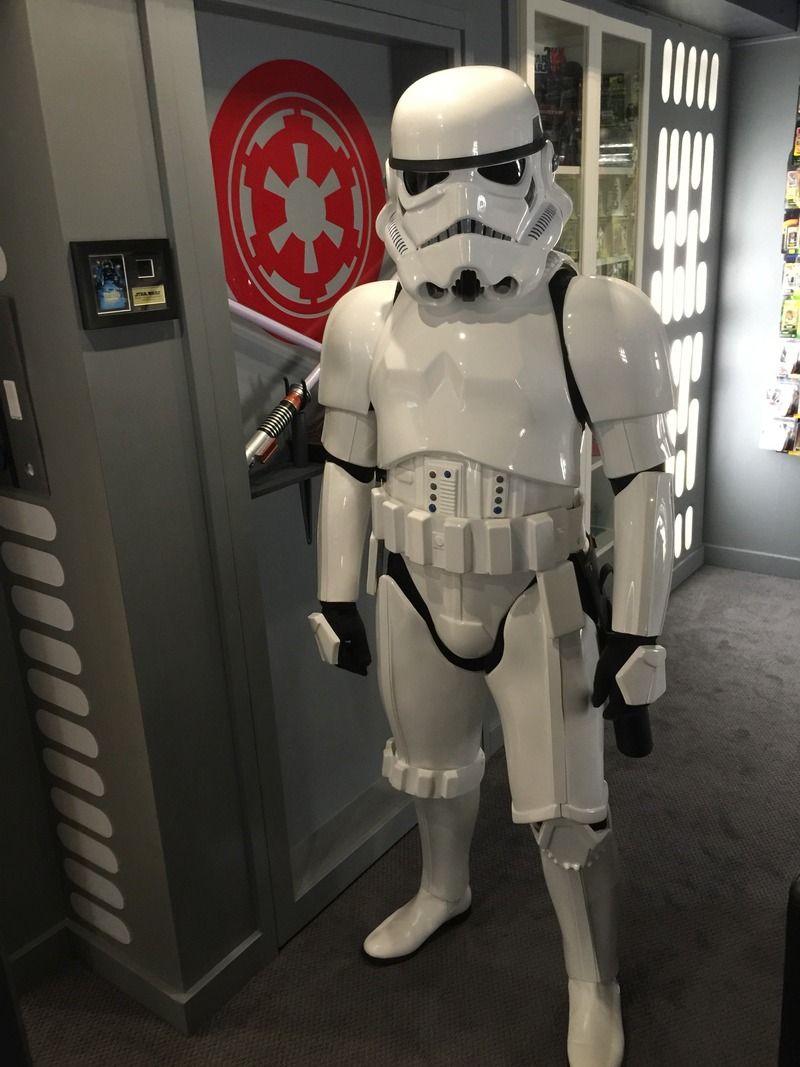
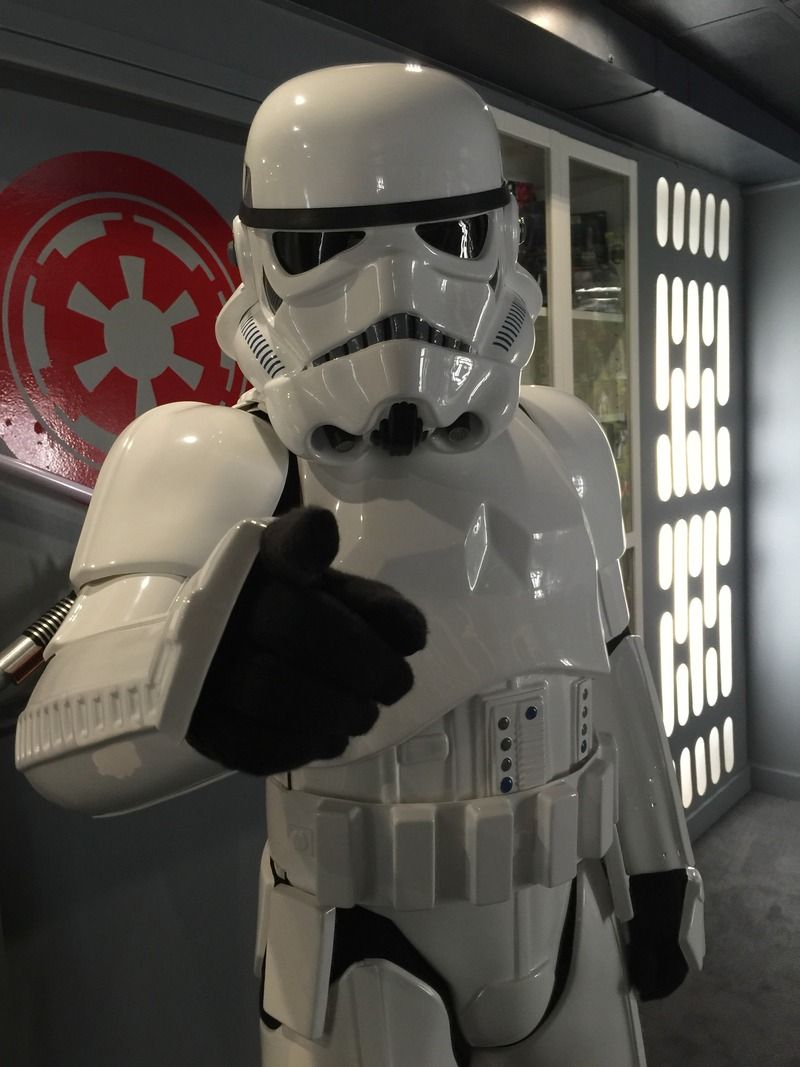
I also asked my wife to take a couple of shots of me in my Death Star room.
-
 2
2
-
-
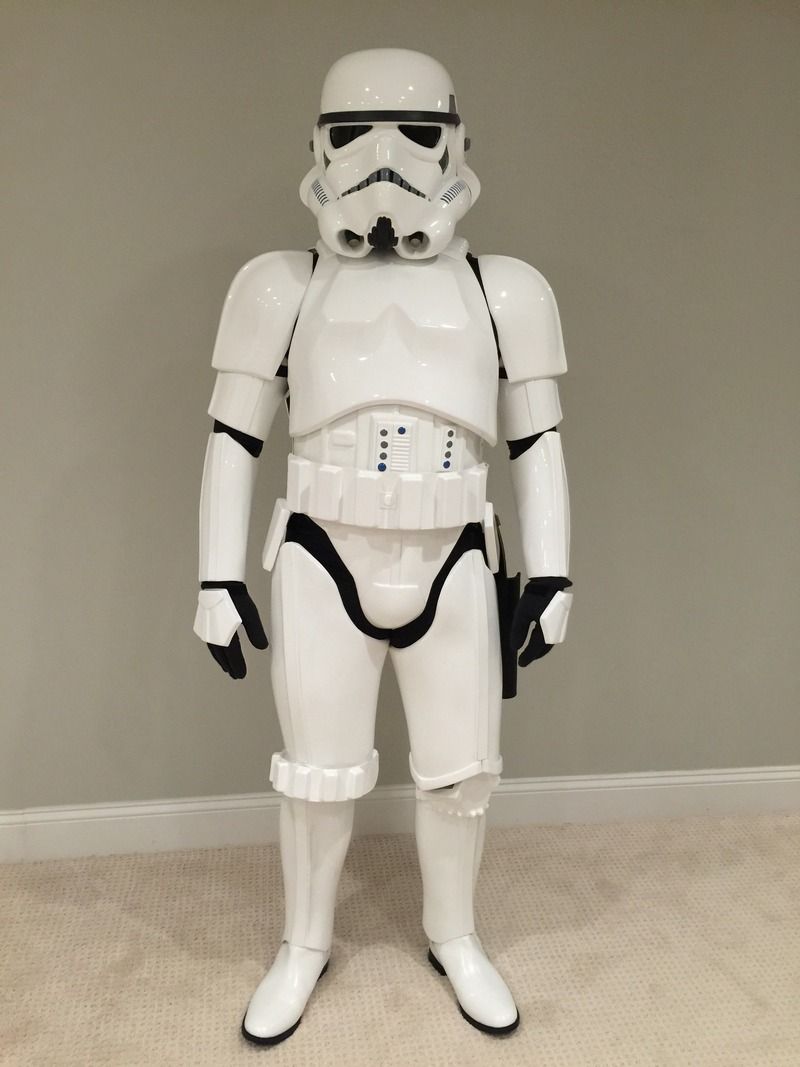
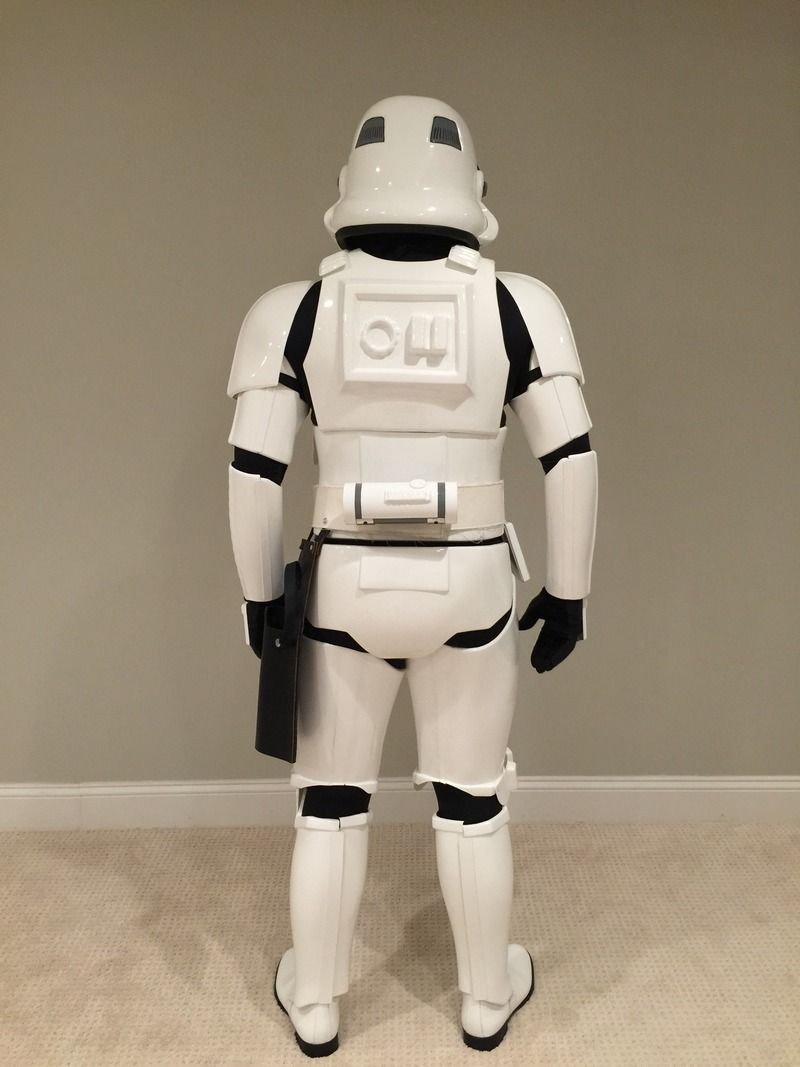
So I finished on May 29th, took the pictures, and sent in my application for the 501st.
On Wednesday I got the email: I have been accepted as TK 51114! I am still feeling elated.
Next, finish my E-11 and submit my EIB and Centurion applications.
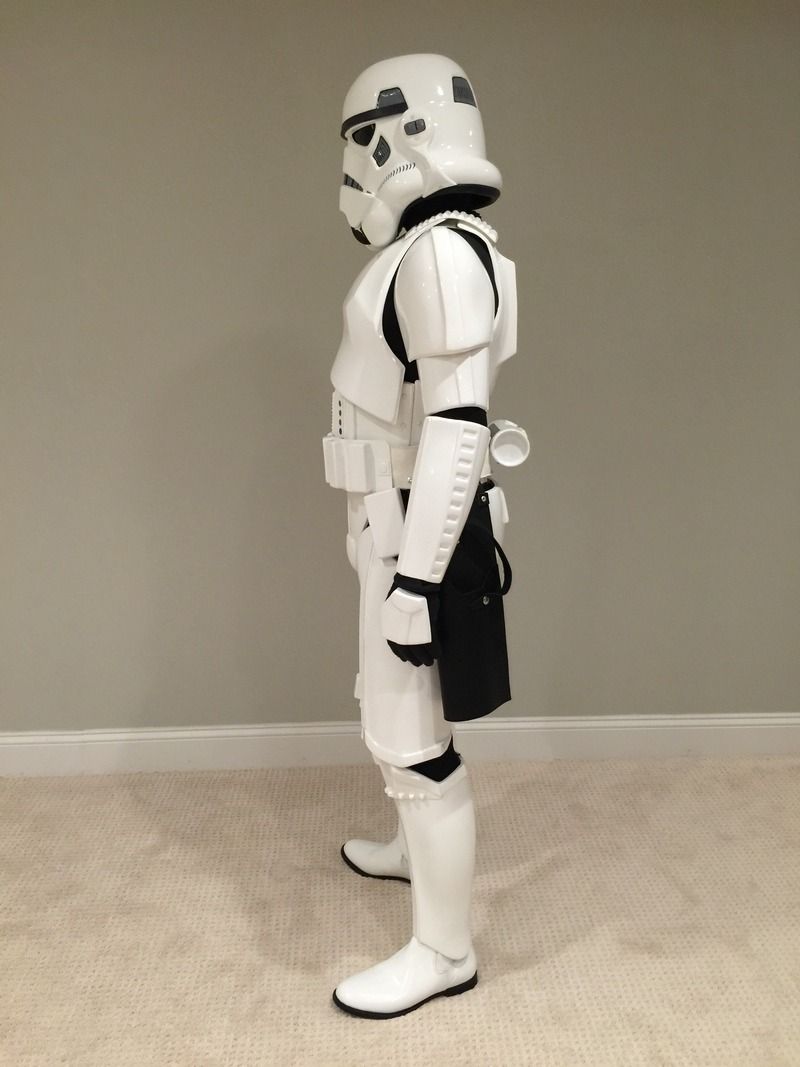
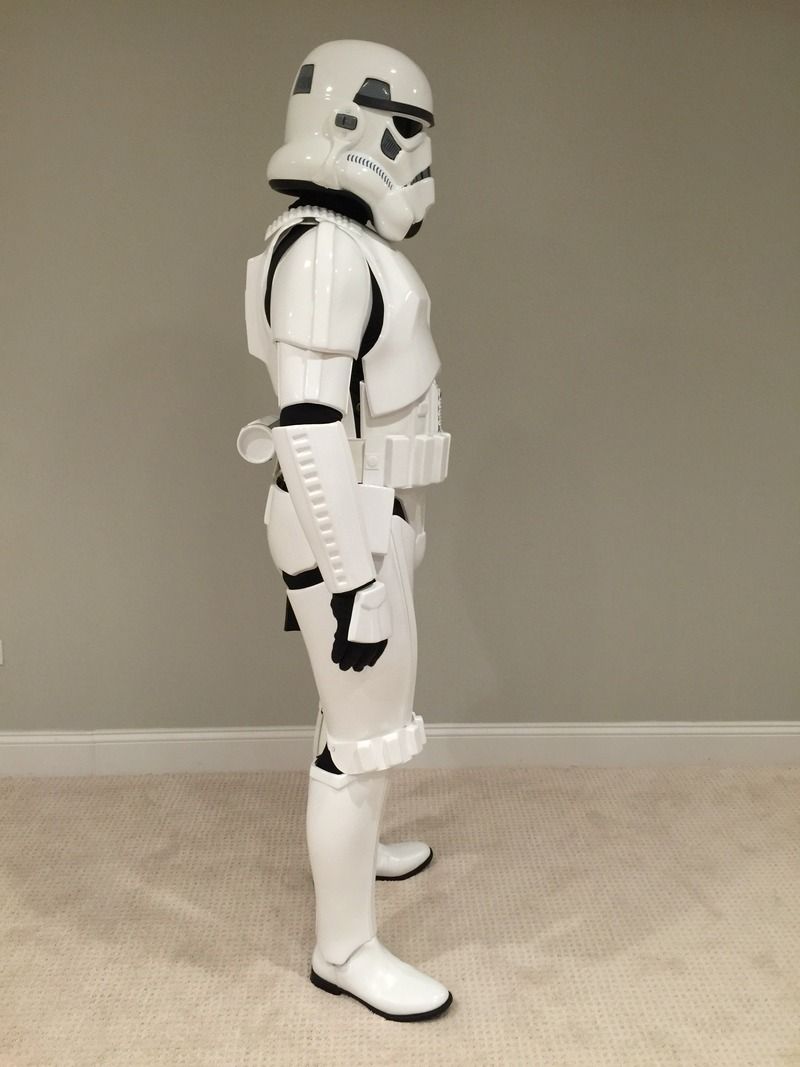
-
 2
2
-
-
So after I glued the the shims in place I started making the ABS paste. I used the scrap pieces from when I trimmed the armor and cut it into tiny bits. I then put them in a small glass jar and added acetone (from the local hardware store, not the nail polish remover). By the next morning I had a good paste.
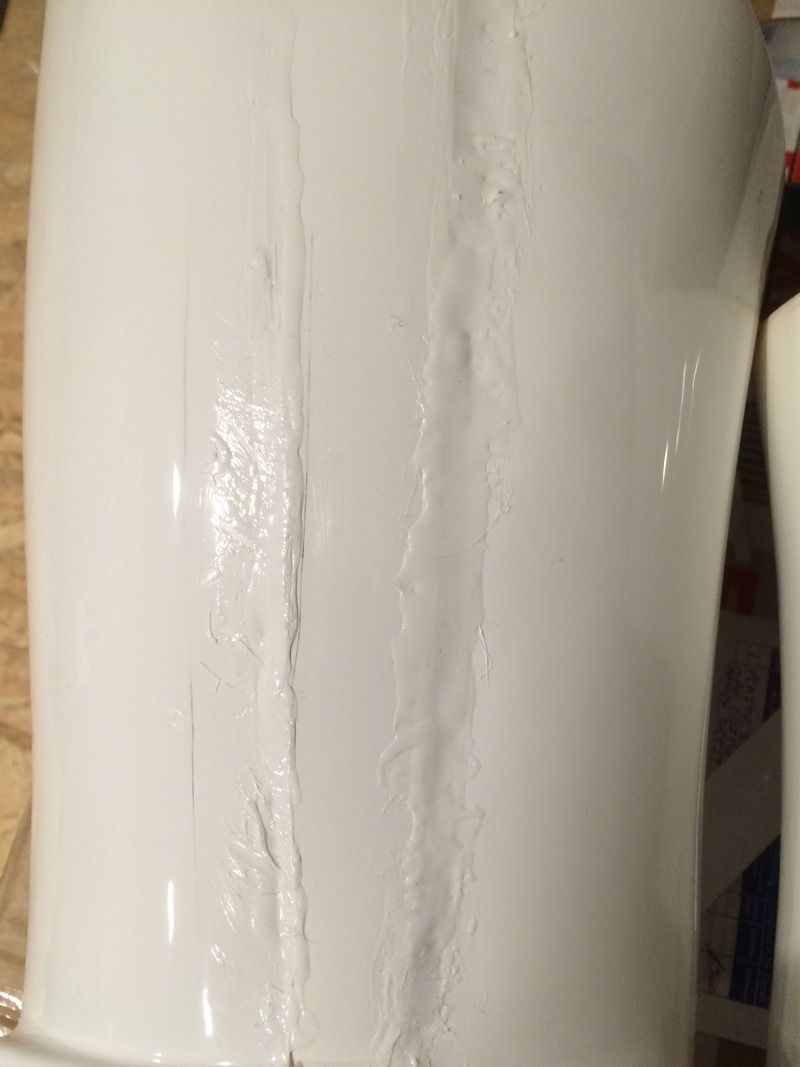
Now, working with ABS paste was really tough for me. First, I had the consistency like pudding. But when I applied it the stuff dried within seconds, so it clumped up. I was also using a paint stick to smooth it on, with mixed results. (see first picture below) I then added more acetone and thinned it out, so it was more like runny yogurt. I also got some cheap brushes from Hobby Lobby and used these to apply. MUCH better results.
I then went through a process:
Apply with brush
Let dry
Sand with 60, then 150, then 200, then 300, then 400 sand paper.
There were little divots, so I applied again and repeated.
Eventually it came out looking like picture number 2. The right side is the finished side, the left will be under a cover strip (for comparison).
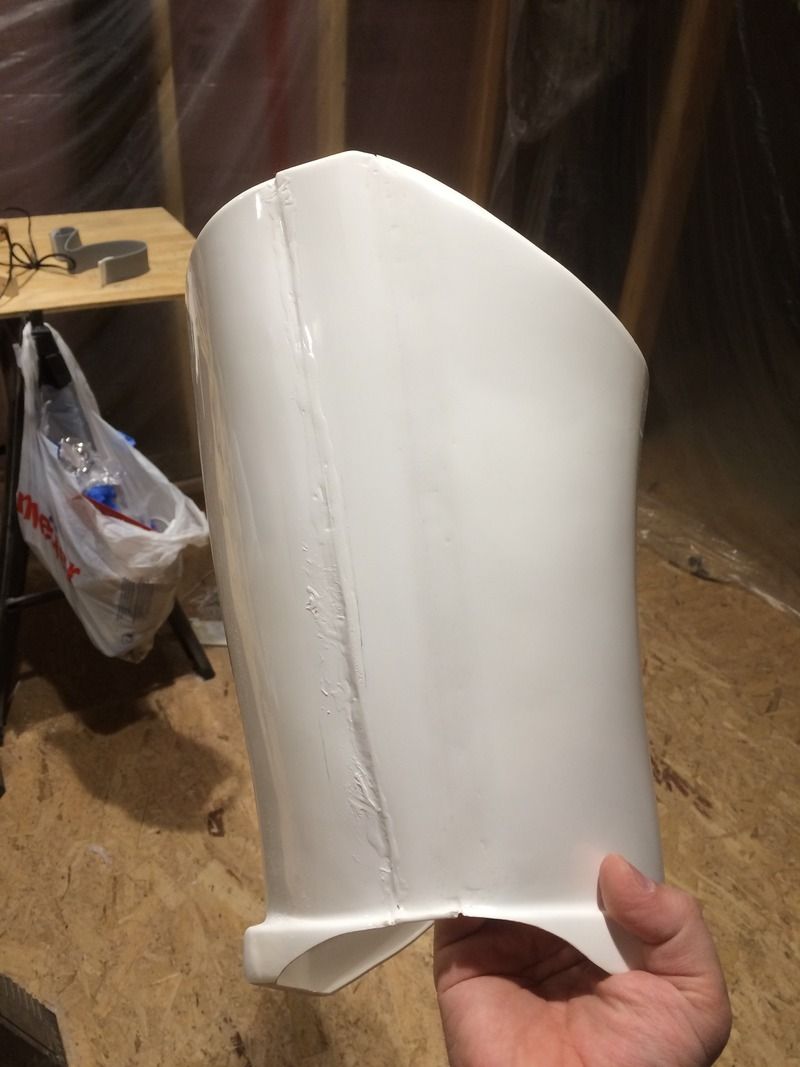
I just need to go over it a couple more times with finer sandpaper, then wet sand and polish. But I'm pretty pleased with the results. And it is STRONG!
Lastly, I made a garter belt and attached the thighs with two strips of elastic each.
Finally, the suit is done!
-
-
Welcome to the board, Coryu! What village do you live in? I visit Spain a couple of times a year (wife is from Sevilla). We've been as far east as Murcia. Beautiful country!
-
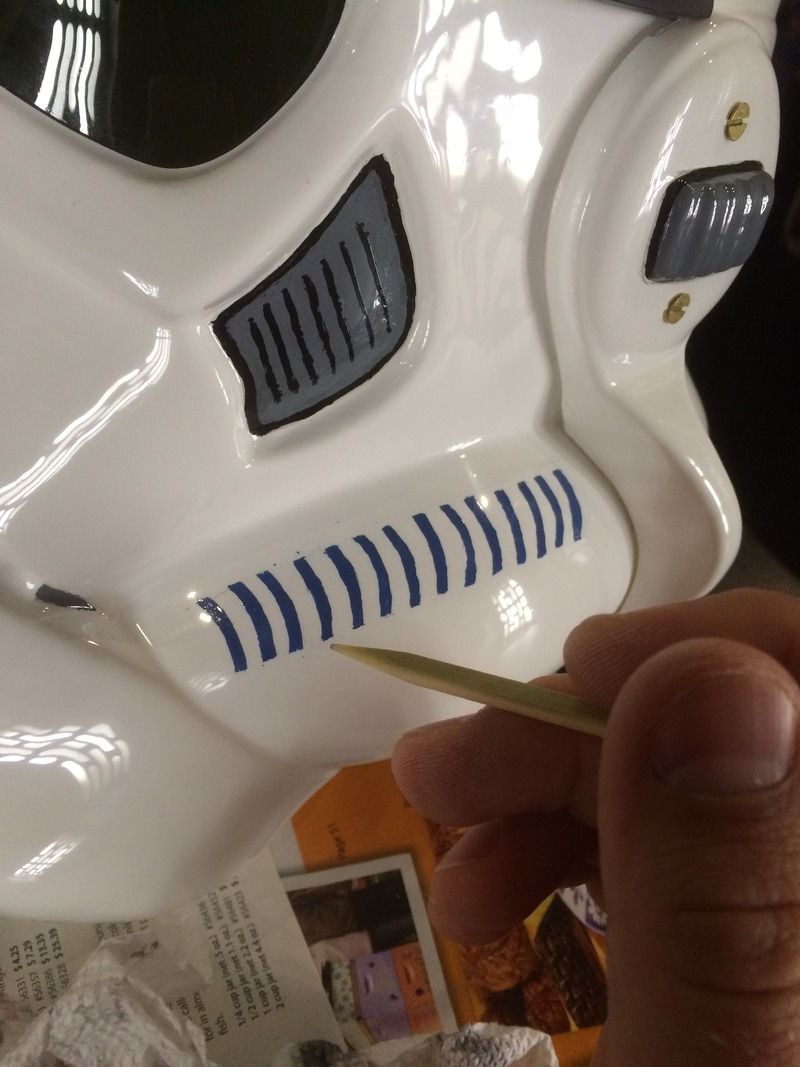
While painting the helmet I also painted the ab buttons. I originally did them WAY too big, having the paint extend down to the edge, but after some research I found they should only be about 11mm wide, so out came the thinner and toothpick. The bottom blue ones still look a bit large, so I'll work on them.
I also got the male snaps on for the belt.
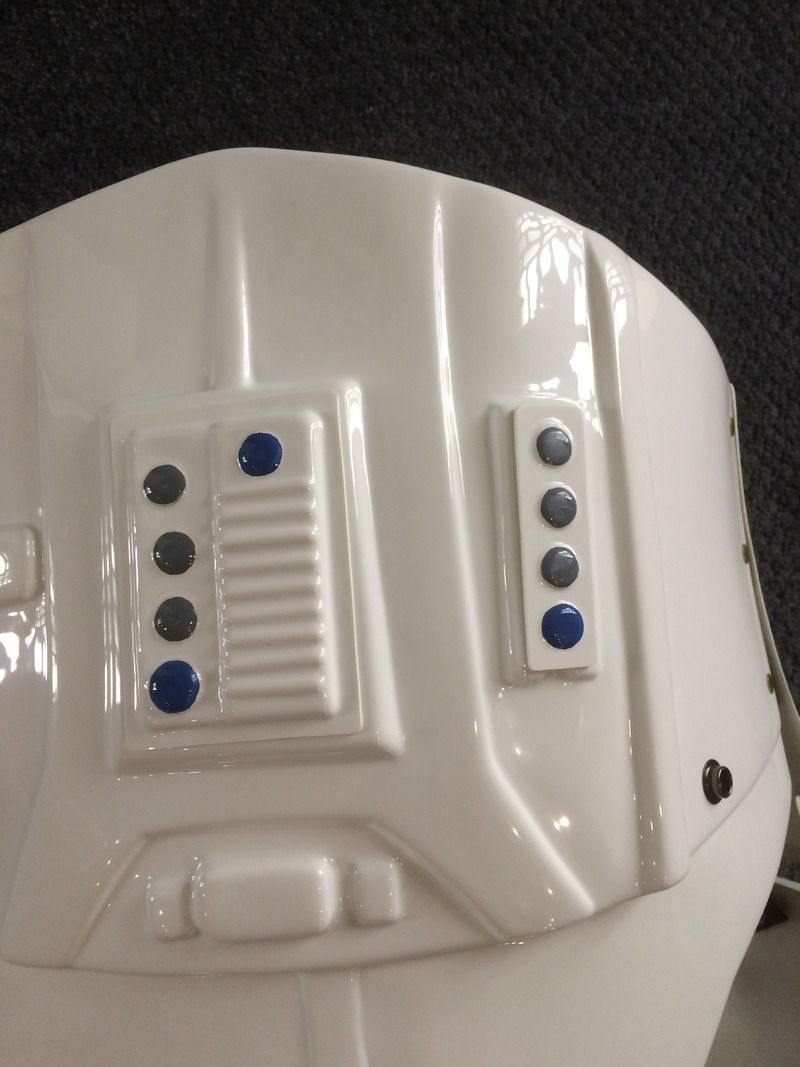
I originally cut the hole too close to the center, then (after research) found that the rivet needs to be close to the edge. The covers are just a tiny bit away from the edge. So I had a couple of holes in there. None are visible after assembly.
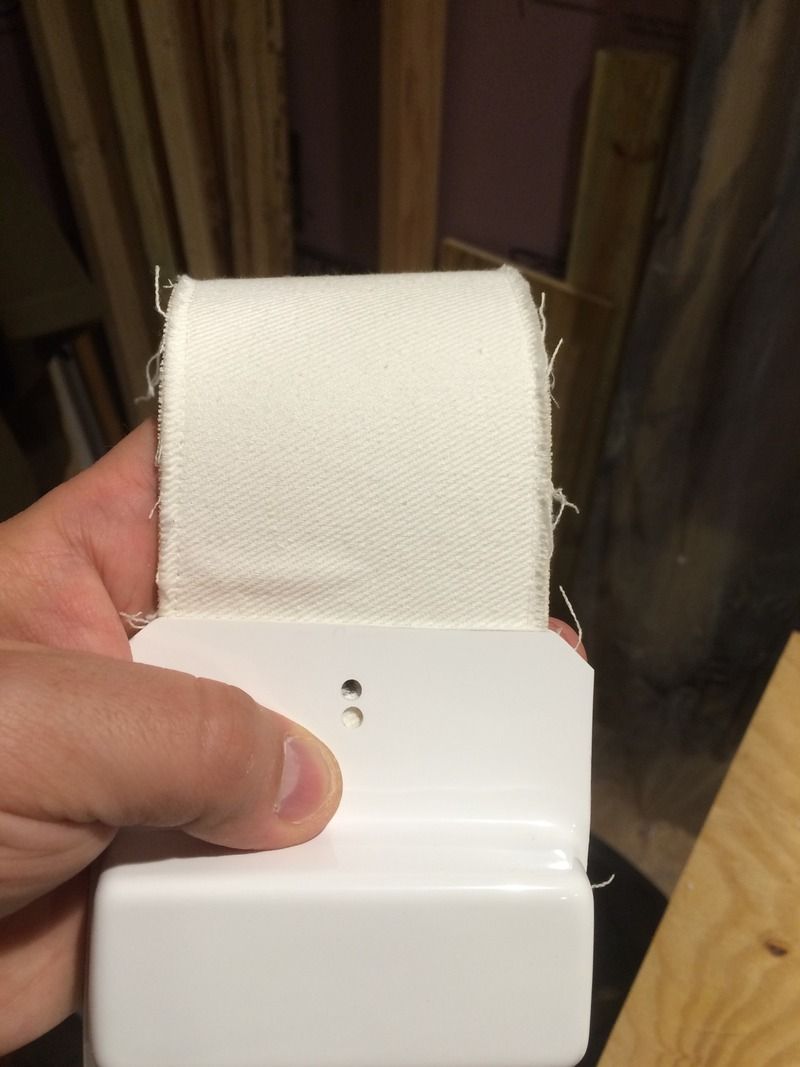
Next is the TD. TM provides a perfect tube, the aluminum strips, and the plastic.
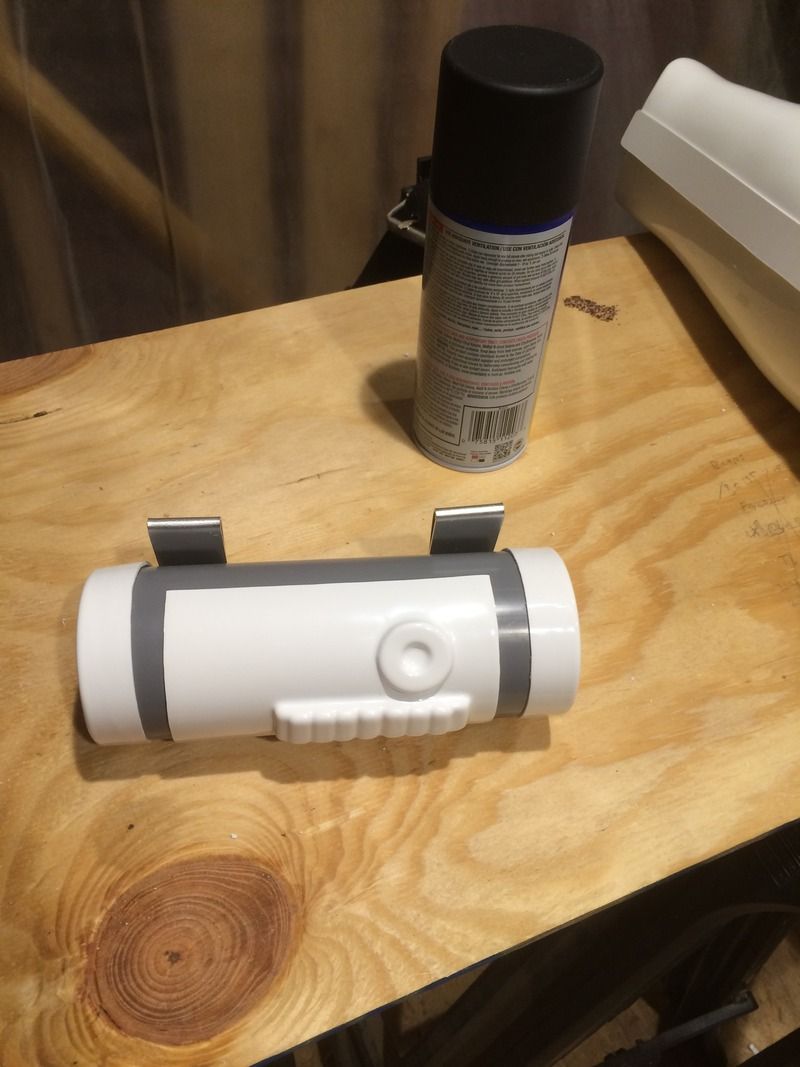
But the caps fit on tight. I accidentally cracked one. BUT I fixed it with ABS paste. I'm getting good at using that stuff (more on that later).

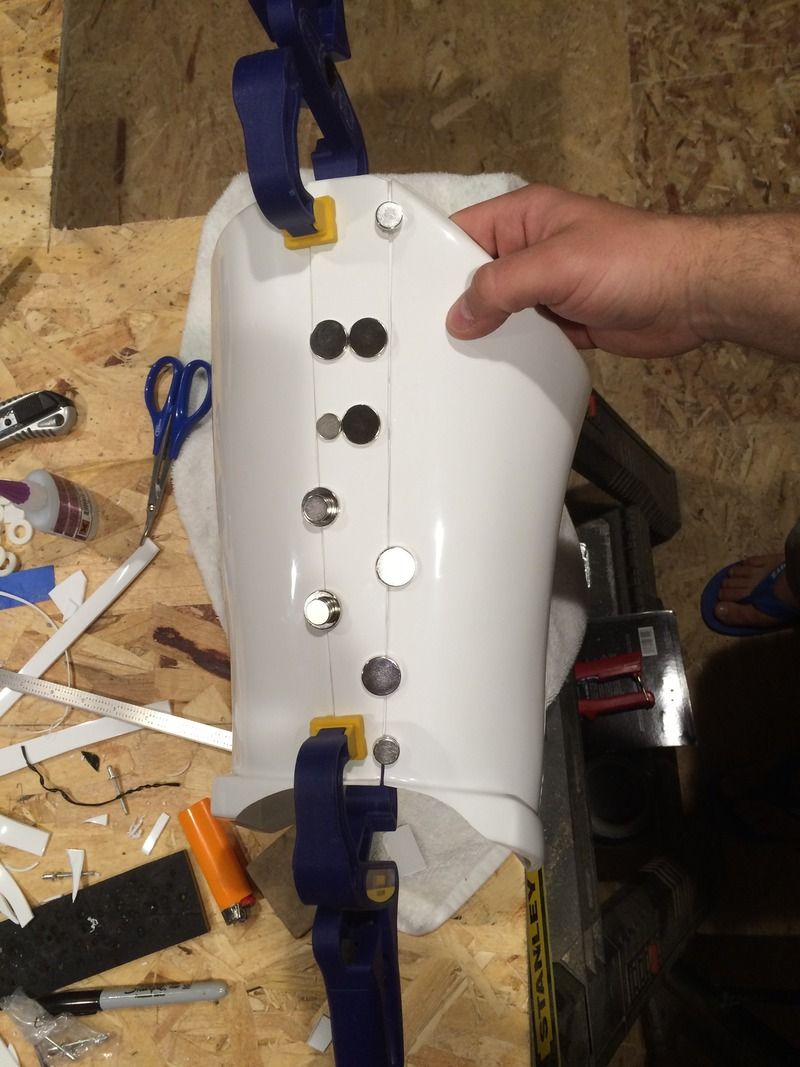
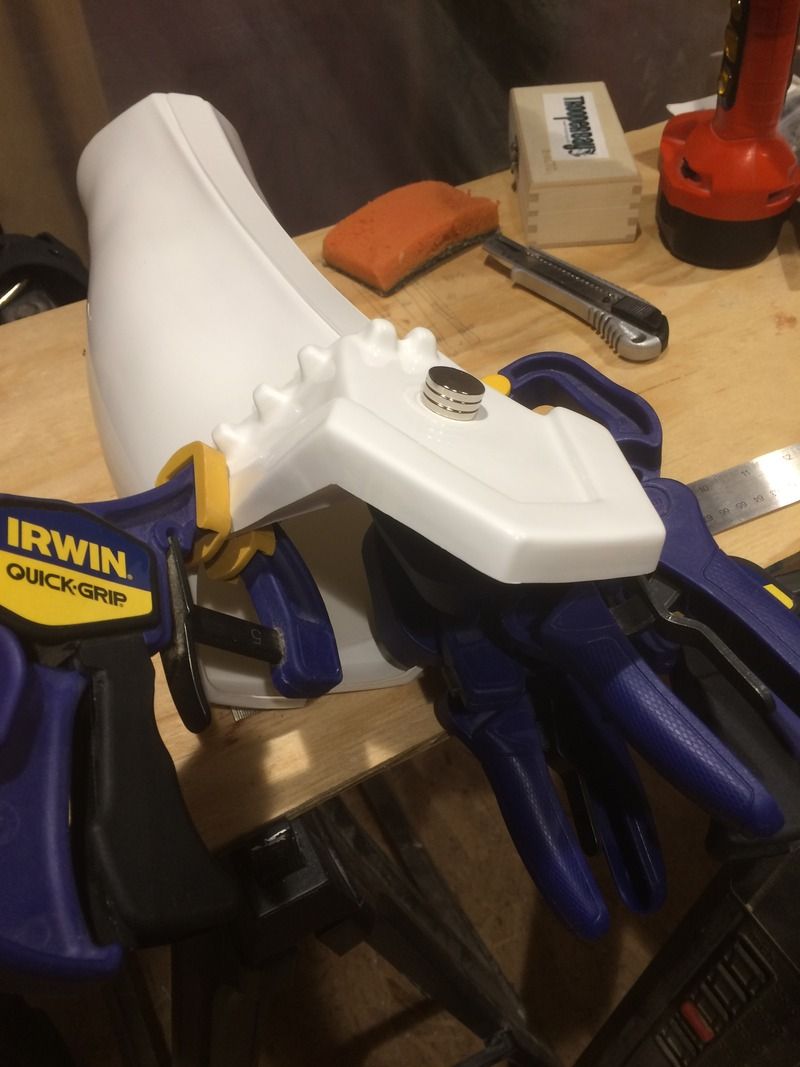
Finally, the thighs! The shims on each side are about 1.5" on the top tapering down to about .5" on the bottom. I heated the plastic to give a return edge on the top and a corner on the bottom.
I made strips for the back, then started gluing it all together. Next will be the ABS paste.... (insert scary music here) More on that later.
-
 1
1
-
-
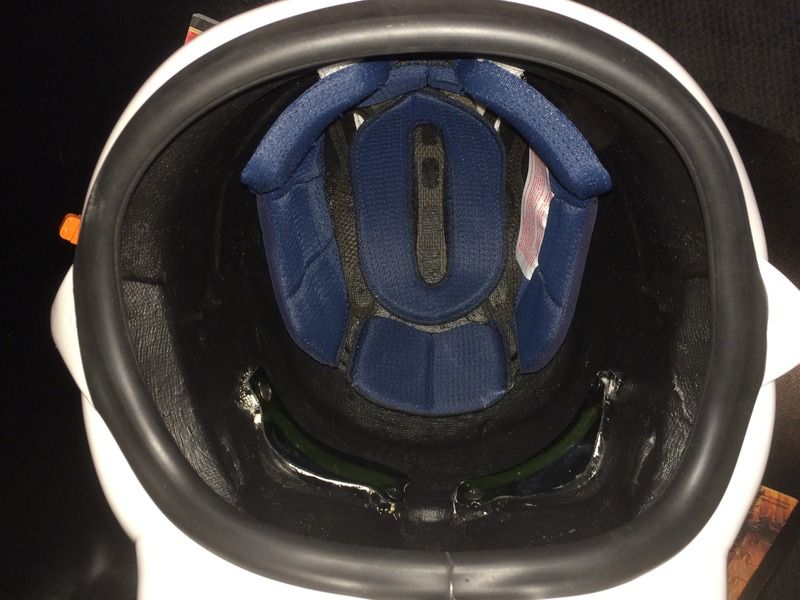
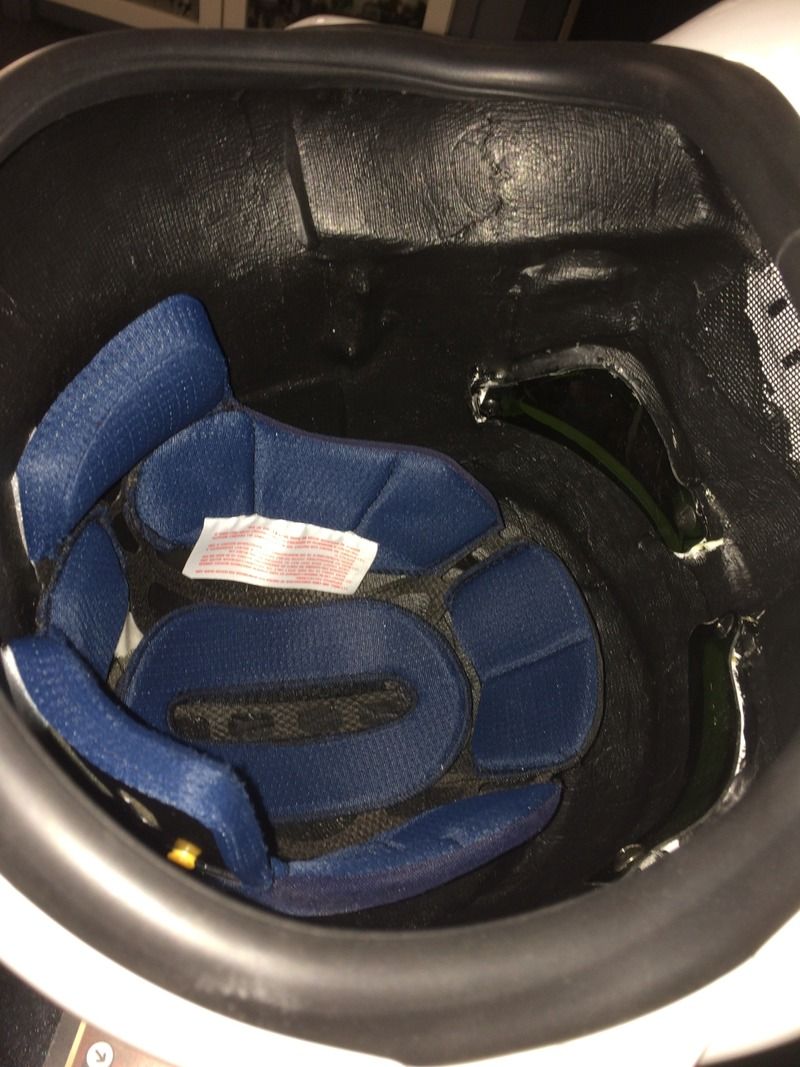
Next came the cheese cloth/plasti-dip combo. I did two coats of the dip, which gives a great feel and look to the inside. It wasn't too tough, either.
For head support I used the interior of an Arai motorcycle helmet. I crashed in the helmet (great story that goes with it) so I didn't need the harness. And it fit great in the TK helmet.
The lenses are green welders lenses (another tip from the TK master).
The bottom trim is S-trim, provided by TM. So I'm ready for Centurion!
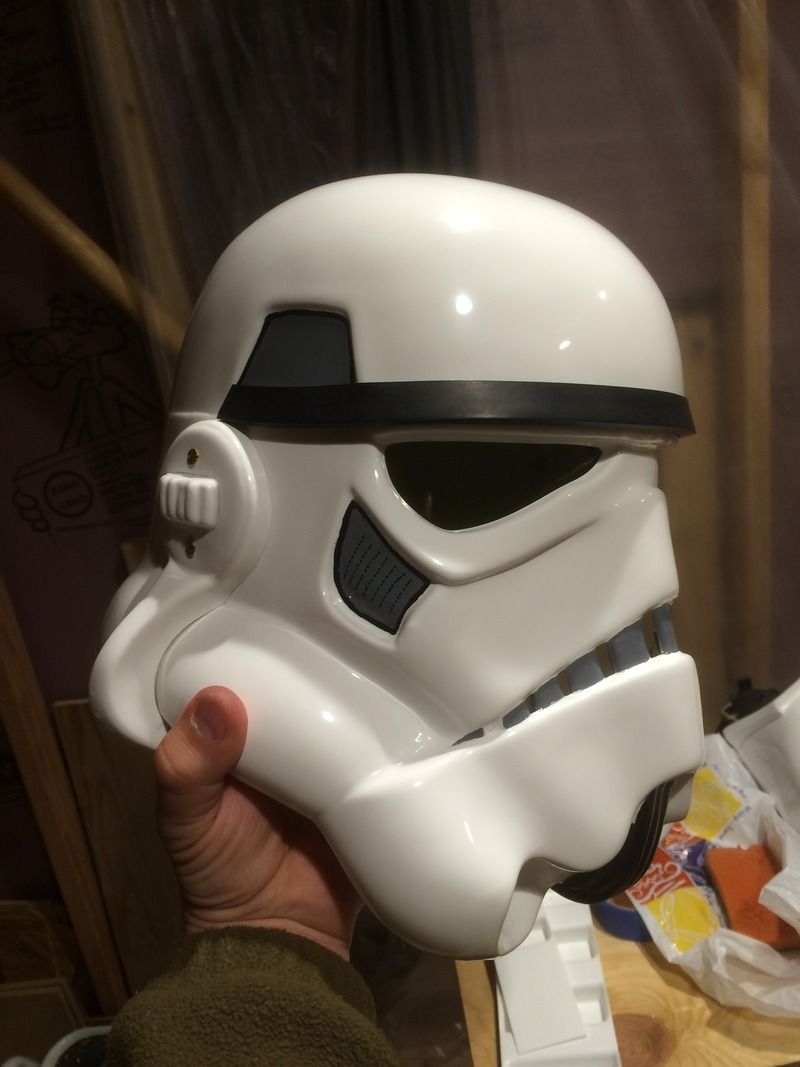
And the finished product!!
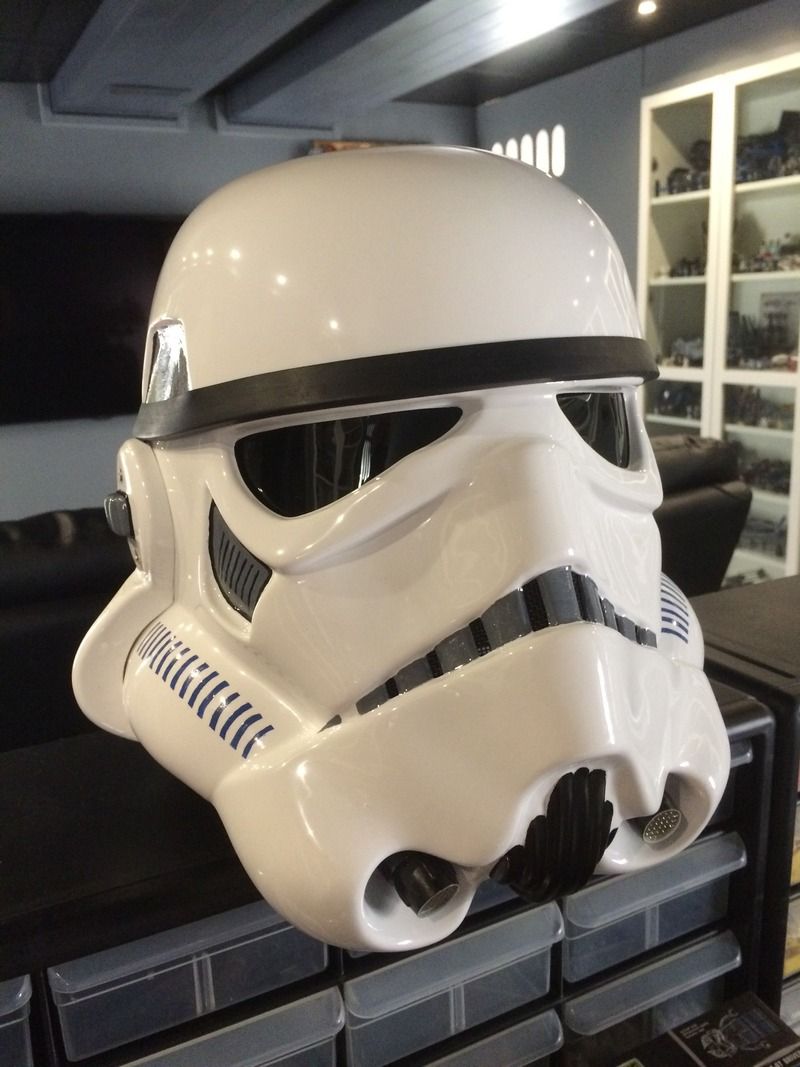
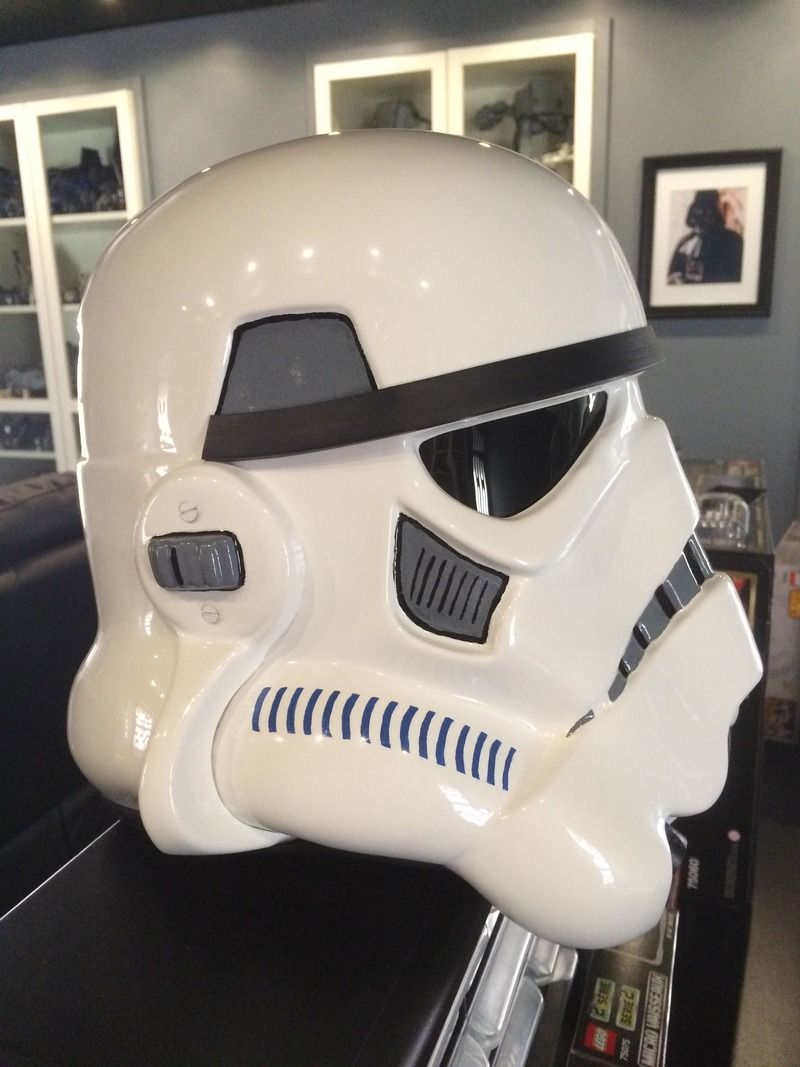
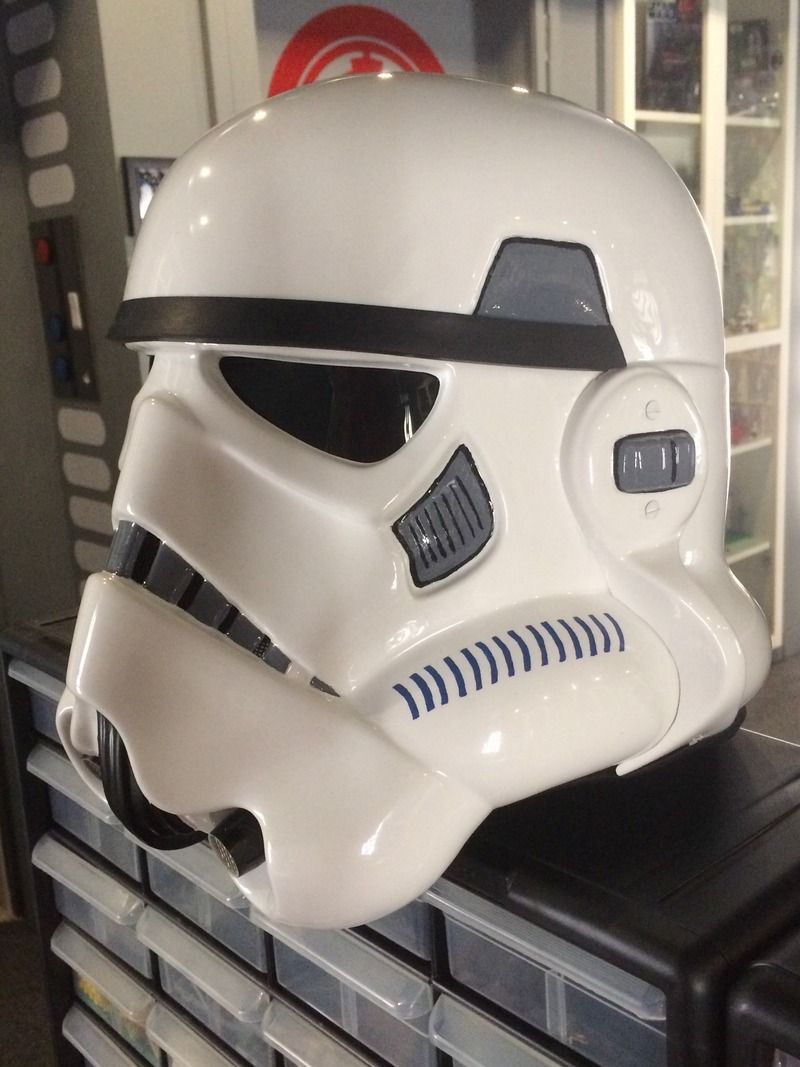
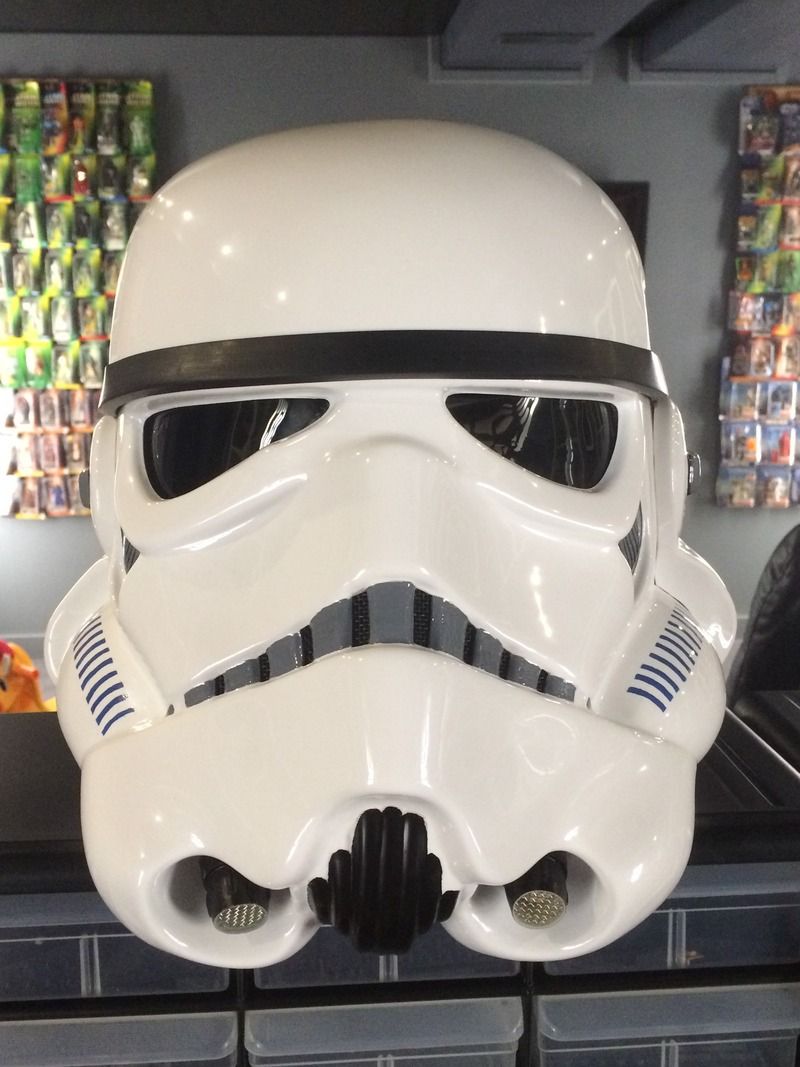
-
 1
1
-
-
Next came the stripes. These took the longest, but I started with a template and using dots from a Sharpie to mark where they would go. Then I used the blue tape to mark top and bottom.
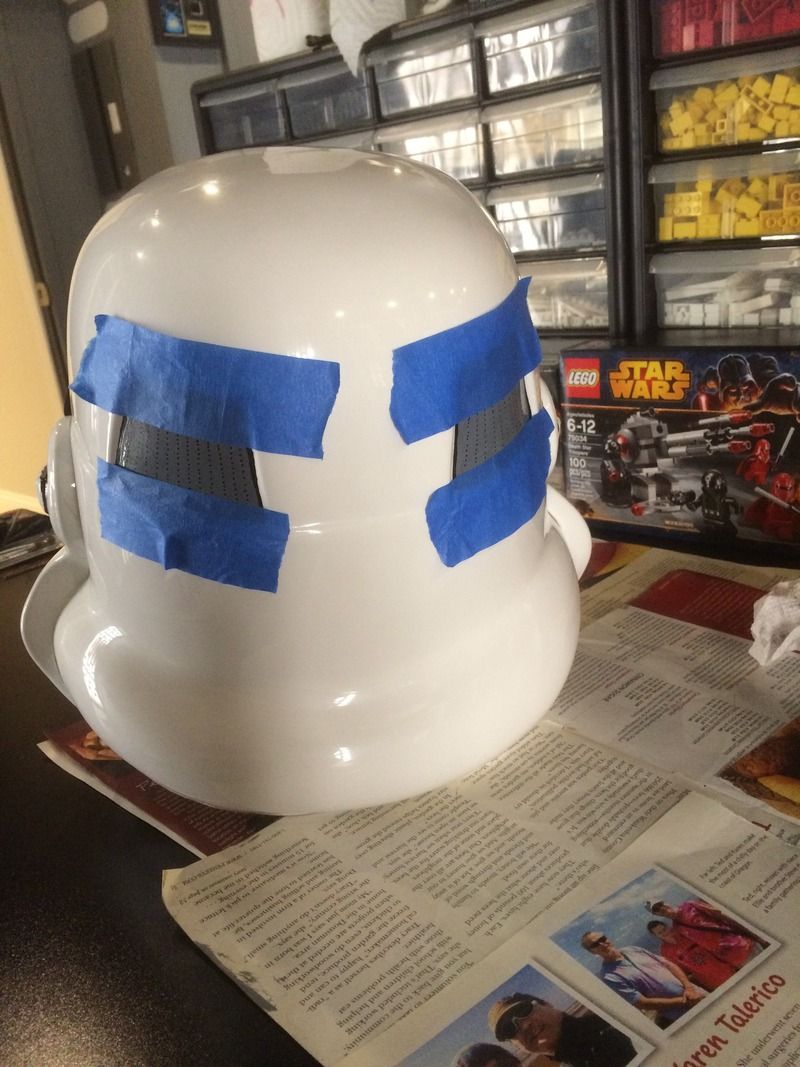
After that I did the teeth and vocoder, which were not as tough as I thought. Just takes a steady hand.
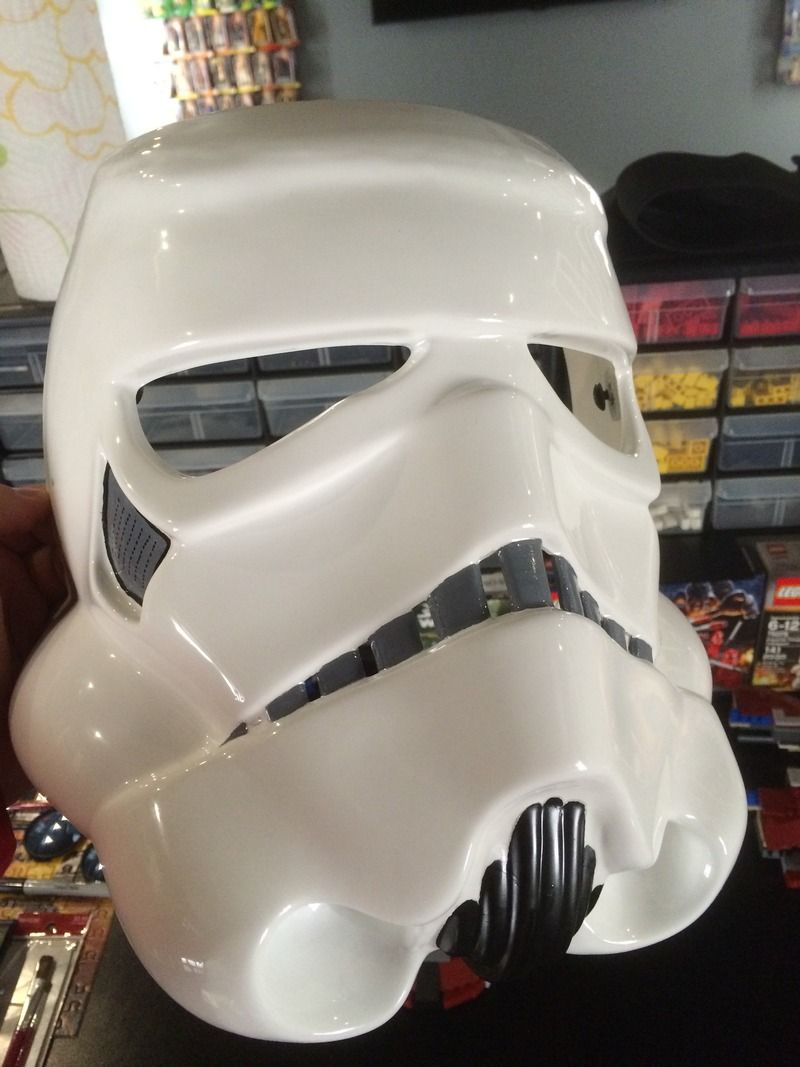
Finally, the assembly. I have to also give credit to Gaz for the brow; he got the edges to match up the traps perfectly.
Finally, the tube stripes. I went over these so many times with paint, then used thinner and a toothpick to scrape off the excess, then paint, then thinner. It took me about 4 days to get them to where I was happy.
-
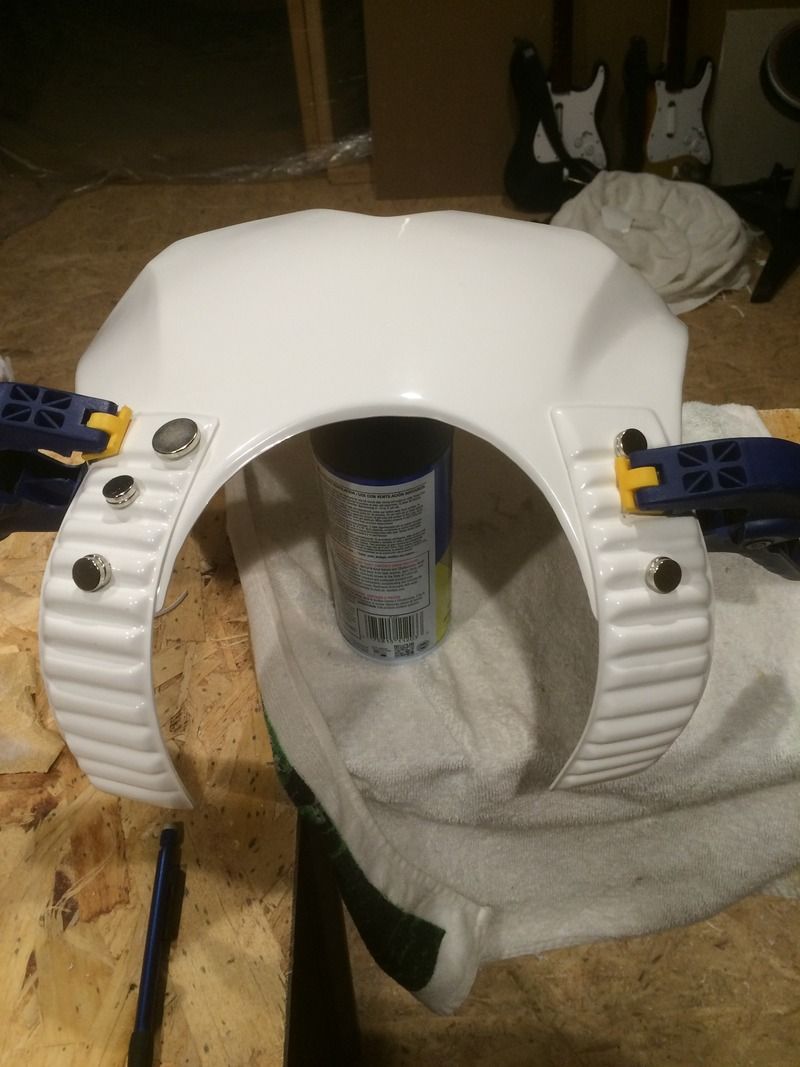
I was going to do the thighs next, but I ran into a problem. Too many years of mountaineering and backpacking has caused my thigh muscles to grow to unusual size. So the armor wouldn't close, and my only option was to shim them. I shot TM a message and he sent over some extra plastic right away.
While waiting for that plastic to arrive Gaz came over and we did the helmet. His help with trimming the ears was invaluable. He admitted that the TM ears were the trickiest he's had to cut. He worked the left and I worked the right, and in one evening we got them done. It would have taken me days to get these little guys perfect.
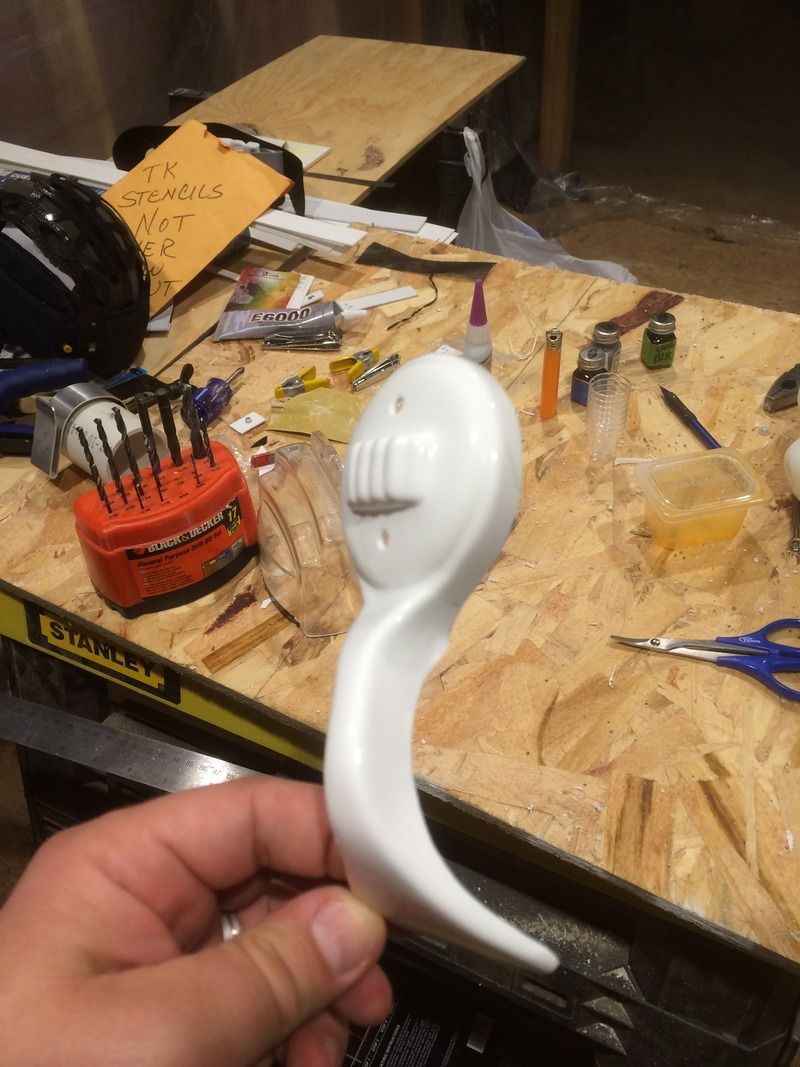
Gaz also showed me a cool trick to attach the lenses. We built blocks with screw holes inside using 3 layers of ABS. We then glued them to the corners of the eye-holes. (you can see one in the pic below) We also trimmed the rest of the helmet and fitted the halves together, and drilled out the rivet holes. Before assembly I painted. First was the black edge for the cheeks and traps.
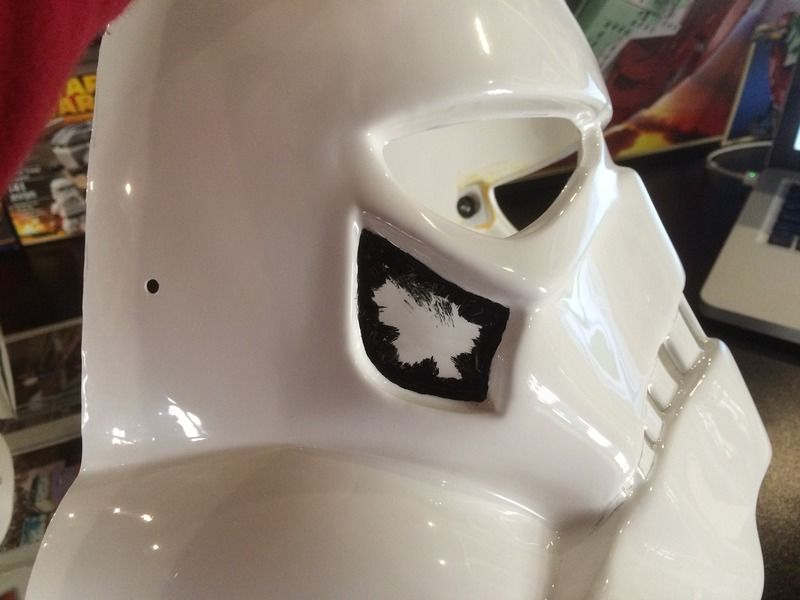
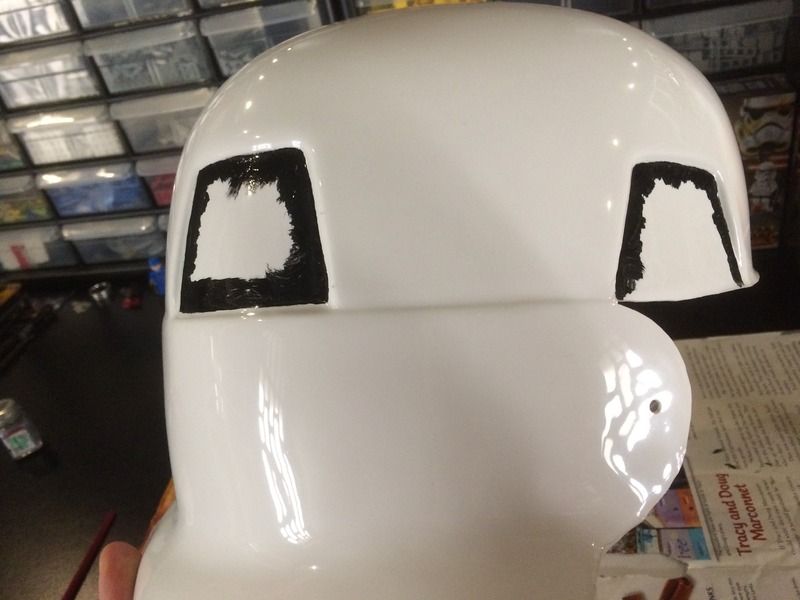
Then the field of gray. My first attempt was ok, but I was too cautious with the edge, and the black strip was too thick.
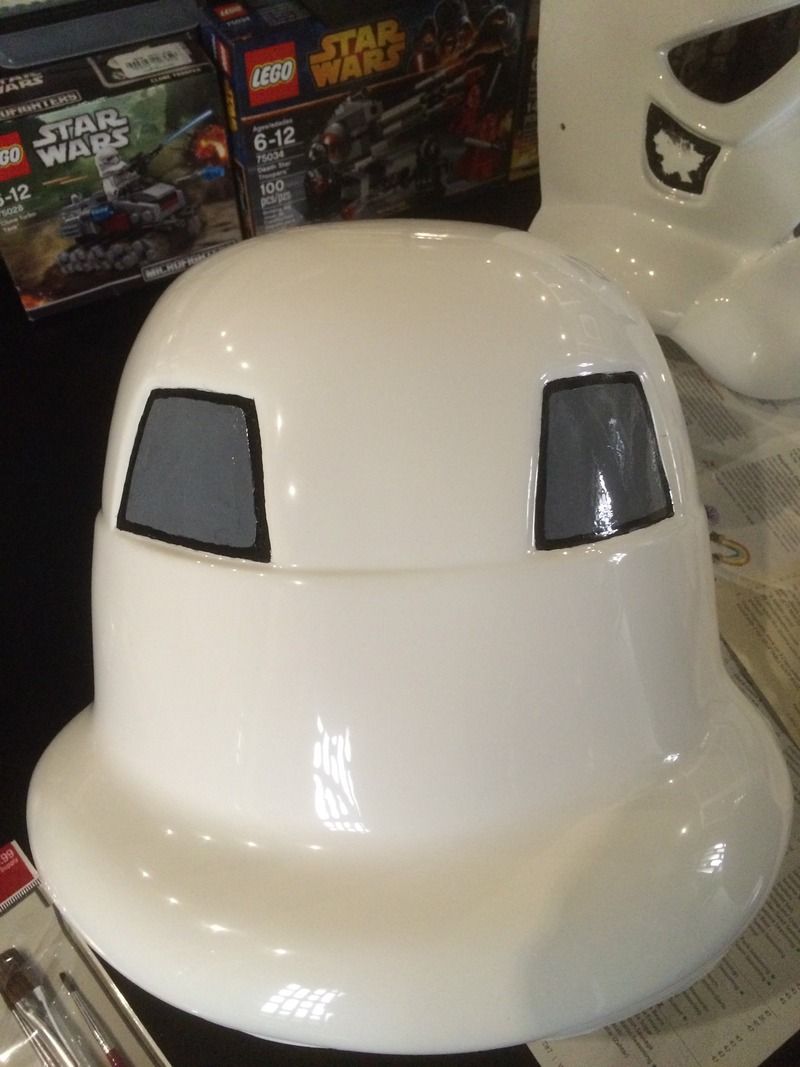
With some patience and a few passes of the brush I thinned out that edge.
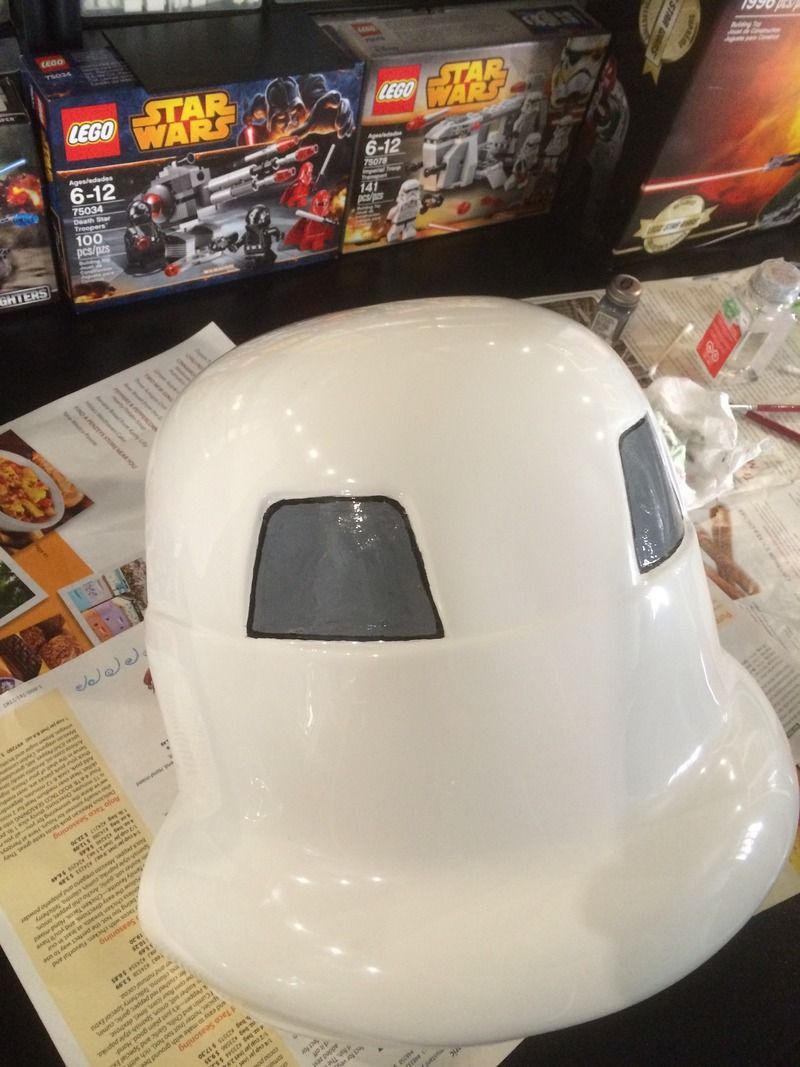
-
Well, it's been a month since my last post. I've neglected my build thread, but not my armor.

I finished the chest and back. Gaz came by to help with the latter. Since I'm short, the shoulder pieces on the back stuck up too far, so we heated them in boiling water and bent them down over my shoulders. Ended up looking pretty sweet. Sorry, no pics.
The shoulder bridges don't have a lot to grip onto the chest, so I added some plastic (upon advice from Gaz).
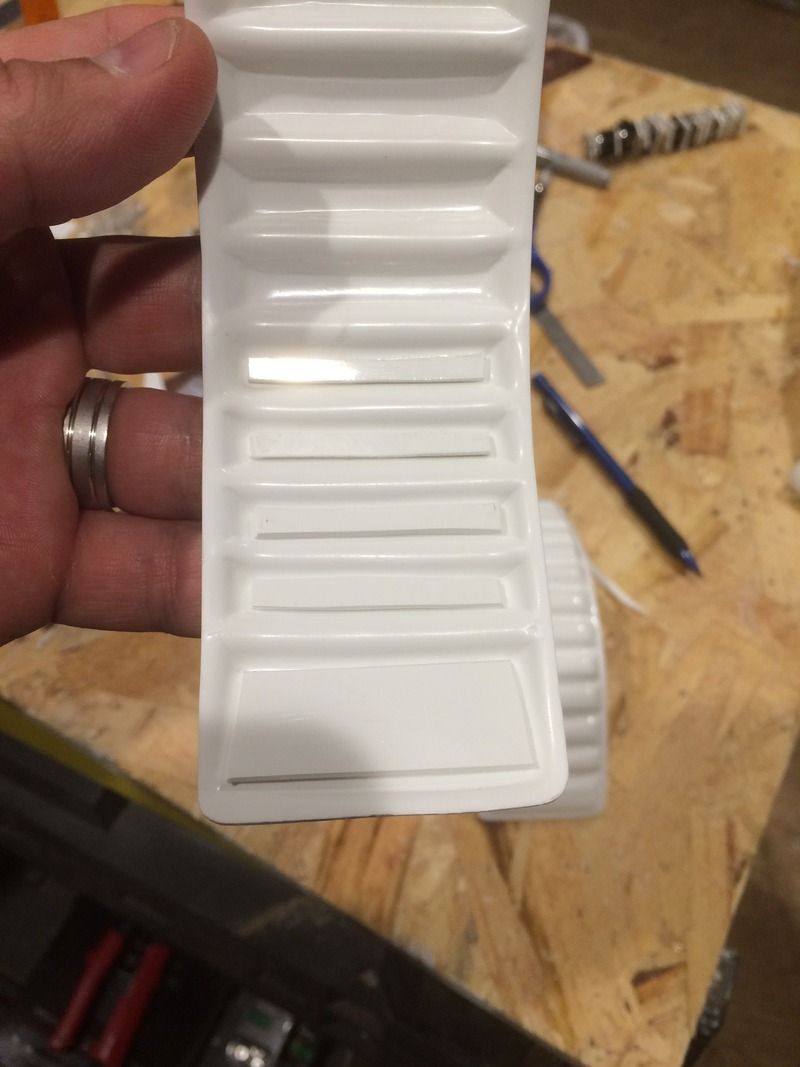
Then came the glue.
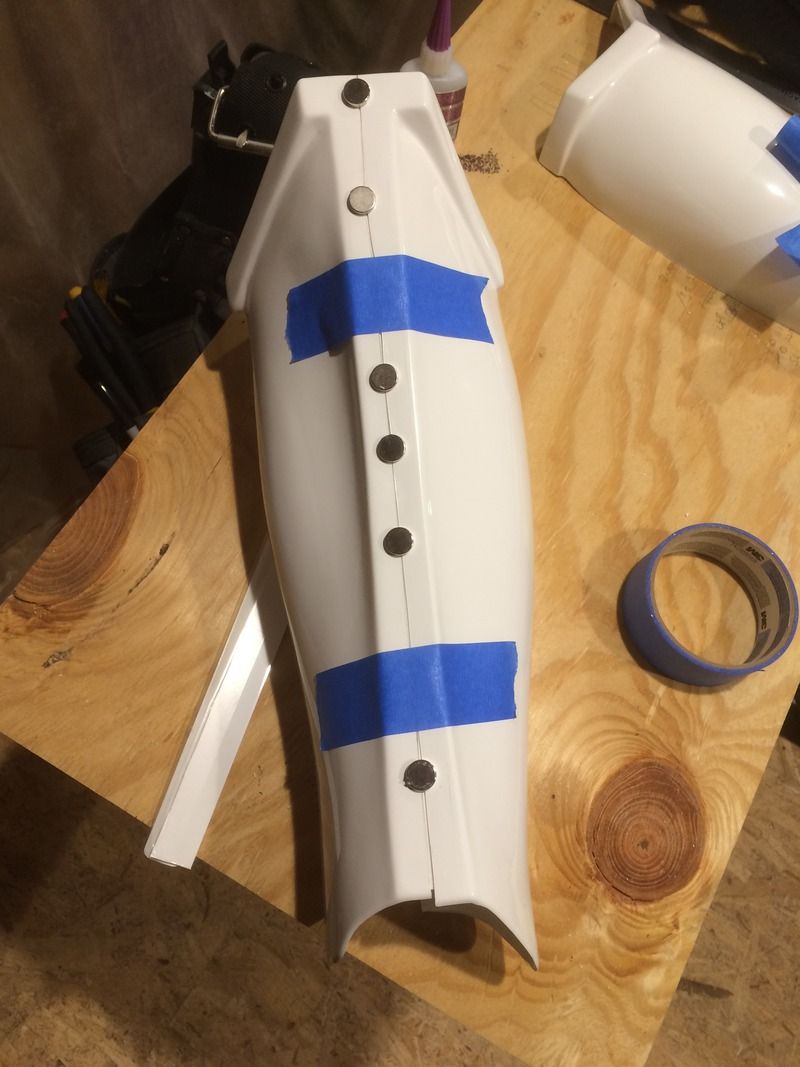
Next I tackled the greaves. First was to glue the under-strips on the joints.
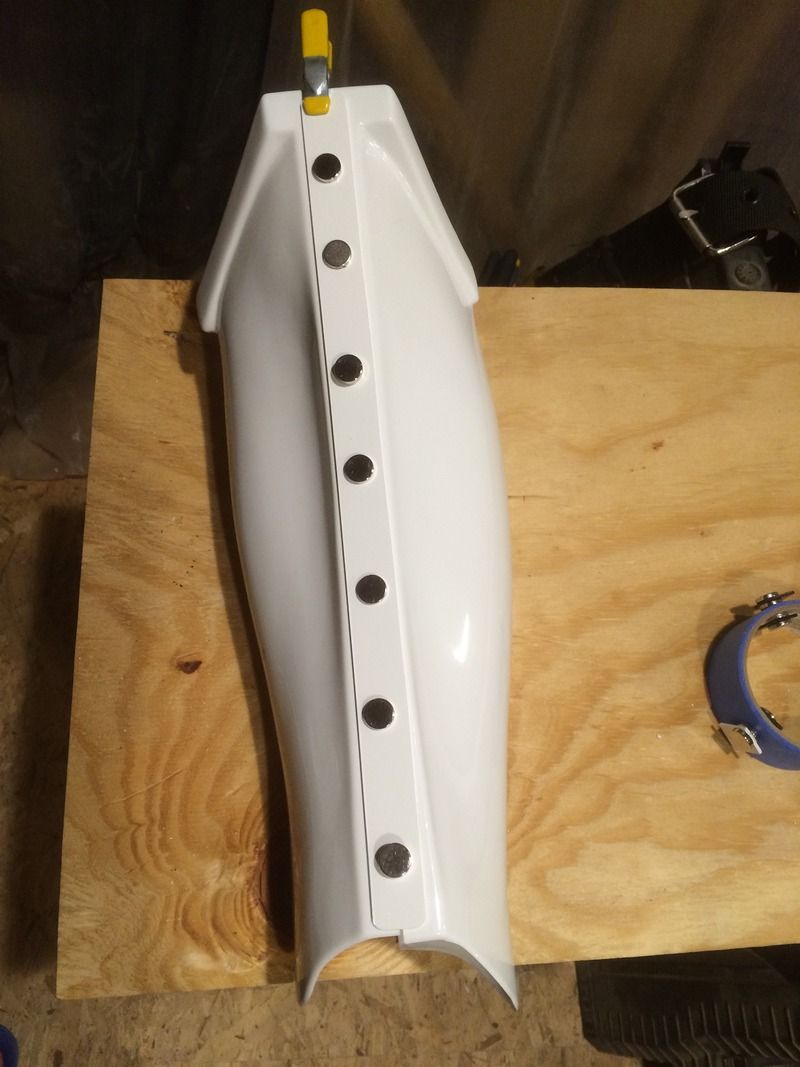
Next was the actual cover strip. After doing the arms this part went pretty smoothly. After this pic was taken I trimmed the bottom so the edges lined up.
Now it's time for the sniper plate. I marked where I would trim and lined it all up.
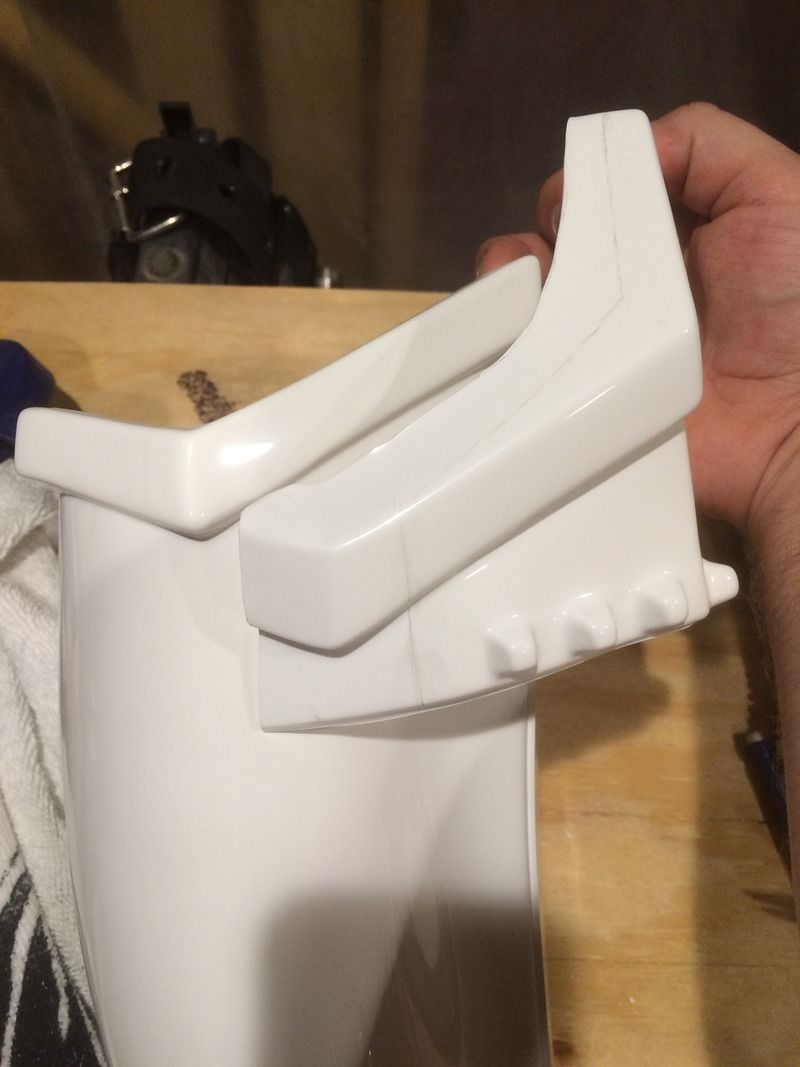
Finally came the glue. I have to say TM does a great job with this piece, it fits really well.
-
I'm just finished working on a TM (2.0mm) suit and saved my thighs for last, too.
I would say the armor should follow the natural contours of your legs as close as possible. You'd likely have it taper from a wider top to a narrower bottom. The best way to do this is tape the armor together and fit it close to your leg, then find the common line, like you did with the other sections. You might want another pair of hands to do this. You'll likely end up cutting more off the bottom than the top. But as long as the seam is vertical, you'll be ok (and cover it with a cover strip).
The thighs should come up fairly close to the codpiece. There are lots of reference pictures out there, but it will also depend on your height. I'm a bit on the short side (5'8") so my armor pieces generally are closer together.
Post some pics as you are working and we can get a better idea of how it's looking.
EDIT: I have large thighs, too (mountaineering and cycling) so I had to actually add almost 1.5" of shim to my thigh armor.
-
This is good info. Being less-than-ideal TK height I've been having a bit of trouble walking. I think I may cut a bit of a V-notch in my greaves.
-
I decided to do plasti-dip with cheesecloth in my interior (after a long discussion with Gazmosis). I finished the first coat last night and I'm really happy with the result. The interior looks like black kevlar and the helmet now has this nice weight to it. Plus the black looks pretty awesome. Once I get the second coat on I'll try to post a pic.
I'm not going to do any fans or electronics in there, just a harness to hold the piece steady on my head.
-
Sportbike track days, mountaineering, Porsche track days, rock climbing, collecting SW LEGO. Trooping is just the latest in the line of stuff that destroys my bank account.
-
You pay too much...
http://www.amazon.com/gp/product/B00UFWDPK0/ref=oh_aui_detailpage_o04_s00?ie=UTF8&psc=1
I bought two and both still don't make my abs look like that
The price went up, I didn't pay $28, I paid like $13 for it in January. I got the pants and shirt for under $30.
-
I got this top, but in black. Bottoms are from the same company.
http://www.amazon.com/gp/product/B0067VNEWM/ref=oh_aui_detailpage_o00_s00?ie=UTF8&psc=1
-
Amazon.com has cheap tops and bottoms. Just do a search for compression top and bottom.
-
I'm a 8.5EEE and I ended up getting a 9. The boot fits fantastic; I don't think it's as narrow as some say.
-
I'm no expert, but I would think a zipper might be visible between gaps in the armor in back.
Also, I think most would recommend a two-piece suit, so you can use the facilities easier.

-
Those are great hand guards. I just got mine in from Karin and am quite pleased.
-
I agree with Boomertrooper. To make sure your boots don't pop out from under your shin armor you'd want to have higher tops. I'd go with TKboots or Francois.
-
My armor is TM, and there was a slight snag during shipping. The big brown box got stuck in customs in Memphis. The label said "white plastic spaceman" and customs wanted to know more. I ended up getting ahold of them and explaining what was actually in the box; and it was released that afternoon and on my doorstep the next day.
The conversation with the FedEx customs liaison was actually pretty funny as I explained what the white plastic spaceman actually was.
-
 1
1
-
-
-
Even though I am already working on a set of TM armor, I went ahead and pulled the trigger on the ANOVOS TK pre-order. I just couldn't pass up the price; I'm thinking I can make it a TD.



Chills Build - ANH Stunt (TM armor)
in Build Threads Requireing Maintenance
Posted
Thanks, Richard!
Yep, it's a vinyl sticker. I'll post pics of the whole room in the NCO Club forum. I think the FISD group will appreciate it.