


Chills
-
Posts
313 -
Joined
-
Last visited
-
Days Won
1
Content Type
Profiles
Forums
Gallery
Articles
Media Demo
Posts posted by Chills
-
-
LOL, thanks. I was looking all over for something to hold the corners down then had an epiphany while working on a LEGO B-Wing.

-
 1
1
-
-
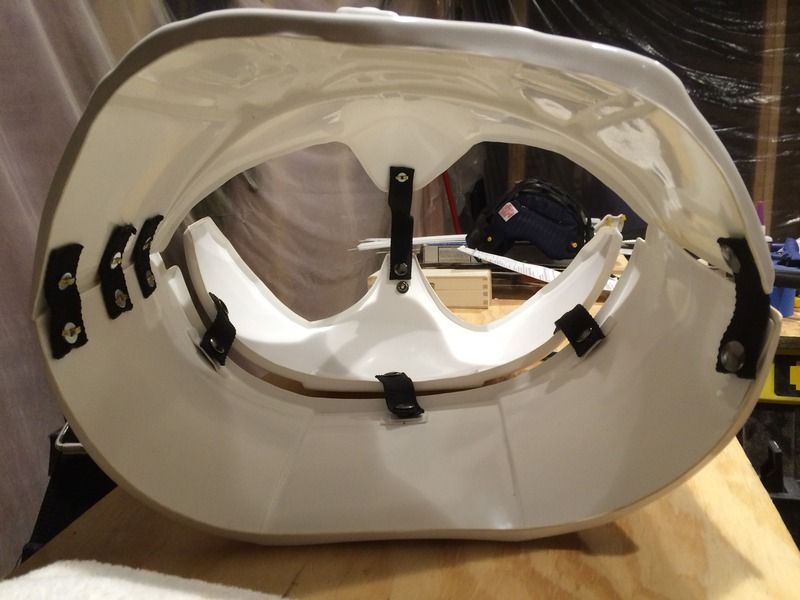
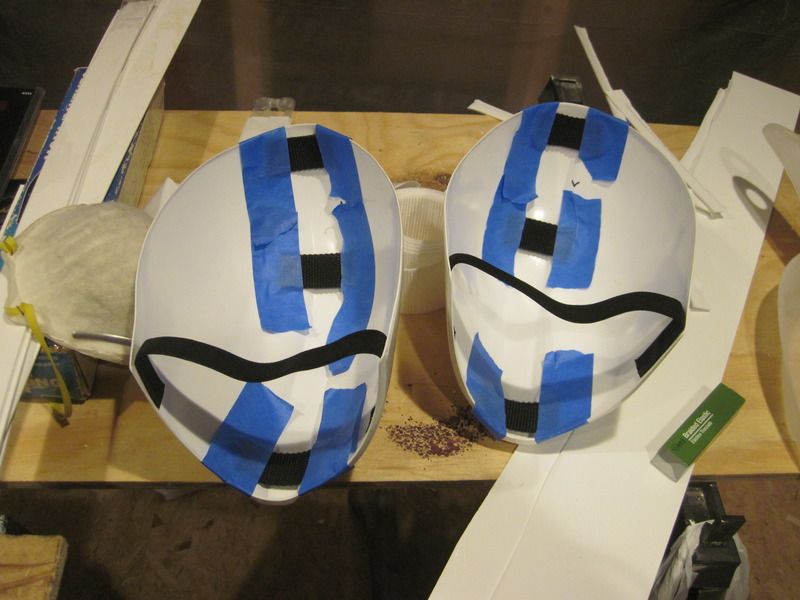
Next is the chest and back. First, snap plates made out of the white 2" webbing.
Then a test fit. I've got a short torso, so when the back sits on top of the kidney, the shoulders stick straight up over my shoulders. So I'll need to bend them down. I've got some help coming over for that one.
I glued elastic to the hand plates, too.
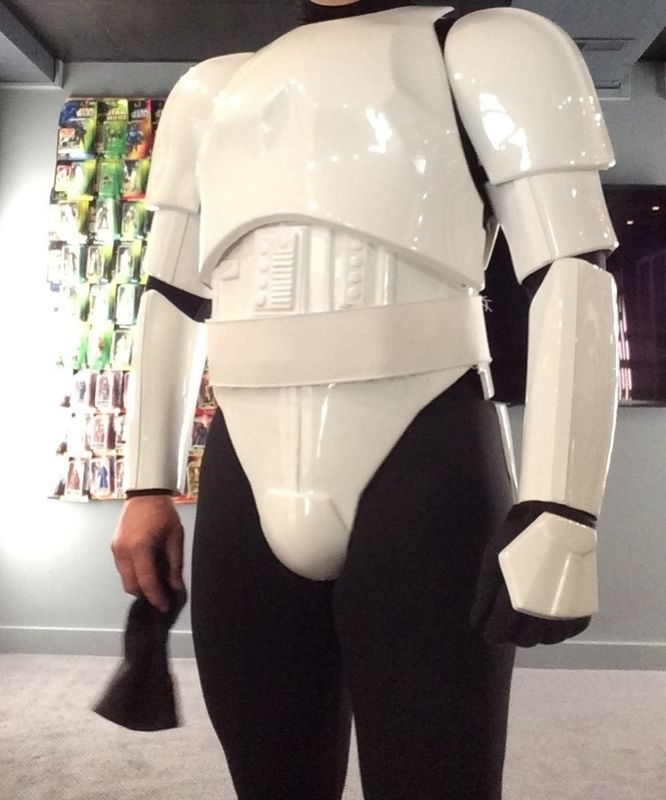
Here is a test fit of all I've done so far.
-
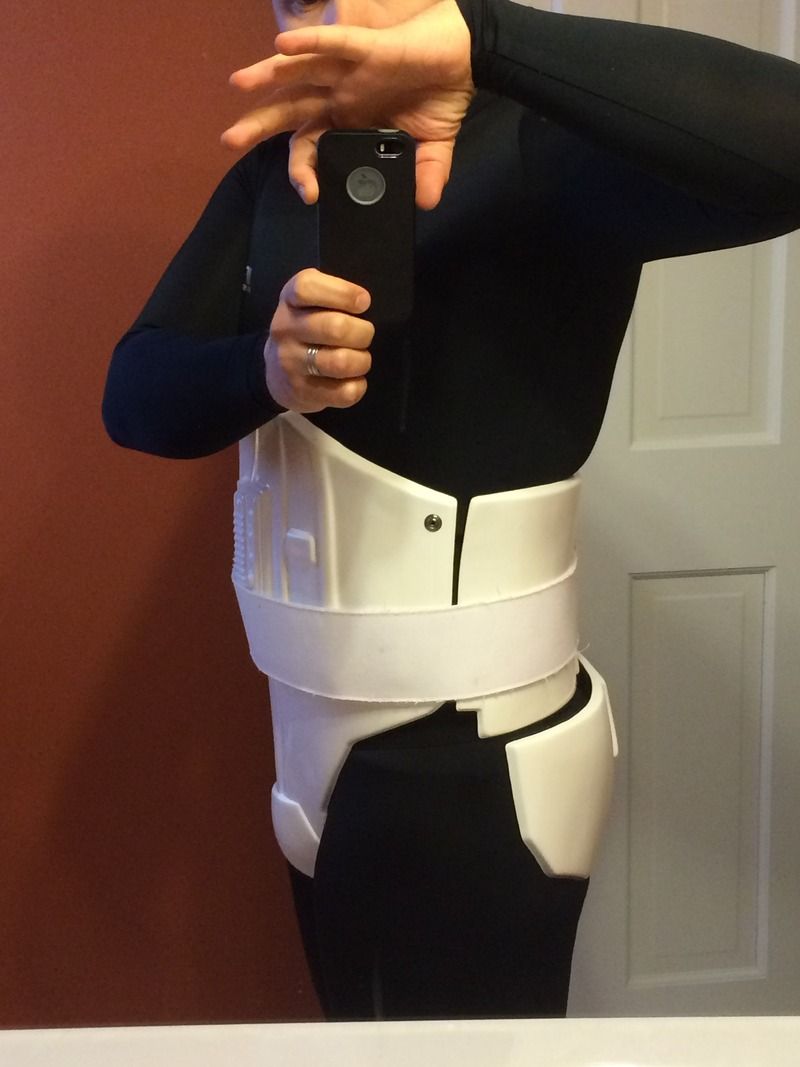
Next came the torso strapping. As you all know, Centurion requirements are strict here.
6 split rivets, 3 on each side; about 10mm from the edge. Thankfully, TM puts a nice line on each side to use as a guide.
Tape the kidney and abs together so that the rivets are lined up.
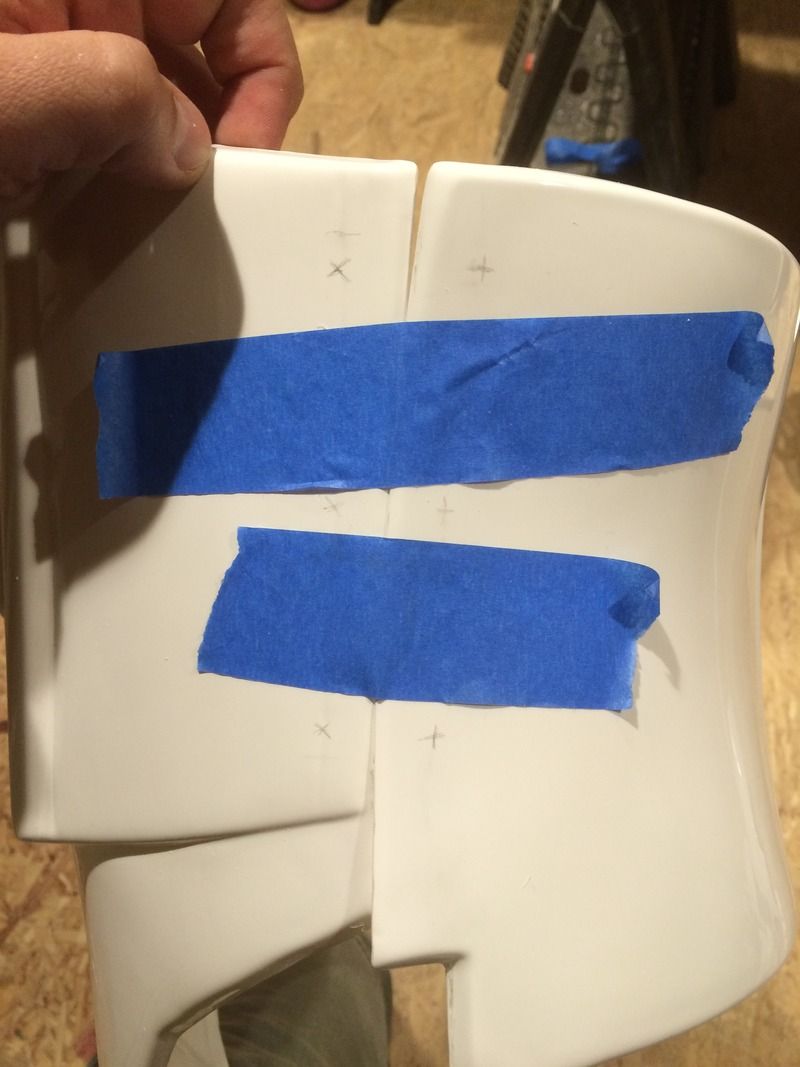
Drilled the holes, then cut the webbing to size (always melting the edges with a lighter so they don't fray). The hardest part was making a hole in the webbing. After trying SO many different methods I ended up using a soldering iron. It worked PERFECTLY. Made the hole quickly and melted the edges so no fraying.
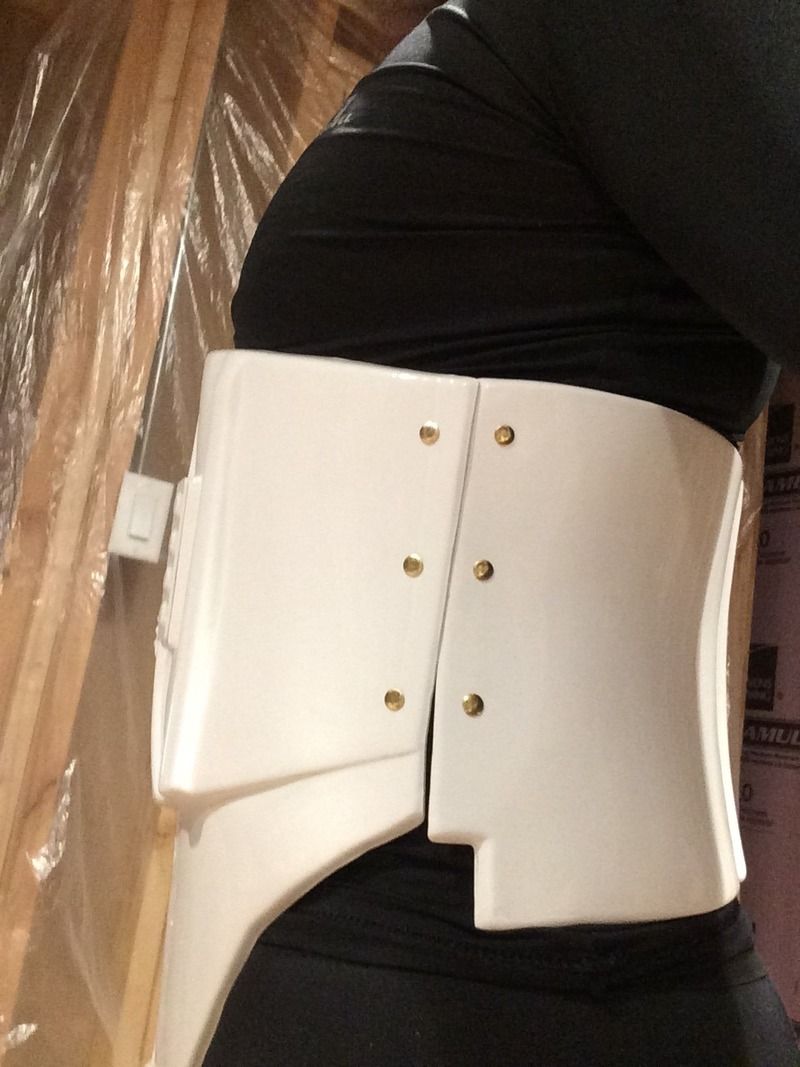
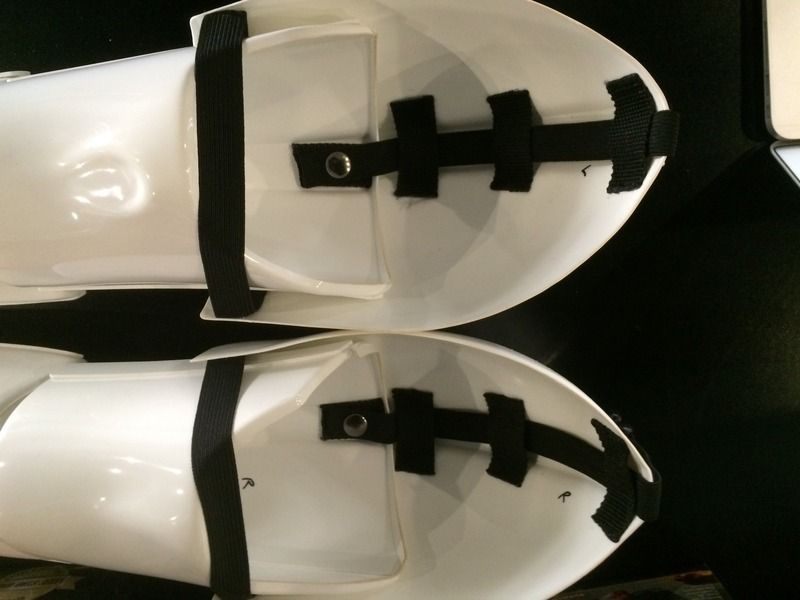
After that I started on the butt plate. I made snap plates out of extra ABS. I used male ends, but still wasn't getting a good, solid fit. So I melted the middles and bent them. It worked out great.
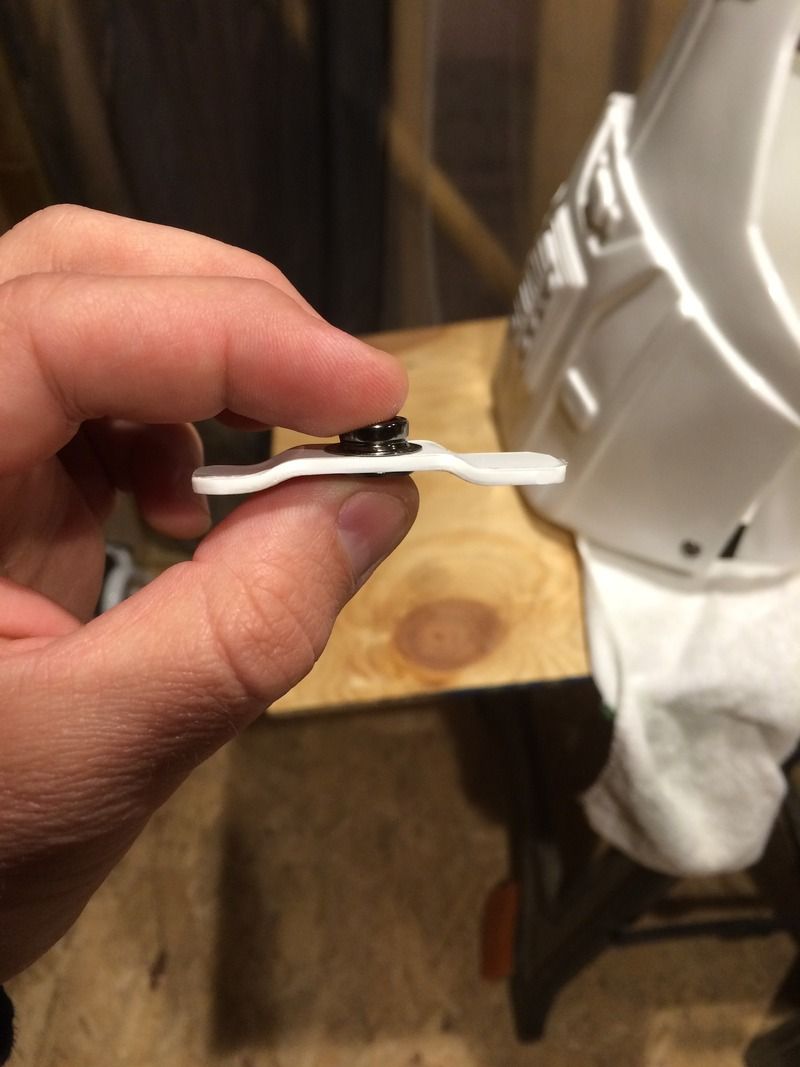
Three snap plates on the top and two male snaps on the crotch and the piece is ready.
All the strapping is done for the torso. (well, I ended up adding one more strap on the right side after this pic was taken).

-
back. Here is a sample of the finished forearm.
With the arms done I started the working on the strapping. I used static webbing between forearms and biceps along the inside of my elbow; I didn't want their distances changing. I'd been reading that one of the toughest things to get perfect is having the shoulder bells not slip around. So I decided to use elastic to join the biceps and shoulders together, and have that join the other side.
Instead of attaching the elastic to the shoulder bells with snaps, I used static webbing to form bridges over the trench in the bell. One side snaps to the bicep, the other runs along my upper torso and connects with a clip to the exact same setup from the other arm. The elastic runs along the middle of the bell, and slides around as I move my arm; but it keeps the bell close in and right in place. The biceps don't slide down, either. The only hard thing is getting the middle clipped by myself.
I'll have the final picture of the way they sit later on.
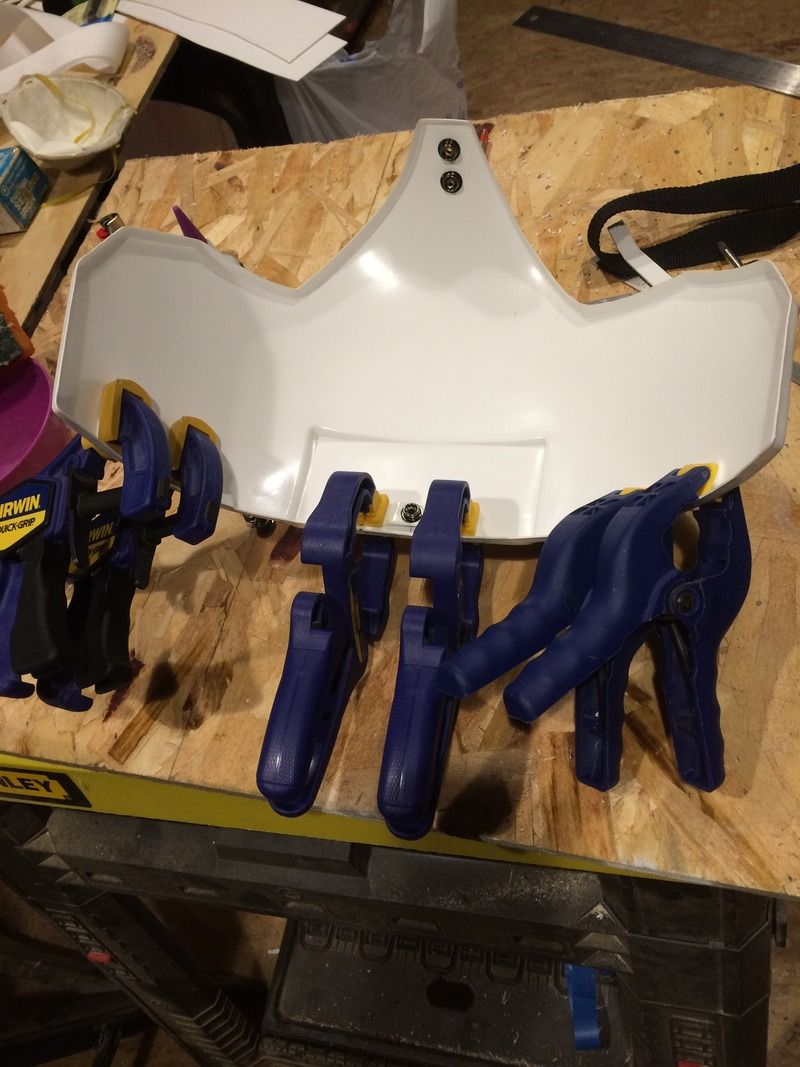
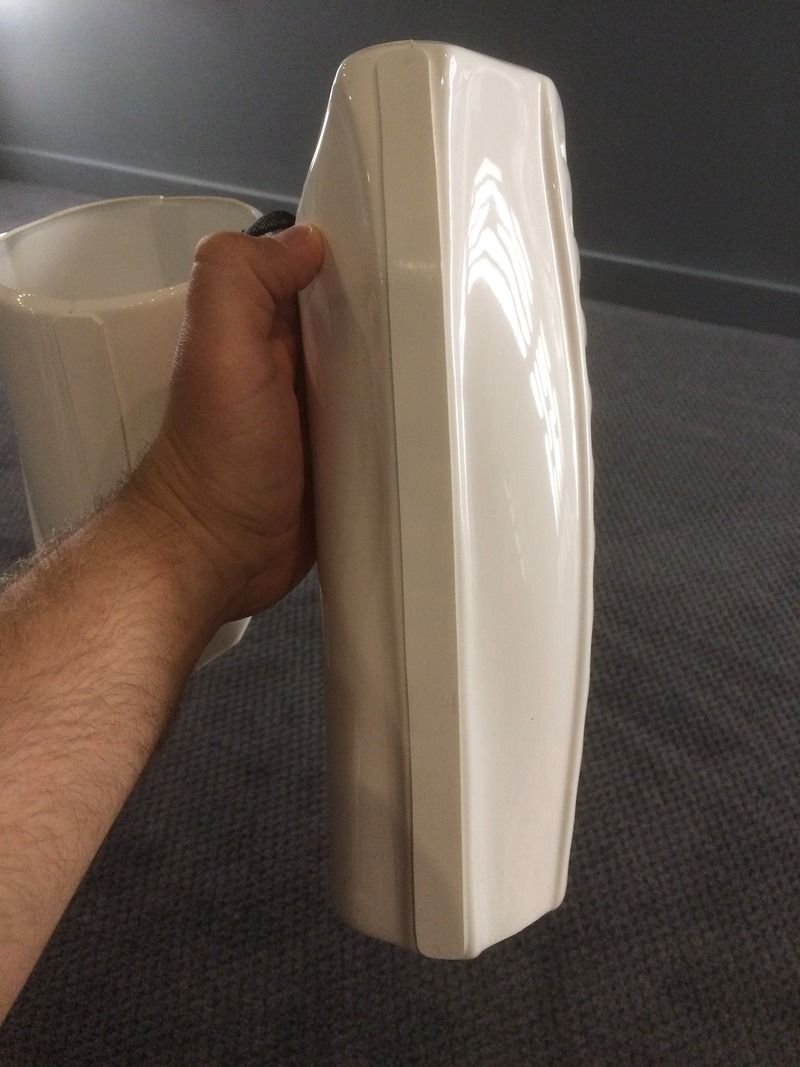
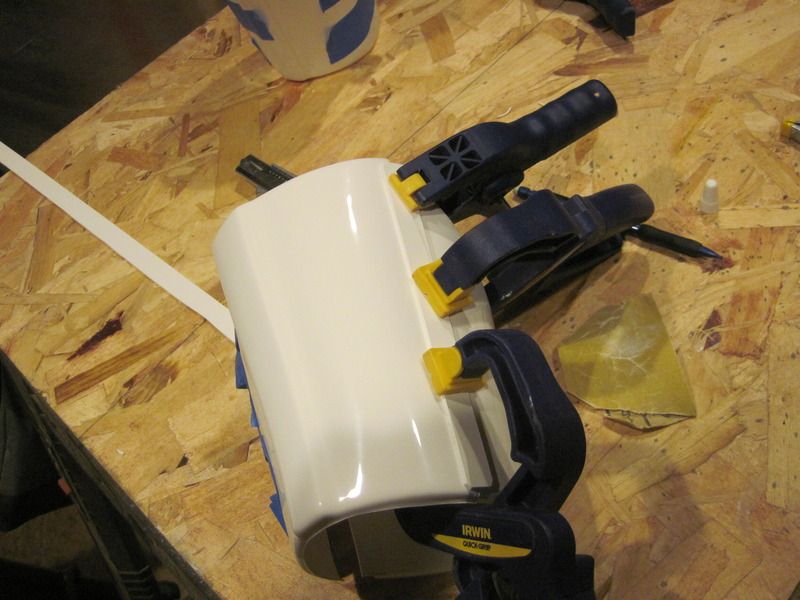
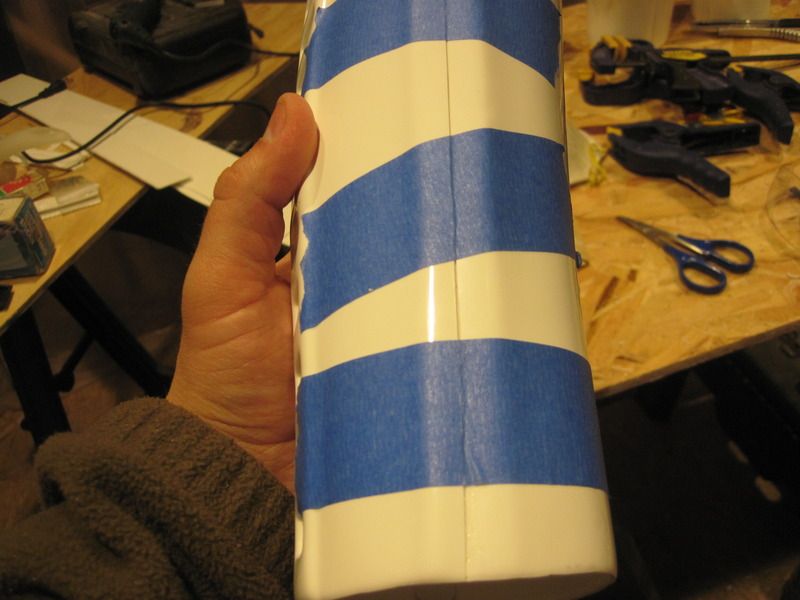
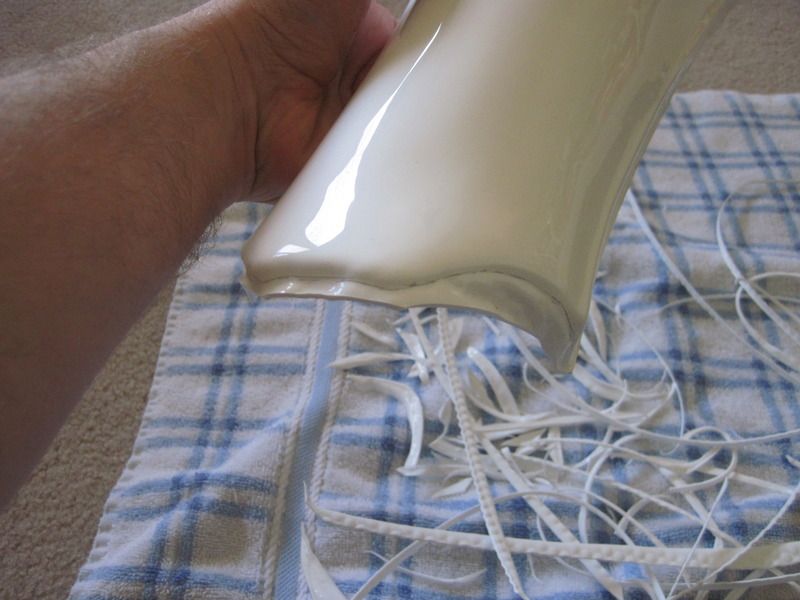
After the arms I started working on the torso. First things first, cutting the button panel
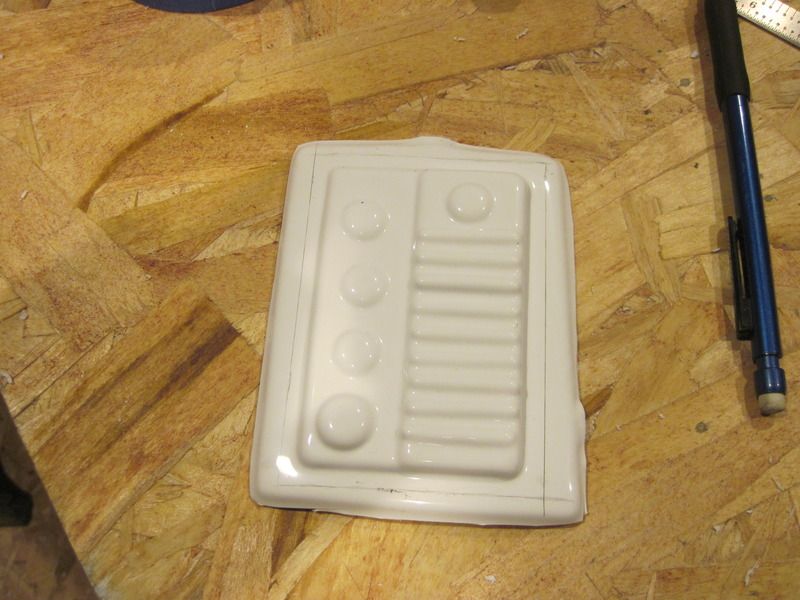
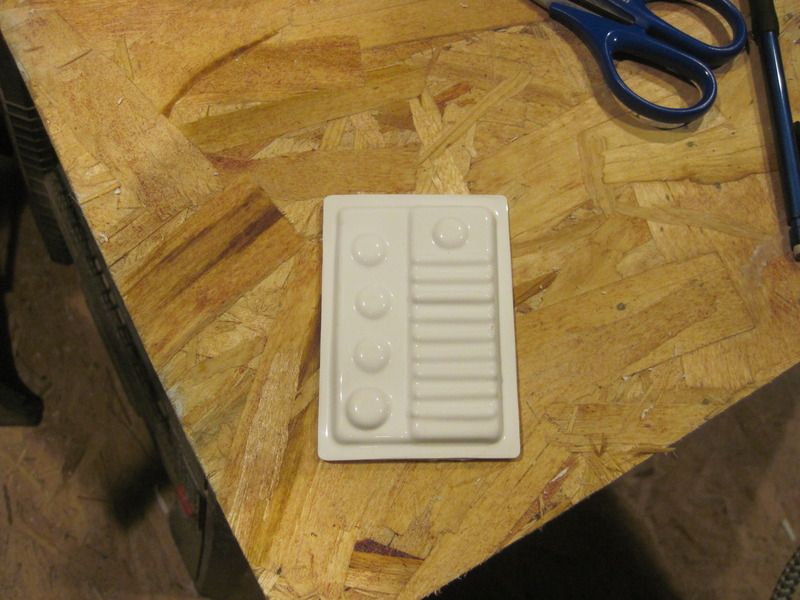
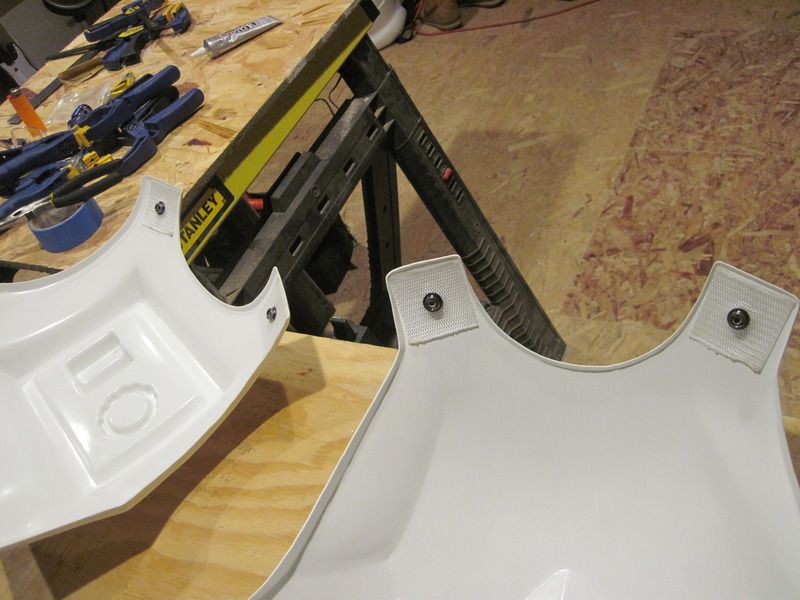
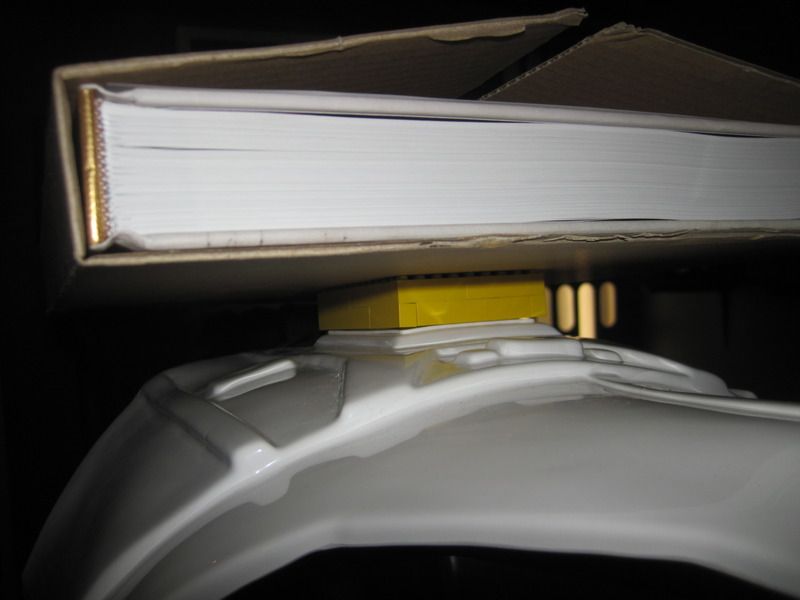
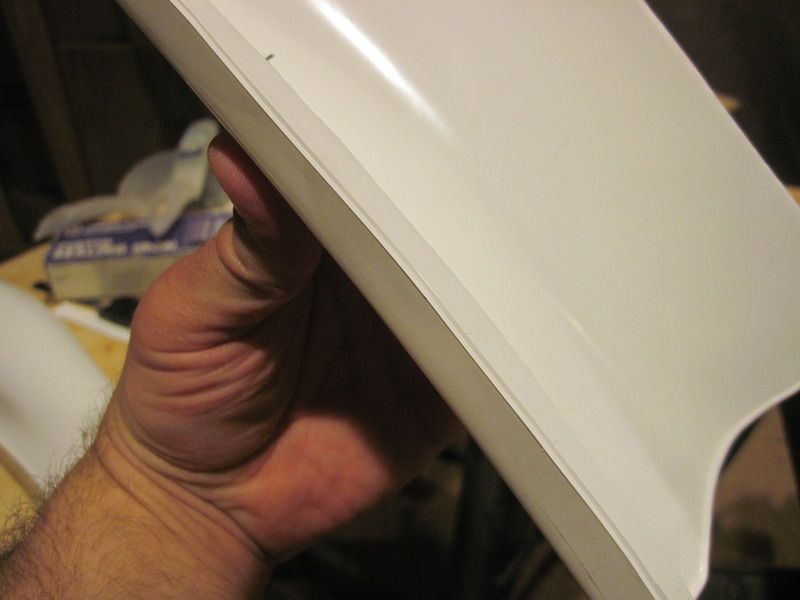
I wanted to make sure the corners would stay down on the curved surface while drying, so I built a frame.

Add a heavy book and tada!
-
1
-
-
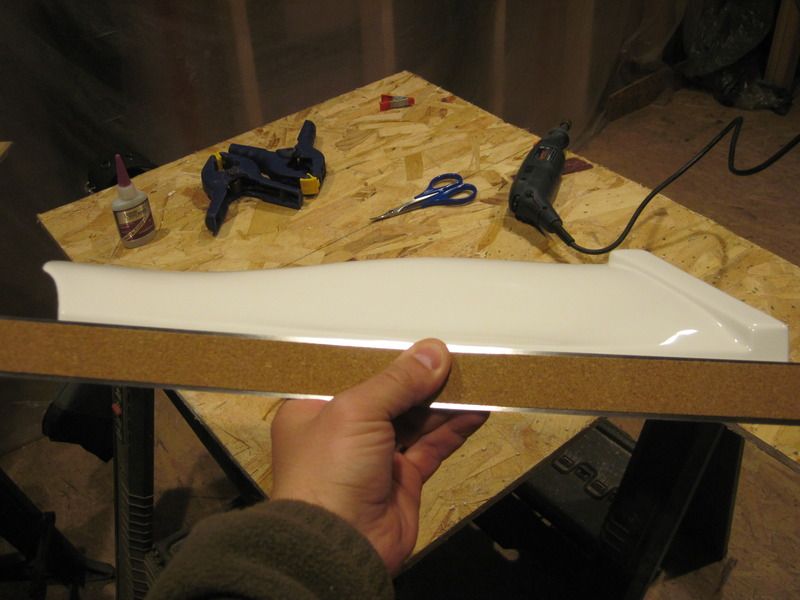
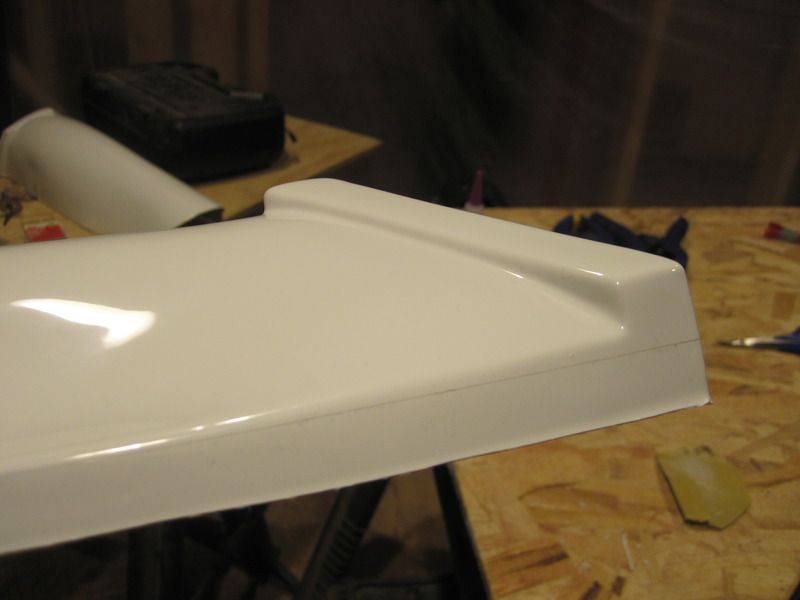
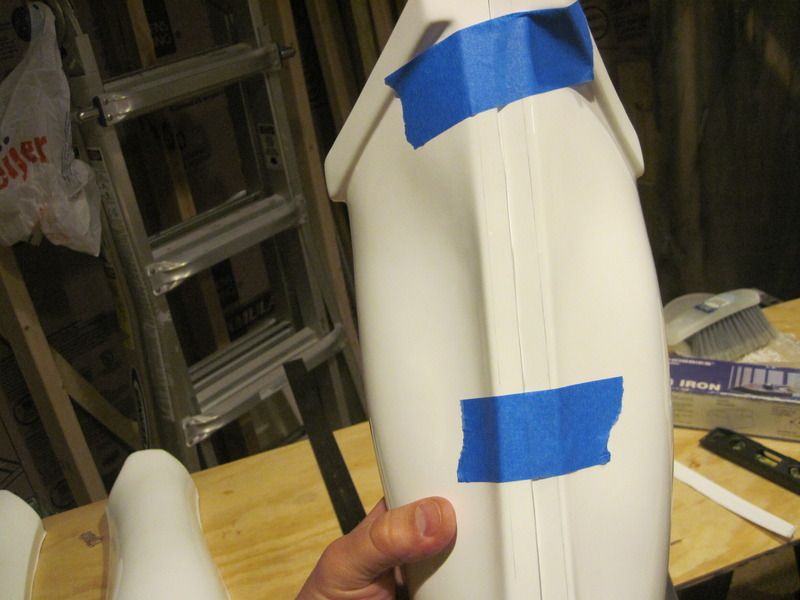
After all the measuring, trimming, and sanding I started on the cover strips. I decided to start at the top and work my way down, so biceps were first. I cut the strips then marked where I wanted the glue to go (a great suggestion by Gaz.)
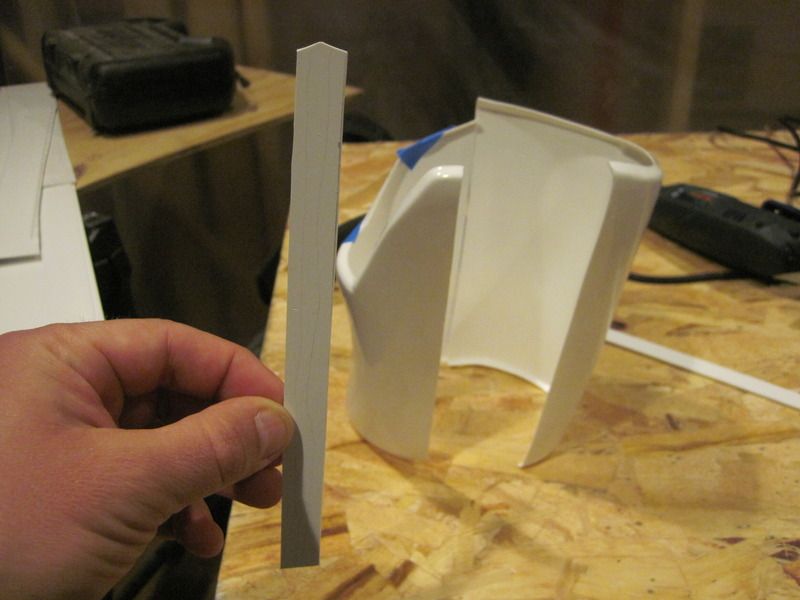
First, the interior strips. I made them 2mm thinner than the outer ones; and they fit perfectly. I did this for every piece. I want my armor to be strong.
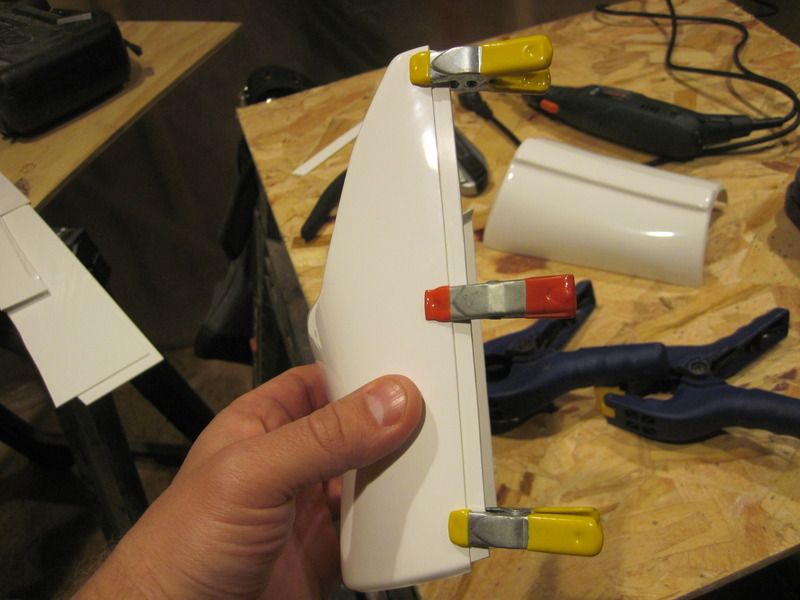
Then the outer cover strips.
Tada! The top of the cover strip isn't as finished-looking as I wanted it. I fixed this mistake on my other pieces.
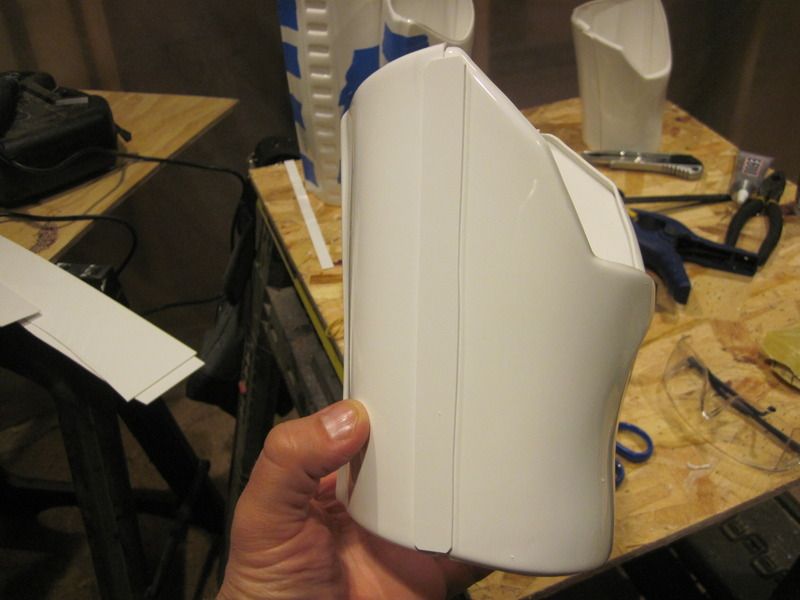
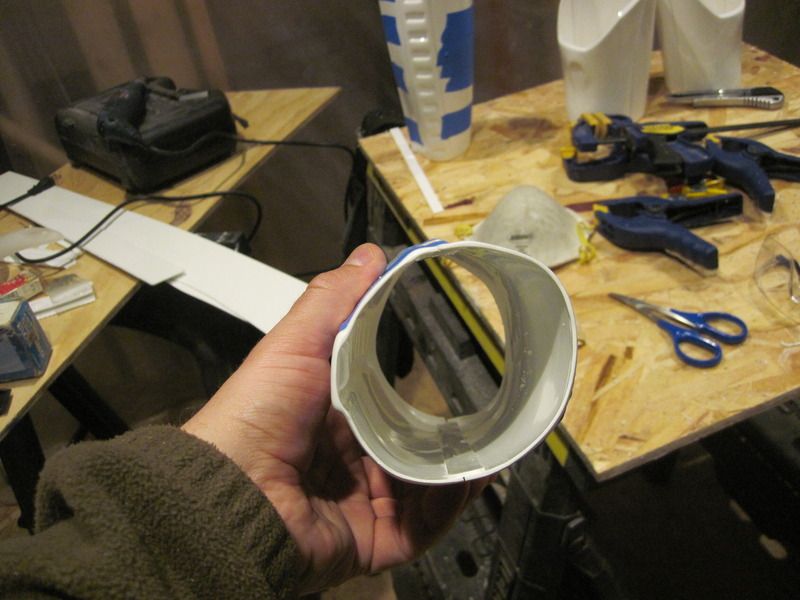
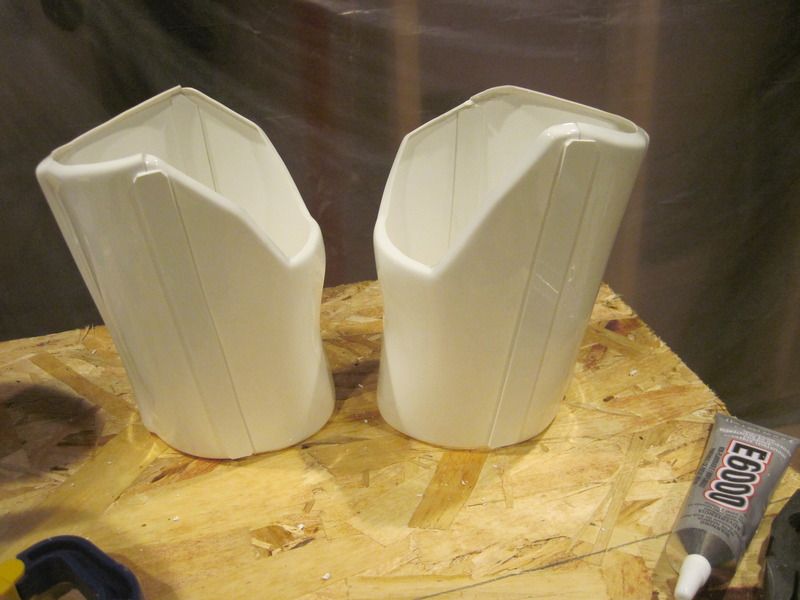
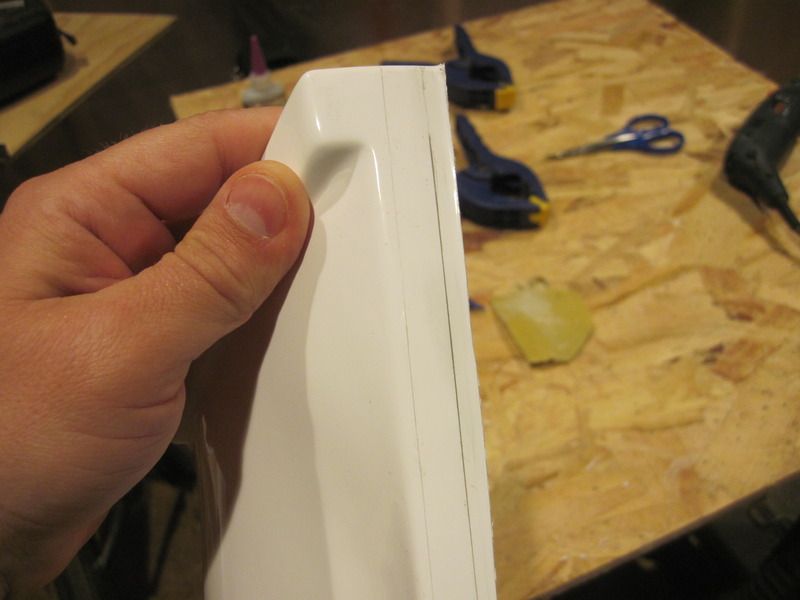
Next I did the forearms. Nice and tight right here.
More to come.
I welcome any feedback!
-
It all started in December when my wife took me to a LEGO exhibit at a local park. There were some 501st members trooping at the exhibit, and when I said to the Tie Pilot how cool I thought the uniforms were, he gave me his card. "Look us up," he said.
Now i'm working on my own TK build!!
I'm very fortunate to live a few minutes away from gazmosis. He's been extremely helpful (and patient) with me during the build. I have to give a shout out to the TM maker, himself. Thanks for the armor! My goal is Centurion, so I've planned my build accordingly.
So the big brown box arrived a number of weeks ago. Excited is hardly the word I'd use.
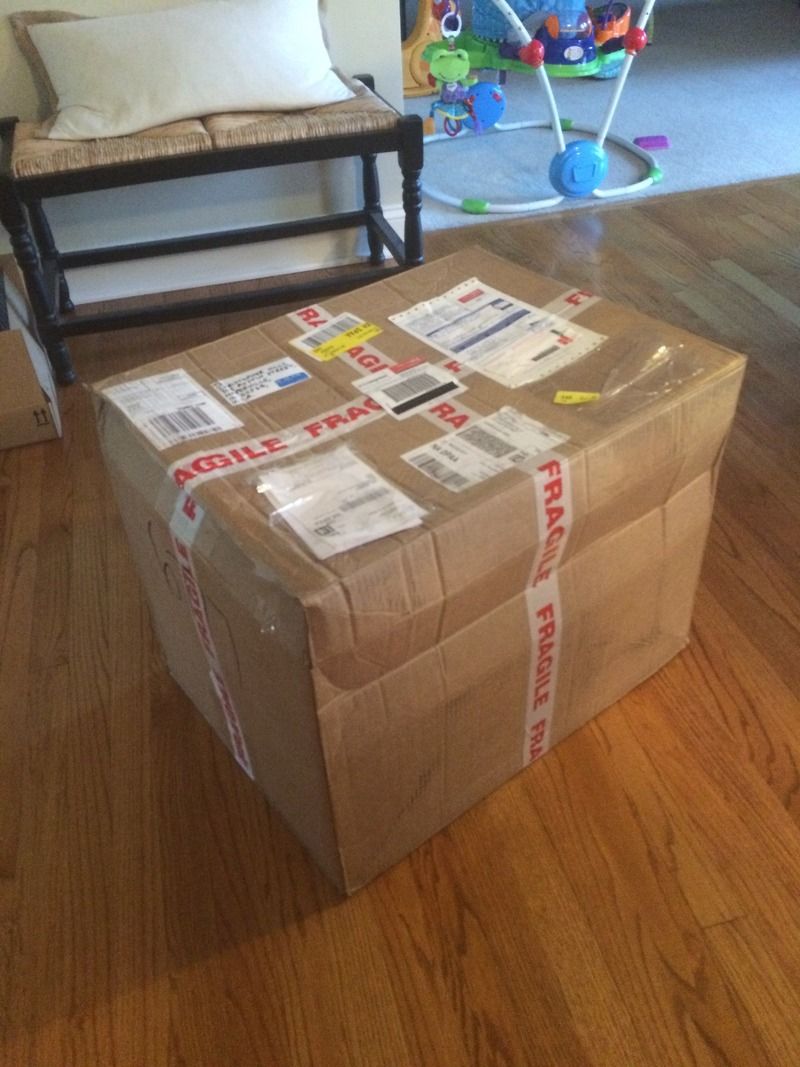
Everything was packed REALLY well. Nothing was damaged on the overseas journey. I was surprised at how much stuff there was in that box.
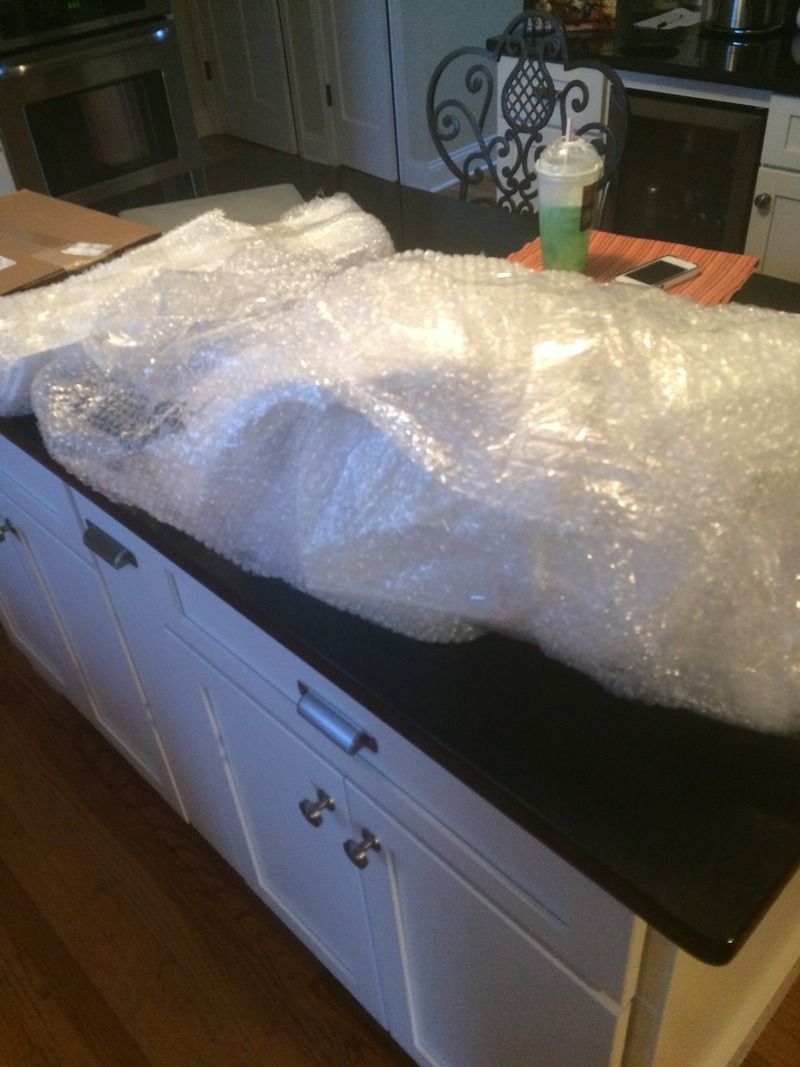
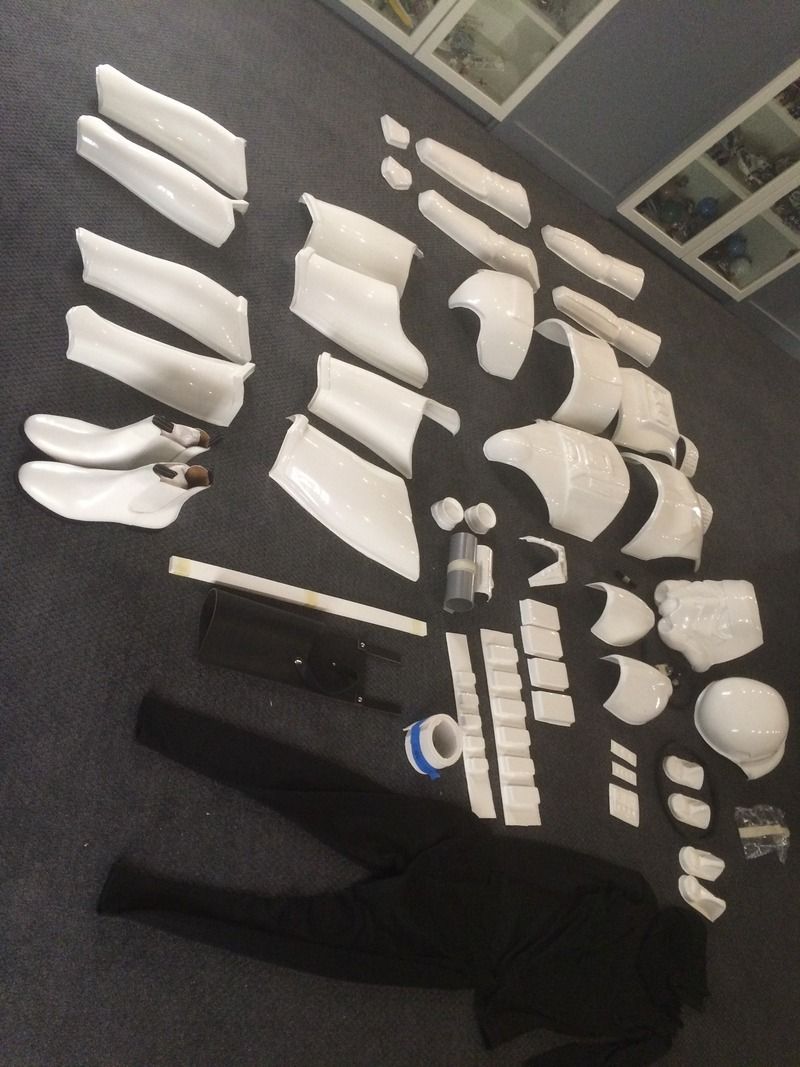
I unwrapped everything and brought it down to my Death Star room (more on that later).
Here is everything I have for my TK build laid out.
First things first: trimming the excess. Gaz came over and helped me mark the pieces. There wasn't a lot of extra on each, so I used the curved hobby scissors to trim, then a dremel with a drum sander to grind down some more. Finally, I used 220 or 330 grit sandpaper to finish off the edges. This was, so far, the most time-consuming part of the build.
After I was done trimming and sanding it was time to mark the legs and arms for cover strips, and then cut the excess off. I followed the same steps for each.
First I drew the "common line" by which the rest would be measured.
Next, measure 1/2 the cover strip distance and mark the line for removal.
Then I took a box cutter, and cut the excess off free hand. I ended up doing all of the cover strips and edges free hand.
They all ended up being pretty straight. Gaz stressed how important it was that the edges match up perfectly. So I took my time sanding and trimming so they would fit snuggly together.
-
Wonder why they don't offer boots.
It's a licensing issue; same reason they aren't offering the blaster, either. Hopefully they'll offer it in the future.
-
Hi Scott. I'm almost the exact same measurements as you, just an inch shorter. I am working on an ANH stunt build with TM armor and it fits great.
-
i actually got the chills watching this. The star destroyer.. woah
You got me? LOL
I keep watching it; each time I'm just jaw-dropping in awe.
I love the way the new Stormie and TIE pilot look. The Empire is still alive and well! I like how Leia has a lightsaber and looks like she became a Jedi. I wonder to whom Luke is speaking. I'm thinking it's his niece/nephew. I don't see him having kids.
And the best part: "Chewie, we're home." Oh yeah!
-
1
-
-
yeah, that's the big question: will the costumes meet 501st approvals. Being a newbie I can't imagine who makes that call, but hopefully we'll know in the near future. I can see Anovos' orders going up if the powers that be in the 501st give a thumbs up.
I just noticed the AT-AT driver showed up on their site. So tempting!
-
Very cool picture, thanks for posting.
I can't wait to see these things in person.
-
1
-
-
I really enjoy reading about the histories behind the different armor. I wonder if the other divisions of the 501st (other costumes) have this much fragmentation (for lack of a better word).
-
These suits look great for the price. I just got my TM armor and am supremely happy with it, so I'm not in the market for a TK.
However! the other suits on their site are very tempting, especially the TS; all weathered and bad@ss looking.
-
OOPS!
I didn't look through the board enough. I saw this is already being discussed.
http://www.whitearmor.net/forum/topic/30831-anovos-tk-armor-preorder/
Mods, would you mind deleting this thread?
-
Sorry if this has already been discussed, but I just saw this on my FB newsfeed.
I'm wondering how this suit is being received by FISD and the 501st. The price seems comparable to current suits out there, especially since it comes with everything.
Thoughts?
http://www.starwars.com/news/stormtrooper-costume-by-anovos-preview?linkId=13516135
-
I got a pair of the TK boots they labeled 'not perfect' a little over a month ago. They look amazing to me, really great quality. Exactly like the boots trooper96 posted.
-
Hola Alberto! Welcome, from another newbie. Your english is much better than a lot of the Spaniards I've met.
My wife is from Sevilla, and we go back there a couple of times a year. I'm knocking around the idea of trying to take my armor on trip, next year, to see about trooping over there. -
Working on my TM build.
-
Hi Jake! Glad you signed up on FISD Welcome from a fellow newbie. I've seen some of your work and I know you are highly detail-oriented. I bet you'll have no problem building your own suit, helmet and all. I was convinced from the start to build my armor myself, and so far I'm really enjoying it. There's not much else I can say that hasn't already been mentioned.
Build the whole thing yourself!!!

-
This is just awesome. I'd watch a show based around TIE pilots. The TIE Fighter game had a pretty cool story that went along with it. I remember the game had a small novella, and then the big guide continued the story.
-
Welcome, Kristi! I just got my big brown box in last week and talk about exciting. I went with TM's armor and I couldn't be happier.
I'm 5'8" and so far all the TKs I've met in my garrison are taller than me.

-
1
-
-
Wow! Like the others, I'm amazed at the result of hot water on that armor.
ABS doesn't do that, right?
-
Cool, thanks for the info, Tony.
-
What areas aren't accurate and when will the updates be coming out for Imperial boots? I was told TKboots had a 3 month wait, but that was back in December.
My Thigh Fix
in Assembly, Mods, and Painting
Posted
Thanks for posting this. I'm going to have to shim my thighs, so this looks like the way to go. I'll start looking around for that epoxy sculpt.