R4ZORBL4DE
-
Posts
403 -
Joined
-
Last visited
-
Days Won
1
Content Type
Profiles
Forums
Gallery
Articles
Everything posted by R4ZORBL4DE
-
I was lucky and bought an armor kit from a 501st member and he packaged it with a Sterling... Joe
-

R4ZORB4DE'S ATA Build
R4ZORBL4DE replied to R4ZORBL4DE's topic in Build Threads Requireing Maintenance
Put the lenses in my bucket ... Trimmed the lens to the eye hole .. carefully heated up the lens (as Gazmosis did in his Tutorial) let it form to the eye hole then glued them in . -
R4ZORB4DE'S ATA Build
R4ZORBL4DE replied to R4ZORBL4DE's topic in Build Threads Requireing Maintenance
OK .. i did a little work on the helmet with some help from Gazmosis ... please take a look to see if I am heading down the correct path .. Thanks !! Front: Right Side: Left side: Thanks to all that help on my project !! Joe -
Fuumantroop's AM armor build
R4ZORBL4DE replied to fuumantroop's topic in Build Threads Requireing Maintenance
I bought an Aker as well ... I also added a ICOMM with a PTT cable Joe -
R4ZORB4DE'S ATA Build
R4ZORBL4DE replied to R4ZORBL4DE's topic in Build Threads Requireing Maintenance
Did a little work on the Helmet ... First some music ... 2: 3: Carved .. still need to sand ... -
I use to live in Chesterfield ...
-
R4ZORB4DE'S ATA Build
R4ZORBL4DE replied to R4ZORBL4DE's topic in Build Threads Requireing Maintenance
Question ... Should there be any lip on the armor or do I cut down by the seam as in the photo where I have the pencil line drawn? -
Which one is the right boot?
R4ZORBL4DE replied to Vidakovic Igor's topic in Boots, Soft Parts, and other Accessories
Not with the seem down the middle ... As Minuteman said .. try TKBoots .. The boots should look like this : ------------ -
R4ZORB4DE'S ATA Build
R4ZORBL4DE replied to R4ZORBL4DE's topic in Build Threads Requireing Maintenance
Thanks guys! I guess its on to more trimming !! Joe -
OK ... I am nervous but I decided to dive in ... I am following TROOPERBAY's Youtube video as a guide but I would like some guidance ... I have started to trim the Left Bicep photos ... do I leave like this or trim so there is no lip ? 1: 2: 3: 4: Am I on the right path ? Joe
-
By the way .. the MIRACLE GROW does better in the ground ... not in the bag ...
-
Hey Todd ... After MUCH reading and researching .. reading through tutorials and looking at reference photos ... I stumbled across a video from TROOPERBAY in which he documented a build from start to finish! IMO, this is a GREAT video tutorial .. give it a look .. i promise it will help you out TREMENDOUSLY !! The guys here on FISD are VERY helpful with questions as well !! http://youtu.be/jmcZ8J_ZECA?list=UUjzkl3OIIiLfM9fugort2pQ By the way ... Hello from Shelby Township !! Joe
-
Power Cylinders ordered from PlayfulWolfCub.
-
Here is my V2.0 :
-
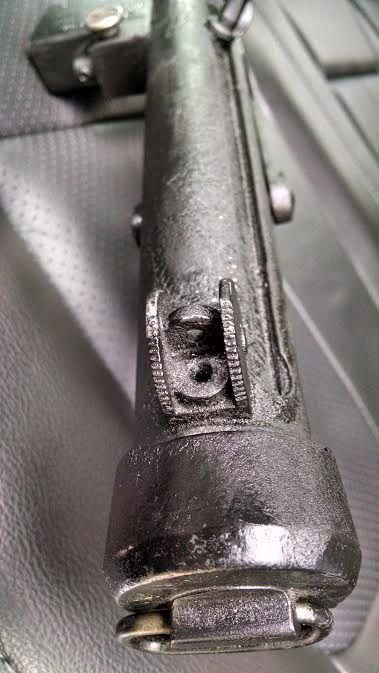
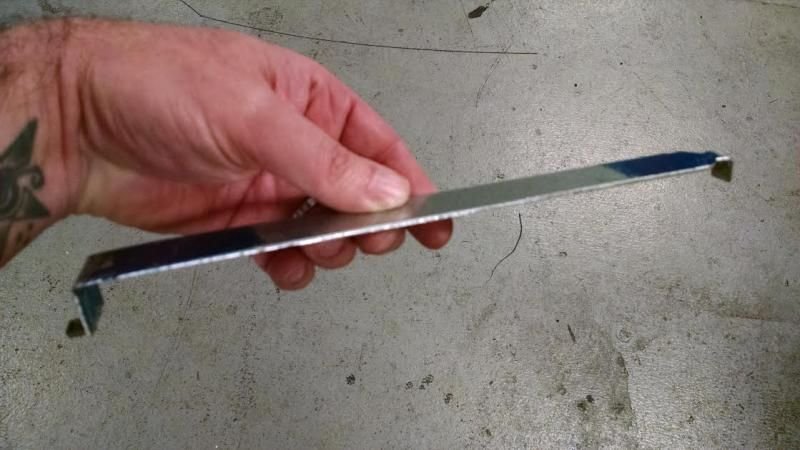
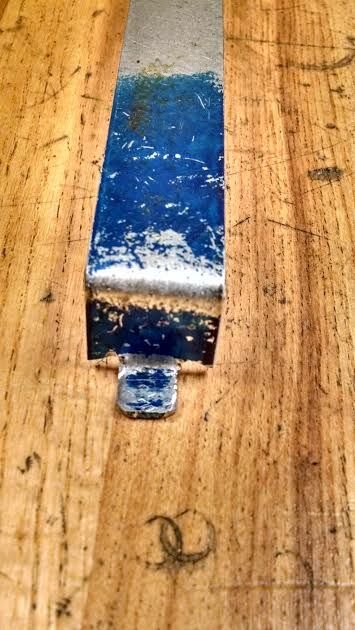
If the rear of the scope rail shouldnt be bent .. how does it stay in place? Ive read thru threads and have seen many done .. also looked at reference photos and Ive seen them elevated and even place directly on top of the receiver in screen caps. Anyway, please describe how it stays in place if it is just a notch and not bent and I can modify what I have here. Thanks !
-
2. 3. 4.

-
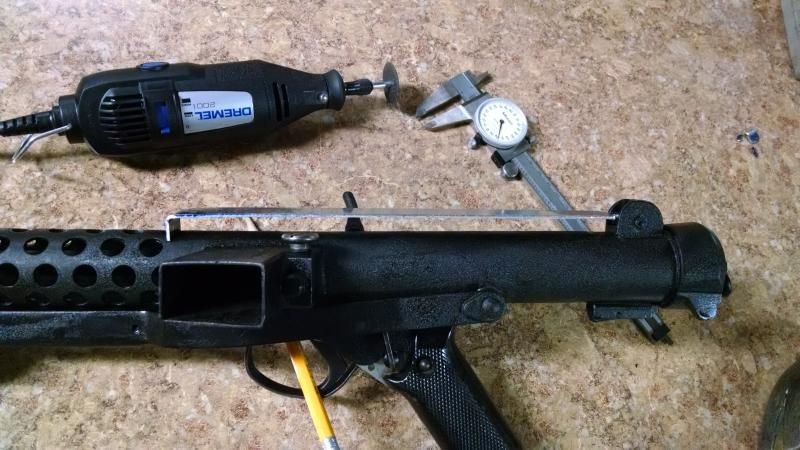
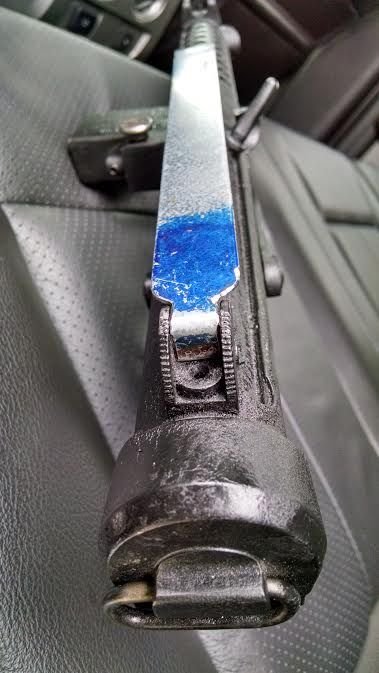
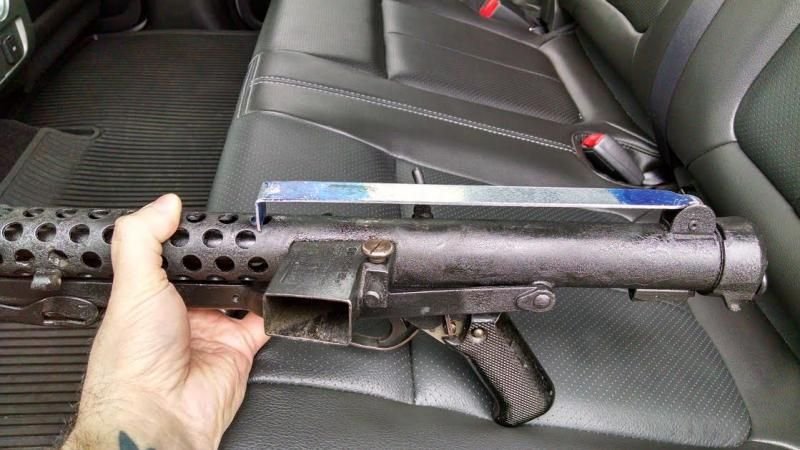
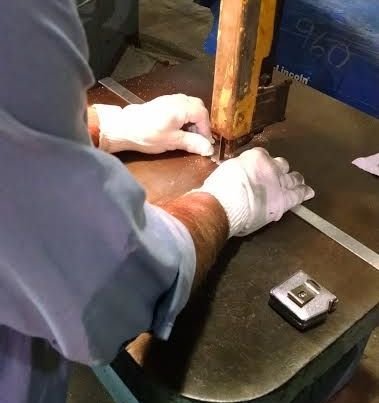
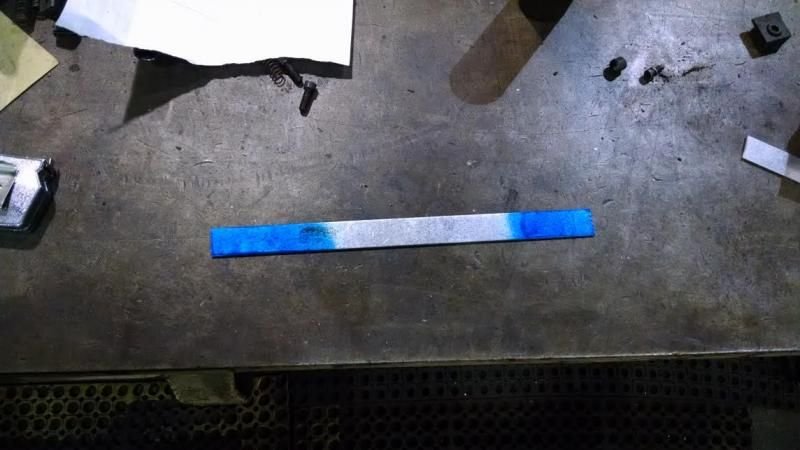
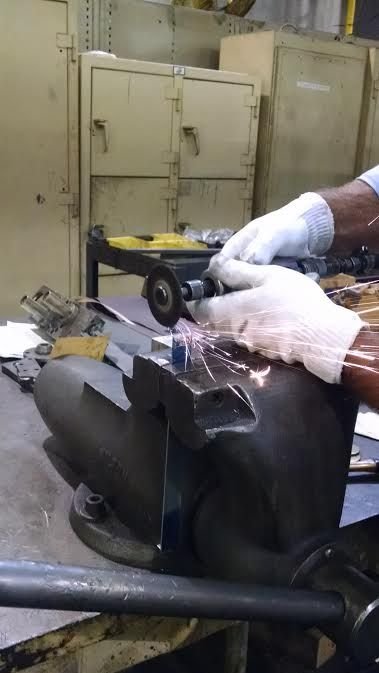
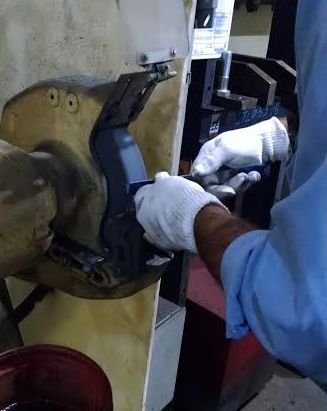
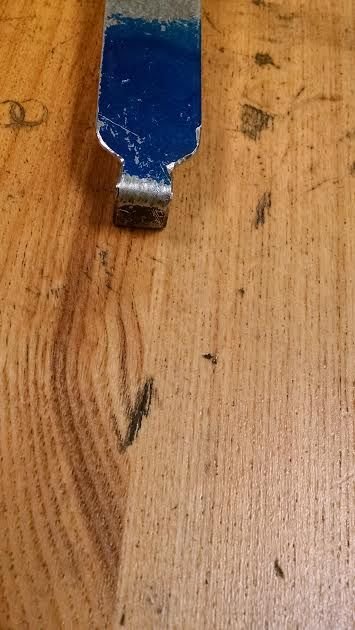
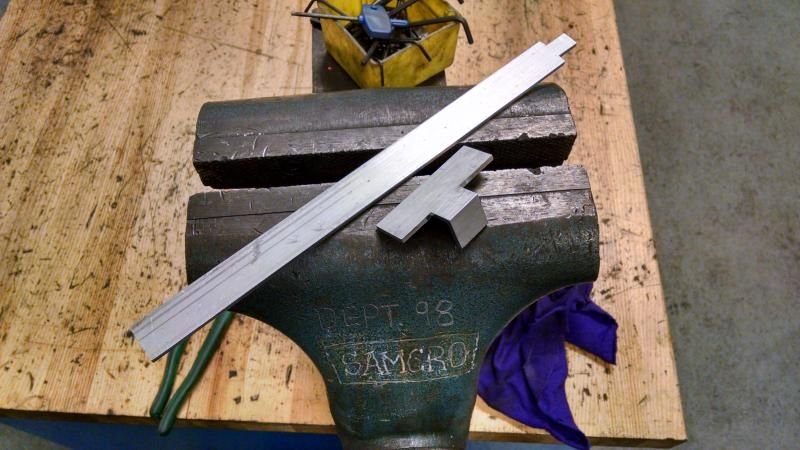
Well ... The Aluminum I had was a little brittle and was snapping so I went with Galvanized Steel for the Scope rail .. the counter mount is still aluminum Cutting to size ... Layout Fluid: Cutting Notches: Some Grinding: Notch to slide in front "vent hole" : Notch to slide over top of the rear site : Counter mount : Next will be to drill holes to attach the counter bracket to the scope rail to the scope. I am also going to drill a hole in the rail where it goes over top of the rear site and use the hole in the rear site to secure them together with a small screw. I will post pictures of how it fits on the Sterling when I get home ...

-
now THATS funny ...
-
The bolt is welded in place. Trigger moves, Mag Ejects, Selector lever moves .. charging handle does NOT move.
-
Started fabricating the Scope Rail and Counter Mount:
-
.... and Thanks to gazmosis ... I have scored a counter !! Now just need Power Cylinders .. I have messaged PlayfulWolfClub but waiting to hear back ...
-
Thank you VERY much for the links!!! I have read through Aaron's "HOW-TO" and do plan on going about it that way. What a wealth of knowledge here .. so much that it is overwhelming ... Thank You again ..
-
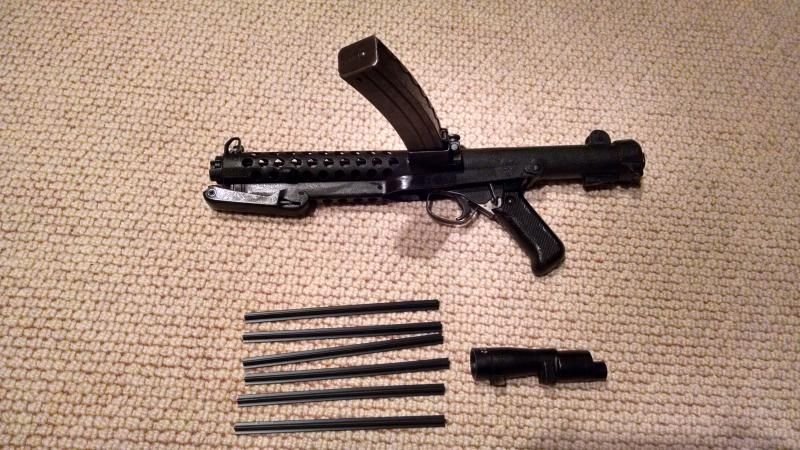
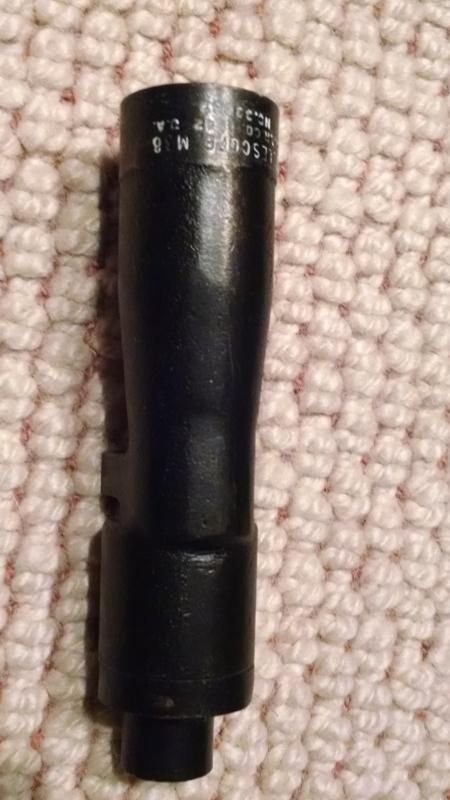
Hello All, I am new here and thought I might document my journey, so it begins ... I have purchased a set of ATA armor from my neighbor who is a 501st member. (The Armor Build will be a different thread ). Along with the armor he sold me a Sterling Sub DEAC that I am starting to covert to an E-11 photos below : I am currently looking for a Counter and Power Cells .. if anyone can point me in the direction or knows of some for sale, please message me ... Also, I am very open to SUGGESTIONS ... in fact, I would hope some of you will make some so I can do this correctly. Thanks to all who do. Thanks and Enjoy !! Sterling: M38 Scope: T-Tracks: I am currently in the process of fabricating the Scope Rail and Counter Mount. I will post pics of that progress as I take them. More to come ...