

illusionz_09
-
Posts
998 -
Joined
-
Last visited
-
Days Won
1
Content Type
Profiles
Forums
Gallery
Articles
Media Demo
Posts posted by illusionz_09
-
-
that is awesome. they look much much better now!!!!
I wish i had that one lol; stun mode is great!
Unfortunately, 2 hasbro conversions are pointless lmfao
-
Hell No!!!!!!! Crazy price for crappy armor lol
-
as far as the build goes, just take your time. rushing things just takes longer (like ordering more ears, i almost had to lol).
Make sure you clean up the frown a bit; they look "twinkied"
-
That looks amazing! I adjusted the brow and now it's just playing with the ears. I took to much off the eyes when sanding so I wont be able to replicate that droop in the left eye. I don't think I'll be SWAT worthy so for this build I'll just shoot for Police Officer. I'm on like a 14 month waiting list for ATA, we will see if my wife lets me spend the money when it gets closer to that time.
wow, its at 14 months now... Mine took 10 months; always add about 2 months to what terrell says its going to take. He is really backed up.
-
Great looking Helmet David.

thank you!
i should have the final all around pics up sometime this week.
-
 1
1
-
-
Yes, exactly what Eric said. There are troopers here of literally ALL sizes, tall and wide. Your imagination is the only limit.
There are armors for all body types, as long as you are willy to modify to your measurements; AM is definitely the one most big & tall guys go with.
good luck and have fun. Enjoy the process. Research, research, research!!!
http://www.whitearmor.net/forum/topic/11538-the-various-types-of-armor-and-where-to-find-them/
-
Good Luck!!!!!! have fun
-
1
-
-
totals:
15 mm for the arms, 20 mm for front of legs, 25 mm for back of legs.
-
1
-
-
My hyperfirm DLT-19 is 46 7/8", but if the ladies ask, it's 50.
lmfao!!!! hilarious. "It's not the size, it's how you use it" lol
-
1
-
-
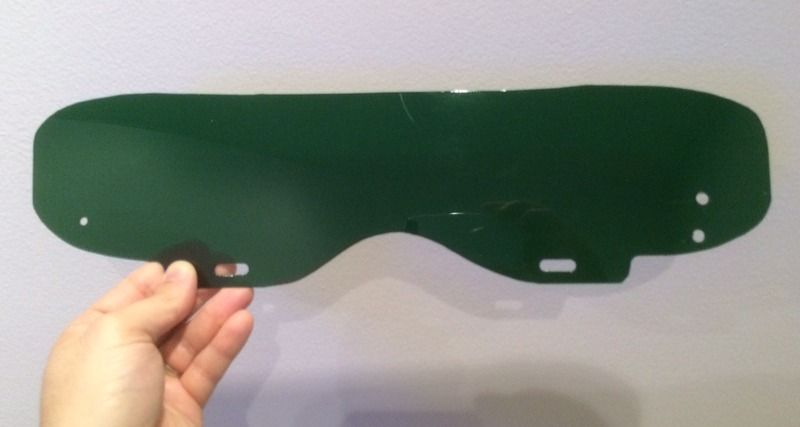
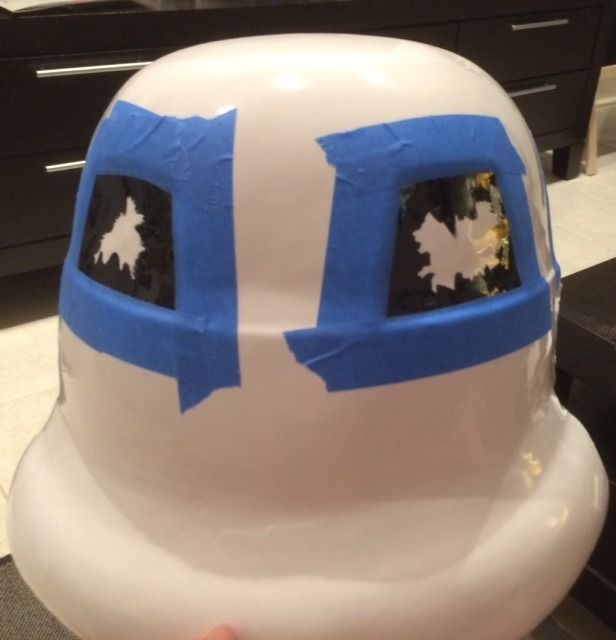
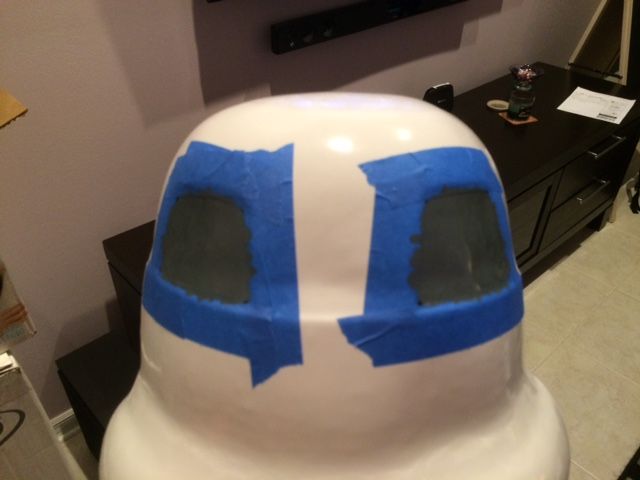
I cut the lenses to where i was happy with it
For the frown mesh, i used an insect mesh screen.
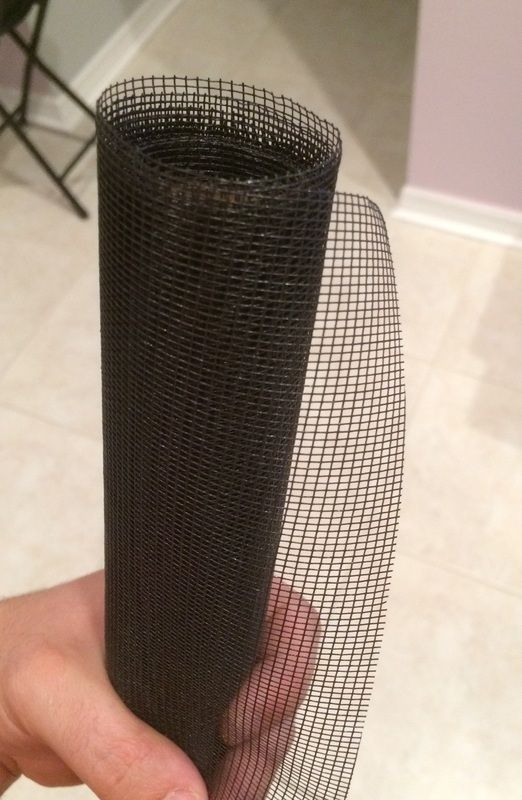
Then i cut to size and then glued it on. First i put it with painters tape to where it fit properly, then started applied E6000 with a toothpick to create a seal completely around the mesh. (i also put the S-trim around the bucket as well.

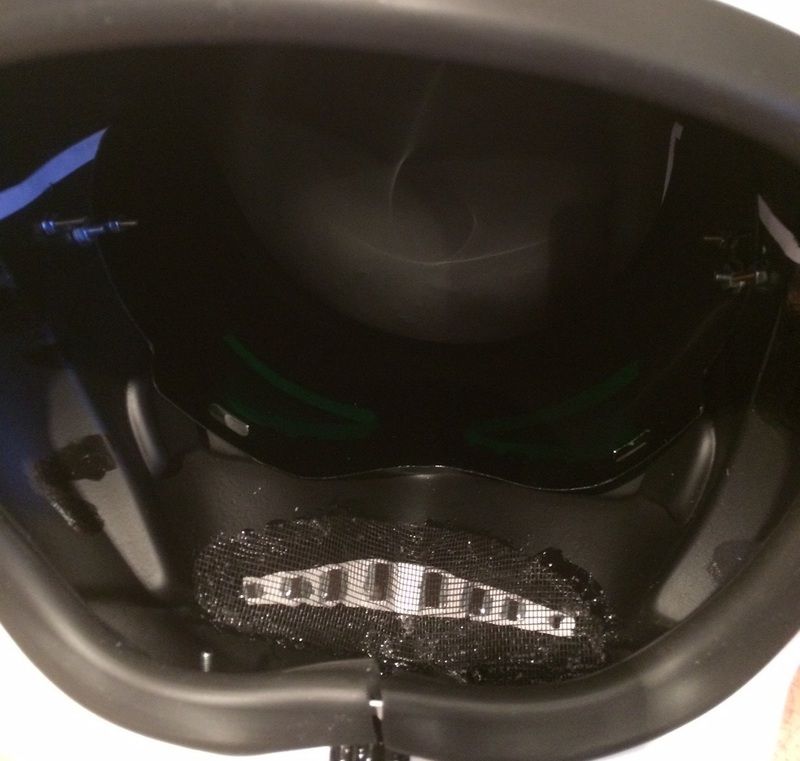
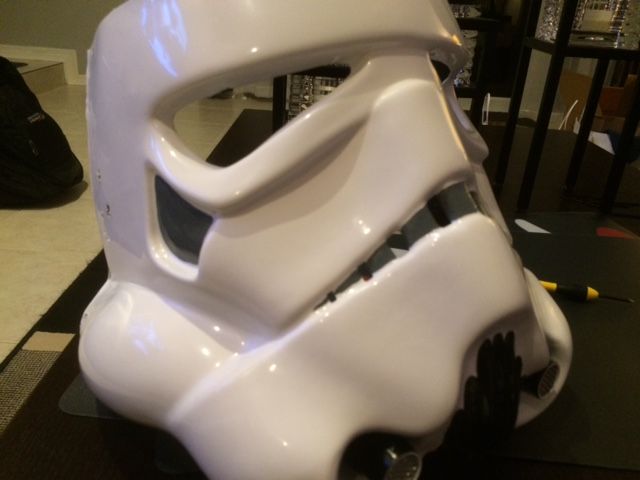
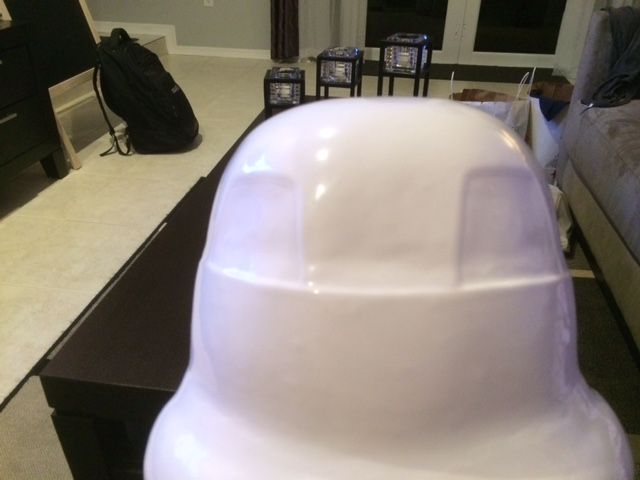
Of course i had to take a progress picture lol. I still need to put the padding and straps on the inside but at least the outside is complete.
Tonight, i'll take the official final pics of the full bucket so you can see all the aspects & details, etc...
-
Great Job!!! Looking good...
-
1
-
-
Lmfao. I thought the same thing when I saw the show. Great writing. I was like "the circle is now complete" lol
-
1
-
-
try to touch those lines up; they are a bit too thick. Using the gray try to thin out the black some...
good luck; i know u need somewhat steady hands, but we have faith. you can do it.
-
Like they have mentioned, "ear gaps" are acceptable since they were in the original helmets. However, i personally think that last gap is a bit too much; the only way of fixing that ear is to lower it and then make sure you tighten the bottom screw tight.
If not you may have to use your backup ear to get it right. I had to use both sets myself. The ears are definitely a difficult part of the build. Just take ur time. Sand/cut little by little to get it to your liking.
Again, this is assumming you have an extra pair, if not you may simply just have to lower the ear a hair like i first mentioned. Sanding the base (only) a little more is another viable option to ultimately get it closer to the face. the only prob with that is that you may make it too thin.
-
Looking good trooper!
-
looks great! i just showed one of my techs who is painting my details on my ATA for me this is how it should look
thanks Brian! just make sure he has paint thinner handy. Cleaning up is key! lol
-
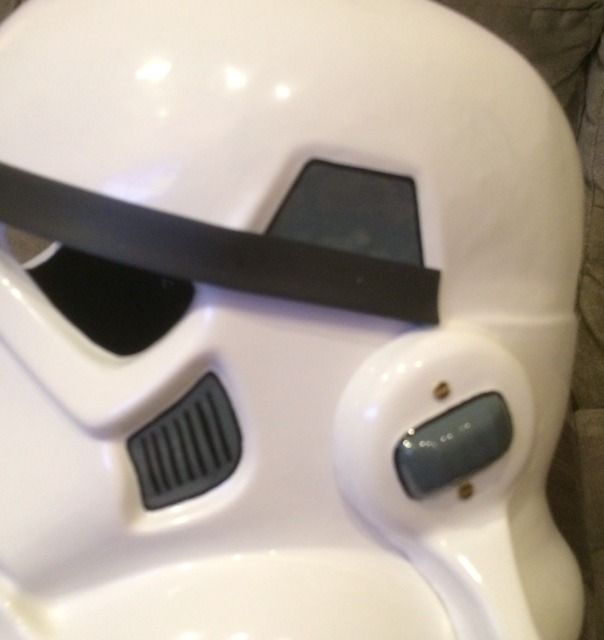
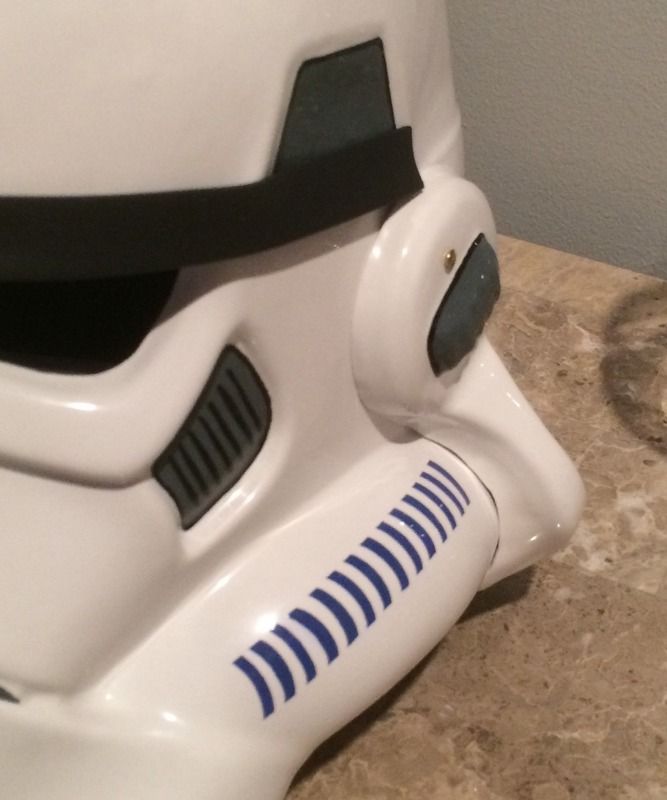
Wow you are really nailing the painting! Watch the spacing though on that left tube stripe. Should be pencil's width away from the main lid.
thanks! I really tried to make it as consistent as possible and even on both sides. I tried to do it about a finger away on both sides; but getting that template to stick exactly where and how i wanted was, needless to say, interesting lol.
as you know the overall tube shape of the bucket is different on both sides, so trying to get it exactly right was a bit of a challenge.
-
I finished the outlines of tears, ears, & (traps i touched up...perfectionist in me lol)
then re-assembled helmet to work on tube stripes.
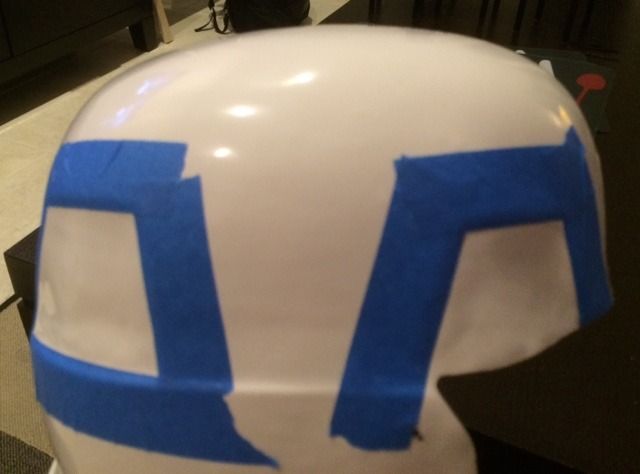
using trooperbay masking template for tube stripes, i attached on both sides where i wanted them and carefully made sure they were on as tight as possible. Naturally with the shape you are going to have some bleeding.
and then i put painters tape around it, just in case i went paint happy lol.
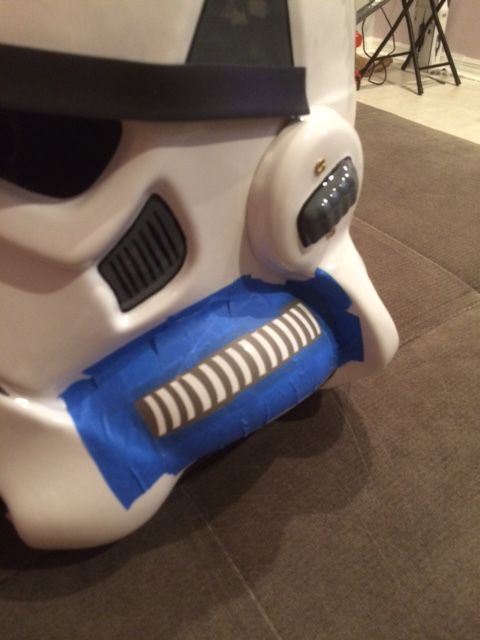
then applies two coats of french blue paint and waited a while before removing the template. I still wanted it somewhat wet so i can clean it after.
So once i removed the masking template, there was definitely some good amount of bleeding through. But thanks to Paint Thinner and some handy thin cotton swabs, I'm happy with the final turnout.
all i have next to do is paint the rank stripe on the ear, the mesh inside the frown, and put the lenses on.
-
Looking great, it looks like you are going to meet your deadline. Nice job!

-
1
-
-
-
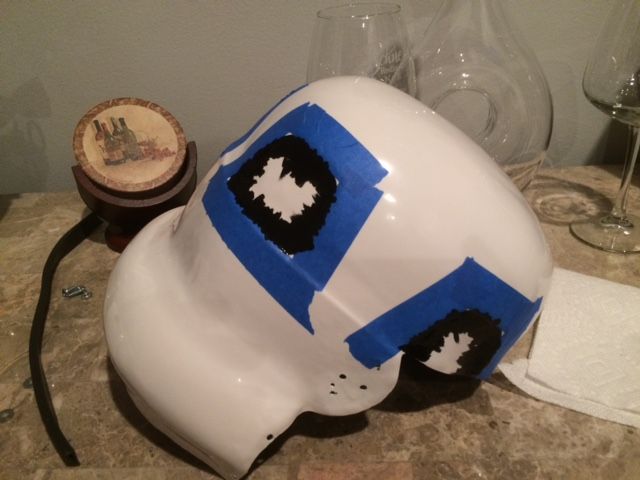
Using the masking templates from trooperbay, i painted the details on the tears and cap. I also finishing detailing the frown and the gray on the ears.
Tonight I will do the outline of the tears, finish the ears, and touch up any imperfection on the cap with the 10/0 paint liner lol.
-
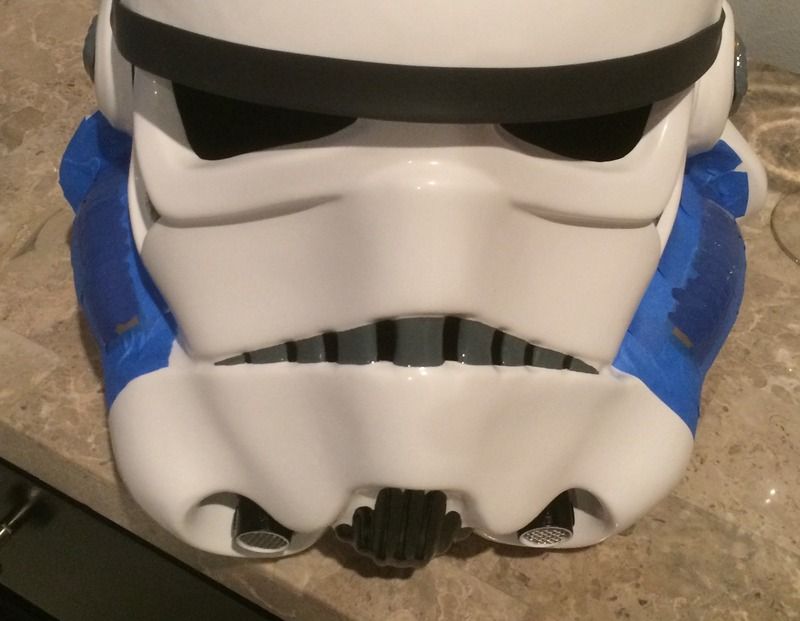
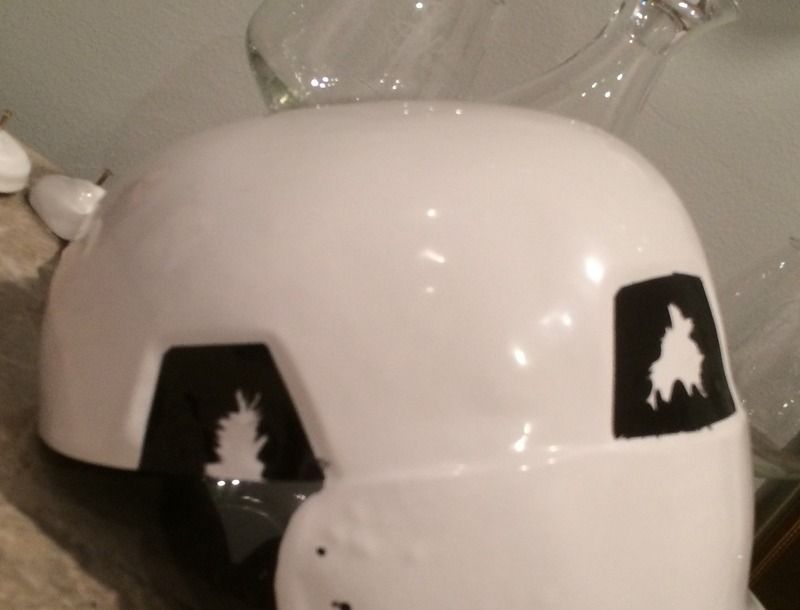
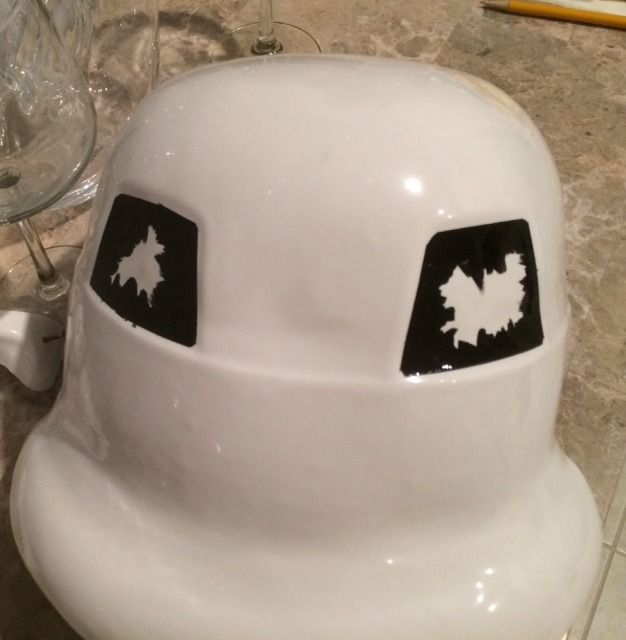
Using the same painters tape technique i did before, i put the tape to create the black outline and just paint gray.
Two coats of the gray and then i removed the tape. I think it came out pretty clean. I'll lightly touch up the black line with my 10/0 liner, but overall came out great.
I also painted the tears, the frown, and the ears with the gray.
The tears are ready for the black, but the frown and ears i need to touch up with gray with the liner to get it to the exact line i want.
I need to use my nice Nikon for the final bucket pics when i finish; these phone pics are not the best lol... But in the meantime this works lol.
-
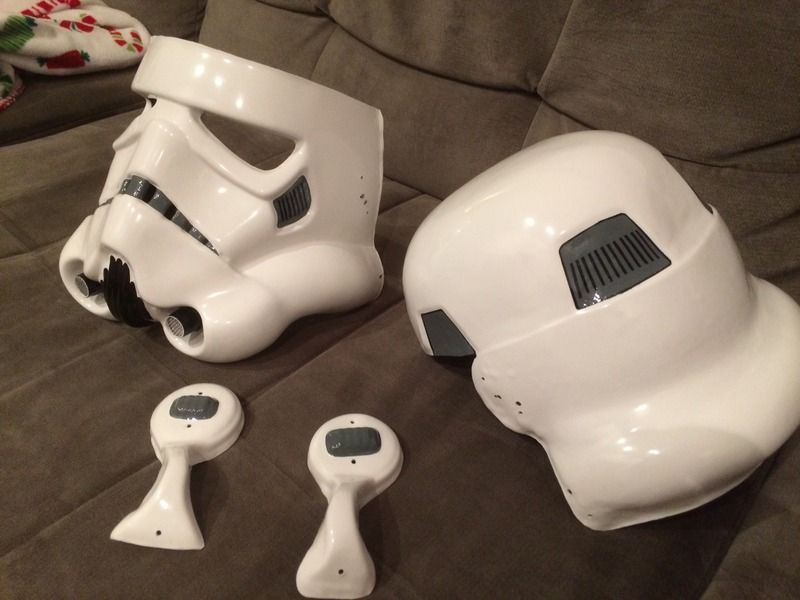
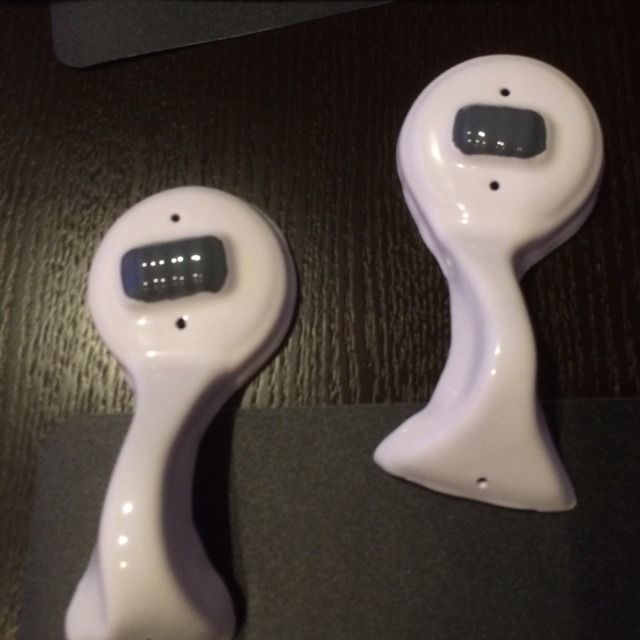
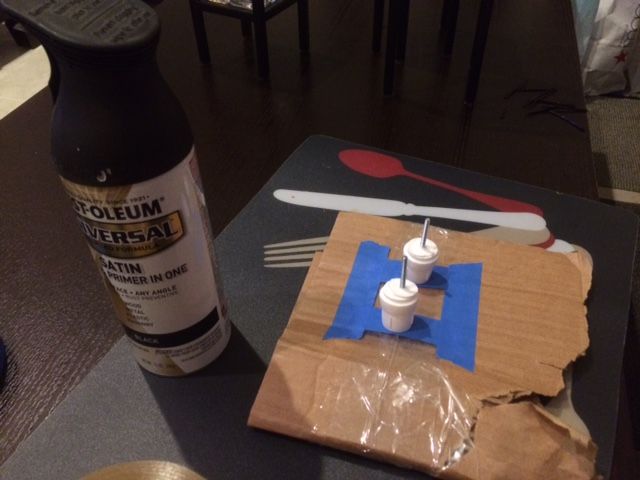
Spray the mic tips with Satin Black.
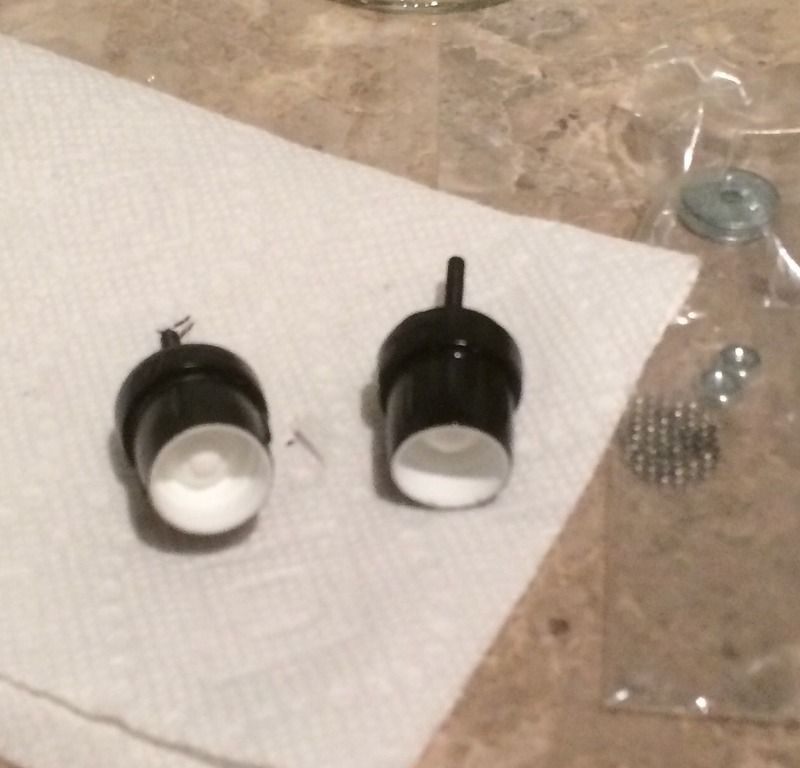
after spraying them and letting them dry overnight, i then sanded the tips to remove any bleeding on tips then glued on the mesh.
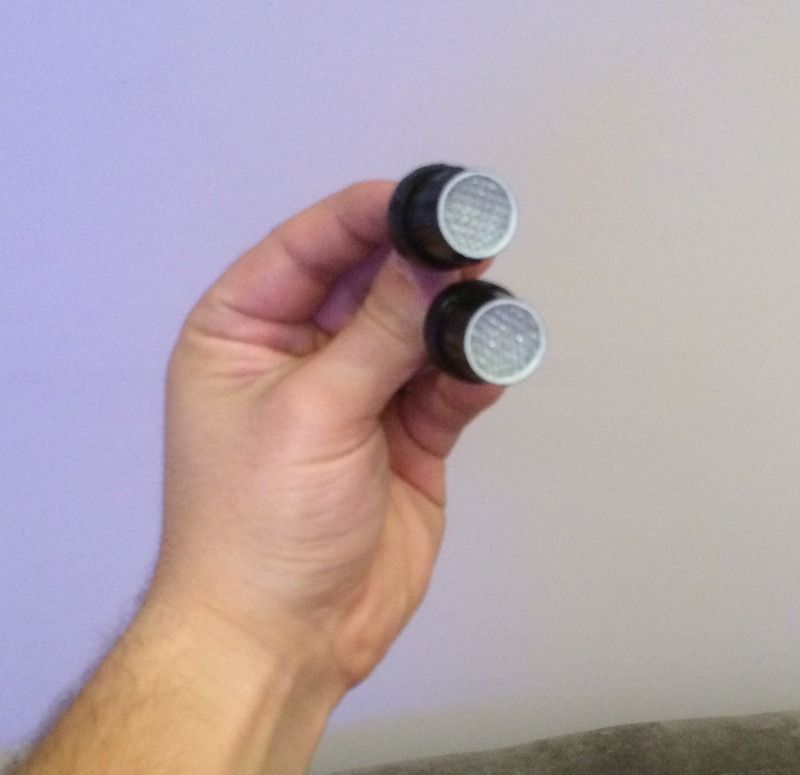
Now time for paint!
First using a pencil i drew the outline (i'm not sure if you can see it...). I haven't seen anyone try it before, but to actually paint i put painters tape as a "template"
2 coats applied:
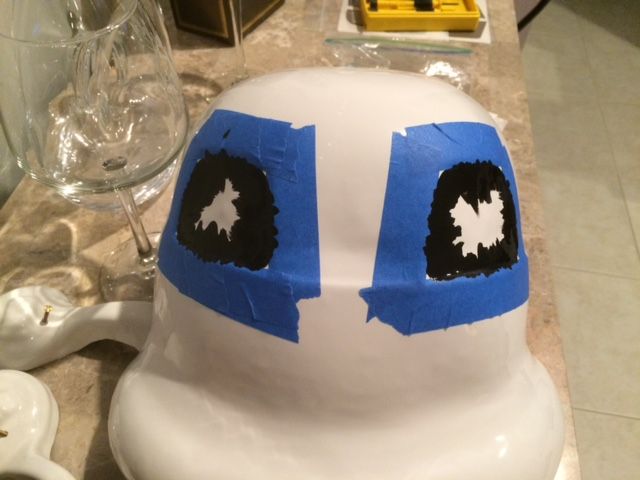
took off tape and leaving it overnight to settle. Unfortunately there was some bleeding. I'll touch it up tonight with some paint thinner; but the tears i'll do gray first and outline black by hand.
Then i focused on the face.
Painted the vocoder:
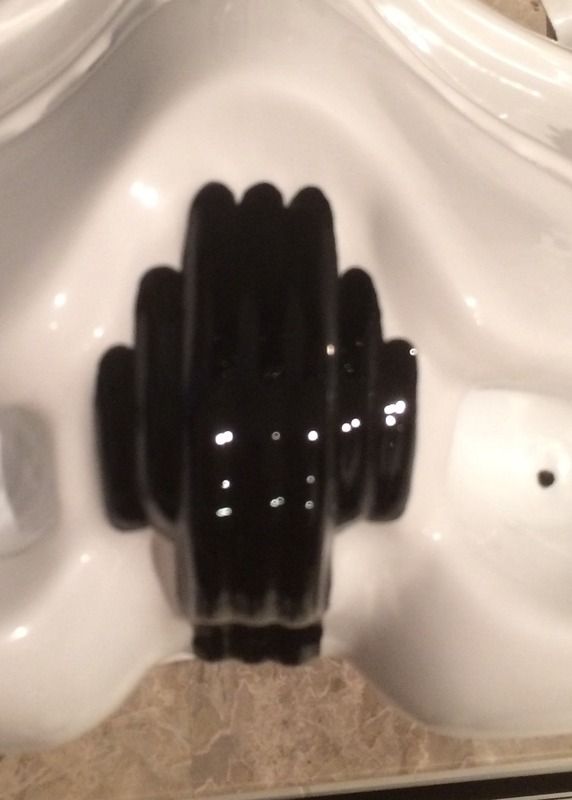
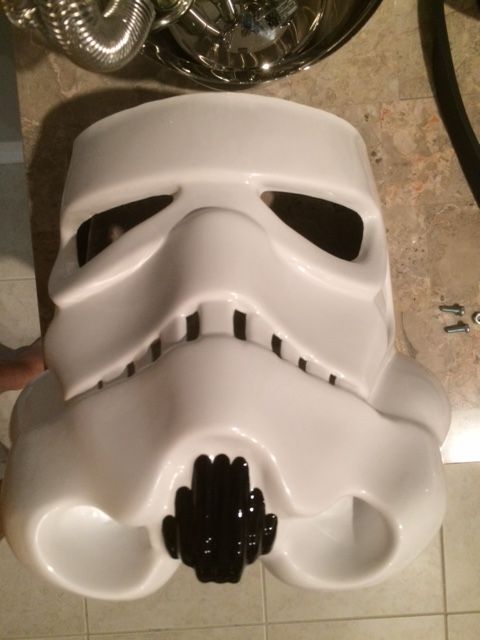
Then after it dried up, i installed the mic tips.

-
1
-
-
Good choice, depending on the manufacturer of the kit it may take a while before you have to pay (depends on the waitlist); so you should have some time to save up.
Just make sure you ask questions
Have fun! and Welcome


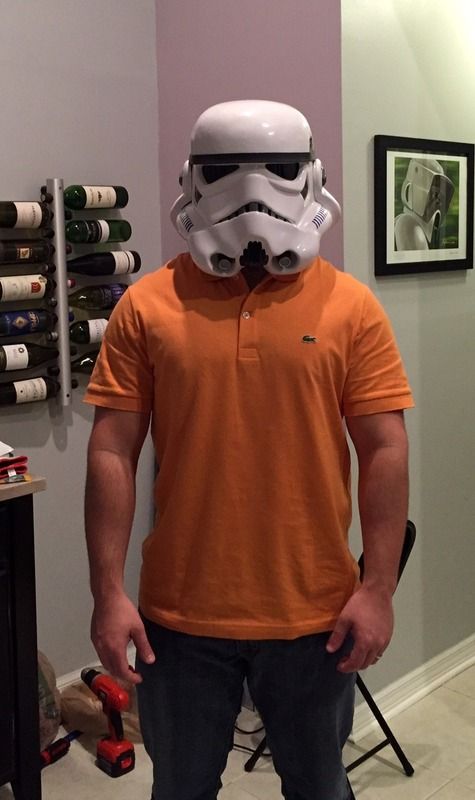
iLLuSiOnZ_09 ATA Bucket Build (*ATA)
in Build Threads Requireing Maintenance
Posted
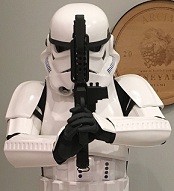
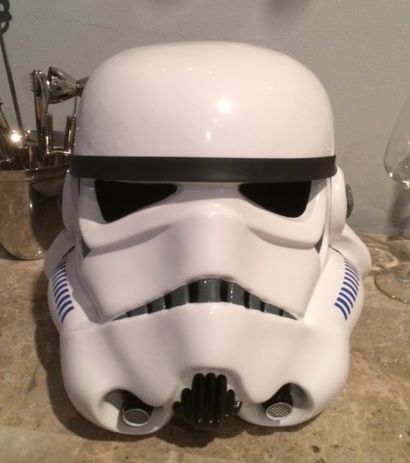
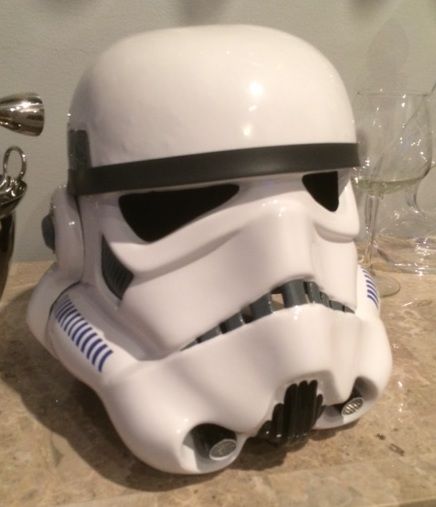
Finished Bucket Pics...
All Hand Painted, all strapped...Good to go!