

illusionz_09
-
Posts
998 -
Joined
-
Last visited
-
Days Won
1
Content Type
Profiles
Forums
Gallery
Articles
Media Demo
Posts posted by illusionz_09
-
-
yea, i like the barrel look. the T-tracks should be in any day.
as far as the tape method, yea definitely like that route lol. But i think im going to leave it see-through or maybe just put like crosshairs. I want to make it realistically "functional" lmao. well see what i do.
-
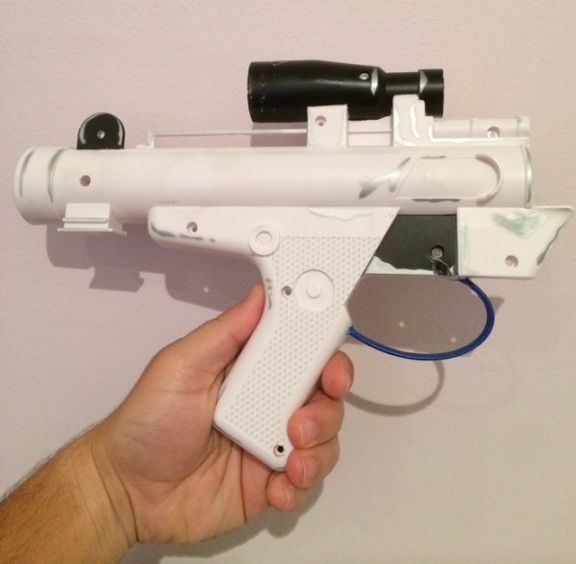
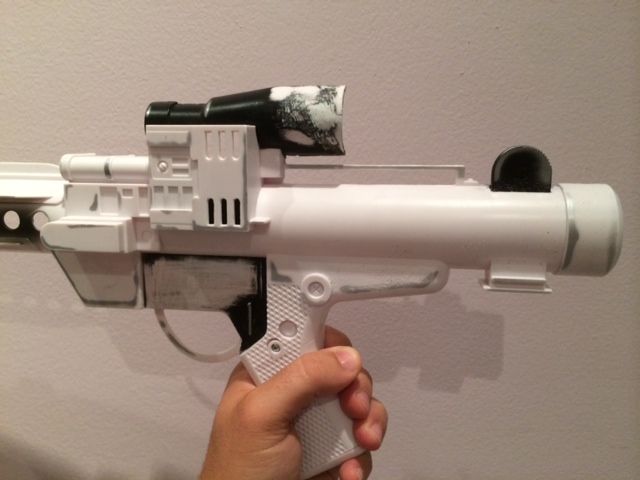
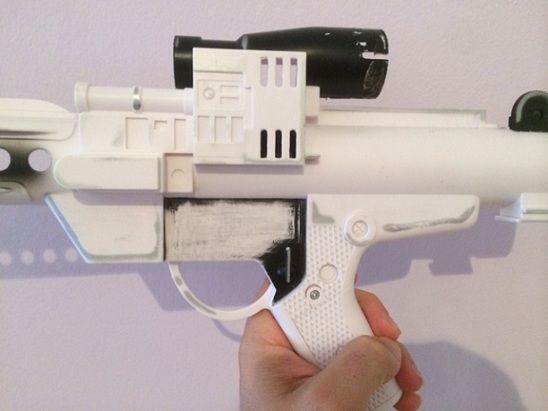
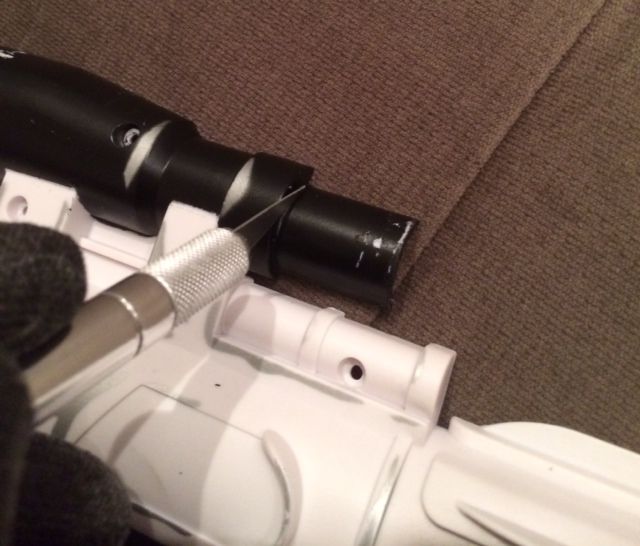
Now that the old barrel is out, i attached the new barrel. I used both E6000 and Krazy Glue. I had to use both because the Krazy glue is a little more fast acting until the E6000 really catches. With the small angles of the blaster it makes attaching pieces much easier lol.
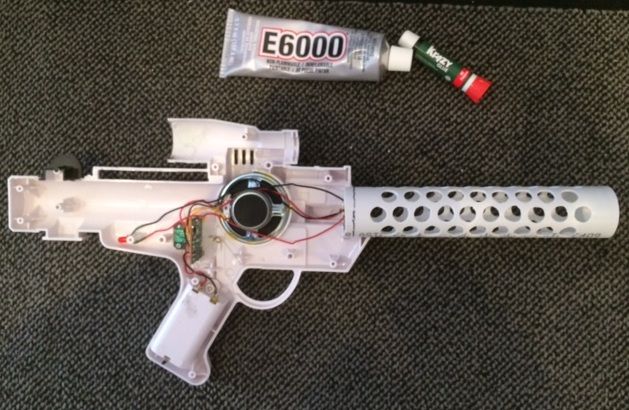
I also found the right black chord to create the back of the scope. I also put a little dab of E6000 where it meets to make sure it doesn't go anywhere.
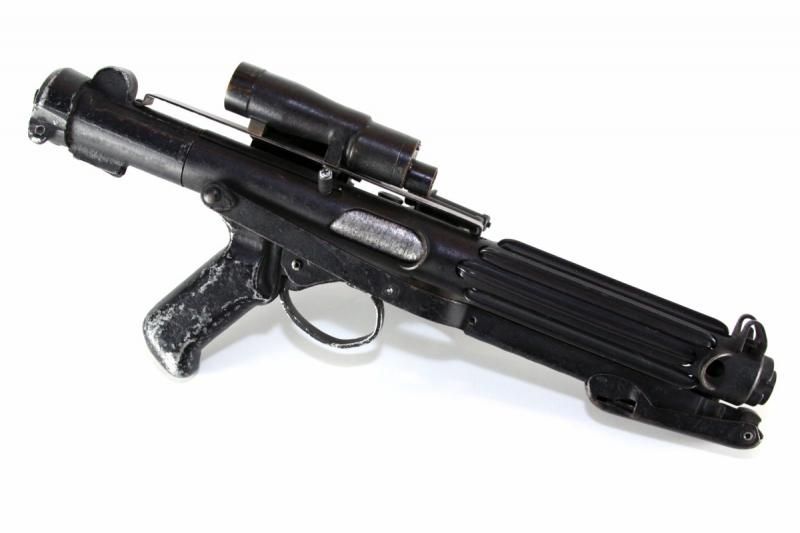
Next i wanted to focus on changing the trigger guard to look more "movie accurate." if you look at the movies, there is a forward curve look to the trigger guard.
so i found a handle on a toy lantern and used that as the basis for the guard itself.
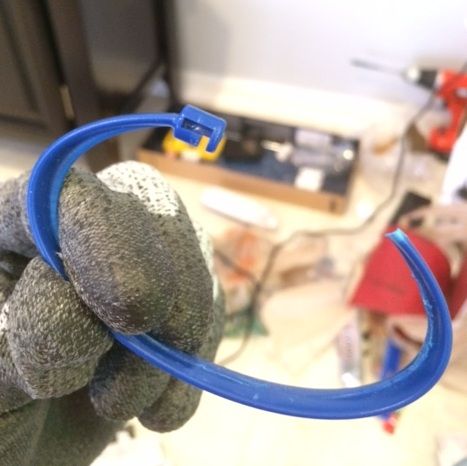
after grinded the inside of the "guard" to be even, i dremeled out the current stock blaster guards.
Once the guard was out and i cleaned it up with an x-acto knife, I used reference pictures to see where i want the new trigger guard placed. So i dremeled some spots on the blaster in the positions i want to insert the guard and then using the same E6000/Krazy Glue technique i glued the new guard onto the blaster.

Once the guard was securely glued, i dremeled off the excess loop of the blue guard so that it doesn't restrict the inside of the handle area where the electronics overlap.
After i get it painted i think it should look fairly accurate.
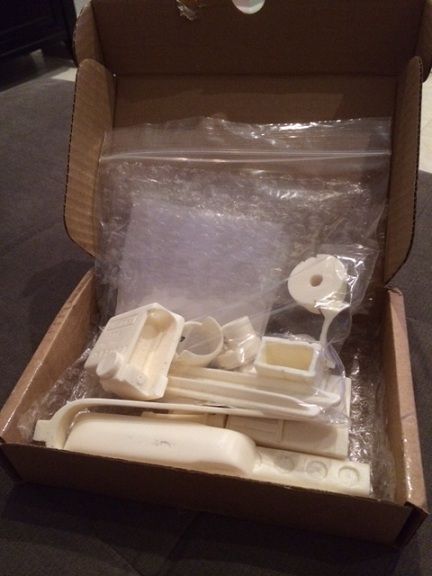
Also, my doopydoo kit arrived! Progress lol.
more coming soon lol...
-
so i got a little more done.
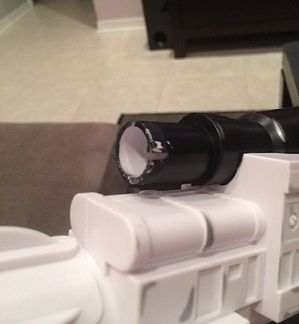
I dremeled out big chunks of the rail scope and the used an X-acto knife to clean it up. I was going to remove them and put a new metal rail, but i figured once cleaned it looks pretty accurate.
I also sanded the back of the scope to remove the excess epoxy.
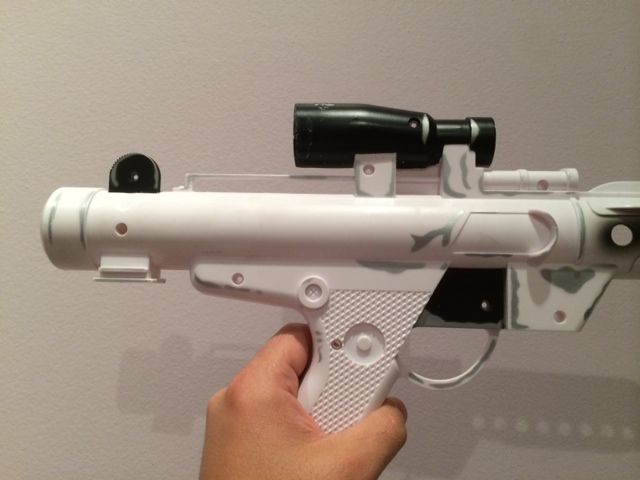
I was happy with the rail, i decided to leave as is.
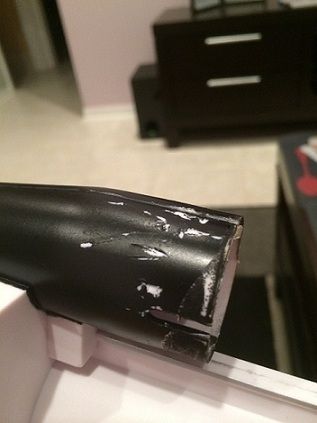
Then, since i made a new barrel for the gun, i removed the current barrel from the gun. Just as the rail, first i dremeled a rough part of the barrel, then used an X-acto knife to clean up the area.
next on my list is to glue the barrel on and epoxy around it to make it perfectly flush with the gun. I'll be able to do that within the next couple of days. My doopydoo kit is also due to arrive any day now...
-
looks great
-
Glen, what did you use on the tip of the barrel to fill the gap between the doopydoo front nozzle and the actual barrel?
also, what did you use to create the trigger guard?
thanks!
-
are there specifics for interior strapping? i know for centurion it needs to be as shown in picture, but for EIB can you use button straps, velcro...etc.
-
 1
1
-
-
i was able to do a couple things this weekend (not much lol)
I sanded the copyright garbage on the side of the gun...

then I cut out the screw hole on the back of the scope and then, using an epoxy putty, sealed it off to then sand it flush (next).
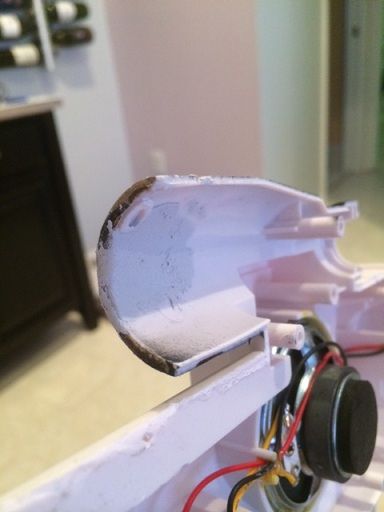
this is the putty i used. I know some people use bondo, but this comes with both the materials inside to create the repair putty. after 20-25 minutes its solid and ready for sanding.
i definitely suggest this...

-
The blaster looks great. Nice job
-
Barrels looking good! For two lights, Glen is your man lol! I wish I would have done two lights, but I settled for the one in the barrel.
its never too late. you can always open the gun and add an LED in front in parallel to the barrel light. up to you. but i agree. Glen is the man for that. Im really tempted to get that stun/attack mode, but i dont know how complicated i want to make my electronics lol, well see.
-
looking good, great job! good luck!
-
Coming along nicely
thanks Glen! Im definitely using you and Andrew as my foundation for this lol...
-
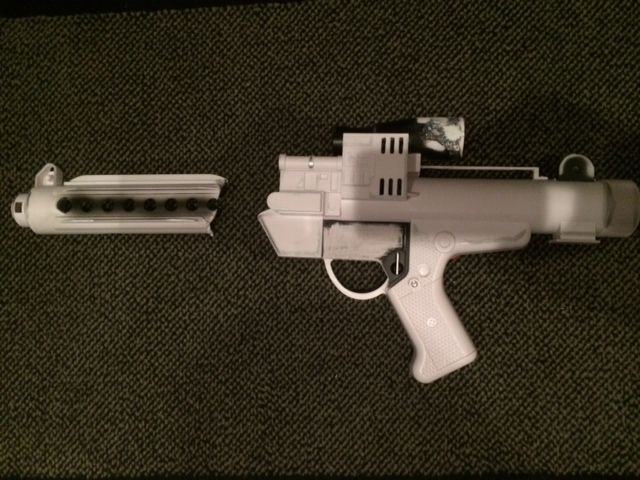
Touched up the barrel last night. I finished drilling all the 7/16" holes and sanded a bit. After i drill the two 1/2" holes on the front of the barrel i will make final touches and should be ready to cut barrel to correct length and attach to gun.
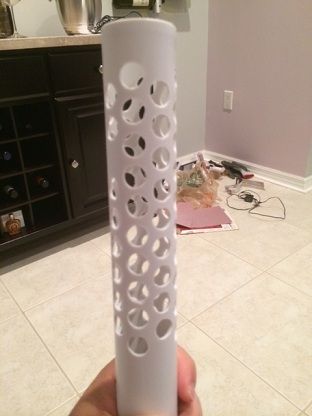
Im happy with it. Especially once i put on the T-tracks.
-
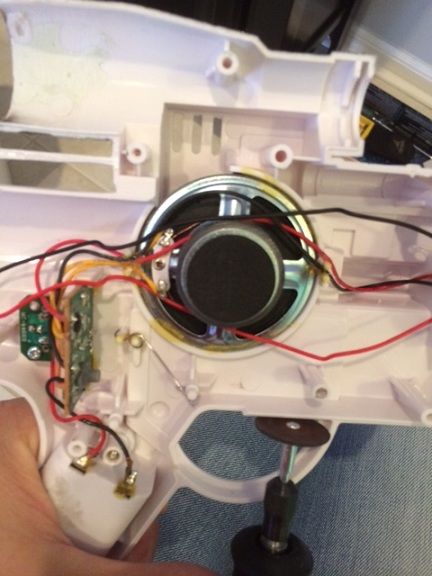
yea Andrew lol. First I want to finish the body work before i tackle the electronics. I just dont want to mess with the electronics after i spend time fixing them lol.
im def going to use the soldering iron in the motherboard though, to put a stronger LED and also change the batteries too.
Im just debating on using one LED or two. One for the base of the gun to light up the chamber and one for the tip. I just want to make sure the gun can handle that lol.
-
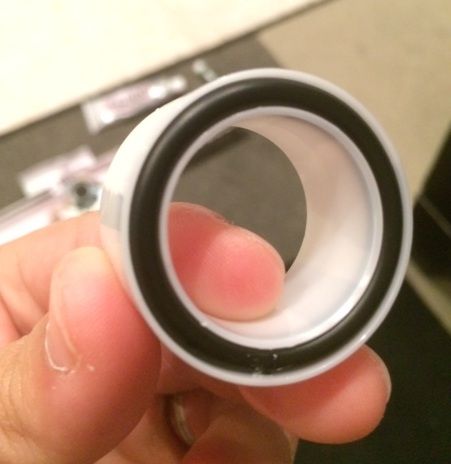
thanks for the tip! already found the perfect tubing for the tape roll. I will def paint it separate though. thanks. cant wait to see your final build.
-
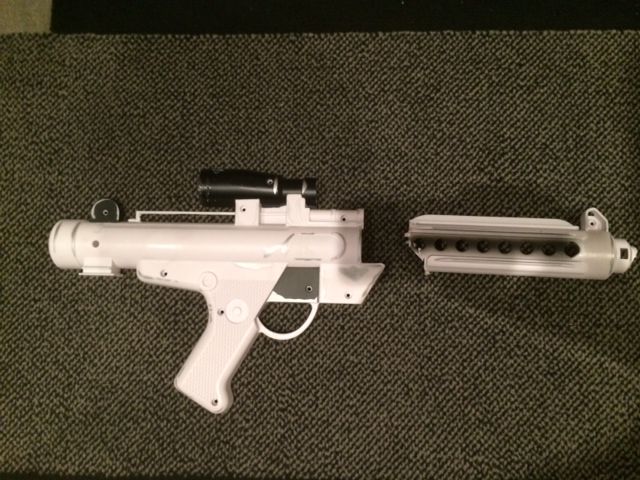
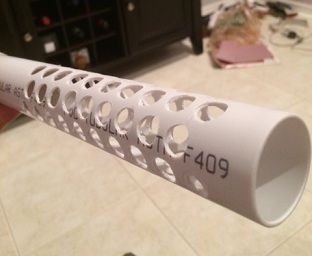
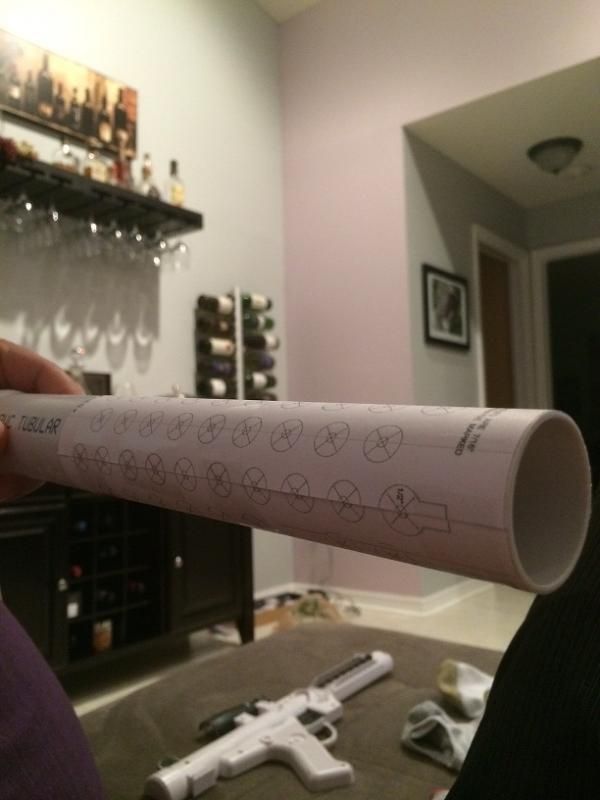
I'm thinking of changing the front barrel to a PVC pipe to look more realistic.
I purchased a PVC tube from Home Depot of 1.5" OD and then printed a template of the barrel fore. When i printed the template exactly at 100% it didnt fit right around my tube, so i reprinted at 144% (crazy right, maybe its the printer lol. just make sure when you print you print and print until it fits perfect) but it fit perfectly after. tape it on so you can use the template without it moving.
next i made a pilot hole one all the "holes" so that i dont need the actual template anymore. One i had the pilot hole (i think i used 1/8) then i used a 7/16 drill bit to make the standard barrel holes.
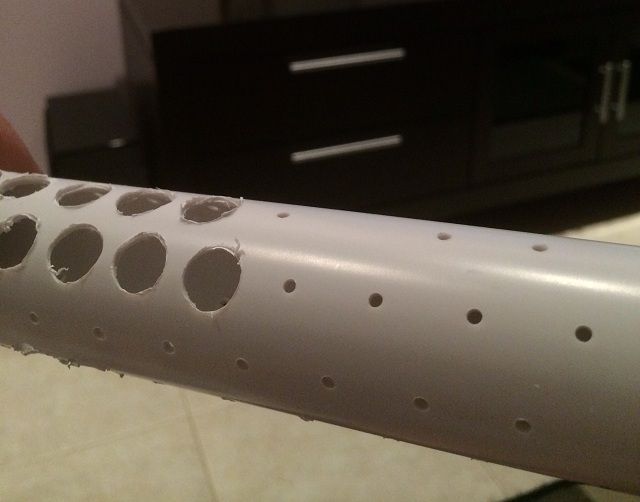
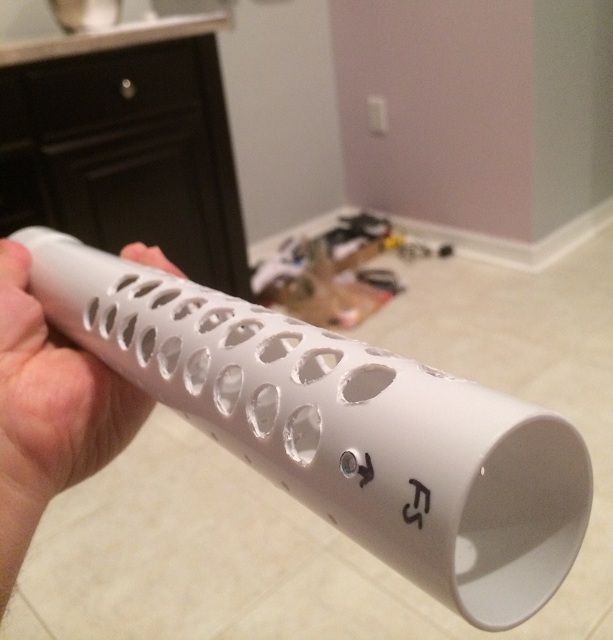
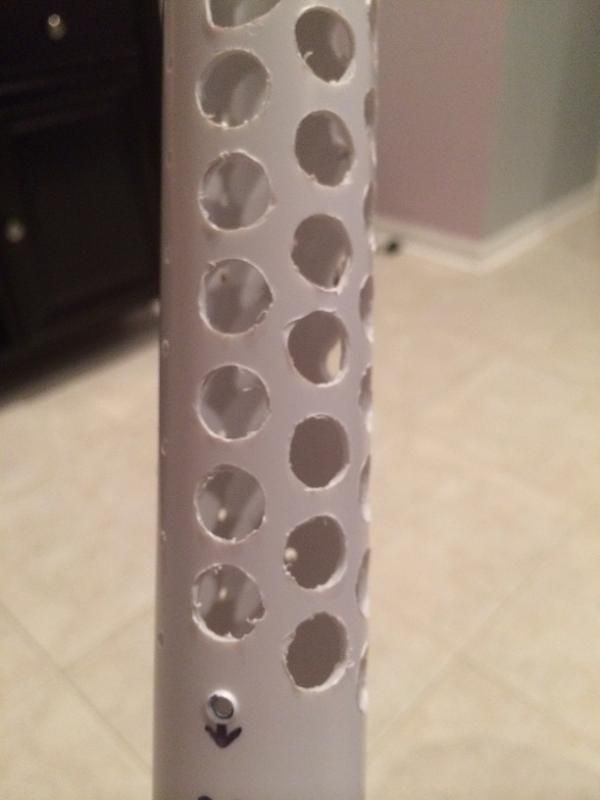
they look a little shaky (in person they look better), but once i finish all of the holes i will clean them up a bit with an x-acto knife and sand them down. Either way most of the imperfections get hidden under the T-Tracks. There are also to main holes (there are 2 in the front of the barrel) that are 1/2" instead of the 7/16", make sure you follow the template.
-
2
-
-
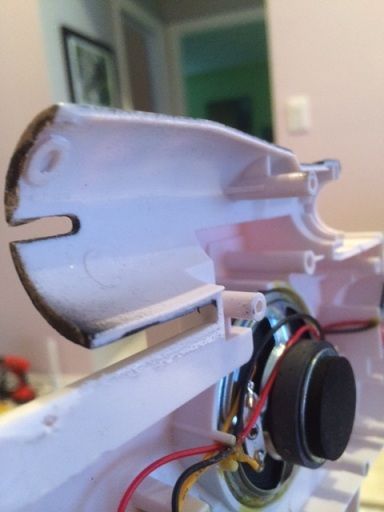
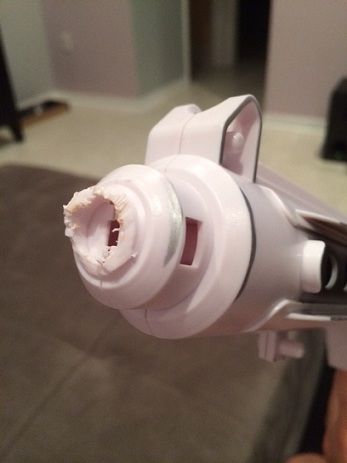
Next i cut the front scope where the Doopydoo will join.
The X-acto knife helps to make the initial cut, but i used a hand saw to really cut most of it off. Then cleaned it up with the x-acto knife again. (i did this to both sides of the gun) remember i have it split in two right now lol.
I also removed the Star Tours sticker (dont have a picture of me doing this, im sure you understand lol)
-
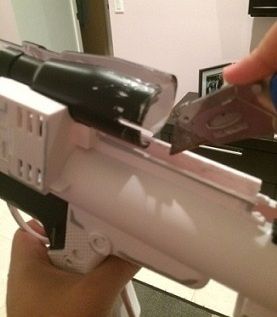
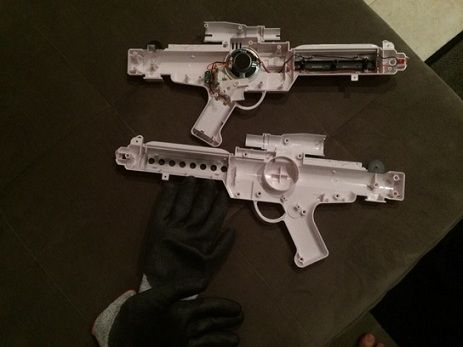
I first took the standard pics of both sides before i started working...lol

The i removed the three standard spots in order to pry the gun open (Back of scope, front of scope, barrel tip: be careful with the light)
The back of the barrel was pretty tough but the small glasses screwdriver helps, but i will sand that later and most of it will be covered with the tape scope. With the other two they will be cut off so it doesnt have to be perfect.
Then to try to open it, there is glue on the scope rail so i had to use a utility knife to cut it open then give it a little muscle to open. (dont be afraid to be a little rough lol, the glue sucks! but once you cut it, it helps a lot)
-
I'll get some progress pics up soon, the pic loader is being difficult right now...saying every pic is "too big" lol
-
Please feel free to give any input, i want to make sure I am fully happy with my build. Not only that, feel free to ask any questions to those that are working on their blasters.
First off I purchased my E-11 at Disney's Hollywood Studios for $24.95. I have a heard a lot of issues about buying their hasbro, but for the best price it is in person. If you want to save money on an Park Entrance Ticket, go to the Disney's Boardwalk (free parking) and one of the stores has it there as well (same price). The only other place that I have seen that you can buy the Hasbro is Ebay and Amazon but those can easily go for between $40-$50 (make sure you find free shipping).
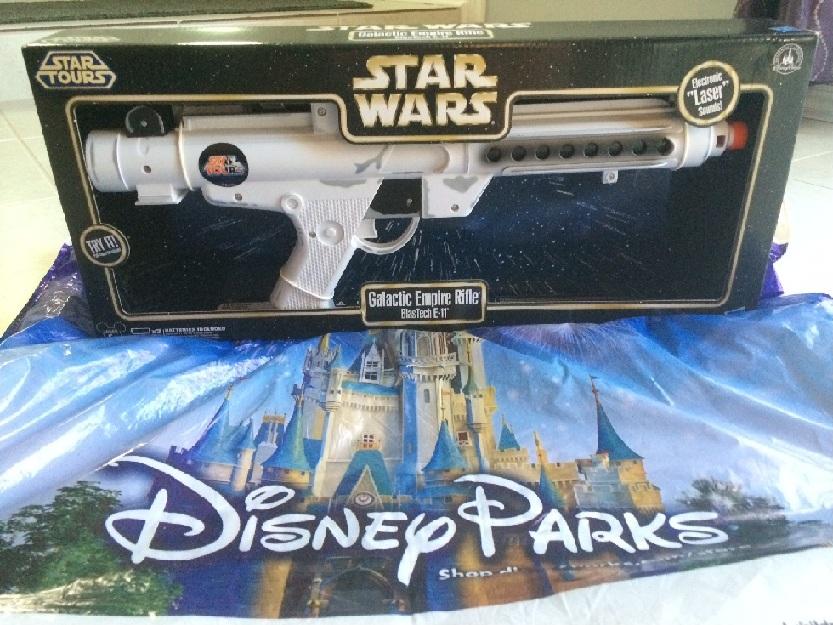
The Doopydoo conversion kit is being delivered, so in the meantime I started working on the gun.
-
So I bought the doopy doo kit but they don't have an actual blaster, bor does amazon, hasbro.com, Walmart or toysrus. Where can I get one??
yes unfortunately the only real store that sells them is @ Disney in person. I found them at both Hollywood Studios and at the Boardwalk ($24.95 in person)
however, if you cannot make it to Orlando, then the next best thing is ebay/amazon and they are roughly between $40-$50. Be careful with shipping. you can usually find them with free shipping.
-
And yes i am going to paint the bolt silver..just havent gotten to the store just yet
lmfao you read my mind. the build is looking great! nice job!
did you remove the screw from the scope? like dremel it out so the scope "tape" fits in without glue like you said?
-
I get my T Tracks from Marv here on FISD http://www.whitearmor.net/forum/topic/16395-t-track/
great thanks. yea once im finishing up with my build i'll def ask for the tracks from Marv.
quick question, sorry to bother so much, but what size barrel did you use? 1.5" or 1.25". I have seen soooo many threads on this and it seems like everyone has a different opinion. Seeing that your is a hasbro conversion like mine, then i know you would have the best answer for me.
i bought a 1.5" yesterday but havent cut the hasbro barrel yet. Just wanted to make sure i got the right size.
-
looks great. nice job.
I may do the same with the t tracks as well.
as far as the scope rail. what did you use to do that. Clearly you completely removed the old rail and then put a whole new one.
-
how did you make those T Tracks? did you cut plastic pieces to look like that or you modified something?

E-11 blaster for centurion standards
in ANH BlasTech E11
Posted
Great Job on the blaster Glen!!! Looks amazing as usual.
I have a question that has been perplexing me, its about the painting/LED situation. How did you avoid painting the LEDs inside the barrel when you were spraying? Is it that with their positions within the barrel that they pretty much avoid any spray contact? i just want to make sure because after i fix the electronics i want to make sure i don't kill my job by painting the lights lol.
thanks.