Sly11
-
Posts
13,366 -
Joined
-
Last visited
-
Days Won
278
Content Type
Profiles
Forums
Gallery
Articles
Everything posted by Sly11
-

a slight modification on my DD m38 scope
Sly11 replied to skyone's topic in Build Threads Requireing Maintenance
Nice finishing touch Sent from my iPad using Tapatalk -
TK-76216 Requesting Centurion Status - ANH Stunt [ATA][136]
Sly11 replied to Raintrooper's topic in Request Centurion Status
Awesome work, good luck with your application Sent from my iPad using Tapatalk -
Can someone offer some insight into the AP Biceps. As you can see they have a curve on the right side. Is this one for the left arm, or the right arm, or should I say, how do you wear it? , curve to the bicep or curve to the triceps.
-
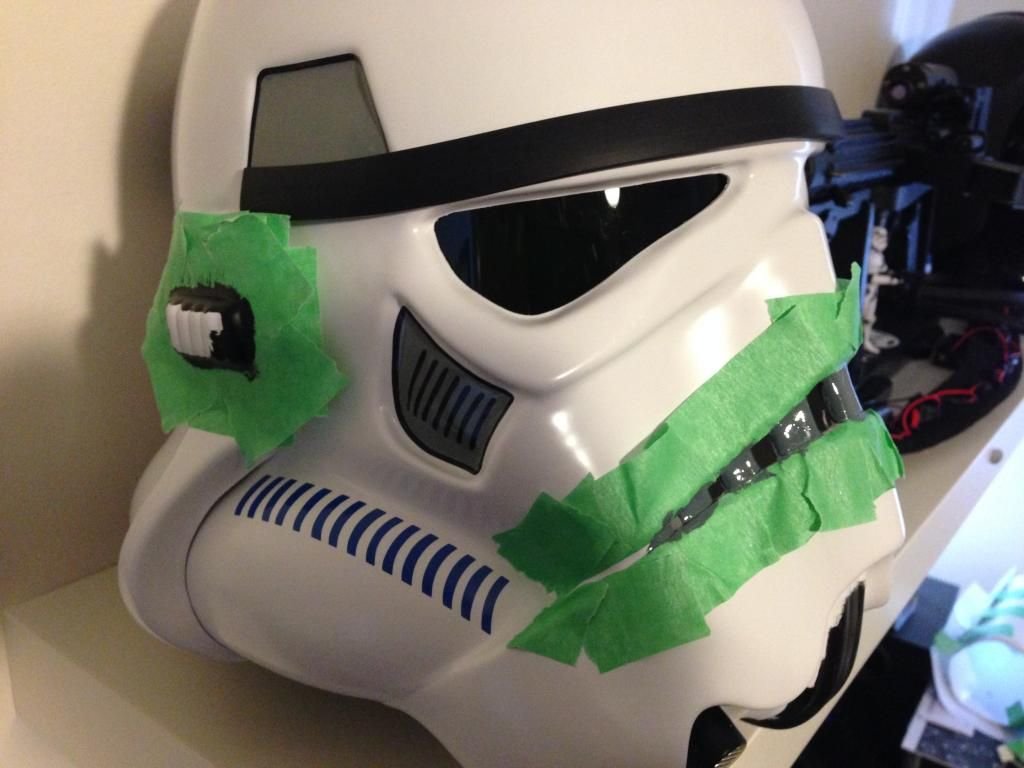
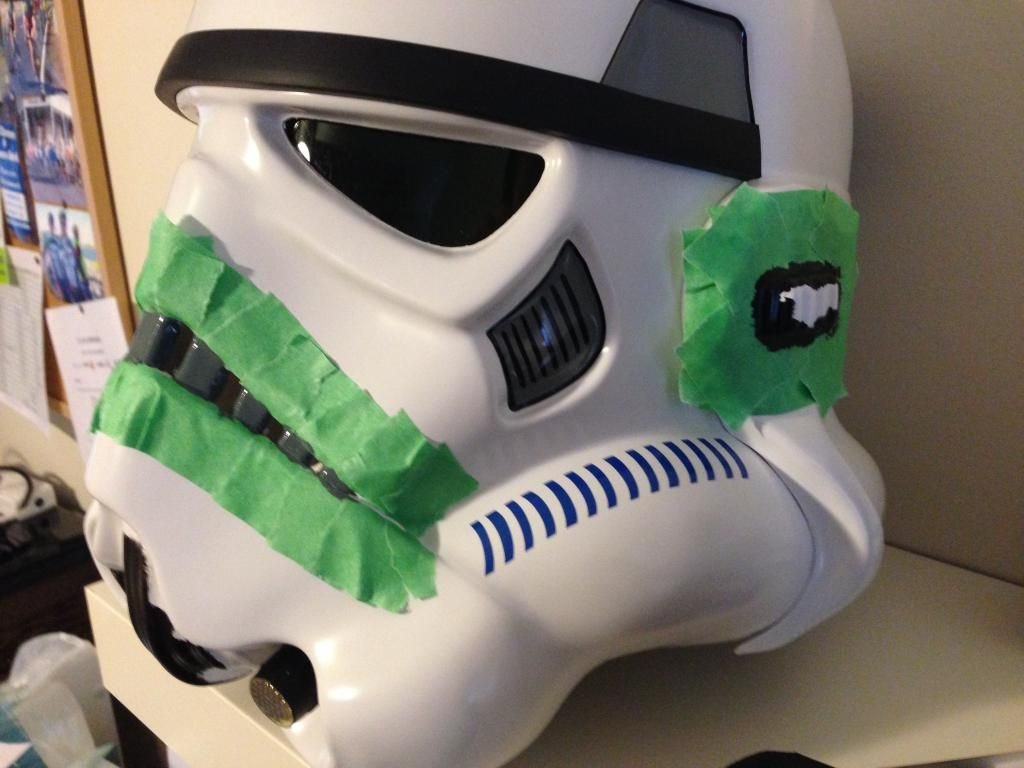
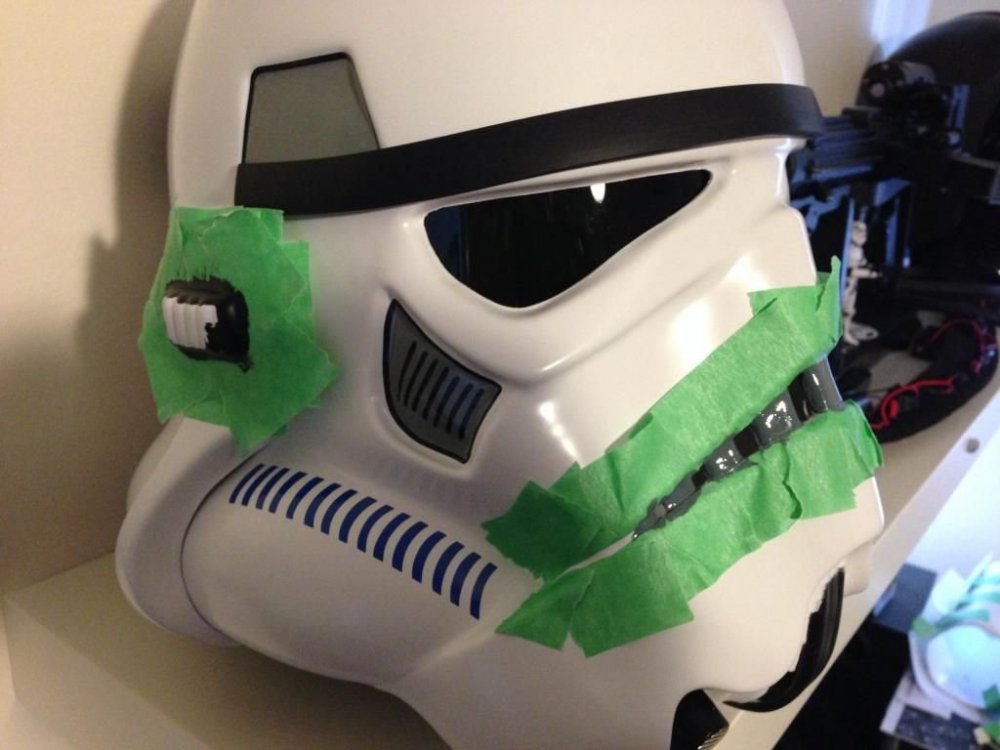
Shots of helmet, need to get a better brush to finish the Vocoder and ears

-
I'm so frustrated, I had to post it twice.......[emoji6] Sent from my iPad using Tapatalk
-
I'm also not happy with the Humbrol paint colour on the frown. Got the code off the paint references sheet on here, but Humbrol number 5 is too dark as you can see on my photo. For the life of me I have not been able to find the Testors/Model Masters 1138 or 1238 (spray can version), in Brisbane, even the Hobby shops are telling me the paint code must be wrong, but I have seen it online in the US. Sent from my iPad using Tapatalk
-
I do actually have the stencils at home, in case I worked up the courage to paint the stripes, so I guess that will be my back up plan all else falling. Sent from my iPad using Tapatalk
-
Looks fantastic, great work. Sent from my iPad using Tapatalk
-
Peel them off and re position!!!, think I will make it worse doing that, don't have the steadiest of hands. Sent Trooperbay an email to see if they do the Dave M style separately as these came with that decal set, and I can have it fixed in no time at all. Sent from my iPad using Tapatalk
-
Thanks guys. Will order some new tube stripes
-
Yes, he is Ever Vigilant. Sent from my iPad using Tapatalk
-
I was planing on building for EIB, but this new mod is a little off putting. I have AP armour and only just started a build thread, this 10x15 notch just not going to happen. I guess I can kiss Centurion good bye too. When looking at reference shots and images others have posted, these dimensions don't look right anyway, seems larger then 10mm . I honestly can't see how this mod can make me look any better considering it can't be seen, it's time to listen to the people here on the blog. Forget your notch, stop frustrating people, we are here to raise funds and awareness for charities, make people smile and have a little fun in the process. Sent from my iPad using Tapatalk
-
Must have spent 4-5 hours trimming the ears and still not happy, but left material behind still so i can tweak later on. Helmet is about 85% complete now. Not sure if it is normal practice to mask the frown before painting, but thought I would try it out.
-
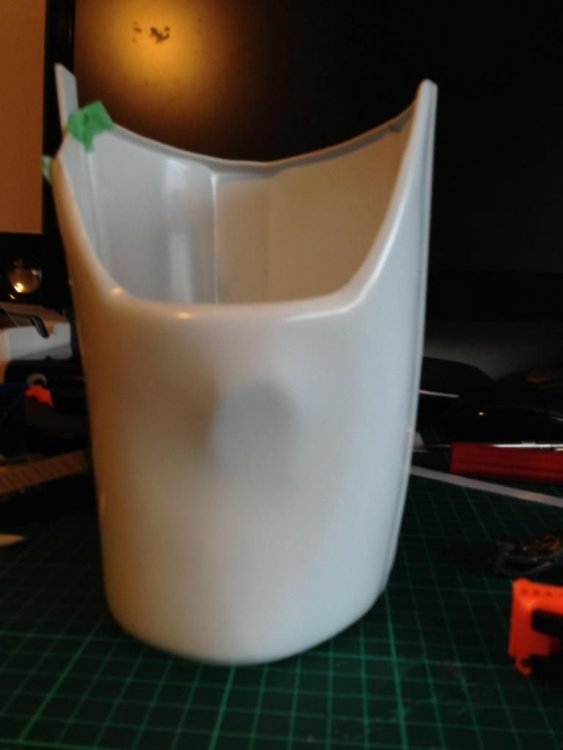
Damn these ears take some time, very scared to stuff then up, so haven't trimmed them down to the trim line. Still working on the one not attached.
-
Loving every minute of it, but my wife......I' m not so sure! Sent from my iPad using Tapatalk
-
Yes Steve there is still return left on the inside of the eyes, wasn't sure if it should all come out or not, what about the frown, again going slow not to take too much away. thanks for your lines, my edges are sitting almost directly behind, should that come out?
-
Ok both done, How do hey look
-
Slowly trimming the eye, how much more should I take out?
-
These forearms are fun to put together do they look OK so far, it is going to be interesting come glue time to get a flat edge , plenty of clamps I think. 15mm cover strips on both sides i can just get my hand through and it seems a good fit. Any pointers appreciated, the more feed back the better.
-
Awesome, awesome and awesome Sent from my iPad using Tapatalk
-
Thanks Steve, I think I'm going to just get away with 15 mm cover strips on each side as I have large hands and thin arms, will have to wiggle them through the wrists. The next thing is the Biceps due to their asymmetrical look again left and right. If you look at the inner part at the top it has a high side and a low side. Is it low to front, high to back or vice versa? Sent from my iPad using Tapatalk
-
Only 11 dents on each arm with AP Rystan, but thank you for your help. Sent from my iPad using Tapatalk
-
Yes still have trimming to do as have only trimmed to the mold lines. Will measure and cut one half to the 7.5mm so i will have the 15mm width required and take another look, I just wanted to join the outer side first for accuracy, in case i needed a larger cover strip to the inside. to do that i need to know which way to wear the forearms. maybe had I mentioned that originally my questions would have made more seance. Due to the shape of the length of the parts, it was easy to see which two mached, but still not on which arm to wear them.
-
No sorry, not too sure how to explain. If you look at the second piece down, it has the top edge fairly straight, but the bottom edge has a nice curve to it. Same with its opposite part with the 11 rectangles. I am not talking about the wrist opening and the elbow opening , but the long edges themselves. Hope this makes sence. Sent from my iPad using Tapatalk