


Clamps
-
Posts
2,090 -
Joined
-
Last visited
-
Days Won
8
Content Type
Profiles
Forums
Gallery
Articles
Media Demo
Posts posted by Clamps
-
-
damn I need to get a job where I can build my kit at the same time! So much lost productivity at work reading and researching. Good luck Keith, I expect a full report so you can come show me exactly what to do on the first try. We're about a week, maybe two away from this step. perhaps you can come over on the long weekend for a few beers and TK tweaks. I'll even have a supply of Jelly Belly beans to keep your right.
-
Spent most of the weekend at Fan Expo, so little progress has been made, but gained some SERIOUS motivation for completion.
Last night's work (no photos as this is not really interesting stuff to see):
- re-worked the butt-kidney connection at add a little length the the connection.
- attached my shims (hoping the seam comes out nice).
- Initial trimming of both biceps
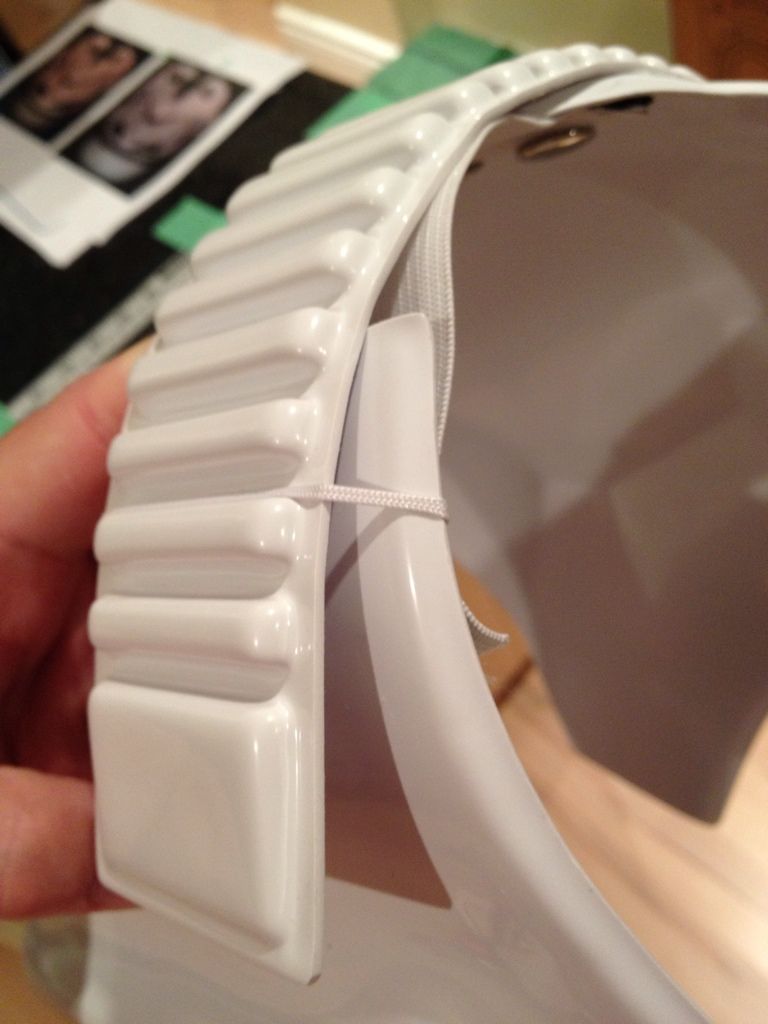
- Gluing of elastic on shoulder bell that goes around bicep (I only glued one side for now pending final bicep sizing.
Immediate next steps list:
- Add final snap plates for torso now that shims are in place
- Add Split Rivets to the shimmed area to provide the balance to the ab plate
- Get some for sale signs for interior support gluing if the limbs
- Glue the biceps
- Glue the forearms together
- re-worked the butt-kidney connection at add a little length the the connection.
-
So I think I have a solution. I'm making a snap plate for the graves and the sniper plate right in the middle where I would have had to "shim" anyways to create a strong initial point of contact. Then glue in the sides. Let's see how this works.

-
Looks like it'll be about 1 1/8" shims per side. Will attach to kidney this weekend if time allows.
Otherwise, test fit of the core is pretty good. I need to tighten crotch connection and loosen the kidney butt connection as it keeps popping out and then pulling my middle snap off.
Anywho. Tomorrow and Sunday are break days as I'll be at Fan Expo volunteering with the Canadian Garrison peeps.
-
I think I found a happy place for Fan 1 that is a good compromise of nose/eye. I also taped in my mic last night for a little audio testing. Did some more 'snap plate' gluing to the core.
I should be ready tonight to test how much shim I need on the sides so I can get that cut and glued.
Then I can turn the focus to the limbs.
It's slow going as I only have an hour or two a night.
-
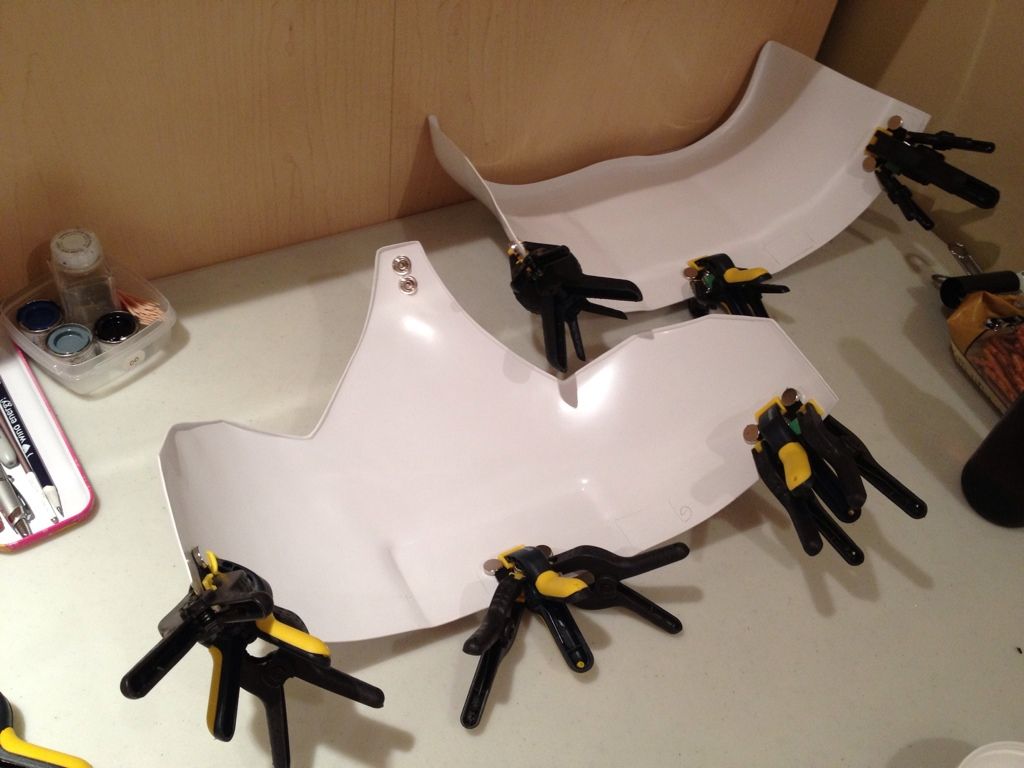
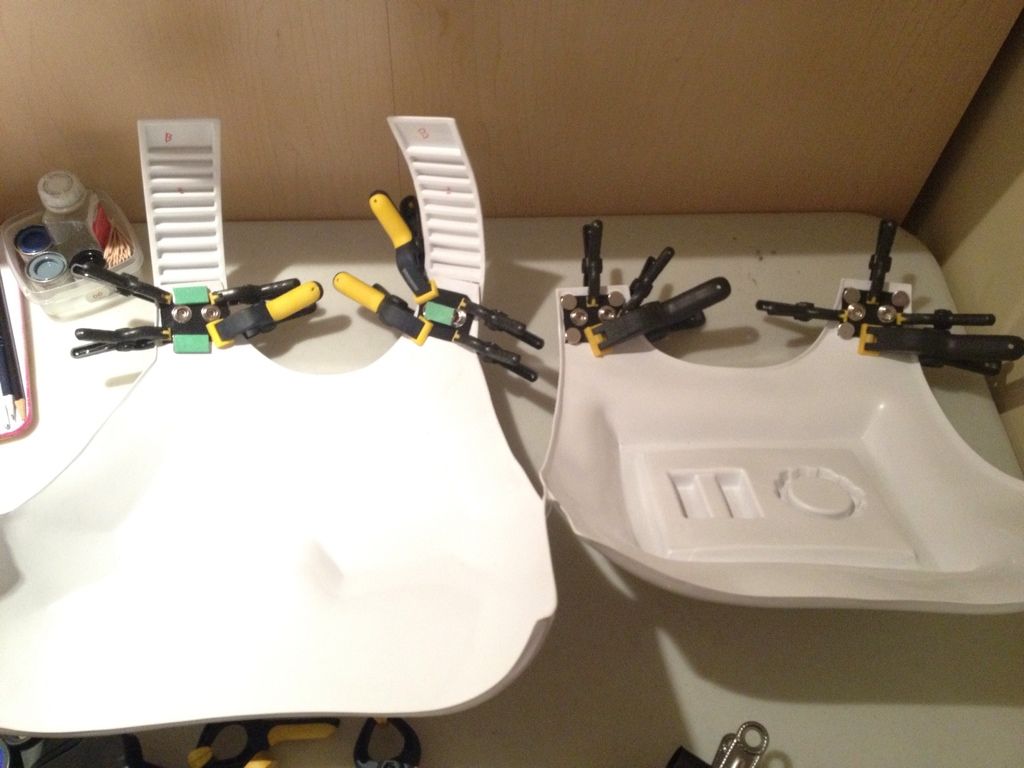
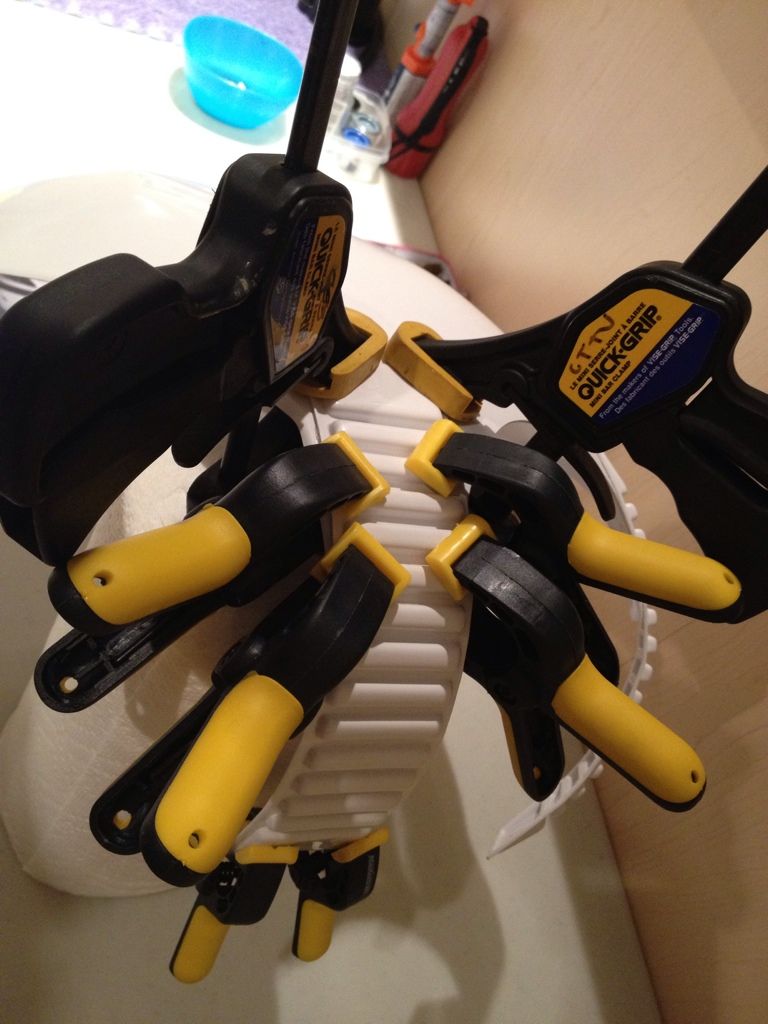
Added split rivets to Ab plate.
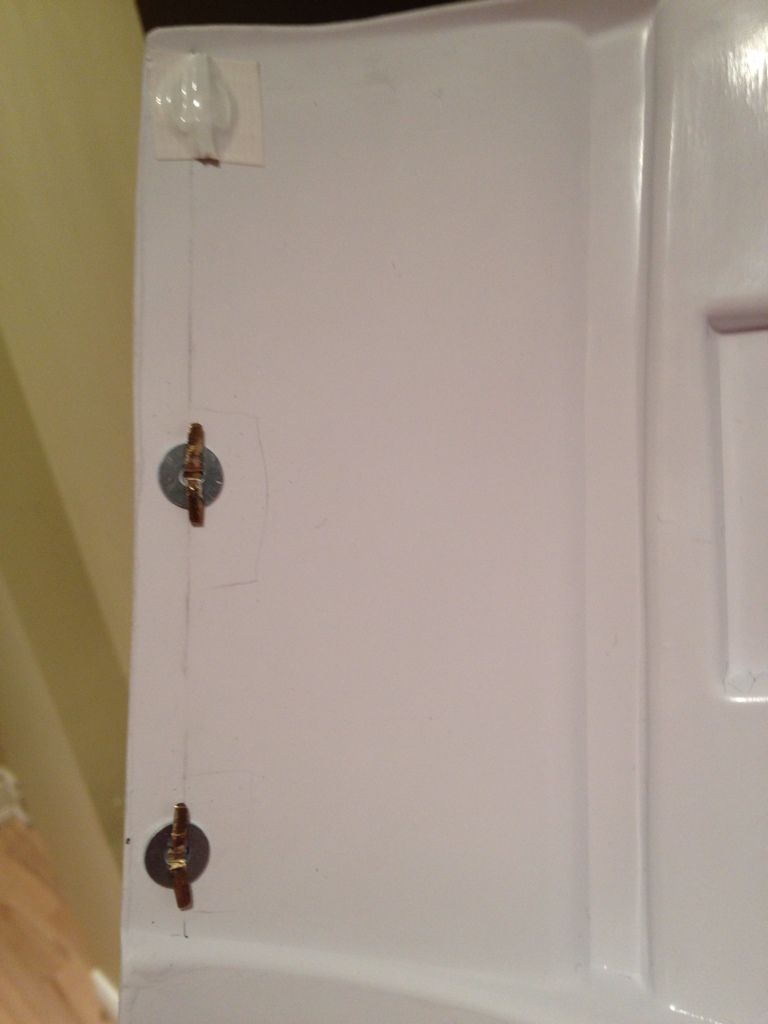
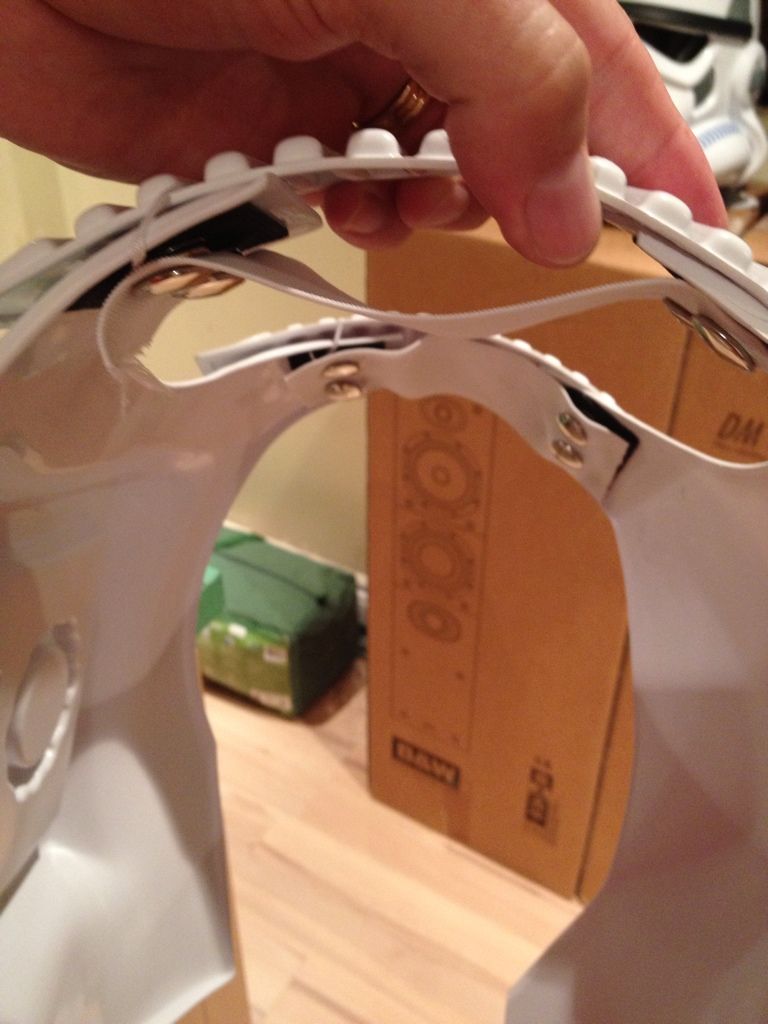
Initial placement of shoulder strap with white elastic connecting chest and back. And mini elastic on holding things down.
Finally I added some 'snap plates' to butt and kidney sections.
I tries a few different fan locations in the bucket but not happy yet with that. Either it blocks my ability to put in on or blows up my nose or directly into my eye.
-
Looking good ladies. Saw the photo on FB!!
-
Slow progress the last few days. Been camping and away on business.
Latest updates:
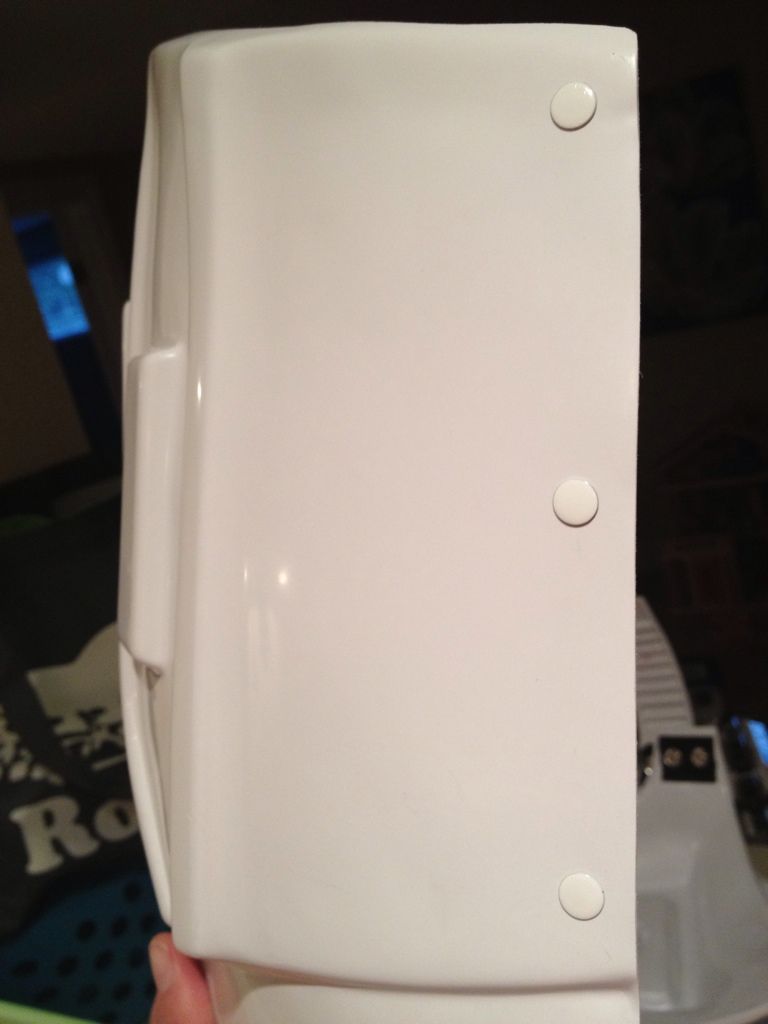
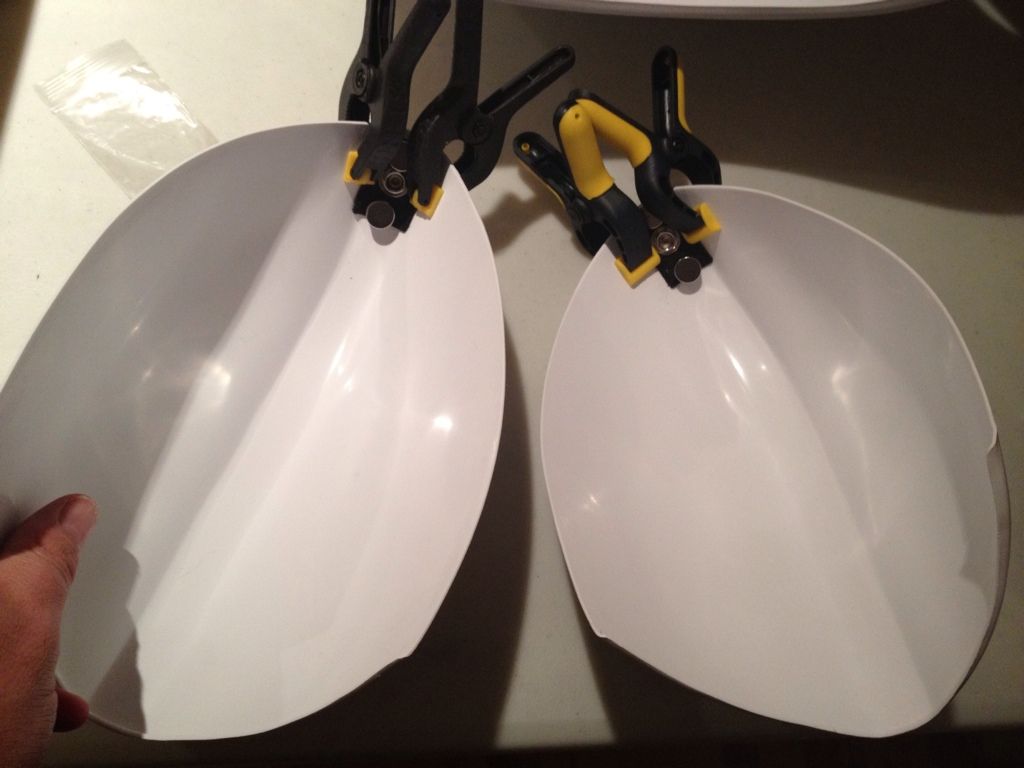
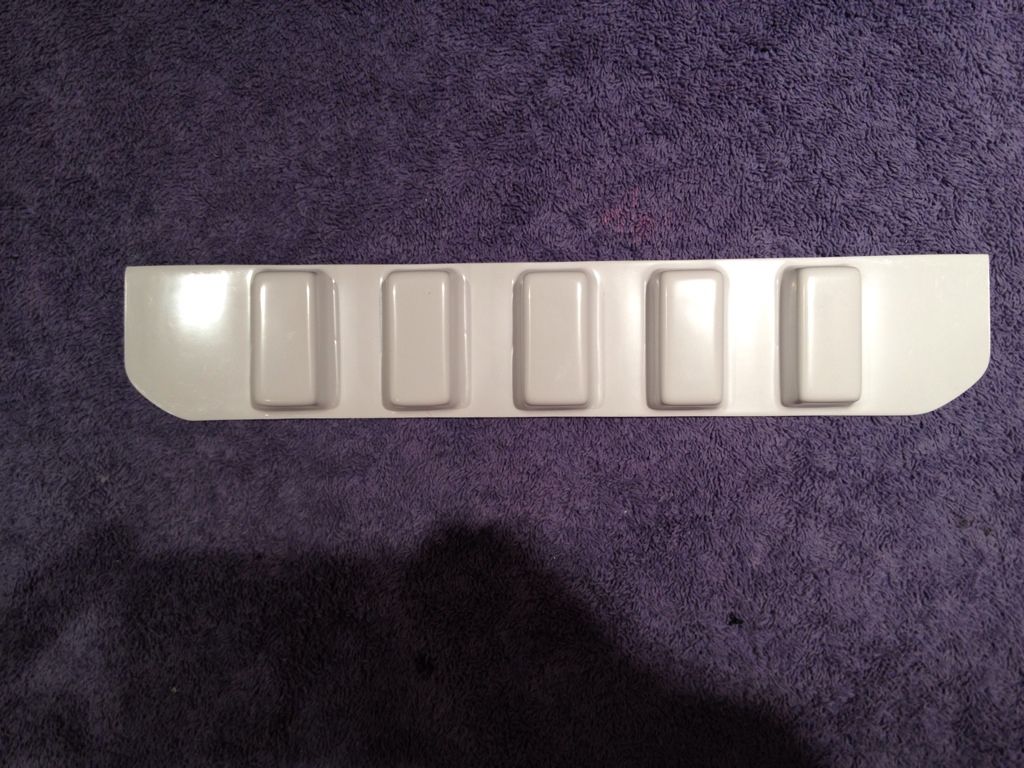
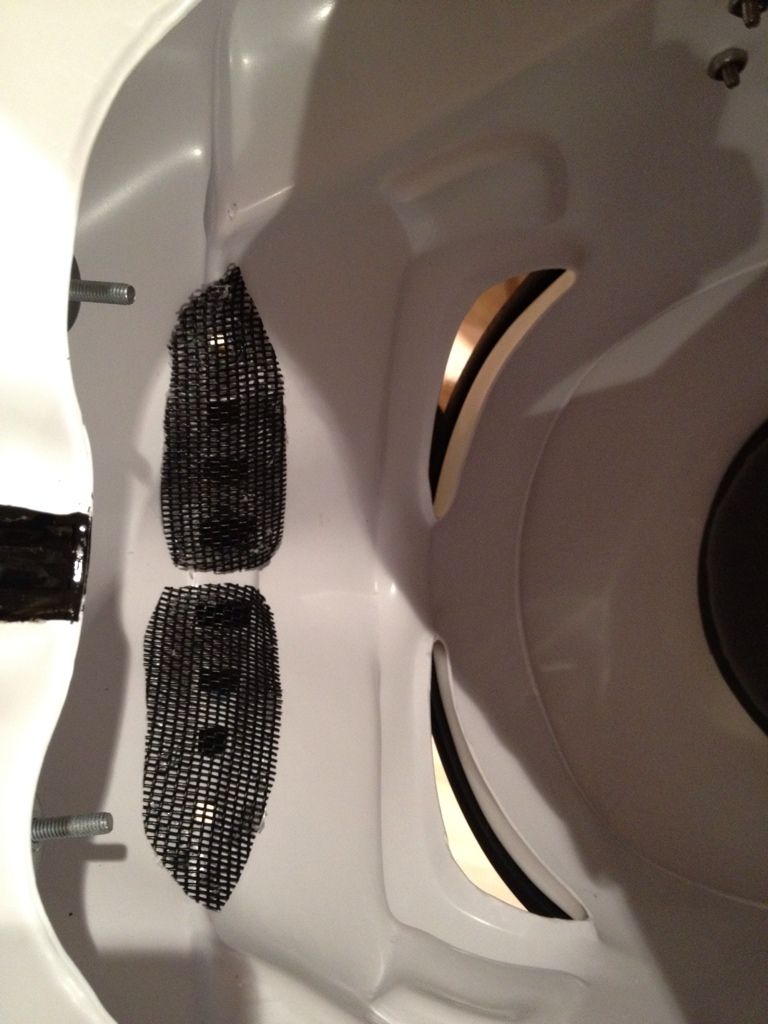
Made "snap plates from nylon webbing material. I like this option as they conform nicely to the interior contours of the armour.
Here they are being glued to the shoulder bells, chest and backplates.
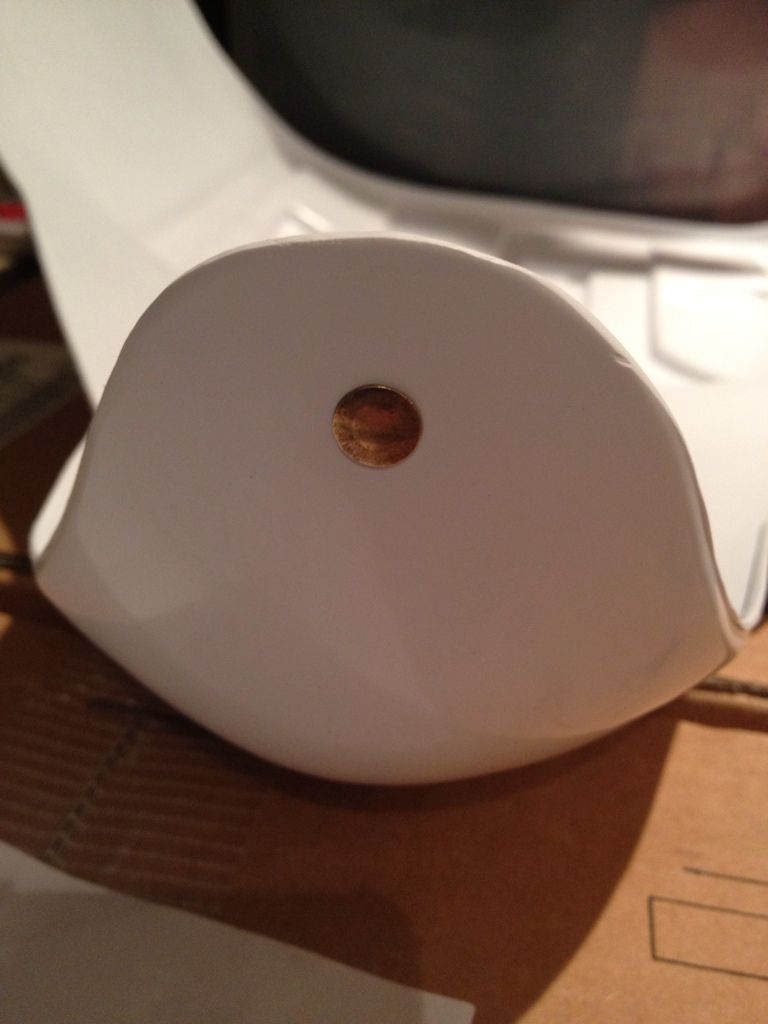
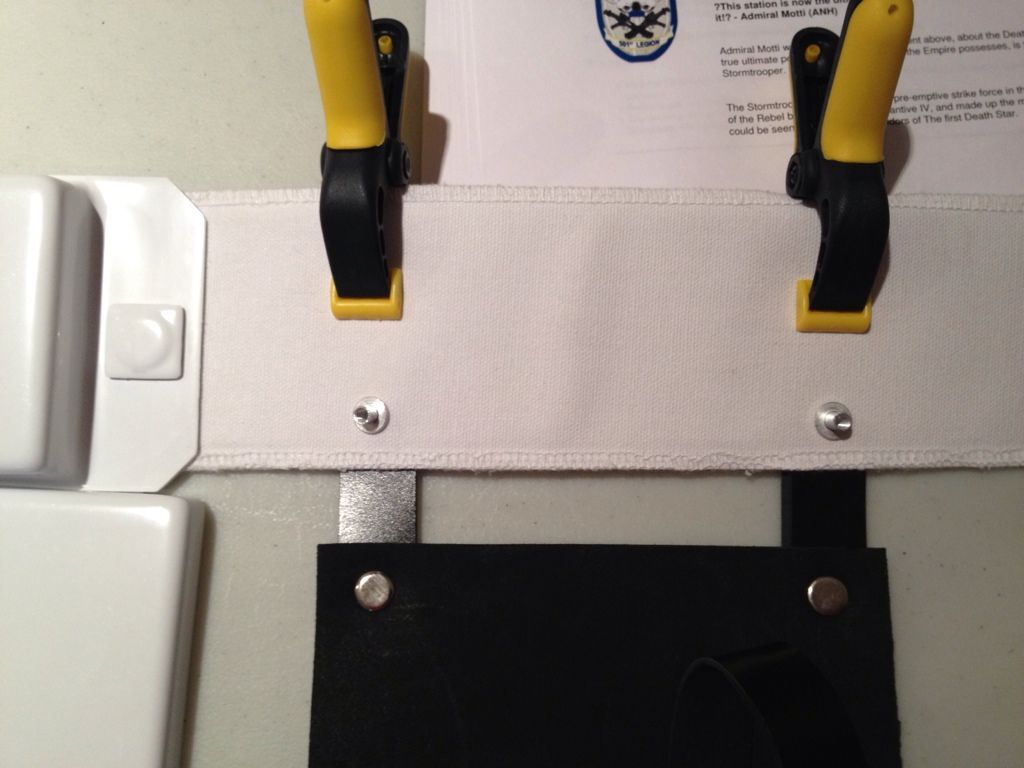
Added the split rivet to the crotch. I could not work out in my mind how to use this rivet to secure a male snap. The rivet legs are quite long compared to the normal snap post. So I added a snap plate just behind instead, covering the legs with white duct tape.
Next steps are to affix snap plates to butt, kidney and ab sections. And to add fan(s) to the bucket.
-
Well done CG pepes!
-
Thanks Vern. I'll hold off for a couple weeks then

-
Here is the updated thigh ammo belt.
-
How does this look in terms of relative position of the holster (height and distance from belt) and the tentative connection points for the Chicago screws?
-
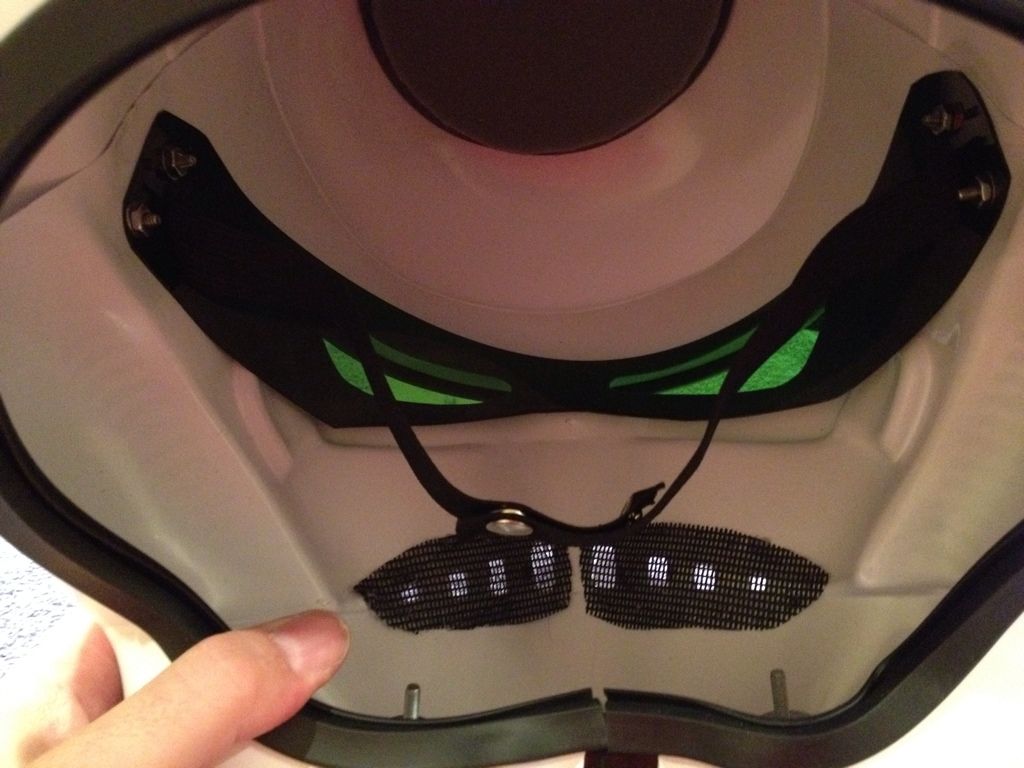
Minor progress before reaching my evening stopping point:
1. Dark Green lens installed. This was harder than I thought due to the someone short screws for the ears, but its in there nicely I think.
2. Chin strap installed.
3. S-Trim fought with ... I finally won out I think
-
Baby steps last night.
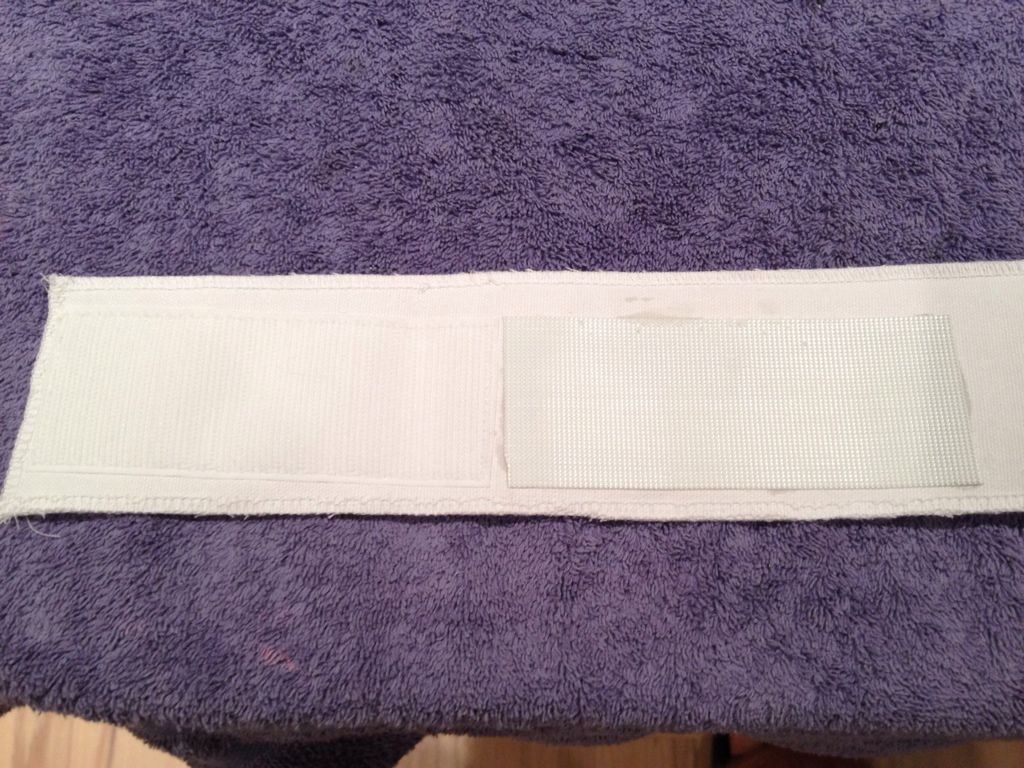
Added Velcro to my belt as it was too loose.
Second shoulder belt attached. I seem to recall being told to remove the back big piece. Is that required?
Frown screen hot glued
Also painted black on ears. Not sure how I feel about t so I will not share just yet. Same with Vocoder. It was harder than I thought.
-
Nicely done Ingrid, I may be hitting you up for details on this, as I am looking for non,-masked options I can provision for the Mrs.
Have a great time down in C6.
-
Welcome Sean, I found this thread to have some helpful info on all the "rest of the stuff" and the tools and whatnot you may need:
-
Super helpful, thanks.
-
Your paint job on the ab buttons looks really nice. Did you use any masking templates or did you paint it freely?
My first god awful attempt was freehand. I hated how sloppy it was, so I removed the paint and re-painted using masking template I made with a circle cutter i found buried in my wife's scrapbooking hoard.
-
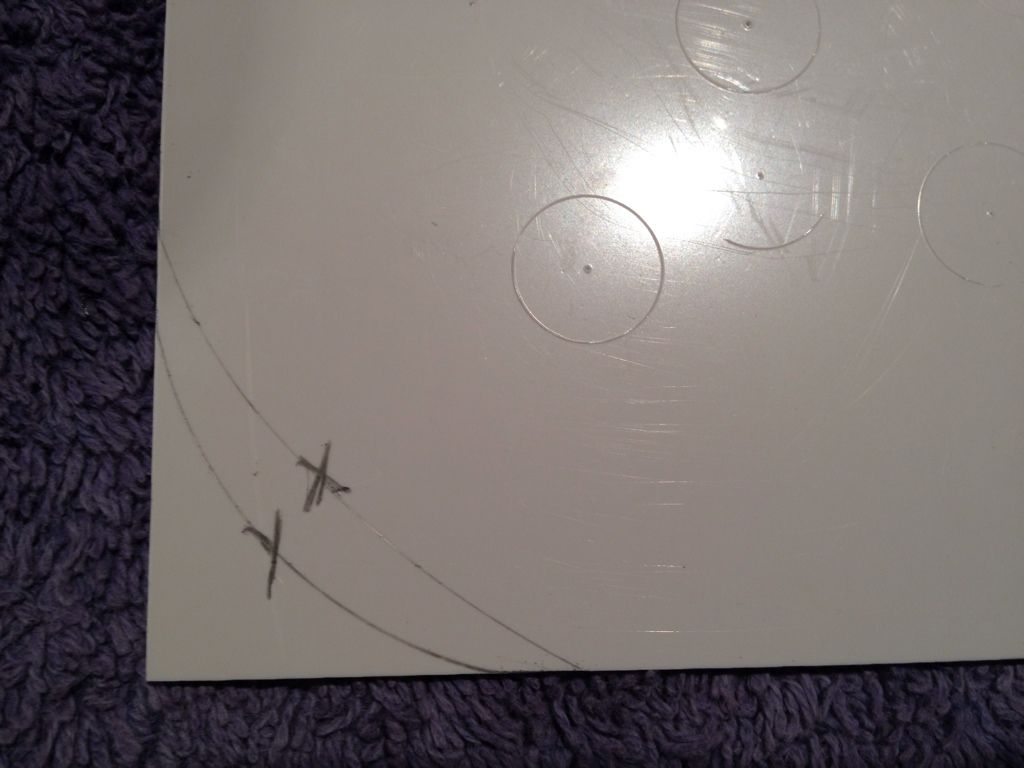
Thanks Vern, I will reach out to Mark tomorrow on the topic. I have been researching all day and have seen samples that for sure support that mine is rtimmed more than ideal. Please see the photo below on a peice of junk ABS I had from before the build. The X line represents the AP pre-trimmed piece. the Y-line represents what I beleve would be a more accurate trim (from what I have learned today. Would you say the Y line is the acceptable amount of curve?
-
good thing I have your build thread in my follow list, that is a good example of what I (may) need to do.Here's how I did mine I think they were a 2 inch shim as well.
(you'll find it half way down the page)
-
Aren't you done yet?
NO
 I am still staring at the parts wondering WTF I want to tackle, which is why I am picking little things here and there.
 TODAY I made a beau-TK-full ab button paint job (well in my opinion anyway):
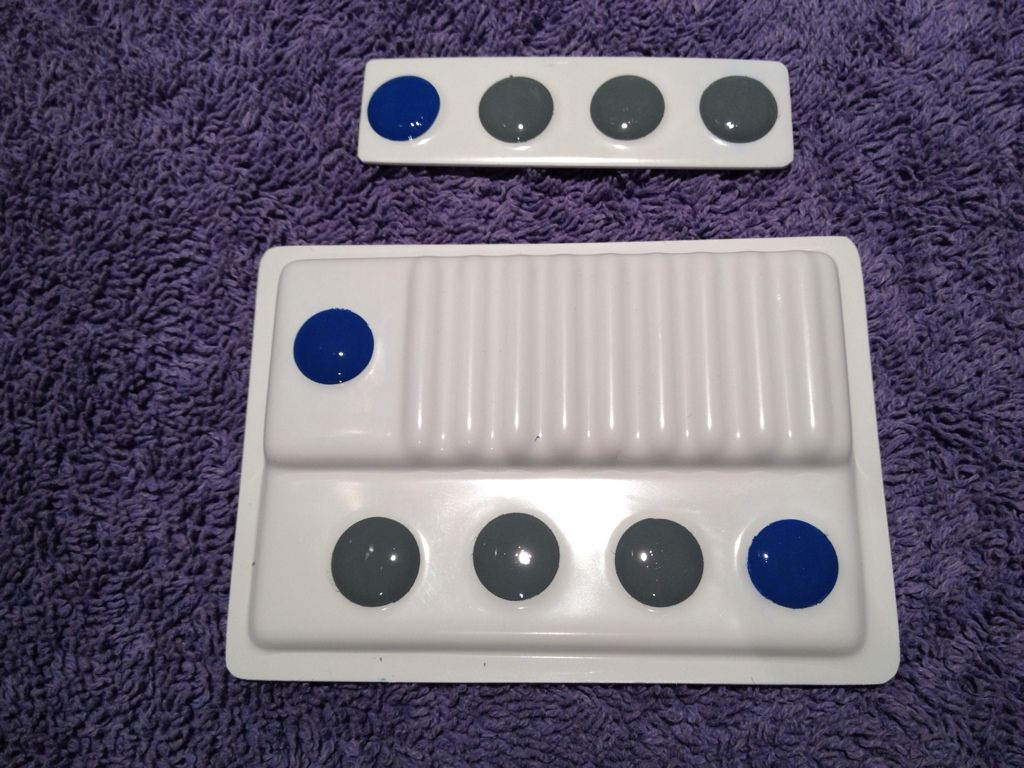
 mmm, round and round they go!
tomorrow will be time to put some black on the helmet and by week's end the frown, chin strap and lens material will be good to go. I may not be done for Fan Expo, but I will have my bucket!
-
I'm not sure if it matters but the elastic or webbing for the drop box's originally went inside the end rivets,the box's aren't actually held on them.
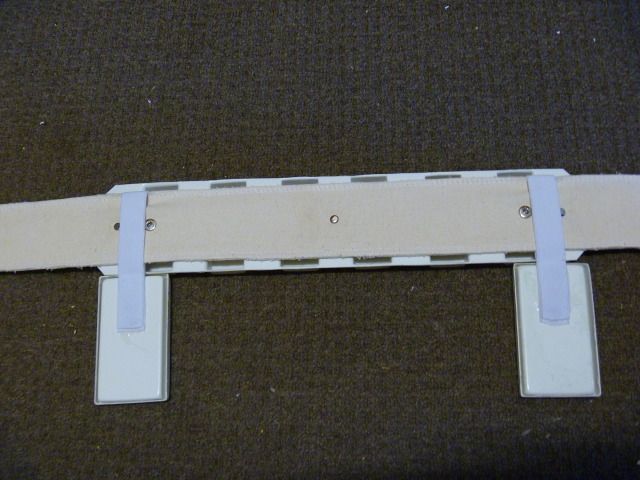
by attaching them like this brings them in level with the end of the ammo belt.
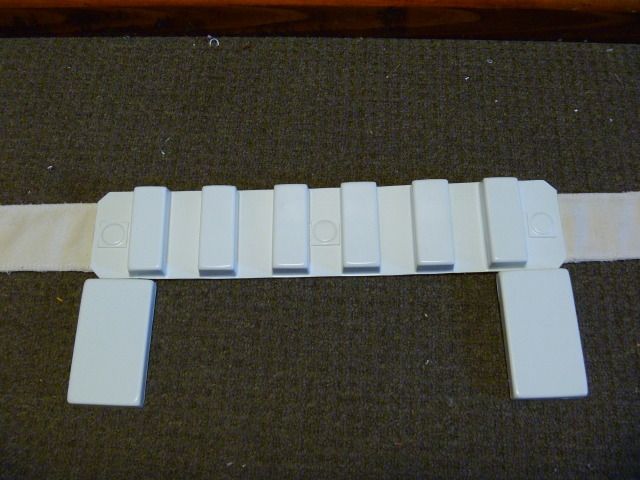
yeah, I have been looking at mine, a second and third time. That change will likely go on the later list as I really need to get cracking on the armour. During a lull I will consider changing.
Thanks!
-
when you put the armor on, with the belt there still is a gap?
make sure the belt is as tight as possible!
When I put the Ab plate and the kidney plate on (with my proper undershirt) and squeeze the belt tight, YES, there is gap. I am adding velcro to my belt so I can do further testing tomorrow to see how much actual gap there will be. I will post a pick to demonstrate my TK-porkbelly. :
-
thanks for your efforts Eric!
spring for E11 Blaster
in ANH BlasTech E11
Posted
Great question Philip, I was just logging into search for the spring diameter myself. I'll be looking here to see what you get for replies!