


Clamps
-
Posts
2,090 -
Joined
-
Last visited
-
Days Won
8
Content Type
Profiles
Forums
Gallery
Articles
Media Demo
Posts posted by Clamps
-
-
Lay your painted part horizontal nd not vertical.
Thanks for that tip, I used it when working on the Frown last night, I think it turned out pretty good. I also used it for the ears, except I had to go vertical to get between the bumps, but overall, happy with the results.
-
Vern your position on the trim is clear. I appreciate your opinion on the trim as well But without an example of what it should be I have no basis to compare. Please provide visual guide to how it should be so if I have to go to mark and ask for replacement I can show him right vs wrong.
-
Thanks Duder, for some reason when I put the link to the photos from photo bucket like mine own, it kept giving me an error about not being able to put that file type or something like that.. anywho, thanks for the assistance! Going to bed, will update the progress in the morning.
-
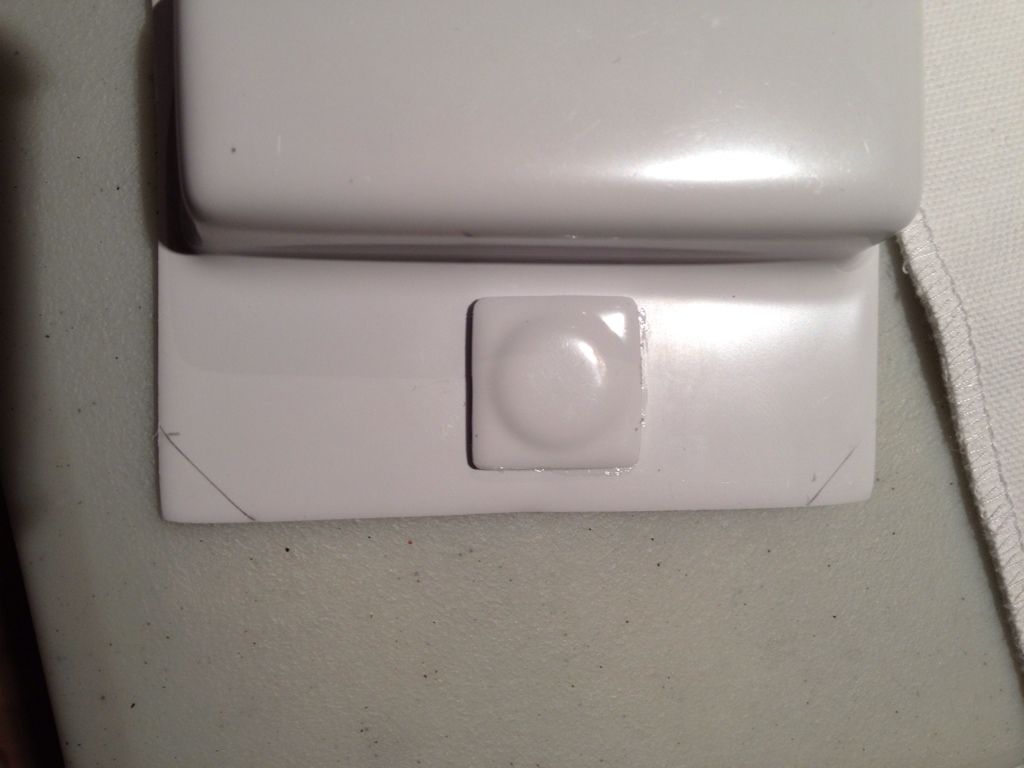
the thigh power cell is way too much cut off.
glad the belt was not trimmed. belt marks look perfect!
your T Det clips look a little too long on the belt side.
NICE WORK so far! fast!
First off, belated Happy Bday Vern!
fast? nah, I am just trying to avoid the hard parts so I am ticking off some of the smaller things to get my TK mojo.
the T-det clips are Jesse's 1" clip. Once I put it together (its drying now) and fit it on the belt with armour, let's revisit that to see what mods need to be done. I will say that the end caps don't really sit well on the pipe, a little wonky but I think it will be ok in the end.
For the thigh power cells, I am not sure how much is supposed to have been cut off or what the official curve is (this is what the trimmer provided). I have seen quite a variance in kits posted here. I have looked at reference photos form the Tantive IV, and best I can tell they are not THAT far off. I estimate the trimmer went 3CM in from each side and build a smooth curve.
My untrained eye, squinting at these reference shots:
EDIT: its not letting me post the images from the photobucket site.(http://s880.photobucket.com/albums/ac5/dashrazor/anh%20hd%20screenshots/) with the movie screen caps. I wanted to show the trooper next to the door when Vadar come in for the first time (image 5), and the second shot is the trooper that enters the area where Princess Leia is hiding just before they stun her (image 18)
-
oh crap, you are right, sorry, I forgot I posted two photos (my brain is foggy today with migraines over the last few days.)

You are referencing the 2nd photo with the cut marks. YES, I have already placed Chicago screws behind with a piece of tape, marks the belt and did a bit of glue last night.
-
In that photo they are not yet glued. Just placed for aesthetic.
-
Wrong photo of belt corner marks. Dunno how to edit thread in Tapatalk so here is the photo.
-
Some updates for last night and today.
Drop boxes strapped with white elastic. Inner drop boxes glued this morning (not shown)
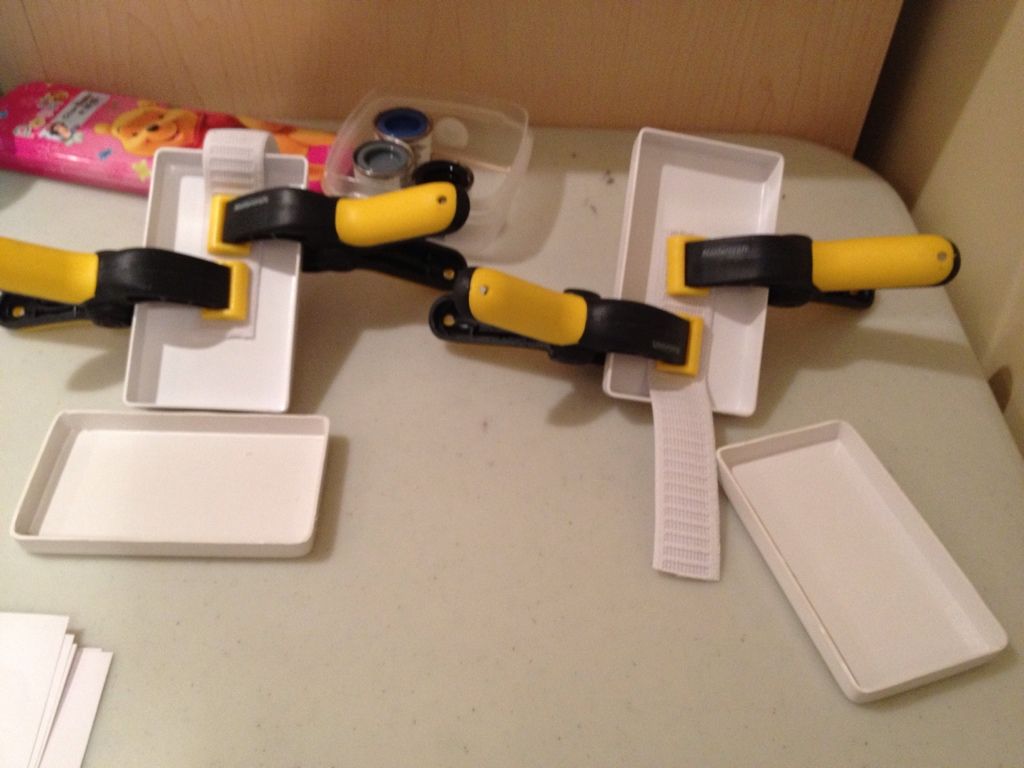
TD prepped (glue setting right now).
Here is thigh ammo belt. It are trimmed with the curve already. I marked my estimated rivet hole location. Approx 5mm in from tip and side Look ok?
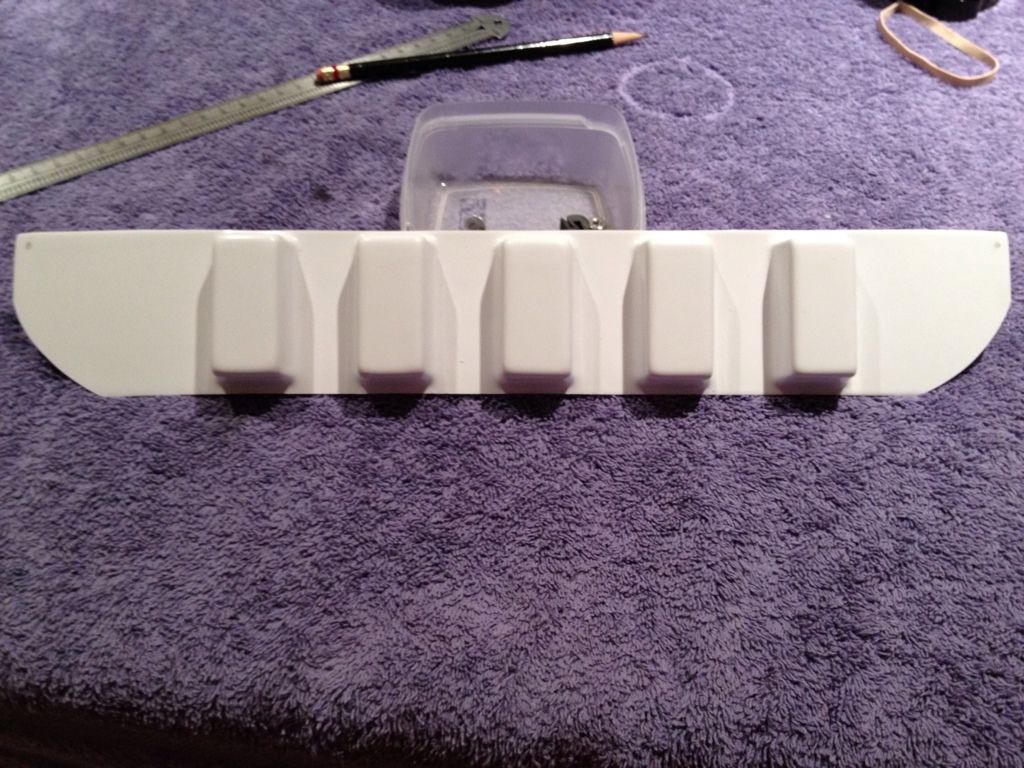
The belt... Came ore trimmed. It's about 1.25 inches from last box to the edge on either end. I have marked the estimated 45degree cut 10mmx10mm. Look ok?
-
Thanks Sean. Neither of us have installed yet.
I played it safe and painted both sides (smaller side not seen in photo)
-
Already had the humbrol 5 for the frown. I plan to remove stickers and go for centurion later this year.
-
More photos before I go to bed. Having too much fun digging around the box right now
-
wish I could but I'll be out of town Sat.Woo Charles!
Bout damn time, hehehe. I'll be up in Toronto for the Saturday troop. We could do an after armor party or some such if you're interested

Have fun building!!!
 (
(
-
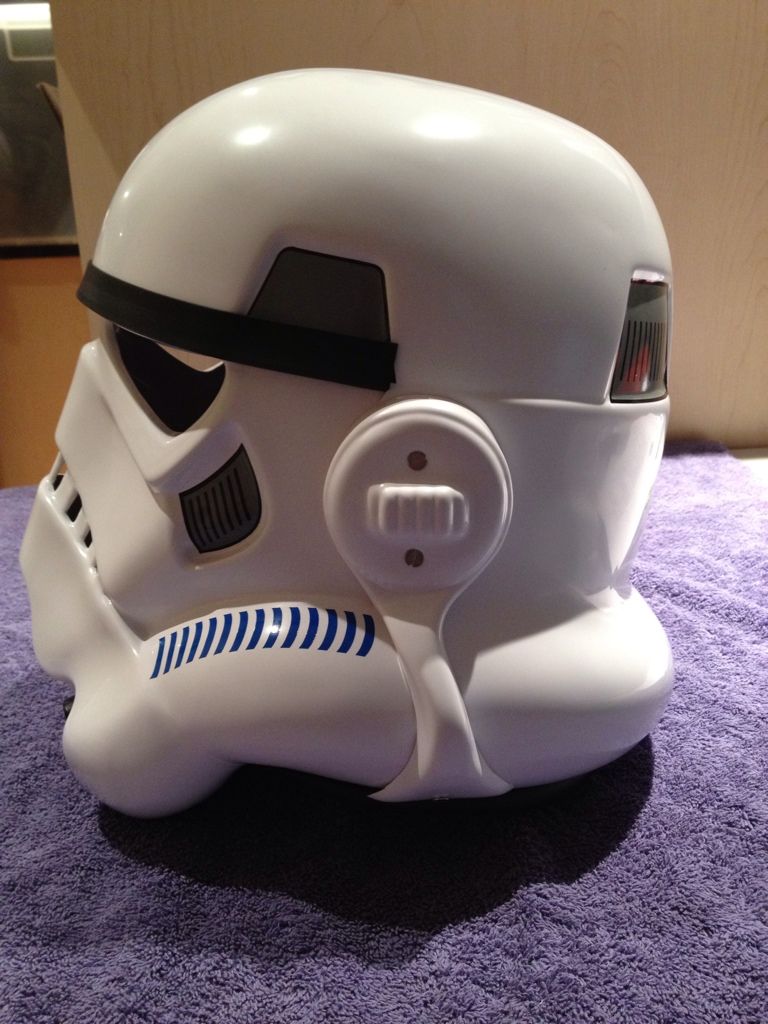
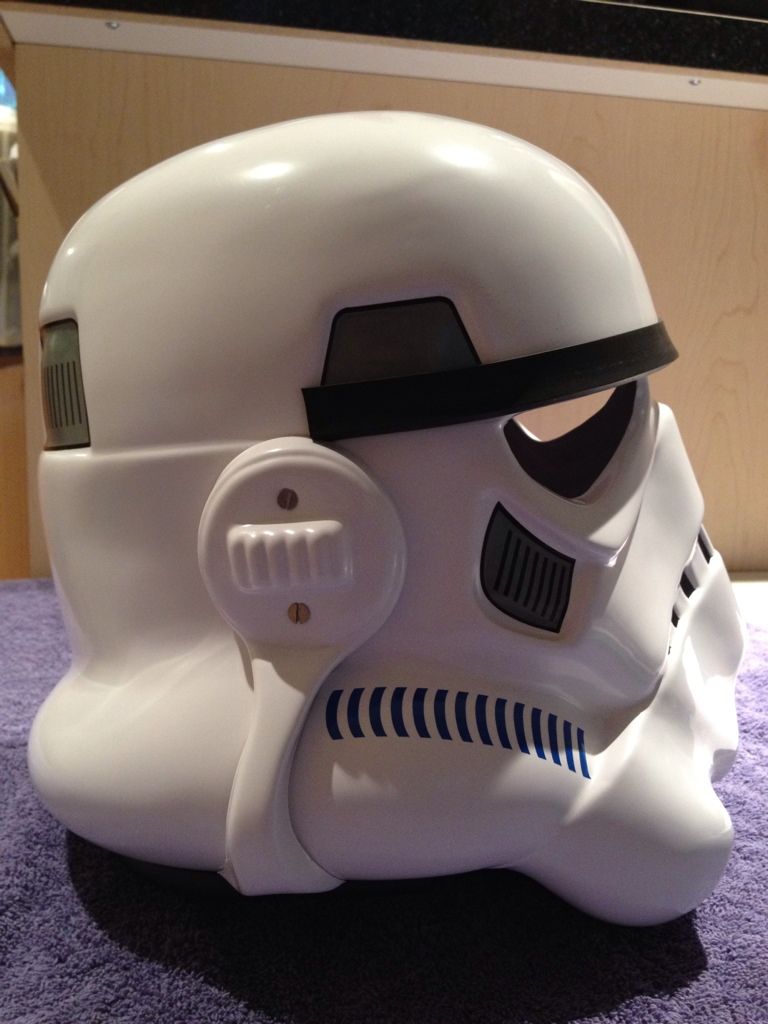
Nice Lid!
Looks really good already even with decals, but if the Decals were on the right side it would look even better!
its getting my nemesis i think, those tubestripes lol
Have a look-----http://www.whitearmor.net/forum/index.php?showtopic=20547&st=20
Regards Dr
Thanka Dr.
I've seen the threads discussing the "lean" of the stripes. To my eyes looking head on my stripes lean forward. So I guess I am in the camp of "I don't see it"
I tested placing both sets but was not seeing the difference. I will Take a fresh look tomorrow.
-
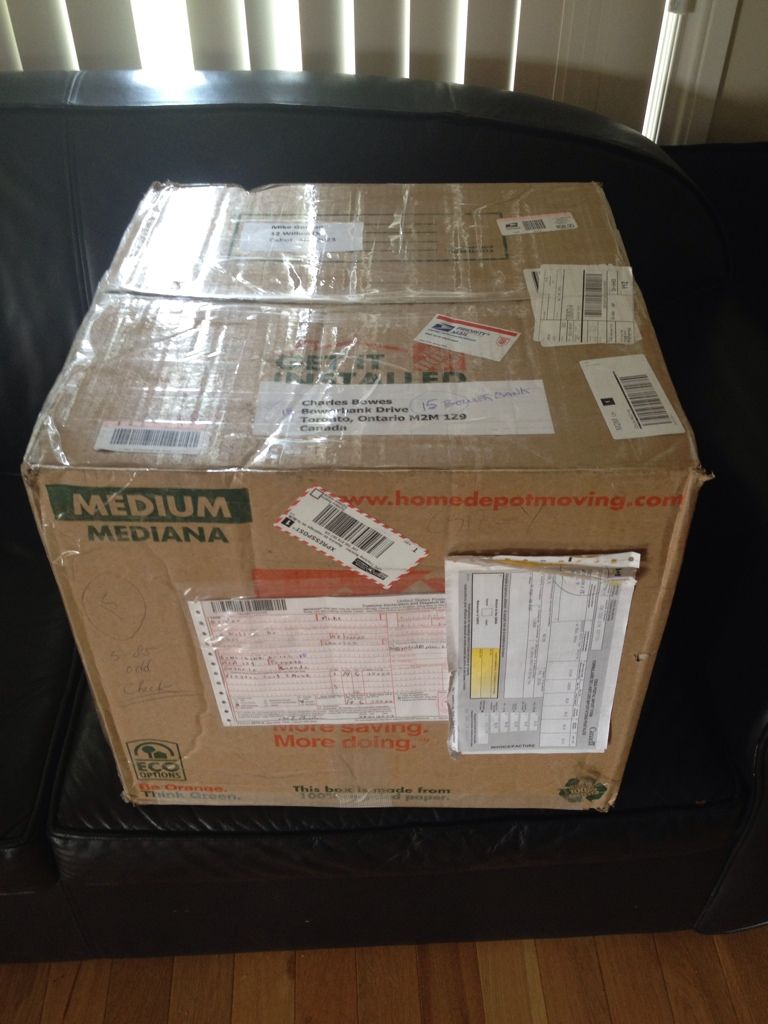
Finally, "brown box" day has arrived. Super excited to get started. I have a very busy work and summer schedule, but I will try to post progress as time allows. Photos for the build will be iPhoney quality, as it is is just too much time wasted using the regular camera.
Obligatory Box shot
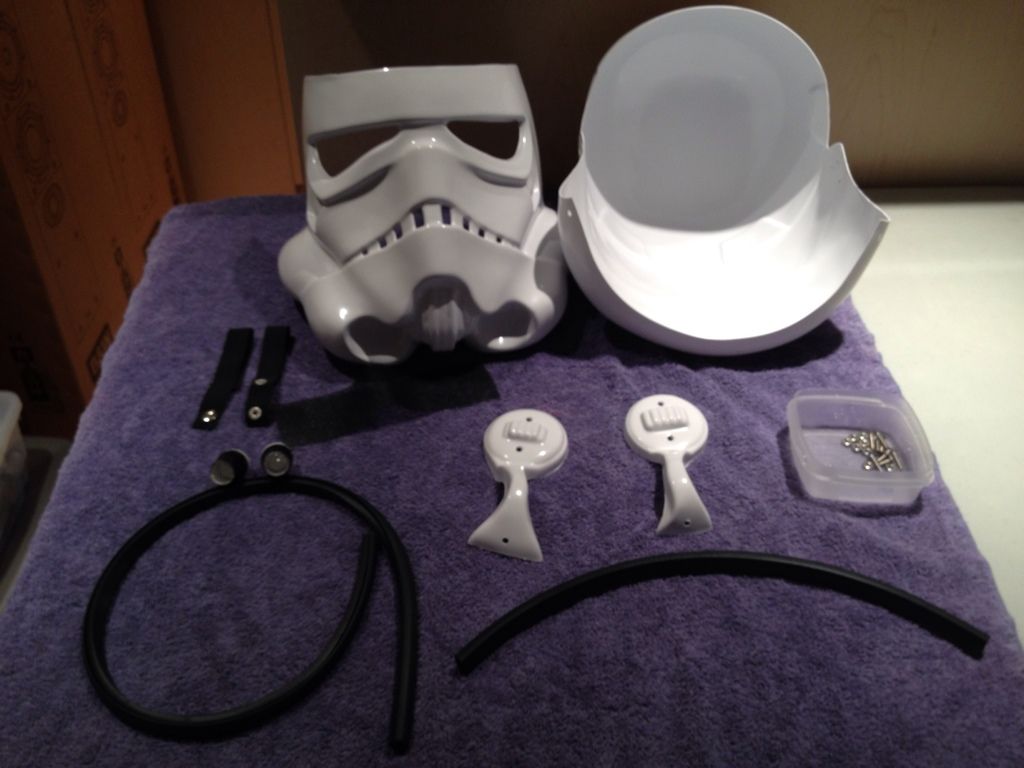
Here are the parts spread out in a dysfunctional way. I received the kit as trimmed, so this is why everything looks nice right outta the box.

I decided to build the bucket first as I believe that is the personality and soul that will inspire the rest of the build.
all screws are in , nice brow line
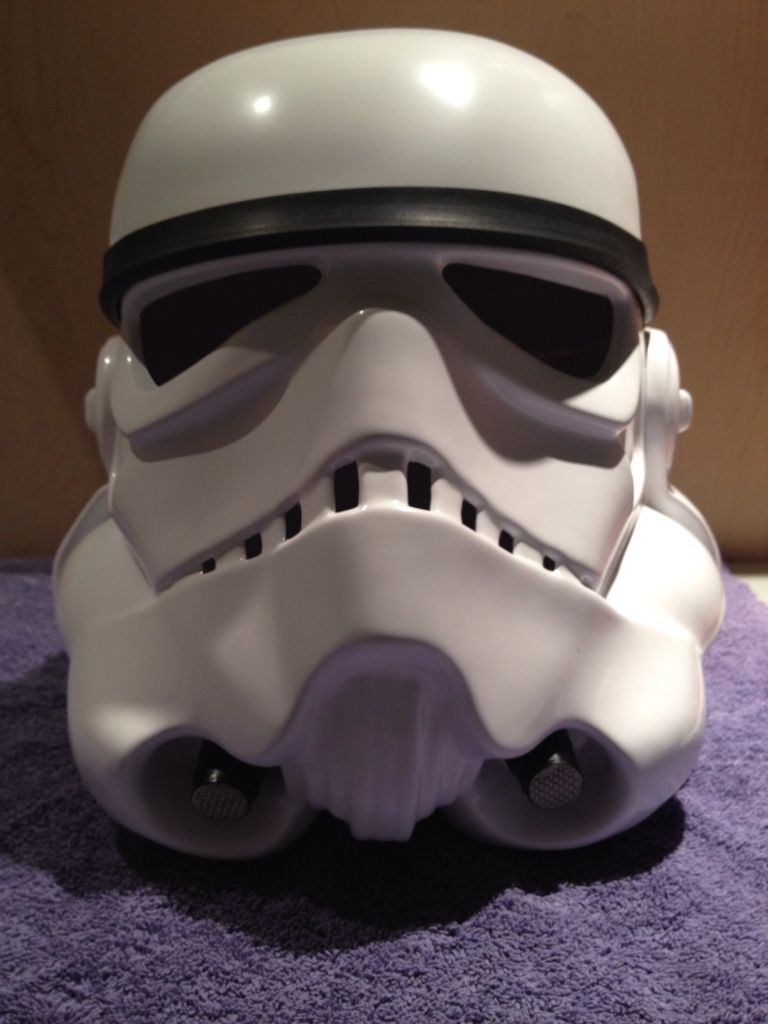
Addded the decals, these will be replaced come Centurion time, but will do for now

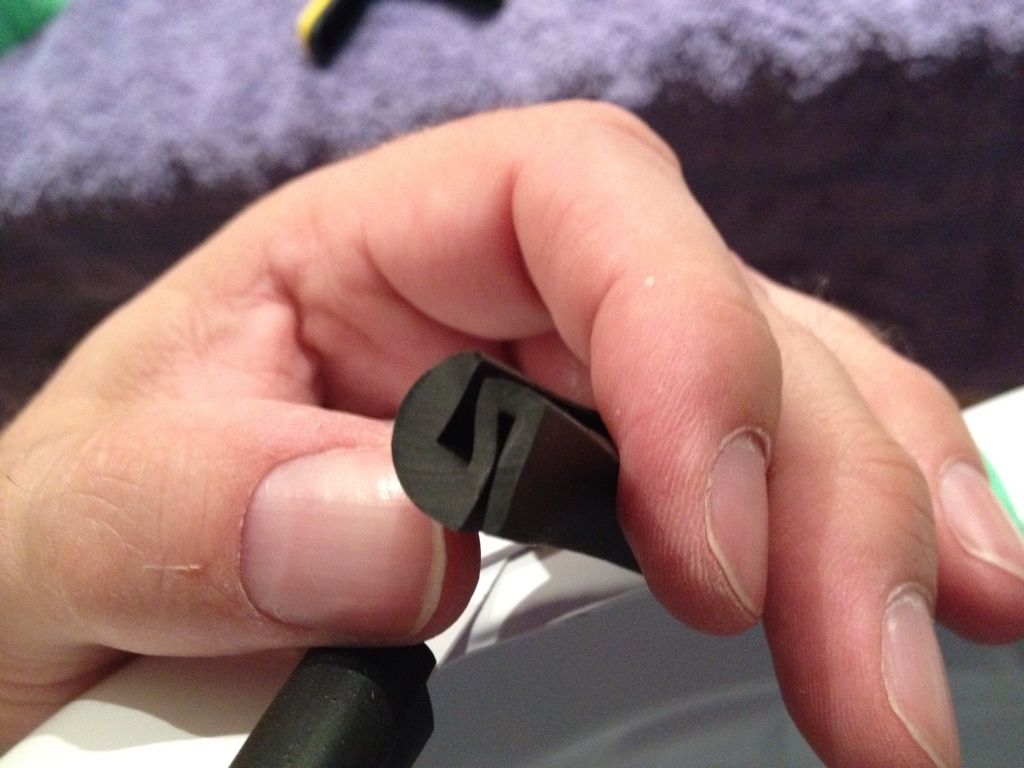
S-Trim, this is kinda a PITA to install, moreso than I expected
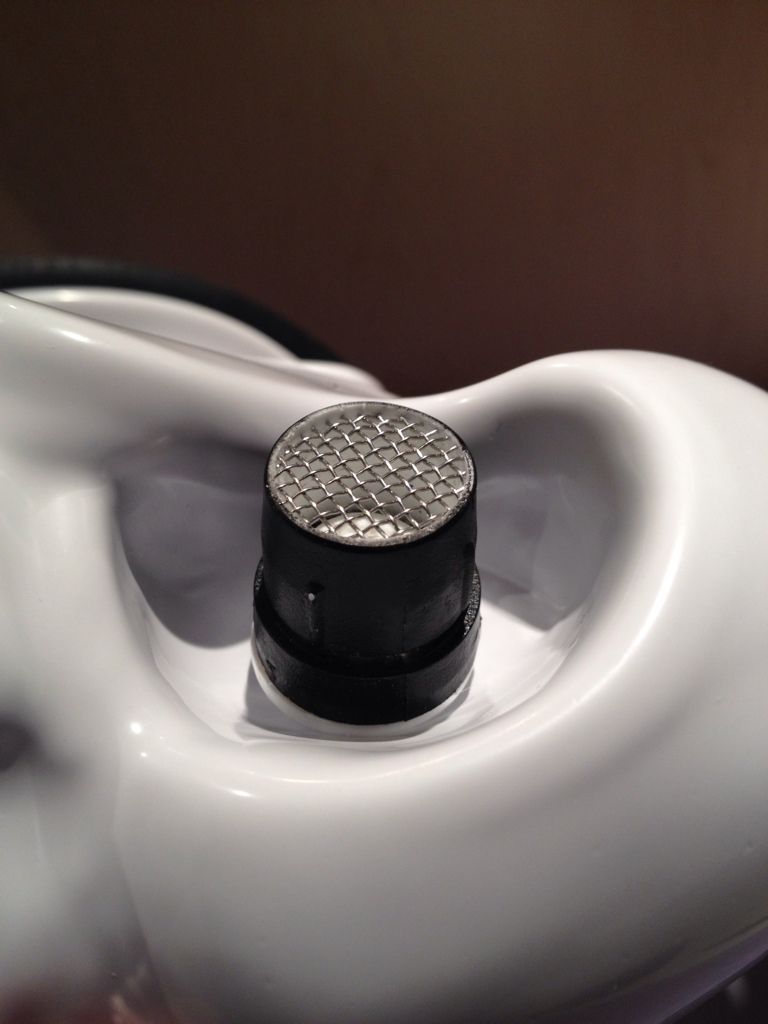
finally the mic tips. These are the AP upgrades, which I belive come from TrooperBay. Not sure of the lineage beyond that.
Next up. PAINT, oh boy, I am NOT a good painter, this is gonna be a challenge.
Thanks in advance for any and all assistance. PLEASE keep it respectful and civil everyone!
ChookaBOOM!
-
 1
1
-
-
^^^ it's true ^^^ I saw Keith do it in person! Good start Jay!
-
The plan is to look at the total cost and then break it down by detachment, say if it cost $100 and FISD used 50% of the bandwidth, our target would be $50.
Shoot, with the knowledge and friends I have gained in the last 5 months here, I would happily pay that $50 to keep things humming along for another year!
-
Standing by to lend my support to the community that has given me so assistance in such a short time!

-
It still has lots o bumpy Master Yogurt. I only stripped the paint I make it consistent color.
-
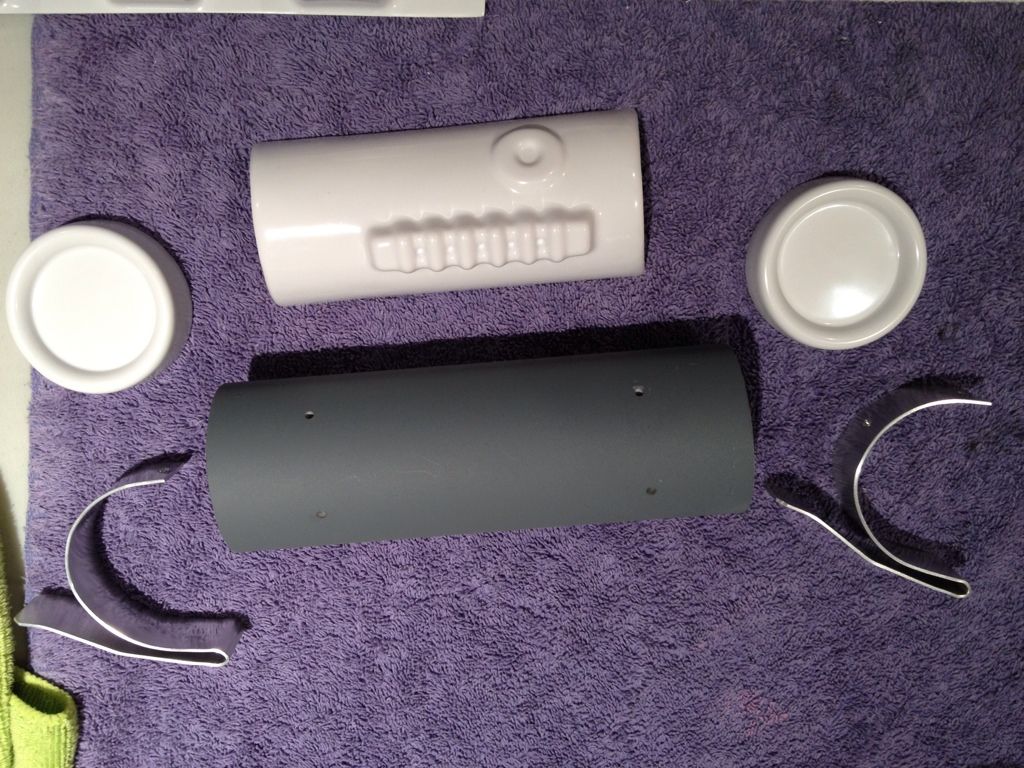
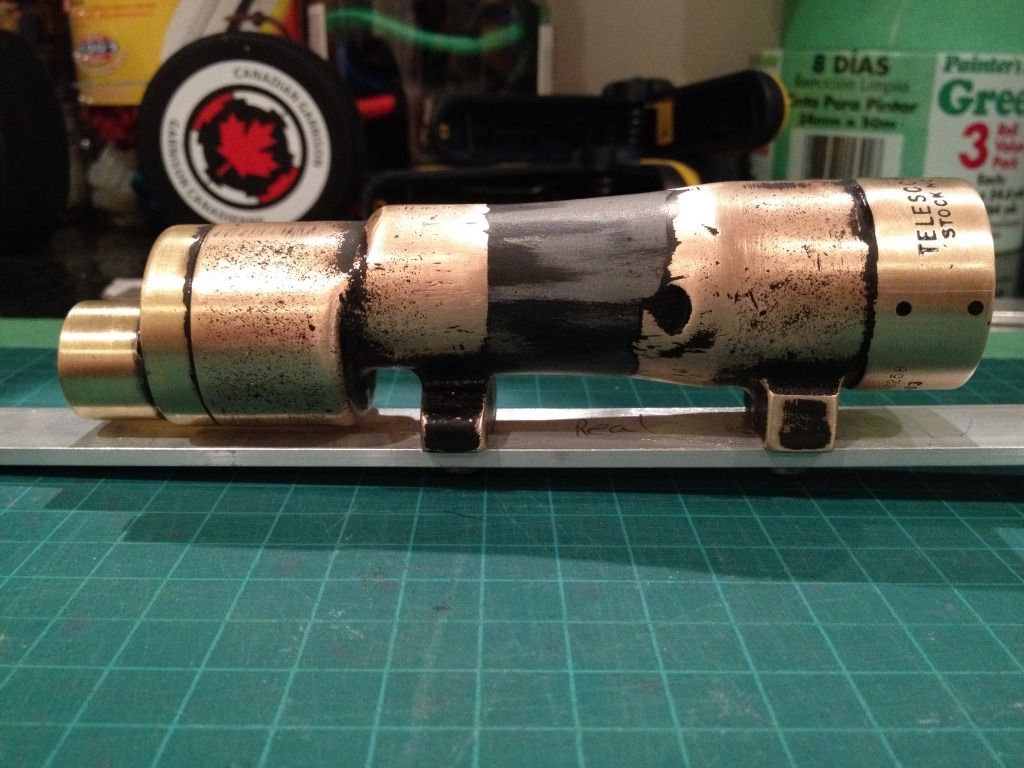
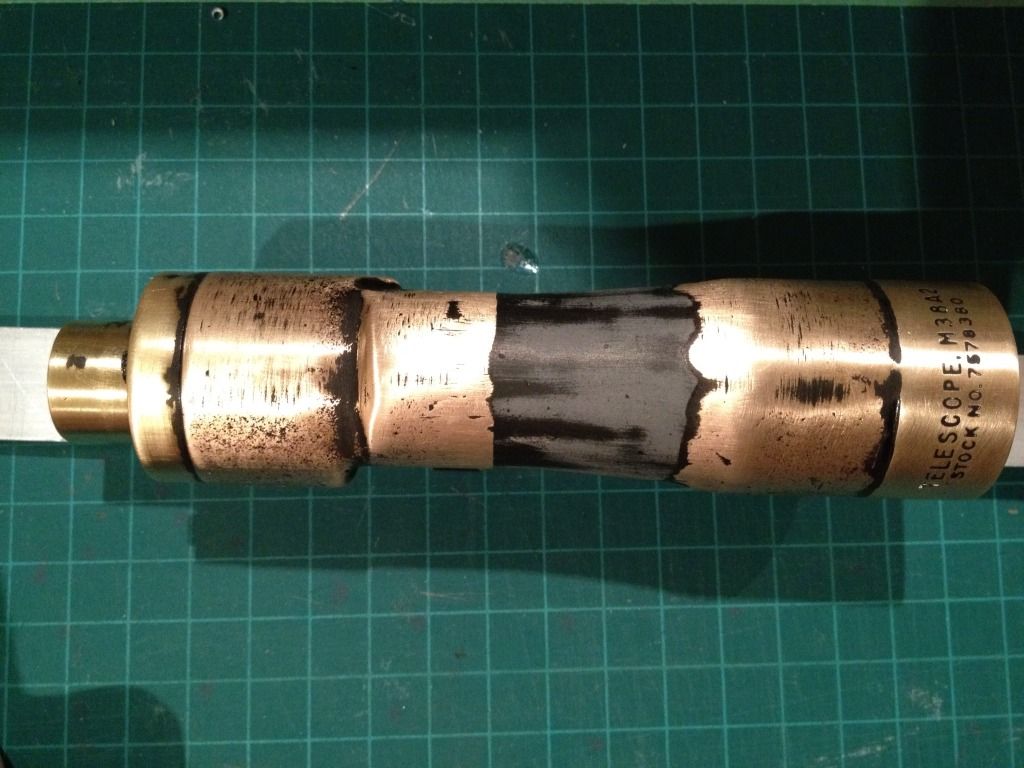
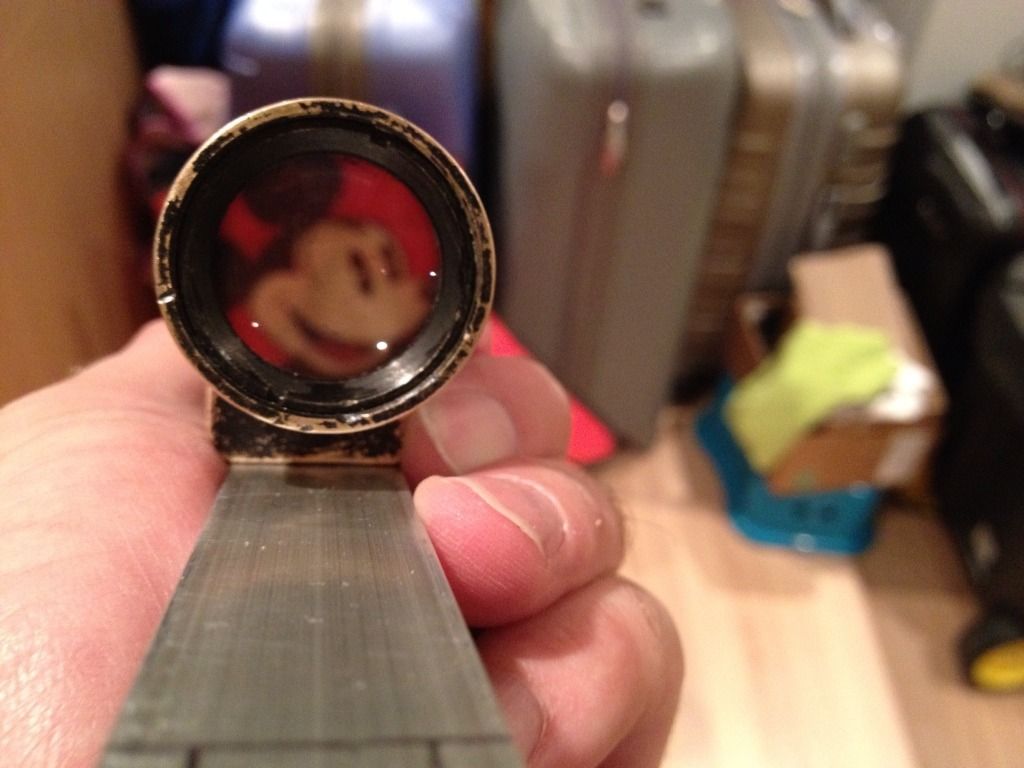
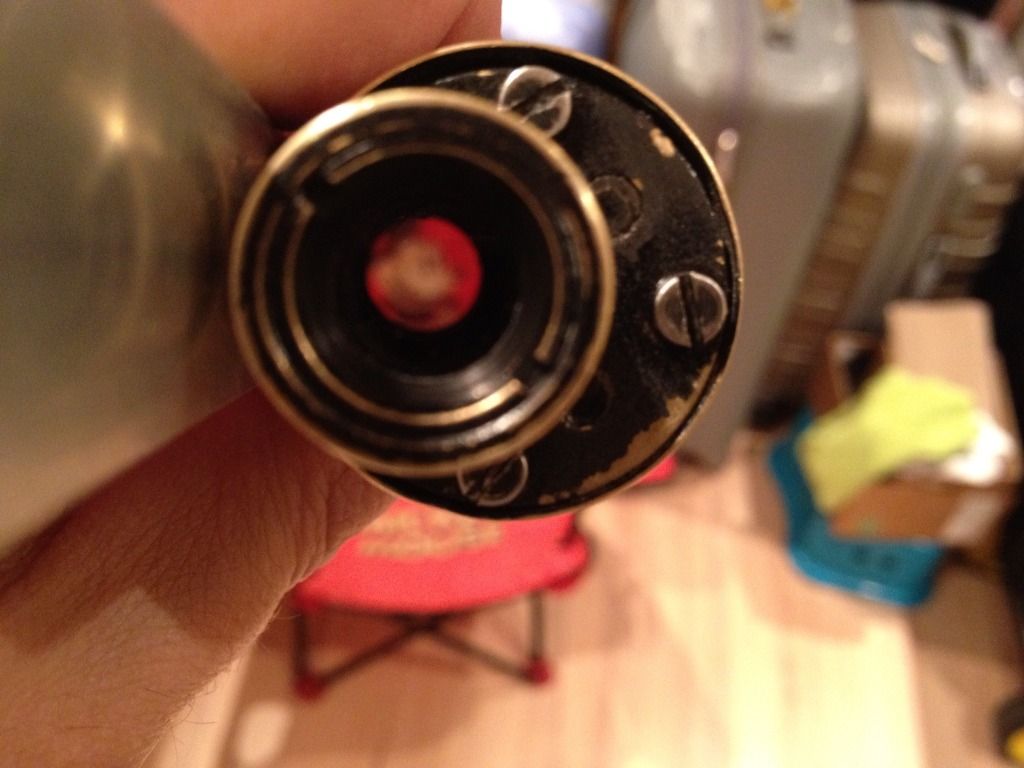
During a recent family visit in California, I have the pleasure to pick up a modified M38a2 from TK Bondservnt 2392 (Vern). I believe the mod is to remove the LED port or something like that and then it was fixed up with some Bondo.
There was a mismatch of paint in the middle area where the mod took place. I sanded down most of the paint so I can repaint consistently.
I am about to being a full resin build with this scope as my ANH scope. The blaster will have an alternate scope rail and resin scope to make it ESB ready.
I have pre-cut the site rail to rough length. No notches or bends yet until I gave the resin kit for proper measurement.
Below is how the scope looks as of today. Not much wil change for a while as my armour is due to arrive this week.'
Side View
Top View
Front View through the Glass
Front view (sideways)
-
haha, I was wondering where the heck I was supposed to install that extra one too until Sean sent me the same info. I'll try not to pooch the others
) -
Mine was originally a ready to wear then changed to trimmed kit about 4 weeks back.
Should ship any day now.
-
PS
, did I read correctly you ordered last week from Mark and got the kit this week?!?!?' Wow that is fast!! My AP should be here soon. I ordered in May. I assume yours was an untrimmed kit?
-
Greetings fellow Toronto-type. I am about to build my AP kit and a BUNCH of new and soon to be TKs have grouped together and made contact with te local garisson.
Sent me a PM and I can get you looped in with our FB page.
As for Asian members, for sure we have some. I am sure Keith Foo will chime in soon.
-
Way to go Keith!! Congrats!
Clamps' Stunt Build Thread [AP]
in Build Threads Requireing Maintenance
Posted
Couple of updates:
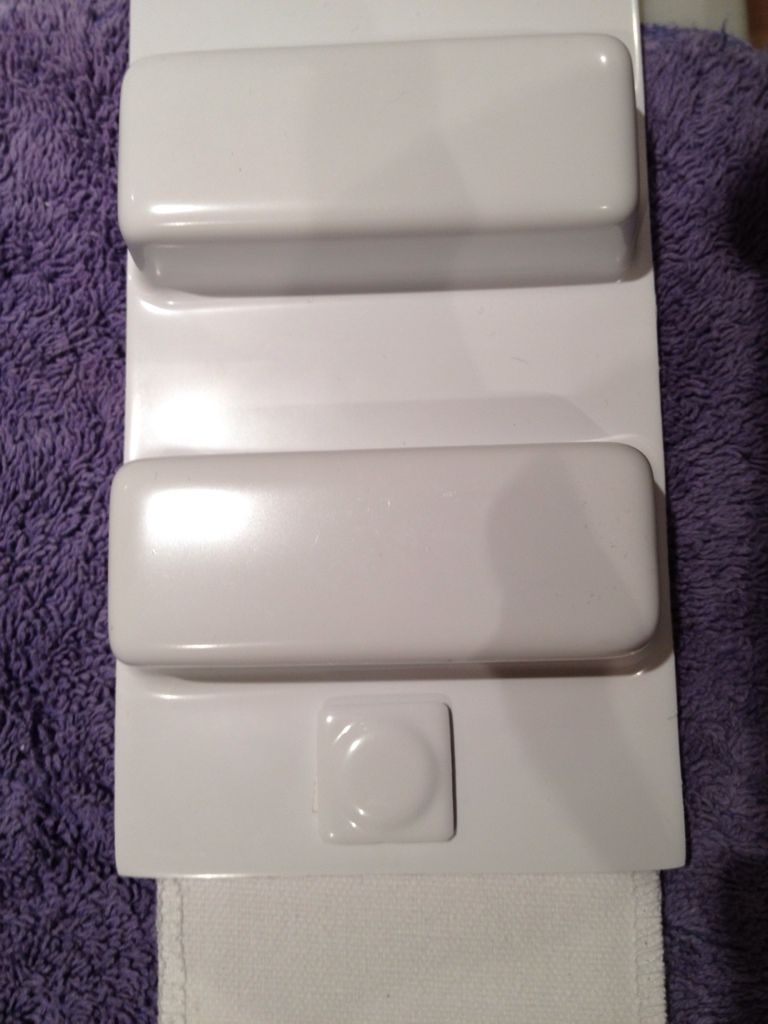
Drop boxes attached to belt and 45degree cuts to belt corners. I am going to have to add velcro as when I put it on for a test fit with ab/kidney last night, it needed velcro extended way beyond where it sits now.
Should strap one getting the glue.
The Frown gets a coat of paint along with the ears (not shown).
So, based on that test fit I mentioned above, I will likely need to shim both sides of the ab/kidney region, as I am too thick (roughly 36" at the belly button)..man that vacation out west added some pounds! it is looking like I would need to add about 2 inches on either side to snug things up and remove the gap (I want to go for Centurion grade in the long run, so I want to do this right from the get go.
Time to start side shim research.