

boomshakra
-
Posts
425 -
Joined
-
Last visited
Content Type
Profiles
Forums
Gallery
Articles
Media Demo
Posts posted by boomshakra
-
-
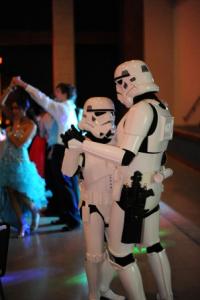
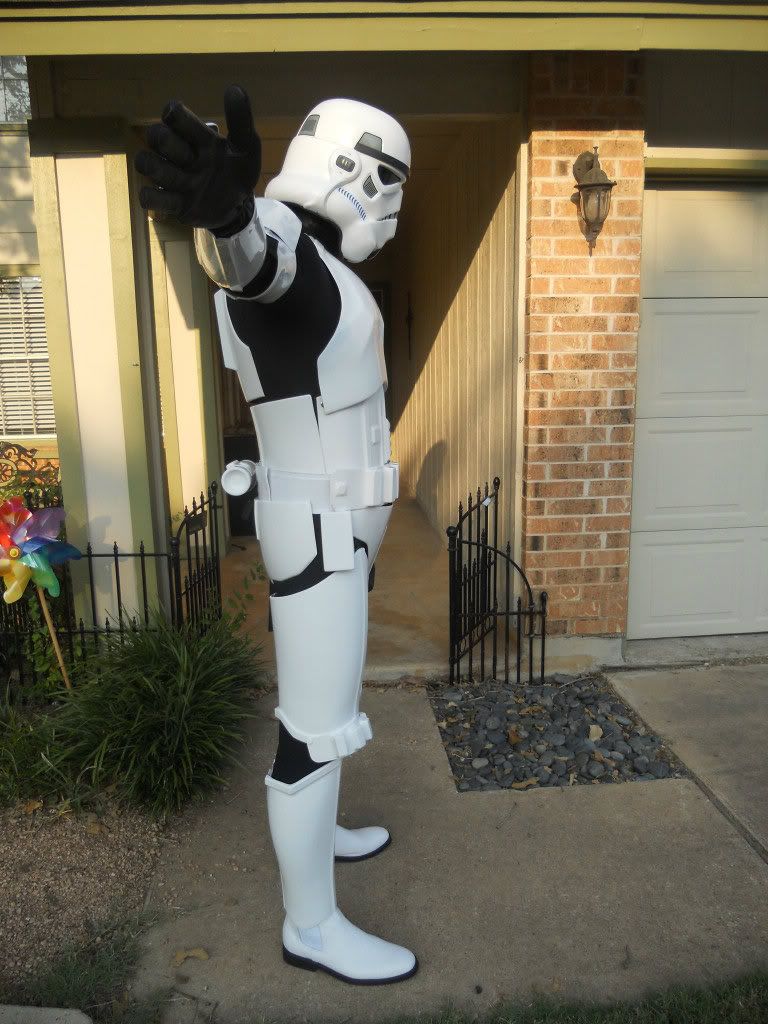
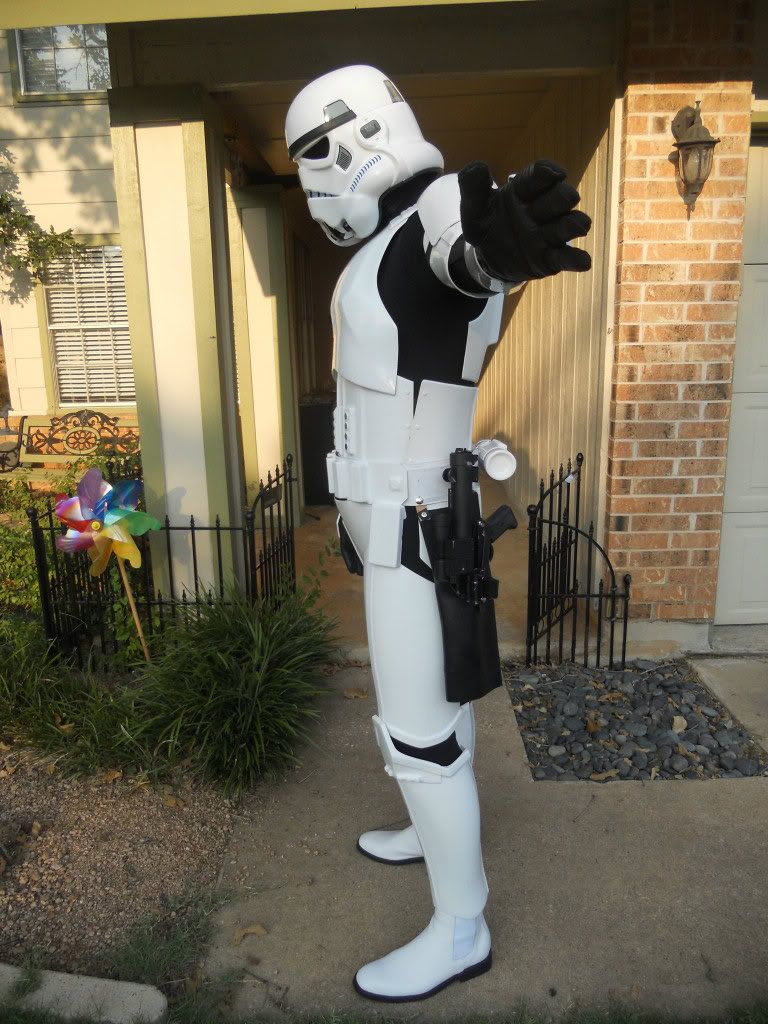
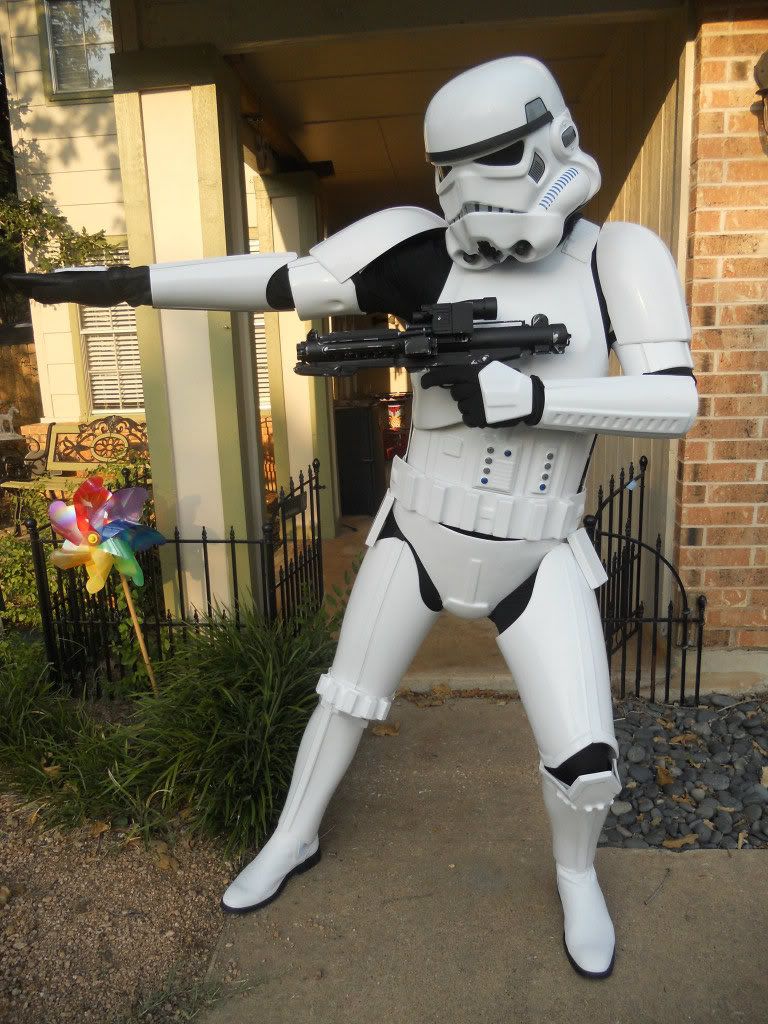
I took my first neighborhood stroll last night - got a few double takes, and one driver asking me where Princess Leia was...tried to answer, but I don't have an iComm yet, so I doubt she heard my reply.
Now the fun part of the fitting begins - shoulder bells still rotating back and dialing in the thigh armor. I glued in some padding, and that helped with the 'bell thighs' but also facilitated the thighs sliding down. Will work on better padding placement - right now i have one vertical strip running down the front seam and two in back about 2 inches on both sides of the back seam. One problem is that I didn't have the garters quite lined up vertically with the connecting snap plate in the thigh - an oversight by me when getting armored up. I am also going to tighten up the white elastic at the shoulders to see if that helps keep the upper body sitting higher. If that doesn't work, I'll try a suspender system. I'll also bring the shoulder bells up more to see if they will behave that way. Oh, and the left shin rotated outwards - nothing a little velcro won't fix. I haven't installed my fans yet but that will also be done this week - was surprisingly comfortable with out them last night - no fogging and the temperature has cooled off a bit in the evenings after our 100* days last week. My s-trim slipped out when I took my helmet off, so that will need to be glued in. I am guessing E6000 will be acceptable for that?
I kept my E-11 in my holster the whole time...I'm pretty sure all of my neighbors are all familiar with Star Wars, but no reason to get anyone concerned about "armored robot with weapon - has 2 female hostages - please send the SWAT team!"

-
-
Requesting 501st status.
TK 4796
http://www.501st.com/forum/profile.php?mode=viewprofile&u=7886
Let me know if that's not the right link to send you...
thanks!
-
TK-4796 - sweet! I chose this TKID because it spells "ISWM"...or as I refer it it "I Swim" - my wife is regional director for a swim school here in Austin, and we also do a lot of volunteering for a local non-profit whose mission is to raise water safety/accidental drowning awareness. Be on the look out for "SwimTrooper" pictures in the near future!
-
Man that must be some kind of record.Congrats
I guess I was lucky that Rob's armor pretty much fit me out of the box - I didn't have to trim much at all. That said, I'm sure I'll be doing more trimming as I troop to dial it in even better. The rest I owe to everyone on these boards - It has been almost 3 months to the day that I started reading about how to build armor & the knowledge gained from everyone else was invaluable in my build.
My first official troop is next saturday @ RTX in Austin - looking forward to it!
-
APPROVED! So stoked! Just waiting for my TKID# now!
-
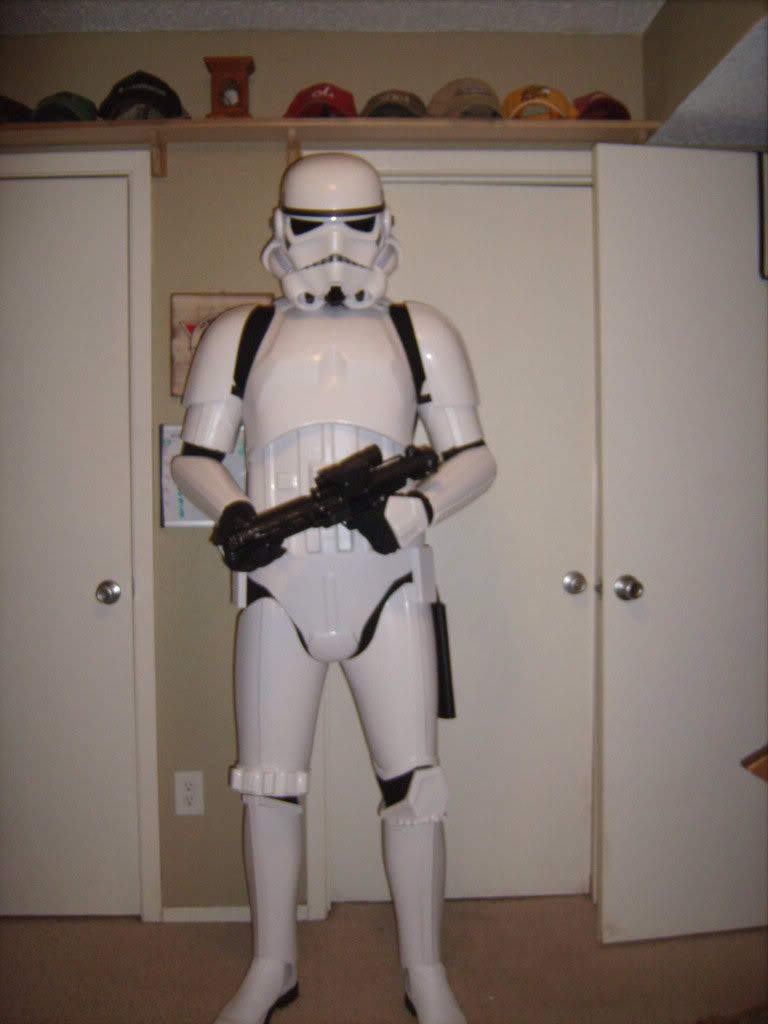
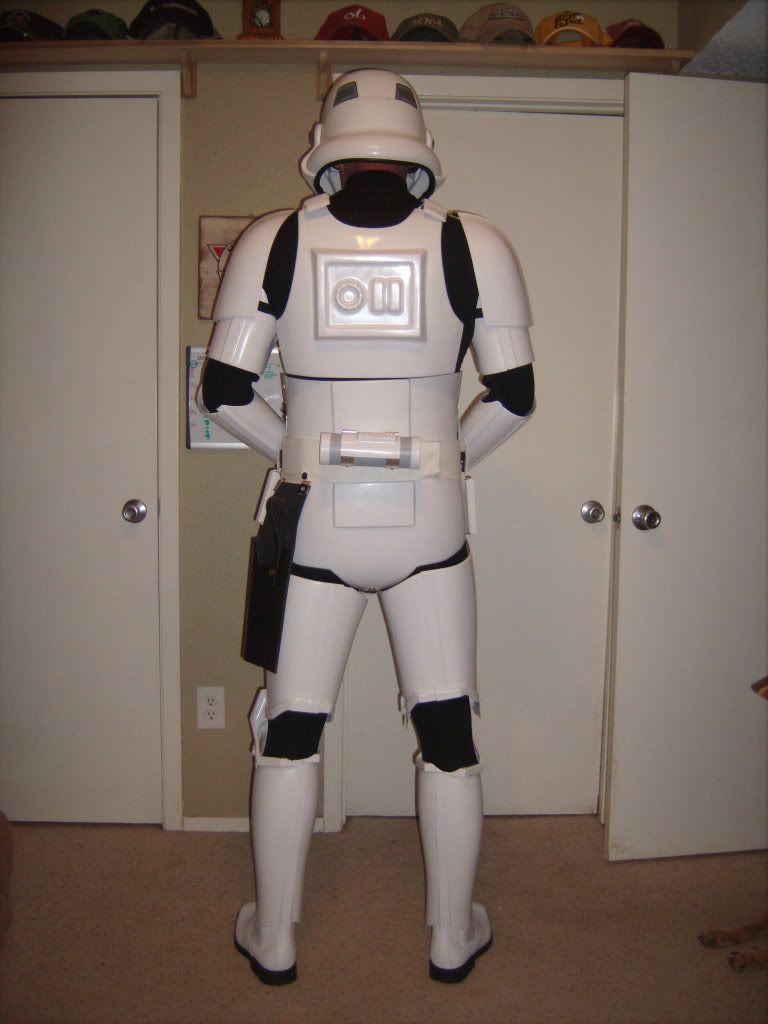
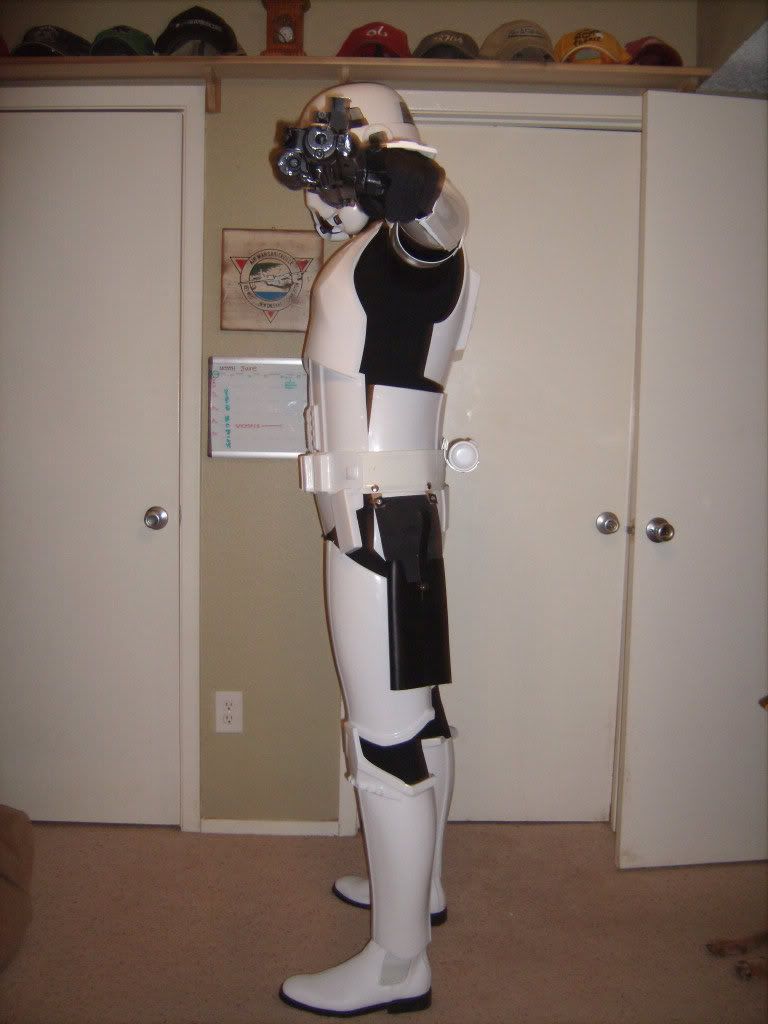
So...it is that one damn snap strap between my ab/cod that is keeping me away from 501st approval. I didn't catch it when I was having the photos taken - it was hard enough to see the pictures on the viewscreen of my photographer's digital camera, and I was looking at my shoulder bells & thighs anyways. So, suiting up again to night to take some 'fixed' pictures for my GML. I was thinking about going for a walk around the neighborhood afterwards, just for grins, but the 100* temperatures might not be fun to walk around in.My GML did have some other feedback: he thought my thighs are too long, my helmet sits forward/high, and my belt seemed a bit high. In the pics above I had my head tilted forward - still getting used to the limited frame of vision while wearing it. But, I could stand to take a bit of the padding out of the top to get it to sit lower. With the belt, it could come down a smidge - which would mean adjusting the snaps I have installed. Not the worst thing in the world, but it might almost be easier to just buy a new belt instead of ripping out/reinstalling new snaps.Hopefully my next post here will be good news & 4 digits!
-
Thanks, Keith. Sent my pictures below to my GML tonight...
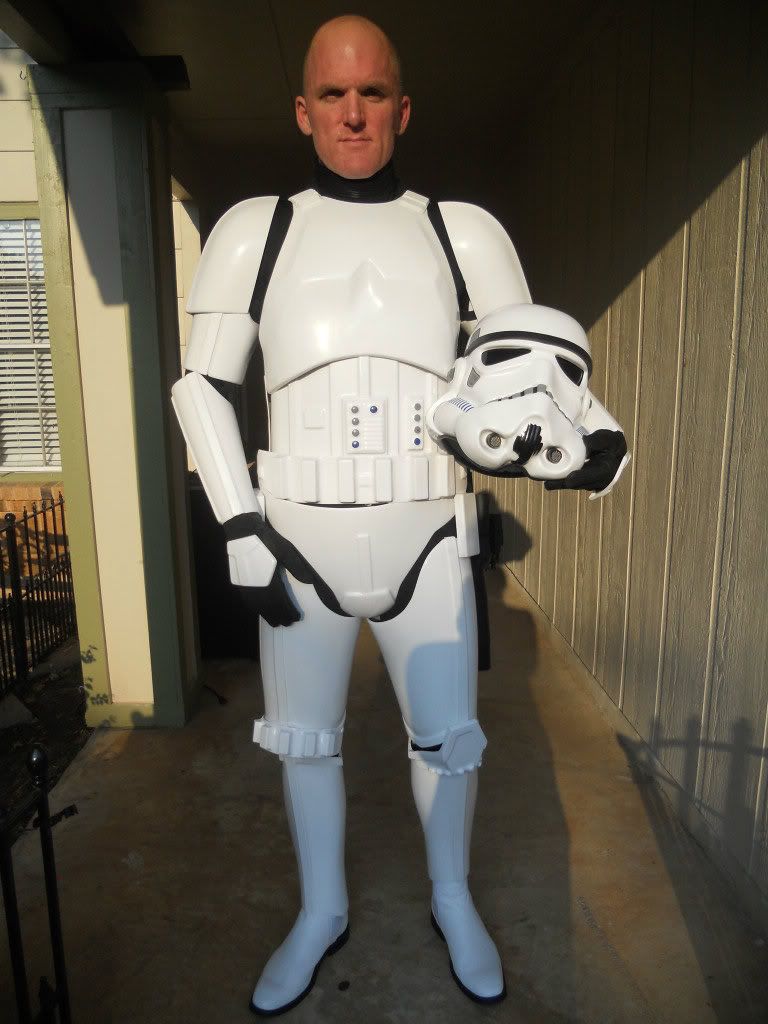
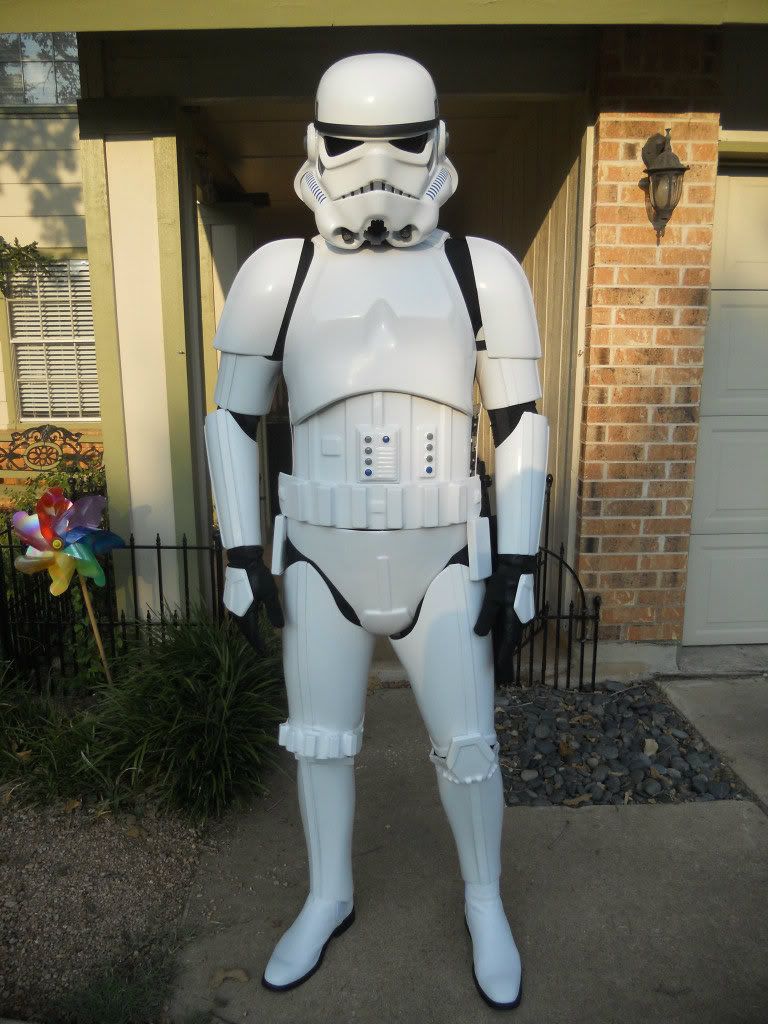
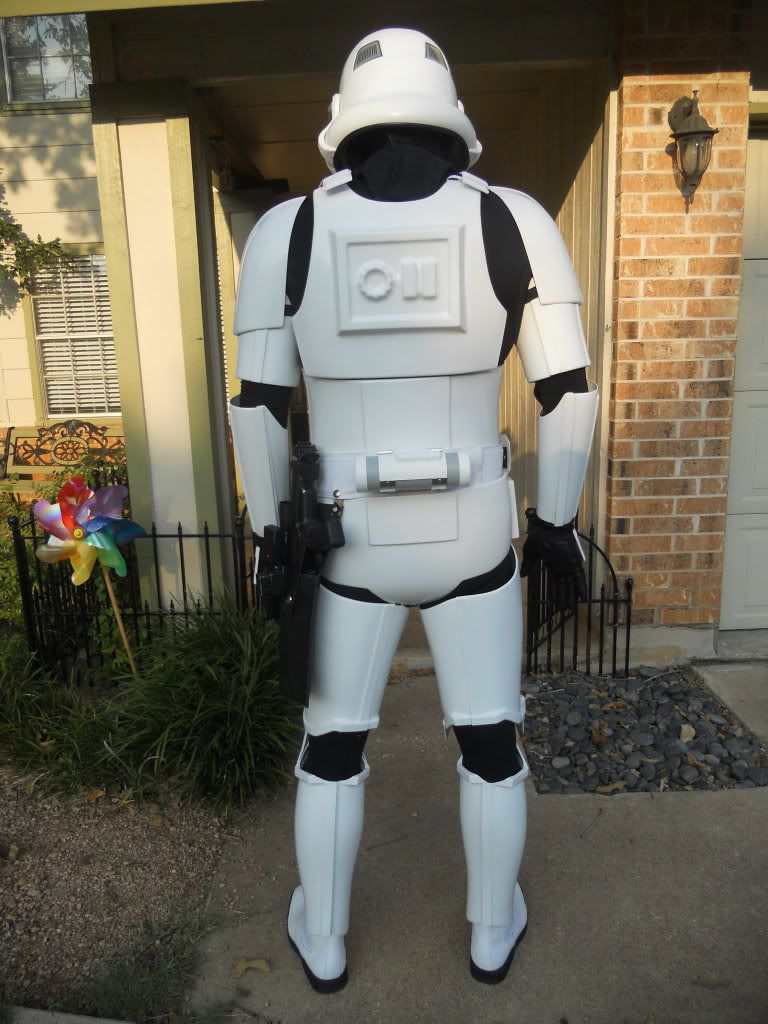
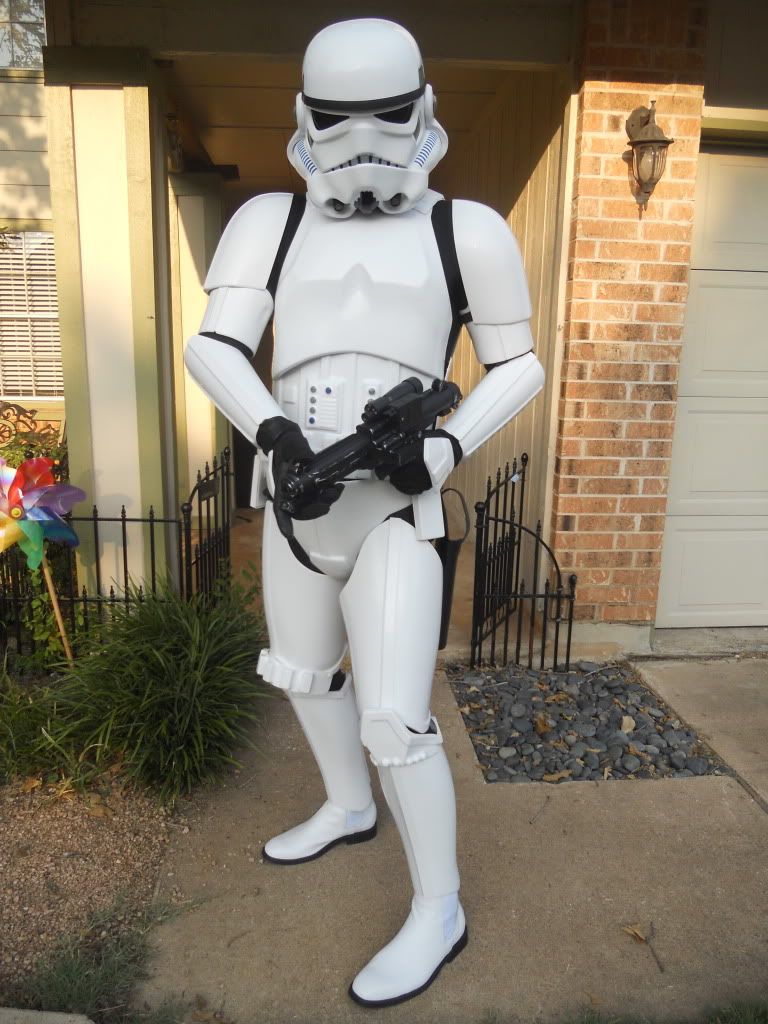
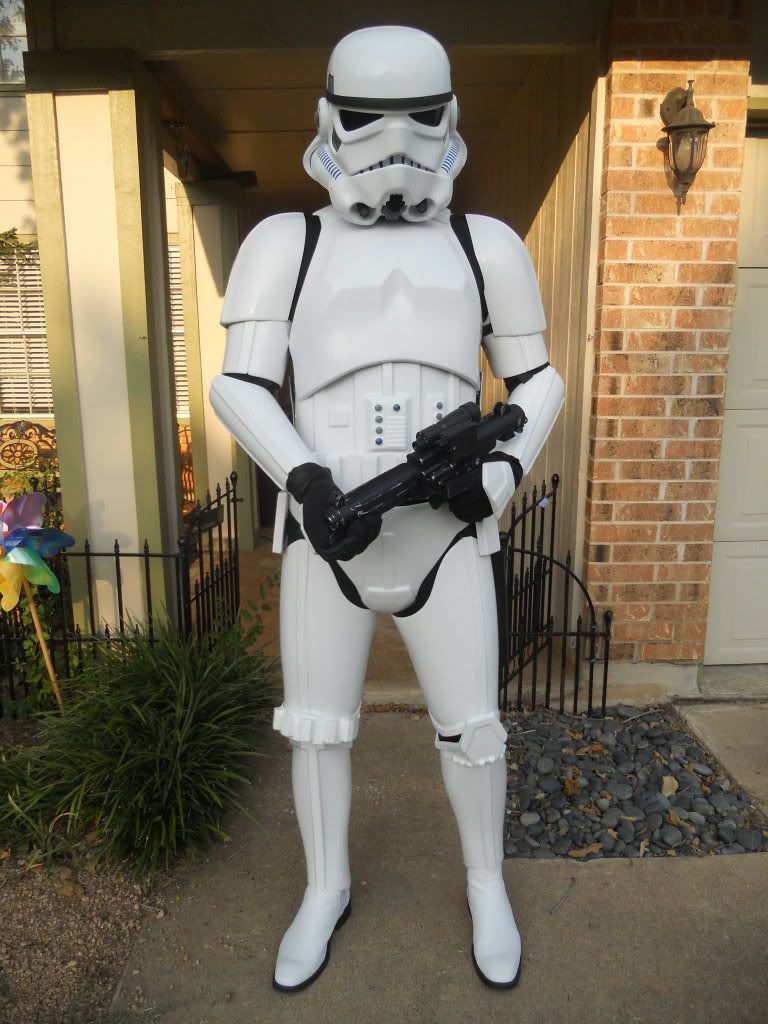
Of course after I sent my email, I saw little things that should have been corrected: a small gap in the middle of my cod below the belt, my shoulder straps not being straight on the back view picture, and my lovely right shoulder bell not behaving...which I found out was that the velcro I had put there to adjust it had separated from the webbing. But, I am only seeing minor armor adjustments...nothing structural - if anyone else sees something I need to correct, please let me know! I'll be paddiing the inside of my thighs a bit so that they don't move around, fix the shoulder & codpiece, and trimming the backs of the thighs a bit for comfort. I'm sure more little things will come up, but I feel cautiously optimisic that a TK# is in my future. I couldn't have done any of this without all the people who have assembled their TKs before me and shared their experience & knowledge that made mine go so well - Thank you everyone!
edit: I have no idea why my pictures are sideways...they are in the correct orientation in photobucket!
-
Now is it better to make a snap system to hold the should elastic in place or is it fine to just glue it down to the back and chest like the originals did? Or will it just rip off after a few troops?
I used snaps so I could separate the back/chest from each other to work on them and also because my fat melon won't fit through the opening if they were glued together. YMMV
-
RT-Mod - great kit, it has been a fun (and challenging) build. A few tweaks, a few photos and a-trooping I will go!
-
What I'm talking about is my personal opinion, not what's in the CRL. Currently there is nothing stopping you from using overlap assembly for centurion level (although I disagree with that).
Using cover strips for a ANH/ESB armour is in my mind the only way to go if you have any intention of looking accurate. If you built the armour with E-6000 as your glue, then it should be easy to take it apart and redo it with cover strips. That's what I would do. But I can't tell you what to do, since this is not a requirement. It's up to you.
Thank you for the clarification. I respect your personal opinion and I am building my armor to the best of my ability; overlap construction is what I am comfortable with. It also leaves the option of rebuilding using butt-join/coverstrips to better fit me in the future (i.e. should I stop exercising and/or gain weight).
-
Yes, it would be a lot of work to undo if you do overlap assembly. I do think however that those who want to become centurions do their homework ahead and know to use cover strip assembly where applicable.
The scuffed boots requirement is something I'm not agreeing on and have mentioned it, so maybe during the next revision that'll change. I don't know. I'm not the sole man in charge.
Ok, I am confused. I have done overlap on all parts of my armor - and definitely 'did my homework' reading build threads. What did I miss that I am supposed to "know to use cover strip assembly where applicable"? I will be submitting my photos this week for 501st approval and did my build with EIB/Centurion in mind - currently, I think the only Centurion requirement I have not done to my armor is the hand-painted decals (which I have and will apply soon) and the 3rd screw at the base of the helmet.
Am I understanding correctly from the comments above that if I want to go for Centurion I will have to completely disassemble my armor and re-build with cover strips? If not completely disassemble, where is it 'applicable'? As noted above, there is nothing in the CRL about requiring armor to be butt-joined/coverstrips. I'm not trying to argue a point or be difficult, I just need clarification - it has taken a lot of work to get my armor ready...and would be disappointing if I have to rebuild.
-
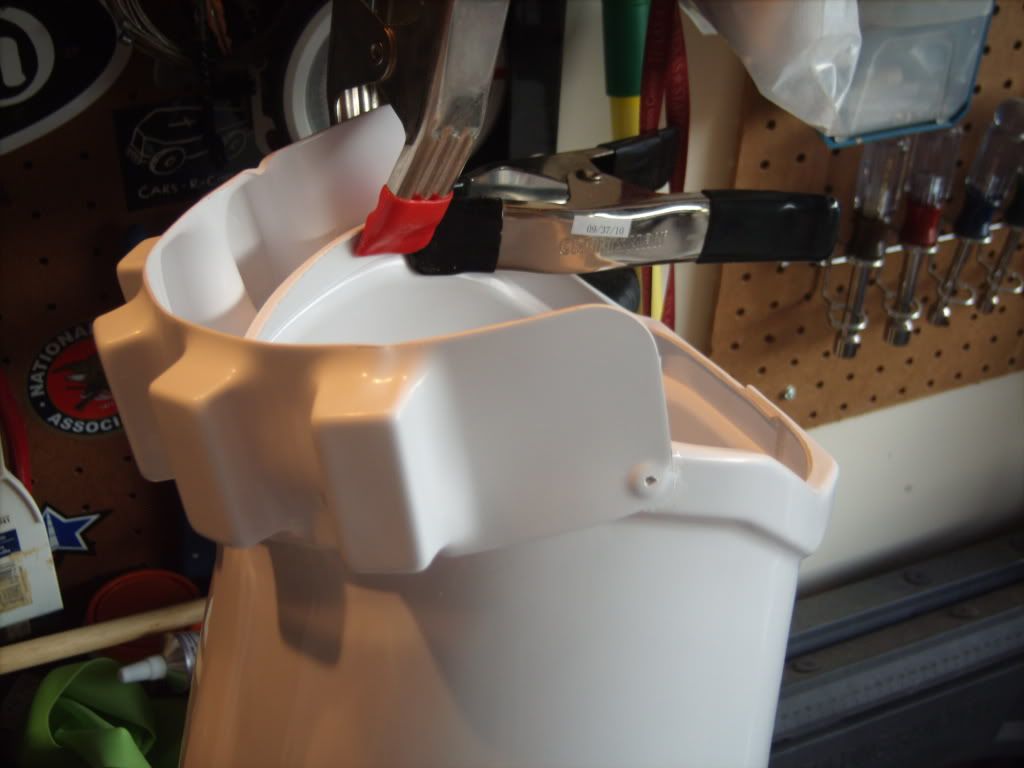
I could only find 1.5", so that is what I went with. I'm thinking about 'doubling-over' the ends where I attach the snaps - they're starting to tear as I don/remove my armor for test fittings. It also helps give more material for the snap to settle on when hammering it down.
-
Test fitting round one:
Thighs not even - still a little big and I just stuffed some padding down in them - need to strategically place it next time. But, and improvement over 'bell thighs'!
My TD is a bit askew - my wife didn't want to scratch my armor, even after I told her "It's going to happen a LOT". Thighs hitting my butt a bit - goes with the above note that adjustment is still needed. I am thinking about darkening the inside of my helmet - maybe just a layer of black duct tape on the face and tubes - I had no idea so much white is visible from the back. Maybe thin out the padding at the top to drop it down a bit as well.
Belt is too tight, that's why there is a split at the top of the ab/kidney. I'm going to have to go with a suspender system for the upper body - was hoping to avoid that, but it will be necessary, I think. I just noticed how high my chest is as well...yup, suspenders are going to be necessary...
One other thought is that the elastic between my chest/ab is kind of slack - would tightening that help pull it down?
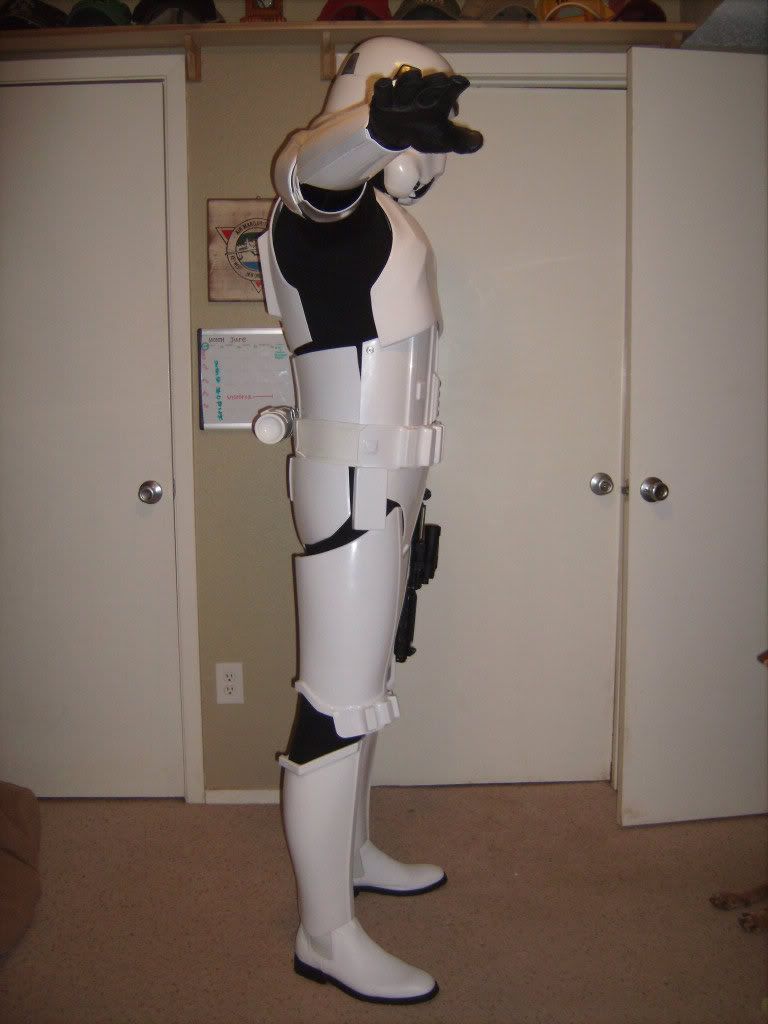
I have NOTHING on Kim Kardashian (sp?)...no gluteus maximus...more like minimus. Not going to spring for cosmetic surgery...maybe I can stuff a pillow (or two!) down the back of my compression pants. I could let out the strap between my cod/butt a little - it's not too tight now, but it could help the buttplate move back a bit.
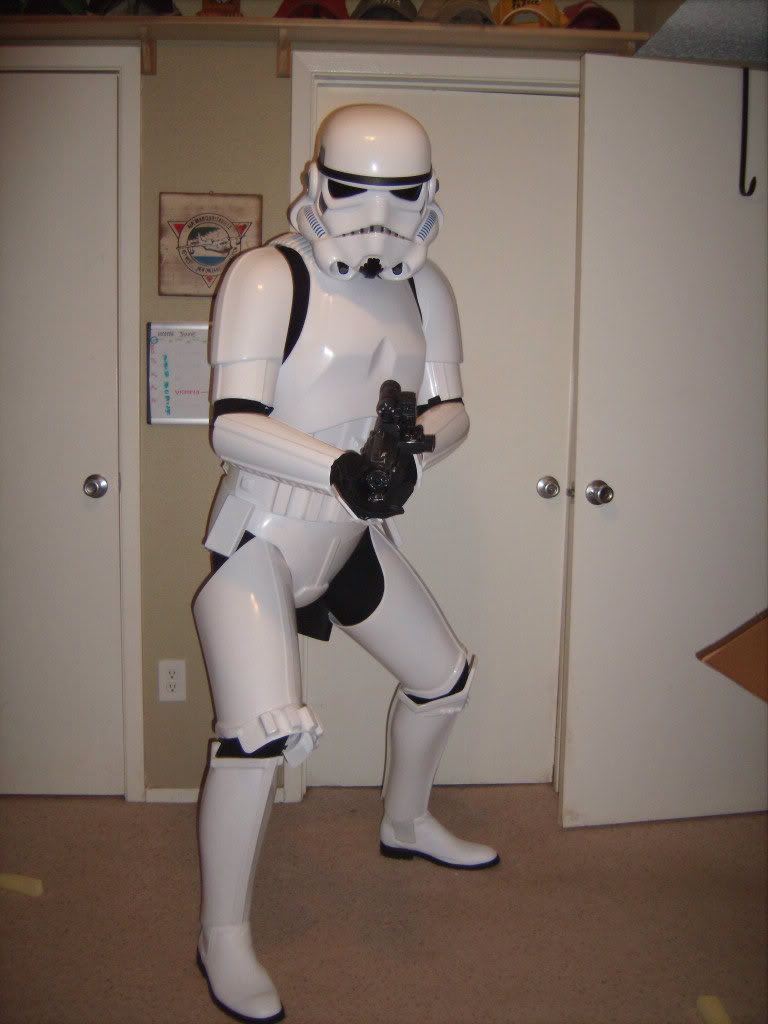
Requisite 'action' pic. My thighs are all over the place! I tried walking upstairs and found out a couple of things - my shins dig down into the top of my foot, one of my ab/groin snap straps needs to be replaced/looked at - it came loose, and I might need to cut a bit off the backs of the thighs to let my legs bend more naturally. Also, while you can't really see it in the pics above, my right shoulder bell needs to come up more - it was moving out of position a lot. I took Brian's advice and moved them up & forward - the left one is sitting just fine, the right one needs some tweaking. Oh, and I obviously wasn't wearing my neck seal - I have the 'stunt' one and will either need the 'hero' version or wear a balacava (sp?)...which won't be comfortable since we're hitting triple digits in Austin already.
Let me know what kind of additional thoughts ya'll might have. I'll be doing the tweaking, but how do you think it looks as far as possibly submitting my 501st application photos? I'd like to get my TK # soon!
-
Hey Charles, where did you get the split rivets from? Locally? Are they 8mm? I'm starting to plan for EIB/Cent.
I got mine from Trooperbay - they worked for me (pix of them installed in my build thread)
-
Thanks for the feedback about the shoulder bells - I'll give that a try (moving the point of contact forward). The bicep re-positioning is also no problem.
I'm looking forward to getting the thighs adjusted and DONE! Yes, thank goodness for E6000 and its forgiveness when things go wrong.
-
Ok, after yesterday's set-back, I regroupled and got some more stuff done - trimmed the thighs by 1" on each - a little less room, and i'll see how it goes with padding before I remove any more. I also did a couple of little things like get the snaps to hold the holster on and glue the drop boxes together and to the belt (rivets to be added once I get some washers). I also trimmed out the inside of my helmet so that it isn't right up against my windpipe, put the "S" trim on and started painting the vocoder. To any of ya'll who did hand painting for everything on your helmet, mine is off to you! I will be looking for someone with a steady hand to finish cutting the curves on the vocoder, and using the 'hand-painted' decals when I go for centurion. To finish off the helmet for Centurion I'll need to drill out the rivets to add the 3rd screw - is there a tutoral for that?
Since I'm giving my thighs another nite to cure, I thought i'd put on everything else (but the holster & TD...didn't think about that until after we took pix) and get some uploads going for your viewing amusement and feedback. I didn't cut all of my elastics the same length, so the spacing will be kind of all over the place on the upper body. I'll be using these pix (and your feedback) to see where I need to have less gap or can allow more. I was short 3 for the right side ab/kidney, so I taped for the sake of getting these taken:
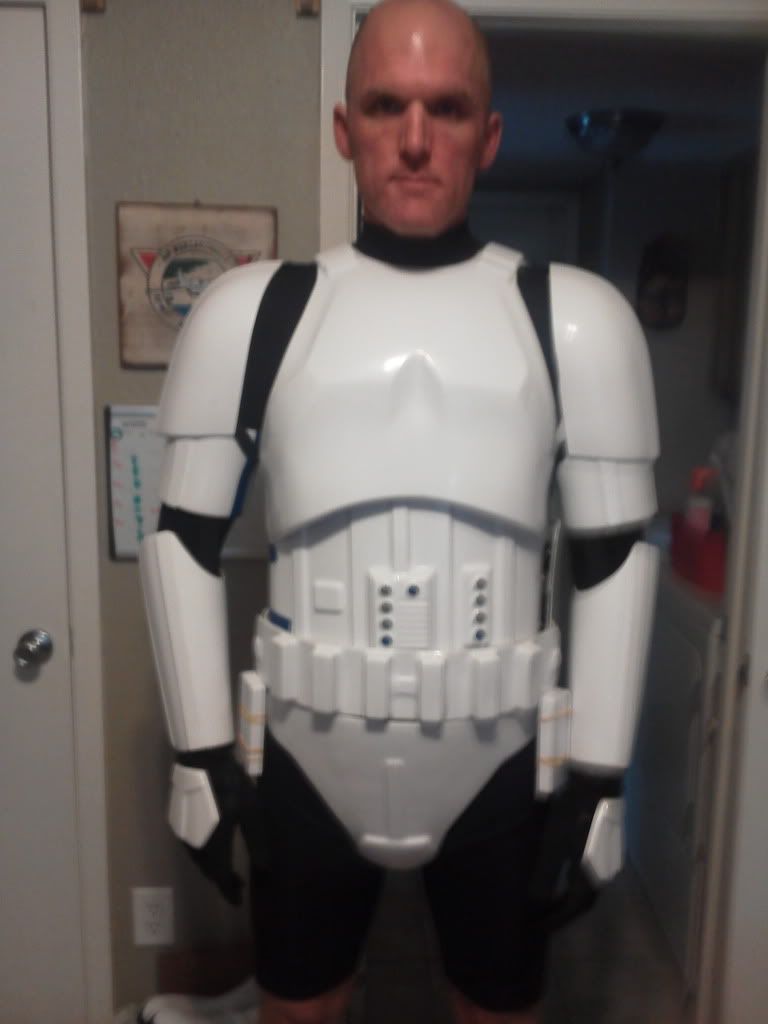
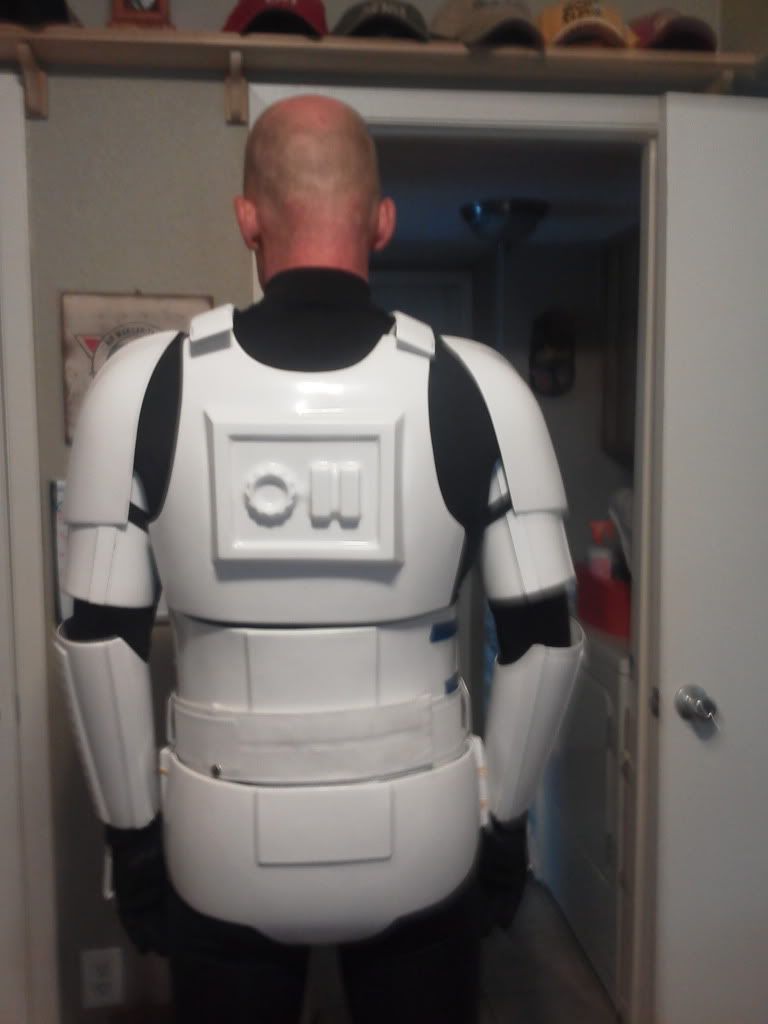
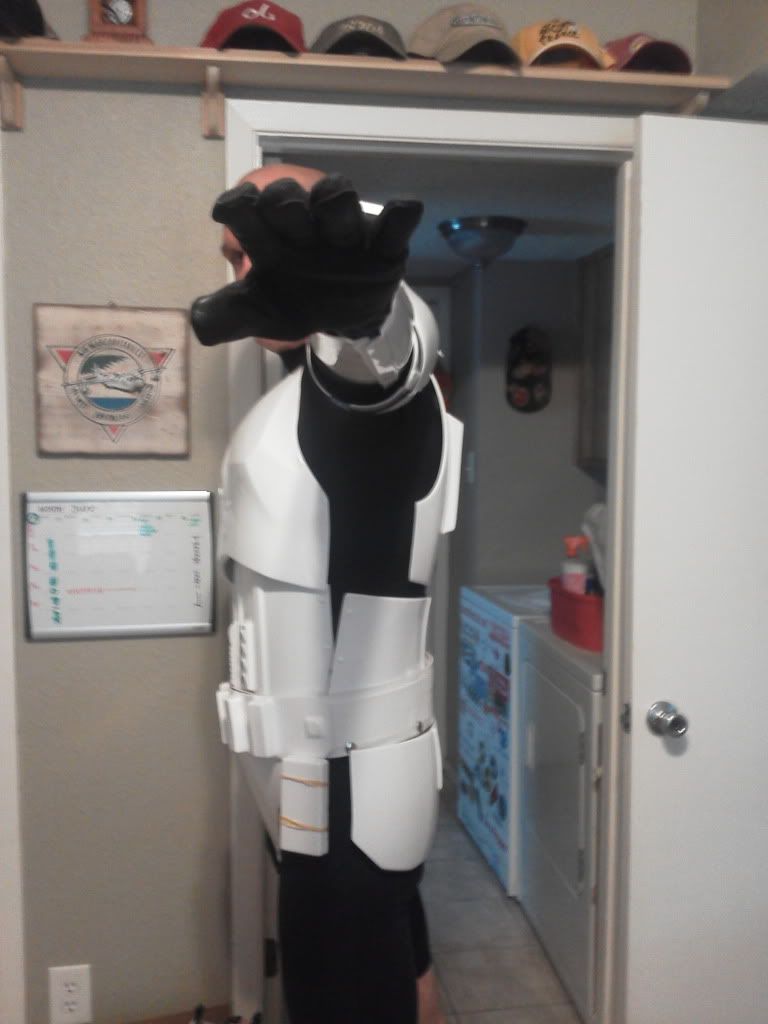
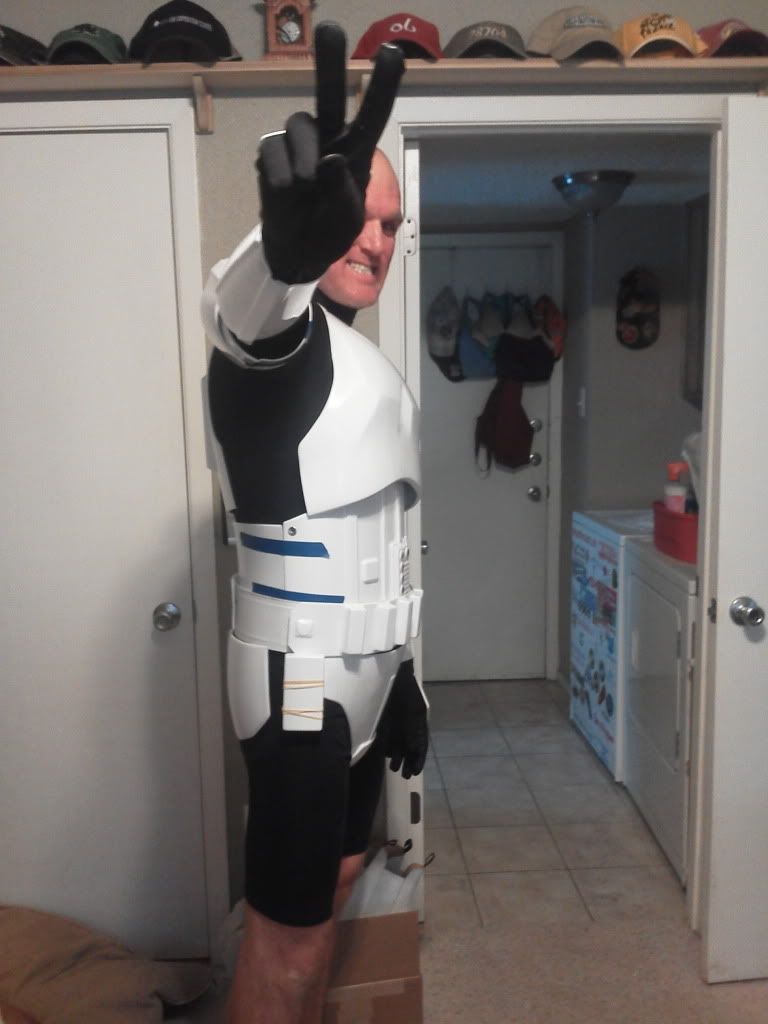
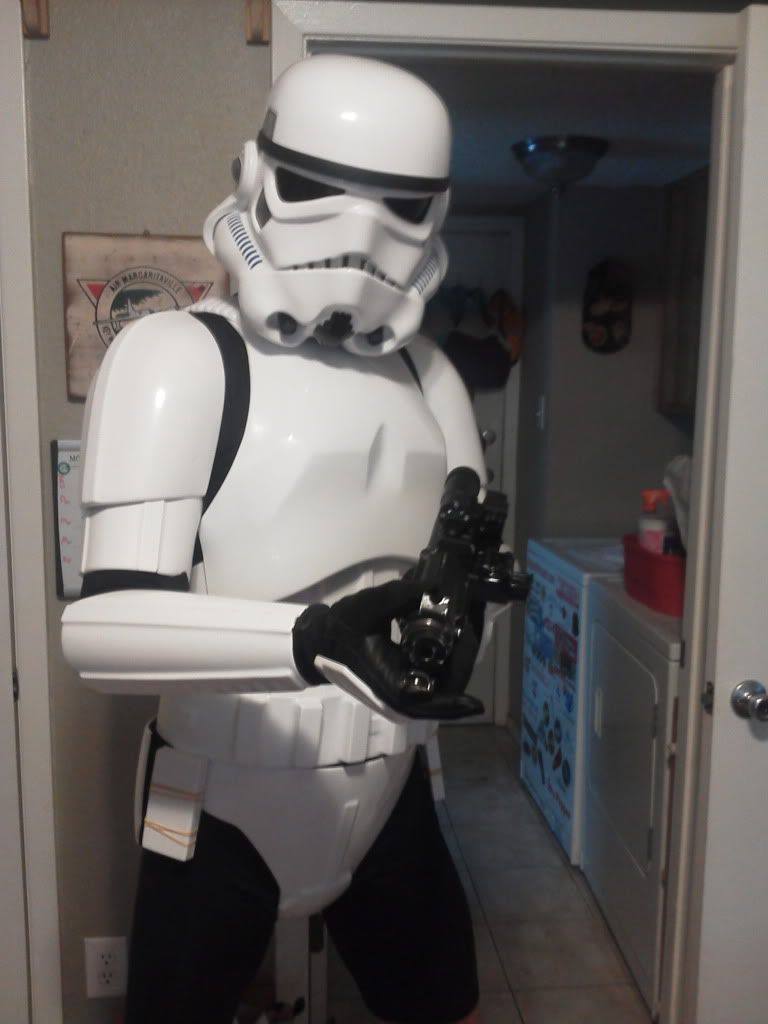
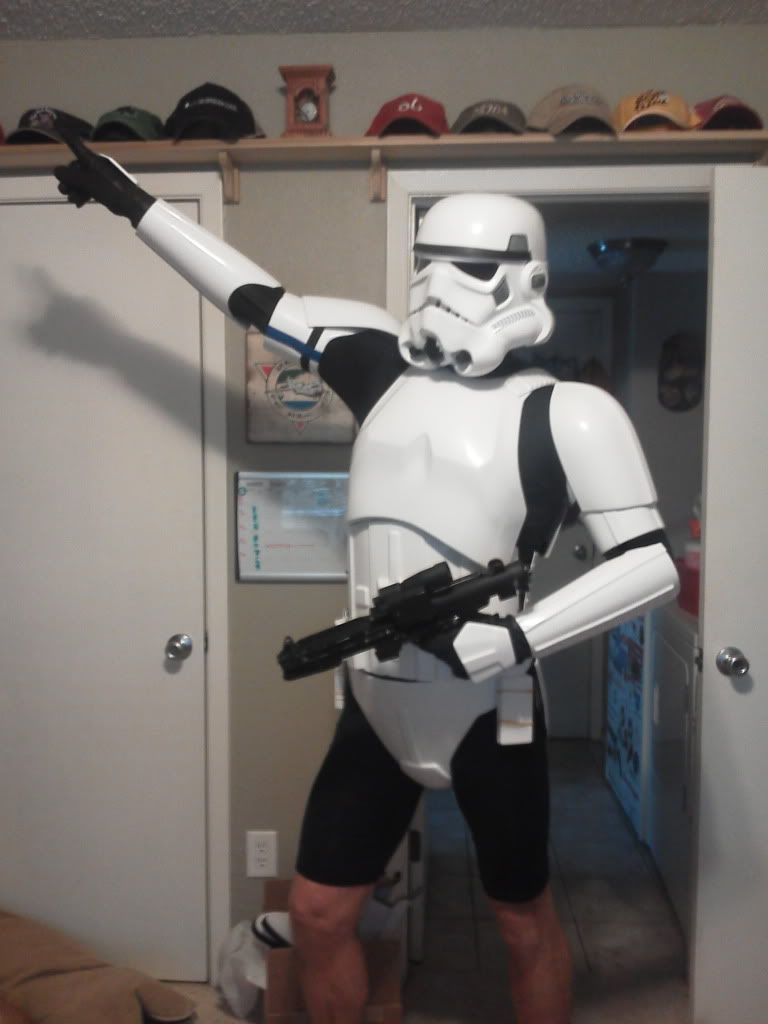
I'm going to have to get used to the limited field of view with the helmet on...had to ask my daughter to find and hand me my blaster for those last two pix (to quote Luke, "I can't see a thing in this helmet"
. Anyways, I have a connection between the shoulder & bicep that I didn't test out this time. I will also be adding the snaps to connect the belt to the ab, maybe tonight. I am also seriously considering adding foam padding to my butt plate 
-
Ah, the ups & downs of armor building. Today, while doing my preliminary fitting of the legs, I learned a very important lesson: no matter how well the build is going, there is no excuse for gluing before you measure & fit. I figured that since the overlap construction was working so well on the arms that I should just go ahead & do the legs and adjust afterwards...very, very bad idea. While I used to have some pretty-well developed quads from years of cycling, since I have ceased to do that & just run instead, the muscle mass has been replaced with lean muscle from running. Same for my glutes, as you will see below.
Well, maybe that won't be so bad if I add some padding, let's see what everything looks like when it's on my body:
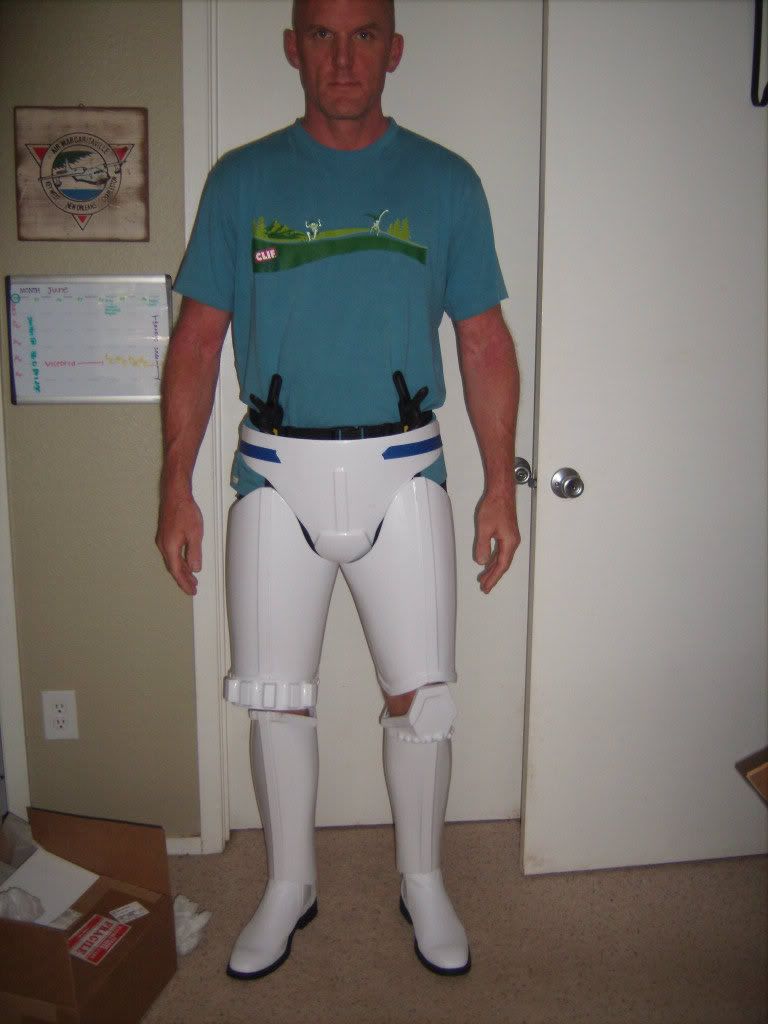
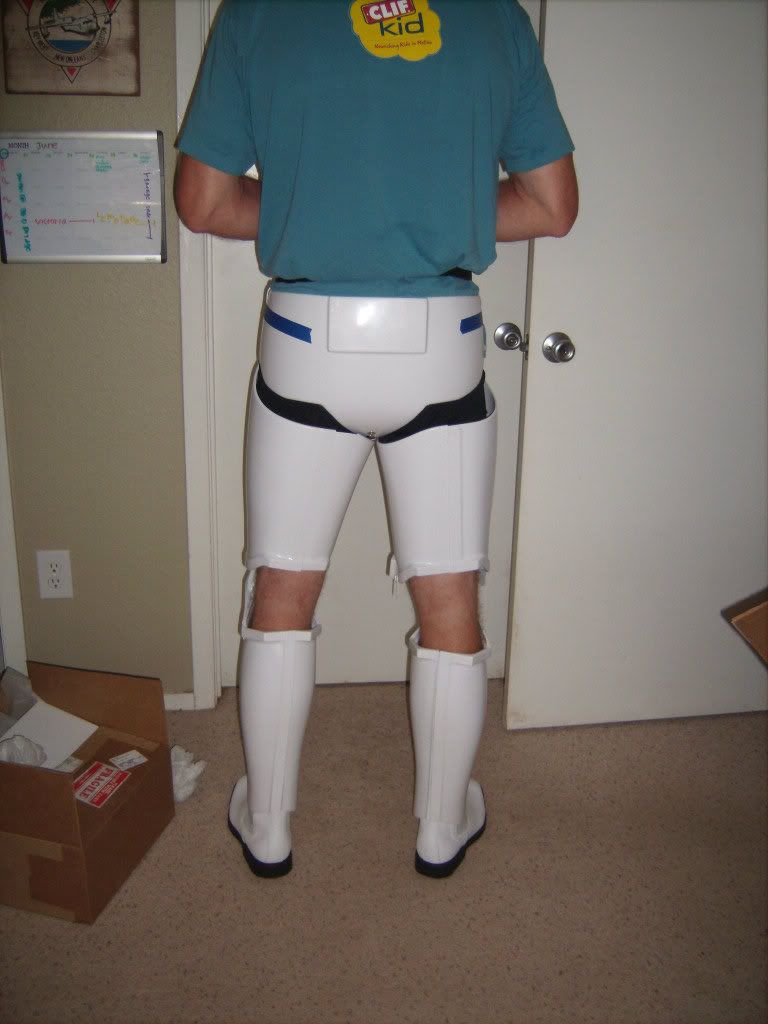
Yes, I have no posterior side:
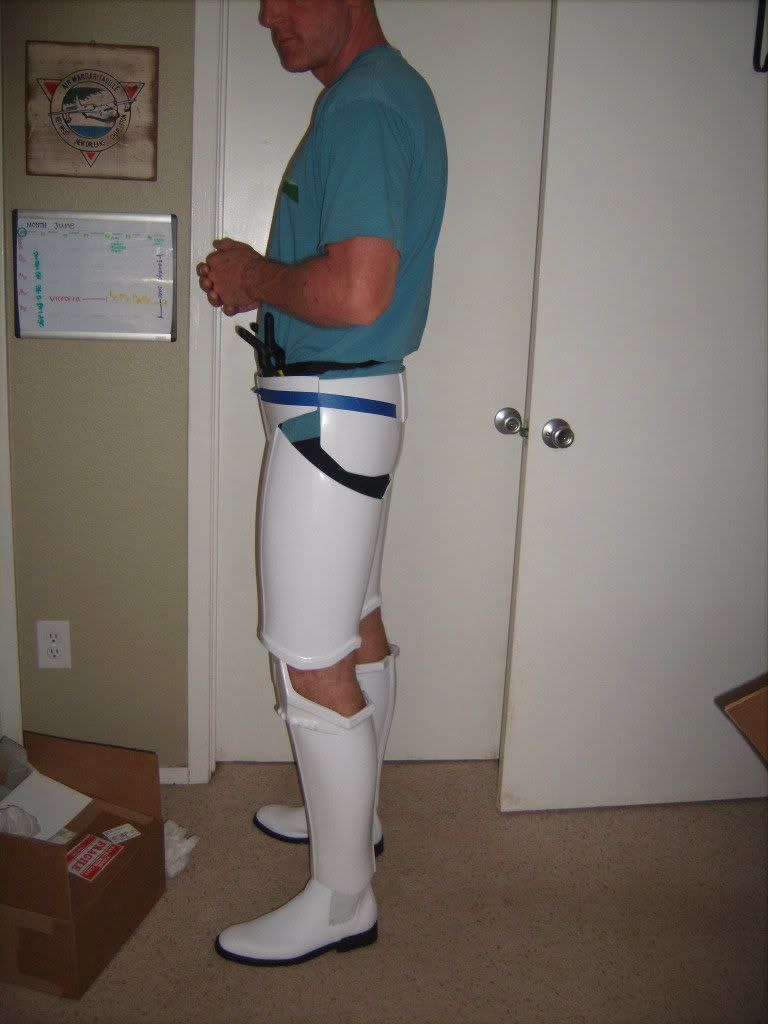
There is a lot of space showing between the calf & thigh, both of which will be trimmed a bit for comfort/ability to sit. The calves were biting pretty hard up top.
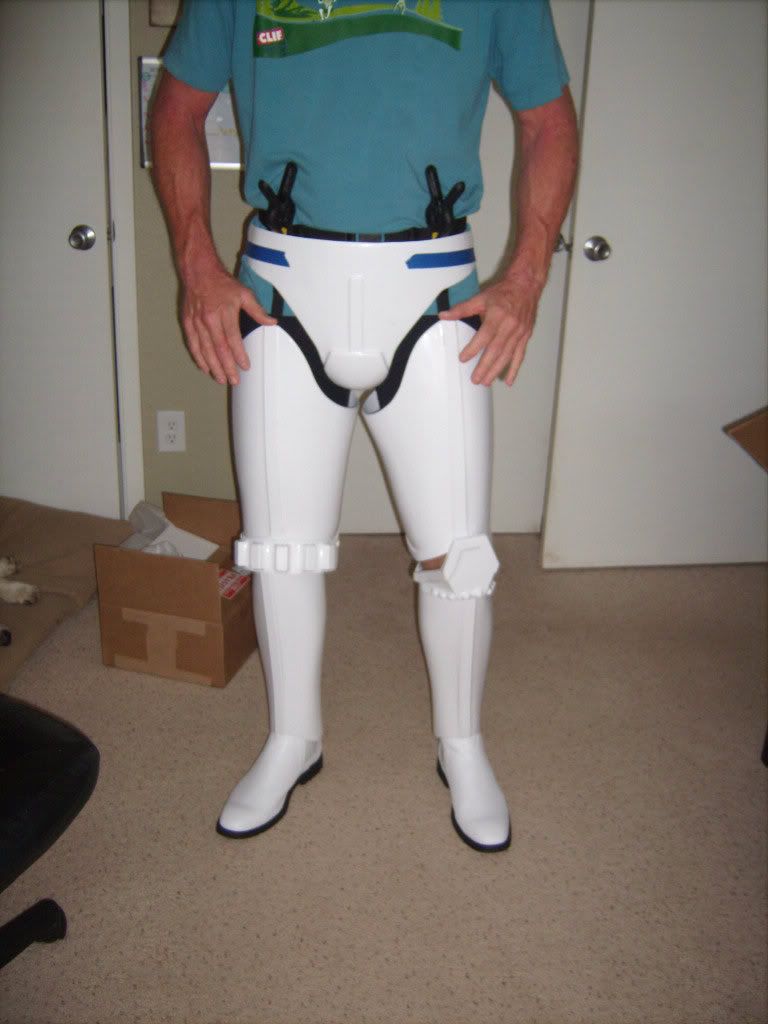
The thighs are sitting pretty high in the first full frontal pic, so I pushed them down in the two below - which looks better? I haven't attached them to my garters yet, and have a plan to make them adjustable to dial in the proper fit:
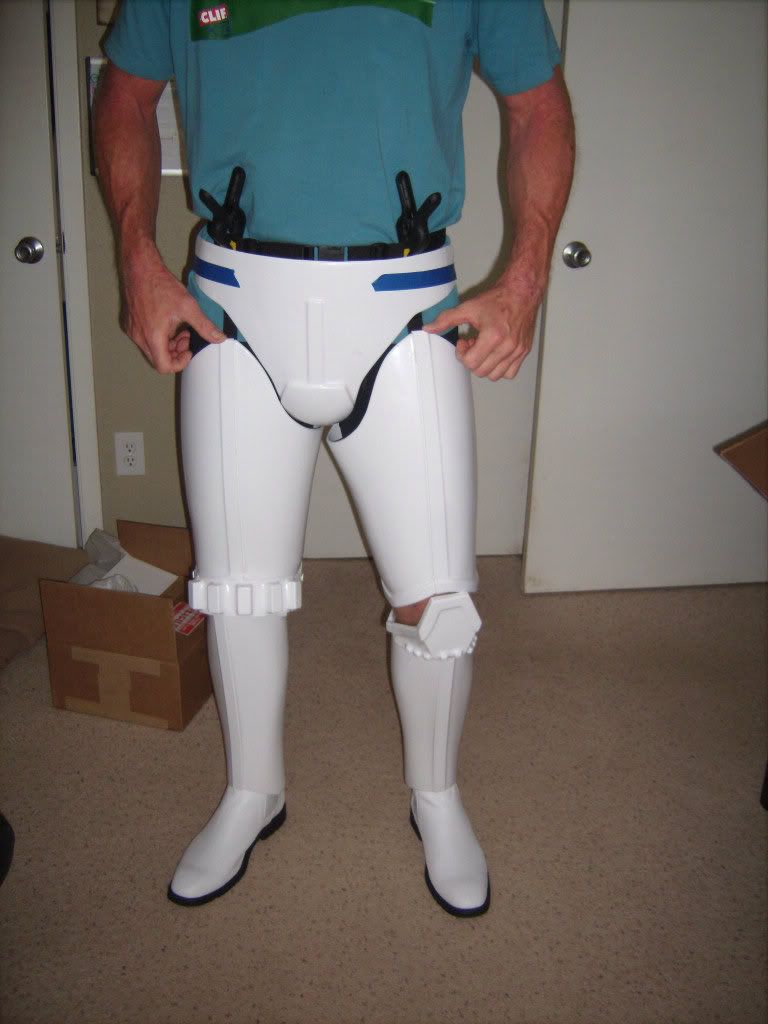
So, I pulled them apart in the back, fitted & taped them to a proper fit, and here's what the trimming is going to look like:
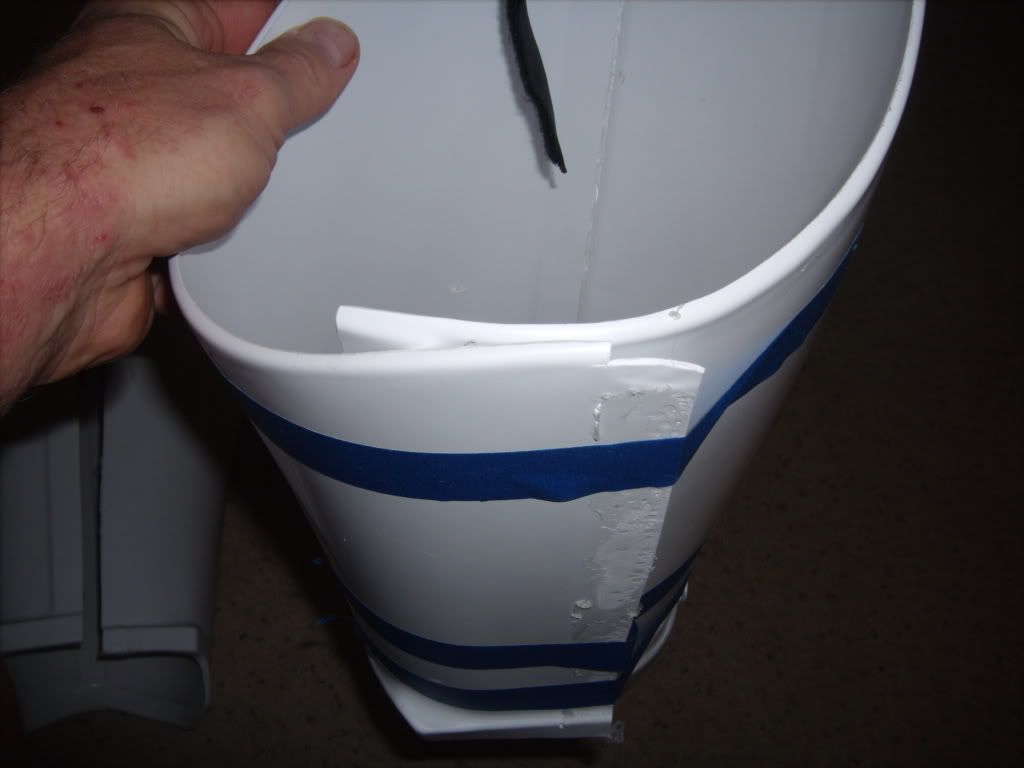
So much for using all-overlap construction. The molded overlaps will have to go and then it will be straight-edge to straight edge followed by a cover strip, right? If I do that and happen to build up my thighs later in life, would I be able to just use shims & a wider cover strip, or would I be looking at purchasing new r/l thighs? Bummer, dude - oh, well - nothing that can't be fixed. I had a small hope I'd be finishing up this weekend, but it doesn't look that way at all. It actually measures about 3" total, so I would trim about 1.5" from each side? I was thinking maybe 1.25, just to be on the safe.
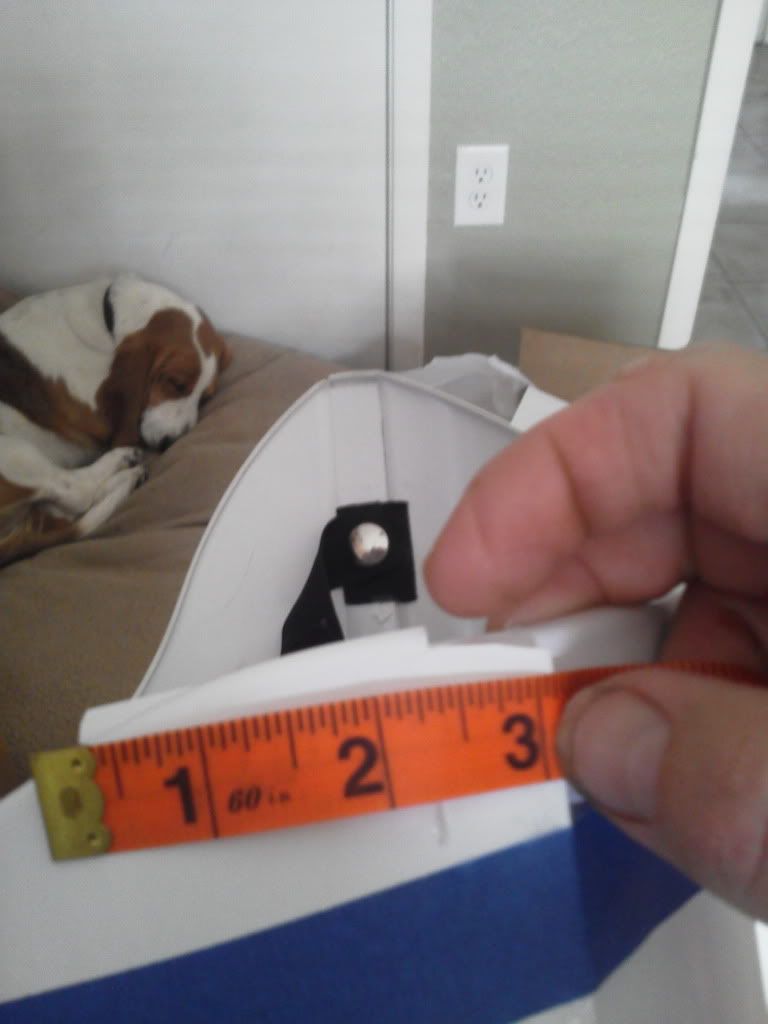
(that is Thelma, my wife's Basset in the background holding that dog bed to the floor & keeping the closet door shut
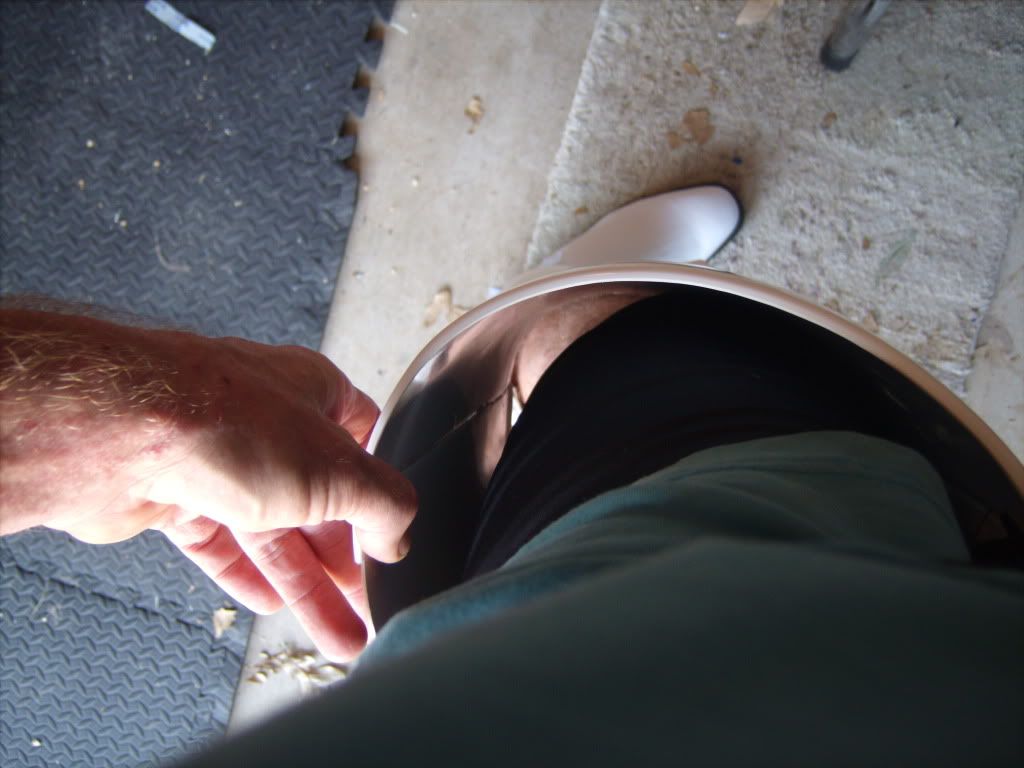
)Moving on, I designed an adjustable belt using my left over webbing I bought for snap plates. I bought some buckles & triglides from REI:
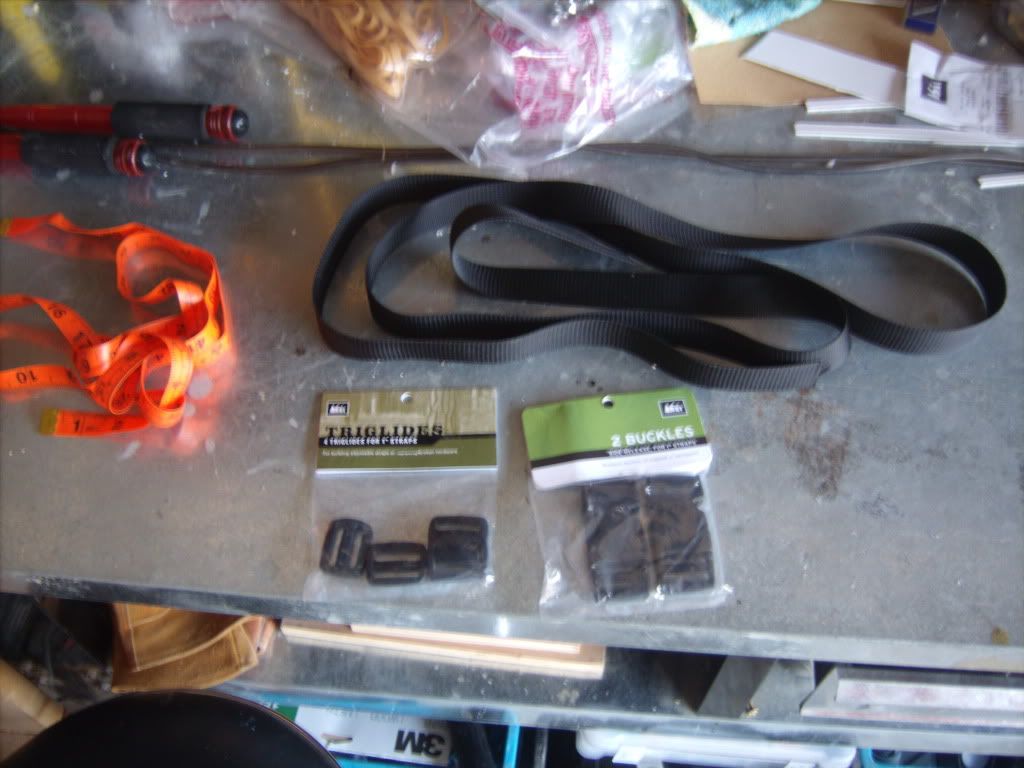
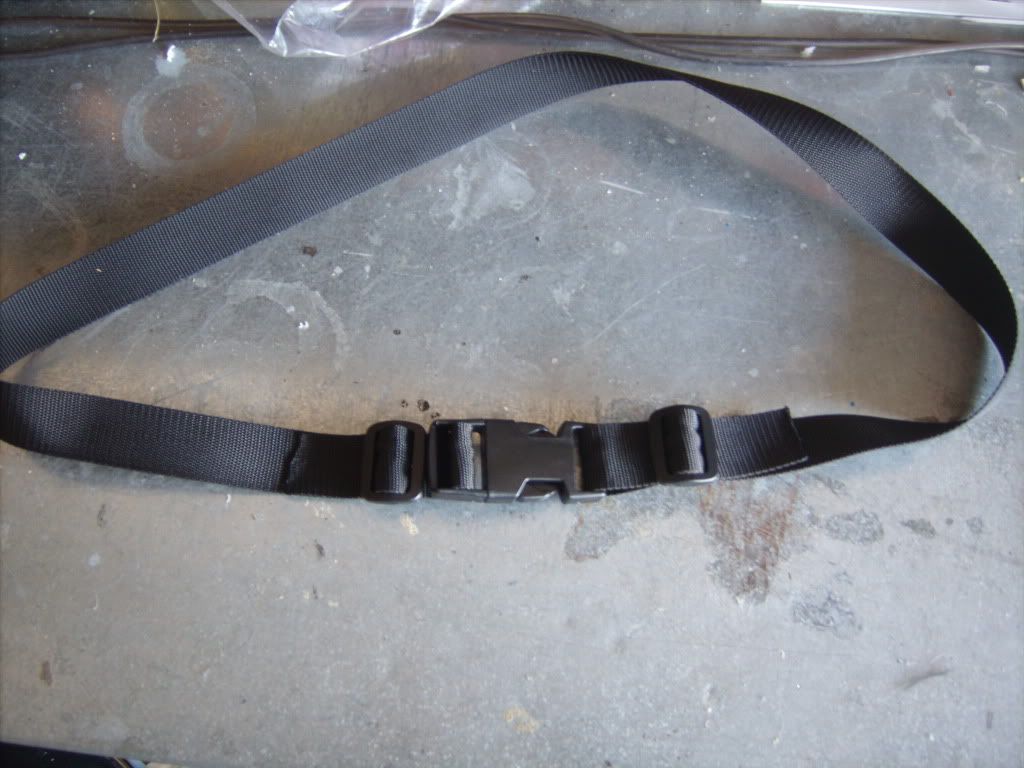
A quick cut and now I have a belt that is adjustable for added girth (around the holidays, after a pizza buffet lunch, etc.). I'm going to loop the garters over the top of the belt and for adjustment purposes use the extra triglides to move them up & down to get the thighs in proper position.
So, that's the state of the build. Fit them again, measure a couple of times, trim & glue...and remember to SLOW DOWN and do it right the first time!
-
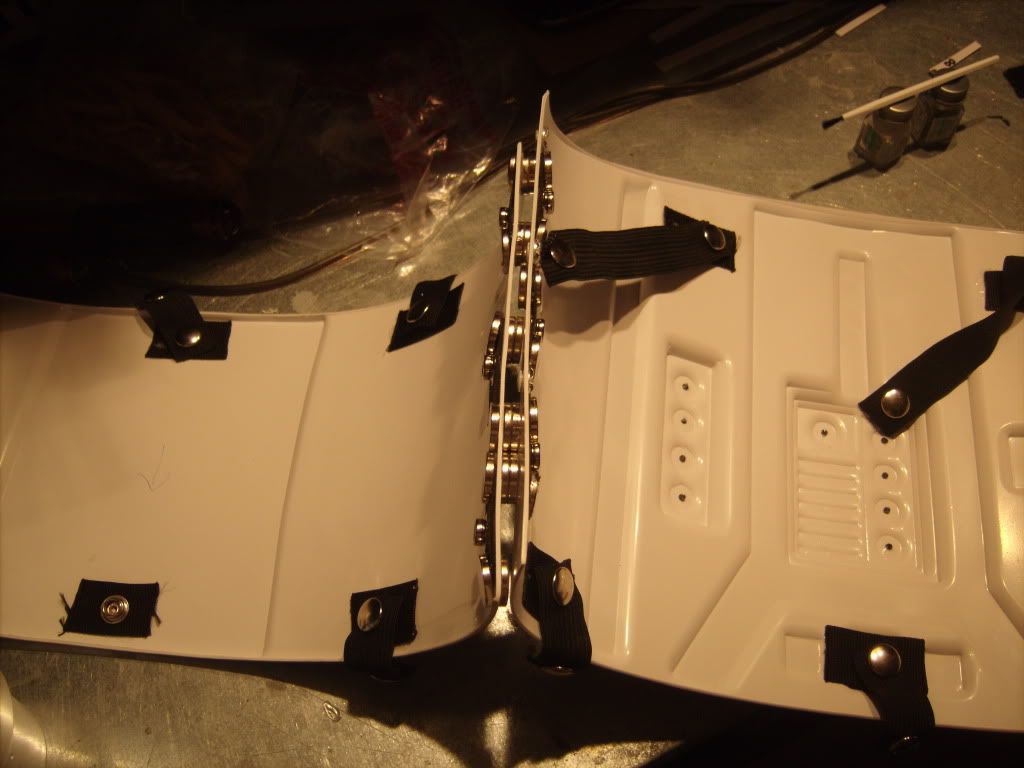
Ok, made some progress tonight & actually documented it with pictures. I tried to finish off the little details on the upper body - mainly trimming and finishing off the snap plates along with the details necessary for EIB/Centurion
Hole for the right side snap - on the holes I made for this & the split rivets I used my exacto knife to make the pilot holes. I did this primarily because I was afraid of the tip of the drill bit slipping and making a(ll) the holes off-center (see: my Doopys Hasbro build
)
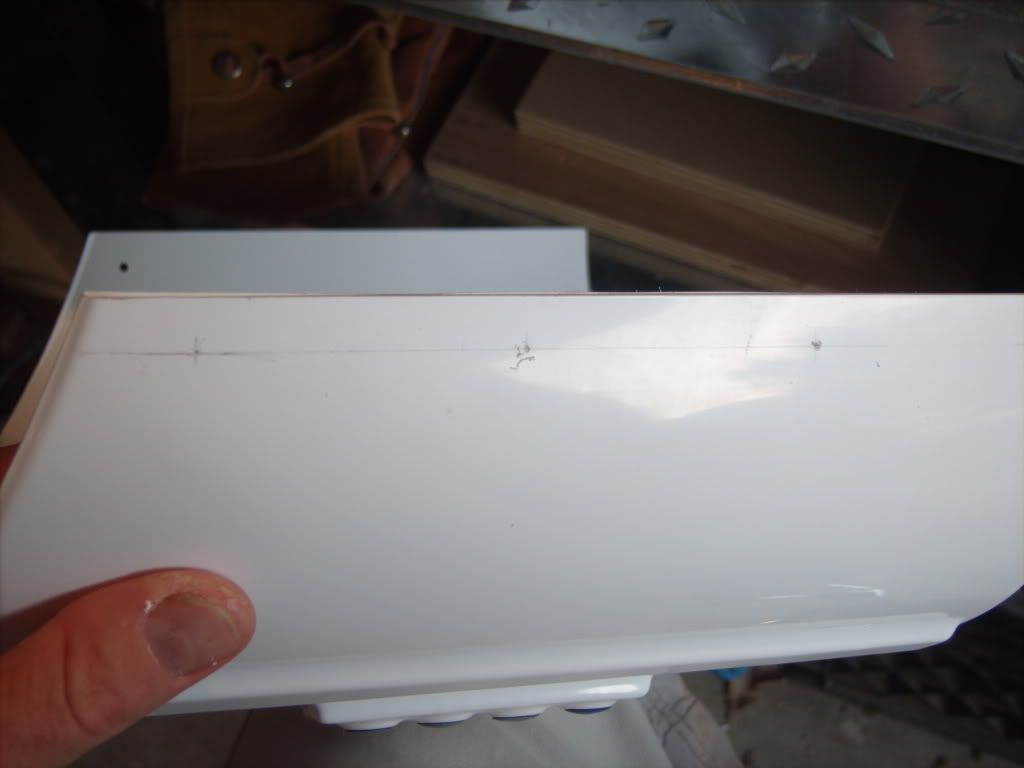
Holes marked for split rivets:
One down, 3 to go:

I couldn't find a tutoral on installing the split rivets and info I found on-line used specially designed tools, so I was on my own. I got the split started by putting a flat blade screwdriver and moving it back & forth. Once there was a little spread, I used two needle-nose pliers (one pair was right-angle) to spread them further. Then I used pliers to squeeze the head of the rivet against the splits to get it as flat as I could. Finally, I used a hammer to bang them the rest of the way down, with a piece of scrap ABS between the rivet & my work bench. Obviously, all of them got scratched up by the pliers & will need repainting.
Finished ab plate:
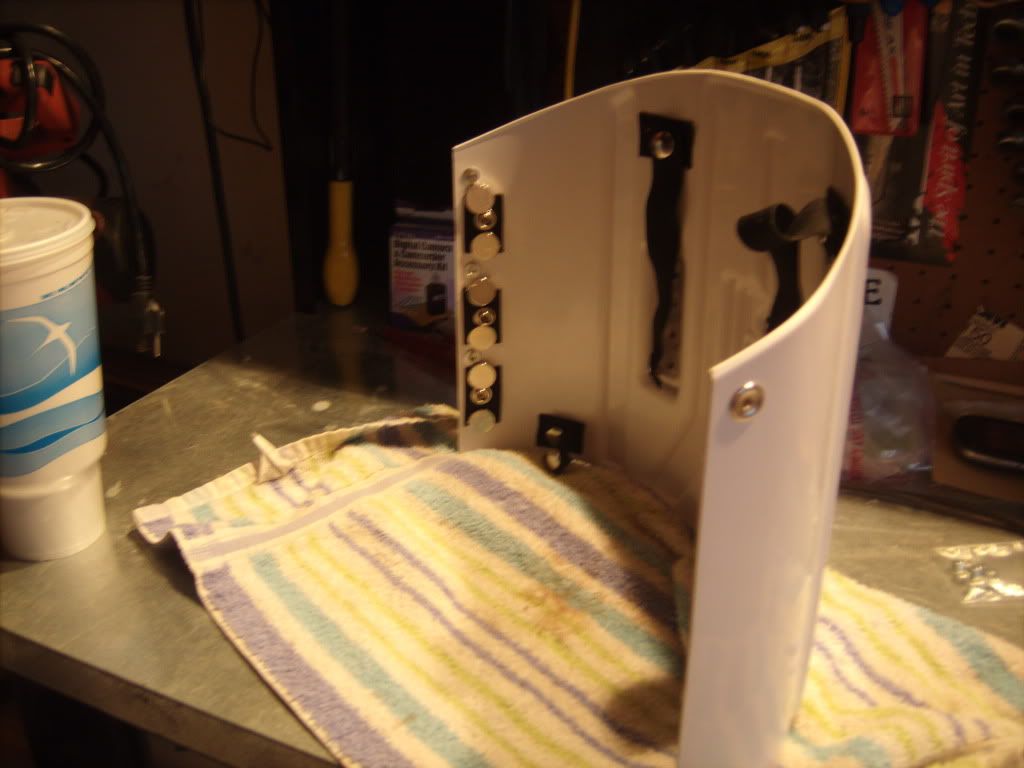
I repeated the process on the kidney plate, and then started gluing snap plates. I wasn't paying attention to the proximity of the ab and kidney...and this was the result:
can you say 'sticky situation'? After an expletive-filled rant, I was able to get everything separated and the magnets back into place.
When I was measuring to see how much of my ab to trim, I noticed that my chest was riding high, so I moved the snap plates a bit to see if that would help:
So, tomorrow when the snap plates are done I'll see about making final adjustments on the upper body. If I can get a belt at some point over the weekend I'll be starting on the lower body.
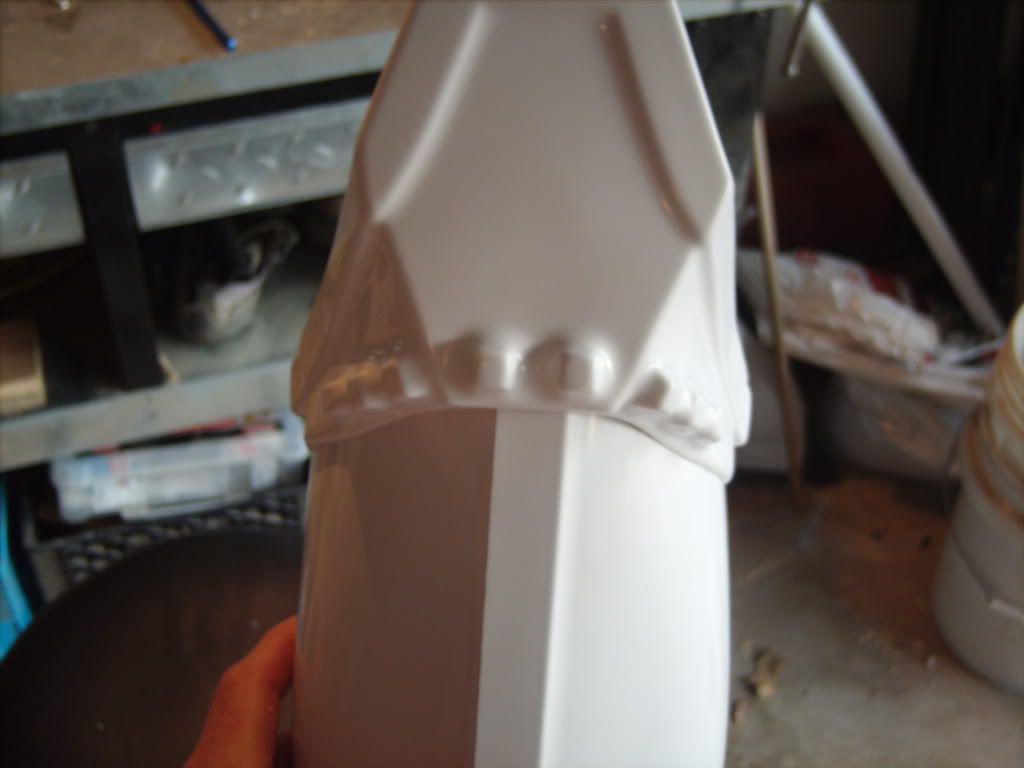
Speaking of lower body, here's my sniper plate:
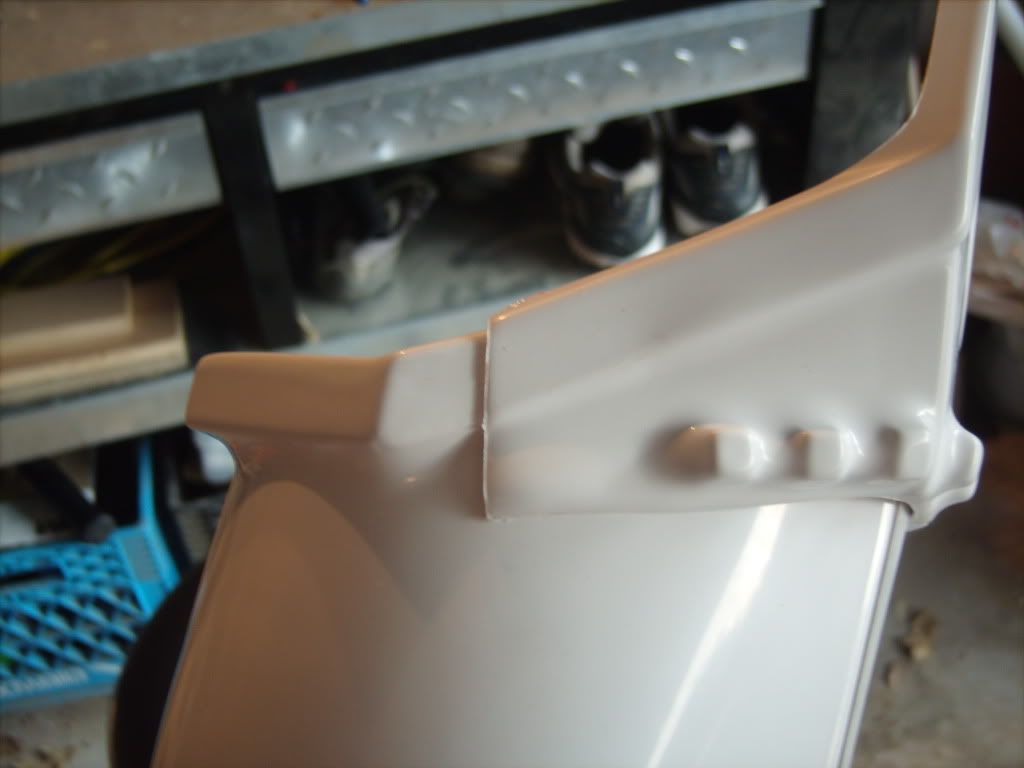
And the battery pack on the thigh. I have drilled the holes for the split rivets on that as well but haven't installed them yet. It had been curing for 48 hours, but when i removed the clamps i noticed a gap on one side, so I squirted more E6000 into it & re-clamped:
I was at a low point in my build last night but all of the progress I made today helped me out tremendously
. I realize that I have a lot left to do and tweak and there are more challenges ahead, but it's getting closer to submission standards every day! -
One other thing I wanted to ask is for advice about gluing the shoulder straps to the chest. I thought the sniper plate was challenging, that was nothing compared to getting those aligned! I've already had to tear one off & re-glue it to get them some what symmetrical. Is there an advised way to get these on symetrically, or is it something I have to play with to get right?
-
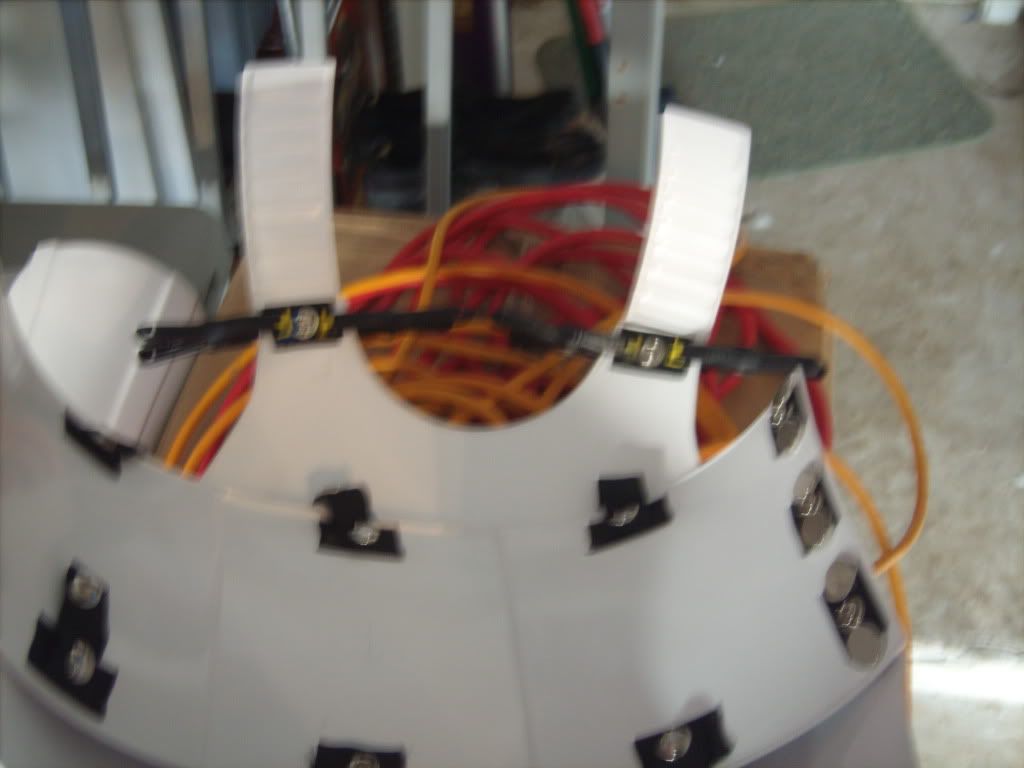
No pictures again - my photographer was using my camera in 'panorama' mode...so nothing usable came out. What I did discover is that some of my snap plates weren't hammered down all the way, so connecting wasn't happening in some spots. So, spent time rectifying that and calculating how many more snap plates I'll need to complete this build.
I decided I'm going to use velcro while doing the fitting, specifically in the shoulder bell connnections, both to the bicep and where it connects to the chest/back strap, this way I can nail down where it should go for the best fit before gluing snap plates. I'll also do this when adjusting the thighs to make sure they will be in the right postion.
I did get the TD put together, and the belt is also assembled - just needs the holster attached. The elastic I glued to the backs of the drop boxes are attached to the belt with velcro - I am rivet-gun impaired and once I figure out how to use that they'll be permanently attached. The holster will use snaps to attach to the belt. One other note about the belt - the one that came with the kit didn't come with button covers, and the middle one is smaller than the ones on the l/r sides, so I'm not sure what to do about covering that. For now I'm using snap plates glued to the back to attach to the canvas belt.
I cross-posted on another thread that was a question about trimming the kidney. My kidney/ab overlap, so something will need to be trimmed. As I understand it, the edge of the kidney that connects to the ab should align with the edge of the butt plate, correct? So, if they do overlap, I should trim from the ab plate, right?
I'm going into a busy weekend, so I don't think that i'll have much time to work on my armor. I do have plenty of questions about how to go about the fitting, but they will all need pictures to go along with them...I'm kind of frustrated at myself for not providing them up until now so I can get feedback from ya'll. It's a stage of the build where everything is assembed...but now needs to all fit together and it is a bit overwhelming for me since everything up until now went so smoothly.
-
Mine is actually mis-spelled from what I originally intended it to be. I wanted to have something relatively anonymous (early days of the internet...), but also an obscure reference to something. Originally, it was going to be "Boom Shanka" (and I still might be mis-spelling it). If you recognize what it refers to, you're old and/or have an appreciation for old British TV comedies.
-
Not to threadjack, but I'm approaching the same stage of my build. So, the kidney is supposed to align with the edge of the butt plate, Is the ab supposed to align with the cod? I'll need to trim my ab, would I trim the cod as well (they're not connected, obviously)?
-
Gahhhh...tried to organize my photobucket & killed the links...oh, well. If anyone wants a specific shot of my build pls PM me
Drilling out rivets in Helmet
in Assembly, Mods, and Painting
Posted
What is the best way to drill out the rivets at the bottom of the helmet that connect the ears to the tubes? I'm planning ahead for when I go for Centurion and am deathly afraid of doing it wrong and damaging my lid. I picked up here & there from other threads that you just use a 1/8" bit and drill out the center, which sounds easy enough. One problem with doing that is one of the rivets didn't 'snap' properly, so part of the rivet is sticking out (an 'outie' not an 'innie'). It doesn't stick out very far, I can file it down, no problem.
Thanks for any & all advice!