

Jancelot
-
Posts
242 -
Joined
-
Last visited
Content Type
Profiles
Forums
Gallery
Articles
Media Demo
Posts posted by Jancelot
-
-
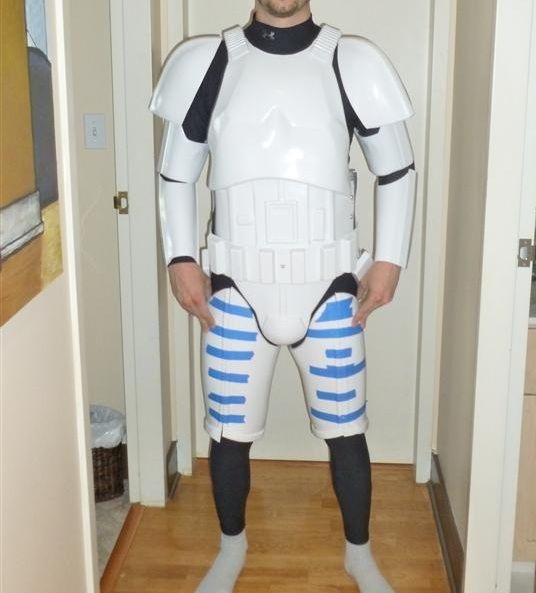
Initial test fitting tonight. Need foam in biceps and forearms to stop rotation, bicep-to-forearm elastic and thigh garter.
It's feeling pretty comfortable already. Most notably the elbow joint where I have always experienced "the pinch." Let me know what you think of progress.

-
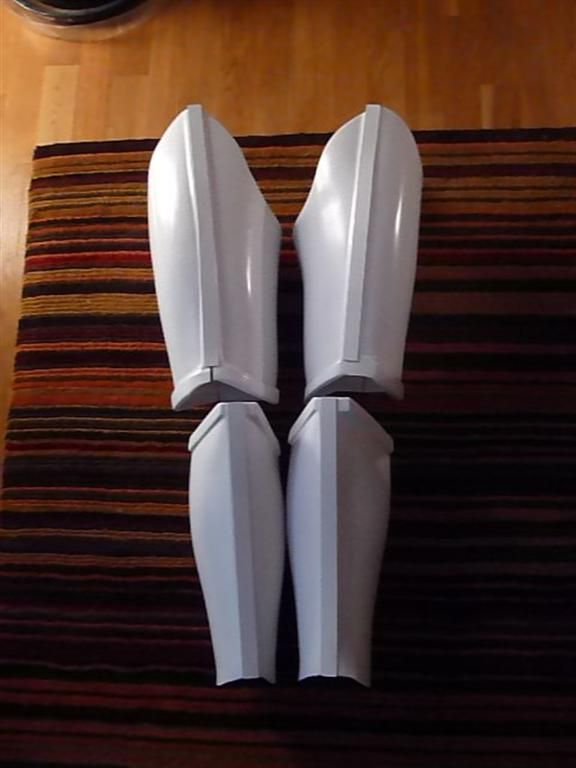
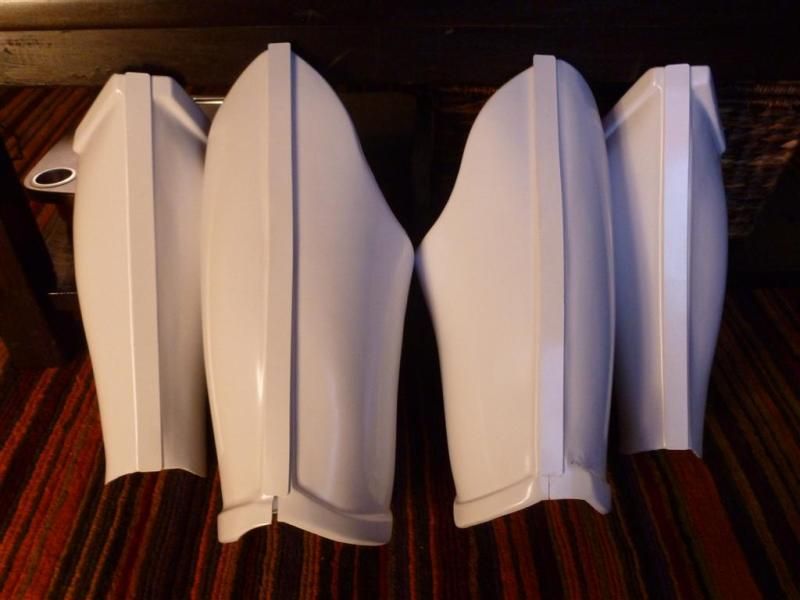
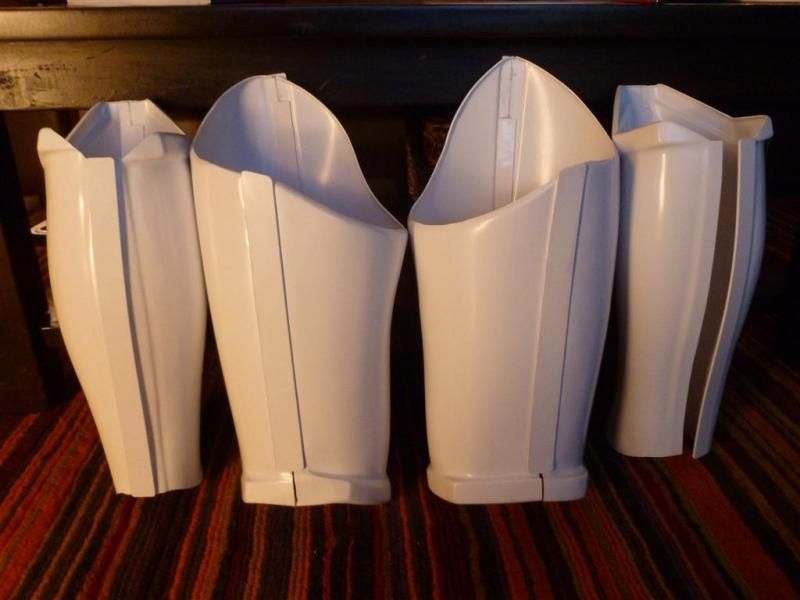
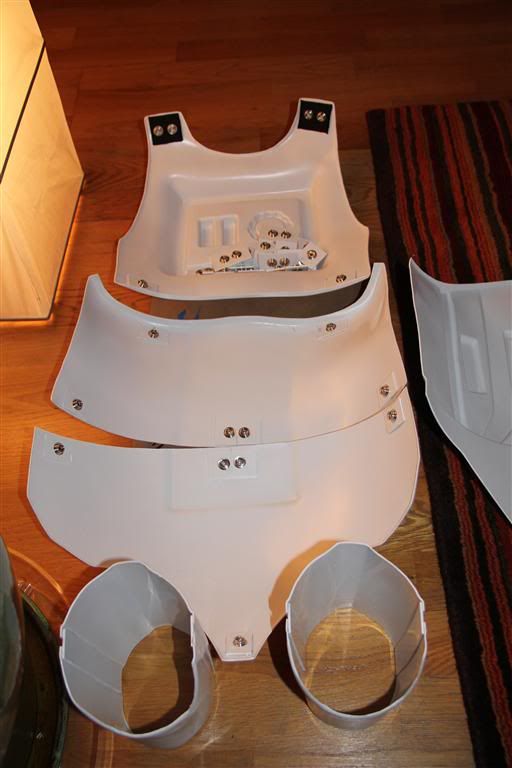
Slow and steady goes my progress. I finished up cutting and gluing on the legs over this past week. I believe I need to replace the cover strip on the back of the shins or at least re-glue it. I don't have enough surface space on the strip for the velcro. Also, the right opening is a bit wide so I'll do a little work with the heat gun to close it up a bit. And of course I need to glue on the sniper plate, ammo belt and make a thigh garter.
The AP suit is certainly challenging due to the amount of alignment work. The thighs and forearms have so far required the most attention.
That said I'll have some full test fitting pics up soon! Al..most...there...
Thanks for the tips on the blaster weathering. I'll be back to that soon when I have access to a painting space.
-
Great timing and info. I'm about to do this procedure as well. Good to know I was on the right track.

-
Nice work! What was your process for cutting out the rear vents on your bucket? I had that on my FX and it was indeed a lifesaver. However, how I cut them they ended up bigger and fewer; absolutely not close to screen accurate.
-
Well done and congrats!
-
Agreed. I've emailed Lewis for tips on touch-up, but I know he's at SDCC this week.
After further fit testing it looks like I need to rip the arms apart as the shims I put in are too big. Forearms are interesting as it looks like I can do a tapered shim down to the wrists. However, I did make good progress on the legs this weekend. Onward!
-
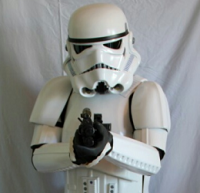
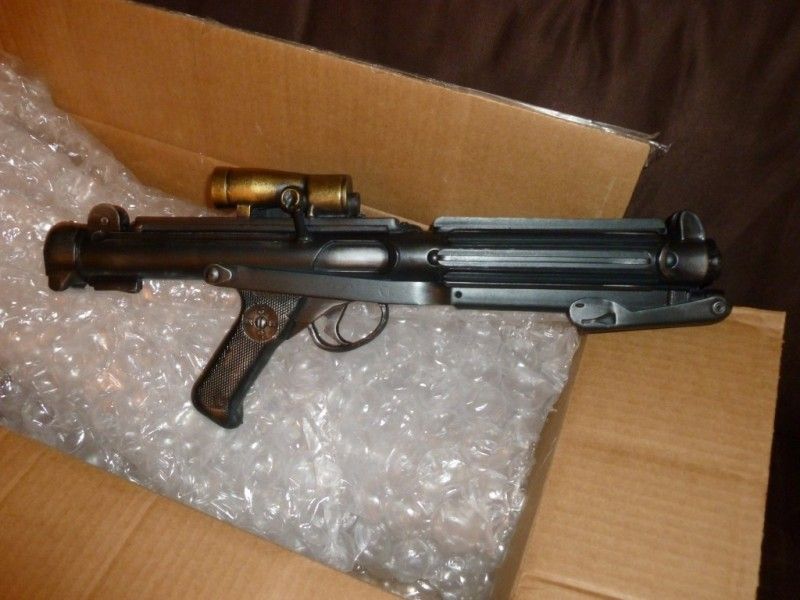
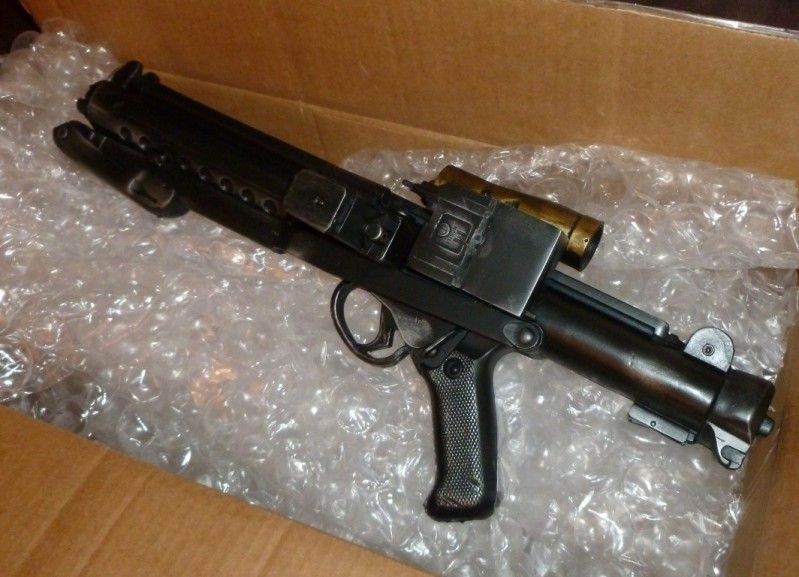
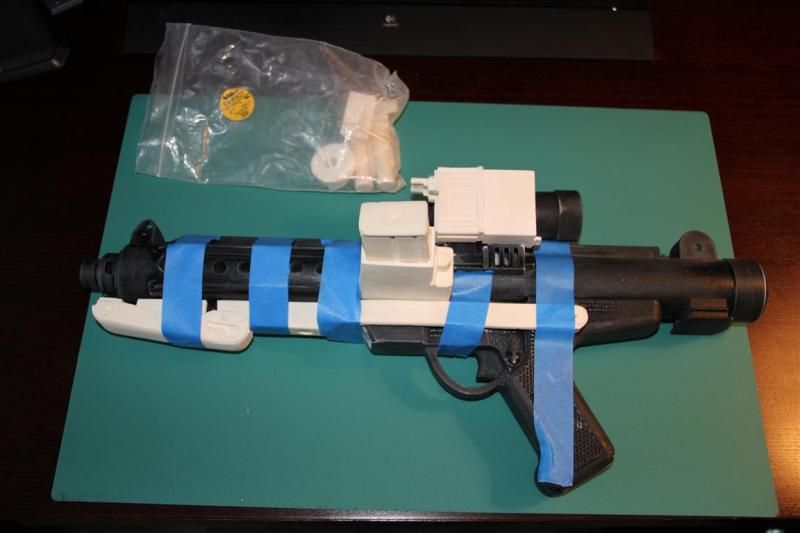
Hyperfirm ANH E-11 arrived today. Beautiful! Just need to add the U-ring on the back and the wires.
-
A few test fit shots:

-
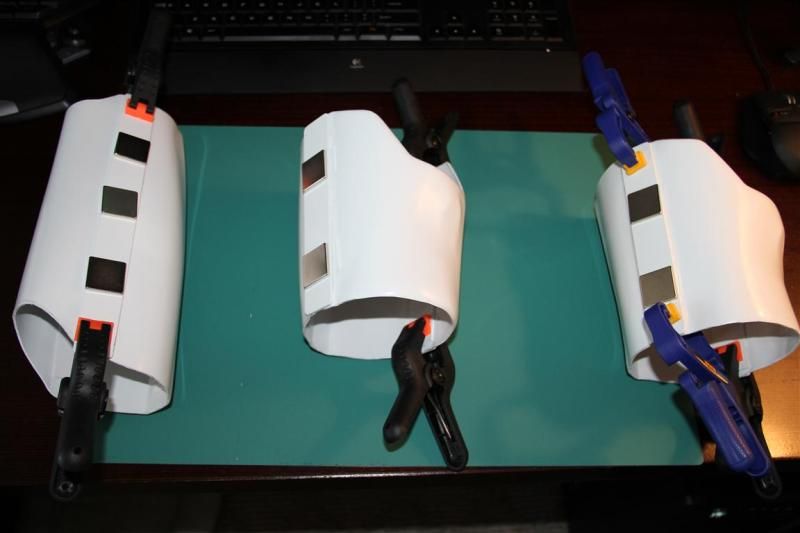
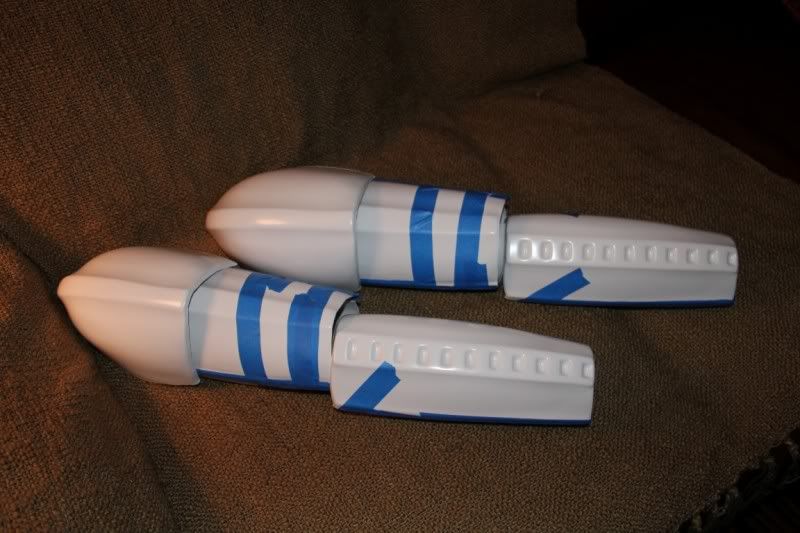
More progress! Biceps and forearms are complete and thighs are now on the table.
-
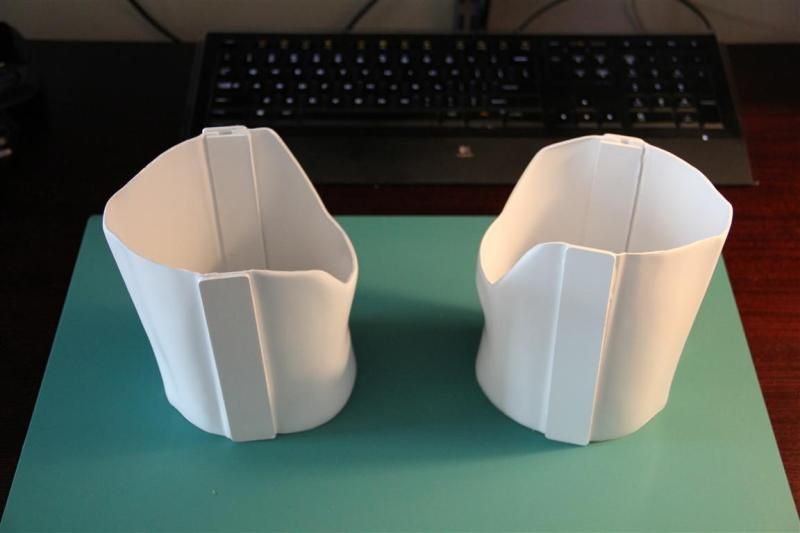
And back on this project... Spent the past 3 months working on my mods for my Snowie. Getting close to finishing up gluing the arms and will move to strapping next.
The shims I put in the forearms and biceps fit nicely. I need to round out the forearms a bit though as they're very oval at the moment. Cover strips are drying and I've started on the Doopydoos blaster conversion.
-
Requesting 501st status! I've had TK status for about 6 years now. Cheers.
http://www.501st.com/members/displaymemberdetails.php?userID=1744
-
Welcome and enjoy the ride!
-
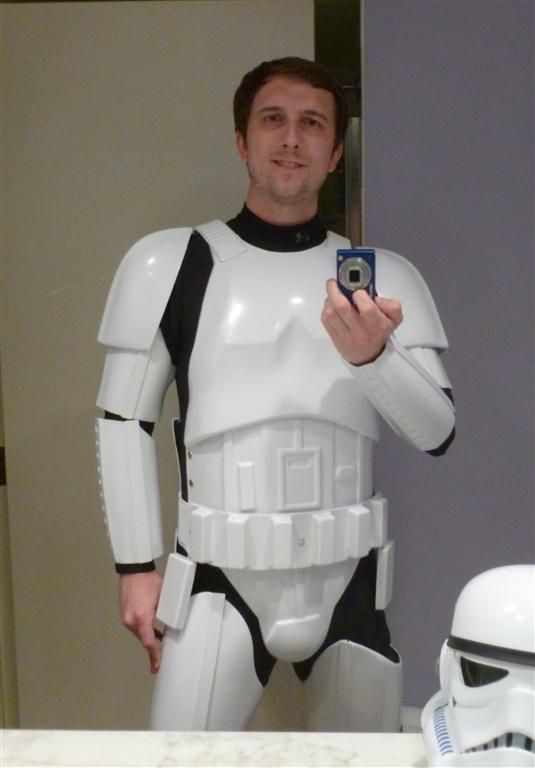
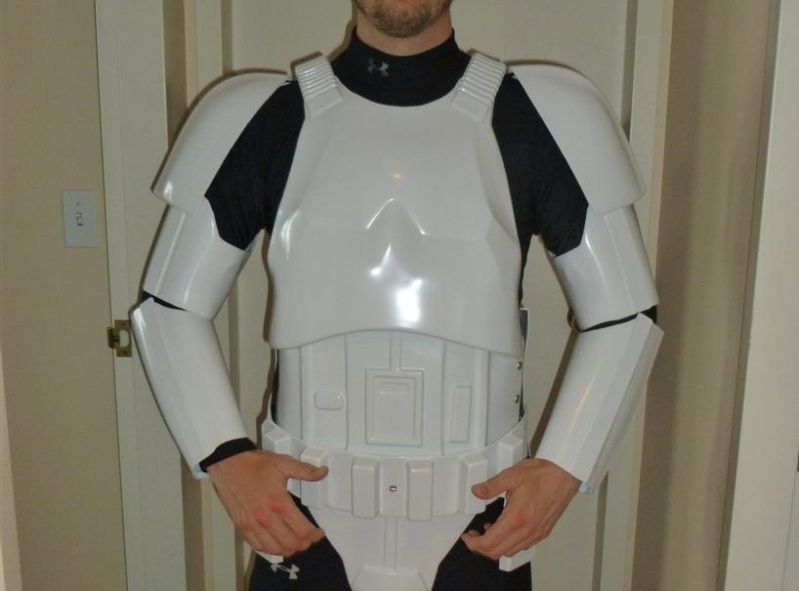
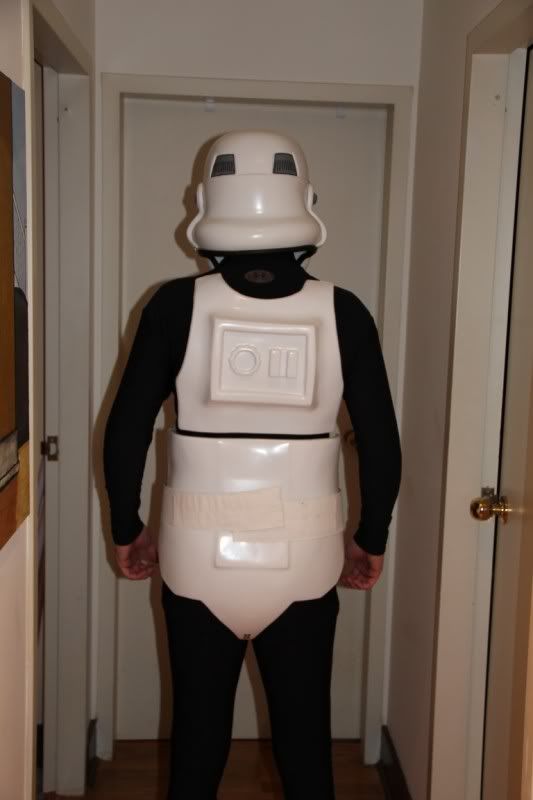
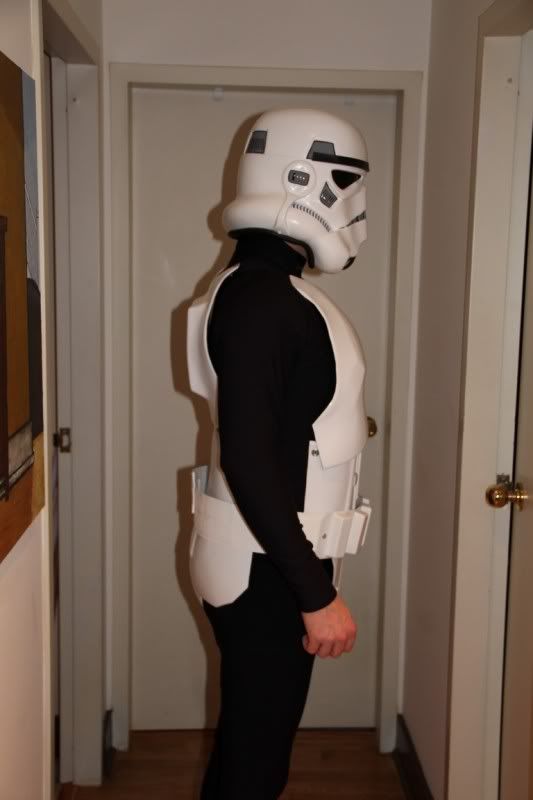
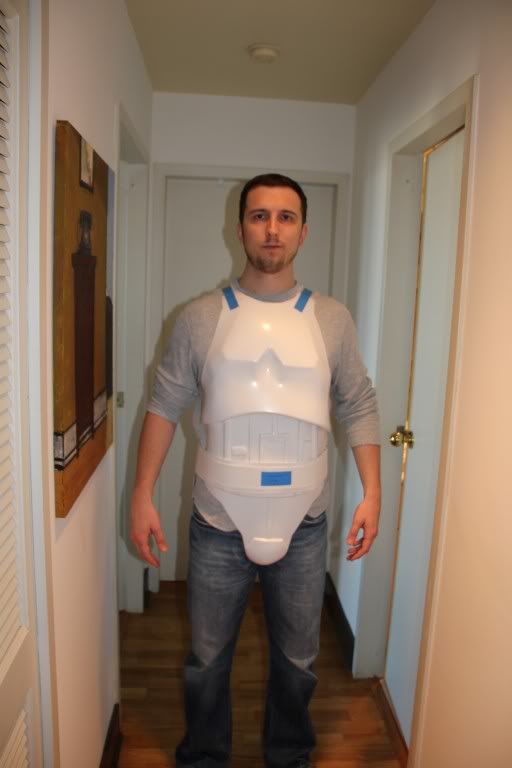
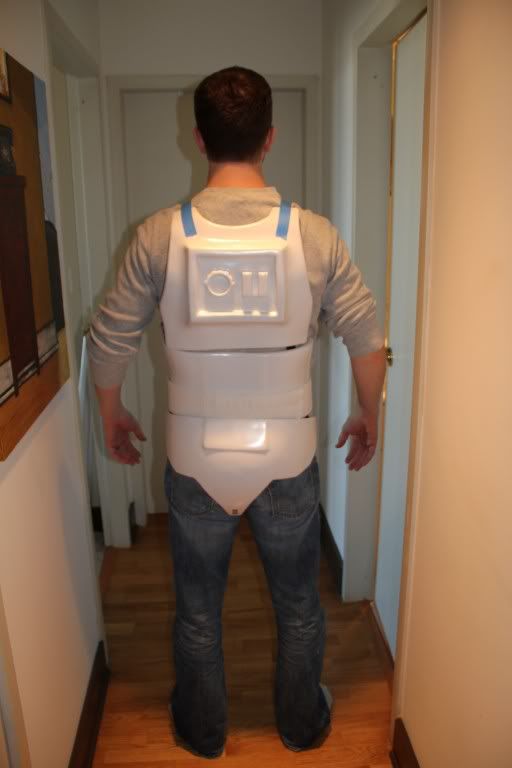
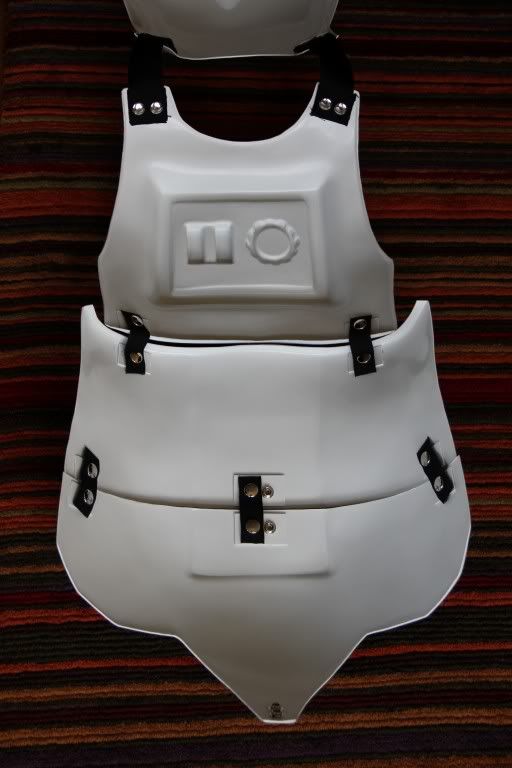
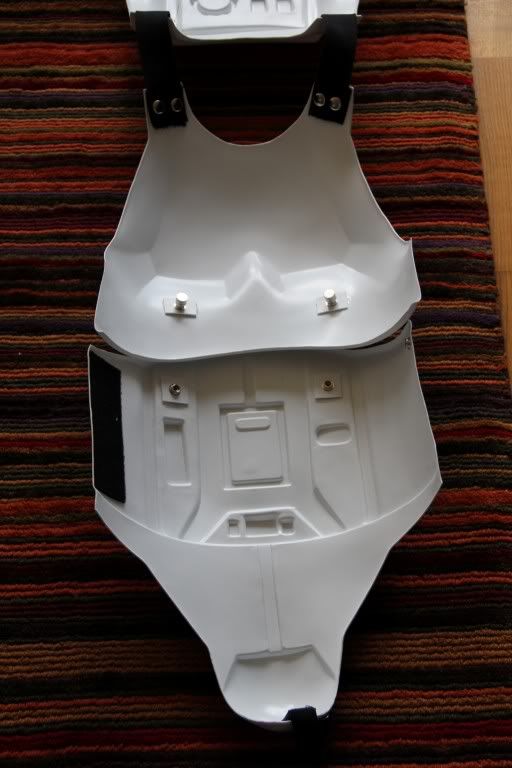
Thanks Ingrid! I ended up just going ahead and finishing the straps to set a baseline for fit. Turns out it's much closer than I had thought. And switching the to undersuit made a significant difference as well.
I'm going to shorten the shoulder straps a bit (in addition to switching them to white) and lengthen the chest/abdomen straps as I feel the chest sits a bit low relative to where I'd like the neckline.
I'll also need to make some shims/bridges for the sides.
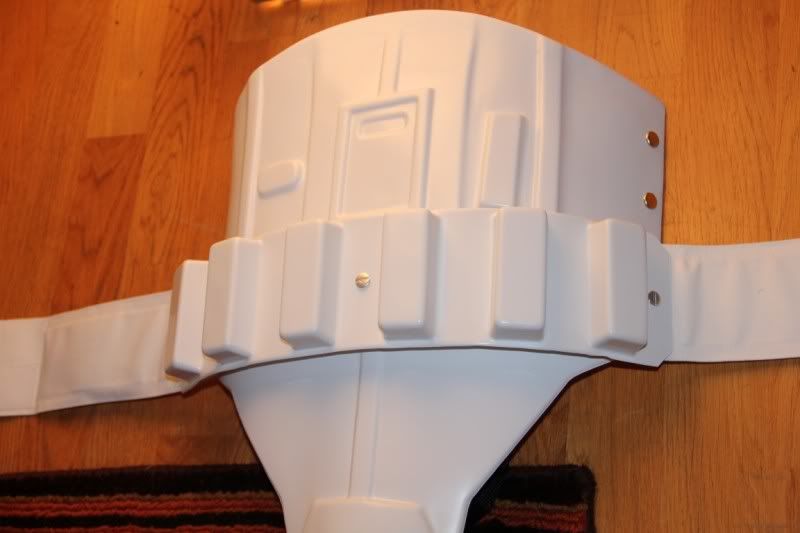
Made some good progress today and am almost done with the belt as well...
-
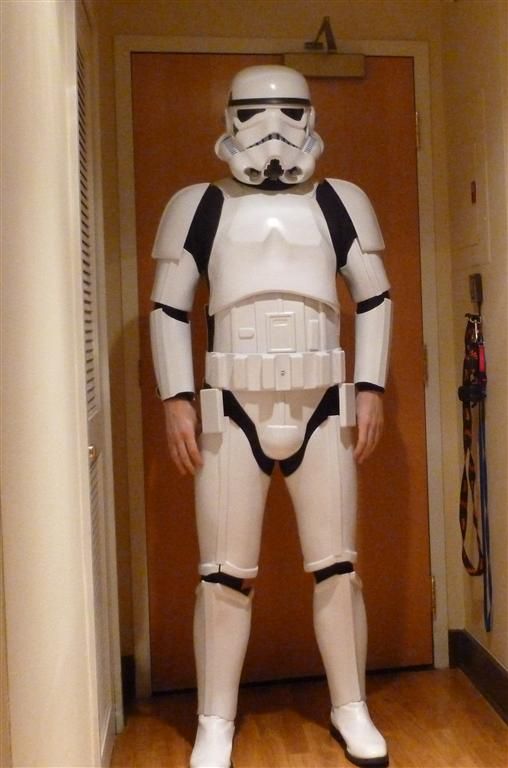
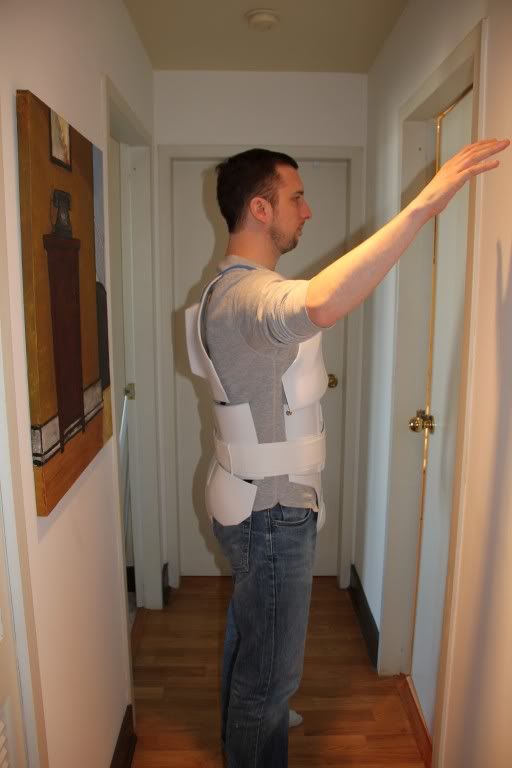
Working on the torso strapping now. I've found that the back/kidney/butt armor a bit too short for my torso with the default strapping. I've added a bit of length to the shoulders and am considering adding a bit of space between the kidney and butt plates. Any suggestions on how to best accommodate for a longer torso would be appreciated.
*edit: I look so glum in these pictures. Especially for someone building a TK suit.
-
Awesome and congrats! I'm working on an AP suit as well. Looking forward to a build thread. Cheers!
-
Awesome! Looking forward to your build pics.
For scoring your method looks very similar to the one I'm using.
I draw a line with a pencil, score with an xacto, and then snap. If it's a long strip I break it up in to 1-2" pieces or around any odd curves/angles.
If a piece is an odd shape I'll opt for cutting further away from the line and then trimming with the xacto and sandpaper.
-
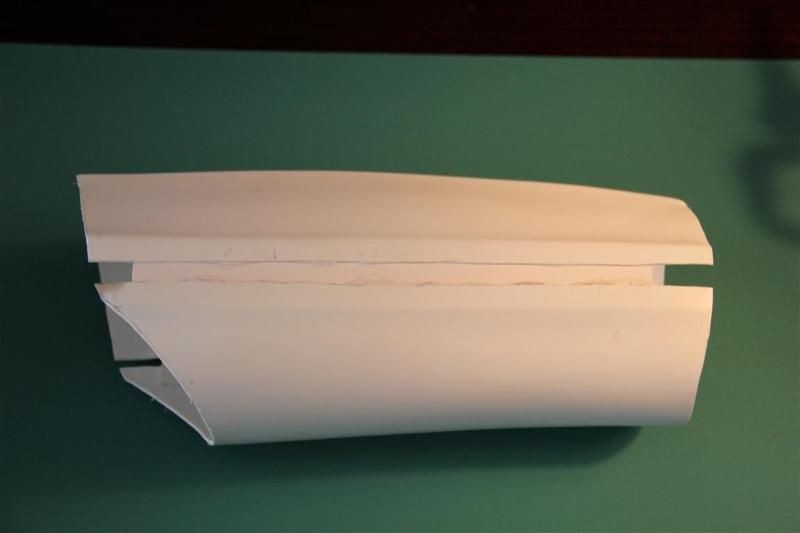
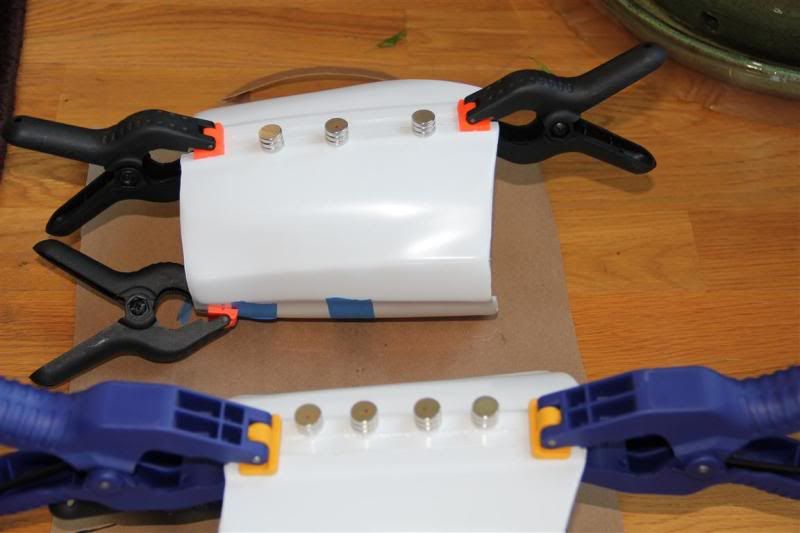
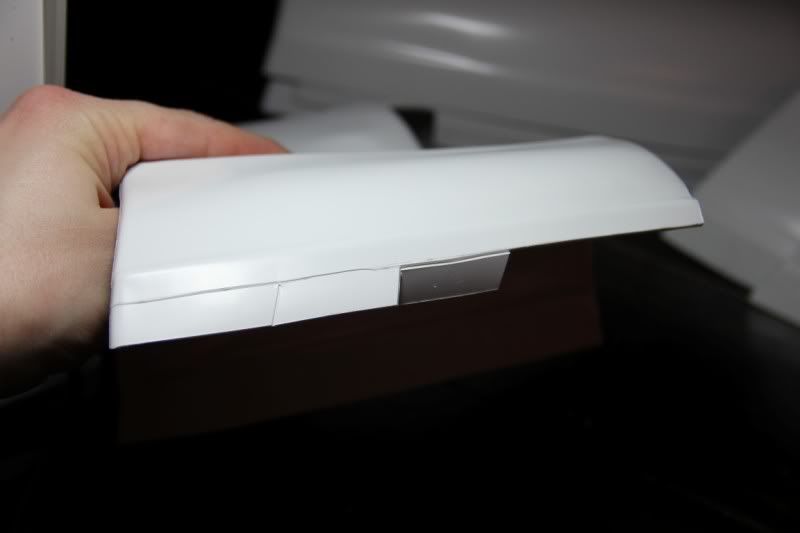
News snaps arrived and progress is afoot!
You can see the size of the shim in the biceps here will require me to have about a 28mm cover strip. Quite a bit larger than standard, but it's no good if it doesn't fit, eh?
Out of town for the next 2 weeks, but next up is strapping for the torso.


-
Nice! Take your time and enjoy the experience. Cheers!
-
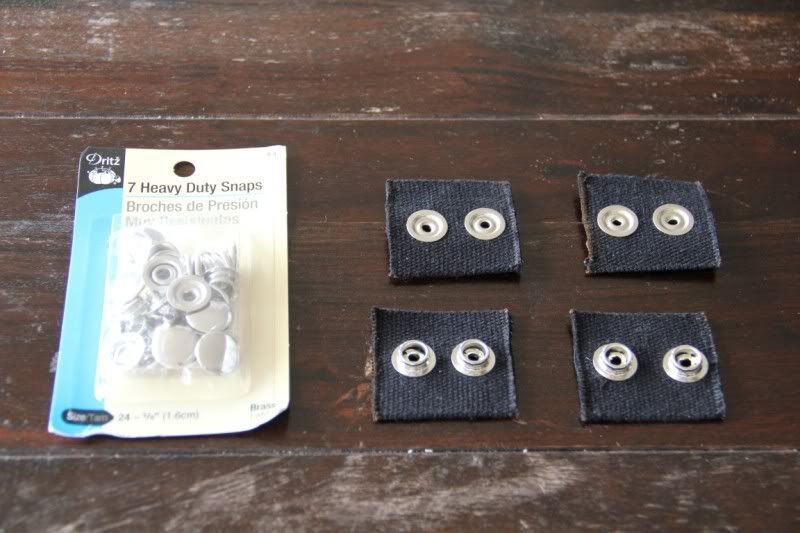
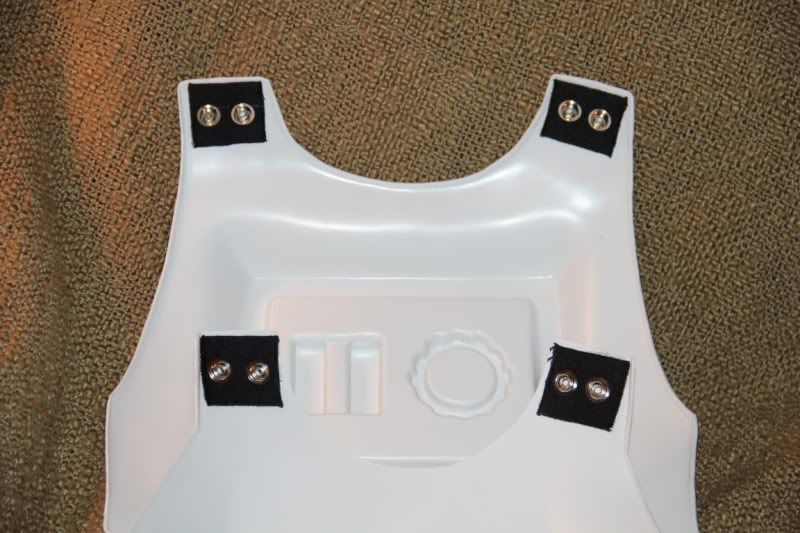
I've discovered the pop rivet method depends on the brand of rivet.
For the Dritz Heavy Duty snaps 1) the rod was too short to go through the plastic and 2) the openings were too small for the washer. They will, however, work just fine with the webbing/elastic methods.
The Tandy Leather rivets have a wider opening and a longer rod. I've since switched to these as I prefer using plastic for a base.
-
So the Drtiz Heavy Duty snaps don't seem to be working out. The pole on the snap side is too short to be used with the ABS strips and the rivet method has too much of a bump on the back side (i.e. glue side). Will return them and have Line 24 snaps on the way.
A more concerning note is that this armor feels very snug on me. I'm 6' and 185. That said I did trim the sides down on the forearms to 8mm each to fit a 16mm cover strip prior to test-fitting. Bone-head move but it can be remedied with a shim.
Shot of the test fitting below. Going ahead with gluing the biceps as they feel good. A lot of concern about pinching with the forearm, though.
-
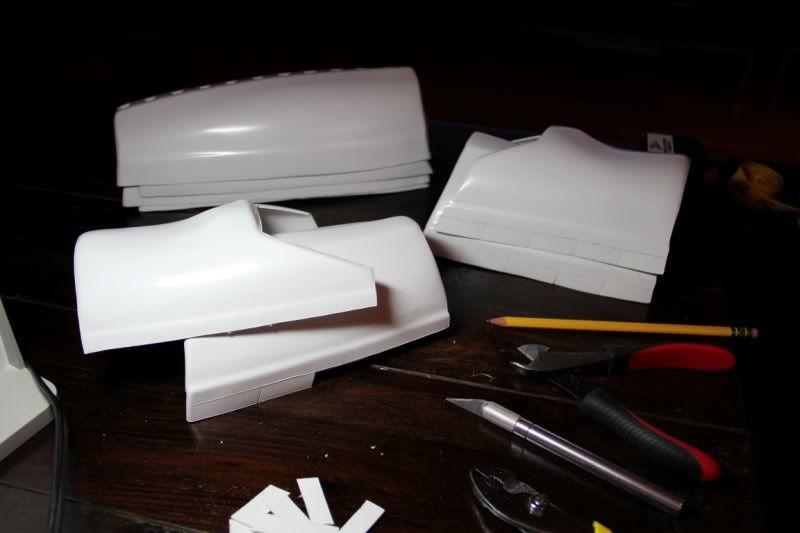
Thanks for the kind words, all. Works' been crazy (par for the course), but I've finally had some time to put some quality time in on this suit.
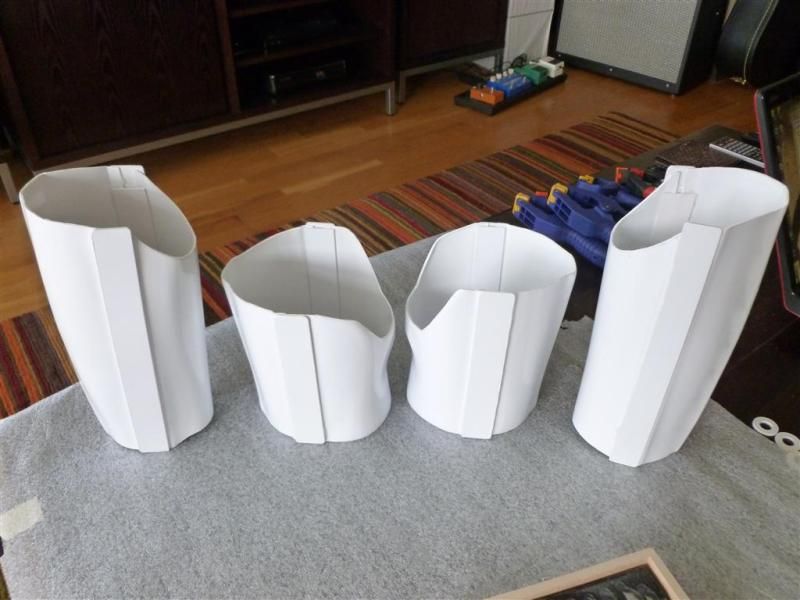
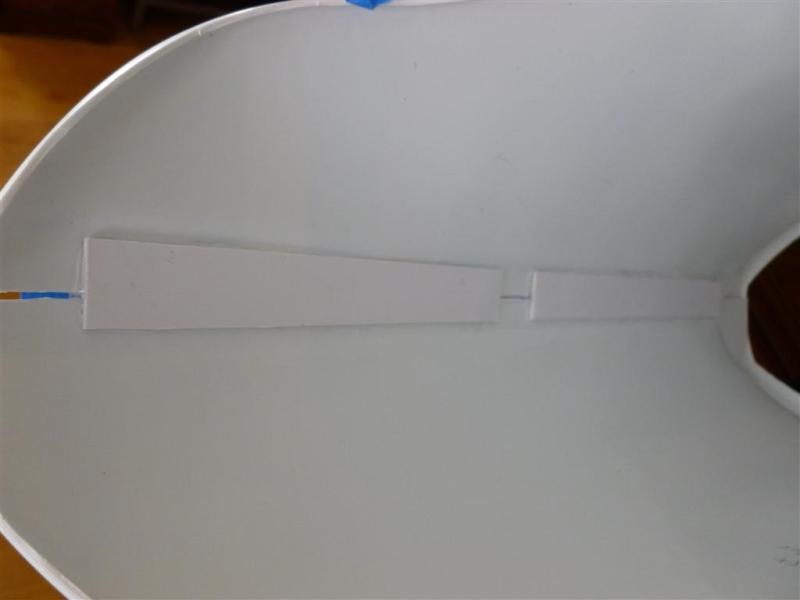
Started with scoring and trimming the biceps and forearms:
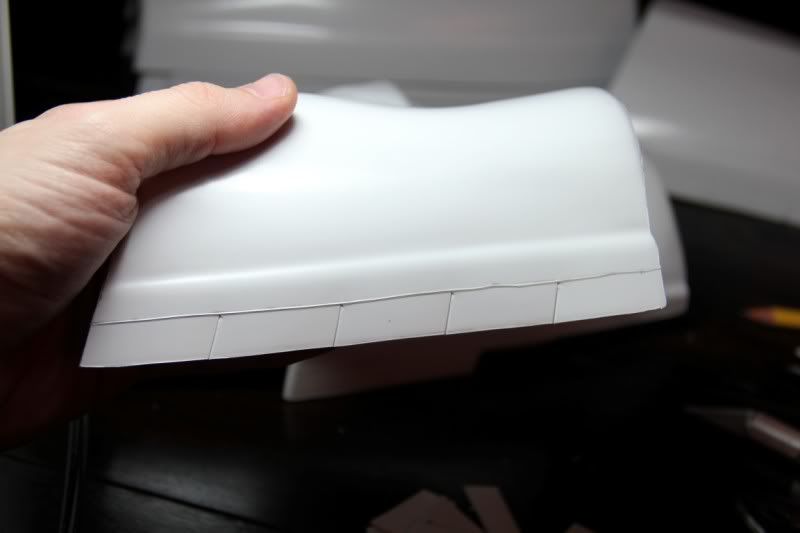
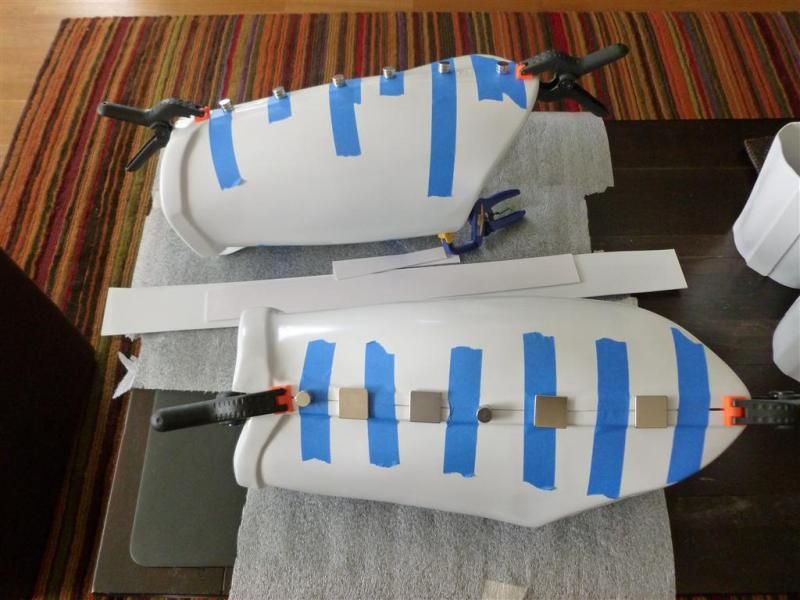
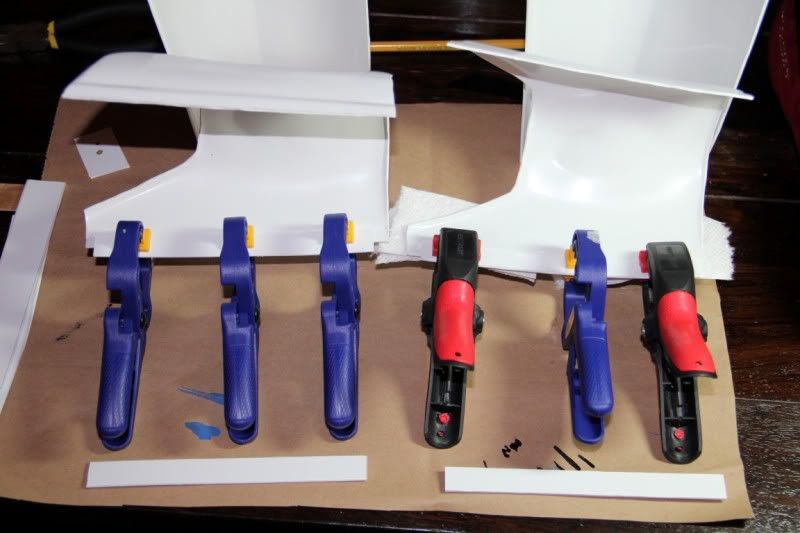
I'm going with the butt join method and using the double enforcement method. Starting with the inside strips I cut 2 160mm and 170mm strips for each bicep.
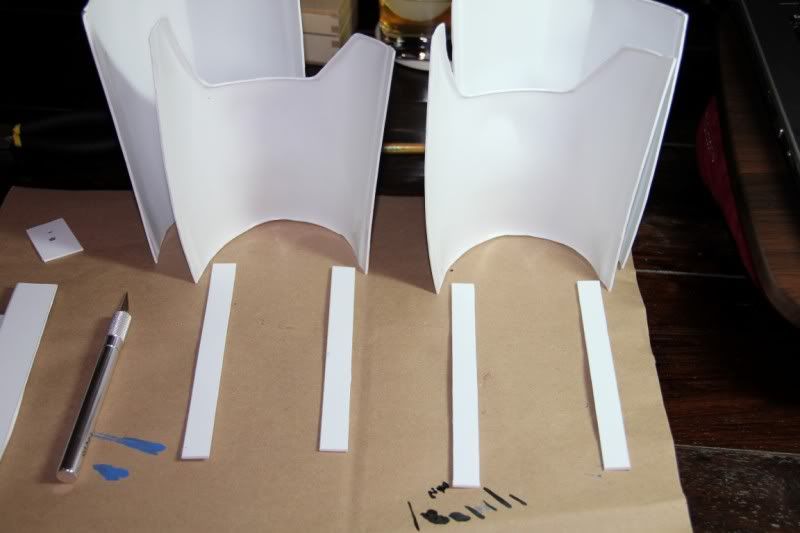
Started on the snaps as well. I'm going with the Dritz Heavy Duty Snaps. The pole on the snap base is too short to work for the plastic strips. I'm going to go with the rivet method, but need to pick up some washers small enough to fit inside the Dritz snaps.

-
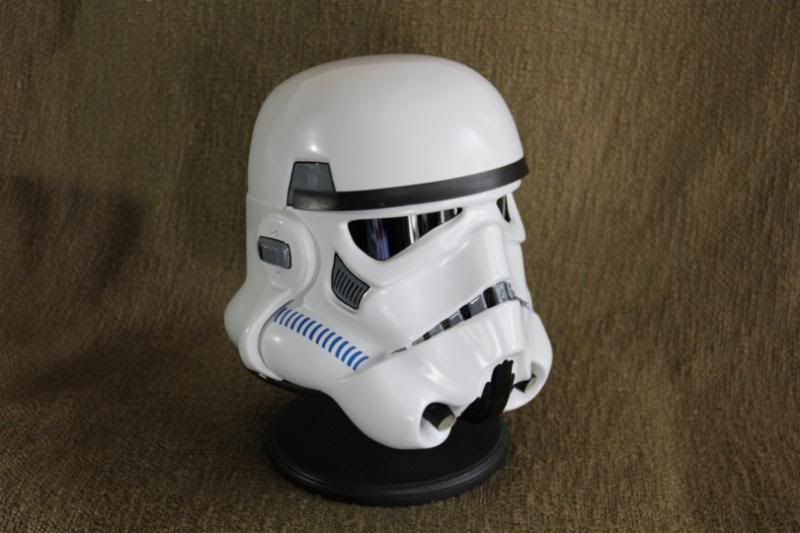
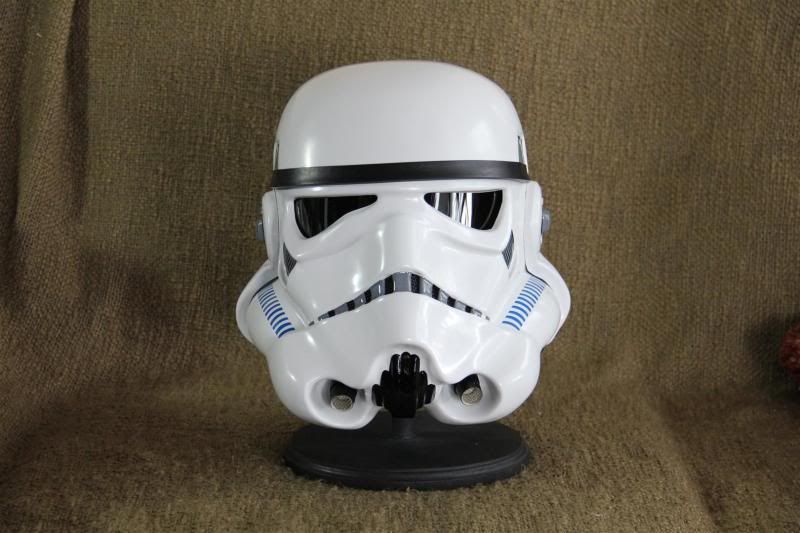
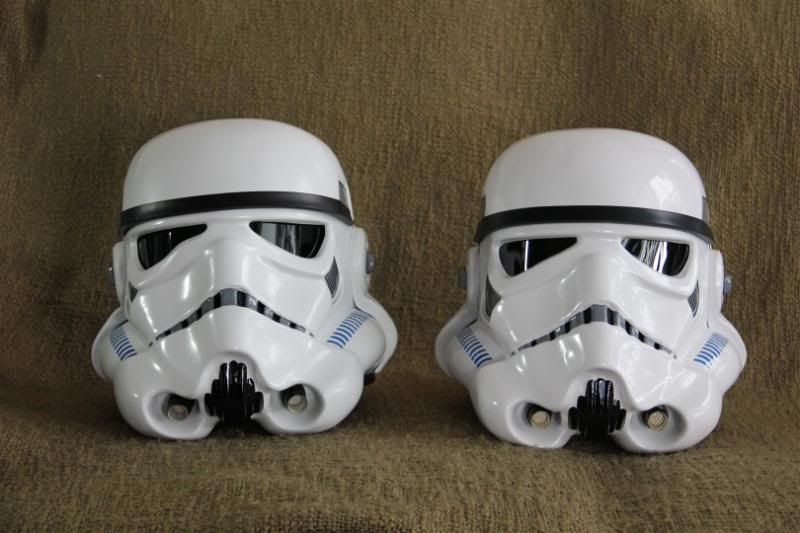
Progress has been made and the helmet is finished. Overall I feel pretty good about it, although there were quite a few lessons I'll certainly take away from this process for the next one. Hand painted everything except for the tube stripes. Used decals for now as I try to dissect what I did wrong with the masking template.
Pics below...now on to gluing!

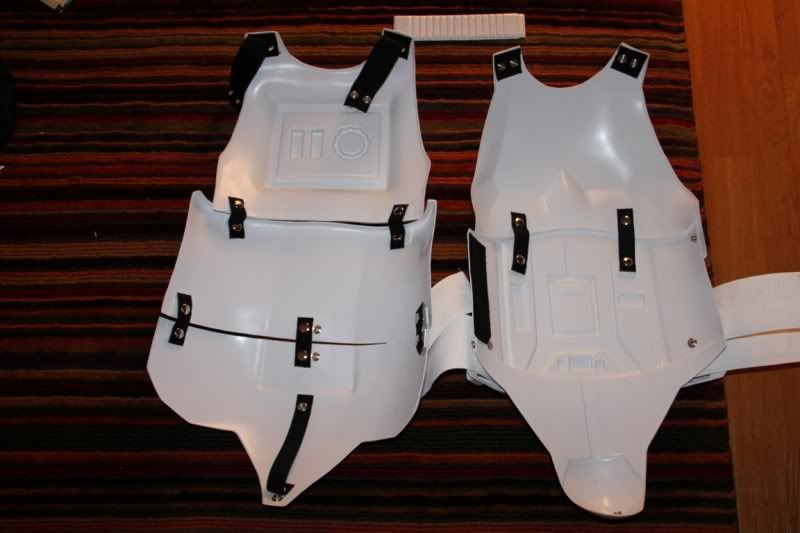
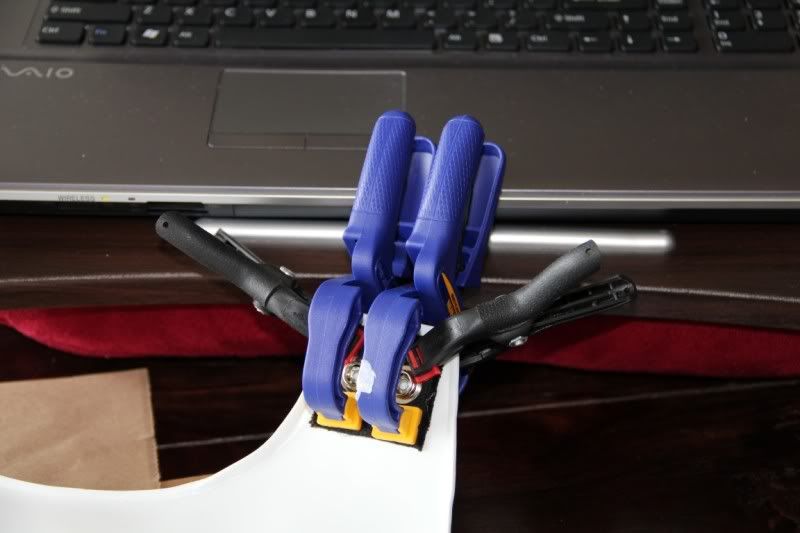
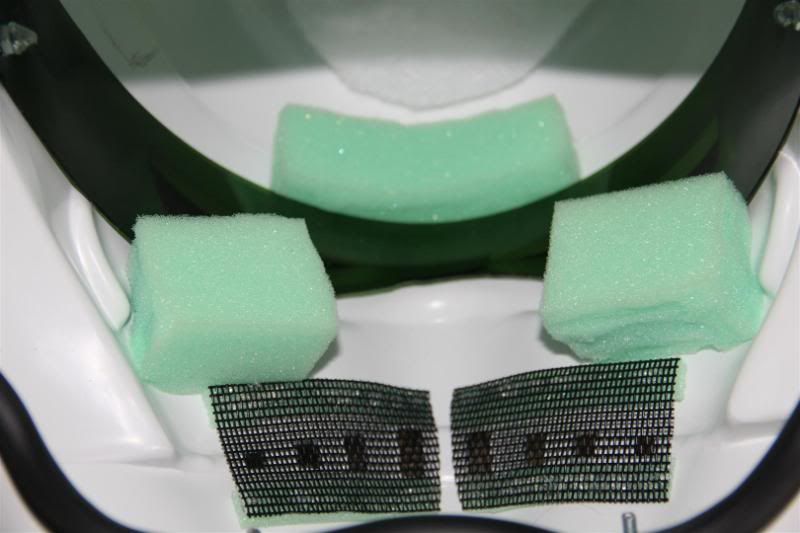
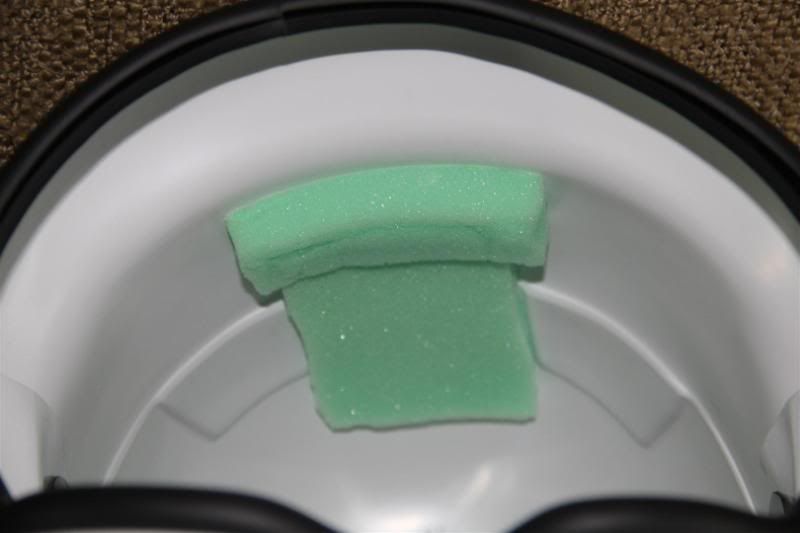
A couple shot of my preferred padding method:
AP on the left, MTK on the right:
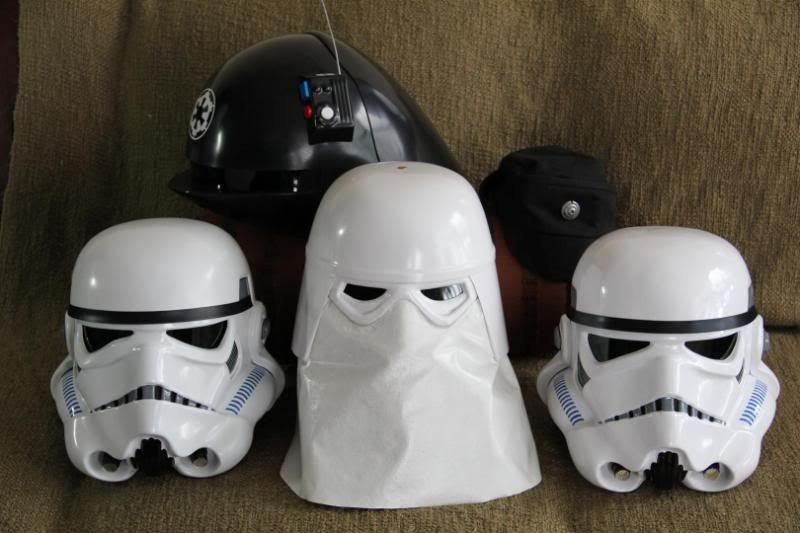
Finally, a family picture for the holidays:
-
Looking good and welcome to FISD!
-
TK-0393 AP Build[*AP]
in Build Threads Requireing Maintenance
Posted
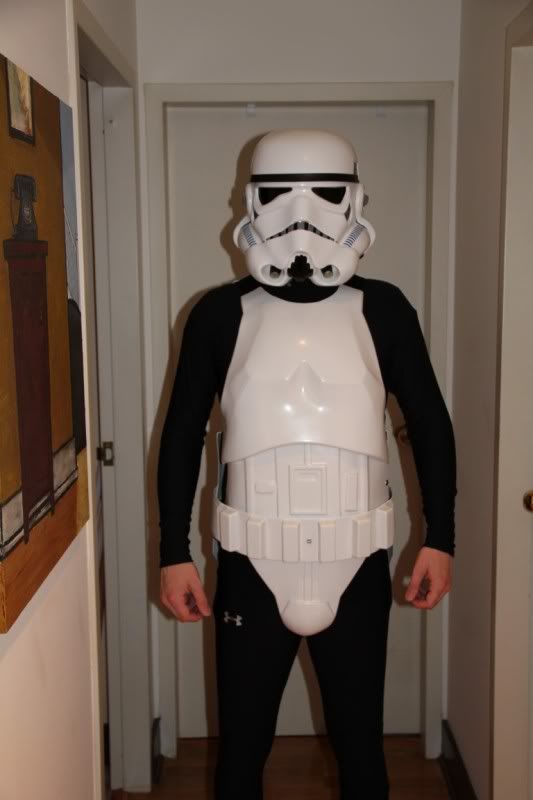
Initial strapping system is complete! I raised the shoulders (thanks HawkTrooper) and moved them forward. Still have a laundry list of small items to address but the fit feels great. I can't believe how much more comfortable it is than my 7-year old FX suit's setup. That's on my list of mods to make next.
Thoughts and suggestions?
Even in my test run I managed to capture a Wookiee companion beast: