

Jancelot
-
Posts
242 -
Joined
-
Last visited
Content Type
Profiles
Forums
Gallery
Articles
Media Demo
Posts posted by Jancelot
-
-
Looking great, Reza!
-
Congrats and well done, trooper!
-
Likewise, I used a heatgun and pressure. Worked great.
-
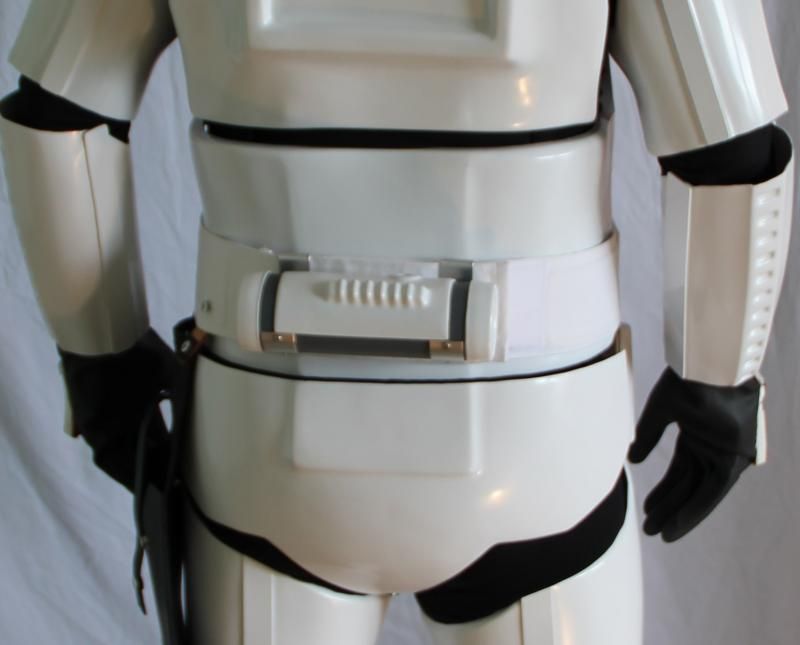
Looking at the pic again I see that the belt is too tight and too low.
Try to keep the space between the ab and kidney plate more parallel. If you're going for EIB/Centurion you'll likely need to shim the sides as well. For placement it should rest about 1/2 to 1 inch above the cut.
I know as I had mine the same way. I ended up using nylon strips instead of elastic. That kept the top part from stretching out.
-
Looking good! There are several challenges parts to the AP build, but it's a great looking suit in the end. Keep it up!
-
I have the same issue with my butt plate. Can't help genetics.
 Once you get the full suit on you can adjust the tightness and location of the belt along with the length of the crotch strap to find the right balance.
 -
Congrats! Great looking suit.
-
Impressive detail!
-
I am 6' 200 lbs. Do you think AP would fit? It looks like it is desgned for smaller people.
I'm just shy of 6' and 180 lbs. I'd say 6' is the absolute max for AP. Mine fits, but it took a lot of tweaking of the strapping to get it balanced out. I wish I had taken a photo of the pile of discarded straps.
You'll likely need to shim the sides and possibly the thighs depending on your weight distribution.
My build thread is linked in my sig. Cheers and let me know if you have any questions.
-
Thank you!
-
-
-
Chris Jantze 393 Centurion Letter
-
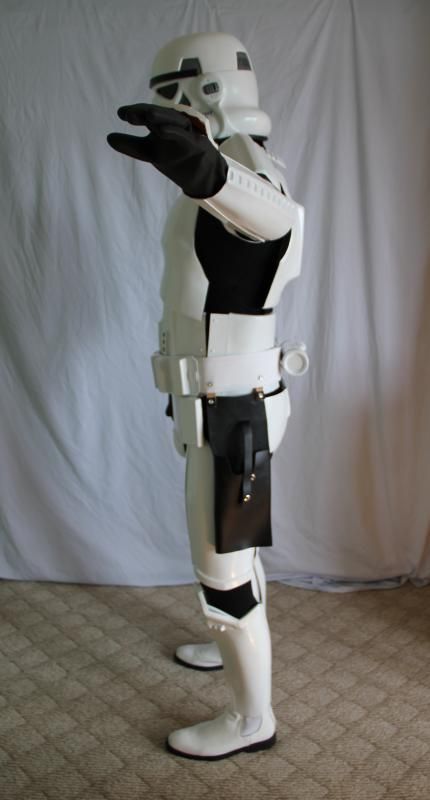
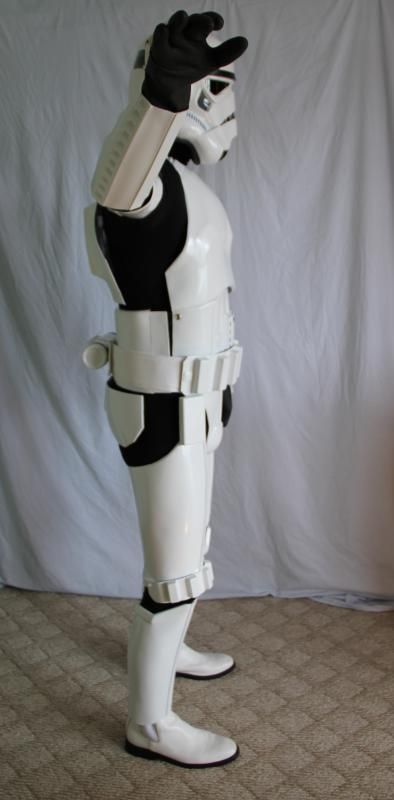
Woohoo! It's a been a loooooong, challenging journey for me but well worth it. Thanks to all of you for the encouragement, critiques and patience. Now...what can I upgrade next...
Cheers! -
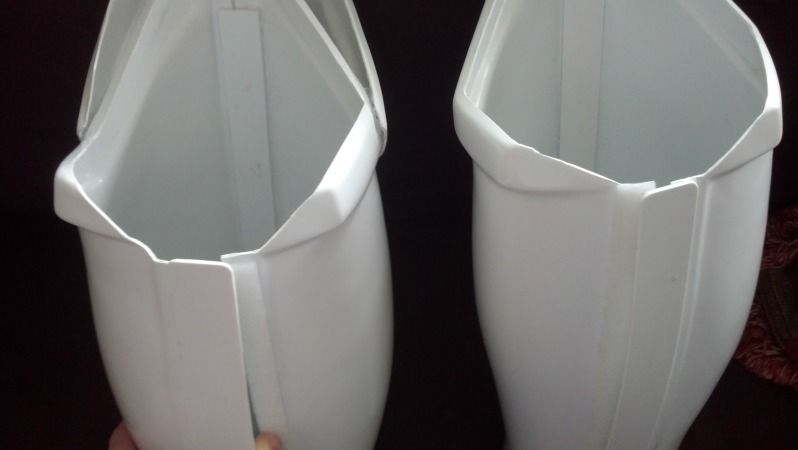
I think it's the light on the outer ridge that makes it look that way. But they both open to the inside.
-
Thanks Phil. I overlooked the "In Progress" label on the side shims. I removed it and updated the section title to "Side Shim Seam Lines". I'm ready for feedback. Cheers.
-
First of all, my apologies for how long it has taken for me to reply here. I've had these mods complete for a couple months but just haven't taken pictures. Adjustming to new parenthood was my sole focus for the past few months.
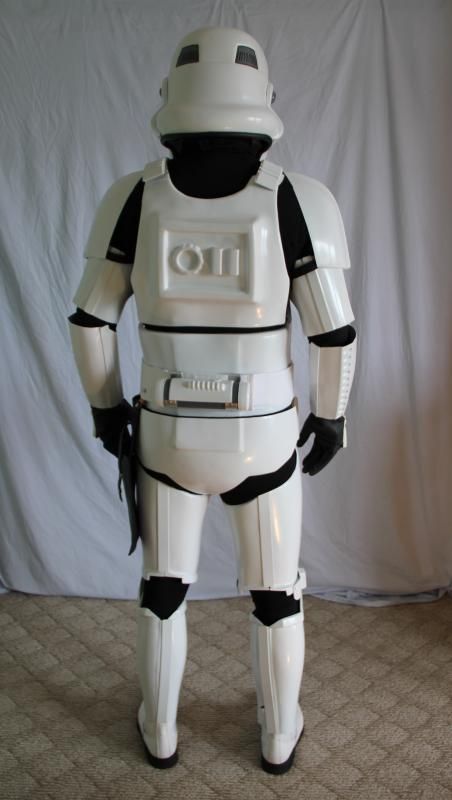
I have had several opportunities to troop in this suit and it fits great!- knee plate alignment
- smooth the transition between armor and shim with putty or caulk
- raise belt in the back
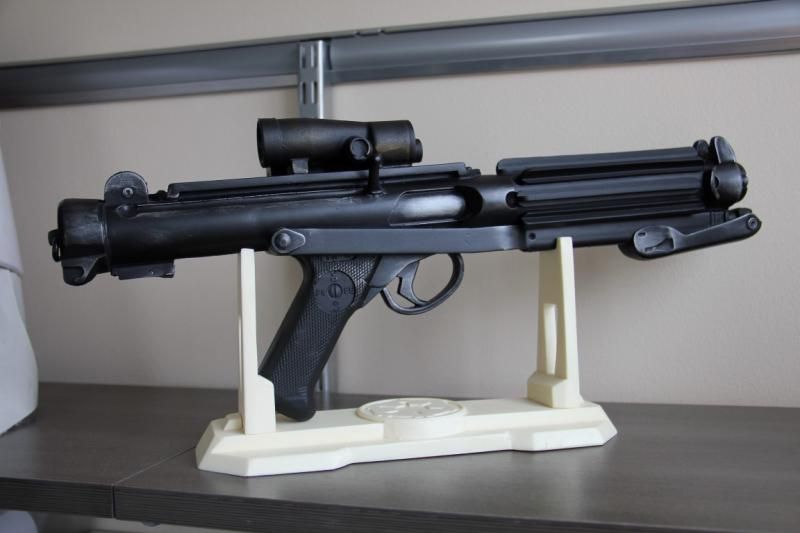
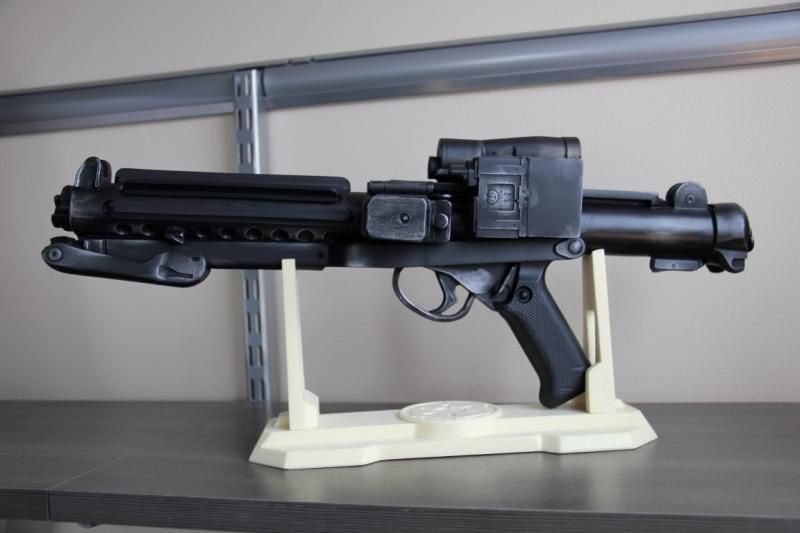
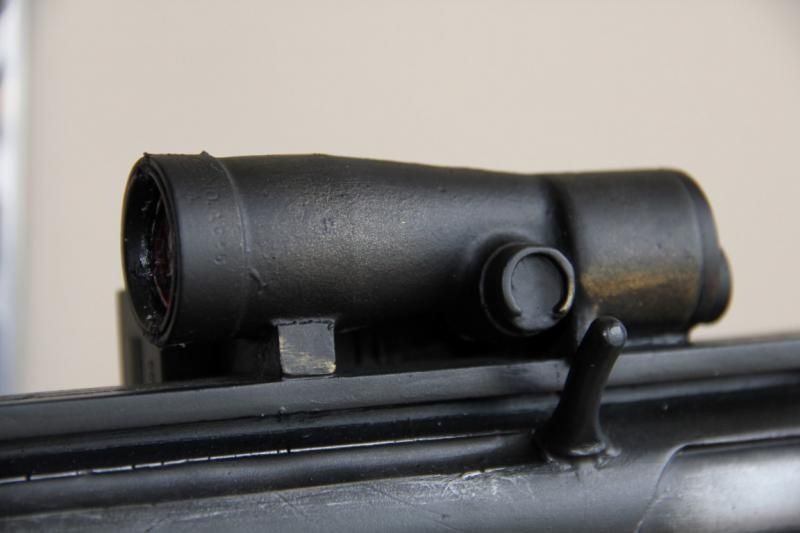
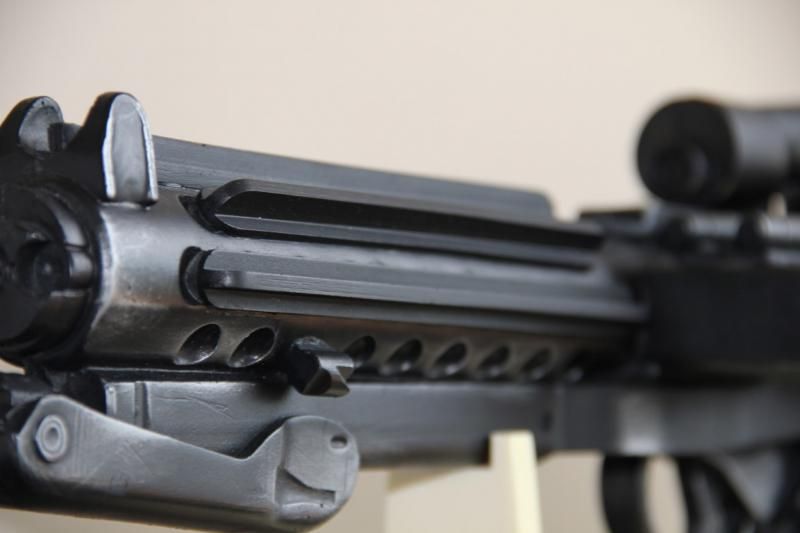
- blaster scope weathering
- blaster seam line sanding
Knee Plate Alignment
Side Shim Seam Lines
NOTE: ABS paste used
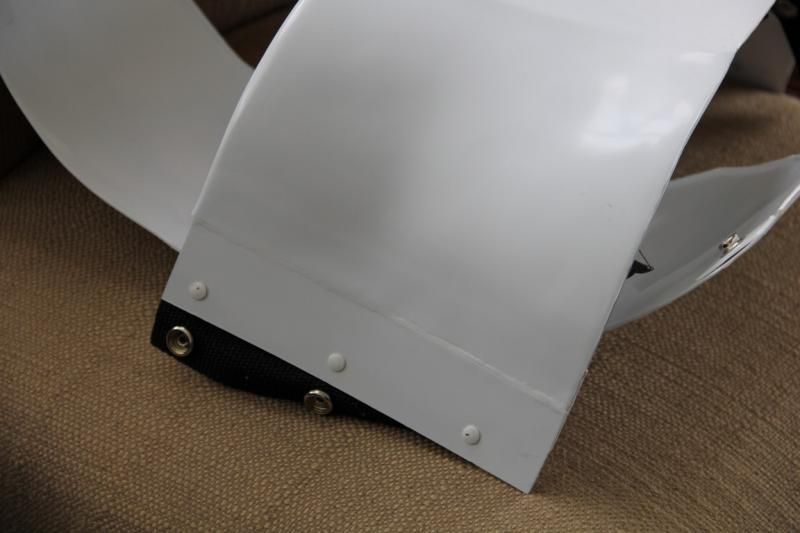
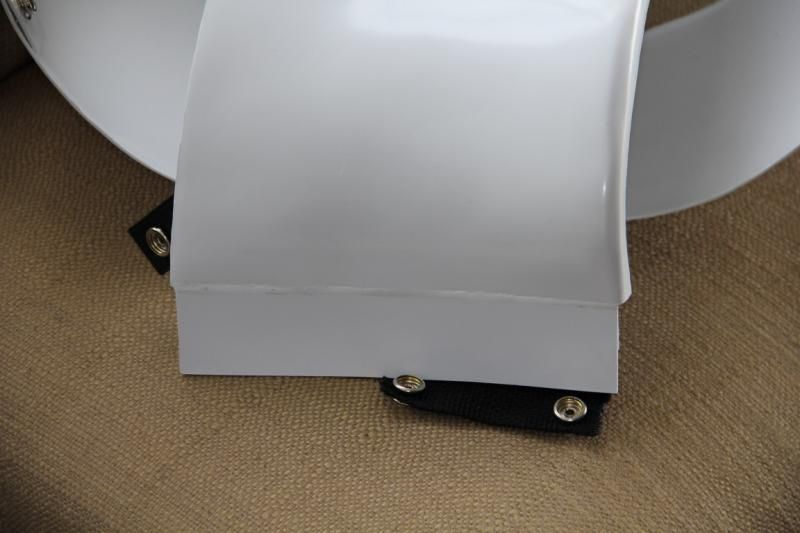
Belt Placement
Blaster Mods
-
Hi Vern. Definitely doing the bucket twist (is that Chubby Checker song?).
I've already trimmed the front and back a bit. I didn't want to trim the front too much as little ones can see up easier. But that does seem to be the only solution with the way I assembled it. I thought about pulling it apart, but the holes on the side would be visible and need to be filled, etc.
Thanks for the tip!
-
Due to inexperience I built my AP bucket with the opening a too small (i.e. side gaps are too close). On this bucket the S-trim frequently comes off as my cheeks drag against it let alone trying to get my ears through. It is especially difficult when I'm in full armor and wearing a headset. I have two other helmets which were built bigger and do not have this issue. The pressure hold works fine.
I'm planning on selling my AP bucket to someone with a smaller noggin' as soon as I can lock down a new AP bucket kit.
-
Looks like a great troop! Star Garrison is my old group. Good times.
-
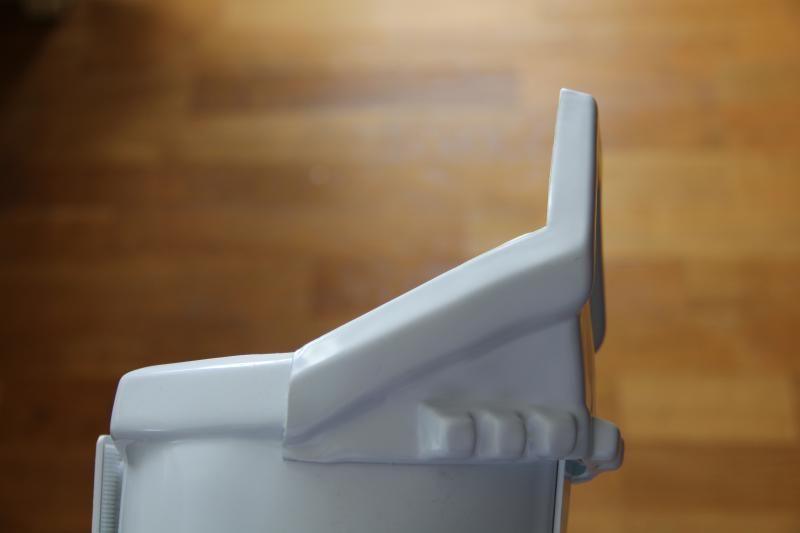
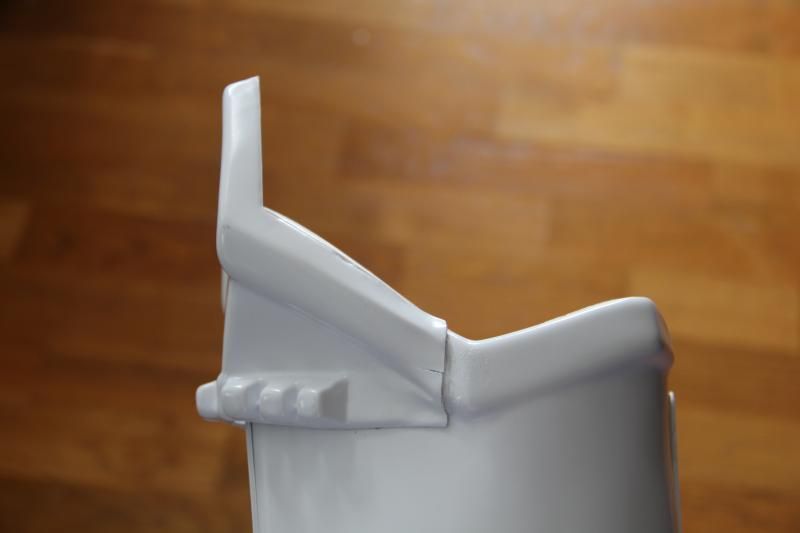
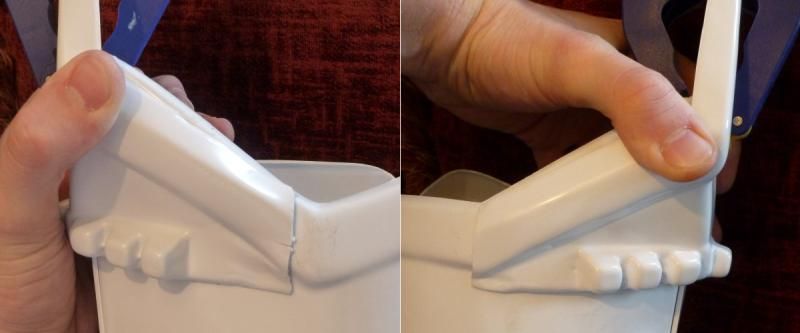
Heh, noted, and in good faith I have been attempting to do all along. ANH screen caps as guides are a bit nebulous given the irregularity from the hasty way props were assembled. I took a baker's dozen blu-ray screen caps to study and it appears that "at or slightly below below the shin-line" was "standard". I don't think I'll try to melt it on per the one in that pic, though.
Had a go with the heat gun this morning and was able to bend the sides a bit further. Then I went at the connection points to mold them to the shin. I feel this looks very close to several of the suits in my screen shots. While the crack certainly is in the spirit of the movie suits, I plan on smoothing it with ABS paste and sanding after gluing.
-
-
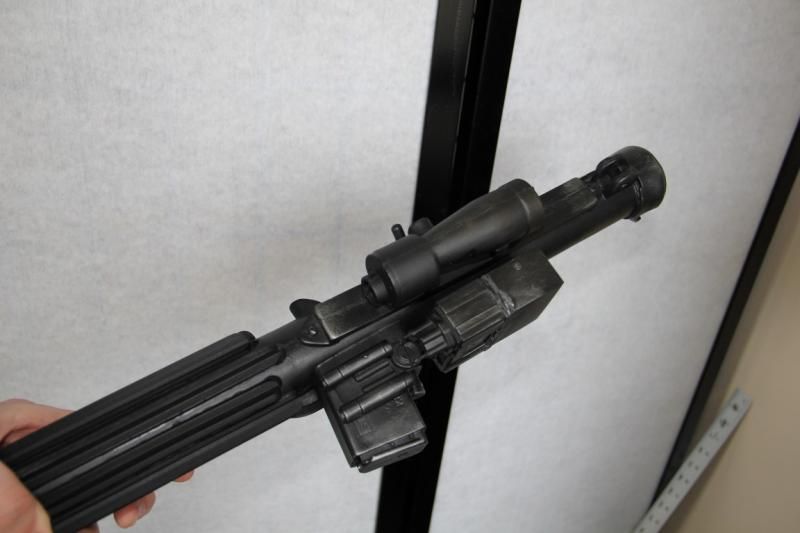
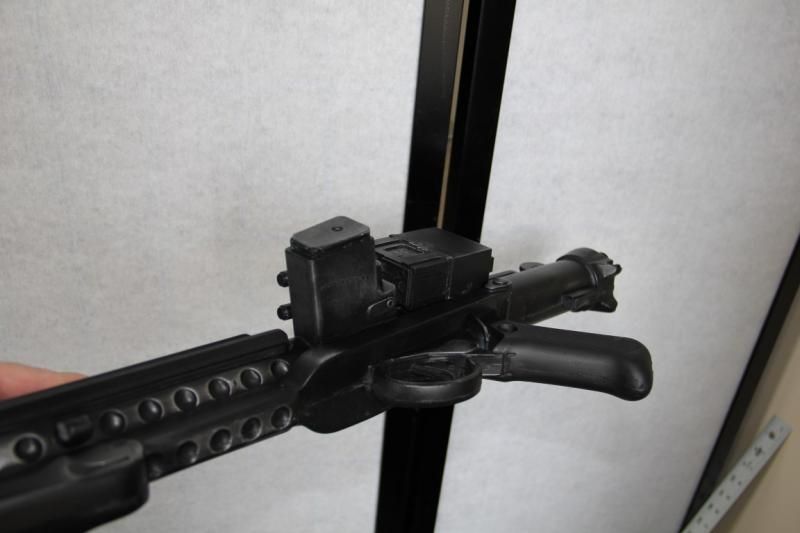
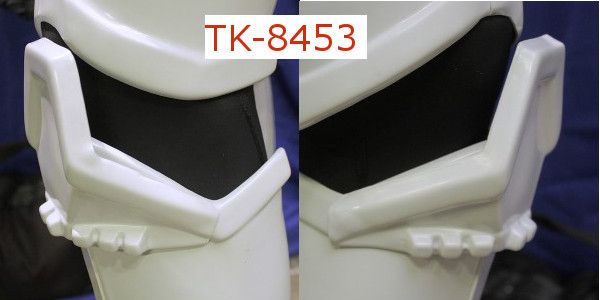
NOTE: below picture is not my sniper plate, but a reference for the following question.
I was able to remove the sniper plate and am ready to re-position. For reference, aligning it per David's (TK-8453) Centurion thread is still good?
http://www.whitearmo...on-status-ap76/
-
Very nice! Your meticulous precision and perseverance will pay off in spades.


Revan's Mask Build (Star Wars the Old Republic - SWTOR)
in The Foundry - Armor and Prop Making
Posted
Excellent walk through! You do very impressive work and I really dig my acolyte mask from you.