Leaderboard


Popular Content
Showing content with the highest reputation on 12/18/2023 in Posts
-
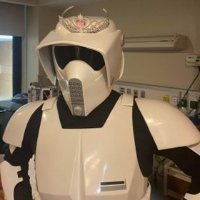
That's just Carl. He was new there and was last seen looking for the vending machines.2 points
-
Getting back to the build! Started the lower legs. Like other parts of the 850 Armor Works kit, the sizes are big for me. I needed to cut down the length and mold them so they were tighter around my leg. I used a large pan on the stove top in order to get the full piece heated at once. It was tricky and took several times of shaping and fitting before I was happy with them. I decided to use a butt joint rather than overlapping the front joint. I felt that the front cover strips wouldn't cover the joint if I overlapped it. I do worry that taking the lower legs on and off will eventually weaken the butt joint, however, it's reinforced on the back and will eventually have the cover strip on the front. I'm hoping those will make the joint strong enough. I had to trim the back of the lower leg armor quite a bit in order to duplicate the CRL. Once I sized them for me, the raised detail and the opening of the back of the knee had to be recreated as best I could. I worked on the left leg with the sniper knee plate first. The sniper knee plate also had to be reduced in size to match the size of the leg armor. As I attached it, I taped a cover strip underneath to ensure there was enough space when it comes time to attach one. After a final test fit, I attach a little bit of foam on the inside to bring it off of my leg a little so it was more comfortable and sat more symmetrical along my shin. I also attached velcro at the back bottom of the armor. In the picture below, the inside of the armor is on the outside to show where the velcro was placed. I finished up with the right lower leg and assembled it with a butt joint like the first one. At first, I was overlapping the joint but after I thought about it and did some test fitting, the butt joint made more sense and allowed me to get the front width for the cover strip to be more consistent from top to bottom. I still need to clean the excess glue off the front once it dries more.1 point
-
1 point
-
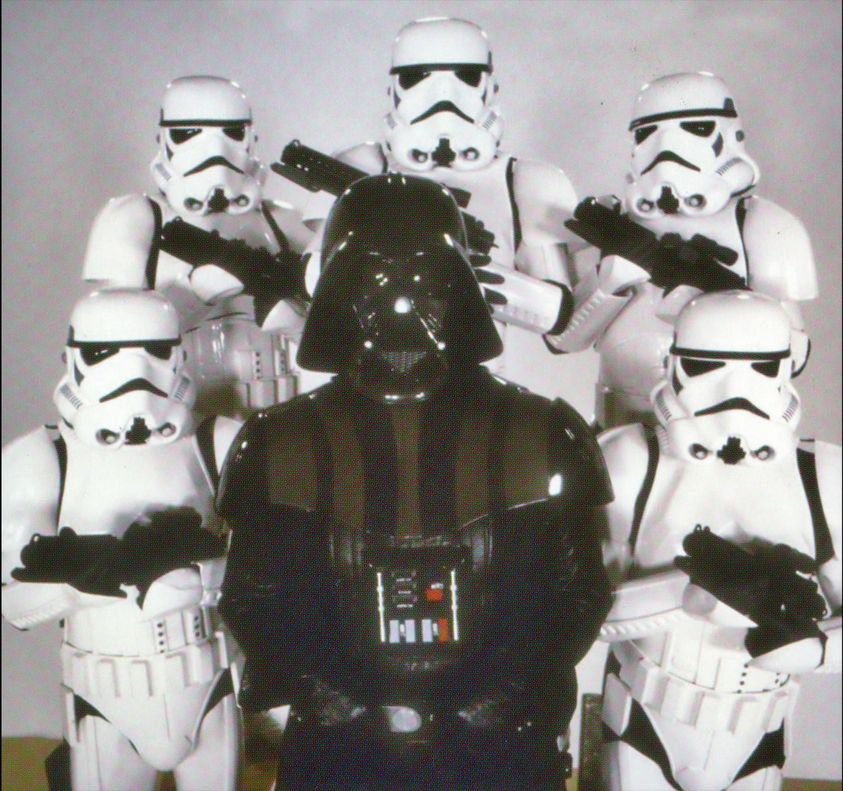
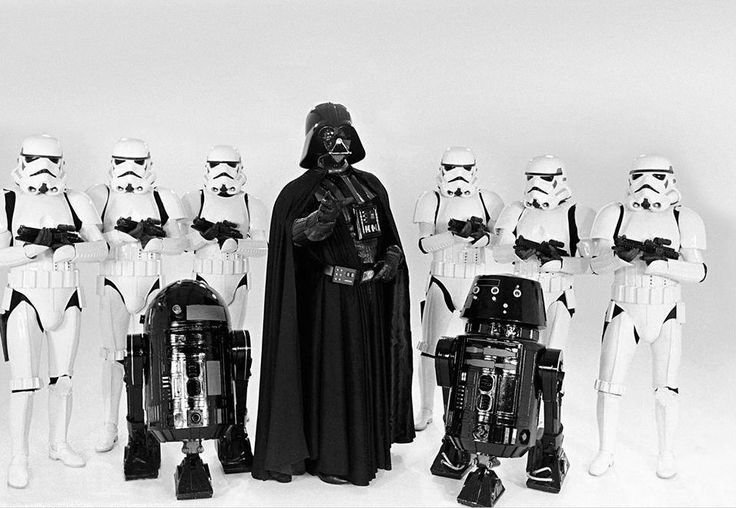
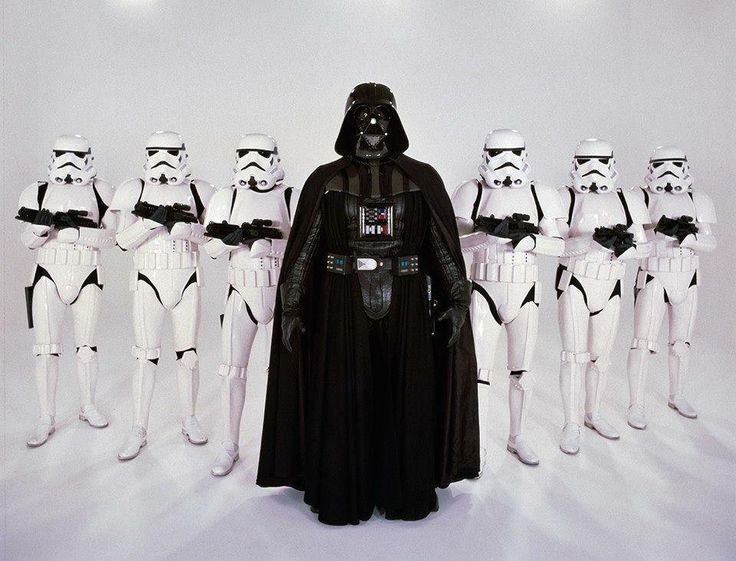
Managed to find a couple more photos Some great information in regards to the differences in helmets at starwarshelmets.com

-Moviestillsandphotos.jpg.8abbcd7ec43779735f8bc20cfaef2564.jpg) 1 point
1 point -
This meme is more star wars than FISD but if you like and don't want me to take it down let me know1 point
-
Could I add a suggestion to your great info piece? When making magnet sachets, it's a really good idea to make sure that you've got polarity-correct pairs. An easy way to help identify magnet pairs is to assemble them using fabric with high-contrast colors. Kind of like this:1 point