


SheaJeff
-
Posts
273 -
Joined
-
Last visited
-
Days Won
1
Content Type
Profiles
Forums
Gallery
Articles
Media Demo
Posts posted by SheaJeff
-
-
Here's how it looks with then ends lined up. Notice that the center box is not lined up with the front seam.
Which is correct?
-
I have the AM 2.0 kit
I'm going for basic approval.
I read on Ukswrath's build thread that he centered the center ammo box on the center of the thigh. His middle box lines up exactly with the cover strip.
I've seen other builds where people don't do this. They simply line up the belt so the ends are even on both sides then attach it. The ammo belt is "even" between the sides, but the center box doesn't line up.
My issue is that if I line top the middle box to the front centerline of the thigh, it becomes uneven from side to side.
Should I center the center box, or even out the belt between the two ends, and not worry about box alignment?
Lining the center box up shown in these 3 pictures:

-
I also have the AM 2.0 kit.
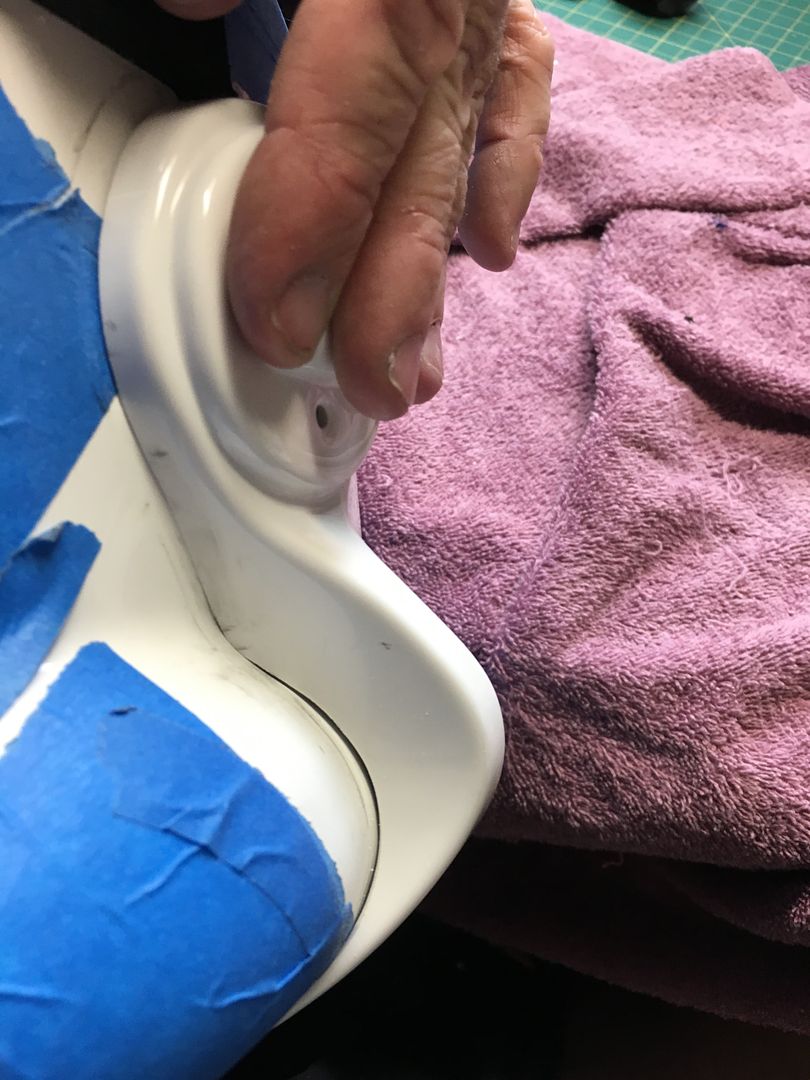
Did you notice that the Hovi tips are considerably bigger than the indentation, and they can't sit flat. This means that there is a big gap behind them.
Do you have the gap between the Hovi and the helmet as well?
-
http://www.whitearmor.net/forum/topic/26301-NE-helmet-build
Found this link too. It helped me understand the cheek screw.
-
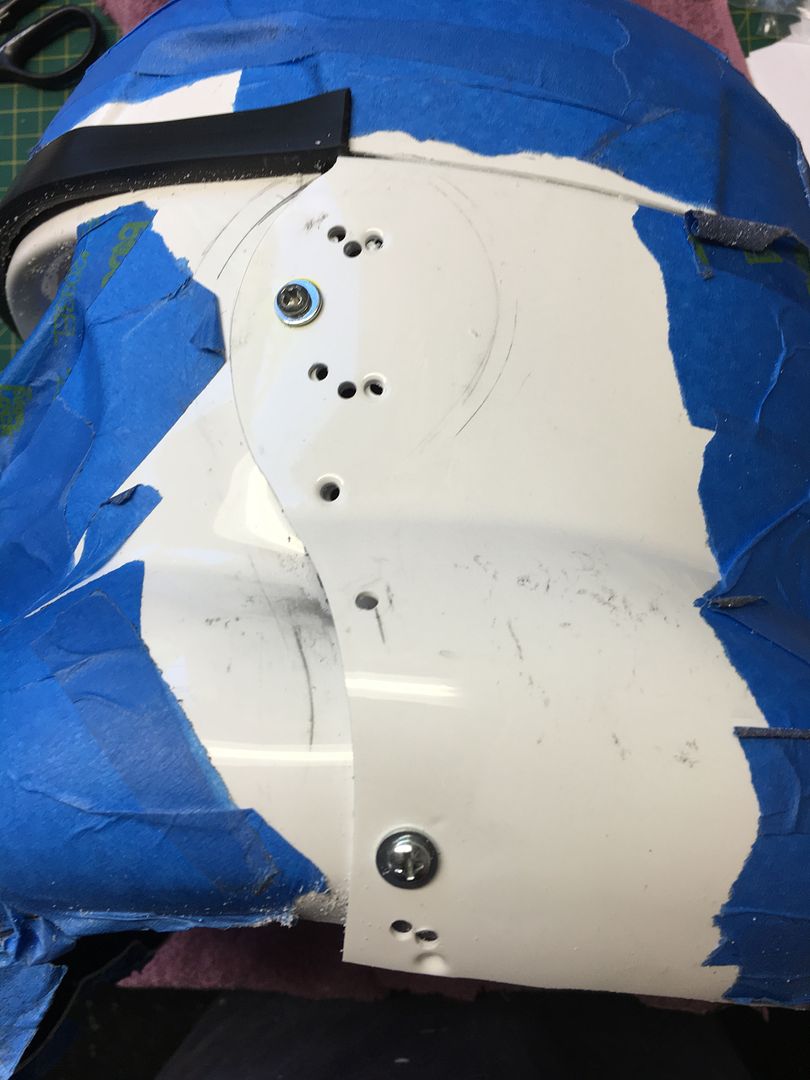
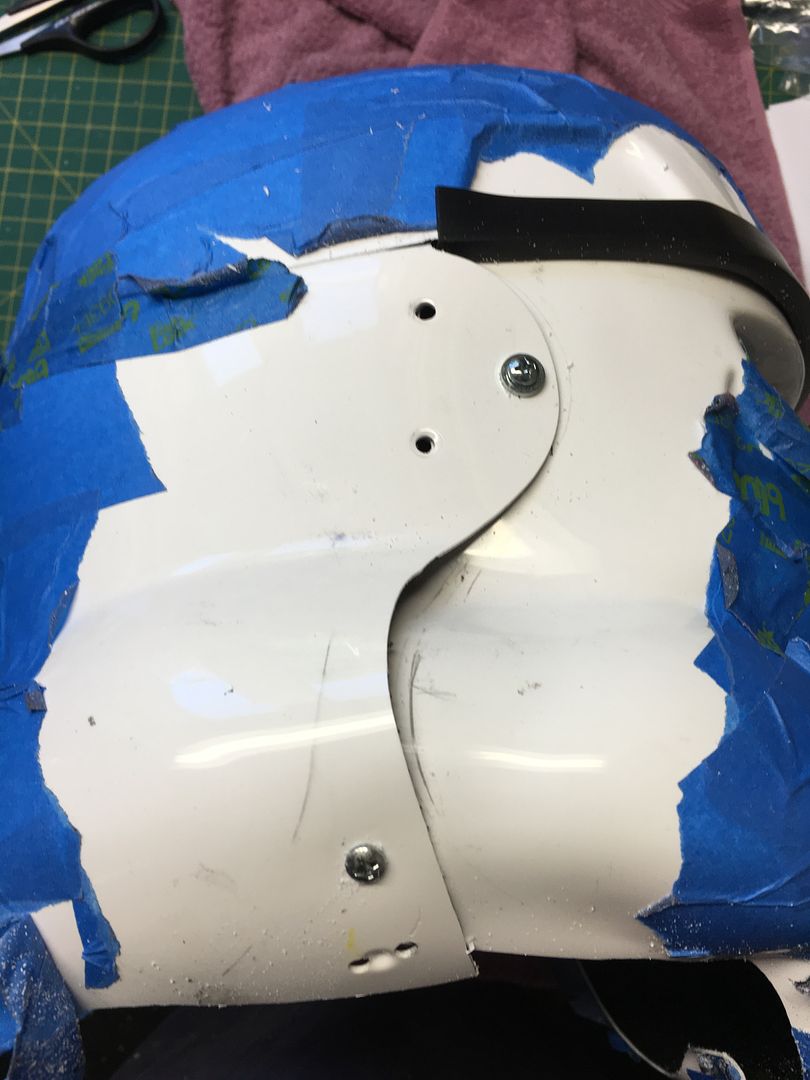
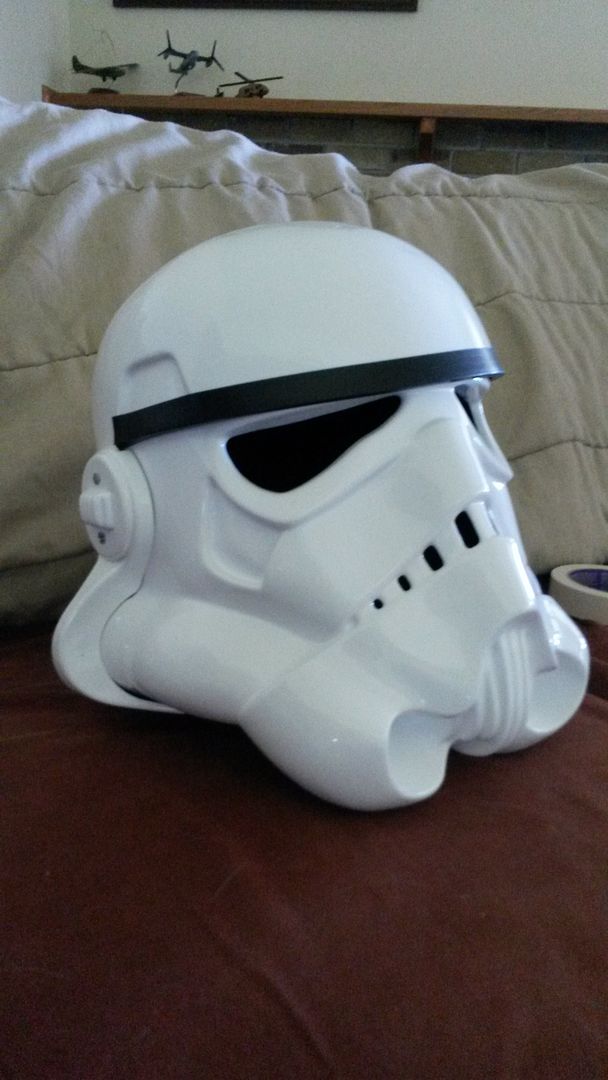
Here's my pictures.
Just trying to help you avoid the "vent" holes I ended up making!


-
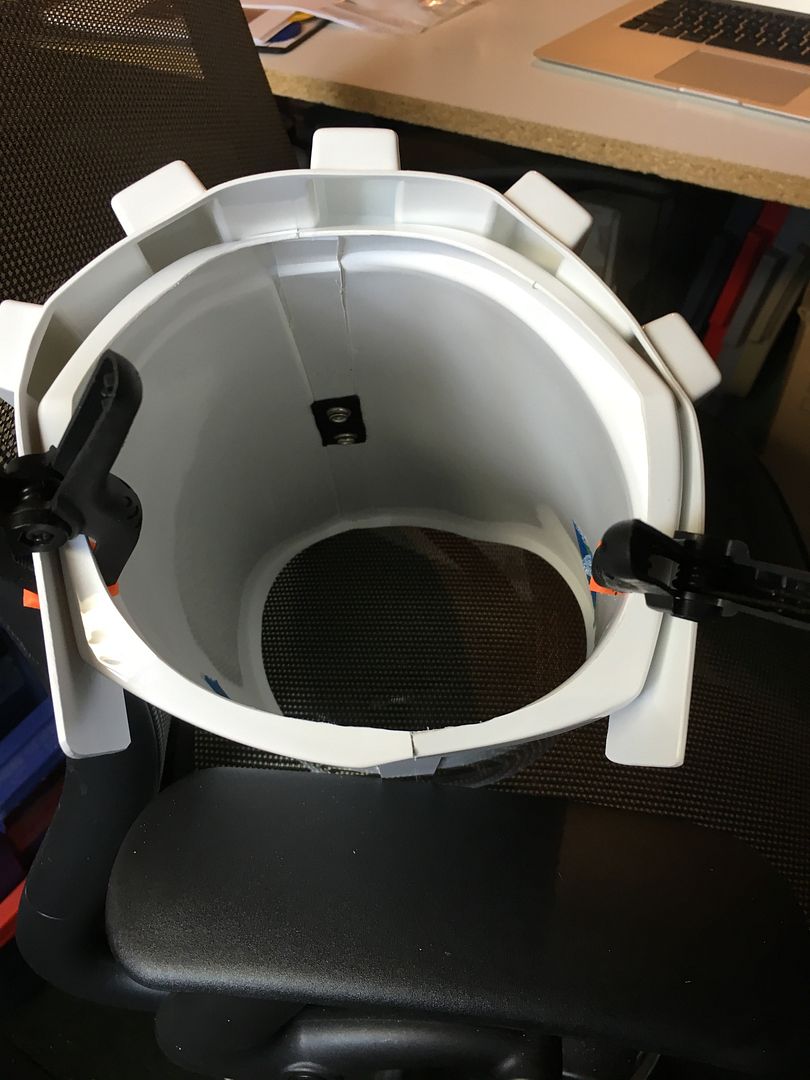
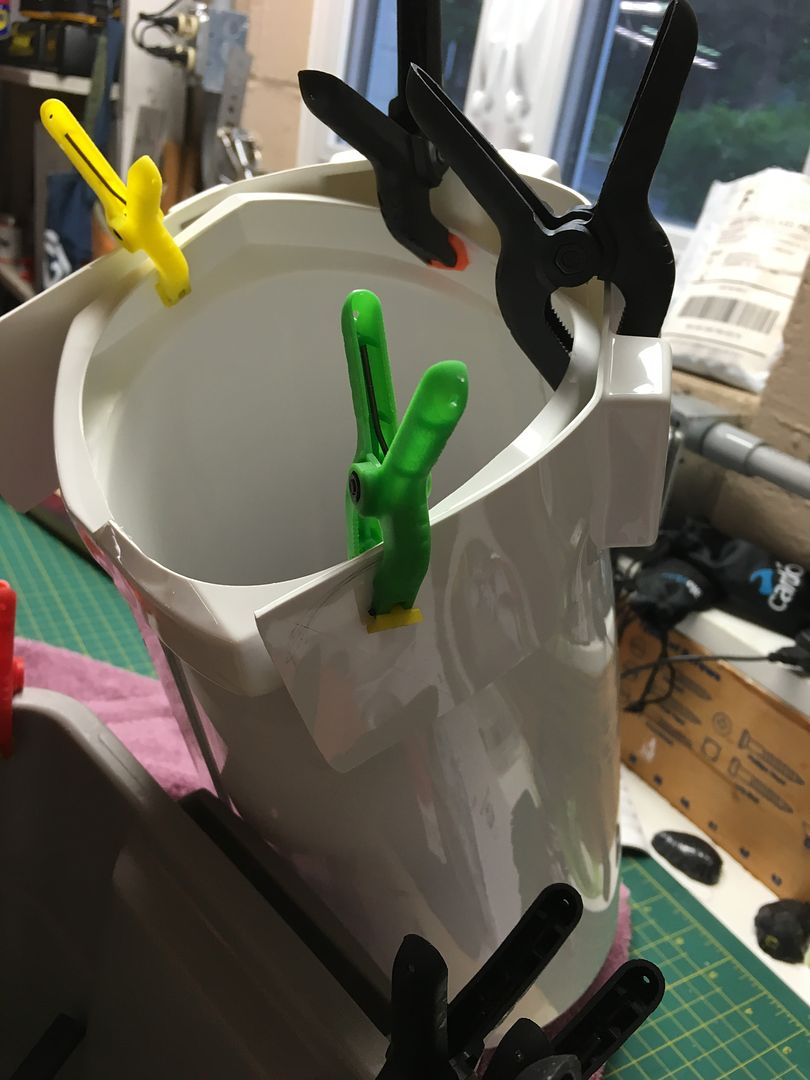
Be careful when matching the face to the back!
Don't just drill the dimples and think it will line up. My AM 2.0 I just got in May was way off and I ended up trying multiple times to line it up.
Ultimately I drilled the middle dimple on one side that lined up the brow best, then the middle dimple on the other side. Before you drill the top and bottom holes, squeeze the cheeks together to beat match the ear, then install cheek holding screw. Then the bottom the ear, then you can mark and drill the top and bottom holes.
It took a lot of trial and error but I got it really nice.
-
Of course, it's probably all CGI anyway. Just some guy in a green suit with dots on it.
-
Maybe it's injected molded!
Disney has spent the money to buy tools so they can sell costumes to fans. Why not cash in on it?
-
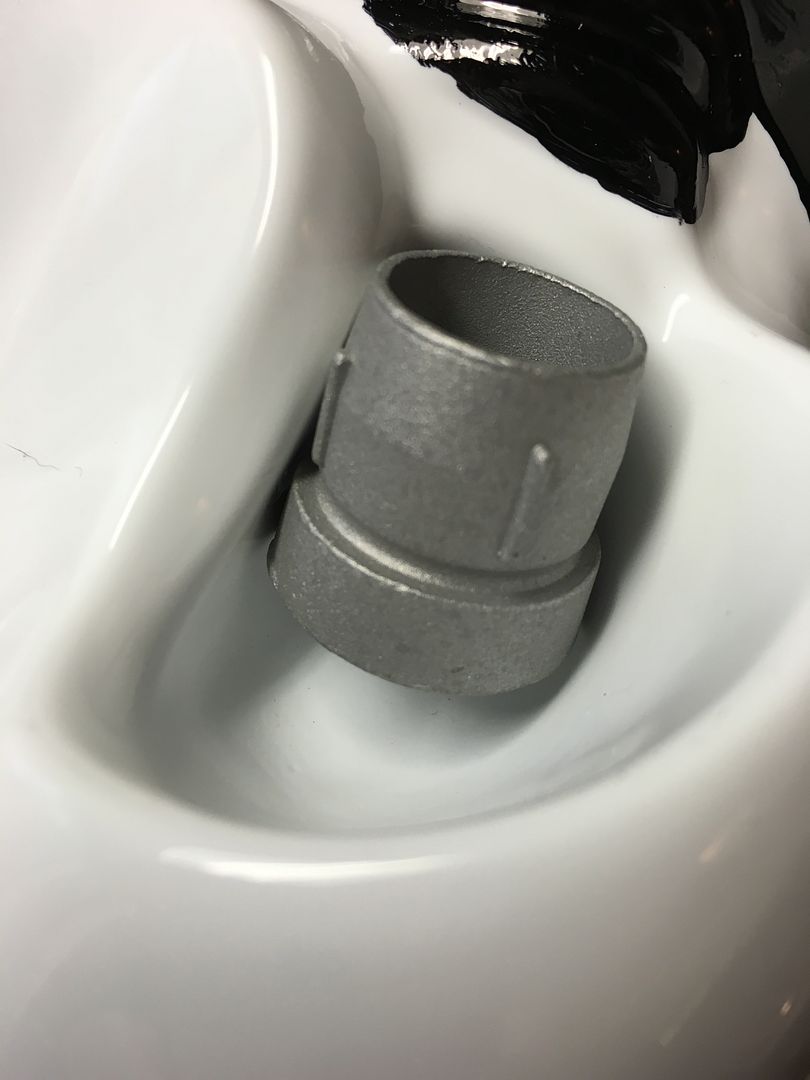
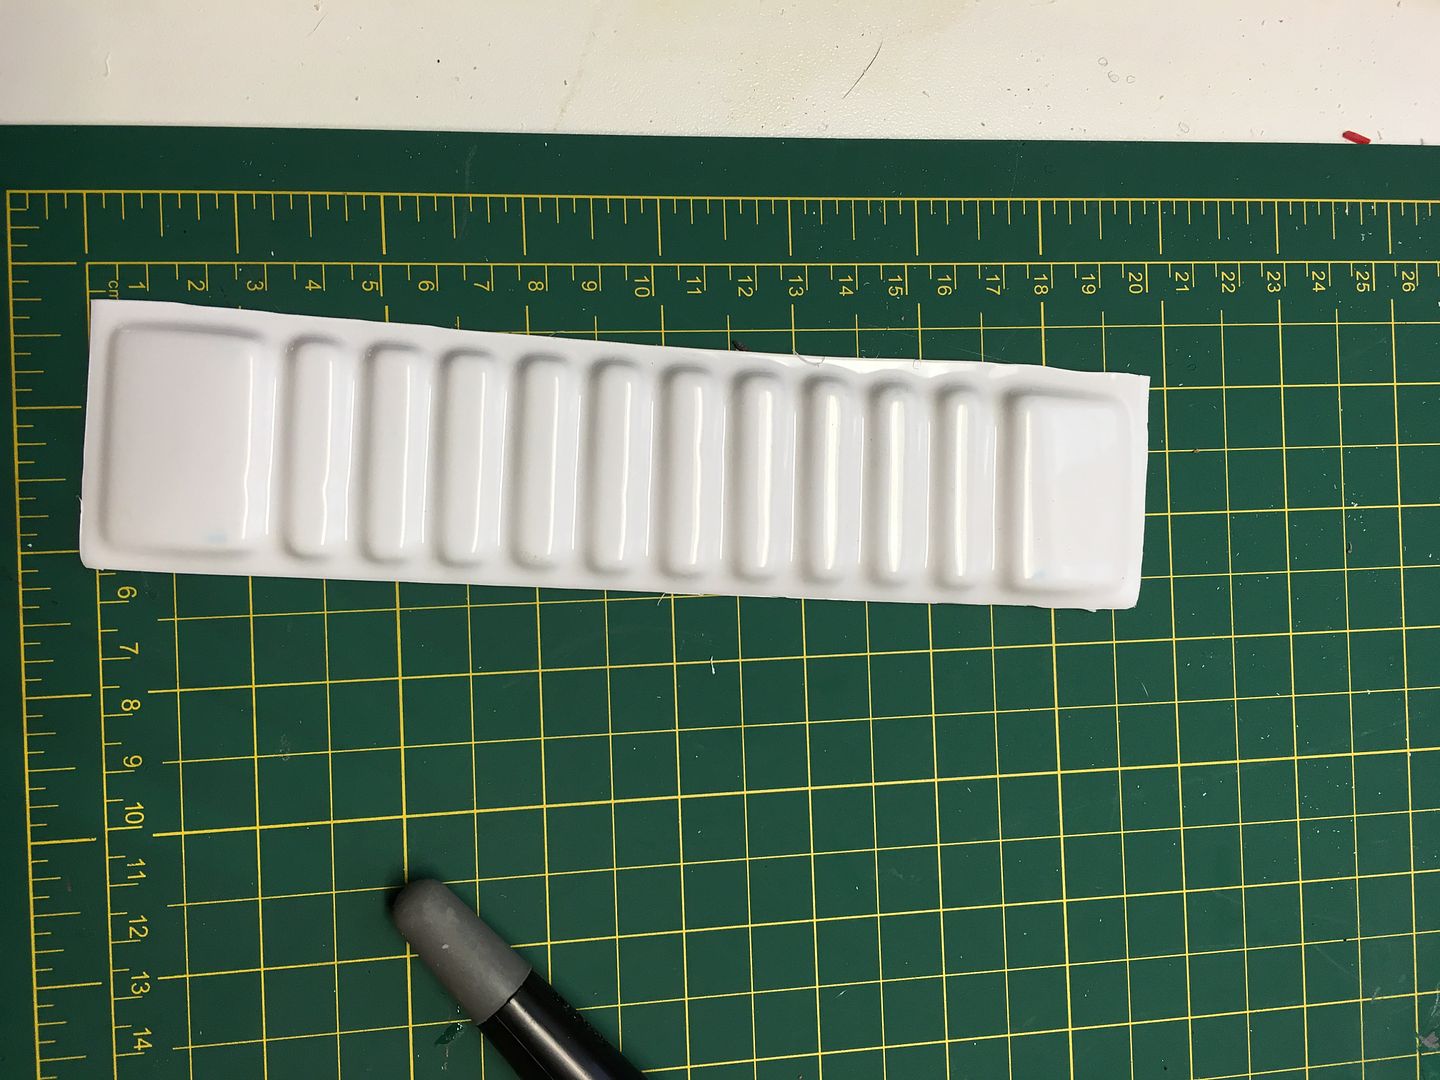
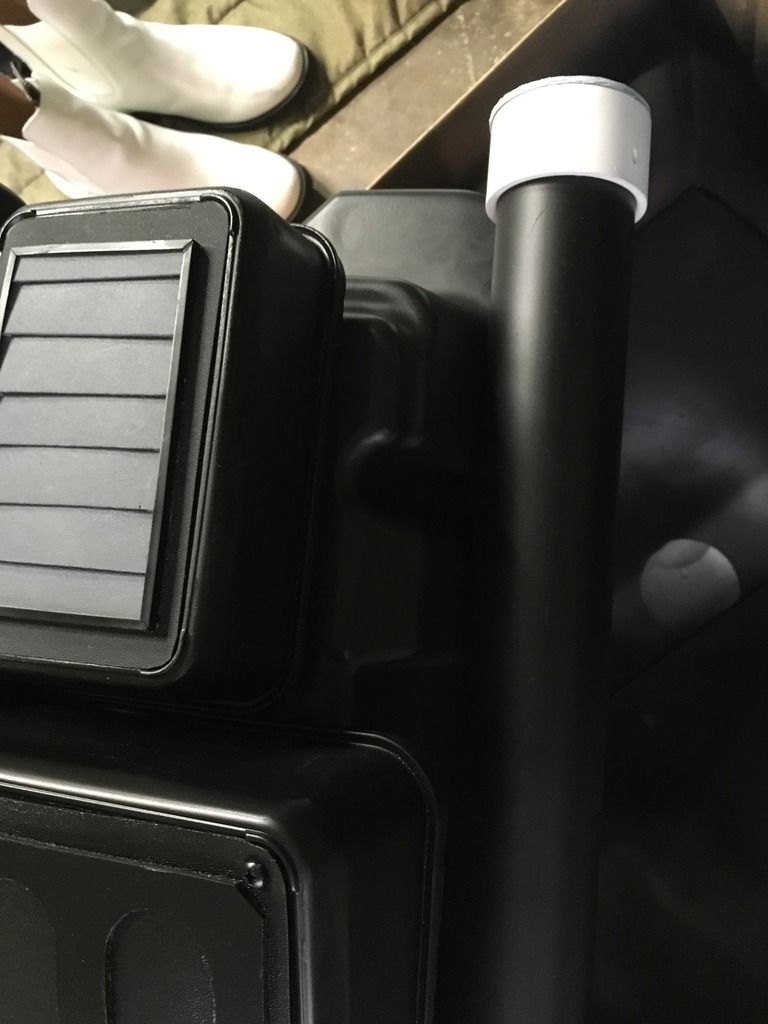
Thanks to Allan, I now have one of these for the tube.

1. How long should it be? It seems pretty long now.
2. If I cut it, do I cut off the larger sections on the ends and keep the sections that are all the same or keep one/both of the larger ends.
3. How should I shape it for a radius around the pipe? It's pretty thick and long, and may be difficult with the heat gun. Any recommendations?
-
 1
1
-
-
Did you do anything to prep the surface of that tote before painting?
Hard to believe paint would stick to the glass filled nylon material without some kind of special prep.
-
Does the sheen matter for any reason or level of approval?
-
Isn't that ammo box on the knee in a different location too?

-
My plan is to upgrade to snaps/Velcro combination after approval. It's ugly now but seemed quicker and more flexible for fitting.
My wife looked at it and said "why don't you just put Velcro across the whole surface!" Nice.

-
2
-
-
Are the snaps required for basic or other approval?
I'm going for basic and my advisor is telling me just to use Velcro everywhere.
-
Thanks guys. I really appreciate the responses.
Now to cut off 12.5mm...
BTW, do you ONLY have the Velcro on the back of the cover strip (12.5mm) or more that carries over onto the shin piece?
Seems like it should only be on the strip, but I just want to confirm.
Thanks.
-
How much Velcro? The entire length or a few staggered pieces?
-
Wouldn't option 2 be weaker since there is only 12.5mm of glued contact?
That industrial strength Velcro is pretty strong.
-
I only got two of them in my AM 2.0 kit and I'm using both of them on my shoulders though...
-
Where do I get the white rectangular do-dad that goes on the black tube?
-
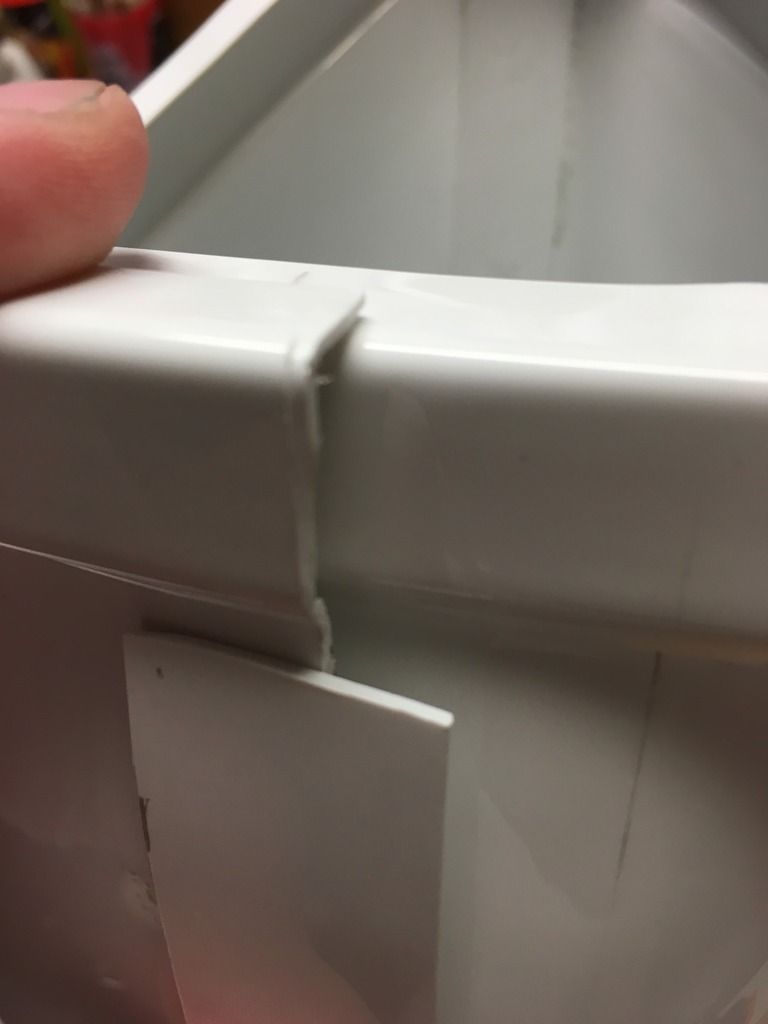
I've heard conflicting stories on what's acceptable as far as attaching the rear 25mm cover strip to the shins and the velcro that goes underneath. I'm only going for basic approval, but does it matter at any level, and which one is correct?
Option 1:
Cover strip is fully attached (all 25mm) to the overlapping shin piece and the velcro goes under the shin piece. (photo below does not show velcro and the cover strips on not real, they are for illustration purposes only).
Option 2:
Cover strip is only half-attached to the shin piece, and the velcro is attached to the cover strip only. 12.5mm glued to shin piece, and the other 12.5mm of the cover strip has velcro.
Also, how much velcro should there be?
Again, I've heard conflicting information; some say there must be velcro all the way down the shin, and others just use a few pieces (top/bottom/middle).
Option 1:
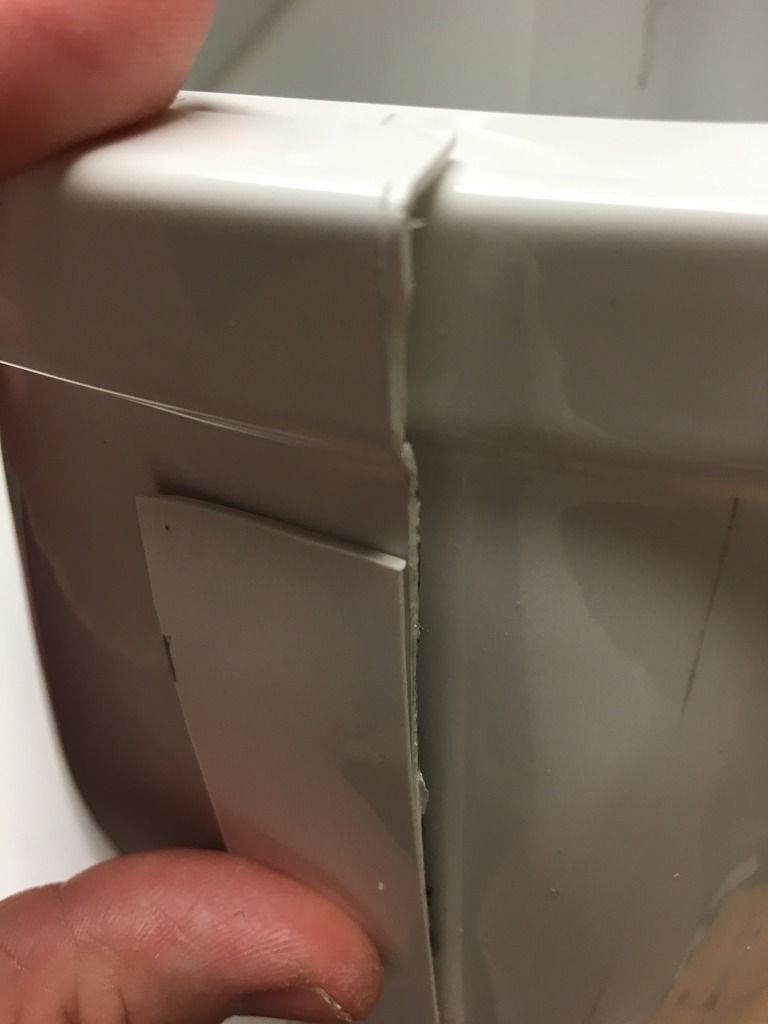
Option 2:
-
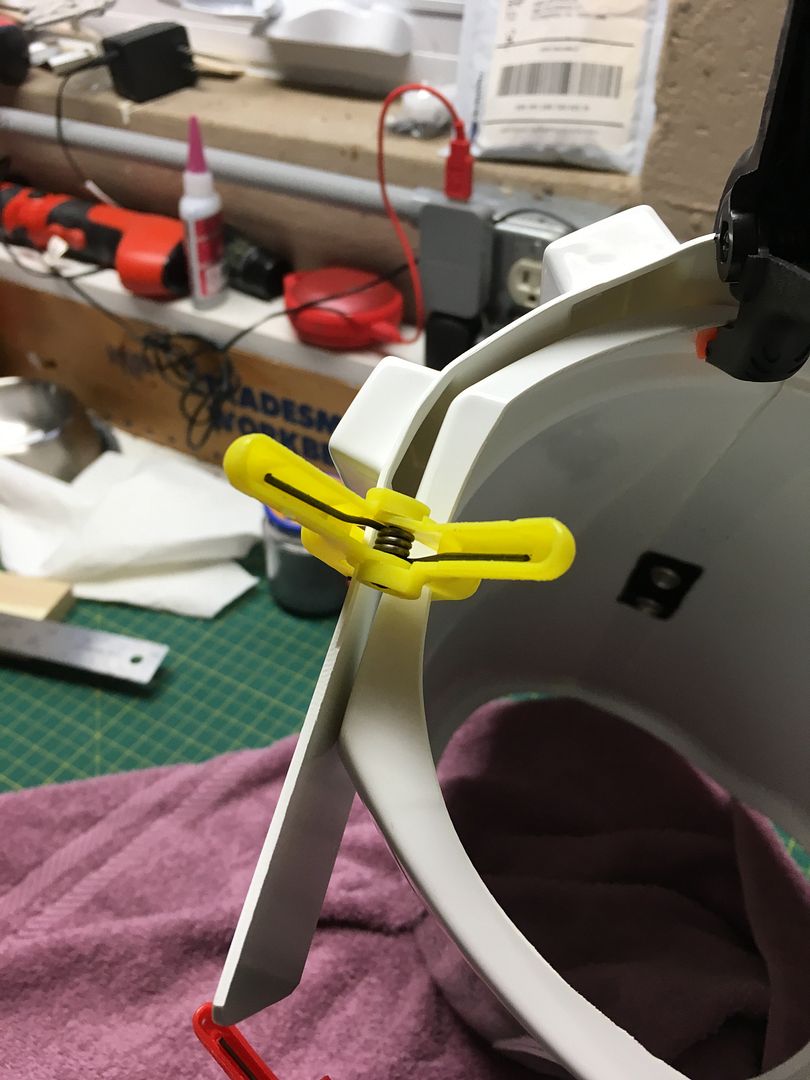
I actually wound up heating the cheek and pushing it out. You can't tell other than the gap is eliminated.
I'll measure the ammo boxes as soon as I get home.
I'm having the same issue with the ears on my AM 2.0 helmet, especially the left one! The cheeks need to come out a lot.
What did you use to heat it? Heat gun? Hair dryer?
Where did you heat it at?
-
1
-
-
Doopydoos kit is back in stock as of today.
-
Watch out for the CRL photo; I don't think the antenna is actually allowed as I recall.
-
1
-
-
I also have the AM 2.0 and am really struggling with closing the ear gap.
If I squeeze the face and back together at the curves and squeeze the war, I can get them to fit really well, but when I install the screws the plastic isn't strong enough to keep it in place so the huge gap comes back.
It looks like if I were to trim the top (circle) of the ears to be shorter it might line up but I'd have to trim quite a bit. I'm not sure if this is the right way to do it.
Do you have any more detailed suggestions on how you closed that gap?
Ammo pack to thigh - what's the correct alignment?
in Build Threads Requireing Maintenance
Posted
Exactly what I needed!
Thanks a lot.