


SheaJeff
-
Posts
273 -
Joined
-
Last visited
-
Days Won
1
Content Type
Profiles
Forums
Gallery
Articles
Media Demo
Posts posted by SheaJeff
-
-
I used a heat gun to make bicep clips as well. What I noticed is that you can't tell how hot the plastic is and it quickly goes from "barely movable" to "soft goo" pretty quickly. The sweet spot where you can form it is pretty small. And I was only bending a narrow straggly piece; trying to bend somethings like the cheeks would be a nightmare to get it to keep a consistent shape along the whole length.
I didn't need a heat gun for anything but the bicep clips and I used scraps to make those. The armor kit is a really nice kit except for the face alignment problem in the face.
-
This is the same problem I had. I considered the heat gun but with a lot of drilling new holes and work, I was able to re-align it then add those new screws to pull the cheeks together. Keep trying. I bet this is expensive piece to replace if you mess it up!
-
Just got my system.
Man is this thing awesome! Right out of the box, the microphone works a lot better than whatever my buddy is using on his iComm.
-
Allan,
What size webbing is that?
I was looking at mine this morning and due to the angle of the loops on the pouch, it looks like the pouch will be slightly angled. Looks like this is what's happening to yours in the picture, correct?
-
Ah. Got it.
I'm looking at it on the phone and didn't catch that part.
Nice solution!
-


Sent from my LGMS631 using Tapatalk
Is that square of Velcro the only thing holding it onto the pauldron? Or is it lopped somewhere in case the Velcro pulls away?
-
Yes, his last batch just shipped out recently. I got mine on Friday.
Hopefully mine will arrive this week then. I just finished my helmet on Saturday so it will be just in time.
-
For my waist pouches I superglued two tape measure clips on each end and they hang nicely. My chest one hangs from my pauldron. The angle wouldn't ride right on my backpack strap. Pushing my chest plate to the side. Plus after 4-5 hrs I can lose pack and still have all the pouches.
Could you post a couple of pictures please.
I like the flexibility your solutions would offer.
-
Allan,
Great solution. Thanks for the pictures.
How did you do the bag to the pauldron? Pictures?
-
 1
1
-
-
For my waist pouches I superglued two tape measure clips on each end and they hang nicely. My chest one hangs from my pauldron. The angle wouldn't ride right on my backpack strap. Pushing my chest plate to the side. Plus after 4-5 hrs I can lose pack and still have all the pouches.
Something like this? Springfield Leather Company Black Large Belt Clip https://www.amazon.com/dp/B00DV19JE8/ref=cm_sw_r_cp_api_McQGxbKVKTWVR
It would be great, but the clip would probably scratch the armor.
-
Close ups would be great. Thanks.
-
1
-
-
How would you guys suggest that I attached my pouches to the shoulder and belt?
The shoulder one actually works pretty well on the backpack strap I think.
What about to the belt?
Both of them have the loops on the back at this angle:

-
Bravo! Shea. Pack looks great. You're almost there, can't wait to see it battle tested. You going with antenna in drain plug?
Apparently there was some differing opinions on the antenna in our Garrison during another's approval so I'm going to leave it off for now.
-
I believe Trooperbay has templates for painting.
-
1
-
-
Hey random question, can magnets be used for an ANH TK? I received my AP armor, but haven't started cutting or gluing yet. Still looking up best approaches and methods. Thanks.
Sent from my HTC6525LVW using Tapatalk
I was told you had to use Velcro for the shins and could NOT use magnets although I haven't been able to find anything officially forbidding it. I went with Velcro for now just to be safe before approval.
-
I'm planning on being ready for approval during our August Bash!
-
1
-
-
Ok,
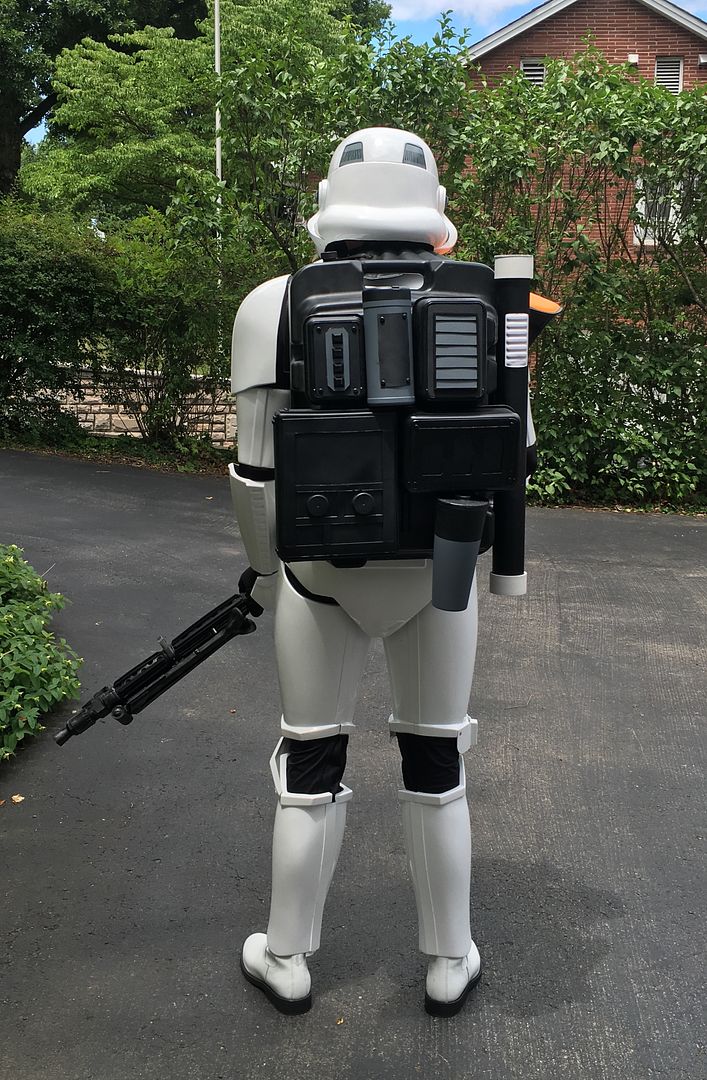
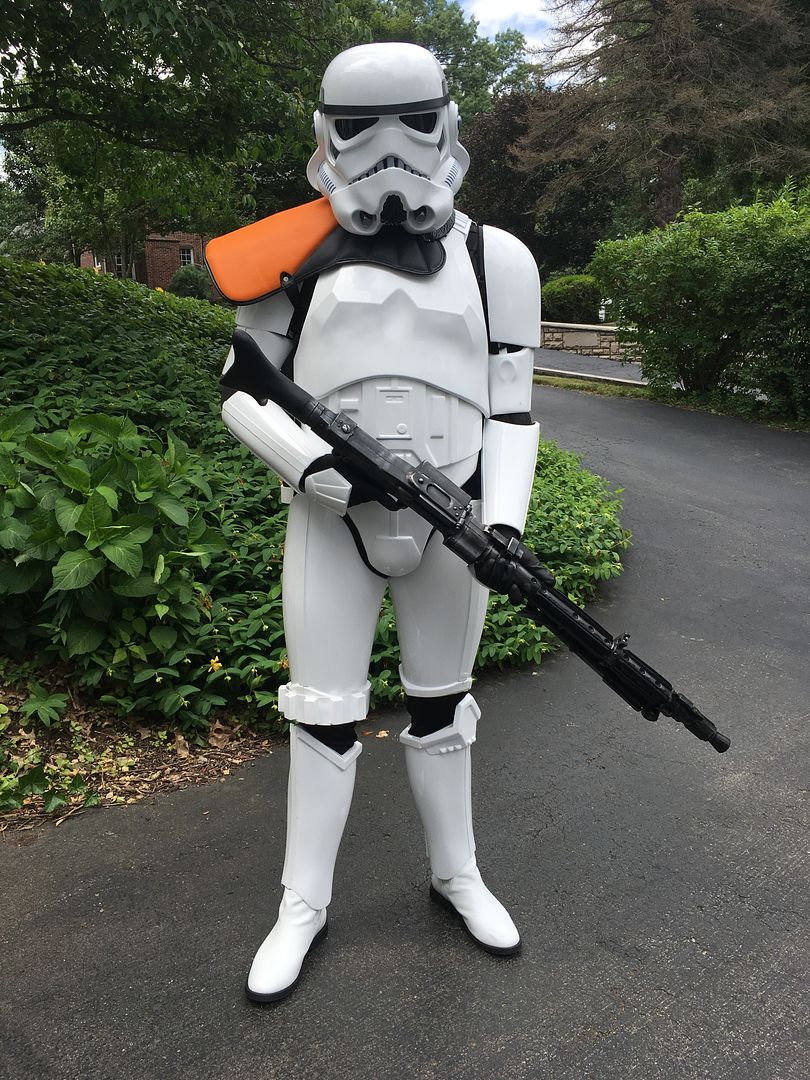
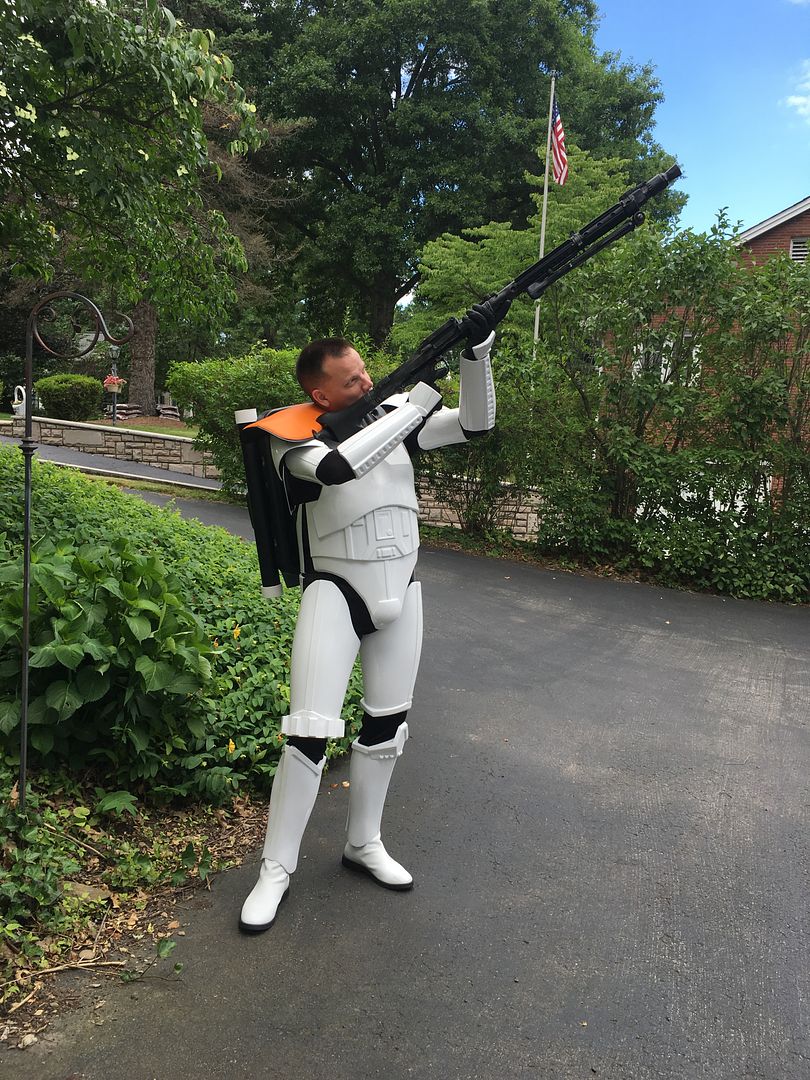
Finally got the backpack done.
Also did my first fit trial.
I still need to do the belt and the pouches, but it was exciting to try it on for the first time.
-
I installed them last night. You can't see the gap unless you're really really looking for it.
Maybe they changed the mold or something. Thanks.
-
1
-
-
Finished mine this morning!

-
1
-
-
I fitted the lens with the face off. Put the bolts through the holes, line it up then punch the holes to go over the lenses. Put some #6 nuts and washers on to hold the lens on. Then disassemble and install the face to the helmet.
YOU NEED TO INSTALL THE FRONT BROW DECALS BEFORE ASSEMBLY. They go under the rubber.
You can install all the other ones at the end.
-
This is so weird- it's like looking into a mirror tonight. I'm about 10 minutes ahead of you with my AM 2.0 helmet build.
I just painted the screws and will install the ears tomorrow.
Lens is cut/drilled and ready to install.
I'll figure out the padding tomorrow too.
The electronics may be another story... That's going to take some time. I'm concentrating on getting ready for approval now.
-
Behind the ear in the center is the short round head.
Outside top of ear uses the two flat head long ones.
I believe the bottom of the ear uses the short flat head.
I added a short round head to pull the cheeks together. It wasn't even no the kit.
-
I just made those white pieces as a "washer" or backing piece. I still have the space on the front side behind the tip but you can see it. I have to be careful not to over tighten as well.
-
I was just working on the same thing tonight!
I took some scraps and molded then by hand as reinforcements since the helmet was so thin in that area.

MoSc0ut's (almost) 100% scratch build
in ANH BlasTech E11
Posted
Where did you get the lenses?