-
Posts
410 -
Joined
-
Last visited
-
Days Won
3
Content Type
Profiles
Forums
Gallery
Articles
Media Demo
Posts posted by Scimitar
-
-
23 minutes ago, Xanthais said:
So much good info here on this site. I've created a Google Doc with tons of links such as this one from @Scimitar on putting ABS between the white elastic fold-over on the shoulder snaps, for rigidity and reinforcement on areas that get pulled and tugged on when putting on and taking off the armor. The less agitation to stress points, the better.
Just remember to not go too thick on the ABS, otherwise you may not be able to get the snap post sufficiently through the combined layers of elastic and ABS to set it.
 I found that different brand snaps have different post lengths, of the ones I've had so far the Tandy snaps have the longest posts.
Good luck with your build!!
-
 1
1
-
-
The correct snaps showed up today, that was a relief. So I finished making nylon snap plates for the chest-to-ab and back-to-kidney connections and glued them in place. I need to get some 2" wide black elastic for a couple connections where a little more flexibility seems to be desired based on what I've read (center back-to-kidney connection & chest-to-ab). Once that's all connected all that's left for strapping is connecting the chest/back, the arms/shoulder bells, and gluing snap plates in the thighs for the garter system.
The shoulder bridge reinforcements are done, I test fit them against the chest and they still look good even with the slight added thickness, proper clamping when I glue them on will make a difference for sure. And the metal strap helps shape the bridges any more as needed.
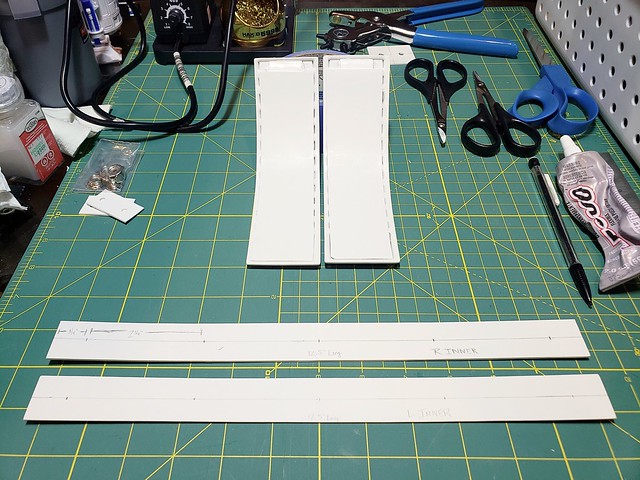
And I began to work on the shin closures. I got the inner strips cut to length and measured for magnet placement. Next I'll drill those out, use them as templates, and begin cutting holes in the backs of the shins.
-
 1
1
-
-
11 minutes ago, LTM said:
Hey Eric,
That was a great idea and should help with long term usage. I am going one step further and sewing the end of the elastic to stop fraying or wear/tear. Basically encapsulating the plastic.
By the way, great build log!
Even better! I don't have ready access to a sewing machine or I would definitely do the same, might sound lazy but I don't want to hand sew the ends. lol So I'm just hitting them with my soldering iron to prevent any fraying and hoping for the best on the wear/tear aspect.
Thanks Lou!
7 minutes ago, Cricket said:Like Lou mentioned, you can sew the end of the elastic closed. Or if you're lazy like me, you can just run a lighter quickly over the ends of the elastic. It will melt the elastic just enough to prevent any fraying issues. I've never had any elastics that have been 'sealed' like that fray apart on me.

Yep, I'm using my soldering iron to seal the ends of all of the straps I'm using, thus the lack of lighter burn in the picture above.

-
Went ahead and attached a good length of elastic strapping to the chest piece to prepare for sizing it to the back. I'm officially out of good snaps so I'll have to wait for my order to arrive before continuing that step, that should be tomorrow though.
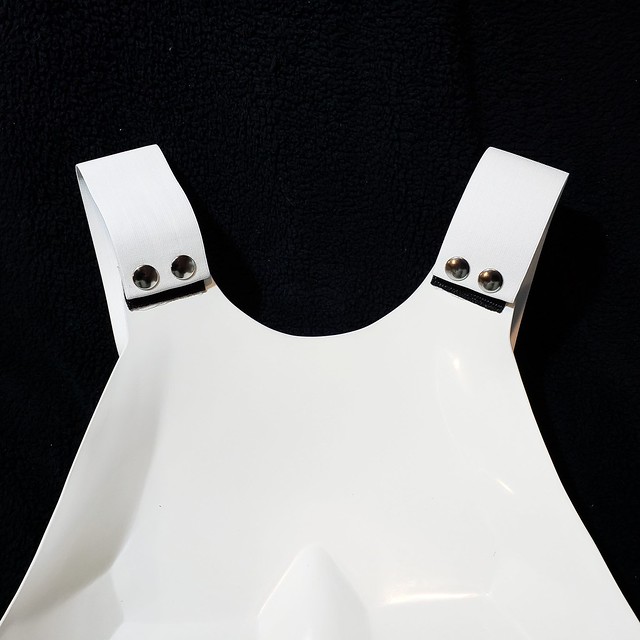
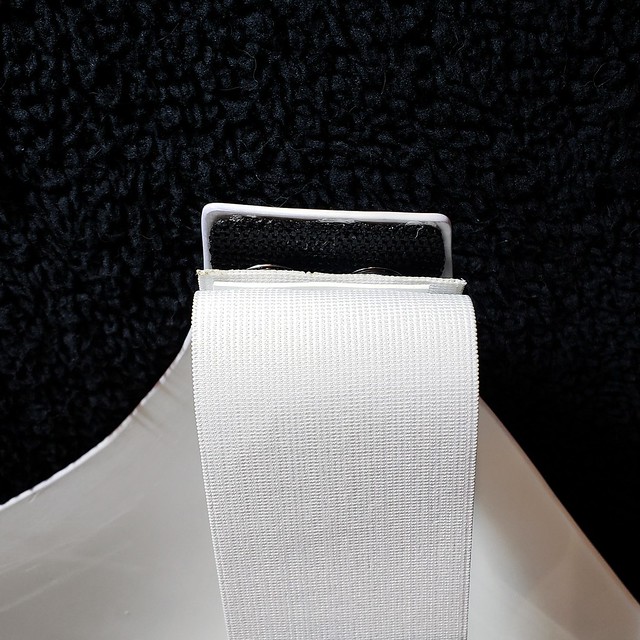
Something else I picked up from Christine was at the armor party, I watched her setting some snaps in elastic and she was using ABS sandwiched where the elastic was doubled over for reinforcement. Definitely seems smart for a junction like this, so in some ABS went. Now pulling this apart pulls against the plastic rather than the elastic.
-
 3
3
-
-
11 hours ago, Cricket said:
And I found that idea from someone else here on the FISD.
 I just can't remember where I saw it!
You did a lot more than I did to reinforce those straps by adding the extra ABS pieces in the divots. I just filled everything with e6000 and prayed it would work. Nice job!It's definitely a good idea! Thanks Christine!!
 9 hours ago, CableGuy said:
I really like the way you’re documenting this build, Eric. Keep up the good work. :-)
Thanks Dan!
 I'm trying to be thorough. Sometimes I get so focused on the work I forget to stop and take pictures. Or look around and see that everyone is leaving the armor party but me. LOL
------------------------------------
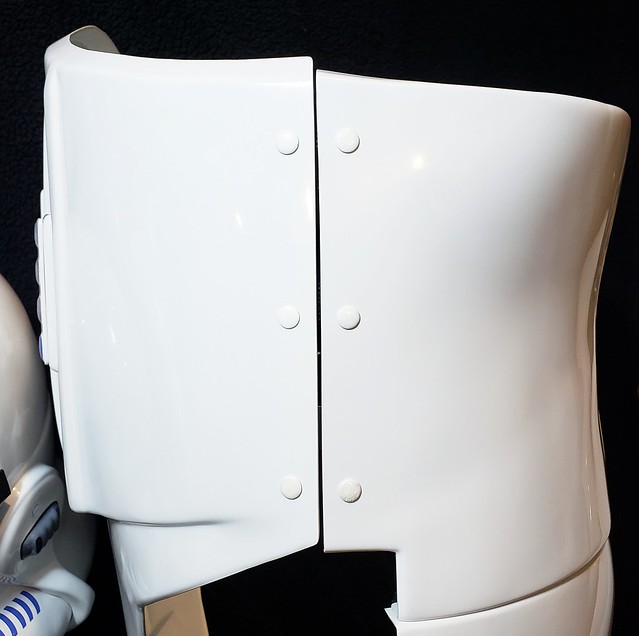
So I revisited the left side ab/kidney connection tonight. It was driving me nuts and I didn't want to work on anything else until it was fixed. Here's what happened when I connected the cod/posterior strap:
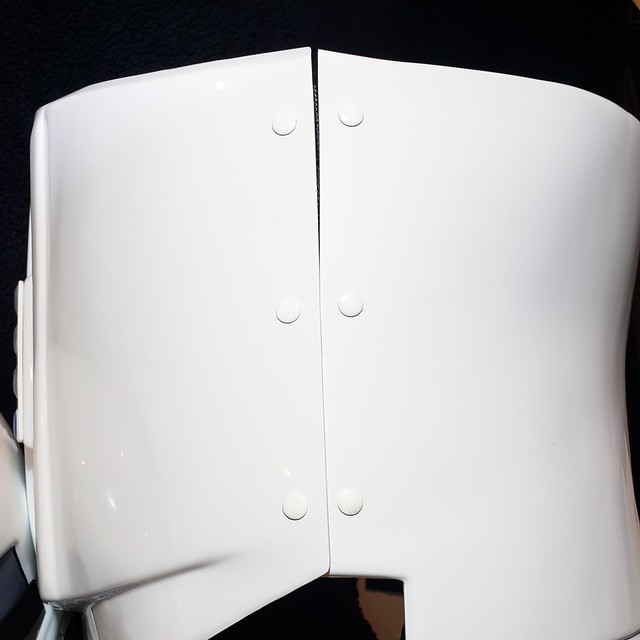
I tried a few different things tonight to see if I could fix the overlap, most of the solutions I didn't like for one reason or another. Ultimately I ended up using a piece of ABS between the lowest snaps to even things out. I'm obviously not sure yet of the longevity of this solution, however, everything is still very flexible (even the plastic strap), the armor isn't stressed and can still move "around" it, I can get in and out of this portion without issue, yet the gap remains the fixed. I think worst case scenario it might pull one of the nylon plates up, and that can just be glued back down.
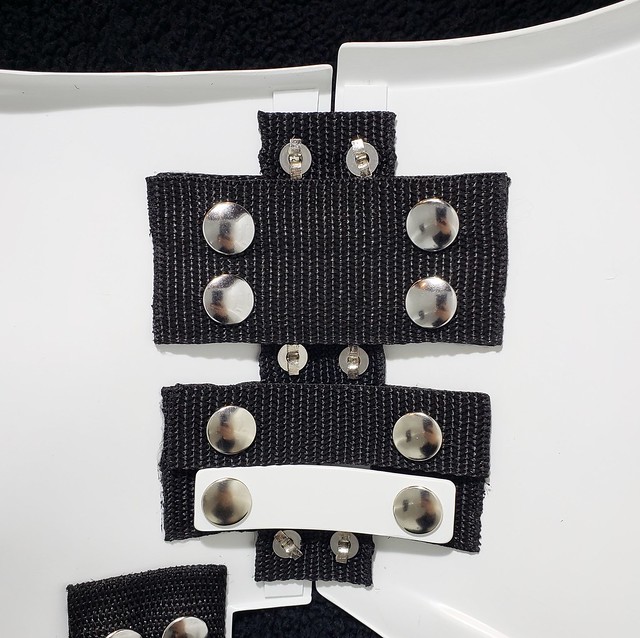
About a 1mm gap all the way down now as it sits. I threw on my belt and the gap closed up nicely even with the plastic strap in place.
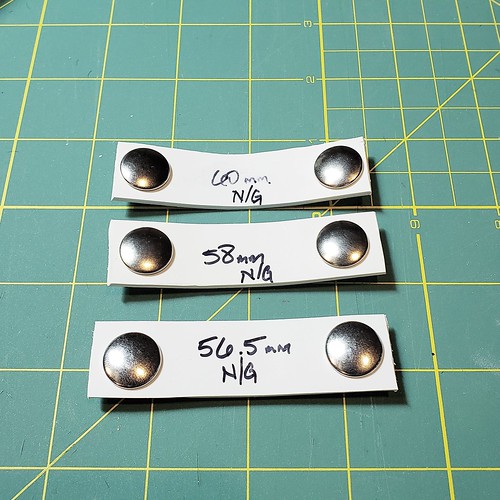
My trial and error straps, the working length ended up being 59mm. Fortunately I still had those crappy snaps to do the trial and error portion with so I didn't waste any of the good snaps.
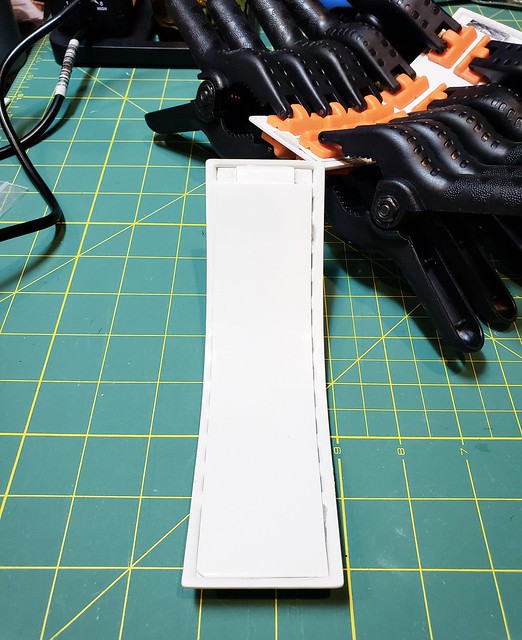
And here's one of the reinforced shoulder bridges all done, I threw some white paint on the exposed bit of metal at the back just to hide it. The cover slid over a little but not badly enough to mess anything up. This thing is insanely solid now and should glue down to the chest well with the flat surface area.
-
Thanks Jim! I would not have thought of adding the metal strip myself either, I would have done exactly what you did had I run into any issues later.
Thanks again! That's what I'm hoping for!
-
Got the lower torso all strapped up today. A little heat gun treatment reduced the slight flaring of the lower/outer edges of the posterior piece, it now contours to my sides much better. I do have a bit of overlap at the bottom rivet on the riveted side, but only when I strap the cod and posterior together. I'll need to figure that one out...
Also got notification that my next order of snaps shipped today, should be here Wednesday, so that's good! Hopefully they're actually Tandy snaps this time.
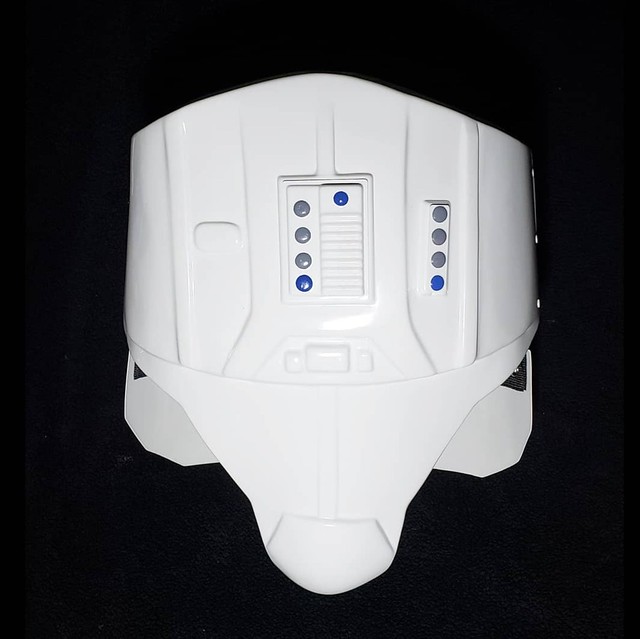
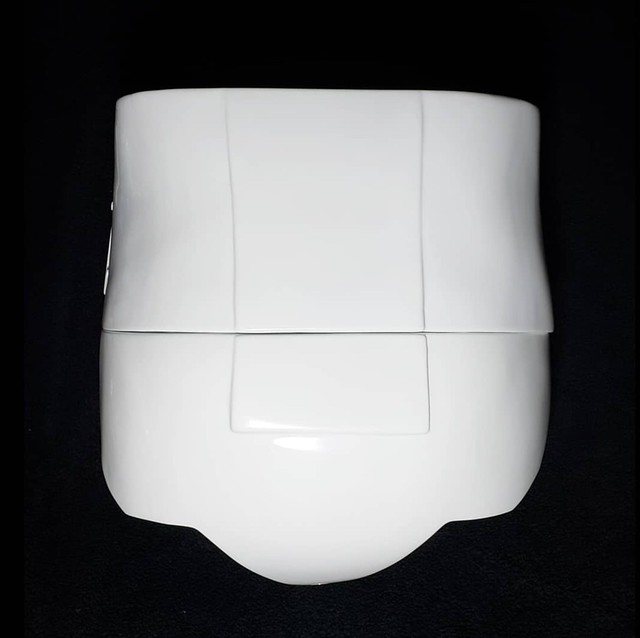
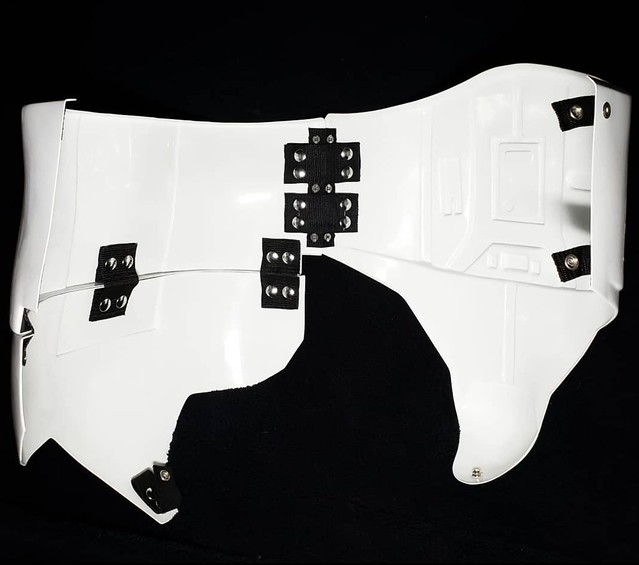
-
 3
3
-
-
I appreciate the input guys, so thanks! Like Q mentions, I knew I wanted some backup over just having a single snap, so I added a second single snap setup at the bottom (which is at the top in the picture below). The tab & slot system will go in the middle of course.
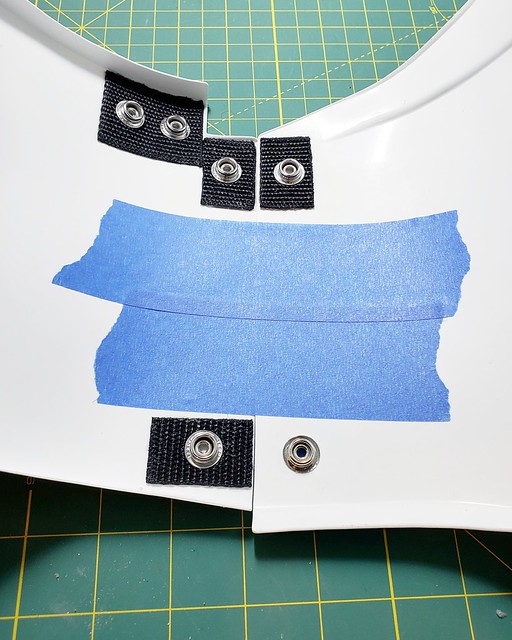
Threw some paint on the rivet heads:
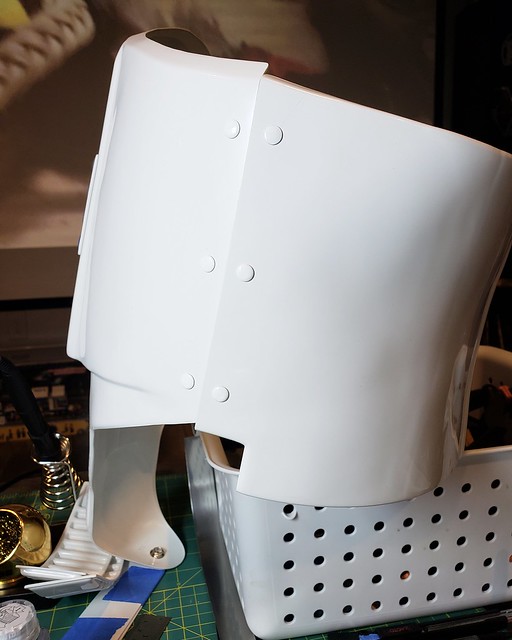
Double snap plates added for the chest/back straps:
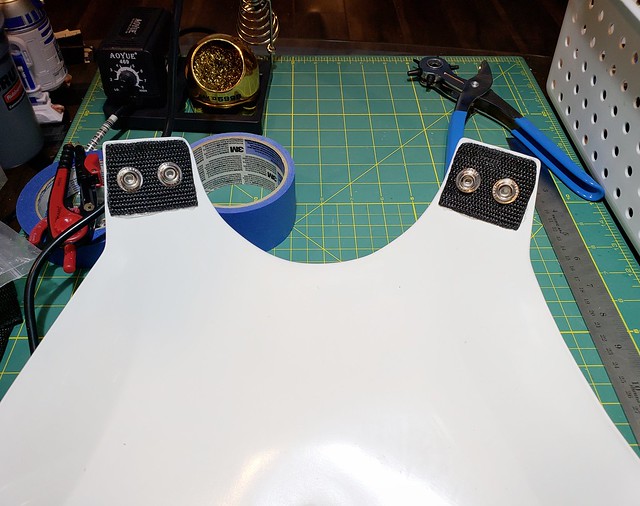
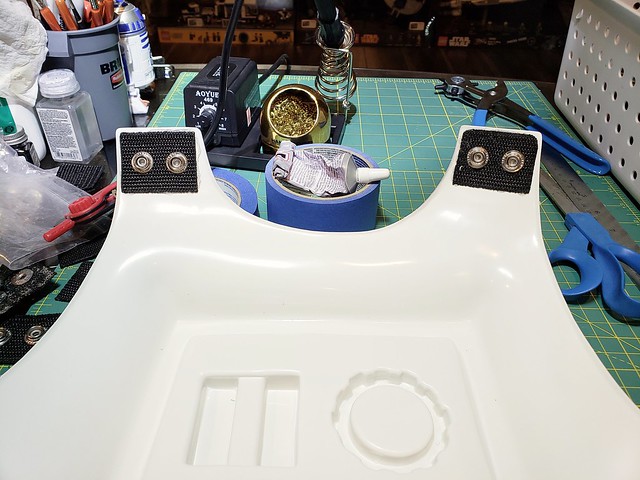
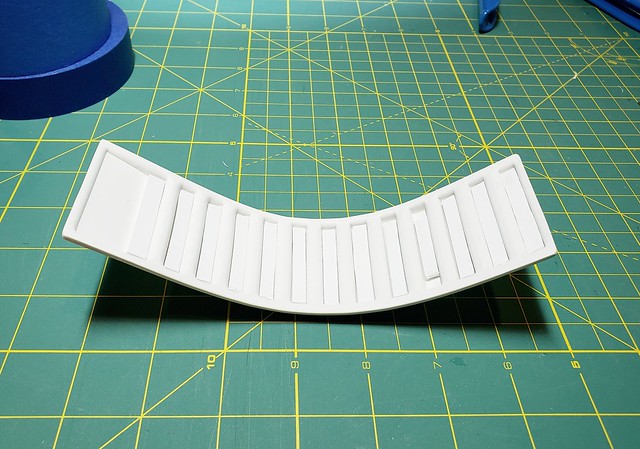
And I borrowed an idea from Cricket and reinforced my shoulder straps. Basically I filled all of the ridges with scrap plastic and then glued in a metal strap (K&S 0.028" x 1" W x 12" L (cut to length)). Once that's dried and the excess glue removed I'll be gluing on a very thin plastic cover on each strap.
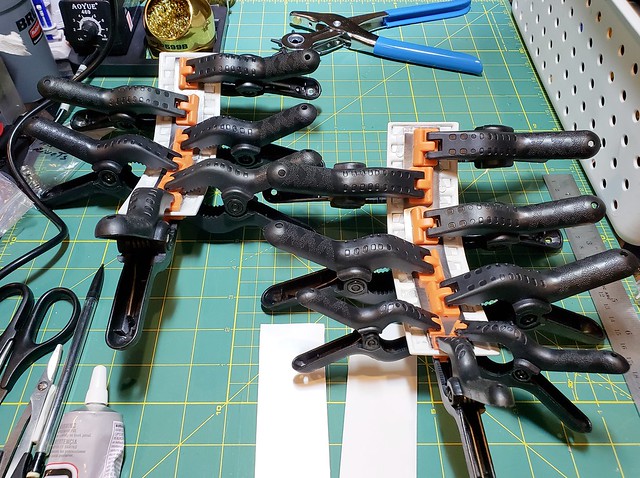
-
 2
2
-
-
Matt (Bud Spaklur) wisely pointed out that having double snap connections on the right side of the ab/kidney might be a pain to get to when putting everything on. So I'm thinking of removing those and using the single snap at the top (and maybe one at the bottom) and installing the tab/slot connection as I had originally planned. Thoughts?
-
11 hours ago, CableGuy said:
Excellent work, Eric. Very tidy. :-)
Just a little observation: if you find that the top of the thighs catch or or rub on your armor, you could consider slightly longer cover strips to even out the tops.
Keep up the great work. :-)
DanThanks Dan! The tops are currently ugly trimmed for sure, they'll not stay that way. I didn't want to do take any more material away until I get the torso armor on and see how everything meets up. I also want to notch/trim the outside top of the left thigh to be a little more accurate. Stealing Tony's picture here for reference:
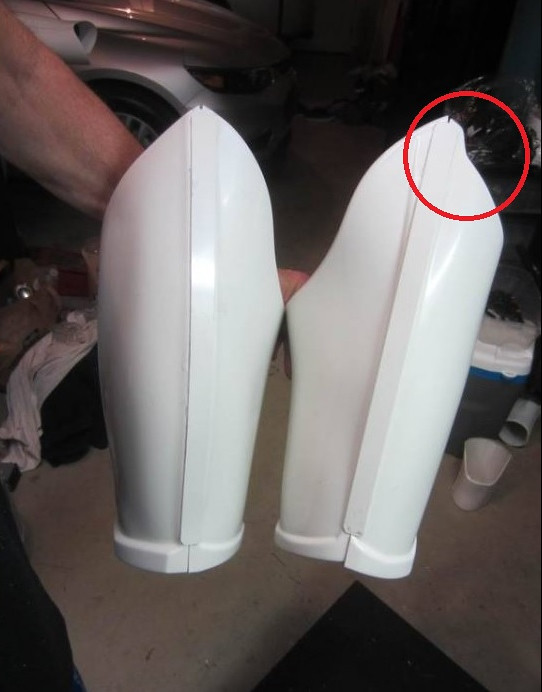 8 hours ago, Bud Spaklur said:
Looks awesome, Eric. You’re literally right behind me.
Sent from my iPhone using TapatalkI feel like I'm so much further away! Haha!
5 hours ago, NoZoupForYou said:Looking good! My next step will be this!
Sent from my iPhone using Tapatalk
Thanks! Good luck! I found that punching the holes in the straps to fit the diameter of the rivet obviously helps a lot. I actually used a smaller punch head and then when I used my soldering iron to seal the nylon the rivets just fit inside the holes. Also helps to space your holes in the straps inside of 20mm apart, mine ended up being 19mm apart. Keeps the gap in the armor nice and tight.
5 hours ago, NoZoupForYou said:Please let me know how the shin closures work out! I suffer from fat thighs and shins so this is the one area that concerns me...
Sent from my iPhone using Tapatalk
The magnetic closures are amazing. I got to check out Cricket's setup at the armor party and they're super strong but still not hard to open. It immediately convinced me to do them now instead of velcro as I had planned. I'm going to try to work on them some today actually.
-
 1
1
-
-
And the ab and kidney are connected.
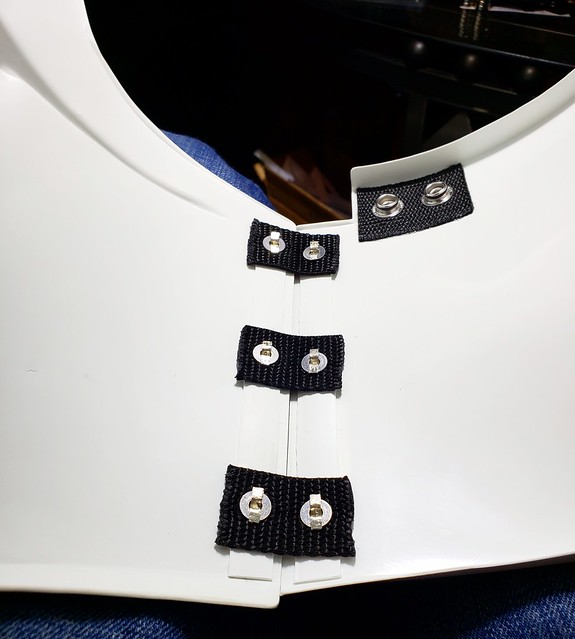
Exterior gap seems to be ok.
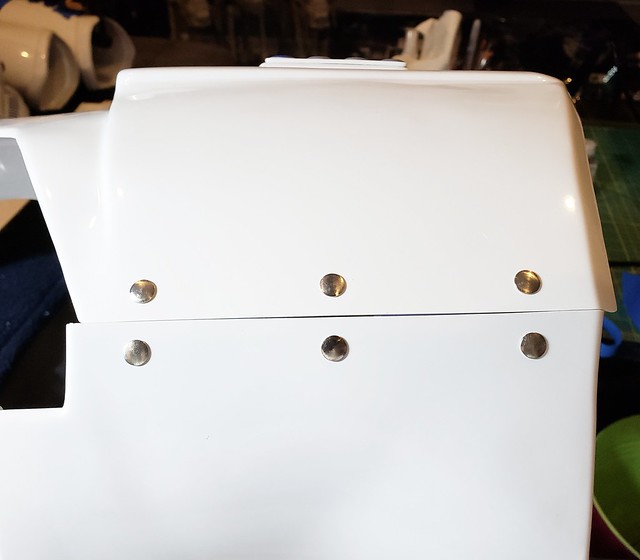
Reinforcement snap plates are installed (following the wingnut snap diagram):
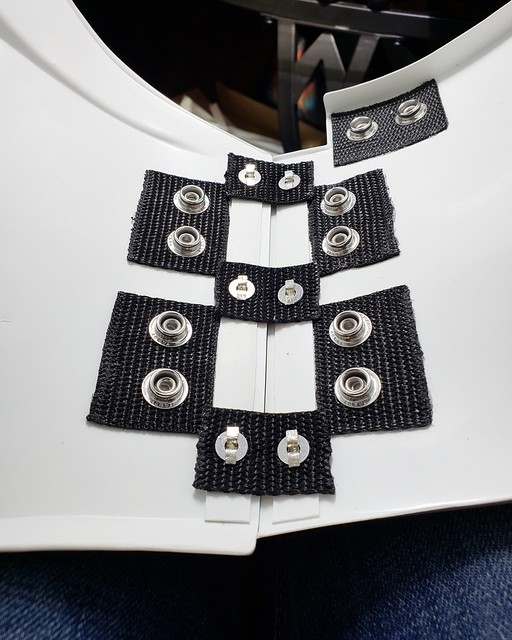
And the right side snap plates are installed:
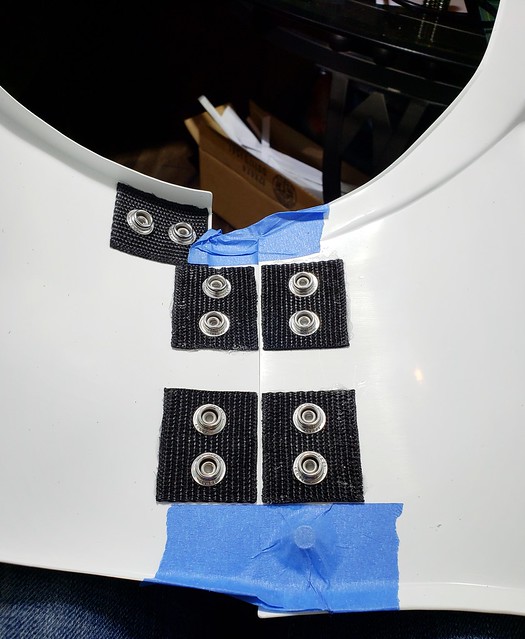
Found out tonight I probably won't see any more Tandy snaps until the 10th or 11th due to an Amazon screw up, so I'll use the rest of the snap plates that I have available and then I'll be working on the connecting straps after that. I also need to work on the magnetic shin closures and then deal with the wonderful sniper knee plate.
-
 1
1
-
-
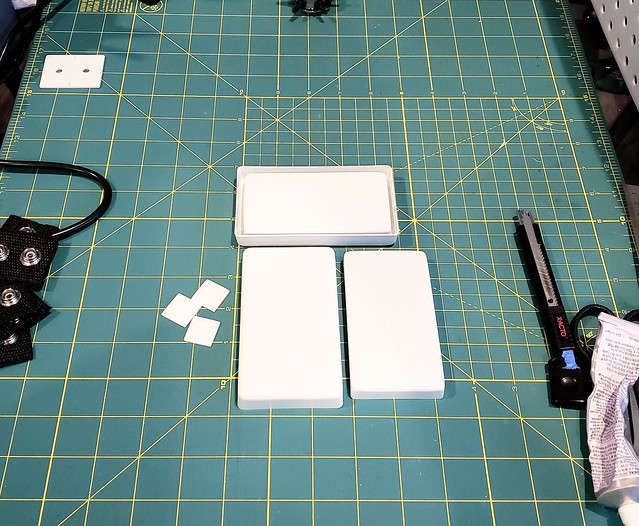
Got the drop boxes and ammo belt rivet covers trimmed up:
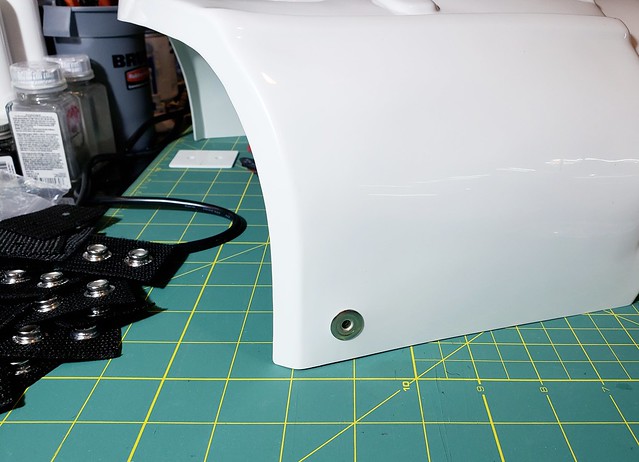
Installed the floating ab snap:
Marked the ab for the split rivet connection:
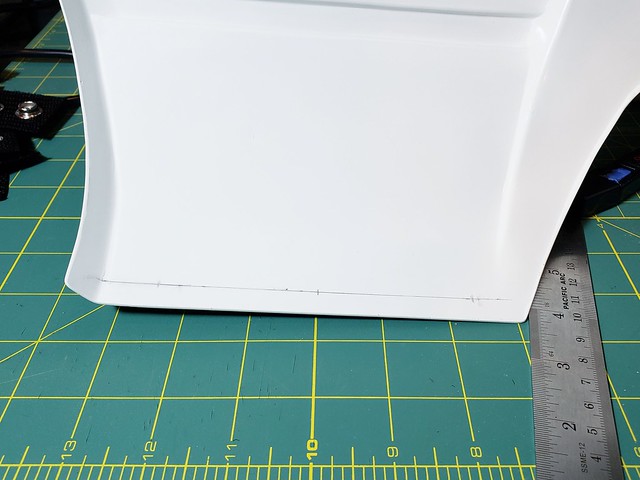
Drilled the holes and added a strip of ABS for reinforcement in the area:
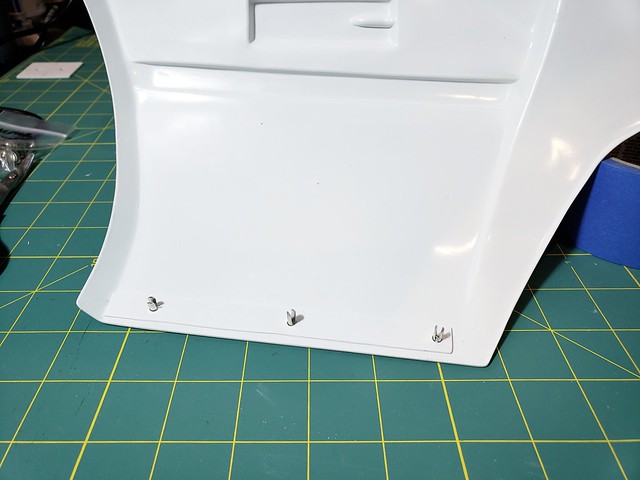
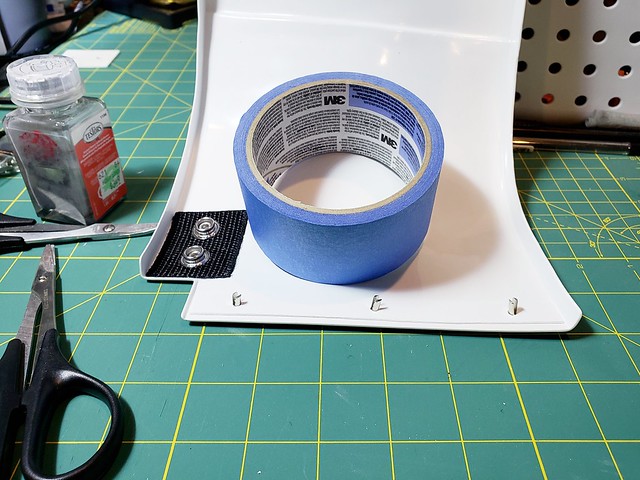
Aligned everything to the kidney the way I wanted and did the same:
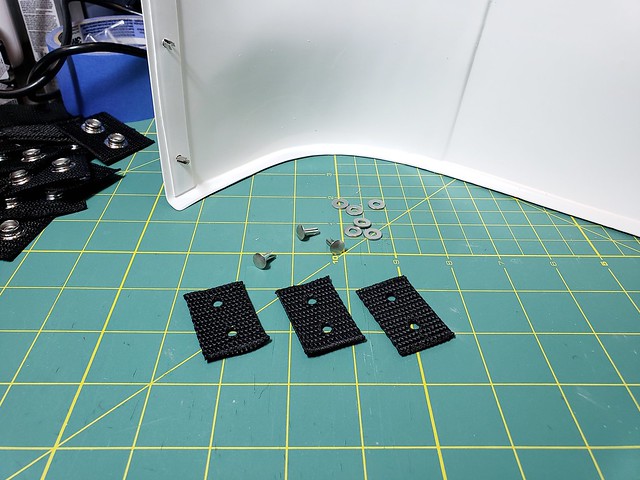
Got the nylon straps prepped:
And once I get back home I'll be connecting those two pieces and gluing down some more snap plates. And whatever else I can find to do.
-
Yup, that makes complete sense. Thanks! Will definitely note that just in case.
Sidenote, didn't notice until now that the cover strip on the right thigh went crooked somehow. So I just pulled it off, cleaned off the E6000 (good grief that wasn't fun), and reglued it. Definitely time for bed now.
-
 1
1
-
-
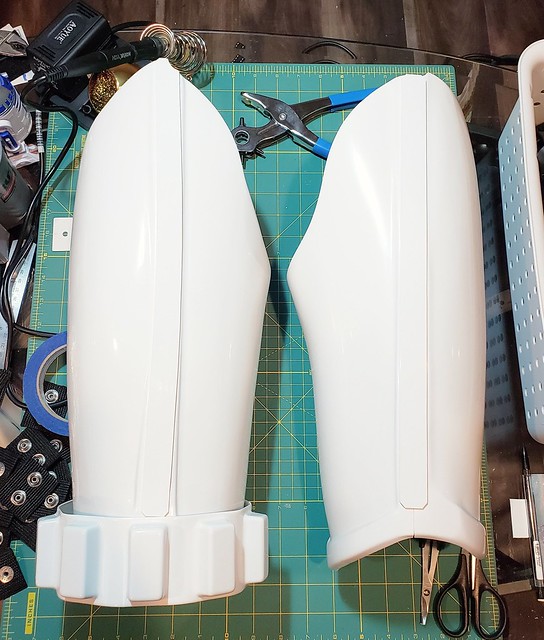
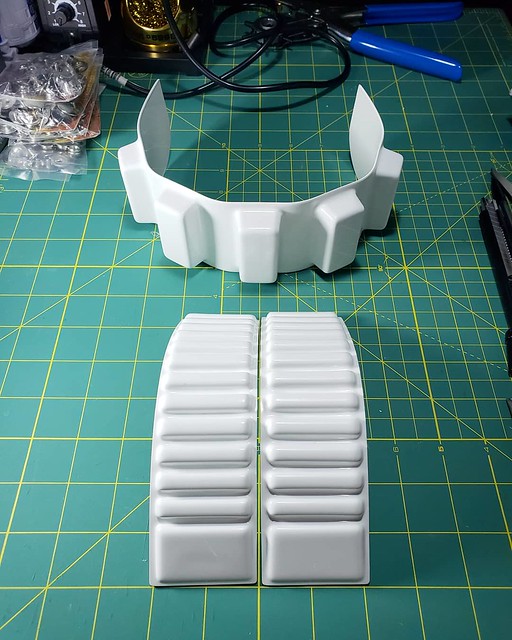
The thighs are all together now, all that's left for them is final trimming around the tops as needed, adding the notch to the top of the left thigh, and installing the thigh ammo belt, it's just sitting on the thigh for the picture:
I spent some time making a bunch of double snap plates:
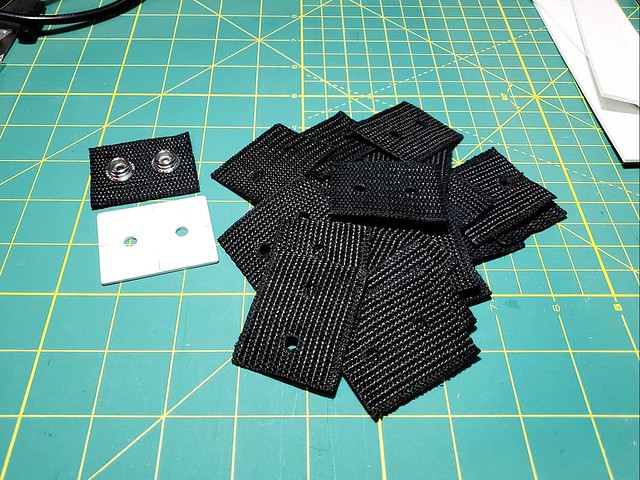
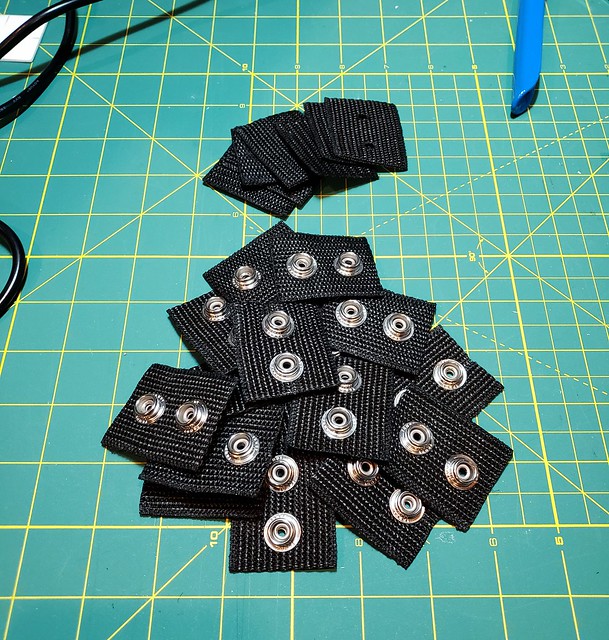
I had 40 Tandy snap sets and then some unmarked sets that were listed/sold as Tandy snaps, but I don't think they were. They didn't set the same way and most of them failed. So I just threw those out and used the Tandy snaps until I ran out. More are on the way but 20 plates will get me started.
And I glued the first 6 plates onto the armor.
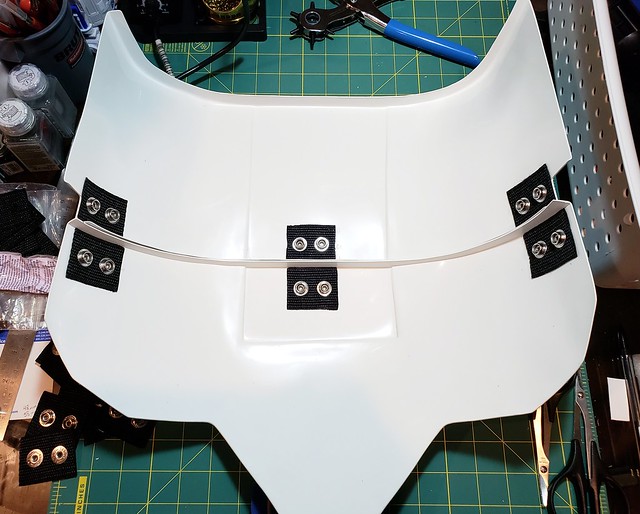
Has anyone ever tried notching the return edges where the straps run across them for added alignment assistance? I think the double snap method will probably prevent most of that kind of issue but I also tend to overthink/overbuild things.
-
23 minutes ago, Cricket said:
But despite knowing this, it's kind of freaking me out a little... please let me know how things are lining up as they're trimmed!!!
Haha! The picture freaked me out a bit too when I referred back to it and even while I was cutting that particular shin down, but it all still seemed to line up the way it was intended. I'll throw the thighs and shins on tonight and check now that the thighs are glued and the shins are shaped!
-
 1
1
-
-
As planned my 16qt pot and shin magnets showed up yesterday. I finally got to start working on the armor and... the power goes out.
 We were having a thunderstorm but it wasn't anything out of the ordinary for a storm and as the surrounding area has buried power lines, outages are extremely rare. Anyway, I wasn't dealing with that. I grabbed my LED lantern, filled up the new pot, manually lit the stove, and got to work.
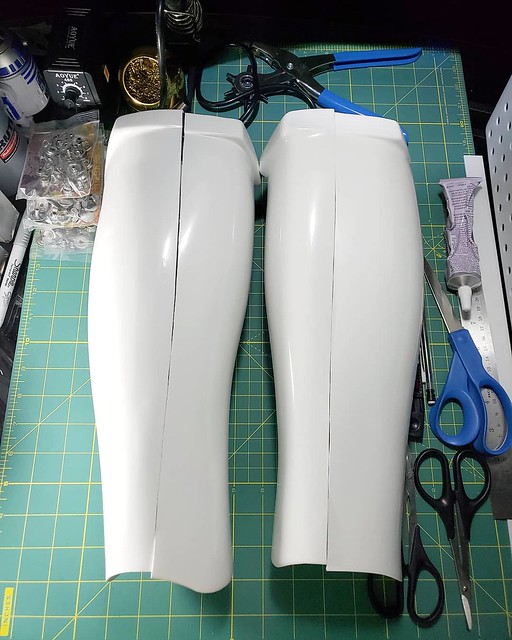
Giving the parts a hot water bath actually turned out to be a lot easier than I thought and my worries of somehow messing up the parts quickly went away. I did the shoulder straps first and then hit the thigh ammo pack:
Feeling more acclimated to how the process worked I tackled the shins. Much better. Even velcro wouldn't have a hard time holding these closed now.
-
 2
2
-
-
If anyone here is aware of EFX's insane delays (4 years) with the Biker Scout LE helmet, it came to a point where many members of another forum emailed the Disney/Lucasfilm licensing folks all at the same time back in February. This actually seemed to have some impact as the licensing folks replied to those emails and then all of the sudden the helmets amazingly started shipping from the production point not long after. Maybe the same needs to happen here with Anovos?
Below is the contact information that was posted back then, snipped together into one place for reference.
QuoteLucasfilm manages the rights to films, television shows, and documentaries based on the Star Wars saga and the Indiana Jones trilogy, as well as Tucker: The Man and His Dream and Willow. Requests related to those properties should be directed to:
Christopher Holm
Ph: (415) 623-1938
chris.holm@lucasfilm.com-----------------------------------------------------Head of Lucasfilm Licensing: howard.roffman@lucasfilm.com---------------------------------------------------------------Most people received a reply from Stacy.Barninger@disney.com, who is stated to be the contact person for the Disney/LF -> EFX relationship. Might be the same for Anovos since they're making similar products, but who knows? -
Cod rivet is no longer painted. lol And the rear cover strips are on both thighs now:
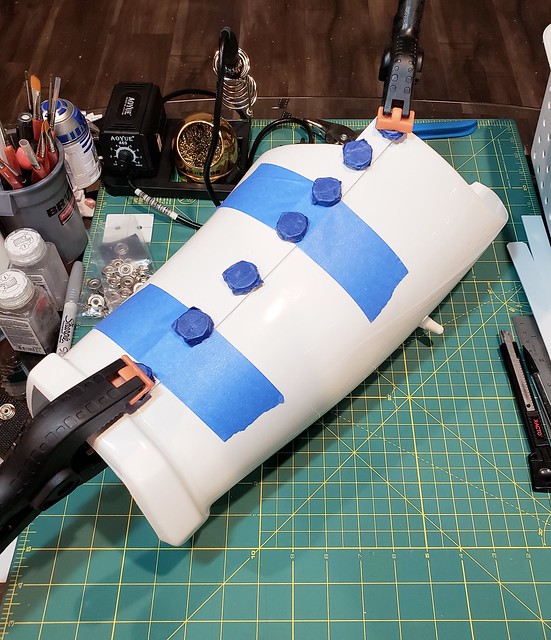
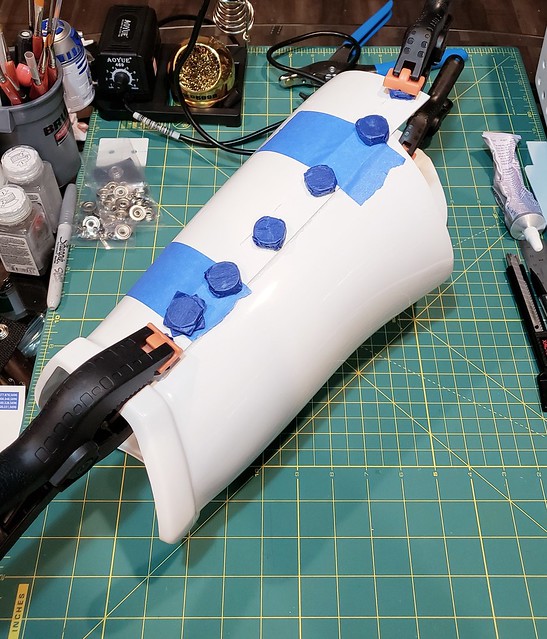
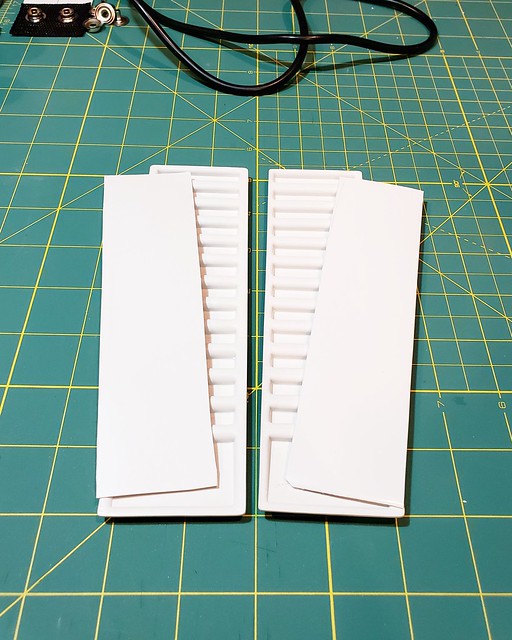
I'm planning to reinforce my shoulder straps the same way Cricket did, so I cut some thin plastic scrap into covers. The thin metal strips are in the mail (Amazon all the things!).
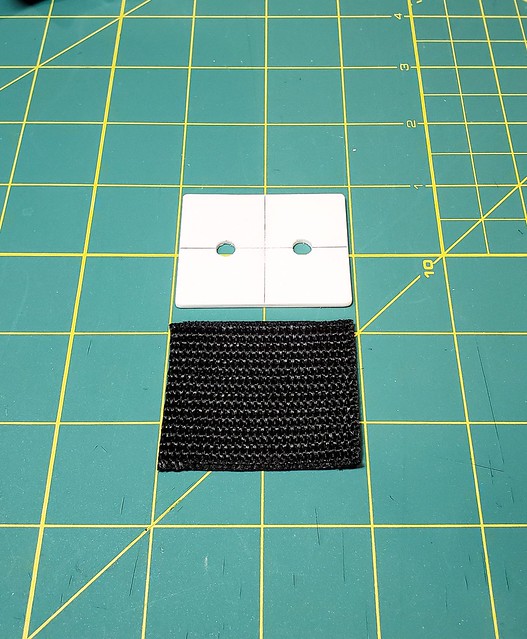
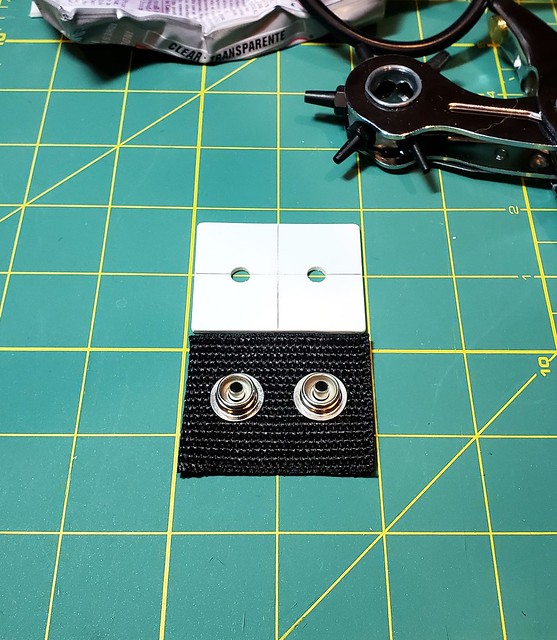
And my super simple snap plate template. It's the same width as my 2" nylon, so it just gives me a guide for the plate length and the template holes match the hole punch size. So things should be pretty consistent on the plates and straps from here on out.
-
 2
2
-
-
1 hour ago, wook1138 said:
Looking fantastic! It is great to have the help with the legs! Keep it up. The magnetic shin closure looks incredible. Only if I wasn't so lazy... .
BTW, the cod rivet does not get painted.

Thanks! I think the closures are one of those things that if I don't do it now, I might not do it later.
D'oh!! At least that's easy to fix. Thanks for the catch!
33 minutes ago, Cricket said:For everyone following this thread, Eric was working so hard that he was the very LAST person there cutting and trimming like a banshee. His was the very last work table to be put away by the other people at the party. If we'd left him there, he would have worked well into the following morning! This trooper is dedicated!!!
Sorry I couldn't help you more on your kit, Eric. You're making really good progress on your own so far! Can't wait til you get your big pot and magnets so I can see how those shins develop!

I don't know what happened! I sat down and there were a bunch of people working on their projects, then I looked up and people are cleaning up and I'm the only one sitting around playing with armor. Totally zoned out.
 Figured I'd better get up and help clean up too! Haha!
And you helped me plenty! Thank you so much!!
3 minutes ago, TheSwede said:Sound like one awesome day to say the least and now I’m even more jealous

And by the looks of it you made pretty good progress yourself - legs look great

Definitely was! Sorry to increase the jealously level. lol
Thank you!
-
 4
4
-
-
On 8/25/2018 at 5:28 AM, TheSwede said:
Armor-party at Cricket, I’m jealous so please say Hi for me
 I’ll expect a complete Stormtrooper by tomorrow then
I was sure to say "hi" for you!
 Unfortunately, no completed Stormtrooper for me. Haha! Between getting to meet everyone, talking to others working on items I still had left to do and lending a helping/taping hand where I could, I was a little less productive on my own armor. But that's ok and I did make good progress on the legs with Cricket's help! Had I done them alone they probably would not have turned out very well (a second person is very helpful to line them up), so I'm very grateful for that. I also made some good notes for a couple different snap placements, reinforcements to prevent cracking, "Cricket Closures", etc. It was a very good day!
So while at the armor party I removed the upper return edge on the left thigh, then trimmed both thighs for 20mm cover strips on the front, and taped everything together. Slapped those on my legs with the shins and Cricket made quick work of helping me size and mark everything for trimming.
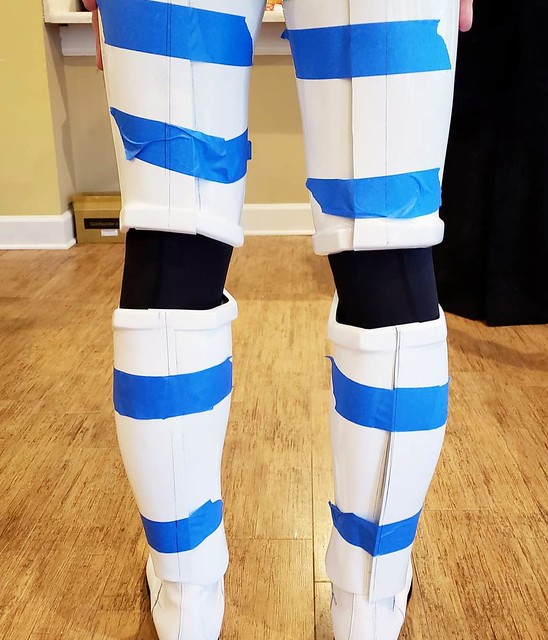
Here's the trimmed left leg. I had trimmed the right thigh but before I could get the right shin done it was time to clean up and pack up.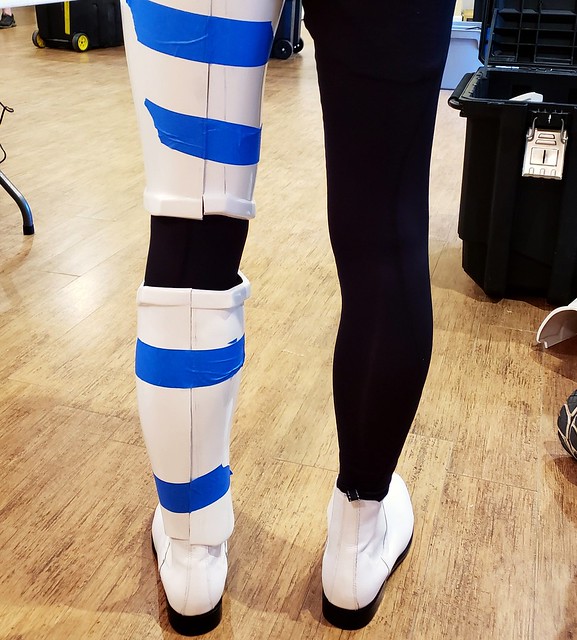
So I finished the trimming at home that night and now I'm working through gluing the thighs, currently the front cover & inner strips are glued on and tonight I plan on applying the rear strips. I figured I'll wait until I can wear the torso armor so I can trim the rear to match the shape where the thighs and posterior meet:
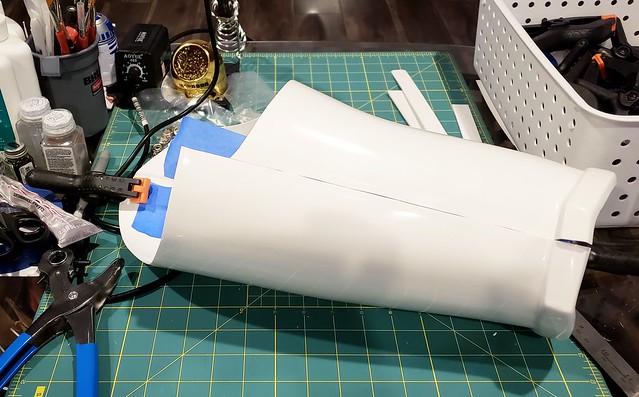
In the meantime I installed and painted the lower tab split rivet, like a few others I also added a snap base to make it more functional and easier to replace that strap if needed.
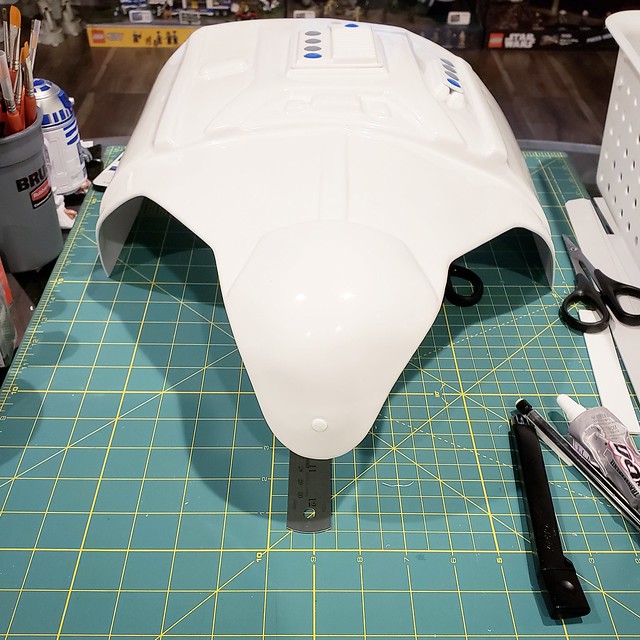
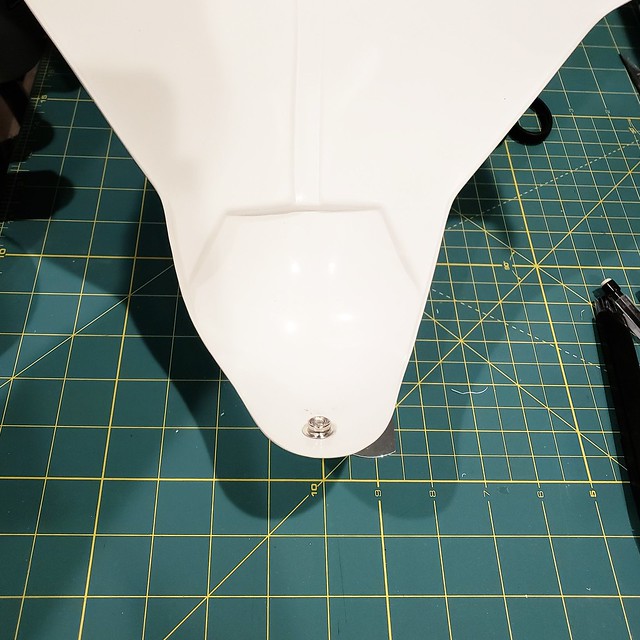
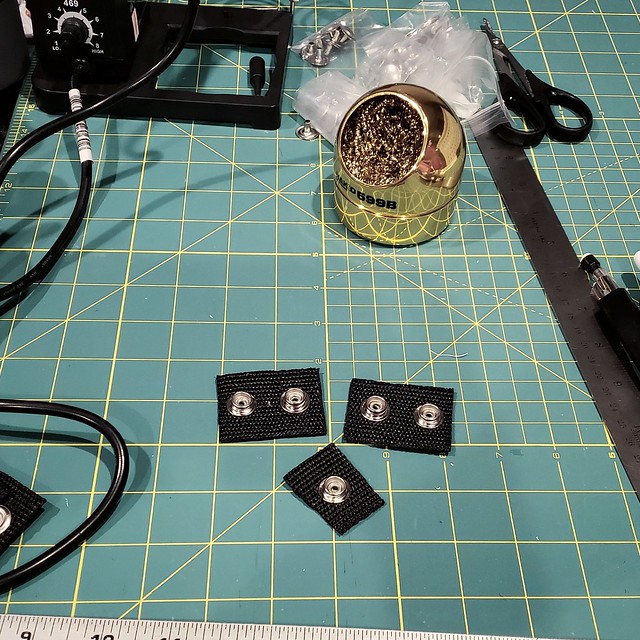
While parts have been curing I've begun making snap plates, I'll mostly be using double snap nylon plates. The ones pictured below were test pieces I made while getting used to setting the snaps, I've since made a template from a scrap piece of plastic to ensure that the snaps will line up on both the plates and straps.
And once I get my 16qt pot and the magnets (should be tomorrow for both), I'll be following Cricket's method of closing the shins. After seeing those in person it's definitely the way to go!
-
 2
2
-
-
Last night I finished gluing the arm straps together, the end result is a 1/4" gap as recommended between the forearm and bicep. I also glued my ab button plates onto the ab and made the rookie mistake of gluing the large plate upside down. I blame my long work day. lol So I pulled it off and reglued it this evening.
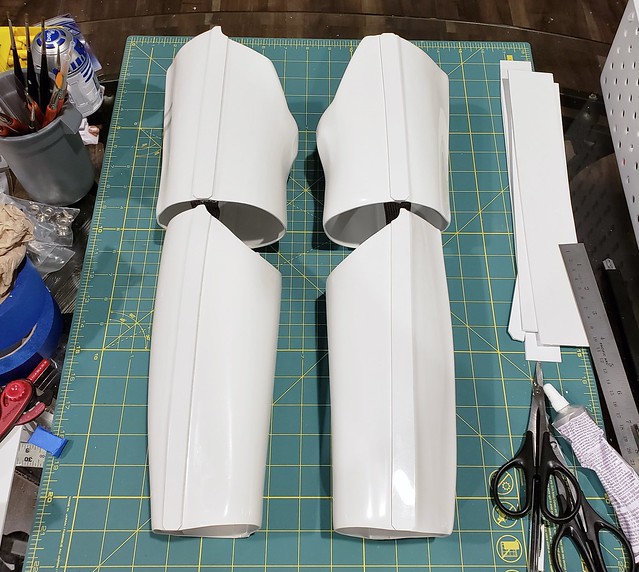
Tonight I've been preparing for my first armor party that Cricket is graciously hosting tomorrow and I am very excited to finally get to attend one! Meanwhile I threw on my boots and shins and marked the backs, but I decided that before I trim them down according to what I sized I'll take them tomorrow to get a second opinion. It just seems like what I sized is a lot of material to remove, even though I do have chicken legs.
So I started looking for something else to do and ended up measuring and marking the ab & posterior for the lower rivet/snaps. And then I ended up drilling and countersinking the posterior for the snaps, which led to actually installing the snaps. I was going to hand countersink the holes with a 3/8" bit as I had noted from Ukswrath's build (I think it was his build) but I had recently broken that bit working on a car project, so I stepped down to 5/16" and it worked just as well. I practiced with the snap setting tools on a couple pieces of scrap plastic and that actually helped a lot, I definitely recommend going that route if you haven't ever set snaps before.
Interior:
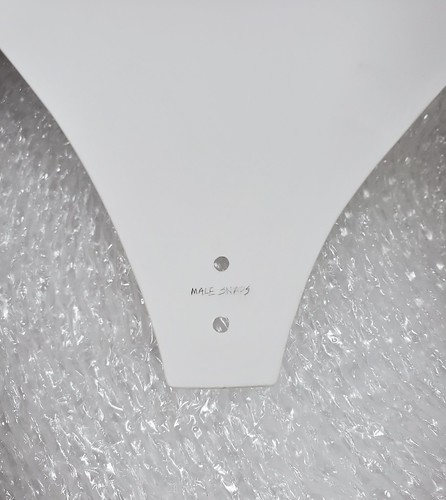
Exterior:
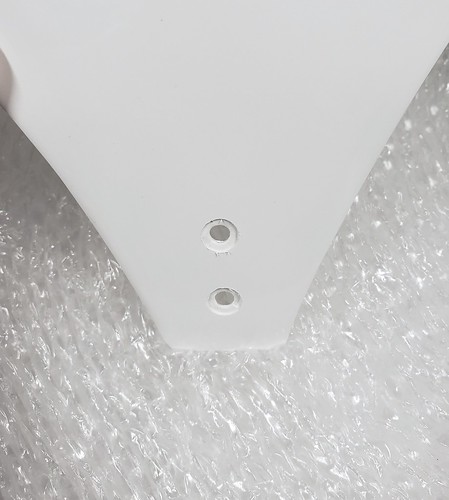
Interior:
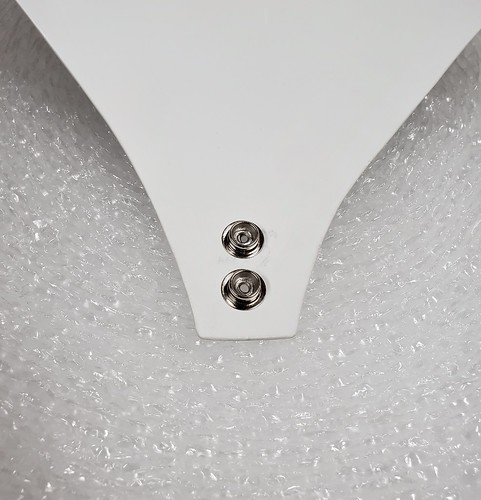
Exterior:
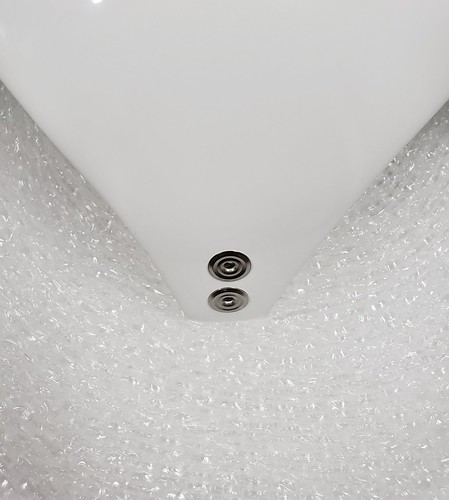
Hopefully tomorrow I will make a LOT of progress!

-
 3
3
-
-
8 hours ago, gmrhodes13 said:
Nice work, it is a good tip to use snaps on the elastic as an attachment as it can stretch over time and may need replacing. Although if needed the elastic will pull off the glue if you need to replace

Thanks! And a good tip! I like doing things ahead of time to help facilitate quick fixes later. For now, it's a definite to-do item after I get my basic approval.

-
 1
1
-
-
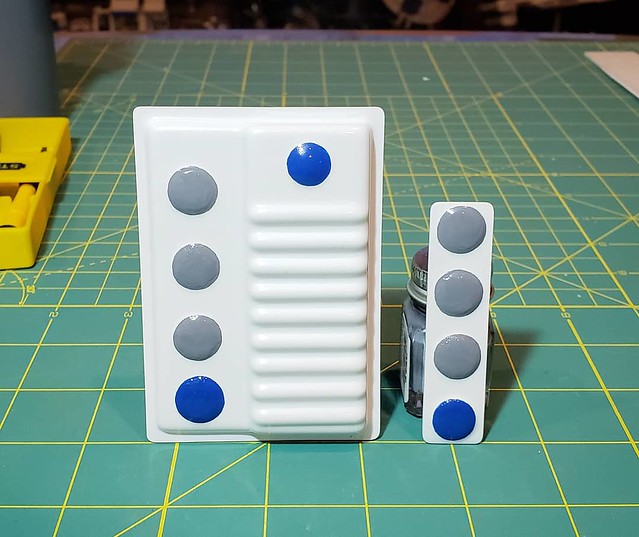
Finished painting the ab buttons, glad that's done with. lol
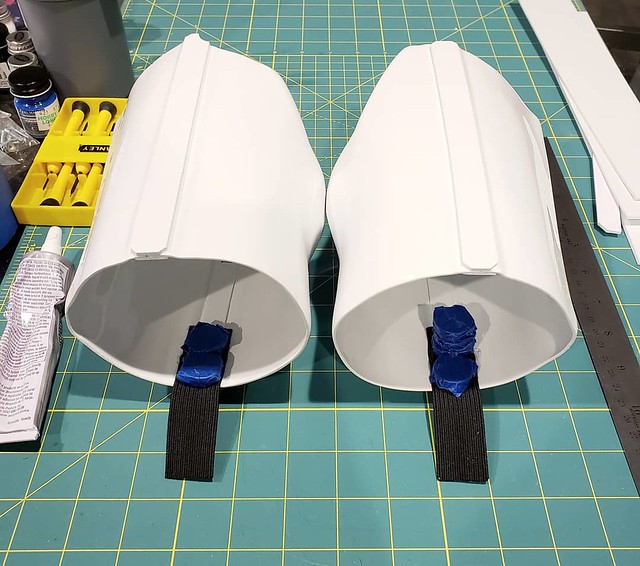
And I started gluing in the bicep to forearm straps. I took inspiration from Greg's (wook's) build (which followed Ukswrath's AM build) for this step and I'm using 1" elastic strap glued along the inside of the outside cover strip. Hopefully E6000 peels off of the elastic as easily as it does plastic, had a bit squeeze out onto the exposed part of the strap.
-
 1
1
-
-
1 hour ago, wook1138 said:
Looking good, as always! Nice job on free-handing those buttons.

Thank you sir!
55 minutes ago, TheSwede said:Painting looks GREAT!

If you want uber accuracy then the plates could have straighter edges
Thanks!
I take it you're referring to the corners? I did go with more of an idealized vs. screen accurate finish there as I preferred the plates to match the mounting surfaces, I didn't like the sharp corners there when I first test fit them.
-
 1
1
-

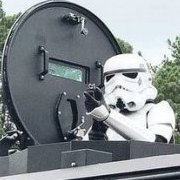
Xan's ANH Stunt Build [ATA]
in Build Threads Requireing Maintenance
Posted
That makes sense. I've had four different "Line 24" snaps so far: the ones Mark (AP) included with the armor, the snaps that came with my setting tool (Home Depot), the Amazon snaps sold as Tandy snaps (but weren't), and the actual Tandy snaps. All 4 have different length posts, the Amazon fakes were really short, so that's why I said that.