


Novak Dimon
-
Posts
714 -
Joined
-
Last visited
-
Days Won
2
Content Type
Profiles
Forums
Gallery
Articles
Media Demo
Posts posted by Novak Dimon
-
-
Time for a new update!
During the last weeks I wasn't lazy. I worked on several parts and continue my report with the right thigh first.
I continued gluing it step by step, starting with the fore side:

Next I glued the rear cover stripe...

and finally closed the thigh:

I had to wrap the thigh into plenty of tape to shape it the way I wanted it.
After curing I cleaned the thigh. Then I grabbed the ammopack and pre-installed it with some tape to mark the positions of the holes:


The goal was to install the ammopack with equal distance to the rear corners as described by Ukswrath.
Some action for my drill:

And fixed the pack with the split rivets, delivered by Anovos:


The distance is looking ok.

At last I painted the rivet heads with glossy white paint:


Thereby the right thigh armor is complete.


-
A beautiful Blaster!
-
Thank you Tony! Seeing that my work is passing your experienced view is very motivating!
-
Starting with the thights.
Again I trimmed the parts first, using the trimmlines, and then cut the front to the size of the coverstripes.:

Drawing the trimmlines:

Front of the right thight after trimming.
Same at the left side. To fit the thights I trimmed all return edges first. I only left very small return edges to keep the parts looking thicker. It was impossible to make the parts fit with the return edges. I did the same with the shins befor installing the rear coverstripes.
Now I was able to figure out how much I have to trim to make the thights fit.:

Then I started gluing the thights, starting with the front.:
I prepared the thight ammo pack also:

>>> to be continued>>> -
Next update for my Trooper-build:
While I´m happy with my shins and no one posted that I have to correct something, I decided to glue the parts together.

During the curing time I trimmed the sniper-knee...


... and glued it:

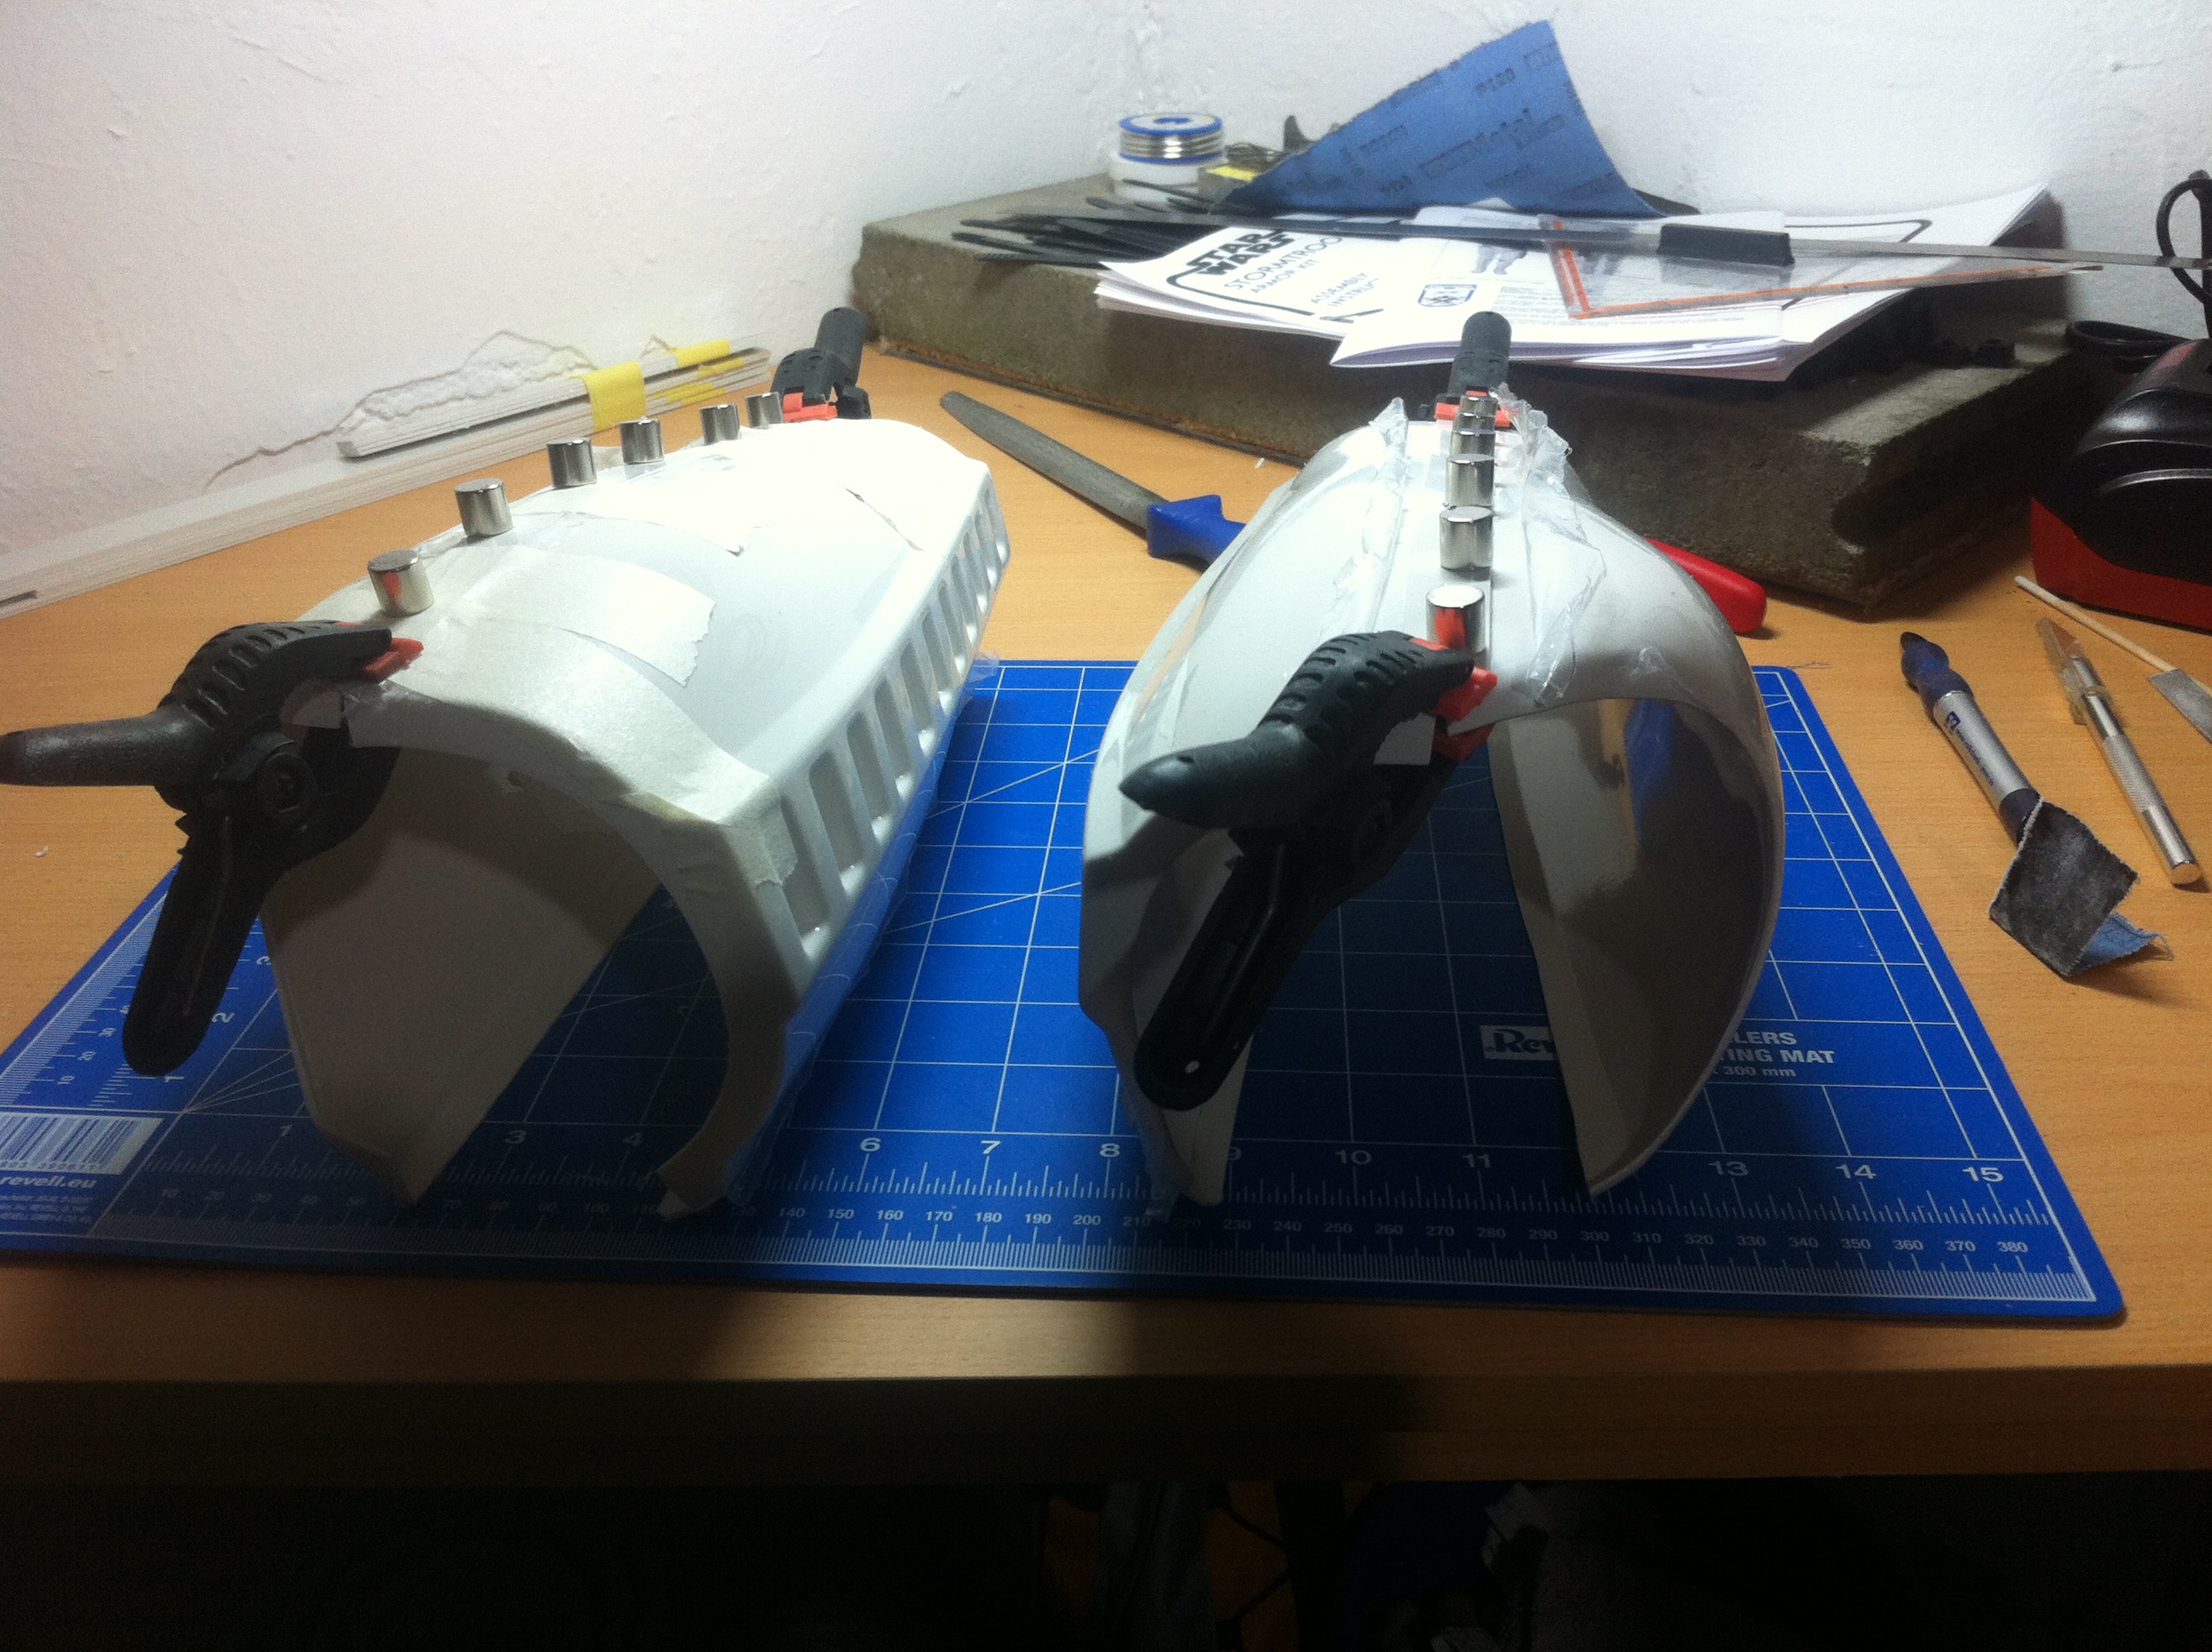
Bending the part around the shin was quite hard but I have strong clamps. Here the final result:


Leaving the backside of the shins. I don´t want to use the velcro under the coverstripe. The original bra-hooks are also not the way I want to go. I´ve seen a thread here where someone used inner and outer coverstripes and only one snap or maybe some Velcro to close the shins. Unfortunately I don´t find the thread anymore.
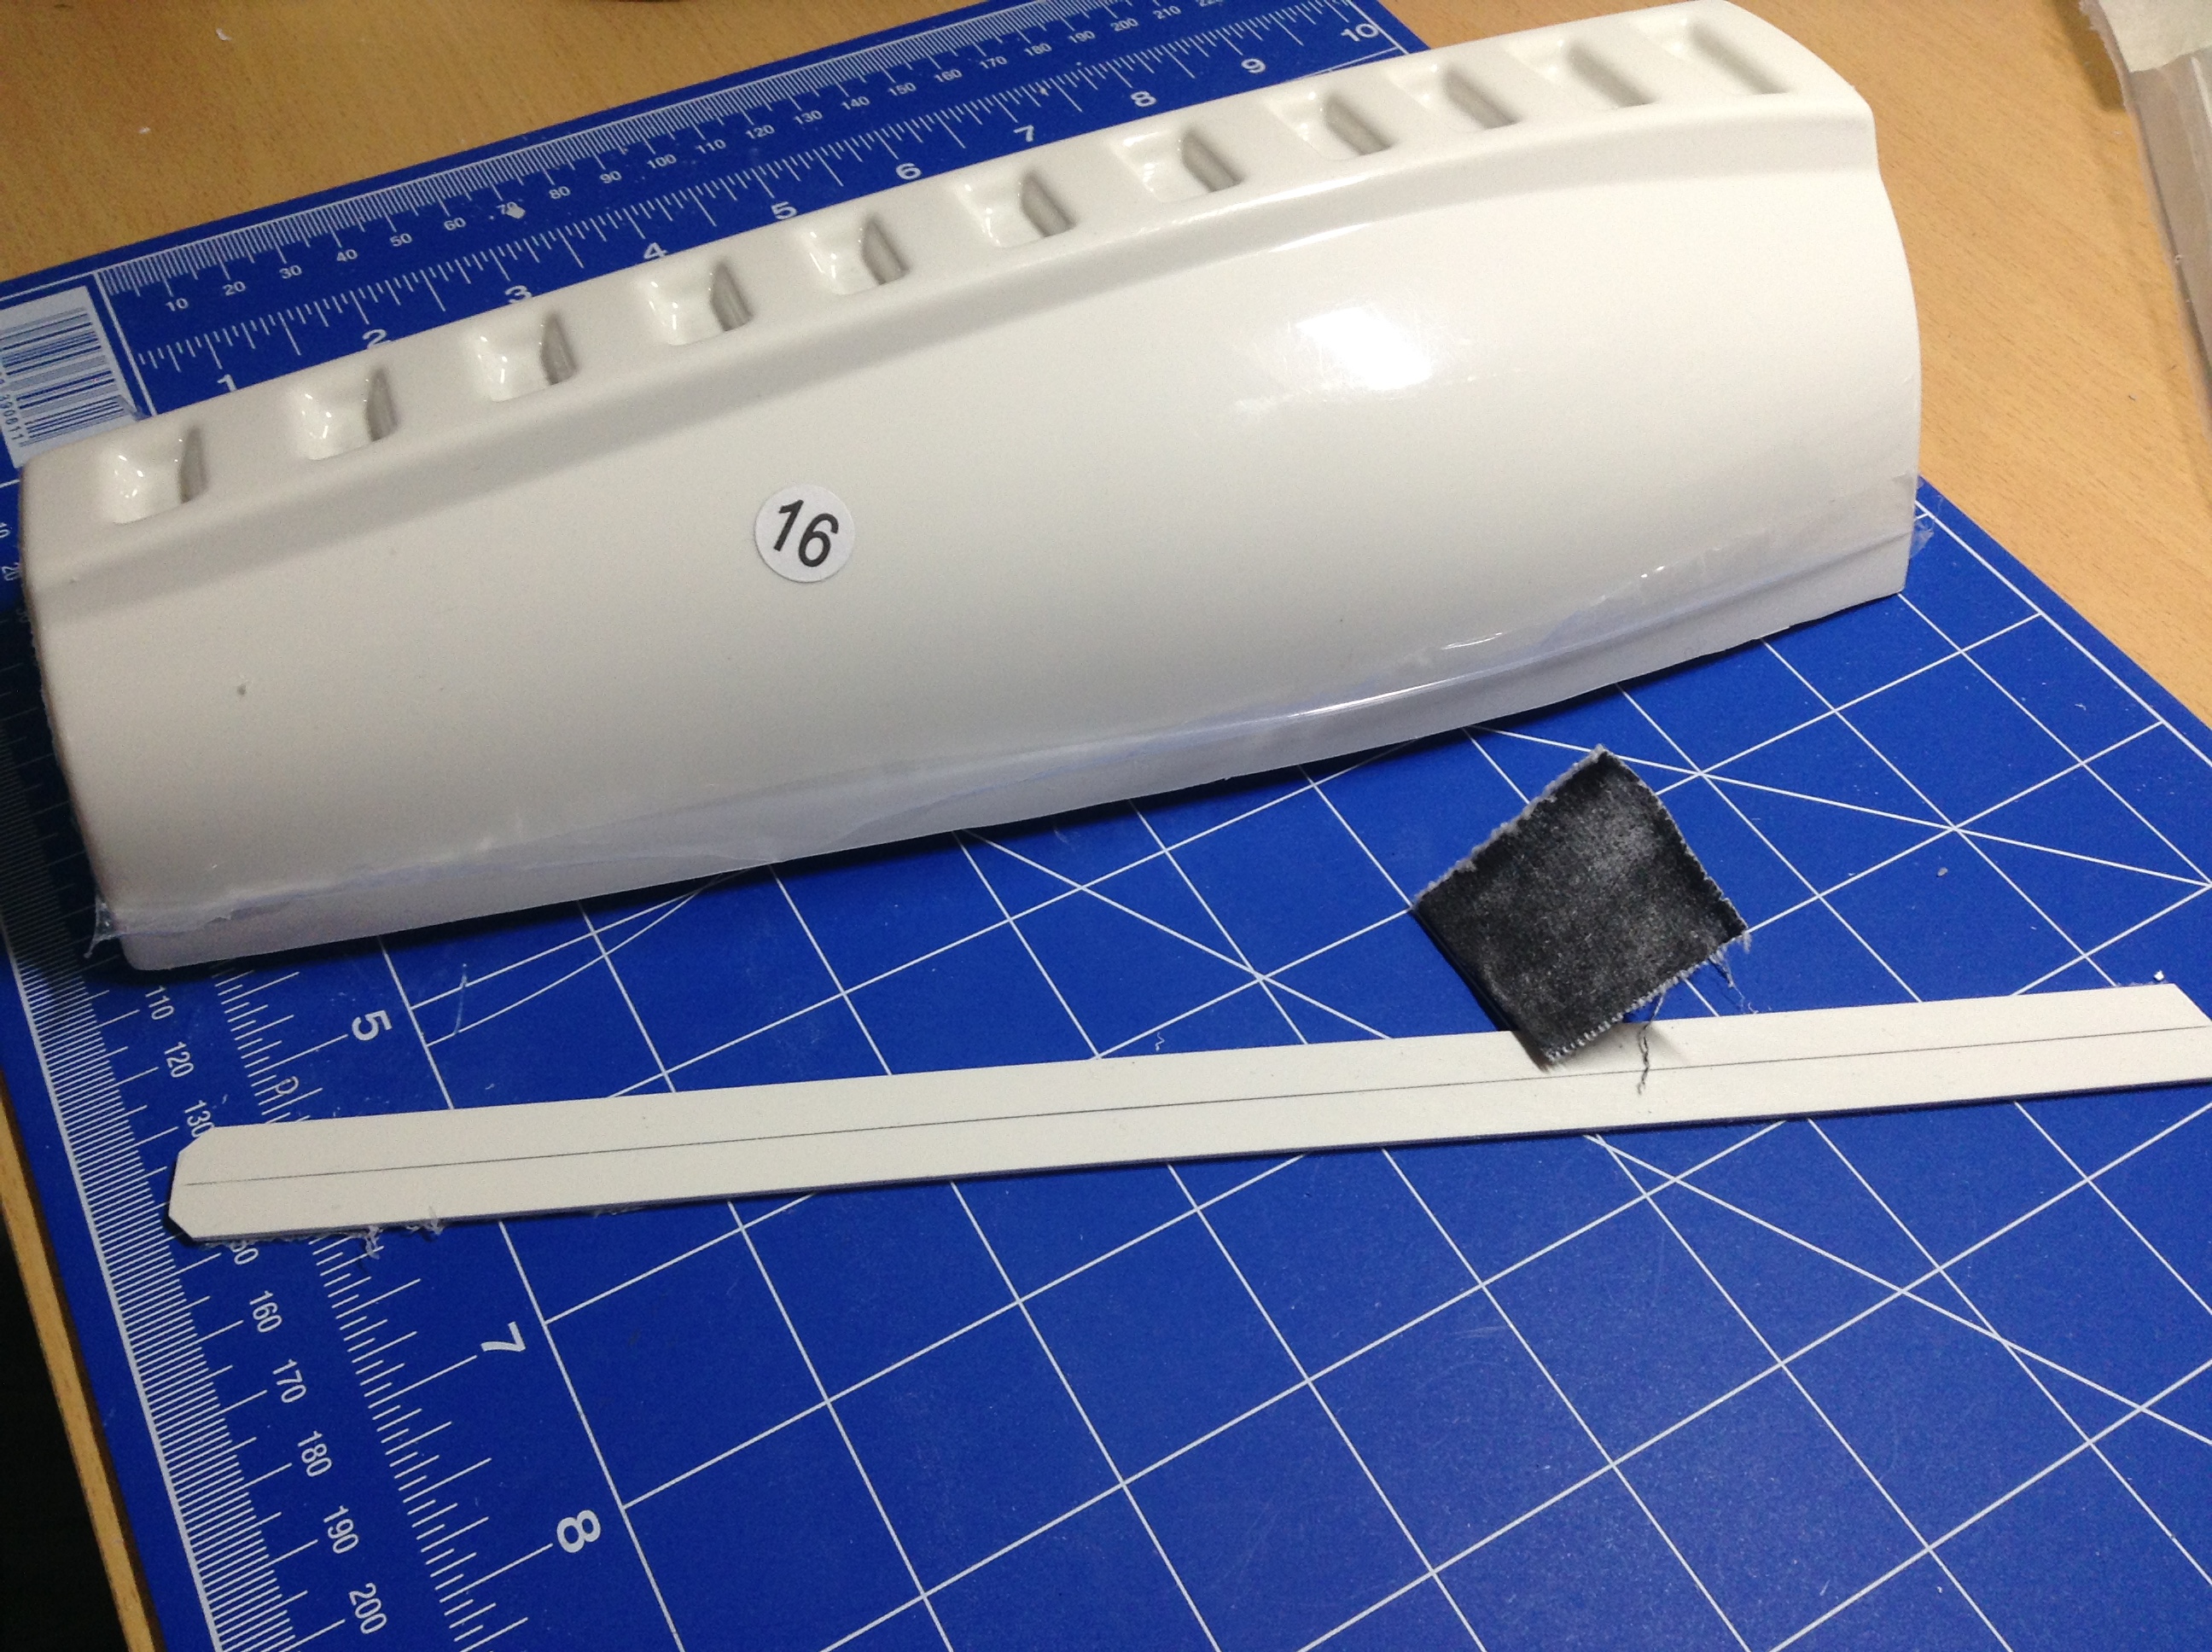
 Though I want to test this solution. First I made inner coverstripes from some scrap ABS:

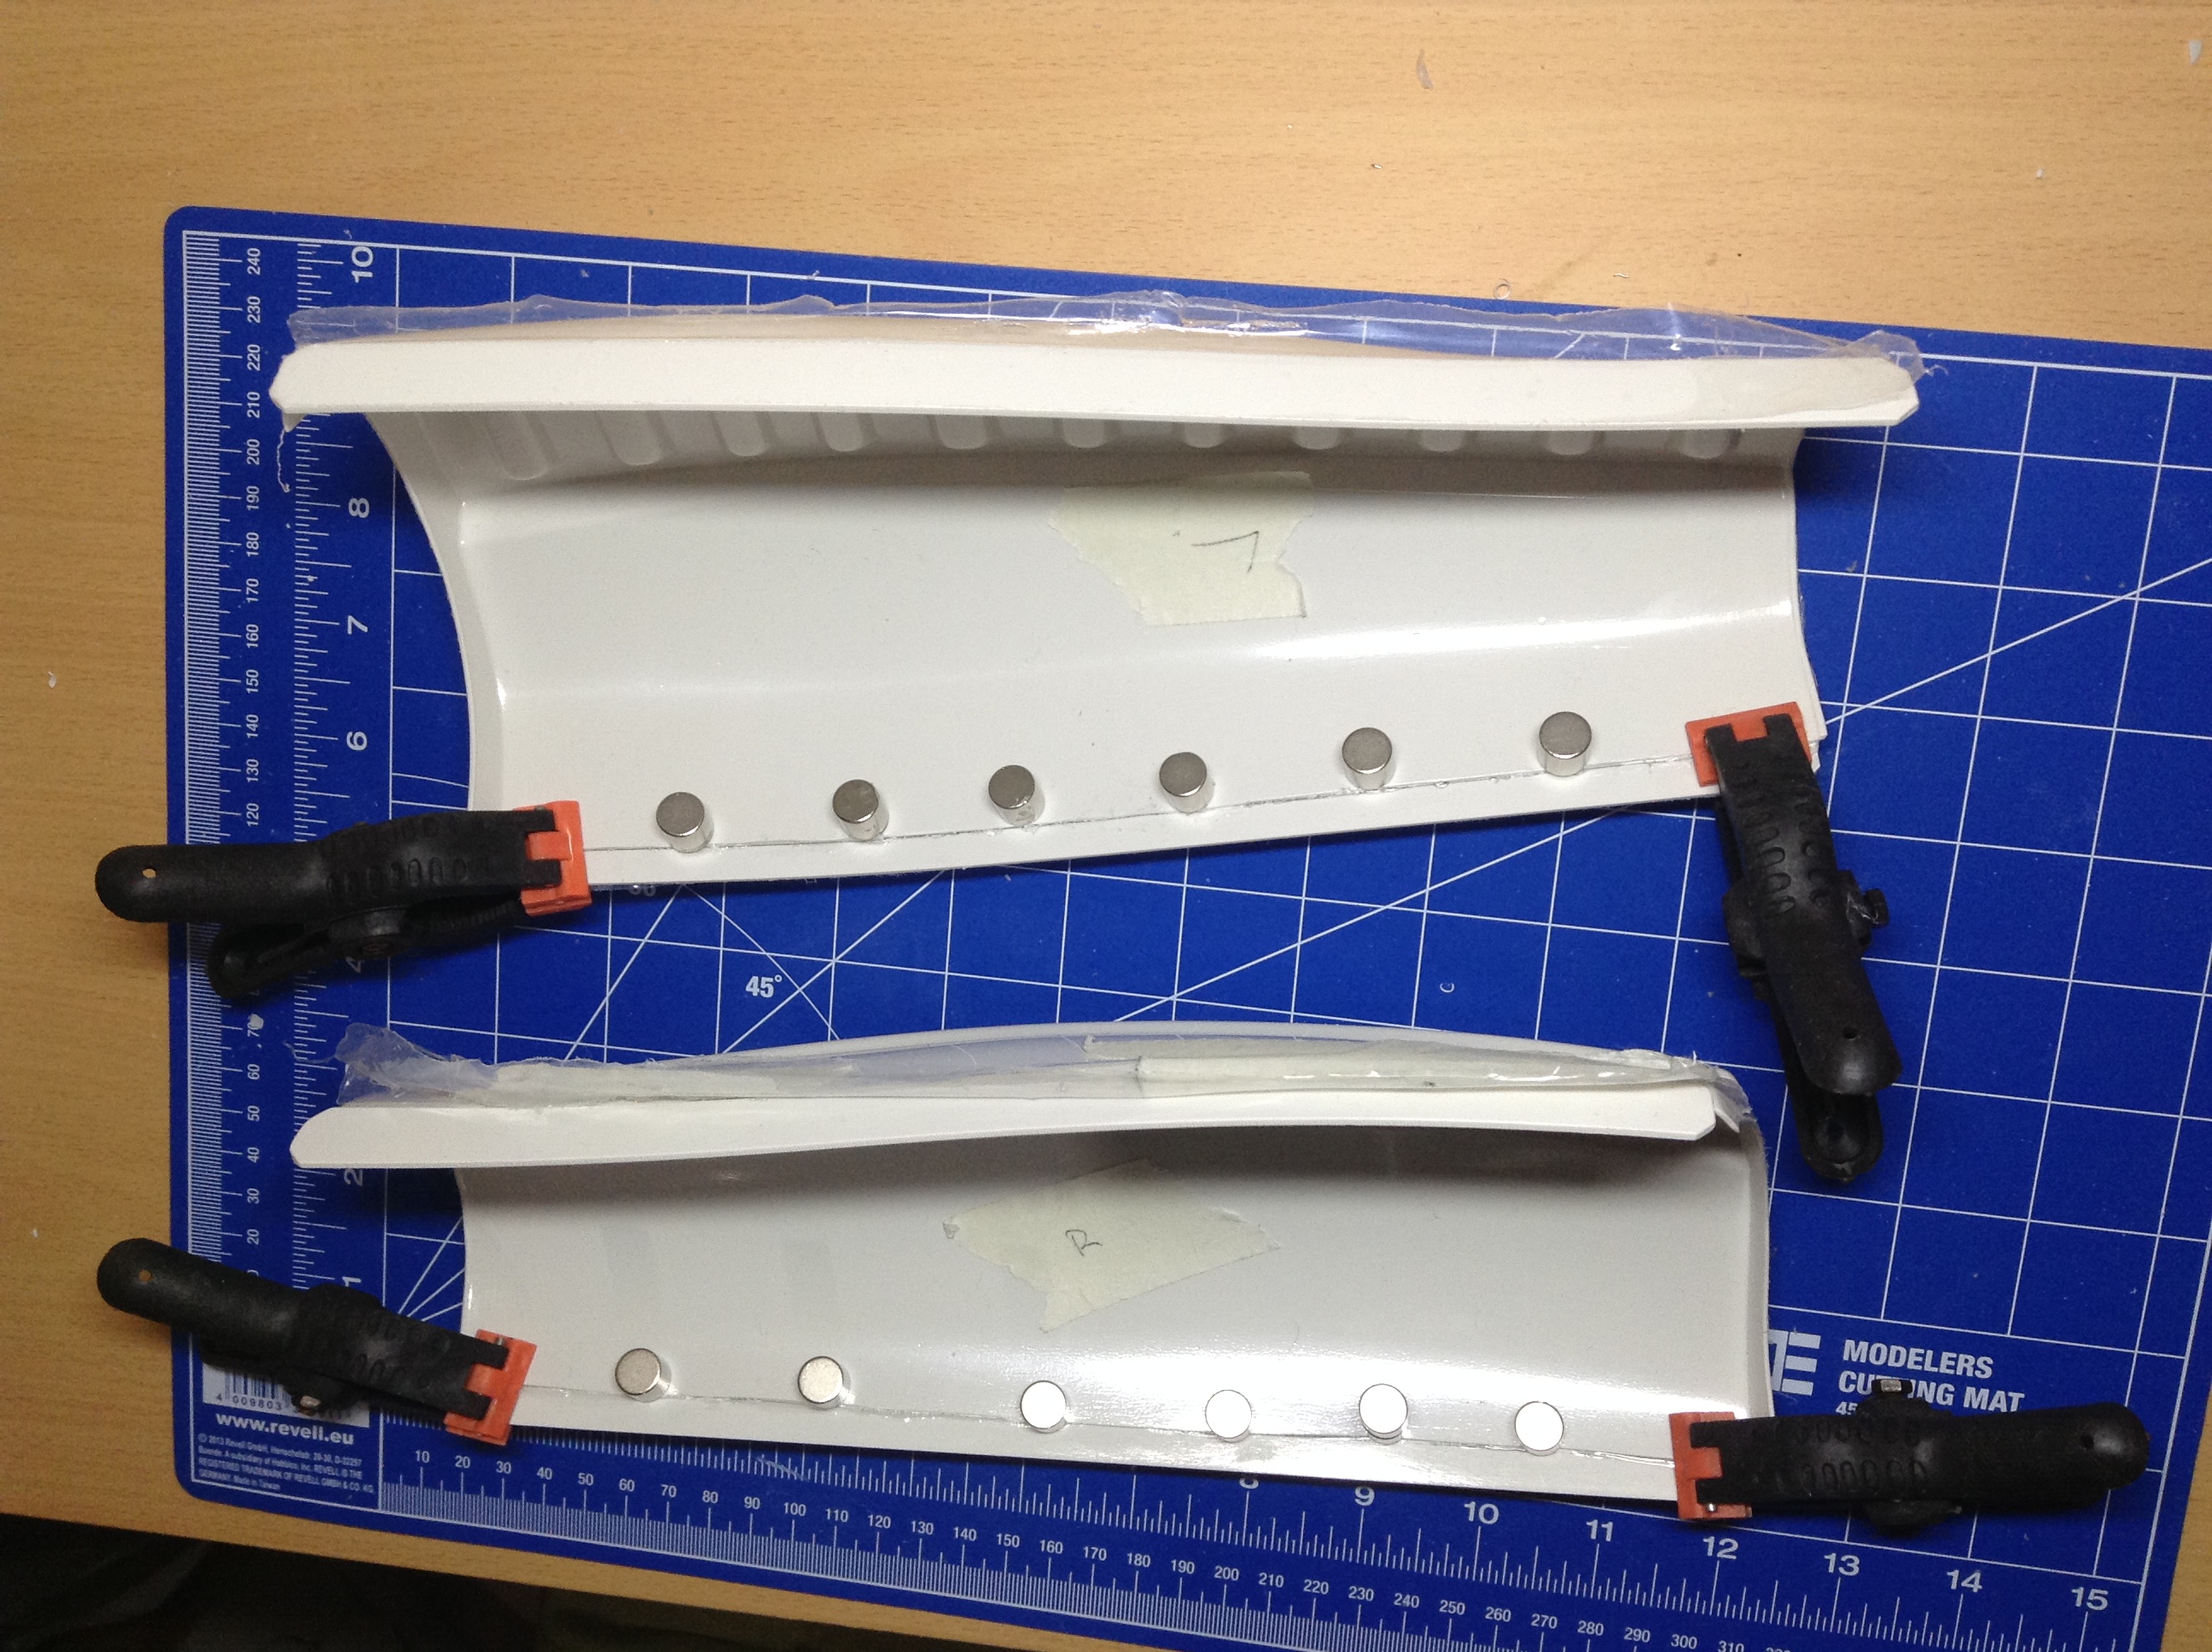
Gluing the stripes:

I used a piece of coverstripe to remove exess glue from the gap.

This is leaving a thin film of E6000 inside the gap, making it sticky and helping to hold the shins together..
Here some pics of the finished right shin. The small flap on top holding the two parts in one line and the gap is a little bit concealed.
Shin closed:
Inside view:

And a final test fit:


I was wearing the shins a while for testing and they never opened. But i think I will install a snap anyway to make shure the shins are not open during a troop.Next are the thights.
-
I dismantled my M38.<br>
Check my Sterling conversation thread for pictures. <br>
Cheers<br>
Christian
-
Ok, Shins next.
Because the massive discussion about the labelling of the ANOVOS shins I decided to stop reading, forgot anything about it and just started building them, putting together the parts the way they fit best to my legs.
I started to trim the parts 24 and 25 (the right leg!?):

Then I cut the area of the fore cover stripes leaving 10mm each side. Looking already ok here:
I have to cot some material here:
Drawing a cutting line with the ruler:
Score and snap and finished. By the way, I always cut without the ruler. For some reason the cut is more staight without it .


I trimmed the right shins afterwards.
Again I marked the 10mm:
(Right) Front completely trimmed:
Now I tried to figure out whitch parts belong to each other. After some tries and comparisons I decided to use my shin parts as labelled by ANOVOS. 24 + 25 for the right leg, 27 + 28 for the left one.
Next step was the fitting. I took the parts on and of. Adjusted caerfully and made markings here and there.The back of my shins was looking a little chaotic for a while:


Here some pictures of my final fitting prior to gluing:


What are the experts saying? Go or no Go
  ?
?
That´s it for today. Im looking forward to your feedback!
>>> to be continued >>>
-
New Updates today.
After drying I removed the exess glue and protective sheets from the left biceps part.


Then I glued the right part as well. Removing the magnets was a pain every time. Thats why i wrapped them into painters tape. This improved the handling very much!

The finished right biceps part:


Comparison of left and right biceps:
For a test fit of the arms I made some temporary strapping with painters tape. What do you think?
Next are the shins.
>>> to be continued >>> -
In Deutschland ansässig ist "Ironmotion".<br>
Die passen Dir die Rüstung vor Ort an. <br>
Komplett mit allem (Blaster, Softparts) nehmen die 2000€. Die machen sogar den Aufnahmeantrag mit Dir. <br>
Cheers<br>
Christian
-
 1
1
-
-
I trimmed the biceps parts during the last weeks
Left side:


Right side:


Today I made the fitting and pre-assembly of the right parts and glued the left side.
Left side pre assembled:


And the right side:


At last I glued the left biceps armour. I tried out to glue the parts completely. It worked well so I will do it again in the future.


That's it for now.
>>> to be continued >>>
-
During the curing time of the glue I trimmed and sanded the shoulder bells.
Before:

After trimming:

Sanded left side:

The area of the return edge is vey thin at the left side:

I reinforced this area with E6000:

Next step: biceps armour.
>>>to be continued >>>
-
Time for an update. During the last weeks I had way too much work and spent the few free hours mainly with my family.
But anyway I managed to finish the forearms of my armour and and commenced the works at biceps and shoulder bells.
After gluing the fore cover stripes I prepared the back facing cover stripes and glued them as well.
Cutting the edges...
Sanding the back of the cover stripes and covered areas of the armour...
Glued and clamped.
Then I glued the two pieces of the forearms, starting with the back facing side (as recommended):
And then the front side:
After the curing time I peeled off the excess glue. Using E6000 is really handy here.
Then I removed the protective covering and voila the finished forearms:
>>>to be continued >>>
-
Hi bpoodoo, thank you!
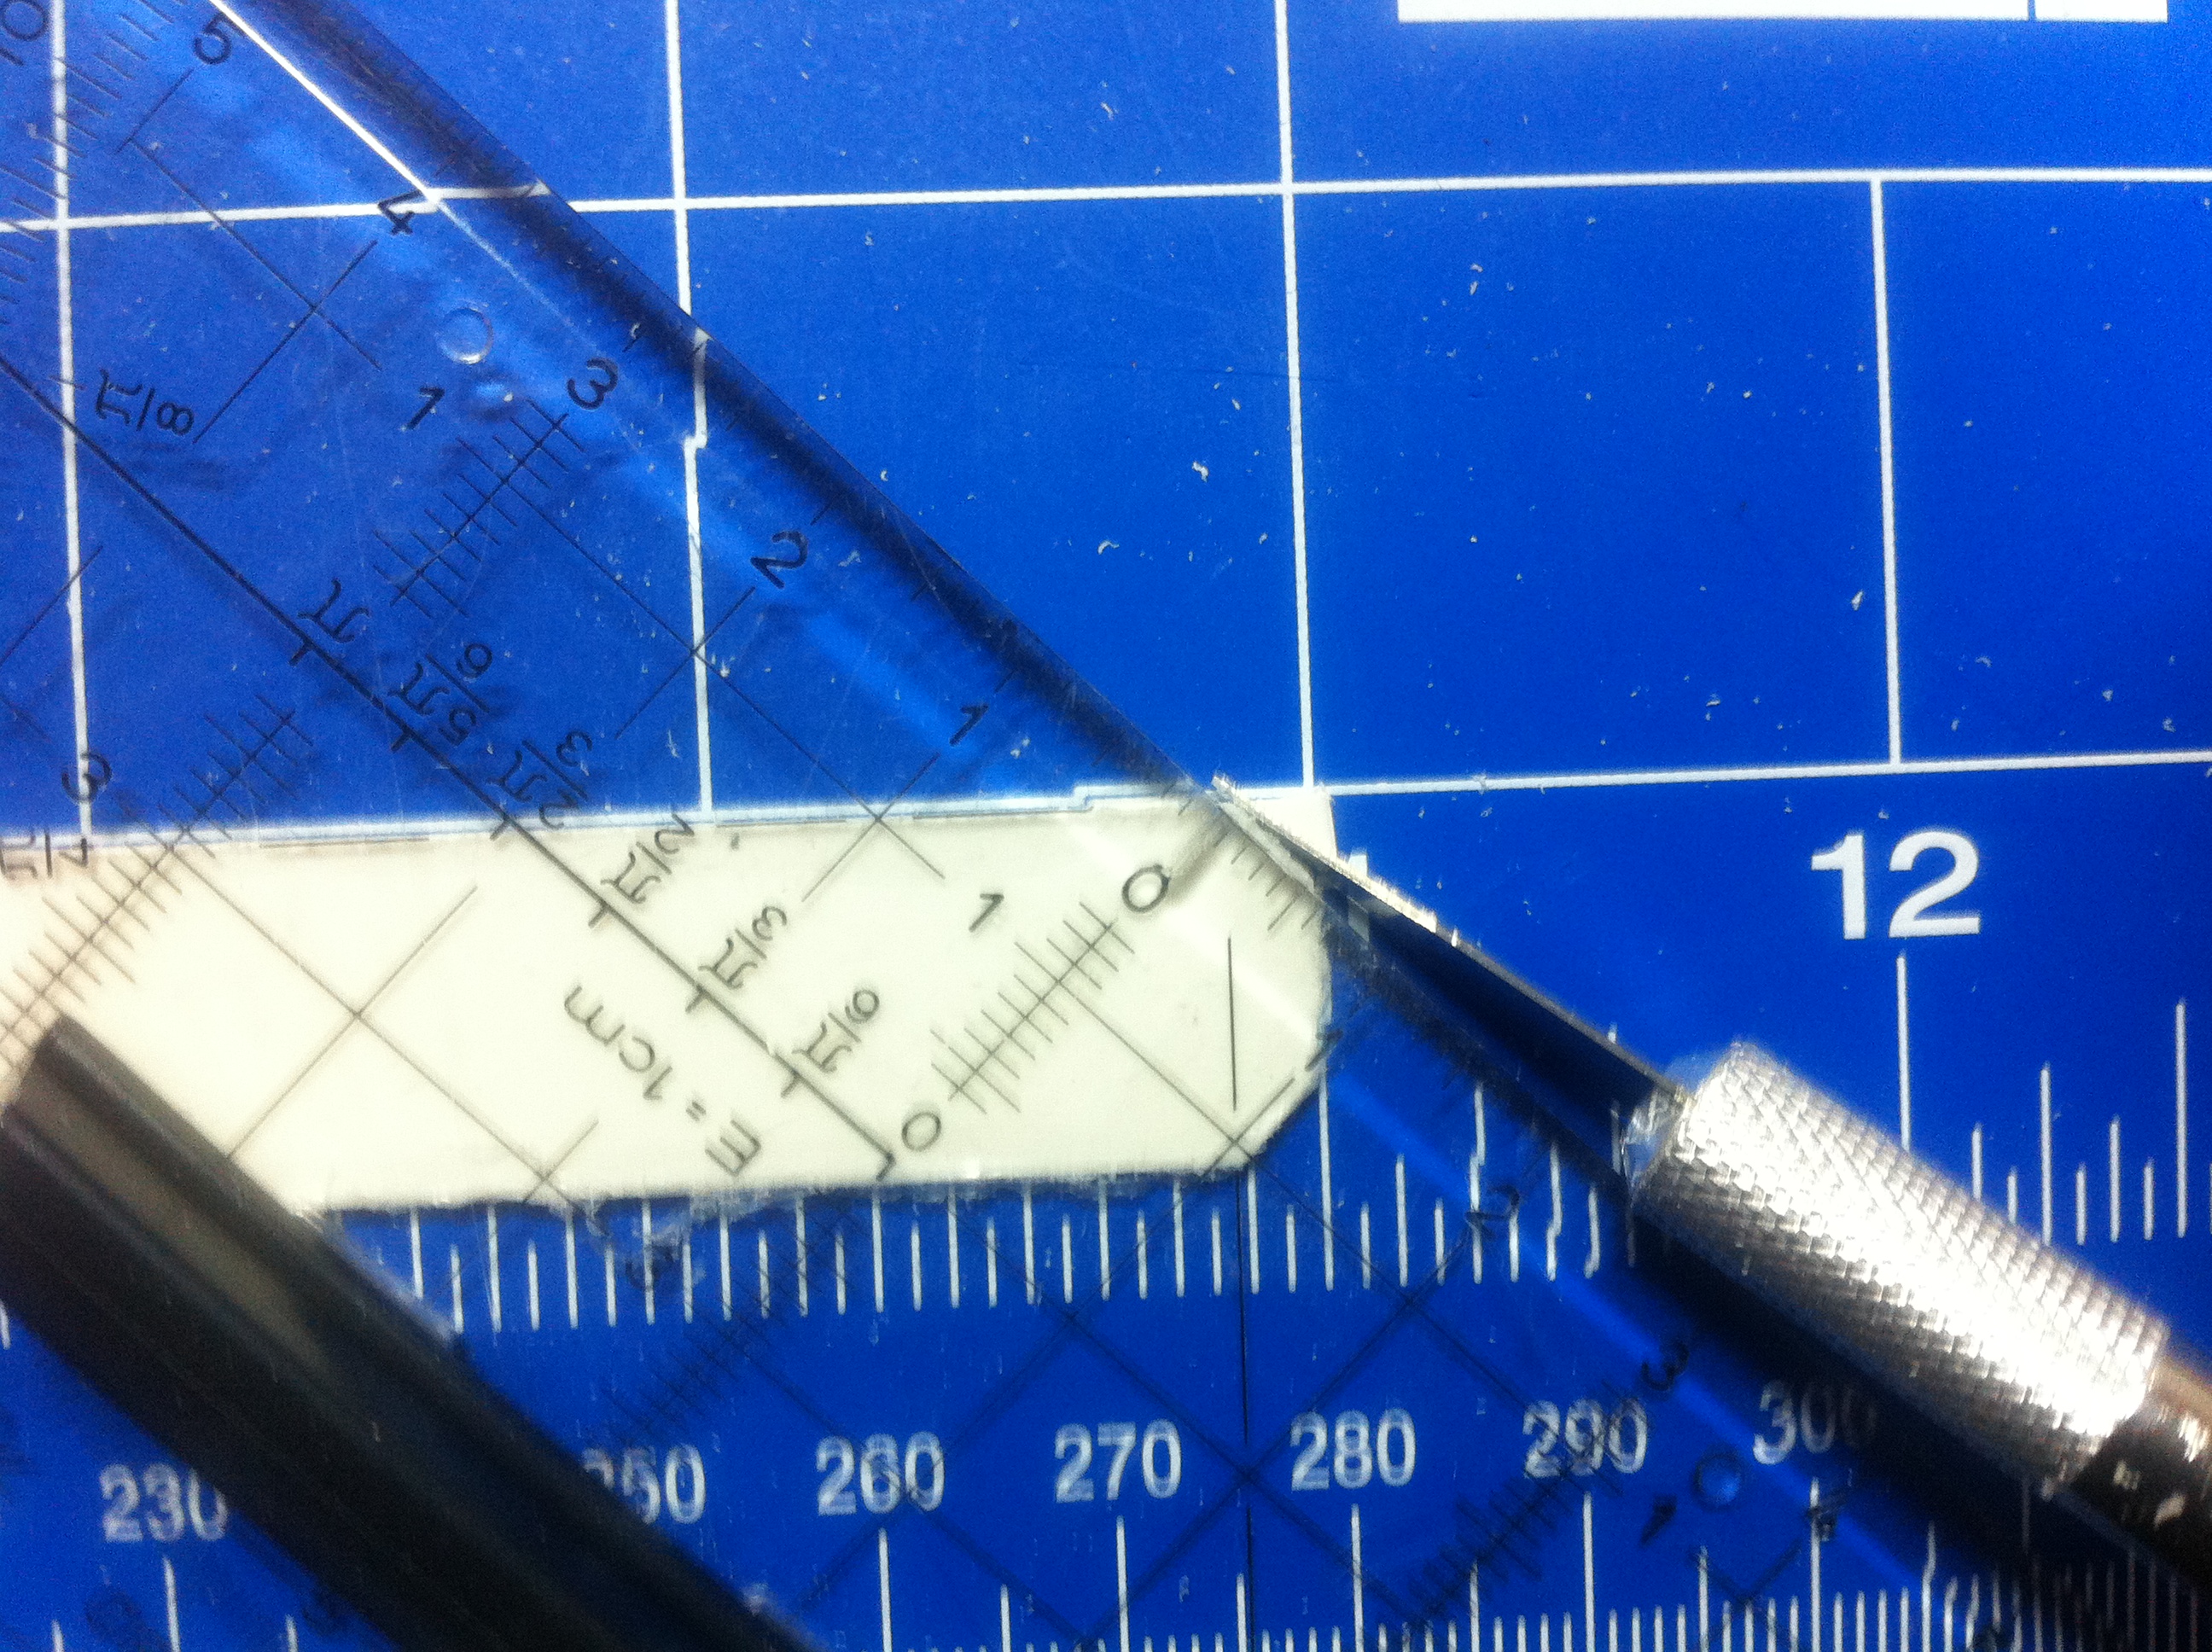
First I cut square pieces with a wire cutter. Then I bent them to the correct diameter using long nose pliers and finally cut off the excess material.
-
1
-
-
That would be awesome! Count me in.Maybe I'll make a small run (of 5-10 blasters) in the future.
-
Hello Tobias!<br>
Welcome to the FISD from the wild Coast of Friesland.
-
Well done! The Blaster rocks!
-
Interesting project! I will follow this one!
<br>The scope is looking really good! How did you make it?<br><br>
Cheers<br>
Christian
-
Yes, that is the same thing.
-
Of course it is no problem! I bought this Sterling: http://www.gunsandparts.de/product_info.php?products_id=11
It was customized as followed: The folding stock is not welded. The trigger group is deactivated and not working.
-
You are right. After changing barrel and bolt, it is possible to shoot ammunition. <br>
By the (German) law the barrel has to be fixed to the housing only if it can removed without tools. To remove the barrel of the Sterling you indeed need tools. That's why the deac of my Sterling is absolutely legal. <br>
I guess that's the reason why the gunsmith got the permission to do it that way.

-
Hello Bastian!<br>
Welcome to FISD from the North Sea.
-
1
-
-
@dreadnaught33:
Thank you! I'm always happy to hear that others use my conversation as inspiration.
That's no issue because the trigger group is deactivated and welded into the housing. Everything is approved by the authorities.Barrel not welded into the tube? Oh oh, not good.
This way it´s still interchangeable with a working one - your gunsmith should know that.
-
Congratulations from Germany and my best wishes for you!
-
1
-
-
Moin Markus!
Welcome to the FISD!
-
1
-
Novak Dimon's TK-build
in ANH (Stunt and Hero)
Posted · Edited by Novak Dimon
Left thigh:
The last days I was working on the strapping during the curing time of the right thigh armor
First I installed the cover stripes on front and back. The tape was holding the part to bend it a little bit into shape:
Next was gluing the front.:
Then the backside:
And the finished left thigh after cleaning:
>>> to be continued >>>