-
Posts
852 -
Joined
-
Last visited
-
Days Won
4
Content Type
Profiles
Forums
Gallery
Articles
Media Demo
Posts posted by sharkbait
-
-
Welcome to FISD!
-
On 6/4/2019 at 6:20 AM, jsilvius said:
Honestly, I'm still trying to figure out the difference. I really want to build a Sandtrooper, but several folks I spoke with suggested building a base TK and as it naturally weathers to turn it into a Sandy. But I'm currently focusing on something from the OT. Maybe you can help me to understand the differences?
I made a spreadsheet for the differences between OT TKs. I omitted Sandies, because they're TDs, and their own category (MEPD).
-
 1
1
-
-
Welcome to the Legion!
-
 1
1
-
-
On 6/4/2019 at 8:09 AM, Helotech said:
Hey Jayse01
I have the SDS as well and am starting to mod it.
I do have some questions:
How are you solving the top rounded edges of the thigh ammo pack?
What glue are you using to attach the sniper plate to the left calf? ABS paste?
Good luck on you modifications.
Dave
I would recommend gluing the sniper plate on with E6000. There's only a few attachment points, but they're enough. Mine's been holding for 3+ years now.
-
Welcome to the Legion!
-
 1
1
-
-
I assume your kit didn't come with any extra ABS strips or sheets? And you don't have any offcuts from trimming? Those are generally what people use for ABS paste. You could also check with your fellow Garrison mates and see if they have any extra ABS bits.
I would fill in the sniper plate holes before gluing back on, but that's me. I would find that easier. I glued mine on with E6000, and it's held for 3 years and counting.
If worst comes to worst, and you can't fix the top rounded edge of the thigh ammo pack... replacement parts are available from various vendors. I know AM does replacements, as does RT.
-
ESB: also glued to the front, free floating in the back. I use the white elastic bands to hold them in place (also a Centurion requirement).
-
30 minutes ago, mikidymac said:
The really, really , really frustrating thing is that the Kylo helmet, FOTK helmet and FOTK armor are Anovos and it is rumored if you order at the park they guarantee delivery in 6-8 weeks. This tells me that all of our outstanding orders either went to or are going to Disney first. By the timeline my suspicion is that the "Container" that was arriving in March with all our stuff then magically disappeared actually went to Disney also.
I would not be surprised by this at all. Could you imagine what a s*htstorm they'd be in if they messed up in-park purchases- a lot of whom are probably annual passholders? Or if not, after they paid how much to get in the park?
-
Hello and welcome! Ask all the questions, read, read, read the forums, check out build threads- any armor maker, there's a lot of cross over, the EIB and Centurion threads are great for close-up shots of things.
-
I clam shell into my torso- I did it with black elastic and Centurion rivets. The other side is standard Tandy snaps. Definitely an advocate for the clam shell approach- one swift movement and your whole torso is on! Then I have my shoulder bell/bicep/forearm all connected, so I slip each arm on in one go. Very effective for quick in/quick out. What are your 1 - 5 pieces made of? Plastic or metal?
-
 1
1
-
-
EIB/Centurion are in-Detachment things- so they're not judged by your GML, but by specific Detachment staff. A GML just does basic approvals.
And blasters aren't required for basic approval, in general. But of course just about every TK wants one, because of obvious reasons. In a quick glance it's cool that it lights up, but it's expensive and wouldn't pass EIB/Centurion.
-
That probe droid is amazing! I've always loved probe droids, and large-scale props. Welcome to the white armor ranks!
-
 2
2
-
-
Welcome aboard, trooper!
-
They are indeed under Pathfinders! I don't know of anyone really making them, yet... Jimmi, maybe? He does a lot. ArmoryShop has a helmet that on first glance appears good, but I haven't delved into it to really verify that.
-
Rumors of my death have been greatly exaggerated. (Flickr is back so photos added!)
I basically have Johnny (@johnnycano) to thank for getting me started once again! I was stuck, frustrated, and super busy for a long time. Then I vowed that after my seven troops in four days/four on May 4th, I was again free to force myself to focus my efforts back on Phasma. I’d also managed to complete a bunch of little projects and wrap up another (non-Star Wars) costuming project, so I had basically run out of excuses to put her off any longer.
The back/yoke is connected! The edge is a bit rough on the top. I’m going to sand it some more and then make it smooth with Bondo. Since it’s going to get painted and chromed, I’m turning to Bondo to help with minor imperfections without fear. It smells even worse than E6000 but it does the trick. As suggested by Johnny, since it is a flex-area, I’m going to make an ABS strip bridge to keep the movement out of that area, as Bondo is not flex-friendly.
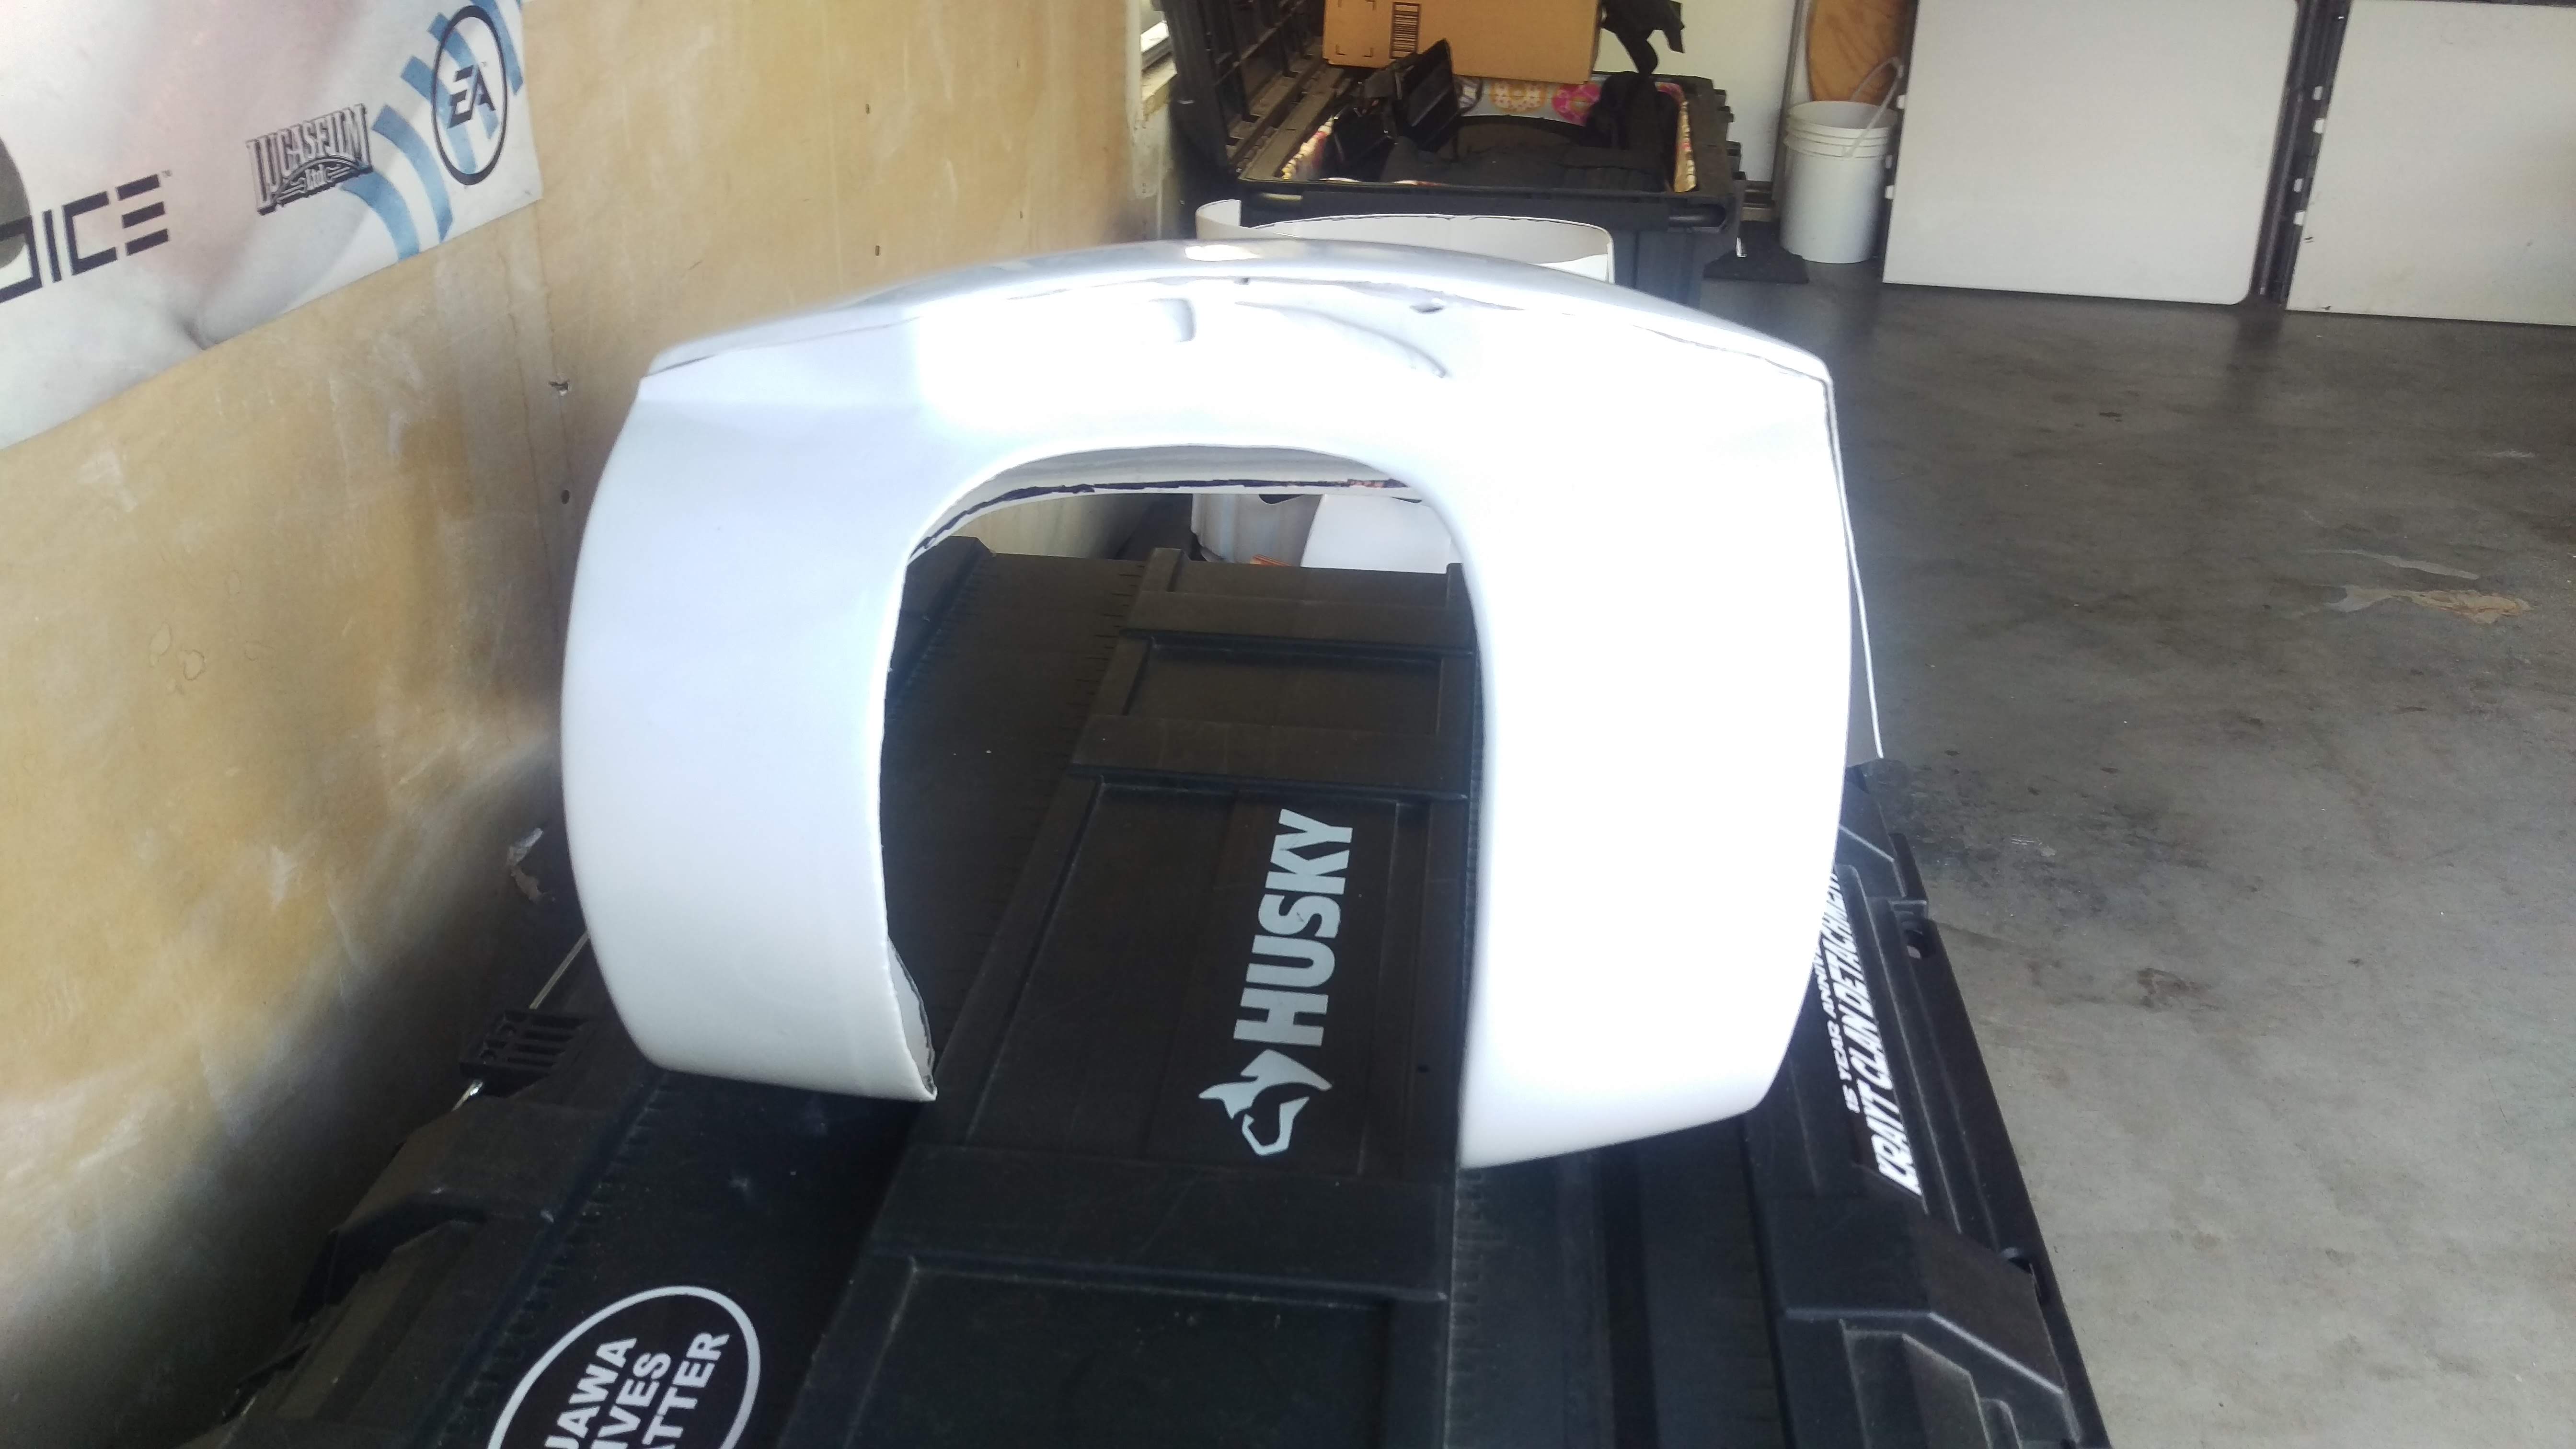
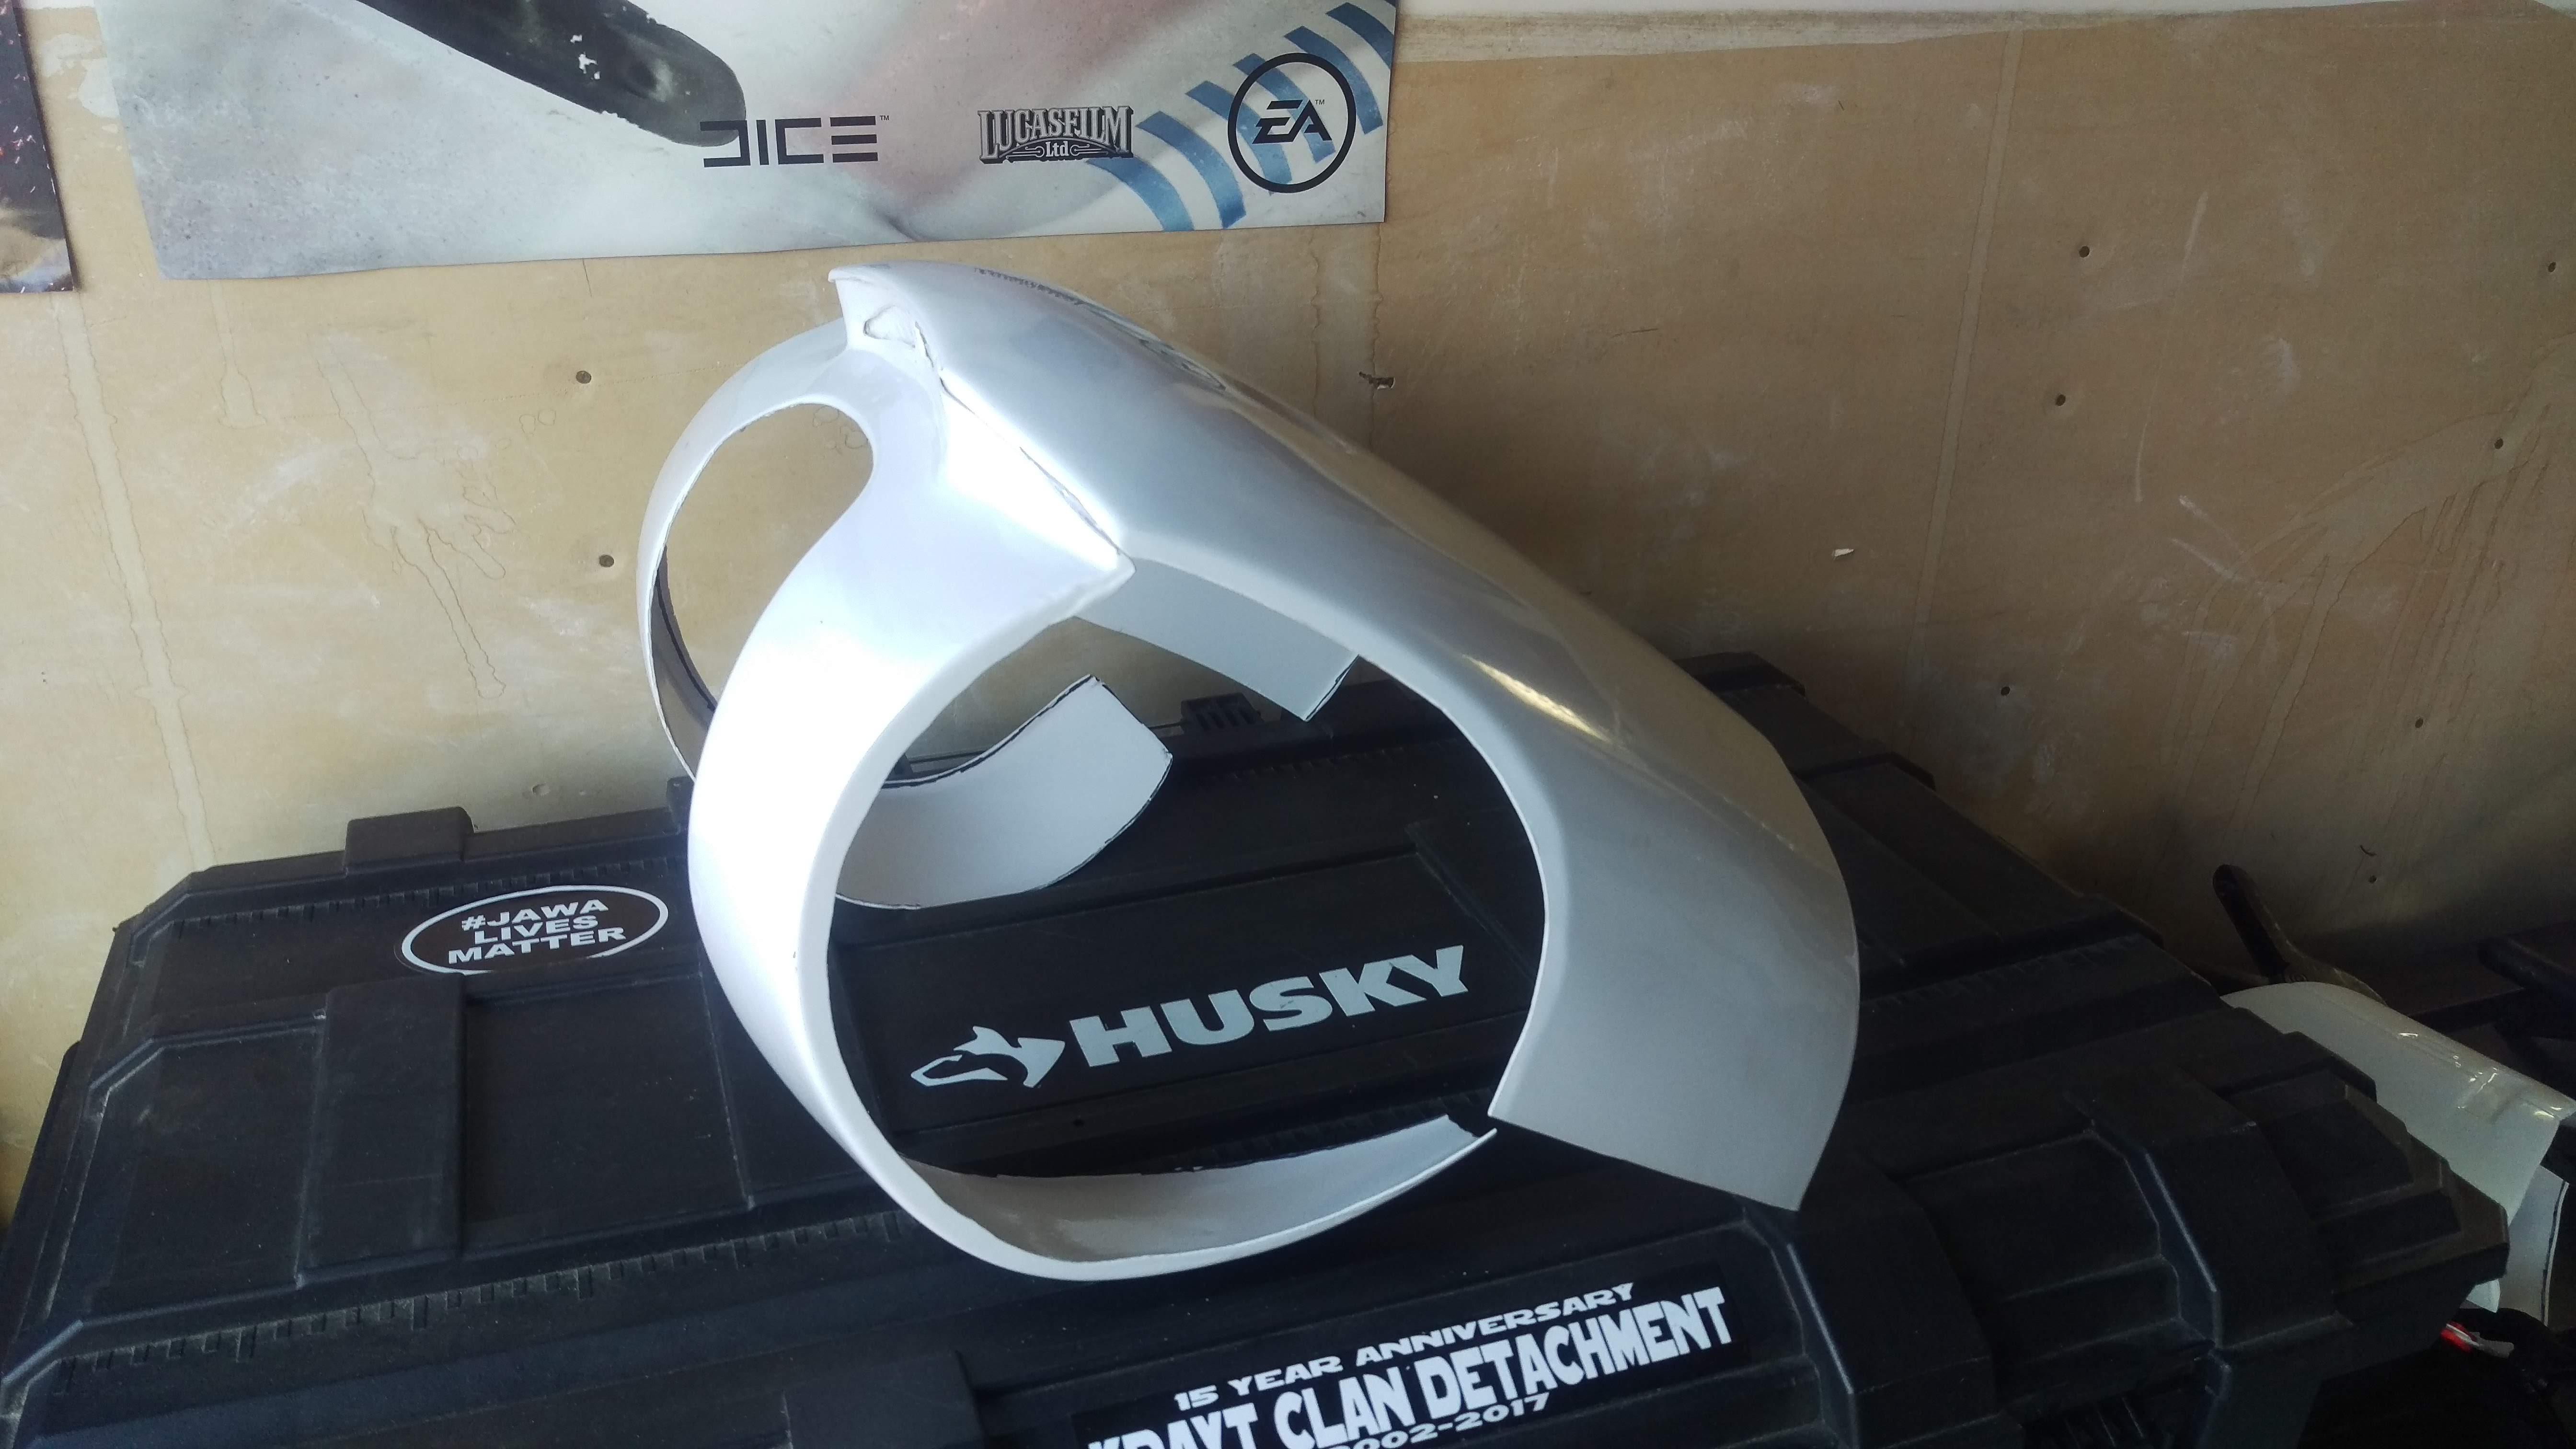
The pill holes in the chest really weren’t recessed enough to give them a good luck, so they have been drilled out. Thanks again, Johnny! I’ll put black tape or fabric behind there once chromed.


The ab/back-kidney is together! I’m going for a side seam, since I think it will be easier to get in and out of with a split, and it just about fits perfectly that way. I opted for a side seam opening rather than splitting the back simply because the side was already open, while the back I would have to cut. Why make a cut if there’s already an opening? Plus I think side will be easier to get in and out of. I have magnets for closure already in hand. (Thank you Prime shipping!)

The biceps were a bit wonky. There was a recessed strip on each, but on different halves. So I added a corresponding inner strip on the other sides, while gluing the other halves together. Once dry, I glued the other side to the inner strip.
https://live.staticflickr.com/65535/47927493178_13988659c3_o.jpg
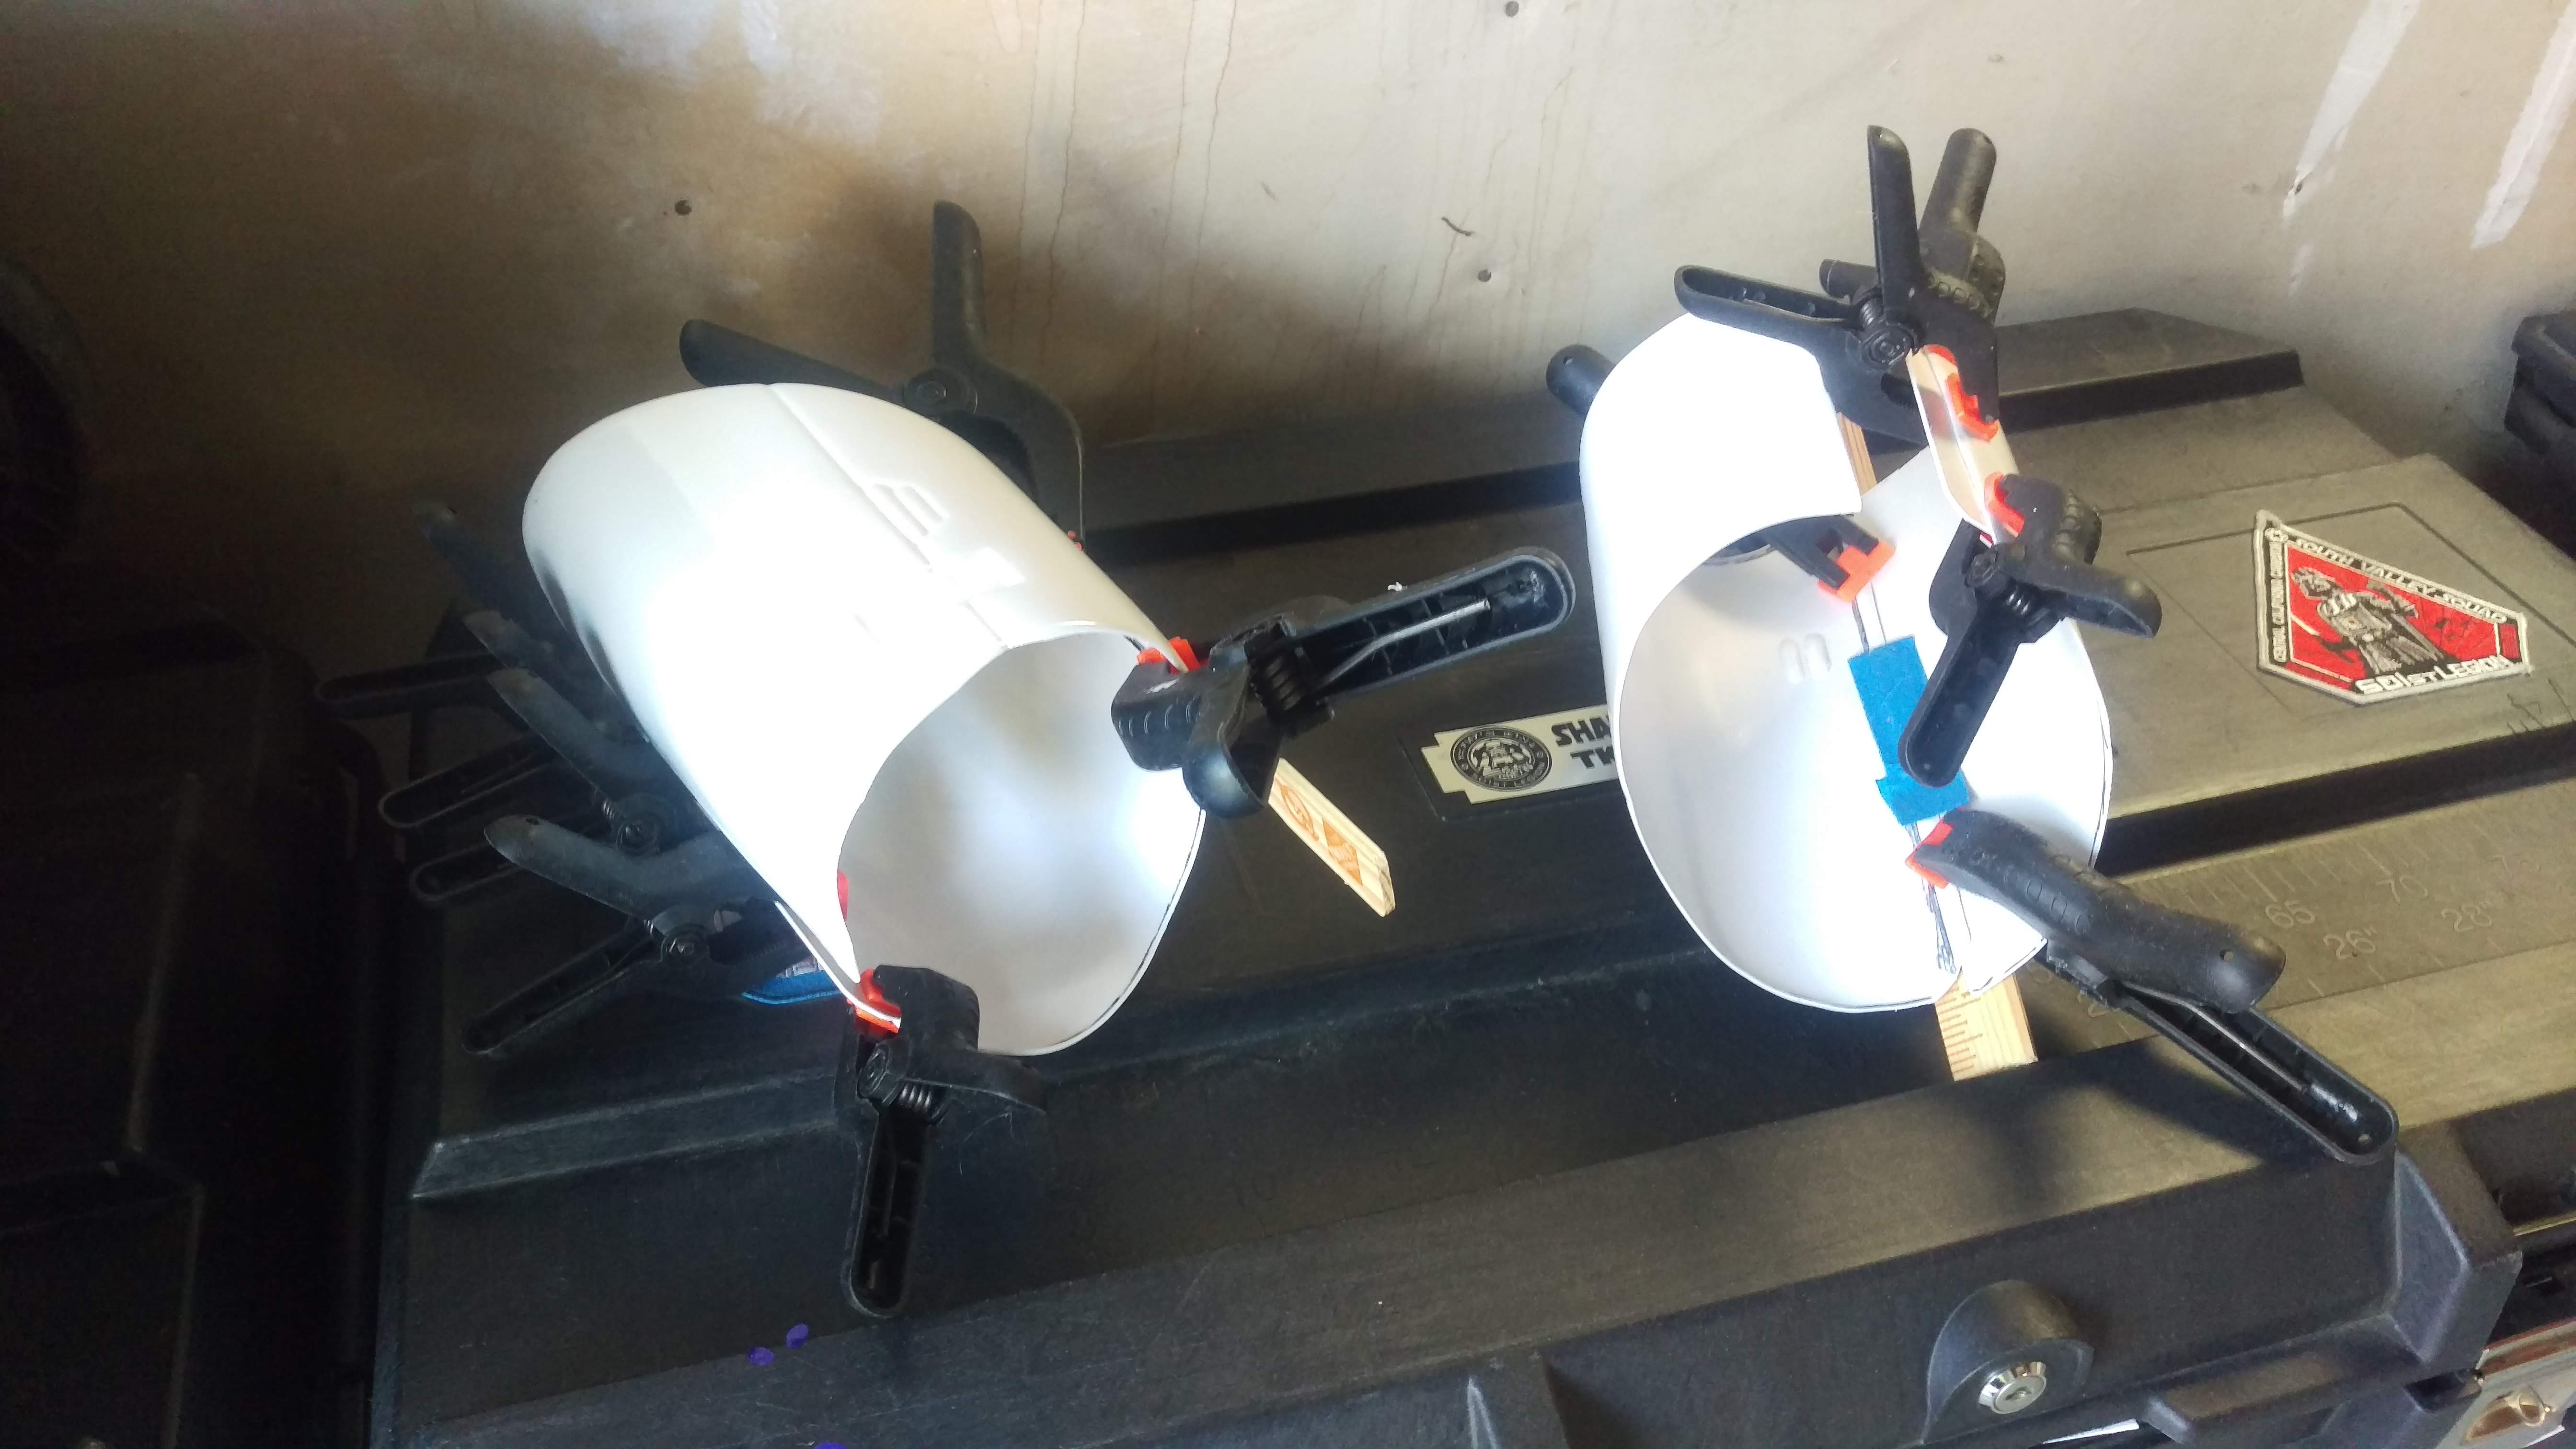
For the forearms, I probably trimmed a little more than I should have for the base plate, but it’s done and I can work with it. Also it came pre-trimmed, and it sort of necessitated a closer shave on that. That’s why I recommend getting a KB untrimmed, because I think sometimes they get production oriented and move a little quickly on trimming. Probably best to just take more time yourself but save yourself potential fixes or harder assembly later. Perhaps they’ve also already overcome this and it’s no longer an issue- this kit is from the middle/end of their rough patch some time ago, and they have proven to come back to full strength since.
Anyway, I made inner strips and then heat-gunned them into roughly 90 degree angles using clamps, paint stir sticks and a work table. Clamp paint stir sticks to either side at approximately half of your strip, heat gun the hell out of it, and use the table to bend it, since it’s too hot to touch.
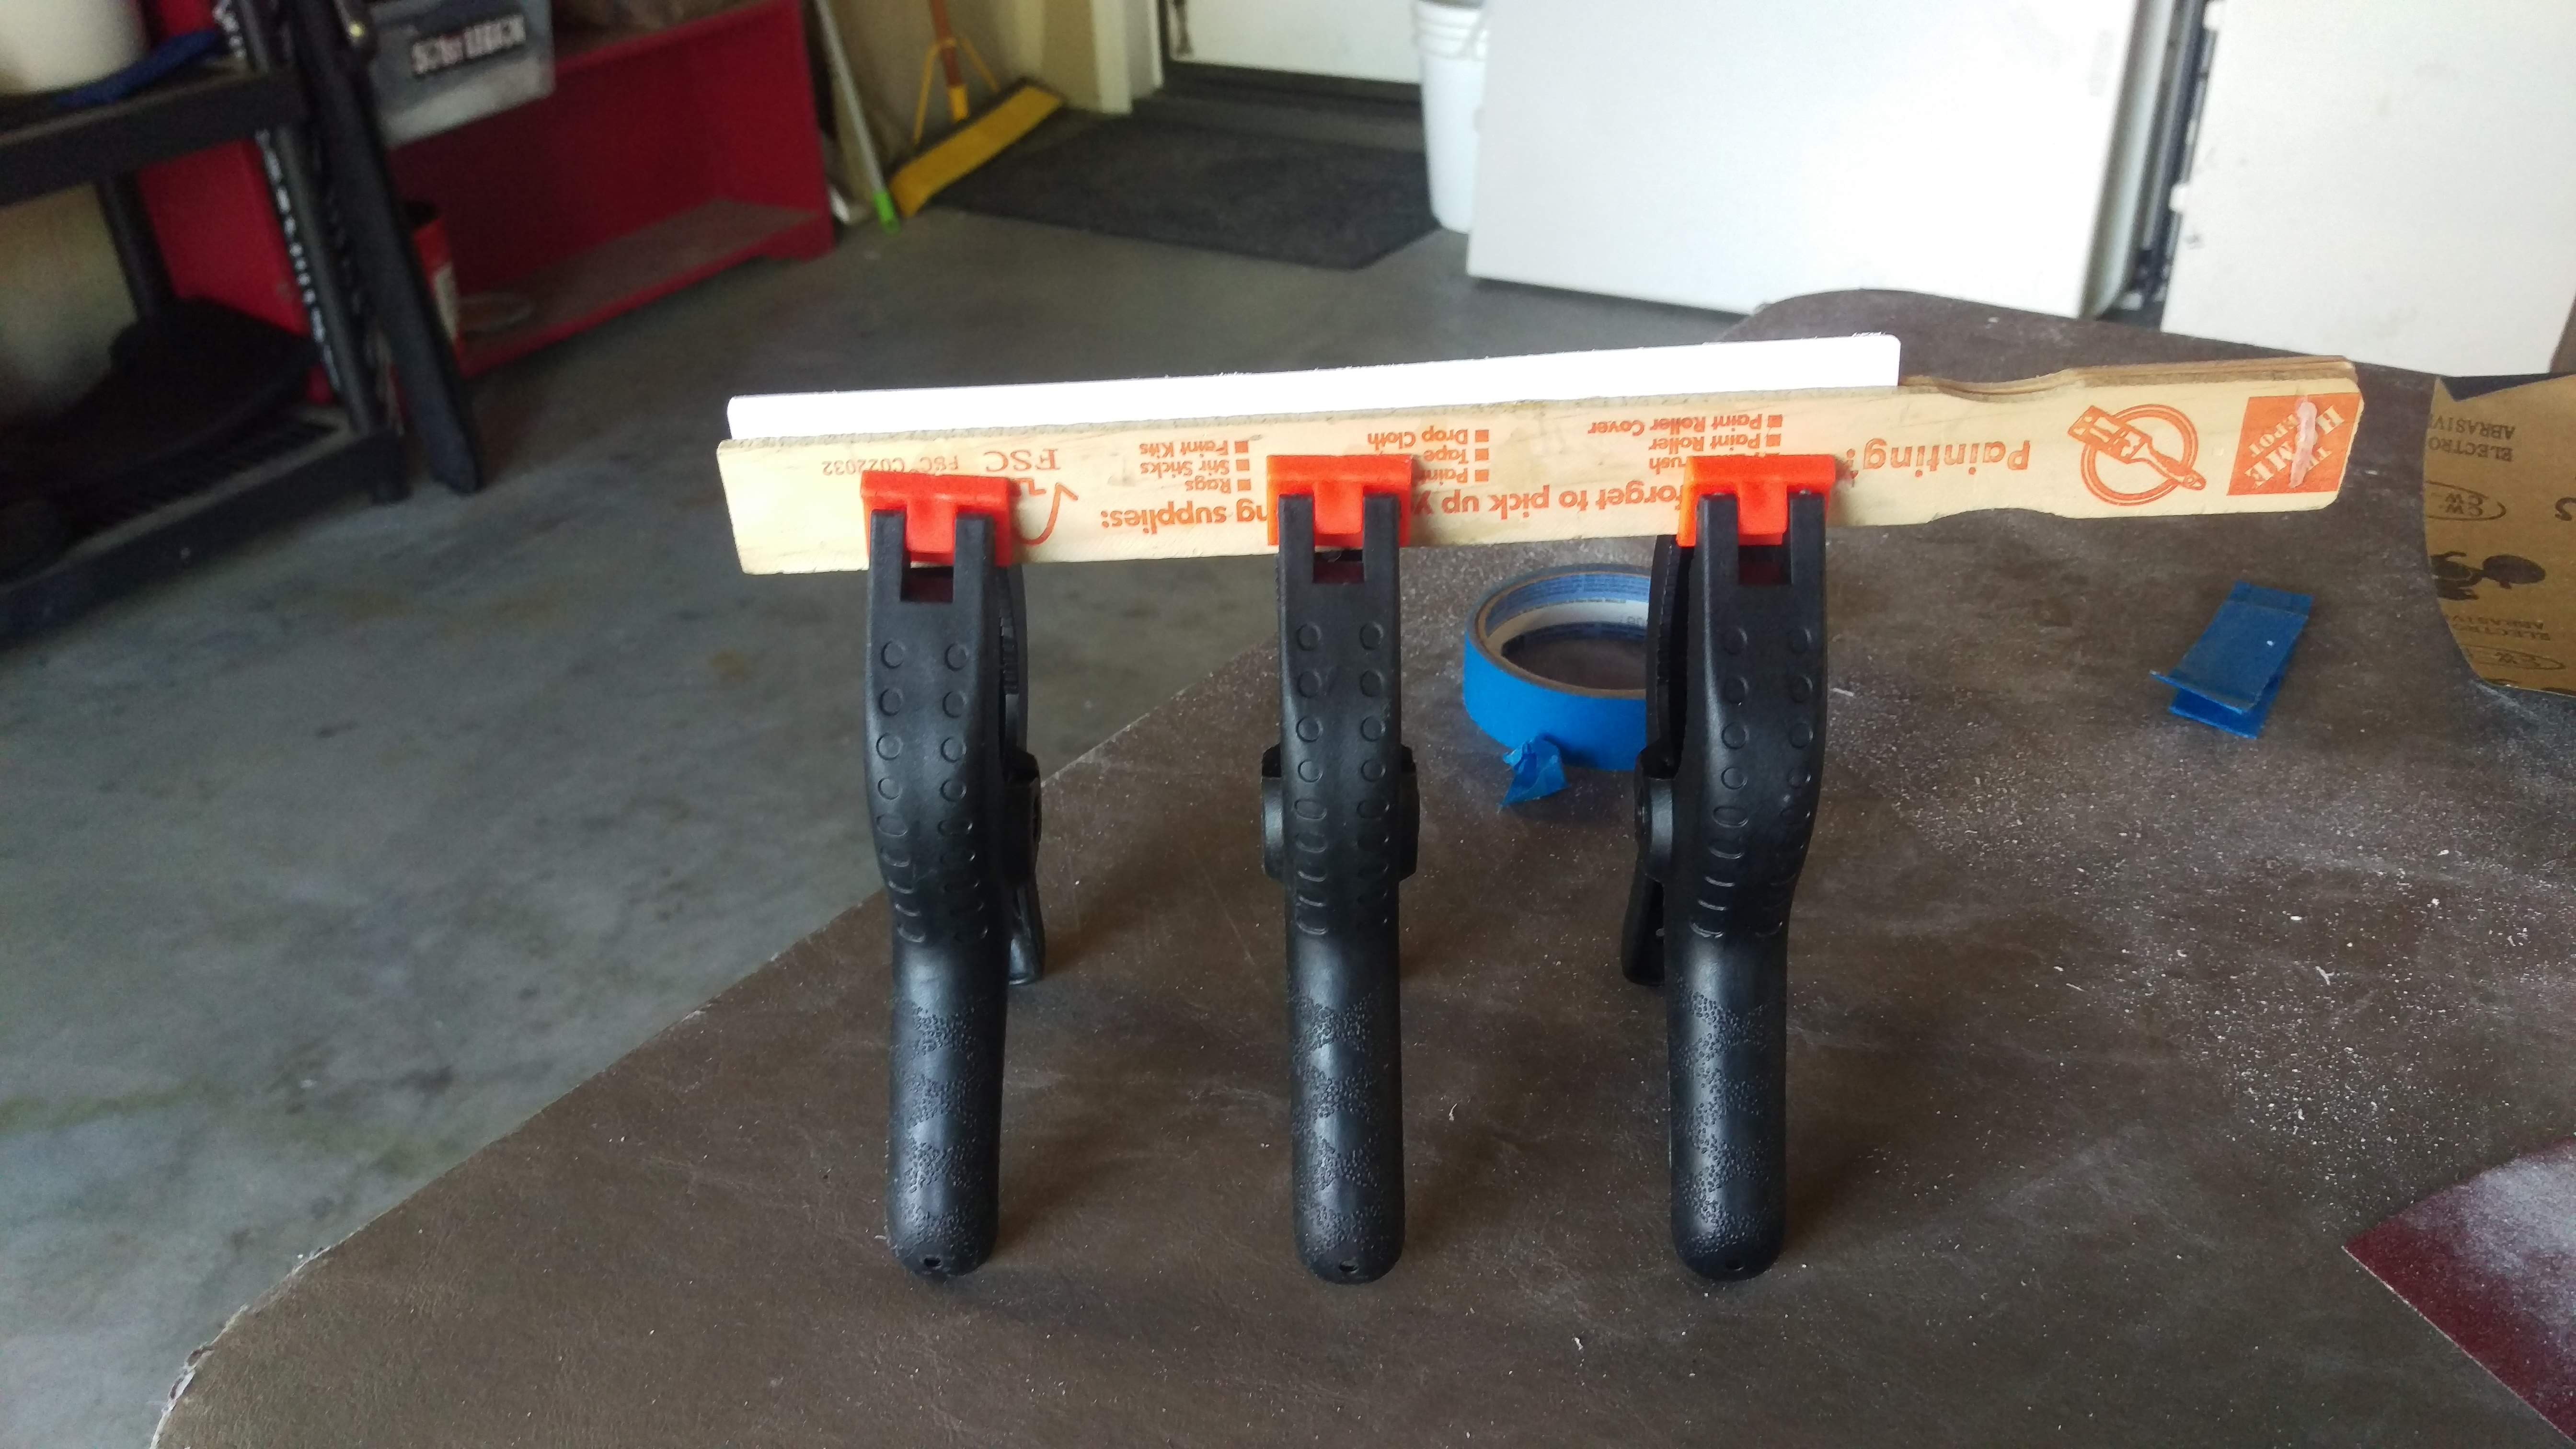
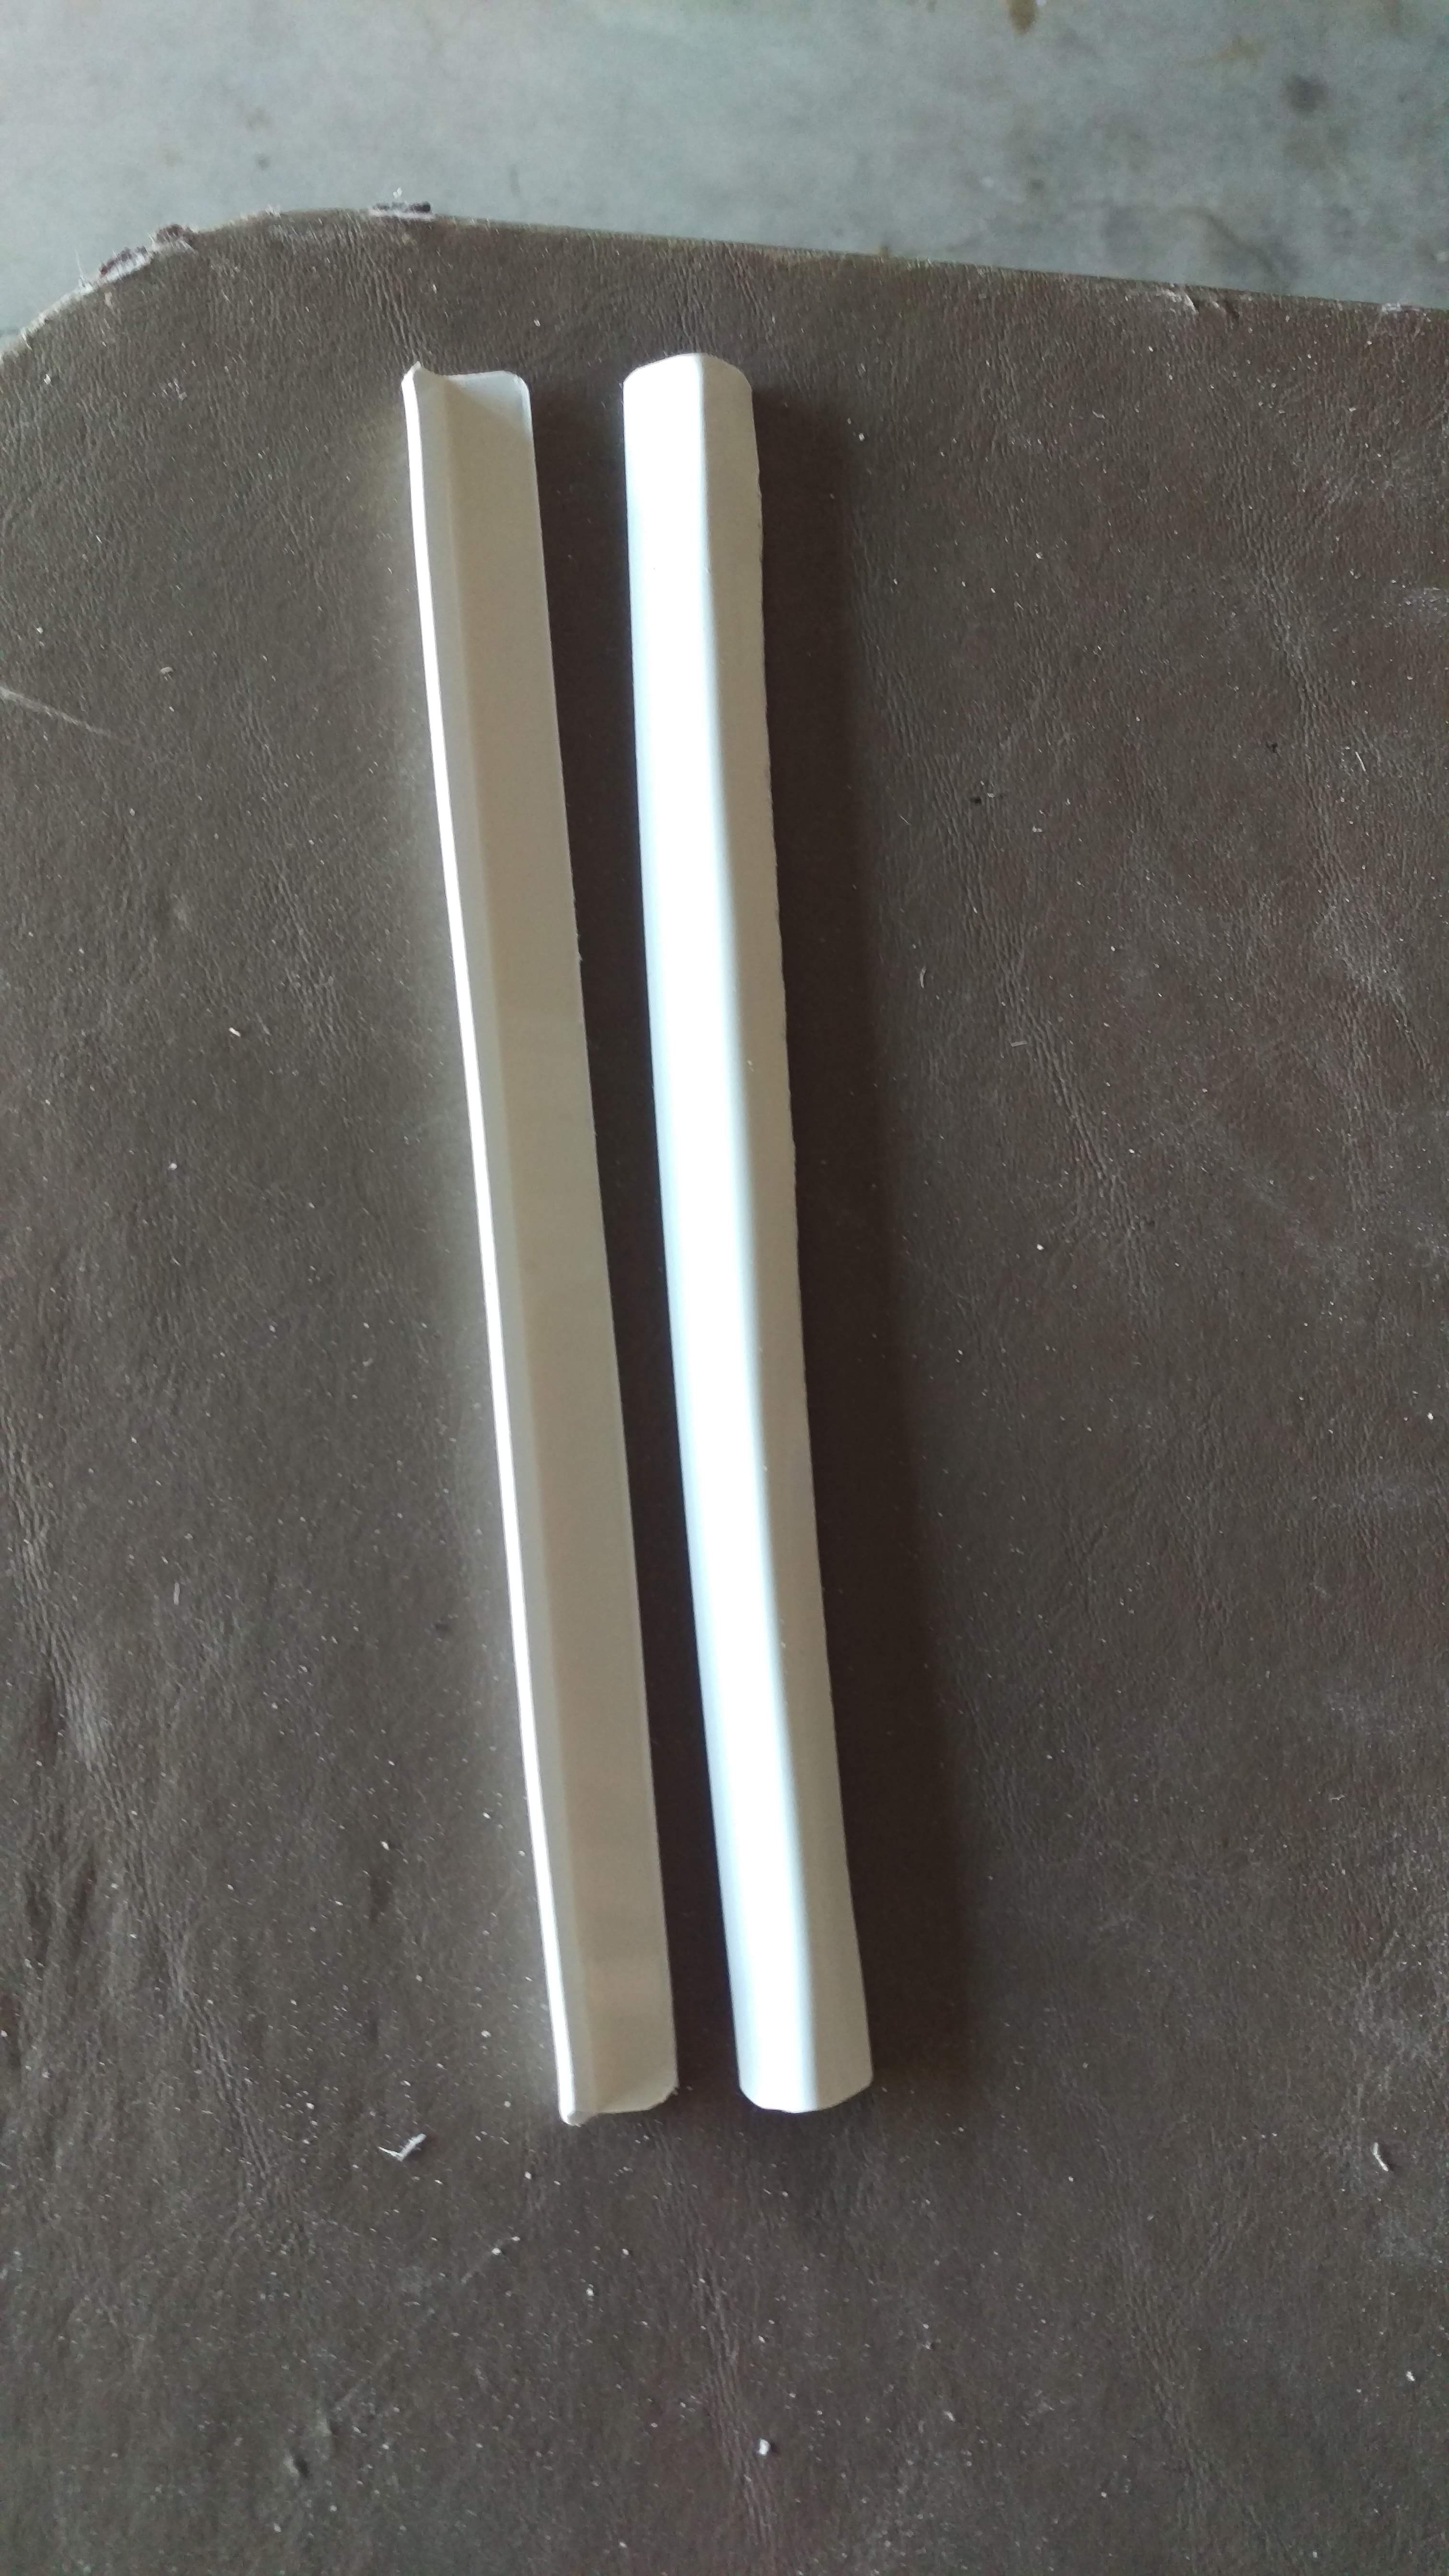
It was then I realized I was an idiot and needed four, not two. So I repeated the process twice more.
Gluing the inner strips to the forearms wasn’t overly tricky, it was gluing the inner plate to the strips that proved the challenge.
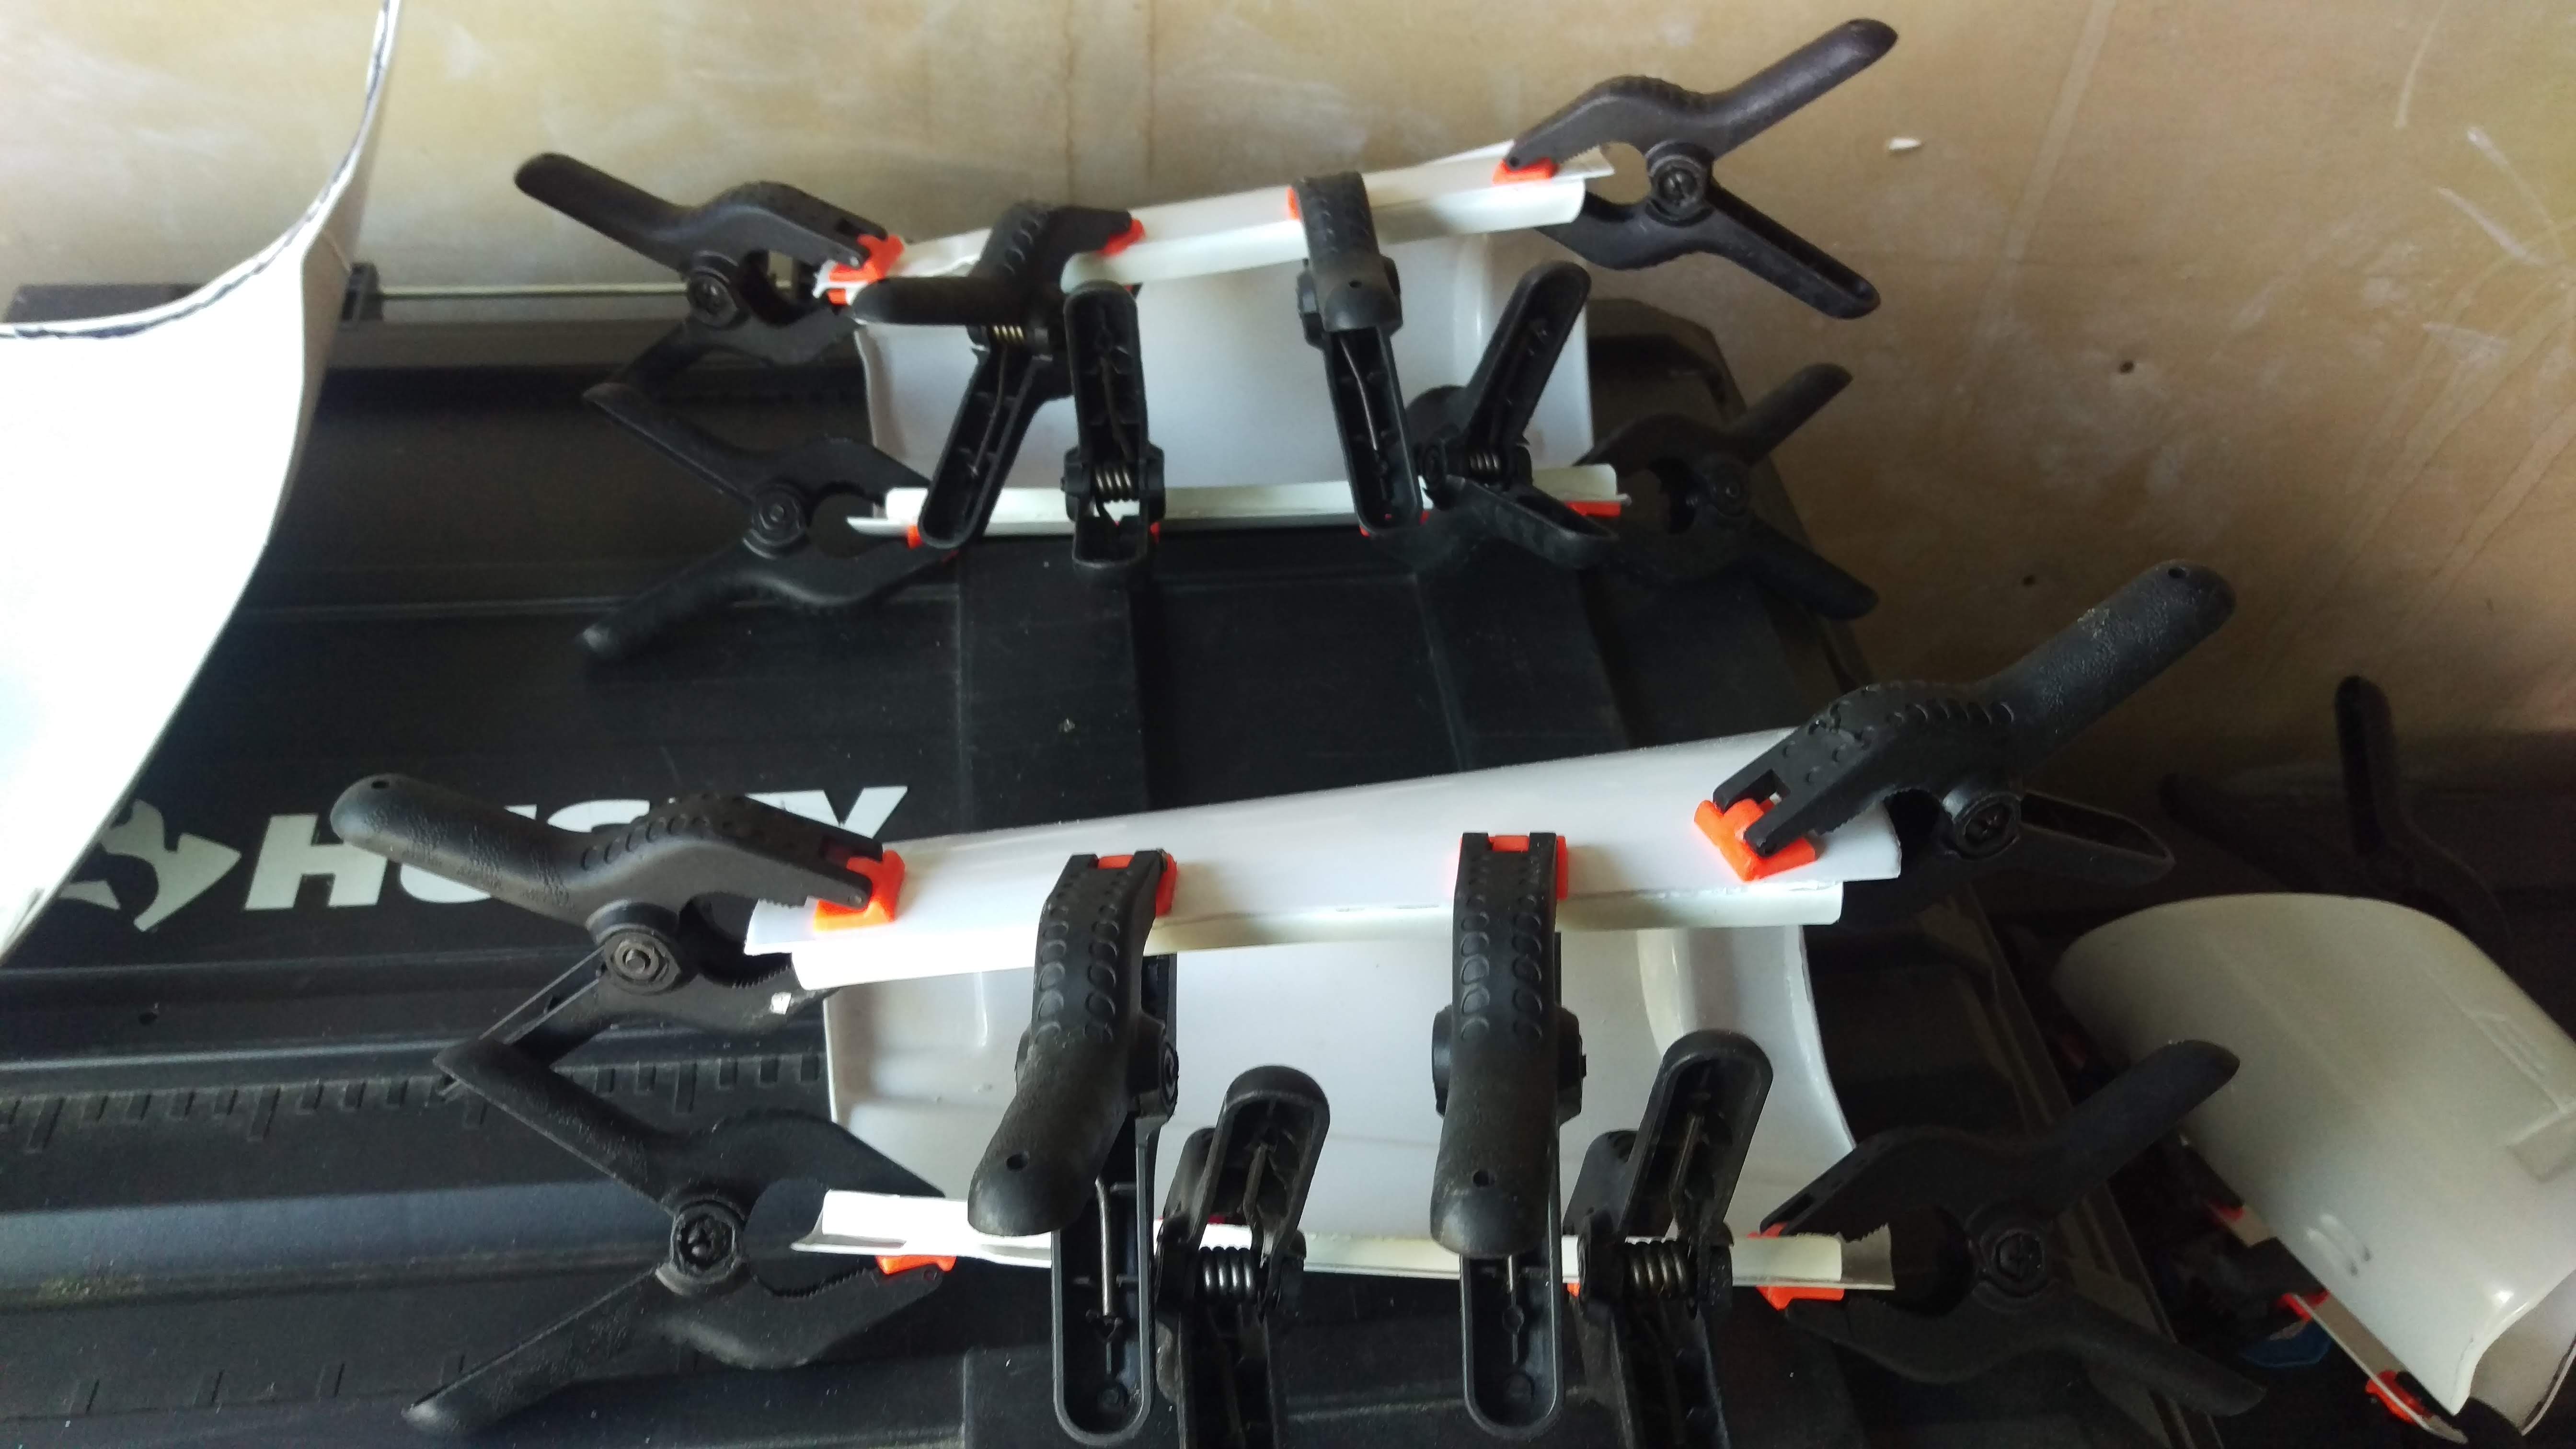
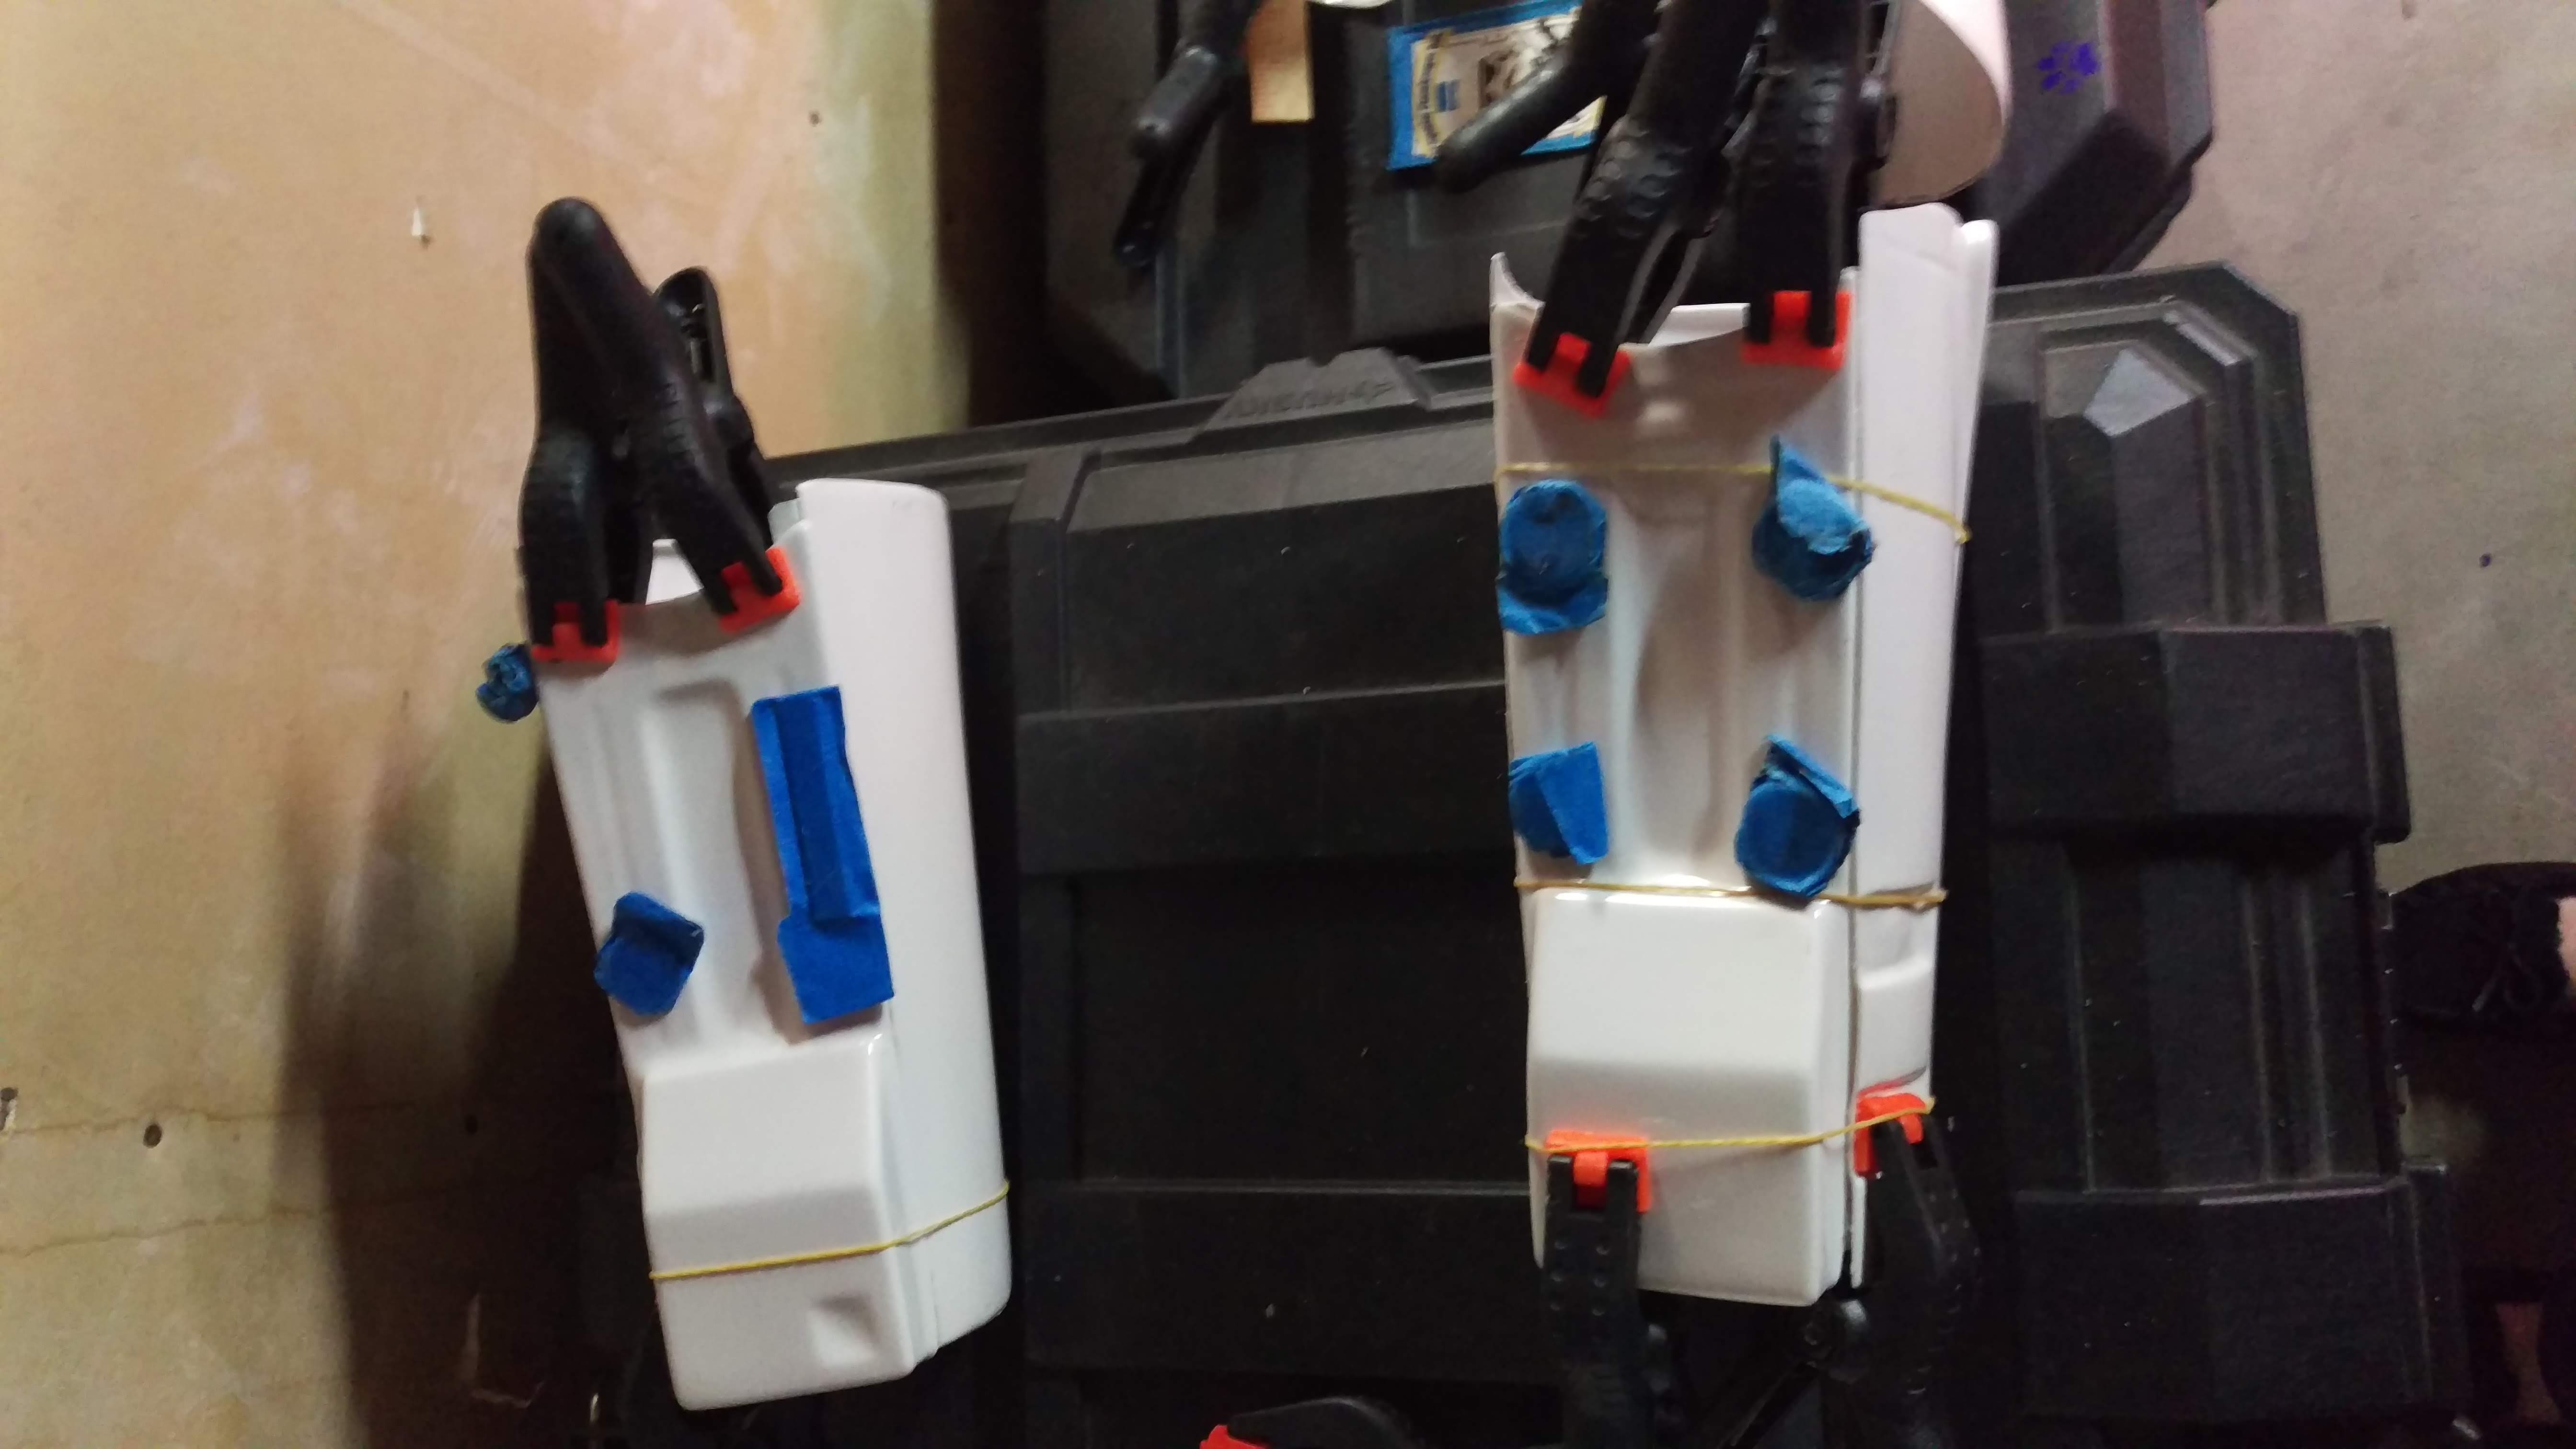
There is a seam line present in the original, so I think I might actually be okay, but I’ll take a look once it’s cured. If need be, I’ll put a touch of Bondo in there.
Next I turned to the ab boxes and the belt boxes. I actually made my goal of finishing these by the end of the week. I realized they were a lot smaller than I thought they were originally, so I had a lot of sanding down to do.

Right now my biggest advice for this costume: invest in a belt sander. It can be a cheap one, I got mine from Harbor Freight. But honestly I have no idea how I would have survived this far without my belt sander. I love my Dremel (so much I’ve worn out three cheapies and finally invested in a real Dremel), but for all the curves and lots of plastic to be removed, belt sander is where it’s at.
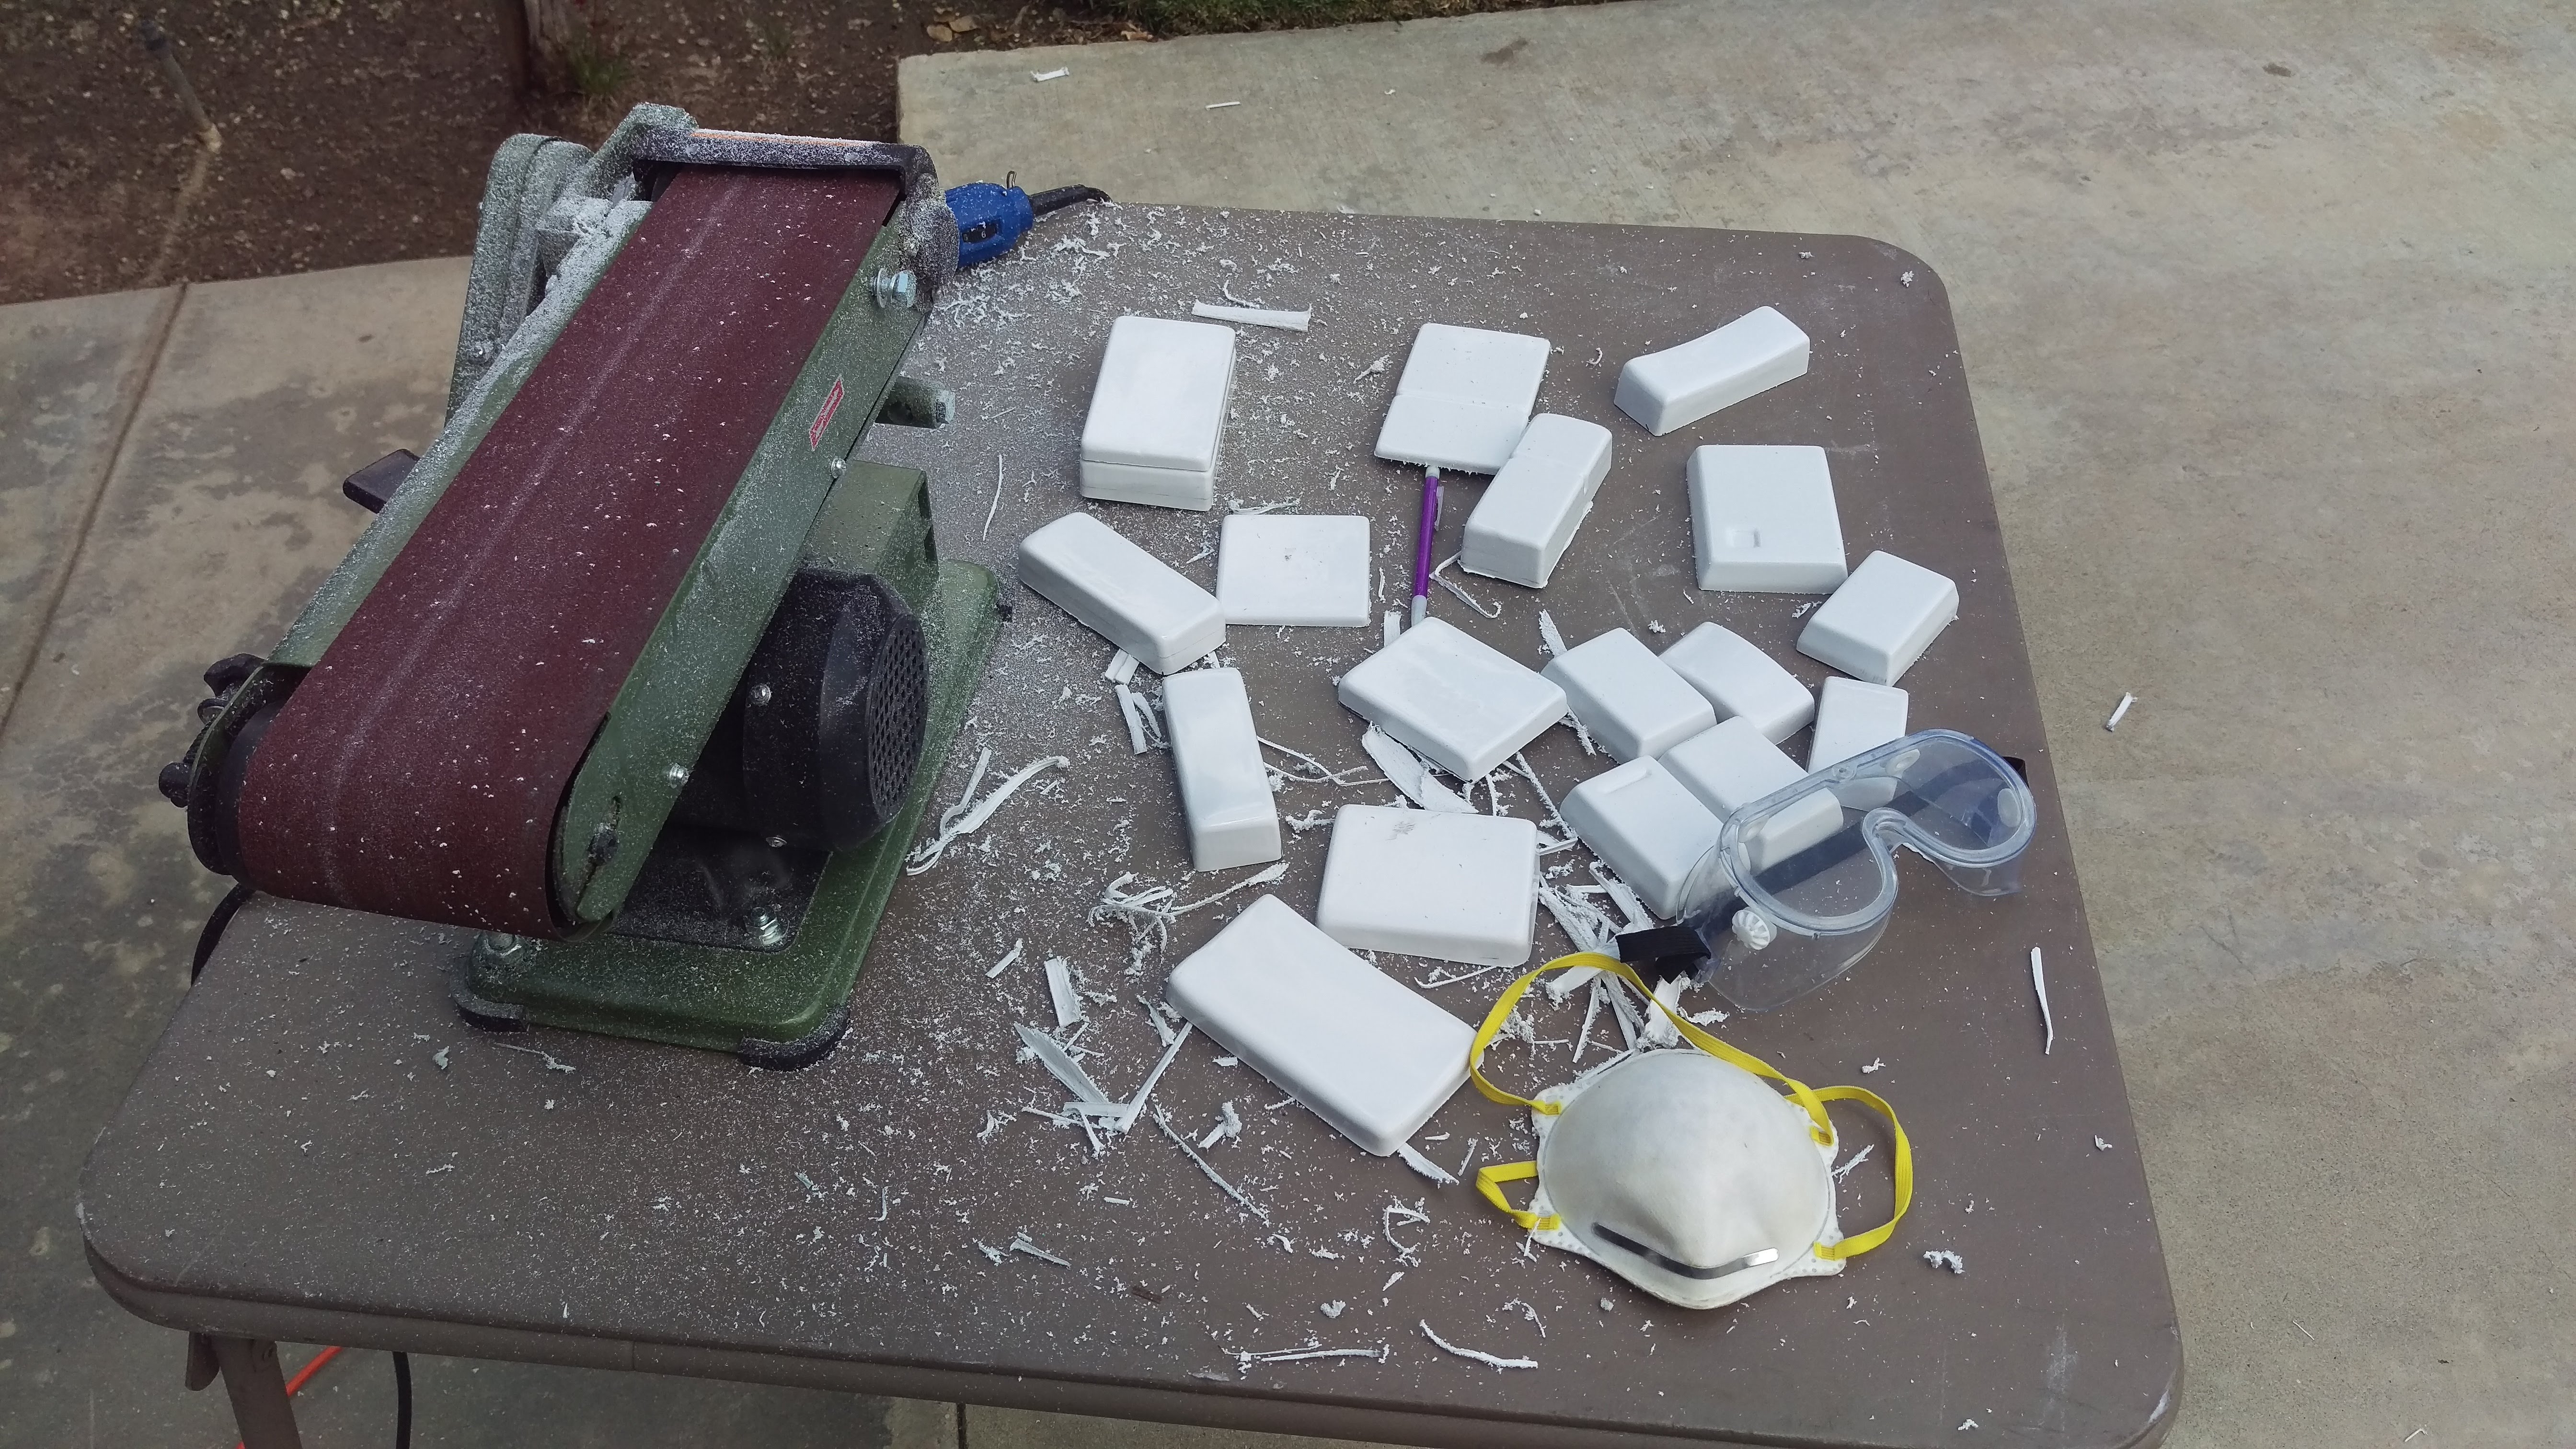
Especially with the boxes. So much easier to get even and quickly.
And all the extra sanding I kept finding I needed to do. Didn’t I sand this already? How do I have this much more sanding to do? Didn’t I do this piece twice now? How do I still need to sand more? Why does this still have a catch? I swear I’ve sanded this piece at least three times now…
I invested in a curve measure tool, which I've already forgotten the proper name of. I don't know what I would have done without it. Probably just trace and hope for the best. I found this one for under $10, so just buy one.


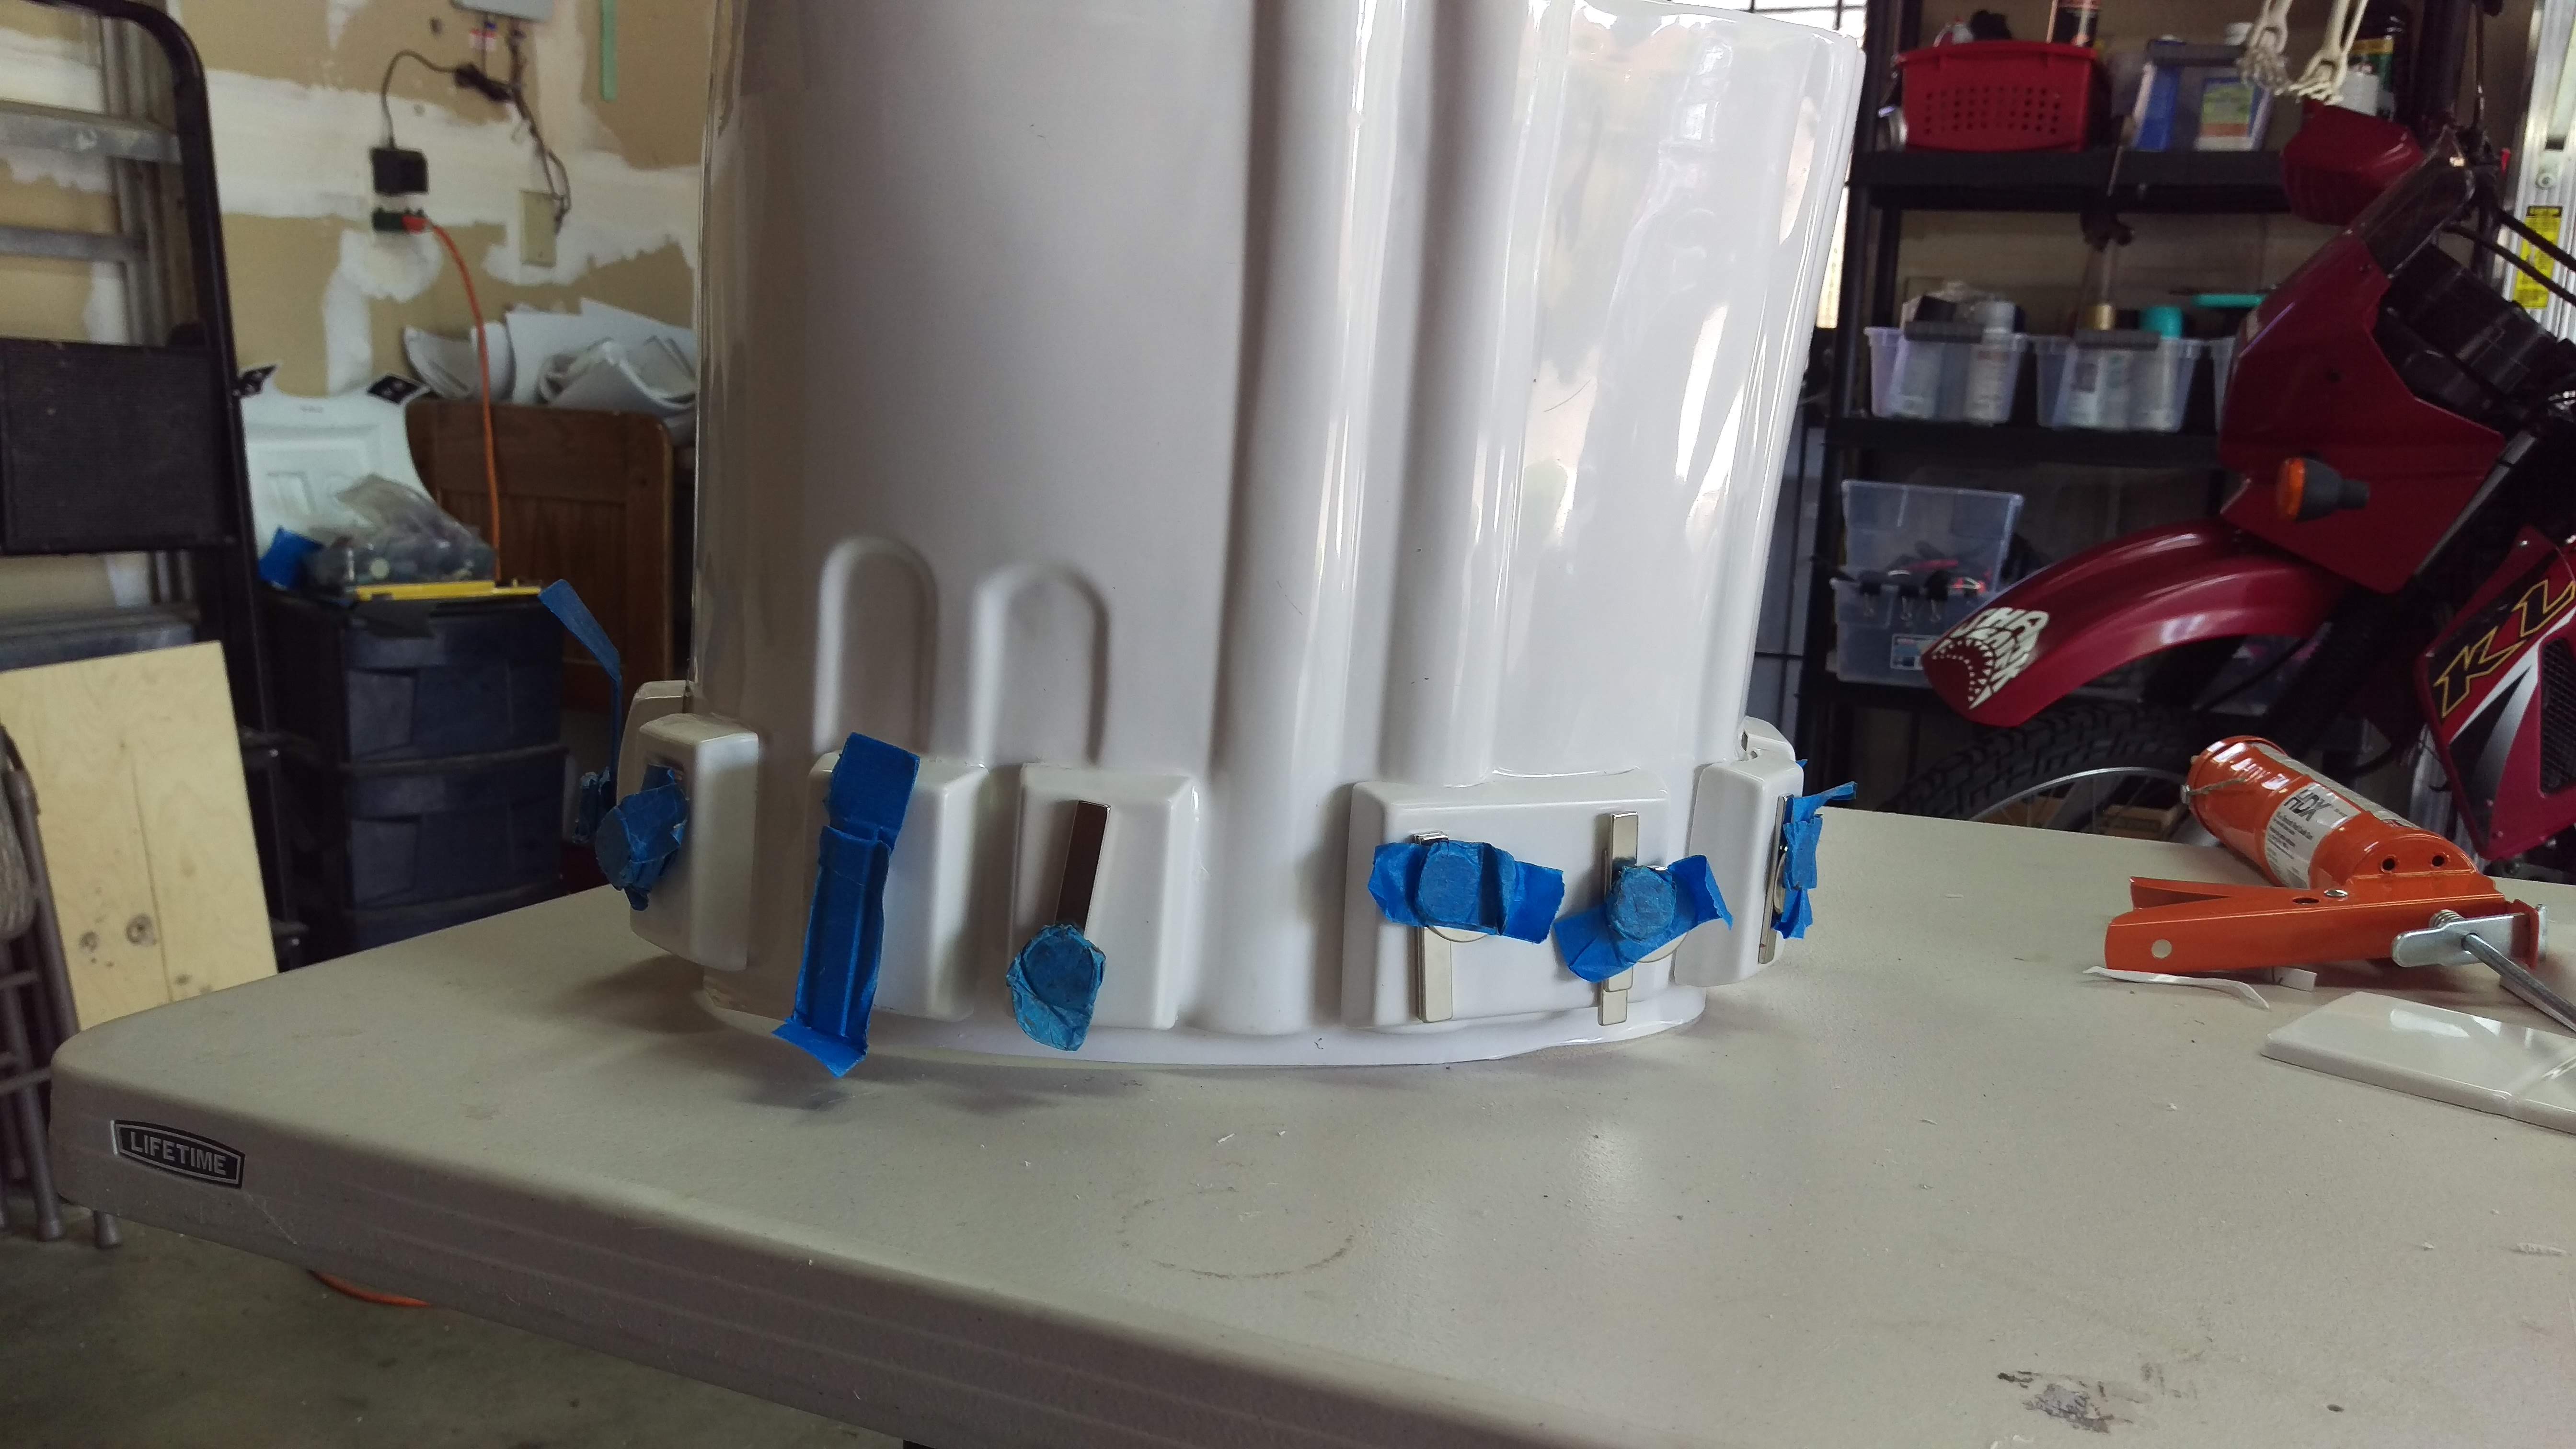
Johnny also helped me with the shins and thighs, and the shins are ready for gluing, and the left thigh is ready for gluing. The right thigh needs trimming, and I have the curve template he made to use, then I can glue it. I'll post pictures of that process (unfortunately I didn't take a ton, but I also have my example suit to use as reference). Basically I intellectually understood the process, but as to actually doing it or explaining it... not so much. Once the shins are glued and dried, then I can finish the boot/shin spats- those are also wonky and need some heavy trimming/curving. More in the next post when I get to them hopefully this week.
Needing a little finishing finesse and applicable greeblies, but otherwise done for this stage (pre-chroming stage):
Chest plate
Back/yoke
Biceps
Forearms
Boot spats except over-shin pieces, need finish shins to fit them over them
Shoulder bells (the first thing I finished)
Cod piece
Butt plate
Knee plates
Hand plates (main part- second wrist Phasma-specific piece coming from KB)
Up next:
Secondary hand plates (I can finish once received from KB)
Glue shins
Finish right thigh cuts and glue
Attach all greeblies/boxes (forearms, thighs, shins)
Finish off boot spats
Clean up 3D print lines from blasters (I have a new technique to try from a Mando friend- acetone and a cotton pad and q-tip, carefully and slowly, just rub away at the lines, and clean up thoroughly between to prevent too-deep editing. He said they do on their stuff and blasters, so I figure why not?)
Helmet: sanding, prepping, finishing off for painting/chroming. There’s still quite a lot of clean up to do on it.
Maybe finish/assemble thermal detonator – optional for Phasma, I might have trimmed it a little close (CRL and photos I found did make it kinda similar, though), and it’d be one less thing to do, so we’ll see. I've so far not spit back, which it would cover, and also the cape will cover the whole area for the most part, so I'm just going to see what happens and how I feel about it and what needs to be done to it.
What I’m coming to again and again is that the chroming is actually not the very last step- it’s in the second half, but it’s much earlier than I anticipated. I’m finding that I can’t finish off pieces by adding strapping, snaps, Velcro or elastics, because I’m leaving that until it’s chromed. (Ease for the person painting/chroming it, the inside can be black that way which I think will look better than white, etc.) So, I want to finish off the boot spats, or put the corresponding Velcro into the biceps and forearms for the gaskets, but I can’t, because that has to wait. Then I feel like I’m making less progress than I should. The same with adding black behind the chest pill holes, or other black details inside of other pill holes/recesses. I can’t put the boxes onto the belt yet. I can’t affix the knee plates to the gaskets. I can’t functionally do the attachments for the belt to ab, cod to ab, butt plate to kidney. I also can’t put the magnet attachments into the fingers (I guess I can sew them into the gloves). I also think I’ll hold off on installing the magnet closure of the ab/back side until after chroming. The less the chromers have to work around, the better.
But I do have everything either in hand or on order that’s needed to complete her and that’s a fantastic feeling.
I've also decided I'm going to chrome the blasters myself. There's just so many little picky details and what stays black, what doesn't, it's going to be a fun tape job, and two, for someone who's not a) a costumer, b) a 501st costumer, or c) being paid to professionally do this for me, I think it's just a bad combo to have someone else do it. Trying to ask a non-costumer/non-501st minded person to make sure these parts stay black (and there's a lot) but the rest gets champagne-tint chromed just doesn't sound that great. So actually I can move forward with that part whenever. I suppose worst case scenario and I can't get it professionally chromed, I'll have cut my teeth on the blasters before moving to the actual armor.
My current extras:
Baton
This thing is machined aluminum, it’s no joke. It’s got some weight to it. It breaks down into two pieces of easy storage and transport, thankfully. I would recommend it to any TLJ Phasmas or just anyone who wants a badass Phasma baton. My only fear is learning how to pose with it without goosing anybody or whacking them in the face. It's by JJ Industries- I got in on their first run and I will say I am impressed. (They're on Facebook).


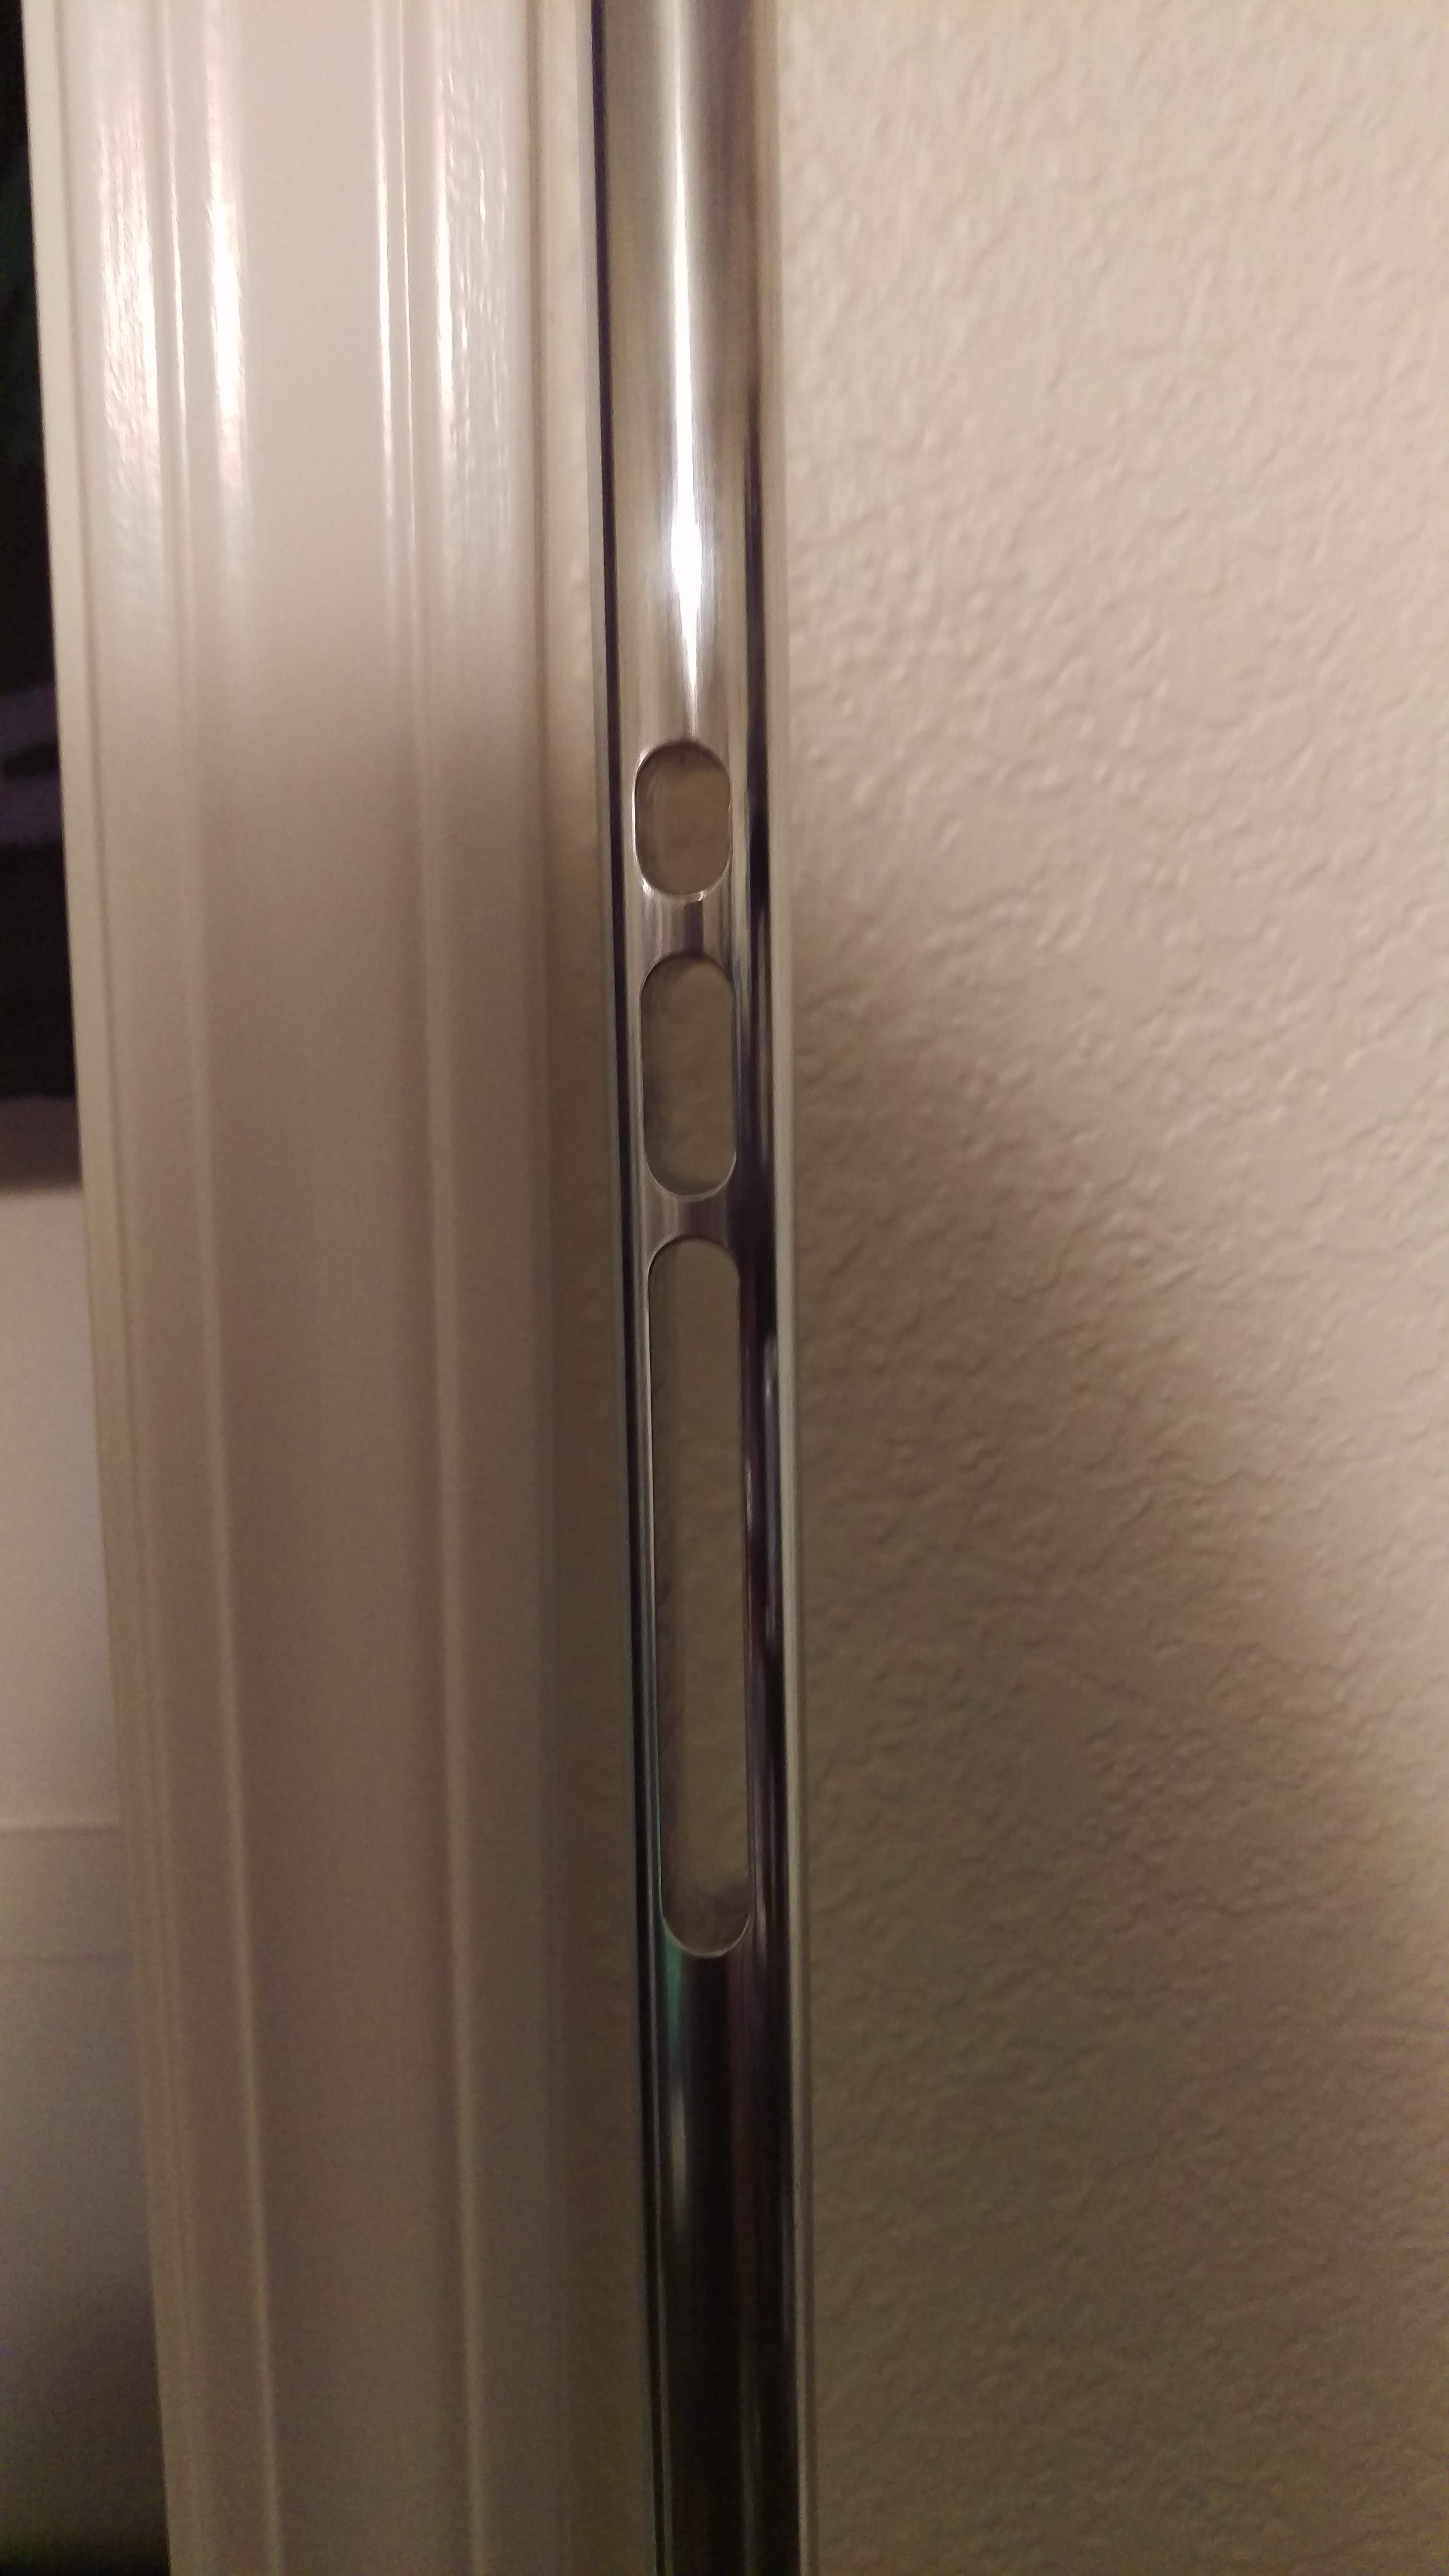
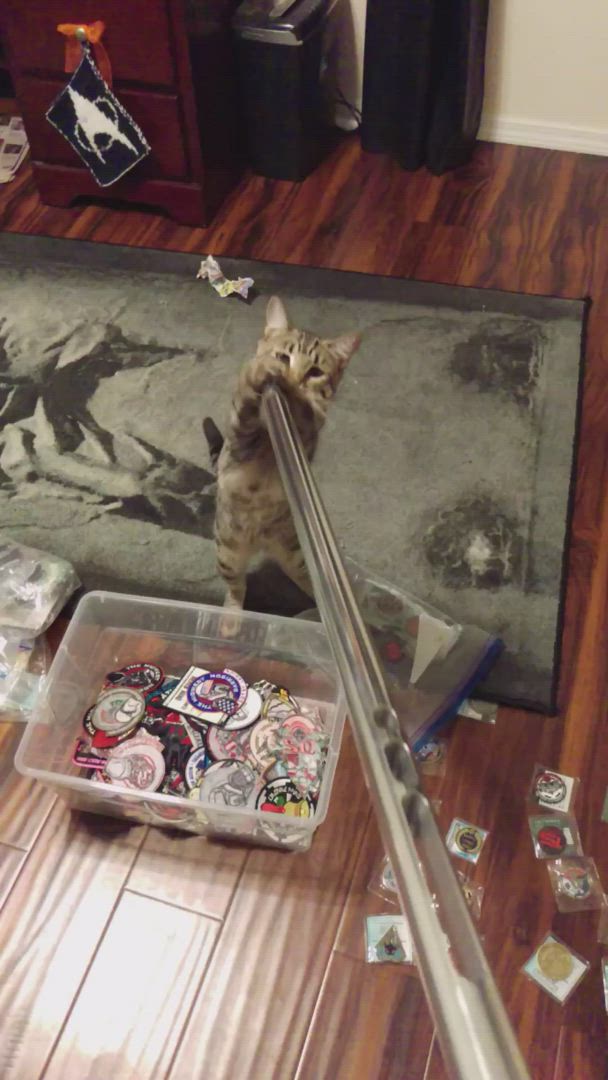
It’s also Falcon approved.
But then again everything is a toy to her. Everything. Thankfully she gets just as much enjoyment out of the toy mice I bought her as she does a leaf she found in the garage.
A 3D printed SE-44C blaster pistol from Heston3DSolutions (same as my F-11D), ordered and should be here in a week or two. These are both TLJ Phasma components, but I knew I had to have that pike from the moment I saw it on screen, and Heston had another 50% off sale and I couldn't help myself. They can also be used as props on our tables at Cons, we pride ourselves on having great prop tables. Plus it's a nice addition to my collection of various levels of blasters- a hyperfirm E-11 (ESB), a Jawa Ion Blaster (resin, wood, heavy, fragile, really prop only though originally for my Jawa), a painted Rubies DL-44 (for my TIE), a converted airsoft MerrSonn Power 5 (for my Officers), and a hyperfirm DLT-19 (for my Shadow Scout).
-
 3
3
-
-
13 hours ago, darth-burgess said:
Well I’m part way into a royal guard, an ANH stunt TK (anovos), and a shoretrooper Captain. Just was afraid I’d have to choose one prefix, and then I’d have to decide which one went first. This sets my mind at ease. Thank you
Sent from my iPhone using TapatalkNope! Generally you just start your TKID with your first designation, then go in chronological order. And whenever you're in a given costume, then you're just That Prefix-ID that day. So I'm in my TK, I'm TK-29118, I'm in my TIE, TI-29118, etc. Most people keep it simple and just use the one, but I put all mine in signatures and stuff. If just asked my ID I'd just say TK-29118, as it was the first.
Slightly envious of your Shoretrooper. They've always sort of been on the peripheral for me... thought they were wicked cool from the moment I saw them on screen.
-
 1
1
-
-
I always put inserts (like Dr. Scholl's over the counter ones) in all my trooping boots. My boots fit quite well right out of the box and I didn't have any issues there, so I was lucky. The insoles really help in comfort for long-standing troops. I also wear compression socks (those ones everyone raves about on Amazon- totally worth it, I love them, won't troop without them).
If they need to be stretched, then the boot stretcher above is a good idea, it will give you that extra little bit if you need it.
-
On 5/21/2019 at 3:43 PM, Wompet said:
For example, I'm ID-17032 and TS-17032.
I'm waiting on TK-17032 (pictures submitted).

And I'm already planning CX-17032.

If you're ambitious enough or stay in the Legion long enough, you'll end up with a nice string of detachments, too. Costumes are like potato chips- you can't have just one! (I stole that off a personal patch I freaking love). I'm TK-DZ-TI-IC-ID-IG-TX-29118 currently.
-
 2
2
-
-
I'm not gonna lie, I burst out laughing at the prospect of them using a body bag for her cape... it's... weirdly fitting? So Hollywood to re-purpose something the picker probably had no idea what actually was/maybe found it already somewhat disassembled? Or just wanted to mess with people?
-
For the shin velcro, if you use sticky back, I would also suggest using E6000 or similar glue for extra hold- the sticky back, even industrial strength, often doesn't hold up to our repeated stress of use. Also, if you live anywhere that gets hot, the glue can melt over time.
-
 1
1
-
-
Welcome to FISD!
-
Welcome! You've come to the right place. I recommend the build threads, not just for your armor maker or your version, as majority of them are the same for a lot of the basic build, and the EIB and Centurion threads for great close up photos of various parts.
-
 1
1
-
-
Welcome aboard!
-
Welcome aboard! I'm also a member of Sunrider.

.jpg.e7bd20664903d9264ed0da4d399d8e8f.jpg)
Hello from Huntsville!
in New Member Introductions Archive
Posted
Welcome aboard! Looks like you'll have no trouble with your own armor. Great job on the mini FOTK!