flinty360
-
Posts
48 -
Joined
-
Last visited
-
Days Won
1
Content Type
Profiles
Forums
Gallery
Articles
Everything posted by flinty360
-
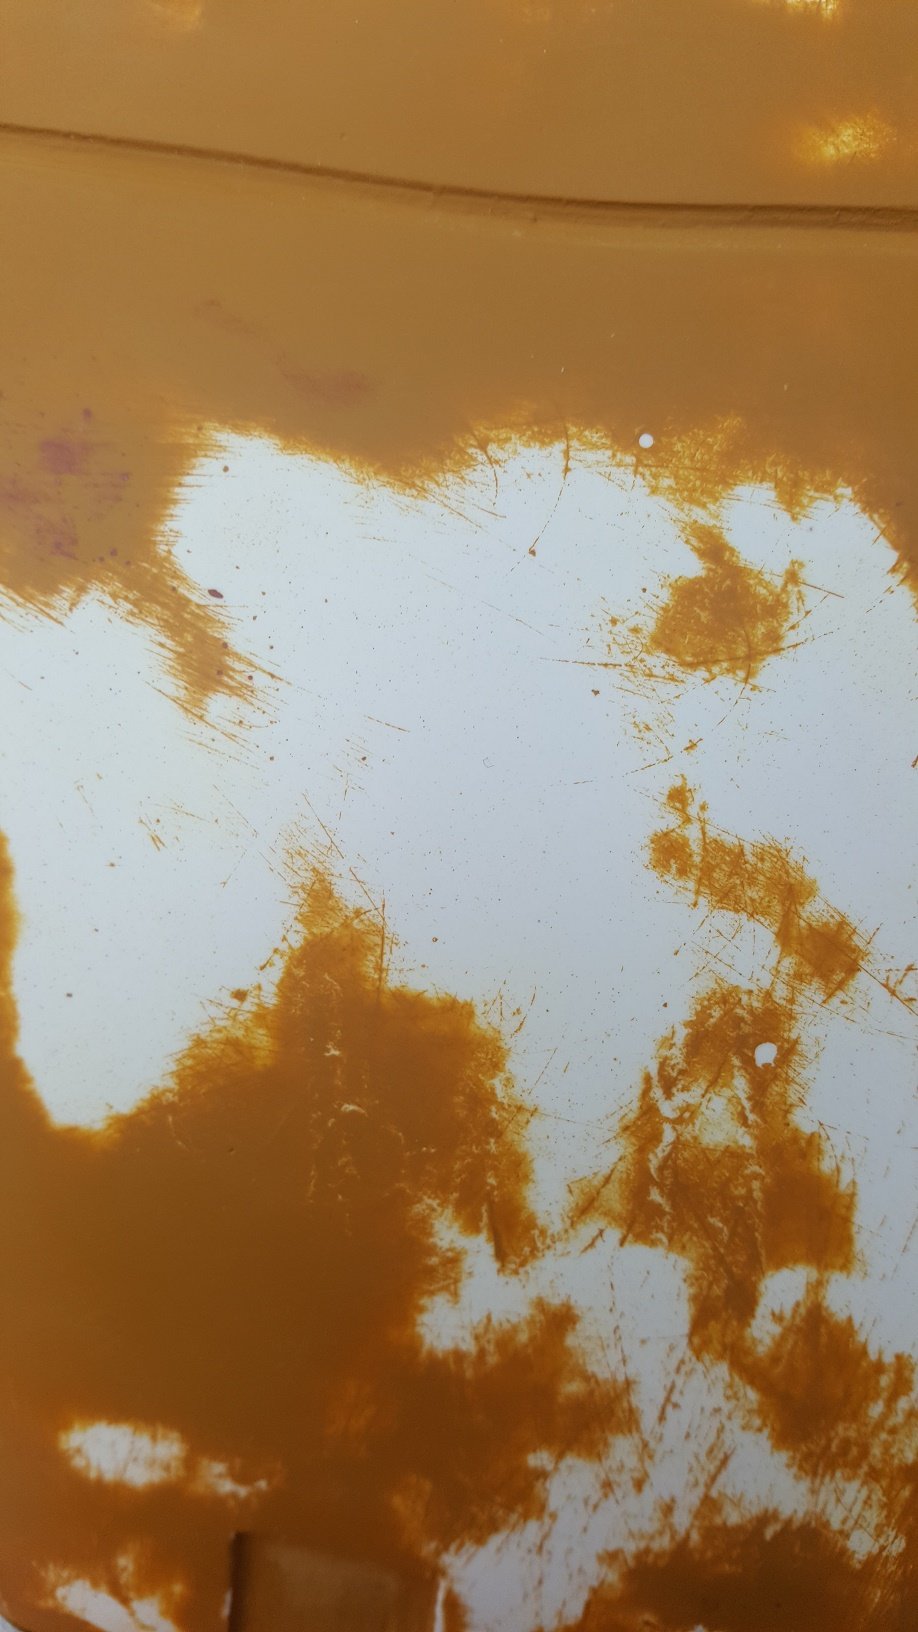
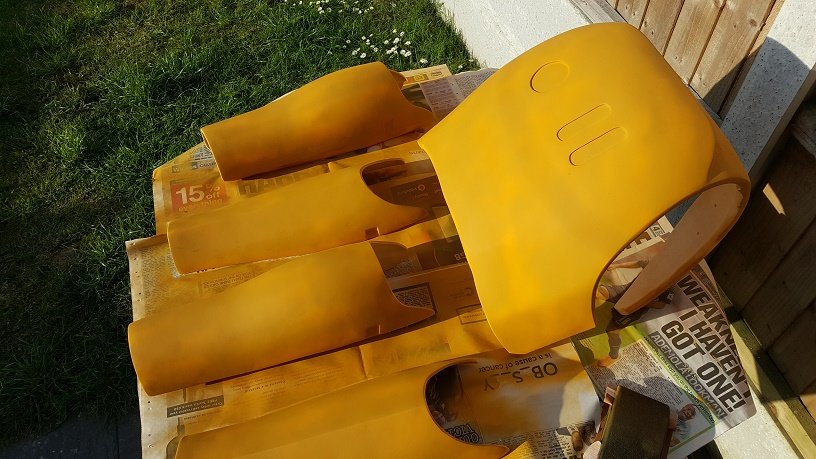
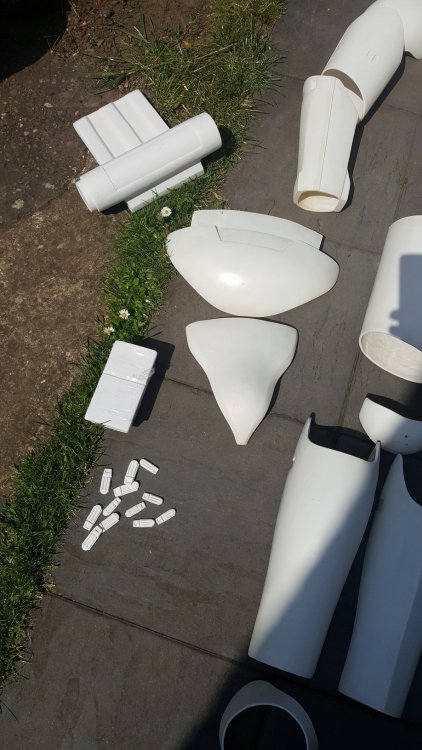
The Long Haul (at least the start of it)............surface prep! I can not stress enough the importance of the surface prep needed on this kit (probably others as well) to get a really slick, clean paint finish, get this right and your finish will look superb. So at first i wanted to understand what sort of finish the kit was like straight out of the box, I gave it a light rub down and then hit it with a spray can filler primer (yellow in colour), to be honest I was amazed at how many pin holes the filler primer had filled but could also see a number of larger isuses that I would need to fill and sand down prior to painting etc. The whole surface prep took me months to get all pieces of the kit to a place I was happy with ready for painting this is not a criticism of the kit more so it was down to the weather, life and generally trying to steal a few hours in the evening / weekend to get out in the garden to carry on.......Oh and due to my own enthusiasm I actually started to prep a number of pieces that I later wanted to improve and did improve so these had to be re done.... The process I used (this bit is from memory so im a little fuzzy on the exact process) was to sand down with around a 400 grade paper the internal parts of the kit - you want to remove any loose fibre glass (itchy whilst trooping doesnt appeal to me), then I used 400 grade for the first pass of all the outside surfaces, I then went over and circled any large holes that needed filling, then I would fill, sand, fill, sand etc etc, slowly working my way up to 800 then 1000 and 1500 grade...as I say this was a long process and a lot of hard work but its worth it. Once I was happy that it looked like the surface was ready I then sprayed it with the filler primer one more time and sanded it with 1500 paper ready for the paint primer One picture below is from that first pass of filler primer, I'm hoping it shows up the imperfections....and the other just some bits after some filling and filler primer etc

-
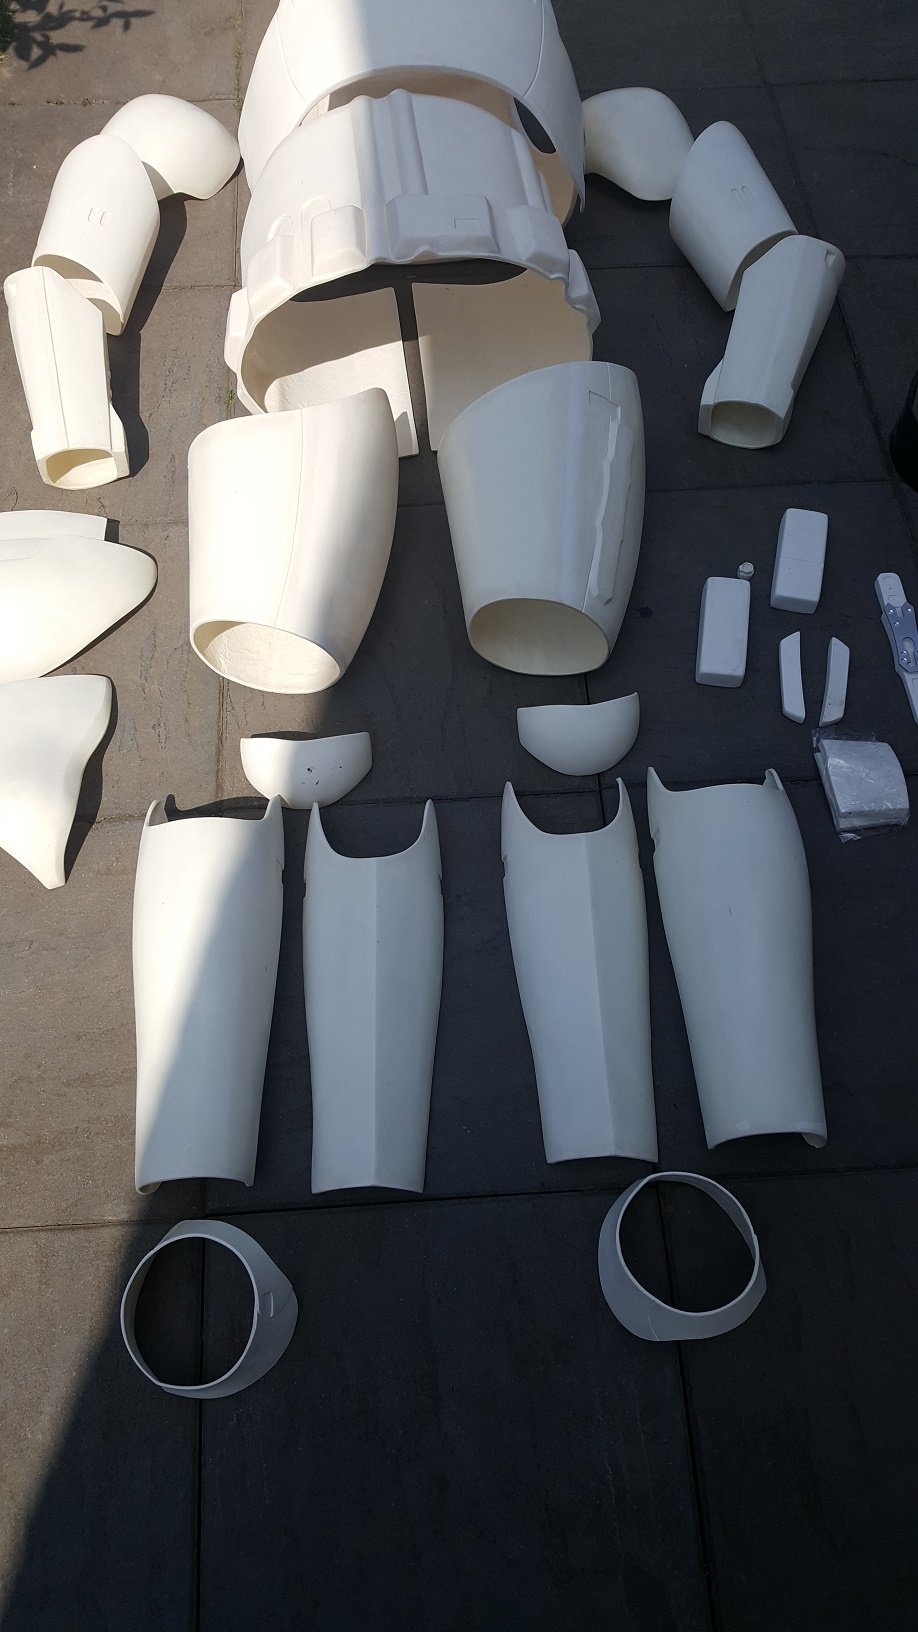
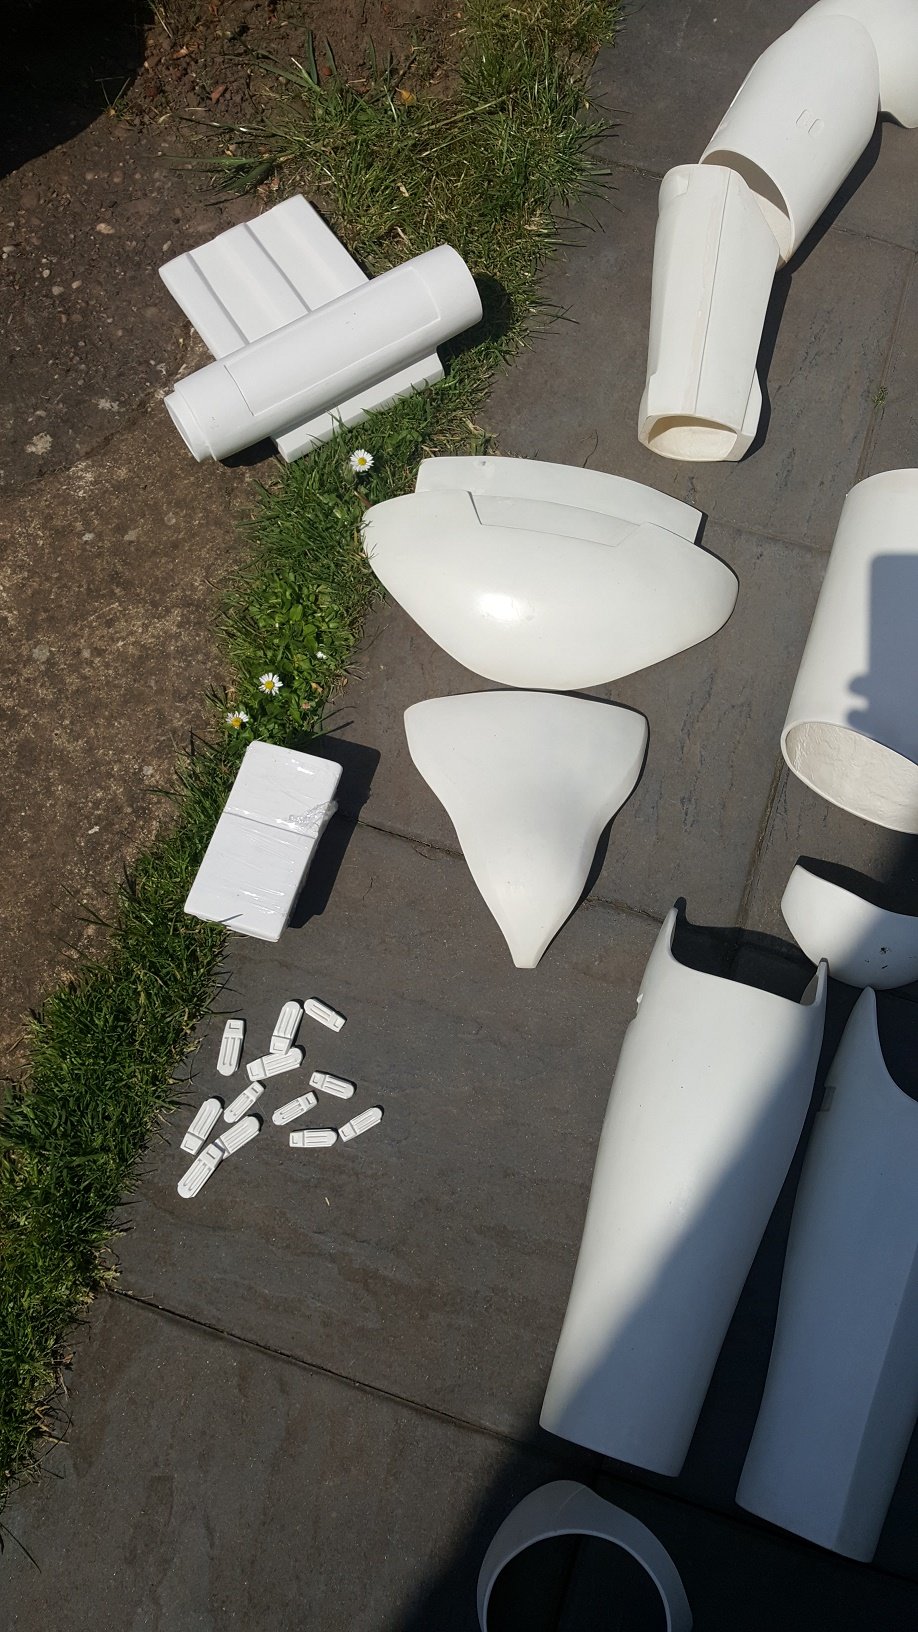
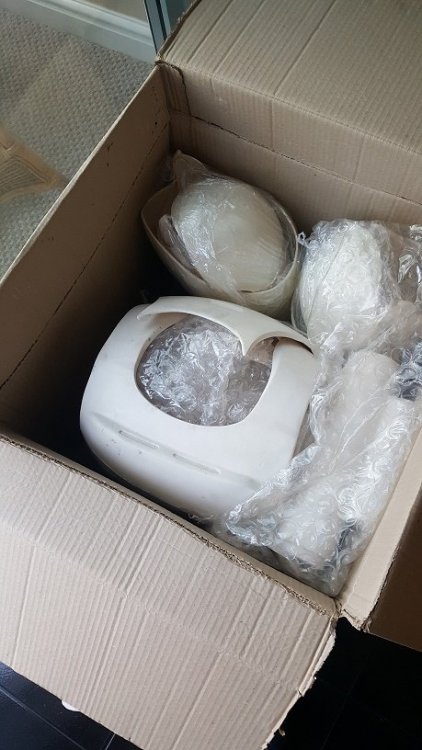
The kit....... Im pretty sure this was Jim's v4 kit, it does not have the full closed chest piece / yoke but the two prong version. I am hoping to upgrade to the enclosed version at some point in the near future..... First thing was to lay out all of the pieces, check over the kit for any transport damage (luckily I got off scott free) and then to wash it down - I had a plasterers bath to hand so filled this with warm water and gave the kit a quick rub down with some high grade sand paper....then left to dry.... I dont have the luxury of a work shop or gargae etc so painting was going to be a challenge.....more on this later.... Pics below are from the day I received the kit from Jim


-
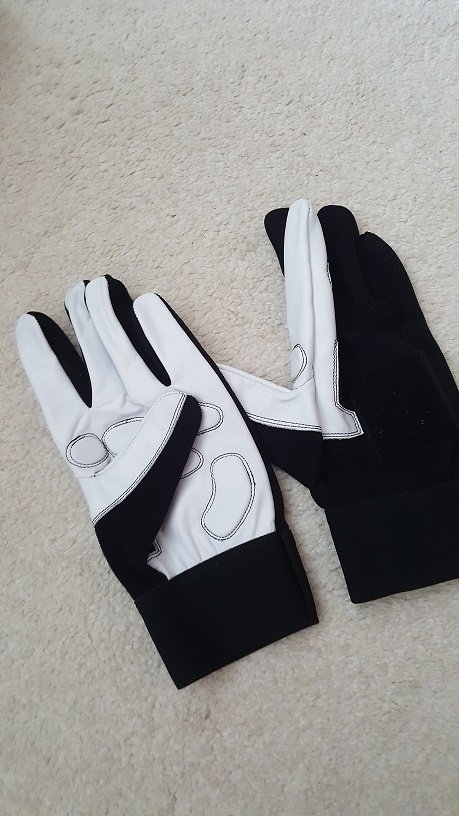
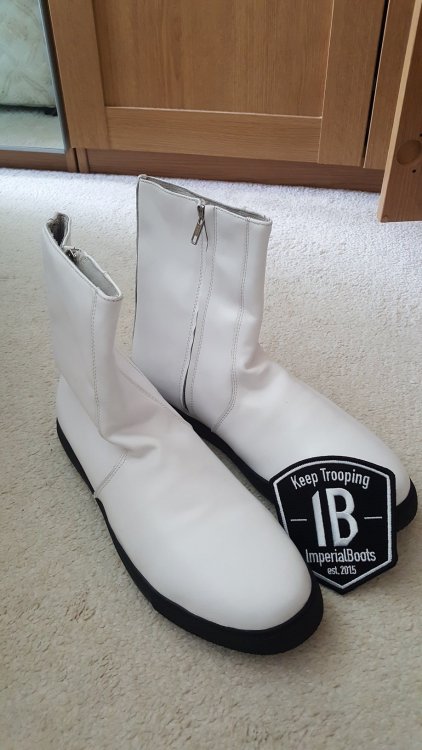
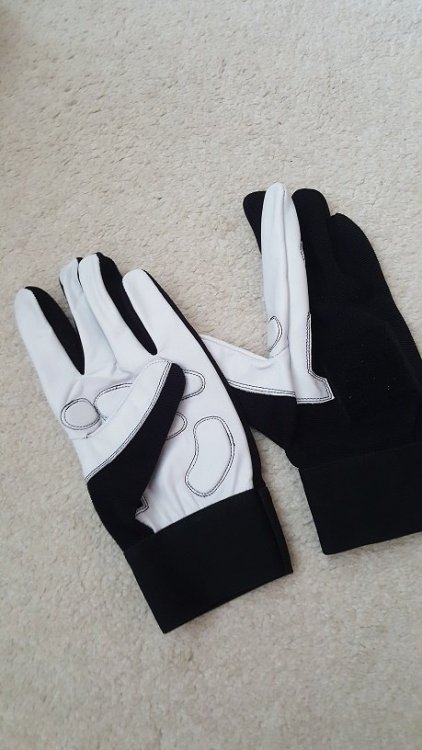
Boots & Gloves Imperial Boots were fantastic to deal with....even came with a little patch. Boots are extremely comfortable and due to the sixe of the sole lift me slightly so I'm a little taller in kit The gloves are also very comfortable also supplied by Imperial Boots.... Not really much more to say on these.....great products, great quality and accurate from what I can see......
-
Hello fellow troopers, Been meaning to post something for a while but work and life seem to always get in the way - so apologies. I will start by saying that I have completed my build and had clearance approved by my local garrison but I still wanted to drop some notes in here on issues I came across / experienced along the way in the hope that it may prove useful or even just interesting to others on this journey......I will also include a bit at the end on some minor upgrades that I have completed and plan on completing, I'm also looking forward to seeing what other bits you guys can suggest to improve my build......... I will break up the build thread so its not just one long post and I will try to post updates as often as possible, but please dont expect anything like the quality of the build threads that ive seen from others, I'm just not that good .....tbh I forgot to take pictures a lot of the time!! So to start the list of bits / kit - Jim's TLJ fibreglass kit - think this was v4 - more on this later.... - Boots from Imperial boots - so comfy...... - Gloves - as above Imperial Boots - Belt - one of Darrens fantastic belts (Belts of the first order) - a work of art. - Undersuit - think this was from stormtrooper undersuit.com with shiny stictched in crotch area (ooer) - Gaskets - Geeky Pink - Neck Seal - Geeky Pink - Harness - home made - Blaster - originally from Heston studios but gave that to my son to play with and went with JJ industries 3d print (with my own electronic bits) - Aerator - 3d abs print from a friend - looks brilliant - Lots of sandpaper of various grades - Filler primer - P38 filler - Various webbing / elastics - Snaps - Small Files - Various screws / ball bearings for holster Pic below is from my BBB day, packaged extremely well and came within a matter of a couple of weeks after placing the order.... Note - Ive posted this in the WIP section but if any Mod feels it needs moving to the general TLJ area then please move ....
-
 Good luck trooper...great job Sent from my CLT-L09 using Tapatalk
 -
Quality build there trooper...good luck Sent from my CLT-L09 using Tapatalk
-
$99 F-11D with LEDs... too good to be true?
flinty360 replied to vegatrooper's topic in Weapons of the First Order
Ordered am F11 from Heston back at the beginning of November...can not wait to receive this as my fotk is coming along nicely and this should finish it off quite well.. Hoping he's not too far behind with orders Mike Sent from my CLT-L09 using Tapatalk -
TK-22700 Requesting ANH Stunt Centurion Status [322]
flinty360 replied to humperdingle's topic in Request Centurion Status
Congratulations Mark....almost enough to prompt me to get mine in for centurion [emoji1] [emoji106] Sent from my SM-G920F using Tapatalk -
Request your EIB Certificate here:
flinty360 replied to justjoseph63's topic in Request Expert Infantry Status
Mike Flint 29009 EIB A4 Andrew many thanks........ http://www.whitearmor.net/eib/certificates/29009-eib.png -
TK-29009 Requesting ANH Stunt EIB status [RWA] [671]
flinty360 replied to flinty360's topic in Request Expert Infantry Status
Thanks Guys, Yes onwards to centurion...I've sorted the painting on my lid, spent most of the day, today tidying it up... Will check out the picture requirements and get them sorted for my centurion application asap [emoji106] Mike. Sent from my SM-G920F using Tapatalk -
TK-29009 Requesting ANH Stunt EIB status [RWA] [671]
flinty360 replied to flinty360's topic in Request Expert Infantry Status
For some reason half my post above is missing (damn phone)... Yes I will get all those issues sorted and then check out the requirements for centurion level with better quality pictures uploaded etc.. Thanks again Sent from my SM-G920F using Tapatalk -
TK-29009 Requesting ANH Stunt EIB status [RWA] [671]
flinty360 replied to flinty360's topic in Request Expert Infantry Status
Thanks Sly Really appreciate the review and comments.. Yes I had foam in the shins but removed it recently as it was a bit bashed up...will get it replaced asap Drop box positioning on belt, easy fix.. Lid painting...yes my painting skills leave a lot to be desired...I hadn't had enough cider on the evening I painted the stripes hence a bit messy and wobbly -
TK-29009 Requesting ANH Stunt EIB status [RWA] [671]
flinty360 replied to flinty360's topic in Request Expert Infantry Status
Apologies for the dirty marks on some of my armour, ive been a lazy trooper over the Christmas period and not polished it up after some recent trooping.....will get on it asap Have also now trimmed the loose threads that had come away from my belt...... Happy New Year guys -
Name: Mike Flint Legion ID: TK29009 Forum Name: flinty360 Garrison: UKG Mandatory Info Armour = RWA Helmet = RWA Blaster = DoopyDoos resin Optional info Height = 5'9" Weight = 85kgs Canvas belt = RWA Hand plates = silicone Electronics = RomFX Neack seal = ISD Holster = ISD Sent from my SM-G920F using Tapatalk
-
TK 29009 requesting 501st access.. http://www.501st.com/members/displaymemberdetails.php?userID=20959