-
Posts
570 -
Joined
-
Last visited
-
Days Won
2
Content Type
Profiles
Forums
Gallery
Articles
Media Demo
Posts posted by DroidHunter
-
-
That's a relief. I attached it last night and will post pics later. Don't know how to do it from the phone. I put the top screw in and it wasn't sitting right so I took it out and drilled again. Everything is covered by the ear but if I had to start anew, it would be a bit swiss cheese like under there. I will post pics with the top 2 screws in a bit.
-
Looks very good, why worry?
 Fear of messing up the most visible part of the build!
Seriously though, I appreciate the feedback.
-


Like this one kind of...

-
Is it OK if the holes in the ear don't match up with the marks on the cap? I really trimmed down the ear (perhaps too much) and my left ear (right as you look at it) measures up a little forward and below the mold marks. I have seen some pics if movie buckets and that ear seems to sit a little low with a slight counter clockwise turn. Mine will as well. Will post pics shortly.
-
I agree Keith. Just had to take a step back and look with fresh eyes. Gotta break the Dremel back out!
-
Ear question for you guys. First, let me point out as others already have, that the ears are unholy buggars forged in the fiery pits. Second, I started to work on the left ear (right as you face the helmet) last night. I believe this is the more troublesome of the two. Anyway, I am curious if I have trimmed this enough or if I should shave it down more. I am rather happy with the shape right now as it sits nearly flush without being secured in any way. Let me know what you guys think.


-
I like the clean look of two lenses, but was planning to go with a single lense. The TK's I have squired for both had two separate lenses. Didn't want to do something that was perhaps outdated or considered inaccurate if I went with the single lense..
-
Is there any real preference here? I know some of it is just personal preference. I was curious if there was more of a tendency to build one way as opposed to the other based on comfort, fogging, etc. My understanding is that neither method is required for acceptance.
-
I'm working on it my friend! Can't wait to get out there. When I get done with the helmet and move on to the armor, I'm going to grab a six pack and drag you down for some assistance.

-
Always check the sale ads here and at your local garrison as well. Might get a good deal on a used pre-assembled suit that is of much higher quality. Just a thought.
-
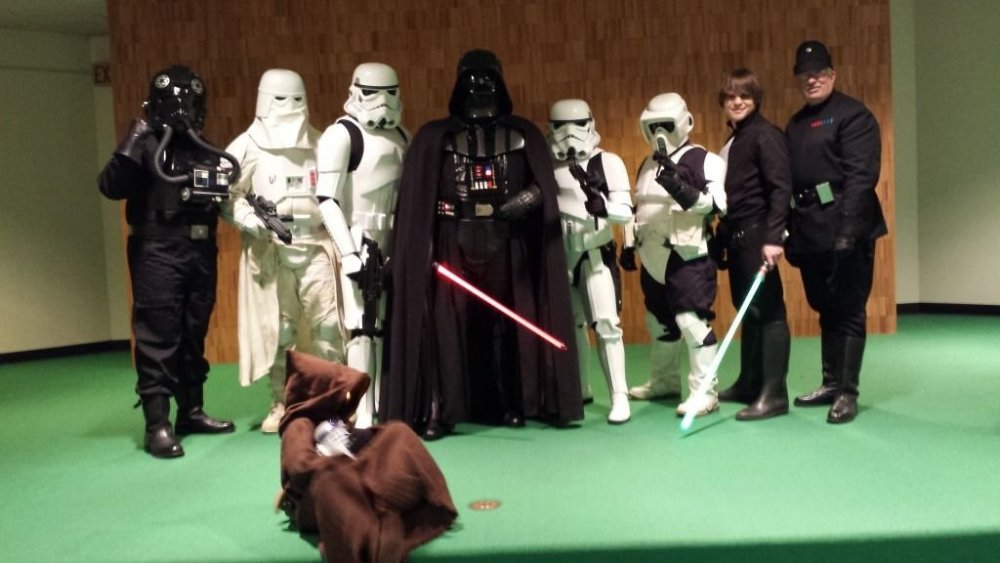
Got out and squired again this past Saturday at the Allentown Public Library in PA. A good time was had by all, troops and cadets alike. We even managed to snag a few seconds on the local news station. Here are a few pics of the event and a link to the news feed. My phone was taking lousy pictures so I only have a few, but maybe Keith will post up his image link later.
Not sure who let that Skywalker guy join the troop.

-
Thank you my friends. Couldn't have done it without your advice! Now on to the ears and eyes. From the frying pan......

-
As promised above -- and thanks again for the assist. I'm very happy with the result and the advice was spot on. Let me know what you guys think.


-
I really appreciate that advice! I realigned the brow again using four clamps just to make sure the faceplate was snug against the cap along the brow line. I also used some blue tape along the inside forehead line just to secure the whole thing. Since the left ear (again, right as you look at it) sits more flush, I aligned the indentation of the cheek tubes and taped that side down. With everything sitting as flush as possible and taped/clamped down, I used a pencil to mark the faceplate hole. I then disassembled and drilled the hole. Since the ATA kit comes with a screw assembly for the helmet, I attached the cap and faceplate with one of the assemblies and re-clamped the brow line. So far, so good. Now I just need to mark the other side the same way and I will post up some pics.
-
Did a little more sanding and trimming on the cap and the faceplate. As recommended, I also brought the trim of the cap back to line up better with the temple trap. The I used a few clamps to see how things lined up. I have some magnets but they weren't strong enough to pull the sides together even though they are rare earth magnets. How is this looking so far?


Clearly the right side pictured above (left as you wear it) fits together pretty well. However, ....


The left side pictured above (right as you wear it) does not sit together and requires quite a bit of force to hold them together. That will make drilling rather hard I suspect. Now I just need to decide where the hole in the faceplate will go to match up with the hole indicator on the cap.
-
Will do Keith. And thanks for chiming in on both this post and my Garrison post! At this point I'm 90% positive I will be there.
-
I love all of these history threads, but still can't keep any of it straight in my head. Really cool stuff though. I initially looked into buying a TK kit almost a decade ago, but couldn't finance it and eventually gave up trying. Until this year. But I still have emails from certain vendors back in 2004. I'd be curious to see which armor kit(s) I had information on from back then as the emails from don't indicate.
-
Thanks Steve. Its amazing how much excitement a little bit of progress can generate. It is really fascinating watching this sloooooooowwwwwlllyy transform from molded pieces to finished product -- by my own untalented hands.

-
 Looking good!
 -
I think they're looking good! One bit of advice I received when I was carving my teeth is to have the top and bottom parts of the holes slant with the frown. You could possibly take some more off the top and bottom of each tooth here and really make them match up with the direction the frown is curved.I have followed your thread and took heed of that advice.
 But maybe I should shave the teeth down more. Trying to decide where to stop isn't easy -- so all advice is welcome. Here is another perspective:
-
How do these teeth look?


-
Great commercial!
-
Small progress. I finished the second eye. I was really nervous about working on the helmet as it is such a visible piece, but so far I am happy with the results. The eyes came out better than I had hoped. Now on to the teeth. I started the first one. Before I continue, does this look right. I have examined a hundred screen shots, but it is still hard to decide when to stop on my own bucket! I tried to stay parallel with the frown lines. Let me know if I should trim it more. I picked up a 10-piece file set that worked really well.


Darn phone took blurry pics....
-
ATA is a solid kit. I just got mine about a month and a half ago (sadly very little work on it so far). Great kit at a really good price. The ONLY negative is that the wait list is about 8 months at present -- for the whole kit. You can usually order just a helmet ahead of time as Terrell tends to have those in stock. Good luck.


Ibnzbass4 Stunt Build (ATA)
in Build Threads Requireing Maintenance
Posted · Edited by DroidHunter
I couldn't find anything thin and long enough to so through the hole in the ear to mark the cap. I should have just outlined the ear itself. I finally ended up using a toothpick that I dug into a crayon. I then used the small bit of crayon on the end to mark the second hole