


Clamps
-
Posts
2,090 -
Joined
-
Last visited
-
Days Won
8
Content Type
Profiles
Forums
Gallery
Articles
Media Demo
Posts posted by Clamps
-
-
Hey Chris, great to see you over here too!. This is your primary location for all things TK, so welcome to your new home on the inter-webs...

Hello and welcome aboard eh!
Be sure to get in contact with Clamps on the board. He will guide you to the right people to help you.
Sent from my iPhone 6 using TapatalkThanks Pickles has already been taking care of getting Chris all hooked up! Thanks M. Tolo!
-
 1
1
-
-
Here is the crew from Hamilton Ontario
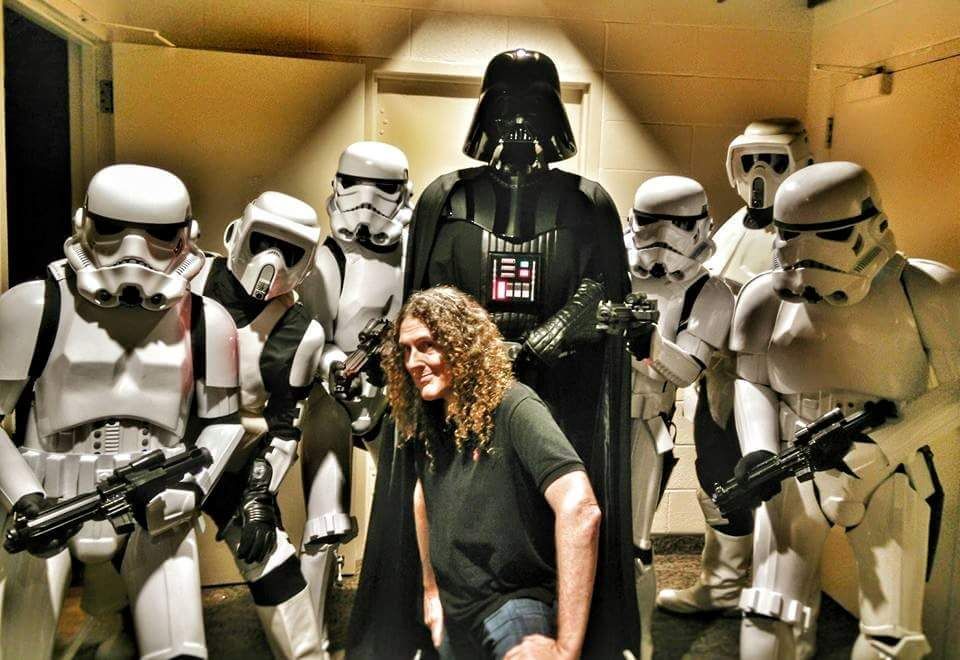 a couple troopers not in the shot.
 And of course ME
-
2
-
-
What are heat and humidity levels in your area during painting?
-
well, I suppose with all of Barcoder's wonderfulness, I best put up something on my thread to stay slightly relevant
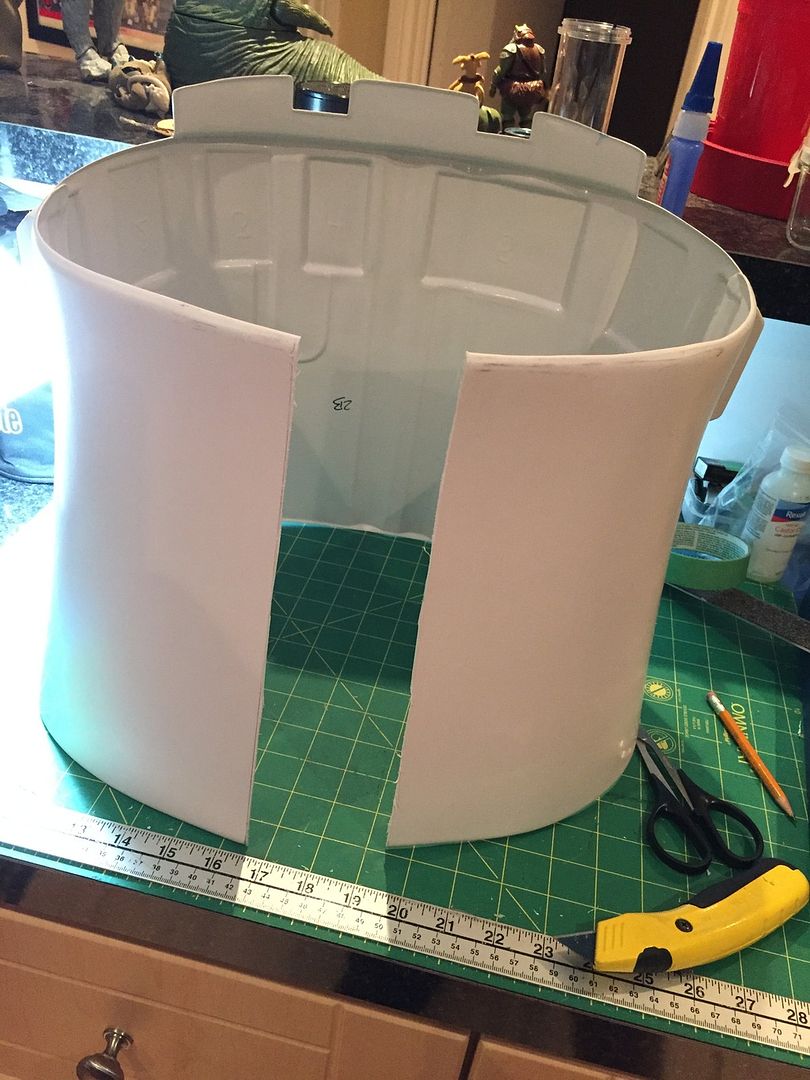
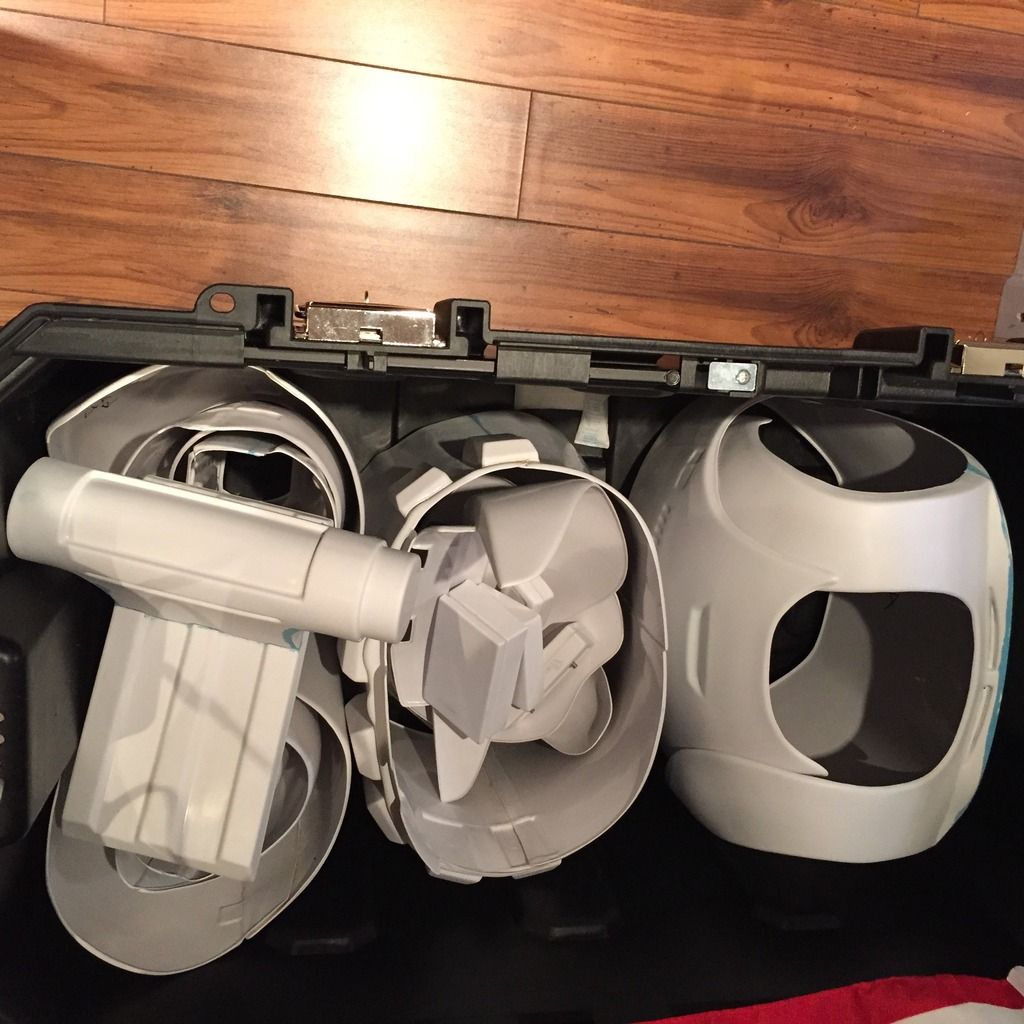
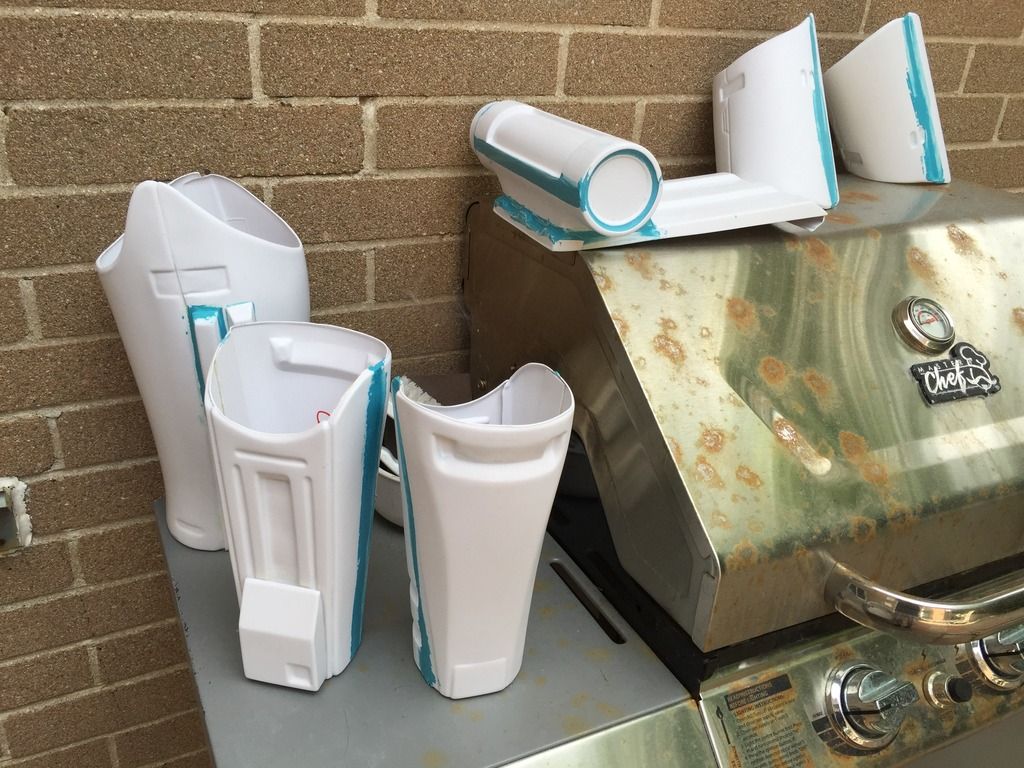
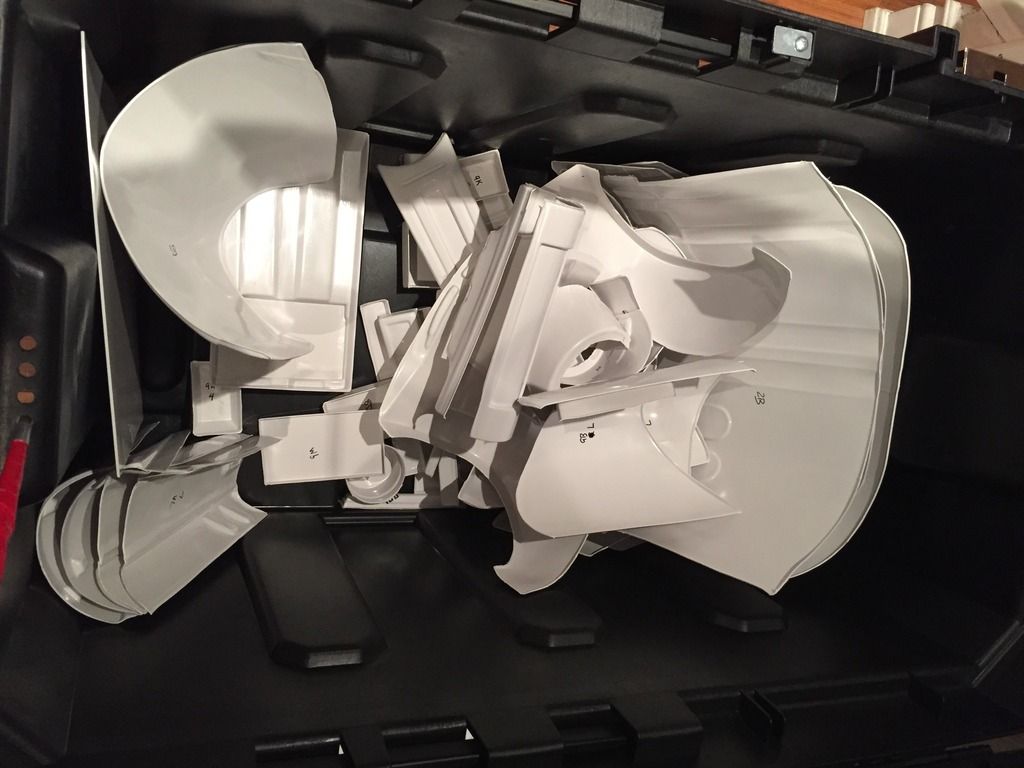
 With my bucket and soft goods nowhere in sight, I continue to pick away at the core of the kit!
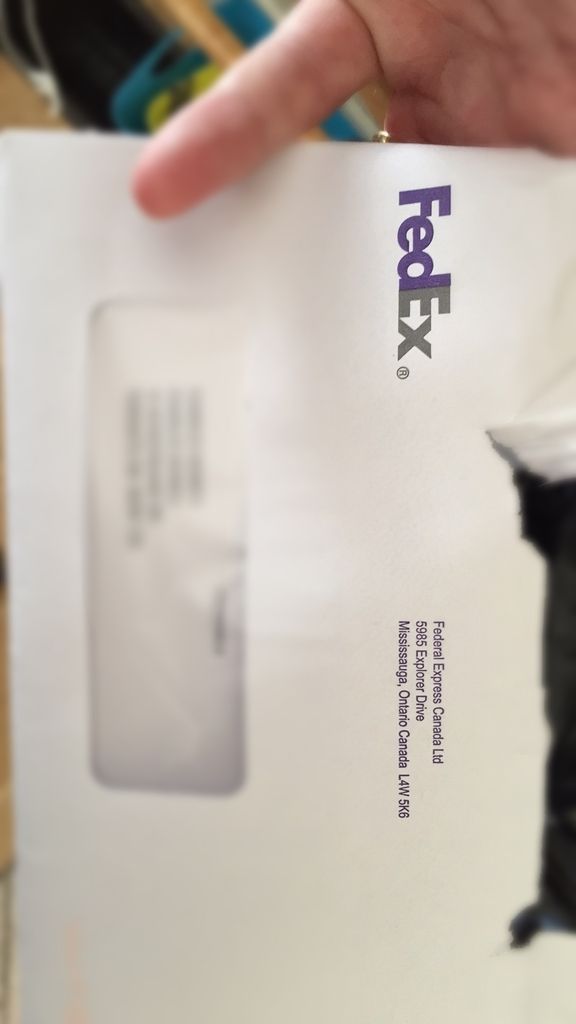
All Hail International Shipping and Taxes!!! (just for box 1 & 2)
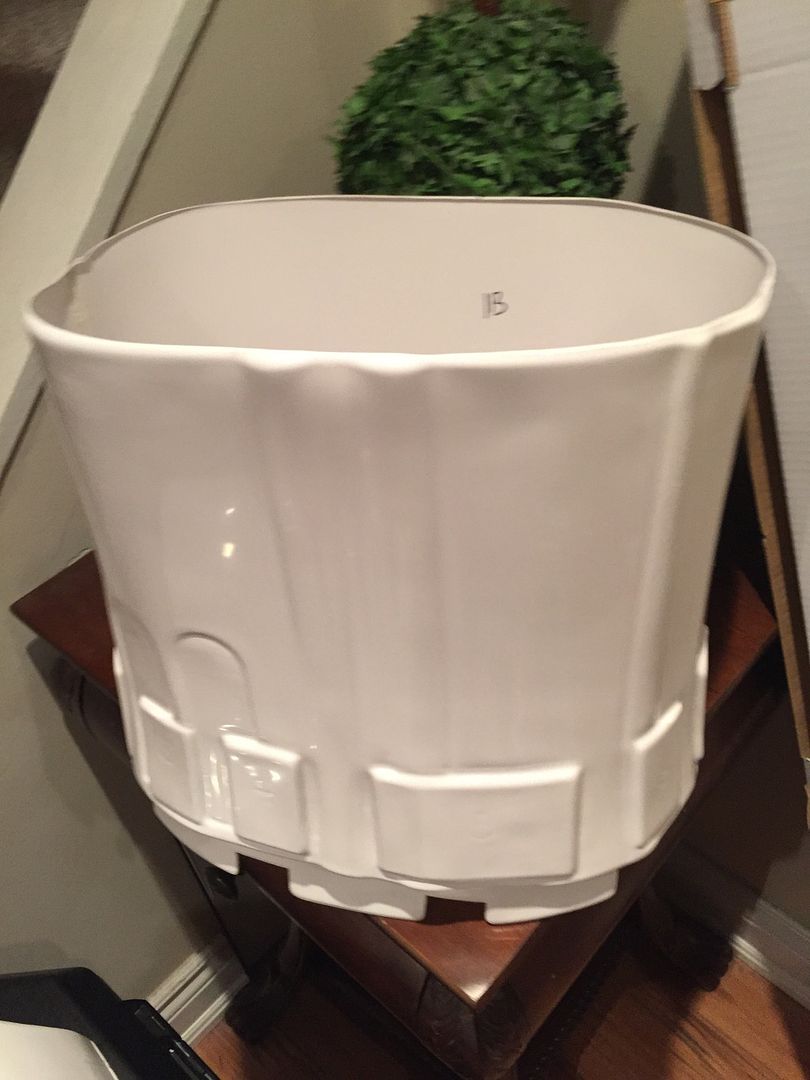
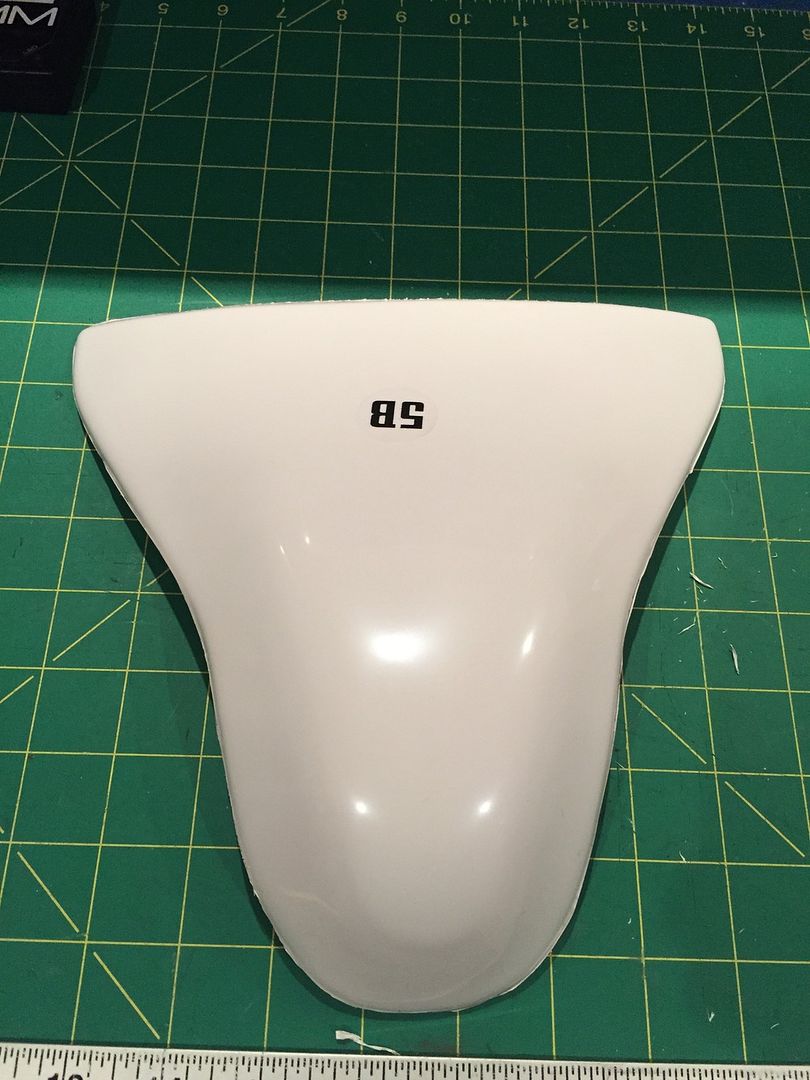
Well, not that its any surprise to me but my fat butt and shoulders are too wide to slip into the Ab, so I had to split it up the back, but as you already know, this is all hidden behind the TD plate, so no bigs...
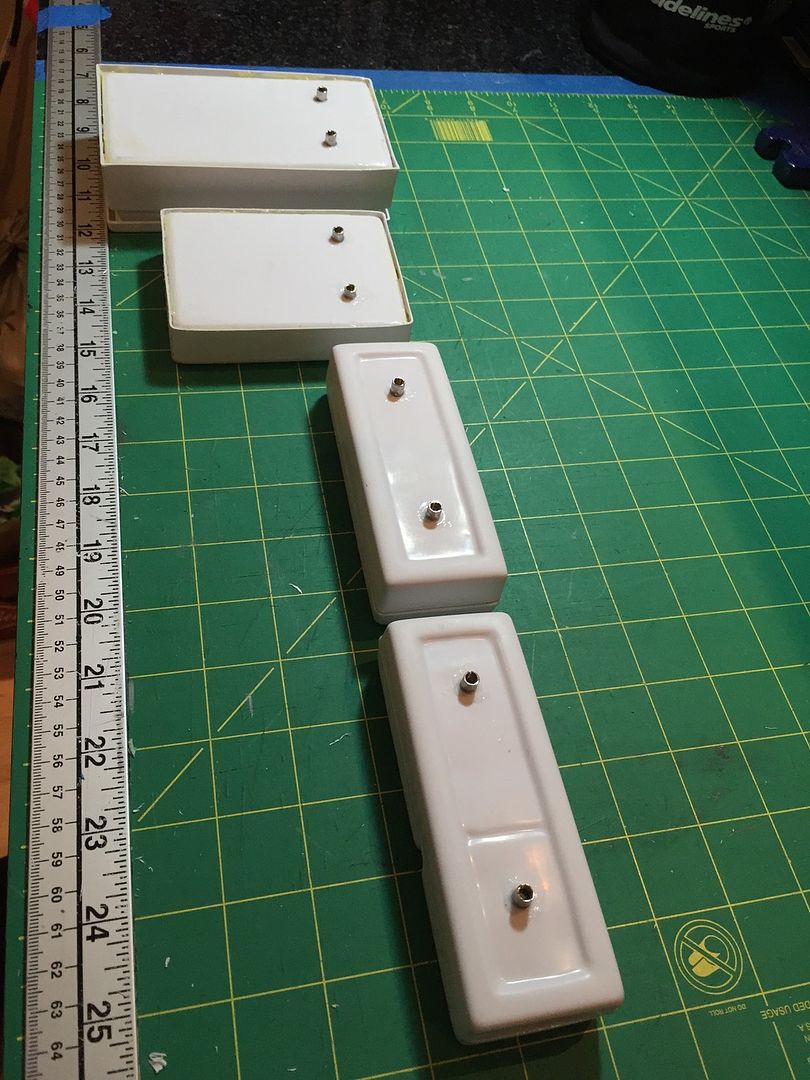
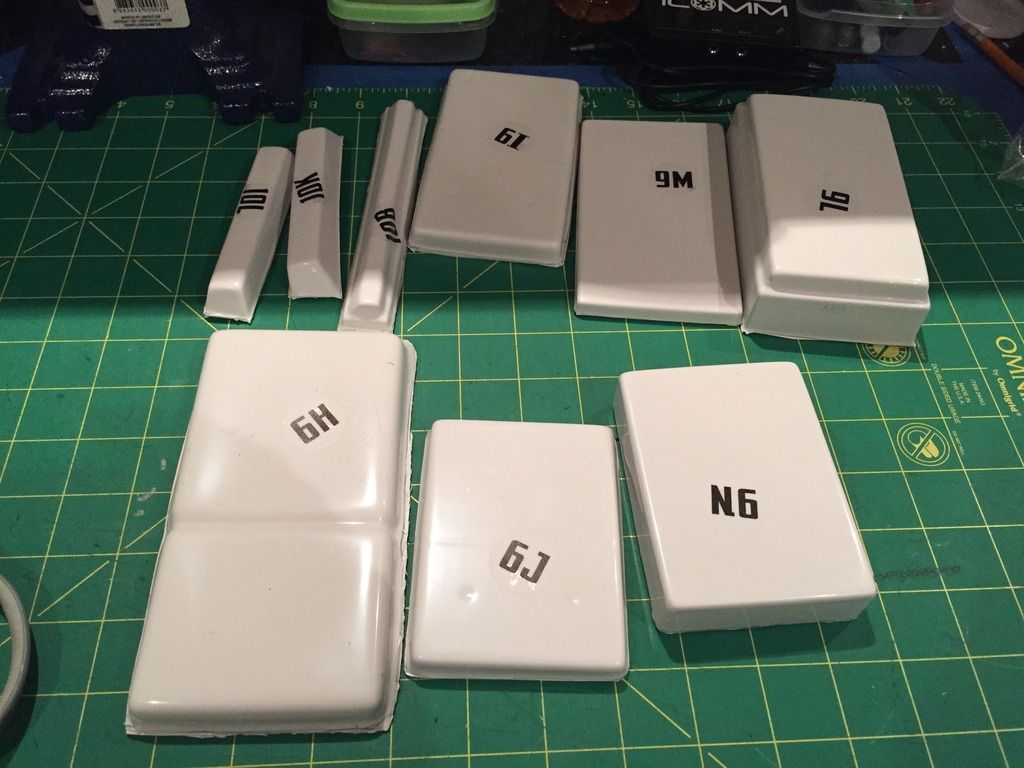
Belt Boxes prepped and ready for when the belt comes to town!
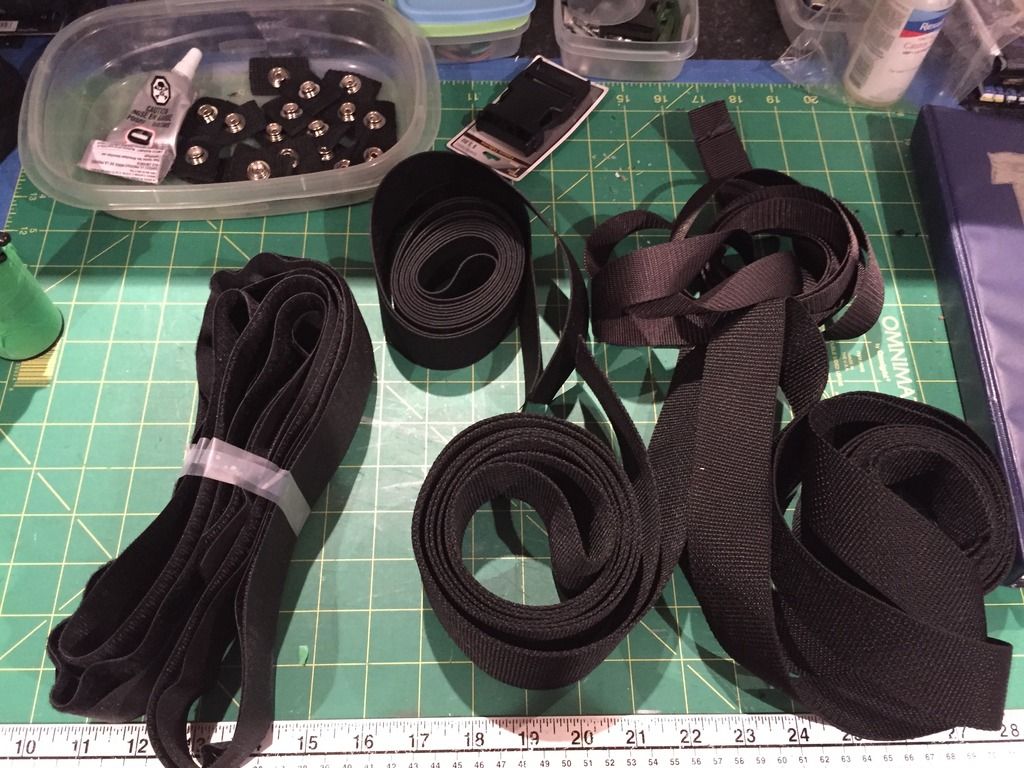
started to plan my 50G Stanley Bin organization:
Purchased some strapping and Velcro and also whipped up 20 male snap plates on nylon strap backing.
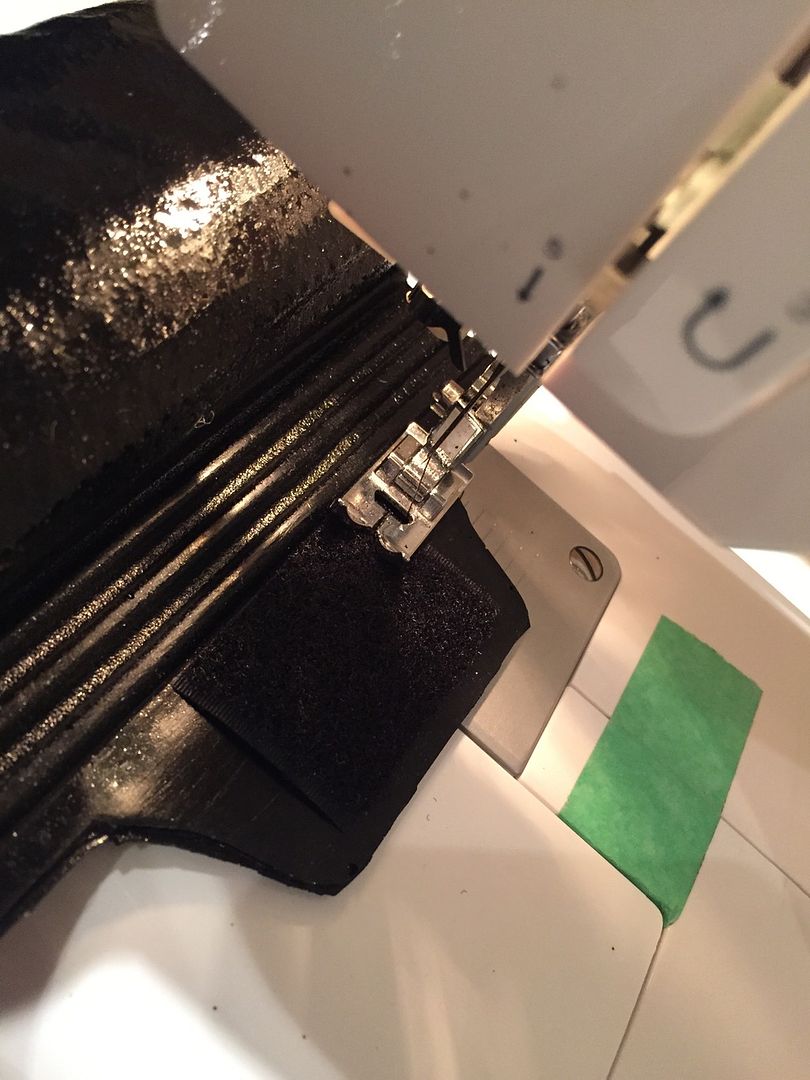
Time to stick that velcro to the attachment tabs of the gaskets. Once I got the tension and stitch length dialled in, it was pretty easy....only yelled a few times.
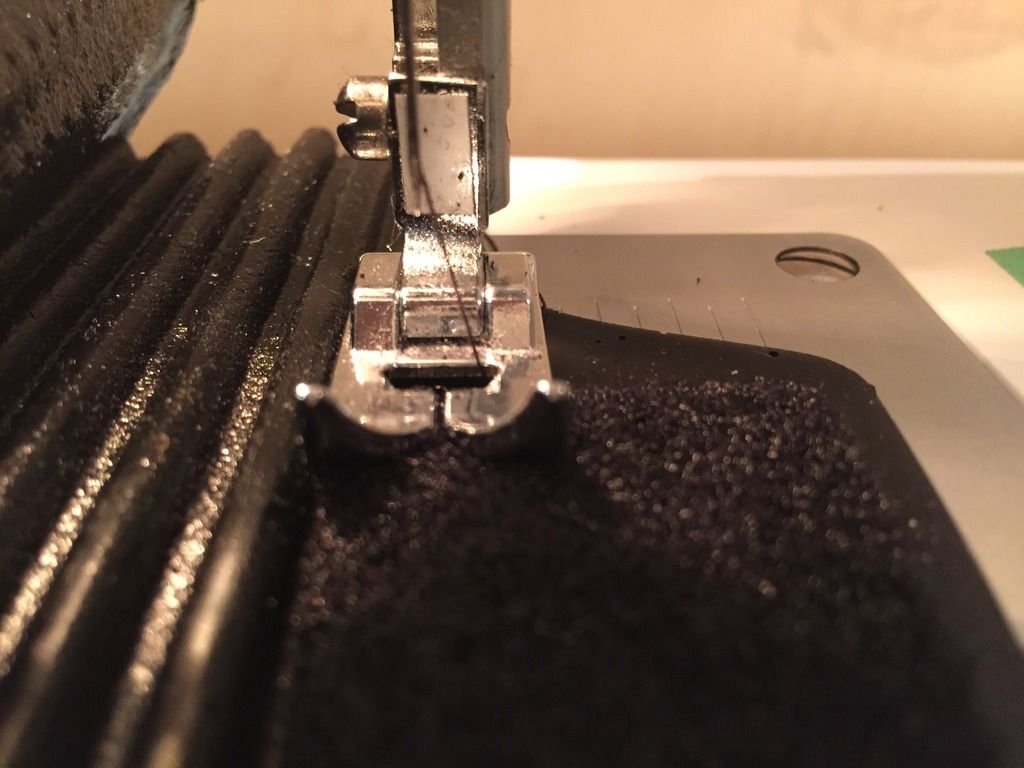
Adding some snaps to prevent the "Happy Trooper" look
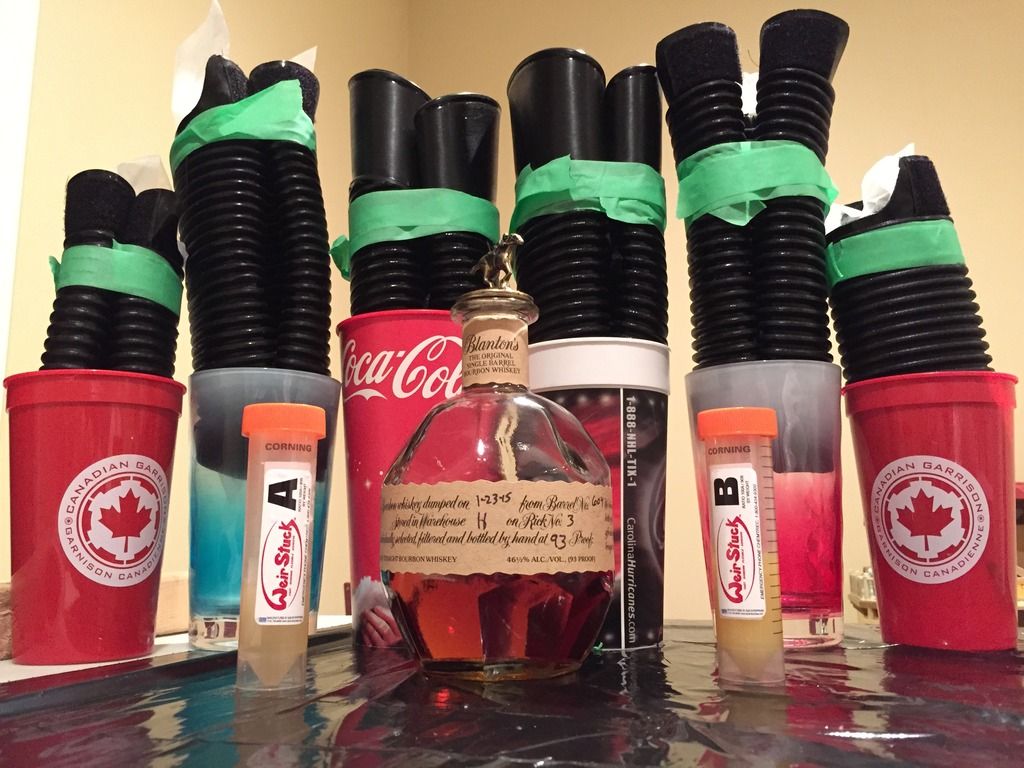
What do you get when you mix Blanton's Bourbon, Chocolately Rubber Gaskets and Weir Stick?
 [/urlN
NO NO NO you sick minded freaks, you get this
Went back and fixed up some seams I was unhappy with (aka all of them) and also some missed areas on TD (paint cap and underside)
Dry fit of hardware, will add after final paint applied to kit.
That's all you get this time kids, stay tuned next time for more very boring updates!
-
3
-
-
Actually getting and building the kids armour first might make you more confident with your kit.

-
Damn, I just realized looking at my picture of the paint cans that I accidentally bought a can of FLAT white vs Primer - CURSE those people who put things in the wrong slots on the shelf! oh and curse me for not looking carefully.
-
2
-
-
Well, its been a while since I posted, so I figured Iwoudl provide a status update.
I'M ALL FINISHED!!!!!!!
JUST KIDDING!
I did some shopping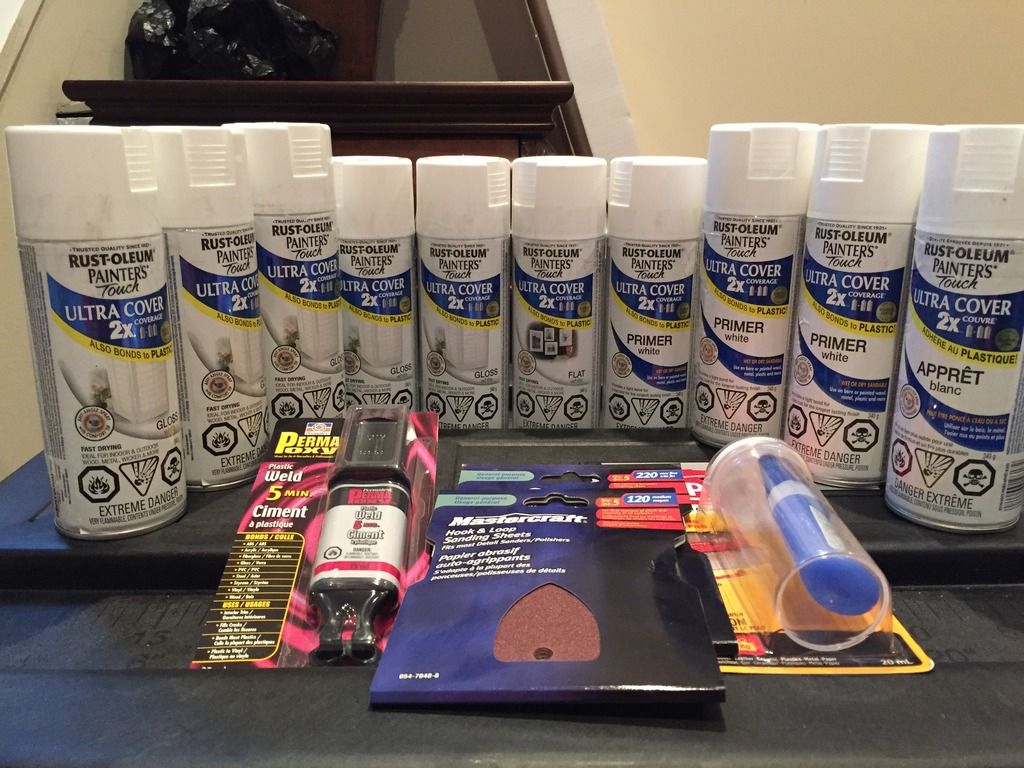
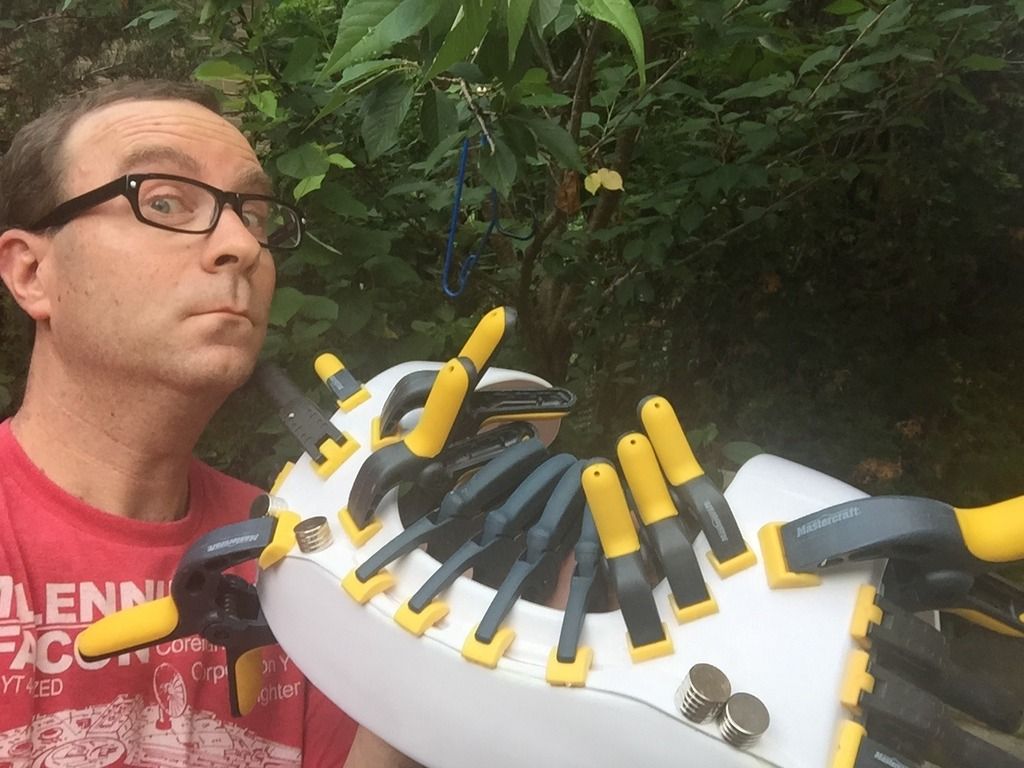
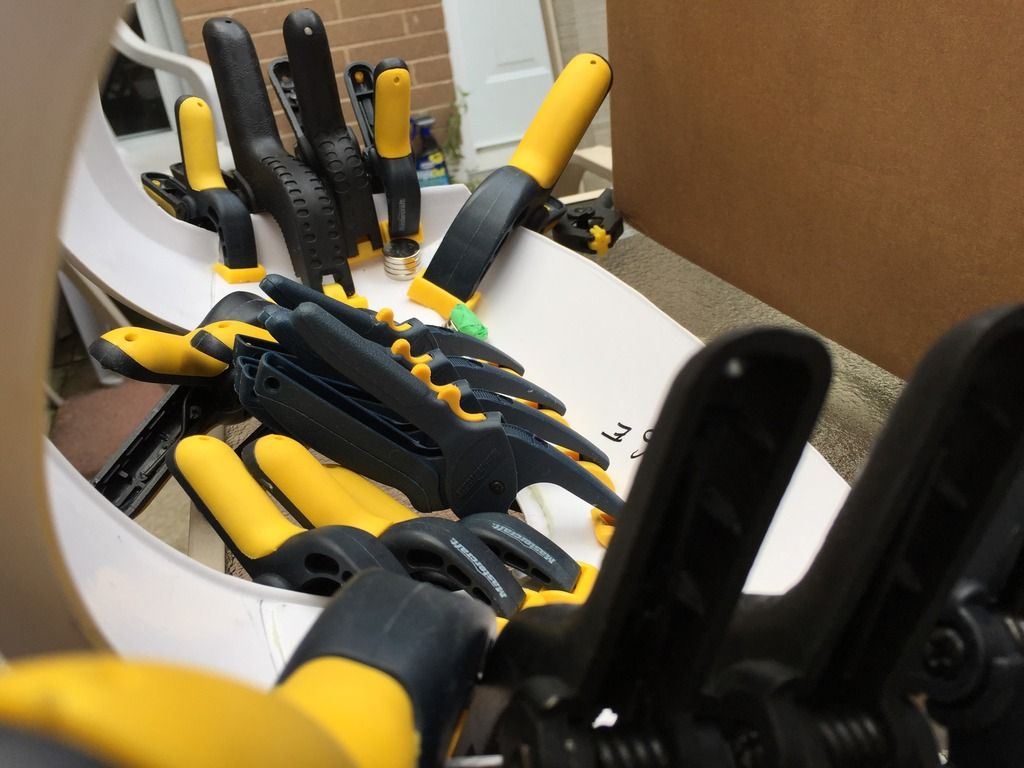
Glued the holster support to right thigh: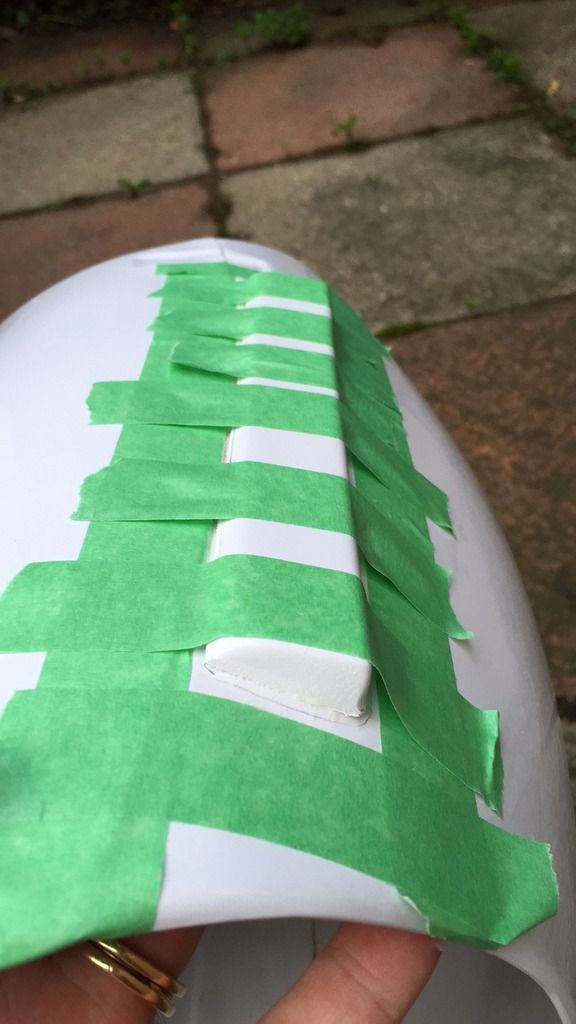 [/url
[/urlyou KNOW I love me some Clamps, and I was called out for my lack of clamps use on this build so, here you go... Clamp-Porn!
AB boxes - except the ones near the seams are added
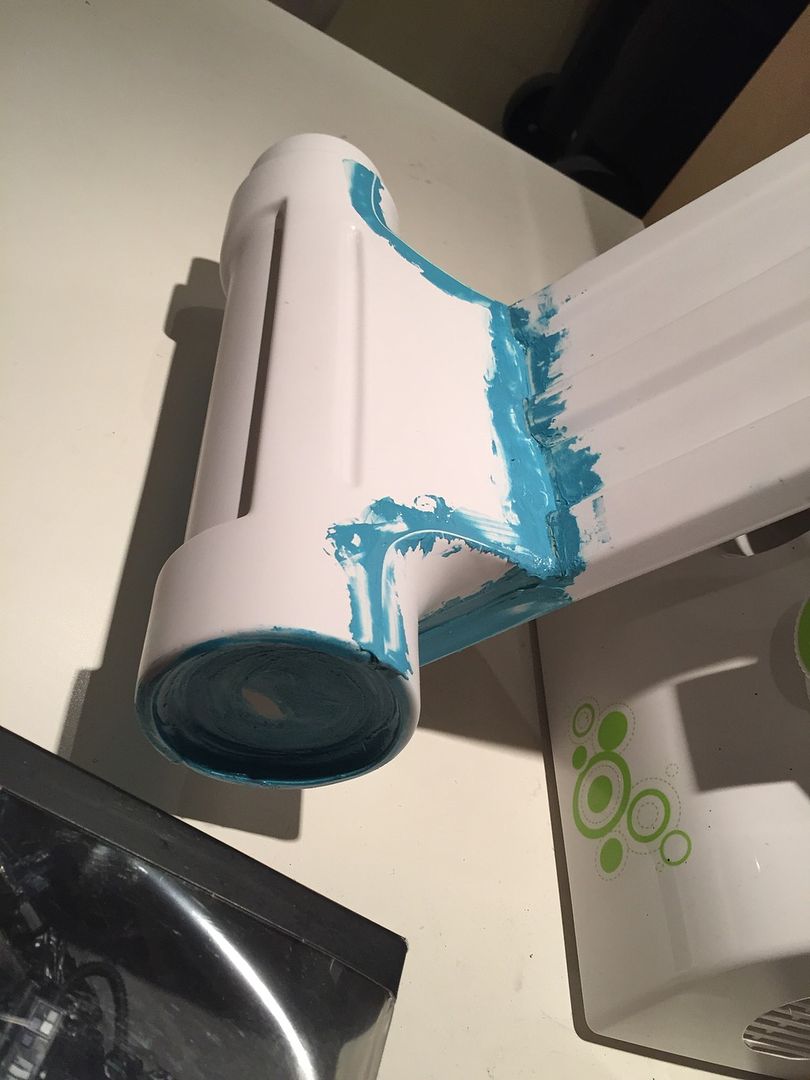
Seam filling with "Sure Seal Plastic Surgery "Flexible" (image shown of "Semi-Flex box)

What a mess this is gonna be to clean up, we might have over done it a bit...
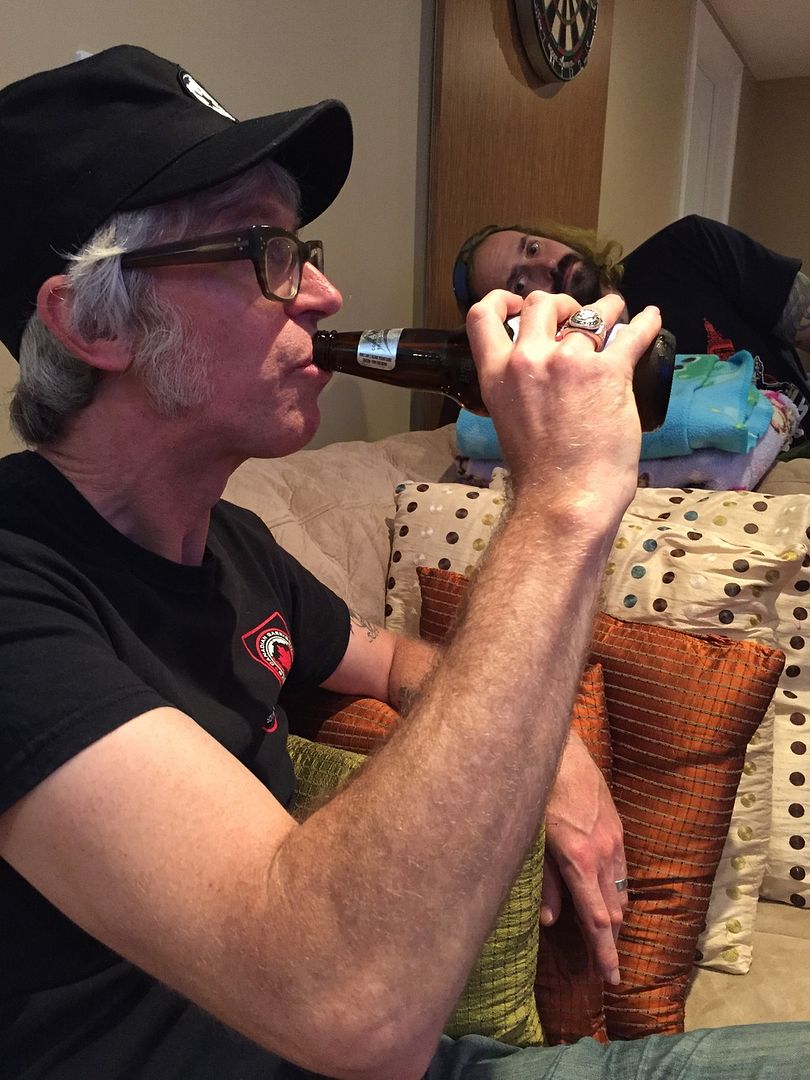
Was once told it was not an armour party without beers... so here is a Canon Canadian Garrison Beer drinking pose by our very own TK Butters (photobomb courtesy of Danny MechaPumpkin)
and then sanding, sanding, sanding, sanding
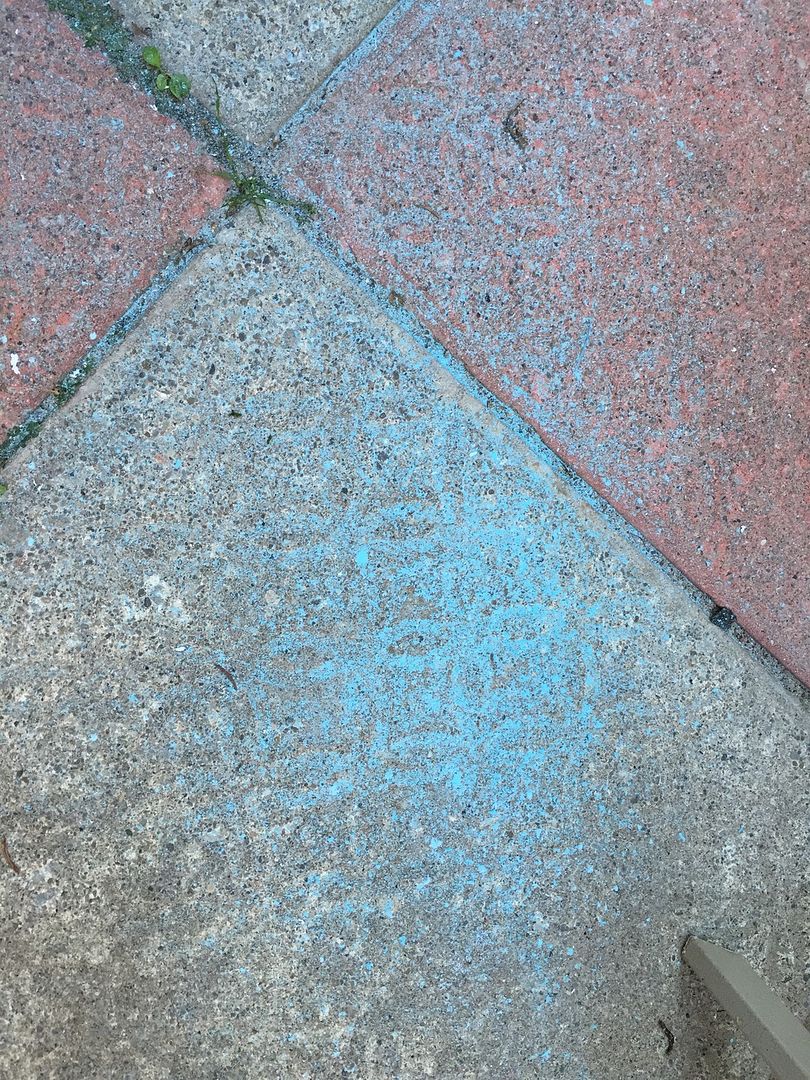
Leaves me with this
[

-
5
-
-
Weird Al "The Mandatory World Tour"
July 17, 2015
Hamilton, Ontario Canada
-
2
-
-
"What no clamps ;)" Looking good
yeah, with this build, there has been a lot of hard to reach gluing, so clamps have taken a back seat to the metric-crap.ton of magnets I borrowed from Danny (Mechapumkin).
What - not done yet? Sorry, j/k. Keep it up

Yeah Yeah, laugh it up fuzzball! Since my target completion was FAR less aggressive than the Alpha's, I am taking my time and trying to keep the work, family and build time balanced so I get to keep all of them.
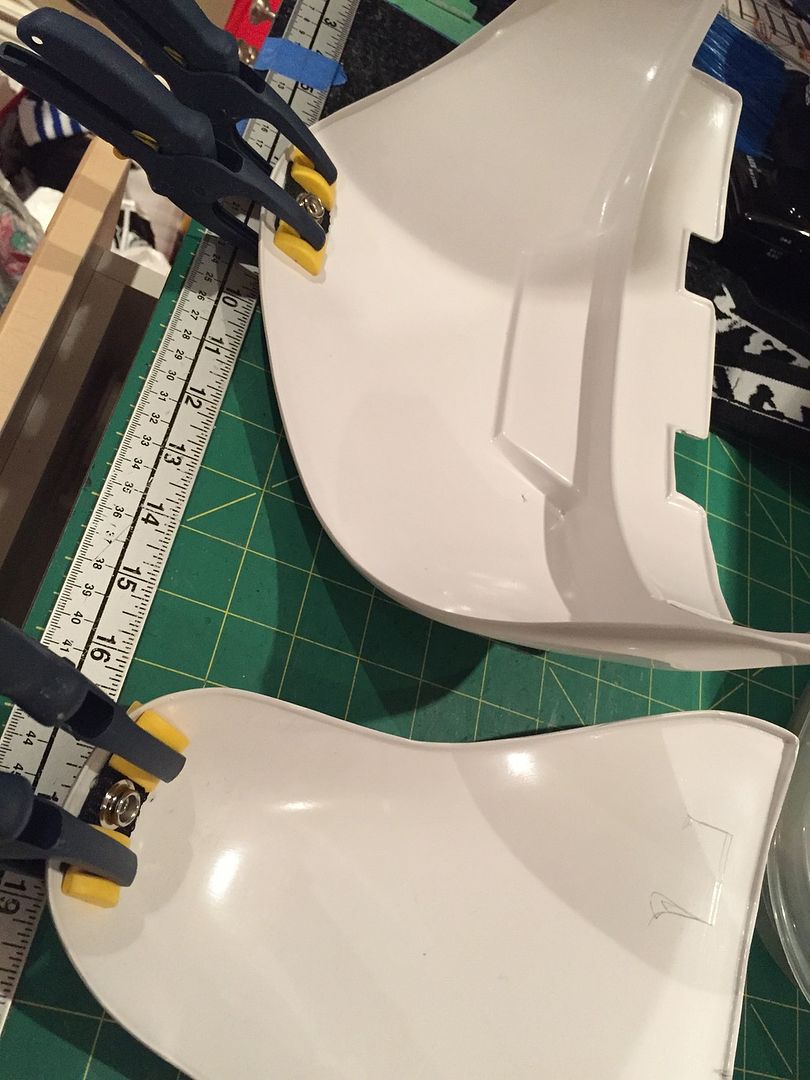
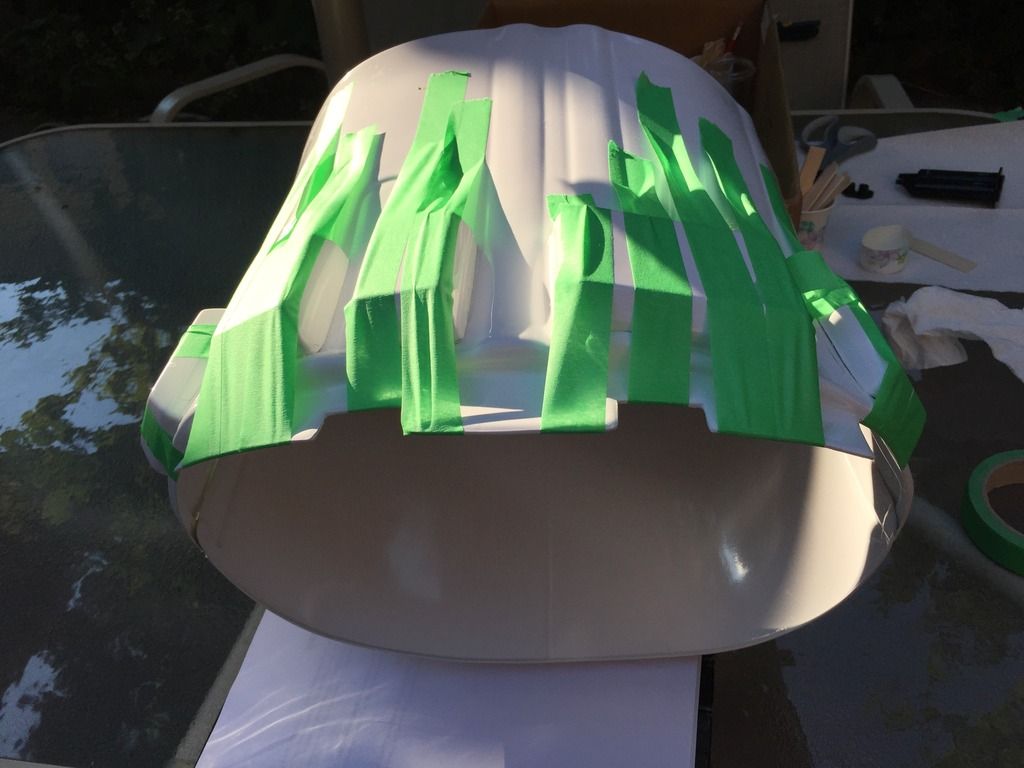
After returning from camping this weekend (and a long nap), I spent a little time gluing the TD and the shoulder bell add-ons:
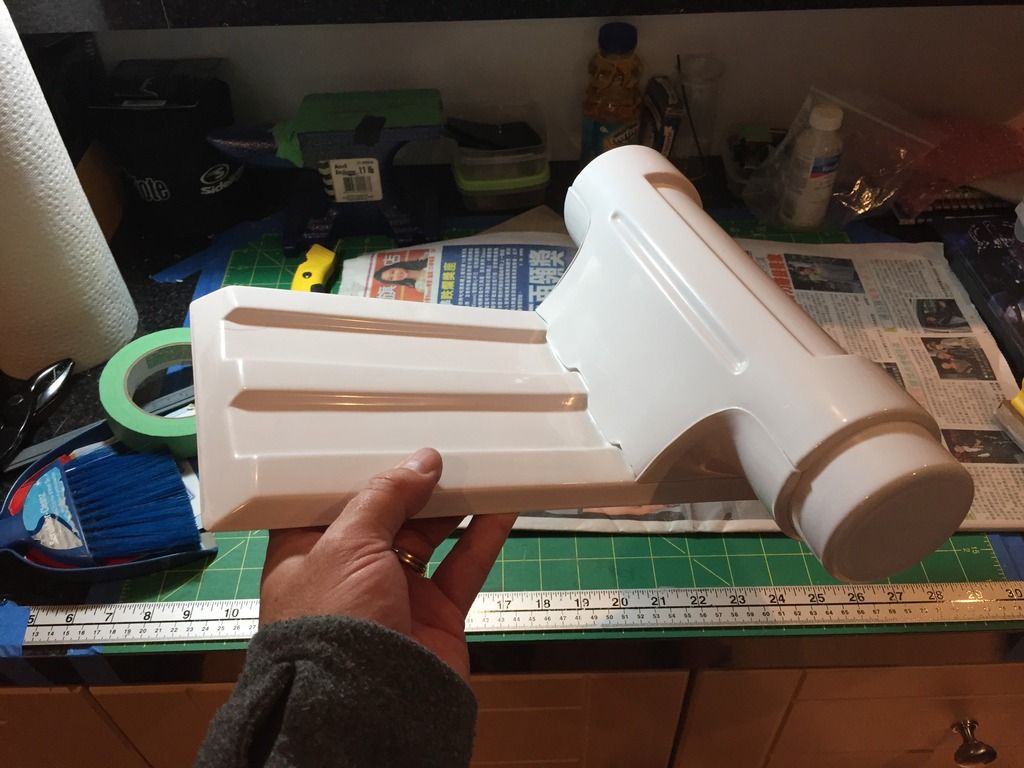
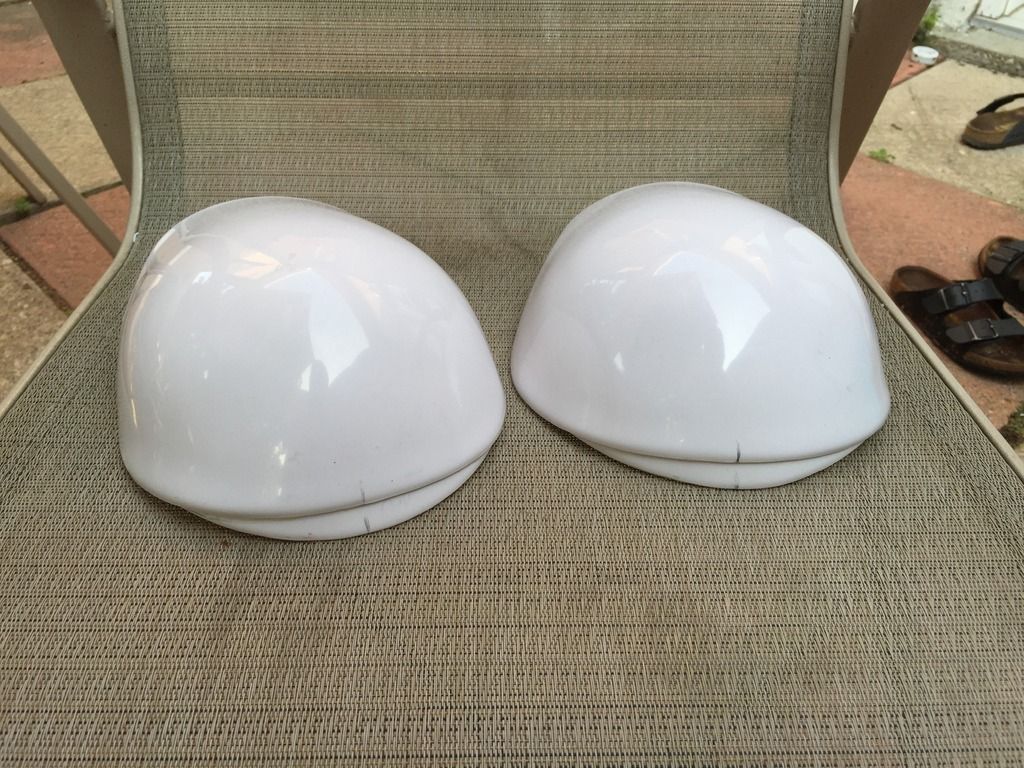
one more Large glue to go, the Back/Yoke combo will get put together soon and then on to gluing the smaller pieces (thigh holster mount box and shin vertical boxes) to get ready for Bondo (or bondo type replacement product) this Saturday when the Build crew pays another visit (in between Weird Al shows).
-
Slowly picking away with limited time after work/dinner etc.
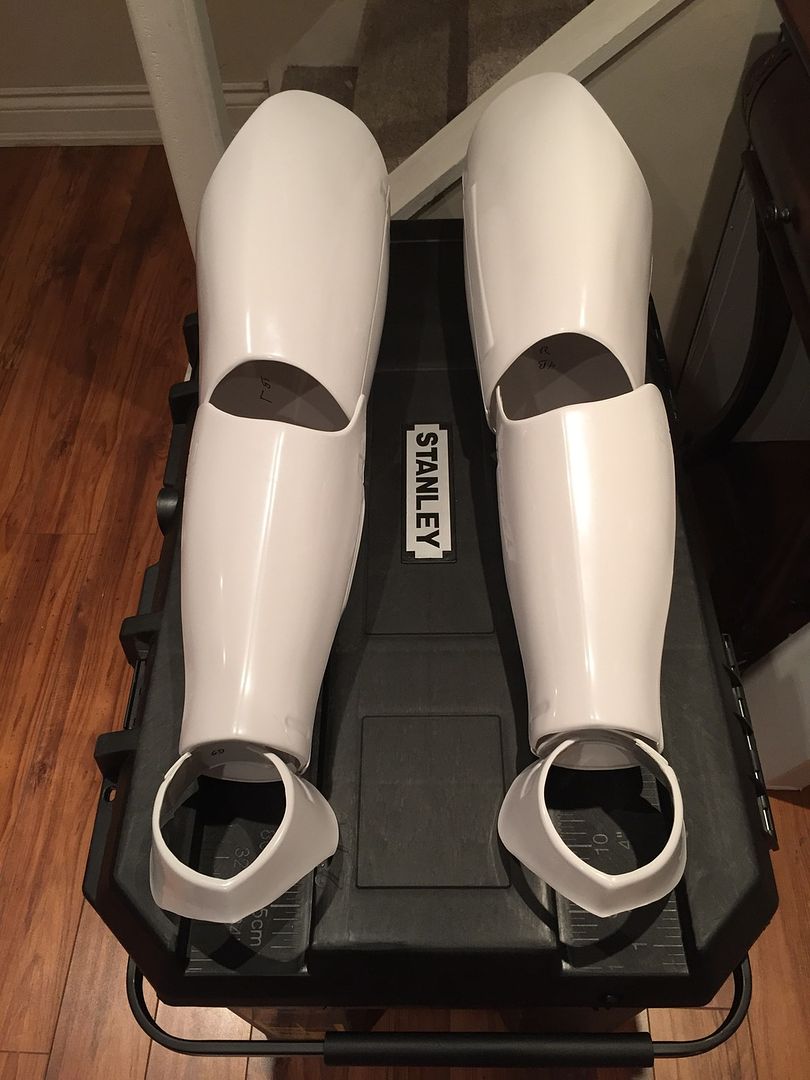
Spats, shins and thighs are glued.
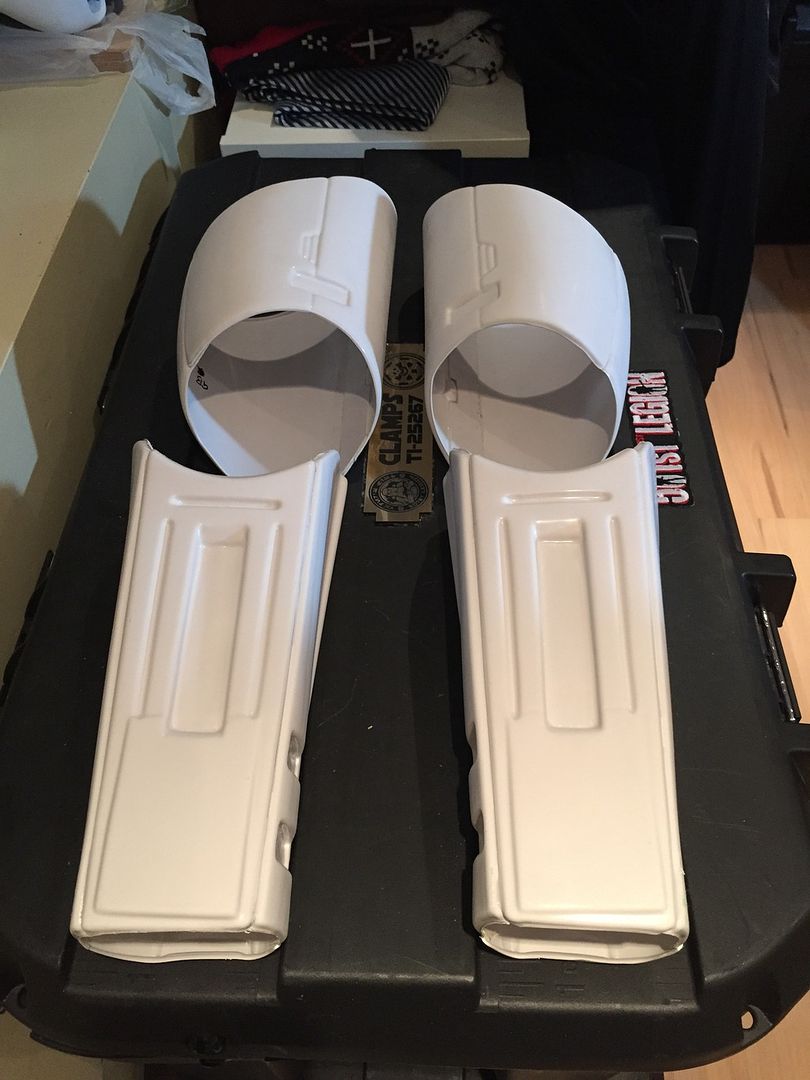
Forearms and biceps glued.
Ab/kidney glued
Should have everything glued and ready for bondo and sanding beginning next weekend.
Now I'm off to camping.
-
3
-
-
Spa day here at Camp Clamps!
gaskets and armour gets a wash, rinse and dry.
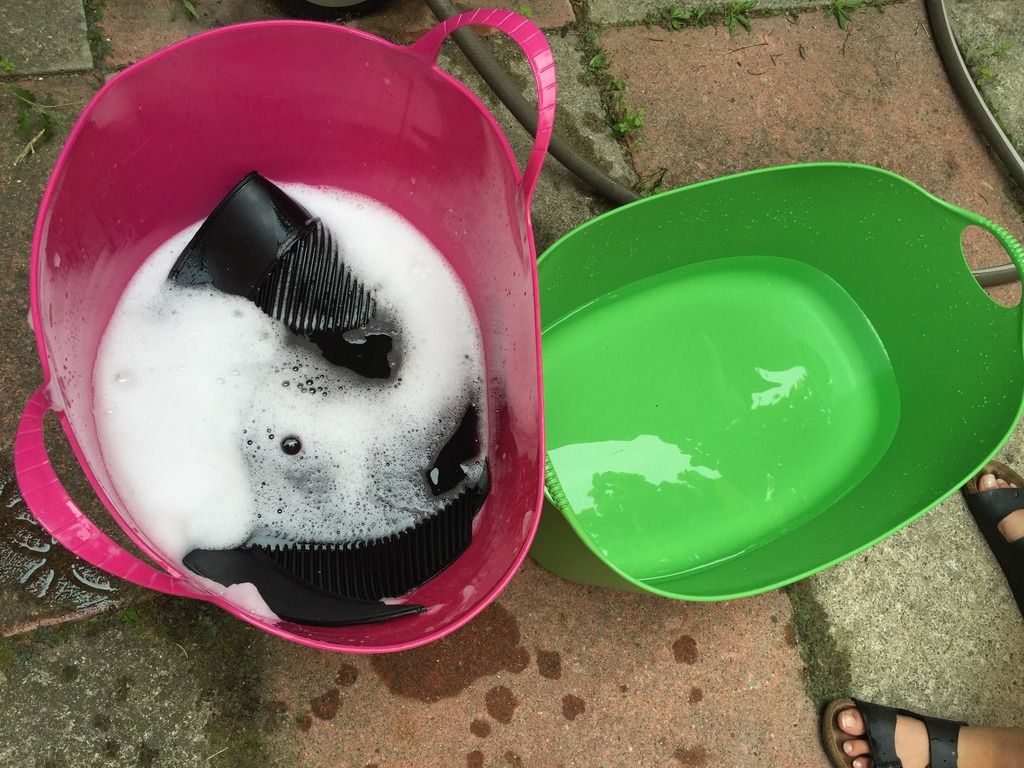
Will be a week of gluing each night after work.
-
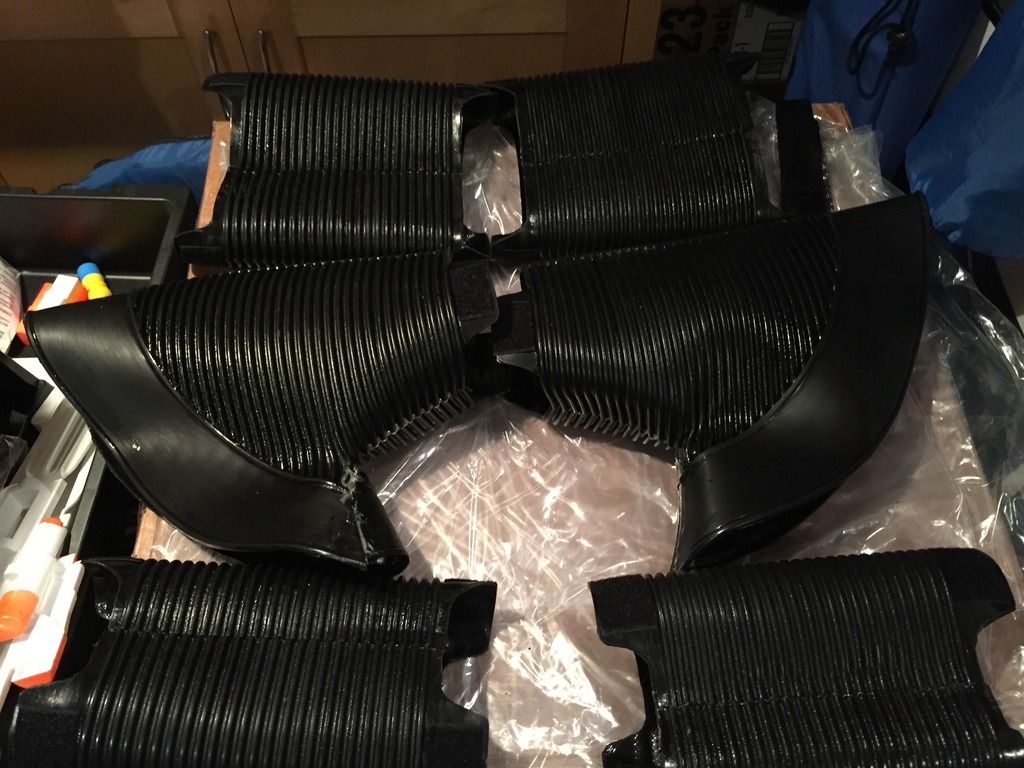
Had a great day with the Canadian Garrison Build Crew.
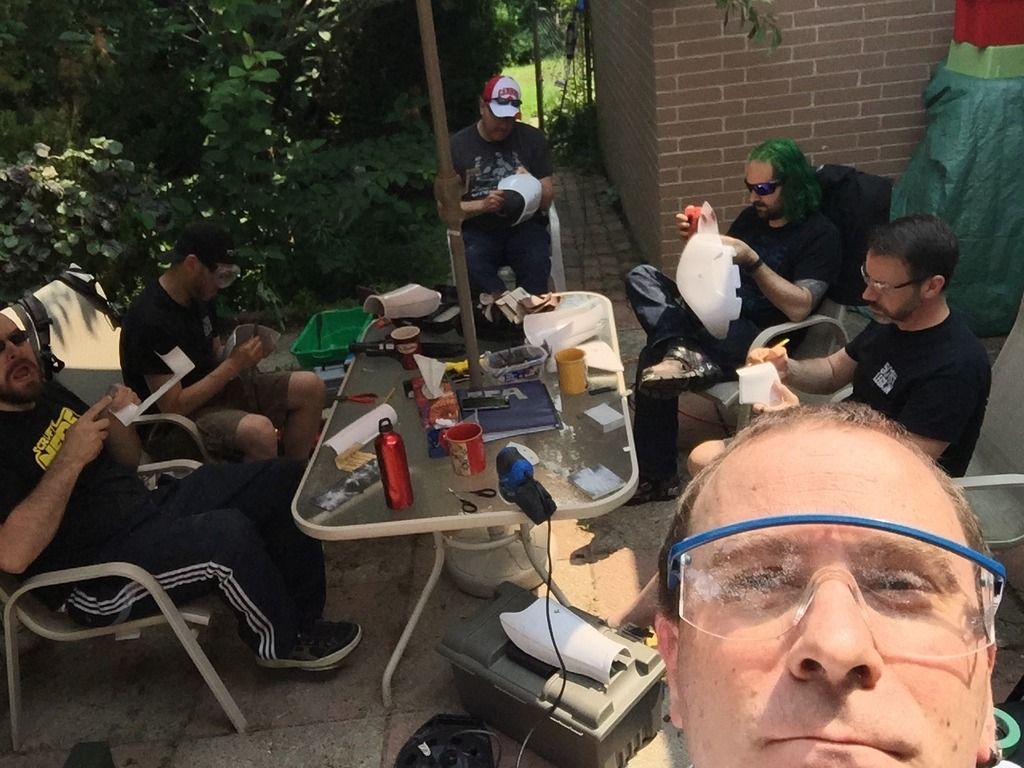
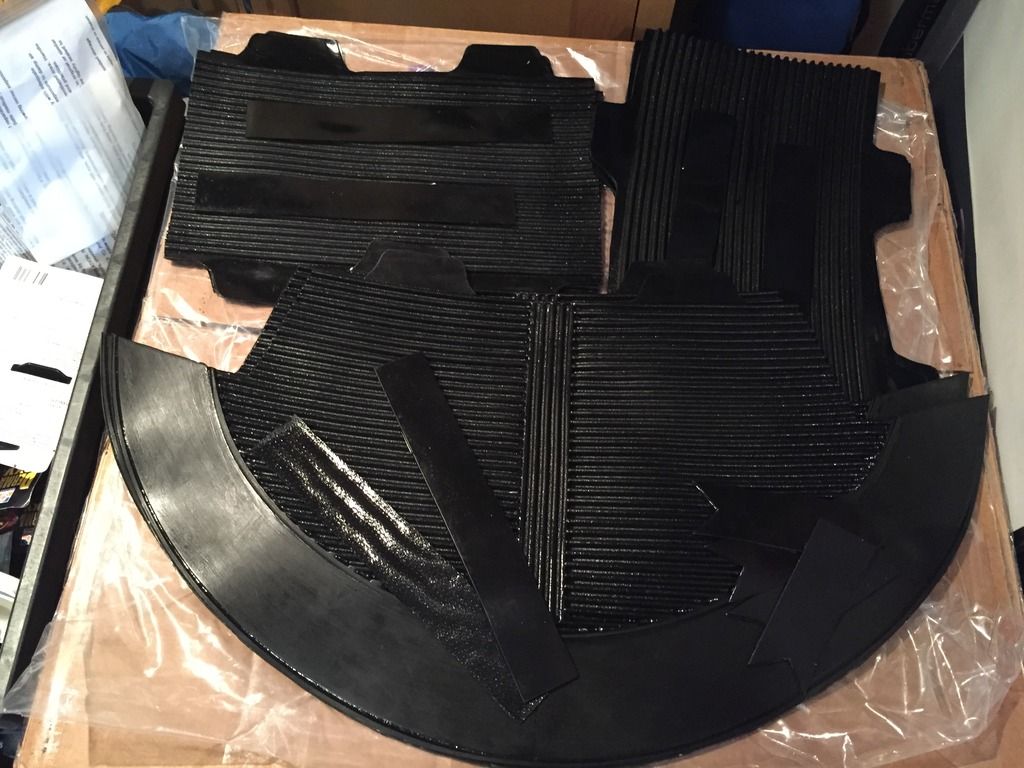
We did cleanup sanding and shaping of MOST pieces. Here is what is left to cleanup.
Later in the evening I cutout the chocolate floor mats (I mean gaskets)
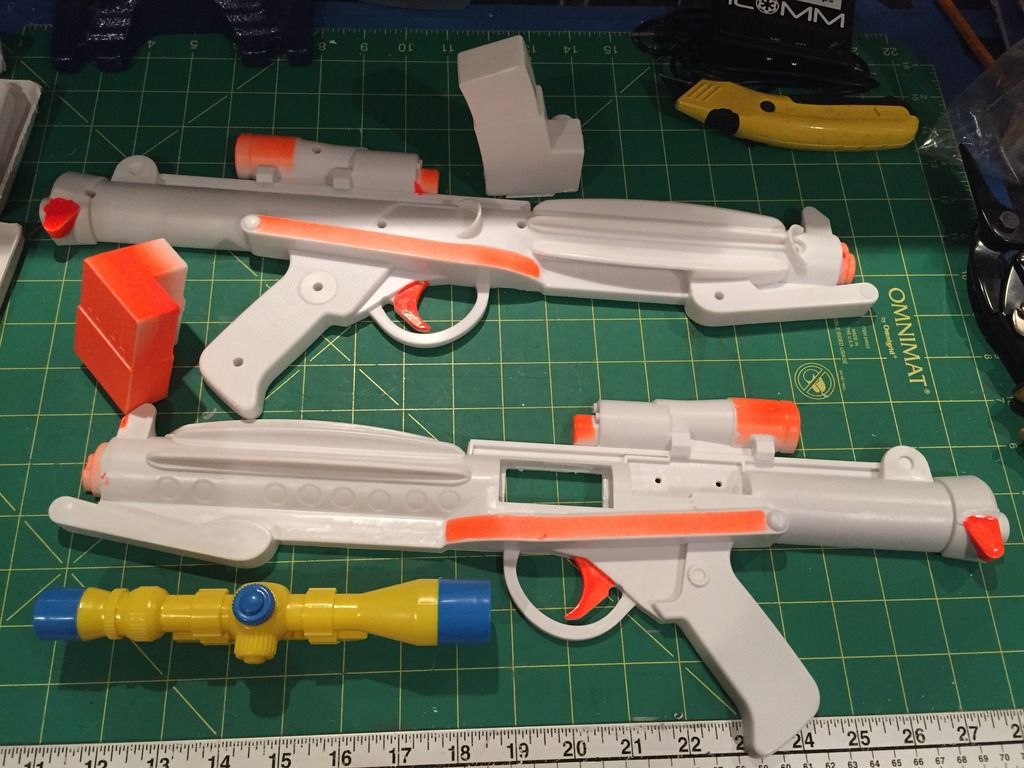
Finally I began deconstructing the Rebels E11. Also seen is the Dollarama toy gun scope I'll use to replace existing. Some cutting and changing and filling and it will be good enough until the EvilBoy Blasters are ready.
Next up is washing and gluing limbs and gaskets.
-
2
-
-
Yay..I just got approved yesterday. ESB TK . Excited to start trooping as a TK (and refining the armor). There's places I need to fit better but have to start someplace.
Welcome aboard. Get that kit refined and down to Toronto's Fan Expo. The White March requires your presence!
-
1
-
-
This thread is so boring it hurts... no wait, that is my hand from trying to trim all 68+ pieces of plastic for this crazy kit.
GOOD NEWS, the major trimming is complete. time to move to the fine trimming and sanding. I have some experienced helping hands coming by tomorrow, with he goal of having the limbs ready to glue, maybe the torso...
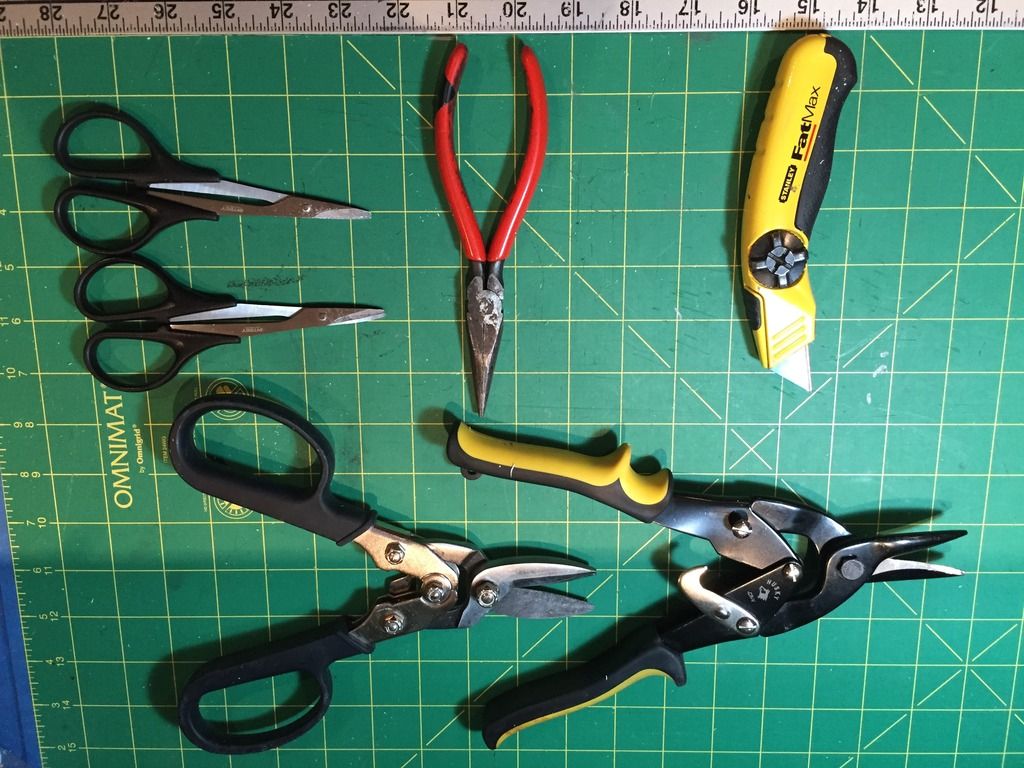
Here are my instruments of destruction:
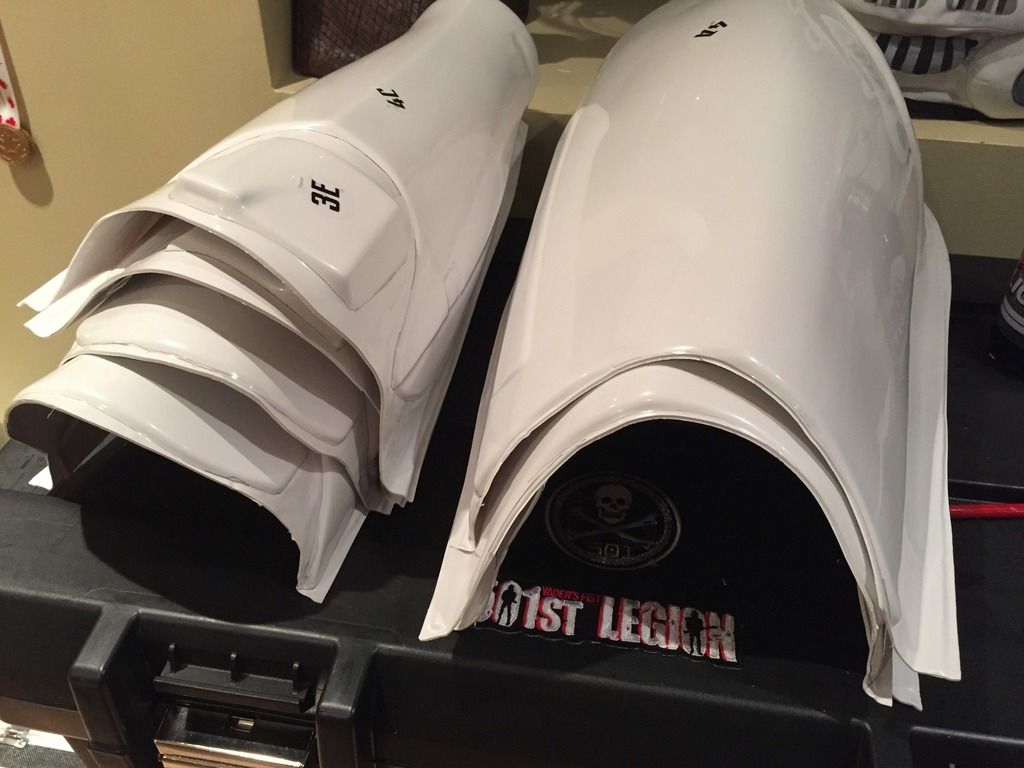
Here is the trimmed plastic:
Here are the trimmings:

-
1
-
-
Alrighty. No Major news here. But an update none the less:
Still taking care of main trimming of all parts.
What's left to trim - thighs and shins.
What's trimmed - everything else.
Not bothering keeping track of man hours. It just doesn't matter to me. All that matters is I hit my date of Sept 3 debut.
-
1
-
-
Alrighty, let's get on with it.
Step 1: Open a Beer
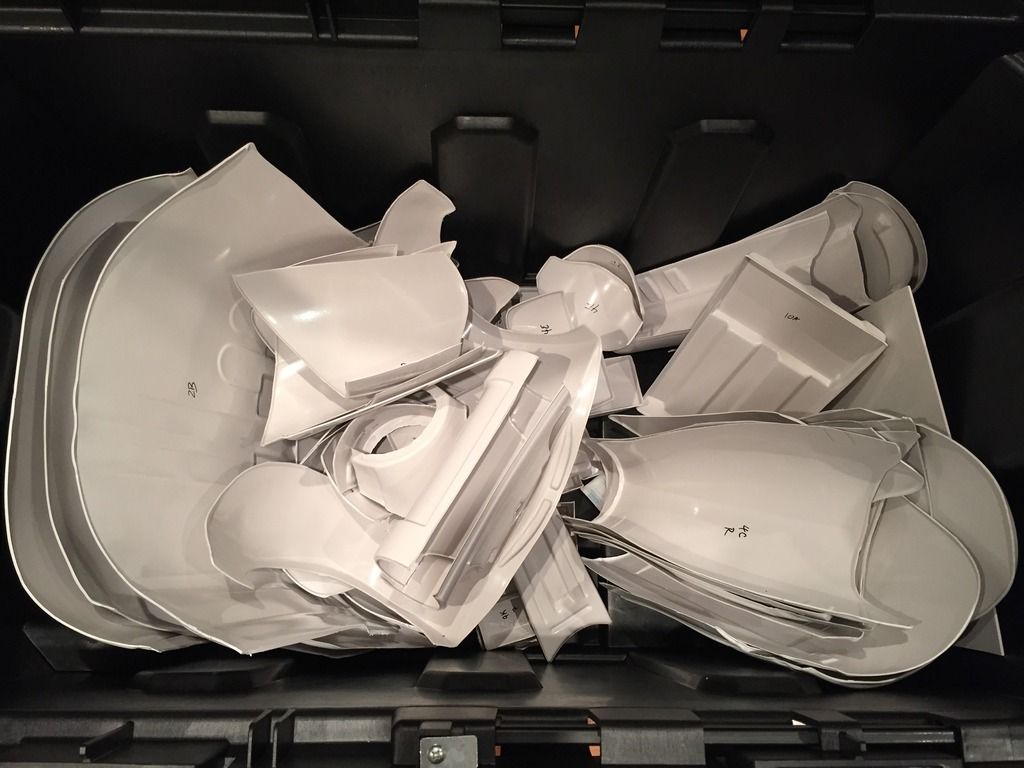
Step 2: Open Box, inventory parts.... everything seems to be in order, no orange peeling parts, no cracks or overtrims I can see. Drop everything into 50G stanley bin, close and eat dinner.
Step 3: walk past bin, work on computer.
Step 4: open box and peek in side
Step 5: Crack another beer
Step 6: open box and label inside of all parts on the inside (in case sticker info gets lost). repack bin
Step 7: Procrastinate
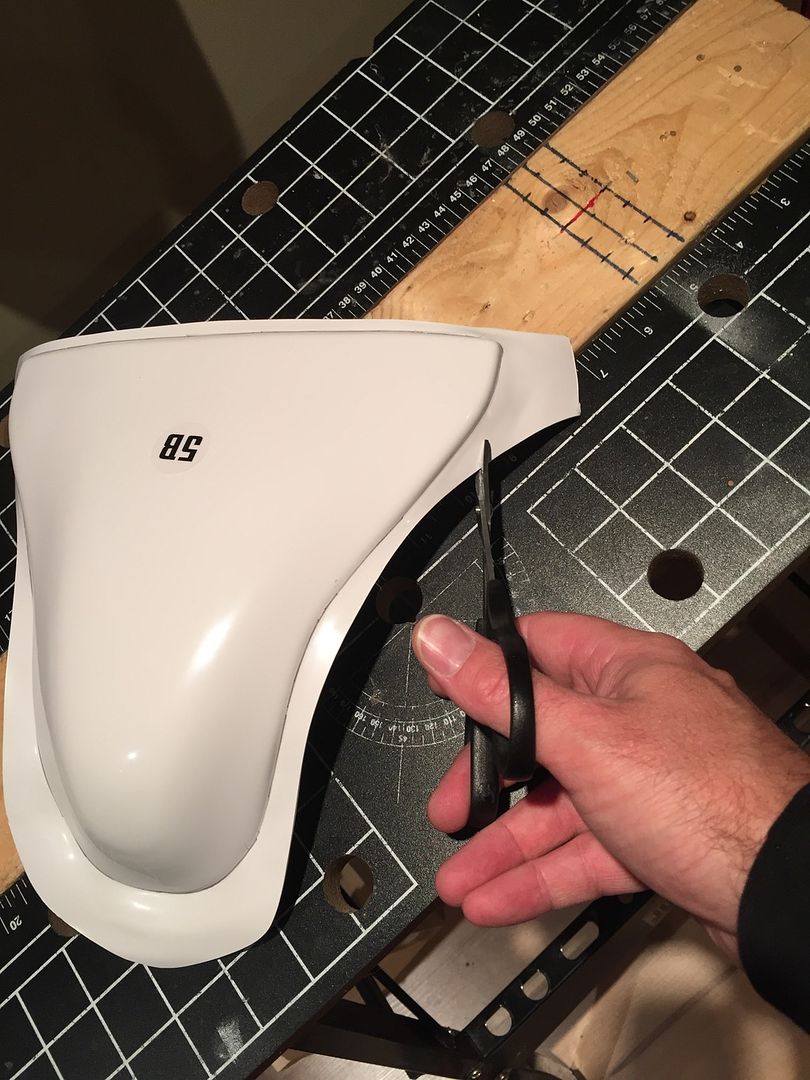
Step 8: Grab Pencil and trace trim lines on 1/2 the kit. All parts marked except the limbs.
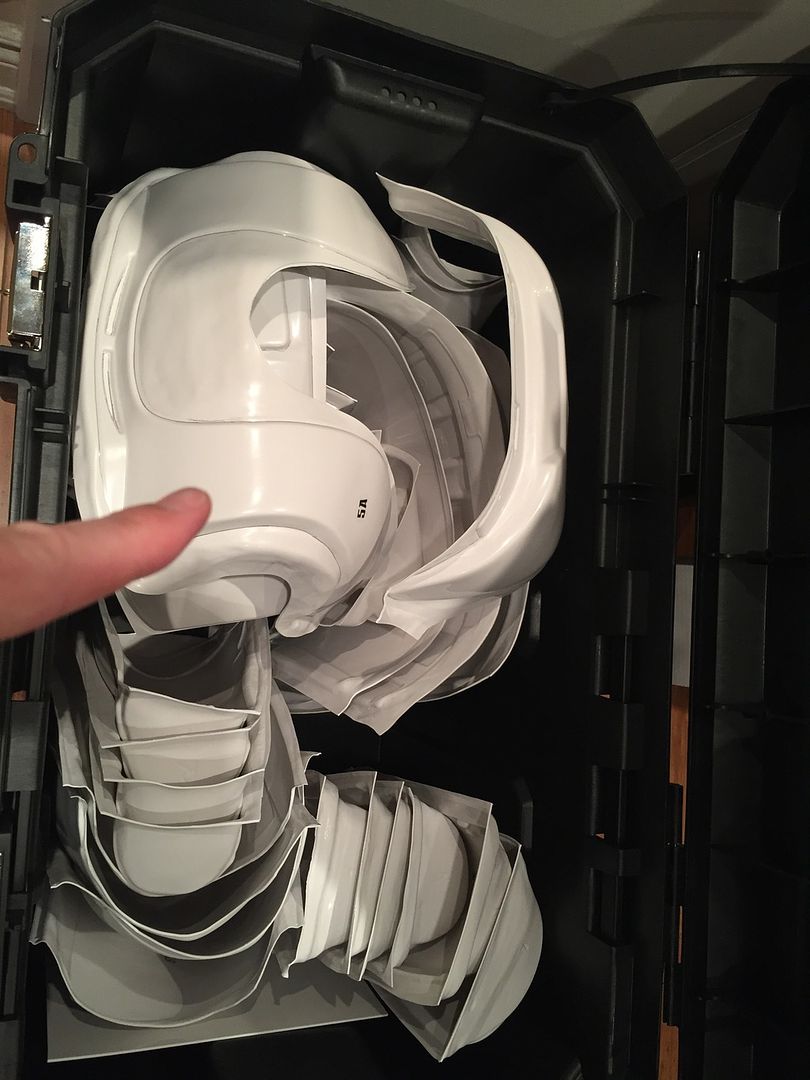
Step 9: Pop the TFA Cherry and trim one piece. THE COD! Holy Fudge that plastic was thick. My Lexan scissors struggled immensely. I went for the score and snap with my trusty cutting' blade.
If you are expecting fast progress, look elsewhere, this is gonna be slow. The kit will be completed and ready to debut at Fan Expo Canada (Toronto) the weekend of September 3-6.
-
1
-
-
Ready and waiting for the cutting/trimming/blister party!

she says as she decides to go to Montreal instead

-
1
-
-
Canadian Tire keeps it in the Automotive adhesives area. Not with the rest of the glue.
Avoid Michael's if possible. WAY overpriced. .
-
and then there was Clamps.
Emmanuel, reach out to me via PM and we can discuss how to get you connected with other Toronto/GTA members of the Garrison.
continue to use this site as your GO TO for your build and build resources.
-
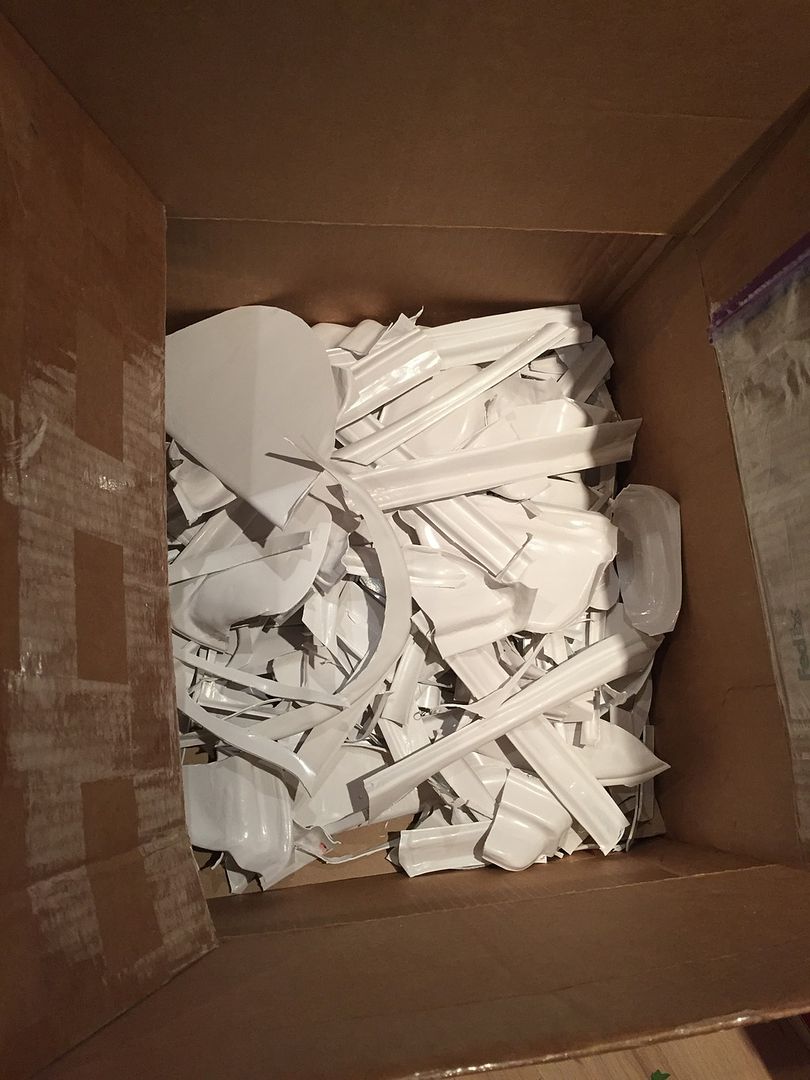
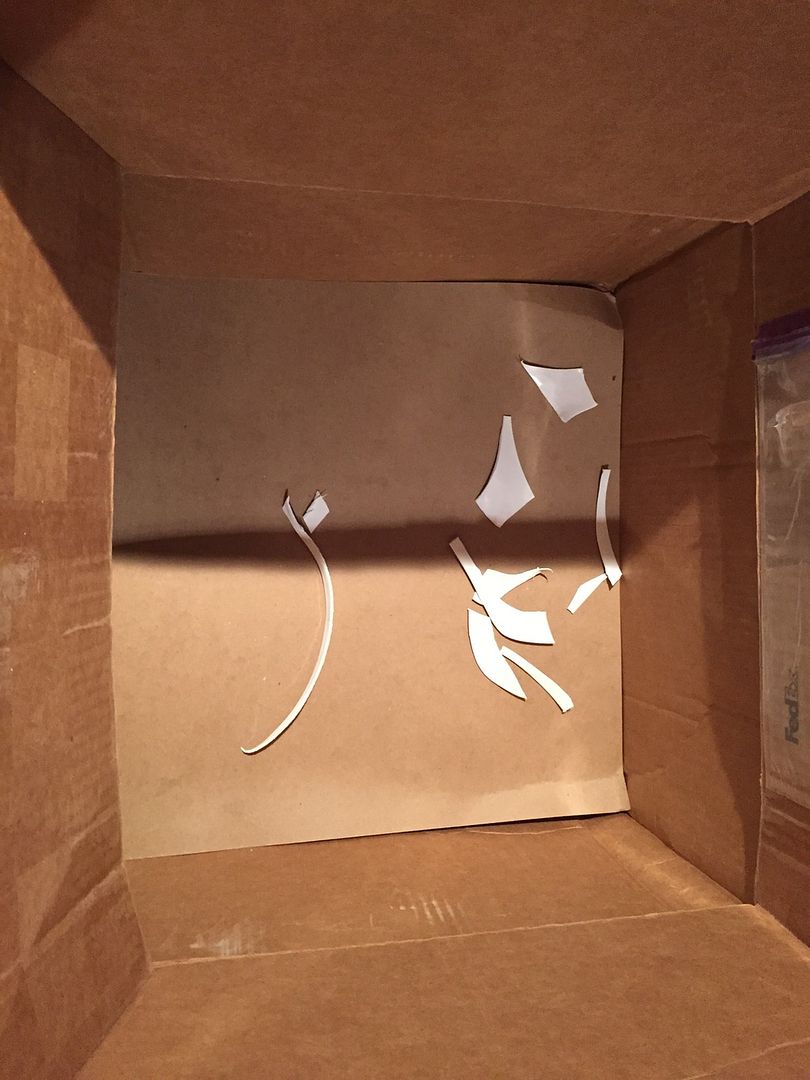
Well, the long wait watching the boxes crawl across the continent is finally over. The first two brown boxes have arrived. My work day is now ruined as I will have to wonder what kind of sick mess I got myself into all day long before I can open the boxes.

Not sure if I am more excited to see the plastic or catch a buzz off of the Chocolate Floor Matt Toxins!!
ok, so here are the required photos of the brown boxes:

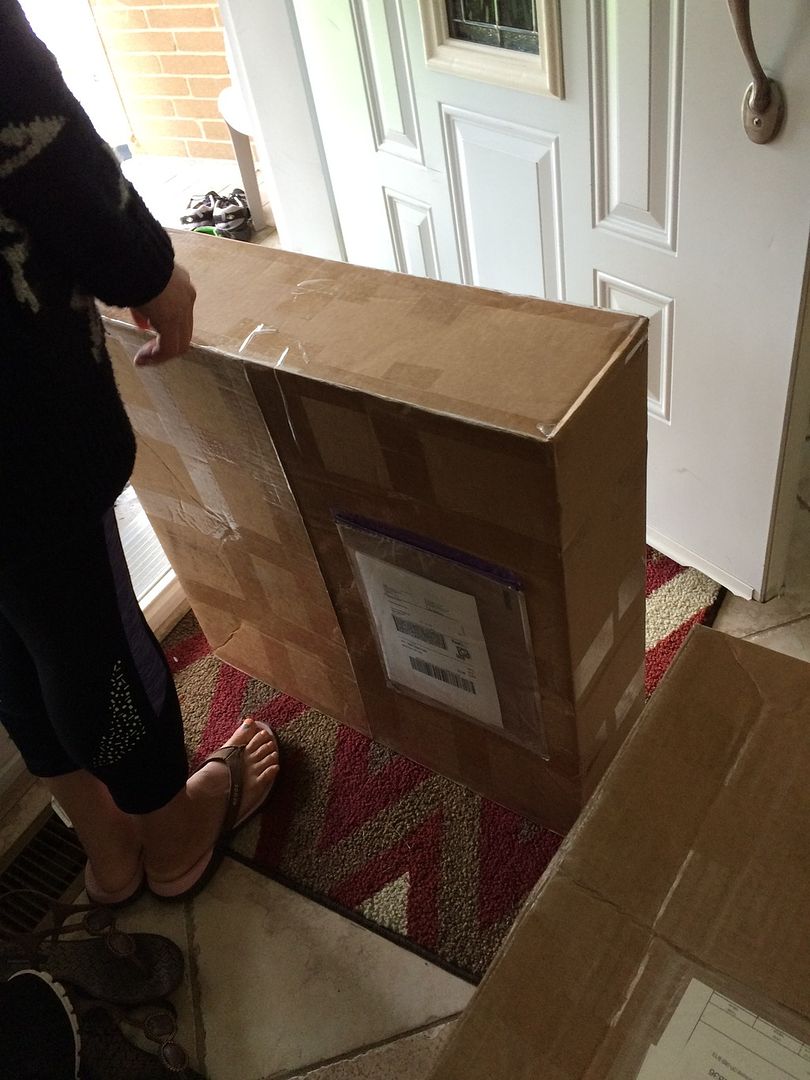
More to follow as I feel like it. I doubt I will document step by step, but you never know.
-
7
-
-
Can you share photos of your install? It might help others decide if this solution is right for their bucket.
-
1
-
-
Application DENIED!
Oh... I mean... congrats Danny.
-Eric
Dan, you got JACK'd!
-
2
-
-
if you "fake" the button and place magnetic switches behind and magnet in the glove, then the accidental pressed should be drastically reduced, if not eliminated and you don;t have to mod the armour (too much)
-
Congrats Dan!! Representing the Garrison with an excellent AP build! So proud!


-
1
-


 [/urlN


Clamps Goes All TFA and Stuff
in Build Threads Requireing Maintenance
Posted
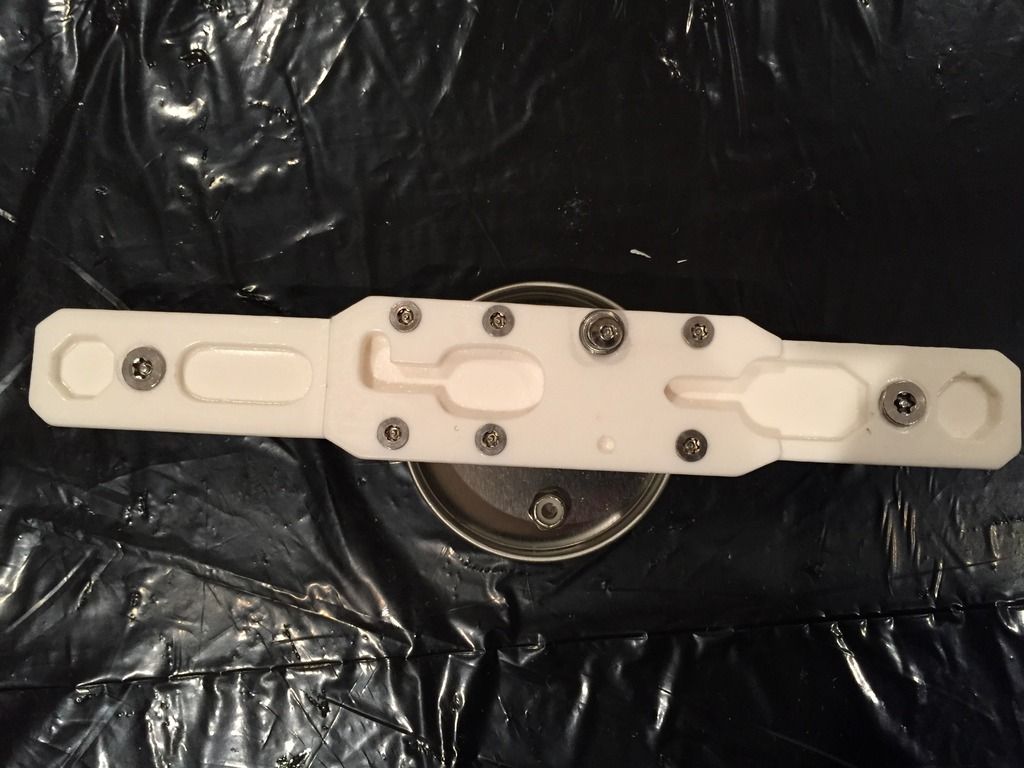
1/4" Steel Chicago screws from Tandy Leather. Two completed TFA's locally used 1/4" so I am following their lead.
Some more updated as momentum picks up.
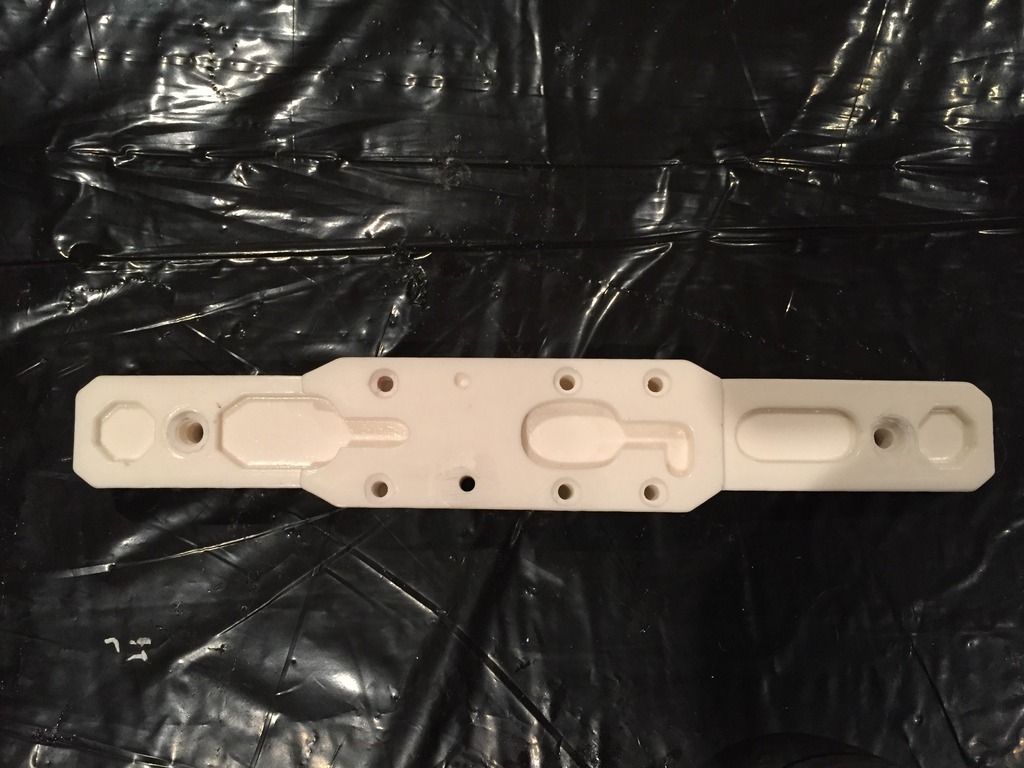
Here I installed an adjustable strap for the shoulder gaskets on the front and back (top) to hold them in place.
Snap plates for butt plate, My current plan is to attach to the garter belt.
Snaps installed for elastic strap to be fitted across the yoke arms, I will add middle snaps for the chest connector.
I also did my greeblie bends for the leg/spat latches. I used heat guy to warm them up and then bend them directly on the specific piece they will be installed. This was good advice given to me, I recommend to all those future builders.
I also prepared an elastic strap that will be glued on one side and velcro on the other for closing the rear of the AB after I put it on.