


Clamps
-
Posts
2,090 -
Joined
-
Last visited
-
Days Won
8
Content Type
Profiles
Forums
Gallery
Articles
Media Demo
Posts posted by Clamps
-
-
Oh, "one more thing" (I gotta use that before Swatch gets that patented and Apple battles them for it.
We took 5 Rubies E-11 blasters and did the whole flip the counter and magazine thing. To give them a more solid feel, we filled them with gap filling foam. Then used Apoxy Sculpt to fill the bubbles and big gaps where the magazine and counter used to be.
We’ll be sanding and painting this week. We also will add scopes prior to painting.
-
Did some Decal work

(forgot to take the TD decal photos)
Added screws to the holster

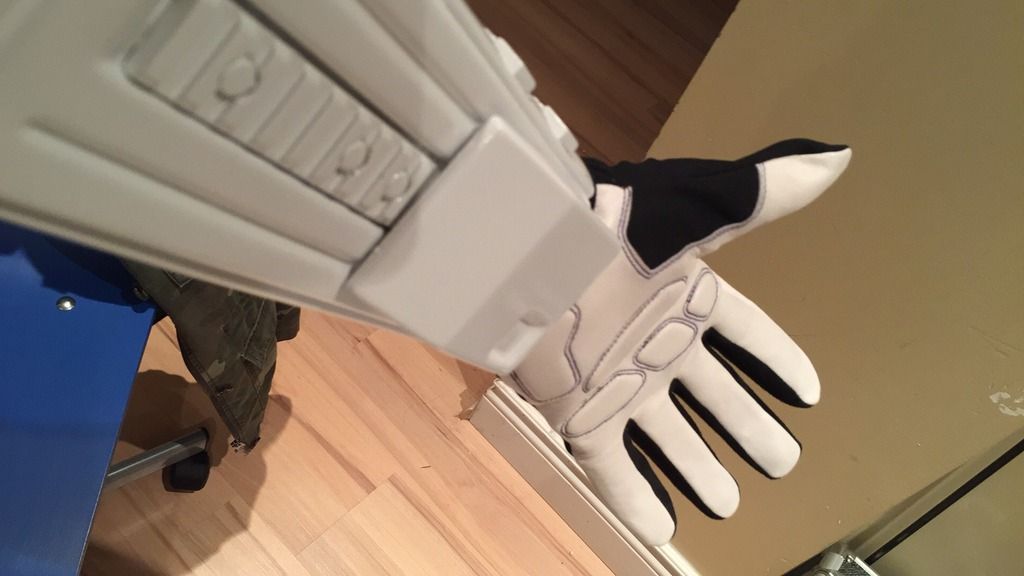
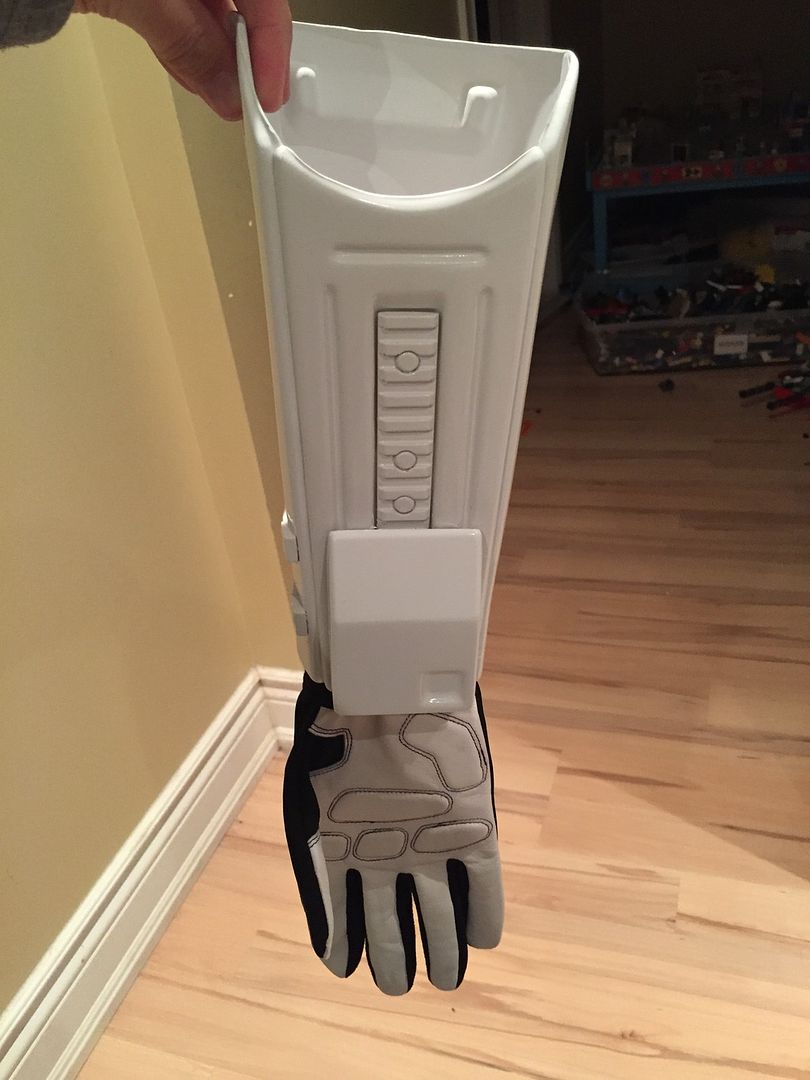
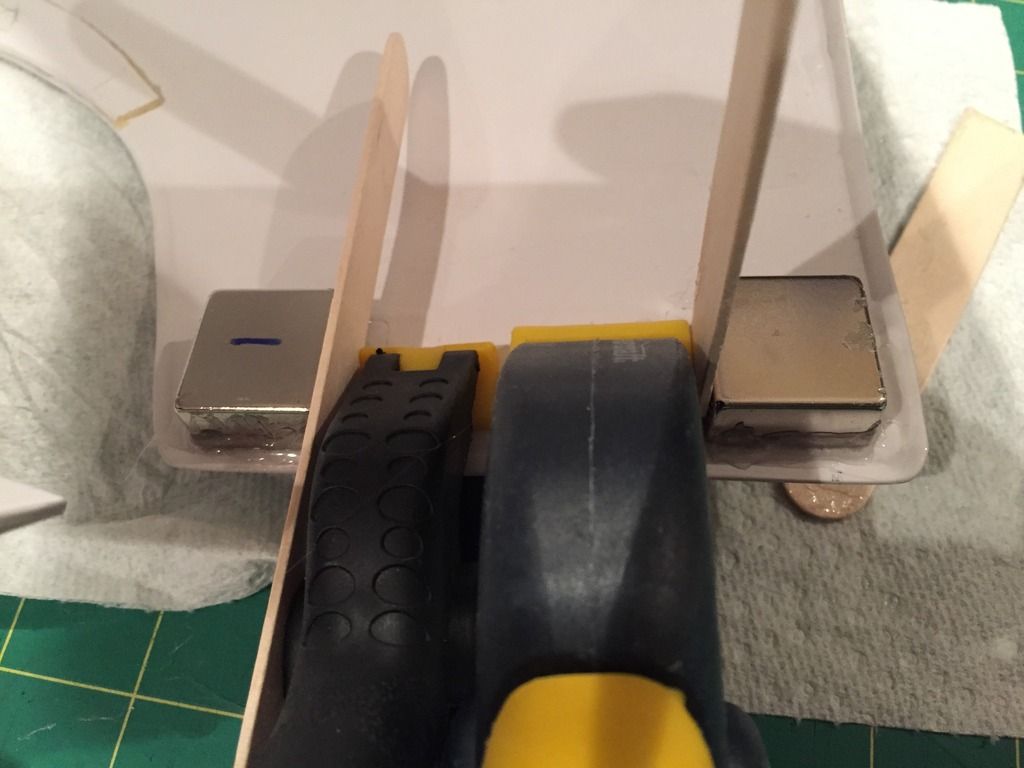
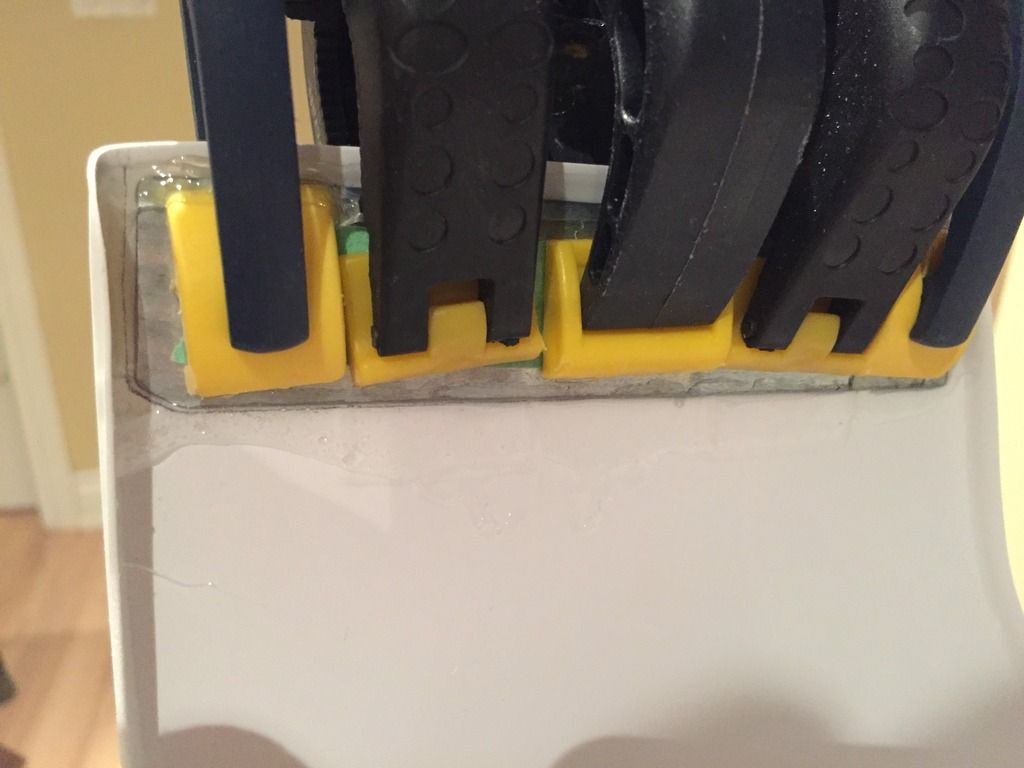
local alpha and I came up with a concept where we put a magnet on the inner forearm and the inner wrist of the glove to keep the forearm always in the right orientation when you twist your wrist. and it keeps it from dropping too much onto your write to prevent nerve pinching. Works great with the soft gaskets as the forearm is completely free to move. This would not work with the rubber as the gasket would be attached to forearm.
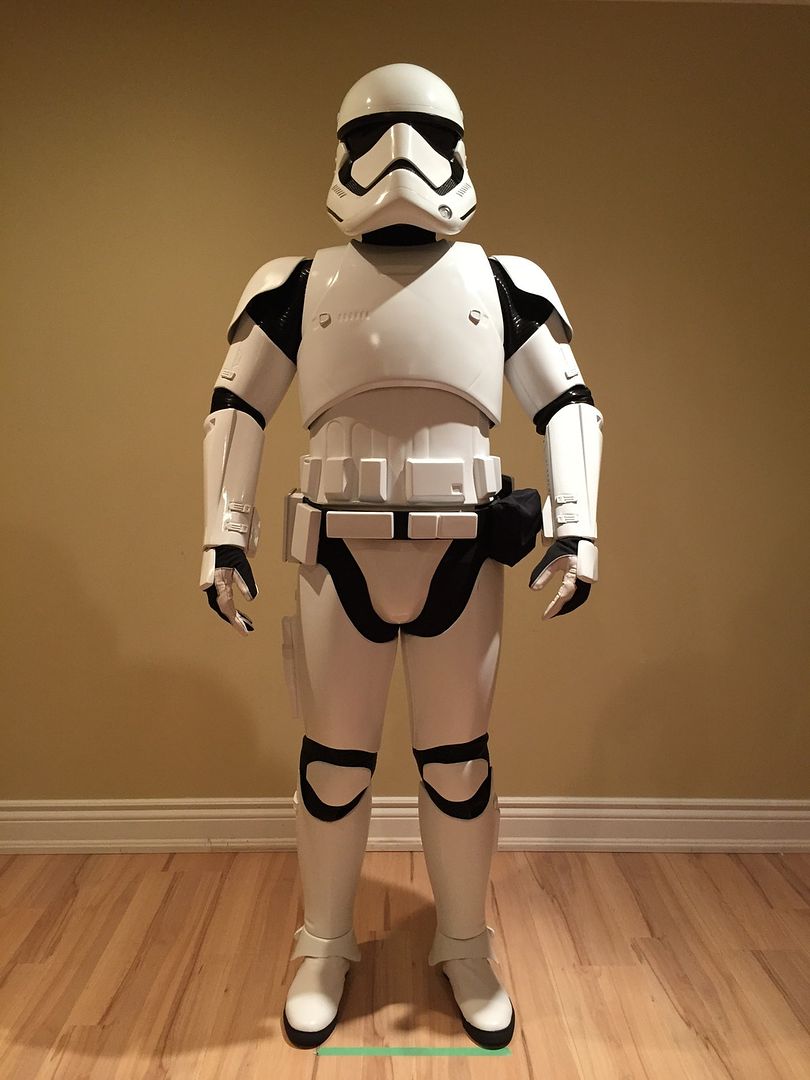
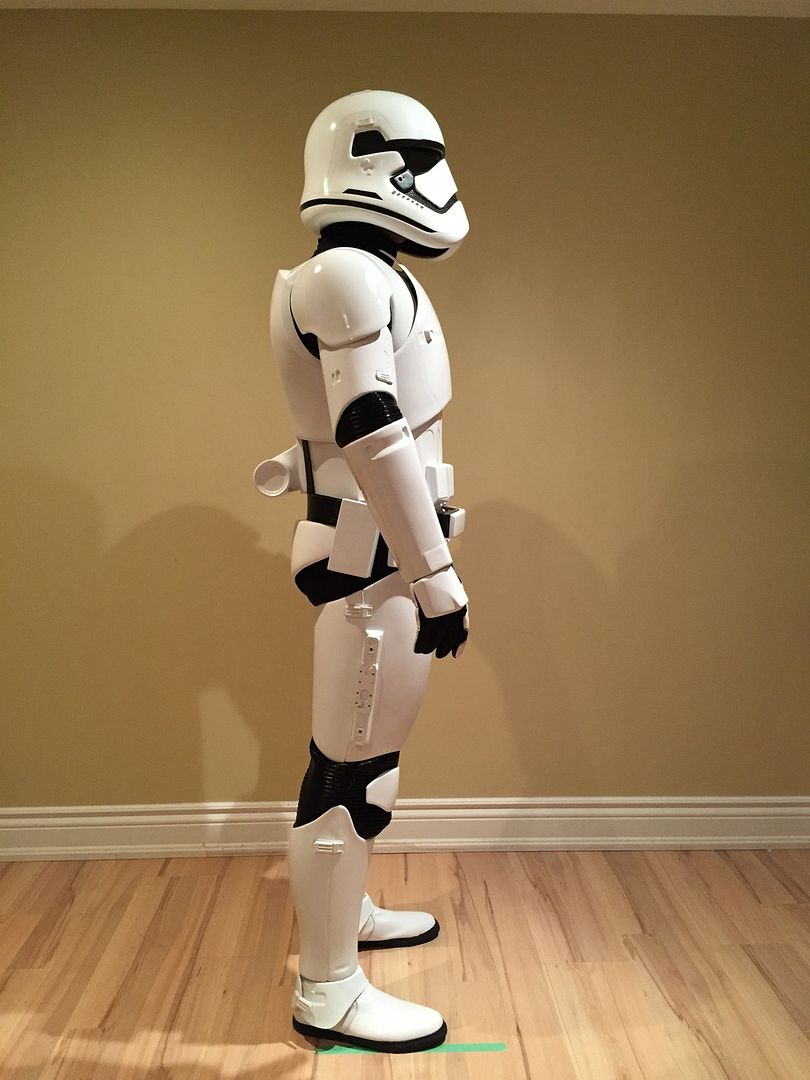
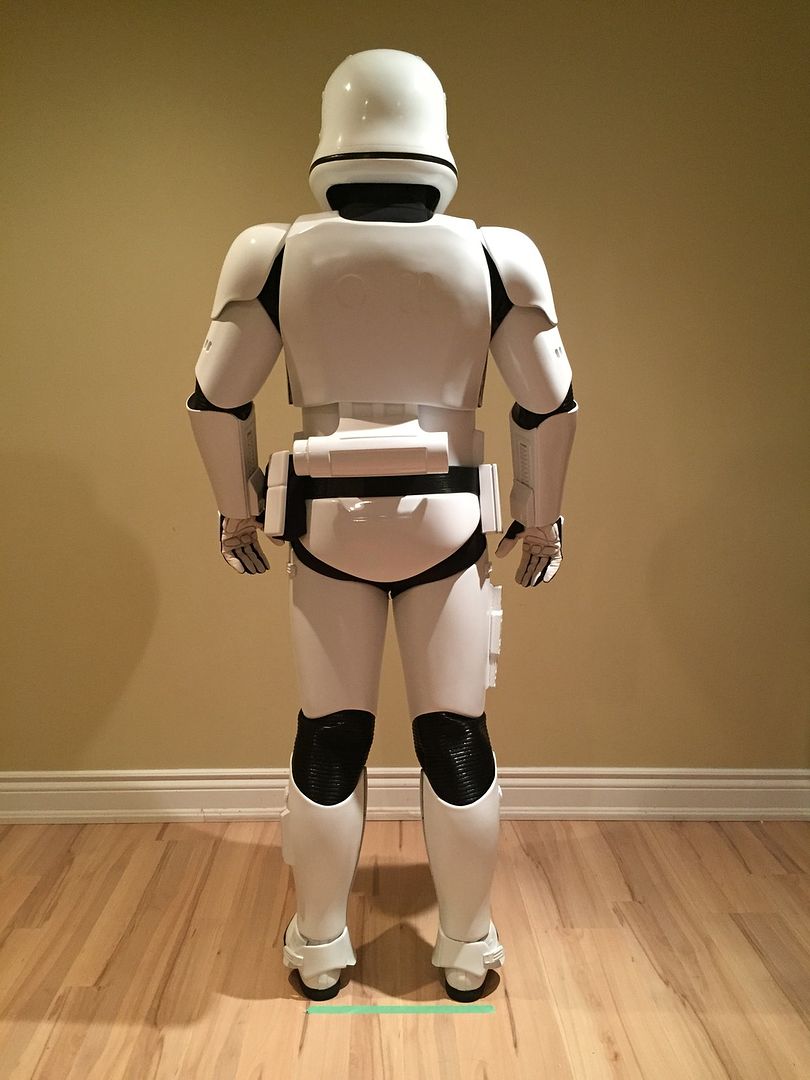
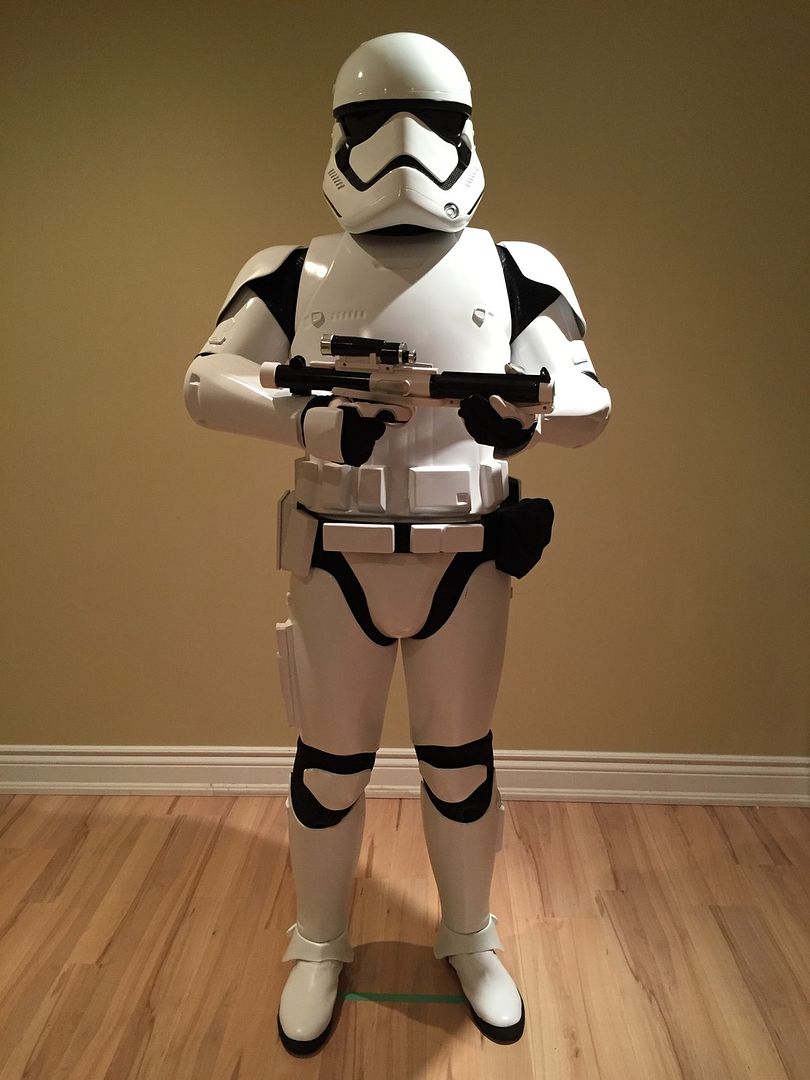
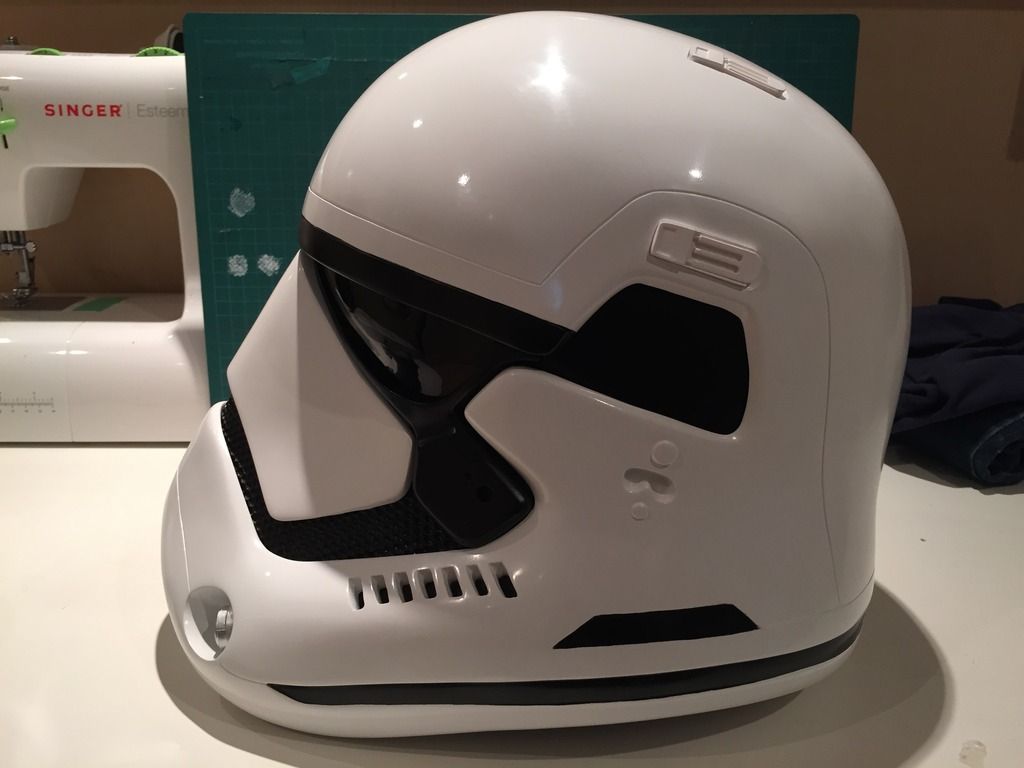
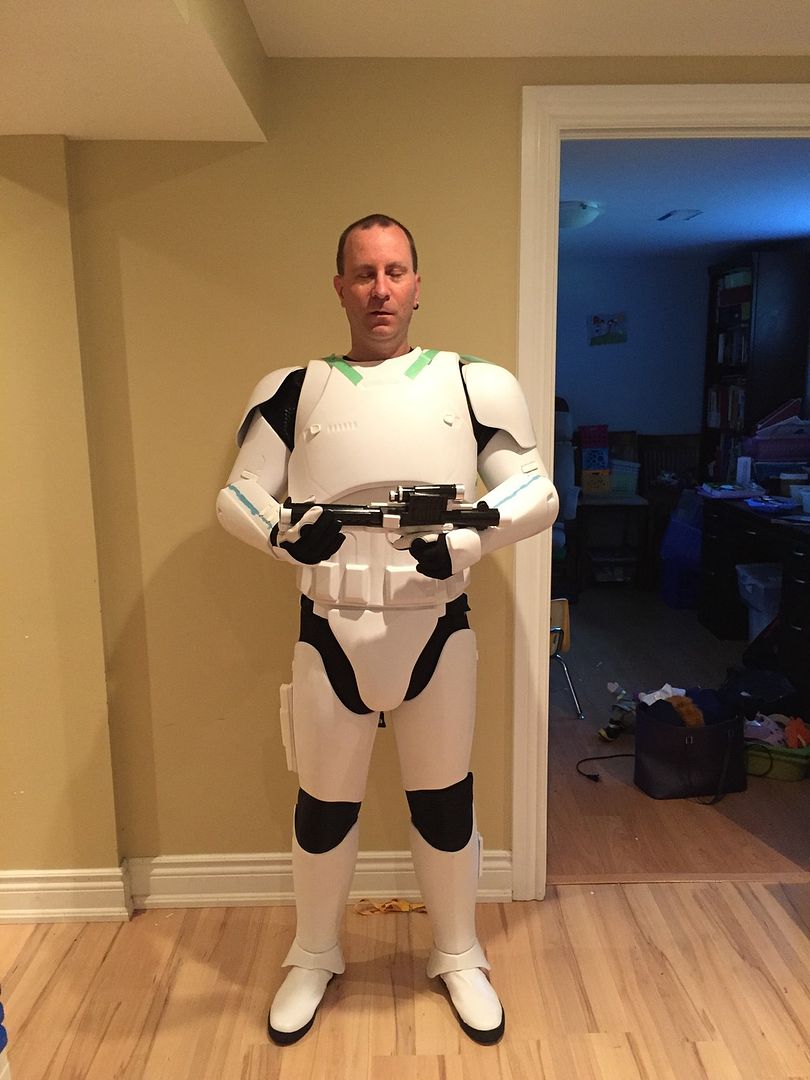
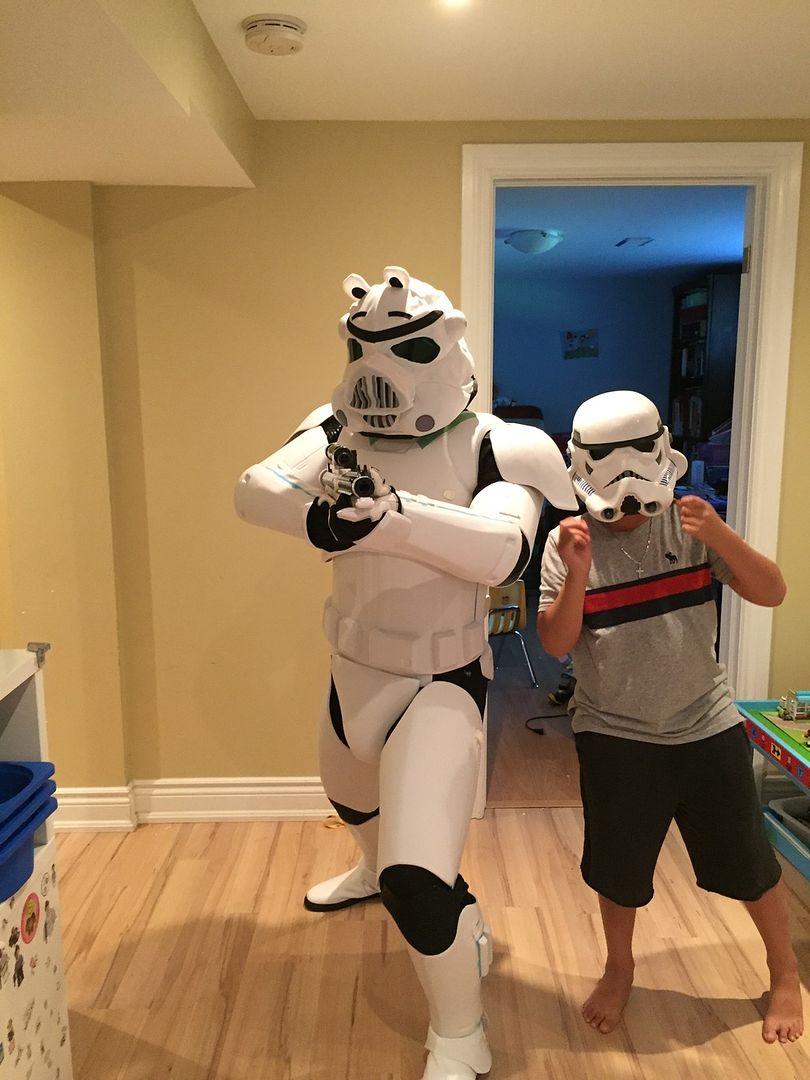
There comes a time in every build of a costume where you just gotta say “I’m Done!” Well that time is now. Now notice I didn’t saw I was “finished.” We all know a kit is never finished, it’s always a work in progress.
That said, there IS some work to be done, but not until I troop it a bit and figure out what I am not happy with. Kitted up 95% on my own, with my 9 year old son helping with a couple minor items.
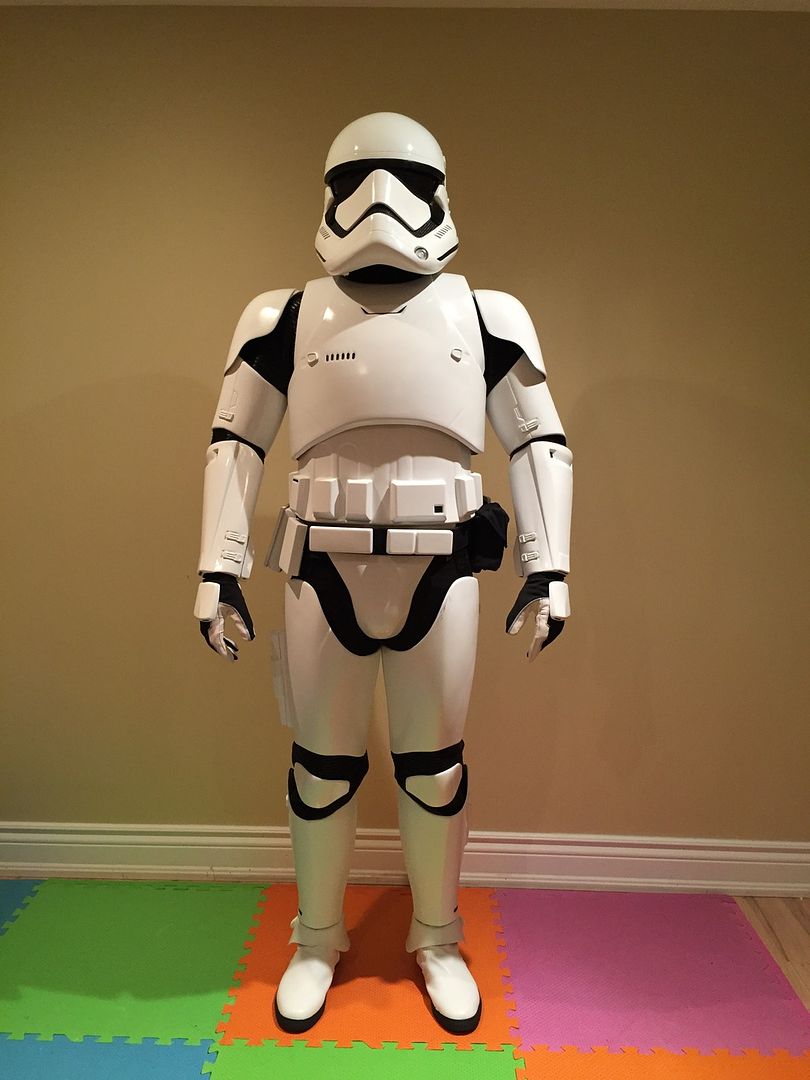
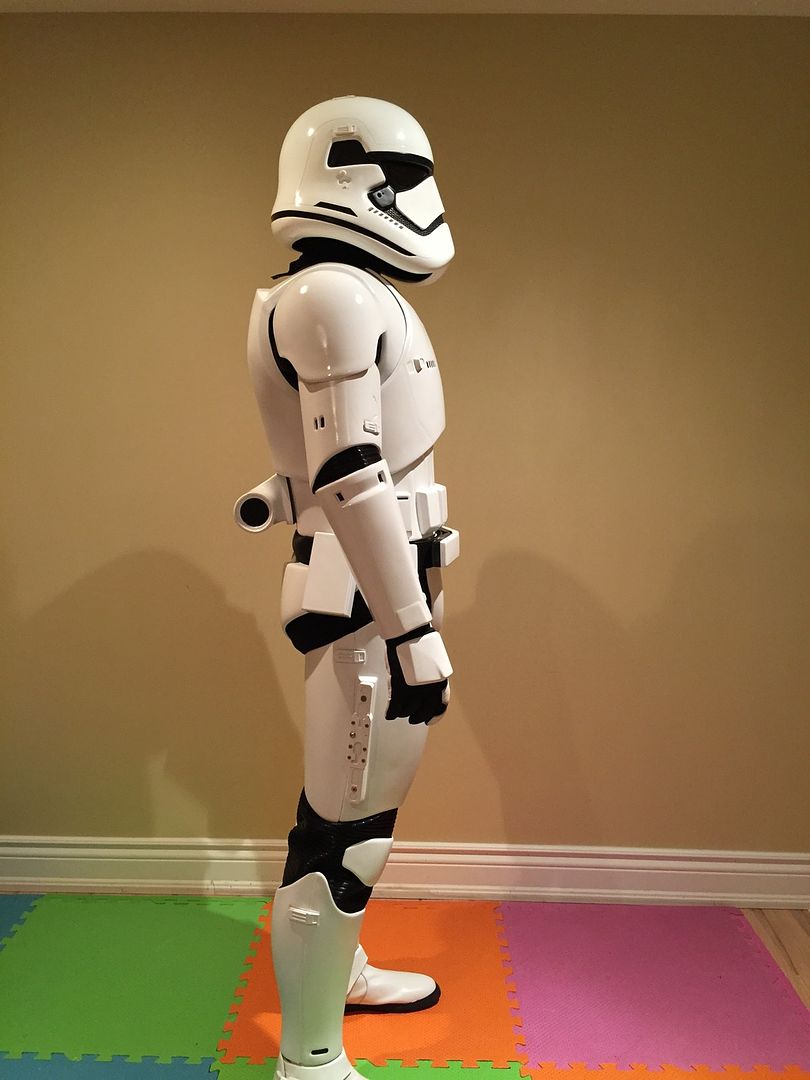
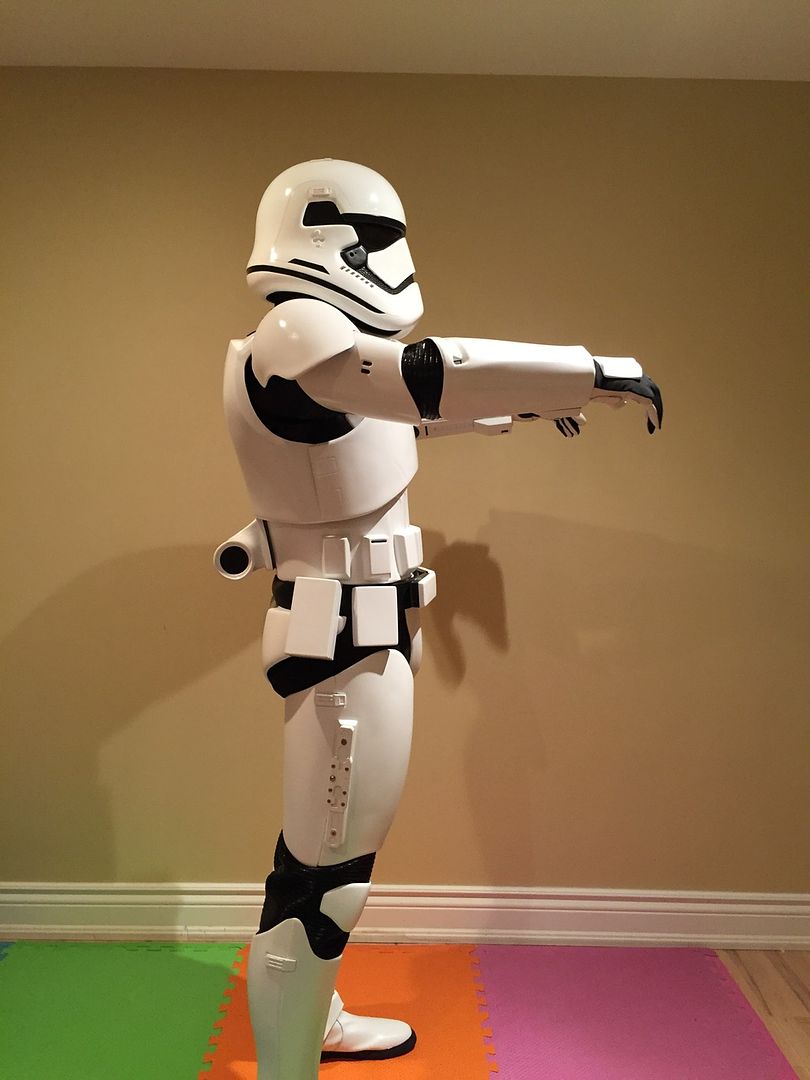
I must be standing funny to make the back crooked…
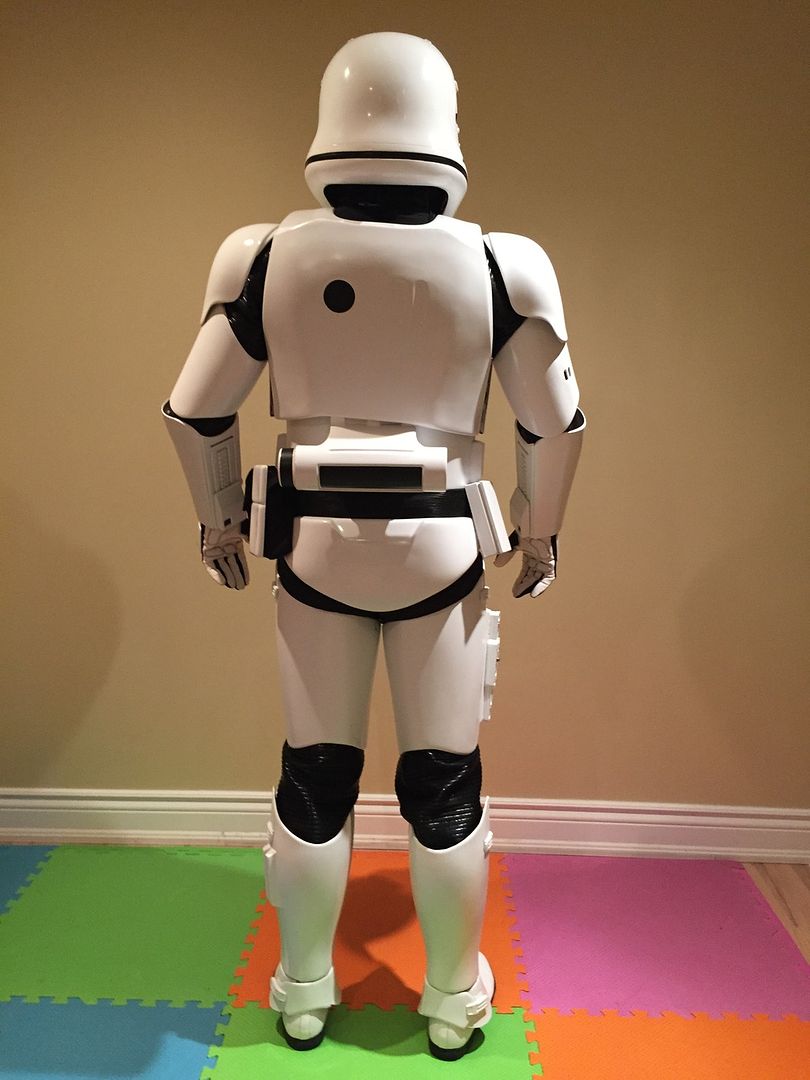
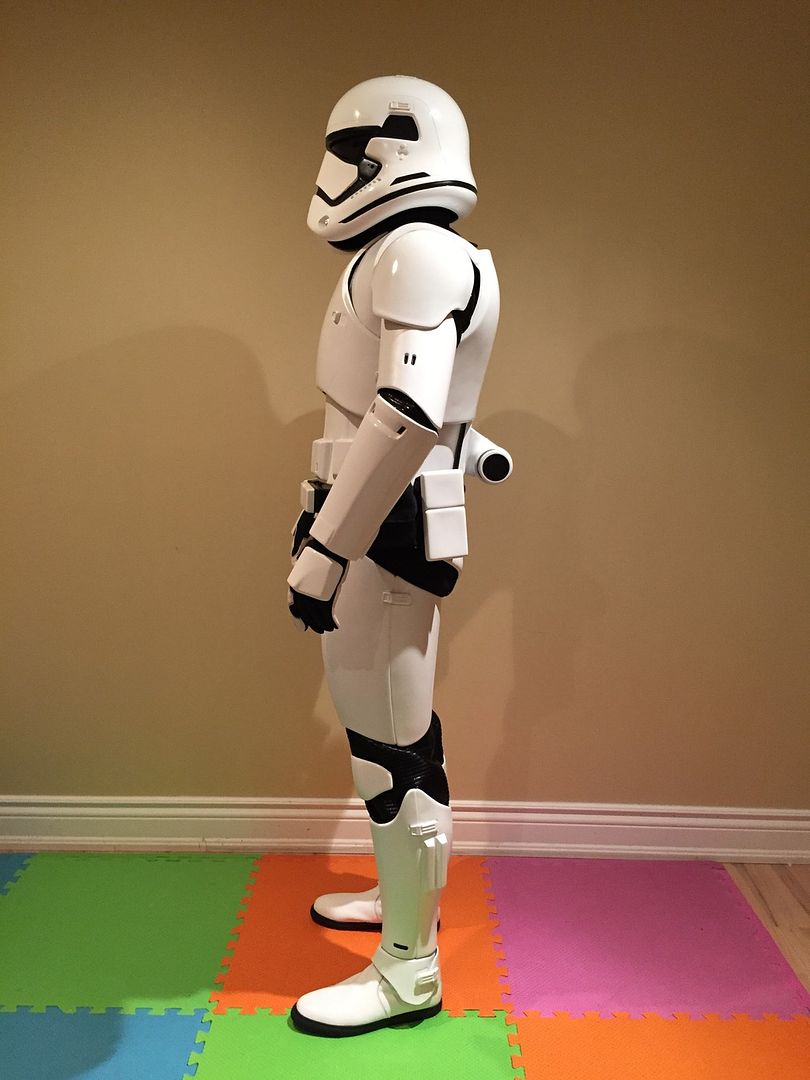
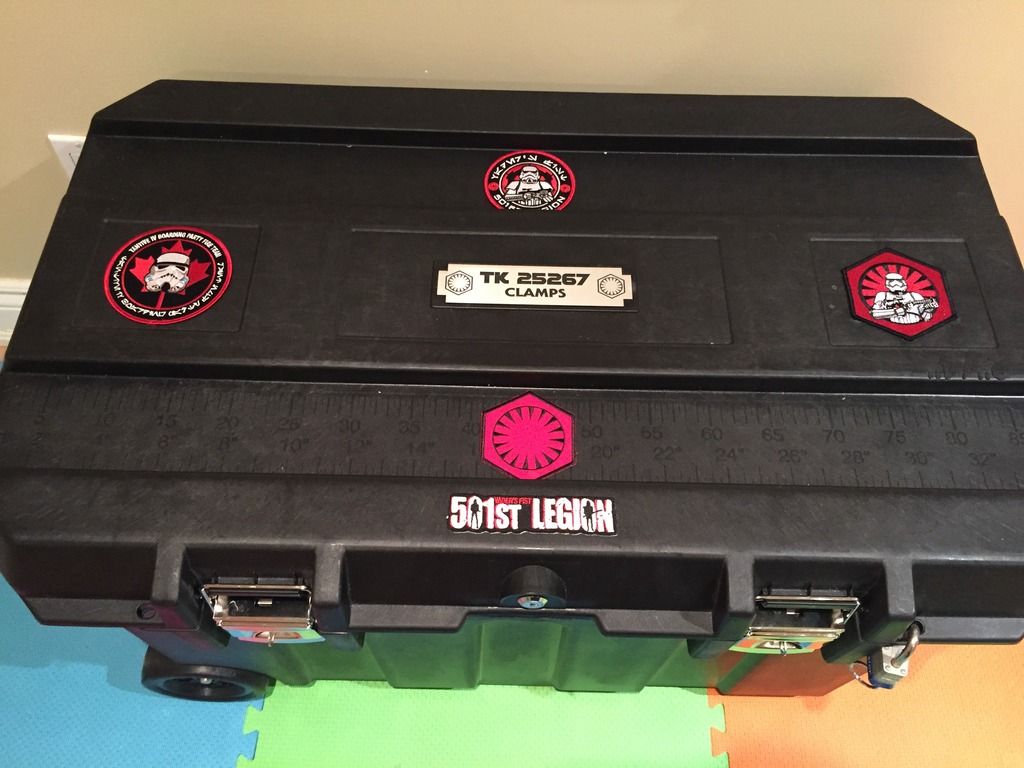
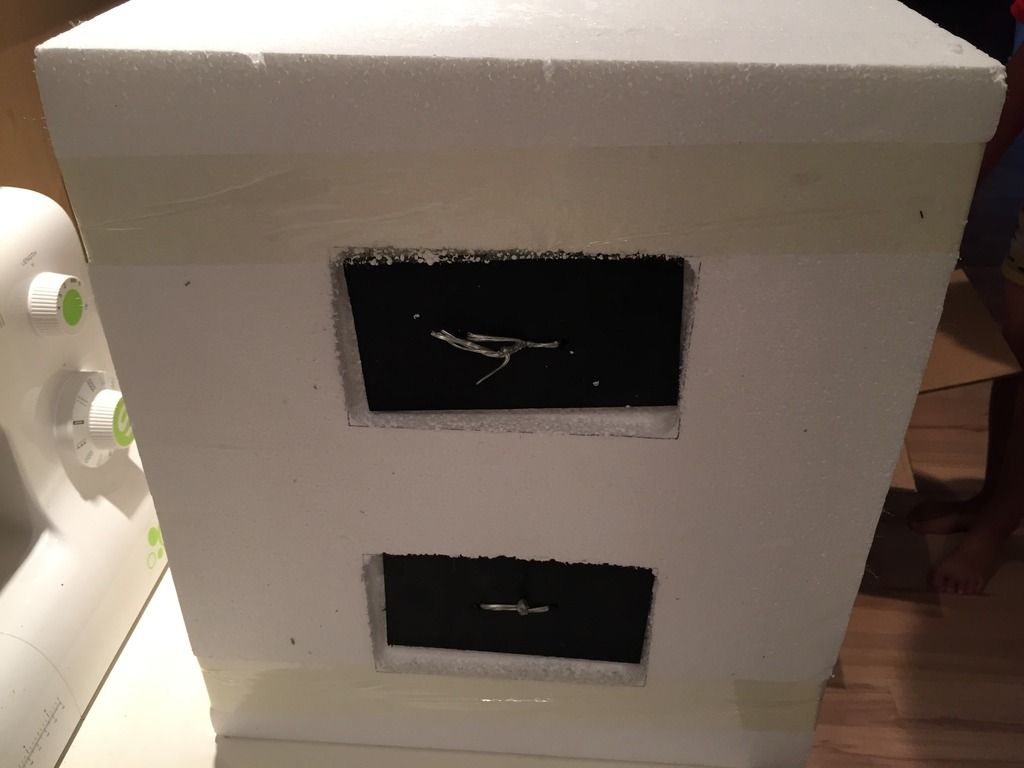
and here is its pretty new home, first time the whole thing is in the box. Note I did not put the bucket inside. That stays in its bucket bag with a memory foam liner at the bottom of the bag.
-
 1
1
-
-
Thanks sir.
I think people don't realize how easy earth magnets are to deploy and collect. I keep them in stacks of 20. Deploying I slide the end magnet off with one hand and with the other grabbing it placing it where it needs to go. Collection is even easier, once you have a stack of 2 or more place the stack on the magnet to be removed like a tool to detach. When removing one side the other falls off in my hand or is attracted to the next closest. When disassembling the yoke for example, even with all those magnets it literally took me less than a 30 seconds.
For magnet newbs, be careful when allowing magnets to jump to one another, they can easily break/fragment. I personally cover each magnet/magnet group with painters tape to help prevent breakage.
Great work and documentation Tony, I was just too lazy to properly document my build, or too worried I was not doing things right....
-
1
-
-
I'm just following in the footsteps of our two great Alphas!
-
1
-
-
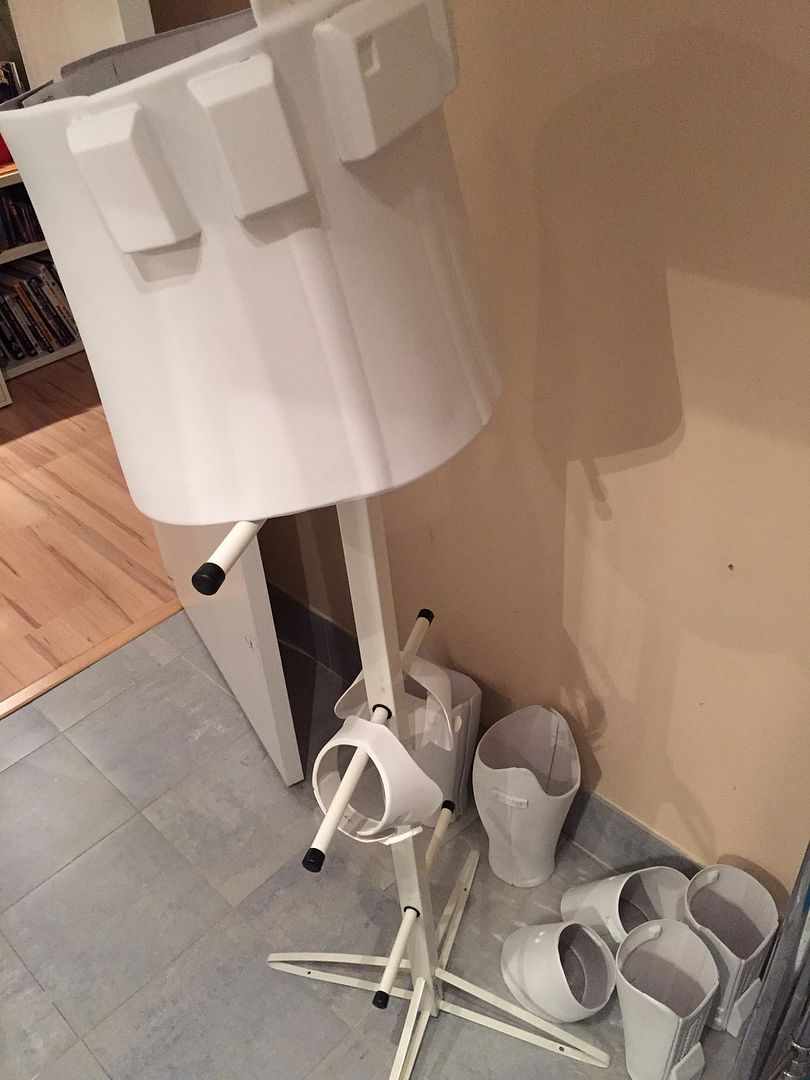
Continuing on the posts that lack detail and clarity of what I have been up to......
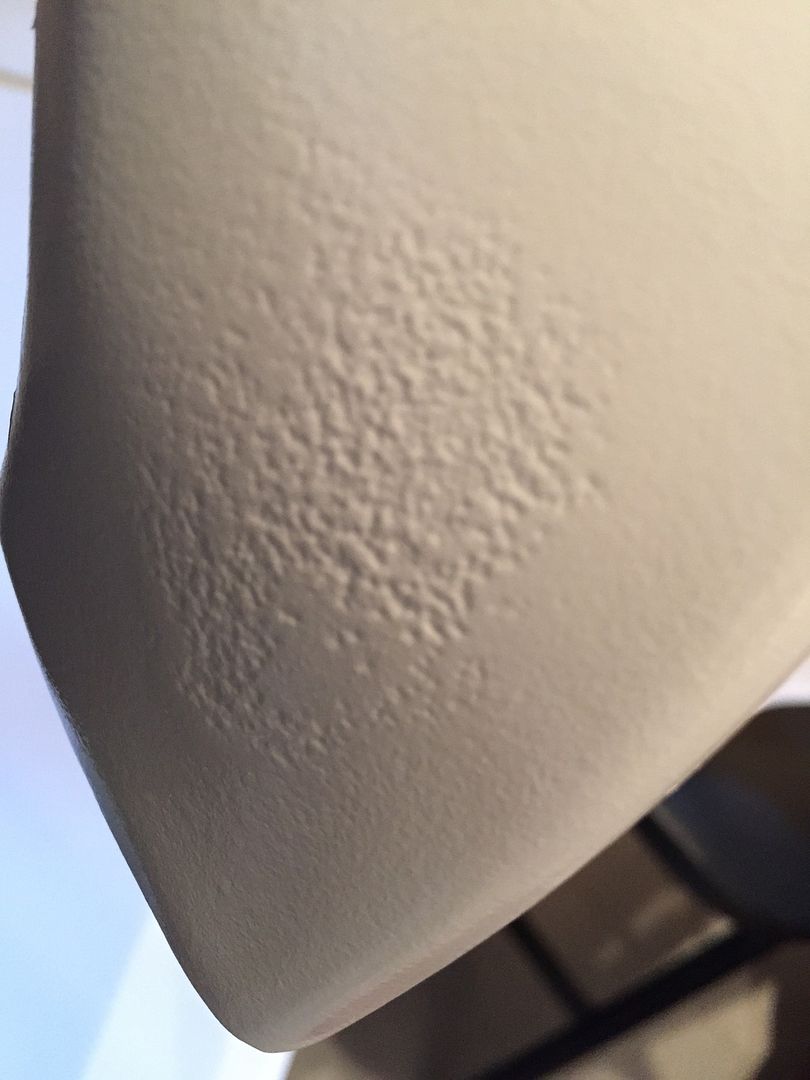
finished re-bondo'ing a few areas, finished priming. Gloss paint laid down.
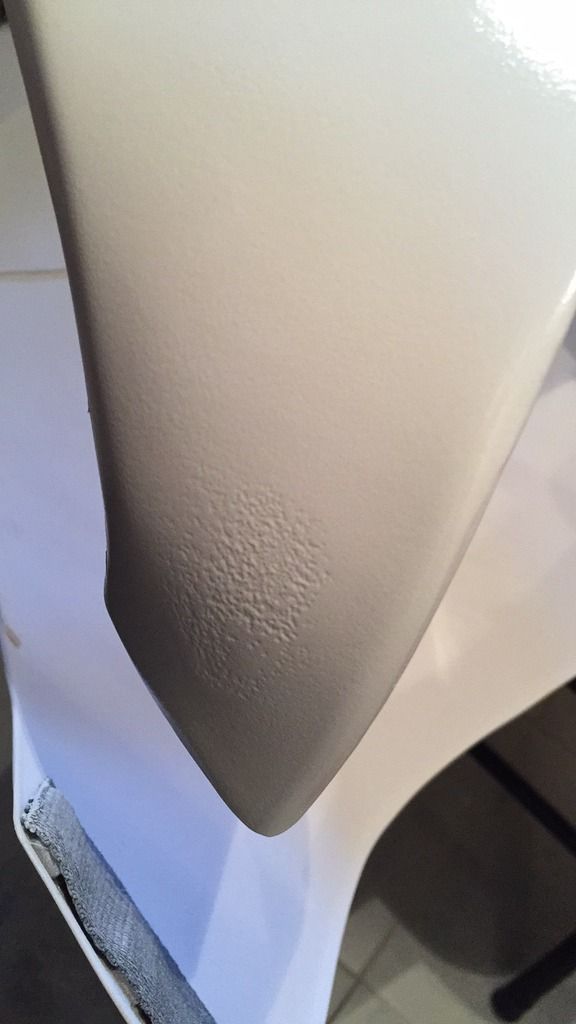
What I learned with this paint is that if you don;t go heavy, the paint does not bond to itself well and creates a more textured satin finish vs. Gloss. So, that said, I got a mixed bag. on the parts I was shy with the paint, I will wet sand and hit with one final heavier coat (once the paint has a full week of cure).
Here is a shot of the kill room and my best Walter White impression.


There was ONE spot on the ENTIRE armour that gave me trouble. On the Right Yoke arm, near the end, the minute I hit it with Gloss paint, it looked like it pooled up, despite being vertically oriented. When I returned for coat 2, this was the result. Some kind of reaction to the primer in this spot caused this cluster of ugly. It is in a hidden spot when armour is worn, so its not a huge deal.
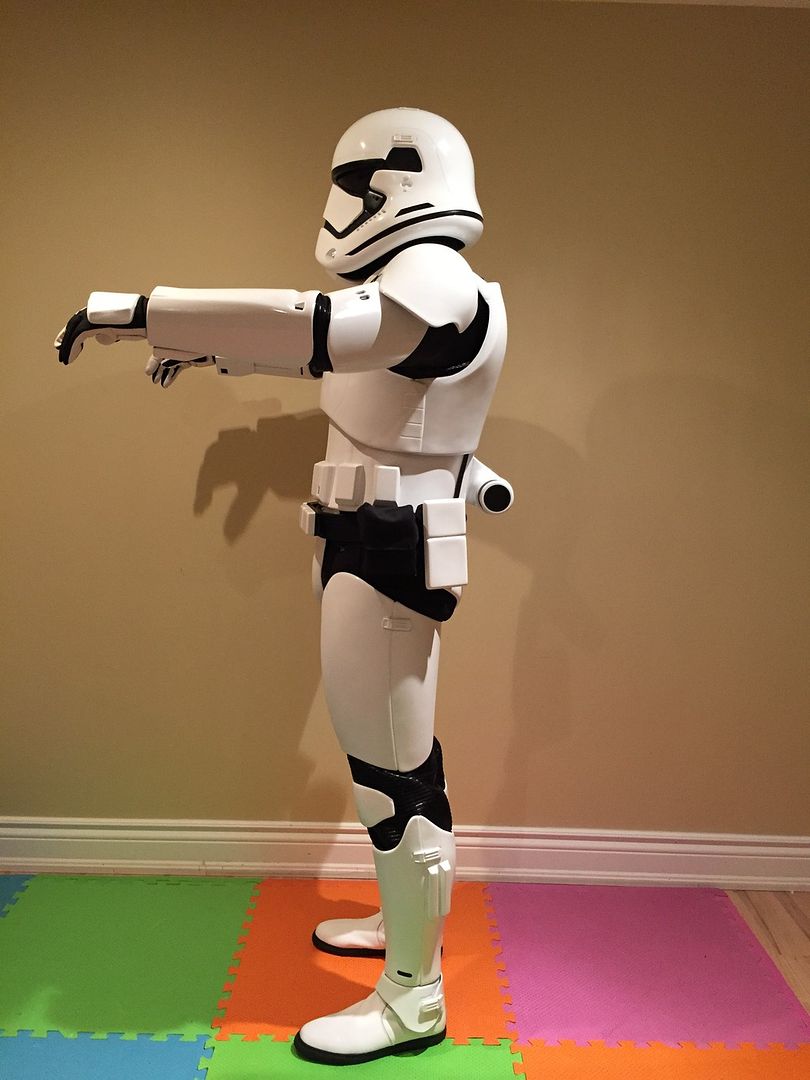
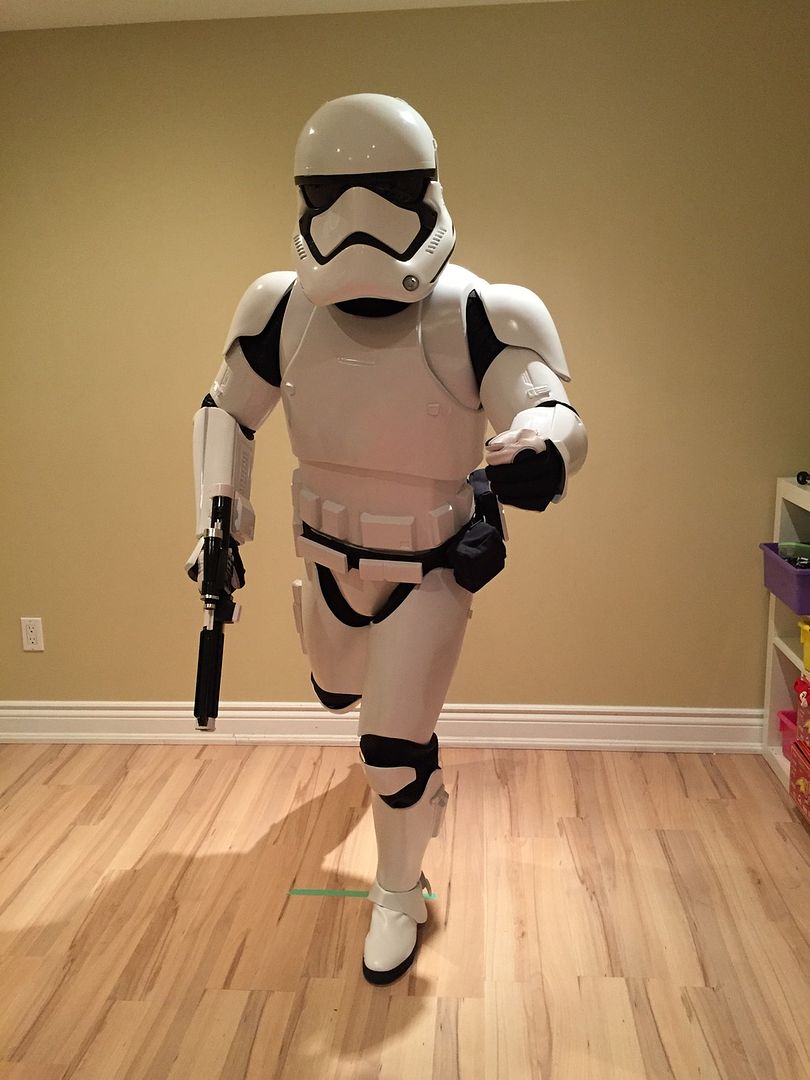
Last night I did a full kit up to check some fitting and to prepare for a formal and final fitting session on Saturday. No need to critique fit right now, still lots of tuning to do, and obviously decals.
and a few shots with the modified paint scheme Disney E-11
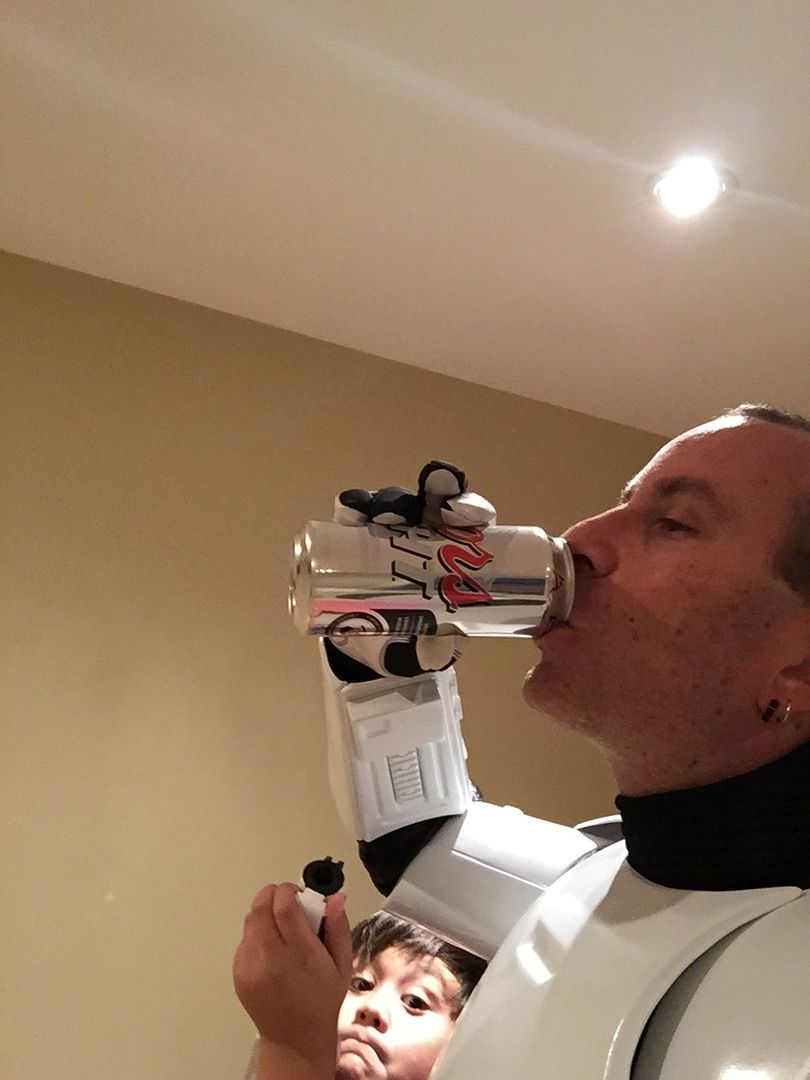
and finally a little beer to celebrate the end of the photos...
-
4
-
-
Hey Dave and welcome on behalf of the Canadian Garrison and of course all the troopers here on FISD. Reach out to me via PM and I can connect you to our recruit FB page that will help you build your network within the Garrison. while there may not be a lot of CG members in your area, there are a few and also the MW Garrison right across the border will be a great source of assistance I am sure as Kyle has reached out to you before I could
 .
. Good luck with your research and build!
-
2
-
-
Alrighty, again My reference was from 6 different actors in the behind the scenes all wearing one which is the only other bucket off if TKs we have seen versus the hero Finn not wearing it. No other buckets off shots or up angles yet to compare.
I look forward to further research.
Thanks for considering
-
Clint/Eric, what are your thoughts about requiring a Balaclava. Seems the troopers in the behind the scenes clips showed them and the shape of the helmet allows the ability to see above the neck seal where a Balaclava would mask the wearer.
-
Valid question as it's not documented anywhere as of yet. But per the Alpha buildHey Charles sett helmet BTW so jealous

Question, your belt boxes, where does it say to pain the back half black? Is this standard?
Members, they were given instructions to do so. So I followed advice if my two Alpha spirit guides.
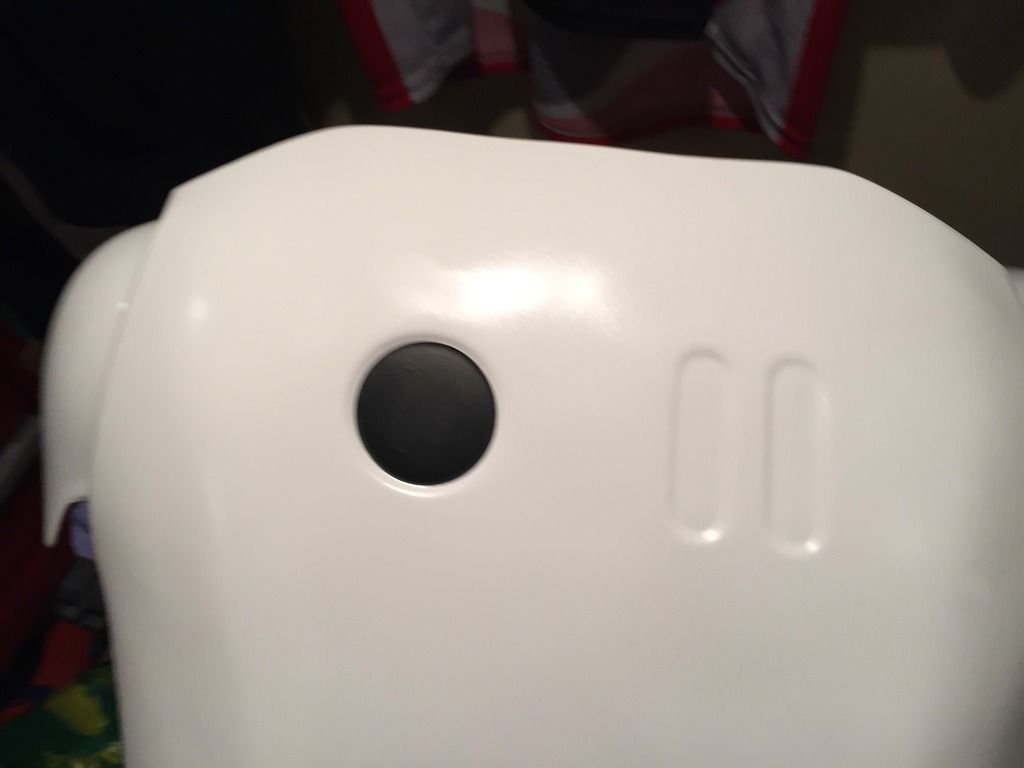
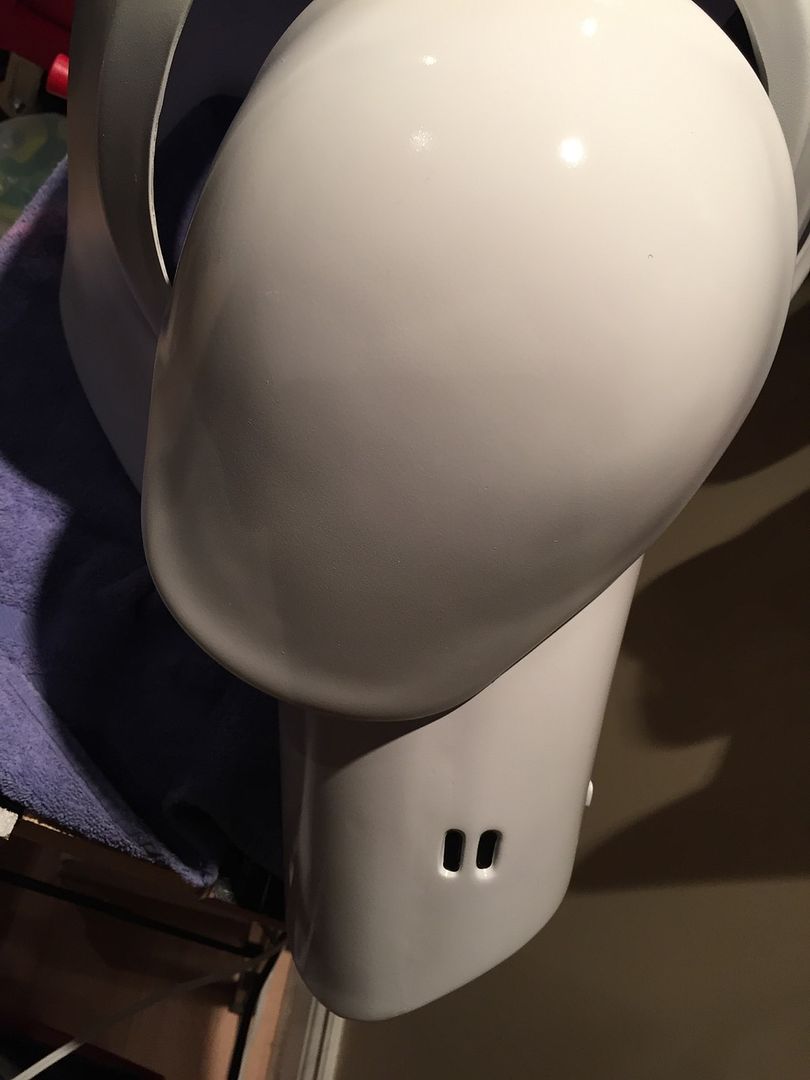
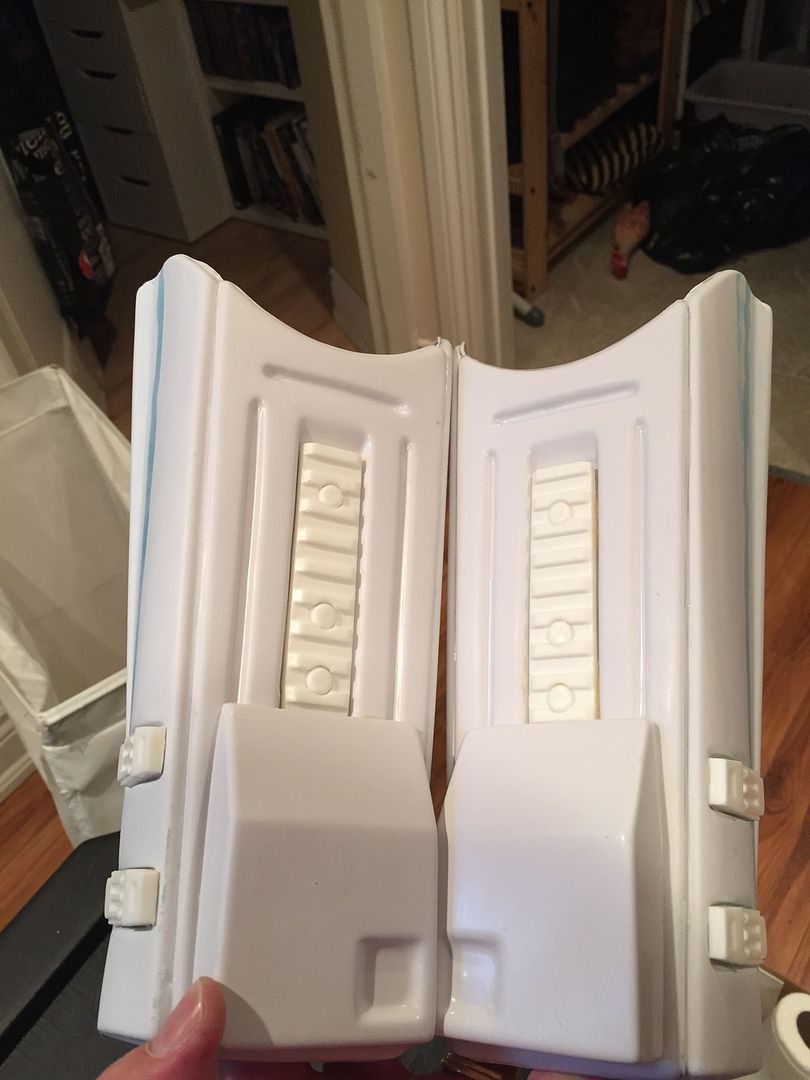
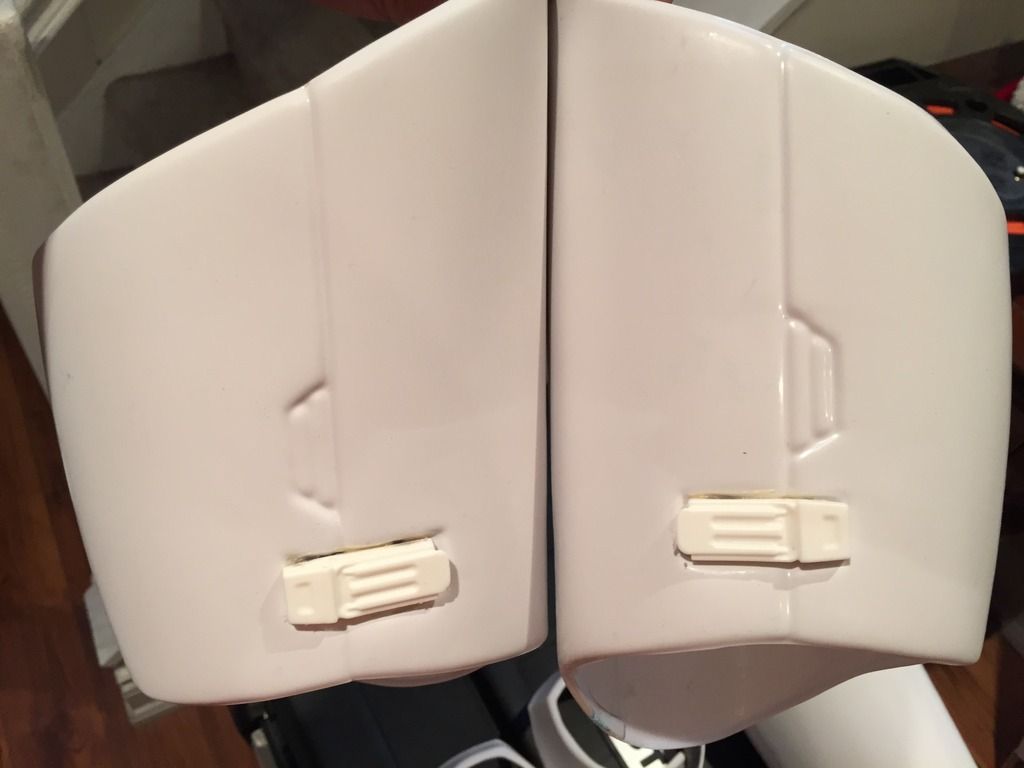
This is in reference to the two small horizontal boxes. Painted semi-gloss black on back half and white gloss on front. The colour change occurs along the natural seam where the two boxes come together.
-
Valid question as it's not documented anywhere as of yet. But per the Alpha buildHey Charles sett helmet BTW so jealous
Question, your belt boxes, where does it say to pain the back half black? Is this standard?
Members, they were given instructions to do so. So I followed advice if my two Alpha spirit guides.
This is in reference to the two small horizontal boxes. Painted semi-gloss black on back half and white gloss on front. The colour change occurs along the natural seam where the two boxes come together.
-
The lenses seem fine to me based on the fact that they are bubble lenses and that I do not expect to have clear vision with them. I have yet to find a bubble lens that allowed for clear vision. some are worse than others. My bubbles in my Tie were untroopable, so I swapped for flat.
-
Great job moving this forward Clint, I imagine we are not that far off from a launch version of the CRL to share with LMO office. Well Done. Herding cats is never easy.
Eric, let me know if there is anything I can assist with!
-
1
-
-
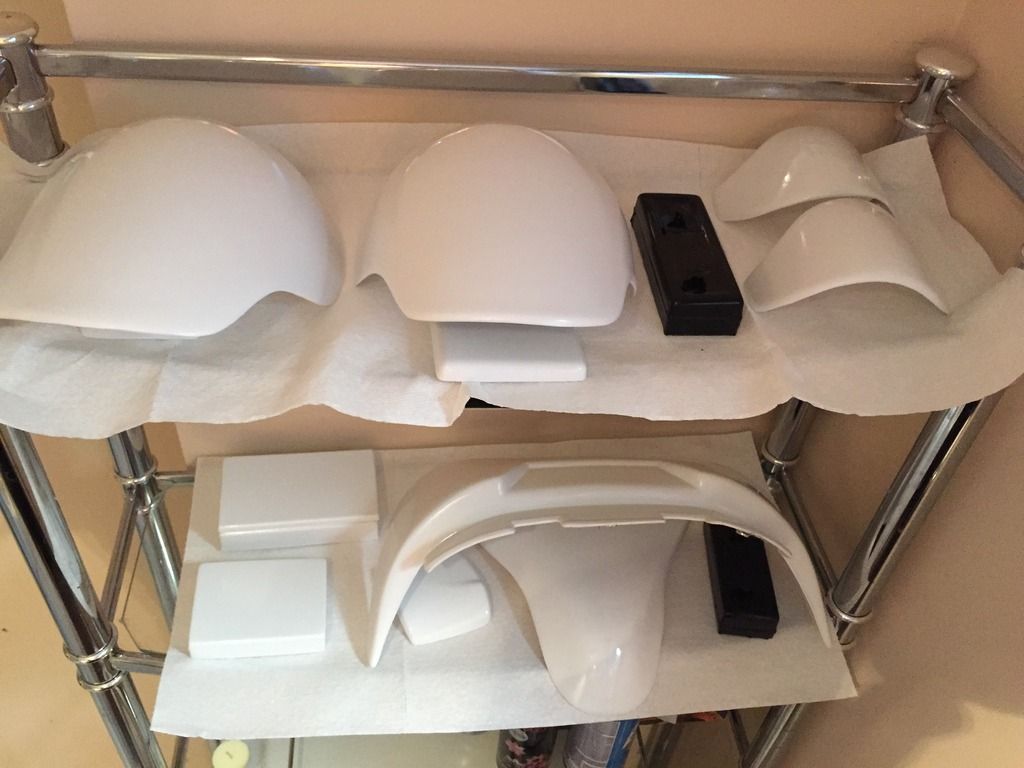
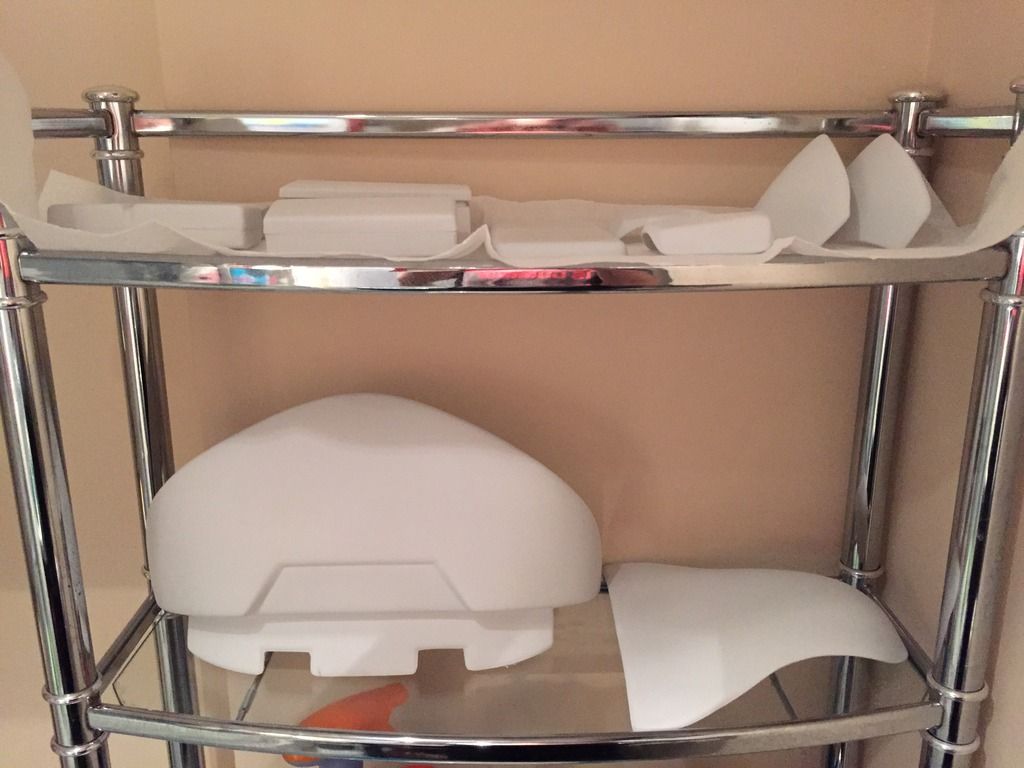
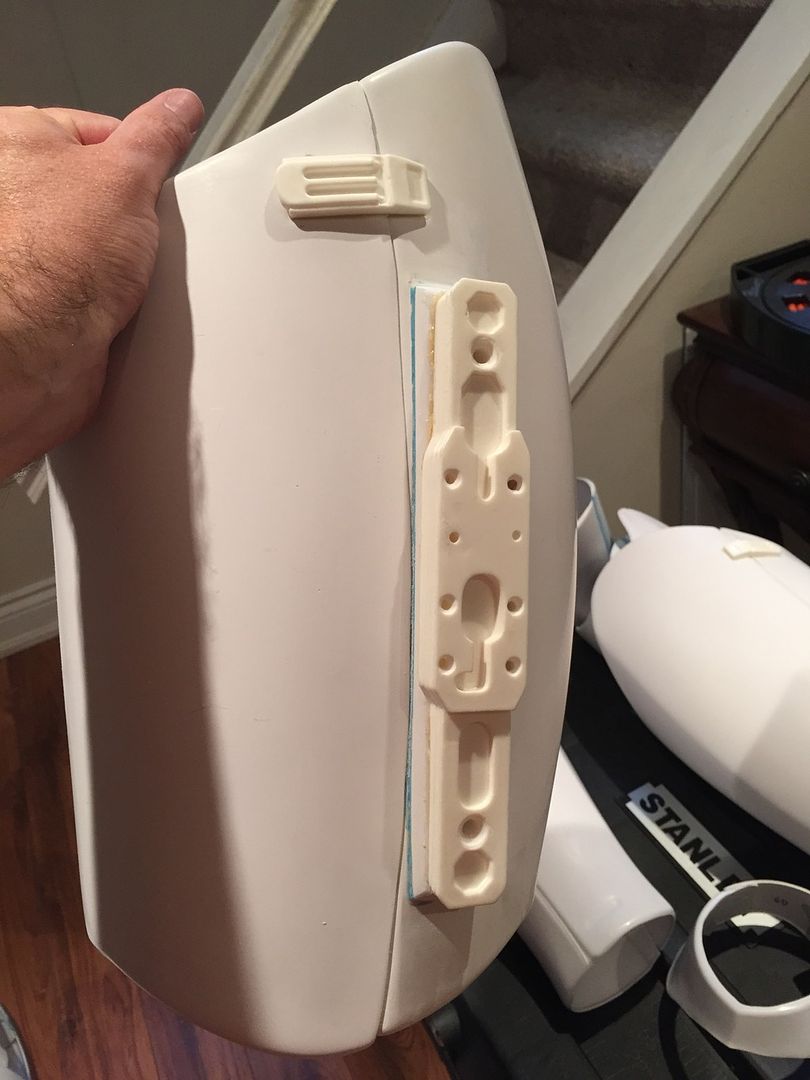
oh and a small white box showed up too:
All the white bits removed and velcro added.
Based on a variety of other builds and references, I have laid out what I believe the correct measurements for the belt box placement. I attached the clip to one end with Cap rivets and then measured out from there. I have not attached or created the holes for the chicago screws yet. I used chalk on the back of the belt box screw posts to mark the hole positions.
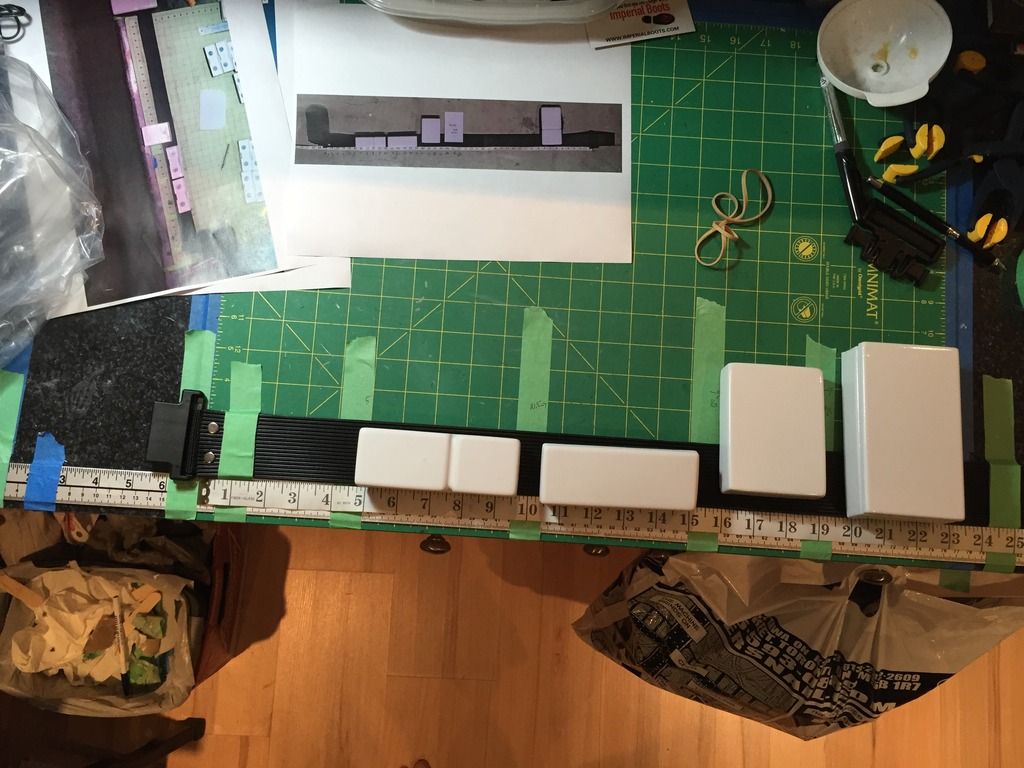
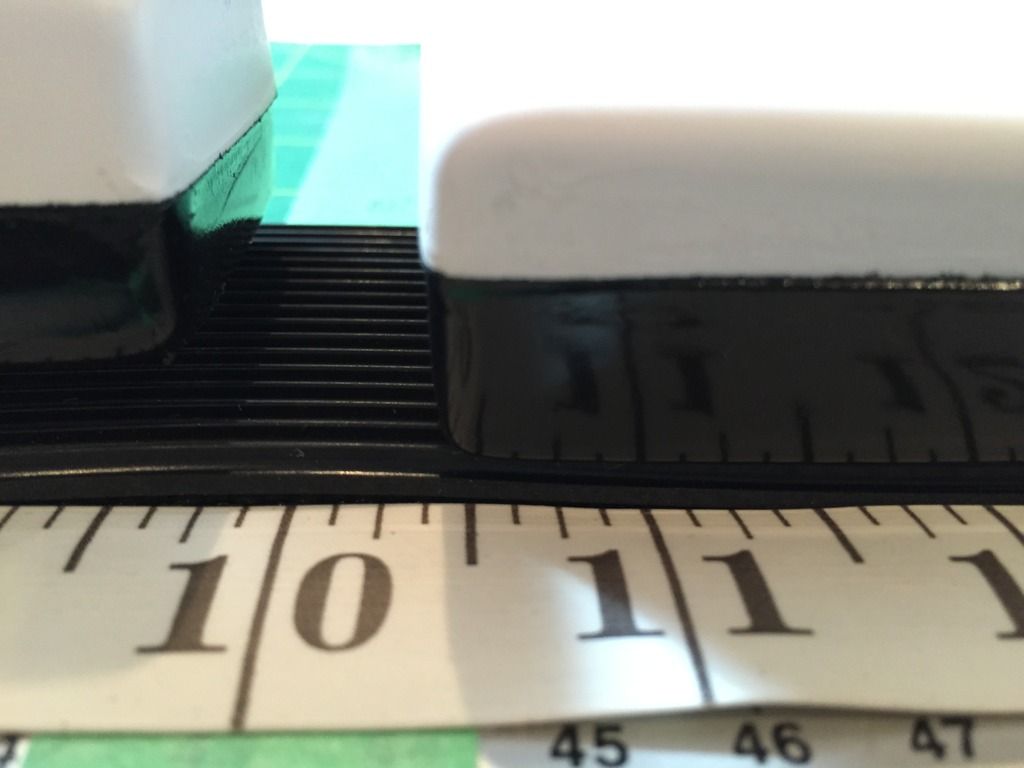
Horizontal box with the dual bump top is 5" from the end.
Flat horizontal box is 10.5" from the end.
Small Vertical belt box is 16" from the end
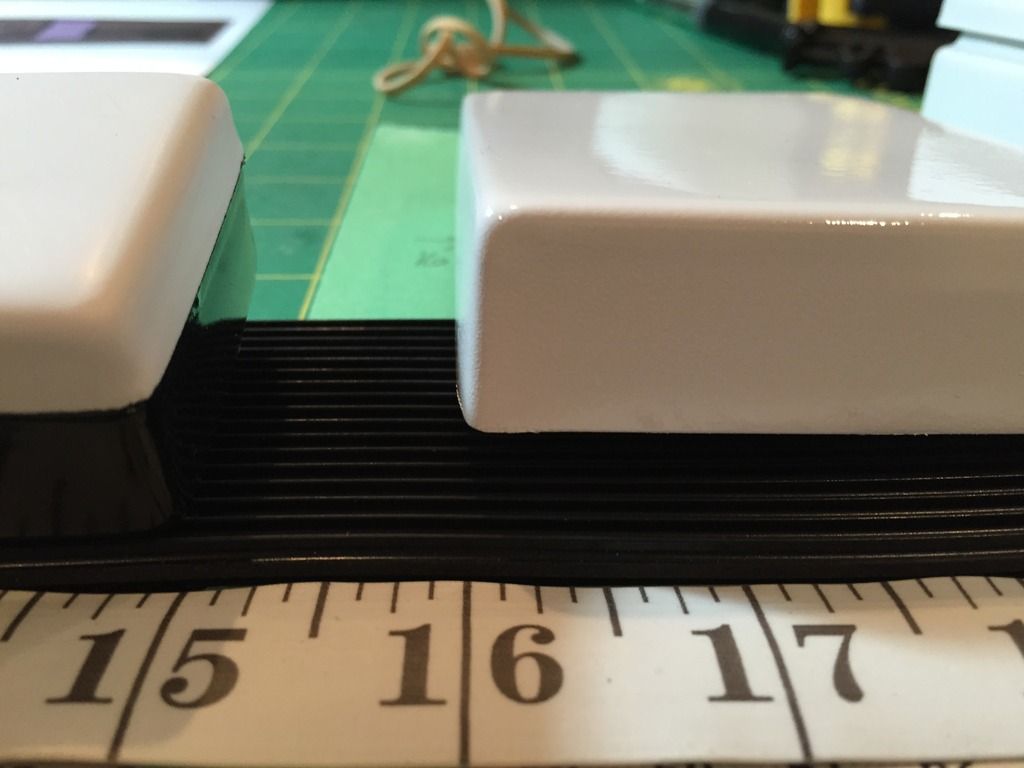
3 piece large vertical belt box is 19.5 inches from the end.

-
1
-
-
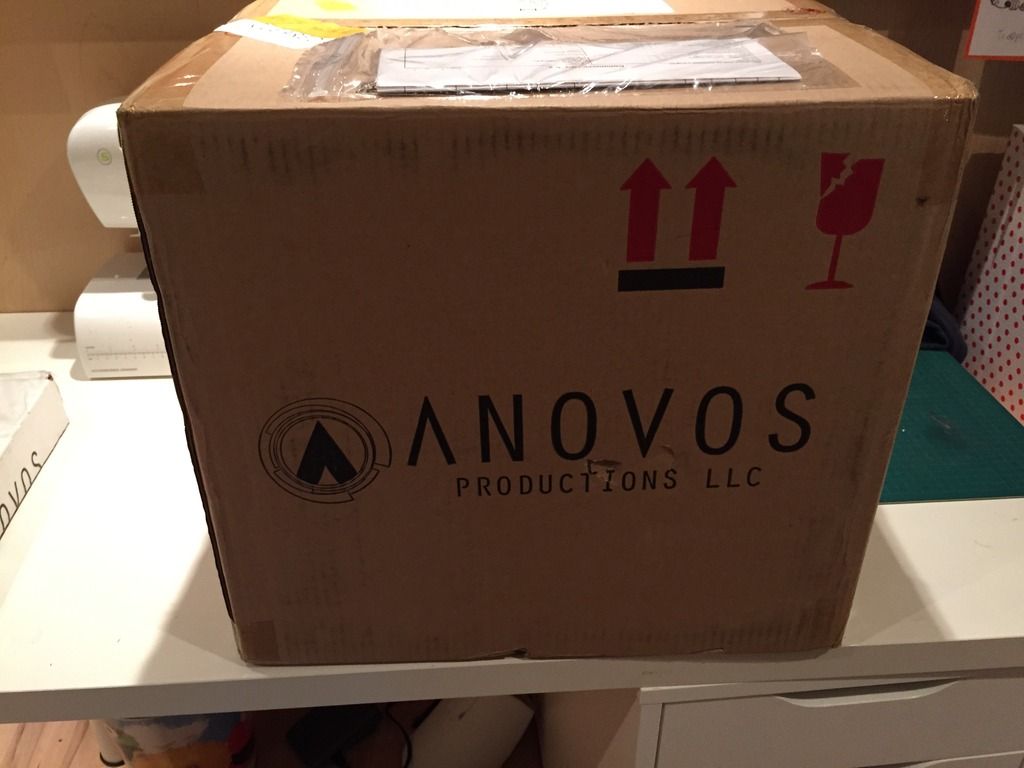
Miracle or Miracles.... look what arrived last night. A New Brown Box!

-
Why hello there, yes I am still alive and kicking .. slowwwwwwwly picking away at the kit... Here are some updates:
where to start... hmmmm well I wet sanded all the parts that didn;t need further cleanup and then threw on the gloss coat... the horizontal belt boxes only received the black, those will get glossed up on the next paint round.
spent some time sanding down a few seams I was not happy with. some can go right back to primer, a couple-few will require a bit more Bondo-equivalent. No photos to share, its boring and tedious work.
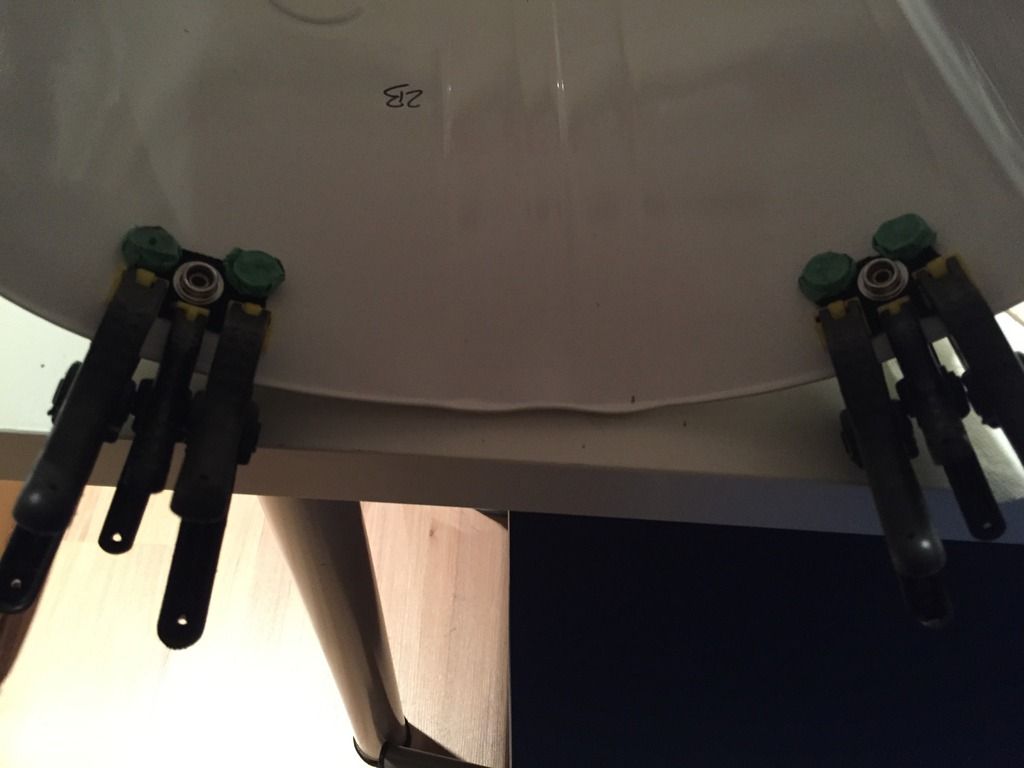
I added some snap plates for the chest to AB connection I am planning.
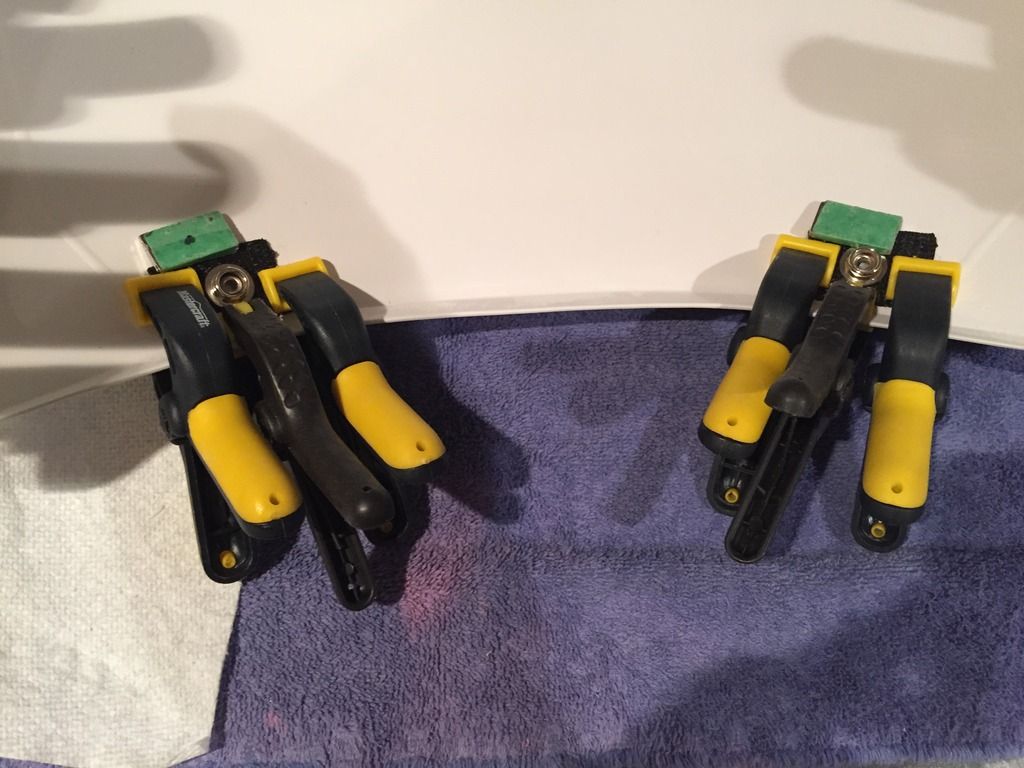
I worked on a shoulder harness and didn;t bother to take photos (what a lame build thread eh?)
I planned to use a magnetic closure for the chest to back, I may have used magnets that were too thick (1/2"), as there is too much rub against the ab armour. I will need to remove them and go with something 1/4" in size.
here is the metal strips that I was placing on the chest inside...
-
Excellent work Phil, another great addition to the Canadian Garrison Centurions.
-
2
-
-
Hey Justin and welcome on behalf of the Canadian Garrison and of course all the troopers here on FISD. Reach out to me via PM and I can connect you to our recruit FB page that will help you build your network within the Garrison as well as some local members out your way. There is not a lot, but slowly growing the region.
Good luck with your research and build!
-
Welcome aboard Karl, and thanks for sharing the story, we're once again offering TK buckets for raffle prizes at Fan Expo. So happy hear this has motivated you to build a kit.
For reference, that bucket was make by AP.
reach out to me via PM and I will get you connected with local recruits and members to assist you on your journey!
regards,
Charles
-
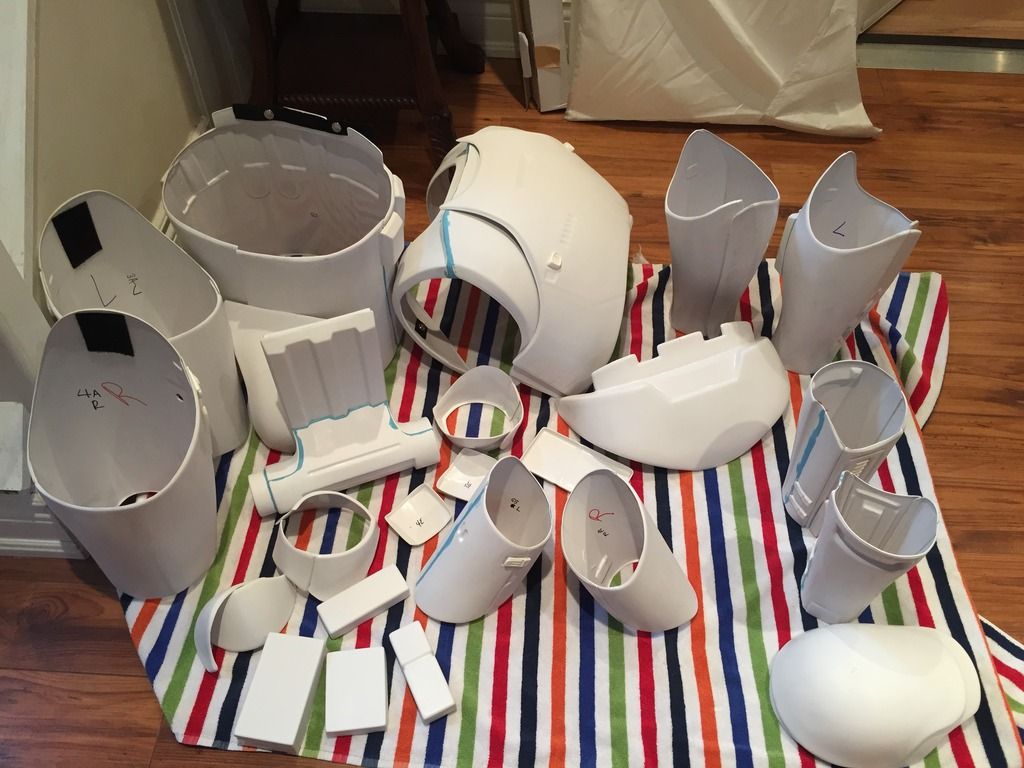
Did a test fit of the kit to make sure nothing significantly out of order... everything seems ok, once I get all priming complete, I will finalize strapping and closures... This is a bit sloppy but it gets the job done.
Who First Ordered Bacon???
and now its on to Primer paint. 3 cans in and this is where we are at
Thighs and back/yoke still need to be primed. and there WILL be some cleanup highlighted by the primer - uhhhhh
-
2
-
-
So, I betcha no one is wondering what I have been up to, but too bad, you are gonna get an update whether you like it or not.
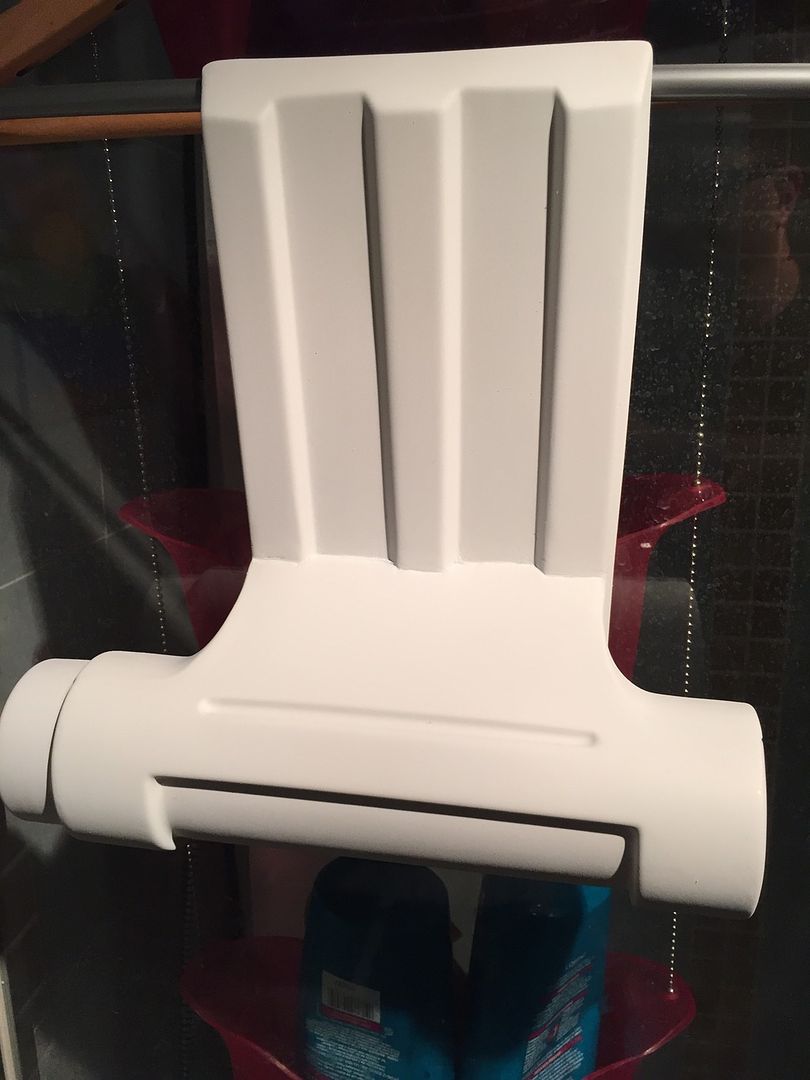
Greeblies are all attached:


One more sanding of everything and a spa day for the parts:
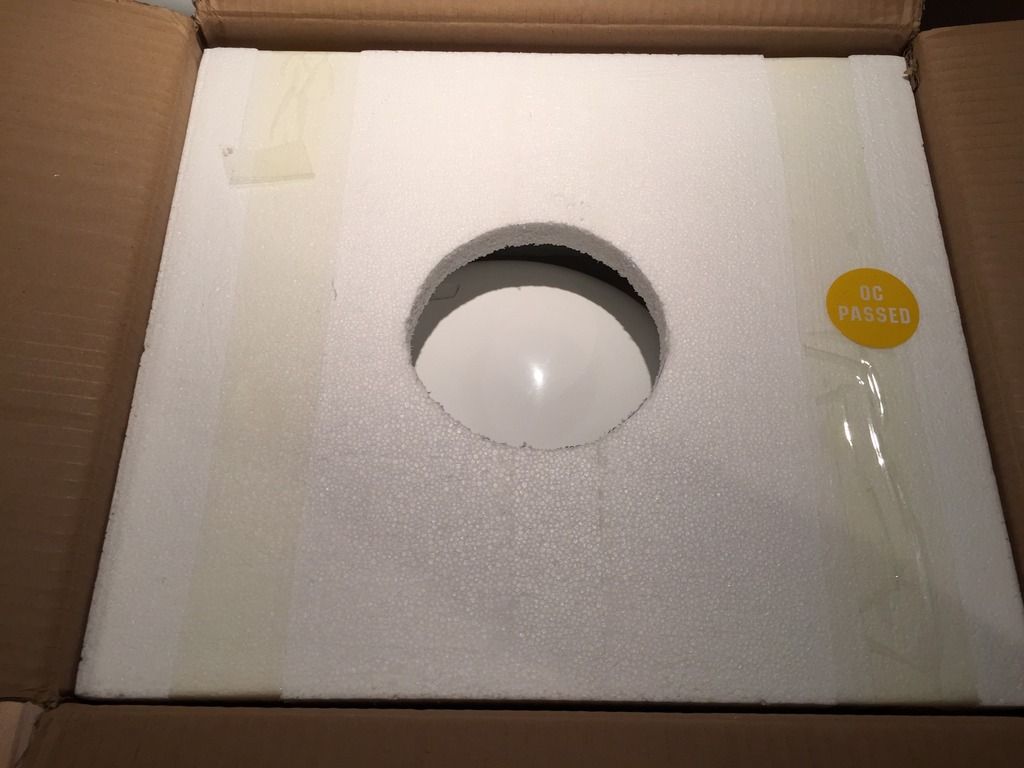
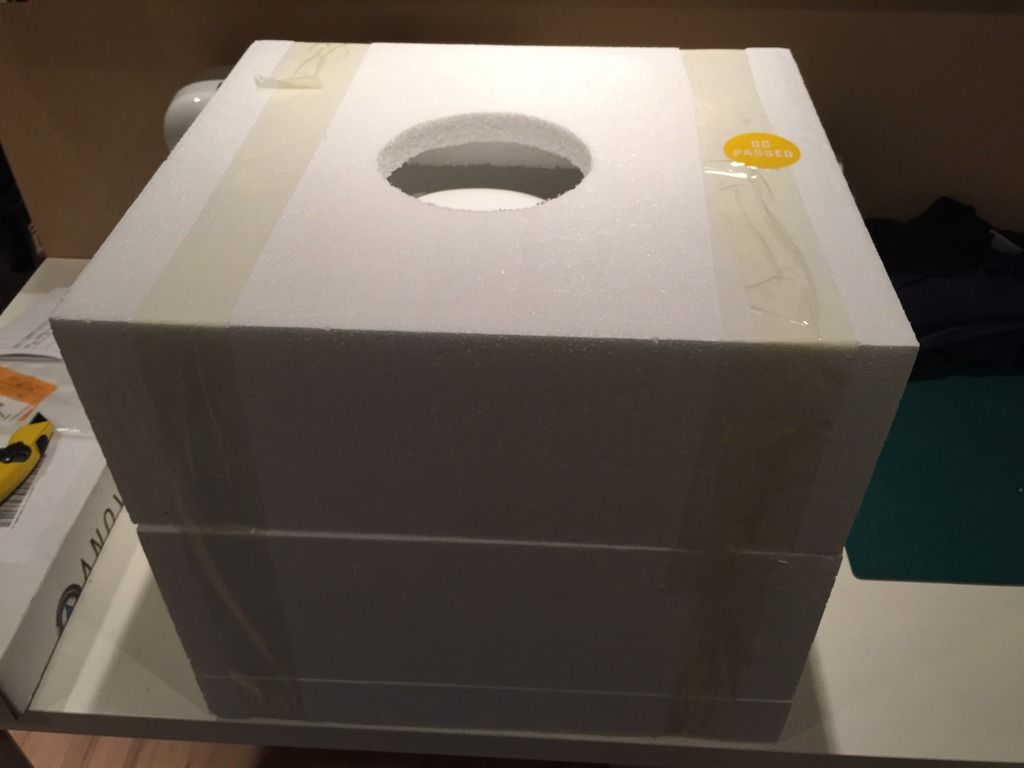
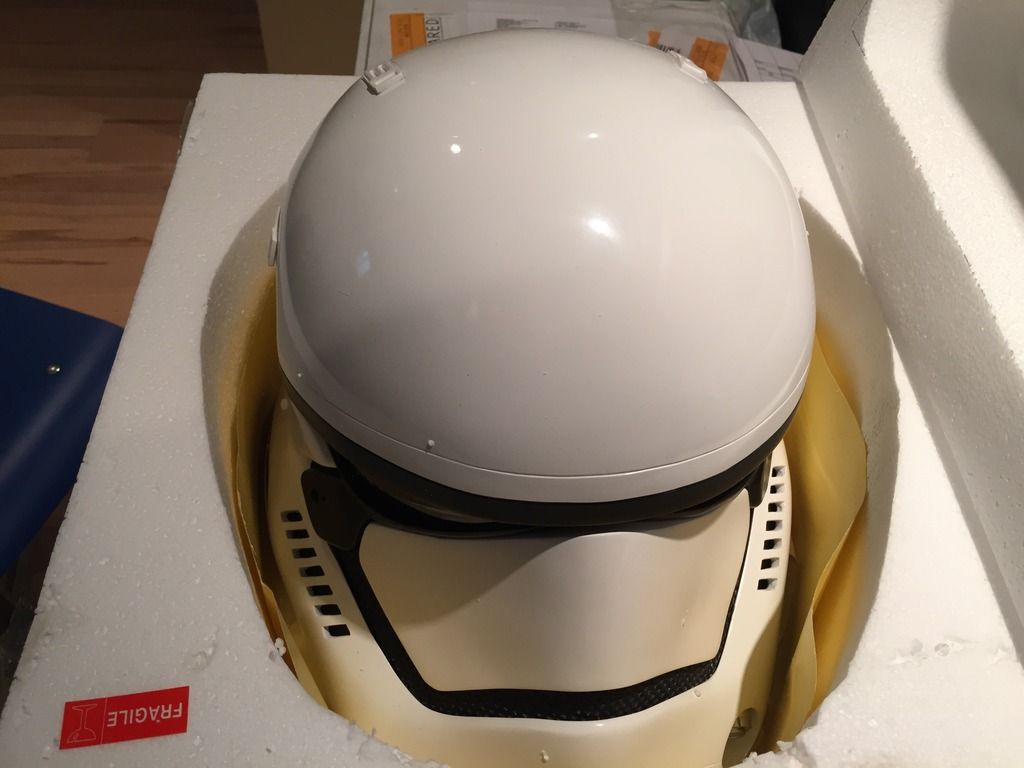
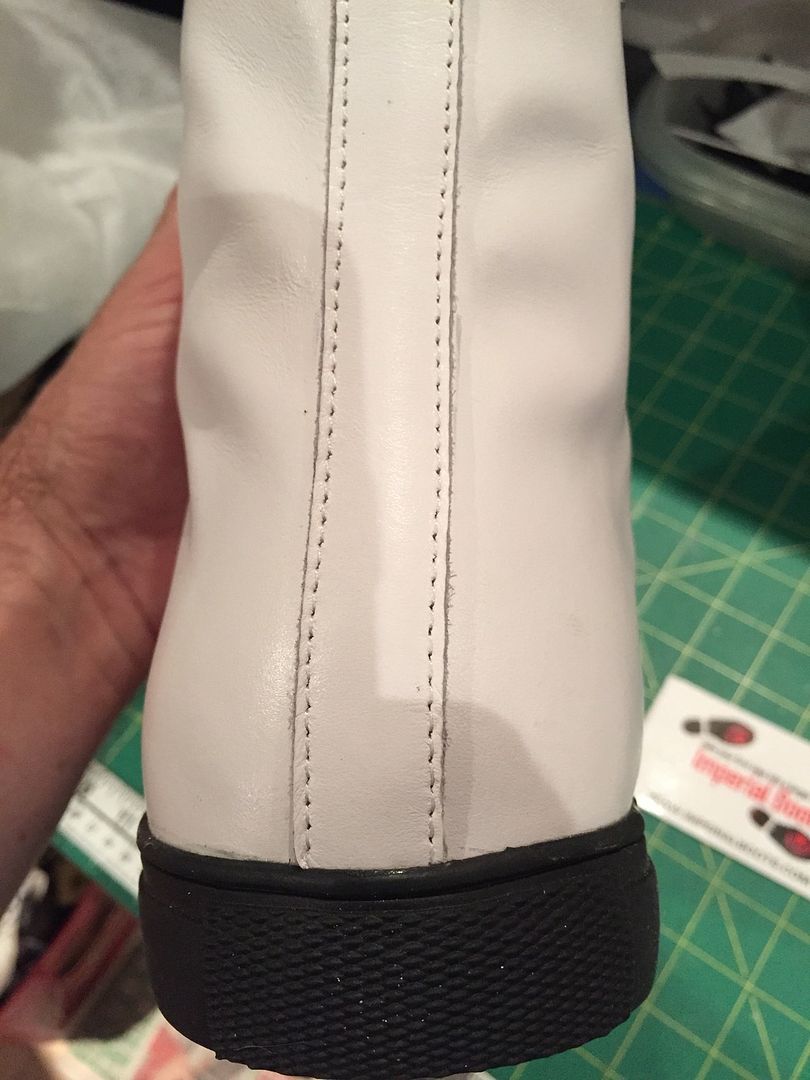
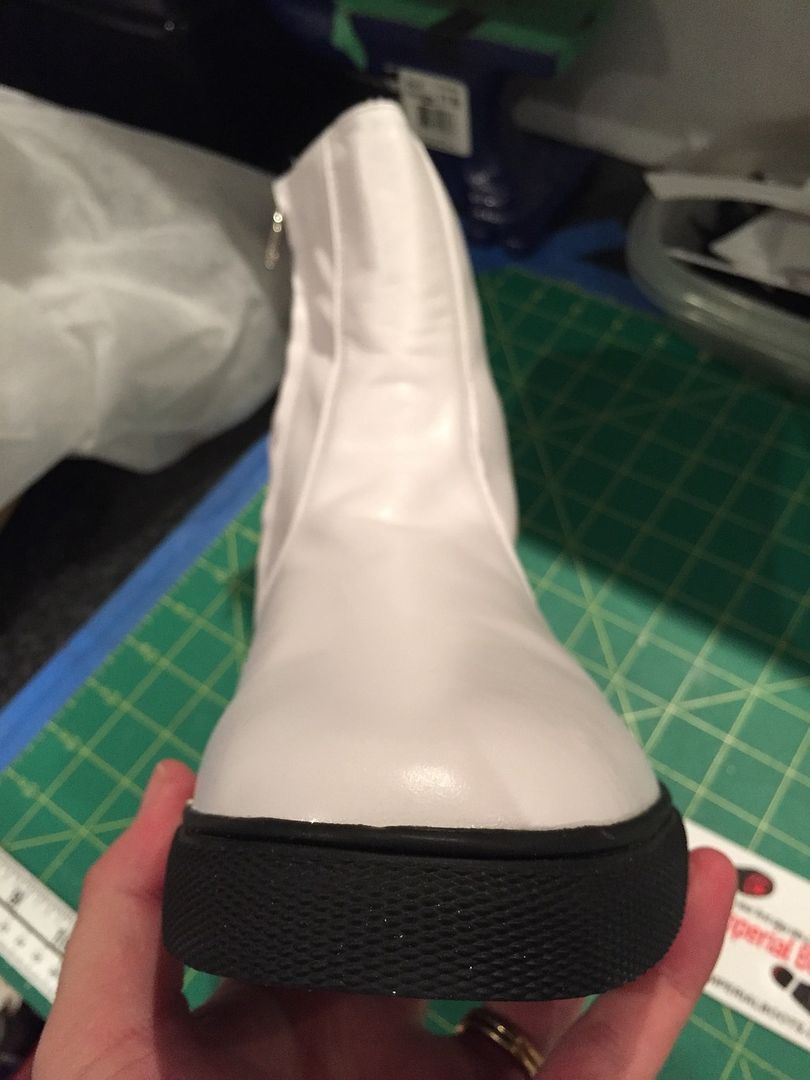
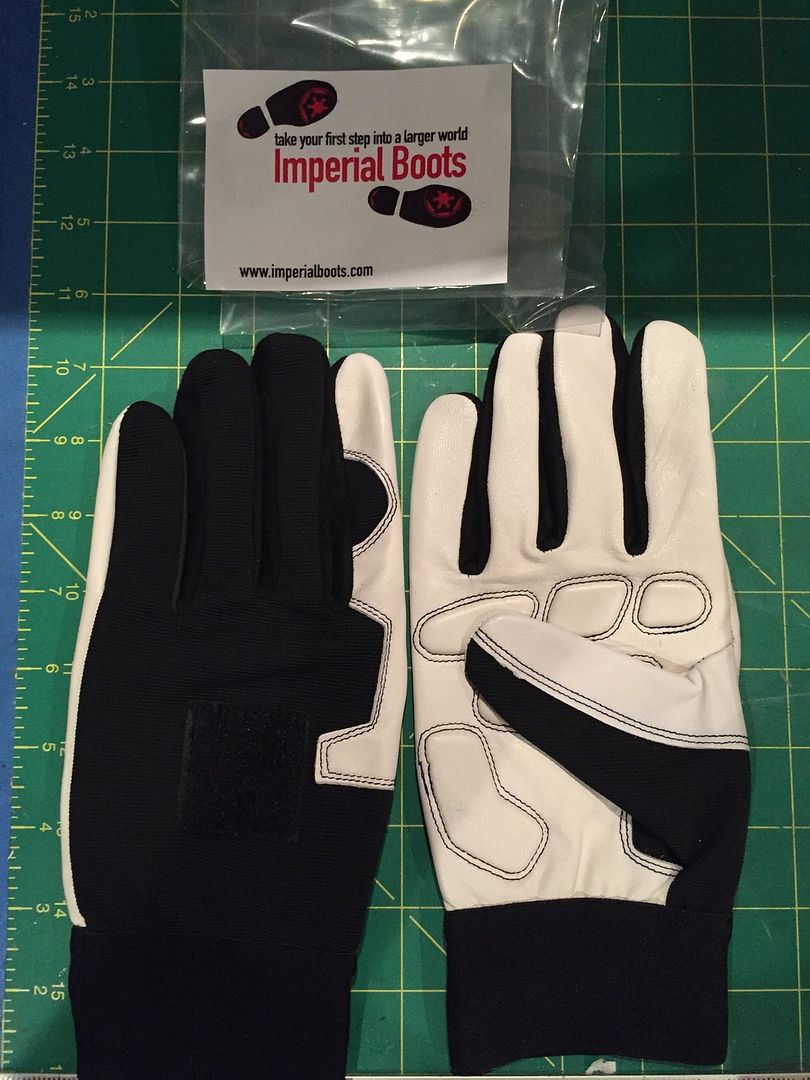
and then it was TFA TK Christmas
Boots from Imperial Boots arrived:
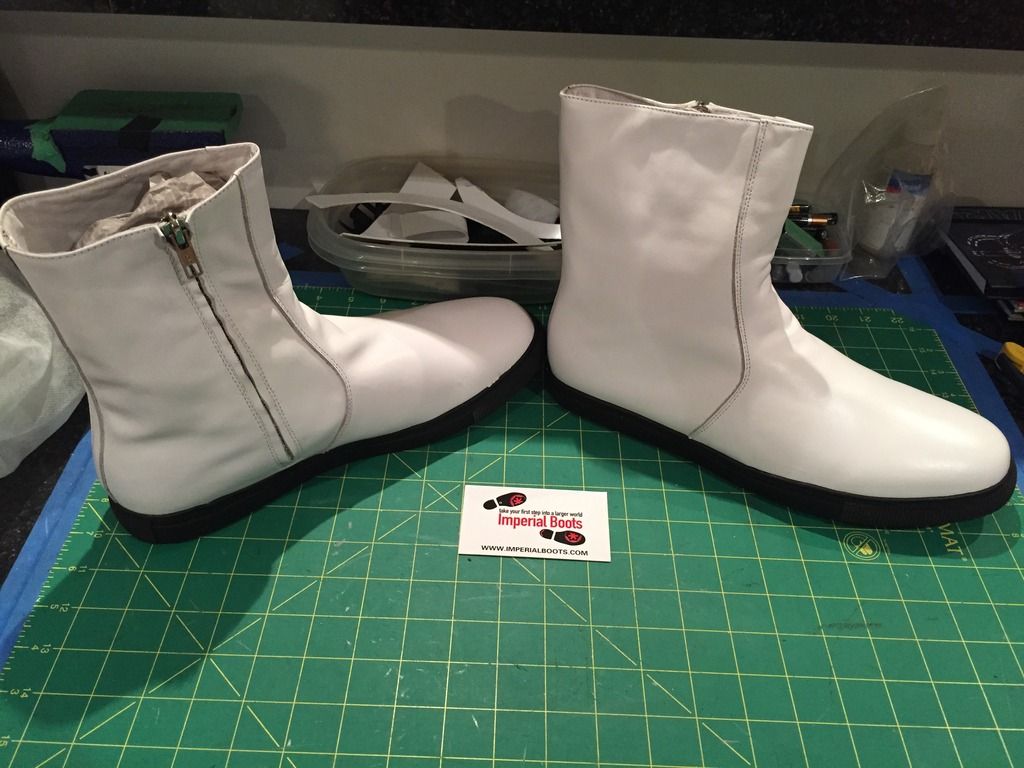
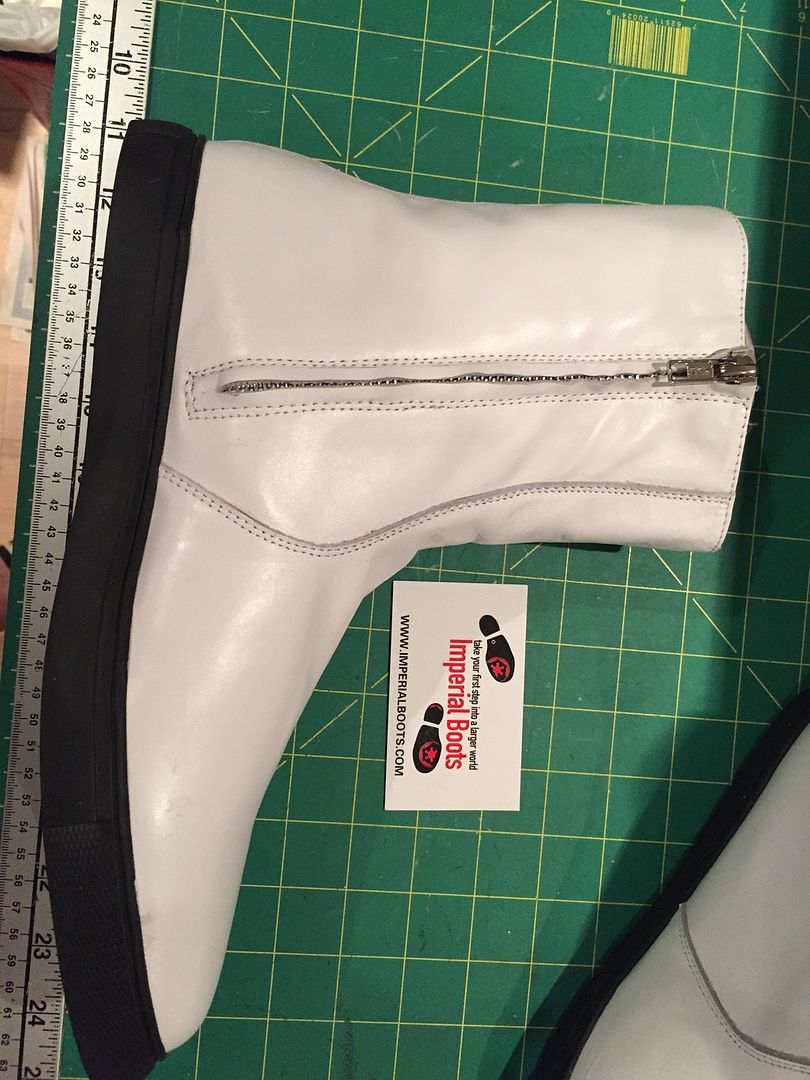

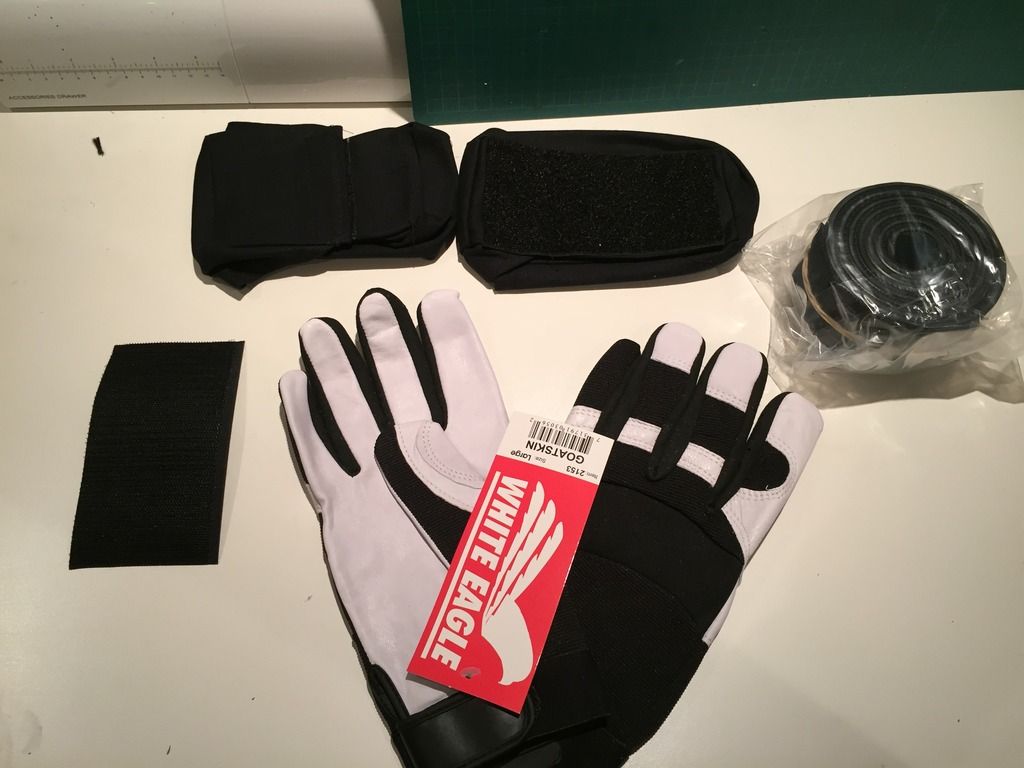
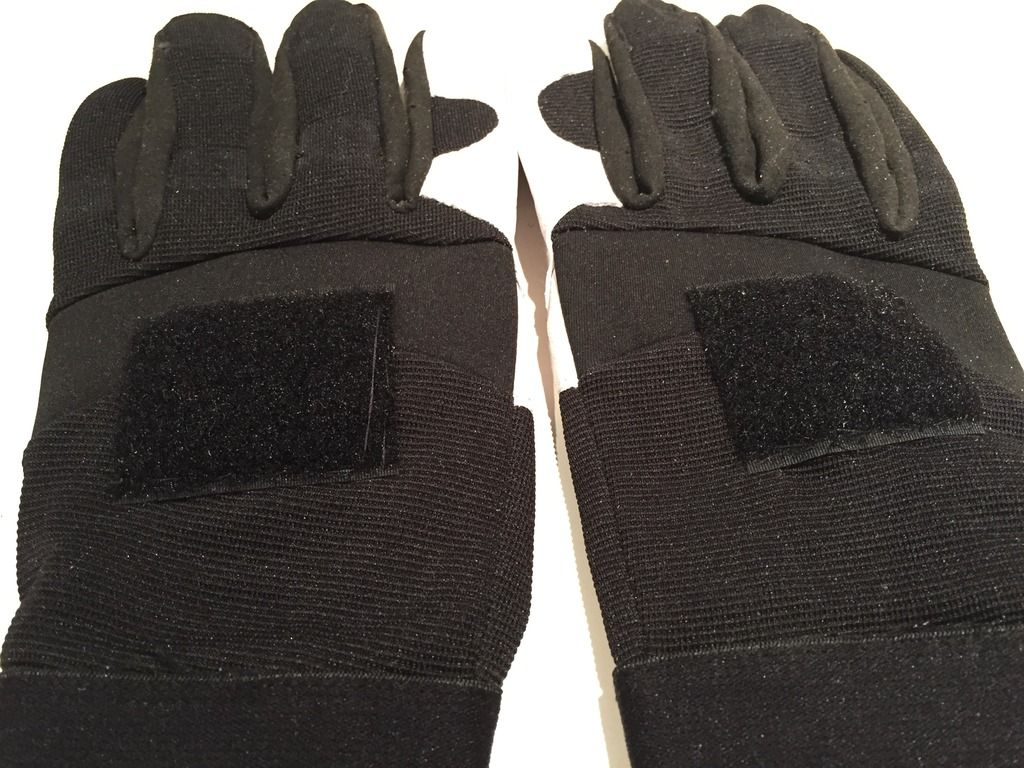
Gloves from Imperial Boots arrived
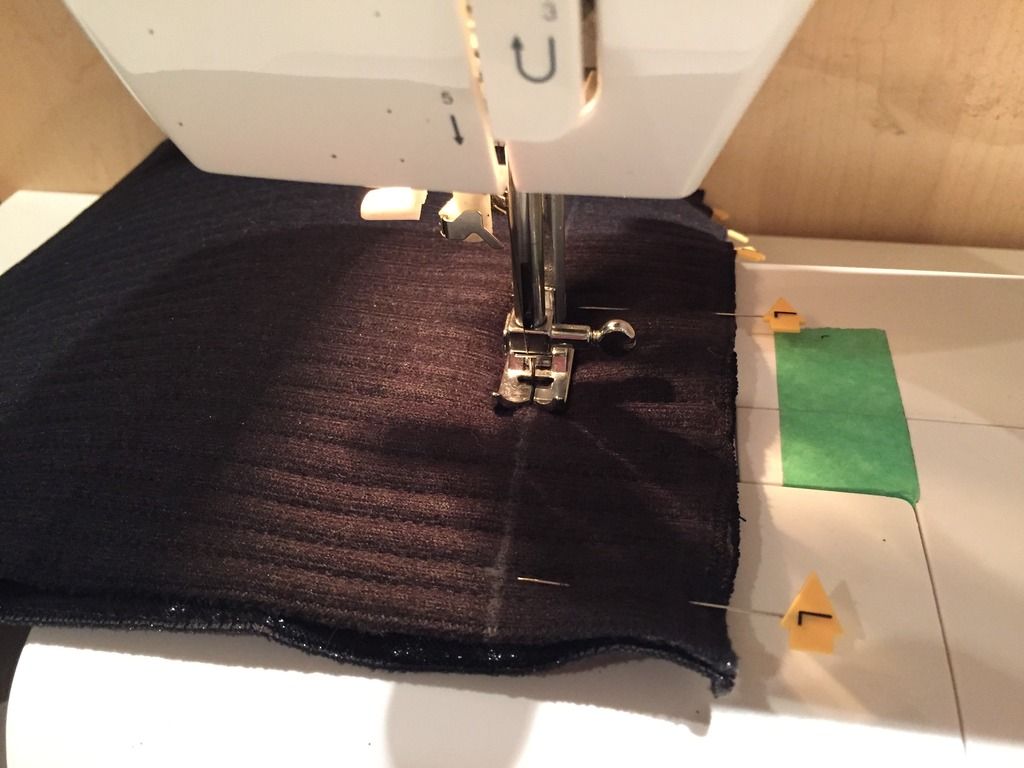
AND my Mrs. Wyatt V3 Cloth Gaskets arrived. Note the Shoulder and elbow gasket is single piece.
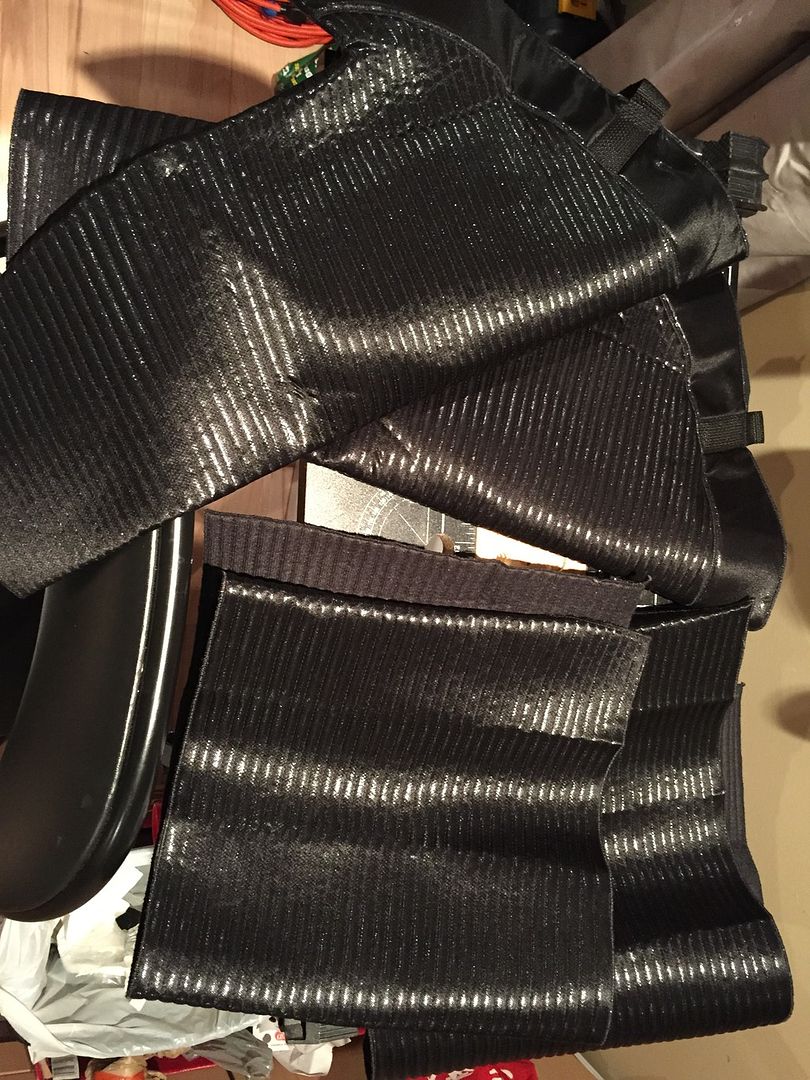
The knee piece needs to be sewn closed, so we marked and sewed them closed. We marked in about 1.5" from the top and 2" in from the bottom and was happy with the way it turned out.
-
1
-
-
I'll send you $10 if you make me one
But seriously. Don't be afraid to share your source for the toys. Do I need to go to Dollarama again?
-
Congrats Phil, Closing those side gaps should be easy, you're a skinny fella!
Let us know how we can assist you with any changes to help you get that 5th Garrison Centurion!-
2
-
-
wow, still looking great little trooper!
-
Hey David, great to see your welcome thread posted! I look forward to your build!


Clamps Goes All TFA and Stuff
in Build Threads Requireing Maintenance
Posted