-
Posts
425 -
Joined
-
Last visited
Content Type
Profiles
Forums
Gallery
Articles
Media Demo
Posts posted by boomshakra
-
-
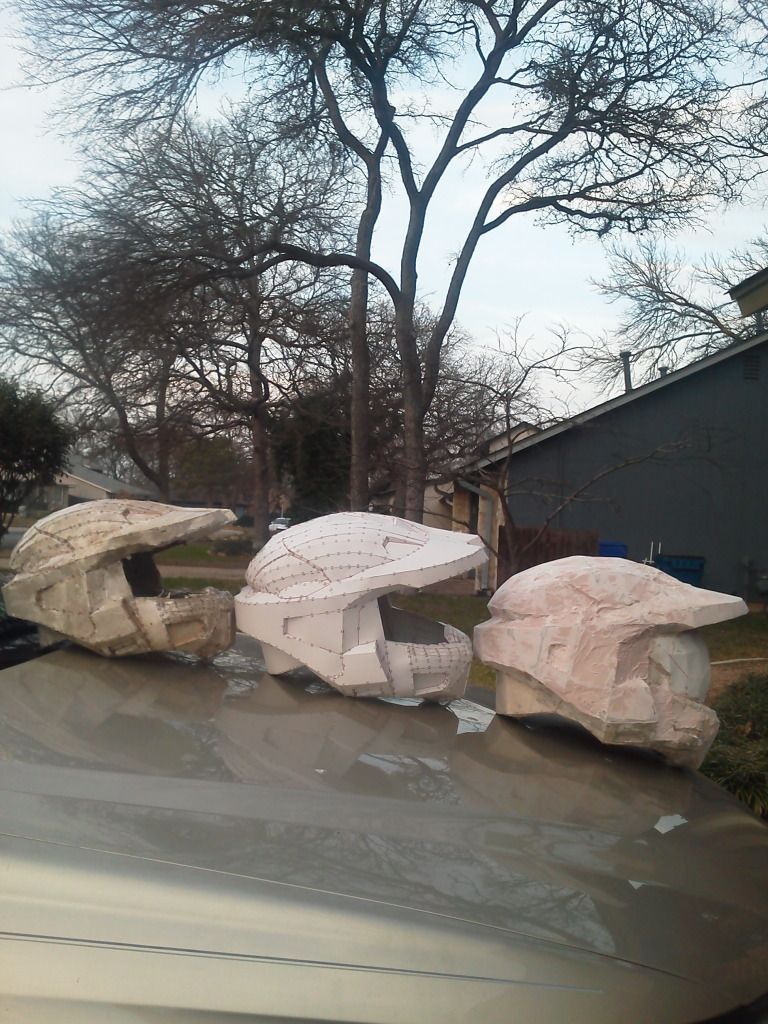
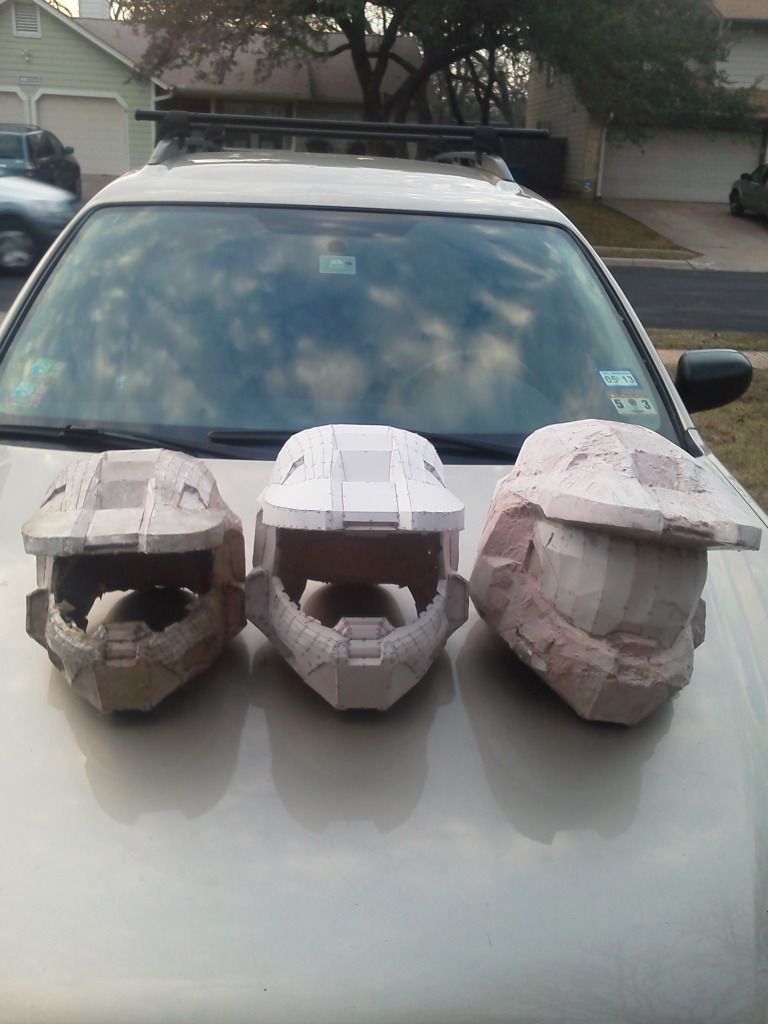
I finished cutting v3.0 and applied a thin layer of resin - and the 70% humidity has brought any further progress to a halt. You are correct on my over-usage of bondo on v1.0 - after sanding it with some 60 grit and trying to clean it up with a dremel...it will probably not be wearable with out an extensive overhaul
 . I'm going to follow your suggestion of light coats where needed - other than that I'll mostly be covering seams where the pepakura meets and just smooth along them. V2.0 is ready for bondo...just need the humidity to come down under 50%!
Here's the line-up:
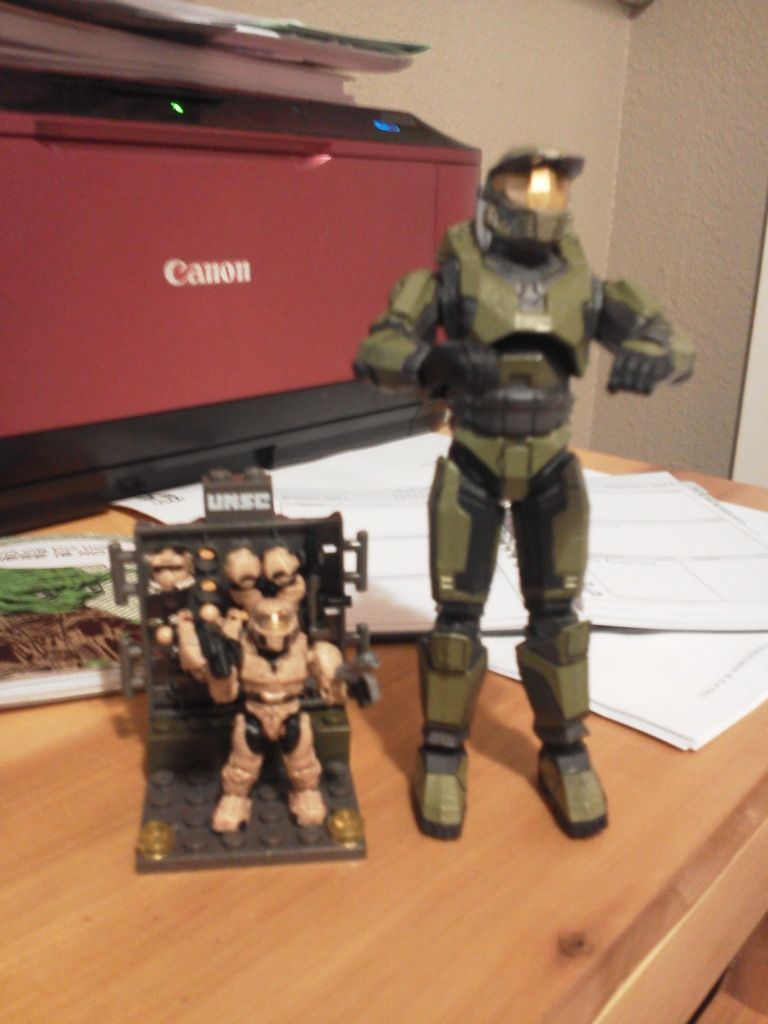
and totally unrelated to the build is the addition of "Mini-Me" to my Master Chief figure

More to come!
I have started cutting the forearms and got the outer visor cut as well:
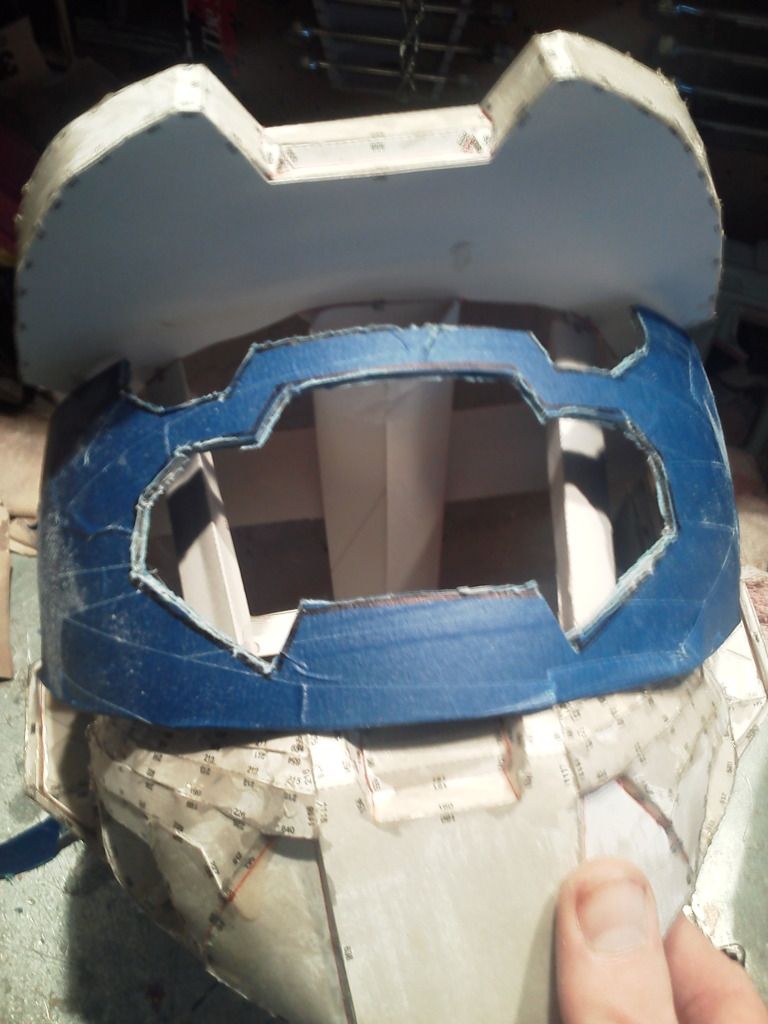
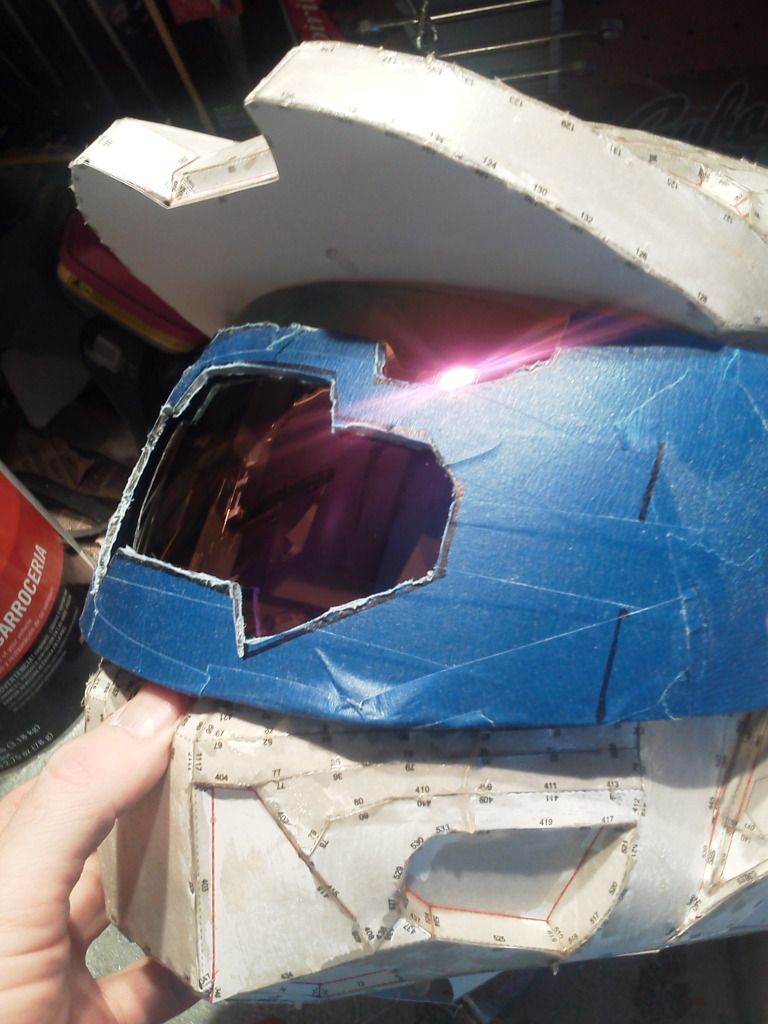
Here's both inner & outer visors held together - the inner visor looks purple at this angle & in this light...definitely NOT gold
 I am thinking about getting some one-way mirror tint (gold) and using for my visors...or will just get the HJC models suggested by other peeps in the 405th:
-
My wife teaches swimming lessons for children and the original TKID I wanted was 7946 (swim). It was taken literally DAYS before my 501st approval (sigh). So, I went with 4796 (iSWM - "I swim"). Yes, there are other meanings for SWM, but they don't apply to me

-
quick update - no pix to post. The boots are pretty much glassed - started out laying down resin but the fiberglass cloth kept coming up when I put another layer on top (common occurence). So, I decided to lay down rondo first. That worked a little better, I bought the small can of bondo & burned through it pretty quick. I need to go back and put more over the top - probably overkill, but since the boots will see a bit more stress than most of the armor it makes sense to me. More practice getting the bondo/resin ratio correct & how much hardener to use. I read on the 405th boards that you can just use the liquid resin hardner instead of a combination of that & the cream hardener that comes with bondo, so i'll give that a go & see how it works. I also got the inside of v2.0 helmet mostly glassed/rondo'd. Since it is more or less structurally sound I removed the supports inside of it and can access the nooks & crannies a bit better to finish it up. I started sanding the bondo monster that is the v1.0 helmet, but the mouse sander I bought included 120 grit sand paper - i'll need 60-80 to remove the layers I slopped on there.
V3.0 helmet is still being cut...probably will be assembled & ready for resin by early next week (I hope). The weather is becoming a factor again - foggy this morning, so hopefully it will dry out by this afternoon so I can finish up the boots (humidity is not resin's friend...).
I played with the pepakura file for the chest this morning and decided to make it & the cod pieces the last things I build. The more practice I get with pepakura, the better. Once v3.0 helmet is glued up I'll start cutting on either the forearms, thigh, or shin pieces. Those don't have quite as many detailed parts so they should come together pretty quickly.
-
I was a bit self-conscious about starting the road to joining the 501st, but I got over it very quickly
 . There was the eye-roll (but full support) from my wife, and my kiddos love that their Dad is a Stormtrooper. I had a few "WTF?" comments from friends when pictures from Trooping started showing up on my Facebook page, but I can't help but think they had a smile on their face when they first saw them
  . Funny, when out & about at social gatherings, it is usually my Wife who brings up my "hobby" - and it is surprising to meet people whose significant others, relatives, or friends are Rebel Legion or 501st in other cities/states.
 -
"I am a bit concerned about the 'lean' of the back part - will probably have to shore it up with some popsicle sticks before I resin it:"
Nobody pays attention to your feet. They'll all be staring at your bucket.

Looking good!
Actually I'm more concerned with it digging (after glassing/hardening it) into my ankle when I'm walking around

-
heres that link i mentioned. every halo file known to man. its a little hard to navigate but youll get the hang of it.
Thanks for the link! I have read through a couple of the sizing tutorals and think I have a handle on it. When I did my v1.0 I inadvertently used the scaling number for an ODST helmet for the Mk VI and think that had a lot to do with the oversized result
 For v2.0 I went a little (heh...little) too conservative. I have v3.0 printed out but not started - finishing up the cutting on my left boot currently (right one is glued up) - and will start on that next.
What I really dread is getting the chest size wrong...that would be a pain to have to start over/resize...so I will probably go with a LD file/tester to get it dialed in before going HD, although I have seen some LD work that was modified and looks pretty close to HD with the end result. I am feeling a bit better with each piece I work on - the left boot turned out better than the handplates, and it actually fit over the boots I am going to use! I'm also getting a bit more comfortable cutting free-hand - for the longer straight lines I still use a ruler, but it is a bit cumbersome to constantly be moving a 18" metal ruler around for the small detailed cuts...
Here's the right boot: (Edit - can't access photobucket from work so here are the links - will change them to images when i get home)
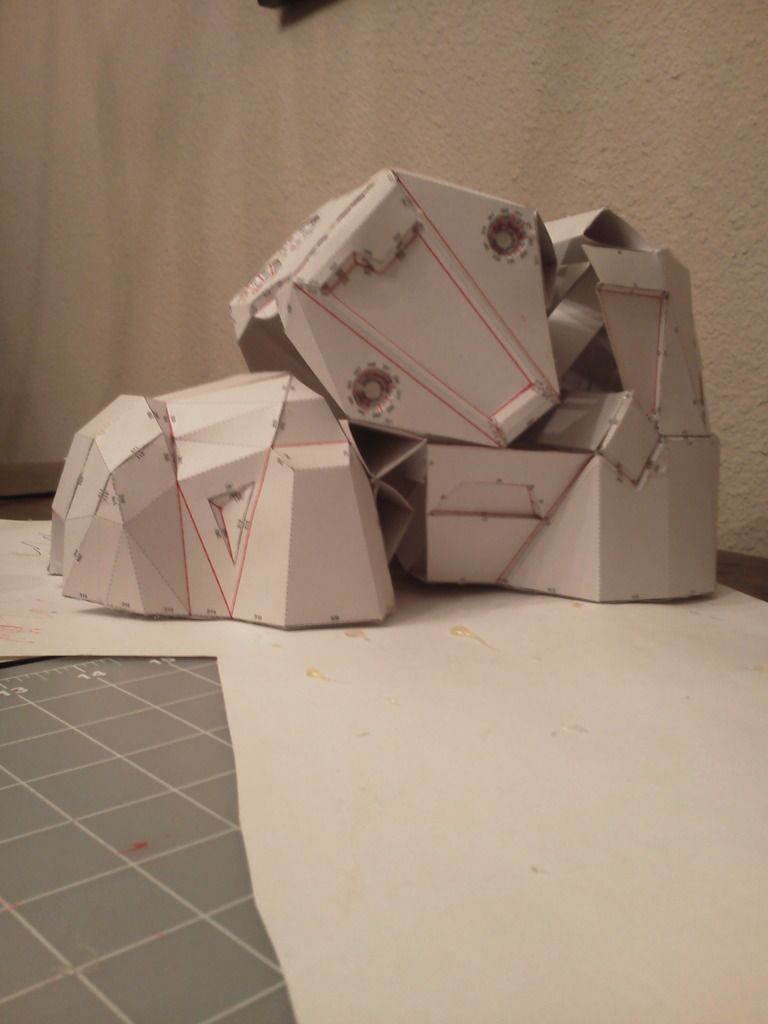
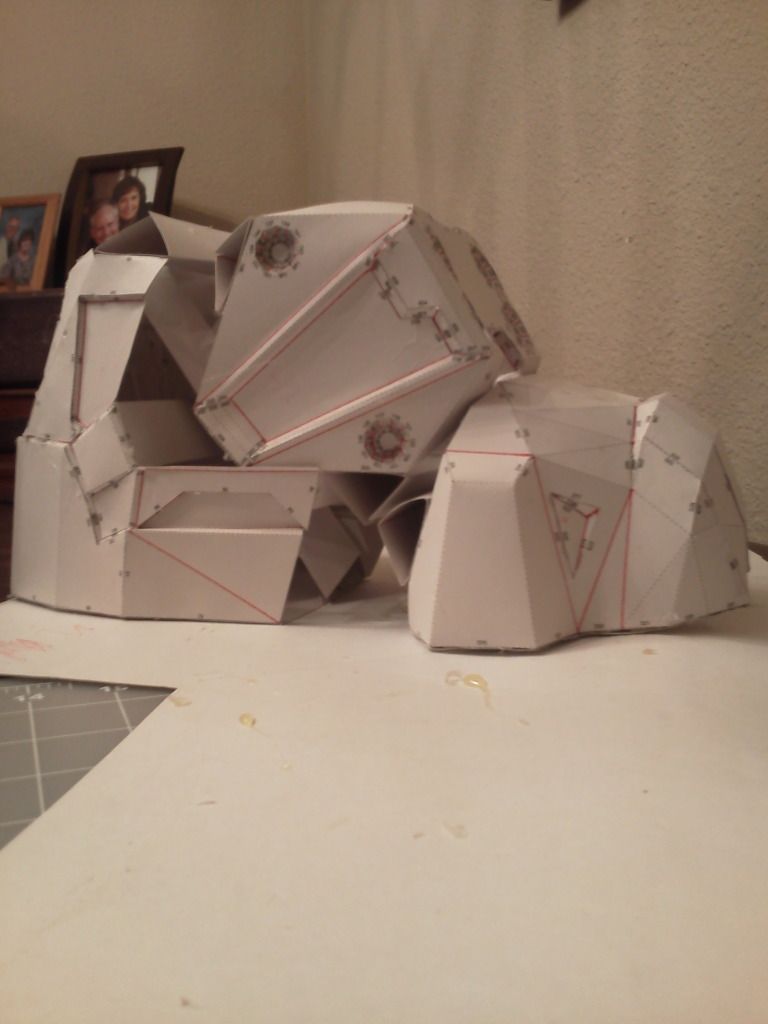
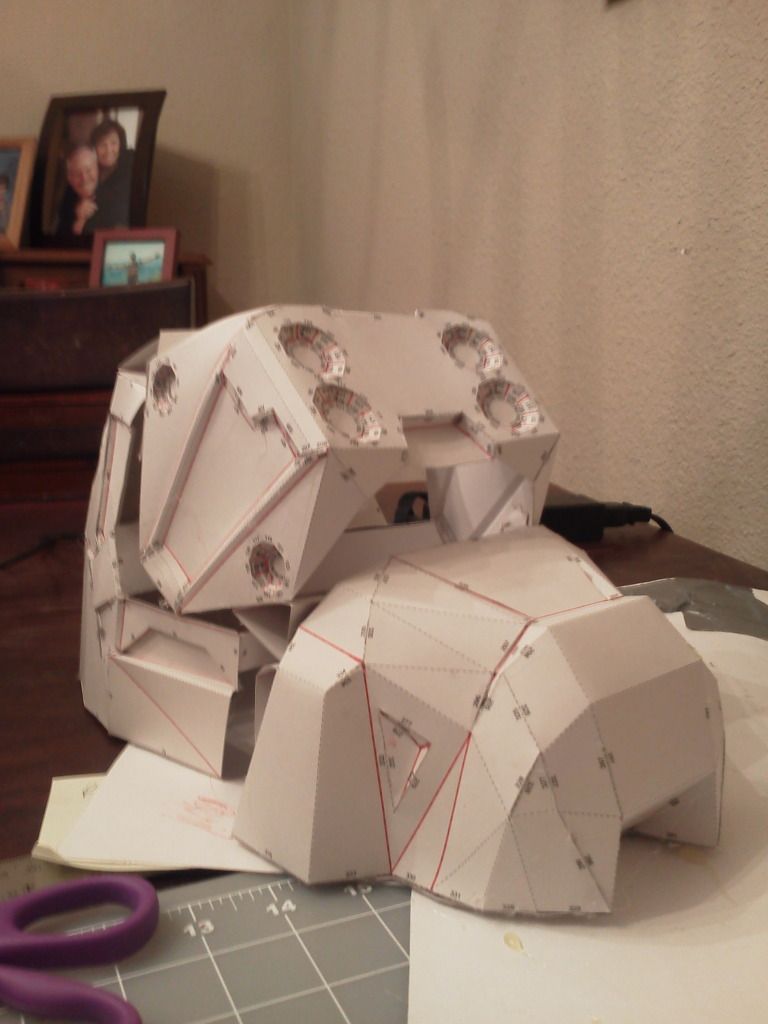
I am a bit concerned about the 'lean' of the back part - will probably have to shore it up with some popsicle sticks before I resin it:
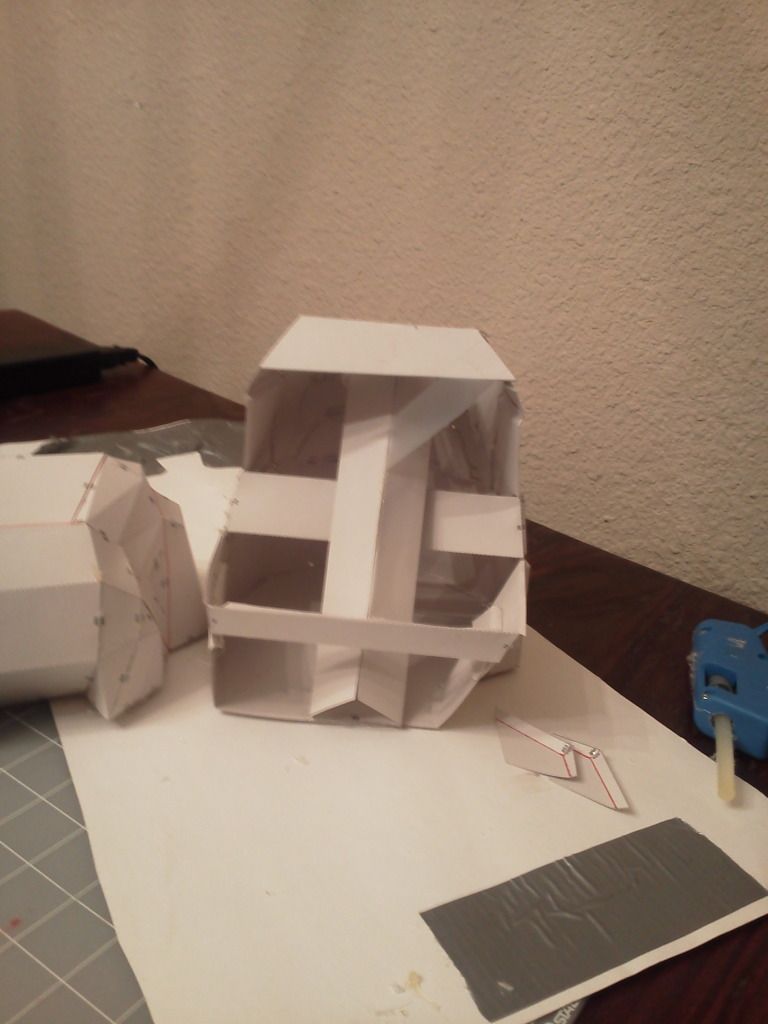
Thanks for checking it out - more to come!
-
I saved the database link on my laptop, so I'll have to post it when I get on it again. Why isn't this thread in the non sw costuming?
A tip from my pep experience, use a heat gun after glassing on sides of the chest, biceps, legs and helmets to make sure everything is symmetrical and fits before bondo
I posted a request up at the top of my first post to have it moved...they haven't seen it yet...
Thanks for the tip - anything helps

-
The weather continues to be a hindering factor in getting work done on the helmets that are out of pepakrua stage. I got some resin on V2.0 but the humidity has inhibited it curing completely... I did slap on a bunch of bondo on V1.0...probably too much, but since it is my first time out I'll get a lot of practice on the most difficult skill to learn of all: sanding
 . It is cold and dry today, so I'll see how long I can stand being out in the garage (with the door open) and mouse sander in hand. There's plenty to be cut & glued, so that will certainly be a (warmer) option.
A couple of pictures:
you can see that I need to scale right inbetween the sizes of these two:
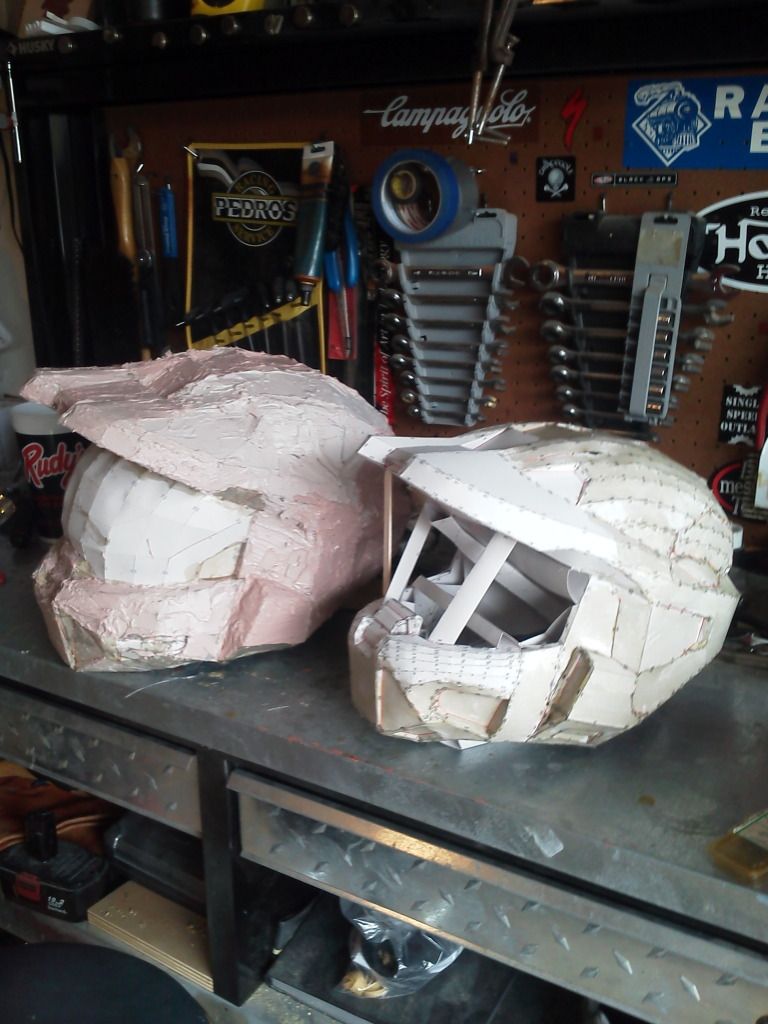
I didn't get all of the nooks & crannies or around the bottom of the helmet. Was hoping for warmer weather today to get the bottom half finished but it doesn't look like that will happen
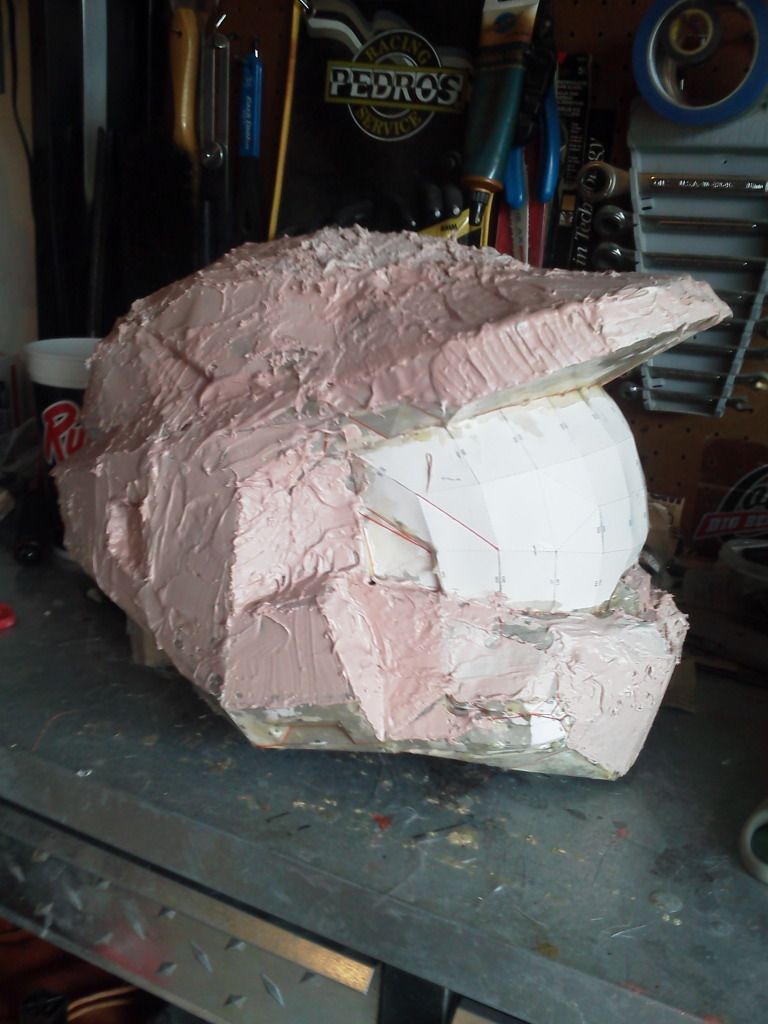
You can see the visor warpage that I am going to try to fix with some popsicle stick braces
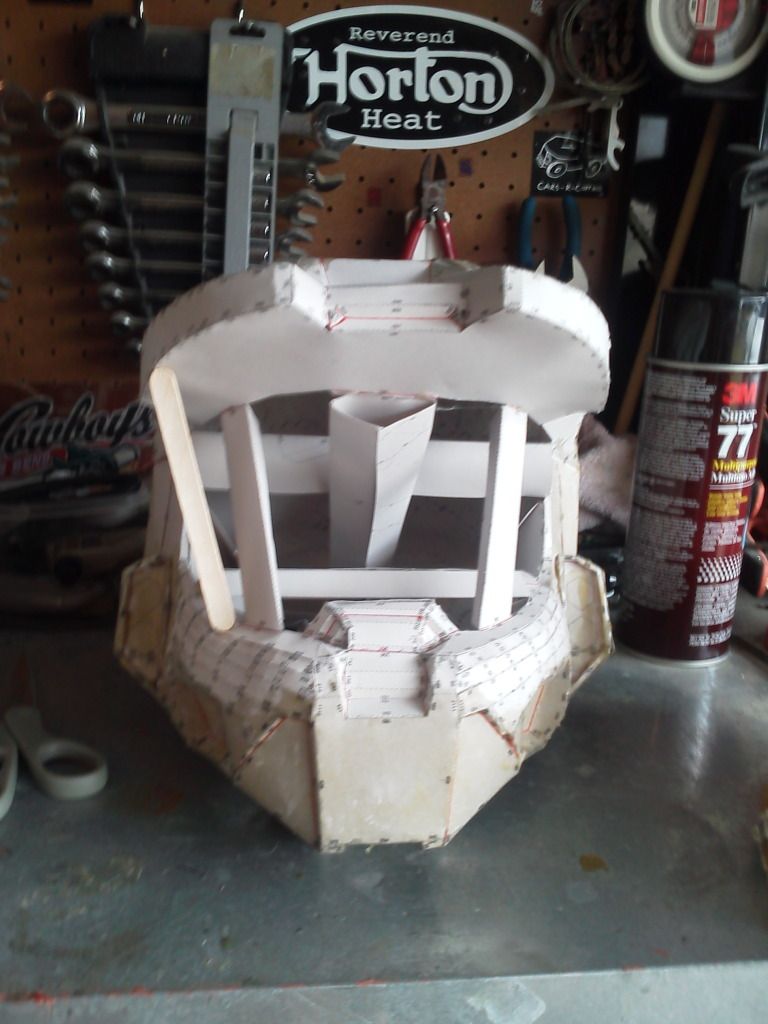
Getting to this stage reminded me that I have a LOT of work ahead of me for this project...stay tuned

-
where would you get your foam for your assault rifle? I want to get some foam to see if i can make the armor out of foam instead of fiberglass and bondo
Like Craig said, home depot carries eva foam, and the "anti-fatigue" mats from harbor freight seem to be popular over on the 405th site. I plan to get a sheet of ABS or sintra to put in the center to give the rifle some rigidity.
there are a few foam armor builds over on 405th - mostly Spartan armor, but there might be ODST as well. The files I found weren't for Mk VI, so I probably won't use them. The suggestions I have read are to build your helmet from pepakura and do foam for the rest of the armor. Foam helmets are a bit labor-intensive to get right, apparently. Getting details into the armor using foam looks a bit challenging as well. I'll stick with pep for now...will give foam armor a try when I start on an Iron Man suit

-
The weather forecast is giving me a very limited window of opportunity to get any resin done this weekend...here's hoping I can make good use of the time!
apologies in advance for the quality of the pictures

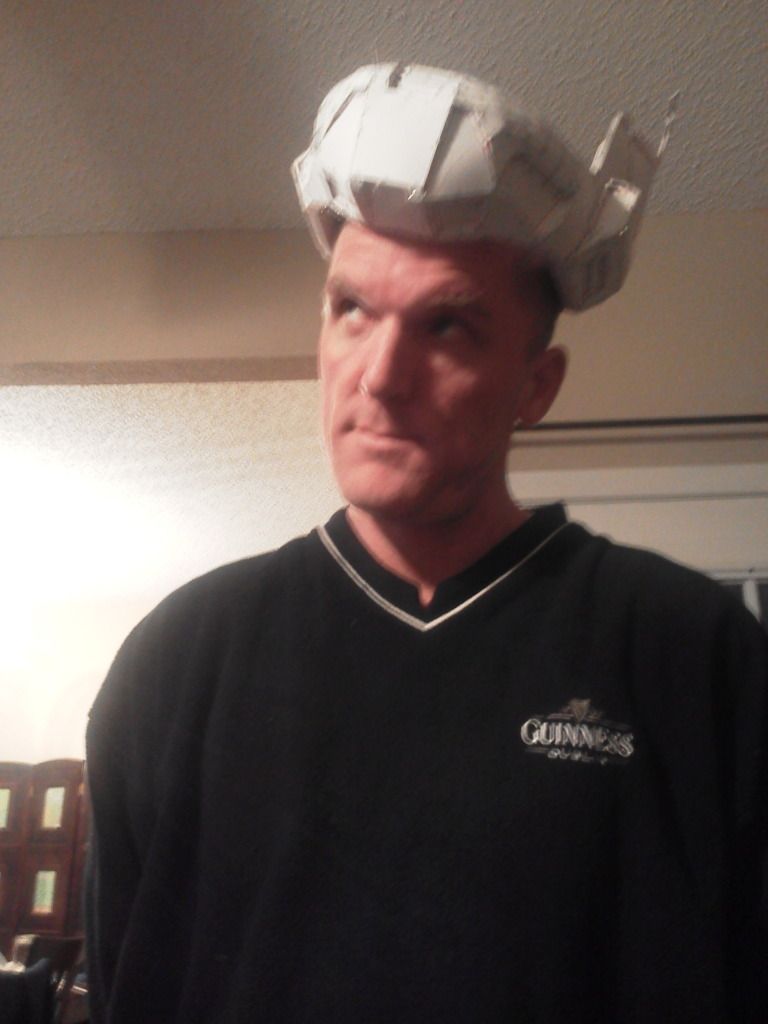
Here's helmet V2.0:
To be or not to be...and this helmet is borderline "not to be"...
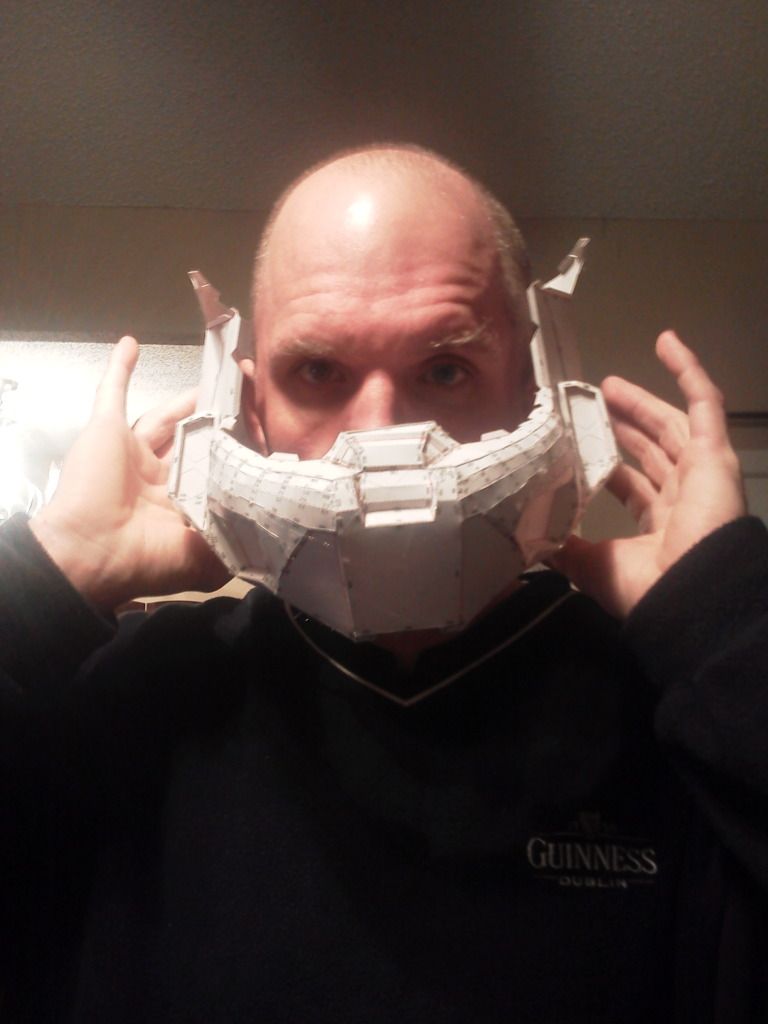
But, I have something to use if I go for a Bane costume:
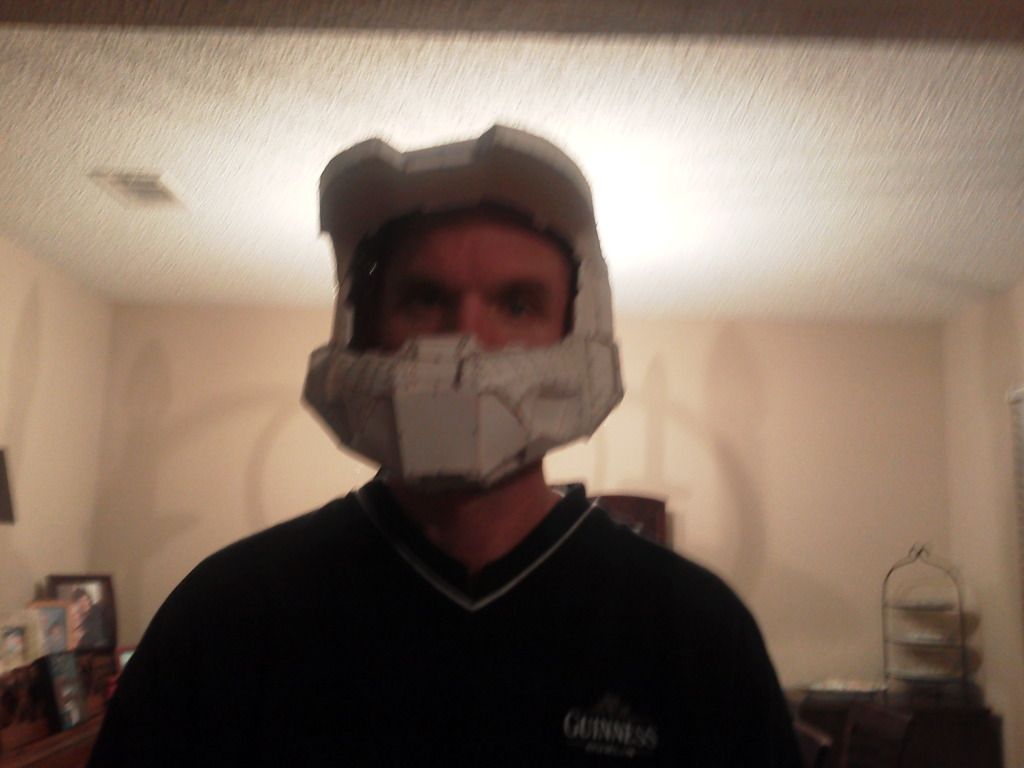
I will definitely have to trim the opening to the bucket once it is resin & glassed to get it this far - or cut my ears and the tip of my nose off...
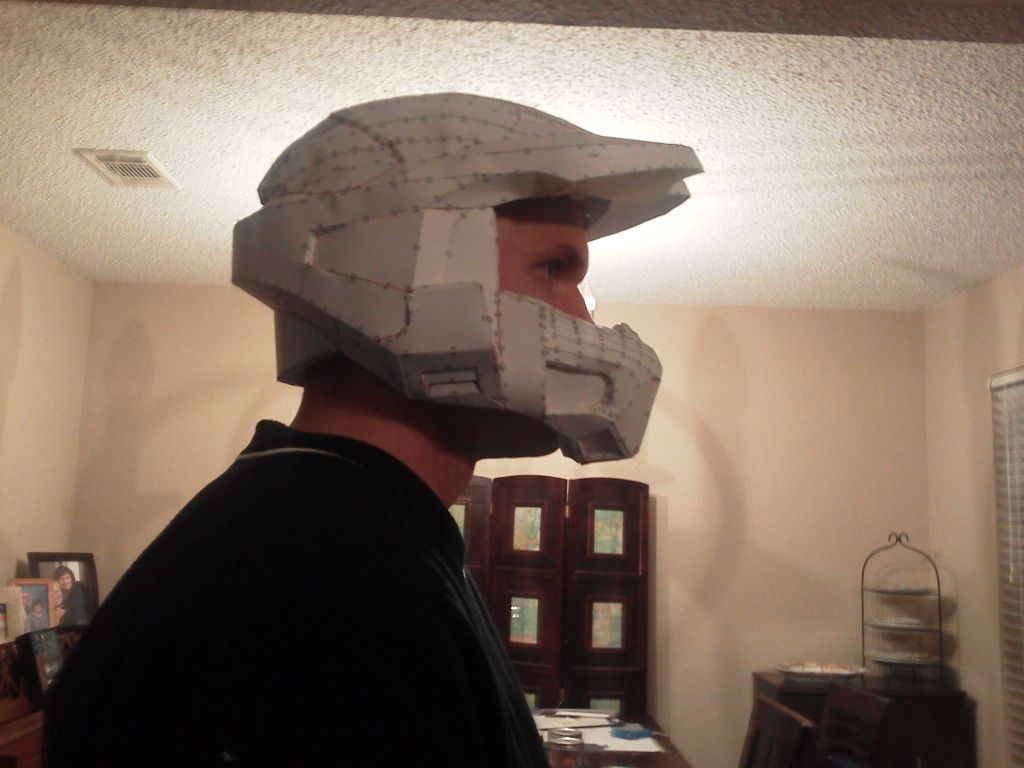
There is a slight warp in the visor, much more pronounced when it's not sitting on my head straight

Here's the hand plate - I made another one this evening...but it is kind of wonky and might have to be rebuilt unless I can correct it with resin (no picture of 2nd plate...)
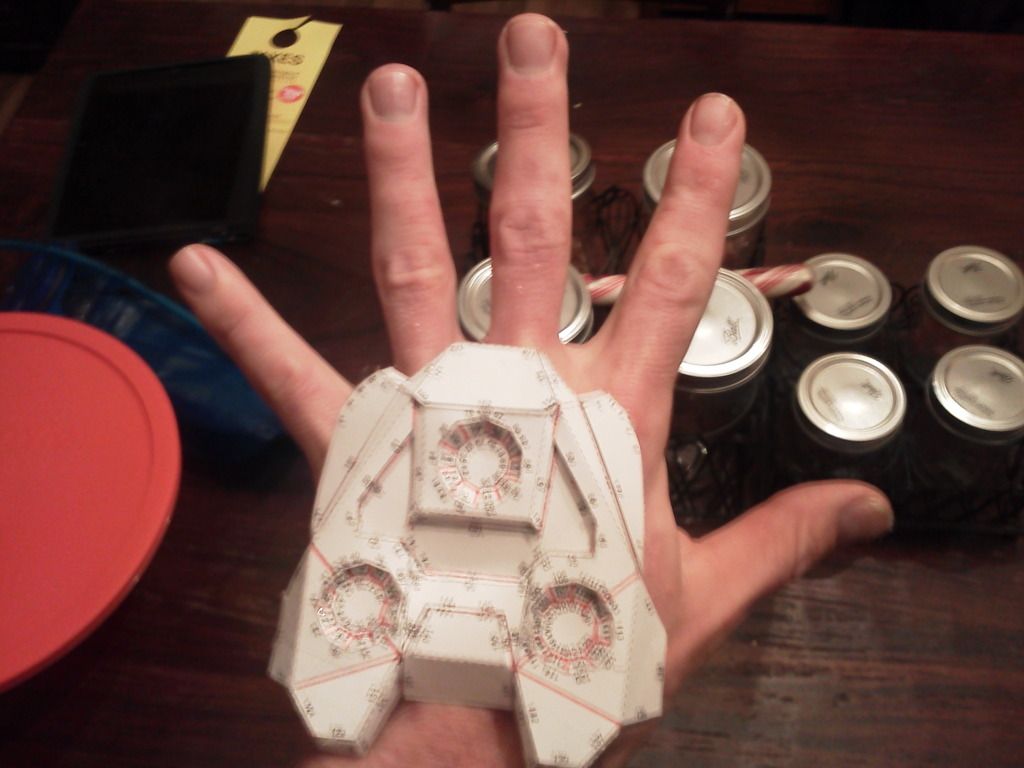
So, if the weather is bad & I can't bust out with the chemicals I'll continue on with cutting/gluing the boots. After that will be the chest piece, which I am DREADING...it will be a bear, but i'm up for the challenge. Hopefully I'll get it sized right on the first attempt. Of course, I might procrastinate on it and just build helmet v3.0...upsize it about 20mm or so to see if I get any breathing room. One other side project is to get some foam & start on a MA5C assault rifle - I have the 'sliced' files and got some feedback from another builder on sizing it correctly. At least with that project scaling isn't an all-or-nothing build like the pepakura armor parts - I can print out just enough pages to make sure the overall length is correct before any cutting commences

More to come - stay tuned!
-
You might want to cut out some supports from your card stock and glue them inside your helmet to push out some of the areas you think you might be having trouble with. My 2nd helmet has a bit of a warp in the visor I'm going to have to correct somehow, even with the supports in place (lined up the edges of pieces on one side different than the other side...oops). But, it's still a learning process and I'm not on a strict timeline with my armor. My 2nd helmet is a bit small, but definitely closer to scale than the Death Star sized one I made the first time around

Sizing is the scourge of my build - even following the tutorals I don't think I am scaling properly. My 2nd helmet is all glued together (can't access photobucket from work...so no pix) but has very little room for padding & electronics and tough to get on my head. I think my daughter is secretly hoping i'll move on to V3.0 so she can have this one
 . Last night I assembled a hand plate and while it looks right in pictures, it still feels a bit small to me - and I don't have the paintball (armored) gloves i'm going to use for a better compairison. Oh, well. Tonight i'll go ahead & make the other one and then move on to the boots - the weather is supposed to clear this weekend so I want to have as many parts ready as possible to resin and/or fiberglass, and hopefully start on the bondo stage of my V1.0 helmet
-
Good luck - I'm watching your build thread over on the 405th site

-
Ok, not pepakura, but a nice addition to my armory:
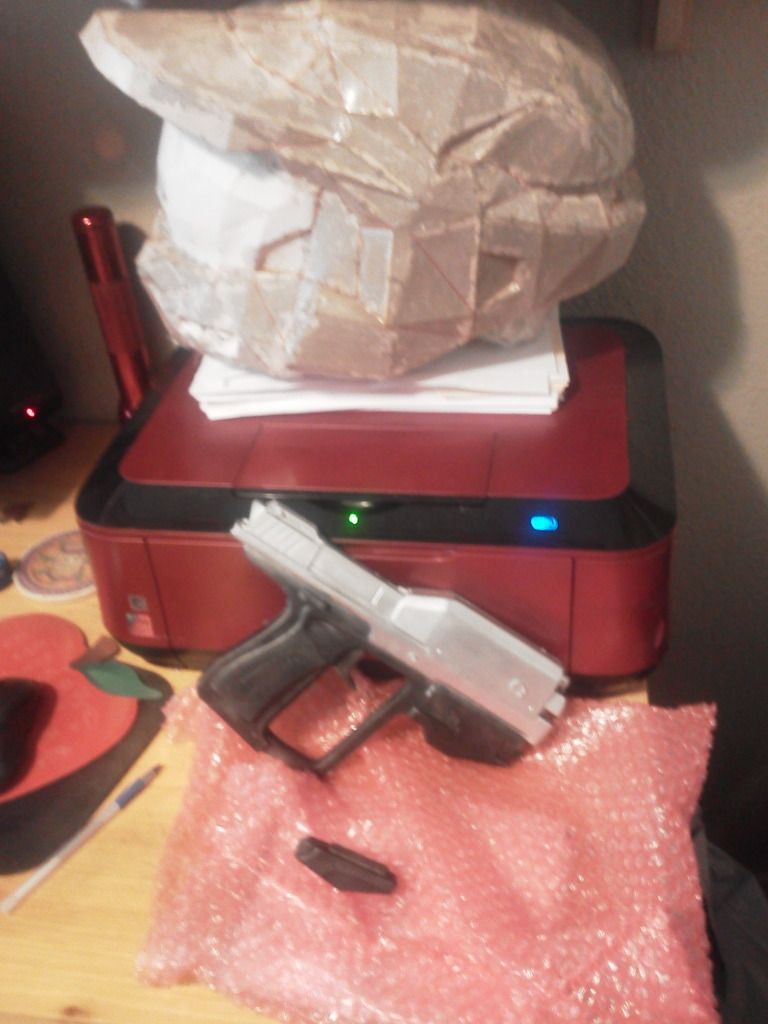
I plan on attempting to make my own MA5 and/or MA37 rifle from foam or pepakura (or a combination of both)...but that is still a ways off.
Glue gun warming up...off to get some work done!
-
It warmed up enough today that I could have done some resin/rondo work, but I opted to keep on with the pepakura work on my 2nd helmet. I finished cutting it all out on Thursday and did a lot of gluing today - not done, but getting very close. The forecast for next weekend looks promising, so if all goes well I can start on the bondo/shaping of my 1st helmet and at least a coat of resin applied to the second one.
getting VERY close - I think most of the tiny (read: frustratingly difficult to work with using my hulk-hands) parts are in their correct places:
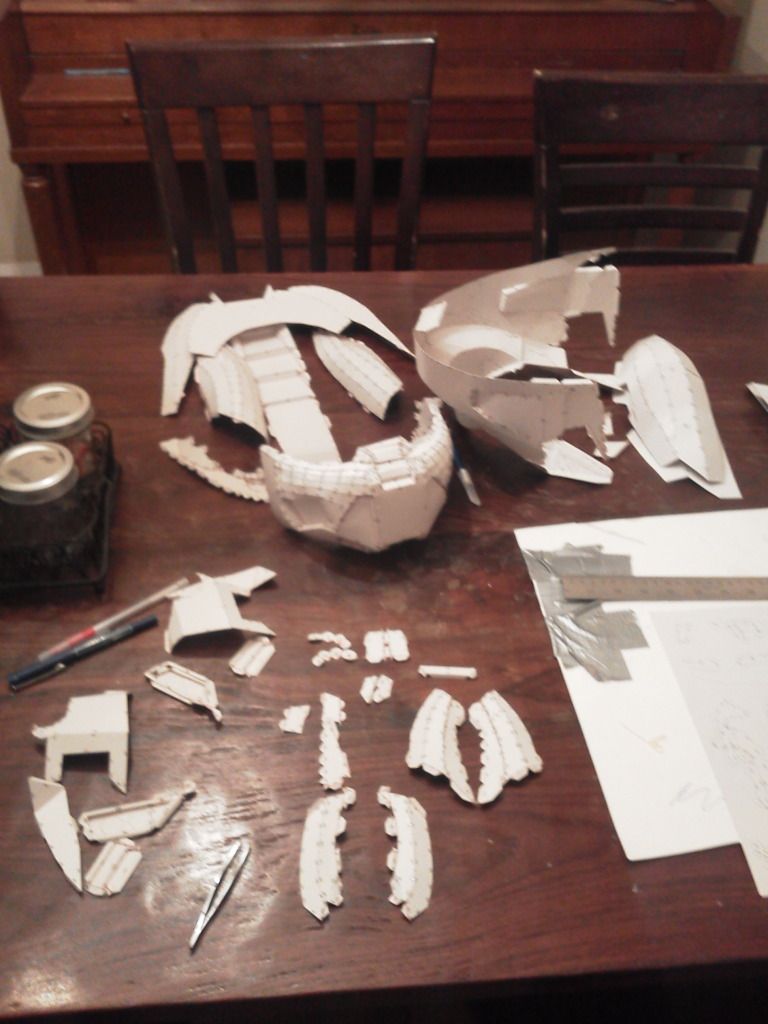
If I can get an hour or so a night of gluing I should have it put together by the end of the week & ready for resin

-
Mine (so far) is definitely my HALO Mk VI build. And finish my Mandolorian and get it approved by the Mando Mercs
 .
. -
The cold snap continues...but I did get the helmet fiberglassed about 99% - I didn't get the underside of the visor of the helmet (the part sticking out above where the gold visor goes...). Once it warms up I'll be coating the inside with rondo to smooth it out & get into all of the nooks & crannies I didn't cover with the fiberglass. I have to report that using spray adhesive before putting down the fiberglass helped TONS - much more efficient that way and didn't have to worry about the resin curing prematurely.
Here's a comparison of size to my RT-Mod bucket:
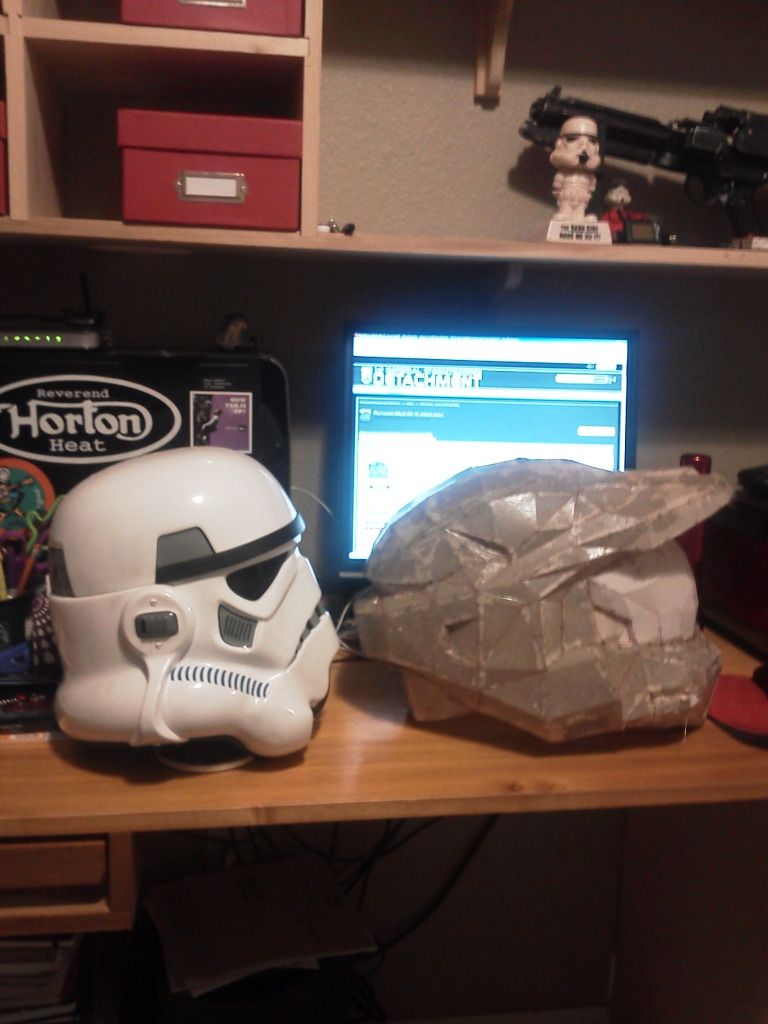
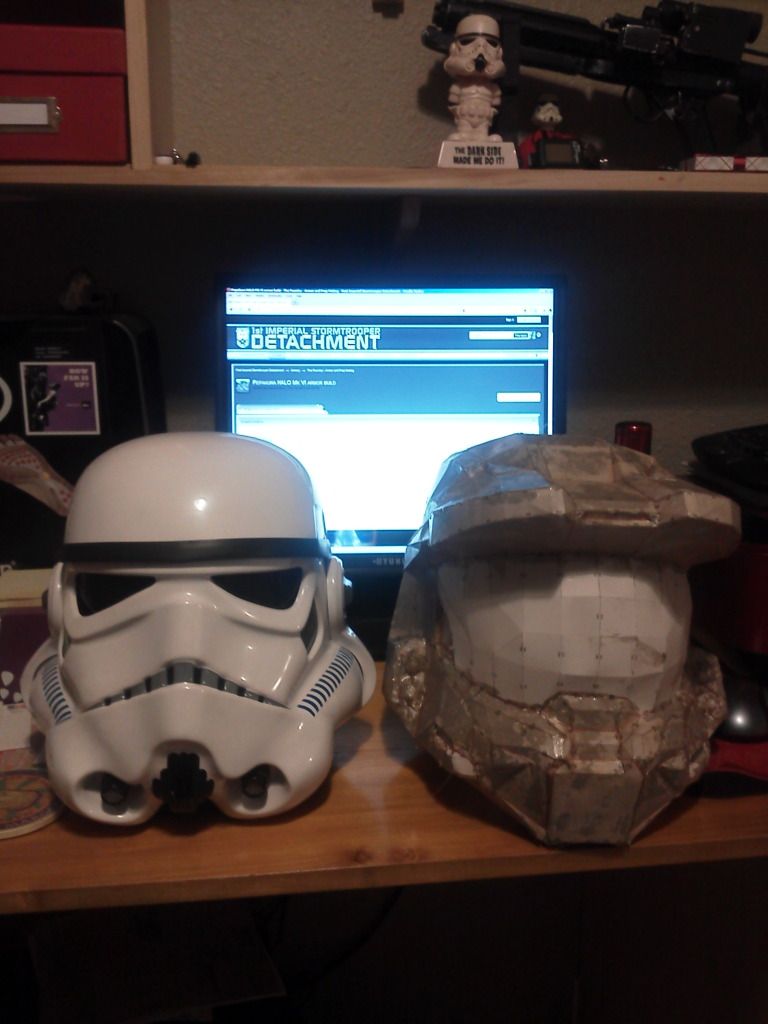
Since I can't do anything with chemicals for the time being I printed out another helmet and started scoring/cutting. As I work through it it seems like it is going to end up on the small side, but I said the same thing about the one above! I plan to be brave this weekend and cut out one of the "gold" visors with the dremel this weekend. Once it warms up it will be back to the land of toxic fumes - looking forward to getting this thing shaped! Even though it probably won't be used with the rest of the armor, I'm planning to see it through to the end and plan to install the LEDs that MC has on his helmet - stay tuned!
-
This is awesome! I'm a Halo fan since the first game came out and I've always wanted to do an armor that's halo related. I want an ODST, I'd do it, but I have no clue how pepakura works so that's where I'm stuck :/
You can get ODST armor pre-made - it uses thinner ABS than TK armor (at least from the source I will likely buy from), so it is a good idea to fiberglass or rondo (or both) the inside of the plates to add strength. I'll be investing in a set sometime next year, but until then will keep working on this. Pepakura is a matter of time and patience...and nimble hands
 Some of the folds are kind of tiny and I don't have the steadiest hands to glue them quite as well as needed. You should give it a go - just use 110# card stock, not regular printer paper. Check out the forums over on the 405th.com - TONS of info and tutorals there
I haven't picked up any foam to work with just yet, but did start on fiberglassing the helmet - no pix just now, letting the resin set. I have to say that the strands from the fiberglass mat get everywhere and stick to EVERYTHING! I had some residual resin on my gloves so that made it all the more fun to put the mat down inside...and now my gloves look like Wampa claws
 . Still, progress made - hopefully the warmer weather will continue through tomorrow and I can get a little bit more done. I am almost out of catalyst for the resin so I will get some more of that tonight. Next week will be really cold so other than taking some pictures I won't have much progress to show. I might go ahead and print out a properly-sized helmet file and start on the cutting/folding for it to keep me busy...or move on to another part.
The visors I ordered arrived today and...well, they are gold-ish when you look at them at an angle. They're for practice anyways, so no worries, although I did notice they might be a bit small for the opening on my oversized bucket...oh, well - that's what bondo is for, right?
-
A cold front blew in for the holiday weekend...grrrrr (and brrrrr
 ). I have the first layer of resin covering about 80% of the exterior of the helmet, but I'll have to wait to do more until after it warms up. But, I am catching up on reading more build threads over on the 405th forum which certainly helps me fine-tune how my build will progress. The helmet I currently have pep'd is definitely too large for the armor, but I'm going to finish the build for experience sake. There are other HD pepakura helmet files that are a little easier to work with (fewer small parts), so that will (hopefully) speed up the next build.
I found modified pepakura files for using foam...but they are for the Mk VII armor...just a LITTLE different. Since I won't be able to do any resin or fiberglass over the next few days I will probably play with that to see what it is like. There are a TON of foam build files for Iron Man armor, so that will be added to the future build list

Now if I could just get my darn Mandolorian armor finished...!
-
Been contemplating trying my hand at this. I wanna see how this turns out.

You should give it a go! While cutting/folding is VERY time consuming, I find it to be kind of relaxing..."Zen and the art of Pepakura"

-
Yay Halo!

Curious though, have you taken a look at using EVA foam for armor building? Take a look at that, you might want to consider it because personally I've always found Pepakura files quite daunting to assemble, fiberglass, and sand down/refine.
Personal favorite is Sean Bradley's Halo 4 MC build:
http://www.therpf.co...ef-done-156872/
But anyhow. Good luck! Hope it turns out preeeettyyyyyyy

Actually, I am going to give foam a try for the rest of the armor - I found some files to use for the patterns and hopefully will start on that part some time in the next couple of weeks. Yeah, pepakura isn't the easiest way, and there are always sizing challenges:
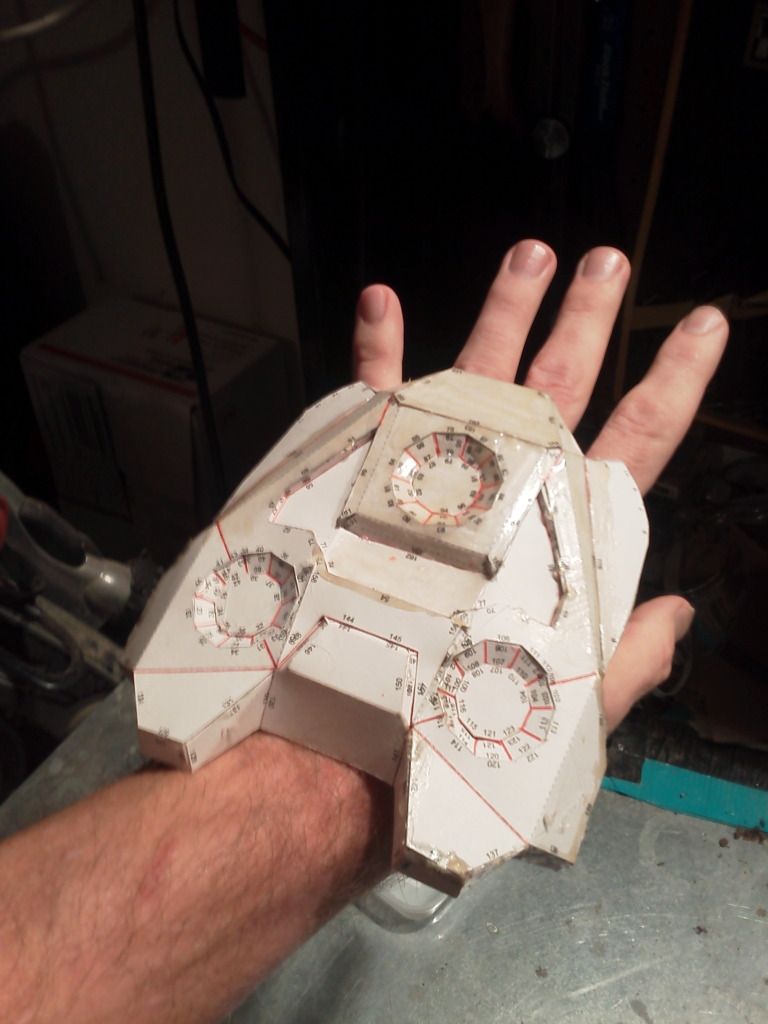
Probably not going to use that one in my build...and given the difficulty of just putting that handplate together I will probably opt for the LD files and add details afterwards.
Started on the resin - safety first!
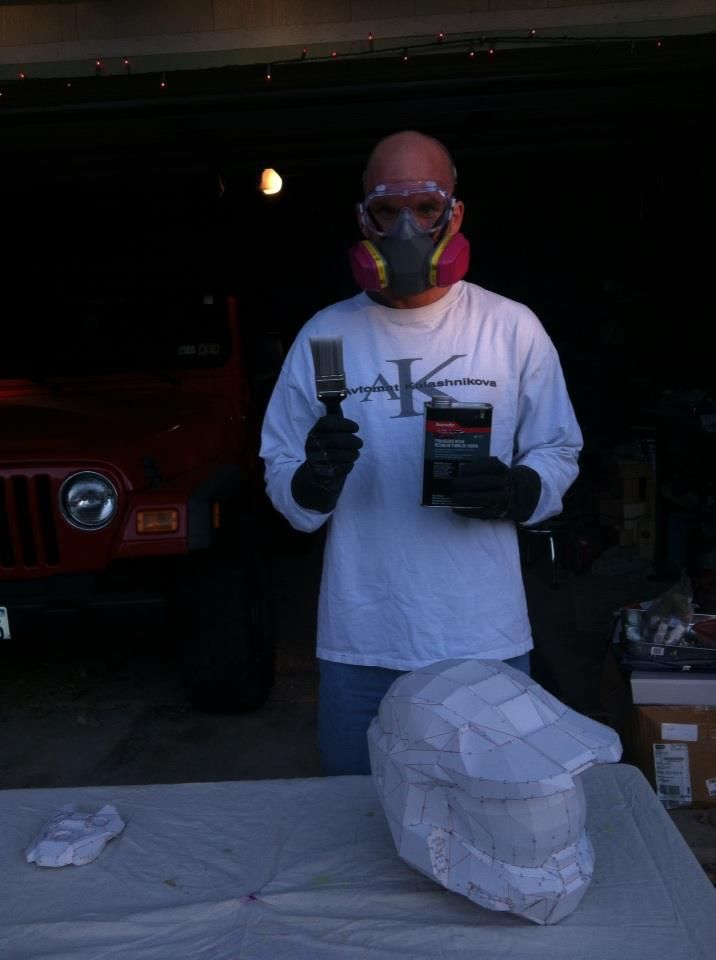
I managed to get most of the top of the helmet covered before I ran out of daylight & the temperature started to drop. I should have the outside done by the end of the week and hopefully can schedule some time this weekend to start on the interior. The visors are shipping - I'm going to use two, one with the cut out that will go over the inner one. I'm not using the HJC visors at this point - found some $7.95 gold visors on amazon that i'll use to experiment with for cutting before dropping the $30 for the good ones.
-
"the protection of hard armor in that area would be helpful"
Did you go kicking and screaming along the way?

Accidents happen...or some runners might be a bit more protective (aggressive) of their remaining flags. Better safe than sorry - I can see someone running 'over' instead of around a zombie.
-
Well, in a "DUH" moment...I could, I dunno, just use my own armor to model/shape the foam...would be easy to size it to my body, since it is already fitted, length-wise at least..

Of course, the helmet will be the most challenging - from what I've seen so far making the dome isn't an easy undertaking, although foam can be shaped pretty well using a heat gun. The thought of pressing a heated piece of foam to the top of my bald melon isn't all that appealing...
thanks for the suggestion, Vern - if anything, I might see if anyone has an extra codpiece. Just from the experience of my run on Saturday, the protection of hard armor in that area would be helpful.

-
MODS: Since this is a thread about non-501st approvable building, please move it to wherever is more appropriate if necessary - thanks! I didn't think about that until after I posted...sorry!
Yesterday my daughter and I participated in the Run for your lives 5k - an obstacle course which also included zombies who would chase you trying to 'infect' you. You started out with 3 flags on a belt and if you lost them you were infected. Some of the Z's were runners, and needless to say neither of us survived (although we finished):
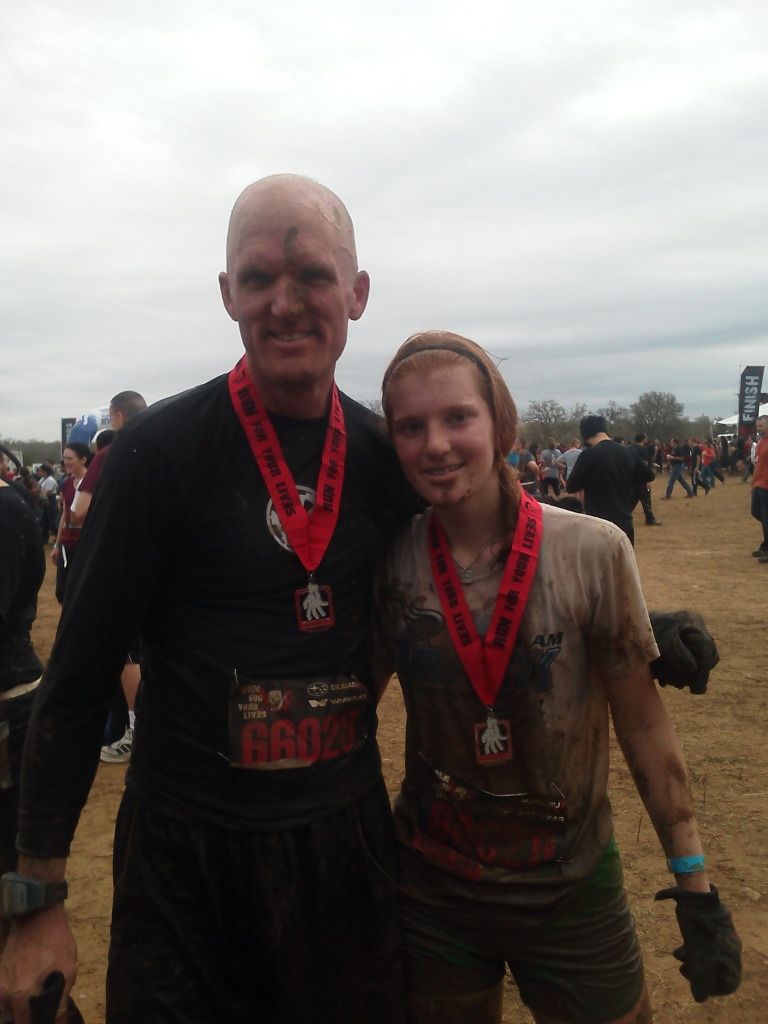
I am wearing my Imperial Cog underarmor top...so technically I have already been recruited as a Death Trooper

Participants (both runners and zombies) were encouraged to dress up and we encountered Santa zombies, Elf zombies, a Snow White zombie and a Thor zombie.
What I got to thinking about is designing some Death Trooper armor that would allow me to be a runner zombie. My initial thought is that it would be a foam construction, sized down for a tighter fit and more movement in the joints. It would attach to the underarmor with velcro, so no strapping. The helmet would need to have a decent split around at least one eye for good visibility. Foam would also help minimize any damage from inadvertent contact with other participants - I accidentally took out one of the zombies yesterday...was running by, turned my body to avoid her grasp, and dropped my shoulder...which connected with her face. I stayed with her to make sure she was alright & got an escort back to the medical tent. I also dropped by there after I finished to check up on her & they said she was fine. I felt TERRIBLE about it though...
I have started a thread about my HALO Mk VI armor build using pepakura, but might do the rest of the armor (already pep'd a helmet) from foam, so I'll see how that goes before attempting this project. What I'll need to track down is some templates for all the armor parts to cut out of the foam...trying to free-hand would probably end up with armor worse than a Rubies kit
 .
.This project is in the 'thinking about' stage and may never come to fruition - I have my HALO build to get through first which is going to take a considerable amount of time to complete. But, if anyone already knows of a source for foam templates for TK armor, please PM me or post a link here. I have no illusion of trying to make it 501st approveable, just something to have fun infecting hapless living people with

-
On the Star Garrison page we track our troops in a thread named the "Death Star Initiative" - for X number of troops you get a certain level of recognition (an avatar that changes color depending on your level). The entry level for the avatar is Level 1, which you have to have 20 troops to achieve. I am one shy of my Lvl 1 cert...with nothing on the calendar for the rest of 2012. So close! But, 2013 already has several events, so it's all good


Pepakura HALO Mk VI armor build
in Build Threads Requireing Maintenance
Posted · Edited by boomshakra
Ken down in SA also found one of those - but since the helmet itself is sized pretty small, I do not think the visor would swap over very well...
Yeah, I had already considered putting tint over a curved surface & the difficulty of doing it right - just getting the paper template on the visor for the outer one I cut was a bit of a challenge. I'll keep this one for transferring the cut lines over to the HJC when the time comes. This one will go in the v2.0 helmet when it is ready - the kiddos already have dibs on it when it is finished . I'll probably pick up a can of the spray tint to experiment with regardless.
Annnnnd another mis-sizing on my part - started gluing parts of the forearms together last night and they are too small - we're talking TK slim...and Spartan armor is supposed to be made to fit the genetically modified wearers (which I am not, but you get what I mean...). While they probably would fit over my forearms, there would be no room for padding and they are a little short - and would look disproportionate on the rest of the armor. Re-sized and printed new ones...chalking it up to experience with the benefit of more cutting/gluing practice
On the brighter side, the humidity is dropping so I can get some resin/bondo work done!