
TK21999
-
Posts
84 -
Joined
-
Last visited
-
Days Won
1
1 Follower

About TK21999

Recent Profile Visitors
2,647 profile views


-Copy.thumb.jpeg.8715a83cb32a3e6745f879885b26e712.jpeg)
-
Made a simple, low profile, light duty belt clip for my set. Belt lock with a semi-locking outer arm.
-
Thank you. I have a set of SWGE binders I might carry. My only other hang up is they don’t color match my armor. I’ll probably have to argue with my OCD over this one. Ya, looks like that FOTK blew his side seams. Heck, you could hide a nice size cooling fan in a space like that. Ill send you a PM regarding binders the next time I have access to SWGE.
-
Morning Q, Do you have any information on how, where or if they are carried on the Troopers? And seeing that these are TLJ, any thoughts on binders being added to TFA gear? (I just noticed in TFA, when Finn was escaping with Poe, Poe was wearing binders. )
-
That was so much fun! Thanks for the invite!
-
Thank you! My baton is from the Hasbro Black Series. Thanks to advice from “gmrhodes13”, I’ve since made a few modifications to make it look more movie accurate. Also added a holster mount for carry and gutted the electronics to save some weight.
-
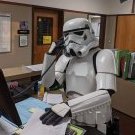
For everyone with a Husky armor box..., lets make a more usable workspace. This build will explain how to easily add shelving to your armor box, giving you more staging room when you’re suiting up for a troop. First let’s start by removing the 2 plugs on the opposite side of the handle. Same location, opposite side, of where the handle slides into the box, there are 2 plugs that need to be removed. From the underside of the ledge, push the locking-foot up and start working the plug out. For me one plug just popped out and the other was very difficult to remove. To make it easier, you can drill a screw into the face of the plug, then clamp vice-grips to the screw, making it easier to pull the plug out. Don’t forget to push the locking-foot up. Removed? Great! Next you’ll need 2 each, 1/2” pvc 90s and some 1/2” pvc pipe. 1 piece roughly 19” long and 2 pieces roughly 15” long. Leave the lengths a hair long just to make sure you get the best fit. You can trim them down as needed. The 19” piece of pipe is your center and the 15” pieces are the legs. Connect the pipe with the 90s to make a U. Now take your U of pvc and slip each leg into the Box where you removed the plugs. Take your Tote that came with the Box and set it in the pvc U and mark the pipe, near the Box, so you know what the maximum distance the pipe needs to be extended to hold the Tote. As long as you’re happy with the fit, go ahead and glue that pipe to the 90s to make your U solid. To hold the U in place while in travel I used a Velcro cord wrap. I drilled 3 small holes side-by-side and trimmed between the holes to shape a slot. Then I feed the Velcro strap through the slot and secure the U. NOTE - Do not use the U, secured or extended, as a handle to lift your box. Lid shelf frame - You’ll need some 3/16” steel rod which should be available at any hardware store. I bought 36” lengths for my small shelf frame. Measure the distance apart of the eye ports on the underside of the lid. Mine measured about 12” apart. That will be the width of your shelf. Next decide the depth of your shelf. I went with 10”. Now take your 3/16” steel rod and measure the depth first (again, mine was 10”). Bend there 90 degrees. From that bend measure the width (again, mine was 12”). Bend another 90 degrees making a U. Now the last leg will be to long and will need to be cut. Hacksaw, bolt cutters or I used a copper pipe wheel cutter. Cut the last leg the same length as the first leg. WARNING - CUT EDGES ARE SHARP! Use a file, grinder, stone or concrete to round off and smooth out the cut edges. Take your steel rod U and test fit it to your lid. If it’s angled up to high, remove the U and bend the last inch or so of each leg down a little, then reinstall. Repeat until you get the angle you like. Like magic, you made a shelf frame. Repeat to make an additional shelf frame if needed. Next you need a shelf platform for your pvc U and your steel U. I used fabric for mine. Basically you’ll need a piece like a pillowcase that will slip over the frame you made. With that said, it’s possible a pillowcase might work for the pvc U. But an even easier option would be a tee shirt ab section. Take an old tee shirt you don’t mind cutting up, see if the opening securely slides on the pvc. If so, trim it down, cutting straight across from armpit to armpit. For the steel shelf frame find yourself an infants tee shirt and do the same thing. You can always make your own if you, or someone you know, is handy with a sewing machine. That’s it! Now you have more room to set out and access your armor for a troop. Upon closing up your Box, pack up your armor, return your Tote to its position, remove the fabric platforms and toss them in the Tote. Next remove the steel frame U and turn it legs-down, over your Tote, against one of the inside walls, it will just hang there. Slide in the pvc U and secure it with the Velcro. Happy Trooping!
-
- 6
-

-
Awesome, thanks for the heads up! I’m off on Sundays so I’ll shoot for the 8th.
-
Thank you! Can’t wait to get trooping.
-
Thank you guys!
-
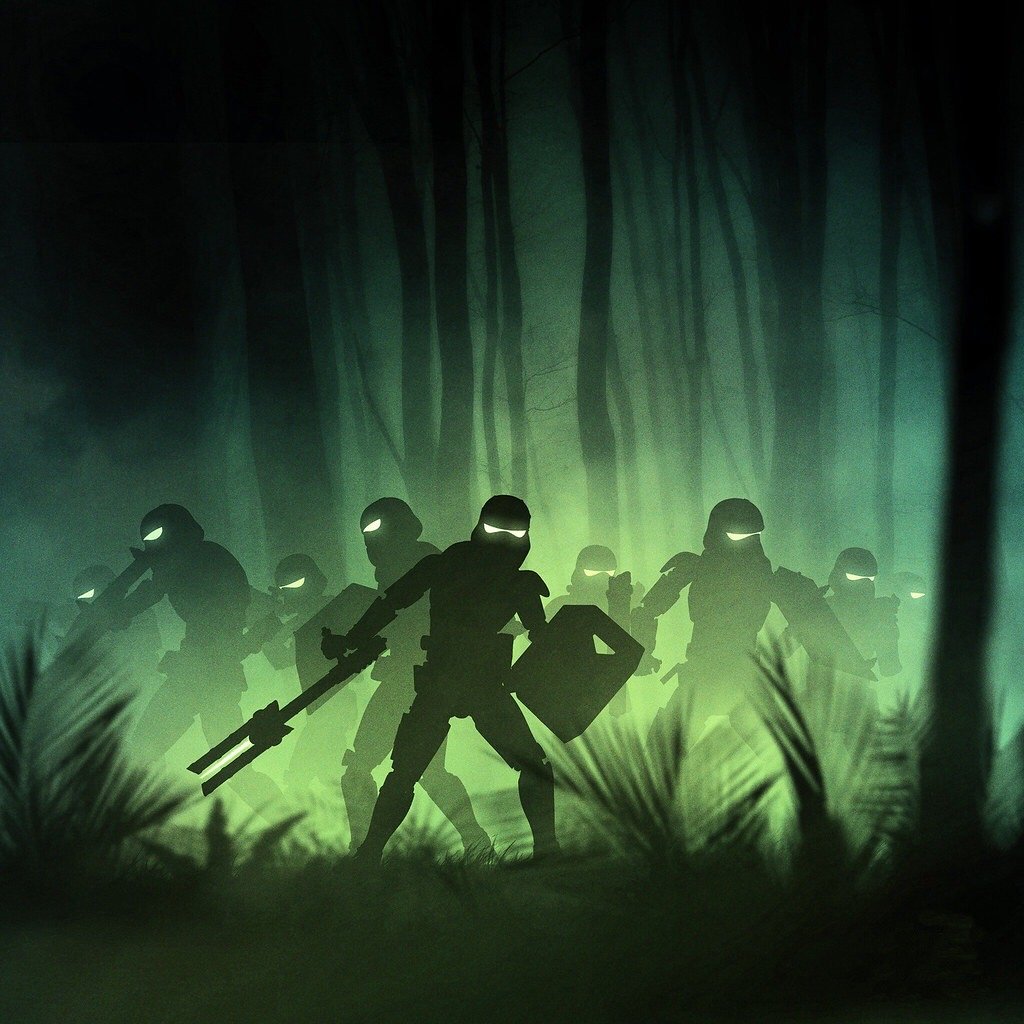
For the First Order! It was a long wait with a short build time. I’m so excited to be an official 501st Stormtrooper! Thank you everyone for your support and build threads! In memory of FN-2199 (Nines) I received my TK# of 21999. I’ve also updated my user name from FirstOrderConcepts to NeoNines. Lets get trooping!
-
 TK21999 changed their profile photo
 -
TK-21999 requesting 501st access, please. http://www.501st.com/members/displaymember.php?userID=30934&costumeID=326
-
Also finished my KB Props Riot Shield.
-
Adjusted my bells. They kept binding when raised until I swapped the ridged straps to elastic (thank you Q). They move much easier now.
-
Thank you Tony! I’m working on the bells right now. Thanks for the pic! I have bungee cord loosely holding my right boxes on, so they can flop around a bit. I’ll snug them up to close that gap.
-
Cool. I want to make the necessary corrections first and then start on adding better detail before I jump levels (Like cutting out the chest dimples and applying gaffers tape behind them). Plus I want to get a few troops under my belt to show me any hot-spots or fails I need to address.