
equuspolo
-
Posts
655 -
Joined
-
Last visited
-
Days Won
3
Content Type
Profiles
Forums
Gallery
Articles
Everything posted by equuspolo
-
 Thank you Andrew, appreciate it very much.
 -
Would love to, don't know what it entails and what I need to do. Thank you so much for such an incredible compliment. Wow.
-
Hey Joseph, thank you so much as always. Well, I've made the adjustments to this one, Centurion next. After that, I have already started the FOTK, so that daunting task is next on the list. But Work has picked up for me now so I may be a little slow going for the FOTK. But already started it a bit.
-
Awesome. Thank you so much
-
Question for you, do I need to post in the request certificate section again?
-
Thank you Mario, appreciate it very much brother.
-
hahaha never saw it. haha.
-
Wow what an honor again. Thank you so so much for everything, especially the notes. Noted and all of the changes will be made before my submissions. Everything looks super simple and straight forward and thank you and the entire DO team for review and kindness as always. Also, appreciate all of you taking the time to make the notes and suggestions. Appreciate it beyond words. Thank you so much and thank you for this acceptance.
-
I didn't see anything. haha what review? Is everything good to go hahahaha?
-
Wow Sha Sha, you were right and I have no idea how I missed that. Just went through it and cleaned it all up. Thank you for catching that. Ardeshir
-
Hi Sha Sha It may just be the photos, I will take a look as soon as I can. I know I painted it right up to the edge but not past the teeth, that I know for sure, I will get you the information asap.
-
Hey Joseph and I appreciate it beyond words. Thank you for always making sure I am on top of it all.
-
Hey Joseph, here are some quick shots we did. Left thigh was riding too high and it is lowered now to even that gap out. Appreciate you catching that. Look forward to anymore comments. Hey Joseph, I got a chance to take a few new pics with the adjustment for the gap. Appreciate your patience. Thank you brother and look forward to the feedback. Ardeshir
-
Thanks brother, appreciate it. Always.
-
Thank you Mario, appreciate it brother.
-
Hey Joseph, so I uploaded the scope image you requested. I am going to see if I can find another posterior plate and make a custom one for this. If not, I am going to request a bit of grace on this. First and foremost, I lowered that thigh piece because it was riding too high and that was my mistake, so thank you for pointing that out to me. If I have time to suit up I will post another photo. If I get another plate, I will trim it to your request and have a second plate for my esb. If not, then I am going to ask for grace on this as I have seen a few others that are not trimmed down and I would hate to trim isolate this armor for only my ESB. Appreciate it beyond words and as always thank you for your kind response and suggestions, I take them all to note kindly.
-
Thank you Glen
-
Hi and thank you so much for the comments. I would like to ask for grace on the posterior plate as I would like to have flexibility on the use of this armor for ANH as well. As for the scope I will get those photos for you ASAP. As for the overlap, that is my error as there isn’t an overlap and that was me running back to spot before the timer released and I was just standing tilted hahaha.
-
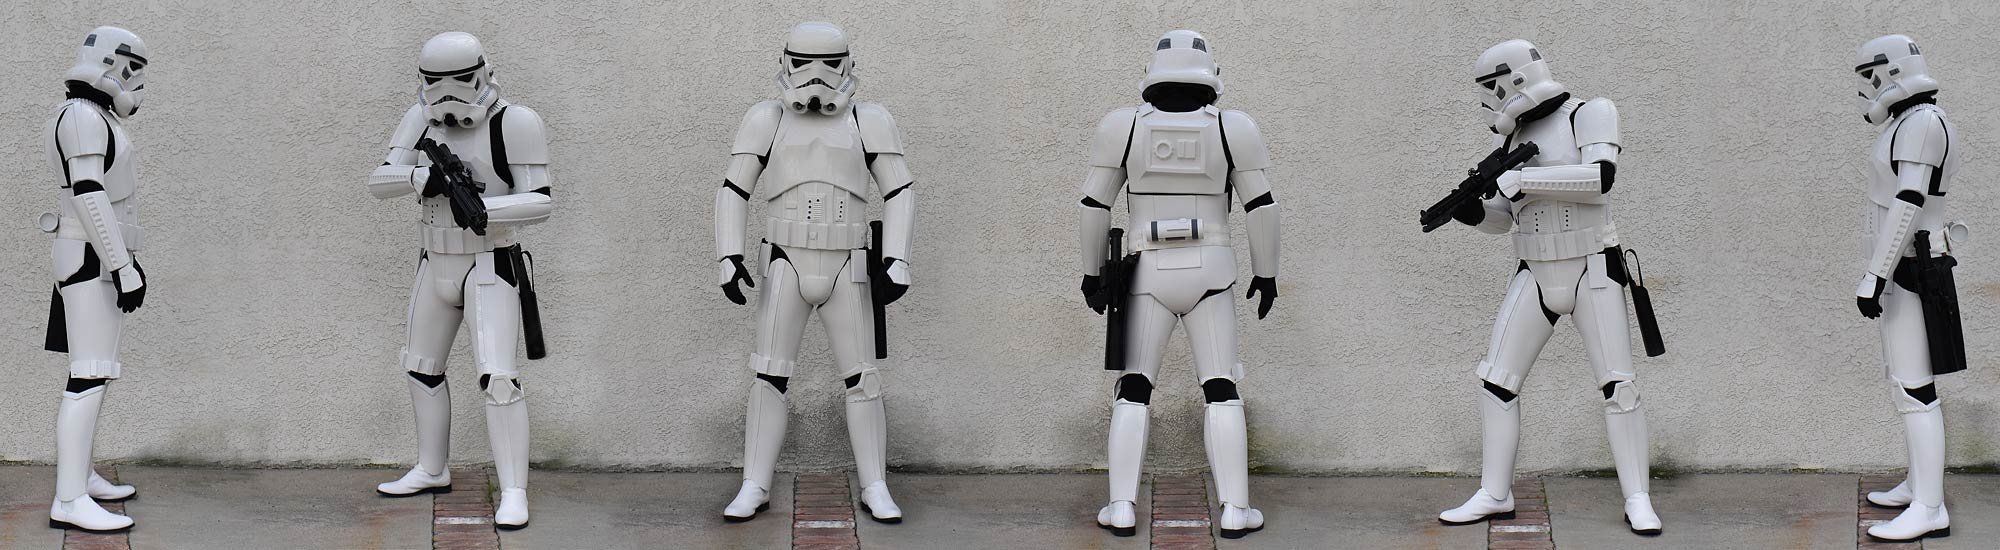
Name: Ardeshir Radpour Username: equuspolo TK-42128 Southern California Garrison Los Angeles Squadron Armor Maker = Anovos - fully customized Helmet Maker = Anovos - fully customized Blaster Type = E-11 Made by Praetorian Blasters, Customized Height = 5'10 Weight = 165 Boot Maker = Imperial Boots Canvas Belt = Kittle Belt Hand Plates = AM Armor Hand Plates - custimzed to fit and match. Electronics = Icomm, UKSWrath Amp, Selfmade Custom Fans and Battery Pack, Wireless Mic, Wireless connect to Aker Amp, Speaker Neck Seal Type = Stormtrooper Undersuit, molded piping Holster Maker = DarmansProps Same Suit as my stunt EIB-917 and Centurion-439 Approved. NOTES ON THE CHANGES AND MODIFICATIONS: THE HELMET: This Helmet is an Anovos Helmet rebuilt from scratch. All Stickers replaced to accommodate Empire Strikes back colors and stripes. Tube Stripes are single stickers alternating white and blue as were used in Empire Strikes back. All Stickers from TrooperBay. Per ESB Helmet, this helmet copies the three stripes on the right ear and two stripes on the left ear. Neck seal is S-Curve and lenses are flat lenses. Helmet also follows the low brow example as seen on of the empire strikes back stormtroopers on a few scenes, but clear example of him in the very middle on the vader invitation scene on Bespin. HOVI TIPS: Opened up and painted white on the inside and rim is painted white as well, Anovoes mesh was replaced with appropriate wider mesh to match screen used mesh. THE AB BUTTONS: Ab buttons are squared off. They were filed down and squared off. They are sharp edges on all four corners of each.
-
Excellent Justin. Knew it. Look forward to trooping our HWT's together brother. Congratulations.
-
Thank you Andrew
-
Thanks Glen, appreciate it.
-
Thank you Mario
-
Hello everyone So I had quite a few requests for photos of my binoculars, so I thought I would post them here. They are customized to my own liking. Of course you can do yours as you see fit with the stickers or lack of stickers. So let me just say this. I wanted binoculars that looked real as opposed to just brand new or worn out prop. I thought about putting in electronics and real lenses, and then I stopped myself before I got to carried away. So here are the details: The binoculars are 3-D printed by 3dprintmerchant. Awesome awesome awesome. I chose white to match my TK and TB kits. The sticker on the in black says, Special Operations Command, the sticker on the opposite side is my TK ID. On the front is the Neurosav model, the bottom has the maker and model number and finally the on off labels by the on off switch. The green is the range and the imperial cog placed on face plate and top. I had the option of green and red lenses. I loved both but I chose red for more elite operations infrared look. I painted inside of the lenses on both sides black so that the red lenses, which are flashlight red lenses, look deeper. The front lense has the red dot up top as you see on other Neursav binoculars, and same with the tip of the on off switch. The turn nob by the on off has a red line across the top, I chose to run it down to the center for a bit more visibility of turn nob. Non functional of course. There are 11 screws, 7 larger and 4 small screws all installed to the faceplate. The whole thing was sanded and painted white and then distressing done with a fine brush. The distressing I wanted wasn't the chip paint look. but more the dirt that has been cleaned off but during time just naturally wedged in to recessed areas. Military would keep their equipment as clean as possible. Not the banged around damaged look. Which is what I wanted. Anyway, I hope you enjoy this and it is of some use and help. ------------
-
Awesome brother. You got this. Your kit looks amazing. Can’t wait to troop them together.
