-
Posts
195 -
Joined
-
Last visited
-
Days Won
1
Content Type
Profiles
Forums
Gallery
Articles
Media Demo
Everything posted by MakeNoiseMan
-

[43] TK-61596 (Mayo)'s Troop Log
MakeNoiseMan replied to MakeNoiseMan's topic in Field Training Exercises
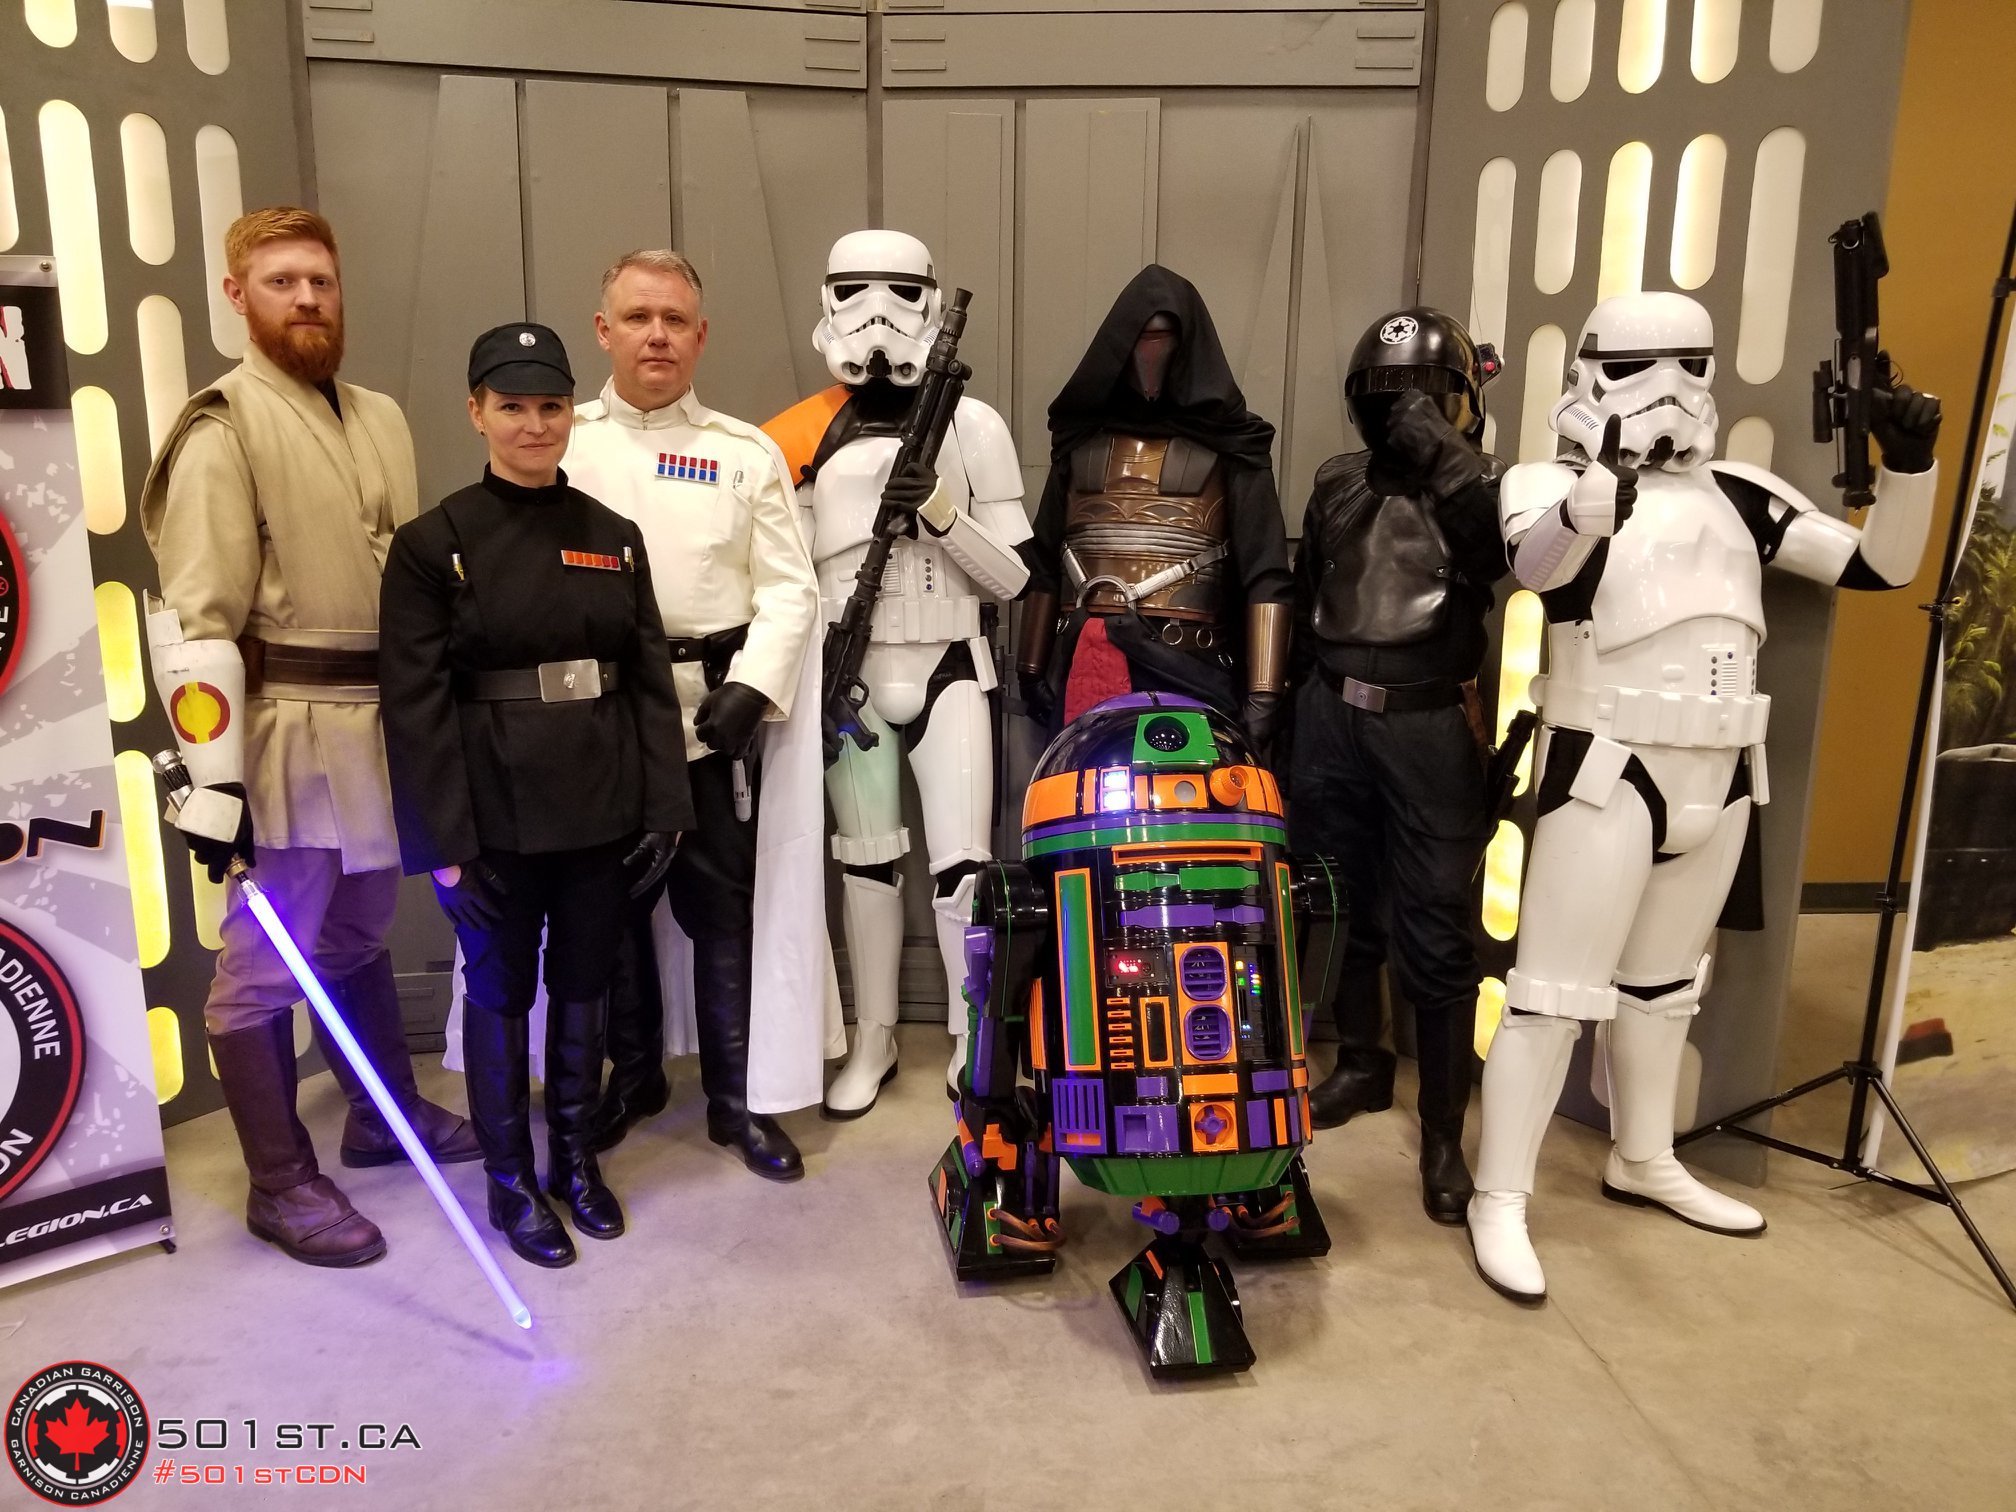
Troop #3: March 15th and 16th, 2019—Toronto Comicon, MTCC My first big con as a 501st member! What a blast. So cool to meet folks from the Canadian Garrison to whom I had previously only spoken over the Internet. Lots of people, lots of photos, lots of happy kids—and LOTS of cool Star Wars costumes!! I'm the one right behind Old Ben. I'm the one on the far left. My girlfriend Jess, who tolerates all of my nerdy endeavours. Also a future TIE pilot! -
They are looking good! Sorry to hear that the glue is still not holding, though. That really does surprise me with E6000. I've heard rumour of knock-off brands that don't perform as well and was told to make sure the E6000 packaging had a little "Made in U.S.A." flag in the bottom left corner—perhaps it's worth double checking to make sure you've got the right product. Great job with the fitting! The wrist-end return edges (or lack thereof) look super clean, too. If you're shooting for L3 they may just ask you to trim off the itty-bit of return edge still left where the track of recesses is. Keep it up!
-

Linz AM ANH build thread WIP
MakeNoiseMan replied to Linz's topic in Build Threads Requireing Maintenance
If it's any help, AP ships its kits with directions to leave an 1/8th inch lip around the bigger ab plate. Different kit, but should be the same-ish measurement, yeah? :-) Keep it up!! Looking great so far. I agree you'll want your ab/kidney connection to be a straight edge instead of on an angle like it is in your first picture, but that's already been addressed. Remember to leave some material for the little kidney notch! :-) -
Thanks for your input, everyone! Upon review, I think you guys are right, my EIB submission photos didn't show my ear alignment at the best angles. However I do think they still need some work. Darn ears. They were assuredly the most difficult part of my build. If they aren't L3-approvable as they are now, I think I'll be ordering another set from Mark and giving them another whirl from scratch. How important is it that the bottom screw is centred on the ear? For instance, on my left ear if I were just to move it over slightly it would be in alignment but be off-centre of the strip that it's on. Is that better? Re-doing the ear and altering the angle would be best, but I'm just curious. As for my right ear, I can see that it is indeed too far forward. On to the to-do list! Eric, thanks for your point about the hovi-tip mics—It was late and that didn't even cross my mind when I read Andy's review, haha. I can confirm that they are Ukswrath's hovi-tip speakers. That being the case, I am a little anxious about opening them up and fiddling with them for fear of either breaking them or, if that white piece is for protection, leaving the speakers exposed to damage while trooping. I jumped on over to Eric's Centurion application and didn't see a mention of the hovi-speakers being an issue—has the CRL had a change? It just says "Correct 'hovi-mic' aerator tips" for L2 and no mention of them for L3. As much as I want to see this through all the way to L3, I reaaally like how the hovi-tip speakers sound. If they are an issue, I'd have to put some real thought into whether sacrificing them is worth it to me (not to mention they were a little pricey). In the mean time, I'll be getting started on the belt/drop-boxes, shoulder bells and painting tweaks! Seriously, thanks so much Andy for the detailed review and to everyone else for your ongoing input. My armour will keep getting happier and happier because of it!
-

[43] TK-61596 (Mayo)'s Troop Log
MakeNoiseMan replied to MakeNoiseMan's topic in Field Training Exercises
:-D Thanks so much! -

Linz AM ANH build thread WIP
MakeNoiseMan replied to Linz's topic in Build Threads Requireing Maintenance
Looking good! Always exciting to see pieces start coming together, even if only for test fits. -

Linz AM ANH build thread WIP
MakeNoiseMan replied to Linz's topic in Build Threads Requireing Maintenance
Lol! Wouldn't be a real armour build without "D'oh!!" moments. Biceps look great! Not to keep going on about return edges, but it has just occurred to me that the upper, outside return edges of the biceps won't ever been seen because they will be underneath your shoulder bells. I only mention this because part of strapping your suit together will involve reducing the black gap between chestplate and shoulder bells as much as possible, and the upper bicep return edge may serve only to push your shoulder bells further out while offering no aesthetic benefit. The upper, inner return edge (near your armpit) will at least be seen, providing some tradeoff if you like the look. The choice is yours, and you can always trim that return edge down if/when necessary once you get to the strapping stage. Keep up the great work! -
Lots of good advice coming in :-) Gluing my forearms together was a several-day process. It was difficult to be patient, but paid off in the end. For clarity, I'll detail my steps here—you may already be doing them, but just in case. Day 1: Glued the inner coverstrips to the the outer forearm, let cure for 24 hours Day 2: Glued one edge of the inner forearm to the matching inner coverstrip, let cure for 24 hours Day 3: Glued the other edge of the inner forearm to the matching inner coverstrip, closing the forearm, and let cure for 24 hours Day 4: Aligned and glued the first finishing strip, let cure for 24 hours Day 5: Aligned and glued the second finishing strip, let cure for 24 hours And done! The E6000 has held very strong for me by following this method. I did my biceps, thighs and shins the same way. Keep it up trooper!
-
Thanks Q! I appreciate the feedback! I see what you mean with the drop boxes—I'll get those fixed asap! The E-11 counter is something that was pointed out to me but that I'm nervous about attempting to fix. :-( The blaster came as a single, resin model and I'd be afraid to start cutting pieces off. If necessary, though, I'd take the plunge! In regards to the belt, I had it sitting a little lower before, but was advised to raise it up. I've read different opinions about the correct belt position relative to the ab buttons, so I'm not sure which is better—however, the gaps between my ab and my thighs were noticeably improved by raising the belt. I will certainly make a change if necessary, but raising it did seem like the right call. :-) And finally, no problem, I can produce photos of my ear screws by tomorrow if needed! Thanks for your thoughts! :-)
-

Digz Graavz First Build - ANH Stunt from AP
MakeNoiseMan replied to Digz Graavz's topic in ANH Build Threads
Woohooo!! Congrats!! Sent from my iPhone using Tapatalk -

Linz AM ANH build thread WIP
MakeNoiseMan replied to Linz's topic in Build Threads Requireing Maintenance
Looking good! As long as you can still move comfortably, more power to you! I totally see the appeal of the "thicker" armour. Plus, you can always trim or remove them at a later time. If you find your armour pieces are too loose, now or in the future, some foam padding on the inside can work wonders. Sorry about your finger! I hope it heals well and I second Tony's point about hand protection. I wore cut-resistant gloves for my whole entire build, and then once it was all finished and I was putting away my tools, I scraped my hand with a drill bit. I was so close to making it injury-free!! About four weeks of healing and I'm still rocking this. -

Digz Graavz First Build - ANH Stunt from AP
MakeNoiseMan replied to Digz Graavz's topic in ANH Build Threads
Beautifully done on that mannequin!! Looks great and I bet it was cost efficient. :-D Glad to hear you got a message back from the GML - almost there!! -
You could call them TK9 units!
-

Linz AM ANH build thread WIP
MakeNoiseMan replied to Linz's topic in Build Threads Requireing Maintenance
Woohoo!! Congrats on the first cut! The rest are all much easier from now on. You're going to want to take a little more off of the wrist edges, including that little bump where the track of recesses is. Here are mine for reference: The butt-joint connection between pieces looks REAL clean! Nice work. Before you start gluing pieces together, tape them up and try wearing them while bending your arms. The return edges on the elbow end look pretty thick and, while I don't think is an approval/accuracy problem, could hinder your movement or pinch your skin. Keep it up! -
I am very down for Trooper Dogs! Any plans for animal CRLs?? ... Anyone? No..?


