

StrmTRPR85
-
Posts
698 -
Joined
-
Last visited
-
Days Won
2
Content Type
Profiles
Forums
Gallery
Articles
Media Demo
Posts posted by StrmTRPR85
-
-
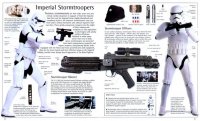
Kidney to Abs strapping.
After a fitment check I measured 3 1/2 inches of black 1 inch elastic
I than folded this over 3/4 of an inch and sewed
I then centered my snap rivet and hammered it together (sorry no pictures taken here)
I than glued it in place. The placement was done by eyeball. I wanted to give it enough to stretch to and pull the Abs and kidney together without being overly tight. E6000 in and clamped in place and allowed to dry.
-
 1
1
-
-
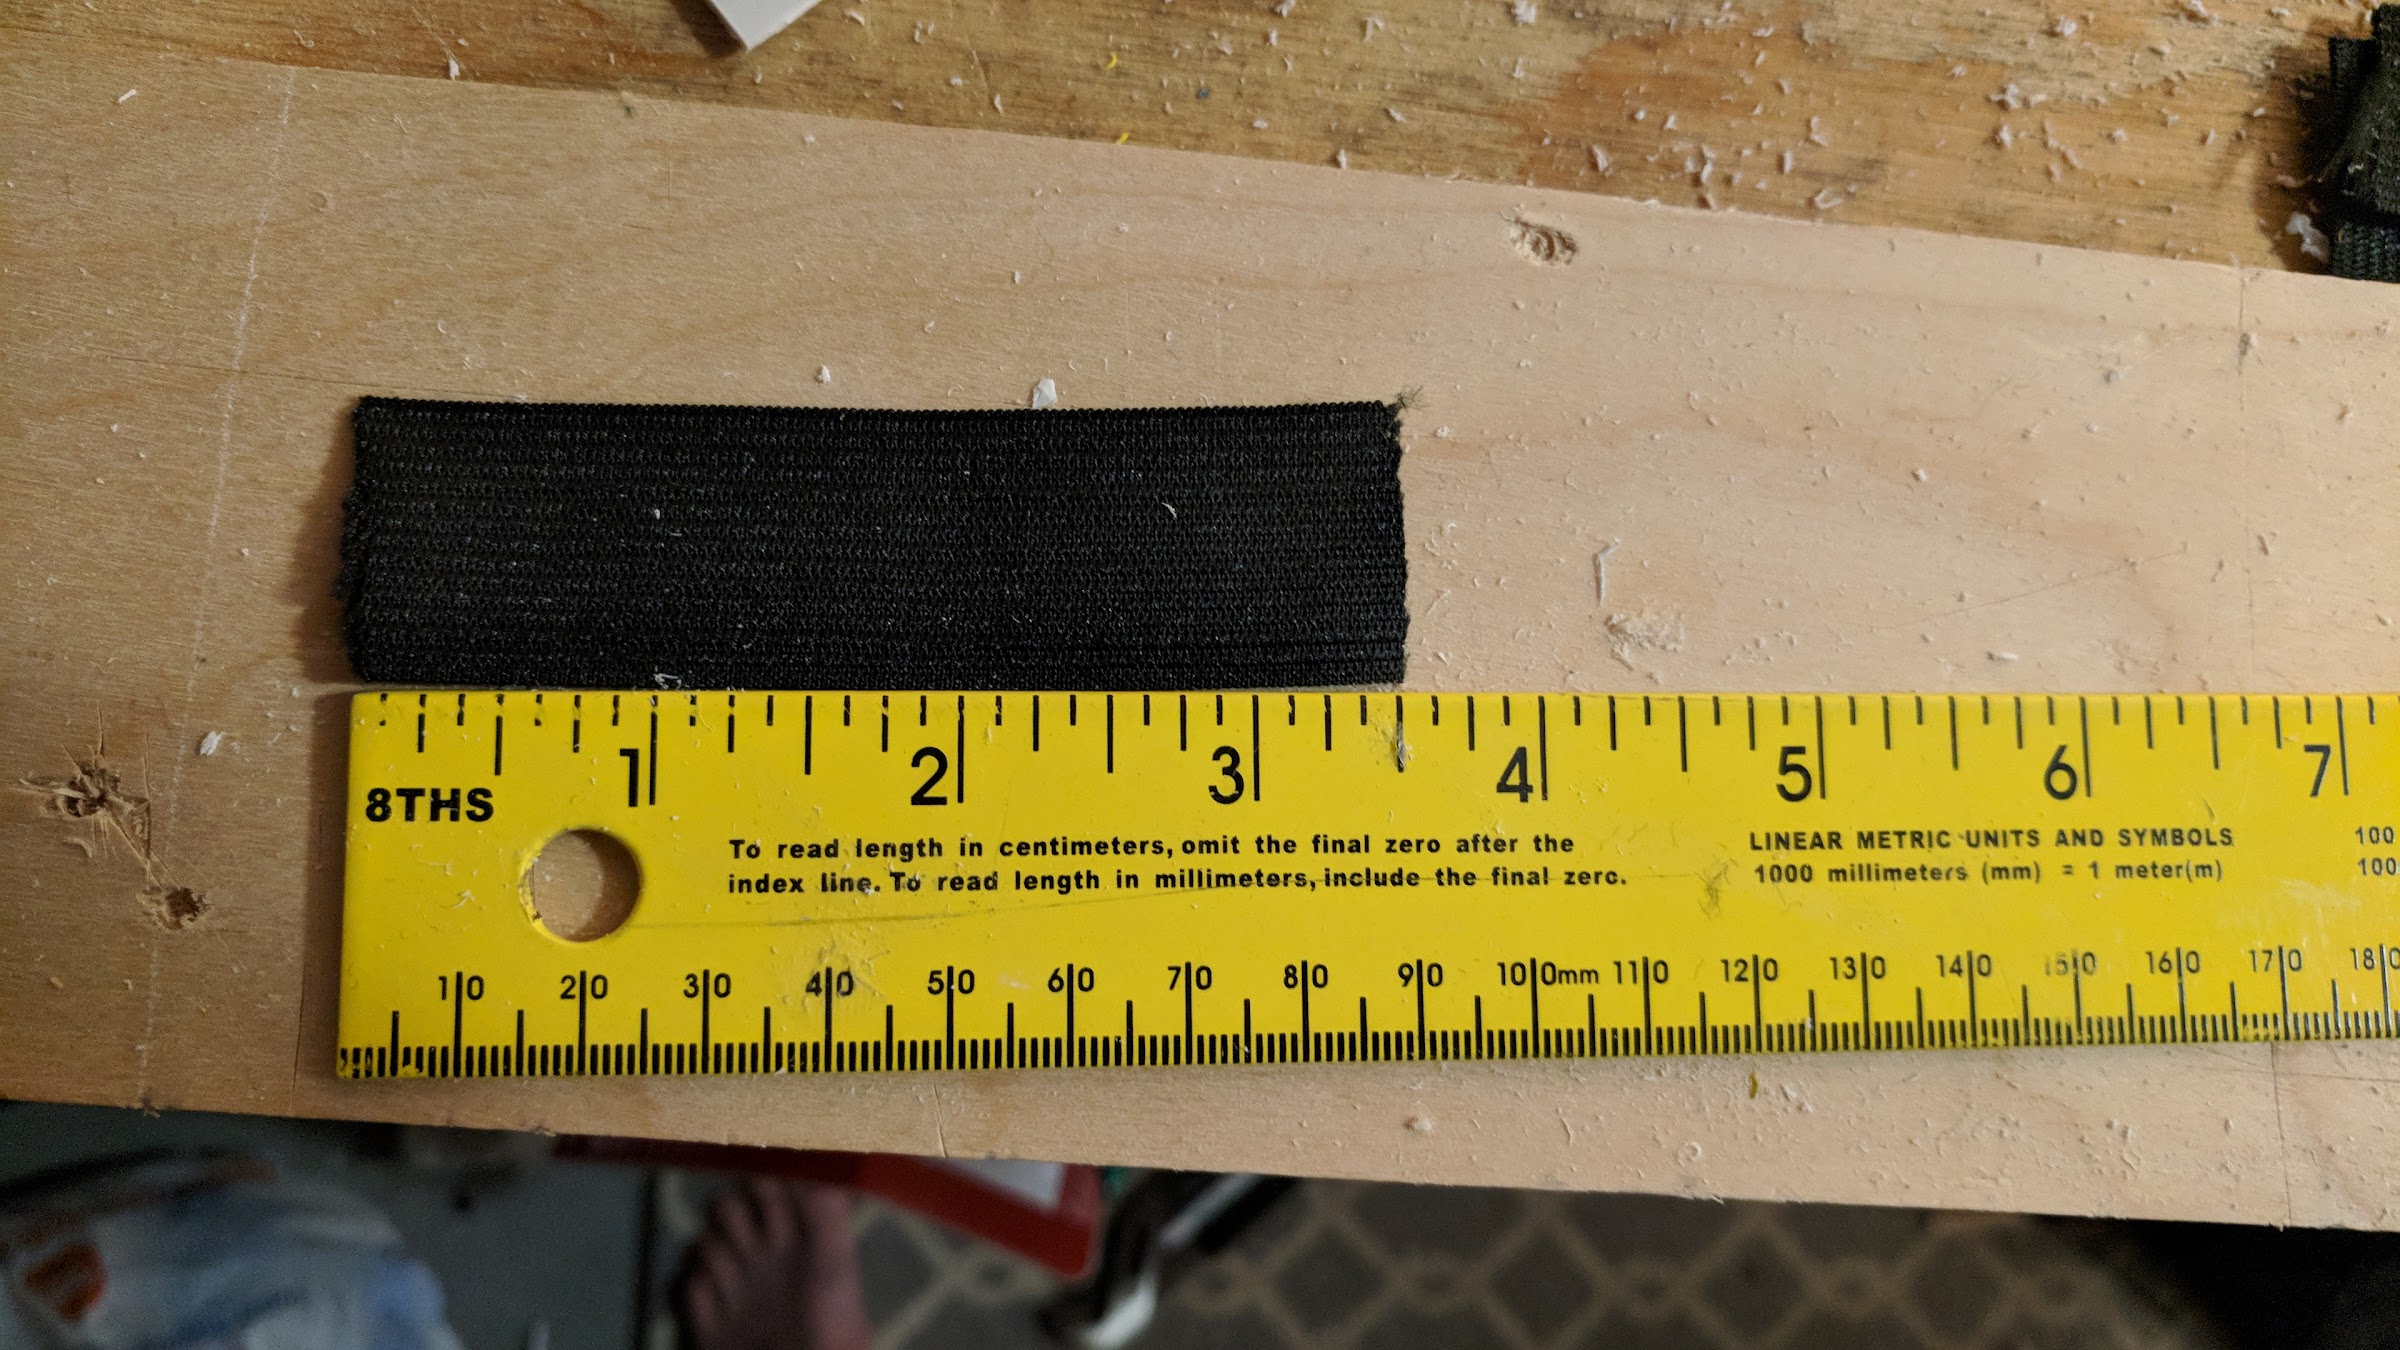
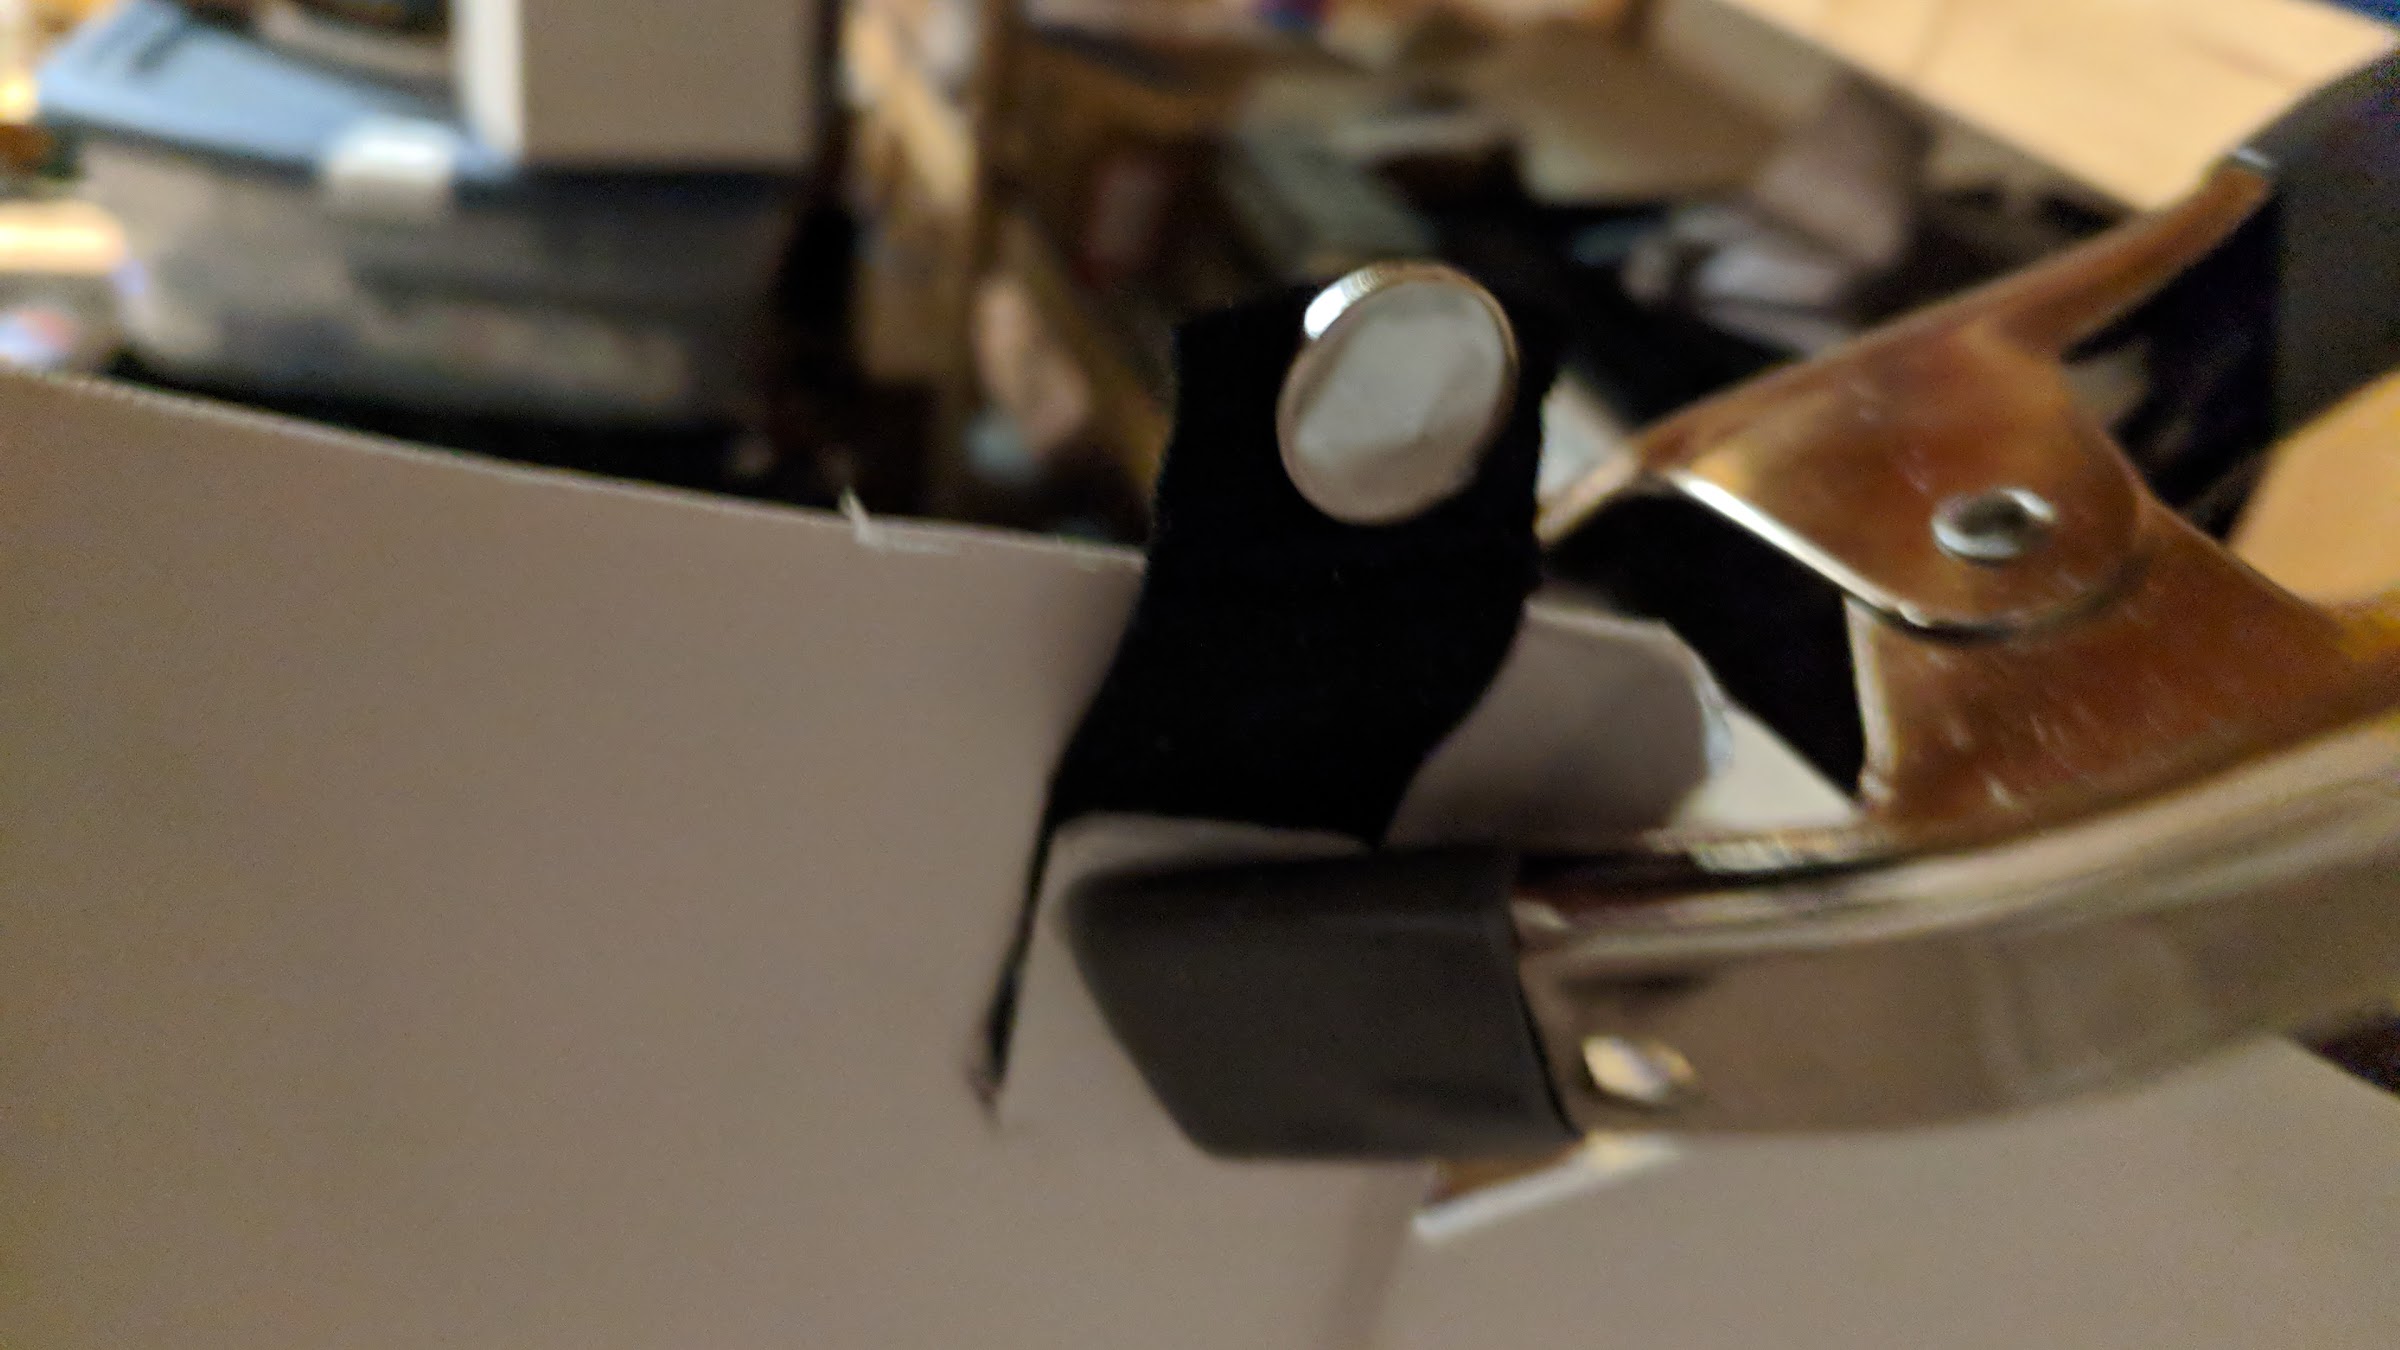
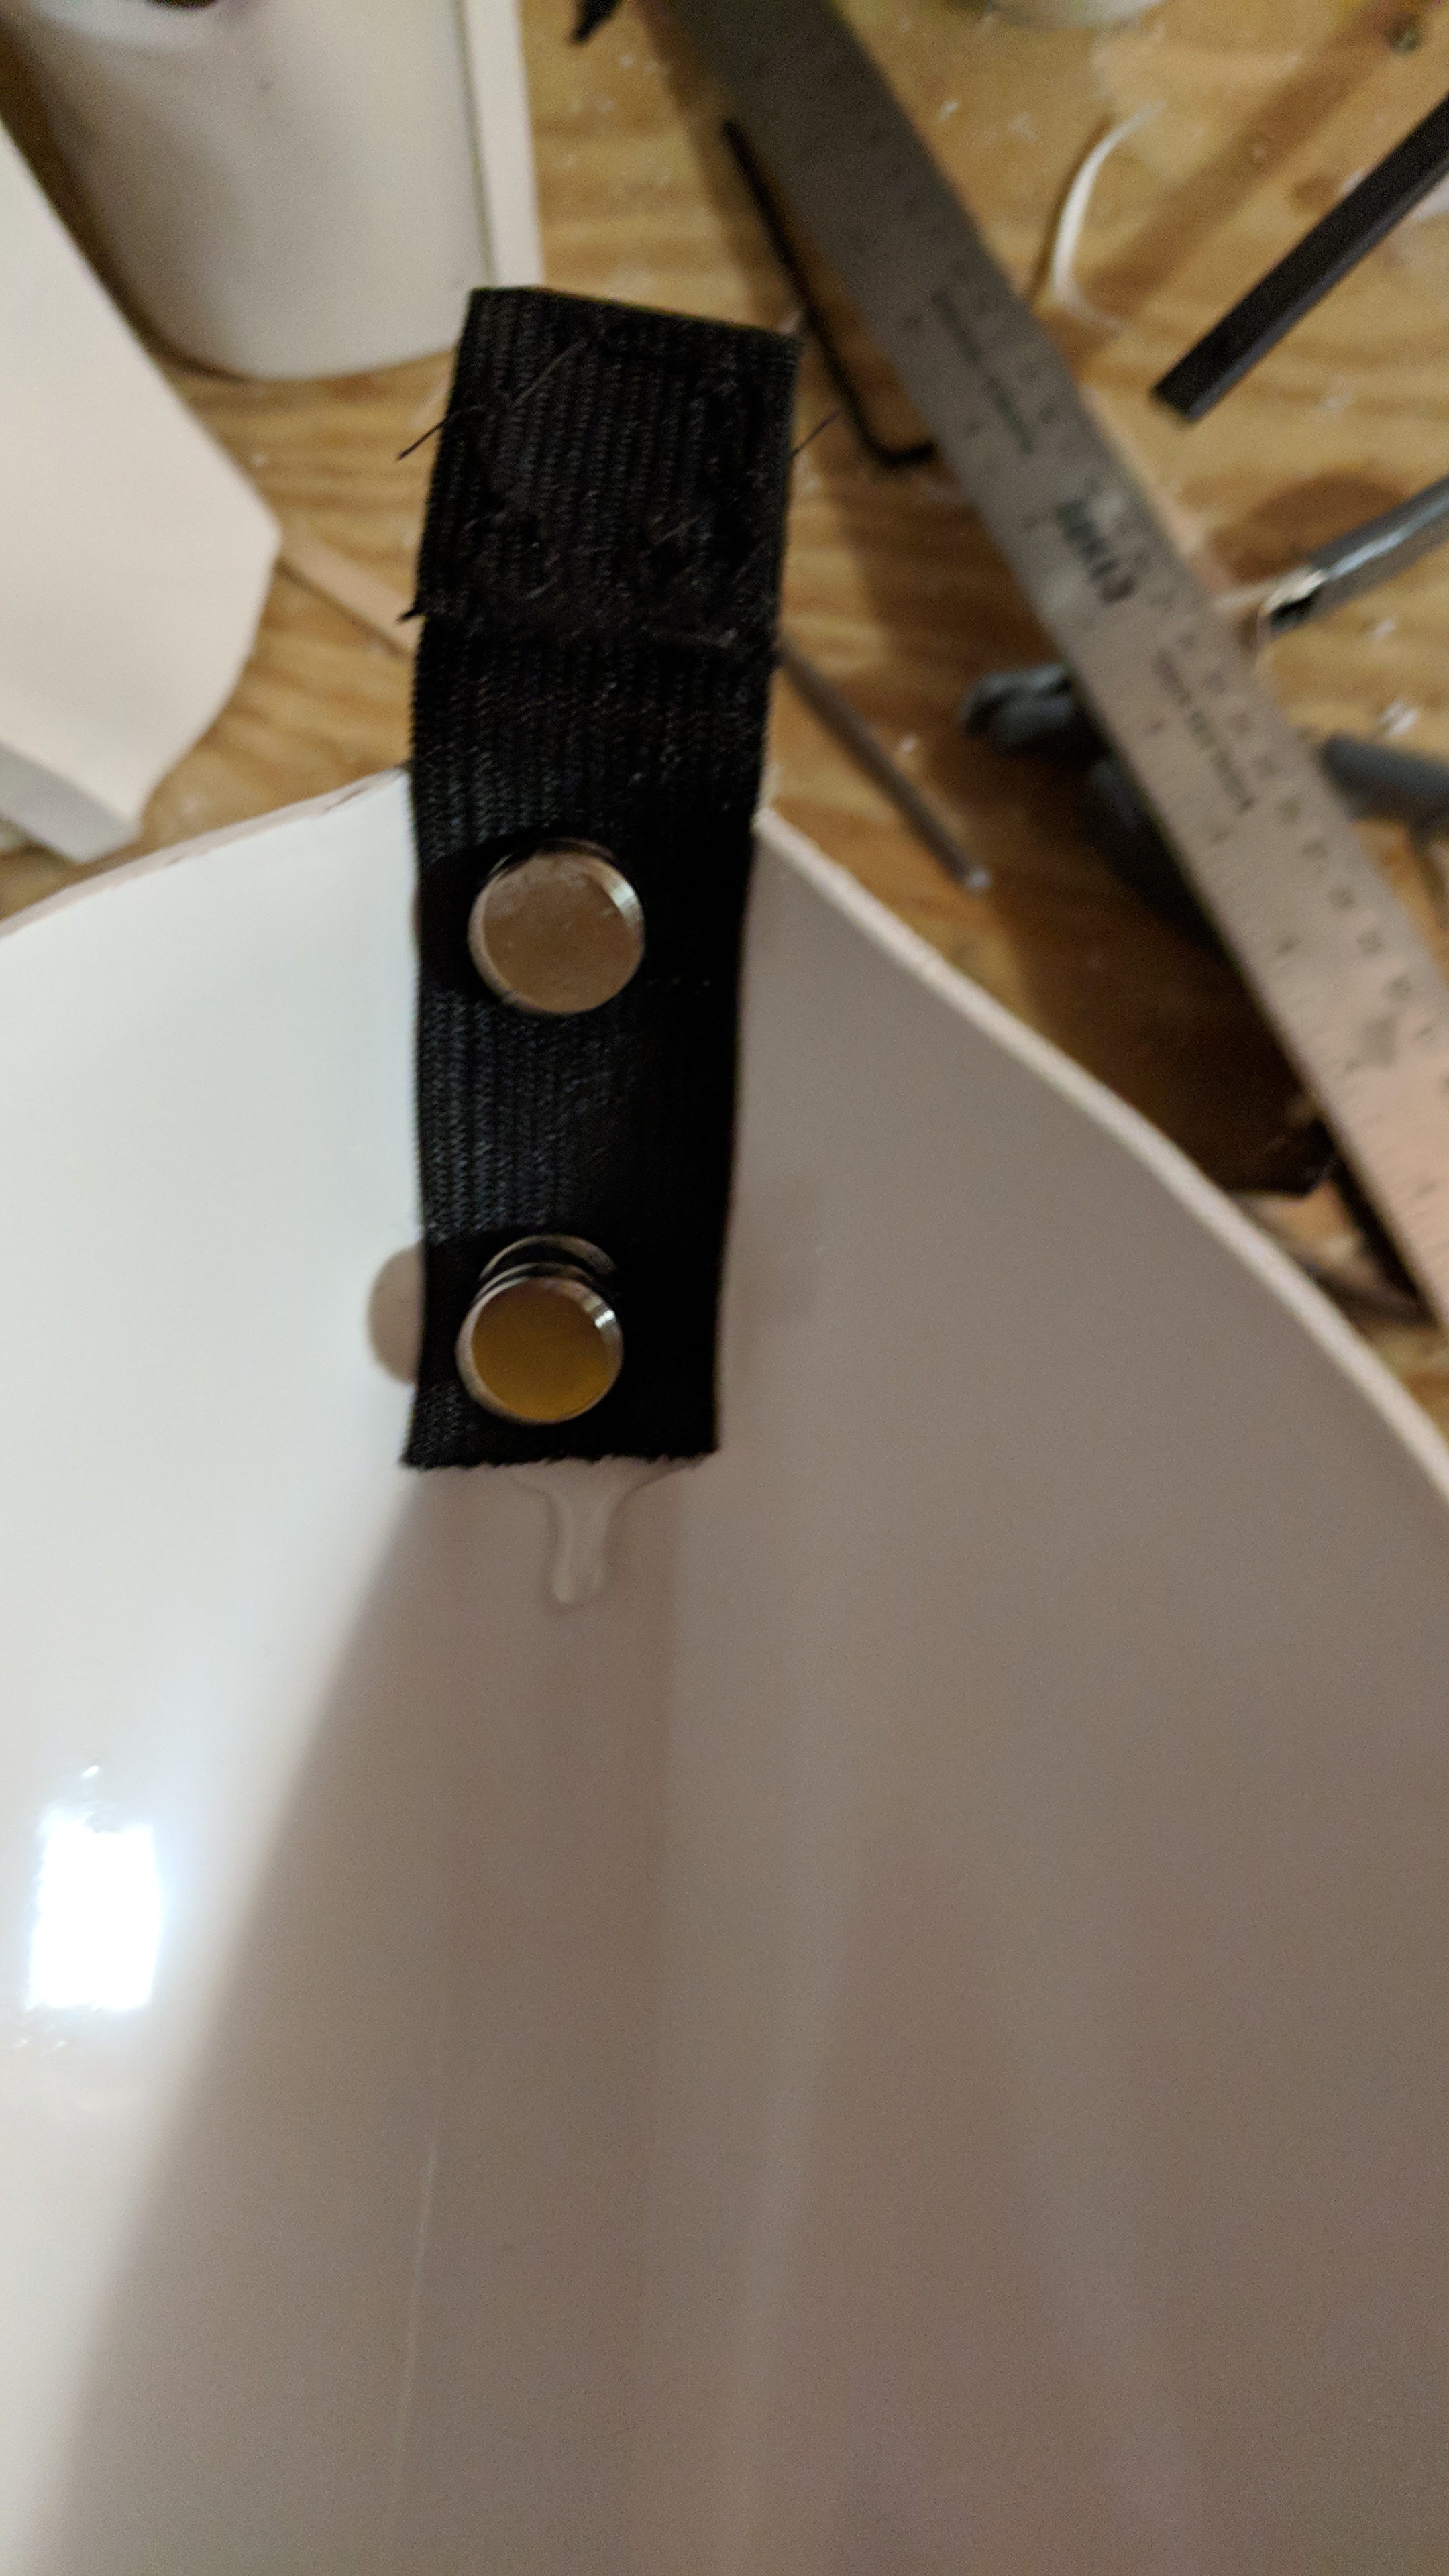
Continuing the shoulder bell strapping these will attach the bells to the chest
I measured about 5 inches of 1 inch elastic strapping
and folded over over about 1 1/8 inch and sewed to give it some extra strength.
I than stitched in the sewed in the male end of the sew in snaps that I purchased.
I placed the strapping to be about 1 inch from the center of the snap to the edge of the bell
Than glued in place with E6000 and magnets.
-
2
-
-
Got a lot of the shoulder bell strapping assembled
First started with the elastic strapping that will help hold the bells in.
I measured about 8 inches of 1 inch black elastic
I lined it up so that it came up to the inside edge and E6000 in place. I made it a taught as I could without pulling the bells inward on themselves too much.
-
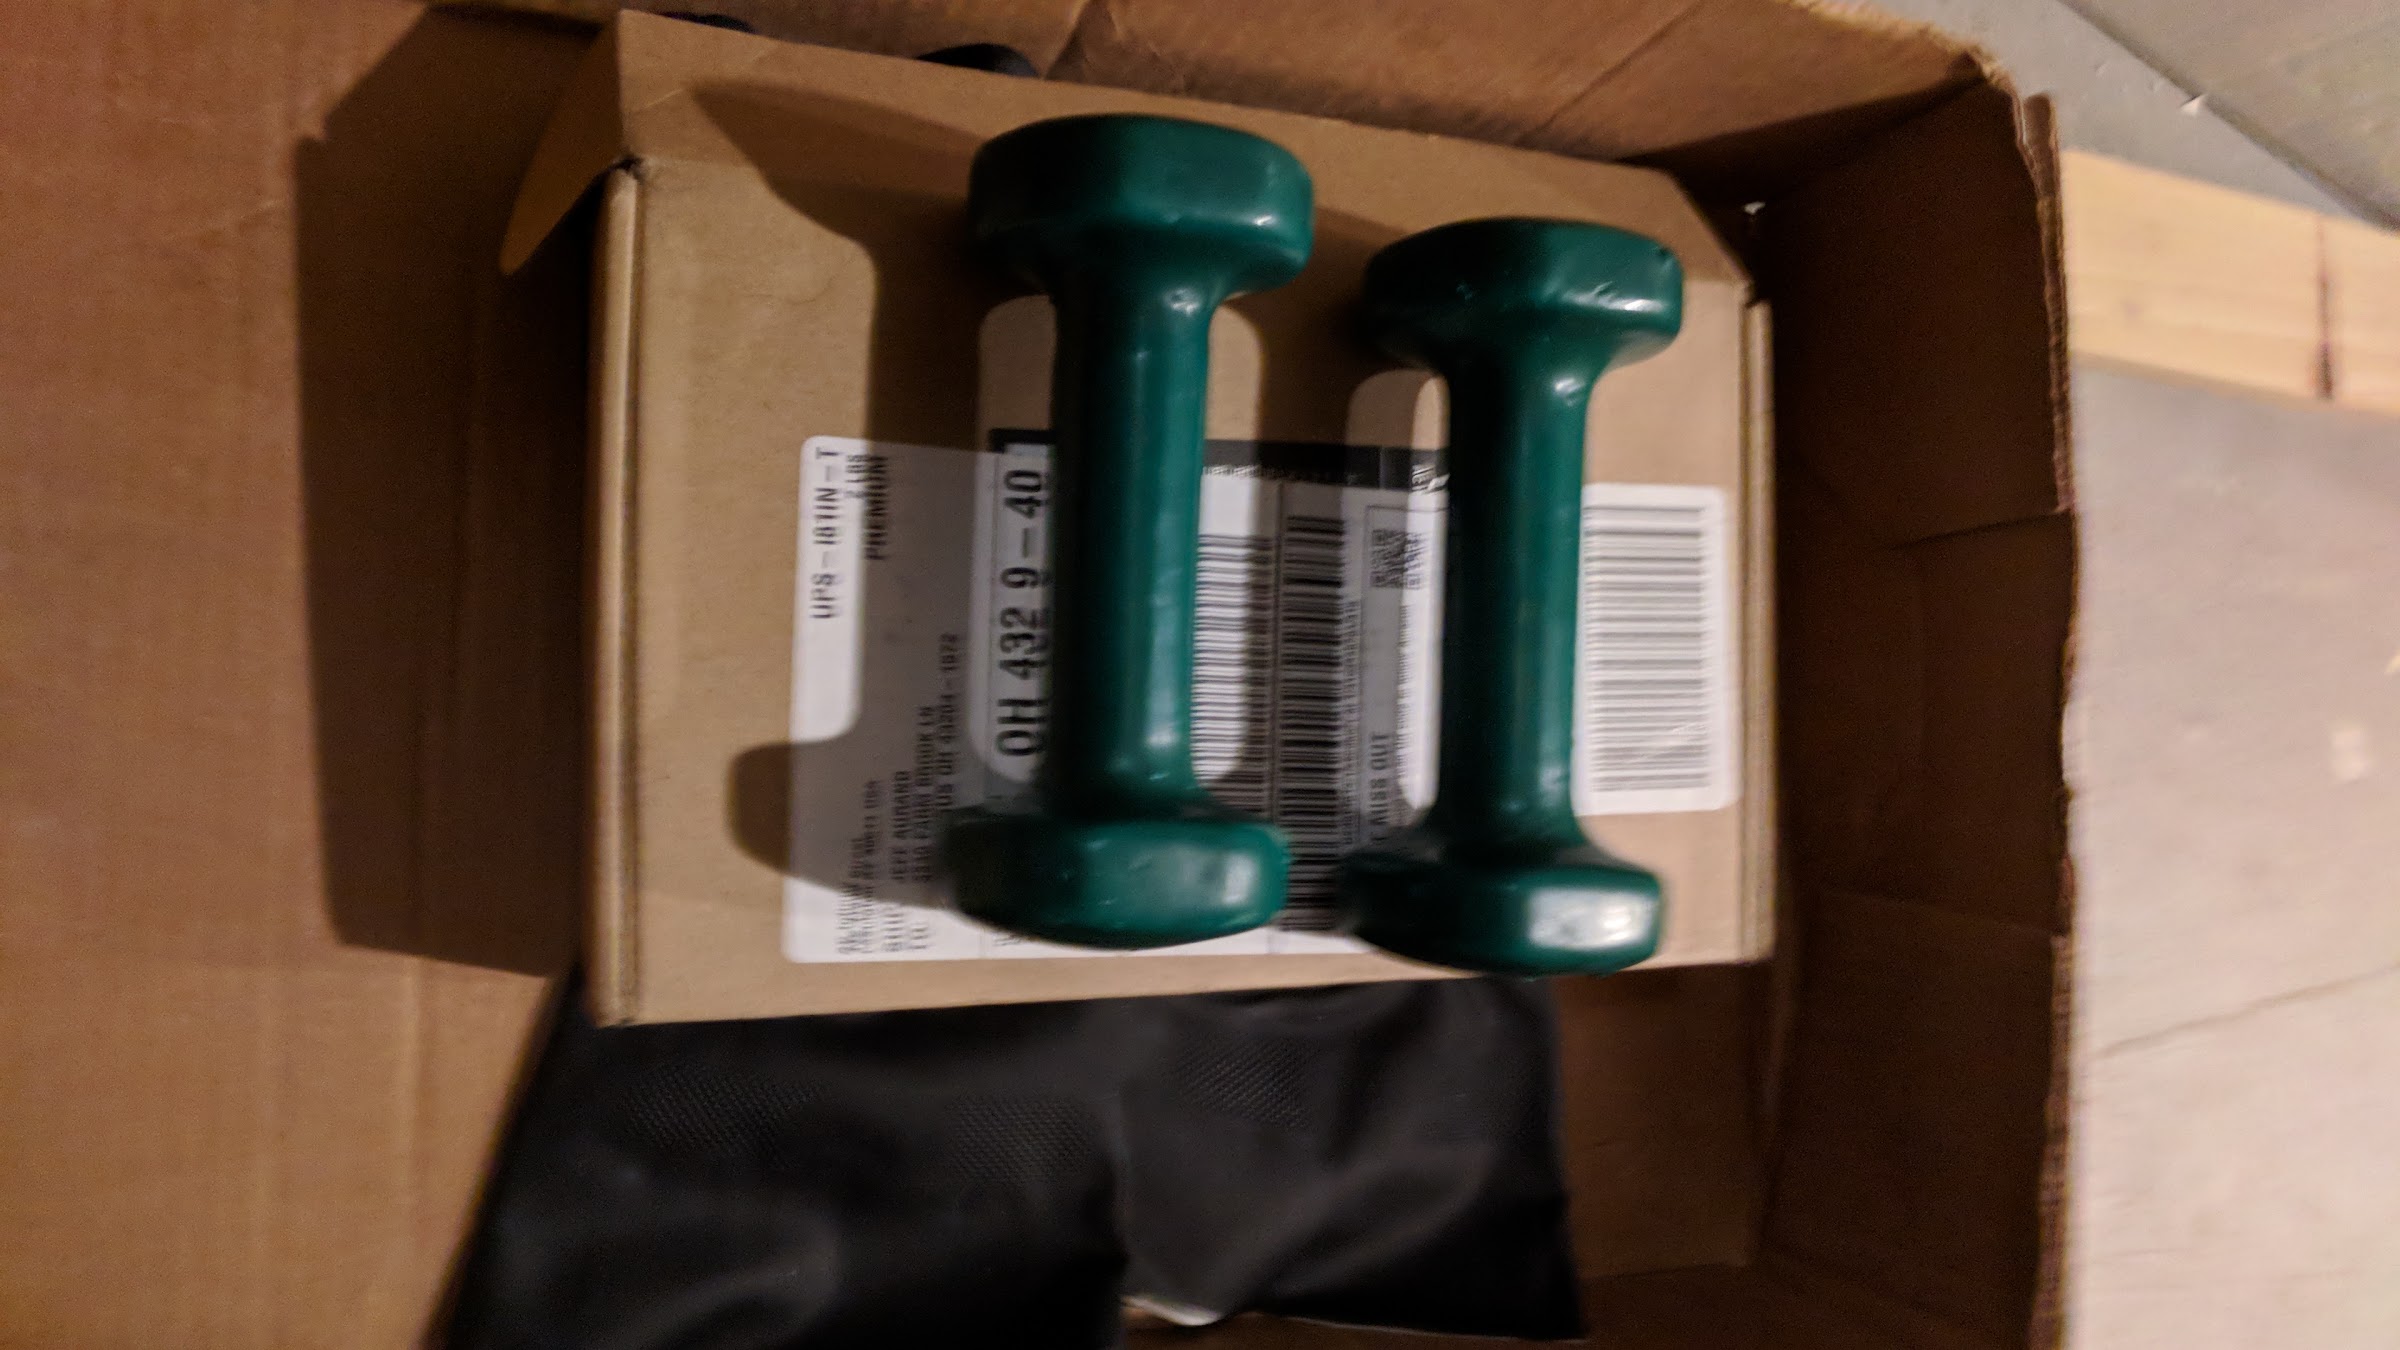
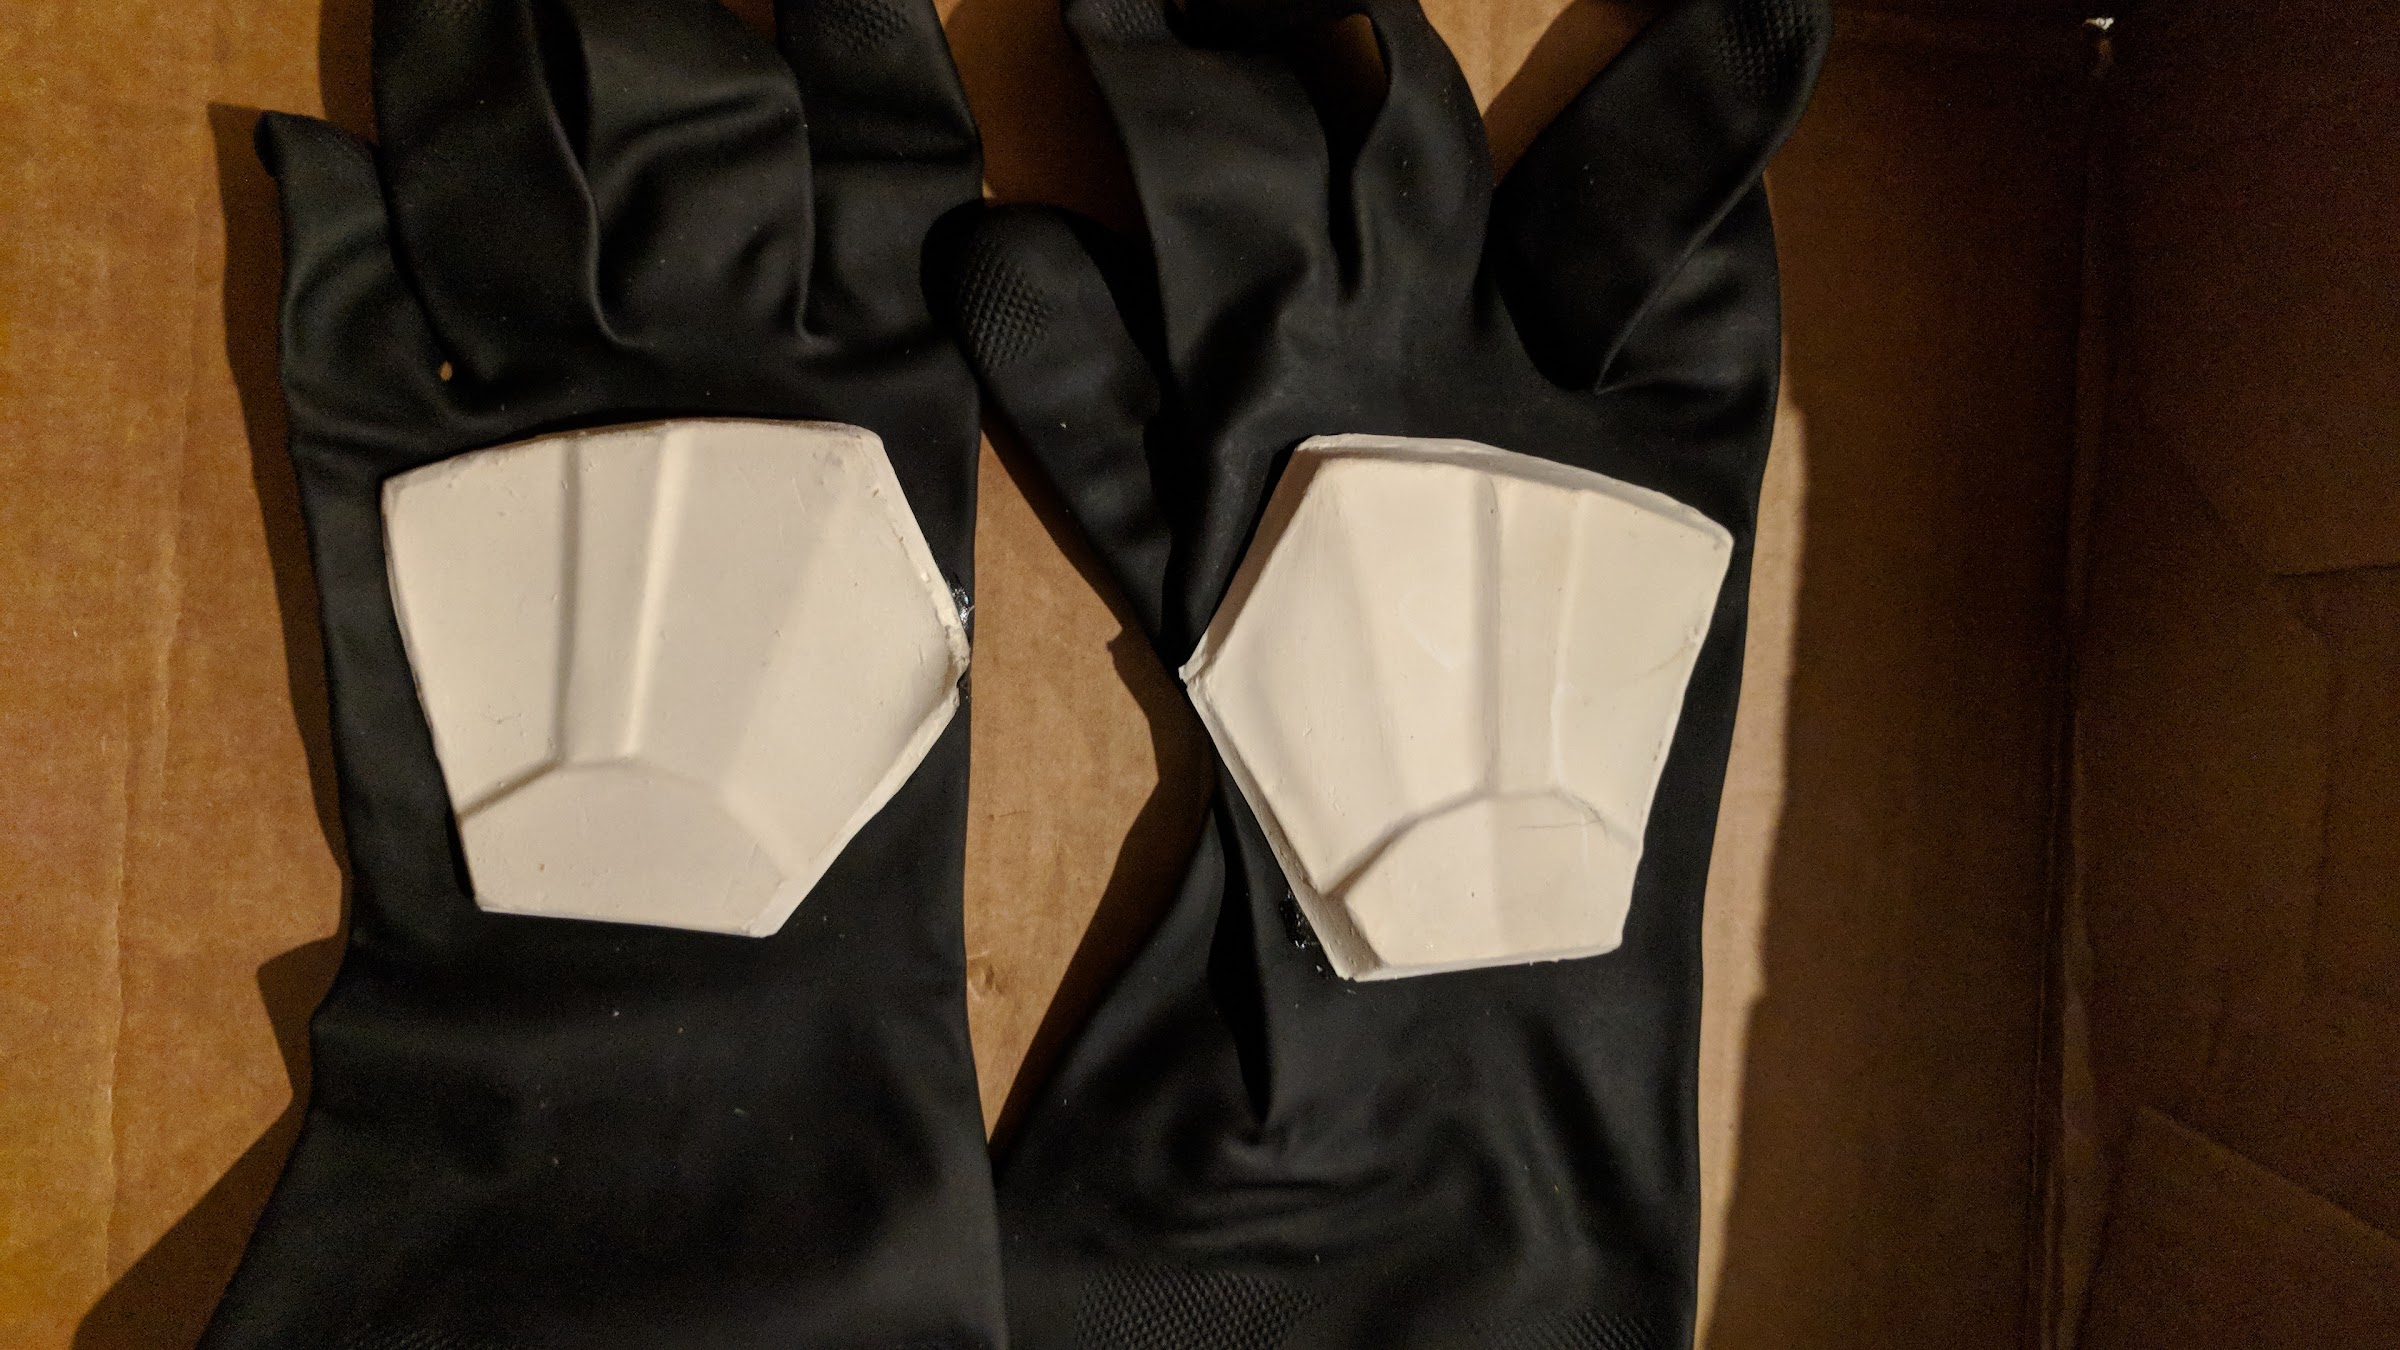
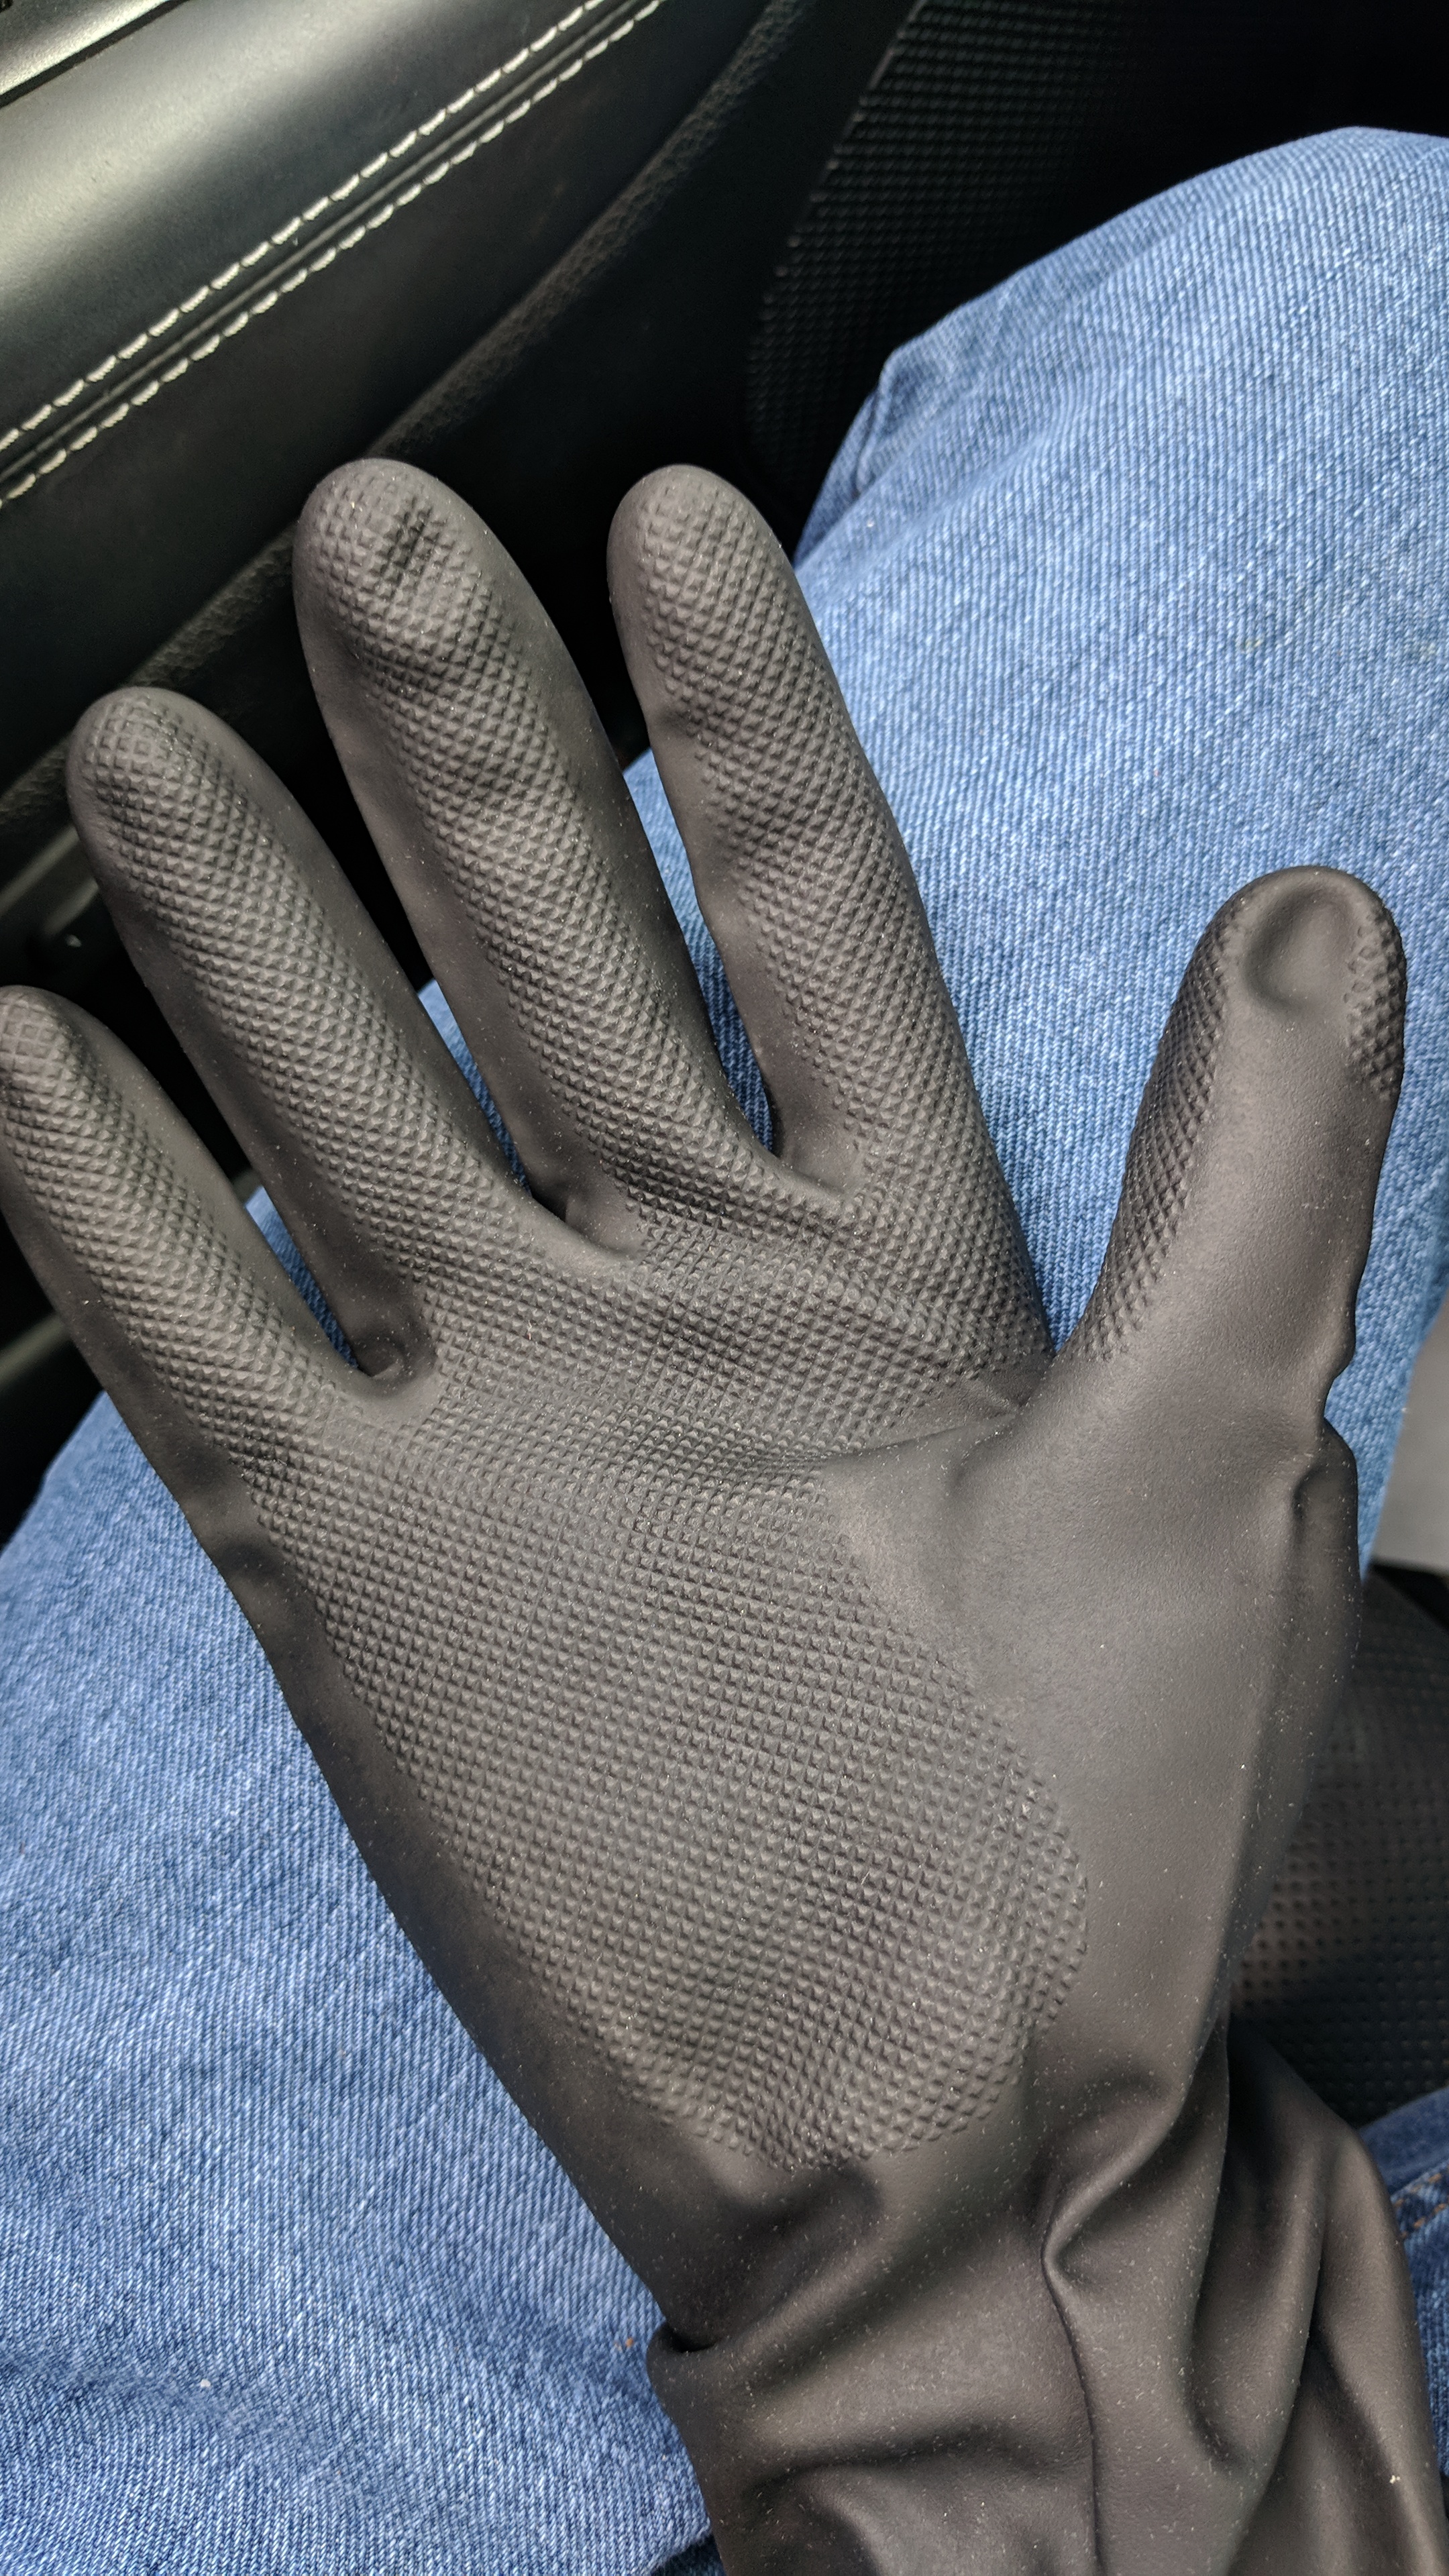
Added my hand guards to my gloves.
Picked these up from Home Depot
I lined them up for placement
Threw some E6000 on the back of them and gave it a couple weights to keep it in place
-
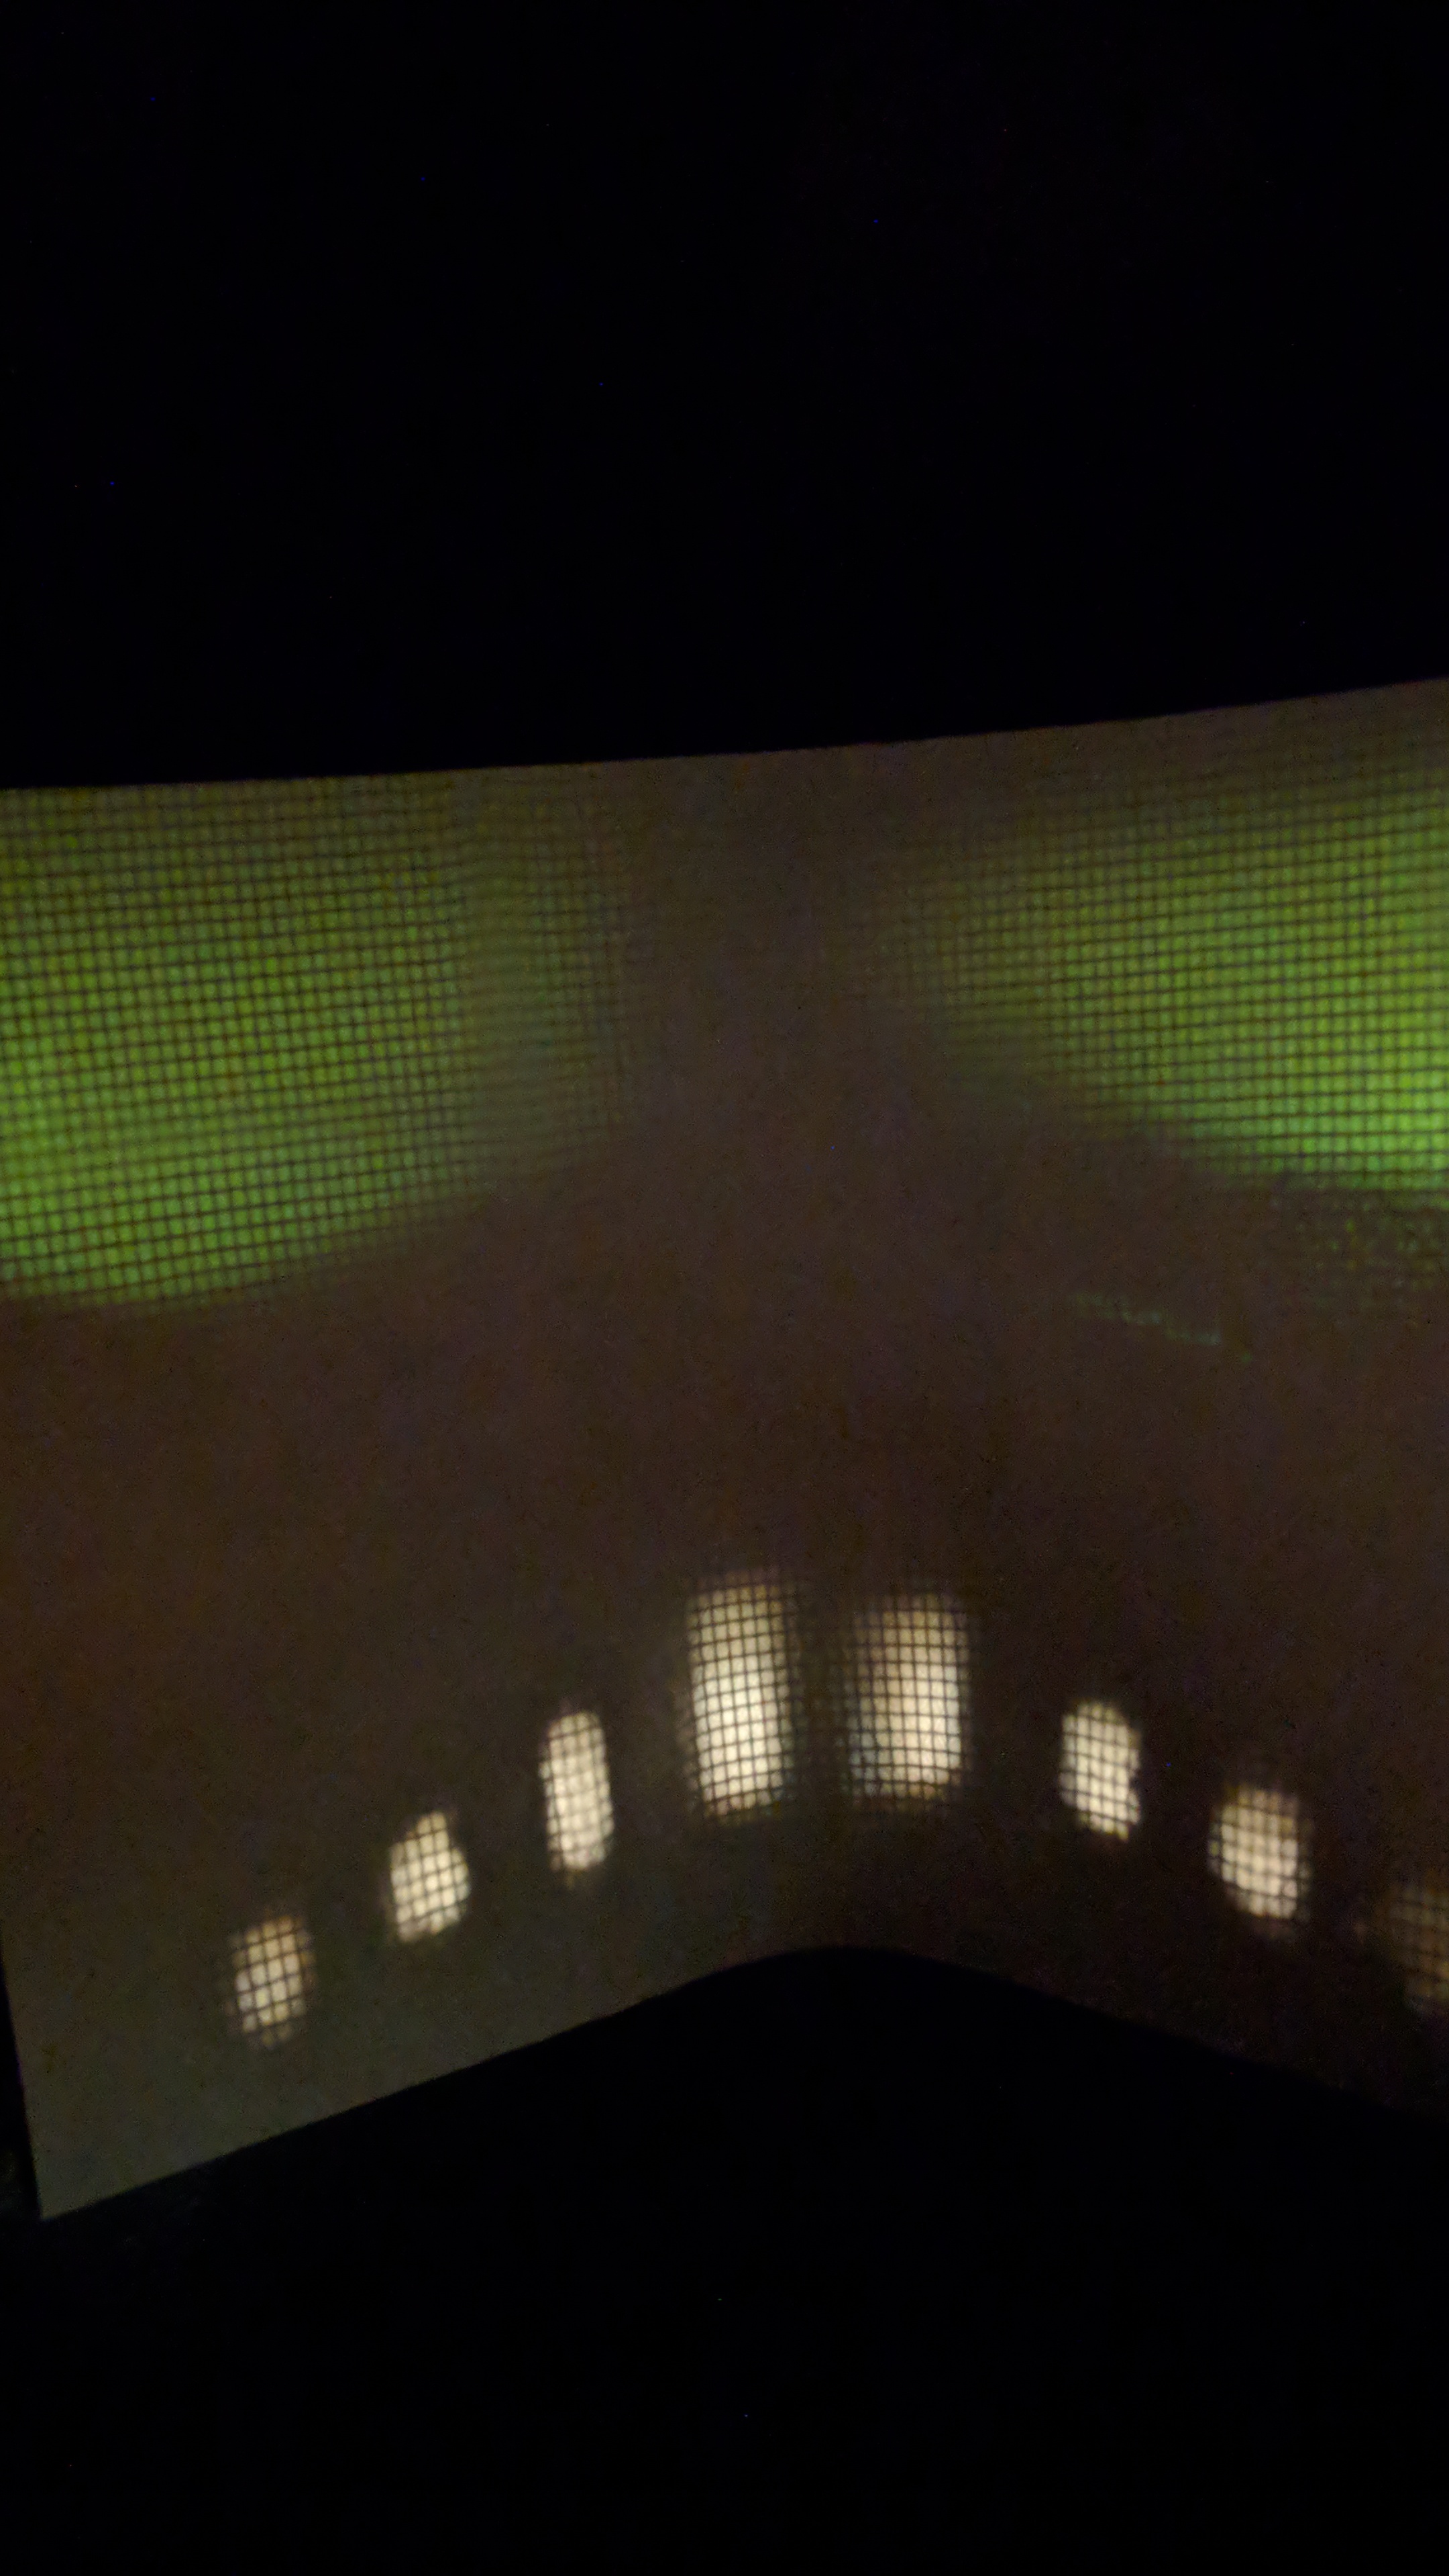
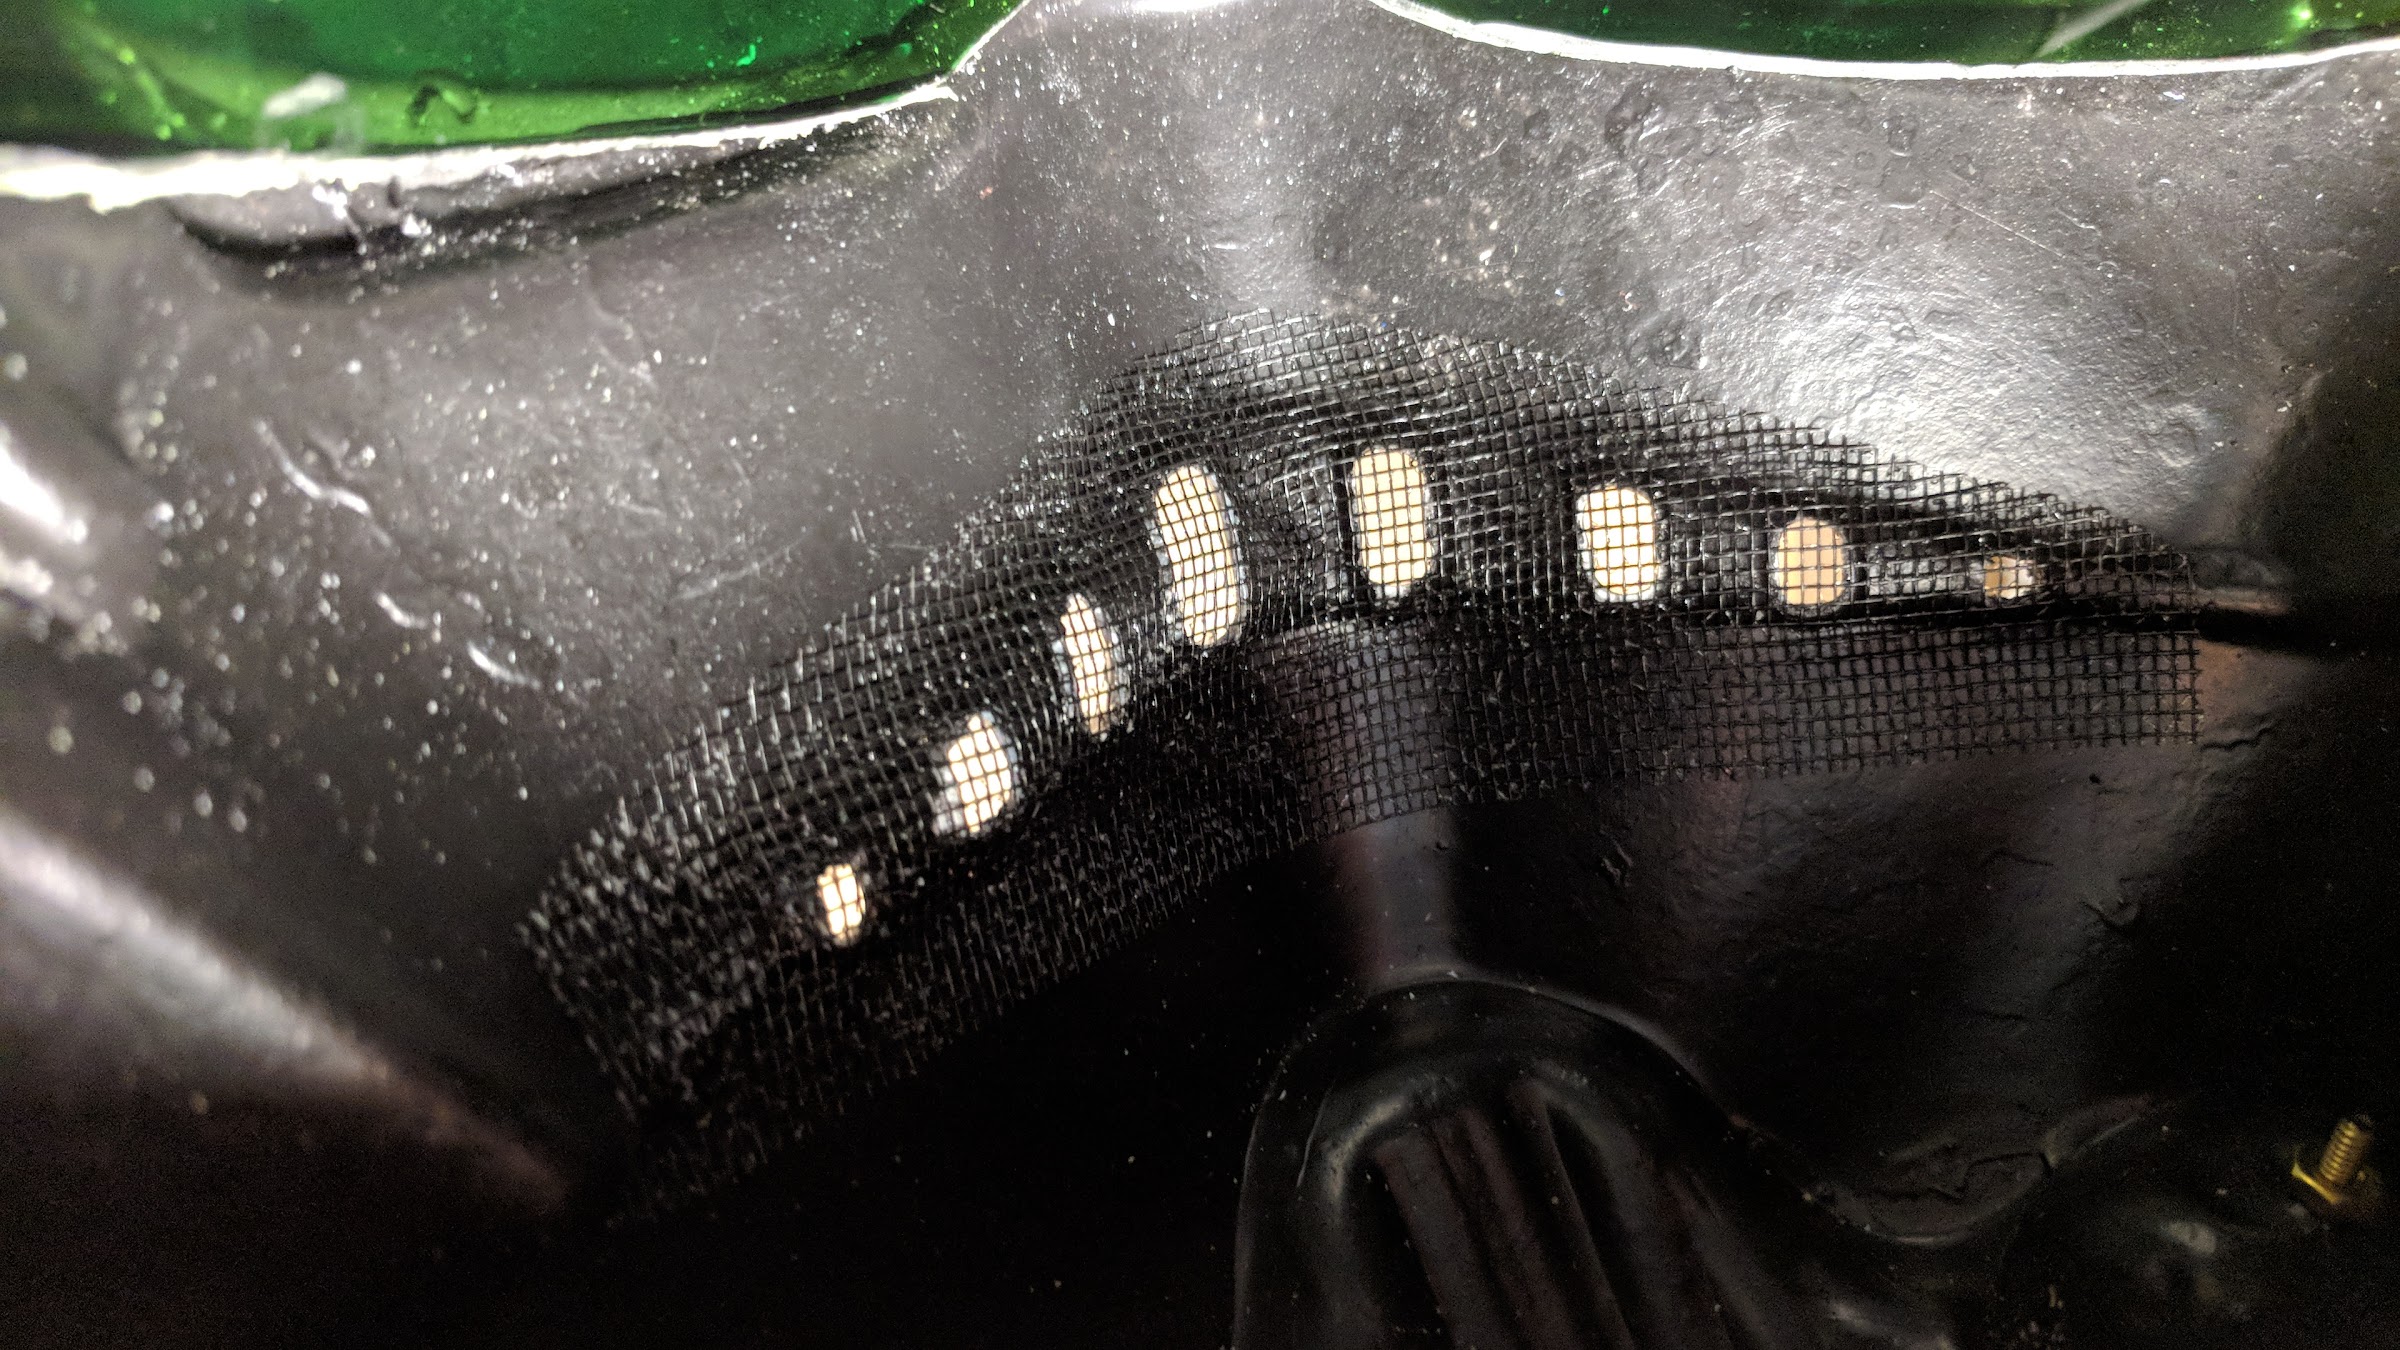
I added some mesh behind my bucket teeth. Found this screen repair kit at Home Depot. It has adhesive already coated on the back that you heat with a hair dryer or heat gun and it sticks.
I lined it up and traced over where I wanted it to sit
After heat gun
-
1
-
-
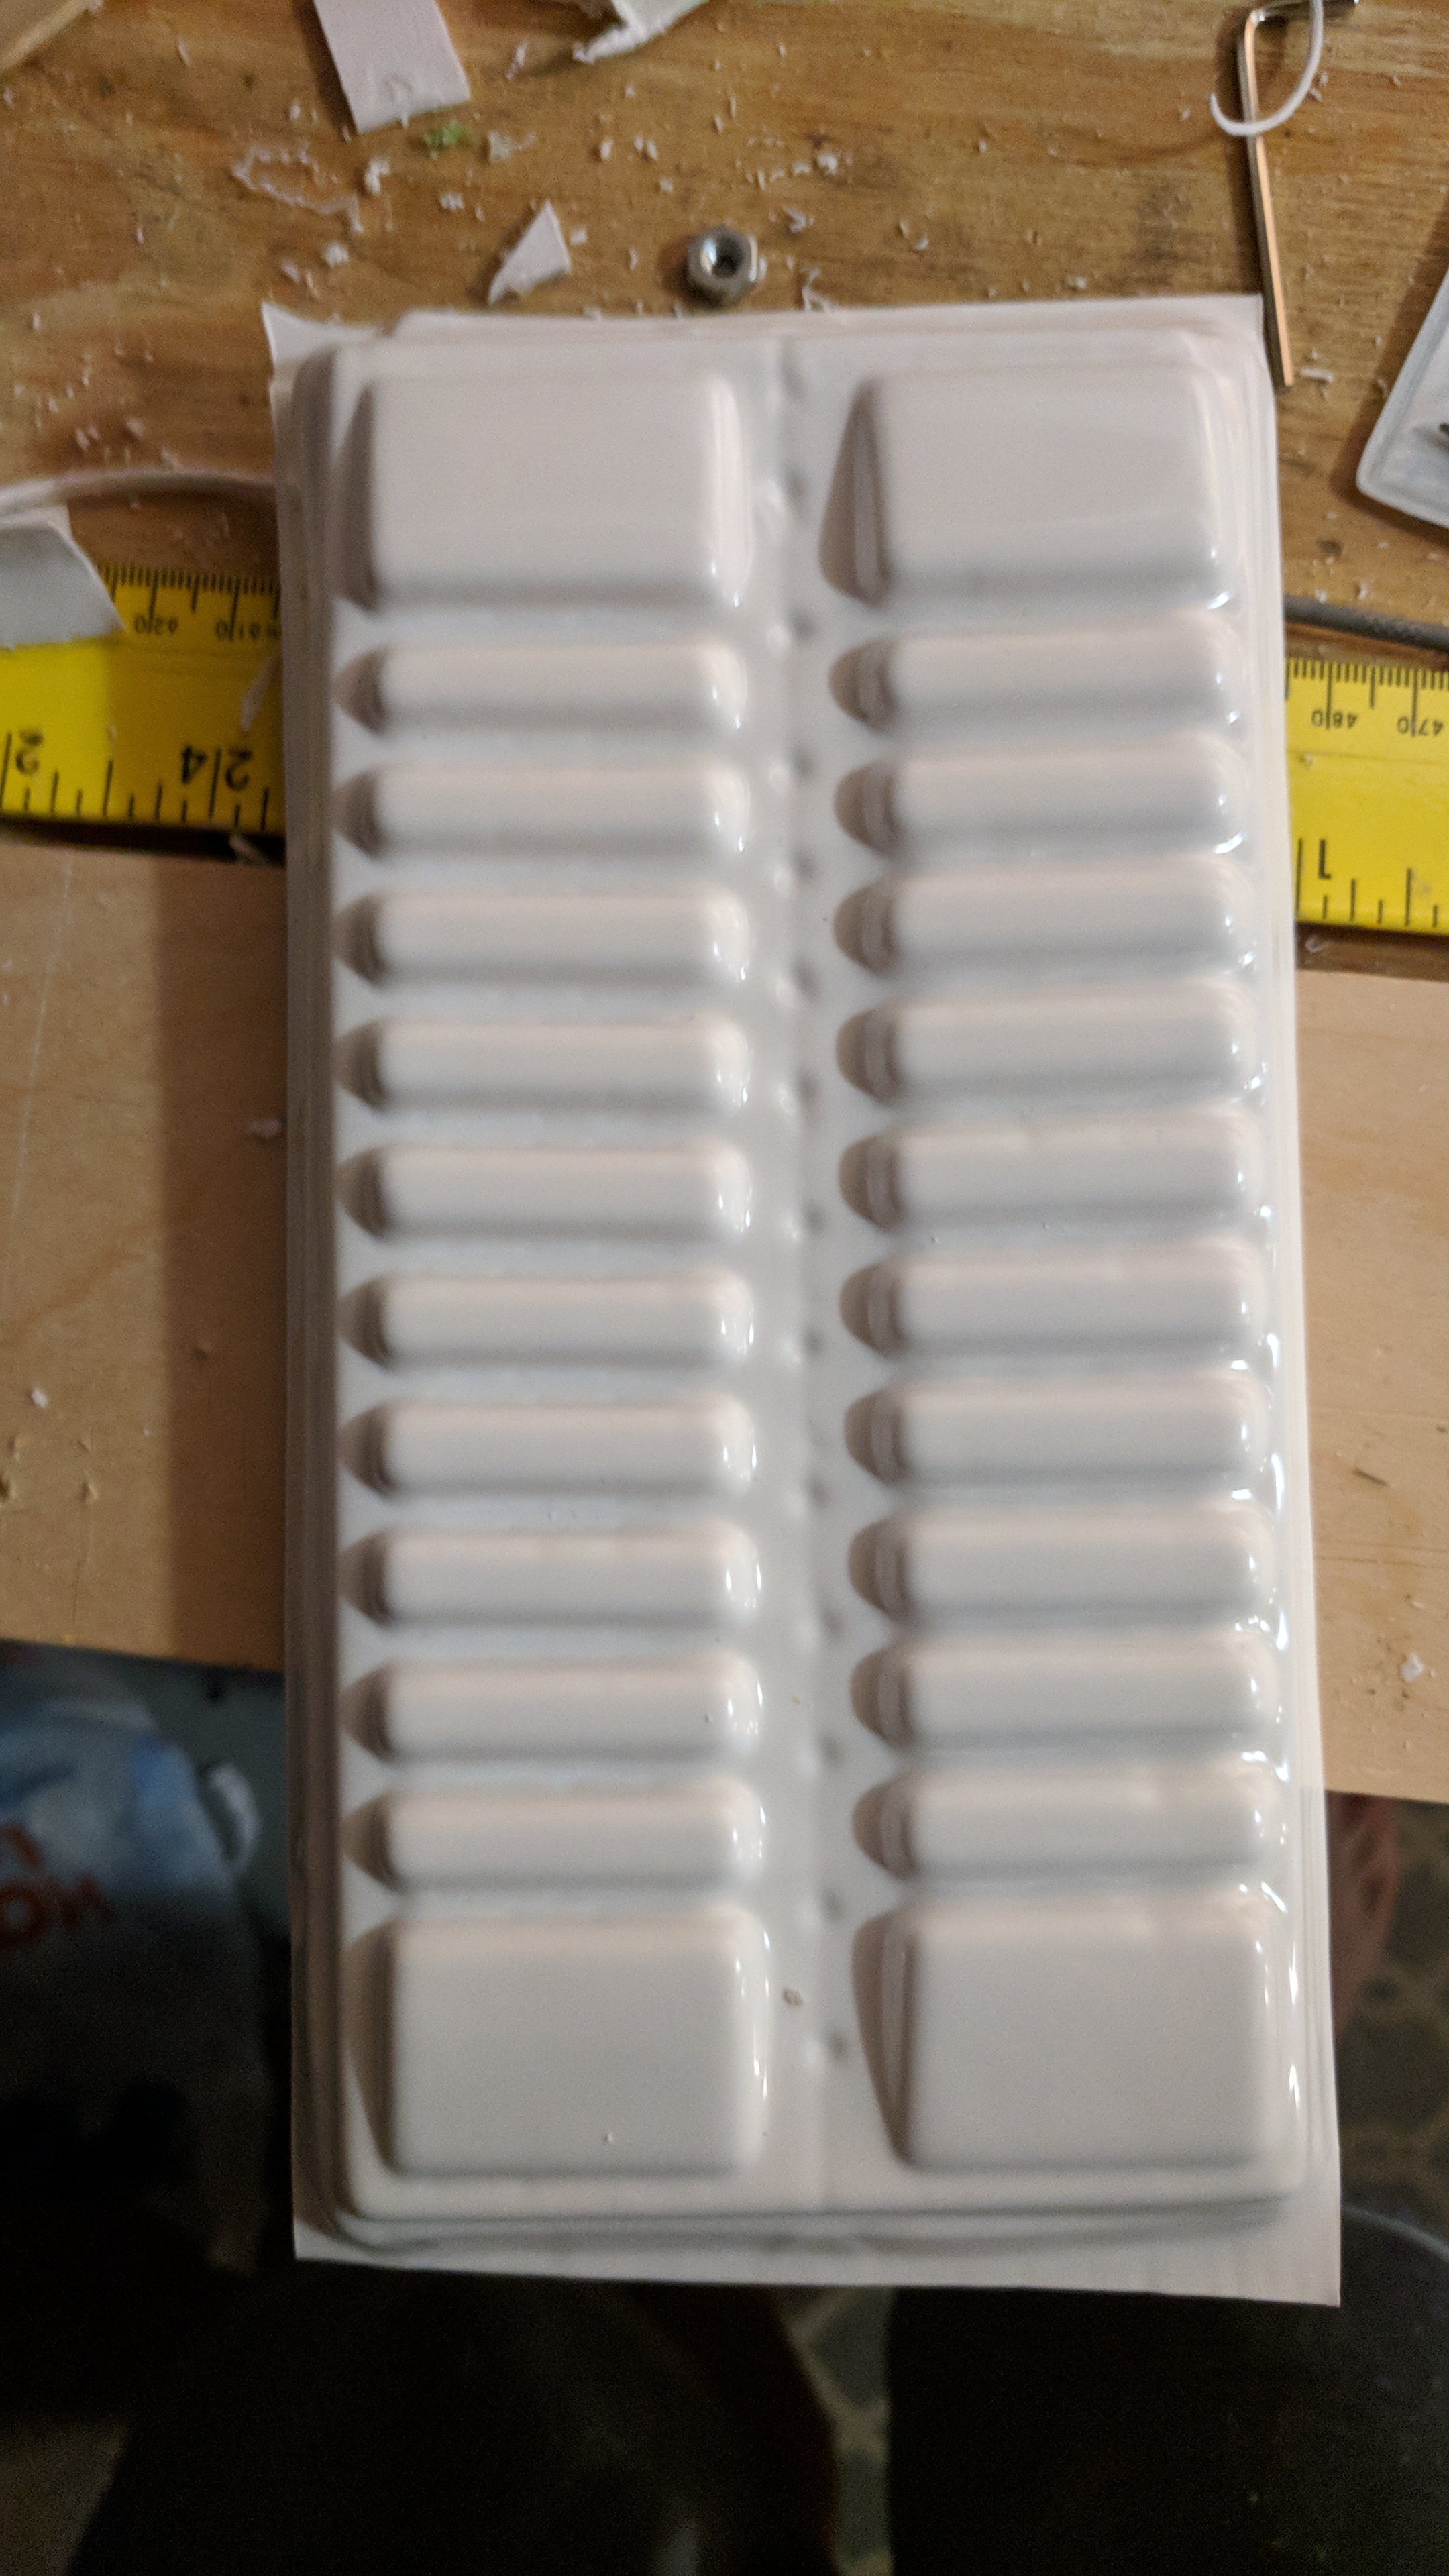
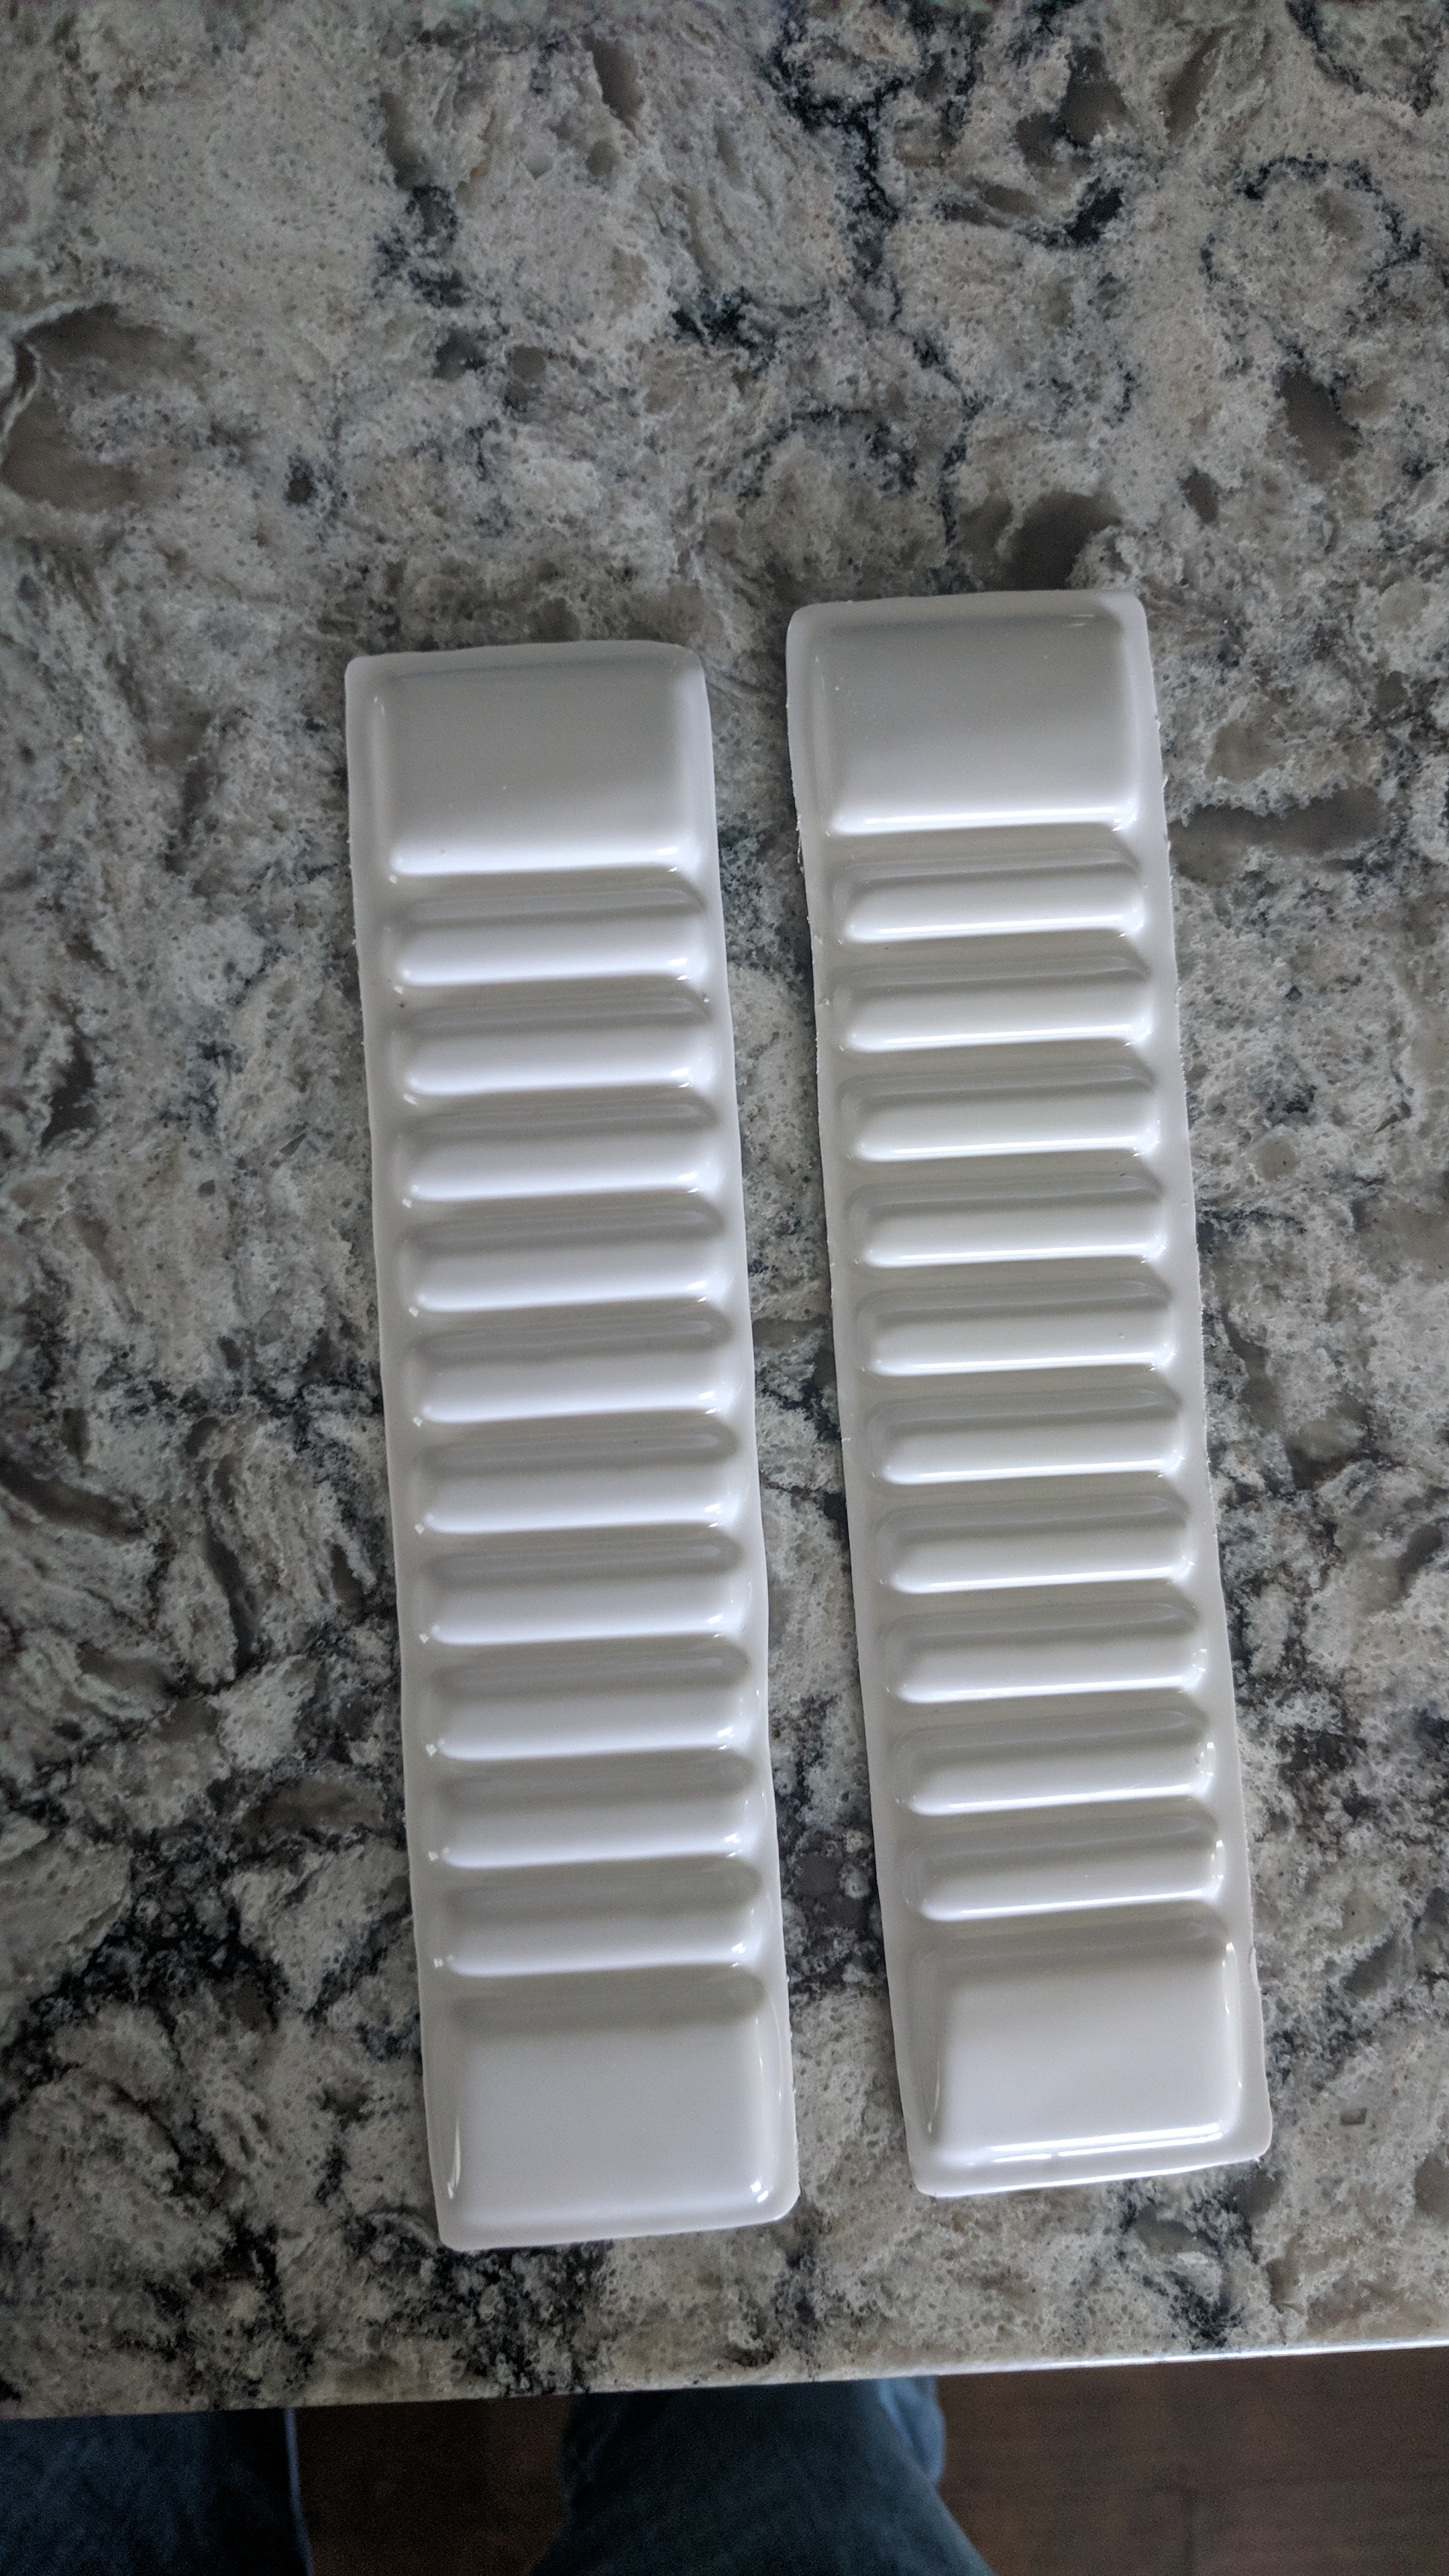
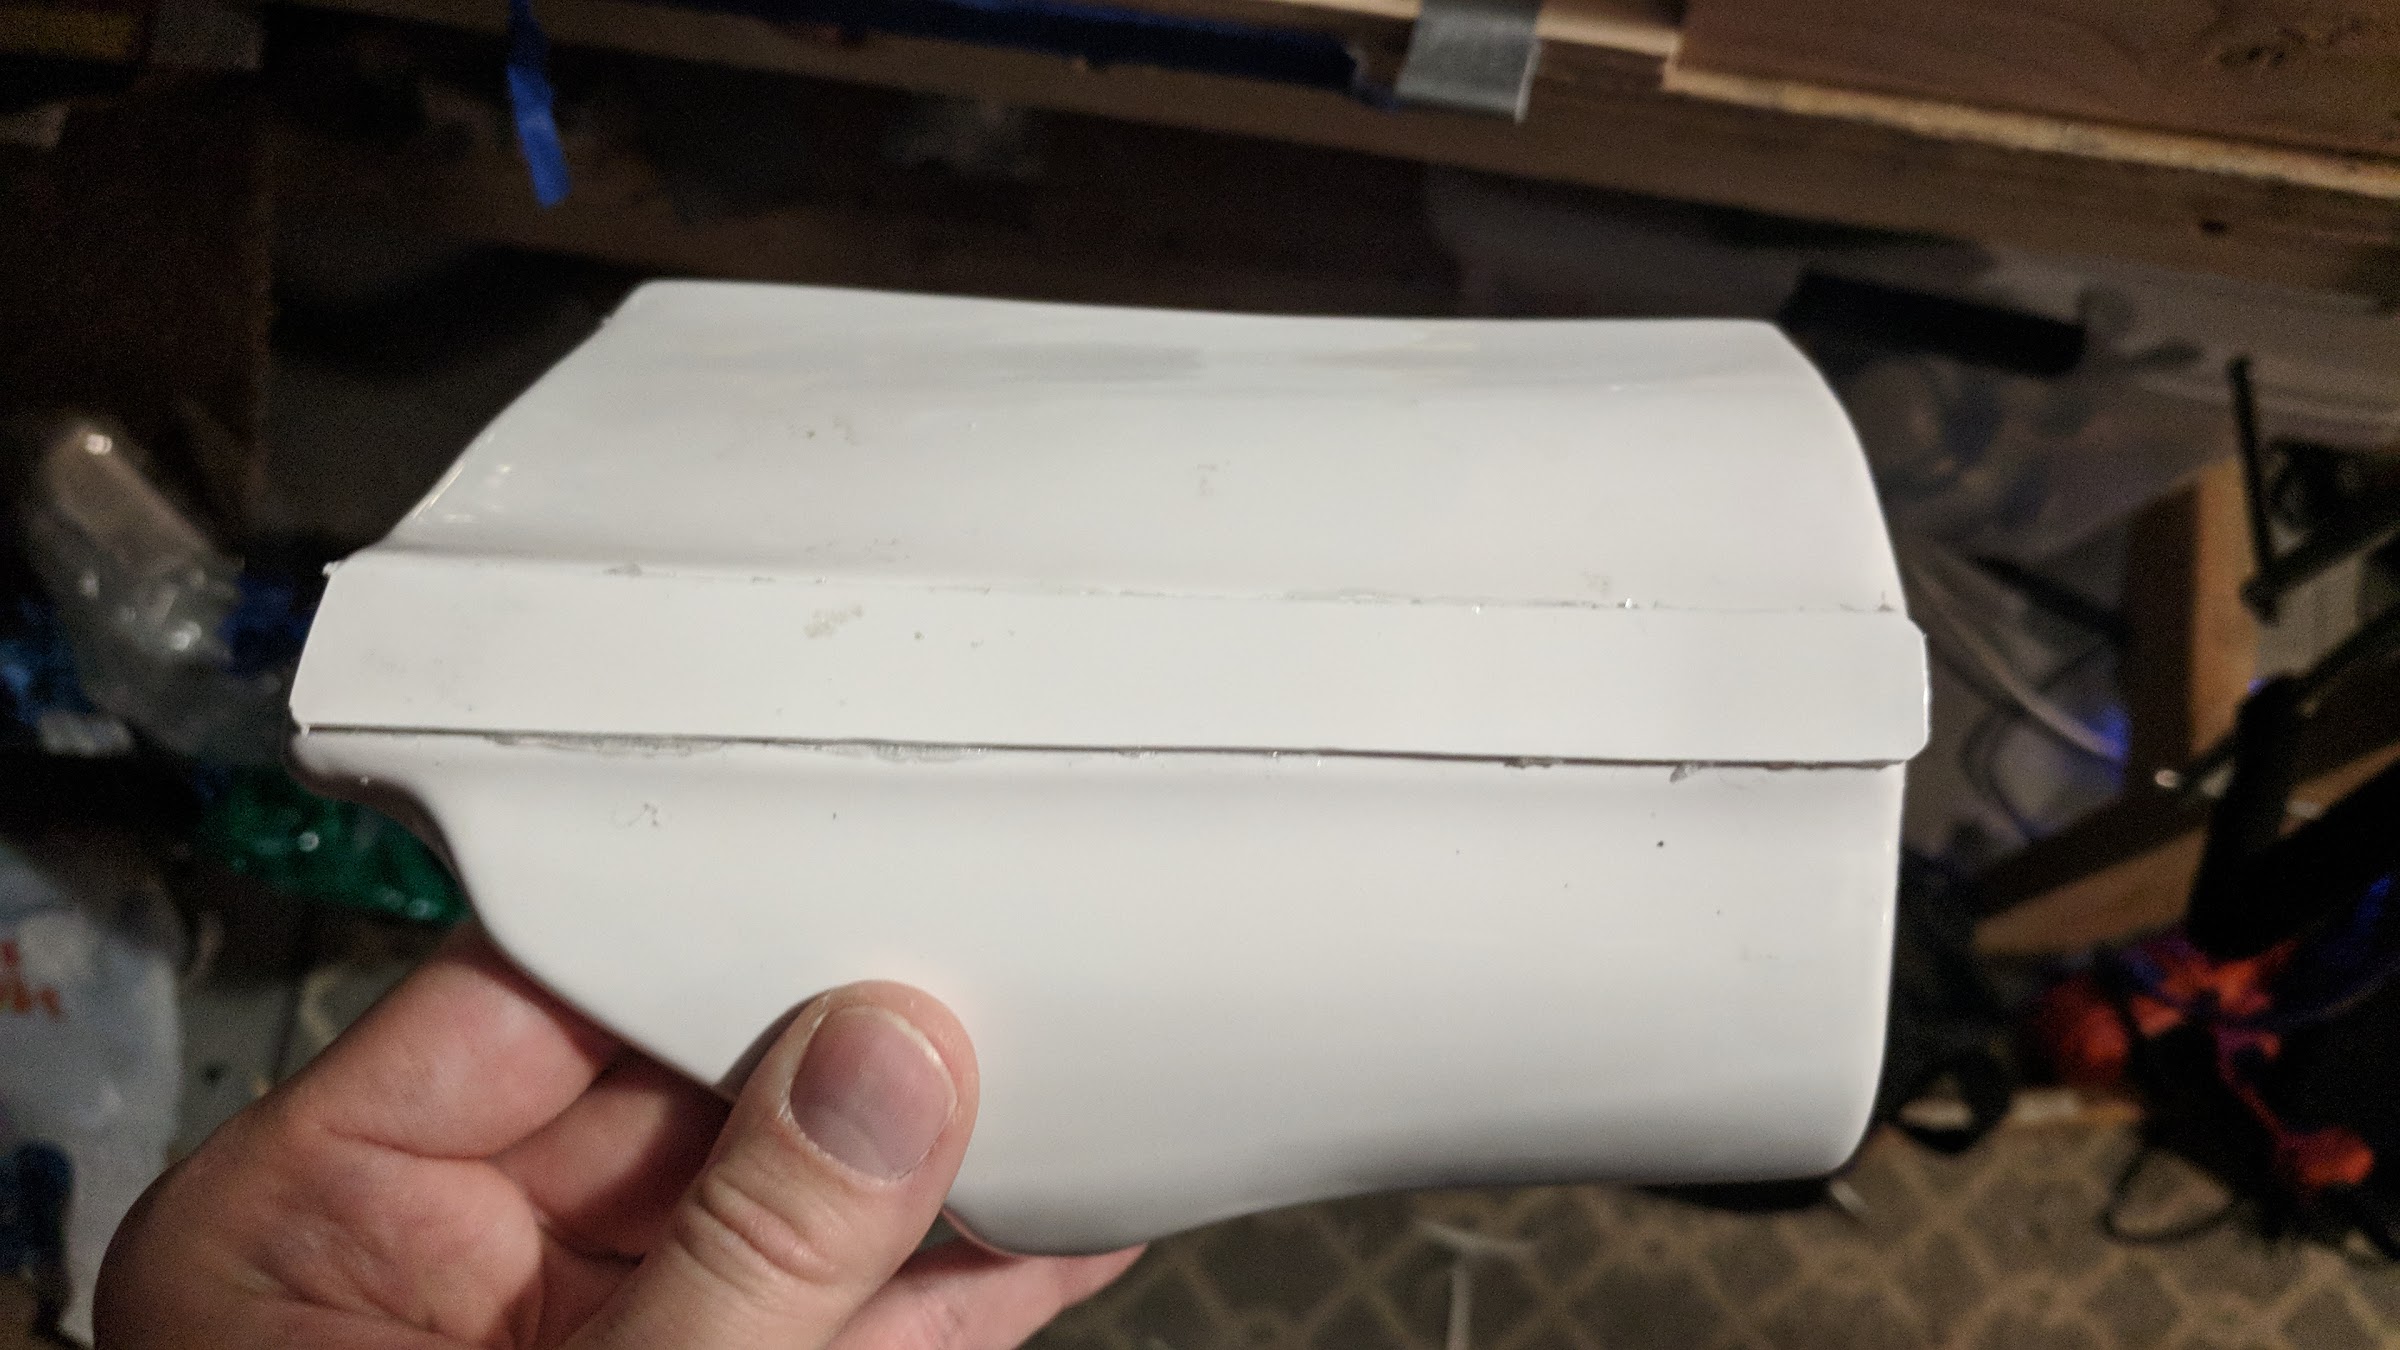
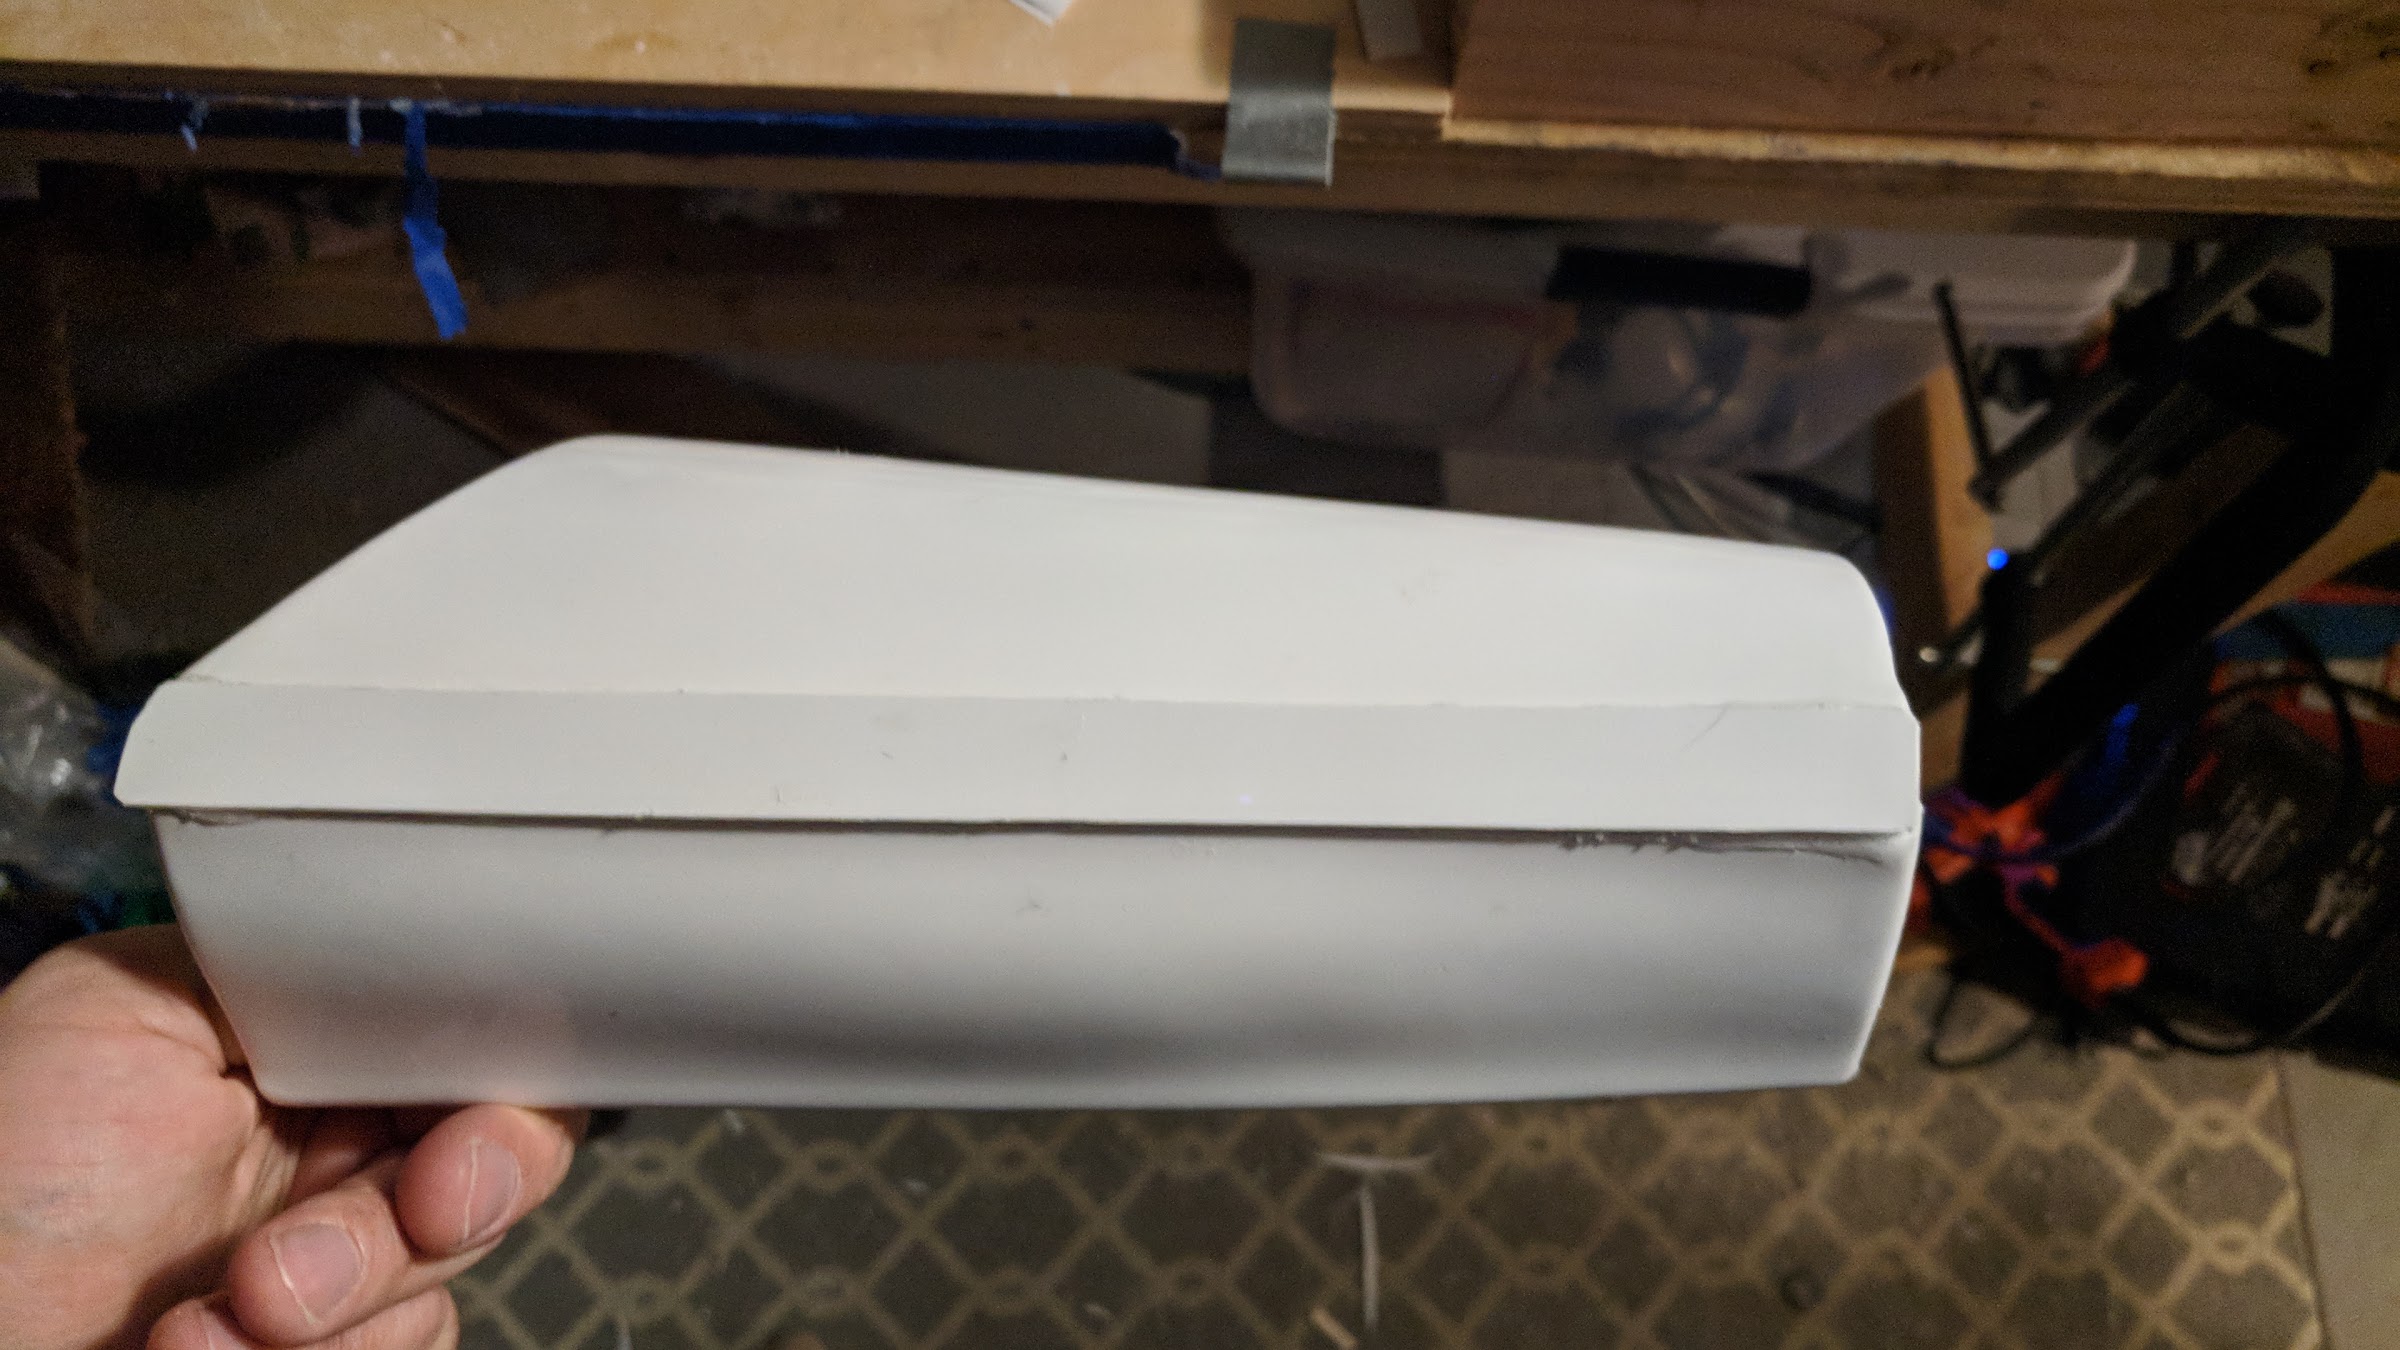
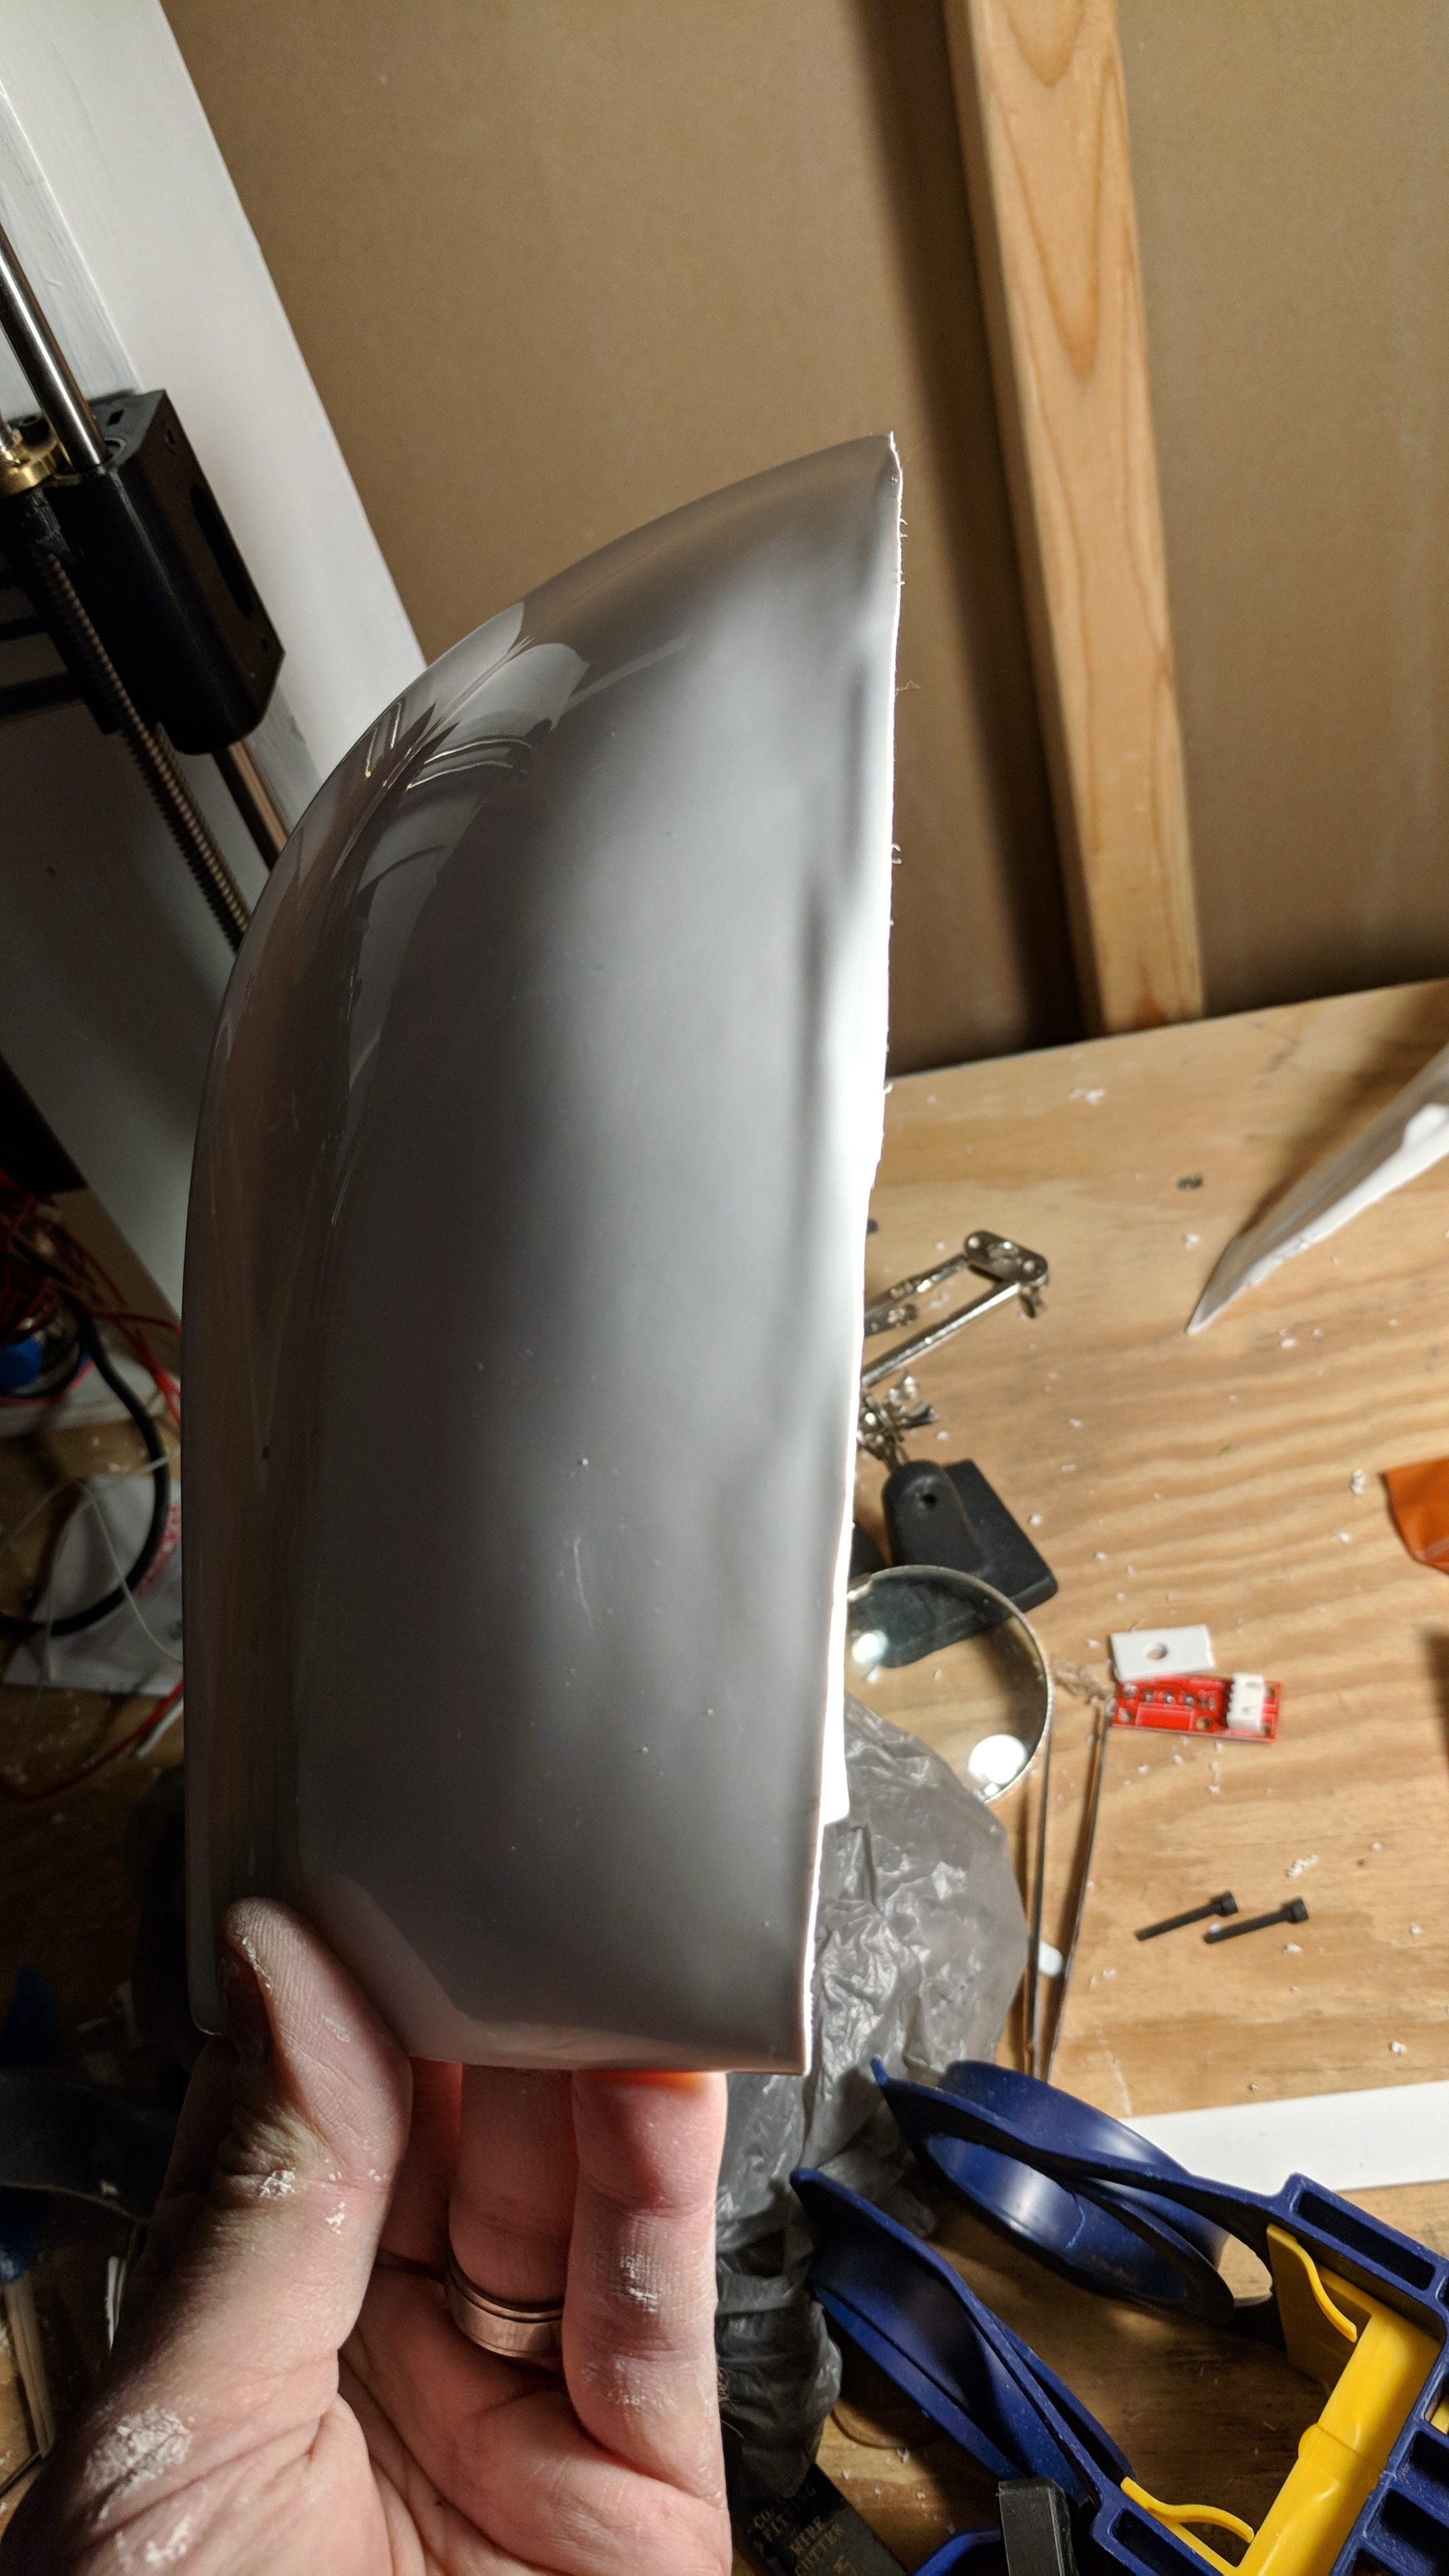
Chest shoulder strap time! Started by scoring and snapping right down the middle.
I than removed a good amount of the edge, and got ready for its hot water bath to get the curve
Placed in some boiling water
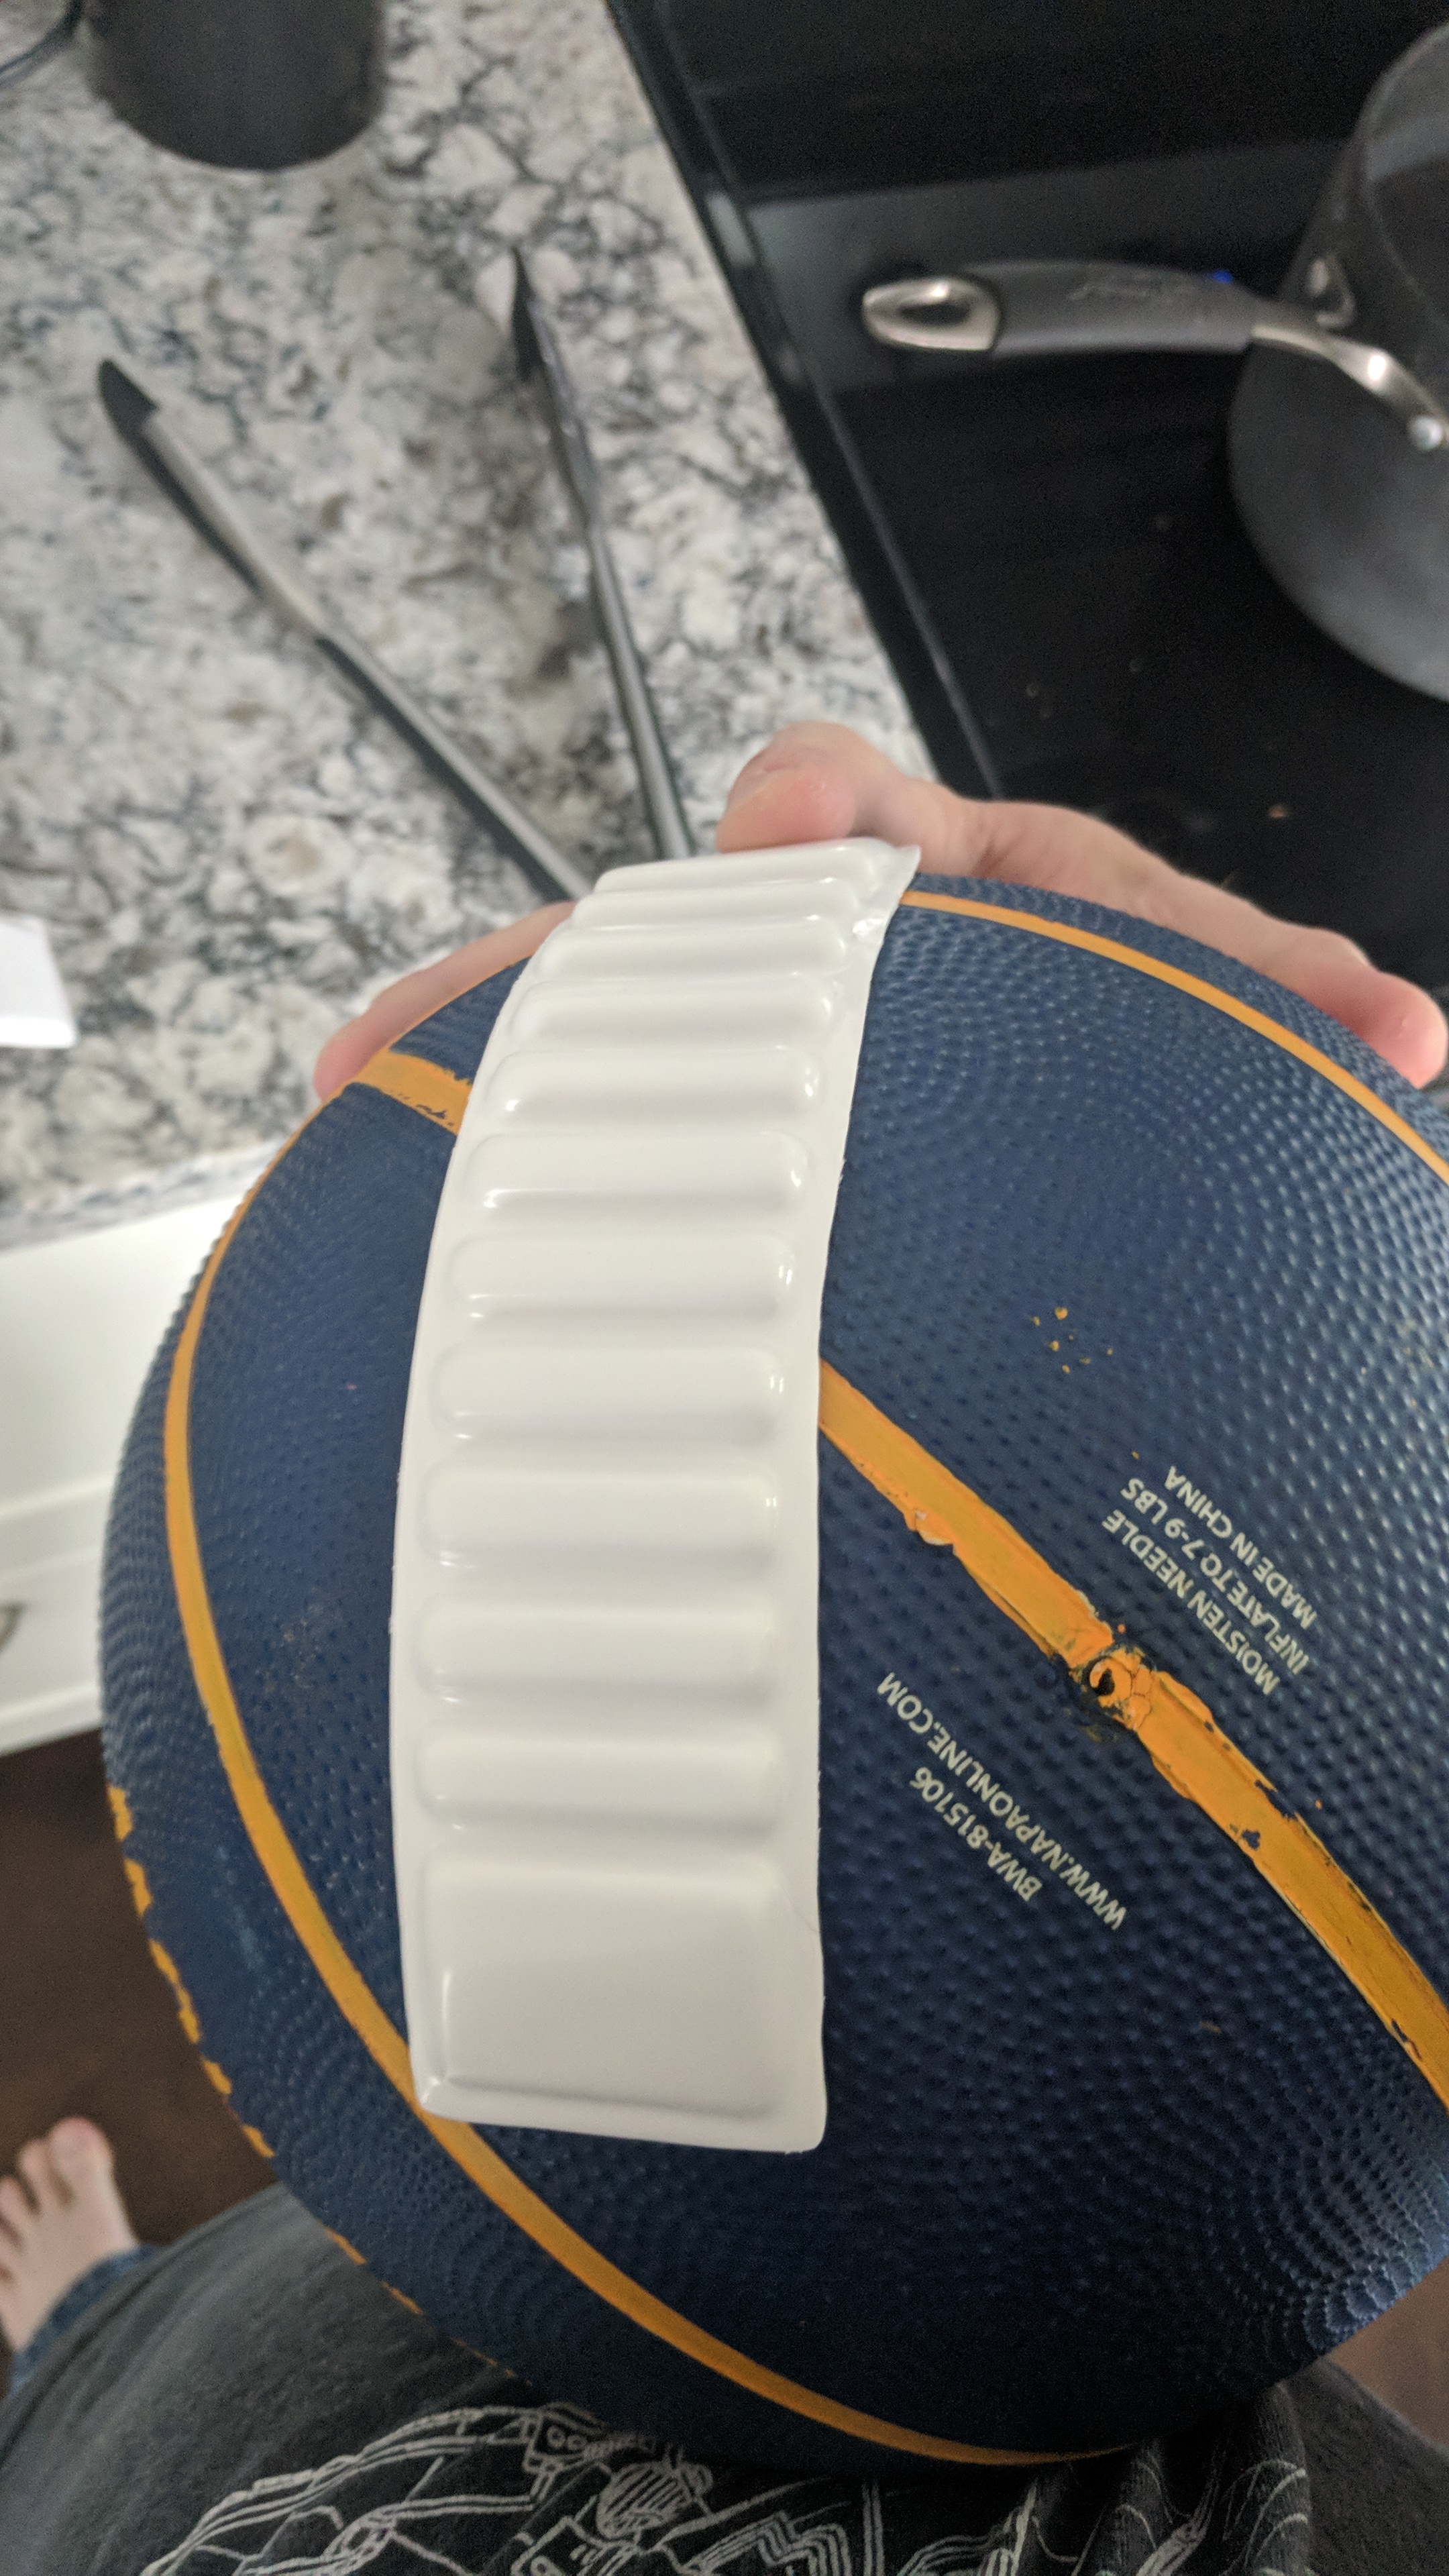
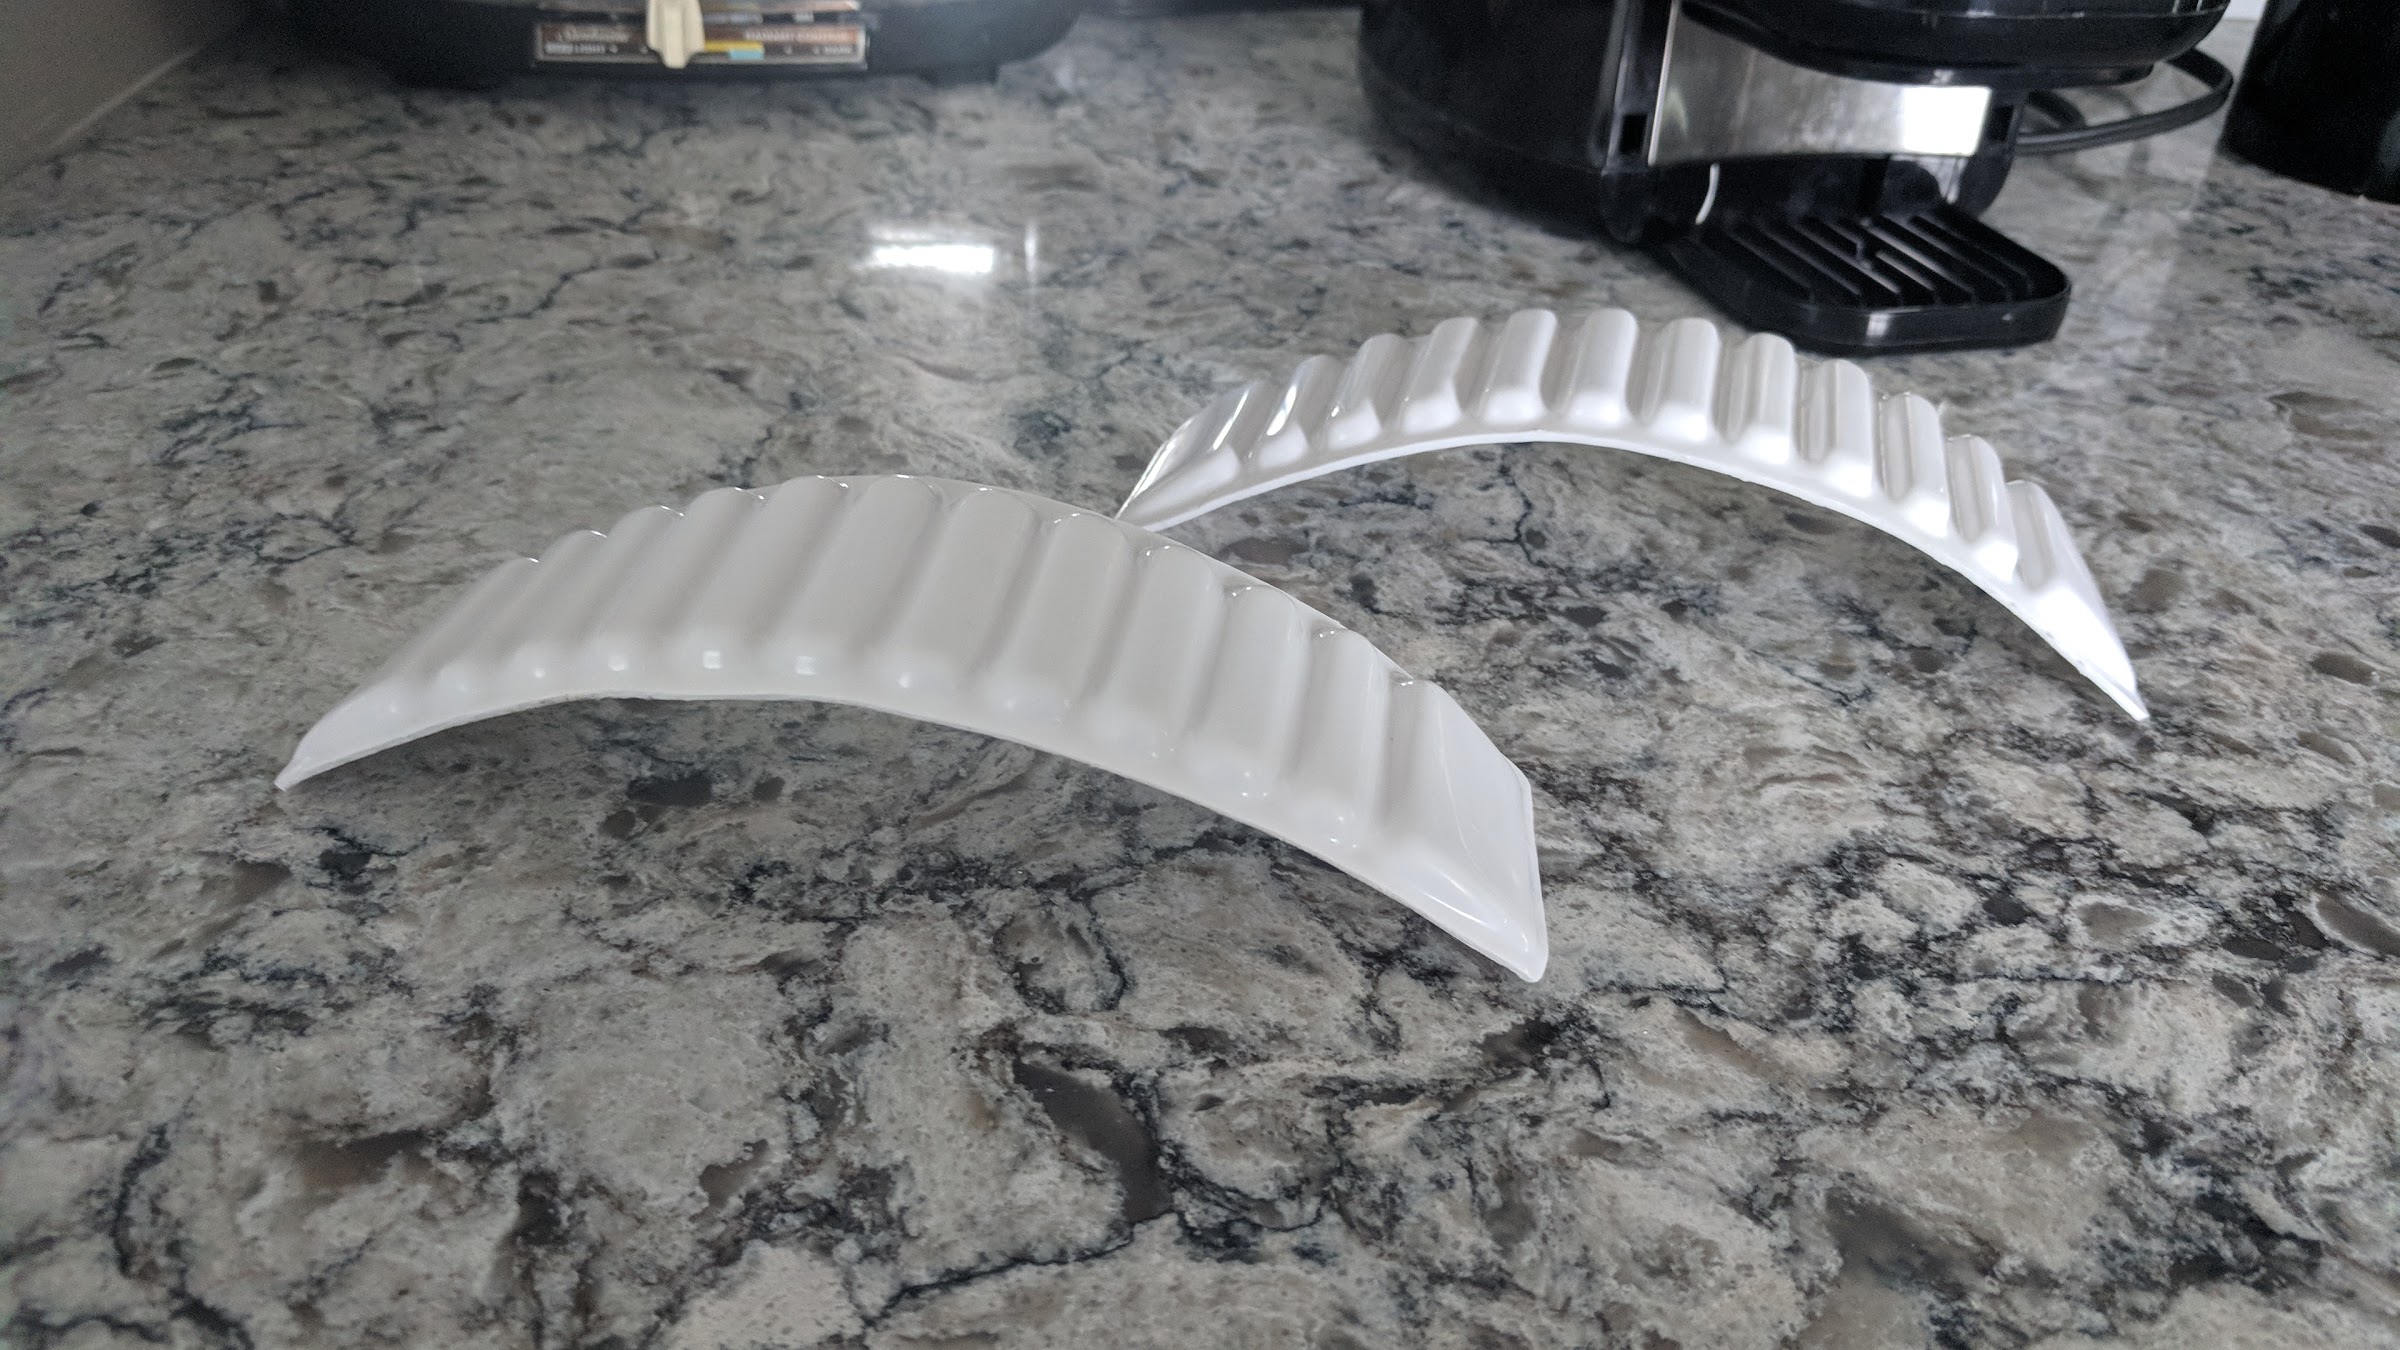
Than I used a basketball to get the curve shape and allowed to cool. I reheated as necessary to further get the shape better. I used the tongs to remove it from the hot water....common sense troopers!
and finished product
-
Just now, Cricket said:
My gloves look just like these. And nothing was ever mentioned to me on my Centurion application.
")
Good to know! I figured best to double check before I glue flexible hand guards to these. It probably does not come off as easily as ABS does
-
2
-
-
Would these gloves work for centurion? I am unsure about the texture on the top of the finger tips
-
1
-
-
I literally just found it those same pics and was hoping to beat you to posting them

I was trying to look in the screen caps and than in the galleries for the court case.
I should really try starting at the RS feed
-
Thank you Tony for the clarification. I know they are not required for approval, just going for that extra feather in my cap
")
Do the front of the shins have this cut on the coverstrips? I am having a hard time finding a clear reference pic. I don't believe they are on the back of the shins.
-
9 minutes ago, CableGuy said:
Just out of interest, are the top of the biceps comfortable?
They seem alright, I have more of an issue with my elbow that i was going to thin down to make it a bit easier sliding off.
Tonight is my good working on the kit night so I plan on fitting attempts with the return edges and bells
-
I did a bit of coverstrip trimming this morning. Worked on cleaning up the left arm so I can prepare that assembly side
Left Bicep Front:
Left Bicep Back:
Left Forearm Back:
Left Forearm Front:
I want to do the 2 inch elastic strap attaching the bicep to the forearm. I know this is not a requirement but what amount of spacing is deemed appropriate between the bicep and forearm?
-
Did the shins have 45 degree angles on the coverstrips? Or is it just the front and back of the thighs?
-
On 3/24/2018 at 3:34 PM, Harbinger said:
If you go the heat gun route try on some scraps first, very easy to overdo it and make it worse.
Second that
-
10 hours ago, walt said:
Oh I am not the creator. You are!
i am a simple sword maker. You are the Samurai !
Well with the sword maker lurking, I should do my best to honor his craft by being the best Samurai and bring no shame!
-
1 hour ago, walt said:
I do lurk
The creator has posted to my thread. This is a good sign
-
4
-
-
21 minutes ago, ukswrath said:
I have some WTF being shipped to me for a customer of mine. Really looking forward to working with this armor
Well I hope my build can be of some service to you Tony!
-
39 minutes ago, LTM said:
So Walt must be checking this build. Just posted that he needed to make a new master for the bell, and the new one is 1.5 inches deeper. If you want to get replacements, PM rocky.
I wish I was that much on anyones radar
 . I believe Christine brought it to his attention first and messaged me stating she was getting a newer pair. When I talked to Walt this morning he said he was already working on making the bells larger
 -
2
-
-
9 minutes ago, ukswrath said:
Also, don't forget to trim the cover strips, they're not to extend past the upper and lower return edges
definitely. I found it easier for my clamps to get a better grip on them with a bit more hanging over and will trim later. I know its more of a process and need to be careful.
-
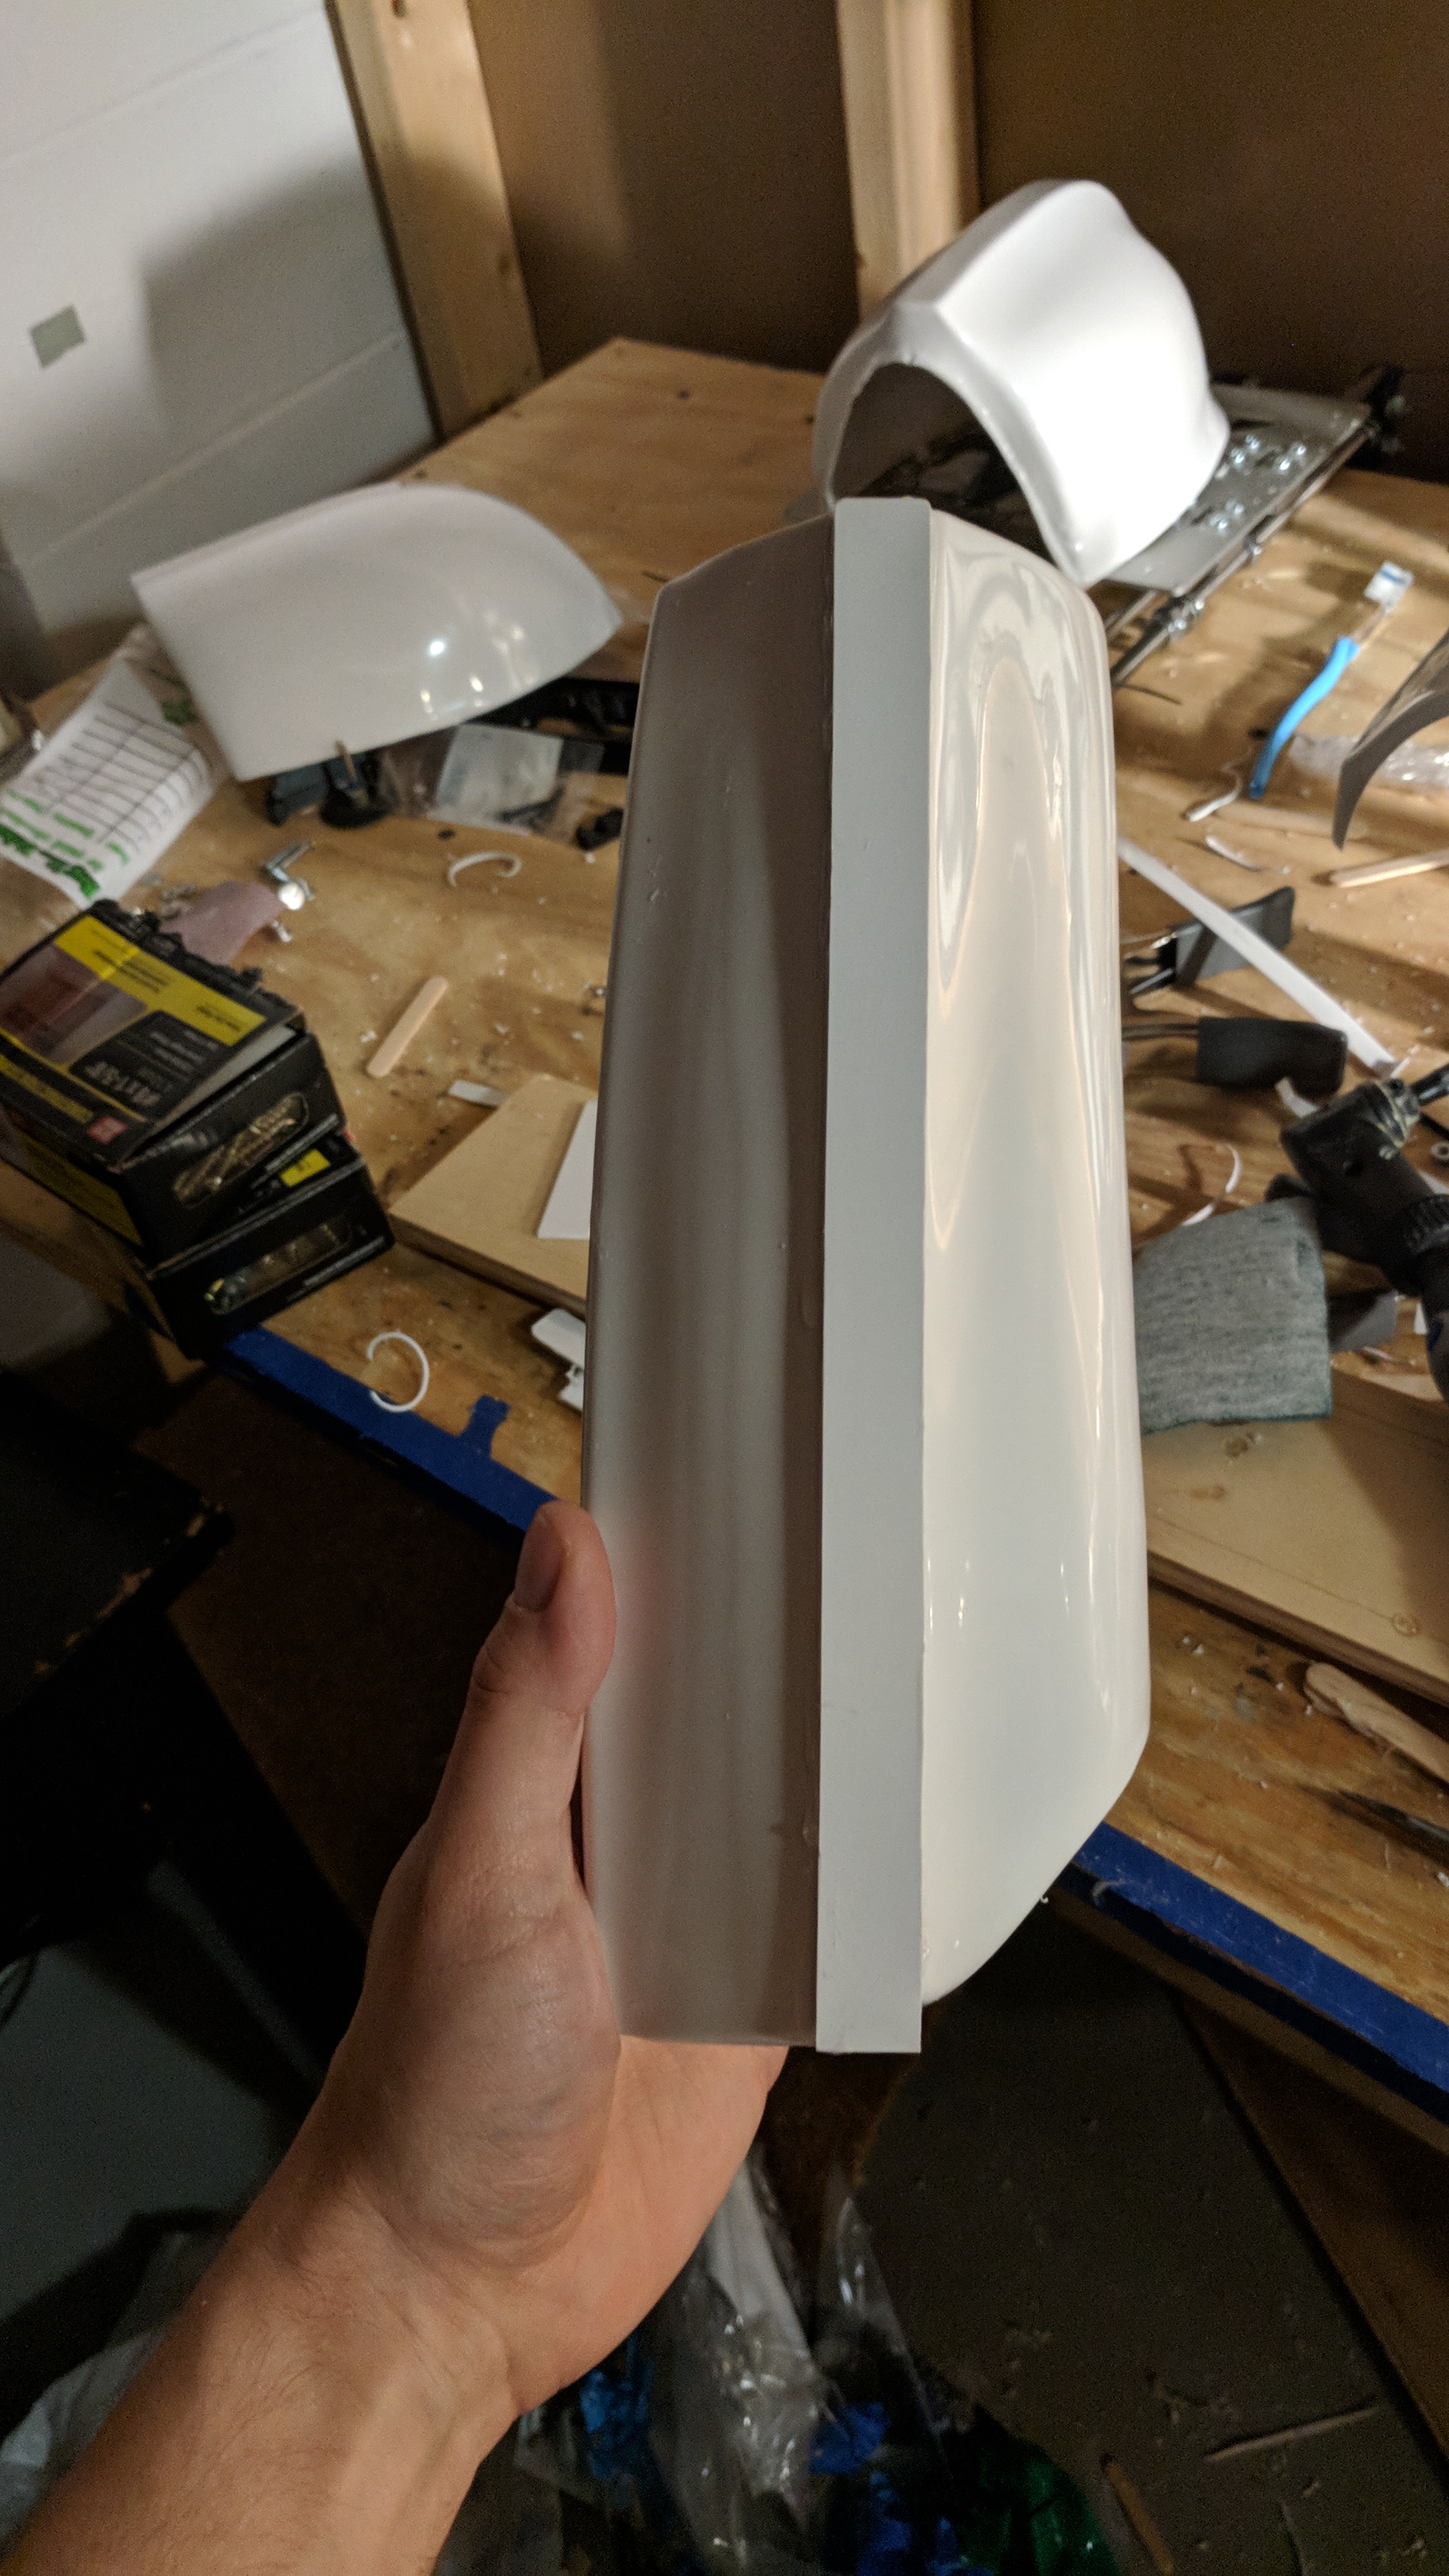
On 3/25/2018 at 8:23 PM, StrmTRPR85 said:
So another WTF builder asked me about my shoulder bell, so far I only did the left but he pointed out his had a marking and so did mine
I thought I cut all my return edge and I planned on cutting the rest of this off.
The real question is how much is too much on the shoulder bell?
So after talking with Walt, that marking we are seeing is due to his kit being modeled from a screen used suit. I have decided I will be keeping this piece to preserve that part of the kit. I like the idea that it is modeled after something that was on screen and I can exhibit that in the build.
-
Ok left arm ridges have been torn down and reglued!!! Best part of waking up early with for the kids is you glue one part, go to work, eat dinner get kids to sleep glue another part than go to bed and rinse and repeat
Left Forearm:
Left Bicep:
I have removed some of the return edge on the elbow side of the left bicep, just so I can get my elbow through. I will do more for comfort
Much more snug fitting but I do like the look now. Still some return edges to clean up but not bad
-
30 minutes ago, Cricket said:
I've ordered another set of shoulder bells and am hoping that the pull marks on them won't be as prominent. If they are, I may end up trying to flatten them out. I don't like lumpy shoulders
26 minutes ago, LTM said:Same issue on mine. If you ordered new ones, make sure to tell Rocky the issue so he can send you the best copy available.
Boo Hiss, I don't wanna order new ones.....I'll test fit and see how it looks. If necessary I will fix them, maybe a bit of sanding? Sealing Iron? ABS and a finger?
")
-
You can do it!
-
1
-
-
On 2/14/2018 at 12:26 AM, Madness990 said:

Blk Paint...
Flex seal...
Plastic Dip...
Velcro...
Or other???
What do u all recommend.... I REALLY like to have the inside dark....
Sent from my iPhone using Tapatalk
I sanded the inside and did the spray can of plasti dip. I will be going back over it all with cheesecloth and a brush to pain the inside with additional plasti dip to give the helmet more bulk in some of the thinner parts.
-
1
-


WTF ANH STUNT TK Build Thread
in ANH Build Threads
Posted
Made some hooks for the biceps this past weekend. These will hook onto the shoulder bell strap and prevent the biceps from sliding down
I started with some left over forearm/bicep coverstrips and cut them to 2 1/2 inches in length
I than rounded one end and measured 1/2 from the rounded end to bend the ABS to create my hook.
Placed my sealing iron slightly above the mark and held in place until it was heated just enough (20-30 seconds)
Than I glued in place.
Note the placement as these are centered on the biceps. Height may very based on body to body