


Yiyo
-
Posts
209 -
Joined
-
Last visited
About Yiyo

-
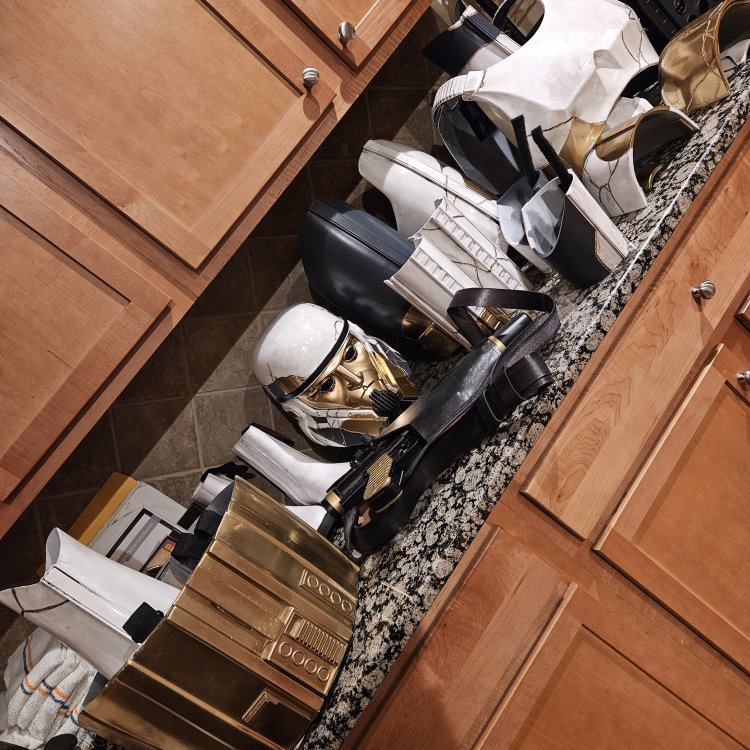
 Fully agree with Sly, there has been so much work put into this CRL.....I will still stand by the fact that CRLs are the MINIMUM requirements, so any improvements with clear screen shot references can be worked with by your local GML. Thanks to the detachment team, contributors and Alex for modelling, it's been a ride but ITS LIVE!! ENJOY!!
 -
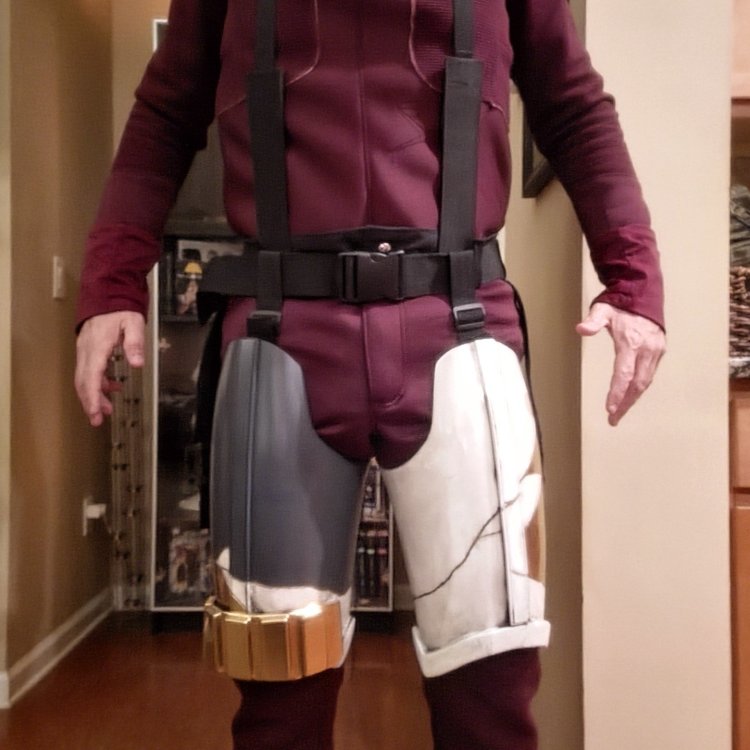
Cracks look good, paint loots good, ears and vents look good......as a GML myself, I would approve :) Who's the maker?
-
No doubt bud, don’t take my message wrong, but we supposedly can’t just wear an unapproved costume to an official troop, so was wondering how that worked as we are on a Legion forum thread. Now I understand you are freely wearing an Enoch costume as a Comic Con attendee, I hope you have a blast!!
-
With all due respect, how can you debute a costume for which no CRL has been approved, thus your costume isn’t approved? Just asking as a GML myself.
-
Great catch! Is this enough to stop basic approval though? Depending on the wearer, I think this will be covered by the Kama or the back panel. It’s obviously not my decision but I honestly hope this won’t be a showstopper at this point as we will never reach perfection.
-
@azoroes Alex, you "only" need submitting all photos and so on, I have modelled 2 CRLS, if you need any support, let me know! Detachment staff are ready mate!
-
Hi team, Do we really know what still missing to get this CRL out the door? I understand and backup the fact that we want things to be almost perfect, but we really could do with getting it published as people lose interest in the costume :(
-
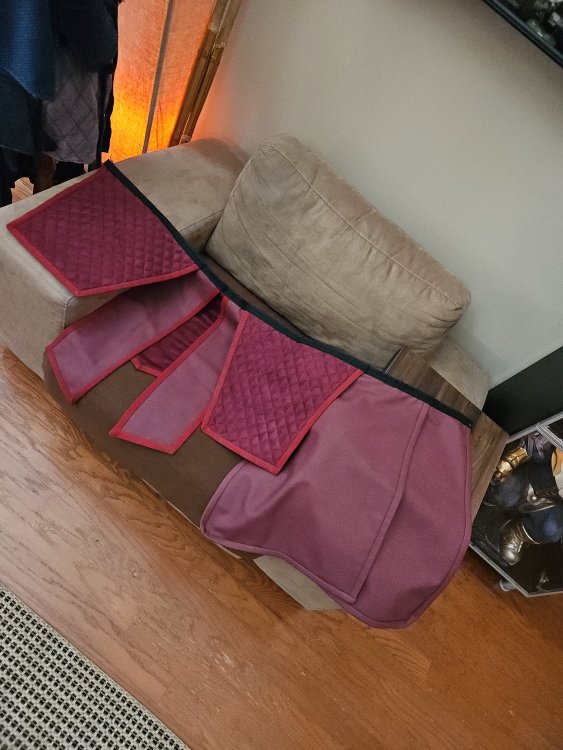
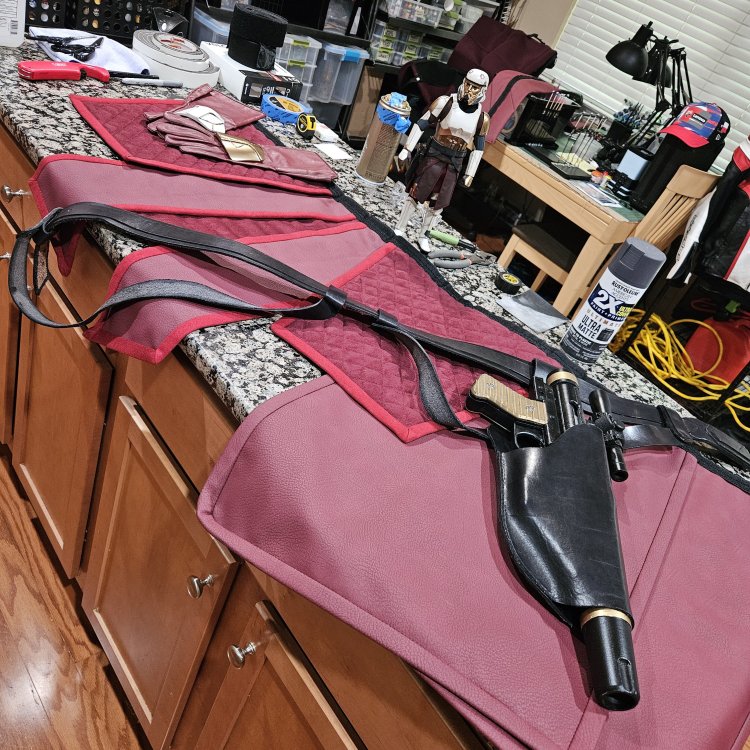
Front panels and top "belt" are clearly leather, color is spot on, seems very similar to mine.
-
Hey Dane, did you see my photo above? There are quite a few of us with the same Kama, I believe it is dark burgundy for the leather and red for the rest as per the pic.
-
Panels are leather, quilted sides are fabric
-
So the bias / binding versus the leather?
-
Many of us have used K&J Sewing from UKG for the Kama so we appreciate the “undefined “ part of it as the patterns are fantastic and the choice of materials, is still difficult to decide. What does the rear border mean?
-
I just wanted to thank you guys for pushing this out the door! So many of us have or will have very similar costumes ready, so the changing of words to allow for basic approval, really helps. Thanks! Hopefully we will get a model soon!
-
Thanks for answering mate! I agree, I started looking into GAs file last night after seeing your post and decided to invest in Big Fred's as well as your pieces, loving the blaster rifle (nearly finished printing), and the shins and JetPack look fantastic, will be printing them next I am also going to try and make the rubber pieces myself following your instructios, so fingers crossed, I may be back with some questions. Once again, great work on the CRL mate!


