

mitcheg1
-
Posts
243 -
Joined
-
Last visited
-
Days Won
3
Content Type
Profiles
Forums
Gallery
Articles
Media Demo
Posts posted by mitcheg1
-
-
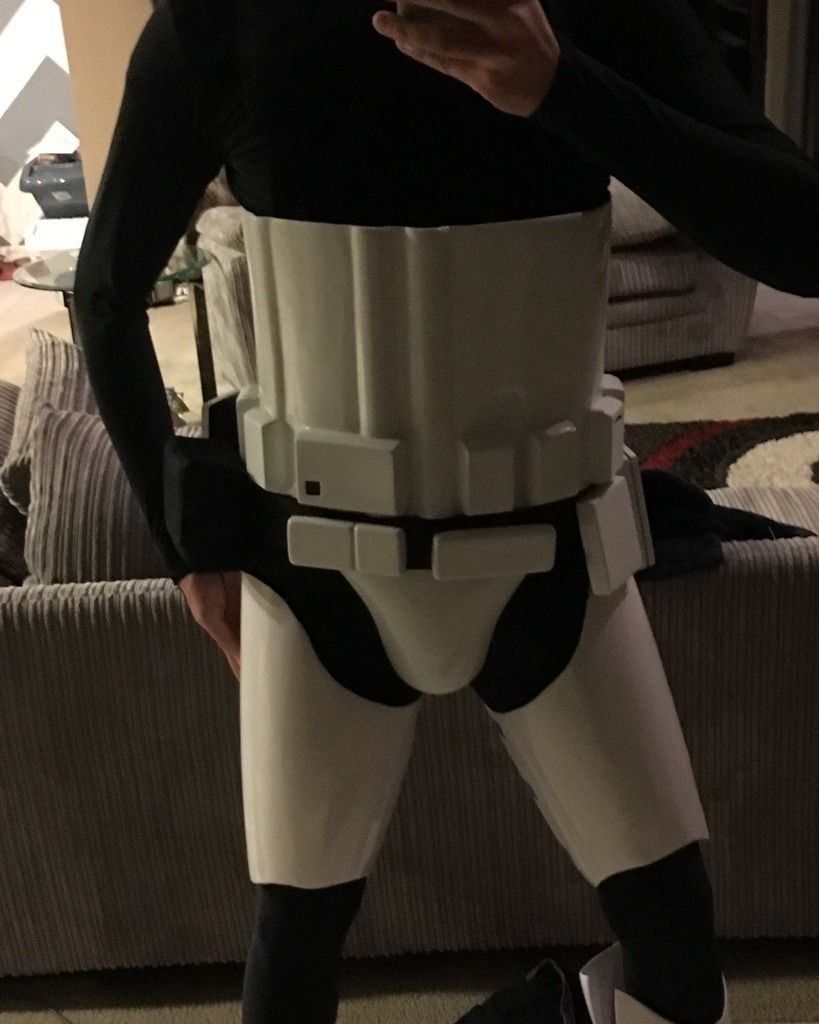
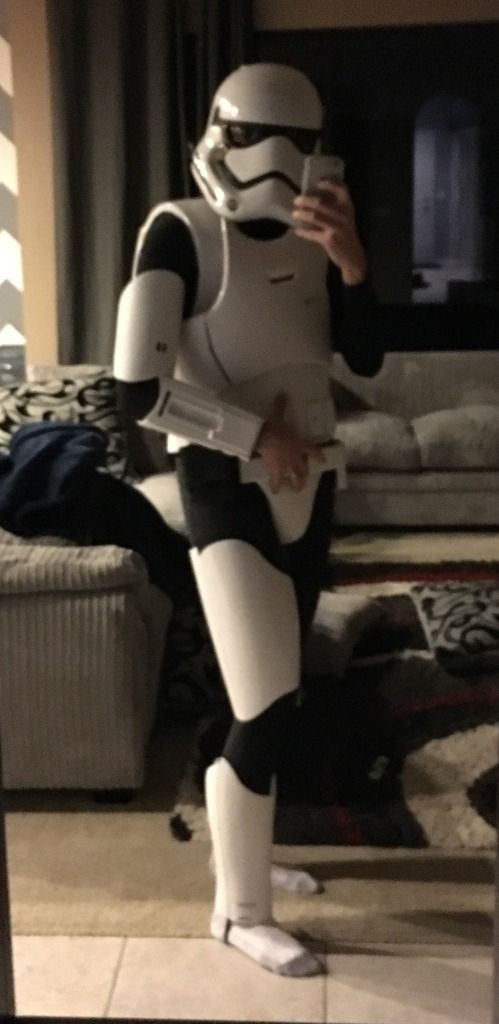
Wouldn't you know it, the good pose comes out blurry!!!
So I still need to wet sand and paint, then glue down all my final strapping connections and secure velcro, but basically everything is together!
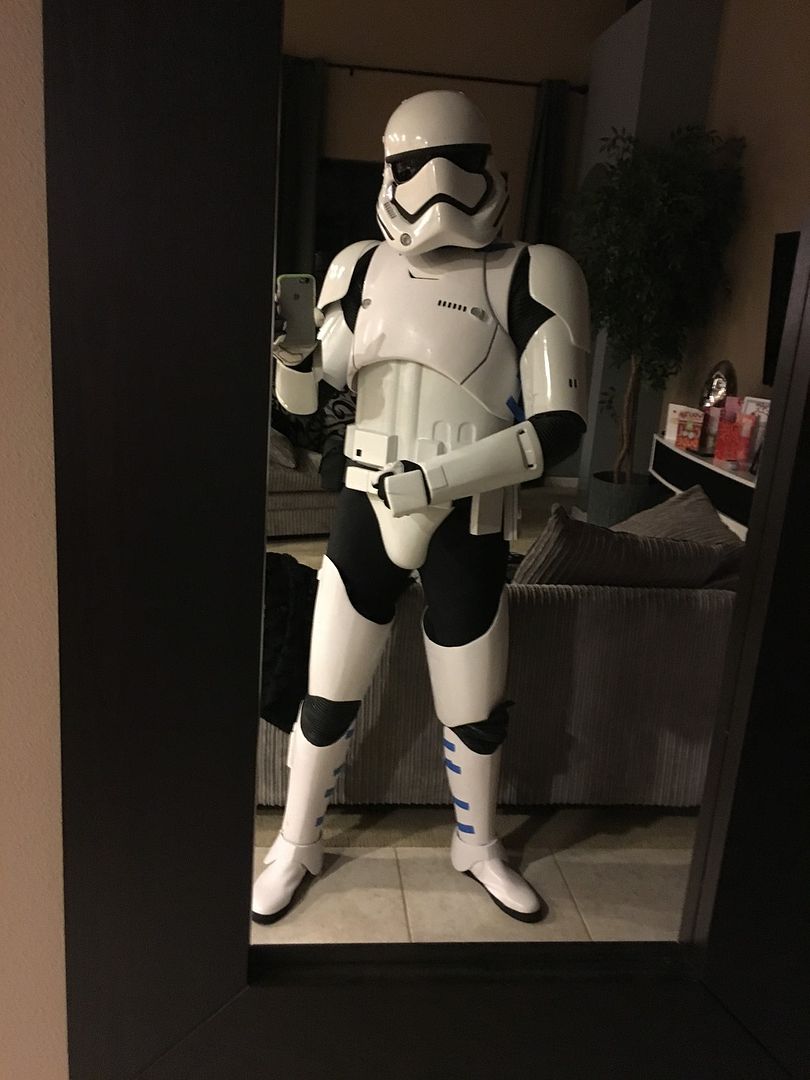
My knee caps still need to be secured to my gaskets and once I attach my strapping, the thighs will sit in their proper position (like in the blurry pic)

All in all, I'm pretty happy. Hope to finish this week and then will submit for approval.
-
 1
1
-
-
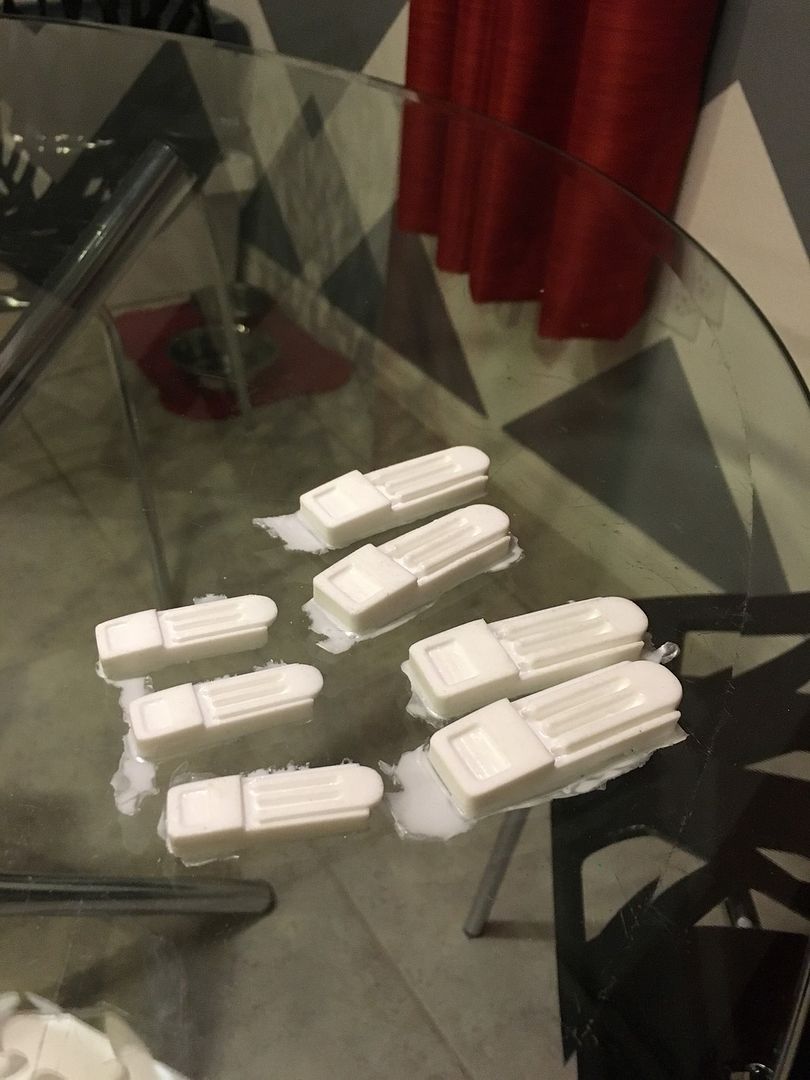
Molds poured!
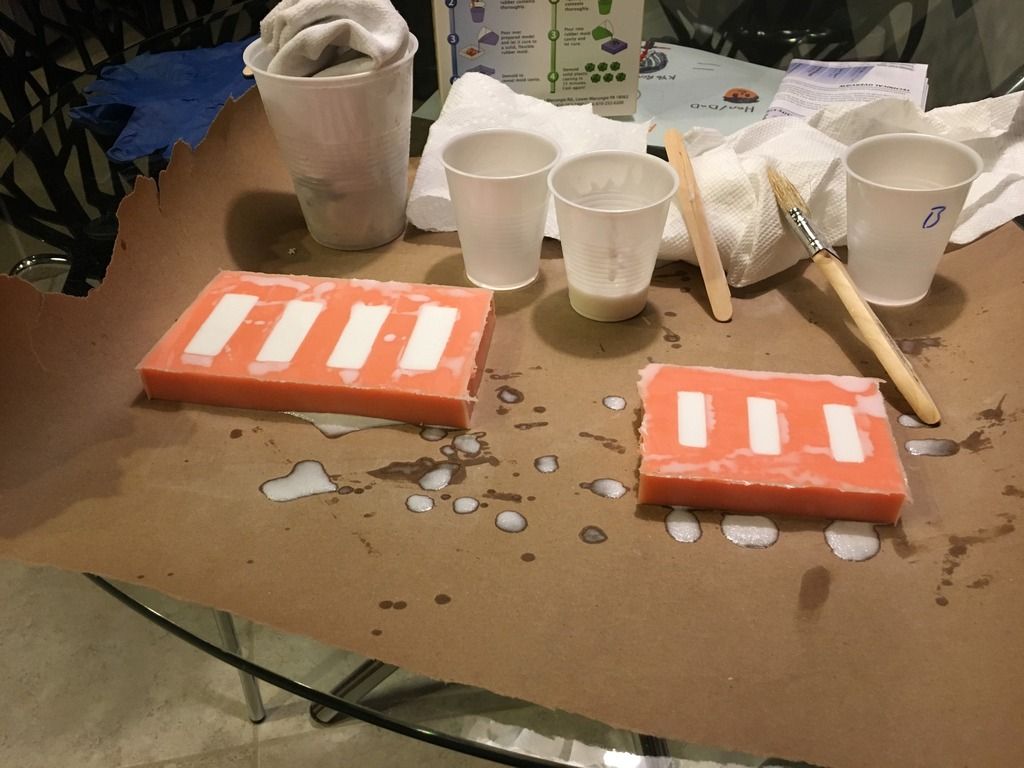
Super stoked with how these turned out!
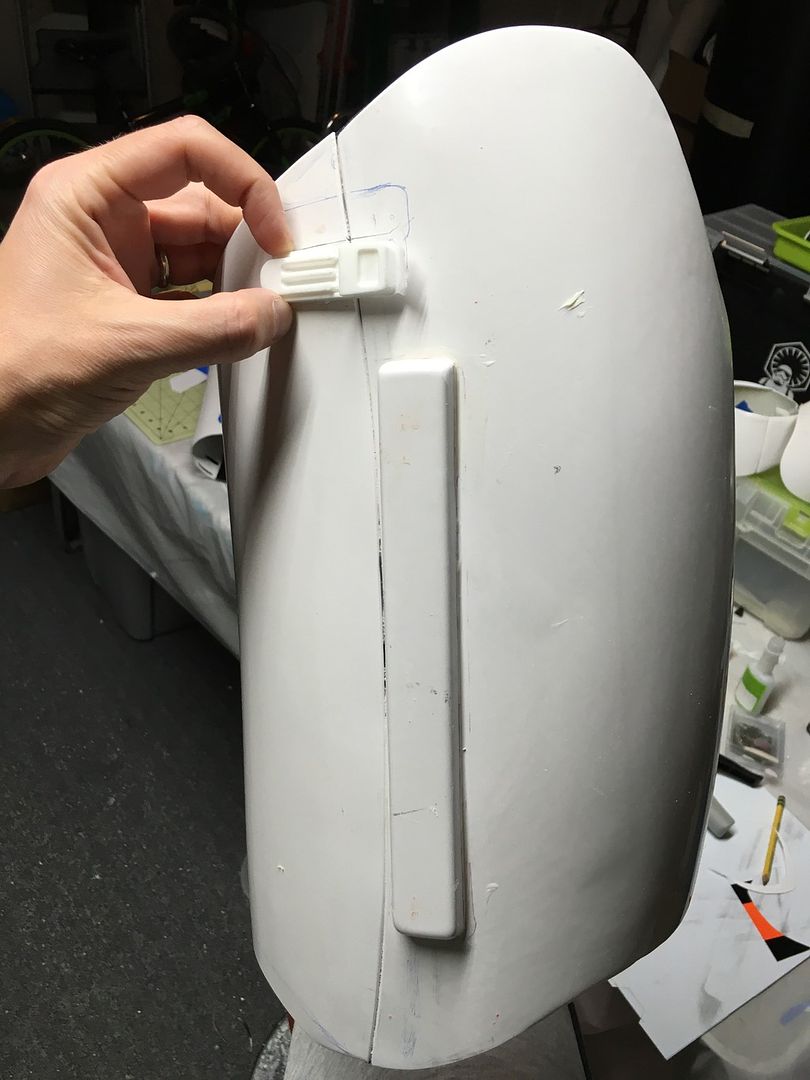
On the thigh!
-
2
-
-
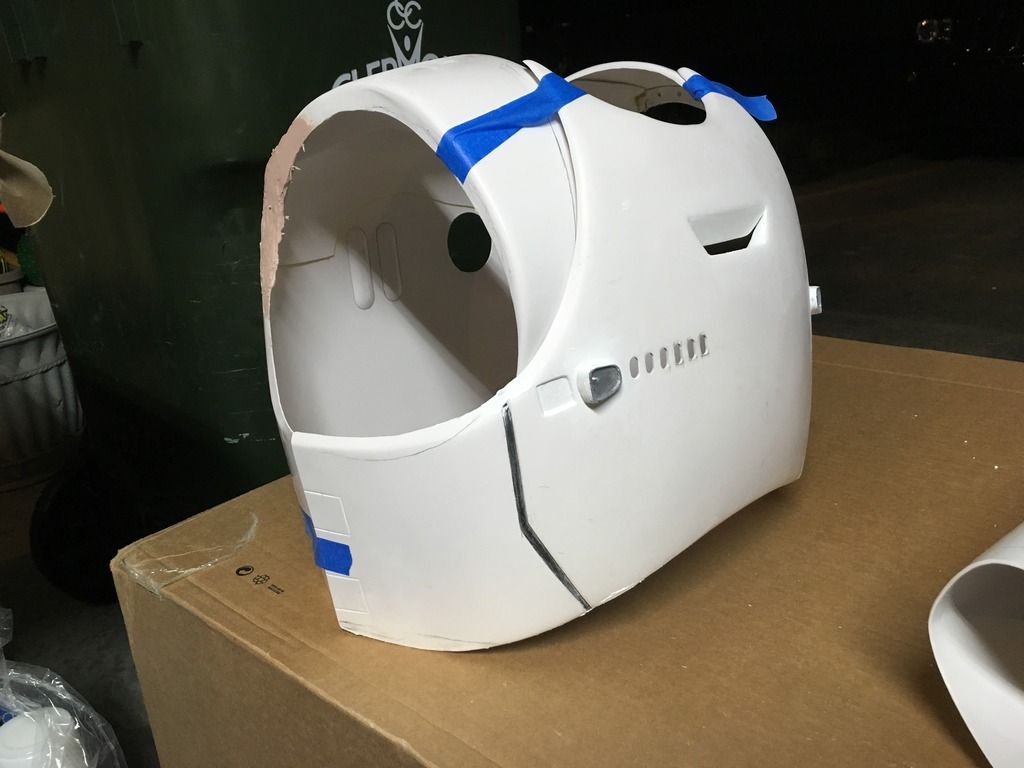
More clean-up! Finally happy with how the chest is coming together!
Thighs are pretty much done and holster/bracket is ready to be secured (just waiting on Amazon to deliver more Plastic Welder).
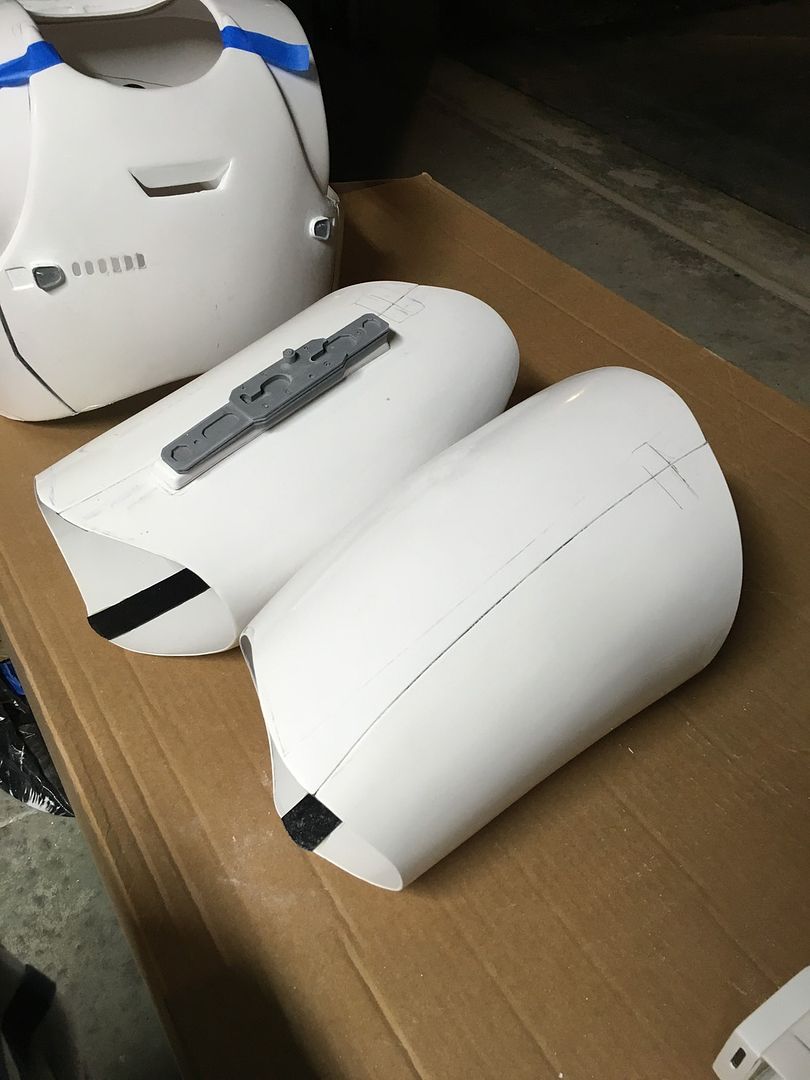
Shins need more clean-up, but definitely getting there!
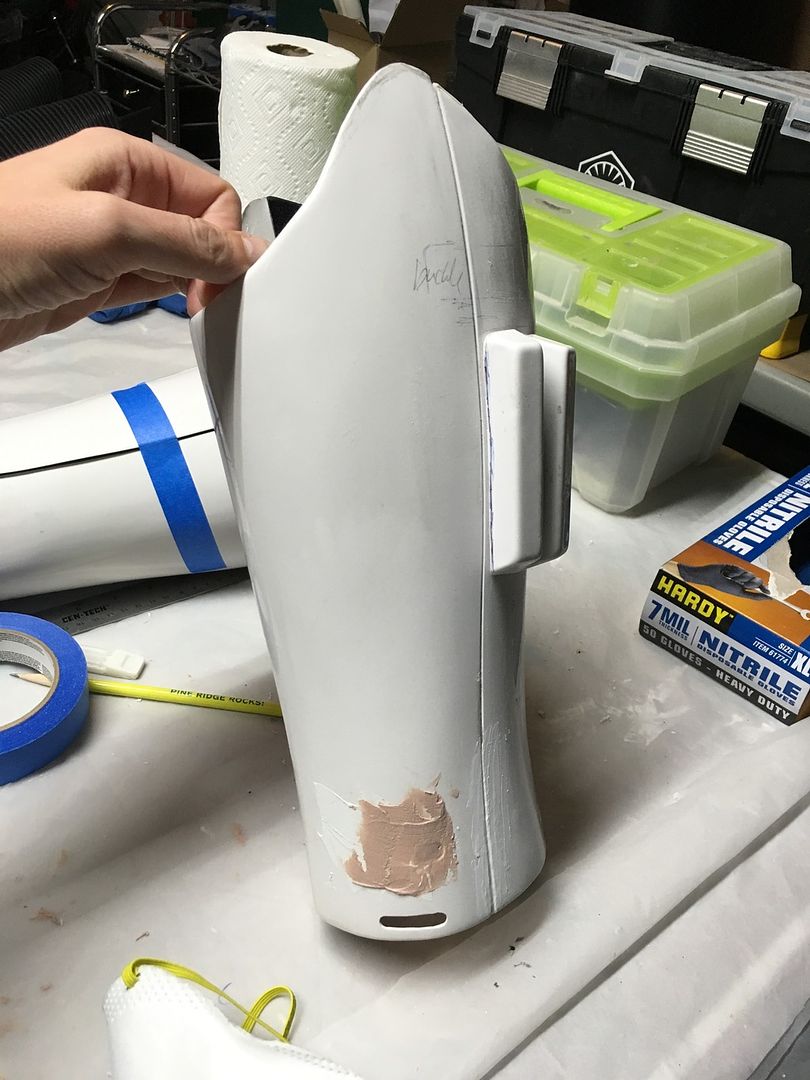
Also carved in several of the details with my handy needle file!
Finally, I poured up molds for my greeblies. I opted to ditch the ones that came with the kit and scaled my bucket greeblies so they would all match. Will post pics once I pour up a batch!
-
TK helmet looks alott like mitcheg1's
Nope! Looks like Anovos
-
1
-
-
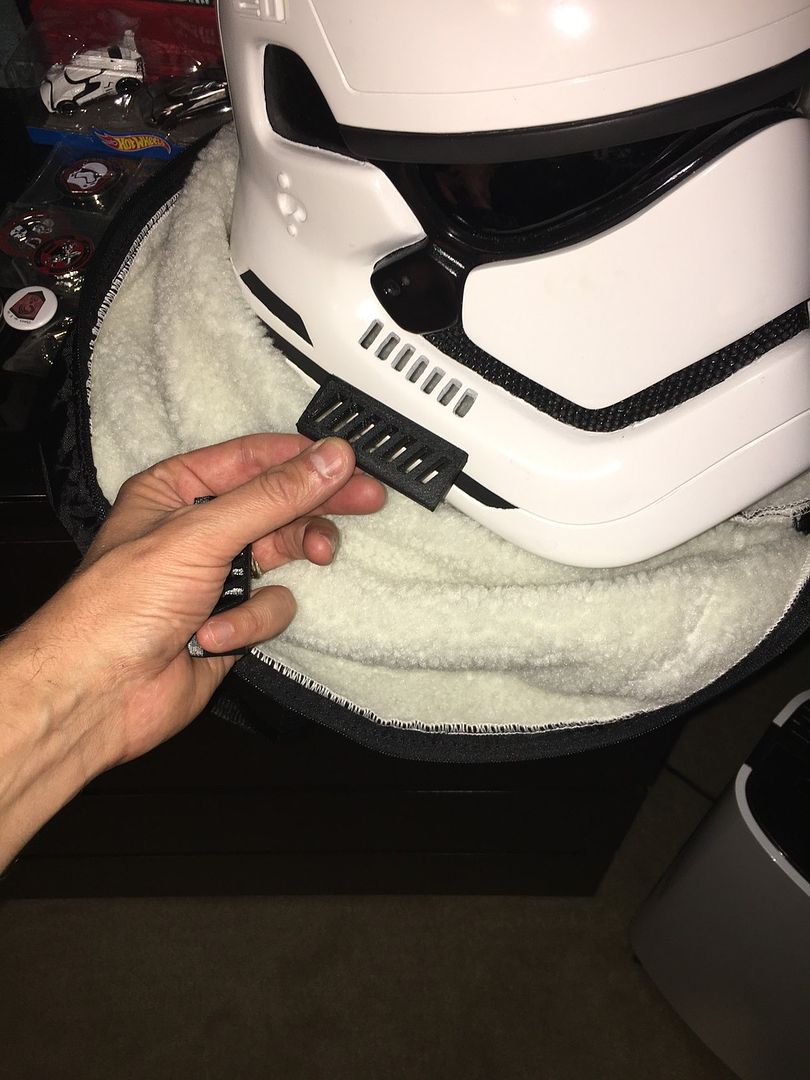
I assume you're referring to this feature.

Needle file, patience and attention to detail!
-
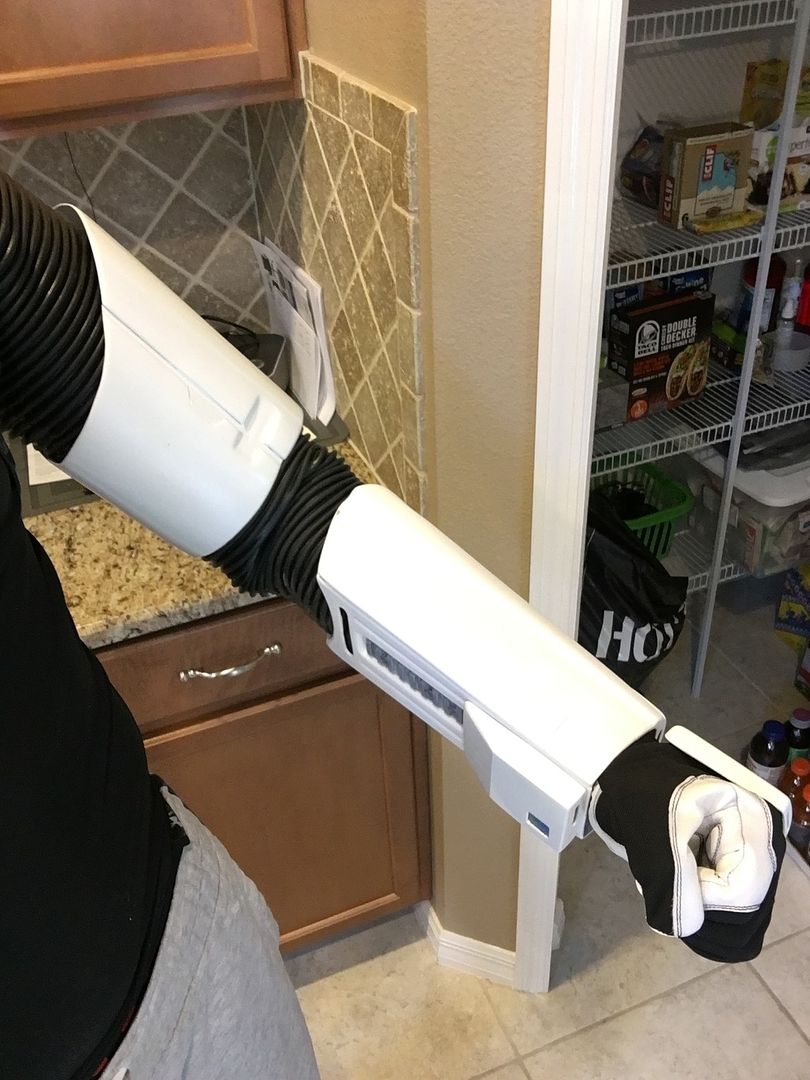
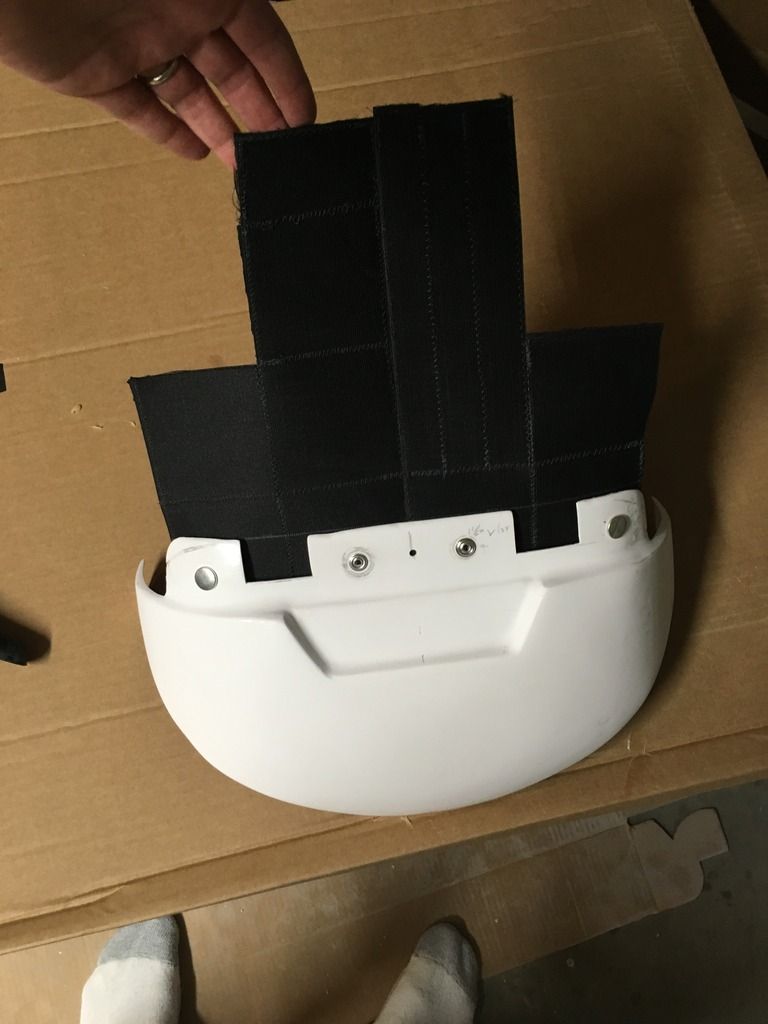
Super happy with this weekend's progress!
Also got my gaskets figured out. Glue elastic with velcro tabs to my gaskets for attaching them to my biceps!
-
4
-
-
All major parts are assembled. Got lots of clean-up to do. Also got abs and biceps painted today!

-
4
-
-
I'm blushing!
 I might have to send you my own bucket to paint! Great job! Looks gorgeous!
 -
Decided I needed to map out the remaining details on a schedule! Looks like I've got a busy two weeks ahead of me!

-
1
-
-
Abs, cod, buttplate, forearms and biceps are now ready for paint! Wish the weather would cooperate!
Gaskets are all trimmed and ready for attachment points. Holster bracket is trimmed and ready go secure to thigh. "Boxes" on left shin are trimmed and ready to secure. Thermal det is pretty much done. Little filler work and need to attach a "clip" to top for securing to back of abs.
I think I've got the chest all figured out now as well! I'm getting so close I can taste it!!!
-
1
-
-
Major progress today thanks to the armor party at our squad's "TK sweatshop"! Thanks everybody for the extra hands and guidance.
I'm holding what I can together just to see how it's coming along! I'm super pleased with how it's looking!
-
2
-
-
I was born and raised in Great Falls (CMR grad)! Good luck with your build!
-
1
-
-
Who's you're bucket from? Same vendor?
-
Downside is you will need to buy material for joining parts. I'll bring some of mine this weekend in case you need it. I also found the pulls to be pretty soft so have spent quite a bit of time sharpening edges, especially on my belt and ab boxes.Got the kit off the main 501st boards. Now, reading through some of the Anovos build threads, I'm REALLY glad this kit came pre-trimmed.
-
Got my ab to posterior connection complete.
-
Which glue did you use to secure the elastic bridge to the back of the ab section? E6000?
-
You bringing it to the AP on Sunday? Looking forward to bouncing ideas off each other since I think we've got the same kit!
-
Hey Motti! Welcome! Good meeting you at the Comic con! Hopefully we'll see you this weekend!
-
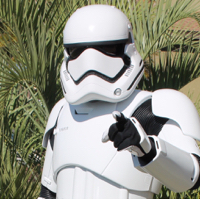
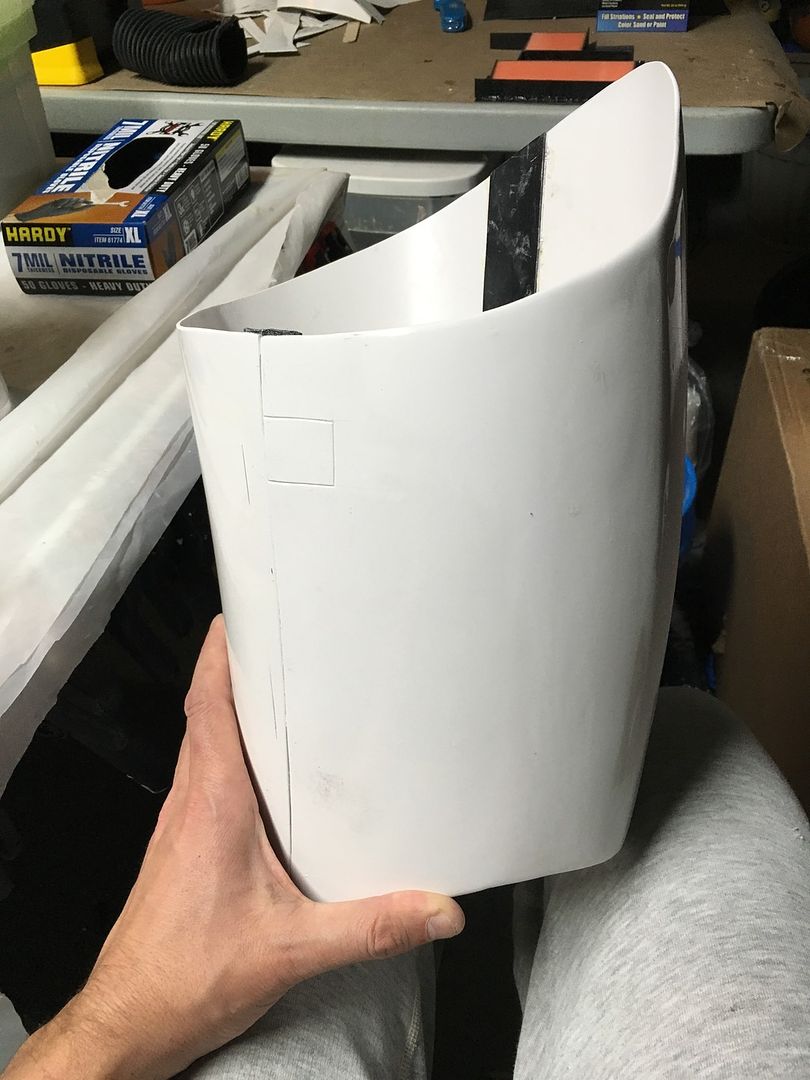
Upgrade time!
Since TFA came out, it's been annoying me that the kill stripes on my bucket don't angle forward like the real bucket. Also wasn't happy with the asymmetry of my stripes due to then being hand sculpted. Using 123D, I created a simple model and had a squad mate 3D print it for me. I plan on cutting out the original stripes and securing this piece in its place.
I also want to add more of a radius along the ridge by the stripes.
Finally I haven't been happy with the fact that my beak sticks out a bit more than the real bucket which seems to pucker in below the eyes a bit more.
Hopefully, this will really dial my design in with the screen used version!
-
3
-
-
A squad mate and I were just talking about this a few weeks ago! I love the look of the Elite trooper!
-
Welcome Mike! I'm just "up the street" from you in Clermont! Good luck on your build! Lots of great help here in Makaze Territory!
-
1
-
-
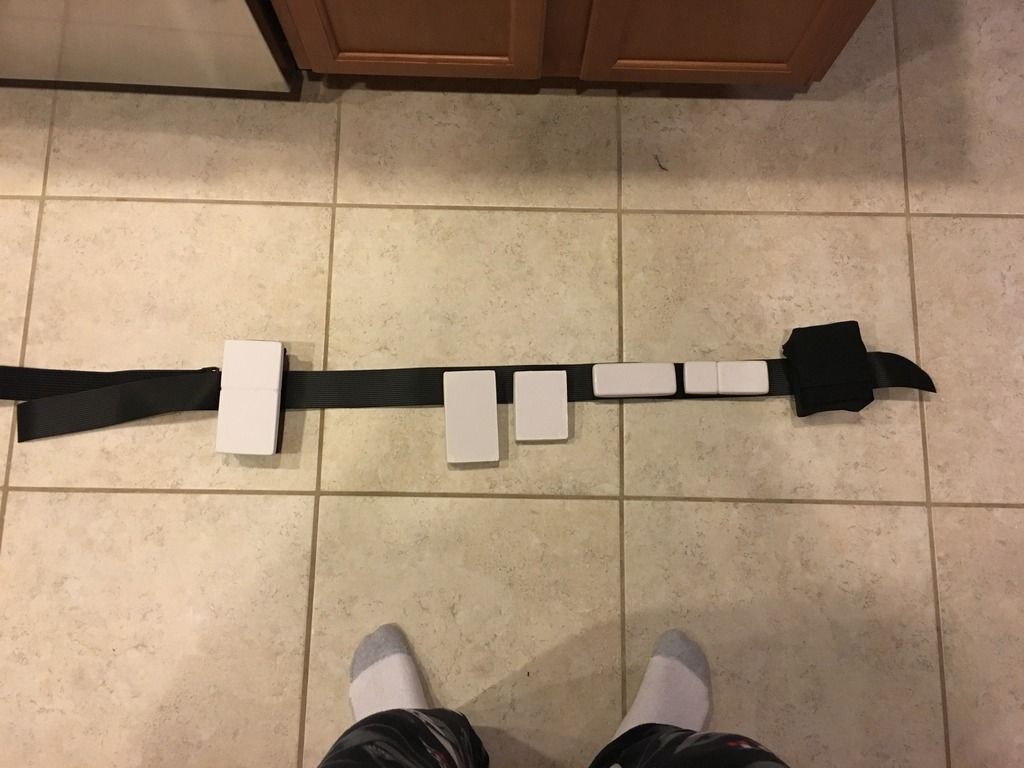
Got my belt laid out. Still cleaning up boxes a bit!
-
2
-
-
Welcome aboard! Like Joe, I'm also out in Clermont and am working on my FOTK! Plan to be at the armor party! Come on by!
-
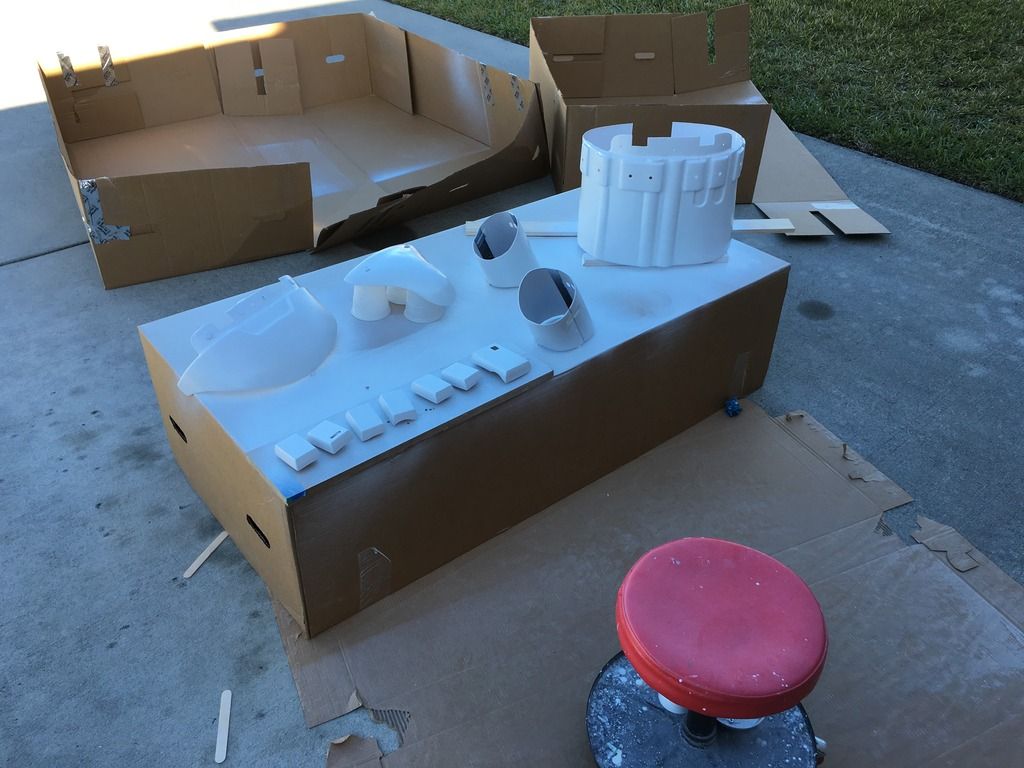
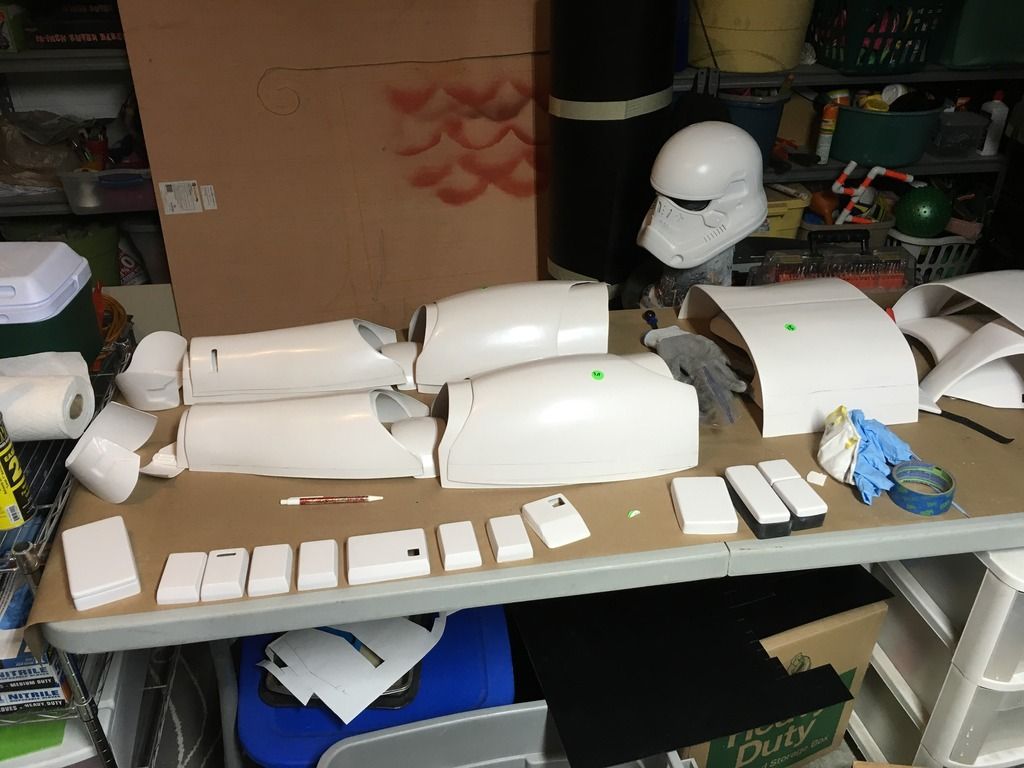
Probably time to show off the progress on my armor. It was a productive weekend!
Parts laid out and ready for assembly.
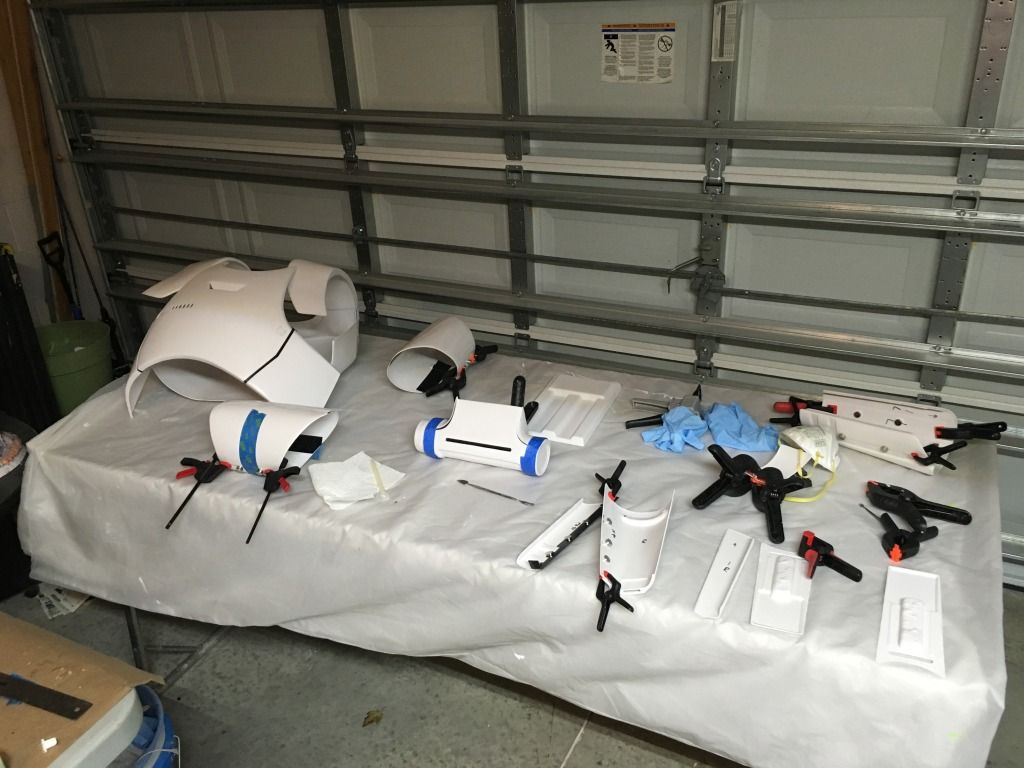
Following Tony's amazing build thread, managed to get most of the upper body pieces assembled this weekend!
-
2
-


Hand Made First Order TK
in Build Threads Requireing Maintenance
Posted
Better pic following today's armor party!