


rapstertee
-
Posts
397 -
Joined
-
Last visited
Content Type
Profiles
Forums
Gallery
Articles
Media Demo
Posts posted by rapstertee
-
-
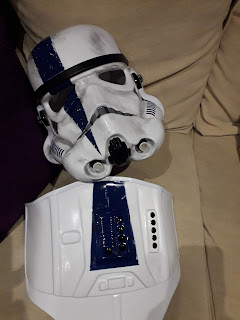
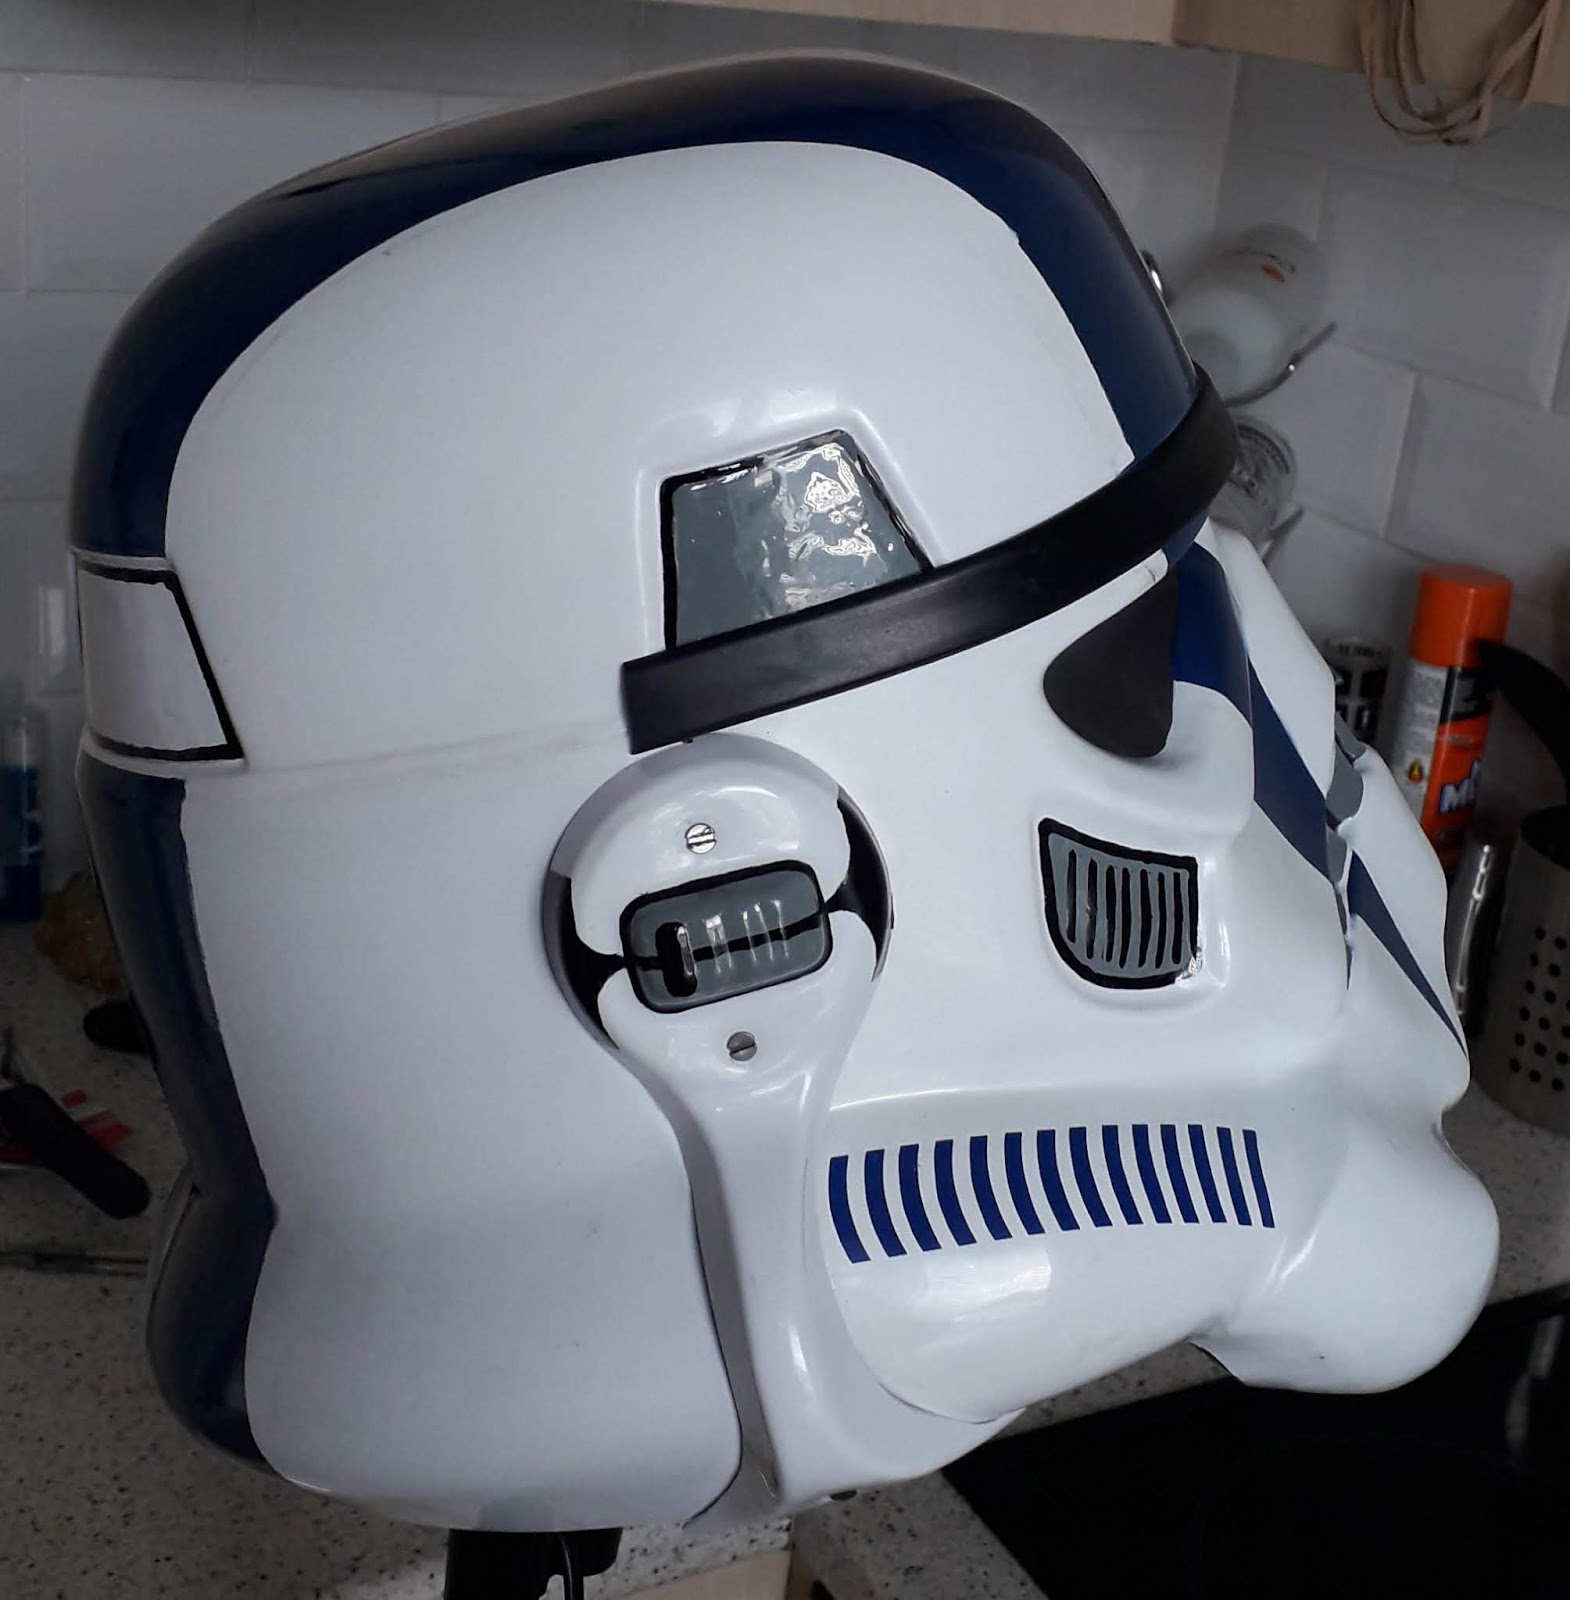
Did a little weathering on the lid and added the Hovi mics.
-
 1
1
-
-
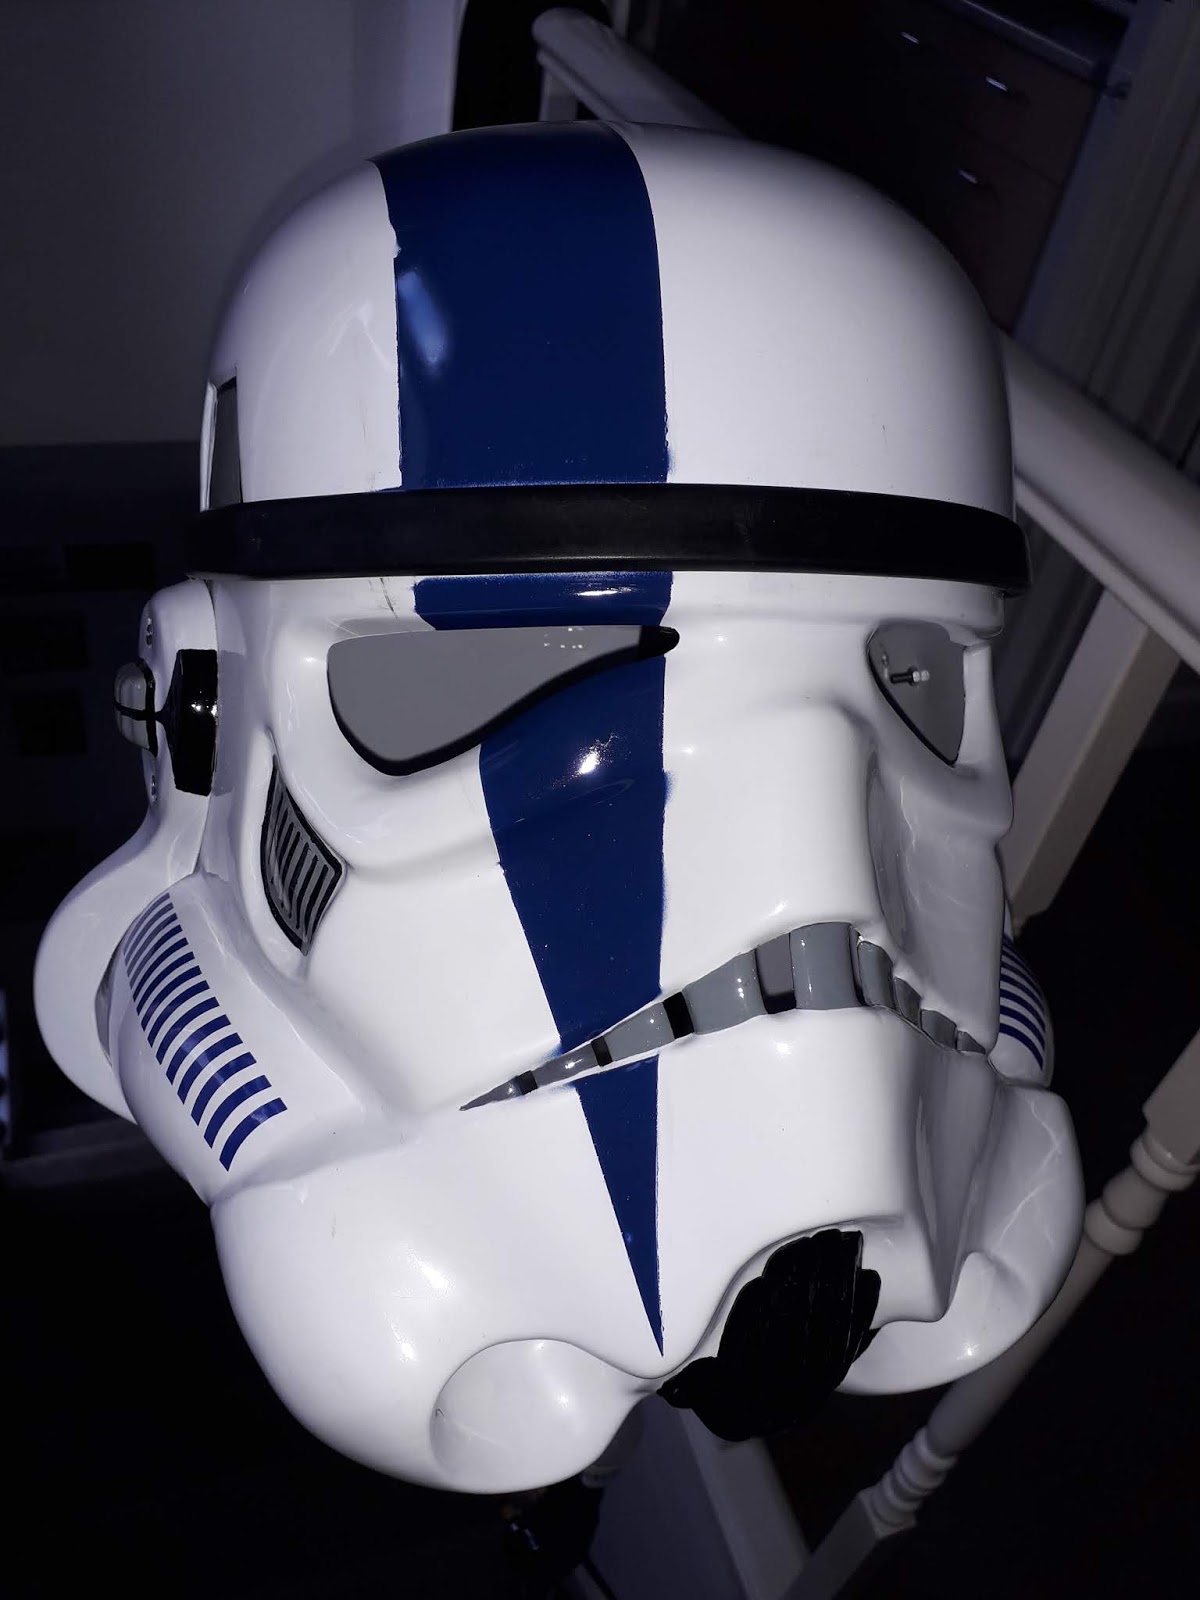
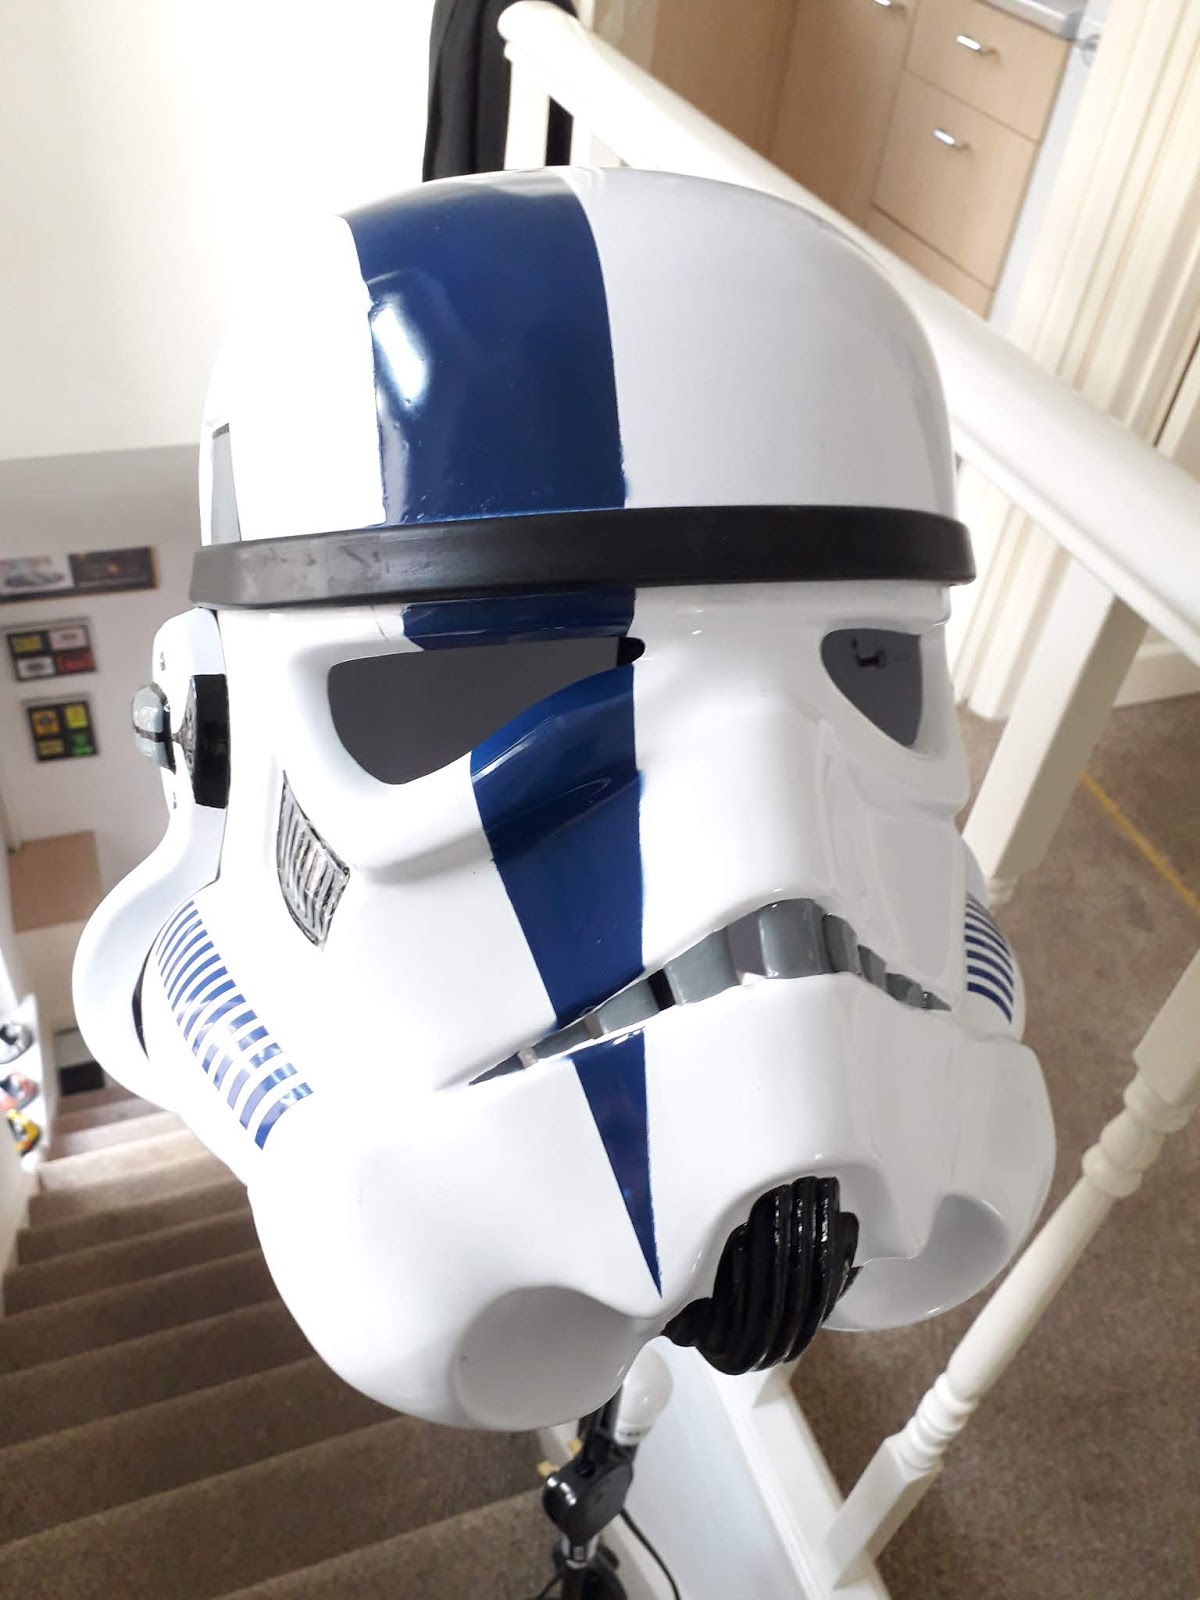
I took a quite blunt knife ot the blue stripe, carefully adding random scratches to it. I looked at a number of different TKC lids, and wanted to go quite subtle than some I've seen, but more than a minimally weathered look. I'm quite happy with this at this degree of scratching.

ALso painted the rear traps grey, with only the vent lines to go on there to complete the painted detailing.
-
1
-
-
Ok, no pics on the dremel polishing, s there's very little to see, but it is a bit glossier.
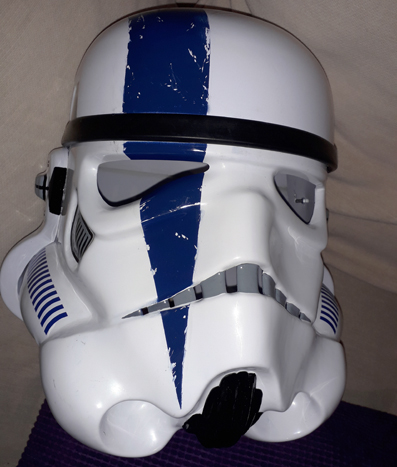
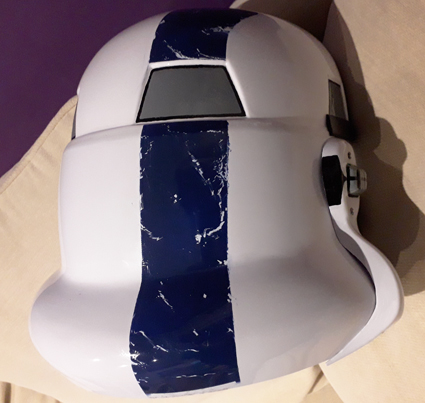
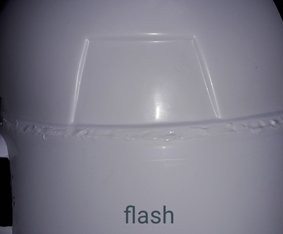
I've painted the blue stripe today - The blue is a little lighter than these pics show. Whereas in the past, I used liquid latex to mask off the scratches, I thought I'd do it manually this time and scrape off the paint where it seems needed. The lightest pic was taken with added exposure to try and show the true colour of the blue. I'd say it almost exactly matches the tube stripes.

-
1 minute ago, gmrhodes13 said:
Most upload their photos to an online host then copy the link directly into their posts, allows greater size and amount of photos
Thanks. I used to do it that way with Photobucket but it's not an option for me now. I'll think of another way. Cheers!
-
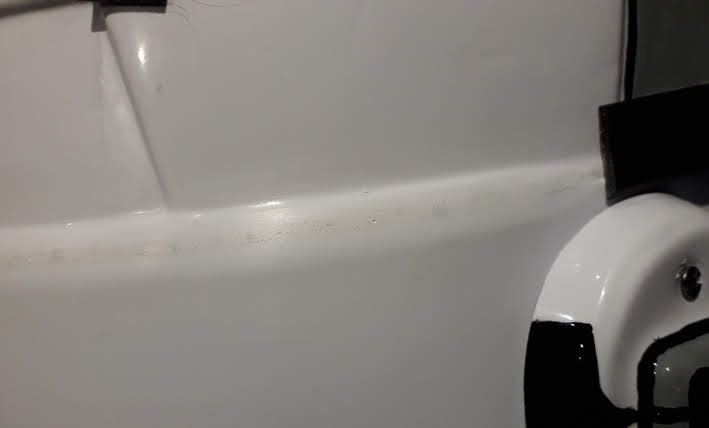
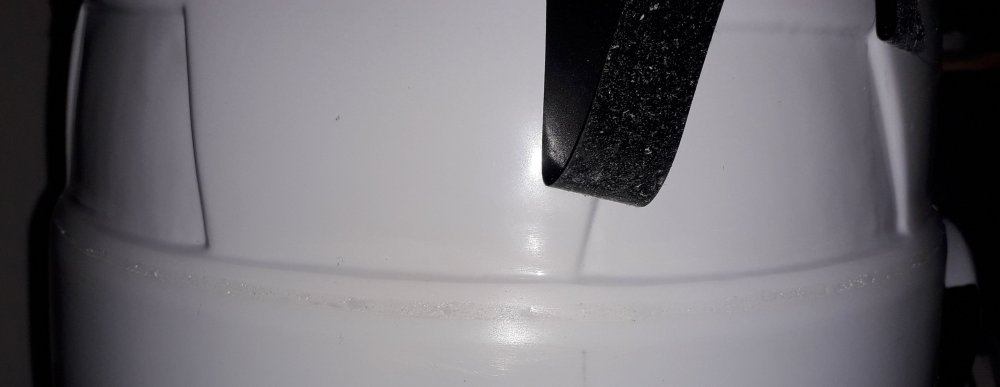
Okay, this is looking nicer. Despite the slight off-white colour of the aBS paste, which no amount of sandinng will change, it's very smooth and flush. This is after 3 grades of sandpaper and buffed with a soft cloth.


-
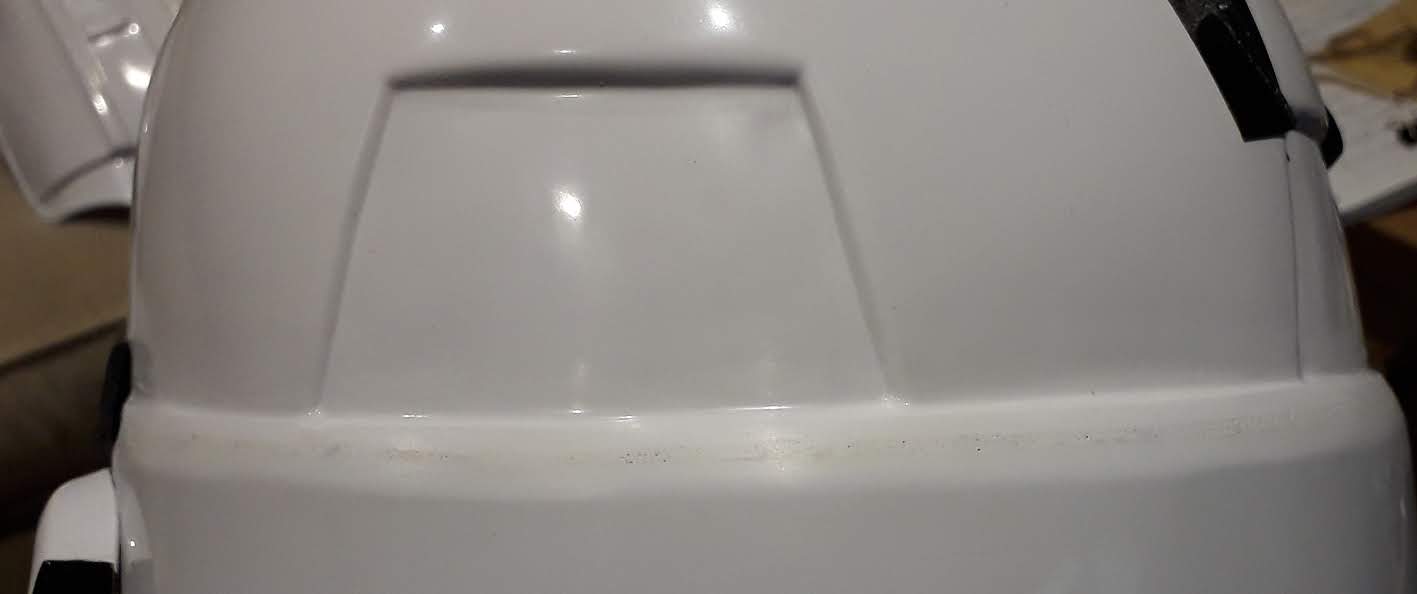
Did a second line of filling and sanding on the rear seam tonight. The ABS paste is a little off-white, and I think I need to do a third before I put the polishing wheel on the dremel, but it's almost invisible. Will update tomorrow to show y'all where we are.
-
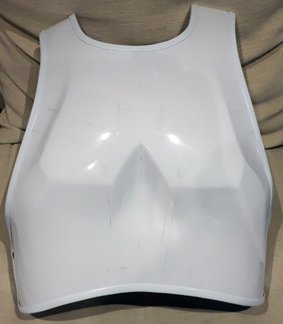
Ok, bulk update: Fitted rubber edges to chest, ab/cod and back. Used ABS & Acetome mix to fill the rear seam (shown unsanded, working on that now) and used millput and spray paint for the ab mods. If I'd realised how good the ABS paste method is, I would've used that and saved myself some hassle with painting. However, I'm sanding as much of the white paint off to minimise the disparity in shades of white, and I'll be painting the blue stripe over the centre ab buttons anyway. Weathering shouuld help disguise any discrepancies.

-
Okay, I've had my delivery of rubber edge trim (Thanks to Mark aka @sskunkyat CfO for this), and I want to start putting it on the torso parts - Looking at other builds, I guess I need to trim off the return edges before adding the trim? Can anyone confirm please, before I start cutting?

-
8 minutes ago, Daetrin said:
You can thank @gmrhodes13 for that, as he was the one who put in a huge amount of time & research needed to get the TKC CRL updated to where they are now.
I'm very grateful to @gmrhodes13 for this, as it opens up the TKC and Shock trooper builds for many more people. As the CRL is usually regarded as law, this helps me greatly. Thanks guys.
-
2
-
-
17 minutes ago, magni said:
Looking at your thigh photo it appears to be cut for butt joint. The ridge needed for overlap has been trimmed down to much already.
Yes, you're right. Thankfully the CRL doesn't insist on overlaps any more.
-
Just now, gmrhodes13 said:
You will find a lot of ROTJ build threads with the overlap method https://www.whitearmor.net/forum/forum/84-rotj-build-threads/
Recent updates to the TKC CRL now allow both methods of assembly but most prefer the overlap due to ties to ROTJ armor.
Really? That's good to know, thanks. I'll check I've got he latest CRL, but looking at my own kit, there's nothing there to overlap with. Might have to go the cover strip route. Cheers!
-
2
-
-
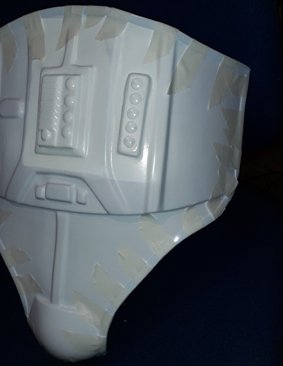
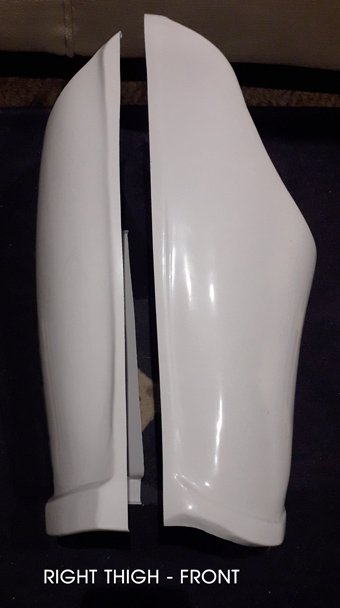
I'd like to tackle the arms and legs next. While Ive built many ANH stunt kits using the cover strip method, I'd like to ask some advice form those of you who have built using the overlap method. Simply - where do I start? My thighs are in two parts and they're still going to need strips at the front and back. Are there any reference pics I can look at to get my head around it?7
EDIT: a photo of the front of my thigh.
-
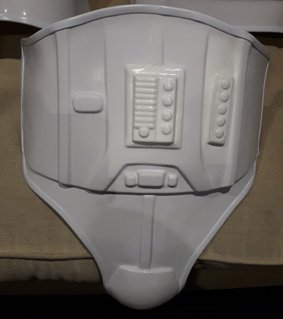
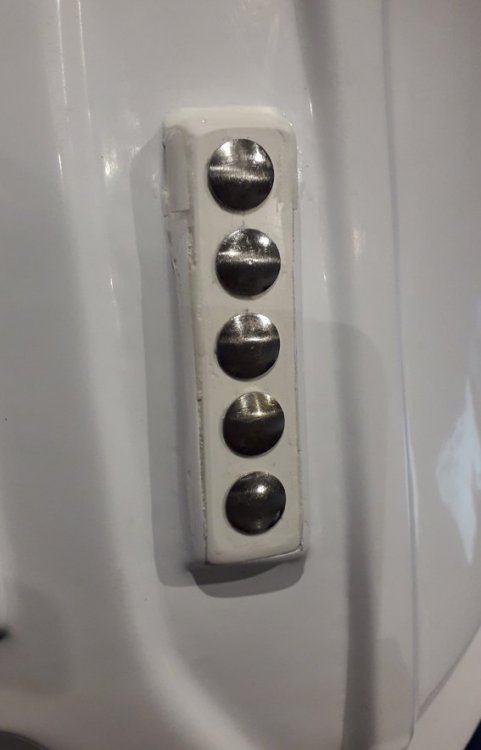
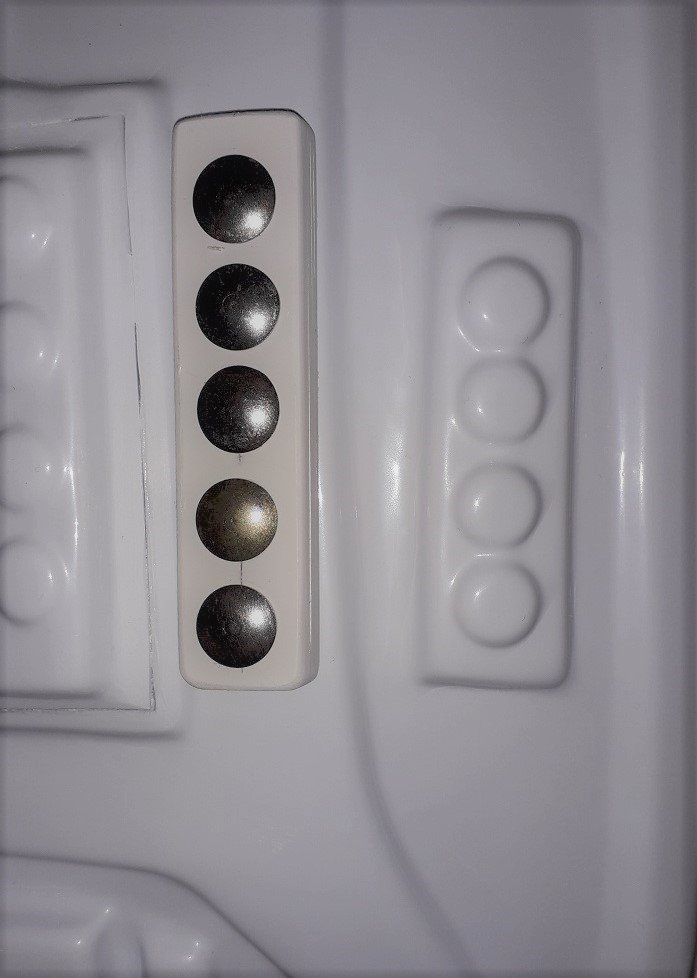
Latest on the ab buttons. I've inserted the block and new buttons into the existing area, and epoxied at the back to keep it (very) firmly in place. my plan now is to do some more filling and smoothing, then a very localised coat of white gloss over the 5 buttons to get it to blend in, hopefully seamlessly. As for the central block, I'll do a wee bit of filling in the thin gaps, then the blue stripe should cover all of that area anyway.
-
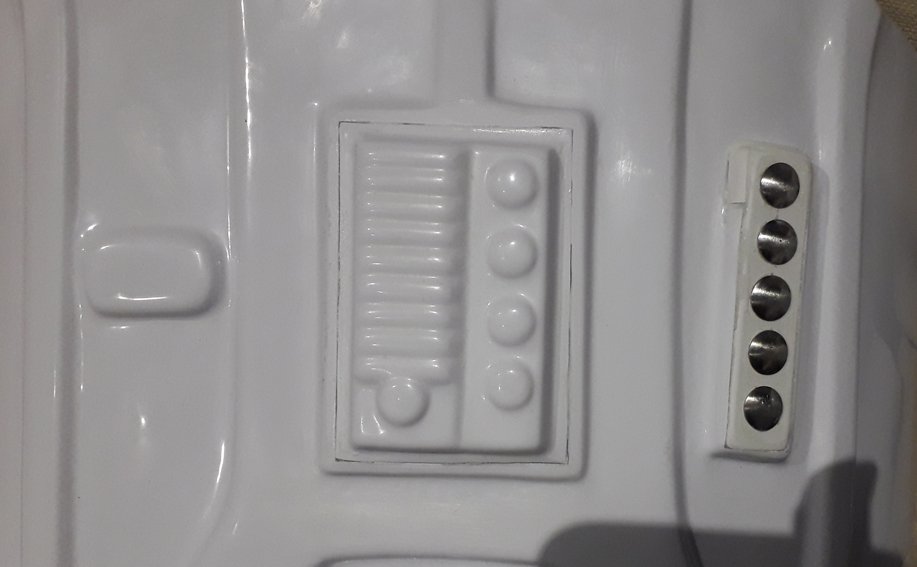
Okay, so today, I looked at adding the fifth ab button, even though it's not mandatory for level 2 clearance. Or so I believe - the CRL doesnt mention that the main ab plate is inverted, and only mentions the fifth button under Level 3 criteria.
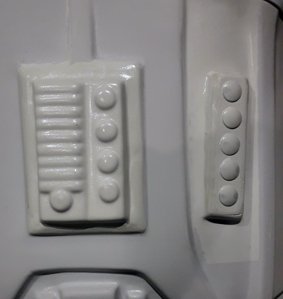
I cut out five ABS strips, glued them together into a block, and added five large brass drawing pins for the buttons, glued in place by epoxy glue. In the pics below, you can see the size and shape of it next to the existing 4 buttons. I'm going to cut out the four, and insert the new block with five, then add some filler (most probably 'porcelain white' Milliput) , sand it and see how it looks. The weathering and scorch marks will be handy to hide a multitude of minor sins...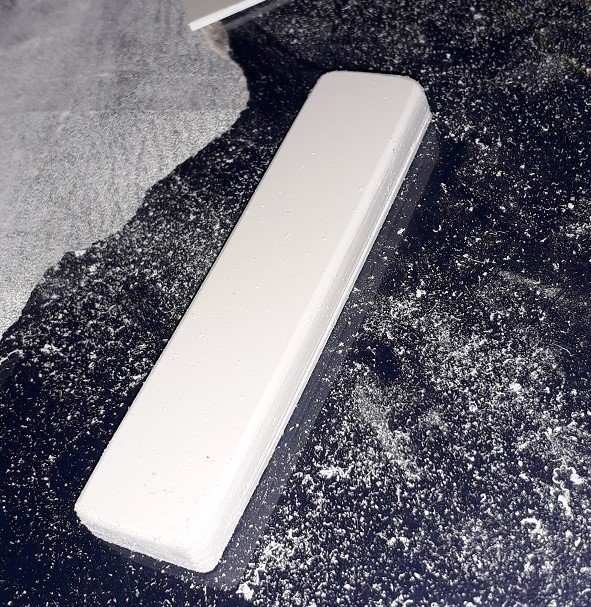

-
1
-
-
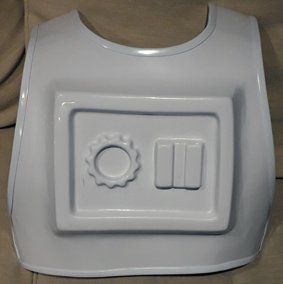
In the TKUK kit, the ab buttons are moulded into the ab plate, so I cut out the button plate, and inverted it. I might fill the cut line, but it'll all br painted dark blue anyway, so probably not noticeable.
.jpg.27334155457212908d725b0cb47c98fd.jpg)
.jpg.d2039762c58e9ff3f5211373fa57102d.jpg)
-
On 7/25/2018 at 3:32 PM, salshred said:
Hello! Great videos. I Just finished putting this kit together and I was pretty pleased with the results. I just have to reposition the thigh ammo belt on one side and then I will be submitting my photos to the GML of my local Garrison. Have you received the new face plates yet? I plan on ordering two more kits, one for the wife and a Sand Trooper for me, and I wanted to see how the untrimmed face plates looked. Hopefully when I order I can ask David to send mine untrimmed as well. Also, did your plastic belt come with the corners trimmed? That's another thing I would like to ask him not to trim, as they are trimmed more than 1/2" at 45 degrees. Thanks and looking forward to seeing your Commander come together!
Hi, yes, it took 4 months as David was unwell and offline, but here are the replacement plates. This is how they came, so I'm happy that they're not overly trimmed. Since taking this pic, I've trimmed one plate completely and it looks much much better. Yes, the belt came with corners trimmed but it looks ok to me. I've started a build thread for my TKC on the UKG forum too.
.thumb.jpg.e9c0a5eb66968714bf492de47d5059fc.jpg)
-
On 6/23/2018 at 6:02 PM, magni said:
From the talks for TKC CRL changes. I am understanding that overlap is required for level 3 if the armor brand supports it. Some brands don't have all the raised ridges allowing for it. So If you can do it. Do it. I used WTF and his is ANH style. So no overlap. But I achieved Centurion!
I like to think that Centurion is more on how you present the best looking rendition of the Trooper you can. Not that you put some detail in the exact spot to the mm.
Glad to see the recent influx of Commanders in progress. Last time I looked I believe there's only 60 in the Legion. So plenty of room to boss around some TK's!
")
Thanks for the info. While I'm not expecting to get to Centurion, I'll see how far I can get to the best level of accuracy I can. I think there may be only one TKC in the UK at present, and he's wearing my TKC that I started building then had to sell on due to financial difficulties. So it'd be nice to have another in the UK.
-
1
-
-
Thanks Joseph!
")
-
A couple of questions, given that the TKC is generally based on ROTJ armour:
- Does the white edge trim need to be added to the kidney plate?
- Is the kidney plate allowed to be separate, or must it be connected permanently to the butt plate? **EDIT: It's mandatory on the CRL**
- Do the arms and legs need to be assembled using the overlap method? (TK300 site confirms the ROTJ armour used overlaps)
Are these above things mandatory for TK Commander builds?
They don't seem to be mentioned in the TKC CRL.
-
-
Here's my initial box opeing video. Don't worry, it gets better. Feel free to subscribe and follow my progress.------------
-
1
-
-
As in my introduction post, I'm looking at building a TK Commander.
My brand of kit is the relatively new TKUK kit, which is now the lowest priced clearable suit on th emarket. I'm expecting some mods and some innacuracies, but these have been cleared in the 501st and UK Garrison, so it IS doable. You get what you pay for, after all.
Despite the warnings and some naysayers, I've received the kits (you get two for the price of one!) and made some initial observations.
I'll post a link to my box opening video and early thoughts in a future post, but here are my initial findings:
- Neatly packed - comes with all pieces in plastic film.
- Trimming is neat and well done in general, saving time and trouble for makers. no rough or sharp edges.
- Accessories include tube stripes, helmet decals, TD pipe, TD clips, velcro, canvas belts, eye lenses, elastics, helmet trims and cover strips.
- A very large butt plate that will need a lot of trimming at the 'under-gusset' part.
- Built - in ab buttons
- Built in Belt rivet covers.
- Decent sharpness of detail. Forearm indentations look sharp
- Separate cap for helmet (3 piece helmet)
- Ears look good
- 1.5 - 2mm ABS in a bright white with the tiniest blue hue.
- Face plates aren't bad - BUT:
-
Eye holes have been massively over trimmed. Almost no return edge. They're pretty bad. I'm dissatisfied with these and I'l be returning them and requesting a new set that are untrimmed.
So as you can see - so far so good, aside from the badly trimmed eye holes.
Pics to follow as soon as I work out how to do it, since the great Photobucket Exodus .
- Tel
-
1
-
-
Hi, and thanks for the notes.
This is not out of stubborn-ness or laziness but I won't be able to make EIB so there's no point in carrying on with this application.
As a couple of examples of why, my thighs are sealed shut with a combination of Poly Weld glue and Zap A Gap CA. So separating them will be nigh-on impossible and very damaging.
My side gaps *are* 1", and until I get down to my target weight of 140 lbs (I'm currently 167) they won't get any smaller.
My S Trim is glued in place so it'll be a bit of a task to remove and replace. I've filled the small gap at the back with a small wedge of black EVA foam, bu tthat's aobut it.
To replace the belt would mean totally disassembling it and that would entail buying a new belt and the ABS belt parts - both pretty costly.
As I say, it would've been good but I guess a lot of things that weren't on the CRL have been asked for, or at least added during the time that I was building my kit and now the amount of damage and cost that would be involved to get it to pass EIB (let alone Centurion), makes it a task that I'm no longer willing to do. My suit is cleared with the 501st and UK Garrison, which is the main purpose of getting a new TK, so I'm eligible to troop in the UK now.
Thanks for all the feedback and pointers, I appreciate the compliments and suggestions.


.jpg.4f239a4c2929ff102bfd0b2925351583.jpg)
Terry TK2135 - 2018 TKC Build Thread
in TKC Build Threads
Posted
Apologies for the lack of progress. last few months have been all work and no play. But I'll be back to it soon .